DIY Round Concrete Table Top
Concrete is an amazing medium when it comes to being able to manipulate it into shapes, forms, and molds! It is so easy to create a round concrete table top with a simple circular form that is no harder than making a rectangular concrete form! An inexpensive way to create long-lasting, great-looking outdoor furniture!

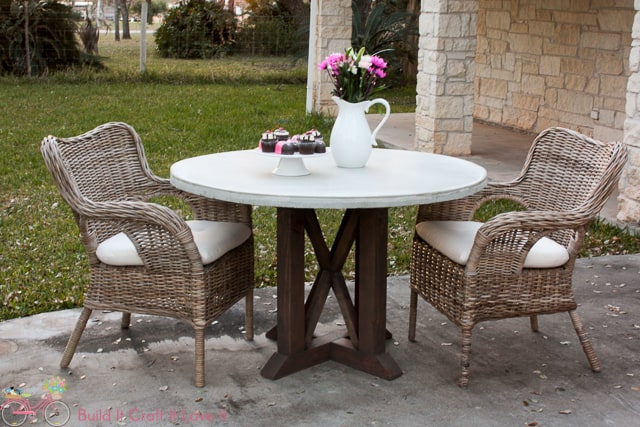
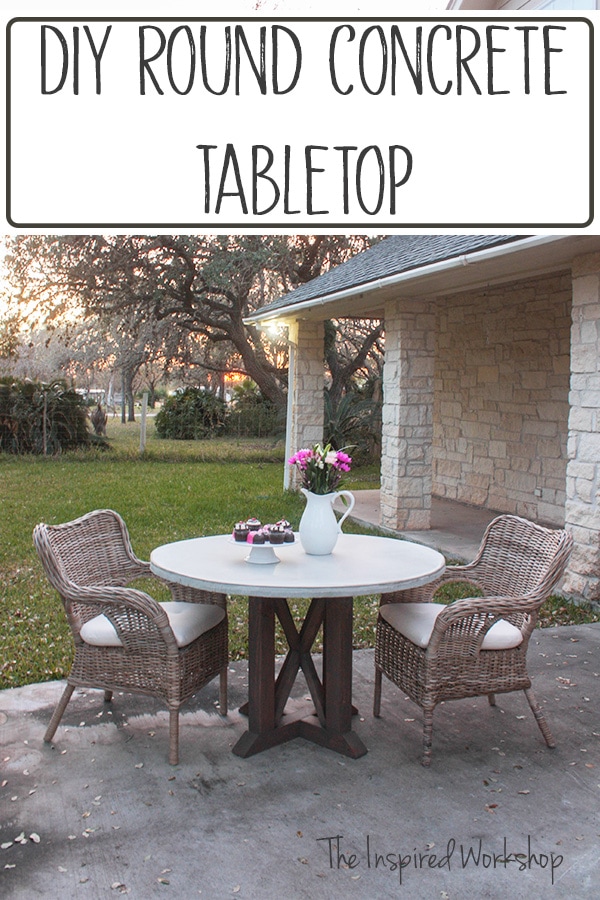
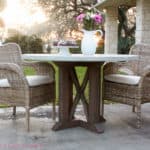
I’m sharing this amazing round concrete table top that I FINALLY finished the pedestal base for as well! It may have taken me a lot longer than I wanted but she sure is a real BEAUTY!😉
If you have been around here for any length of time, you know I have done a couple of tables with concrete tops, just simple rectangle tops, but I tell you something that I had been eager to try, was a round concrete table top! And after coming up with the design of my most recent table base, I knew it had to sport a round top, and it had to be made out of concrete! I managed to figure it out as I went along and it turned out alright for being my first attempt!
It isn’t a PERFECT circle, it has some slight defects that could easily be remedied! I’ll just have to live with it, and you can learn from my mistakes and not make the same ones! Lol!
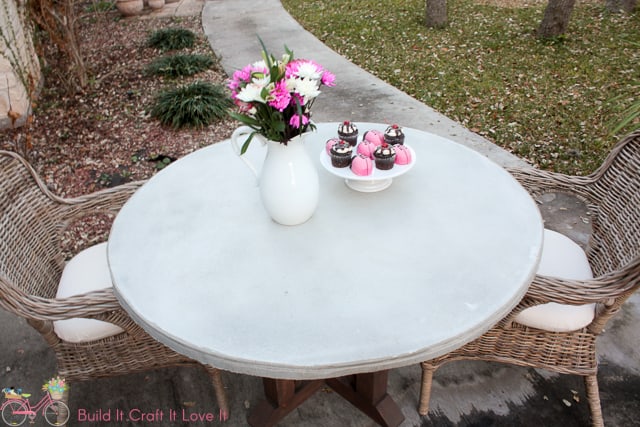
See that small dent…that’s where I messed up! But I’ll share the how and the why that happened in the tutorial below!
It really wasn’t any harder than pouring a rectangle, it just took a little longer to prepare the mold for the concrete! This tabletop is pretty small at only 4’x4′ which was exactly what I needed for my front porch so I can sit out there and enjoy my coffee in the morning! I ended up giving it to my mom though! Lol!
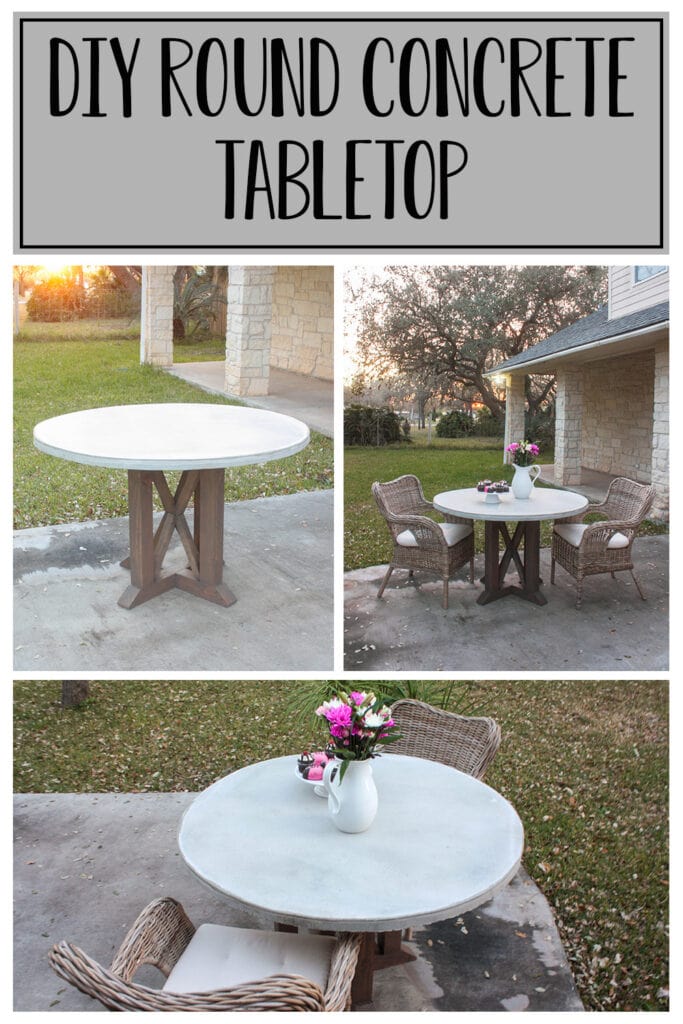
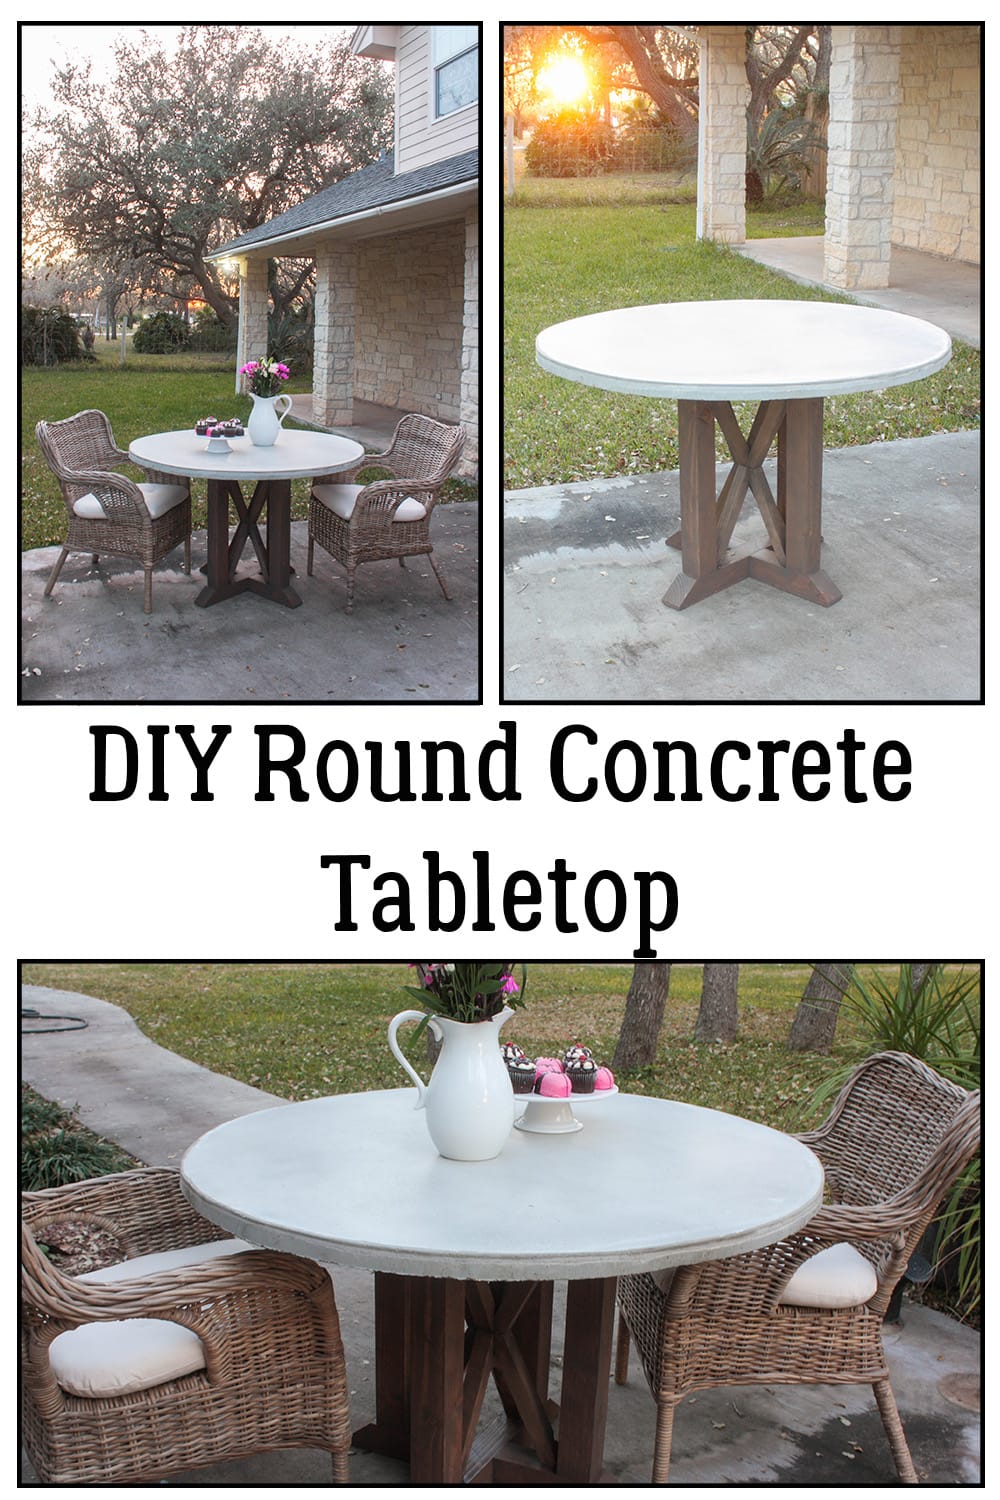
I really love how the table came together!

The dark brown of the base with the light gray of the concrete…mmm hmmm…just right! 😍 So do you want to make one for yourself or someone else, Mother’s Day is coming up quickly!😅
Make sure and grab the plans for the DIY Pedestal Base!
Gathering Supplies to Pour the Concrete Tabletop
The round concrete table top cost 45 dollars and the pedestal base cost 25 bucks, so all in all a beautiful outdoor concrete dining table for 70 big ones…I’ll take it…have you priced outdoor furniture lately? It’s ridiculous!
Materials for the round concrete table:
**NOTE: Amazon links below are affiliate links! Affiliate links are links that pay me a small commission should you make a purchase after clicking one! It is a wonderful way for you to get what you need from Amazon and me to make a wee bit of money to keep the project plans coming for free! Win-win, baby!😉 I always appreciate it when you shop my links but I will always let you know when stuff is cheaper in store!😊
- 4×8 sheet of melamine
- roll of cove base molding
- silicone caulk
- 4 bags of concrete (See my experiment below under Pouring the Concrete)
- 1/2″ hardware cloth – grab this at Walmart, Tractor Supply, or Home Depot – it’s cheaper!
Cut List for the round concrete table:
- 1 – 4×4 piece of melamine
- 4 – 2 1/4″ x 48″
Building the Mold for the Round Concrete Table
So as I’m sure you have seen plenty of rectangle or square concrete tabletop tutorials, you just have to build a square frame out of the melamine! I had home depot cut my melamine sheet in half for me so it would fit in my minivan, and so all I had to do to complete the frame was rip four boards at 2 1/4″ thick and screw them into the large 4×4 square of melamine.
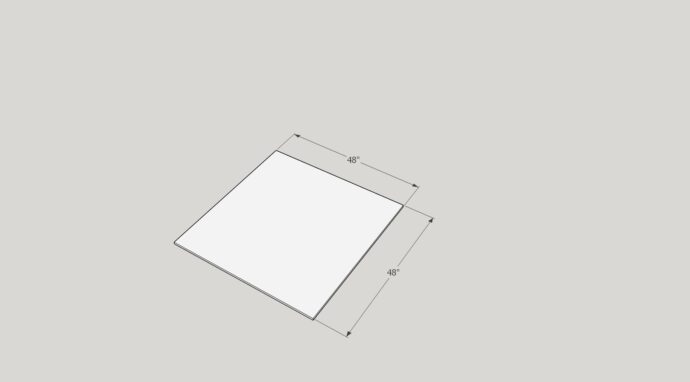
I used 1 1/4″ screws and make sure and pre-drill your holes or you will definitely split the melamine…don’t ask how I know! 🙄
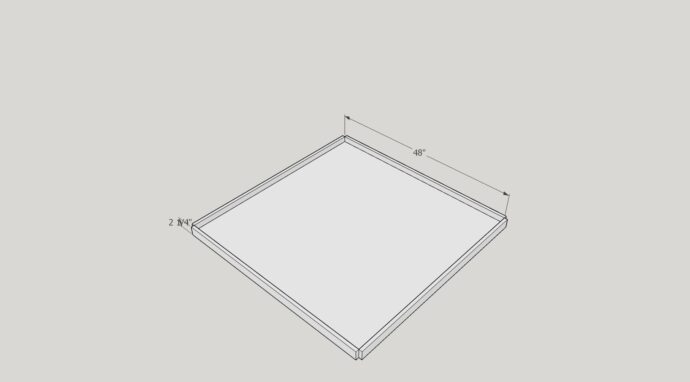
Where this goes a little different is that clearly, we aren’t looking to make a square, so you have to create an internal circle inside of your square! You could also use this same technique, but cut the circle out of melamine and then staple the base cove to the circle. I plan on trying this out as well now that I have this awesome circle jig! Check out the round tables I have made with it! Small side table & Round Epoxy Table
Anyway, I achieved this internal circle by cutting some base cove (affiliate Link) down to 1 1/2″ and securing it inside my square frame. It is basically a flimsy vinyl baseboard with adhesive on the back to stick to the walls…typically found in schools, restaurants, and such!

It isn’t cut perfectly, I just placed the cut side down against the melamine base so the caulk would clean up my not-so-perfect cuts and give me the nice flat edge on top!
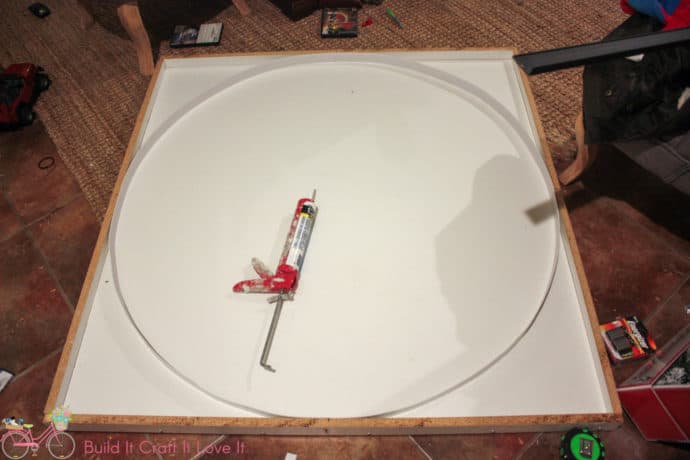
Here’s where I went wrong…I thought that the weight of the concrete would straighten out any wrinkles or bumps in the base cove to make a perfect circular concrete tabletop, which it did…in most places. It did not straighten it out in the areas that are caulked down. So it was able to stretch it around the loose top, but where it was caulked it had no give. You want to make sure it is a very round circle and if I were to do it again, I would maybe try using my blow dryer to lightly heat it up and make sure it is totally straightened out!
I stapled the base cove with brad nails against the frame (side 2 1/4″ piece not the bottom 4×4 piece) where I started and finished the circle, but I didn’t brad nail it anywhere else. I then caulked the circle on the inside and outside to make sure the concrete couldn’t seep out or move my base cove. Let that dry and move it back outside!
Pouring the Concrete for the Concrete Tabletop
Okay, now here I tried a little something out, just to see how it would work. I had a leftover box of Z LiquiCrete concrete additive that I had used on my countertops in my kitchen…which I REALLY can’t wait to share with you all!! It is going to be SOOOO good!! Update: Here are the concrete countertops!
Anyway, since I only had one box left, I wanted to see what one box would do for the concrete tabletop vs regular concrete, and then see if it would affect it if I added regular concrete on top for the rest of the table!
The Z LiquiCrete is an additive that you put in portland or sandy cement, like Quickrete Sand/Topping mix that makes the most smooth workable cement you have ever seen…you mix it in a 5-gallon bucket with a drill and paddle, and it flows so beautifully from the bucket! It sure beats having to hand mix regular concrete with a tub and a shovel as I always do! Lol!
*Just to Note: the Z LiquiCrete was given to me without charge to use on my concrete countertops by Concrete Countertop Solutions… the idea to use my leftover product on this table was my own…along with all opinions about this product!
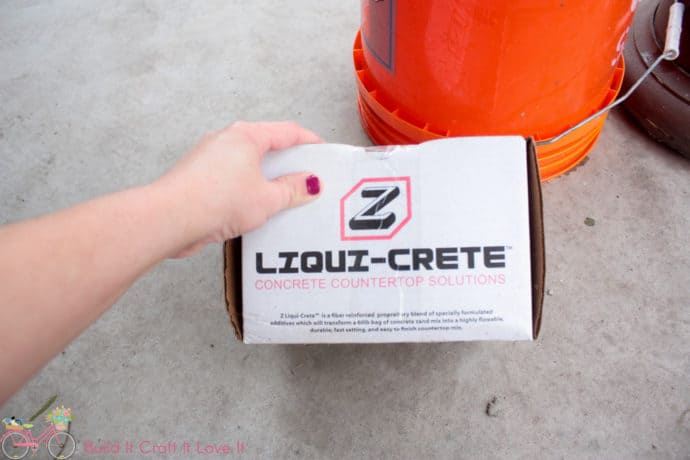
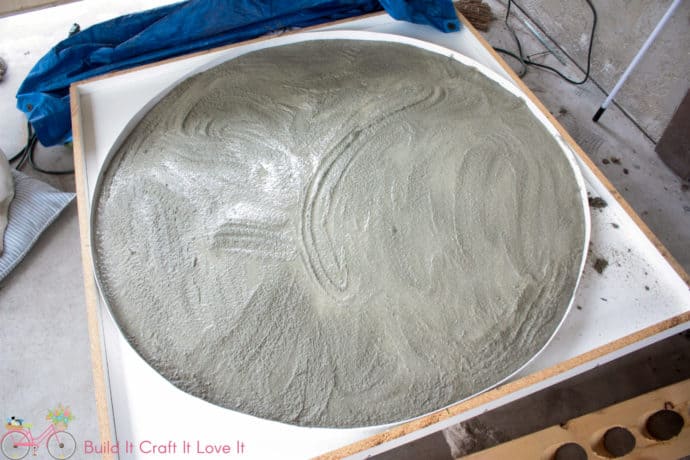
One box, mixed with one bag of cement covered the entire top of the table…just as I was hoping!! See how different the texture is from normal concrete!
So then I added the hardware cloth and mixed three other bags of regular concrete and poured it on top of the Z LiquiCrete!

Someone got a little messy!😆 I covered up the mess and left it to dry…for a few days…which turned into weeks! Lol! I didn’t even think about the fact that when I have poured concrete in the past, it has been hot…well in the cold concrete doesn’t set the same! Yikes! So I left it alone and forgot about it…and quite frankly didn’t want to take the mold off in fear that it was going to crumble or something!! LoL!
I learned that when they are pouring concrete in cold areas, they add hot water to the concrete when mixing to help cure it! So I guess if I learned something from it then there was no harm done! That’s what I’ll surely tell myself anyway! 😉
Luckily, it was great when I removed the mold and though the concrete tabletop had small flaws….the top was extraordinarily smooth just as I had hoped it would be! Far fewer air bubbles too, without even vibrating the mold! You can feel the melamine texture on the top of the table…it’s so strange because it tricks my mind…if you follow me on Instagram, you know how fascinated I was when I removed it! LoL! I videotaped it and just couldn’t get over how it felt just like the melamine!

I wanted to try the Z Liquicrete on a flip over mold because on the kitchen countertops, where the concrete was molded by the edge form, it was like glass…so I thought maybe melamine would give the same outcome…it didn’t, but I realized that melamine has an ever so slight texture to it, which the concrete picked up. So I have another experiment to share with you soon with a leftover bag of white concrete countertop mix from Concrete Countertop Solutions as well! I’m so excited about this one as well!💃
Make sure and check out their website if you haven’t already! Concrete Countertop Solutions has made concrete countertops so much more than just boring concrete! But I’m saving all the juicy details for my kitchen post that fingers crossed will be posted oh so very soon!! I am praying I get it done soon because, man I can’t afford to keep eating out as we have been…plus I have gained about 10 lbs eating all that nasty food! LoL! Update: See the whole kitchen reveal now!

Want to see my other concrete projects?
I even made some really cute concrete Christmas trees and gnome stocking holders out of concrete! I didn’t even realize I had that many concrete projects! I really enjoy working with concrete though because it is so versatile and makes the perfect tabletop for the outdoors!
Thanks for stopping by!
Happy concrete tabletop pouring!

Want to save this Round Concrete Tabletop for later? Pin It!
I always love when you share my plans with your friends… and hey, sharing is caring!😉

Related Posts

One Comment