DIY Small Side Table
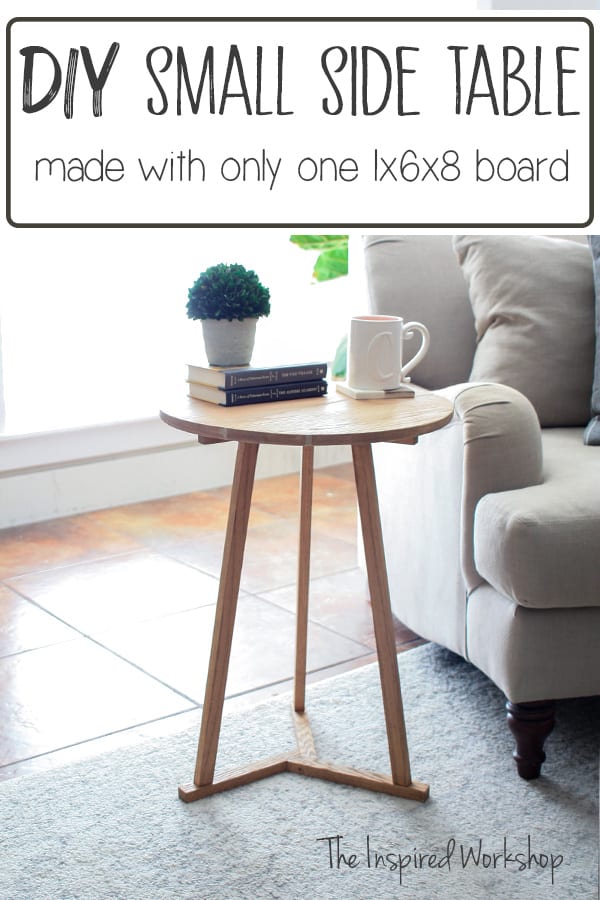
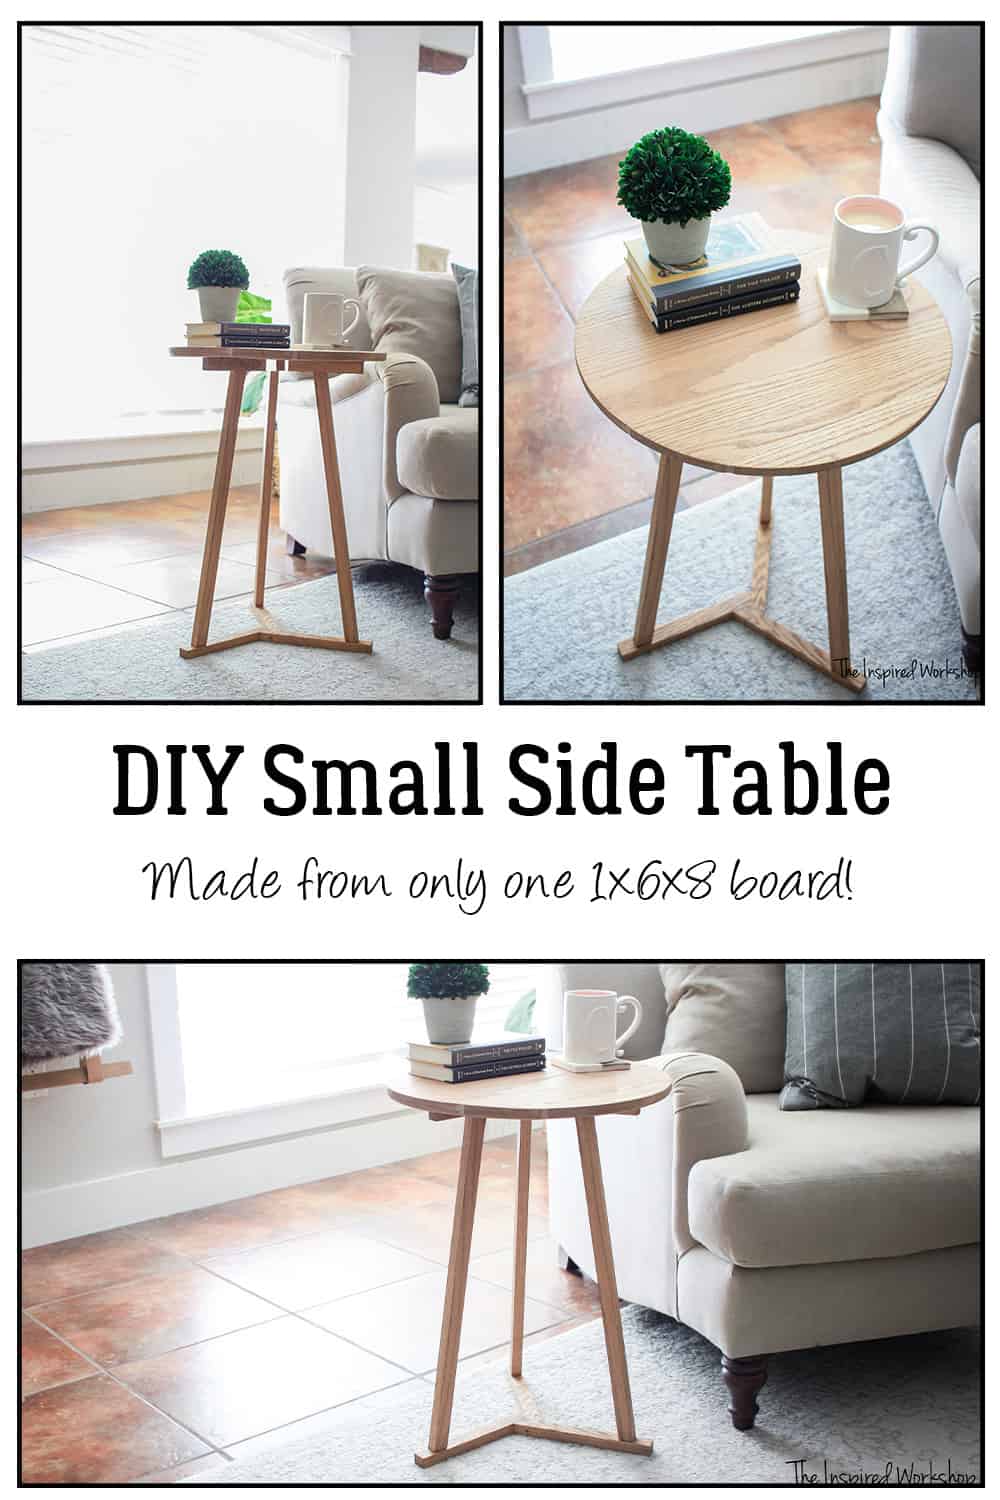
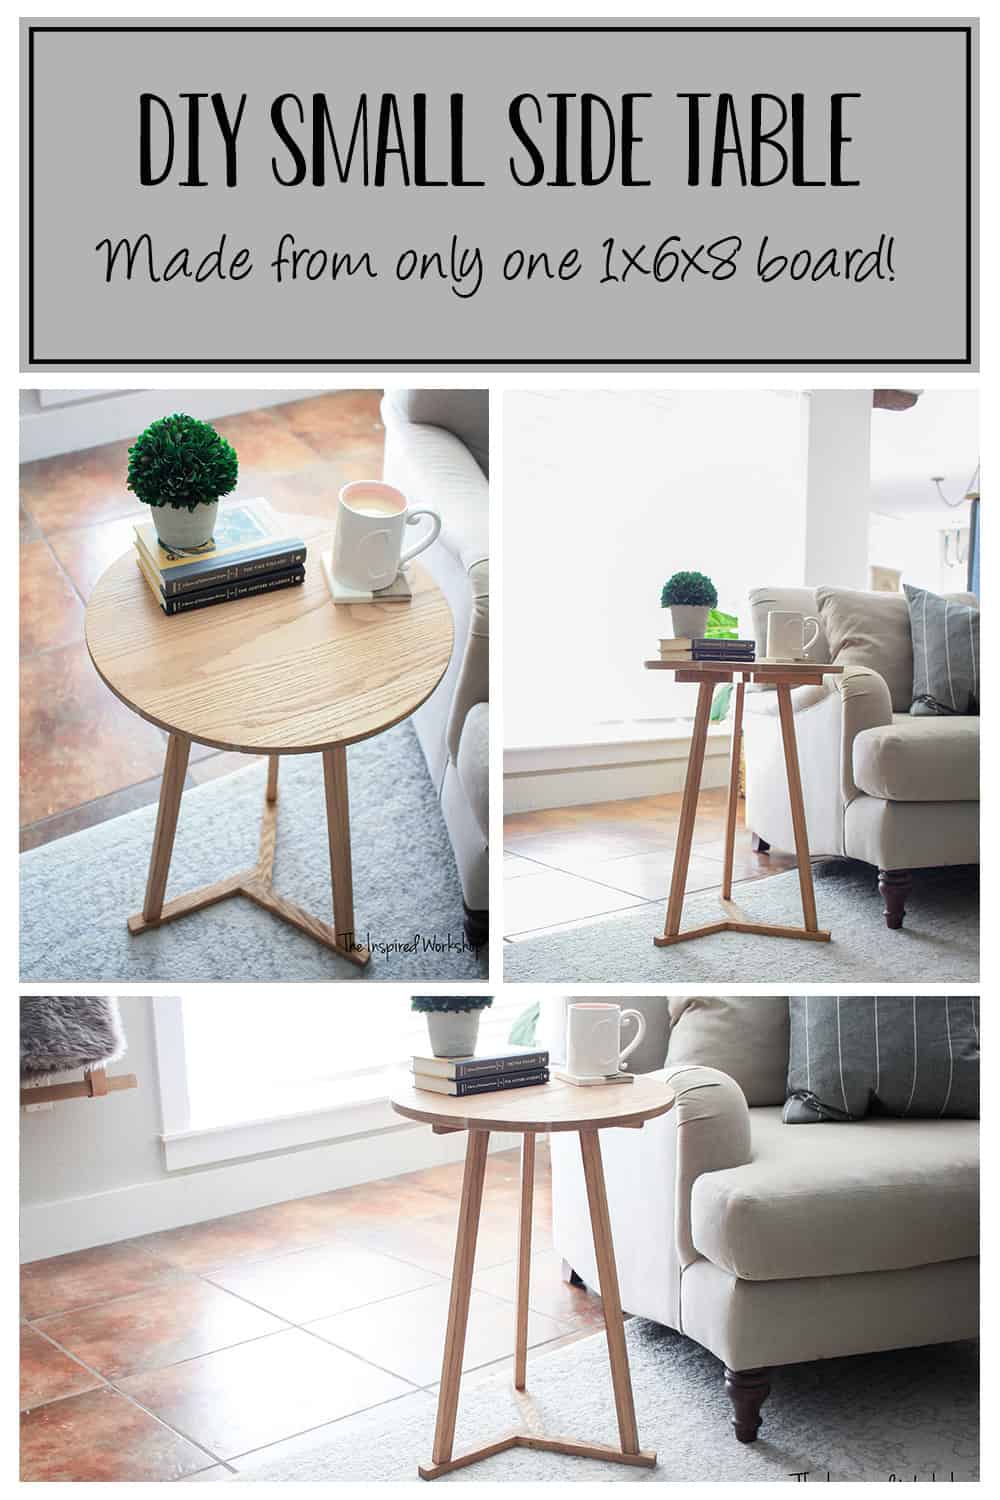
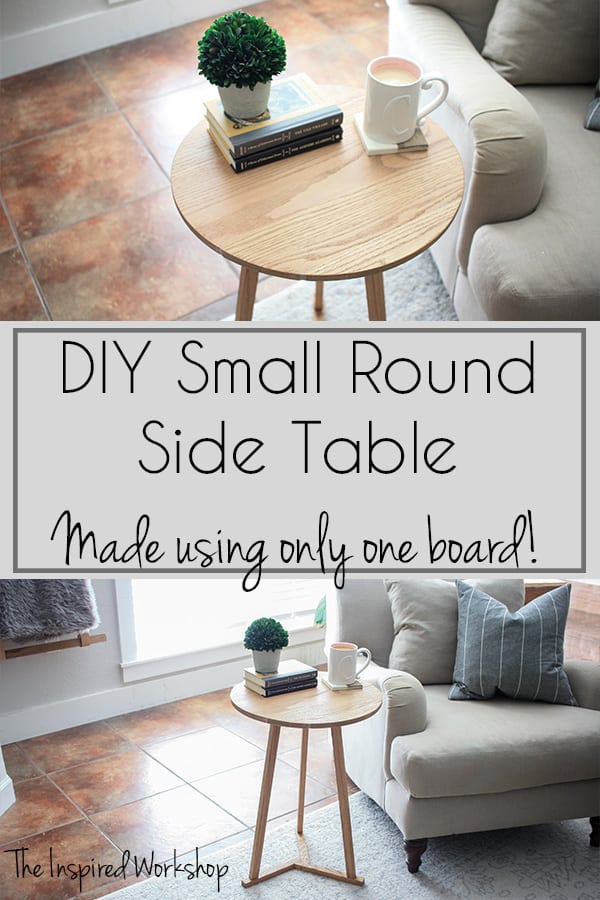
Do you have a space you need a small side table, yet you don’t want to sacrifice big style just because it’s a small space? Well, this charming and sophisticated DIY small side table is just the piece for that! Using only one oak board this side table can be built for pretty cheap!
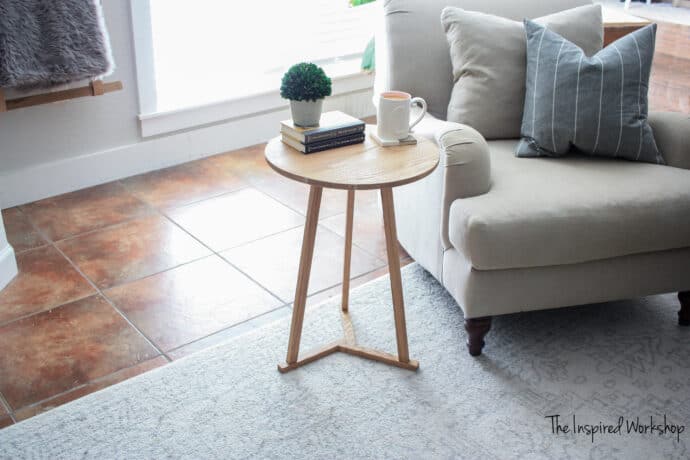
When I recently built this DIY marble epoxy top round side table I loved it, but unfortunately, it was a wee bit too big for this spot and blocked my vacuum from getting around and it felt like it was smashed up against the fireplace. We kept pulling the chair back, but it always managed to slowly make its way back too close! Lol! So I built this small side table to take its place! I love that it is a round side table like the other one, but it is just the perfect size!
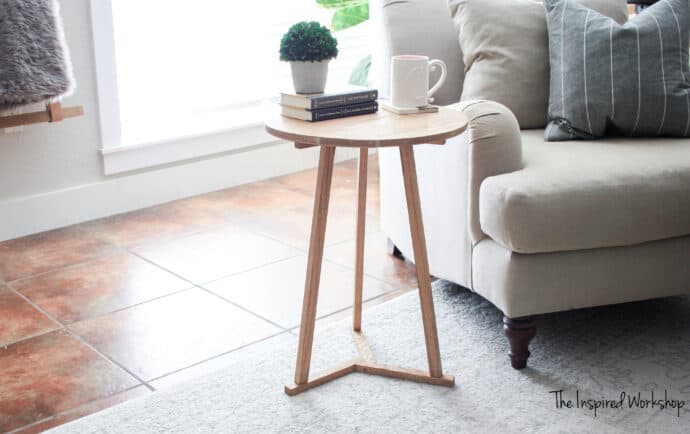
So which do you like better? The marble epoxy round side table or the new small side table? Don’t worry, you won’t hurt my feelings either way, I love them both…one just fits better here!😉
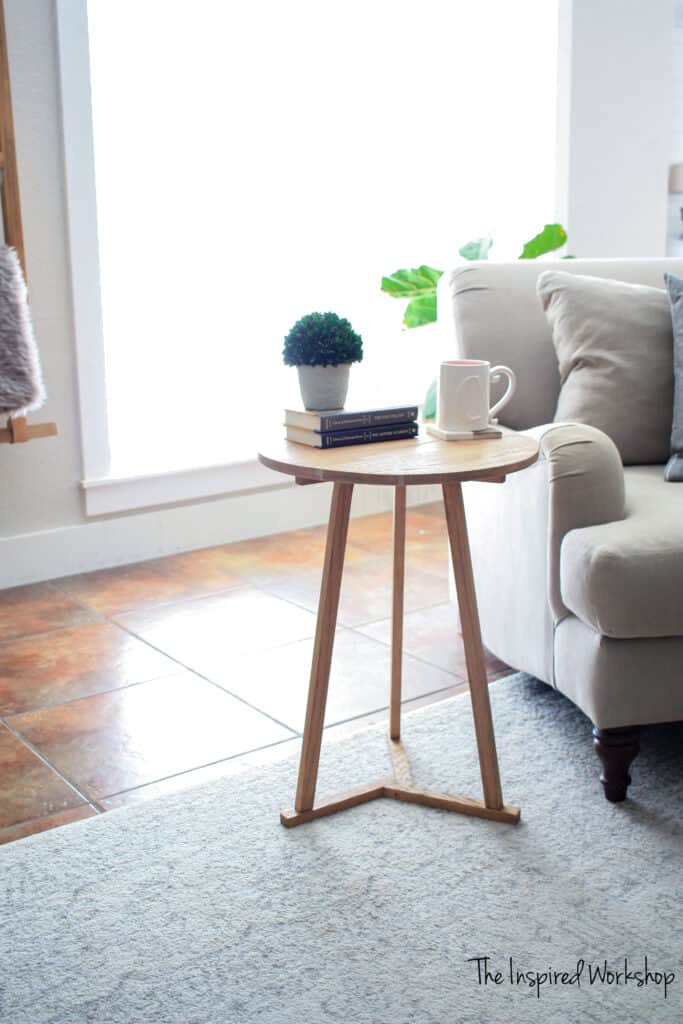
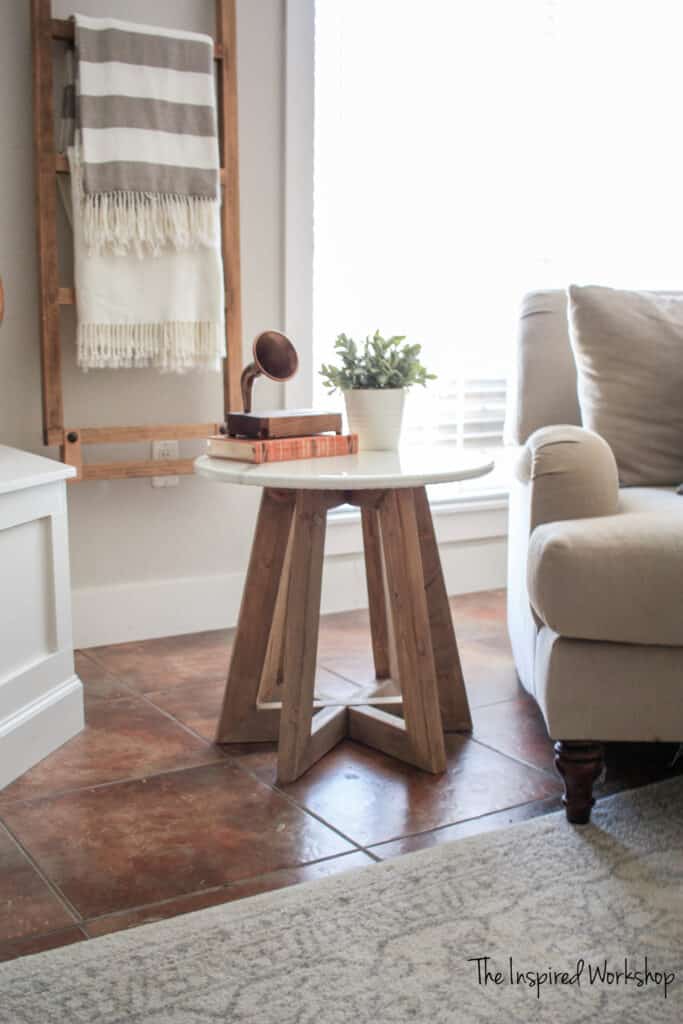
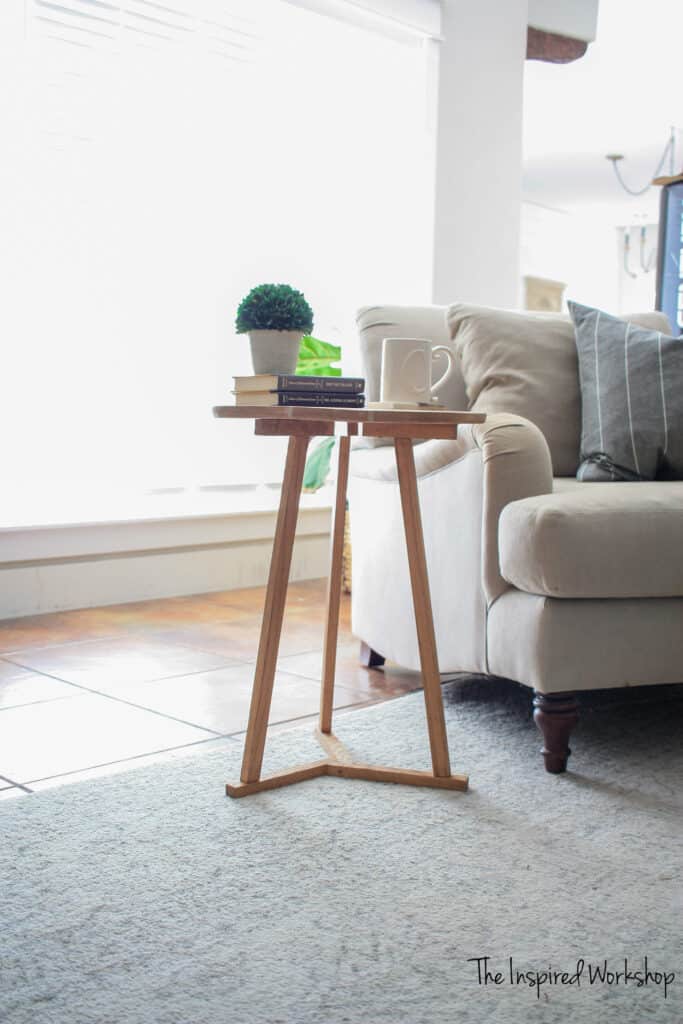
If you chose this round side table, let me show you how it’s built! And if you like the marble epoxy side table, head over and get the plans for that one! Yes, I did have to move this table further from the window because the legs are so skinny they were dissolving into the light of the window
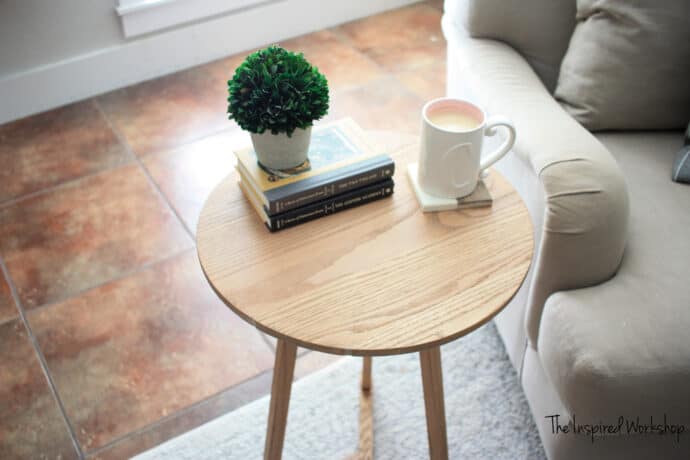
I used dowel joints for my very first time on this side table and although I definitely didn’t build it perfectly, it was fun to learn something new! I don’t know why I always have to make things so complicated, like adding angles into a new joinery technique, at the same time!🤪
Do you know that you can build this cute little side table out of ONE 1x6x8 board? I used scrap wood but I would splurge on oak even if I was building this from purchased wood! Oak is a lot stronger than pine so the tiny legs are sufficient, but as lightweight as it is, I don’t know that it would hurt to build it out of pine!
Oak at my home depot is now sold by the board foot, it used to just be 28 bucks for a 1x6x8, now it is $5.24 a board foot so a 1x6x8 costs 42 bucks! McCoy’s used to be by far cheaper on their oak boards than Home Depot, but now they are more expensive, with lumber prices changing daily, I definitely suggest checking local stores, lumberyards, and even Facebook Marketplace has become my favorite place to look for wood before checking the store. A little shopping around can save a lot! Even so, 42 bucks is a steal for this adorable little table!
Gathering Supplies for DIY Small Side Table
Here are the printable plans to build your small side table! Download them, print them, take them out to the garage to get building!
***NOTE: Amazon links below are affiliate links! What is an affiliate link? Affiliate links are links that pay me a small commission at no extra cost to you IF you make a purchase after clicking the link! You do not have to purchase the item from the link, any purchase made on that website pays me a small commission, and it helps me continue to bring you content for FREE!! If you want to read more, visit my PRIVACY POLICY. Any links other links are not affiliate links, I just provide them to help you find what I have used and do not make any commission!😉
Materials List for small side table:
- 1 – 1x6x8 oak board
- 1/4″ dowels
- dowel jig
- wood glue
- circle jig
- router
- sander
- 2 clamps
Cut List for small side table:
- 1 – 1×6 @ 18″
- 3 – 1×4 @ 18″
- 3 – 1×1 @ 22″ ends mitered at 5 degrees off square, ends parallel
- 3 – 1×1 @ 10 1/2″ one end mitered at 30 degrees off square
- 3 – 1×1 @ 6 1/2″
Building the DIY Small Side Table
How to Cut the 1×6 down
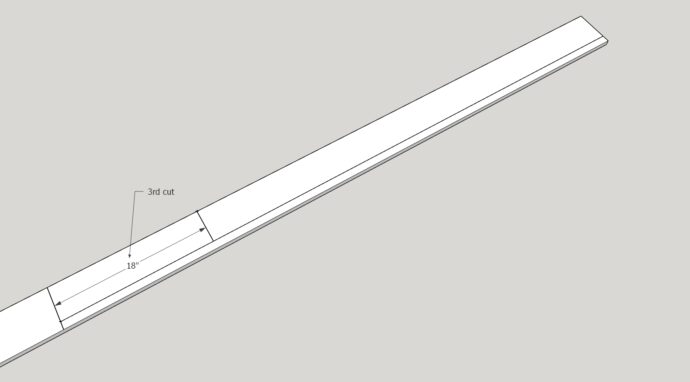
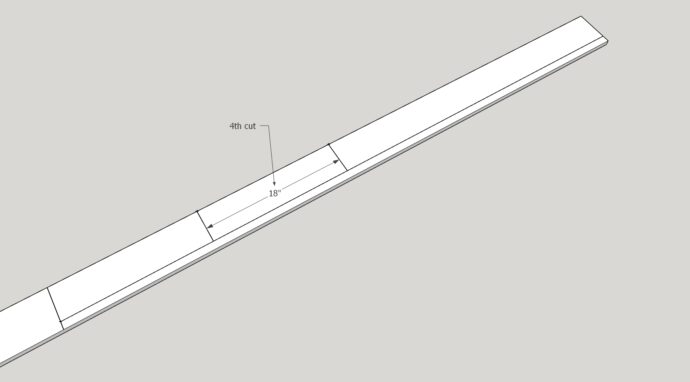
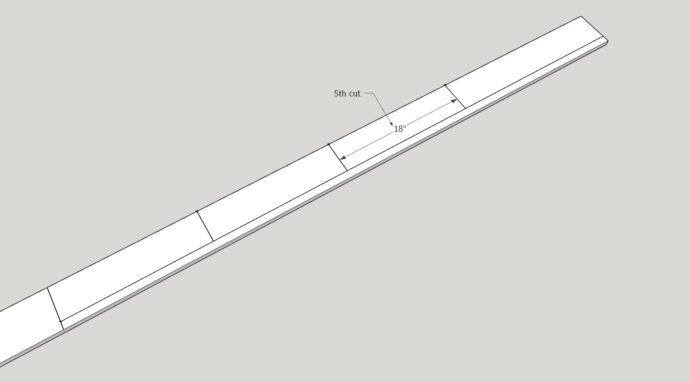
First things first, I need to show you exactly how you will turn this one board into this table!
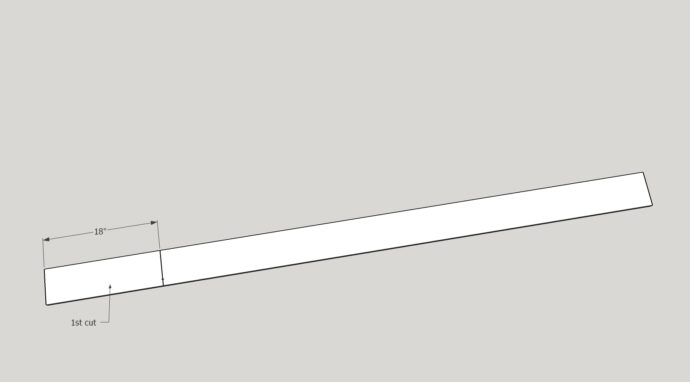
The first cut will be a simple 18″ cut! This is going to be used for the glue up of the top of the table.
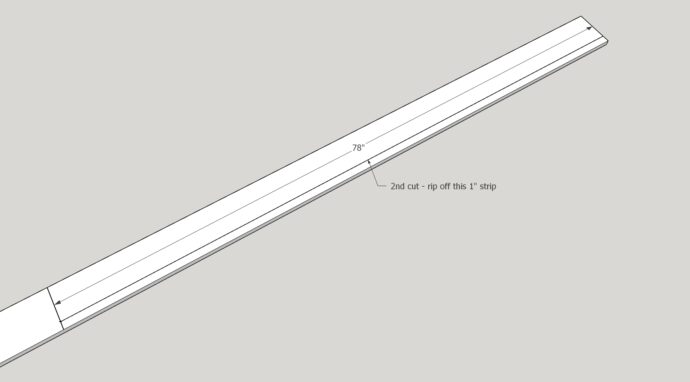
The next cut will be to take the remaining 1×6 @ 78″ and rip a small 1″ strip off of it leaving a 1 x 4 1/2″ @ 78″.
The third, fourth, and fifth cuts are cutting the remaining board down into 3 – 18″ pieces for the tabletop.
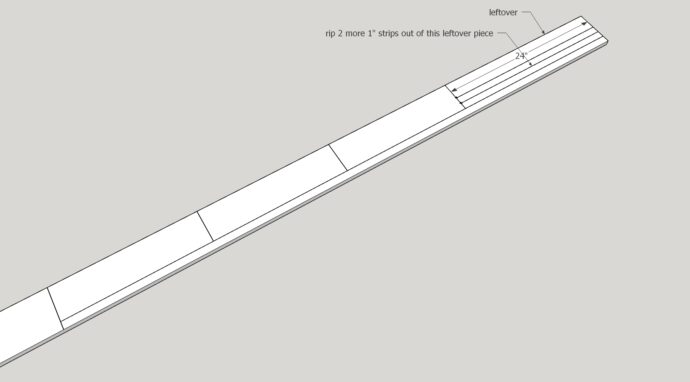
With the last 24″ of the board, you will rip down 2 more 1″ pieces, and that will leave you with a small 2.5″x24″ piece that you can utilize if you make any mistakes!
Making the Round Table Top for the Small Side Table
Once you have this board cut down, you can use the 18″ boards to glue up the tabletop! Now, I used scrap oak pieces that I had laying around from building the cornhole boards for my aunt and another set for someone else! So yours will not look the exact same as mine and will be easier to glue up! Lol!
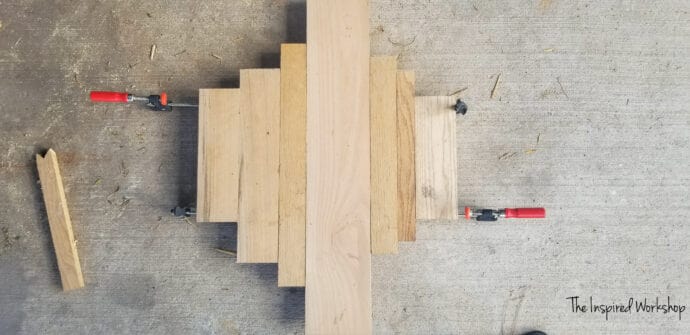
Once you have them the way you want them, glue them along the edge of every board. No need for screws or anything other than the glue and clamps!
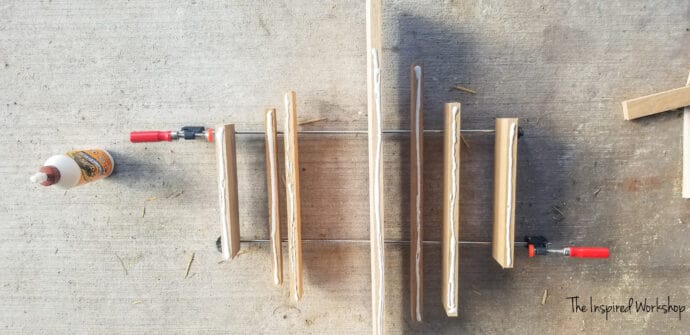
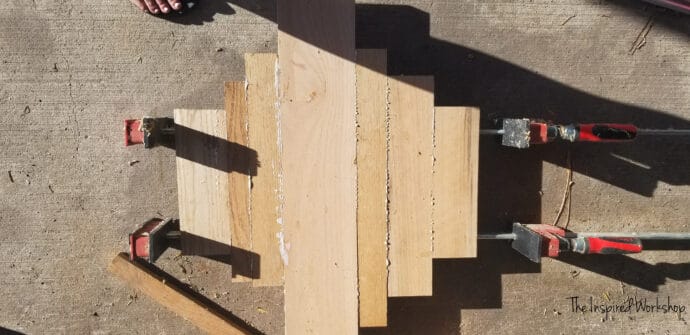
I accidentally let mine get slightly off, and so I had two small corners that I had to fill in once I cut the circle.🤦♀️
Using the circle jig, set it up to 18″ inside circle size, and get your router attached to it. Find the center and place the screw and guide (or whatever the red thing is called…lol) there!
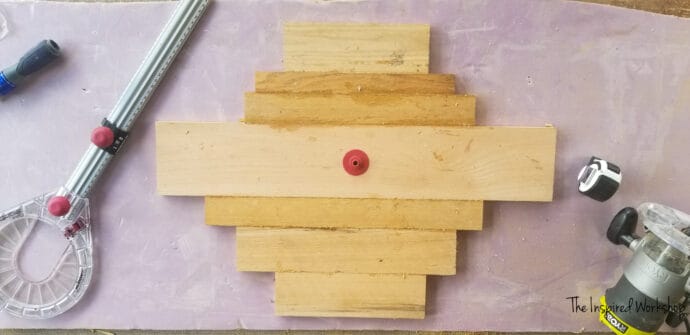
Place the router and jig on the red circle. Start cutting!
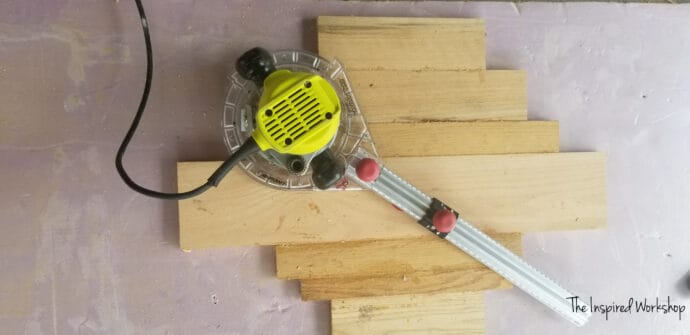
You will have to make a couple rounds going deeper each time!
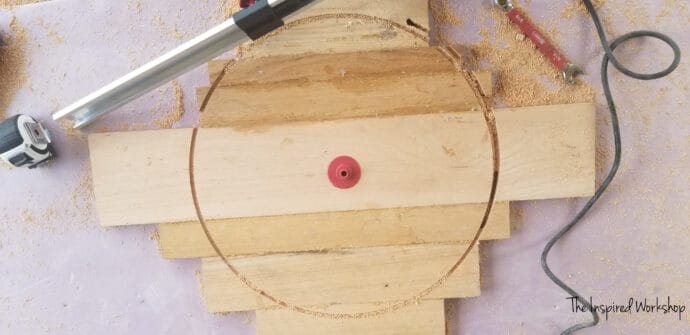
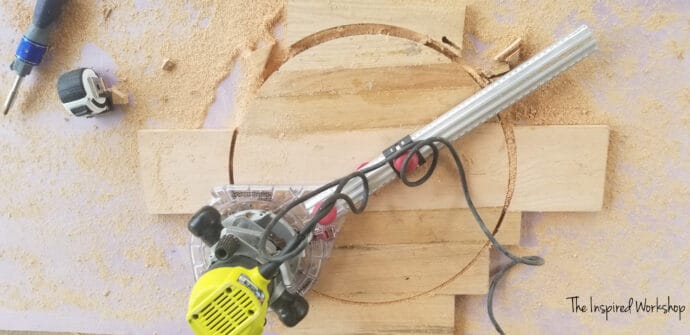
I routed the underside edge of the tabletop with a 1/4″ roundover bit to make the table look like my inspiration piece by McGee&Co! Don’t mind the pencil drawing here, I will explain later but this shows the underside routed! Hard to tell in the pics but in real life, it’s those kinds of details that make it perfect!
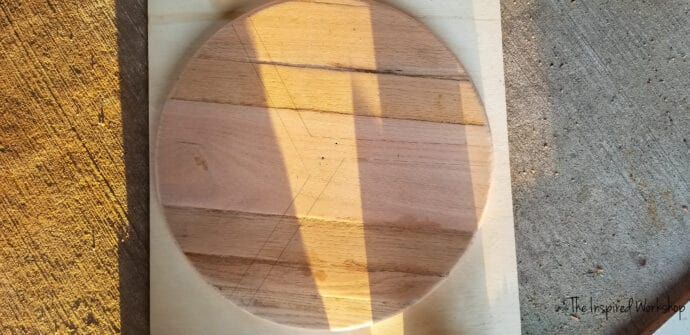
Now that we have the tabletop out of the way, let’s build a base!
Building the Base of the Small Side Table
The 1″ boards ripped off of the 1×6 are the boards needed to build the base.
I cut and doweled the bottom together first. Since there are angles involved and the dowel holes, it is a little more complex to explain, not more complex to do, just to show and explain!
A little background here, this dowel jig I don’t recommend because of how it didn’t hold the small boards that I was trying to drill into, the clamp works fine on larger boards but not these small ones! I have ordered this dowel jig to try out and I will update if it makes it easier to drill the dowel holes!
Using the dowel jig, you will need to clamp the piece of wood you are drilling to something else to make sure it is held while you drill! I clamped everything to my table saw!
On the very bottom boards of the base, you will need to drill into the end of one, and the side of the one that it will fit into. It is best to line them up, clamp them together, and then drill the dowel holes so they are lined up perfectly with each other. I also had to use a scrap piece of wood to lift the one board up as well in order for the boards to sit up against the spot on the dowel jig, it couldn’t sit flat on the table saw table.
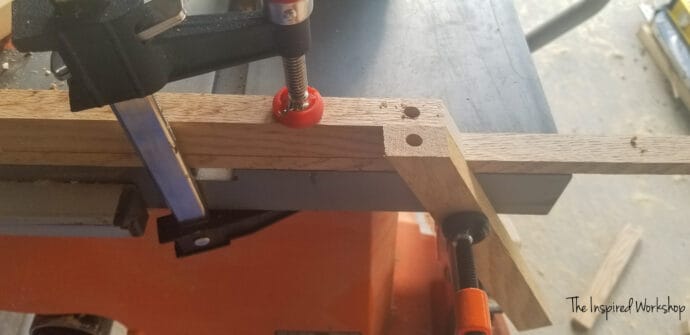
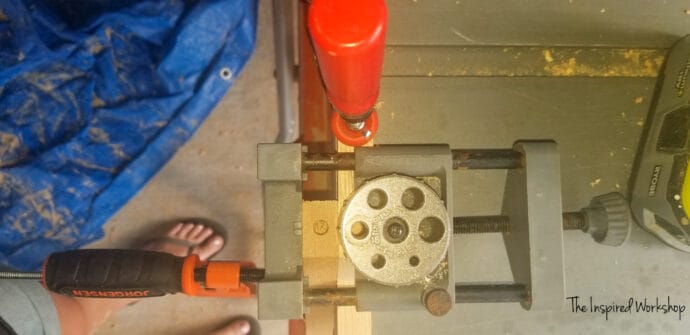
Once the holes are drilled they will fit together like this!
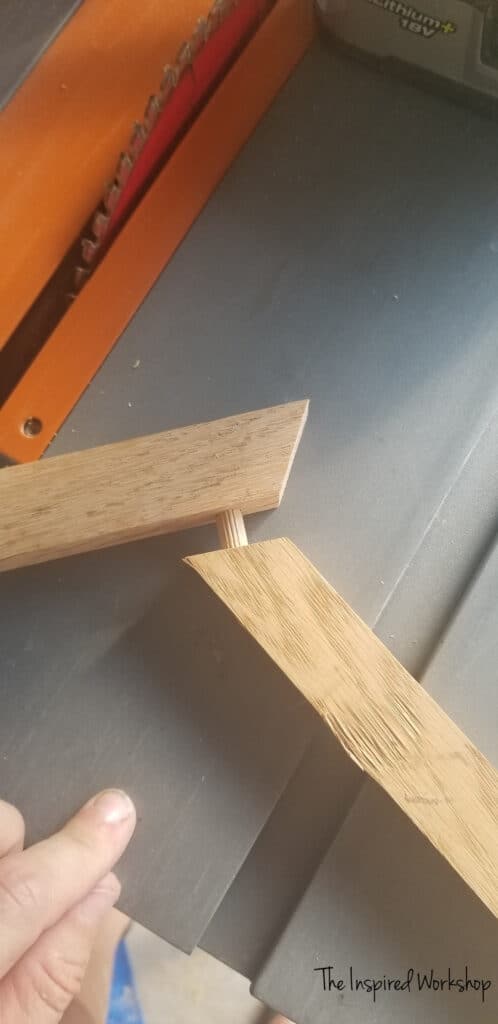
Now the one that has the hole in its side needs a hole drilled in its end, and the other one that is not pictured above needs a hole in its side! It will end up like this!
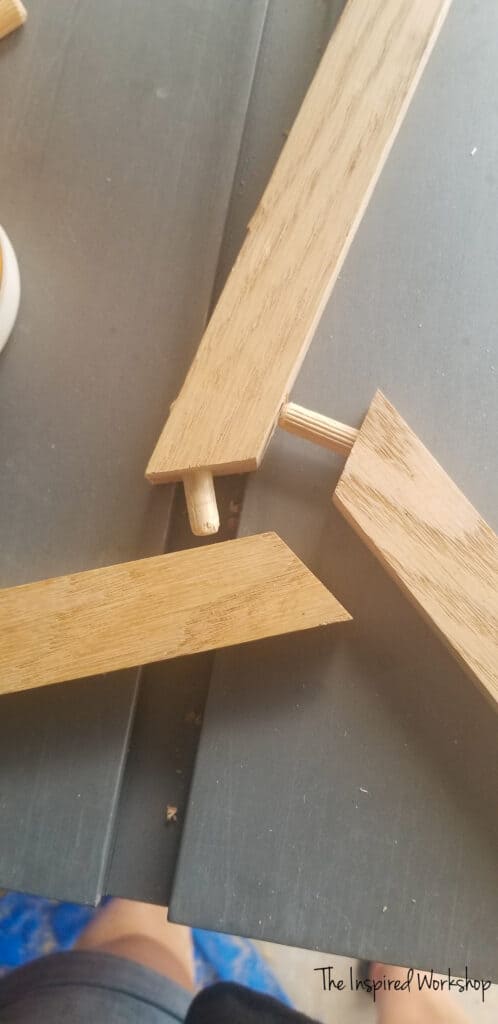
The spot above that doesn’t show any dowels just needs wood glue, the other dowels hold that joint in place! So use wood glue inside all of the holes and add the dowels, and push it all together. Let it sit for several hours before stressing the joints!
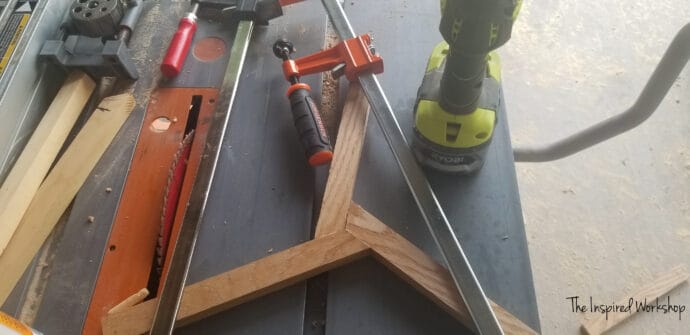
Cut the legs to size and drill holes in the ends of them! The picture below is of drilling the small bottom boards, but I wanted to point out that you need to make sure the end is parallel to the dowel jig.
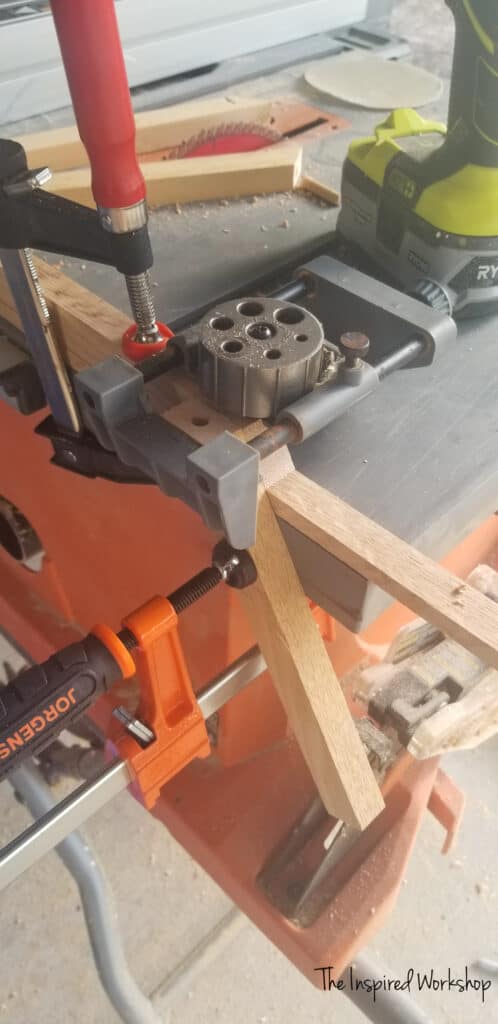
Once the holes are drilled in both ends of the legs, drill the holes on the bottom base you made a few steps above.
I used the leg with a dowel in it to mark where to drill the holes. First I marked where I wanted the end of the leg to start since it is set inward a little bit, this measurement is exactly the size of a quater! LOL! I couldn’t find my tape measure when I drew the first line of where I wanted the leg inset, and a quarter that was laying next to me was perfect!
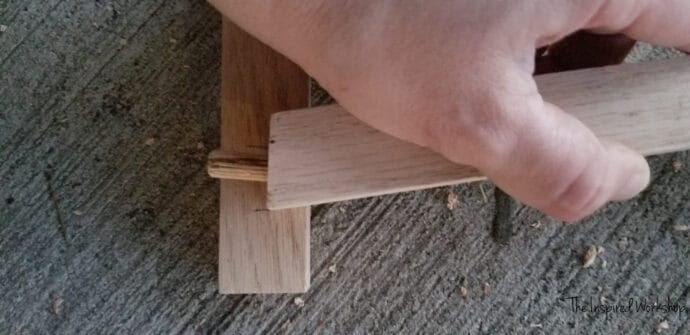
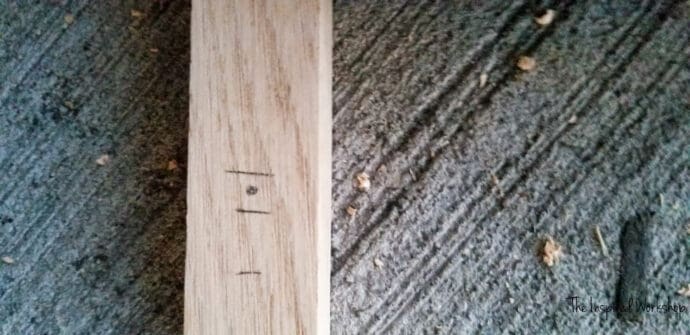
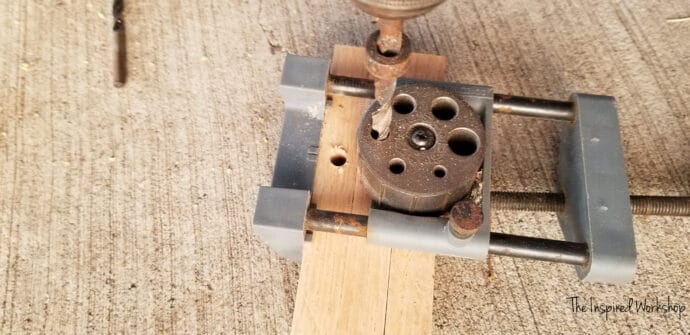
Once you have it marked, you can attach the dowel jig and drill the holes where the legs will attach. Look through the dowel jig and line the hole up with your center dot!
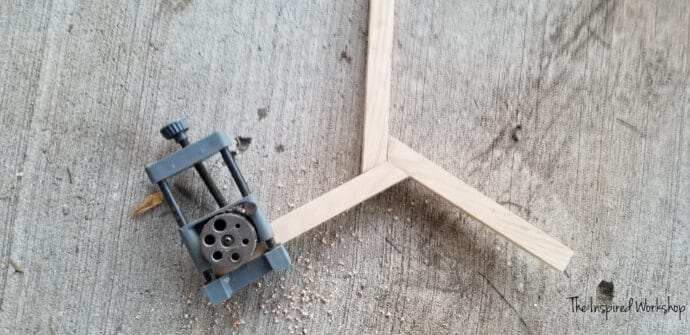
You will also need to drill a hole in the 6 1/2″ top boards. I put them all in the dowel jig at the same time so I could make sure they would all be drilled in the same spot.
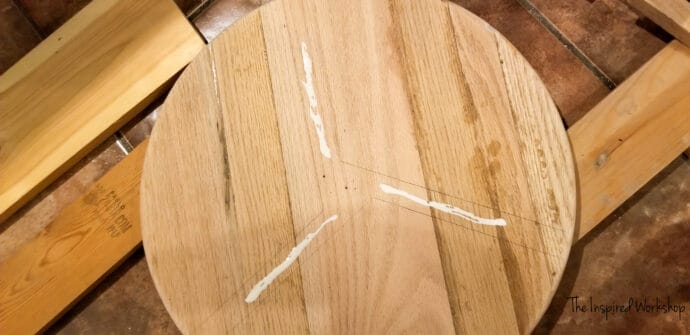
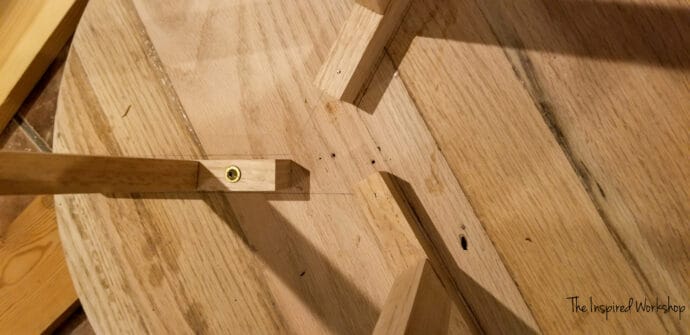
Before putting the base together, I took the bottom ‘triangle’, flipped it over, and traced it onto the underside of the table top so I would know where to place the top boards! That is why this picture had this drawn on it earlier in the tutorial!

Now glue the legs into place on the bottom boards, and the top board into place for each one of them!
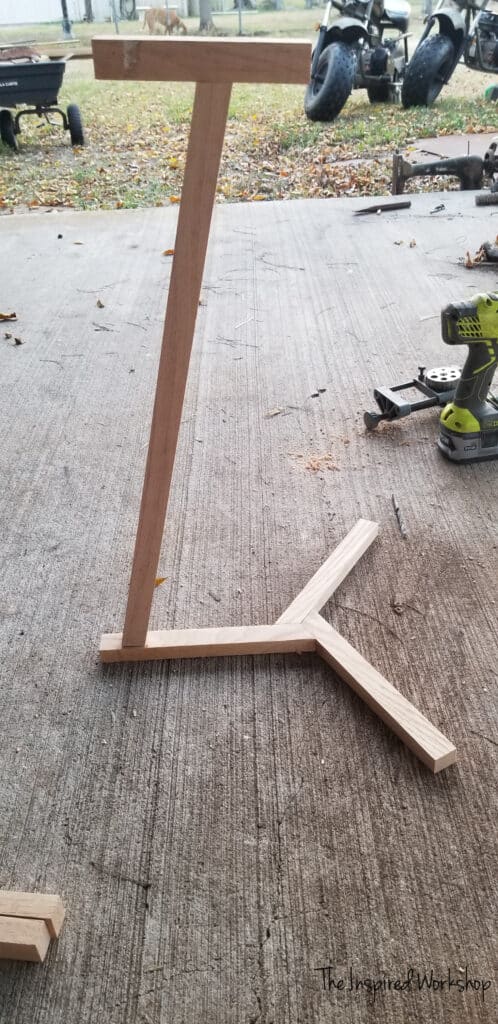
Again, make sure and let the base sit for a couple of hours before attaching it to the table top! But once the glue has set, you can flip the table top upside down, flip the base upside down, and attach it to the table top with screws! Make sure and use fine threaded screws instead of coarse, and if you need to use coarse, make sure and drill pilot holes to keep the wood from splitting.
Flip that baby over, give it a good sanding, pick a stain or paint color you love….and BAM!!

I used the stain color Nordic from Rove+Dwell (formerly Old Barn Living Stain), it only slightly enhanced the wood grain and has a built-in sealer so it was perfect for this table!
I just love it!

Have you built this table? I would love to see it if you have! Any questions feel free to ask below!
Thanks for stopping by!

Want to save this DIY small side table for later?! PIN IT!
Related Posts

Outstanding work, Cara! The table looks newly brought. Your DIY small side table idea is inspiring. Thanks for sharing the details!
Thank you so much for your kind words! I am happy you like the table and I appreciate your sweet comment! Thanks for stopping by, have a wonderful day!
Cara