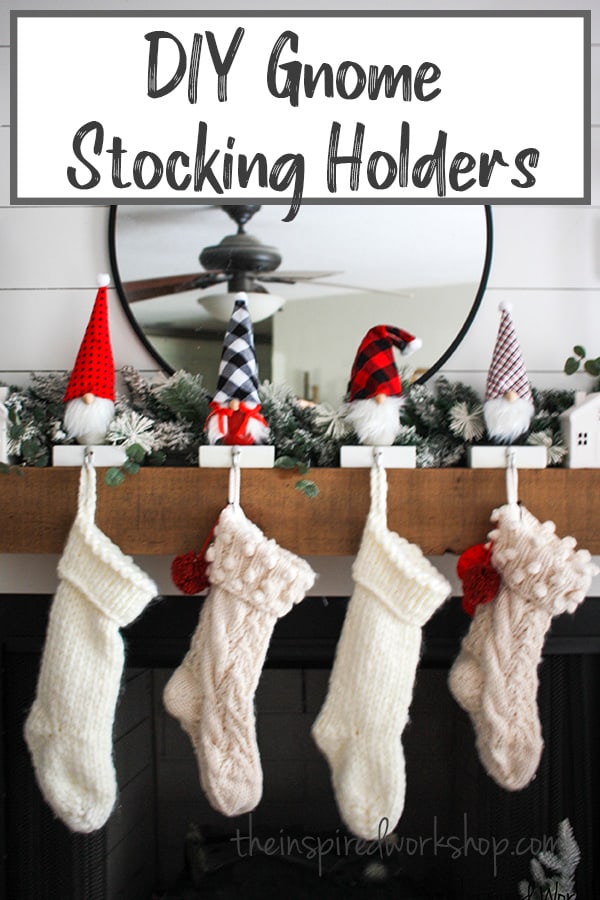
DIY Gnome Stocking Holders

Stocking holders are a staple on every Christmas fireplace mantel, but they can be expensive and they don’t always match your other Christmas decor. Problem solved with these DIY gnome stocking holders that are cheap to make and you can customize to match your Christmas decor theme, and even customize them to represent the people in your home!

I’m in love, I’m in love and I don’t care who knows it! 😂 I am in love with gnomes that is! I am telling you, I want to make gnome everything this holiday season! If you have been following along you may have seen my DIY gnome pillow, my adorable DIY Christmas gnomes, or what about my precious little DIY Christmas gnome garland! Well, today will be a slight variation on those gnome projects, because I am sharing my DIY gnome stocking holders!
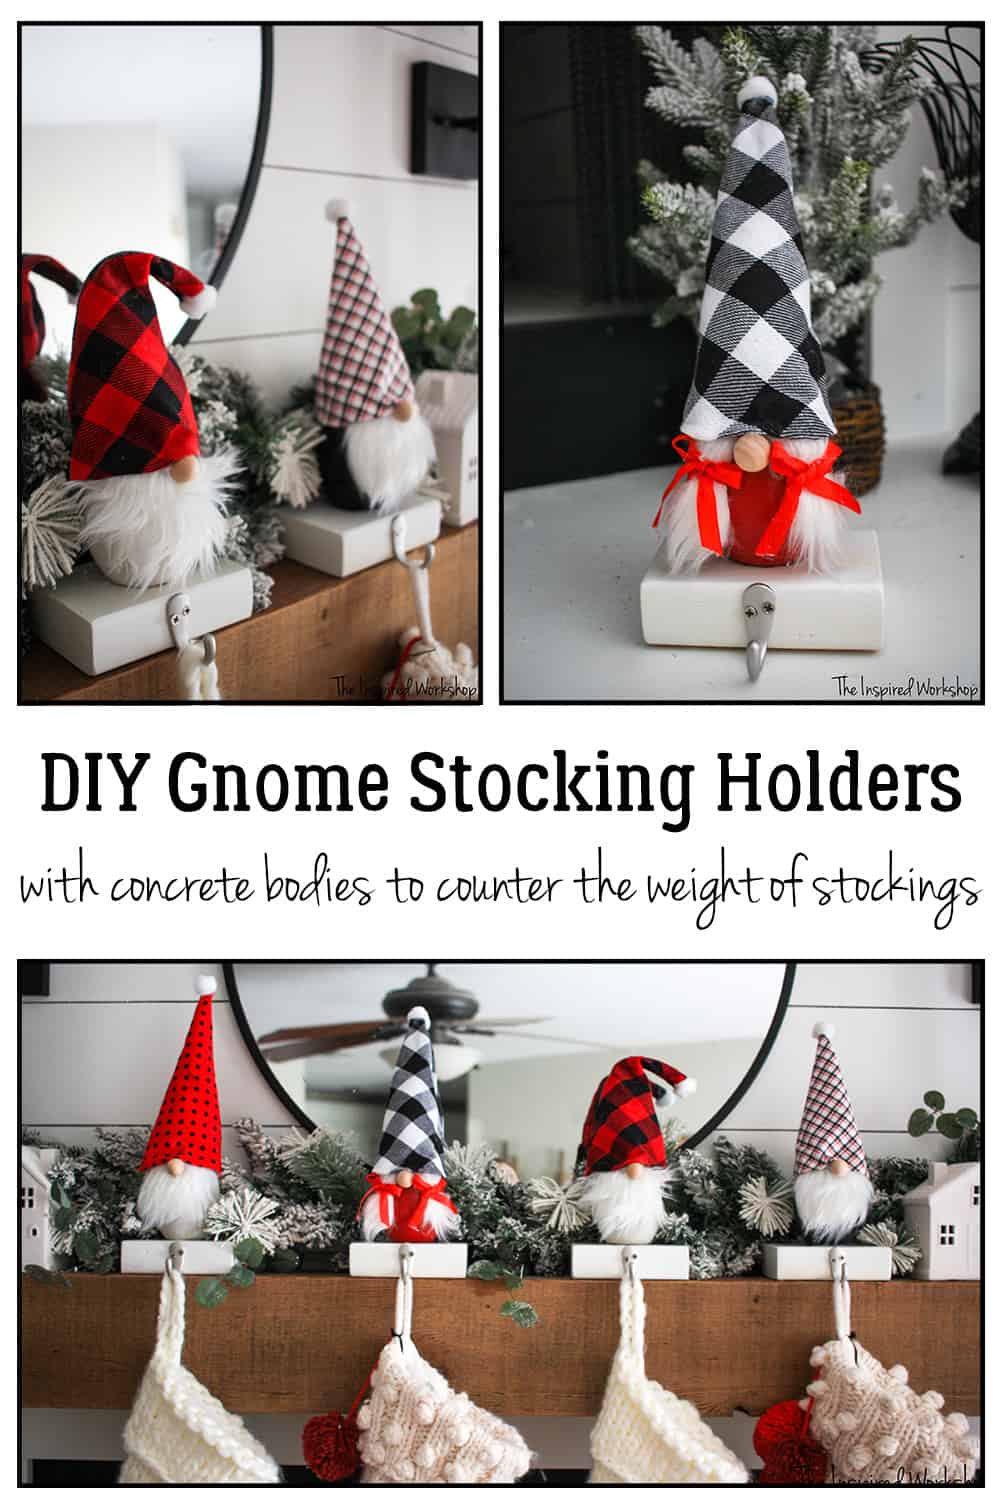
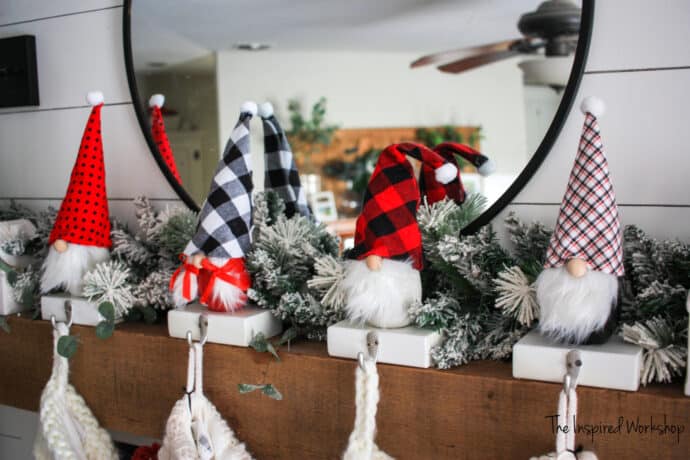
Aren’t they the absolute cutest? I love them for more than the fact that they are gnomes, they allowed me to use one of my favorite mediums…concrete! I love to work with concrete and since you need a lot of weight, or at least the way I fill a stocking, you need a lot of weight to keep the stocking holder from falling off the mantel! Lol! Concrete was the perfect solution! So I made a few DIY concrete gnome stocking holders!
If you have ever wanted to work with concrete before but are a little scared because it can seem daunting, I mean it’s concrete after all…then this is the perfect opportunity for you to see how easy it is to work with!

There is no harm, if you completely mess them up, you only lost a couple of bucks! So you want to try them out and complete your FIRST concrete project? Let’s do it!

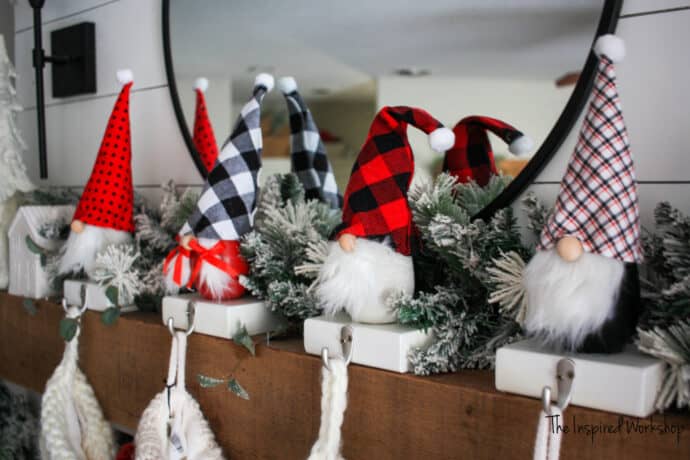
Our whole family is represented in gnomes! Lol!

Love the DIY gnome stocking holders but don’t have time to make them now? PIN IT for later!
Gathering the Supplies for your DIY Gnome Stocking Holders
*NOTE: Links to Amazon below are affiliate links! Affiliate links pay me a small percentage of your purchase if you were to make one, at no extra cost to you! It’s a small way to help all the projects and plans stay free on my blog, so thank you in advance if you ever make purchases from my links! Other links are not affiliate links, only Amazon, the other links are provided just to help you make the project with all the same supplies I used if you would like! I make no money off of them, I just want to be helpful by providing them!😉
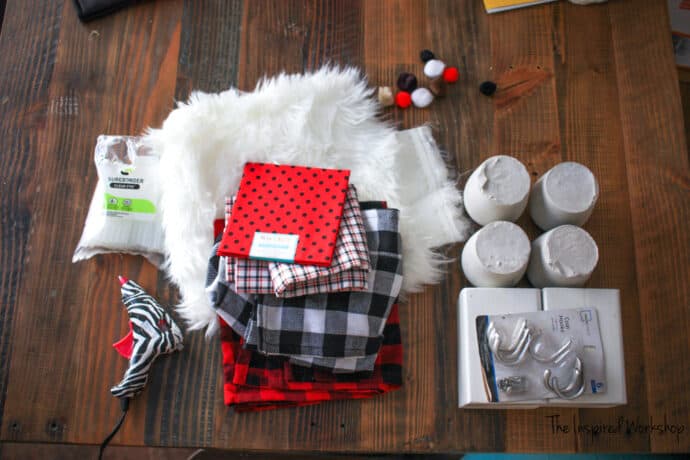
Materials for stocking holders:
–pack of plastic wine glasses – I got the ones I used at Party City – 8 for 9 dollars I believe, but I noticed on Amazon, that they sell silicone wine glasses and now I am wondering if you could reuse those as molds maybe?? Someone make some with them and let me know… PLEASE!! 😚
–concrete – I used portland cement, but any bag of cement will work, just use the fine powdery part of the bag, not any of the rocks. Ask around your Home Depot or Lowes though, a lot of times they will let you take what you need if they have ripped bags bc you only need a few cups of it!
-mixing bucket – you can use any bucket or Tupperware type container
-mixing tool…I used a scrap piece of 1×2 or something that I found on my front porch! Lol!
– scrap piece of 2×4 – you will only need 6 inches for each stocking holder, so however many stocking holders you want to make will determine this amount. I just used scrap pieces!
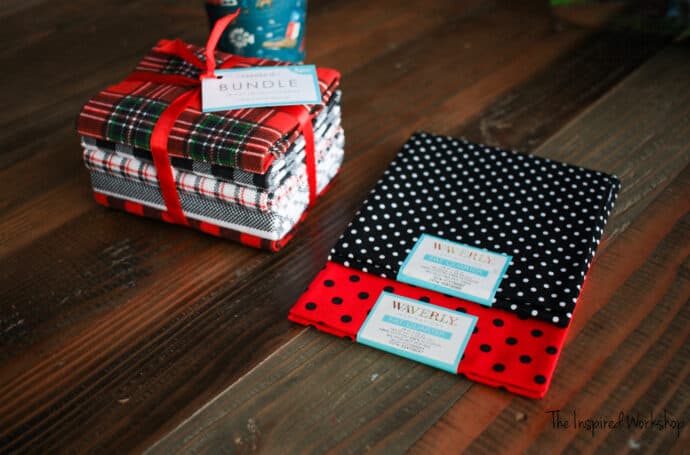
-the fabric of your choice – (hat) – I found these little pre-cut squares at Walmart and they are the BEST! They put 5 different coordinating fabrics together for you, and there is plenty to make gnome hats but not a ton to store after! You have to go in-store though because they don’t have them online!
–faux fur (beard)
–3/4″ wooden bead (nose) – I cannot find them online but Hobby Lobby has them in a small pack for $1.99
–pom pom (hat)
–small amount of stuffing for hats – you can pick this up for 2.99 at Hobby Lobby! I just want to show you what the product is!
– quart size Ziploc baggies
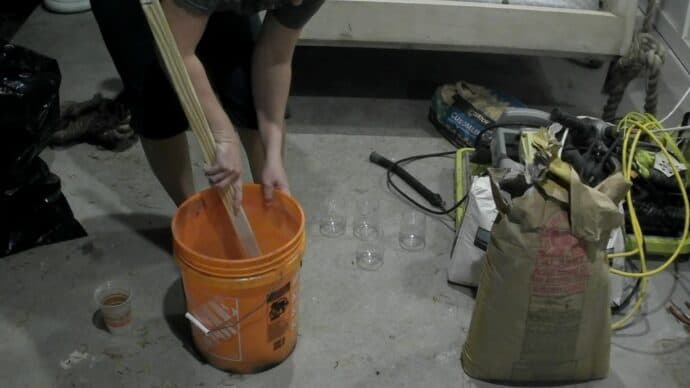
Pouring the concrete for the Stocking Holders to make gnome bodies
Alright, once you have all your supplies gathered, you can start making these cuties!
Since concrete takes a few days, you will want to pour them 2-3 days before you need to make the stocking holders!
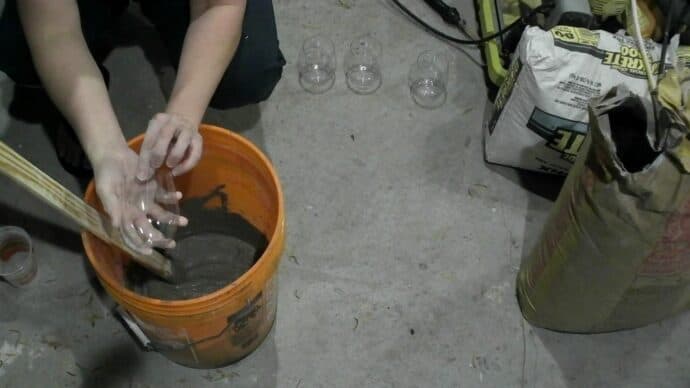
Mixing the concrete is pretty easy as well, for this project you don’t have to be concerned with the perfect ratio of water to concrete because we are not using it for something structural…it’s only the belly of a gnome!😀
I started out with 2 cups of concrete and a half cup of water, that filled one wine glass and a small portion of another. I figured that 5 full cups and maybe a cup and a half of water should make 4 gnome bodies!
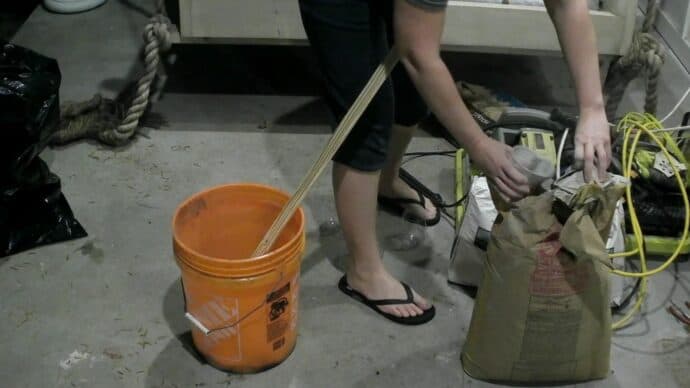
If it is too dry at that ratio, add water slowly to make it thinner, if it is too wet, add a little more concrete! Simple as that! No need to worry yourself, the consistency should be like peanut butter, maybe a little thinner, because I was able to pour it…but it felt like I was stirring peanut butter if that makes sense! Lol!
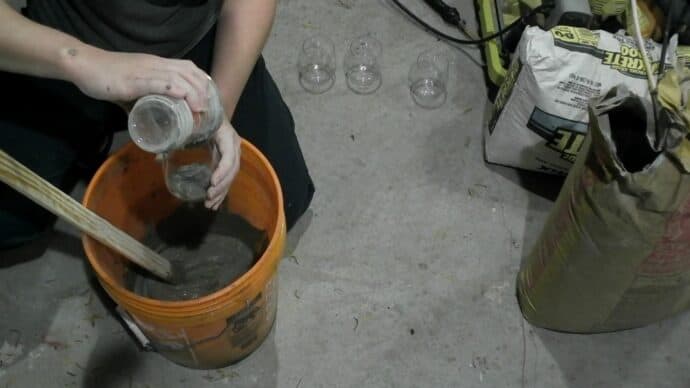
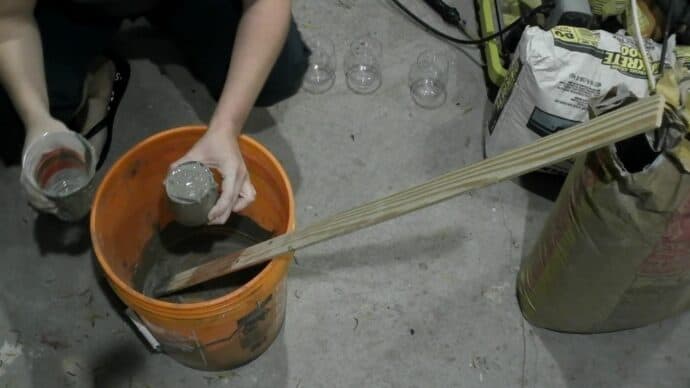
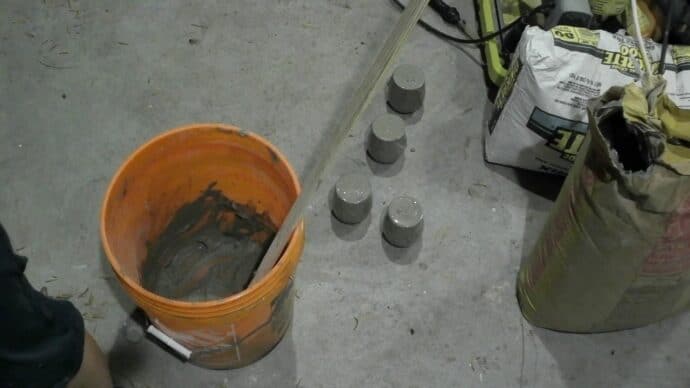
Once they are all filled, make sure and jiggle the wine glasses and tap them lightly on the ground to get out any air bubbles!
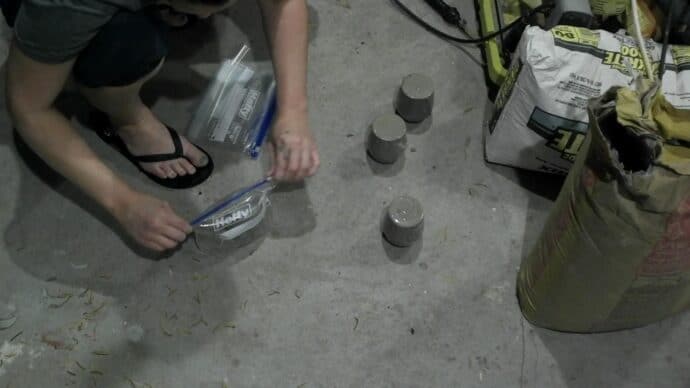
You will want to place them in Ziploc bags as I did, or just place some plastic wrap over the top to keep them from drying out too fast! If it is cold outside, bring them inside…concrete cures faster in heat as opposed to the cold.
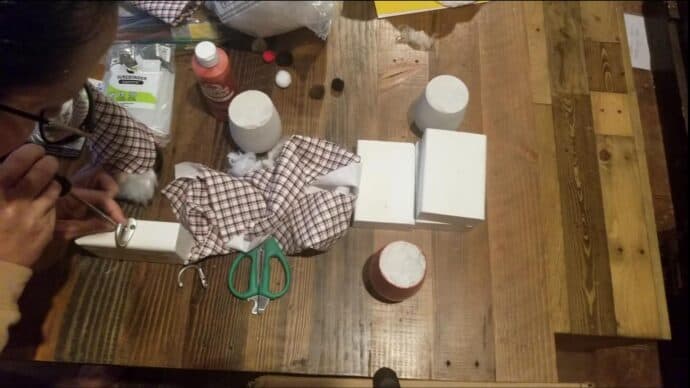
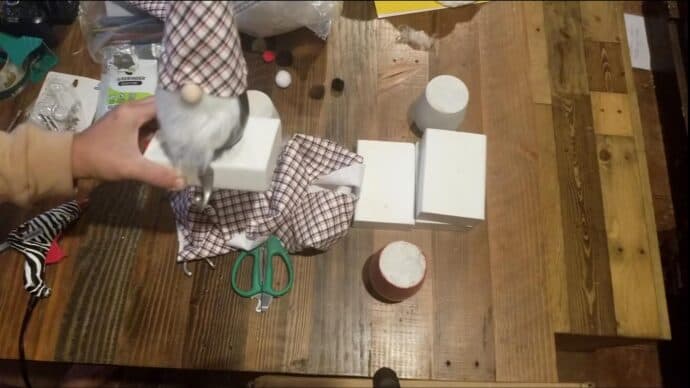
After your concrete has cured, you can cut them out with a tiny pair of scissors and pliers. If you don’t have any tiny scissors you could use nail clippers. It is just to get a slit in the plastic so you can grab one side with your pliers an
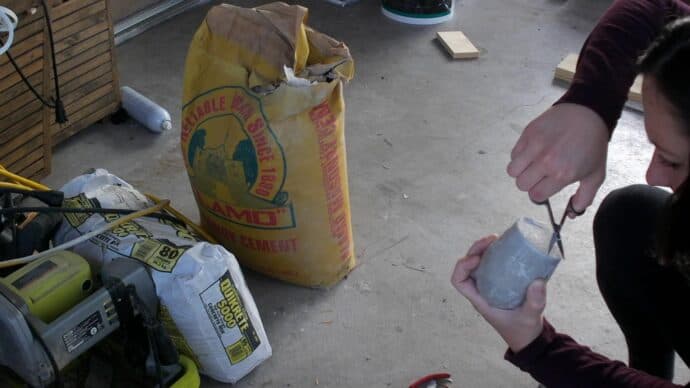

You don’t have to be pissed off at the world while you are removing them as I seemed to be! 😂🤣
Making the Gnome Stocking Holders
Now you can dress your gnome up however you chose! You can paint the concrete if you would like, I thought I was going to leave mine gray, but I ended up painting one black and one red because they looked better with the lighter fabrics! You could also wrap the concrete with fabric! So many ideas…so little time! Lol!
I found my fabric at Hobby Lobby and Walmart…how adorable was this little bundle that Walmart was selling! No waiting for someone to cut what you need and small portions that are perfect for crafting without having large pieces left to store!
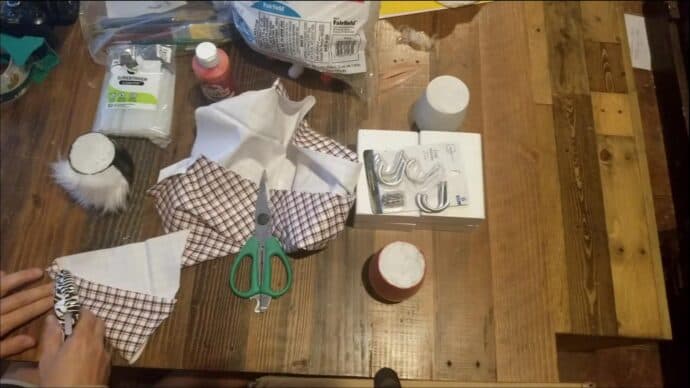
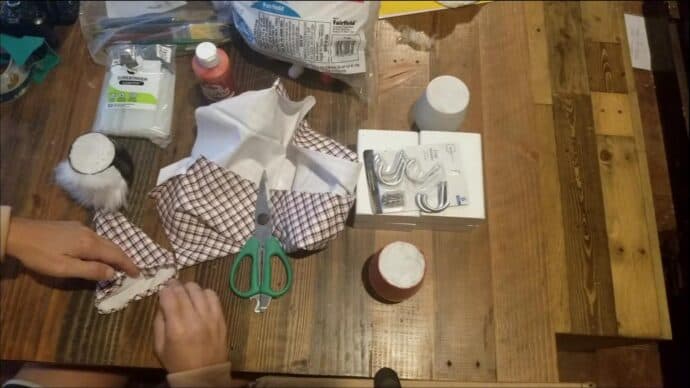
Here’s all you need!
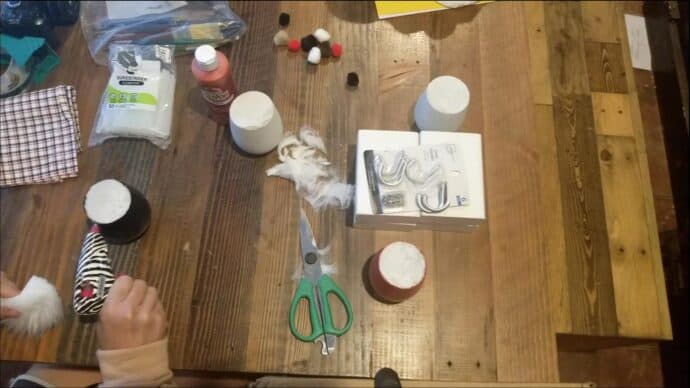
Making the beards for the male gnomes
First things first now that we gathered all the supplies is cutting the beards from the fur (for the male gnomes). You will want to cut it a little larger than the U shape pattern I have…that’s the final size that you will want it, but keeping the fur from being blunt across the bottom, you have to turn it upside down and hold the fur flipped up away from the edge you are cutting. Then cut the U shape, it may take a couple of cuts to get it down to size!
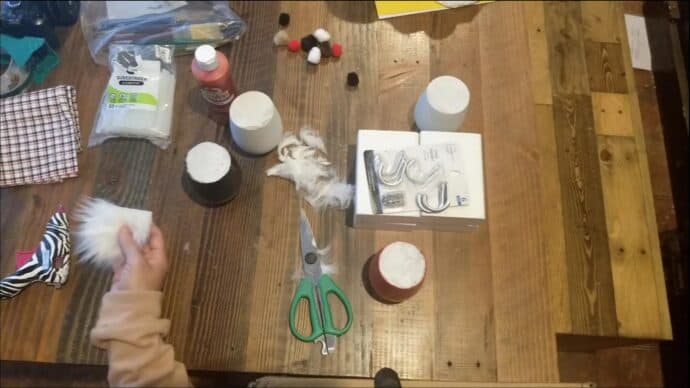
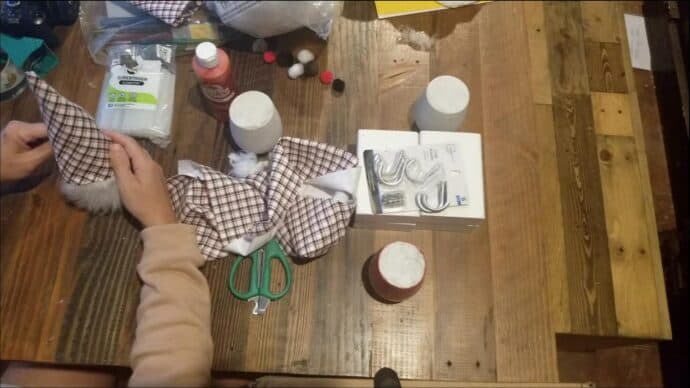
You will need to look to the far left corner of all the photos! Lol! Because I don’t know how to videotape anything from above!😂🤦♀️
After cutting the beard in a U shape, just hot glue it to your concrete. Make sure and cut the fur larger than you are going to use by about an inch or two, then flip the fur away from the edge and cut it down to size. This keeps the beard fur from being blunt across the bottom and looking silly!
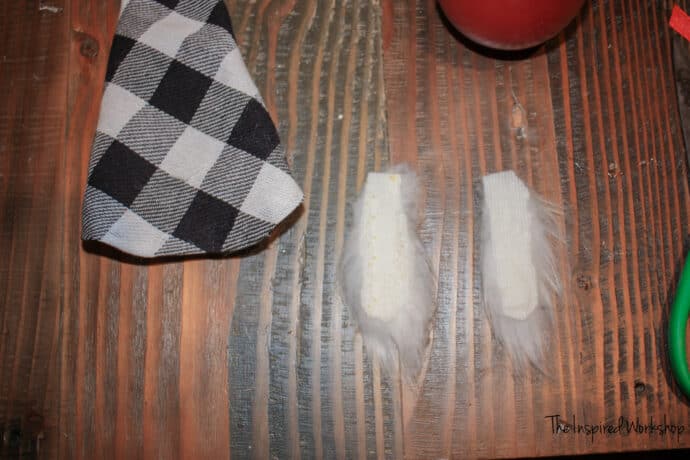
Making a female gnome with pig tales
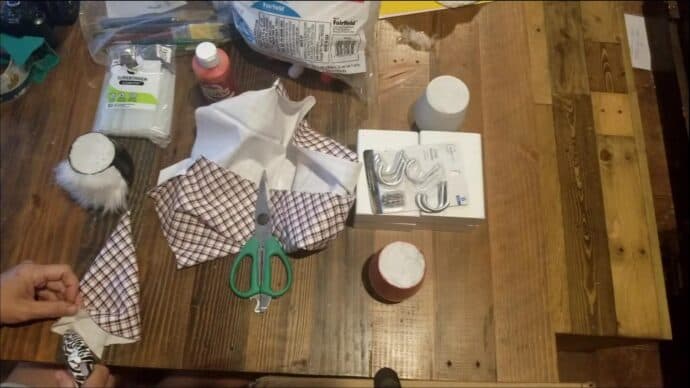
A female obviously doesn’t want a beard, she wants some cute hair! Lol! Or at least I do! I made the pig tales for the female gnome but cutting two long U shaped pieces of fur and just tying a ribbon around them!
Front view of the pig tales
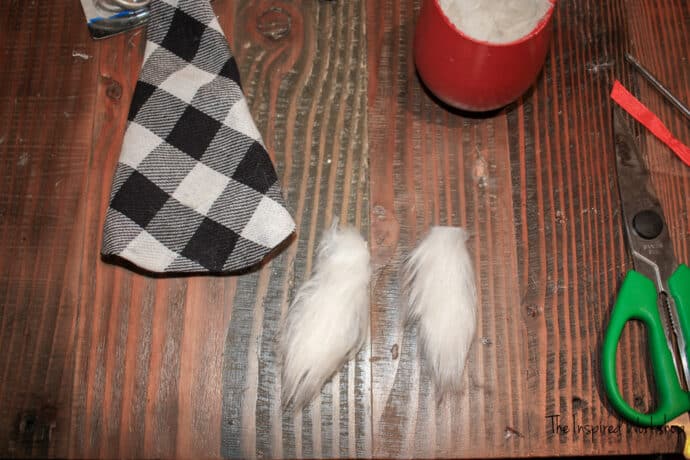
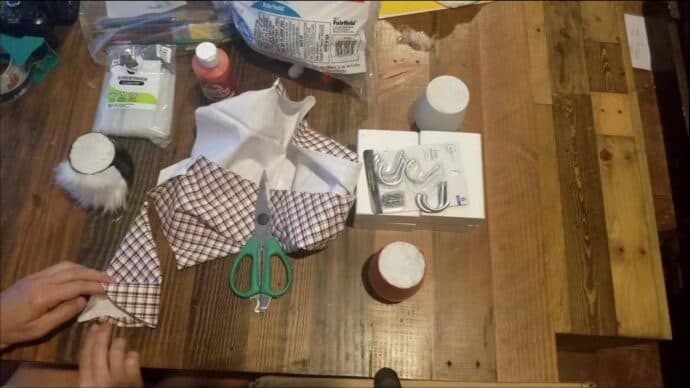
back view of the pig tales
Hot glue the pig tales to the concrete body of the gnome. Leave a small space between the two pig tales.
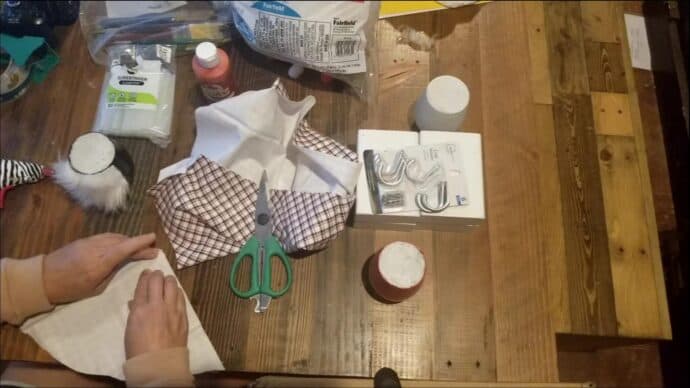
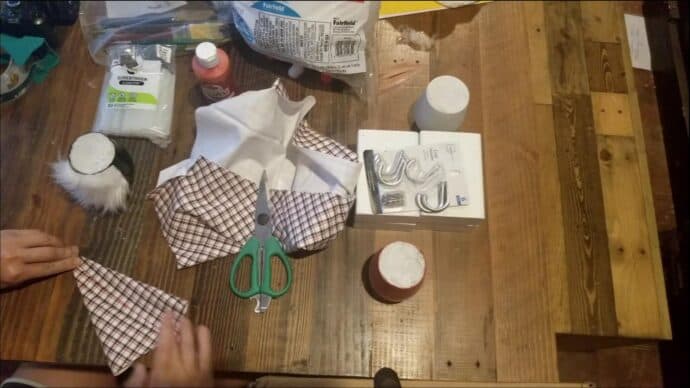
After you have attached the beard or pig tales depending on which you made, cut a cone shape to make the hat.
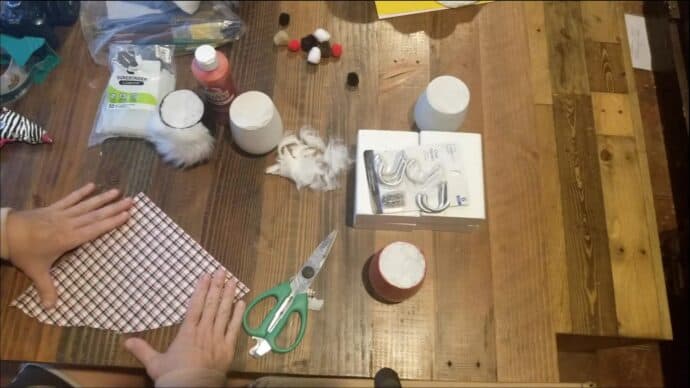
I like to fold my fabric over to cut the hat…I didn’t get a photo of that for some reason…oy! But the pattern is for the fabric folded in half! I hope that makes sense. I will see if I can find a photo of it and I’ll come back and add it if I find one!
After cutting your hat fabric, glue the tip of the triangle down.
Roll the fabric up and hot glue along the back where the fabric meets!
Roll the edge under and hot glue it to make it look nice where it will sit on its head.
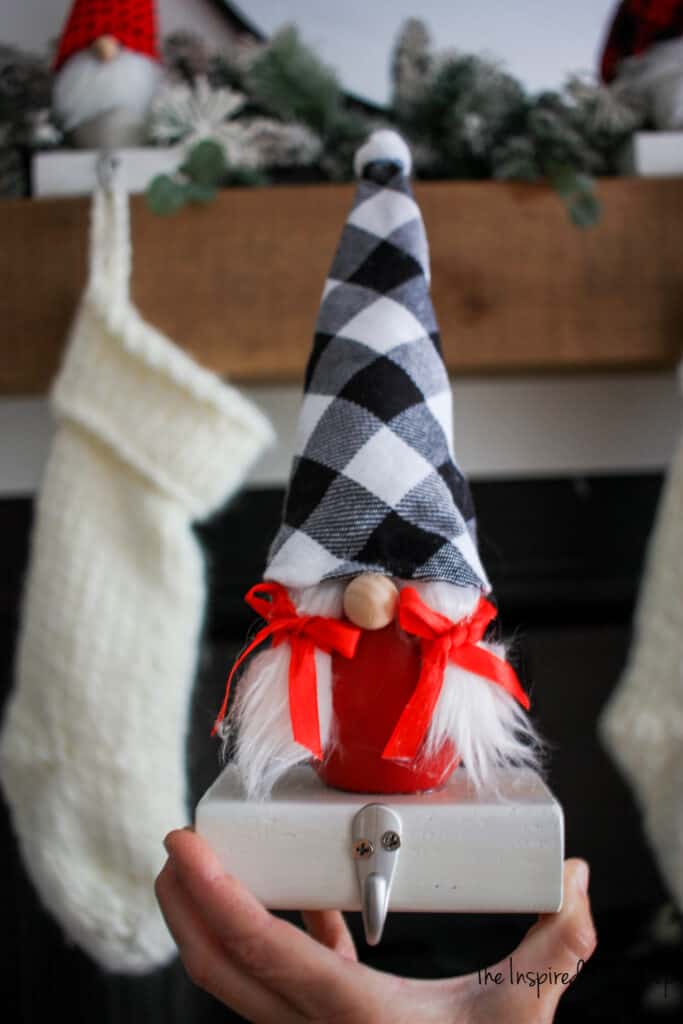
Stuff with a tiny amount of Poly-fill to make it stand up! If you would like to curl the hat like the stocking holder with the red and black buffalo check, you can place a small piece of floral wire inside as well. Just hot glue the hat around the concrete, and make sure the hat goes over the beard.
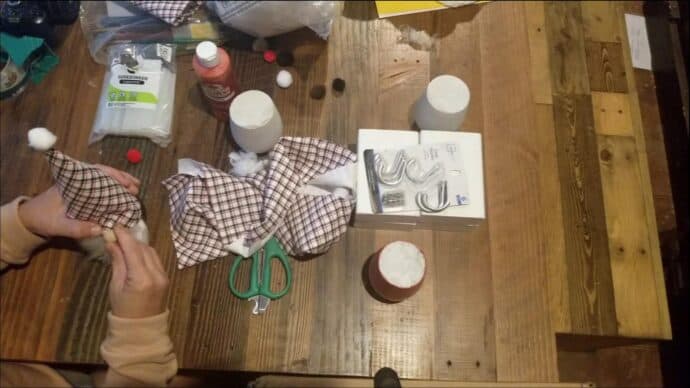
Glue the nose in place. Also, glue a pom-pom onto the hat at the very top.
You will need your 2x4s cut at 6″, I painted mine white, you can paint or stain them whatever color you choose. I also wanted to mention, the concrete is pretty heavy but if you want a little extra insurance for a counterweight to that heavy stocking, you can drill holes and place fishing weights inside and epoxy them!
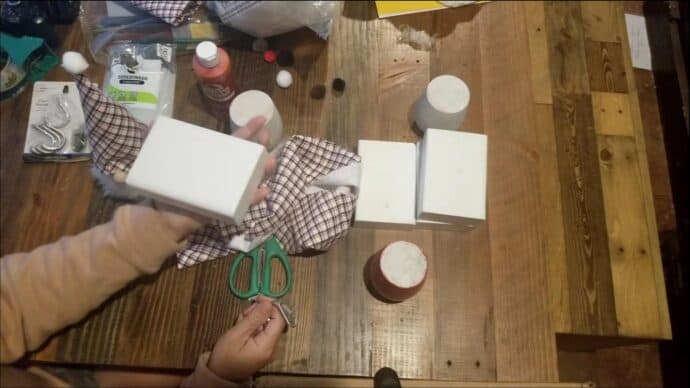
Attach the hook to the front of the 2×4 with the included screws! Viola!
Attach the gnome to the 2×4 block of wood! I used hot glue to attach it at first, but that didn’t last, I had one fall off, so I went back and attached them with epoxy!
You have the cutest stocking holders that you couldn’t even find in stores! Yay!

Think someone you know may love the DIY gnome stocking holders as much as you? I would LOVE for you to SHARE it with them!
[social_warfare]
I hope you enjoy crafting during the Holidays as much as I do! Let the kids join in and make their own gnome to hold their stocking, they will have so much fun, and the memories will last forever! Some of my favorite memories are Christmas crafting with my Grandma and Aunt! Never underestimate the fun they will have!
Have a wonderful holiday season and I hope you enjoy all the fun the season brings!

Want to save these DIY Gnome Stocking Holders for later? PIN IT!