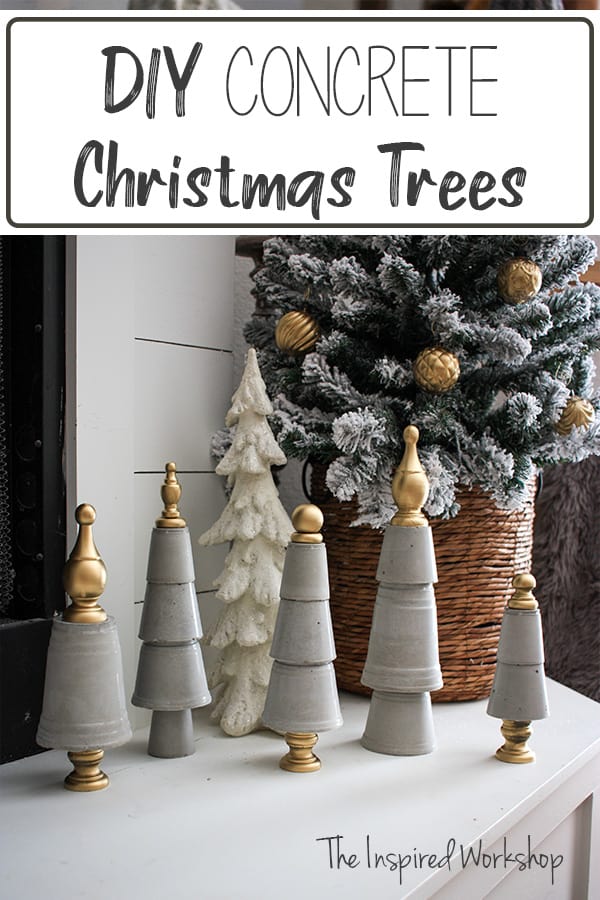
DIY Concrete Christmas Trees
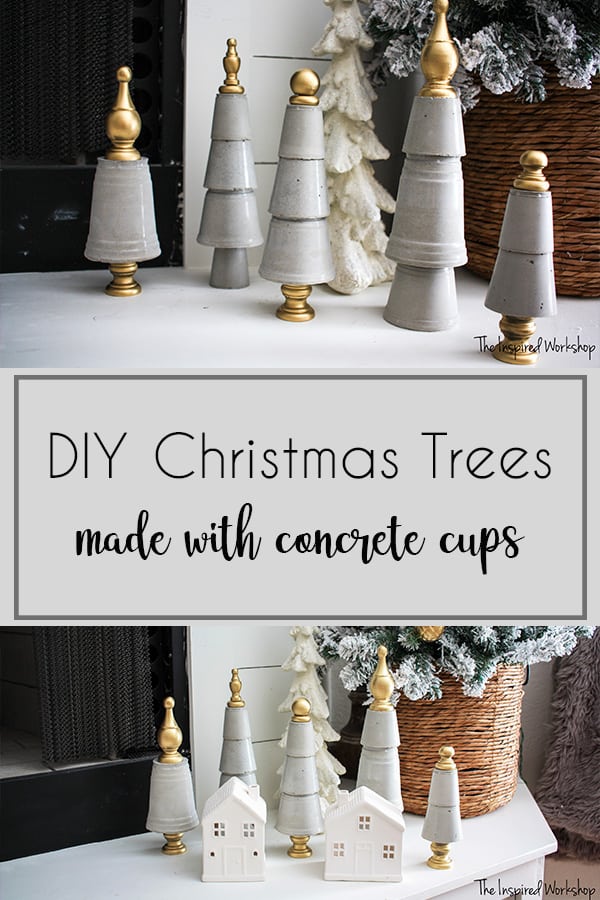
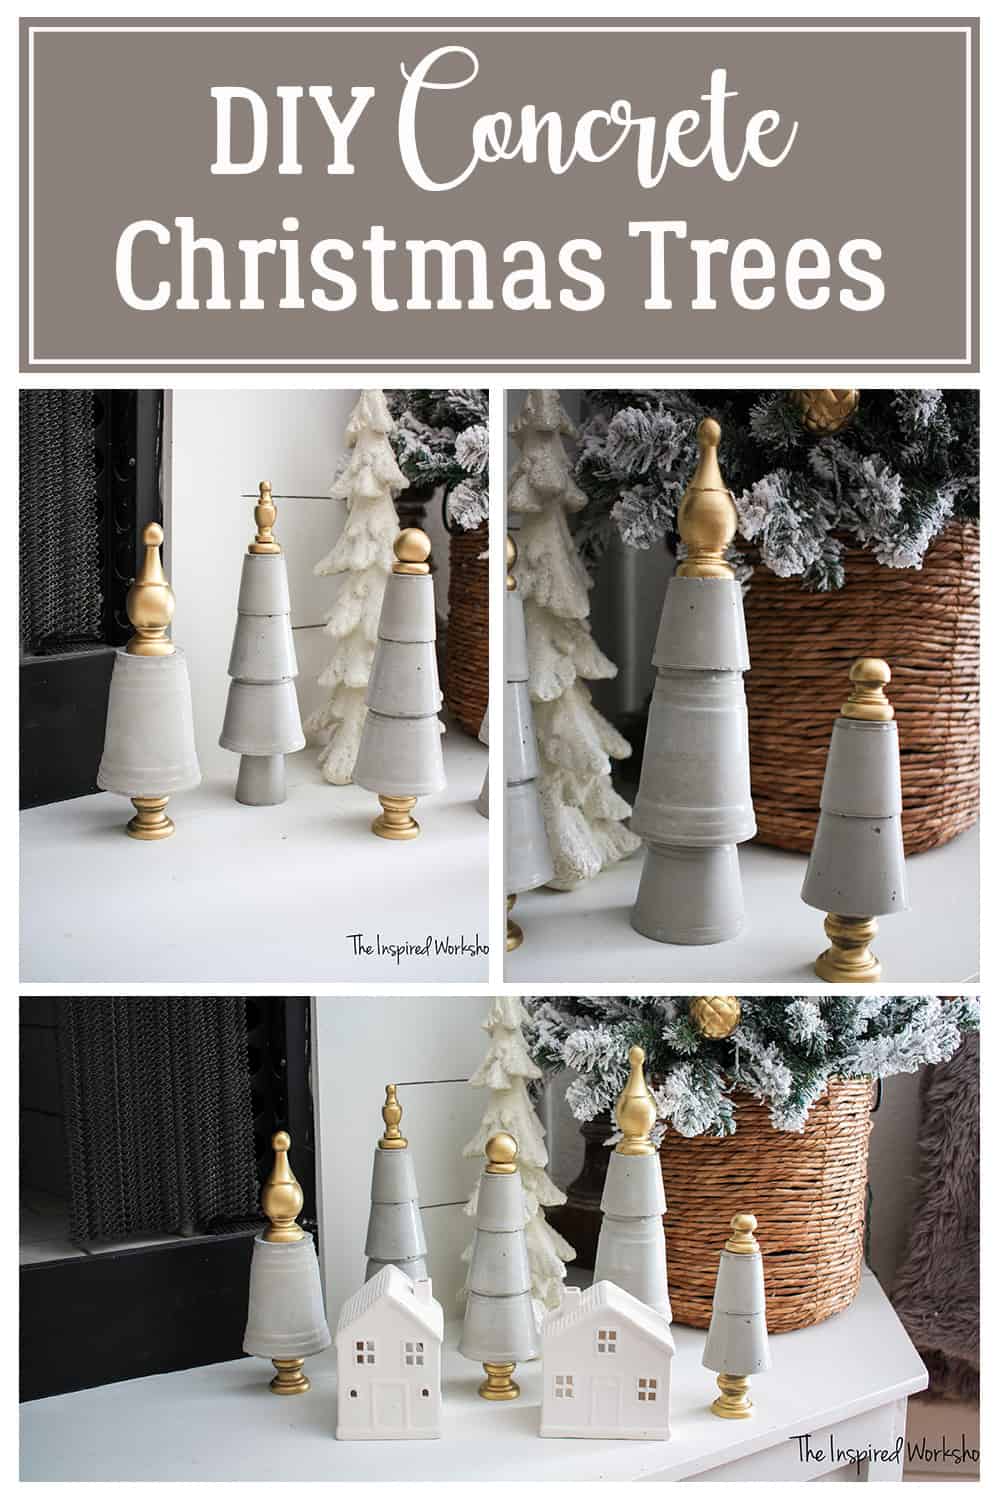
Ooh, la la! Do you know the best thing about Christmas decorations? They don’t have to be expensive or break the bank to look good! You can make these DIY Christmas Trees from a little concrete, plastic solo cups, and wood finials! And, they will only set you back about ten to fifteen bucks to make as many as you want!
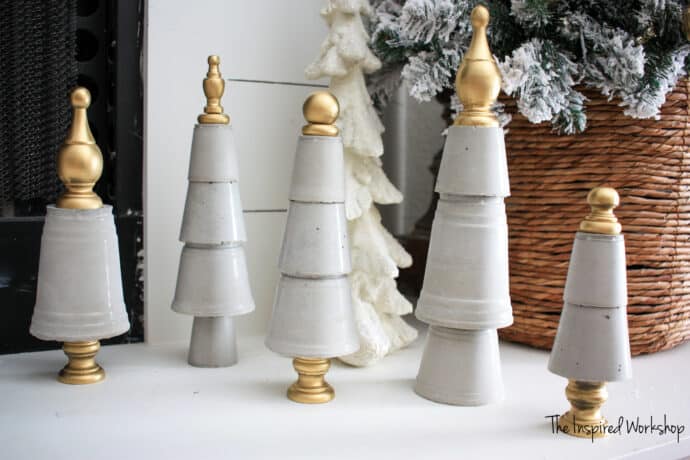
I mean how cute are they?! For practically FREE! Lol! I happen to LOVE to work with concrete and if you haven’t ever worked with it before, this is the perfect project to get your hands dirty and try it out! I am telling you, it’s pretty addicting!

Then when you fall in love with concrete as I have, you can try out all these other concrete projects I have for you! Lol!
DIY Concrete Top Table and Benches
Pour in Place Concrete Countertops
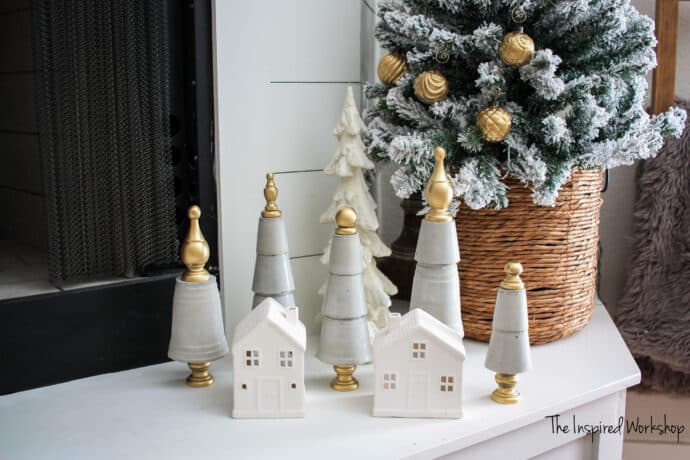
I was given the wrong size cups on my curbside order the other day, and I was looking at them and thought, those would be cute Christmas trees if you could stack them somehow. As I was playing around with them, it lead to taking a couple of every size cup I had in the pantry and pouring concrete into them!
Next thing you know, I have a little forest of concrete Christmas trees! 😆
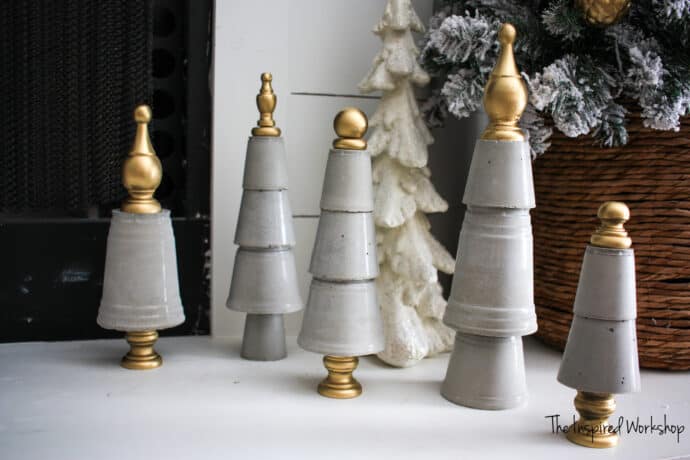
Want to make some for yourself? I know you do!
Gathering the Supplies to Make the DIY Christmas Trees with Concrete
****NOTE: All Amazon links below are AFFILIATE LINKS! Affiliate links are links that when you click them and make a purchase on Amazon after clicking a link, I make a small percentage of that purchase at no extra cost to you! It’s always appreciated when you make a purchase after clicking one of my links but never expected! Thanks in advance for helping keep the projects coming!
Materials Needed to make the Christmas Trees:
- Plastic cups of various sizes: 18 oz, 9 0z, 6 oz, and 2 oz
- portland cement
- sand – this is much cheaper from the hardware store but you may not want a large bag of it because you will only need a tiny bit!
- wooden finials and candle sticks – I was able to find all of the ones I used at Hobby Lobby in the wood crafts section, but you can find some other options at the links I gave, granted Hobby Lobby is cheaper!
- quick set epoxy
- hot glue gun and glue sticks
- spray paint, acrylic paint, or stain to finish your finials and candlesticks
No cut list is needed for this project! Woohoo!
Pouring the Concrete for the DIY Christmas Trees
Alright, grab as many cups as you want to make as many trees as you want!
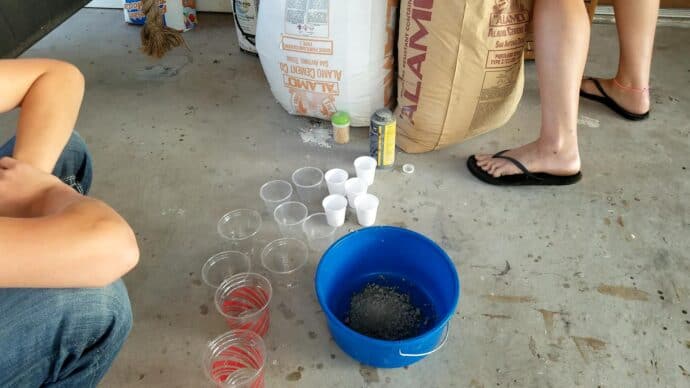
Mix up some cement, I used one of my 18 oz plastic cups to scoop the cement out of the bag, I found that it took around 13 full cups to pour enough cement for all the cups!
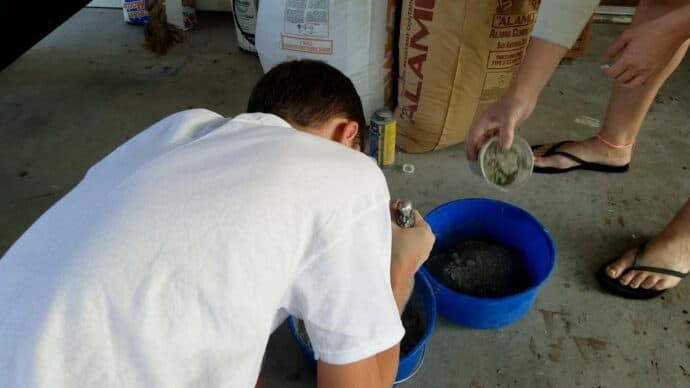
There wasn’t an exact science to the ratio of water in the mix, about 3 cups or so. You want the consistency to be like peanut butter, not too wet but not too dry, it is sort of pourable though…you will also add a cup or two of sand to the mixture, just a little bit to make sure the cement doesn’t crack on you!
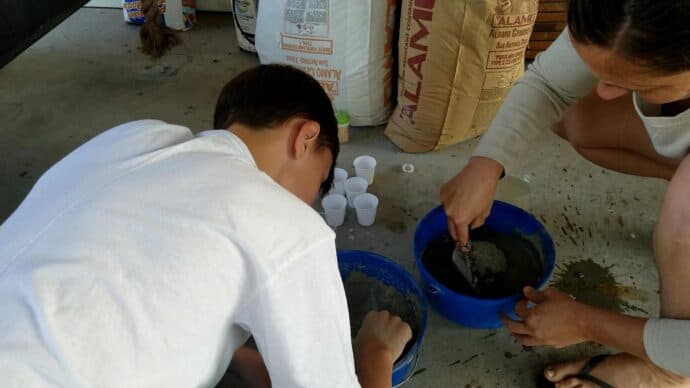
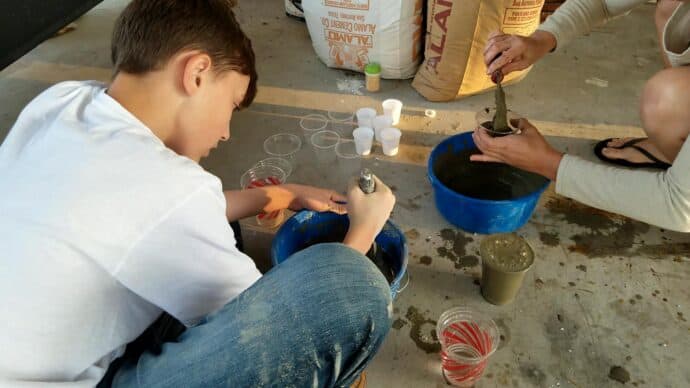
Make sure and tap the sides of the cups to get out the air bubbles! As you can see on my finished trees, I tapped a lot on the larger cups and not too much on the smaller ones! Oopsie!
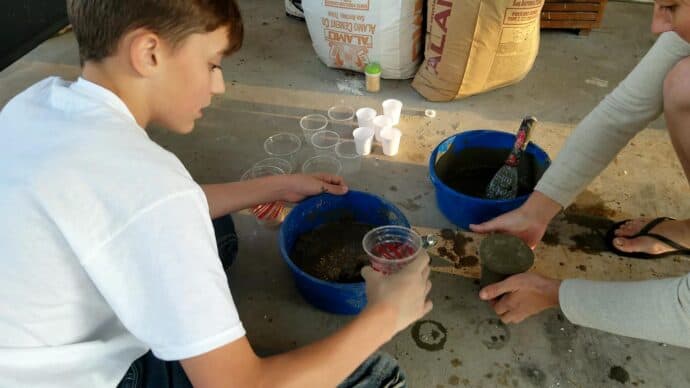
Fill all your cups and cover them with plastic to keep them from drying out too quickly! You can use a garbage bag or any plastic bag!
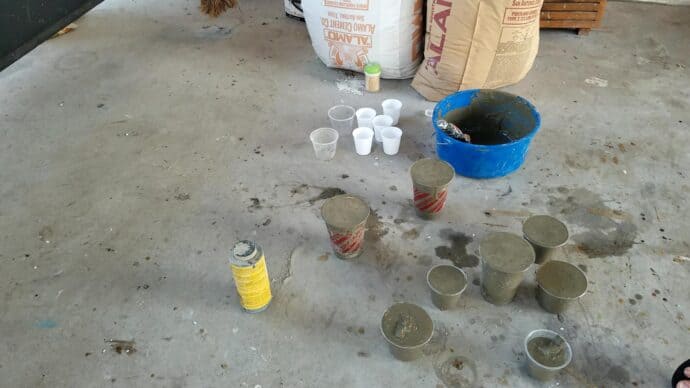
I didn’t manage to get a pic when all the cups were done because apparently, my phone quit recording right after the above capture! UGH!
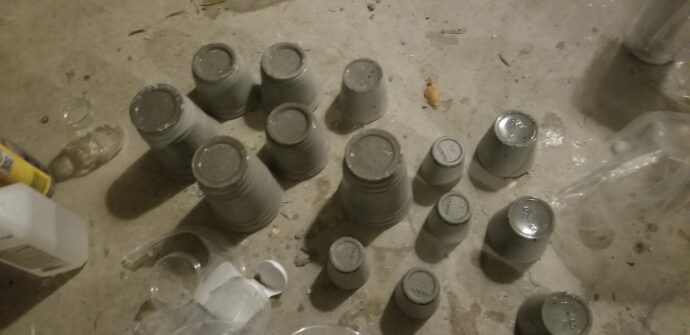
Here they are after 3 days of sitting to cure!
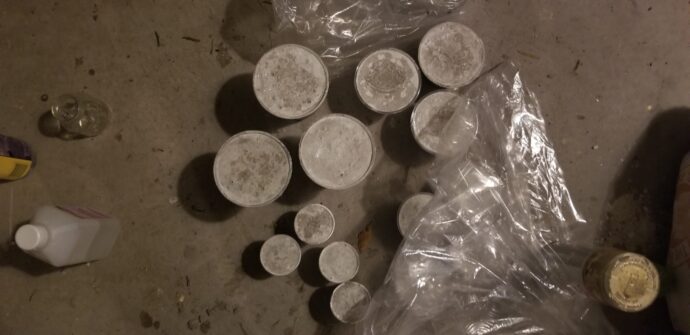
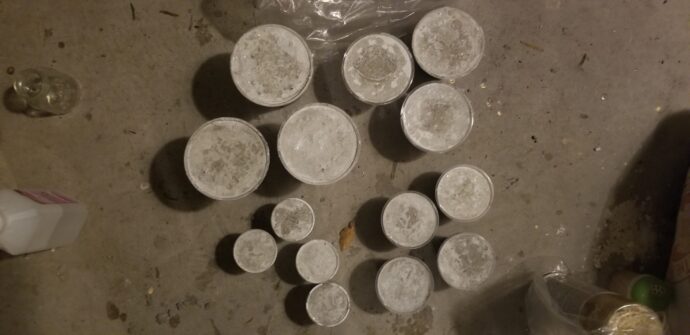
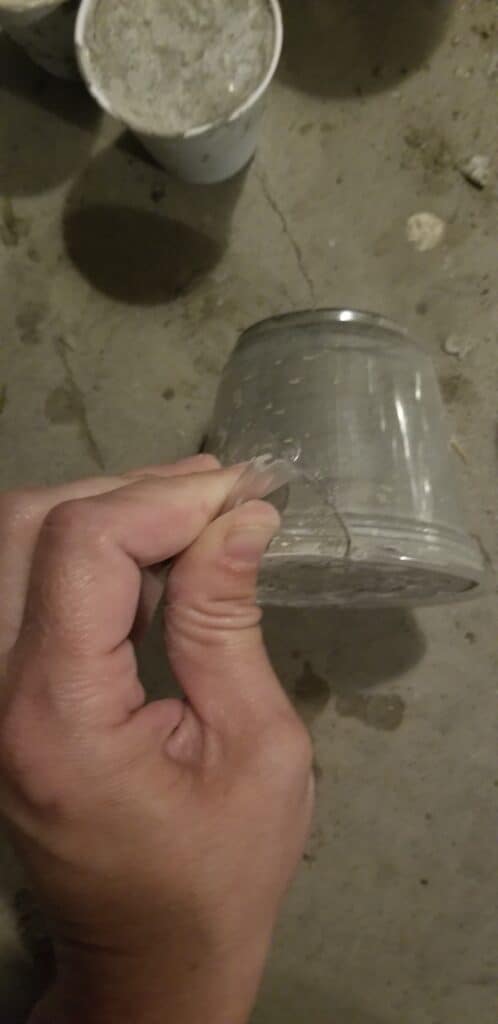
To remove the concrete from the cups, you will need a sharp pair of scissors to cut the rim and then you just tear them down the cup!
Here they all are ready to be crafted into some Christmas Trees!
Making the DIY Christmas Trees from the Concrete
Take all your concrete cups and stack them however you like them! I liked using some of the smaller cups as trunks of the trees and some I used candlesticks for the trunks! Play around with them and find what you like, it doesn’t have to be the same stacks as I did!
Once you have the stacks the way you like them, figure out which finials you like on which cups, and which trees you want to have candlesticks!
I spray-painted the finials and candlesticks with a filler primer first to keep them from looking really blotchy when spray-painted gold! Then I spray painted them with the same Metallic gold spray paint I used on my GoldMercury Glass ornaments!
Here I was ready to assemble!
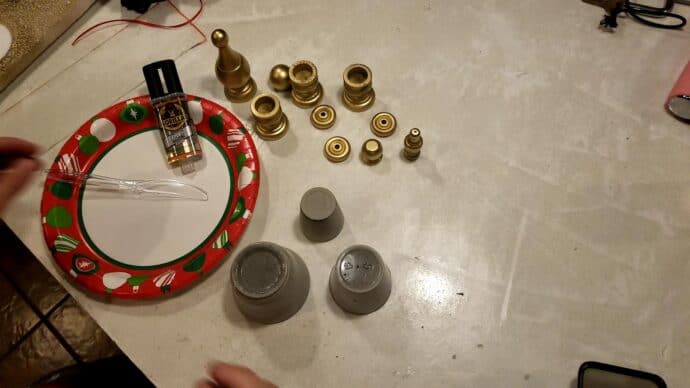
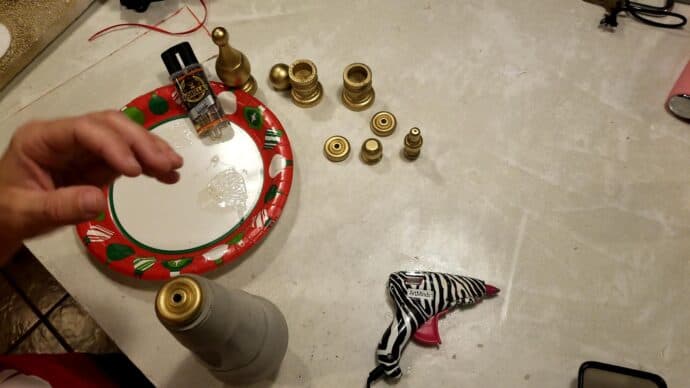
Pretty simple, mix up your epoxy…
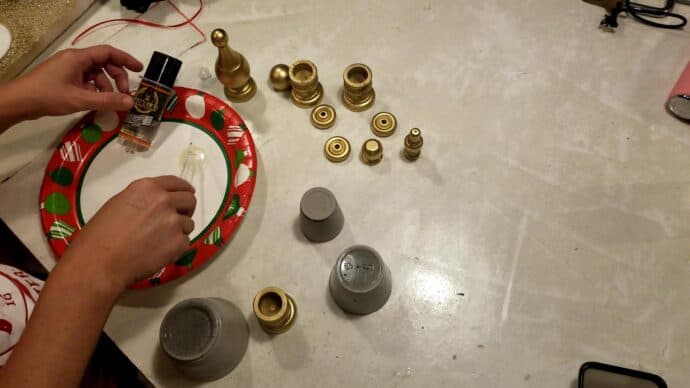
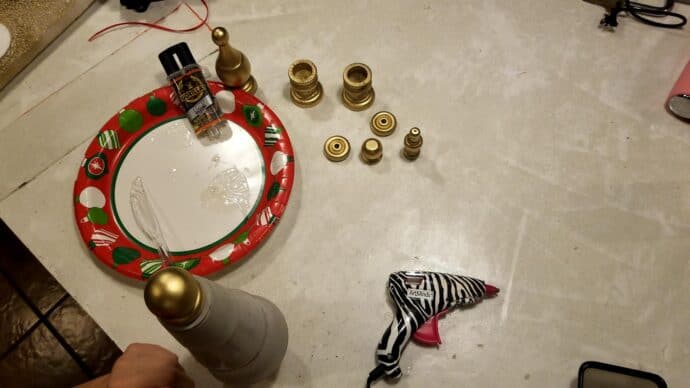
Spread the epoxy on the candlestick…
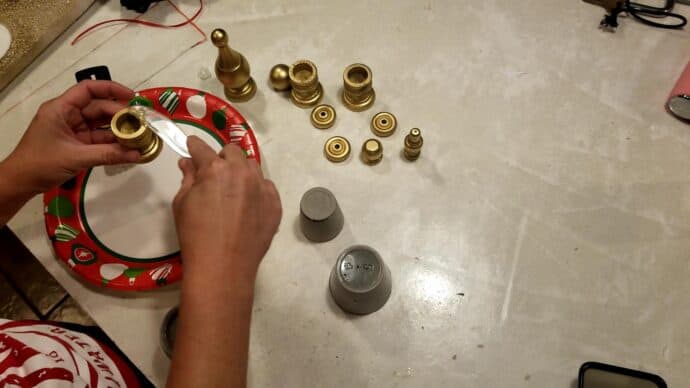
Turn the first concrete cup you are using upside down so you can make sure it is centered on the candlestick!
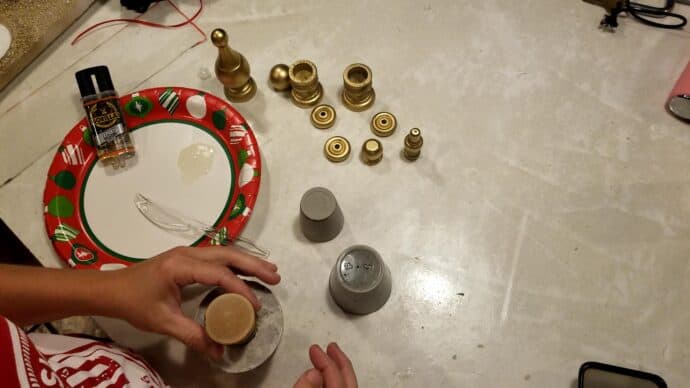
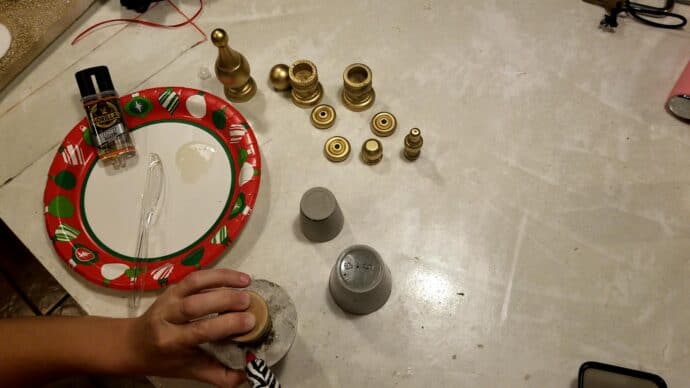
Make sure this bottom piece is level, the concrete may be slightly unlevel due to air bubbles and such so take time to make sure it is sitting level. If it isn’t sitting level, use a little hot glue to level it out!
Flip the concrete cup and candlestick over and add the epoxy again and the next layer of a concrete cup!
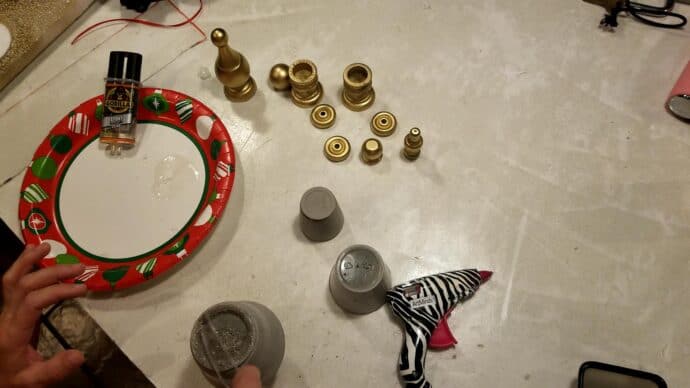
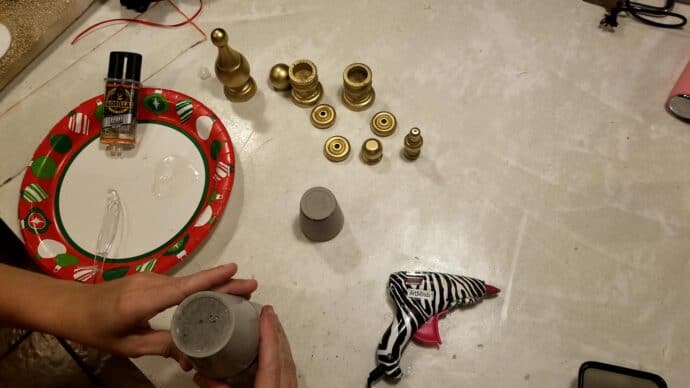
And epoxy again, and concrete again! Lol!
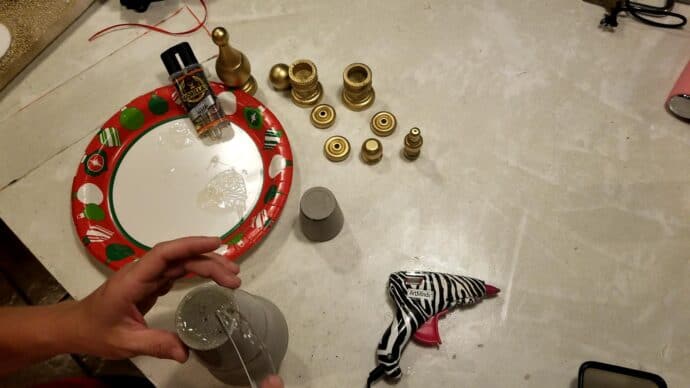
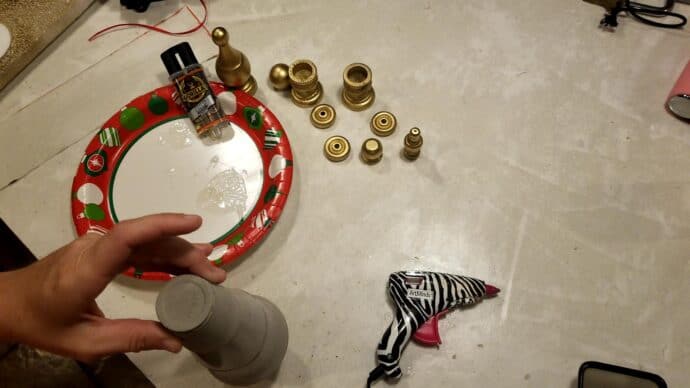
Add a little more epoxy for the circle…this was one I made my own little finial on with a circle and a ball on top of it! Epoxy and apply each one!
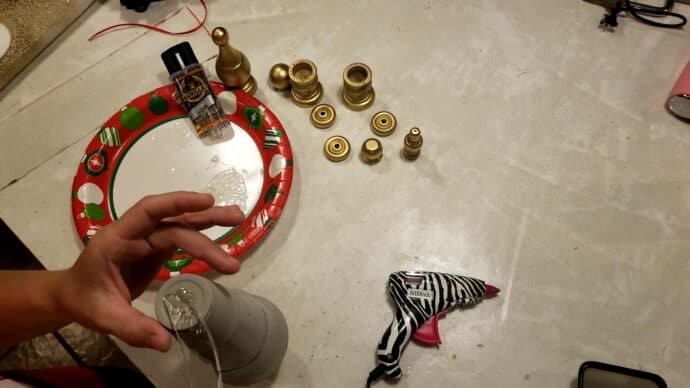
And DONE!
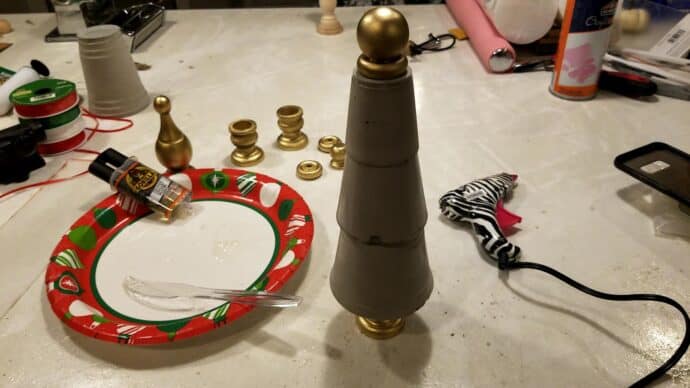
Repeat these same steps just epoxing and stacking your concrete cups until you have a little forest of trees that makes your heart happy!


Way to cool, huh?! Well, I can’t stop here, I have so many other projects to get done and share with you all! See you soon! Thanks for stopping by!

Want to save these DIY Concrete Christmas Trees for later?! PIN IT!
Related Posts
