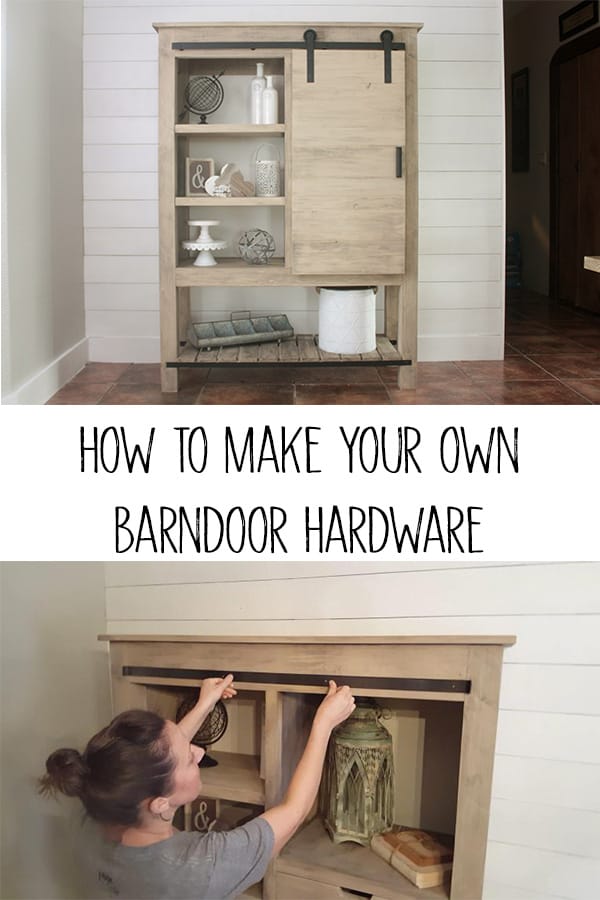
Cheap and Easy DIY Barn Door Hardware

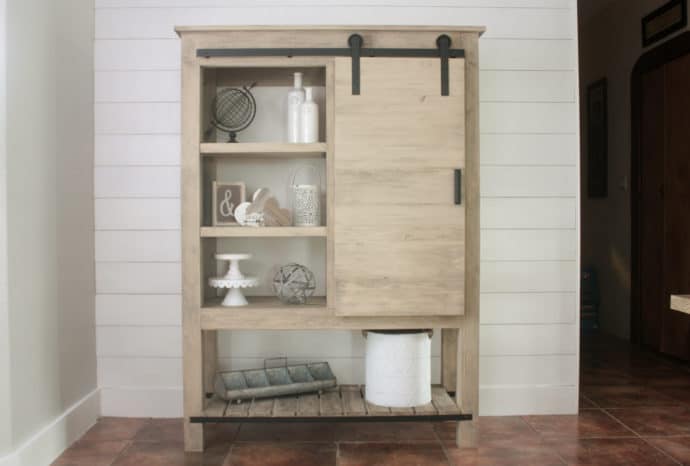
Barn Doors are all the rage and have been for so many years now, I honestly don’t think they are going anywhere! You can change them up by giving them a modern design but they are so convenient when you don’t have the room for a door opening into a space! Even though the barn door hardware in this post is made for this barn door bookcase, it works exactly the same when using this hardware for a regular barn door!
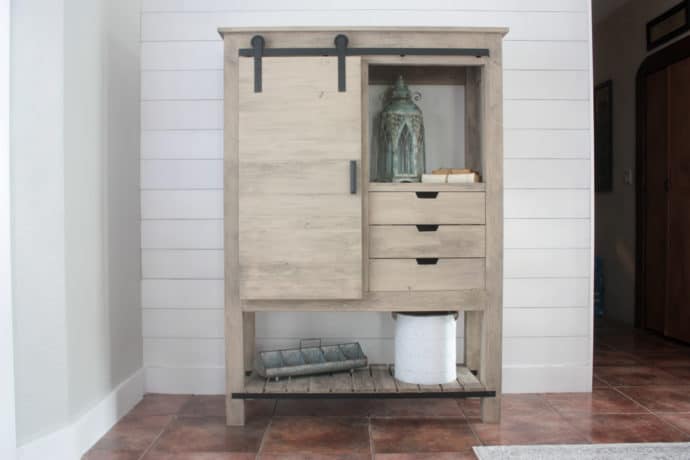
So do you remember a YEAR ago when I built my favorite bookcase 👆? Well, you all wanted a tutorial on the cheap and easy DIY barn door hardware, and I was ready to give you one, then my Grandma got out of the hospital and I was taking care of her! Before I knew it 6 months had gone by and I hadn’t given you the tutorial! And then, I drug my feet for another 6 months because I made a video to go along with the tutorial and I was embarrassed to post it!🙈 Yep, that’s how it went! Lol!
I am back today to share the cheapest and easiest barn door hardware tutorial with you all, complete with my first video!! Go easy on me…they can only get better from here! 😅 I would love for you to Subscribe to my YouTube channel, pretty please!!! The video is down below for your entertainment!
After creating my own DIY barn door hardware, it makes me sick that I even for one second pondered buying hardware online for $300! Can we say price gouging? All supplies can be found at your local hardware store and for dirt cheap!!
Gathering Supplies for the DIY Barn Door Hardware
The whole barn door setup cost me right around 25 bucks, forgive me…I originally thought it was around twenty but as I started adding everything up…the super cheap items like washers, bolts, and nuts still add up!! Lol!! I also had spray paint on hand so that price doesn’t include the spray paint…add around five bucks if you don’t have flat black paint!! Still, dirt cheap compared to the $300 everyone wants to charge online!!
To get started round up all of your supplies!! I enjoy shopping at my local Ace Hardware or comparable store for all the bolts, nuts, washers, and spacers so that I can buy them on an individual basis instead of a whole box that I may or may not ever use again!! Keeps the cost down…unless you know you are going to be doing lots of barn doors… then it saves a little to buy them in boxes!
Materials for the Barn Door Hardware:
- 1/8” x 1 ¼” x 72” flat steel bar stock ($10)
- 2 – 2 ½” pulleys ($5 ea. =$10) Don’t lose the clevis pin and cotter pin when you take this apart!!
- 4 – 1 ½” steel spacers (came in a pack of 5 for $1)
- 4 – ¼” x 3 ½” lag bolts ($.30 ea. = 1.20)
- 8 – ¼” washers ($.10 ea. = $.80)
- 10 – ¼” nuts ($.10 ea. = $1)
- 4 – ¼” x 1 ¼” lag bolts ($.14 ea. = $.56)
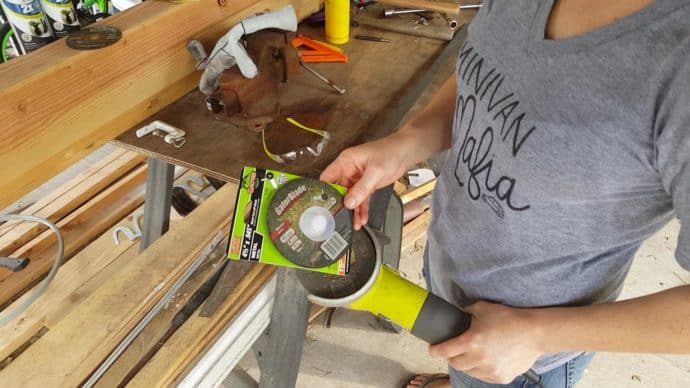
- Angle grinder
- Drill
- ¼” drill bit
- Punch
- Torch or fire of some sort to heat up your metal to make it easier to bend ***Make sure that you have bought plain steel before you start heating it…you do not want to heat up galvanized metal as this produces toxic fumes!!
Alright, once you have managed to sort through and find all of the pieces needed, you can get started!!
Video Tutorial for DIY Barn Door Hardware
Here’s the video which gives a basic overview and then step by step picture tutorial is down below as well!
DIY Barn Door Hardware Tutorial
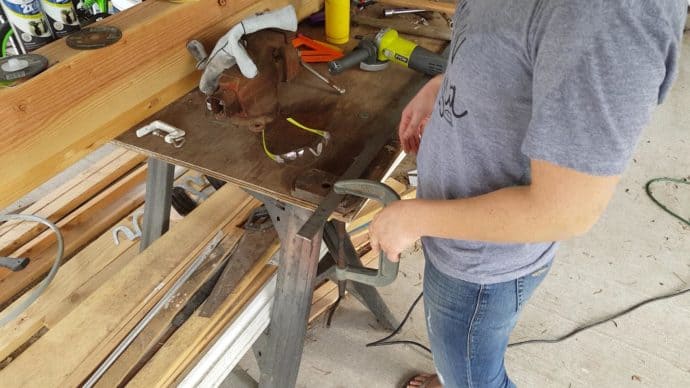
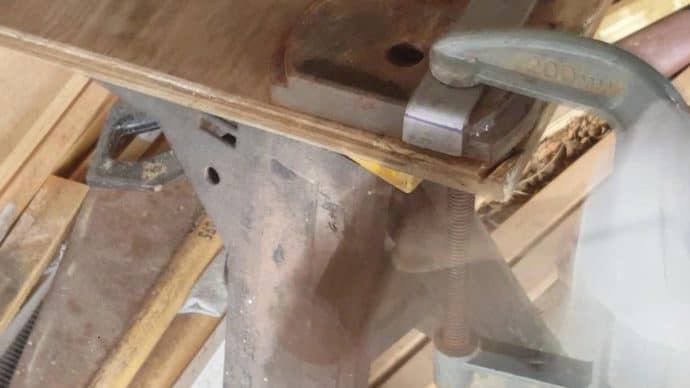
Taking your bar stock, you will want to cut it down to 44” (the remaining piece will hang the door) and bend the sides inward ¾” on each side to keep the door from rolling off your track on the ends!! Using the angle grinder with a metal cutting disc, I always clamp one side down and cut! You will want to make sure and wear eye protection!!
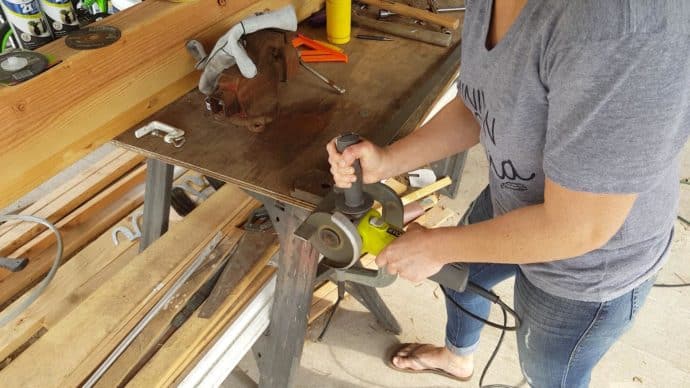
NOTE: You should always wear closed-toe shoes when working with hot metal! 😅 Just watch the video, I get a hot piece of metal on my foot! 🙃
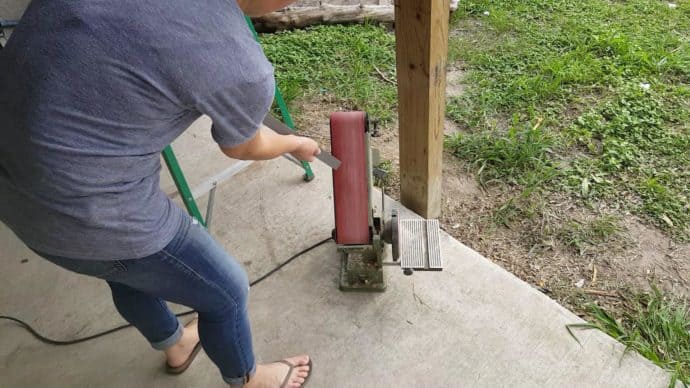
I also usually sand the ends because right after being cut they are sharp!!
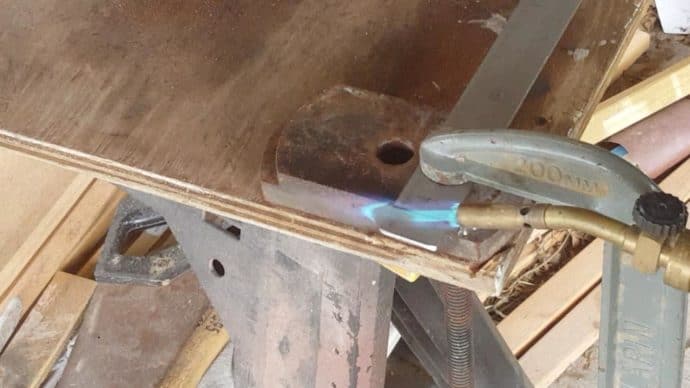
Next is where the heat comes in…you can use a torch or a regular ole fire to heat it up, then clamp it down to a table or workbench and hit that sucker with a hammer!! This may seem daunting but it is actually really easy and really makes you feel tough pounding on metal and making it bend!! 😂 I mean, so what if it is soft because it was heated…I still bent metal!! That’s a superpower!!
Make sure and wear some heavy-duty metalworking gloves or thick leather gloves, and of course, make sure and be VERY CAREFUL as metal gets very hot, very quickly!
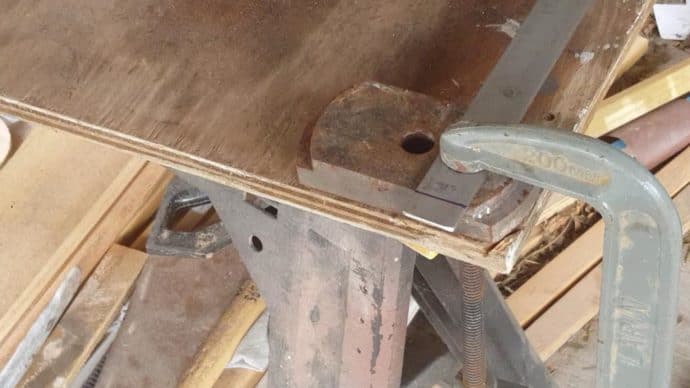
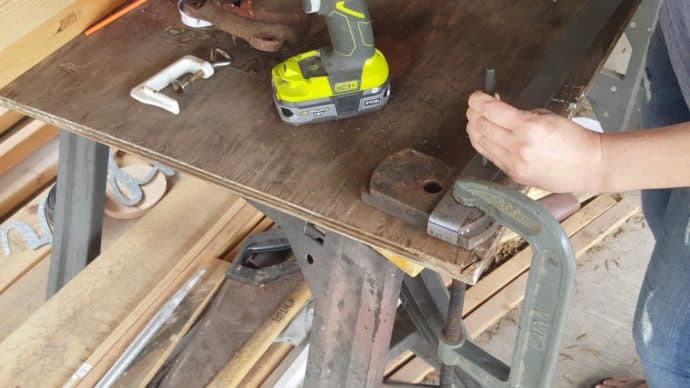
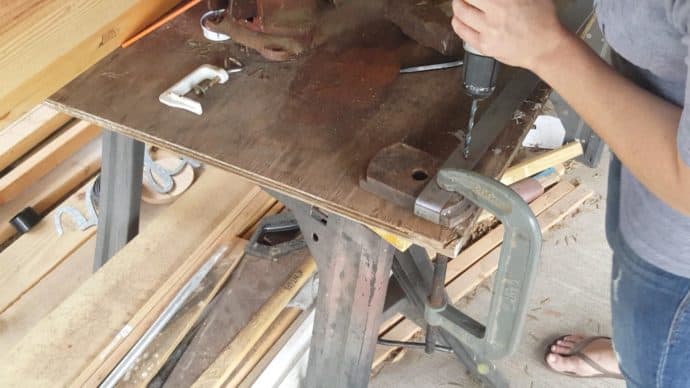
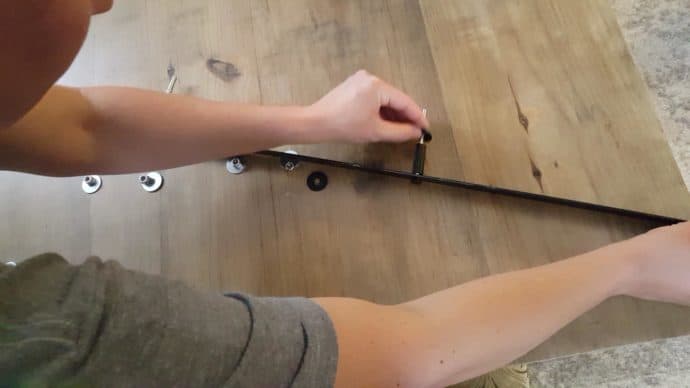
Once you have it cut and the sides bent that is pretty much the hardest part! Flip it over and mark where you are going to want your four bolts to attach to the bookshelf! Using the punch, place it over the spots you marked, hit it with a hammer to make a small indention for your drill bit to start so that it won’t slide all over the place, and then drill your holes!
I spray-painted my piece of metal and all visible bolts and spacers matte black by Rustoleum before attaching it to the barn door and cabinet, make sure and clean it really well before spray painting, I just use vinegar!
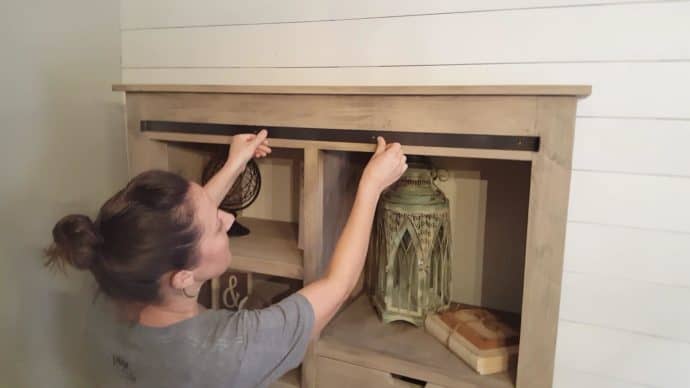
Attaching DIY Barn Door Hardware to the Bookshelf
Once the holes are drilled, line the bar up on the cabinet where you want it to go and mark through the drilled holes onto the wood! Now you know exactly where to drill your holes for the bolts and everything will be lined up perfectly! Drill the holes!

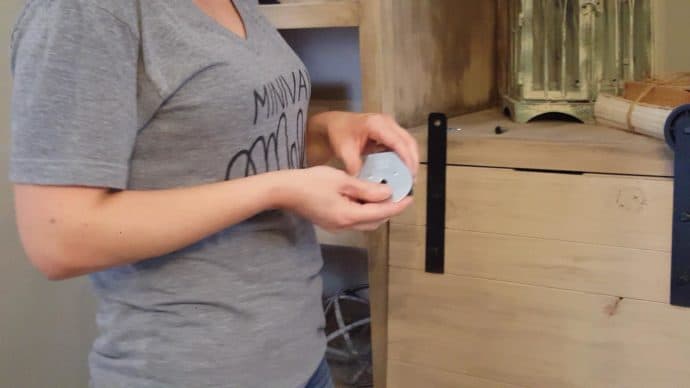
Here are all the little tidbits laid out for you to see what they look like!
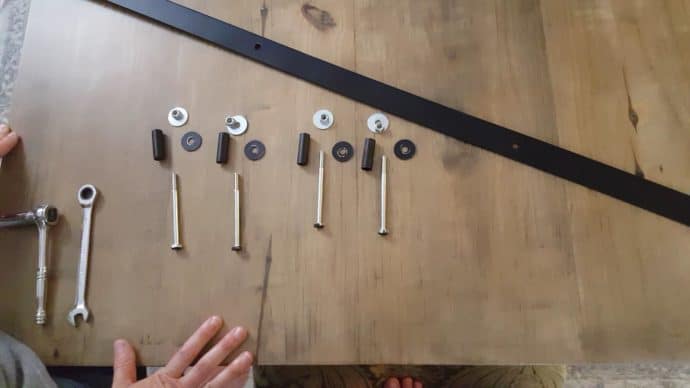
Now you can put this up on the bookshelf! Take all the bolts and stick them on the bar with the spacers on all the bolts (to the inside) and washers on the bolts after the spacers and then place the bolts in the holes on the cabinet!! Now screw all the nuts on the bolts and viola!! The track is set up and ready to go!!
Attaching DIY Barn Door Hardware to Barn Door
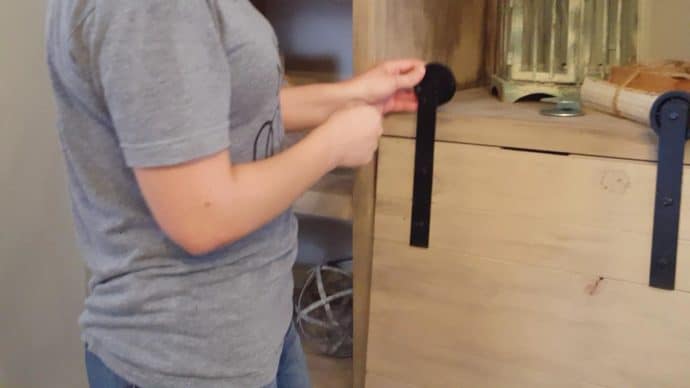
Take the leftover piece of bar stock from when you cut it earlier…cut two 8-inch pieces off of that one! You will again probably want to sand the ends so they are smooth and not eager to cut you while you are working with it!! LoL!! You will need to drill three holes in each of these pieces! The first hole will be drilled where you want the bar on the wheel! I did it just slightly down from the top as you can see in the pic below!
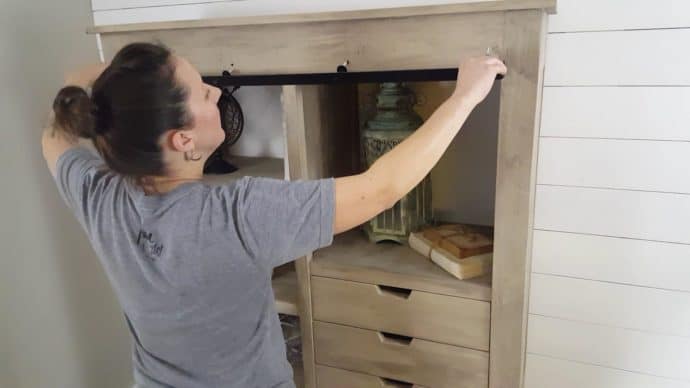
The other two holes will be at your desired location along the bar, making sure they aren’t placed where two boards join! Using the punch mark the holes and drill them just the same as you did with the bar above! Once the holes are drilled the door can be bolted onto the wheels and hung on the bar…I am not even kidding but you are DONE!!! It was seriously that cheap and that easy to DIY your barn door hardware!!!
Stand back and jump for joy because this is amazing and you saved 90% off buying it online! Yessssss! Now I want to put barn doors on EVERYTHING, someone please take the torch away from me!! Lol!
Hope this helps you tackle any barn door ideas you may have been putting off thinking it was going to be too hard or too expensive!! Have a wonderful rest of the week, hopefully, you get some time in the shop!!
Happy Metal Working!

Want to save this DIY Barn Door Hardware tutorial for later? Pin it!

Thanks so much for posting this – every search I did for DIY barn door hardware just turned up people doing barn doors with the expensive premade hardware – super annoying! I am wondering though, I want to build one of those rolling library ladders which use very similar hardware. Do you think this project of yours could be adapted for those? No surprise that the hardware for library ladders is eye wateringly expensive (and unavailable here in Australia anyway). Keen to hear your thoughts 🙂
Hey Annie!
Yes, I do believe this can easily be altered to use with a library ladder! My friend Shara from Woodshop Diaries used a 12 ft pre-made barn door hardware kit for her library ladder, here’s the link – Library Bookshelf – if you want to take a look! Basically she just attached the barn door hardware to the back of the ladder, which you can do with your own cut strips from this tutorial, and then just make sure to cut the back of your ladder at an angle like she did as well! She lifts the ladder to move it but you can purchase the ladder wheels instead if that is what you want! And I was recently designing a build with a library ladder and was looking at hardware to see the cost vs DIYing it, and I did find one on Amazon that was only 189 bucks, here’s the link if you want to take a look at that as well, LIBRARY LADDER HARDWARE <-- that is an affiliate link just so you know 😉, and I don't know if you can get the same in Australia or not but maybe you could look up that brand on the AU site! I haven't priced out the cost of making it myself yet though as metal has definitely gone up a lot since I made this post! 🥴 I would hope it would still be cheaper to make it yourself, but now a days you just don't know! Lol! Hope that helps! Good luck, if you do make it yourself, I would love to see it! Thanks for stopping by! Have a good one! Cara