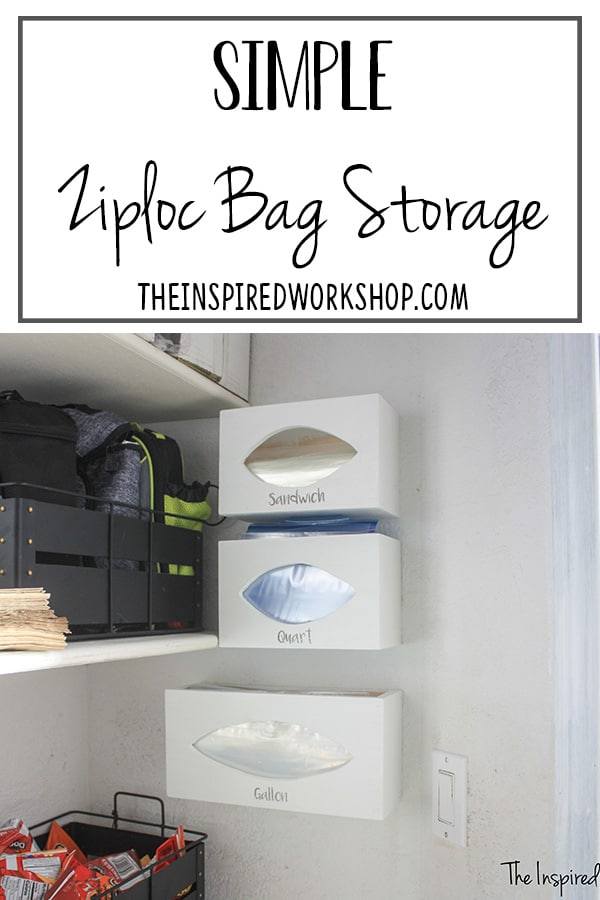
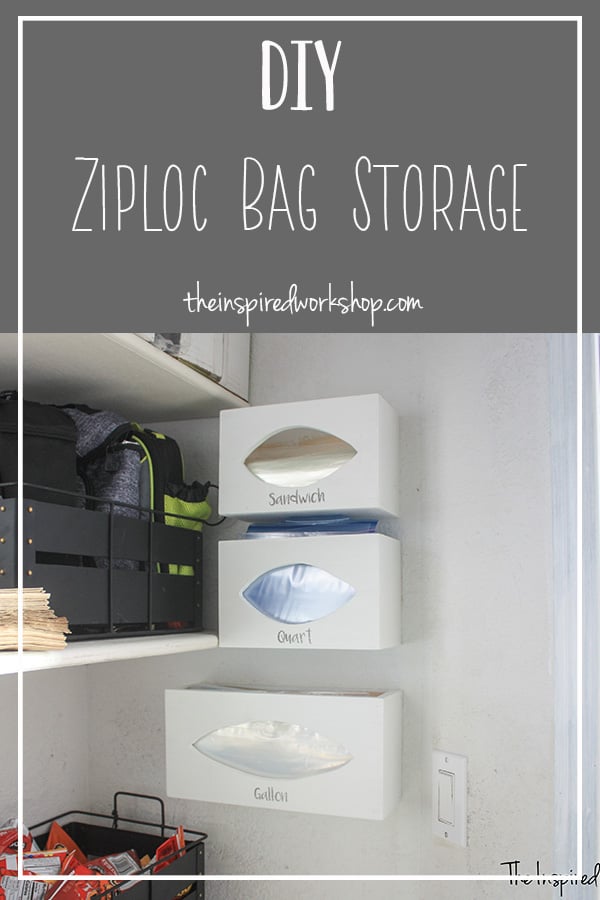
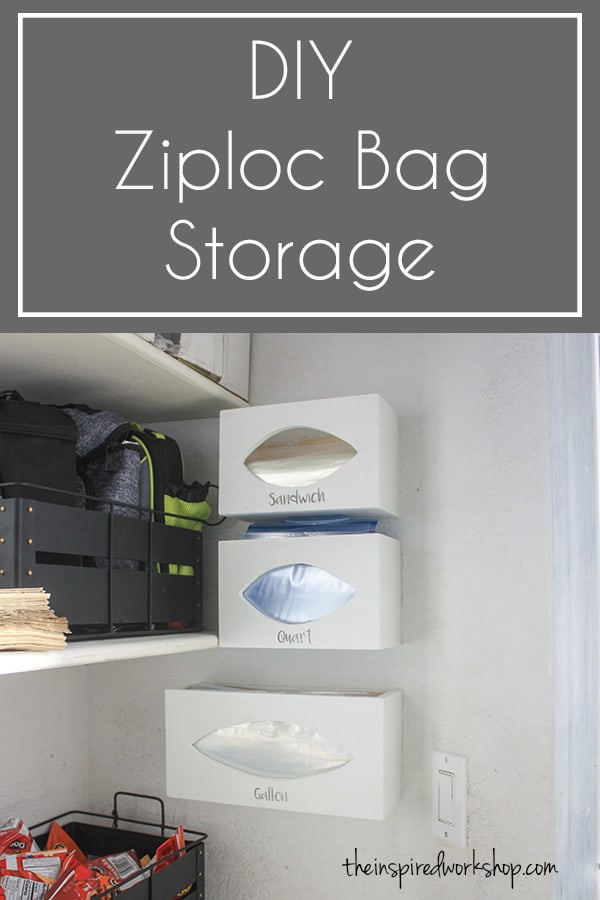
DIY Ziploc Bag Storage Organizer
Hey there everyone! I am back this week with my fellow blogger friends to bring you all the organizational DIYs your heart could possibly desire! My project is super simple, EASY is the name, problem-solving is the game, DIY Ziploc bag storage organizer idea!
You have to take a look at the links provided below from the other bloggers…there are some really great ideas to completely organize yourself this year! Lol!
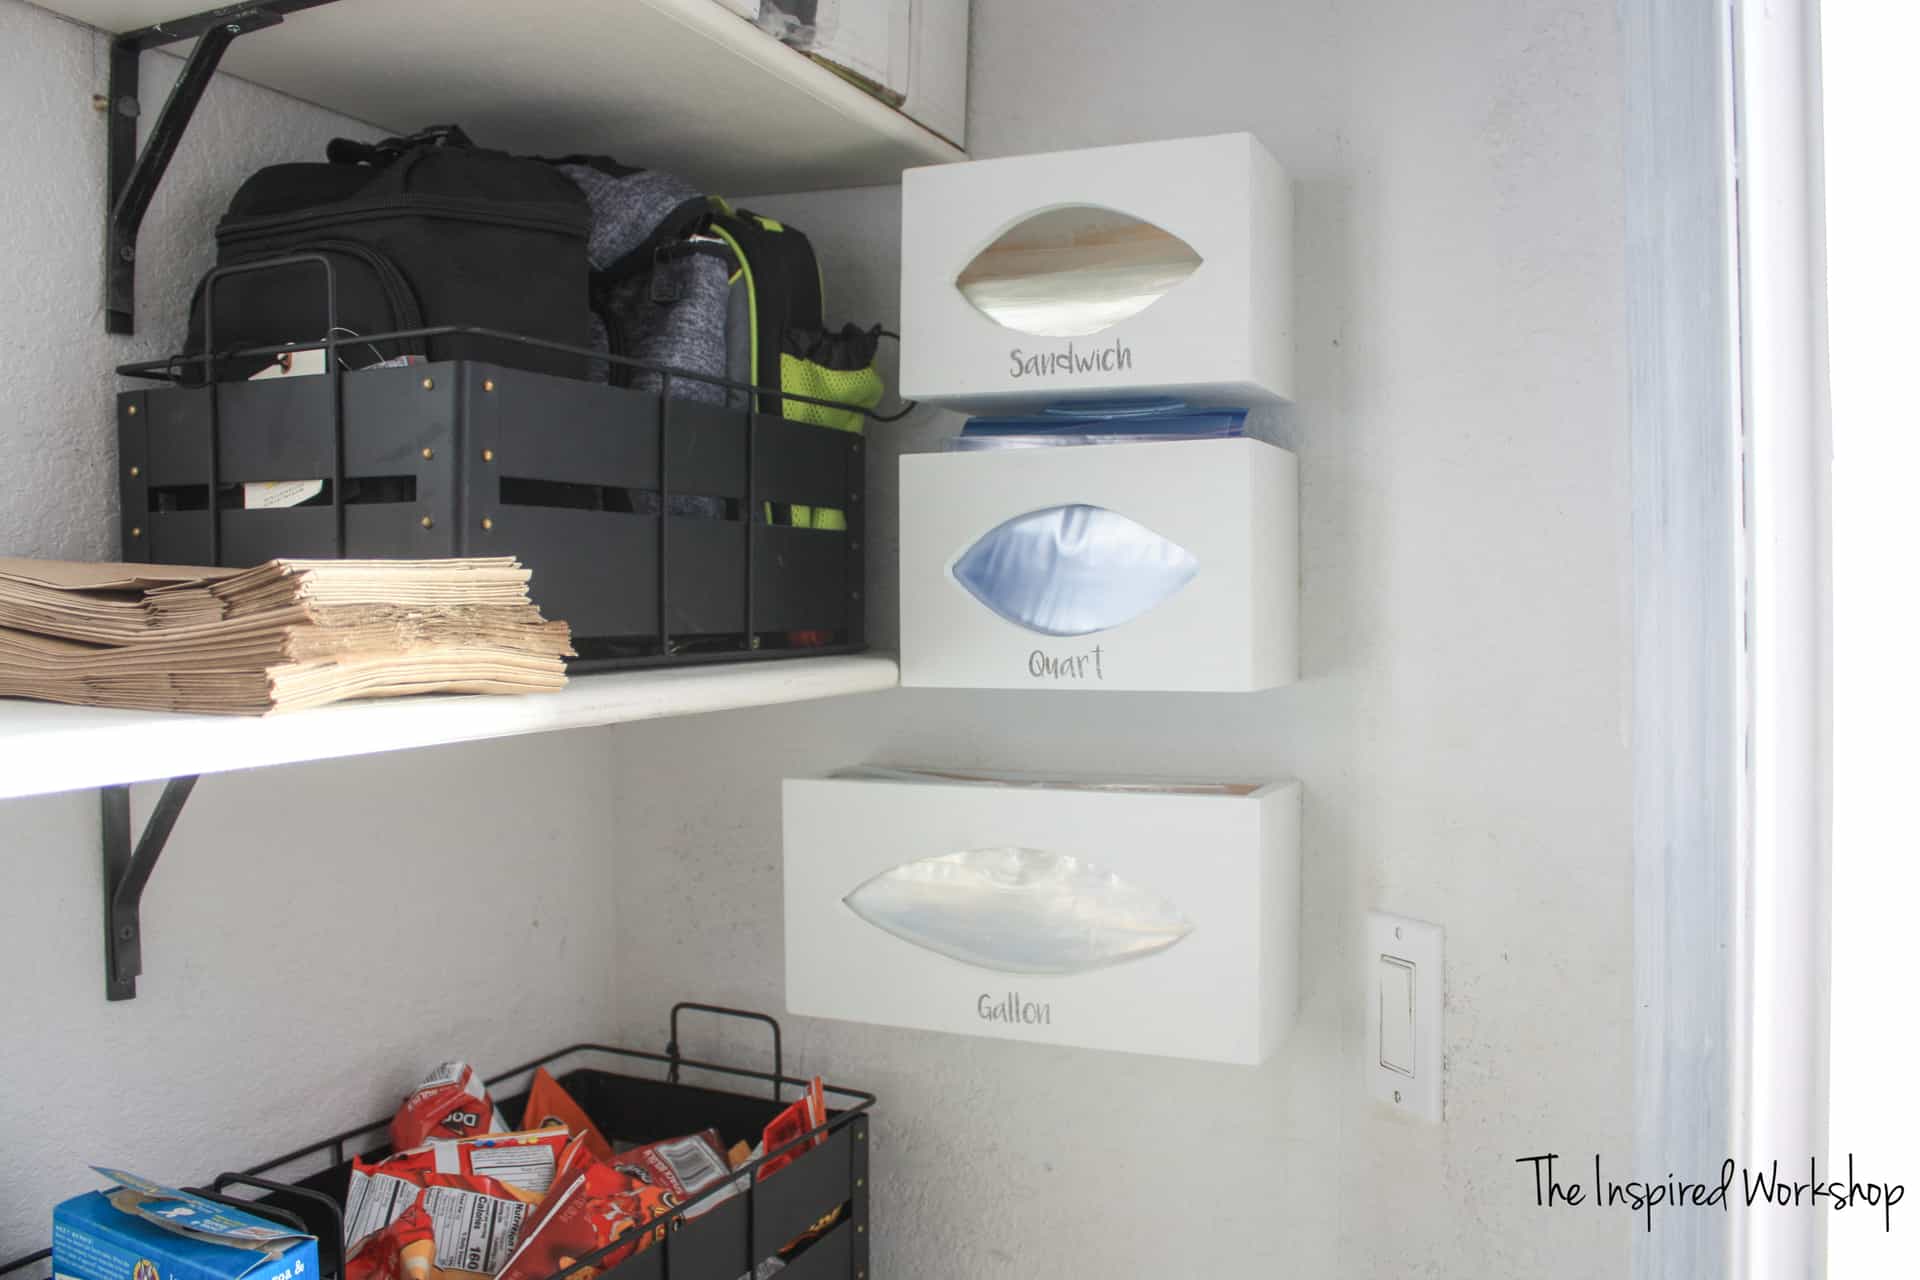
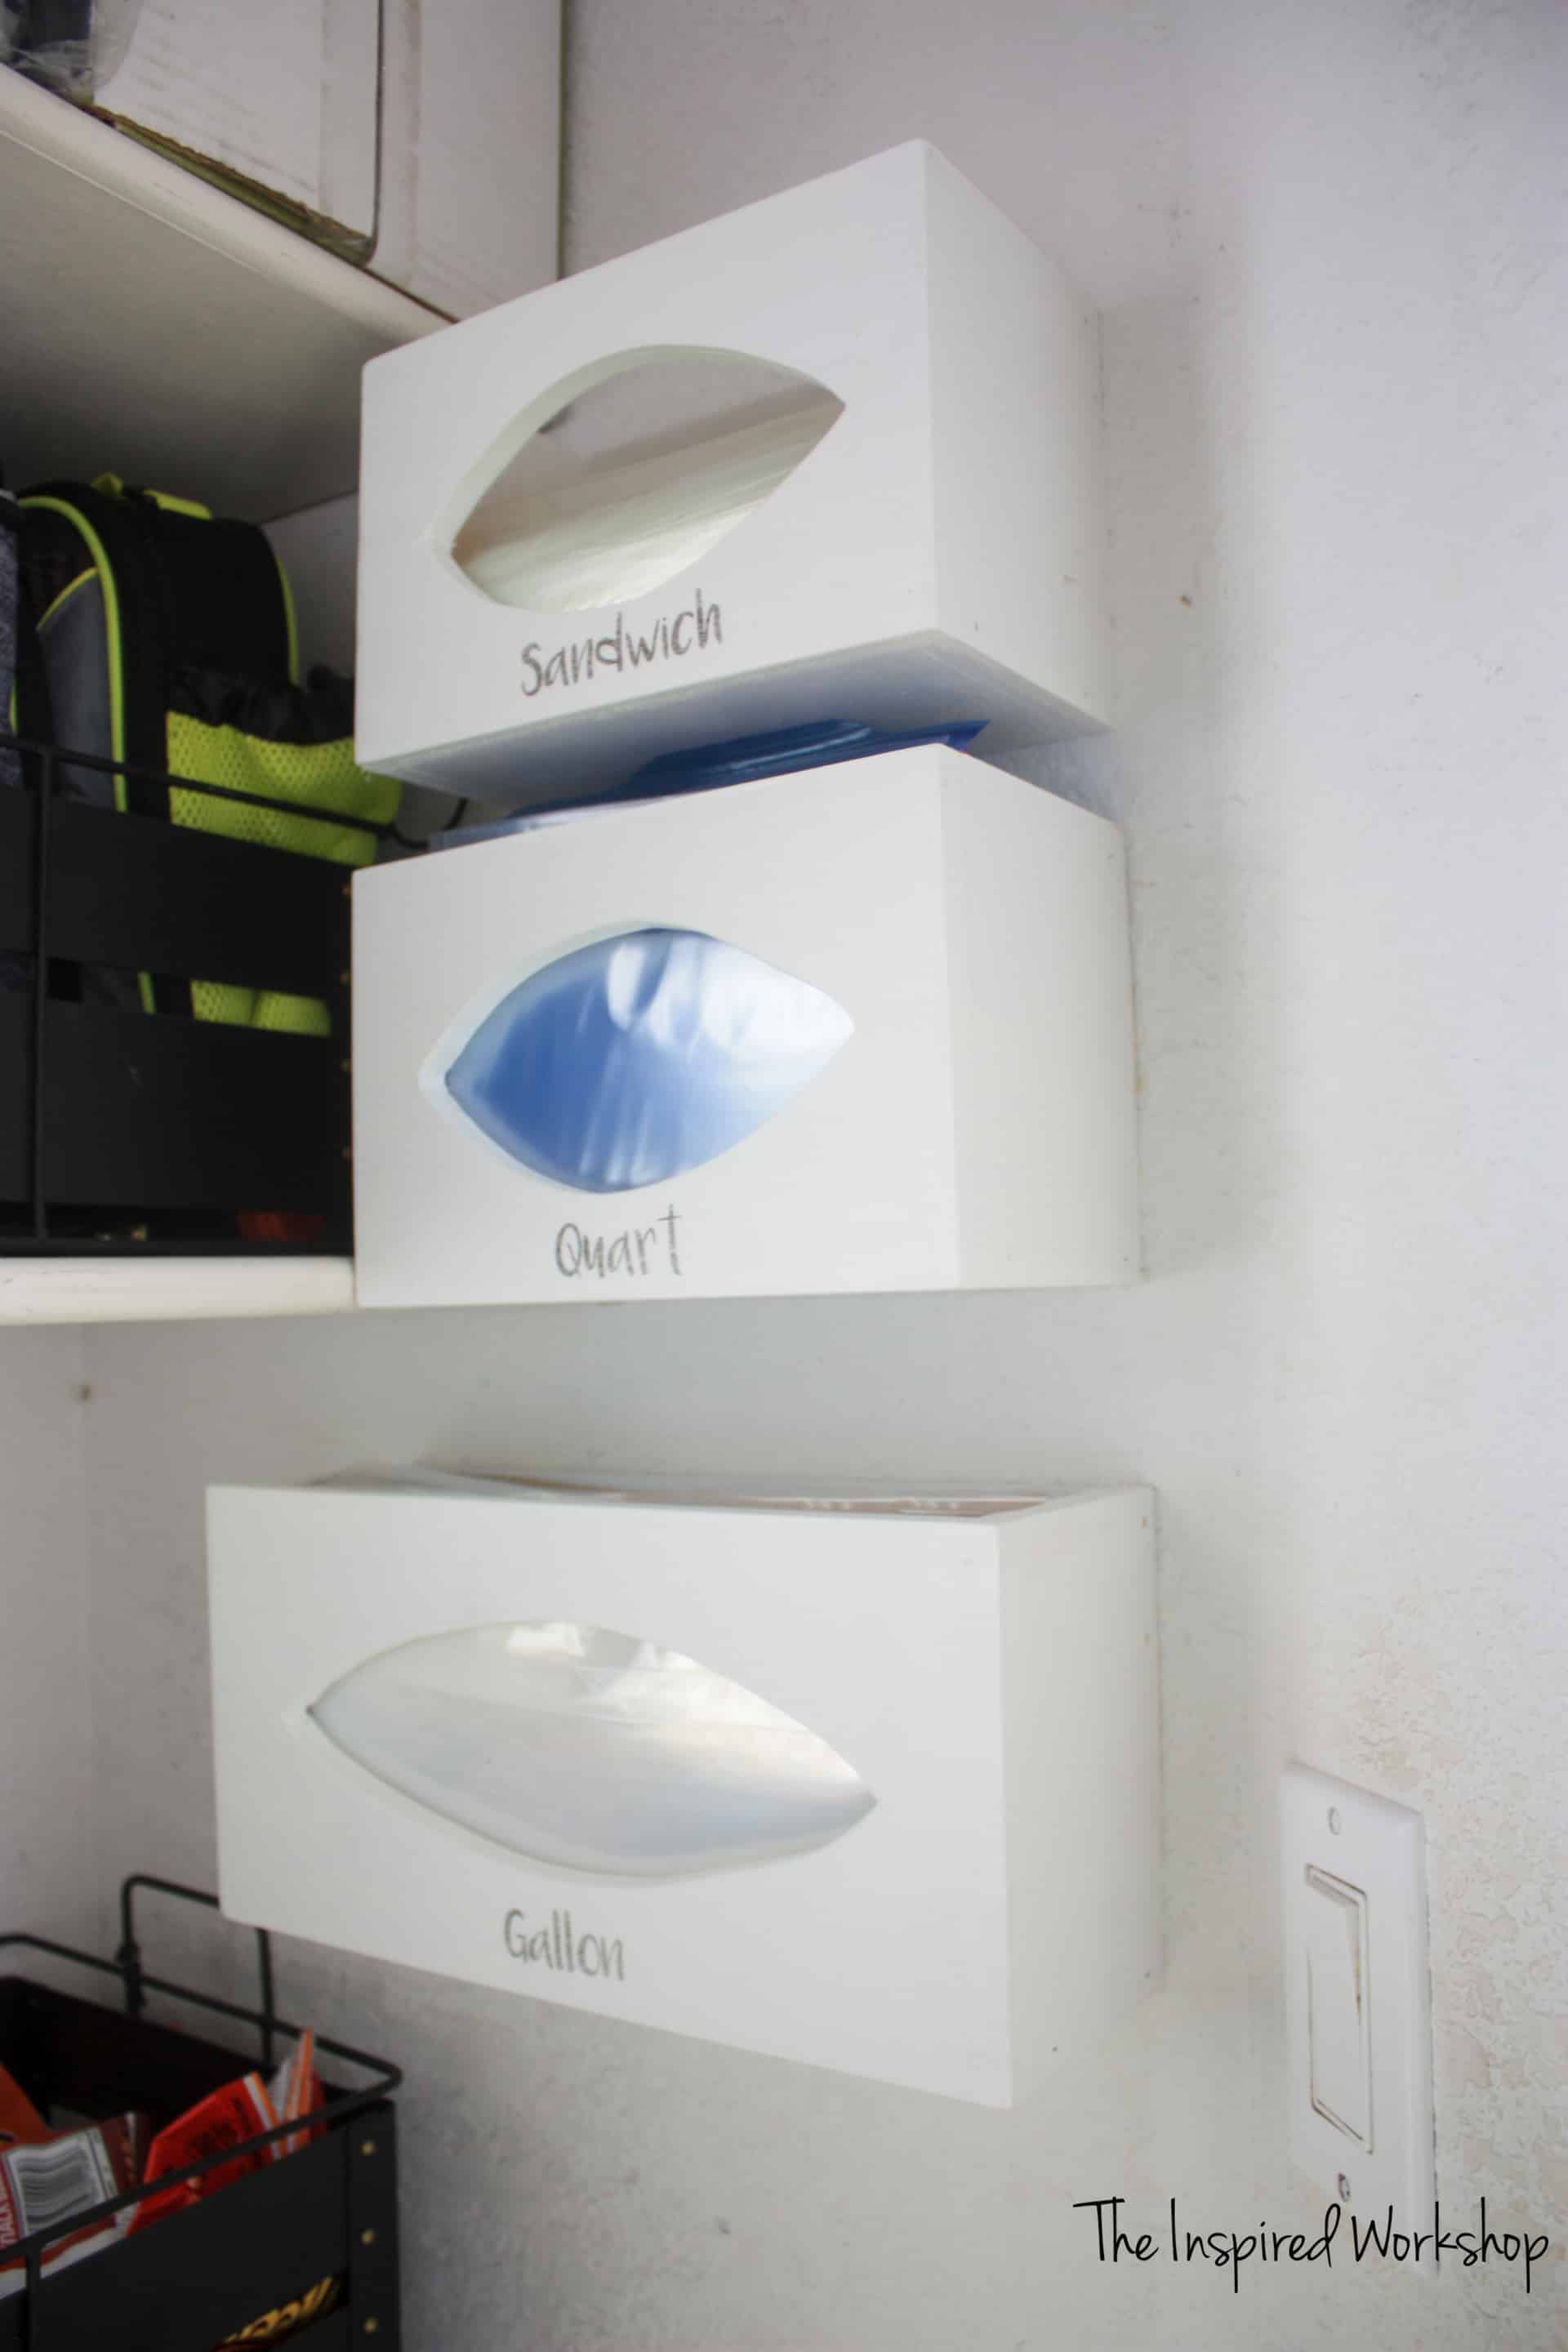
Do you ever have the problem of the boxes of baggies ending up on the floor of your pantry? I do, it seems like every time I grab a bag, the box goes flying or I’m flicking the box around trying to get it to let go of my bag! Not any more! A few scrap pieces of 1/2″ plywood…BOOM, problem solved! Wall-mounted Ziploc bag storage saves space in a drawer as well!
Now, I found out during this project that I am not a scroll saw artist! LOL! My scrolling skills need some major work, but dang this little crafty build sure helped me solve a major problem! I whipped up all three of these in a matter of about an hour and a half!

Worth every minute of that 90 minutes to have this problem solved! Maybe I am the only one annoyed daily with my Ziploc bags jumping off the shelf, but I can’t possibly be the ONLY one, can I?😅 (Note – when I use the term Ziploc bag, I am referring to the type of plastic bags, I am not sure why but I call all of them Ziploc bags even though some may be Hefty, some might be generic, etc.)
Originally I wanted to do a one-piece organizer that held all of the bags in one shelf type thing, but as I worked on it, this was way easier so that you can make as many or as few as you need!
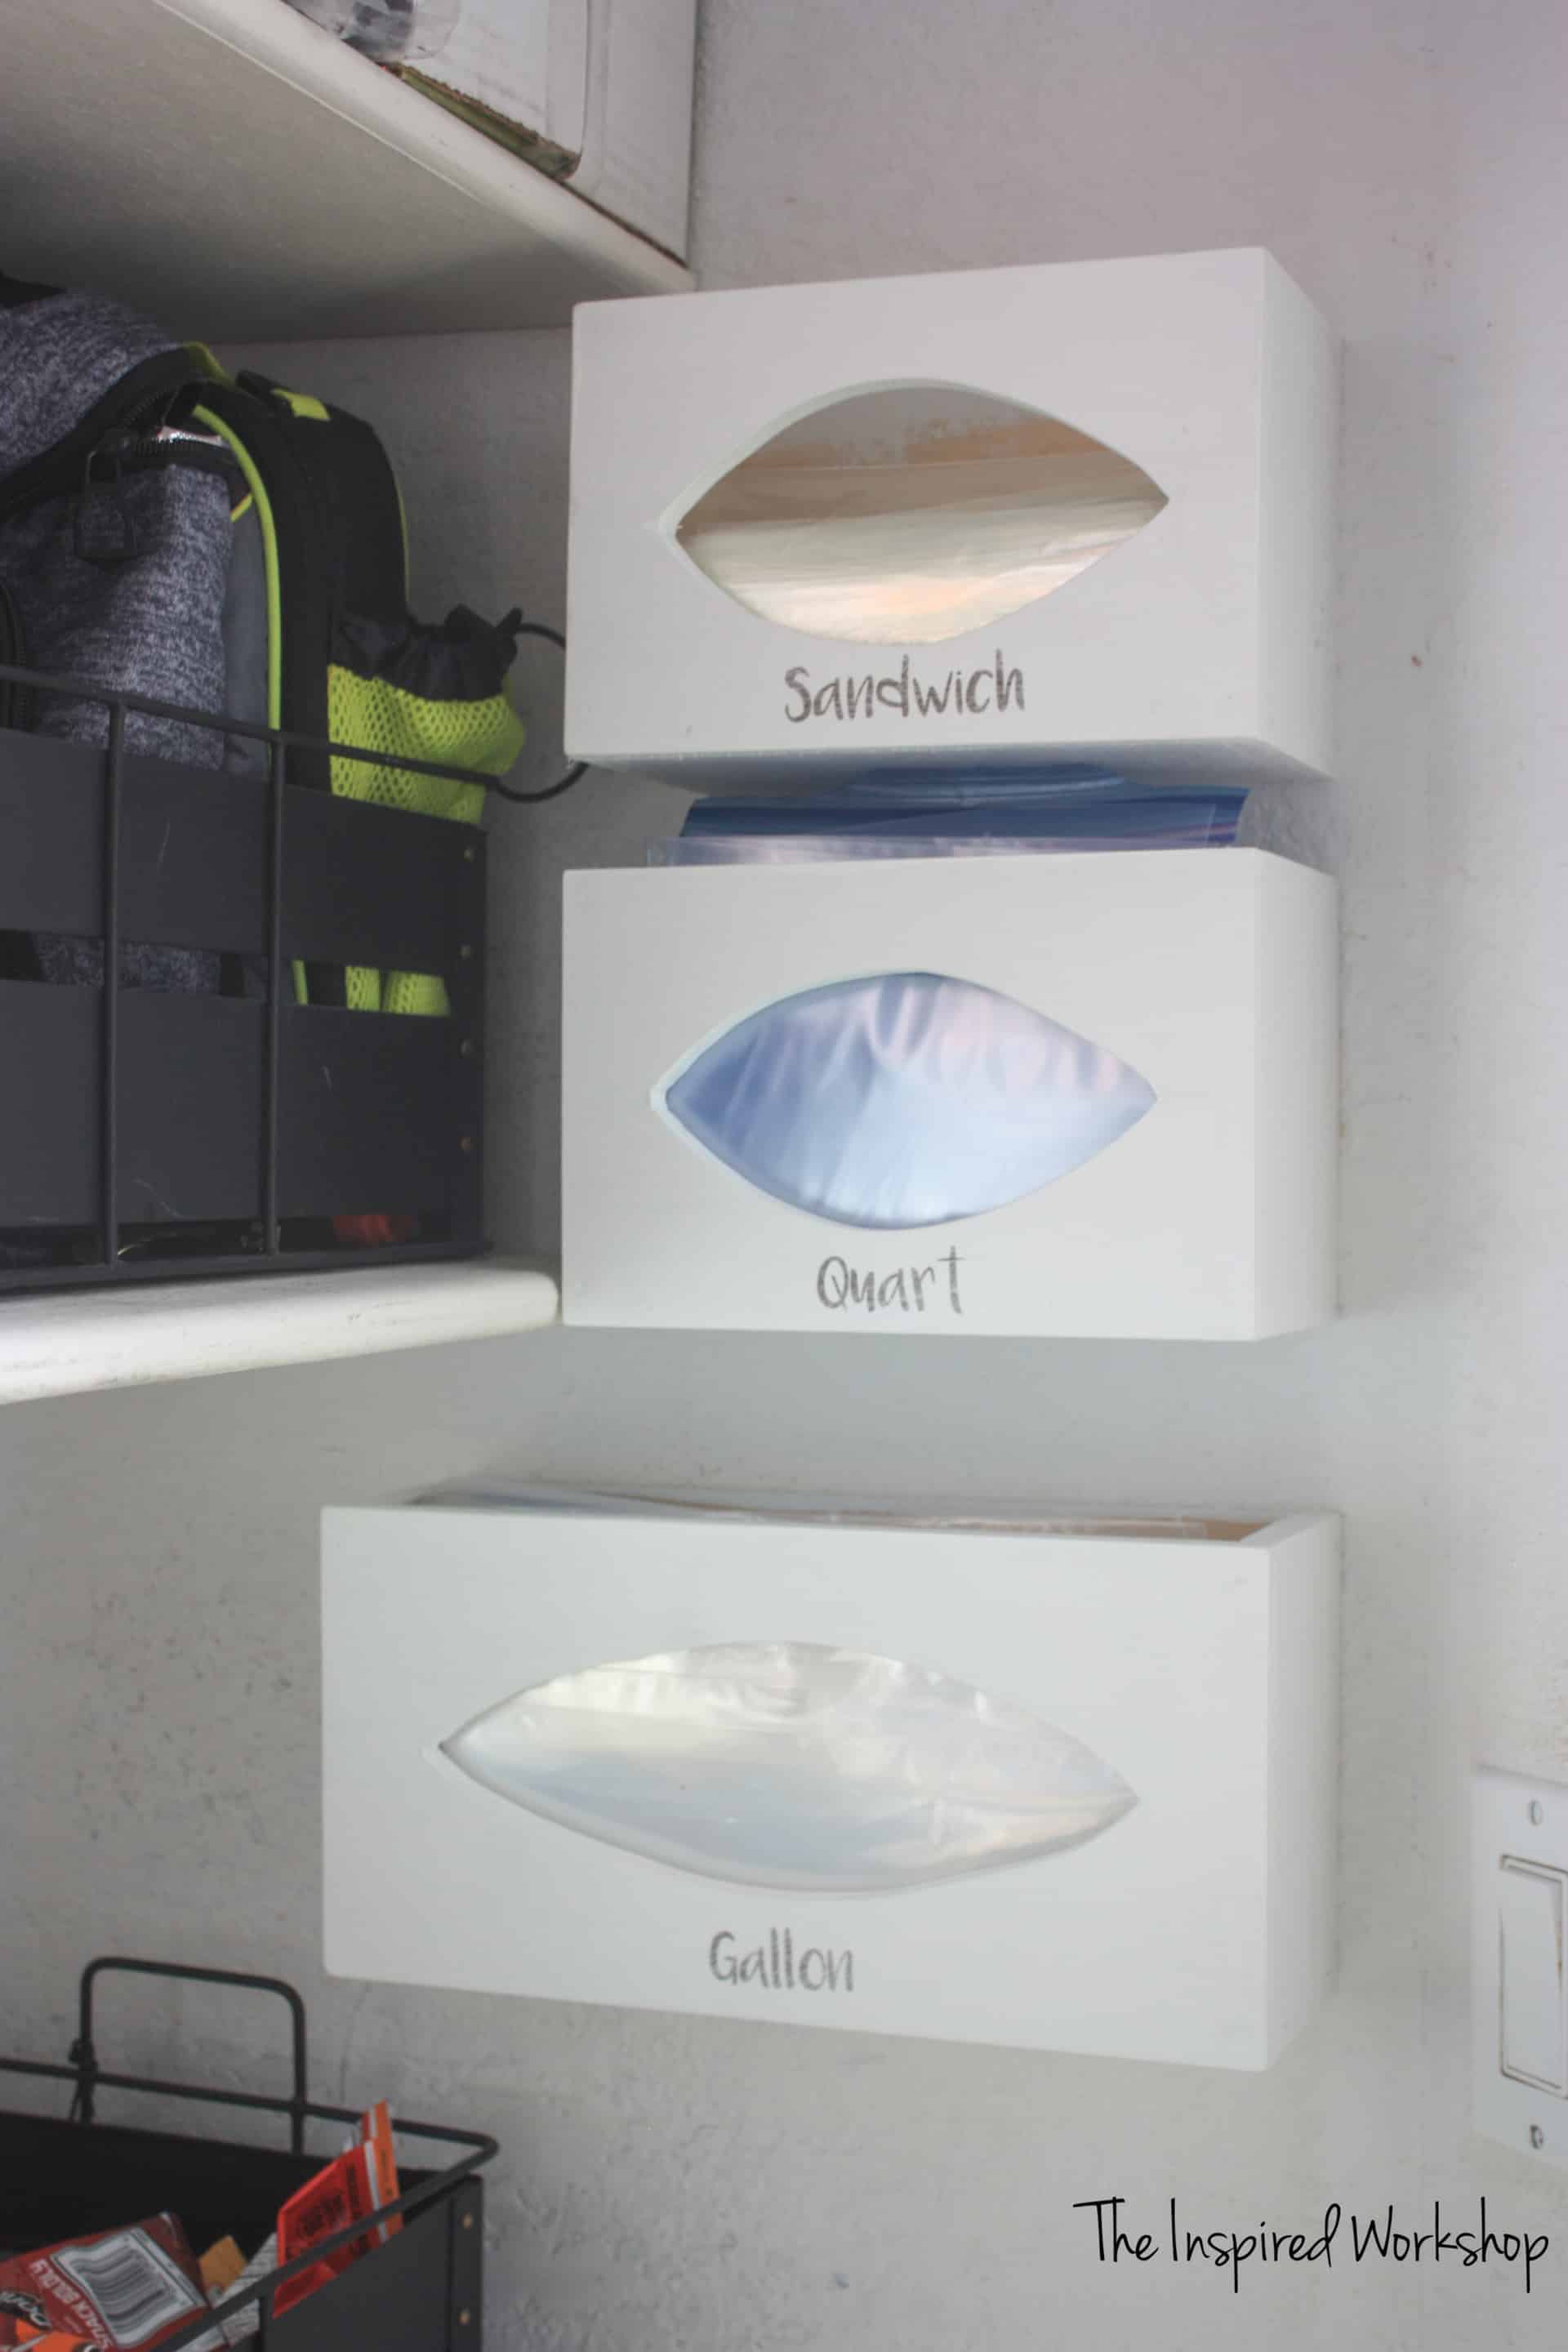
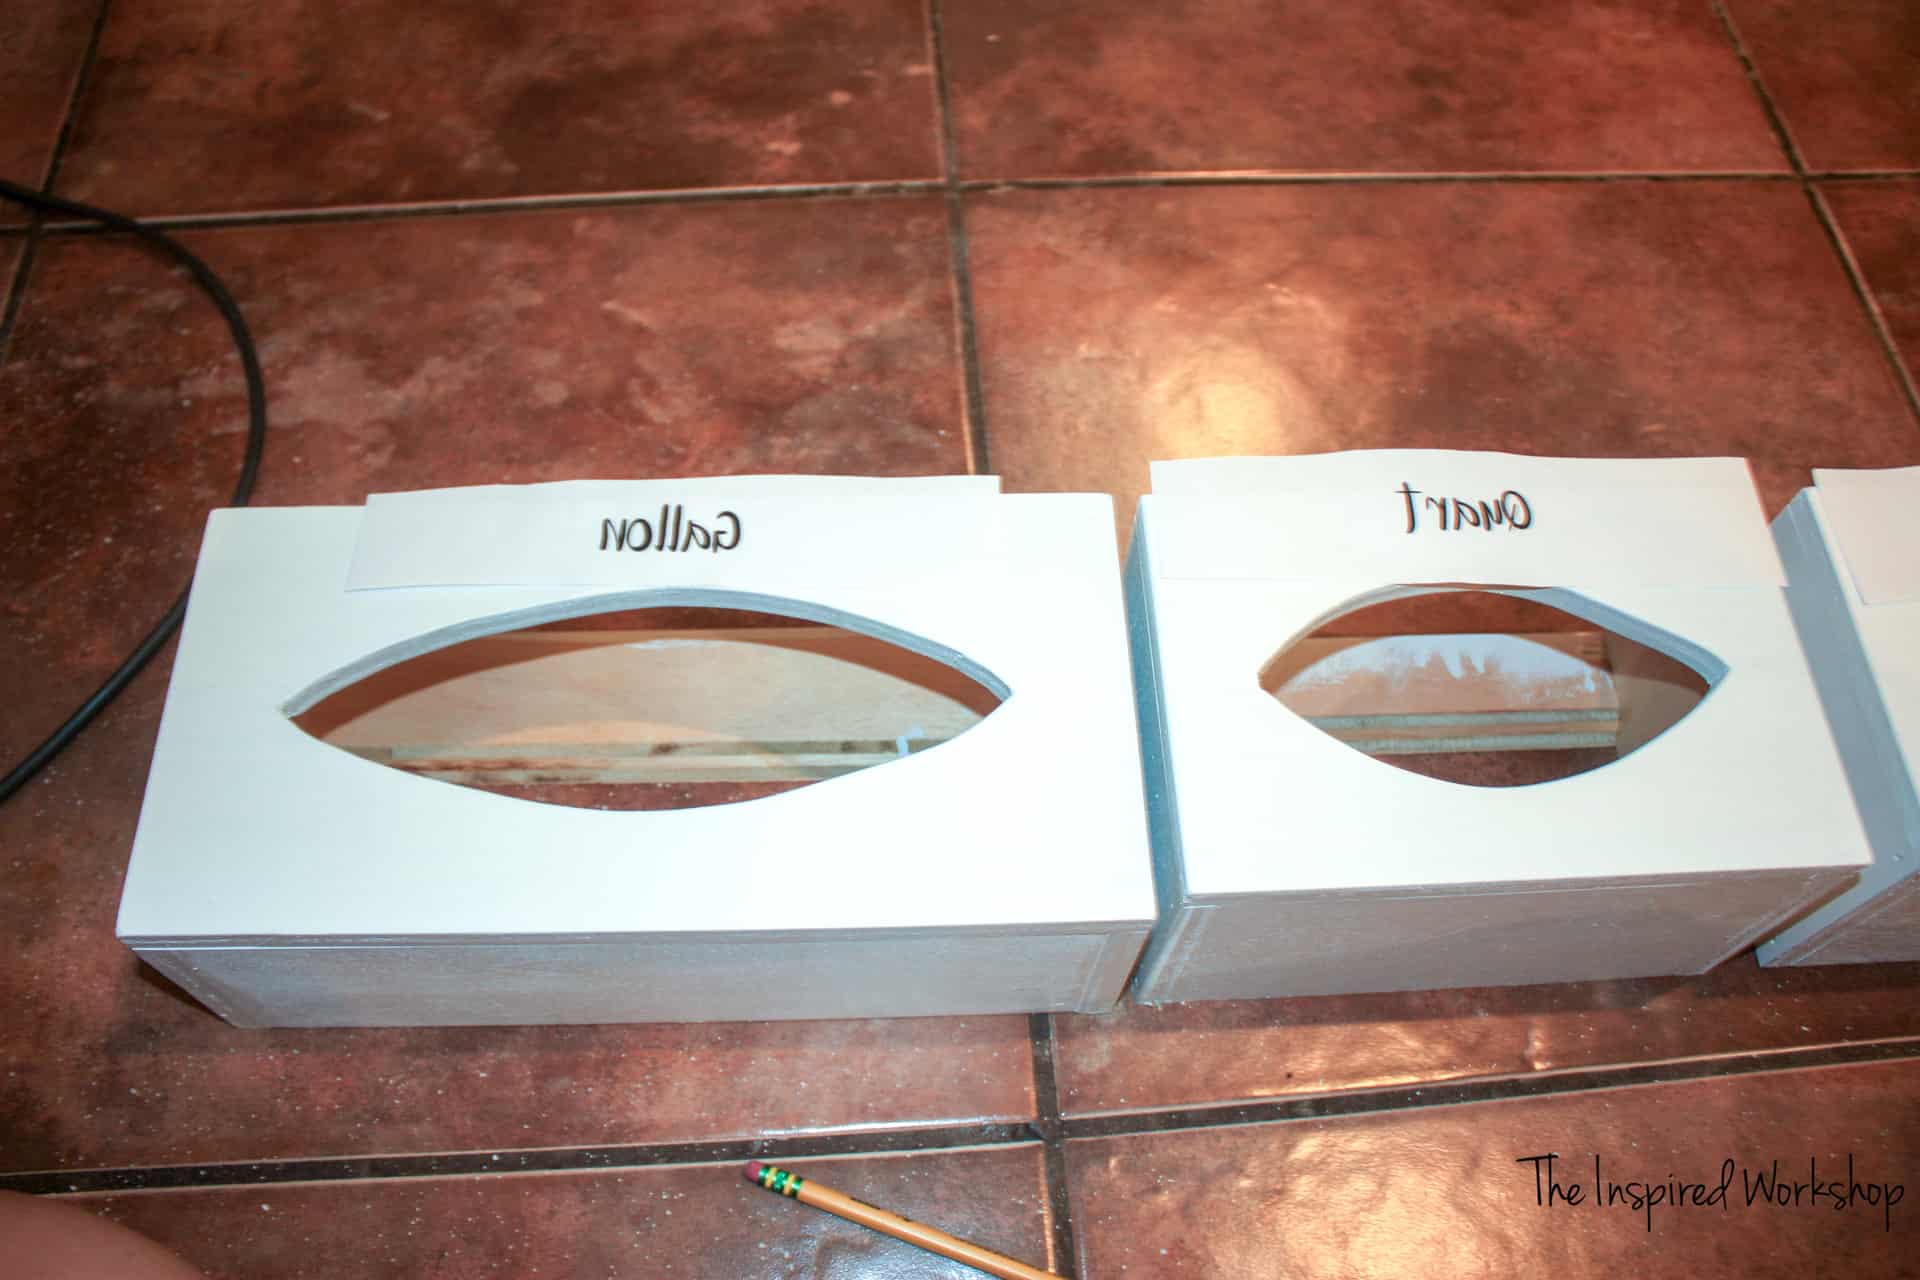
Anyway, why keep chit-chatting when you could already have a couple of these babies built!🤭 I built two different sizes to accompany gallon size bags, and then the sandwich bags and quart size bags were ultimately the same sizes. I realized in looking at all the gazillion box sizes at Walmart, that it really only changed size when you bought more of a select size!
I bought the medium/large size boxes in the three sizes because if you build them, you can always have a smaller size in a box with extra room but you can’t really work it the other way! Lol!
These really are too easy for a printable version of ‘plans’ so I will just walk you through step by step and you should be able to easily whip up your very own set of Ziploc bag storage in a jiffy!
Want to see some other awesome builds that I have done that will make your life easier and more organized? Check out this cool cup dispenser for your solo cups or this wine dispenser if you enjoy a glass of wine every now and again!
Gathering Supplies for Ziploc Bag Storage Organizer
* NOTE: Links below may be affiliate links! Affiliate links are links that allow me to make a small commission off of your purchase at no extra cost to you! I also provide links that are helpful but not affiliate links as well! If you happen to make a purchase from one of my links, I appreciate it!
Materials for Ziploc Bag Storage:
- 1 – 2×4 project panel (this will make 6 boxes)
- various size ziploc bags
- wood glue
- saw
- brad nailer
- 3/4″ brad nails
- screws to attach boxes to wall
- scroll saw or jig saw
- drill
- drill bit
Cut List:
Gallon Size:
1 – 1/2″ piece cut down to 12 1/2″ x 6″ (front)
2 – 1/2″ piece @ 6″ x 4″ (sides)
1 – 1/2″ piece @ 11 1/2″ x 4″ (bottom)
2 – 1/2″ pieces @ 11 1/2″ x 2″ beveled at 45 degrees off square along one whole edge to create a french cleat to hang
Quart and Sandwich Size:
1 – 1/2″ piece cut down to 8 1/2″ x 5 1/2″ (front)
2 – 1/2″ pieces @ 5 1/2″ x 4″(sides)
1 – 1/2″ piece @ 7 1/2″ x 4″ (bottom)
2 – 1/2″ pieces @ 7 1/2″ x 2″ beveled 45 degrees off square along one whole edge to create a french cleat to hang
I can’t wait to create more of them for my trash bags and so many other items! The ideas just keep coming and I can’t build the stuff fast enough! Lol!
Building Ziploc Bag Storage Organizer
Step 1
To get started I just cut down all my pieces for one box.

Step 2
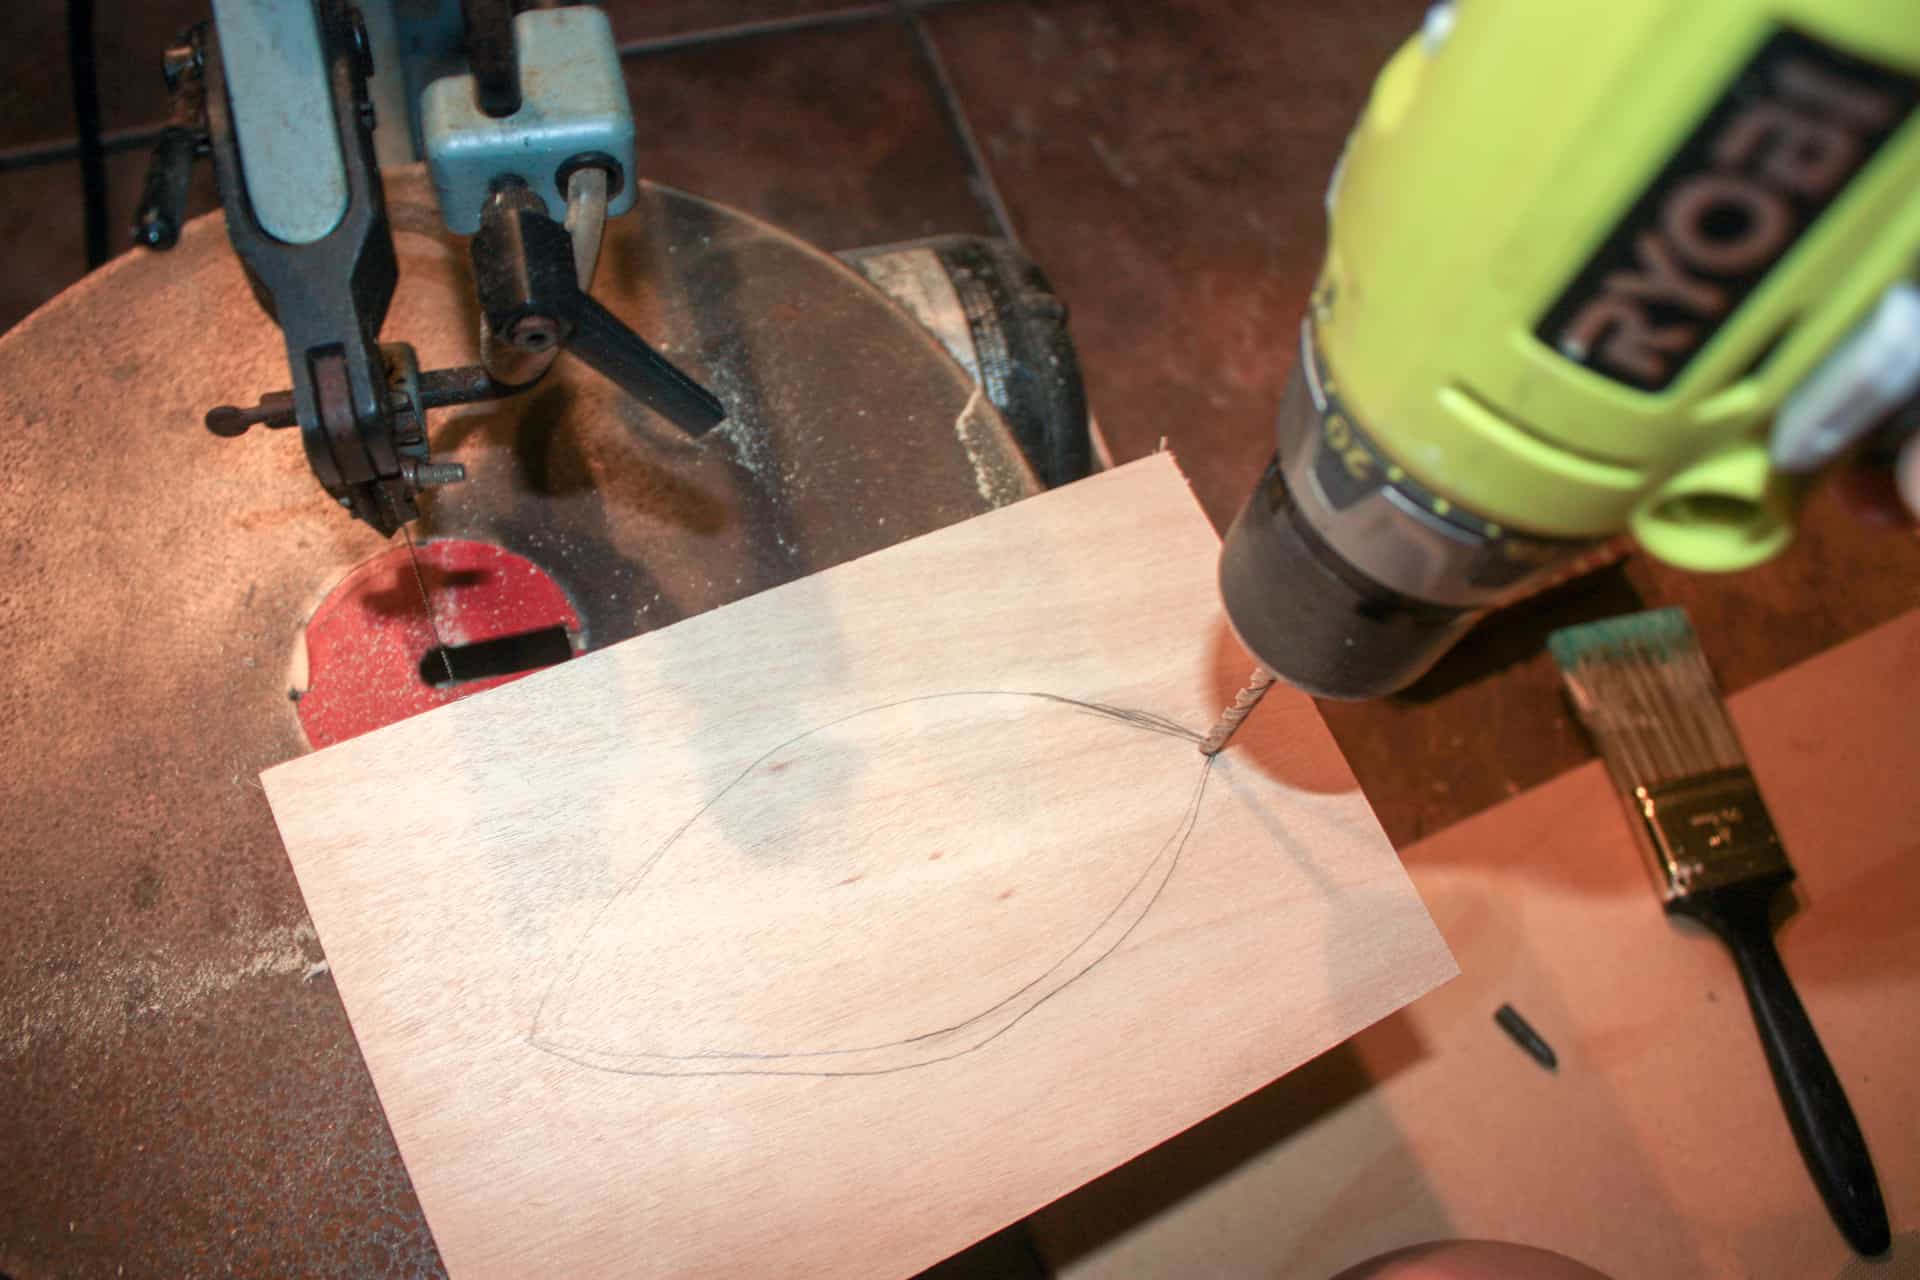
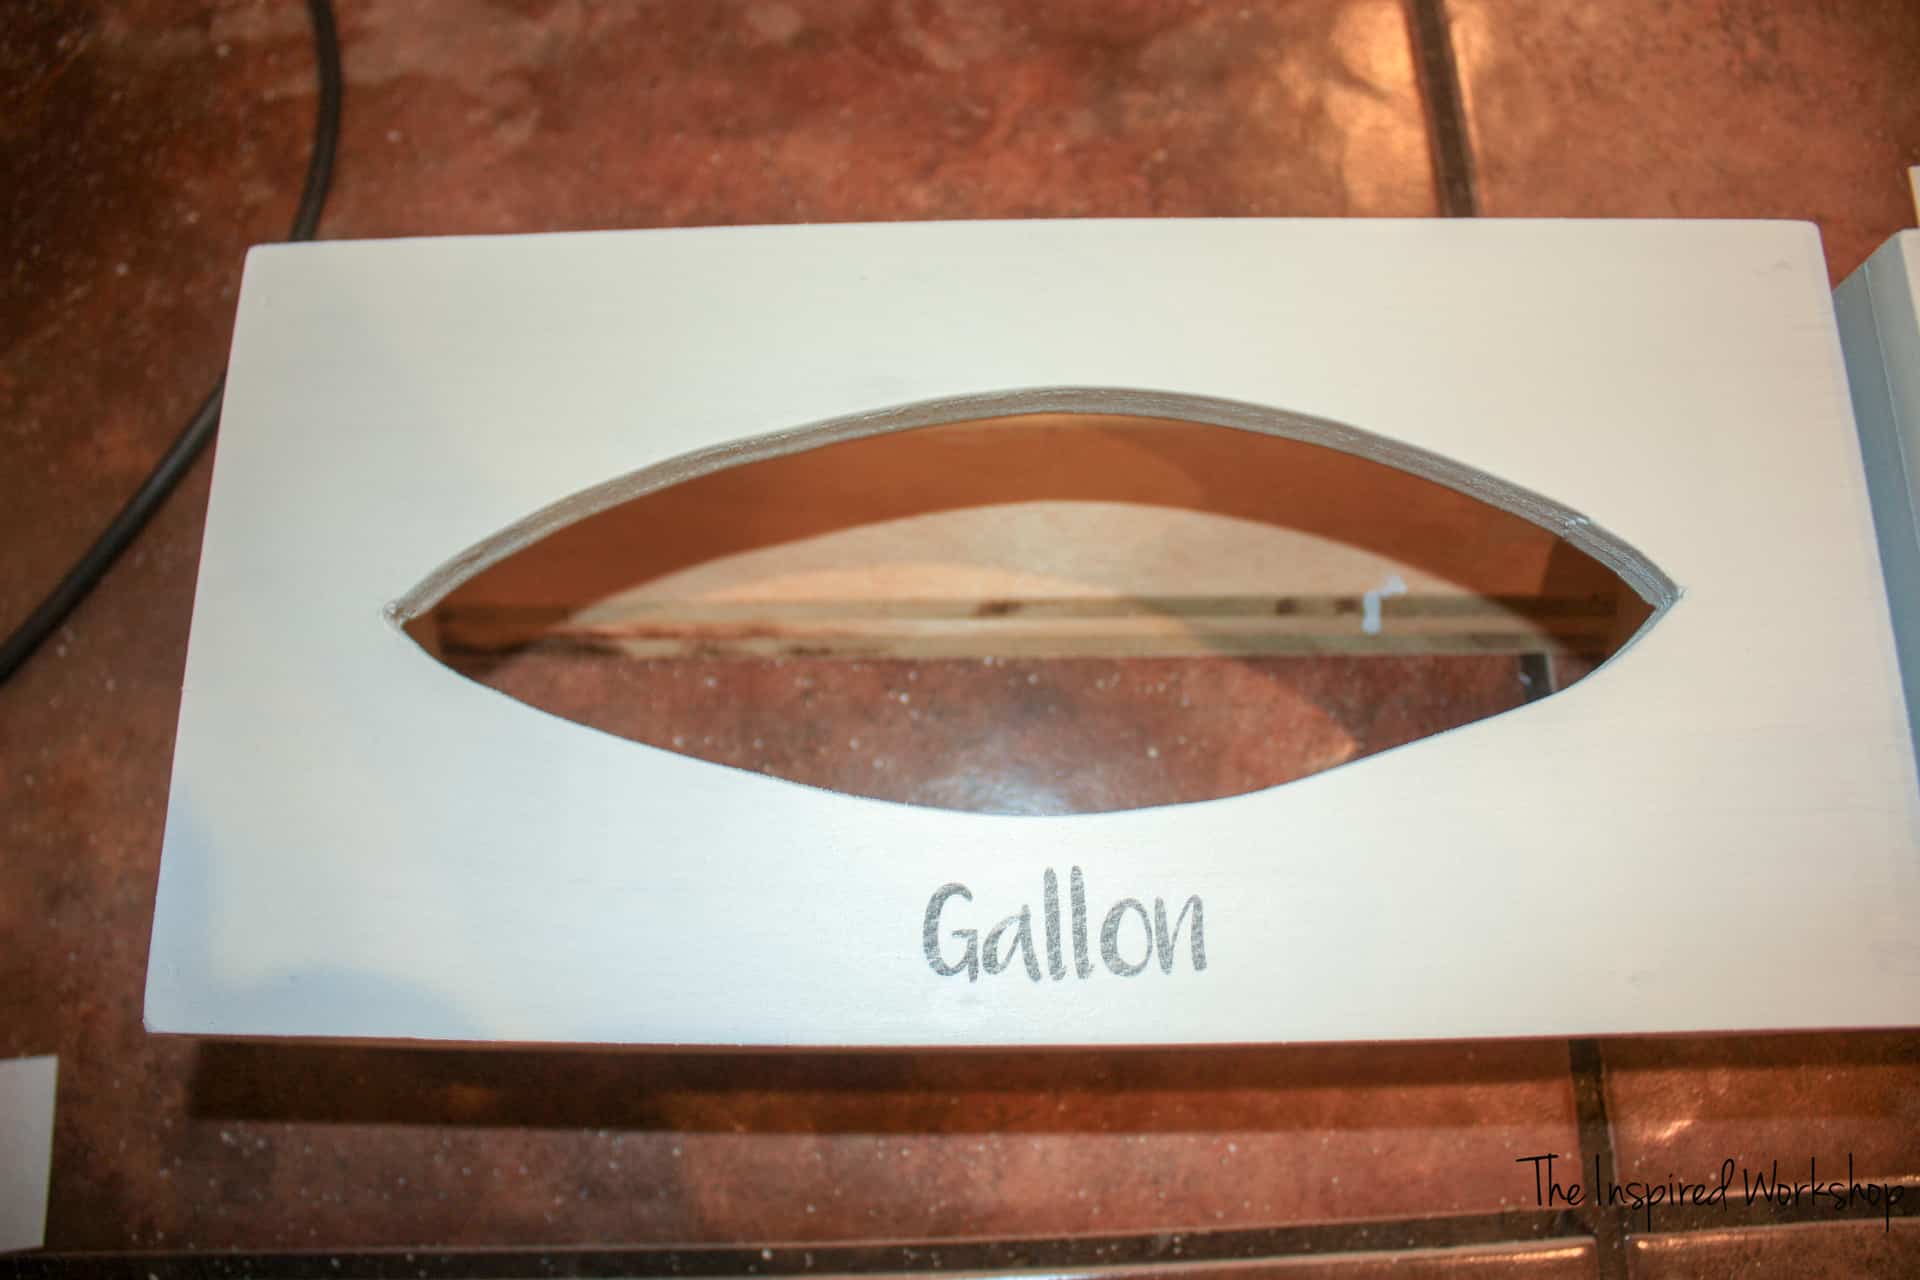
I hand sketched an oval or something like that shape…maybe eye ball-shape!🤔 And drilled a hole to start the scroll saw or jigsaw blade.
Step 3
I cut the shape, whatever you want to call it, out with the scroll saw to make the space to grab the bag!
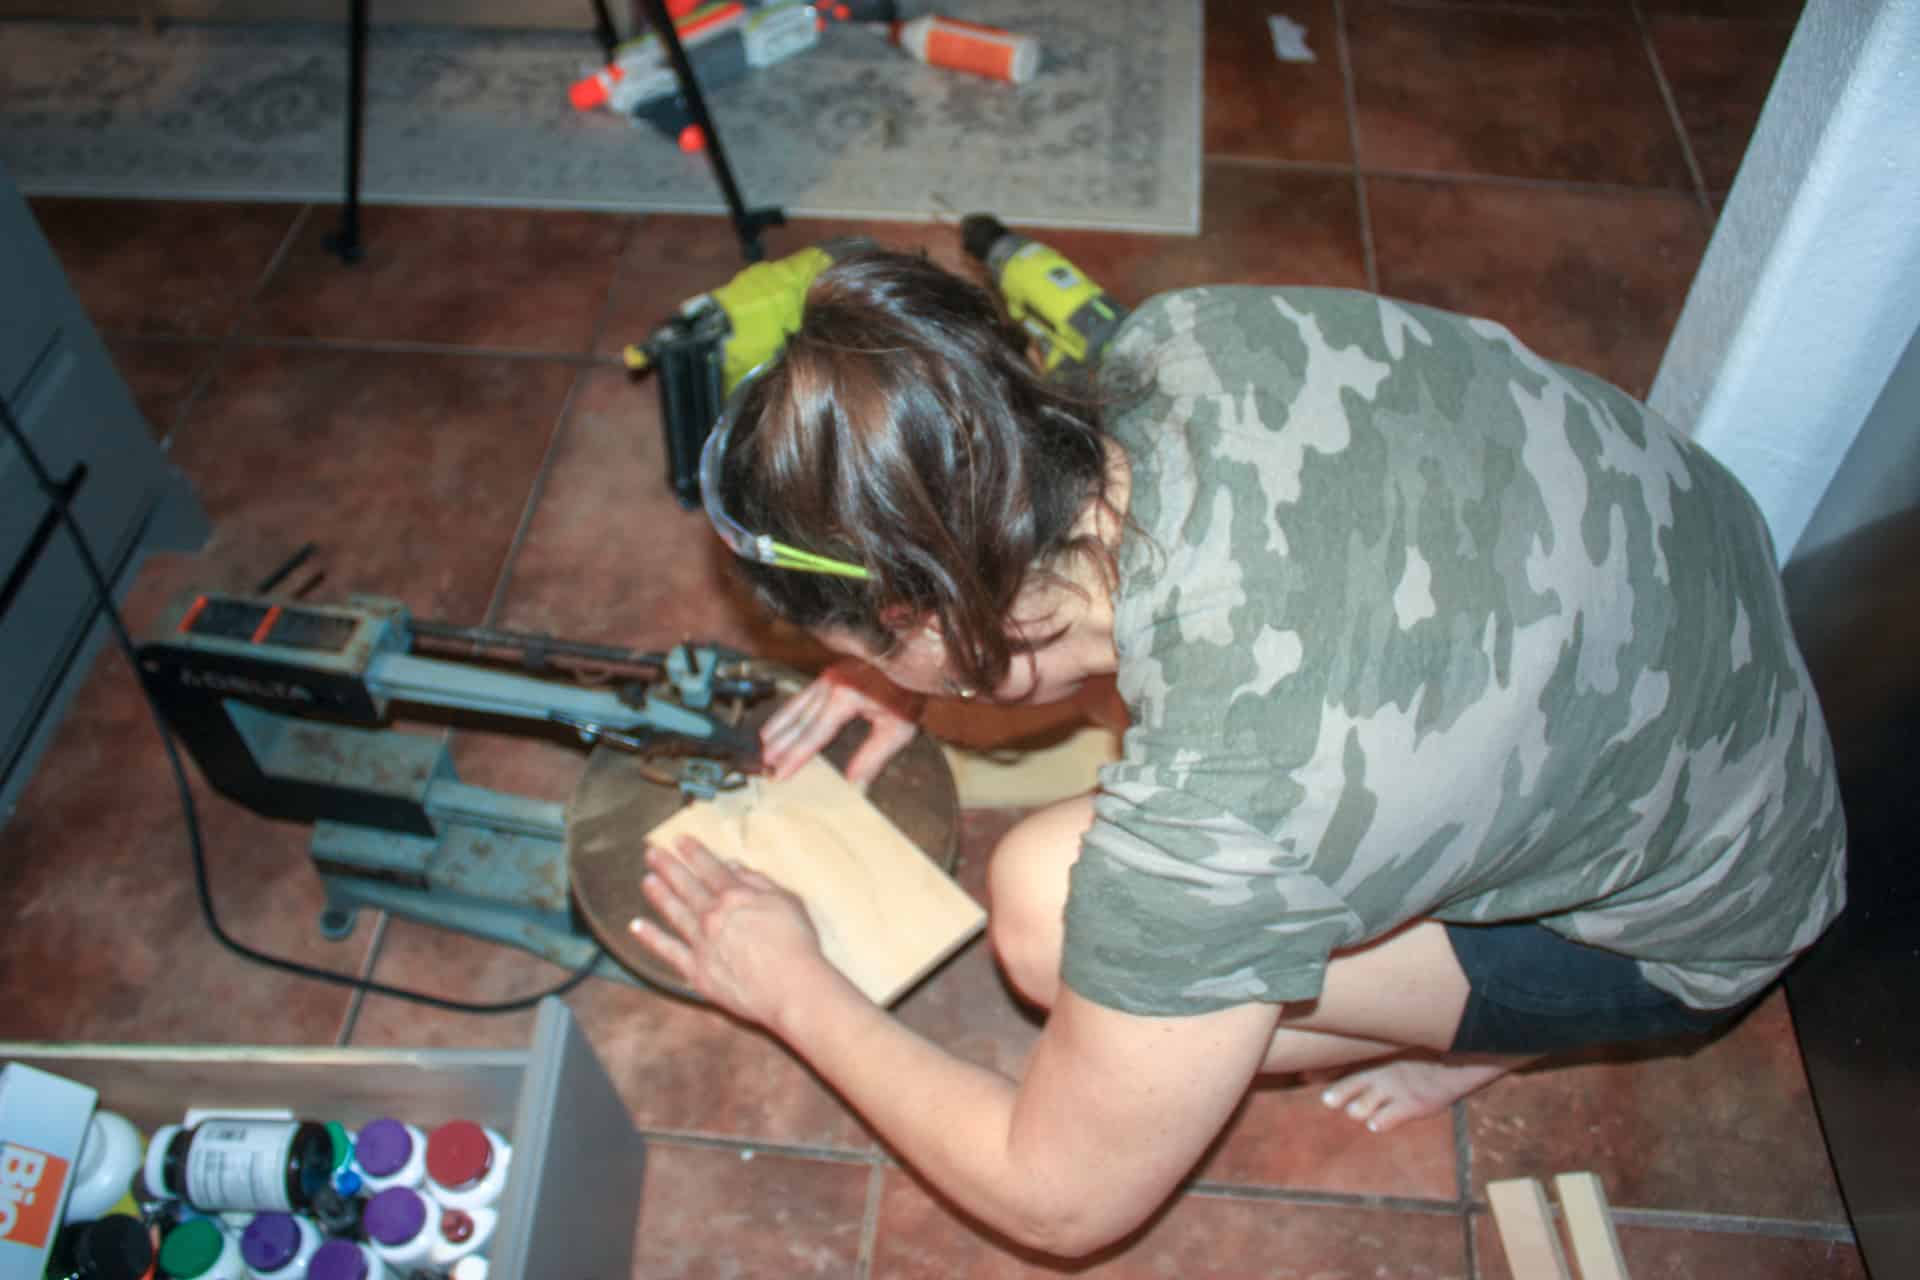
Don’t mind me over here trying to keep warm inside the house making the cuts for this Ziploc bag storage organizer instead of in the garage! Lol! I love how little dust the scrollsaw makes, I can easily vacuum it up when I am done and it doesn’t go all over the place!
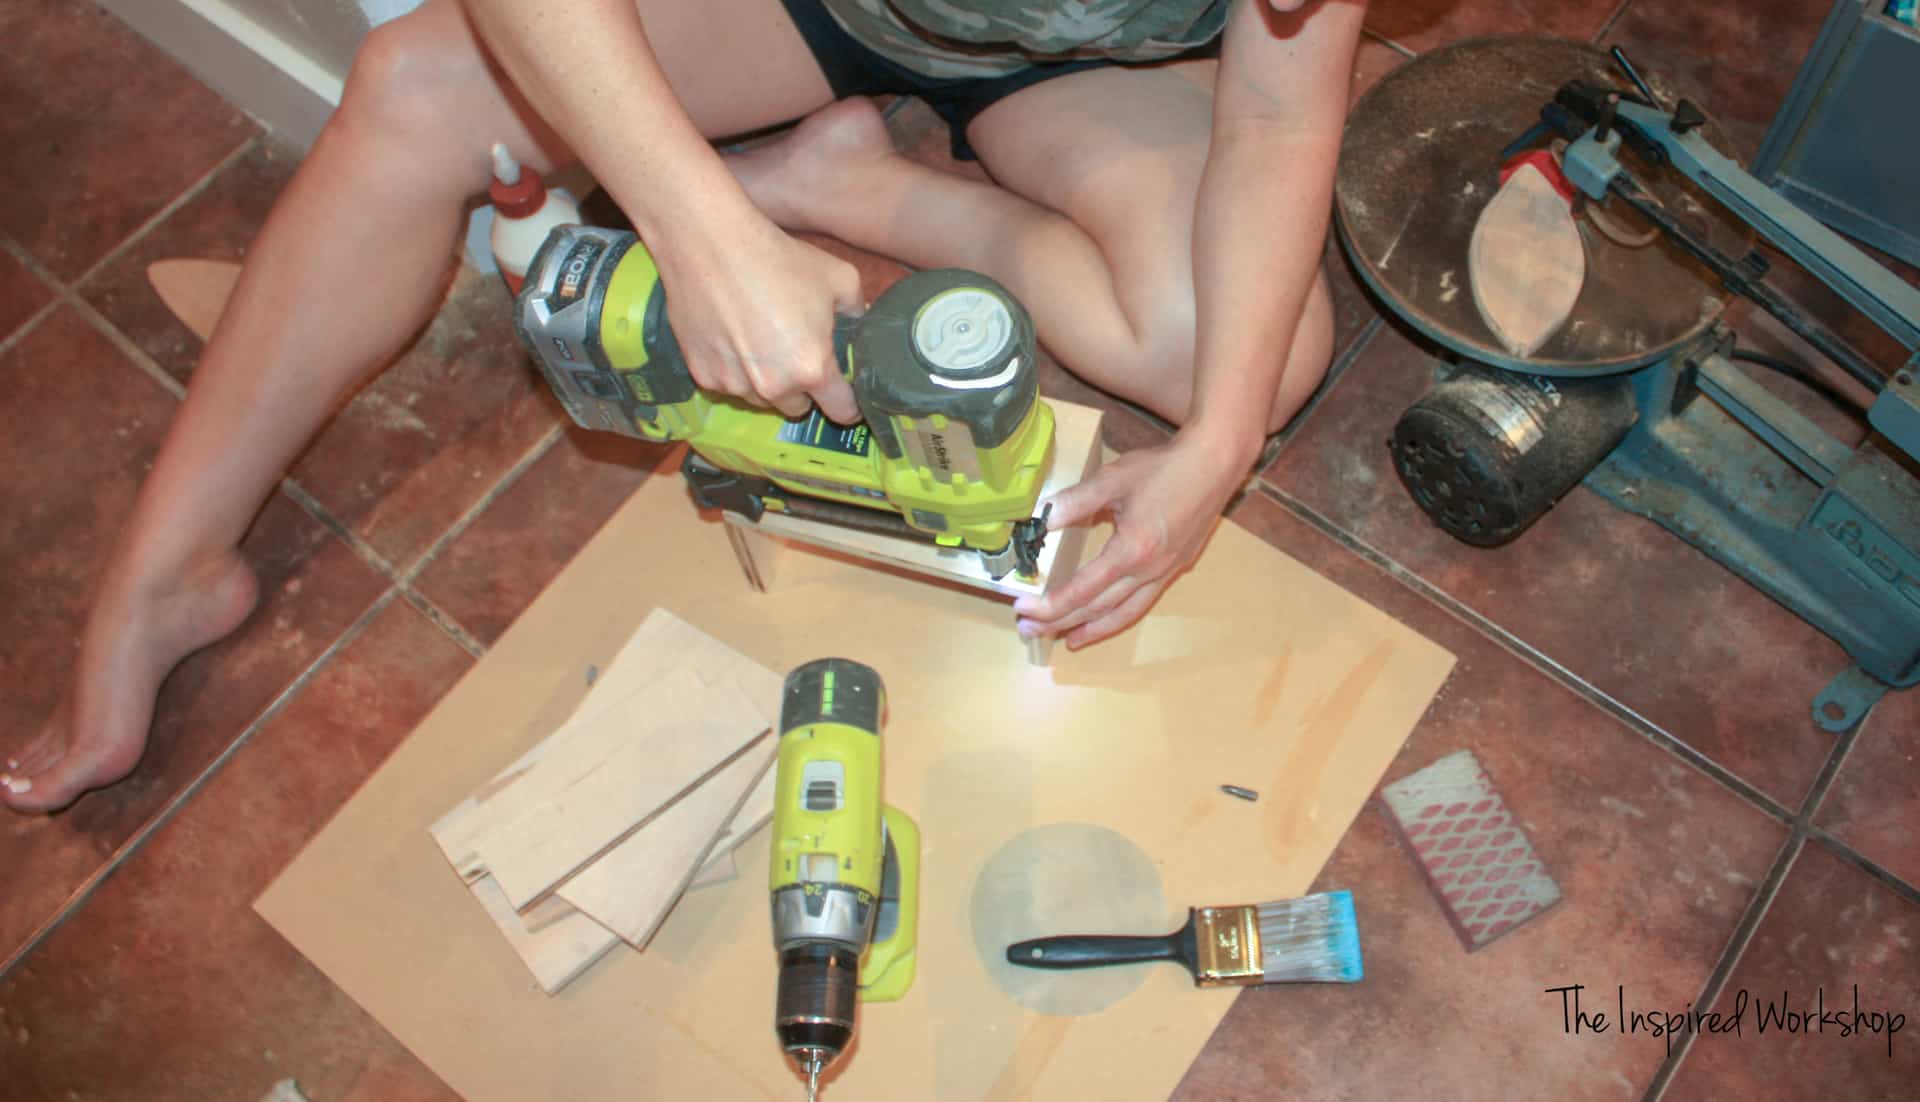
Step 4
Add a little glue to the sides and set the front that you just cut onto them and brad nail them in place. The front should be flush with the edges.

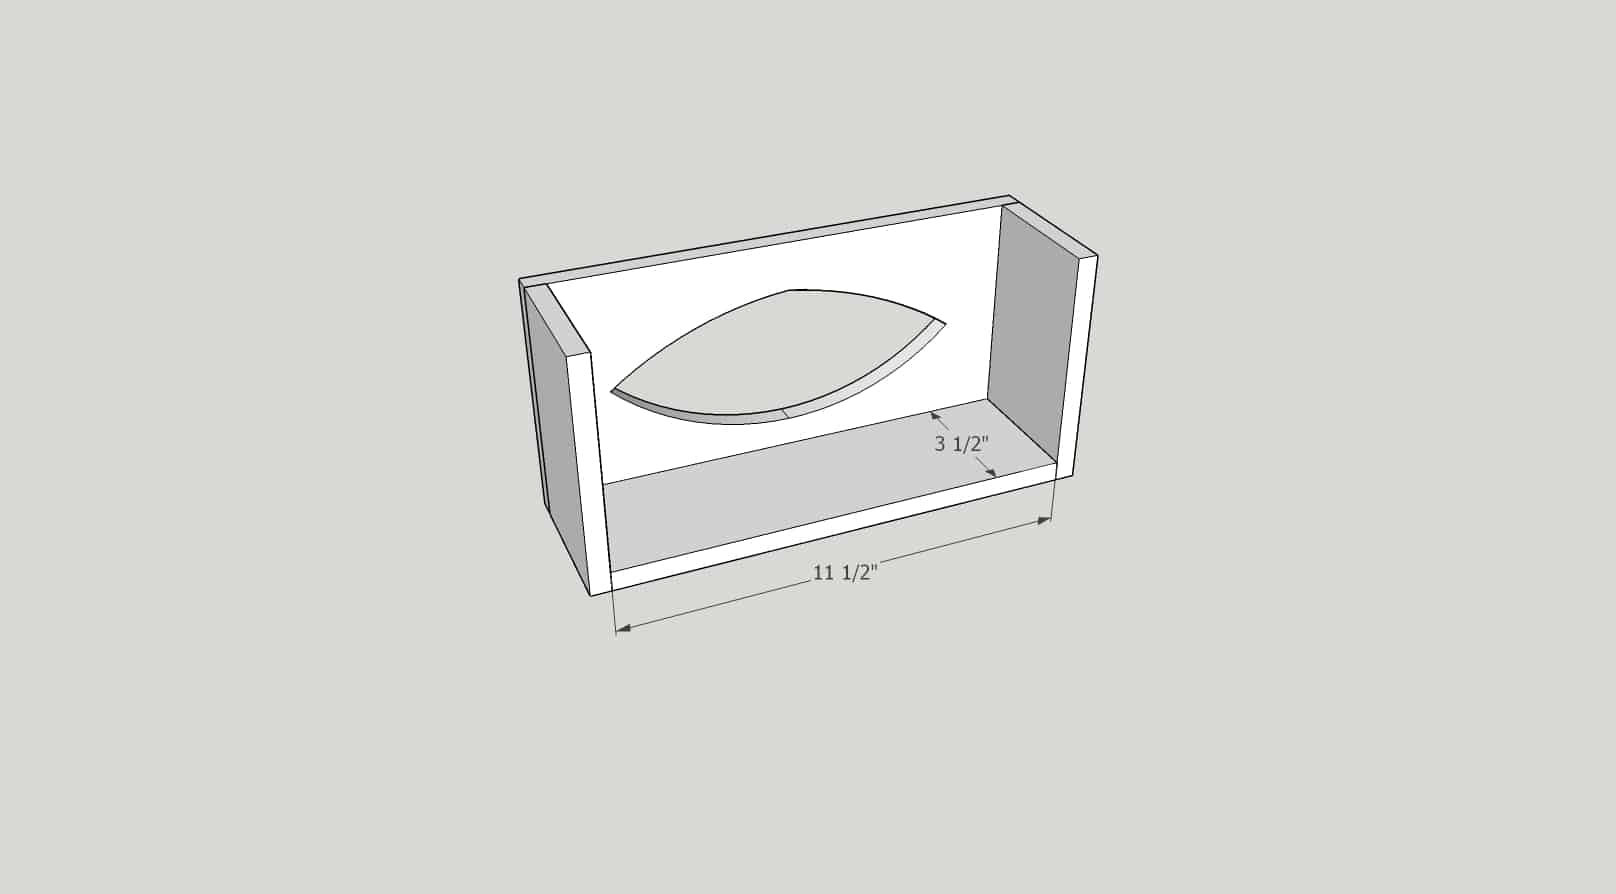
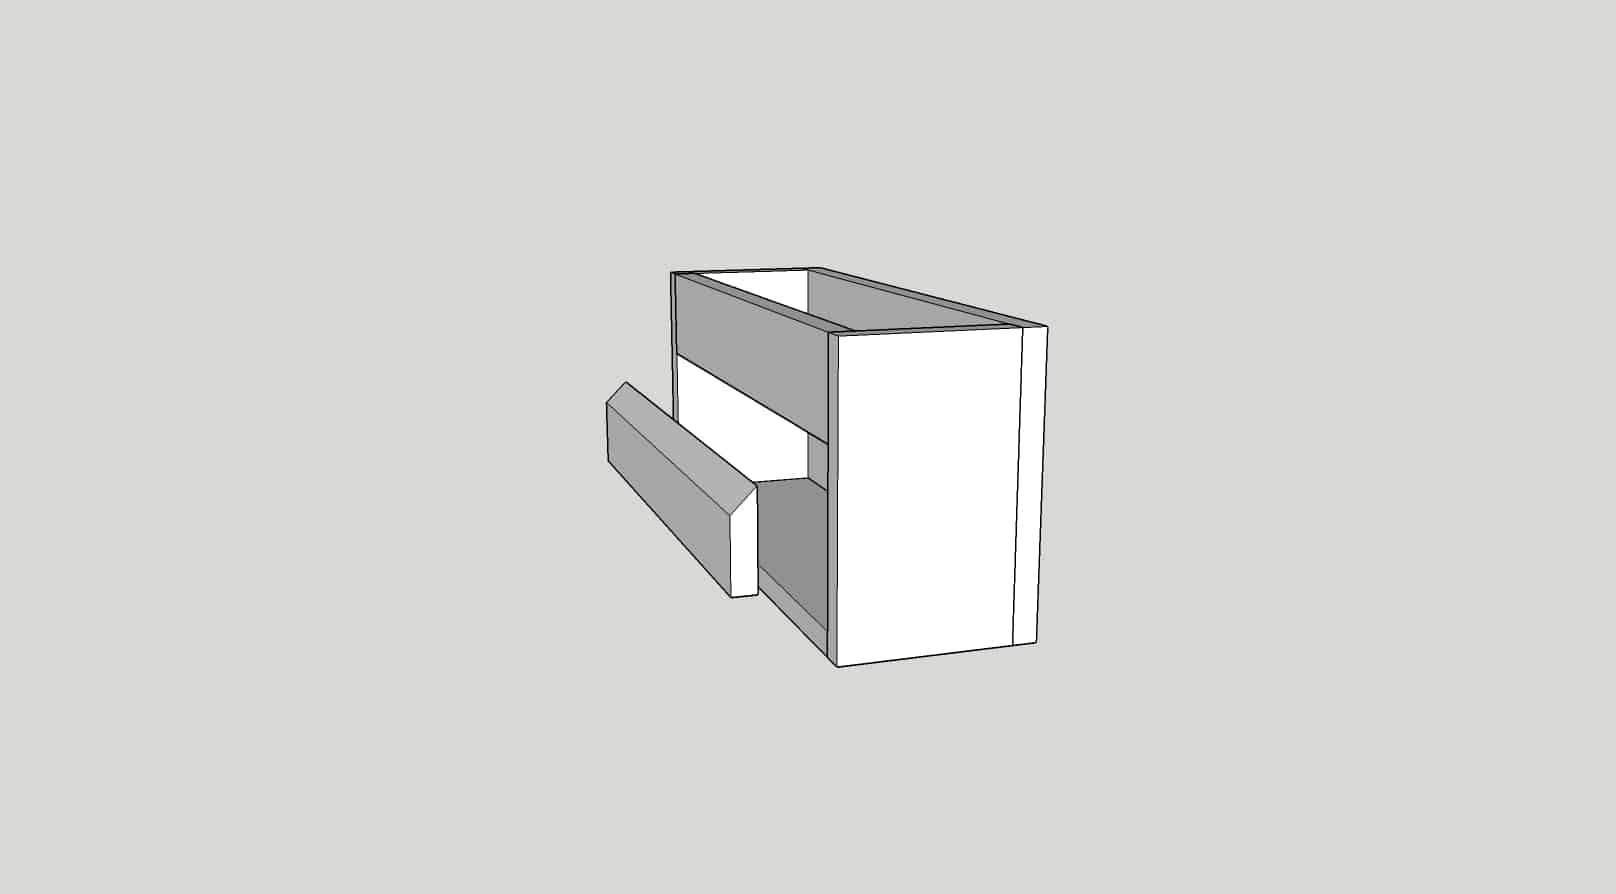
Step 5
Add glue to the bottom and brad nail it as well. This is where I found out after I finished my boxes that my photographer had quit🤪…so Sketchup pics will have to do!
Step 6
Add the back, top part of the cleat. Make sure you face it to where it will set inside the one attached to the wall later…place the long edge towards the back! Glue and brad nail it as well.
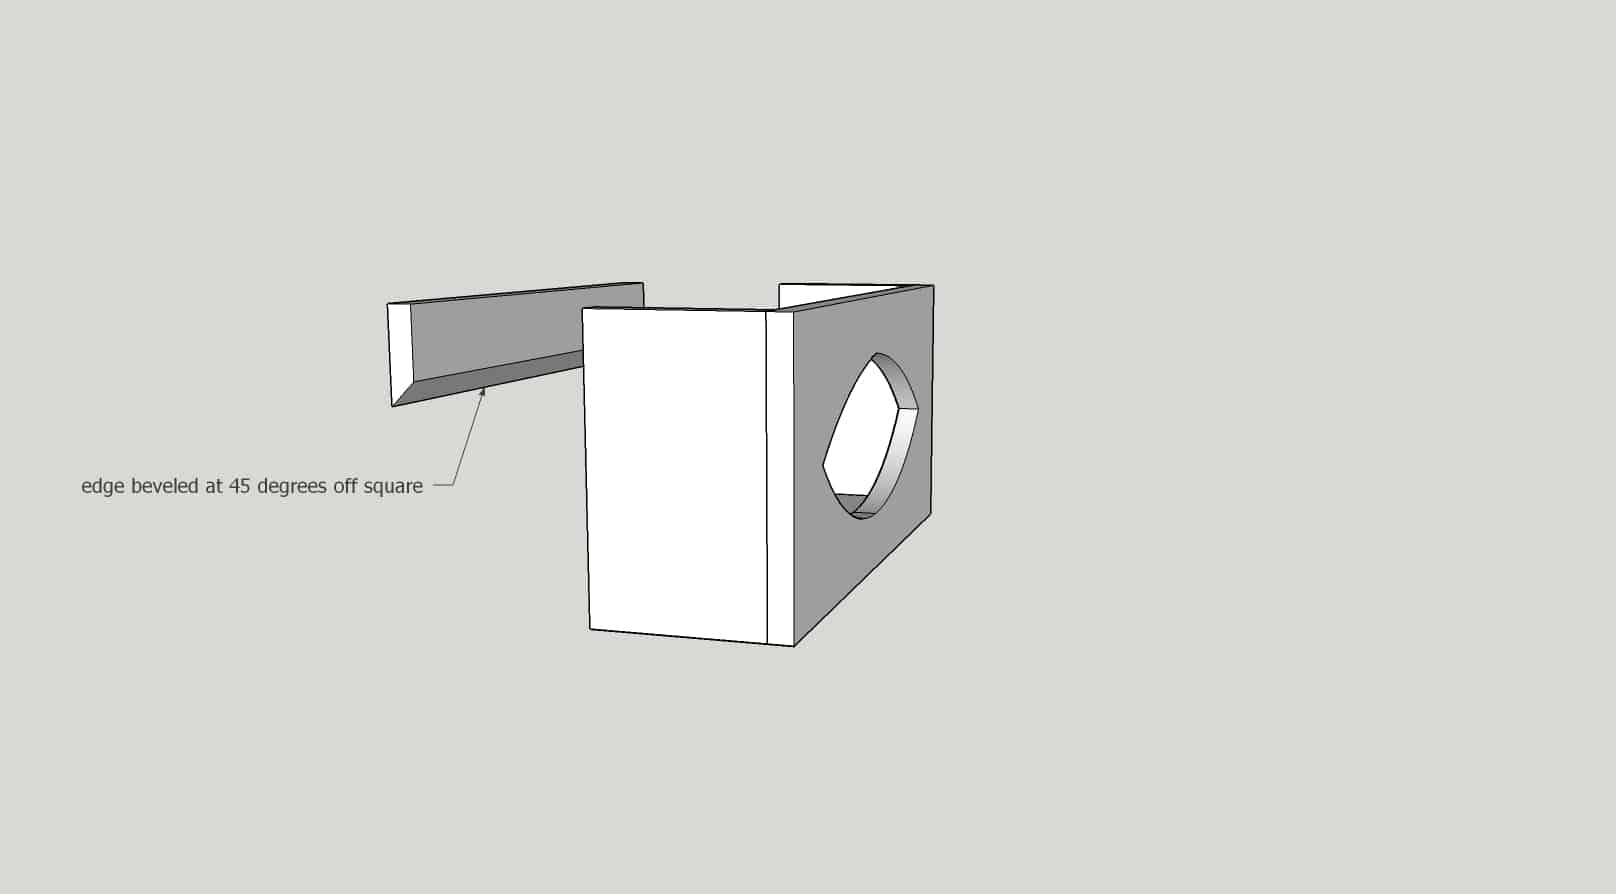

Step 7
Screw the other beveled piece onto the wall. Make sure it is facing where the box can hang on it…place the longest edge to the front.
And yeah, it’s ready for Ziploc bags and a closeup! Dang! That was soooo easy, right?! You betcha! Now repeat it as many times as you want based on how many different kinds/sizes of Ziploc bags you buy!
Paint the Ziploc bag storage, stain them, leave them natural…finish them in any means you would like! And if you want to label them but you are like I am and don’t have a Cricut or similar machine, just print out the words in a font you love, mirror-image them before printing.
Flip the paper over onto the spot you want the word and rub over it with a pencil!
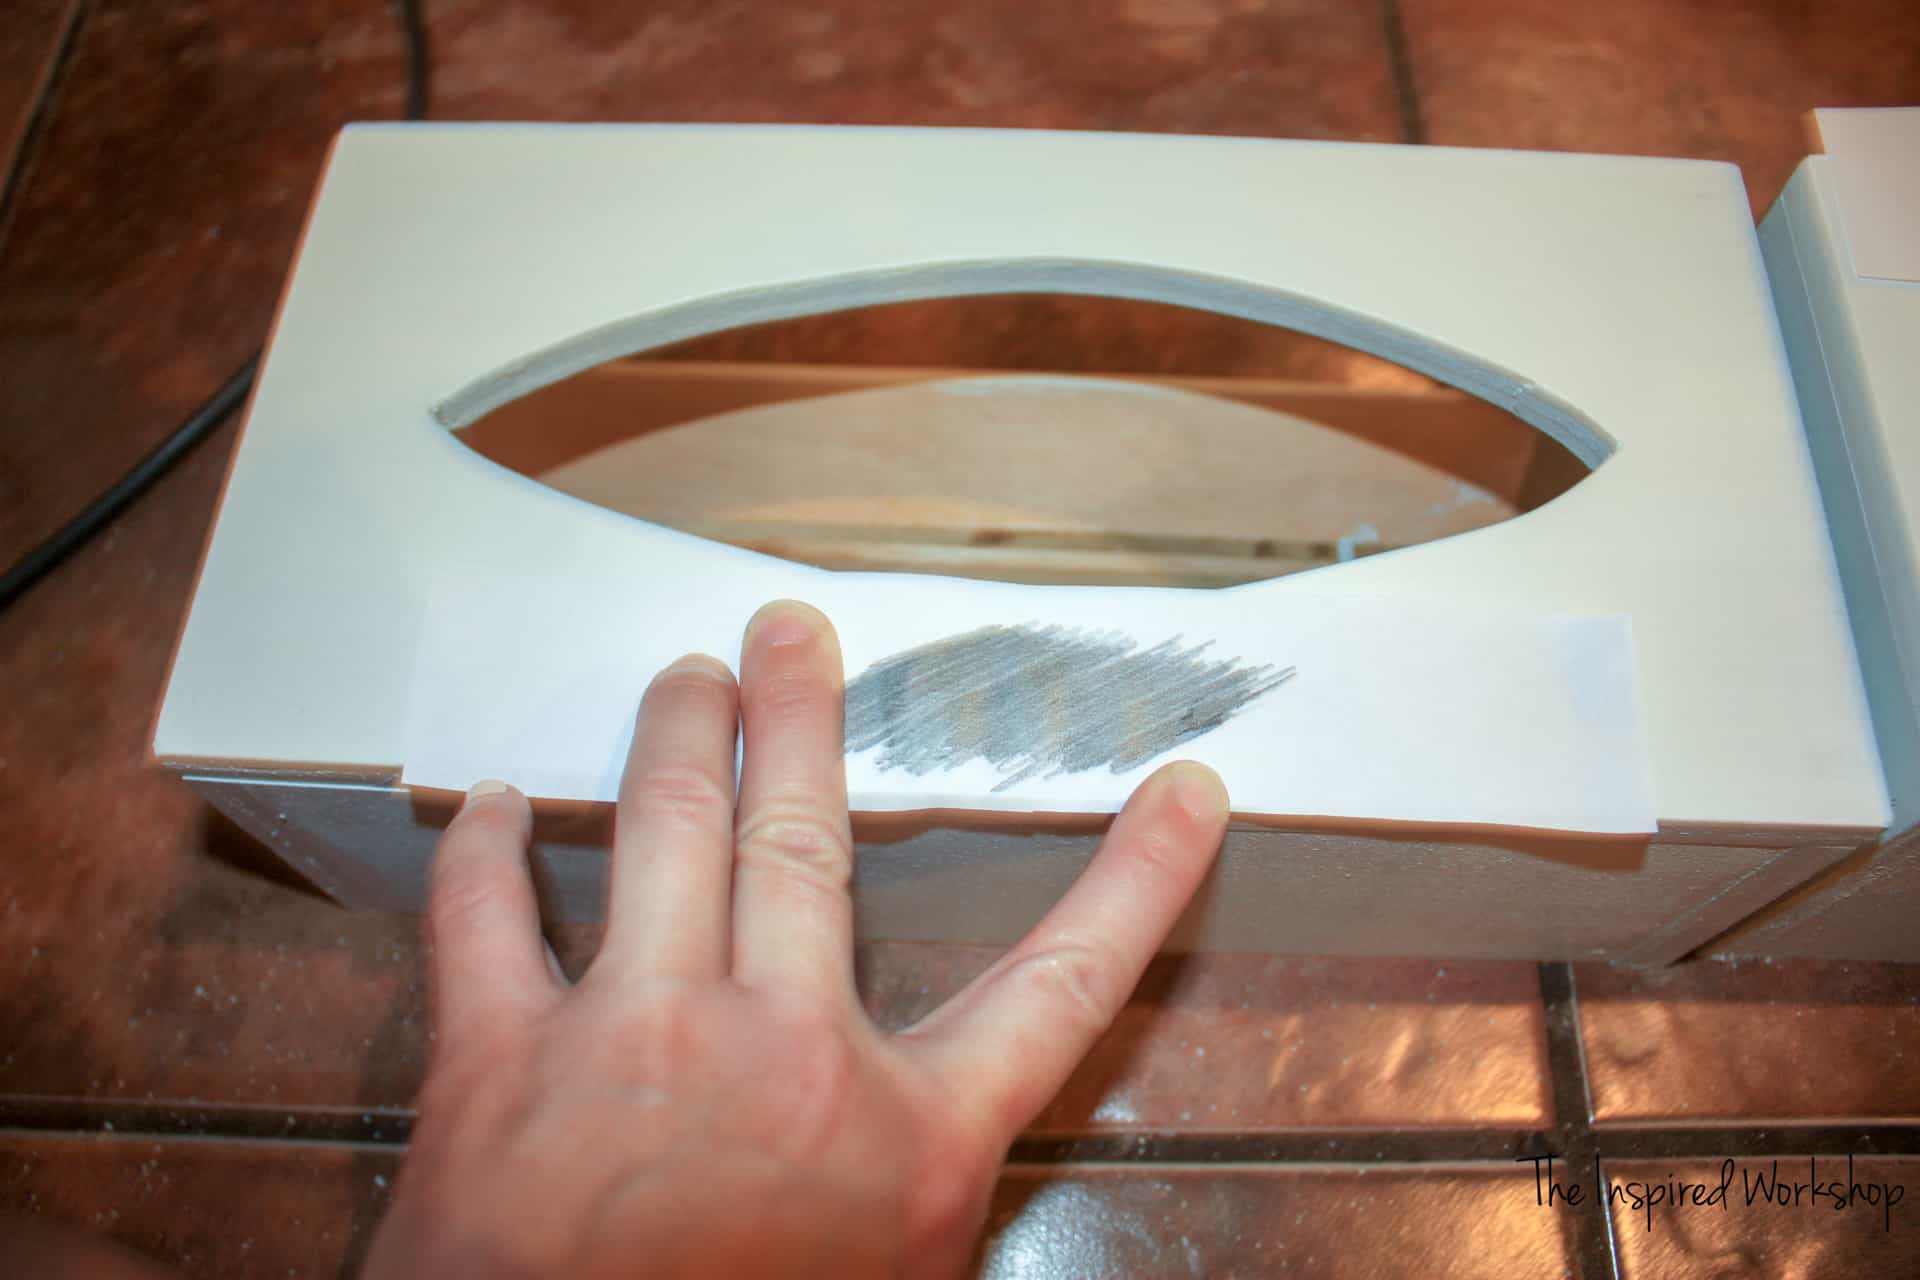
Remove the paper and wowza! That was easier than using a Cricut! If you want it darker, you can go over the word with a paint marker!
Hang them up and enjoy…now I am going to finish cleaning out the pantry!😬 Wish me luck!
Now make sure and go check out the other FABULOUS ladies who created an organizational project today as well! And have a wonderful Monday!
See you soon!

Wanna save this DIY Ziploc Bag Storage Organizer post for later? Pin it!

6 Comments