Skip to content
Stay in the know - Get email updates when I share new projects!
Sign Up
Blog
About
Shop
Contact Me
Privacy Policy
Facebook
Twitter
Instagram
Pinterest
YouTube
The Inspired Workshop
Home
Remodeling
Seasonal
Crafts
Tools
Videos
Homesteading
Furniture
Search
Toggle Menu
The Inspired Workshop
Wall Decor
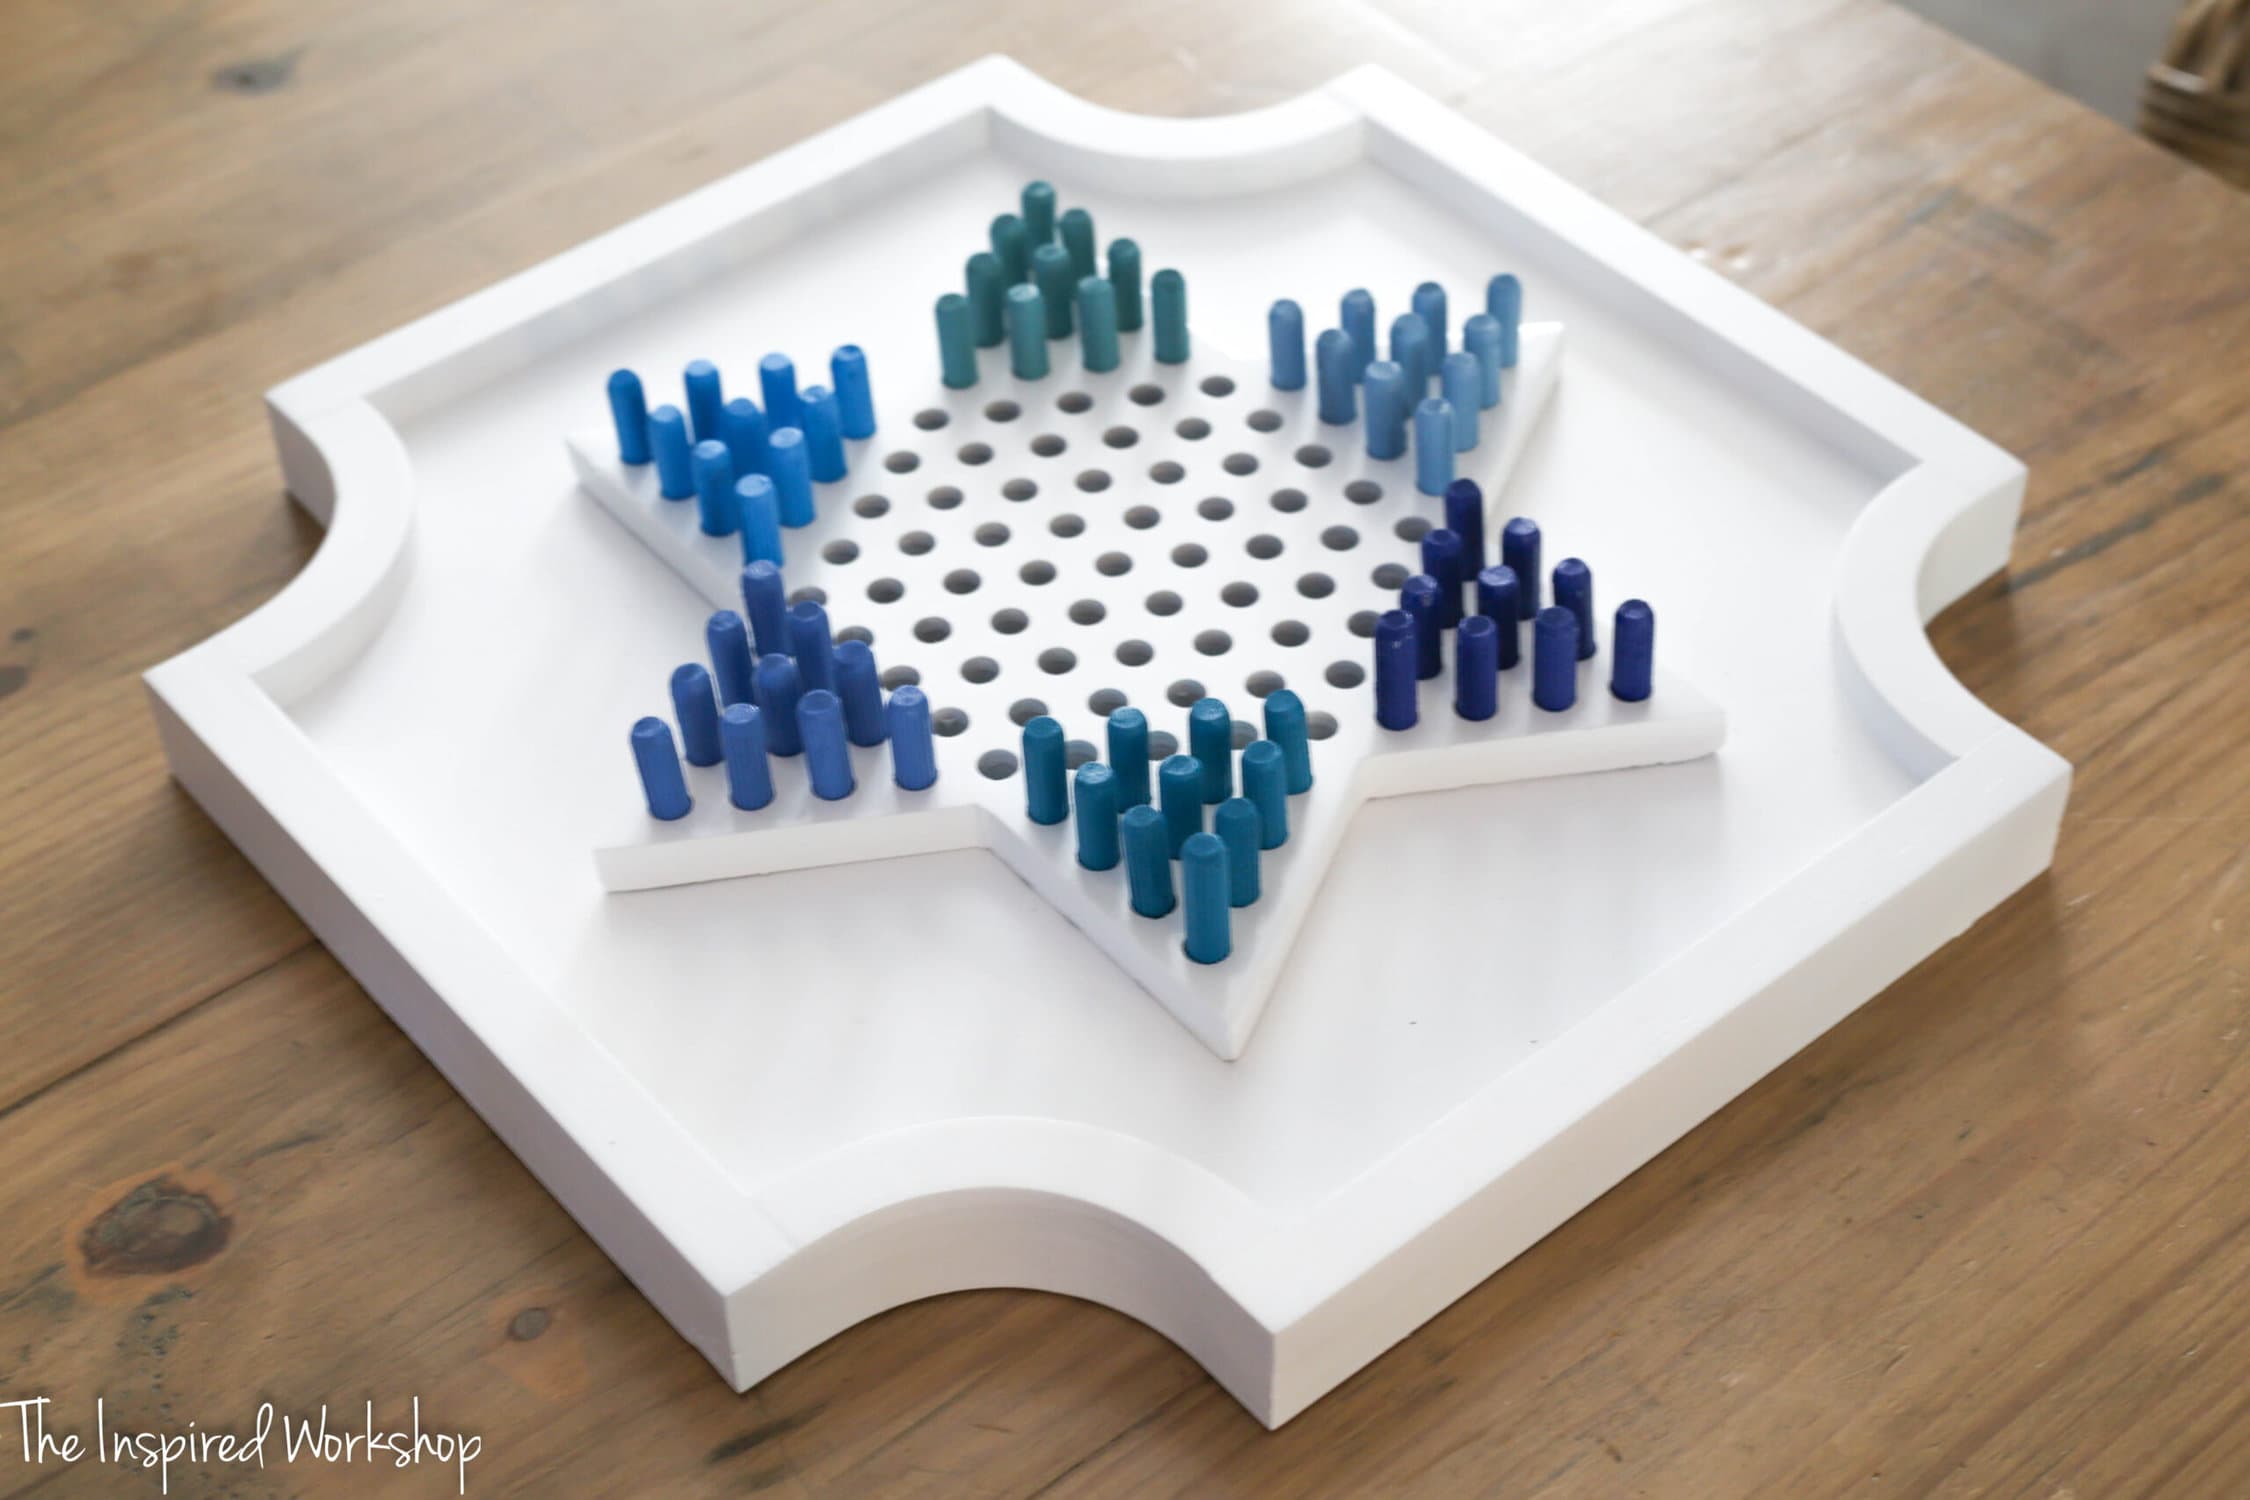
DIY Chinese Checkers Board
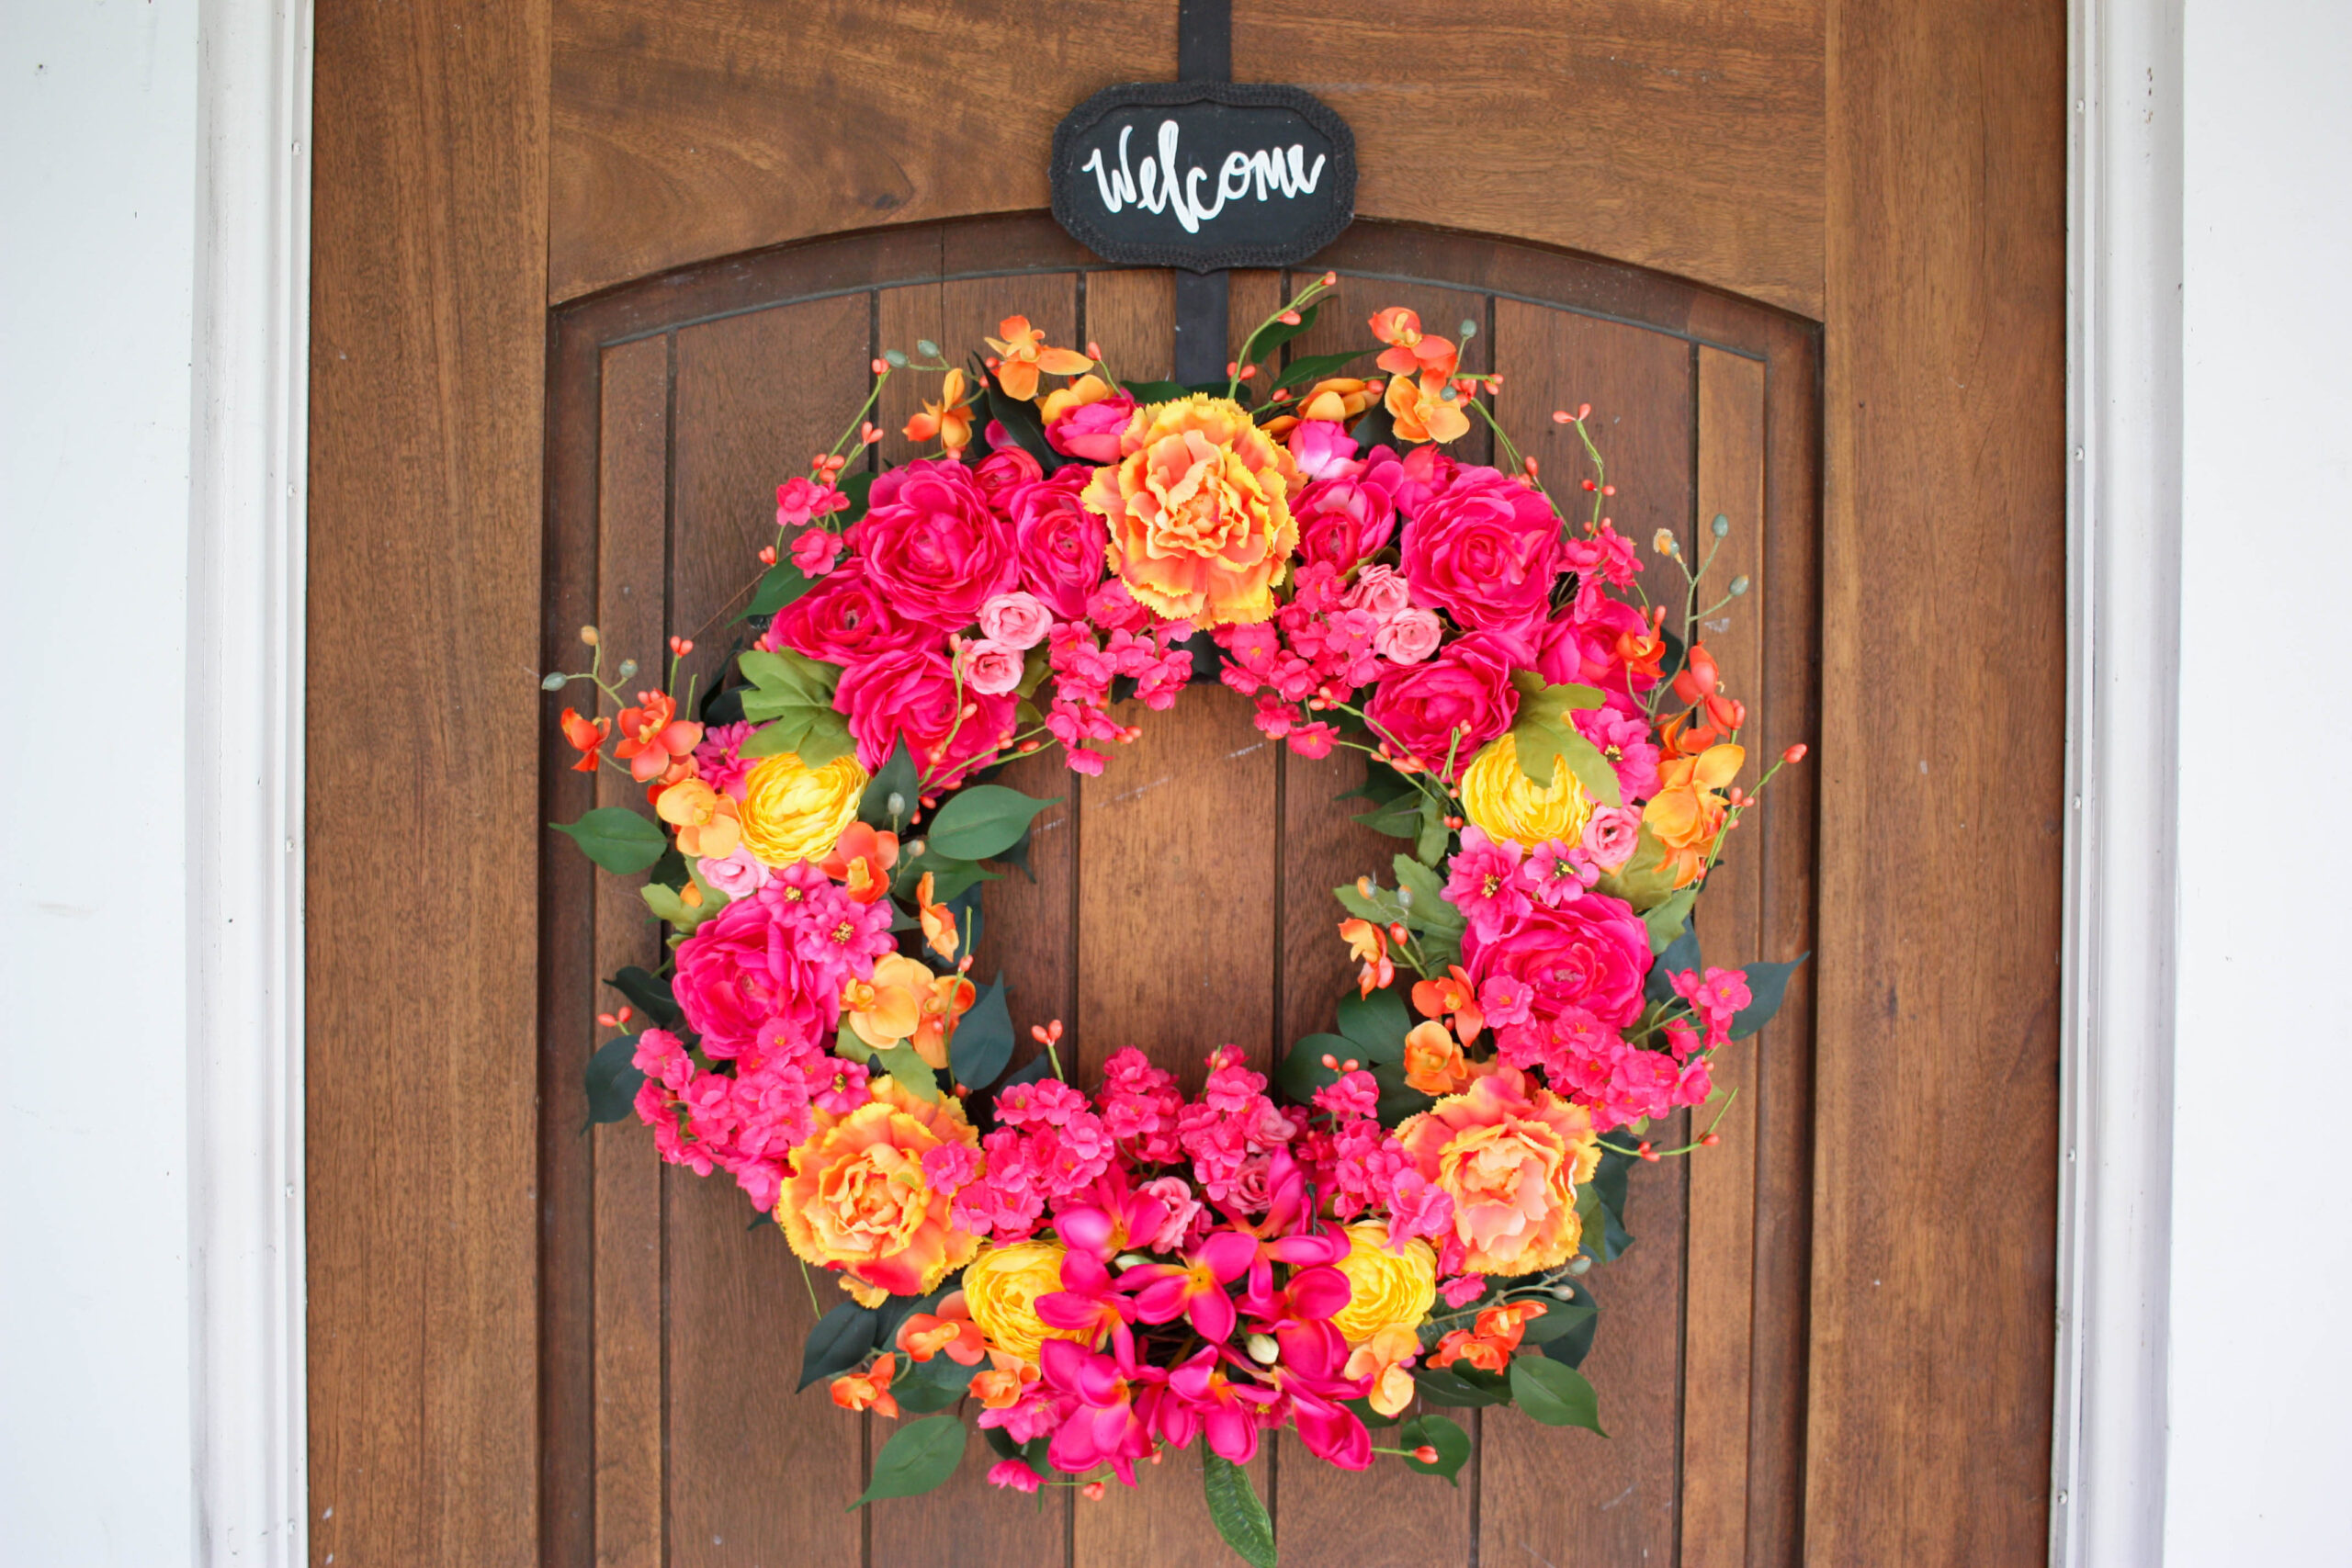
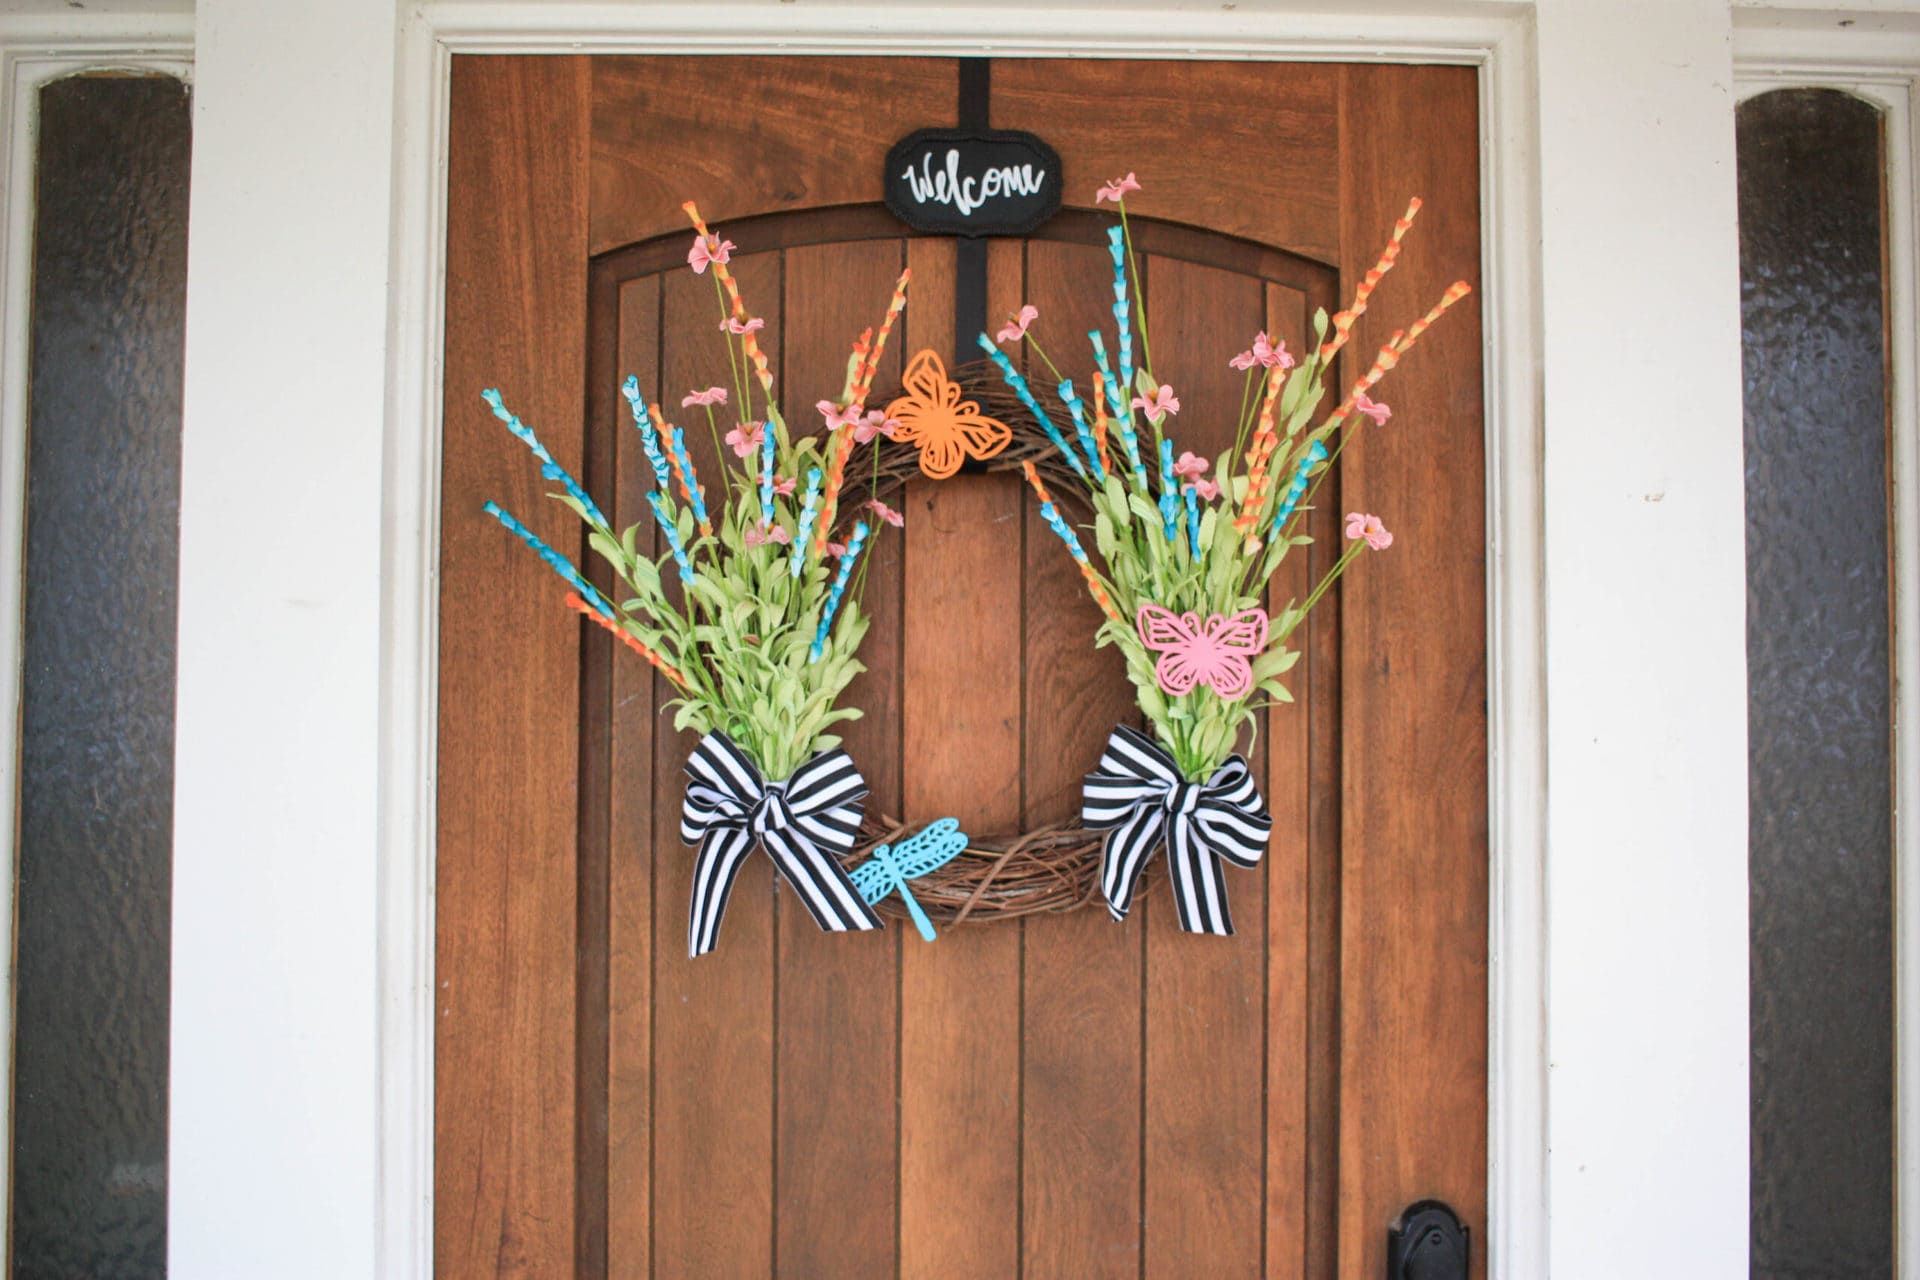
DIY Flower Wreath for Spring
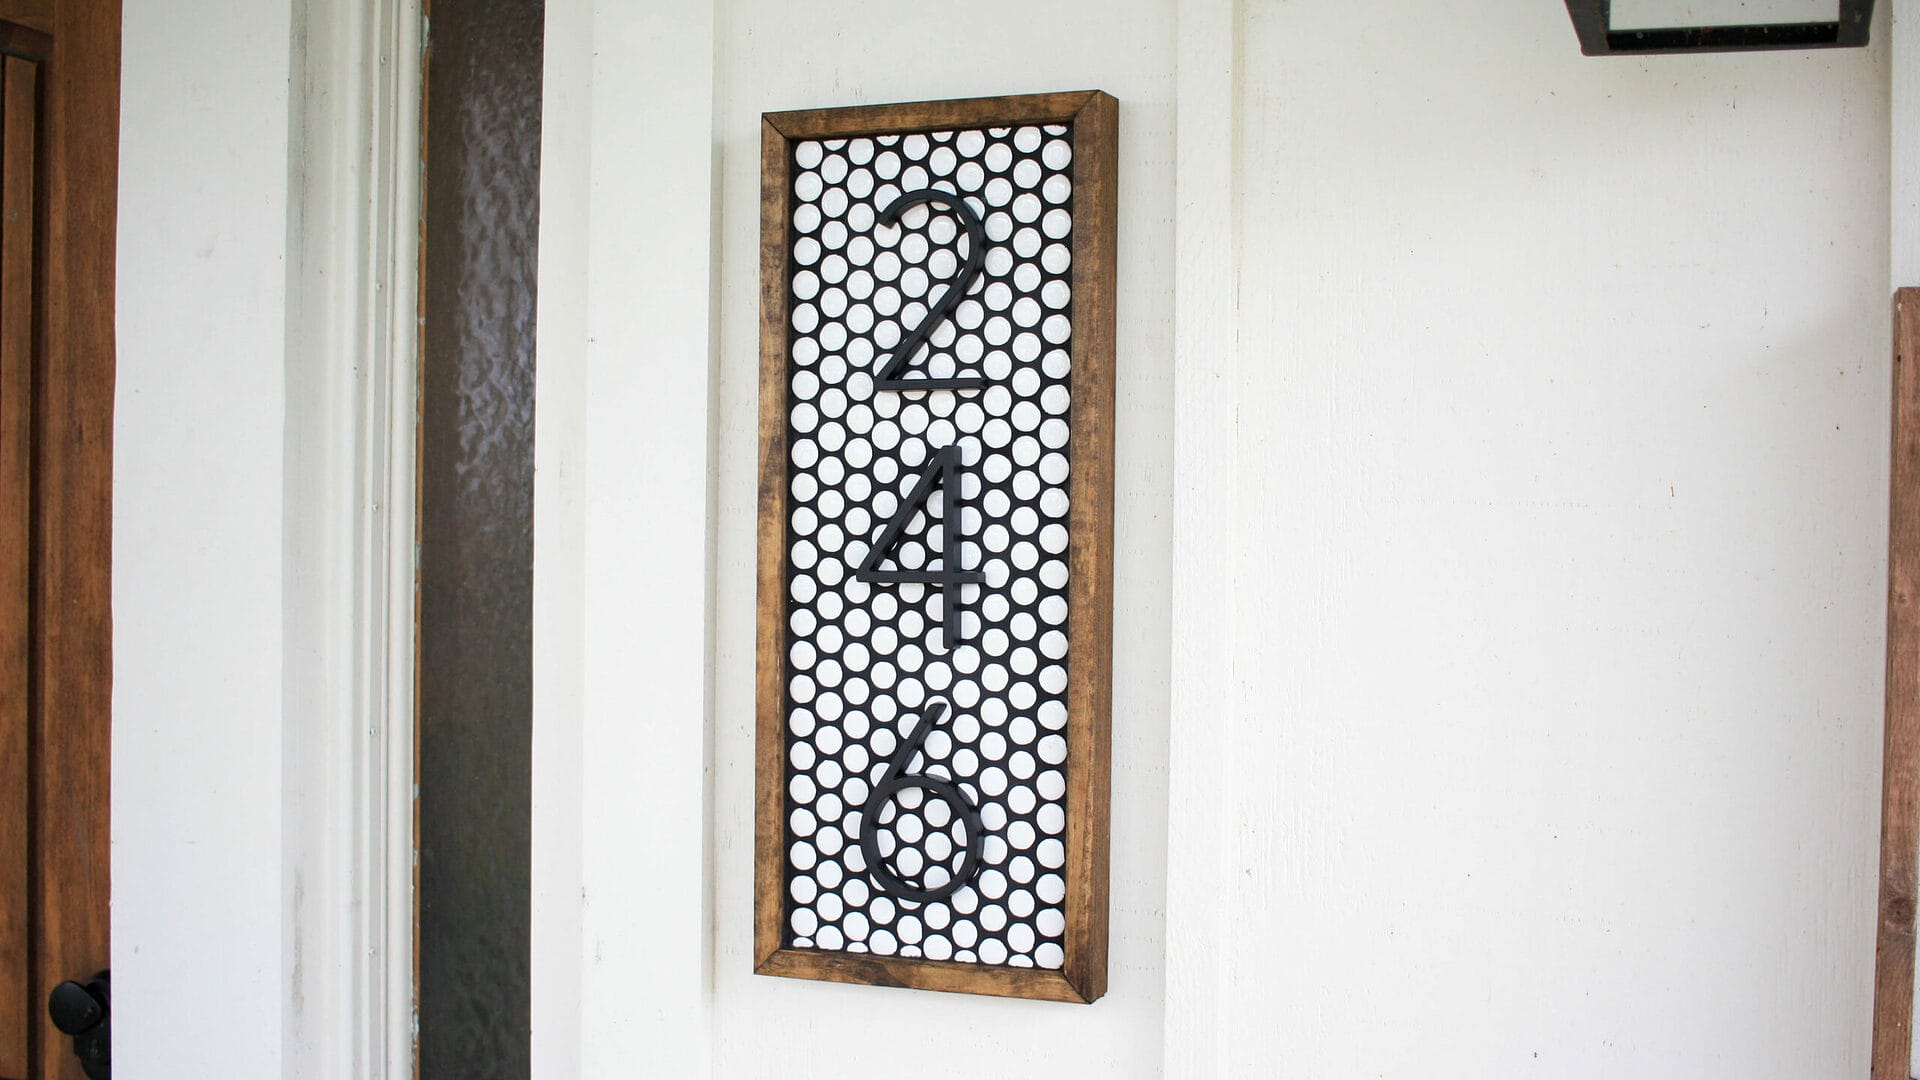
DIY House Number Sign
DIY Feather Wreath
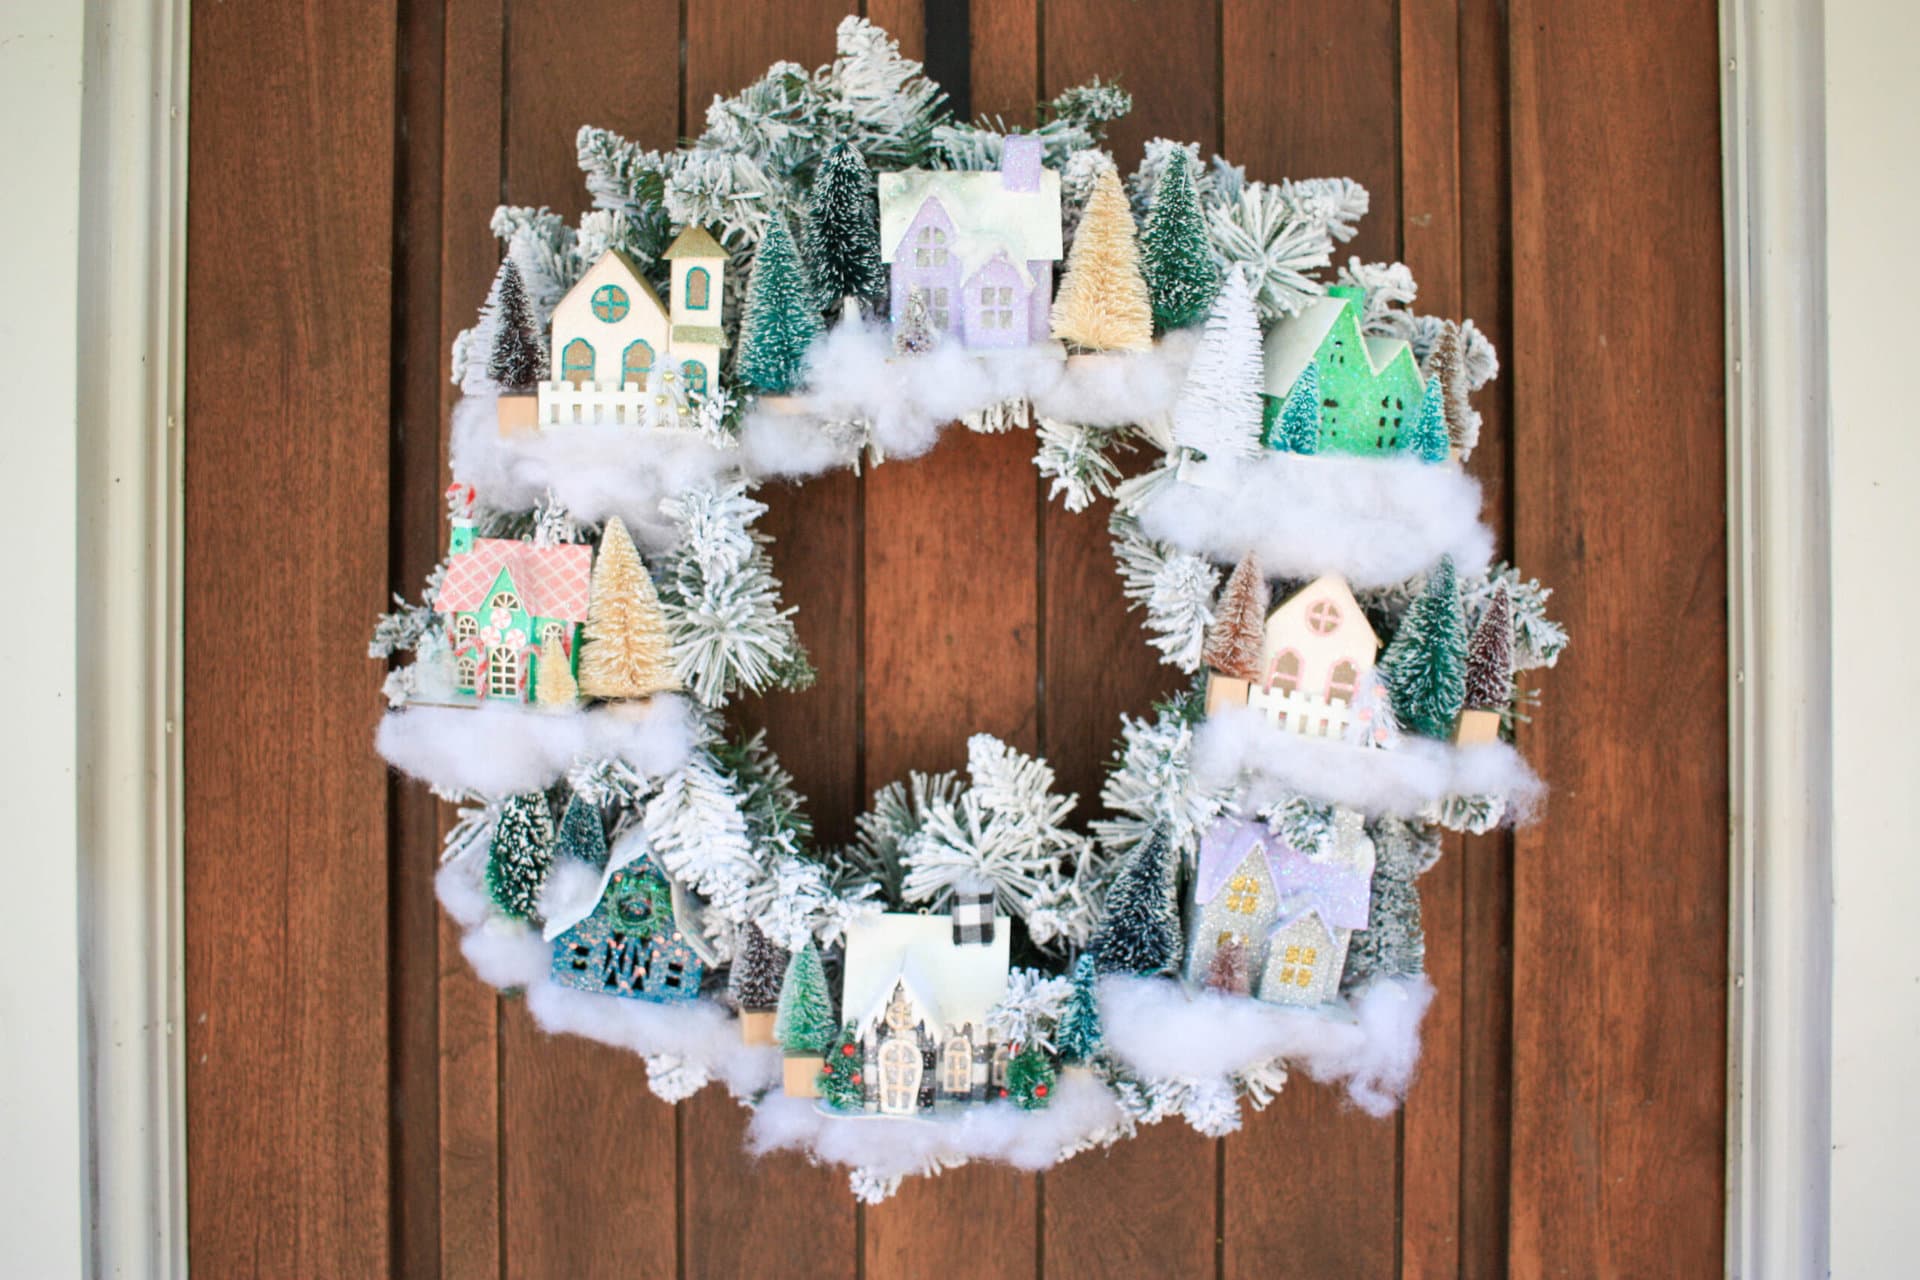
Christmas Village Winter Wreath
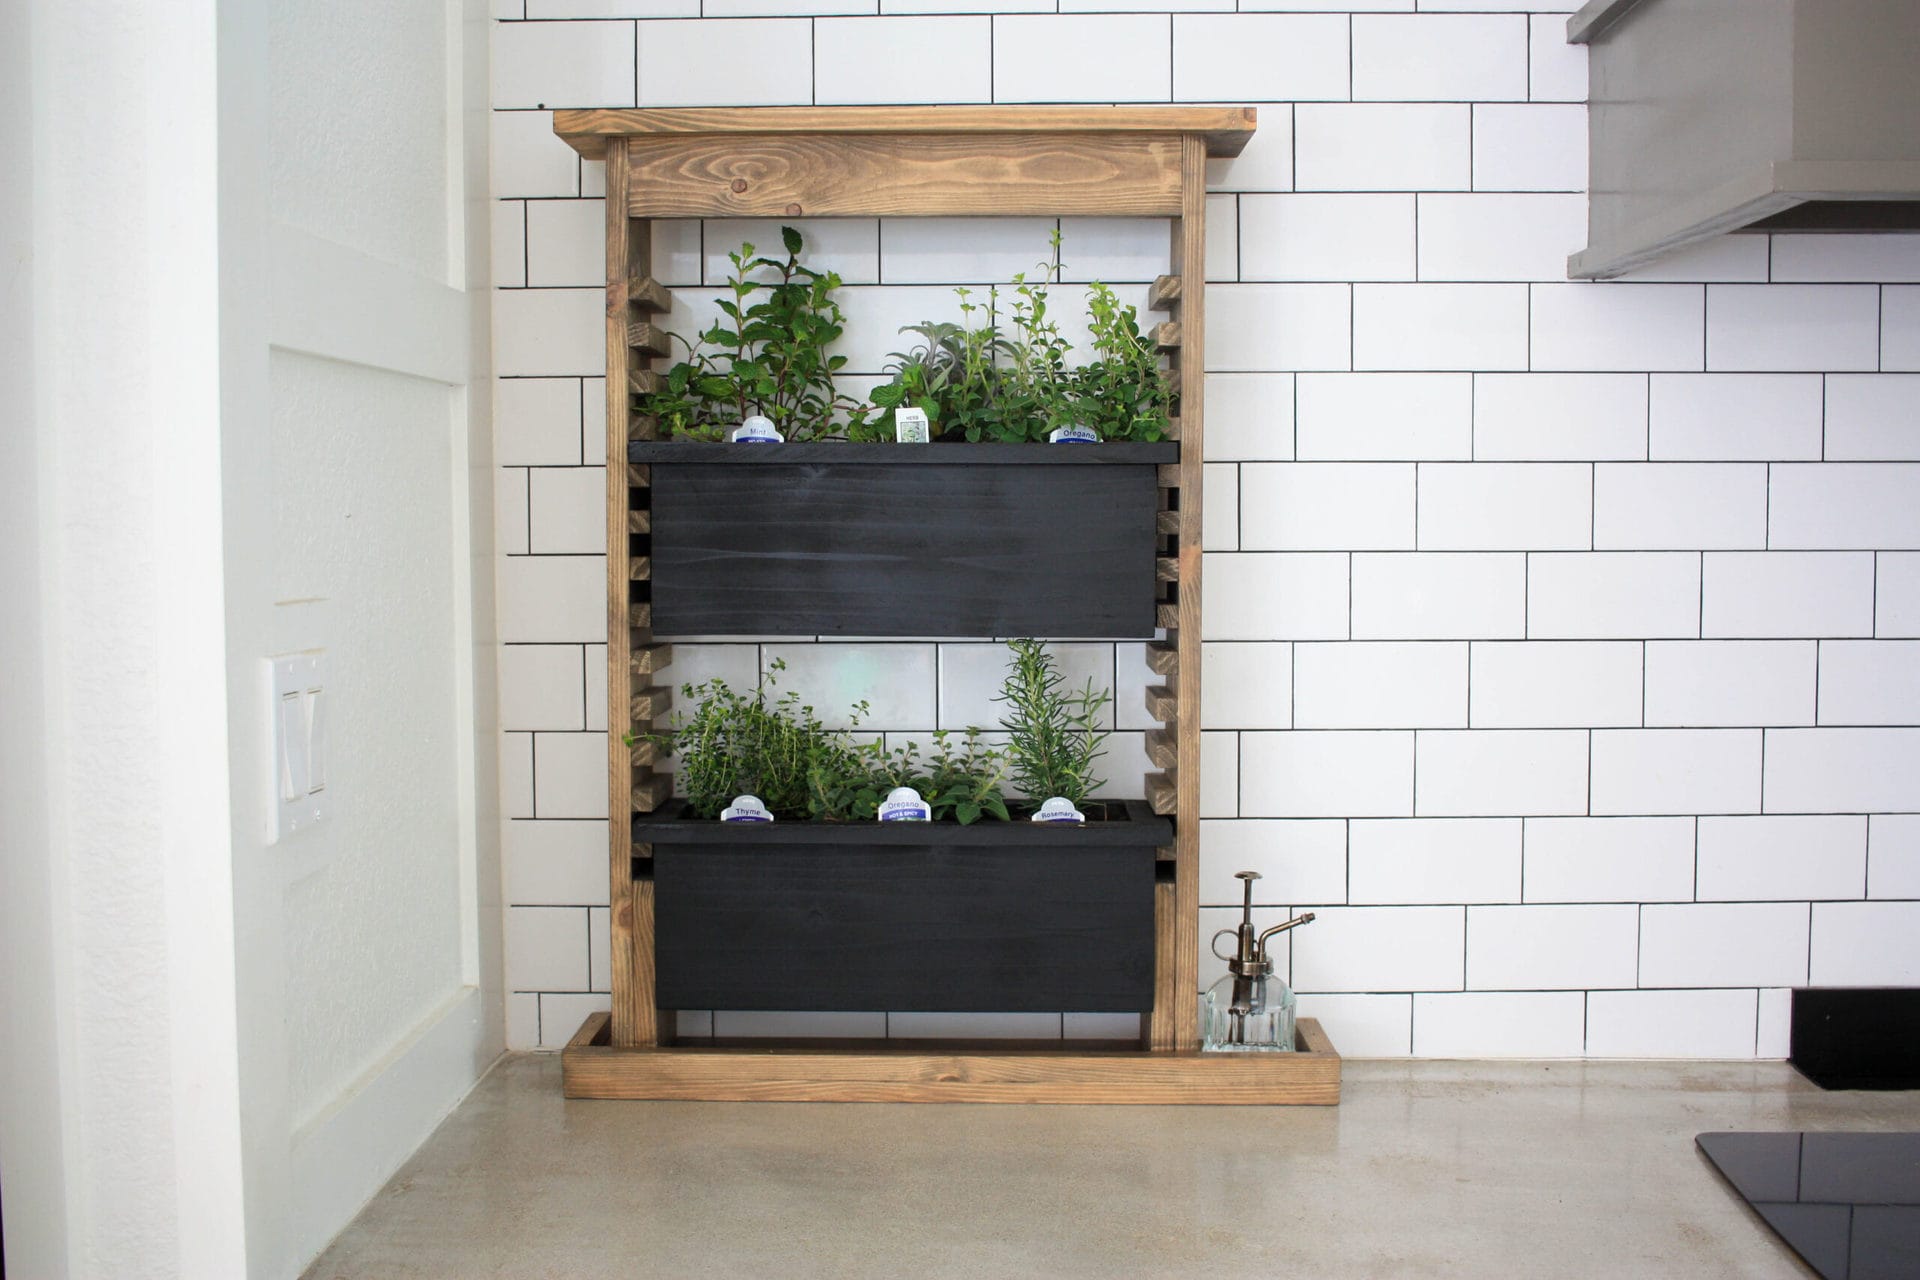
Wall Planter for Herbs
DIY Wreath for Spring
Page navigation
1
2
3
…
7
Next Page
Next
Home
Remodeling
Seasonal
Crafts
Tools
Videos
Homesteading
Furniture
Toggle Menu Close
Search for:
Search