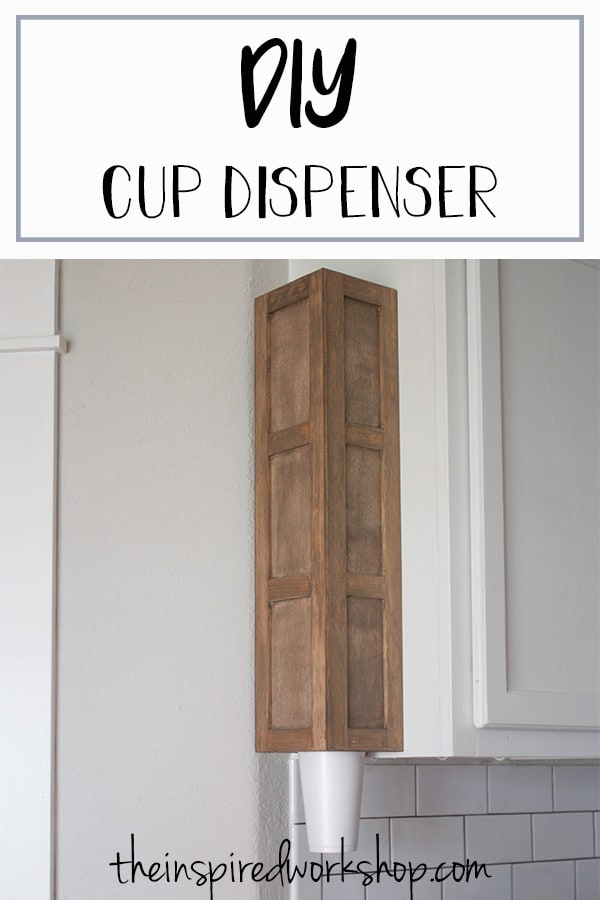
DIY Cup Dispenser
Having company of any kind, a get-together, a party, or family staying over for the holidays, you will use disposable cups so the dishes stay minimal and there is less work to do when the fun is over, which means you get to enjoy the company! This doesn’t have to mean an ugly plastic bag of cups sitting on the counter, you can build this cute little DIY cup dispenser to easily allow everyone to access the cups and it can be customized to match your kitchen style!
I threw this together after seeing my Grandpa make one for his cups, being a man, his was pretty plain, but I added a decorative touch to mine and couldn’t be happier to share it with you all!
We use a lot of plastic cups around here when we are using the 5-gallon jug of water, even though it is slightly wasteful, it is less wasteful than water bottles because we will use the same cup all day instead of 10 bottles in one day! Okay, I am the only one who actually drinks that many bottles in a day, but it still saves 3-5 for the other members of my family! And let’s be honest, I still haven’t even unpacked my glasses from the kitchen renovation! Lol! Yep, I bought all new ones, and they are still boxed up in the pantry…I’m not sure I want to take them out and actually use them!😅
This helps corral the cups that seem to fall all over the floor in the pantry, I’m not sure how that happens but I end up wasting so many that when I saw this at my Grandpa’s house, I had to copy him! Lol! And now you can copy him too! You didn’t even know you needed this in your life, right?! But now you feel like you need it…I know!
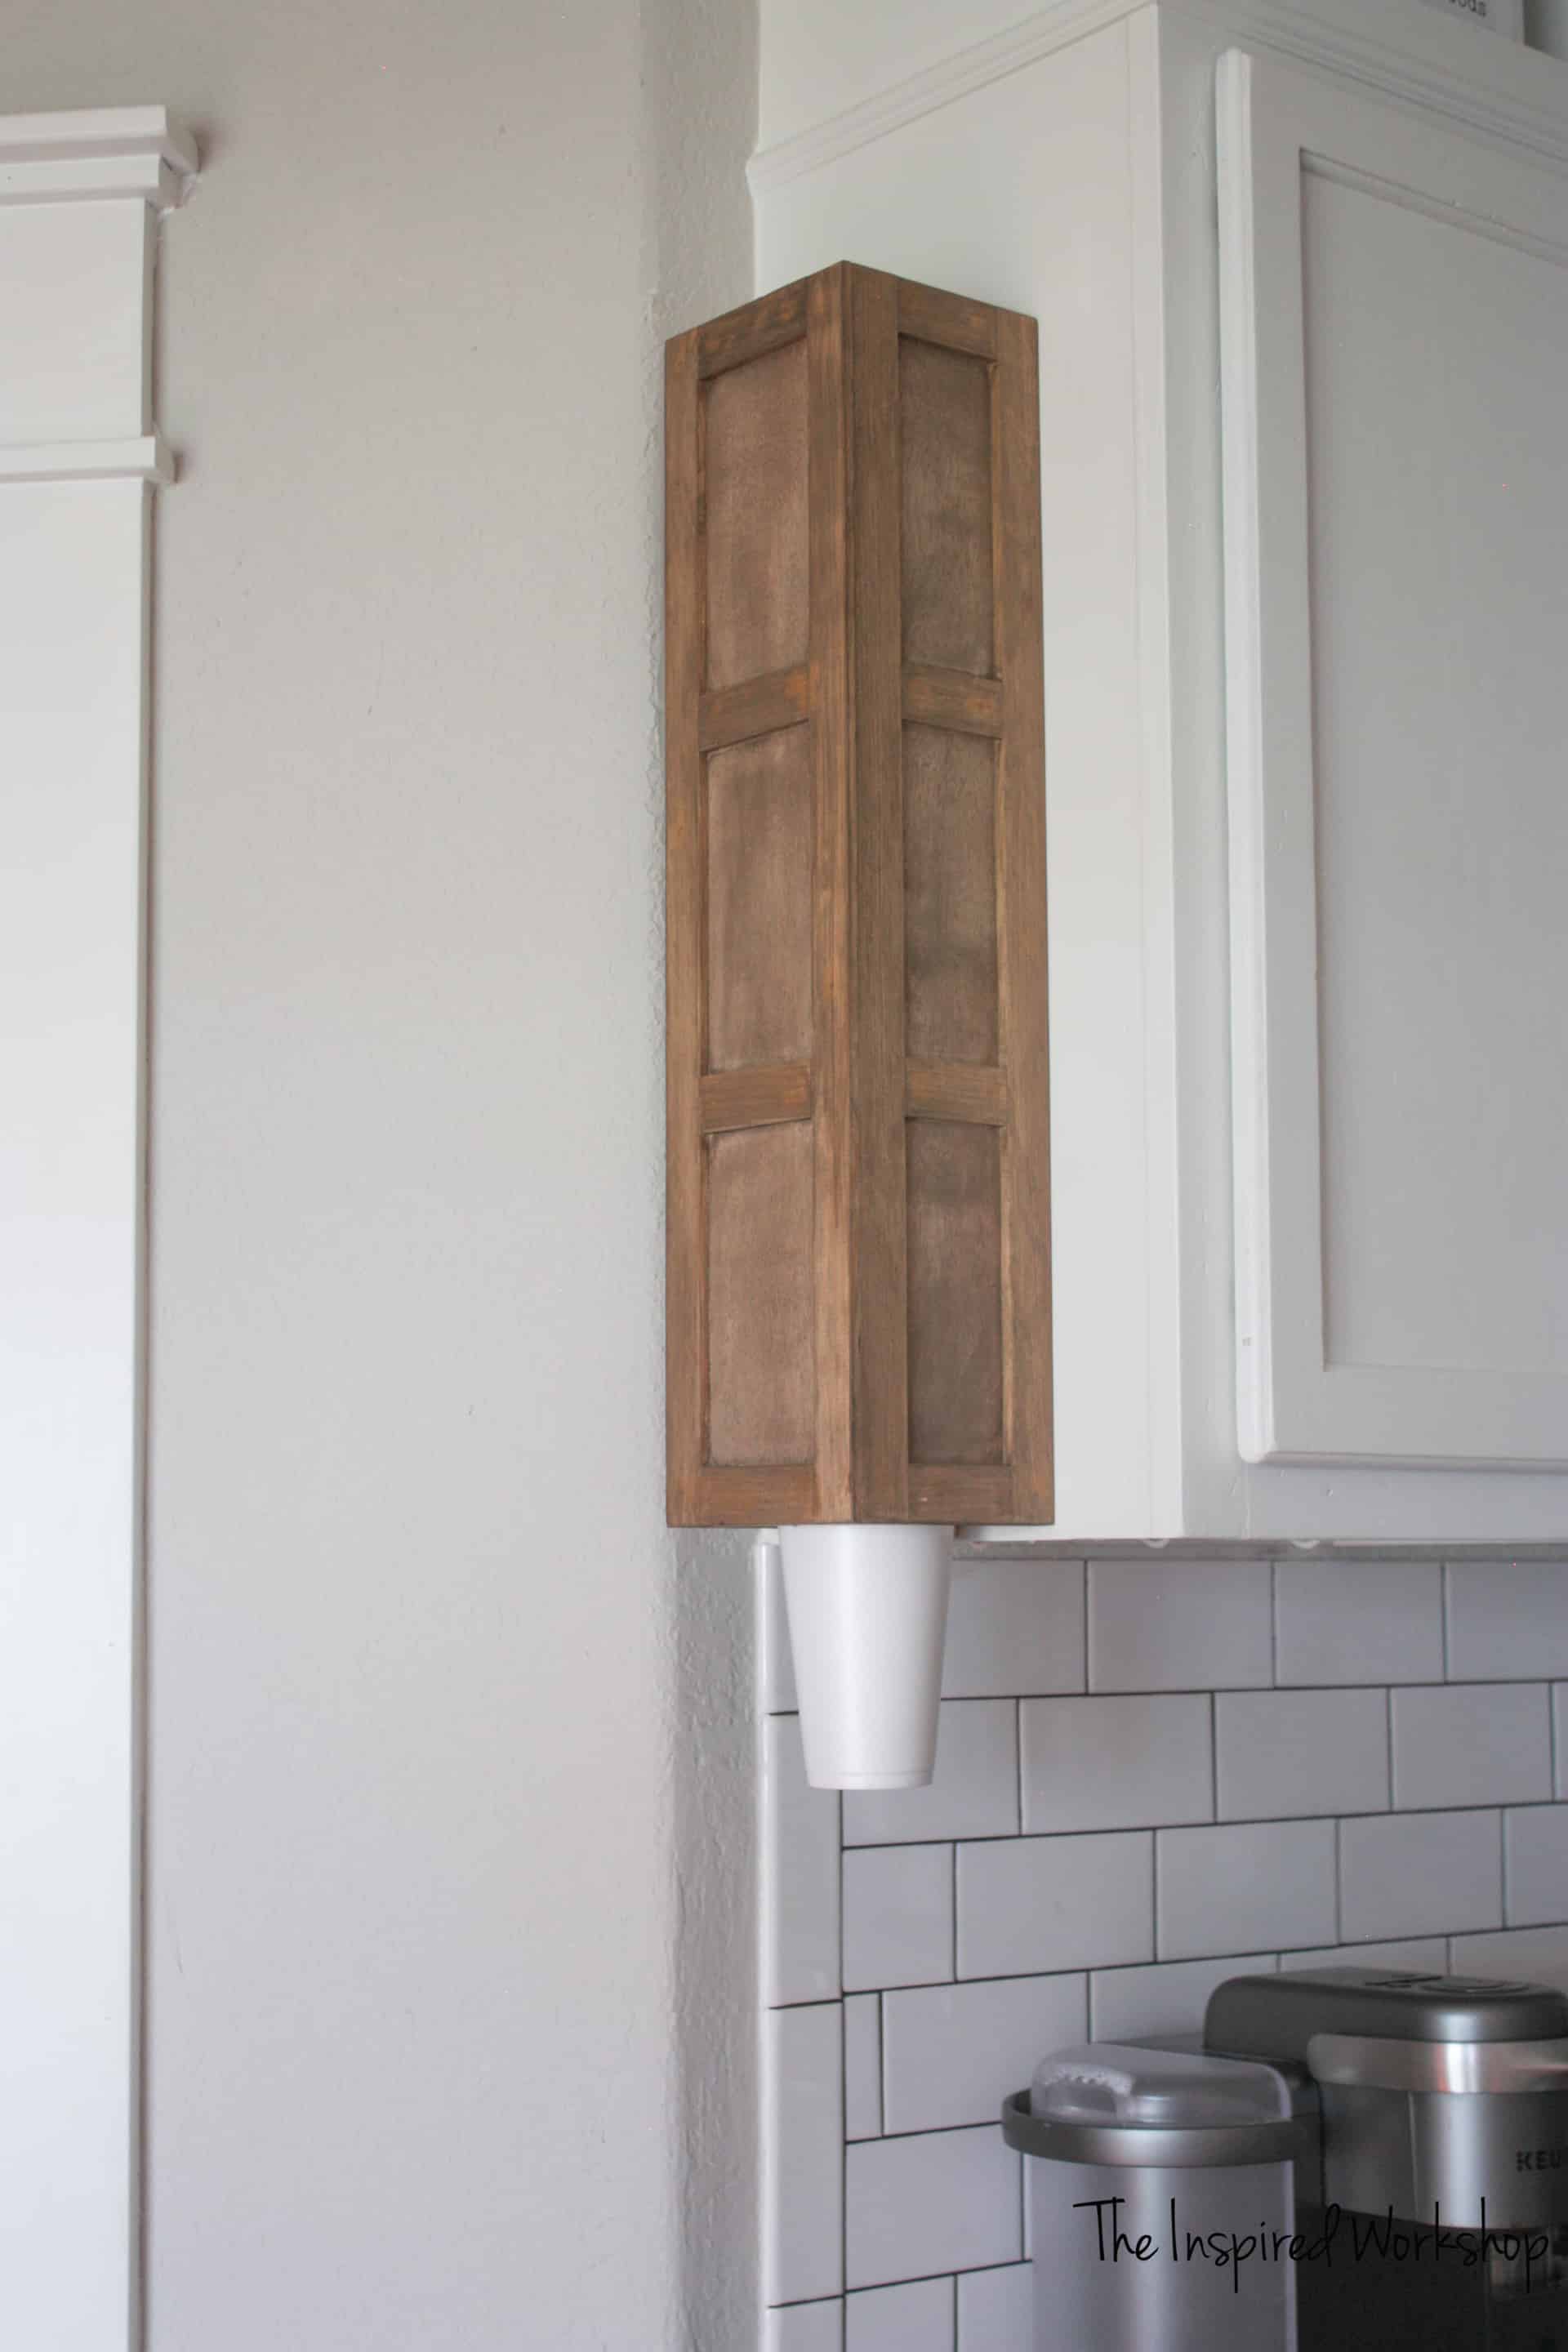
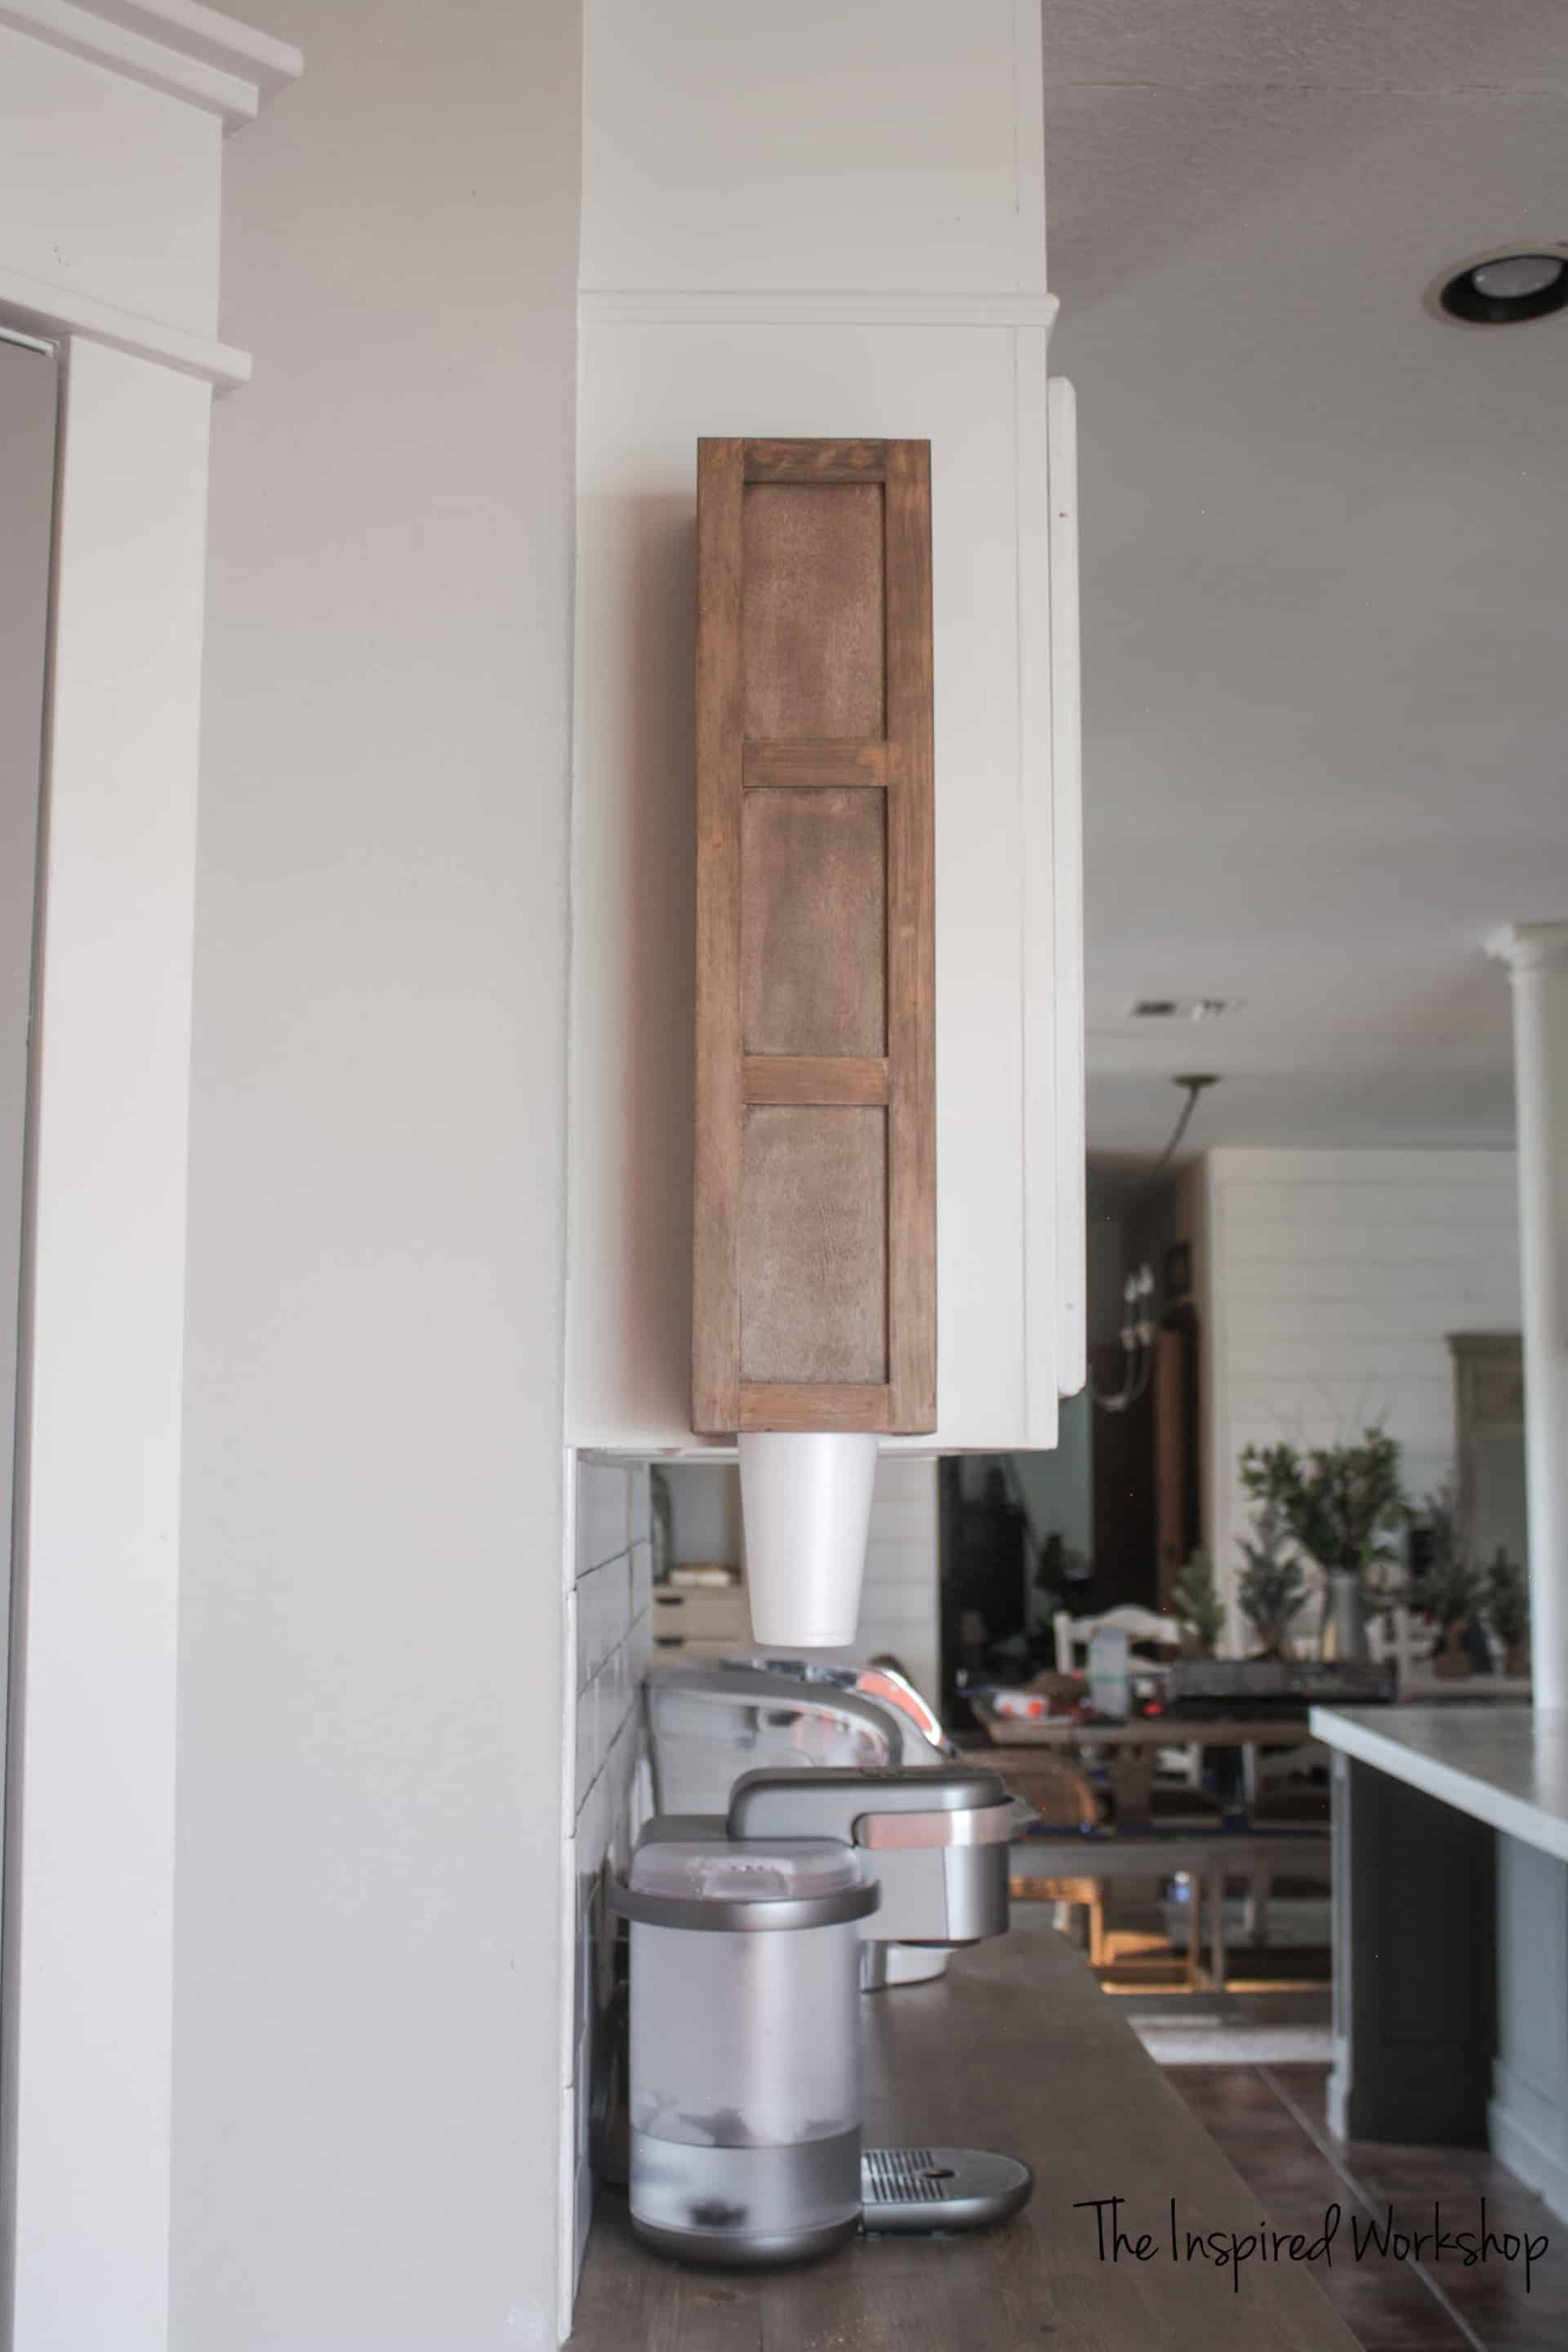
It can hold a variety of cups such as 20 oz. styrofoam cups, 18 oz. solo cups or 16 oz. coffee cups!
How perfect is that?! Best thing I’ve seen in a while! Lol!
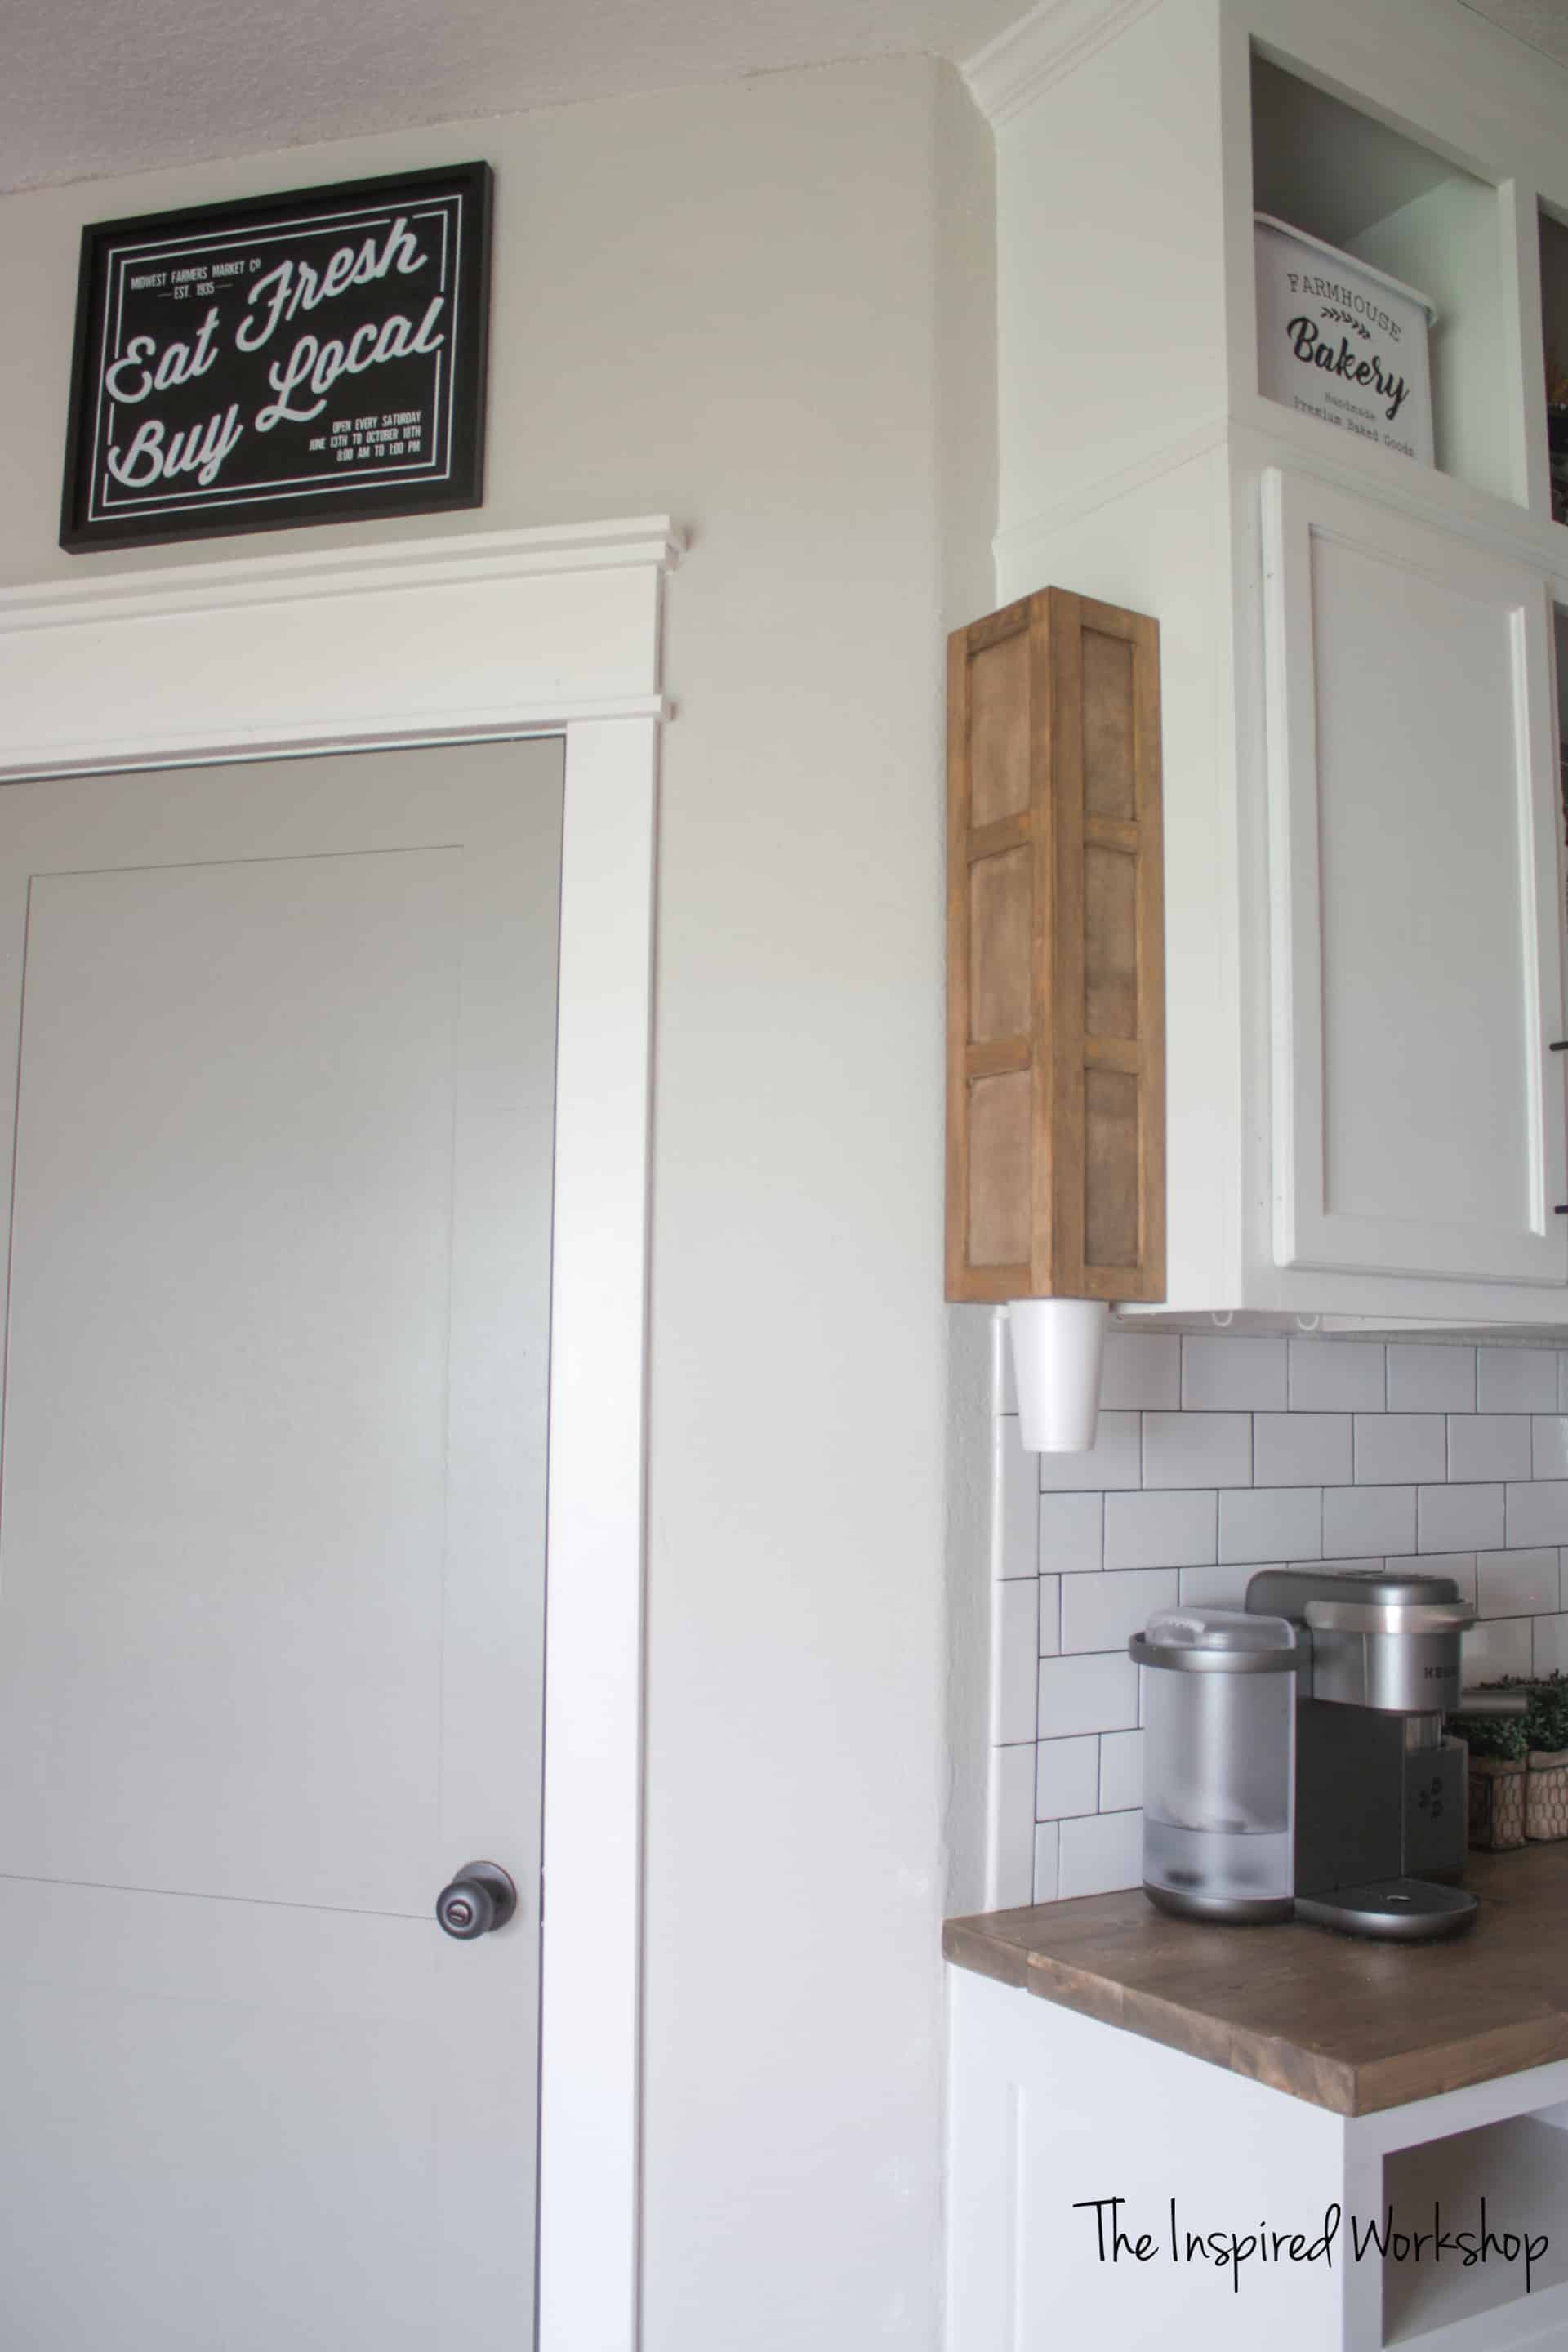
Do you enjoy projects that look great and serve a wonderful purpose? You may want to check out this set of DIY Ziploc Baggie Organizers, the Coffee Bar Cabinet this DIY cup dispenser is hanging above, or this welcome sign organizer!
Do you want to build this DIY cup dispenser for yourself? Here we go!
Gathering Supplies to Build the DIY Cup Dispenser
This DIY cup dispenser is a large problem solver, but it comes with a really small price tag of supplies! Lol! The total cost is around 20 bucks! Can you imagine how excited any hostess would be to receive one of these that is made to perfectly match his/her kitchen as a Christmas or Birthday gift?
Materials for DIY Cup Dispenser
**NOTE: Amazon links are affiliate links! Affiliate links are links that pay me a small commission (at no extra cost to you) should you make a purchase after clicking one of the links! I always appreciate you shopping at my links and thank you in advance as it helps me keep bringing you free plans for awesome stuff!
- 1 – 2×2 1/2″ project panel
- 2 – 1/4″x1 1/8″ x 1 1/8″ lattice strips
- 4 – tiny screw eyes
- 4 – rubber bands
- wood glue
- saw
- painter’s tape
- kreg jig
- 1″ pocket hole screws
CUT LIST for the DIY Cup Dispenser:
- 1 – 1/2″ piece cut at 5 1/8″ x 24″
- 2 – 1/2″ pieces cut at 4 3/4″ x 24″
- 2 – 1/2″ pieces cut at 2″ x 4 1/8″ Beveled opposite of each other on one long end – see step 2
- 1 – 1/2″ piece cut at 2″ x 4 1/8″
Building the DIY Cup Dispenser
This is a fun little afternoon project that is not only functional but actually easy to throw together without the stress of a large furniture piece which is just what you may need this time of year!
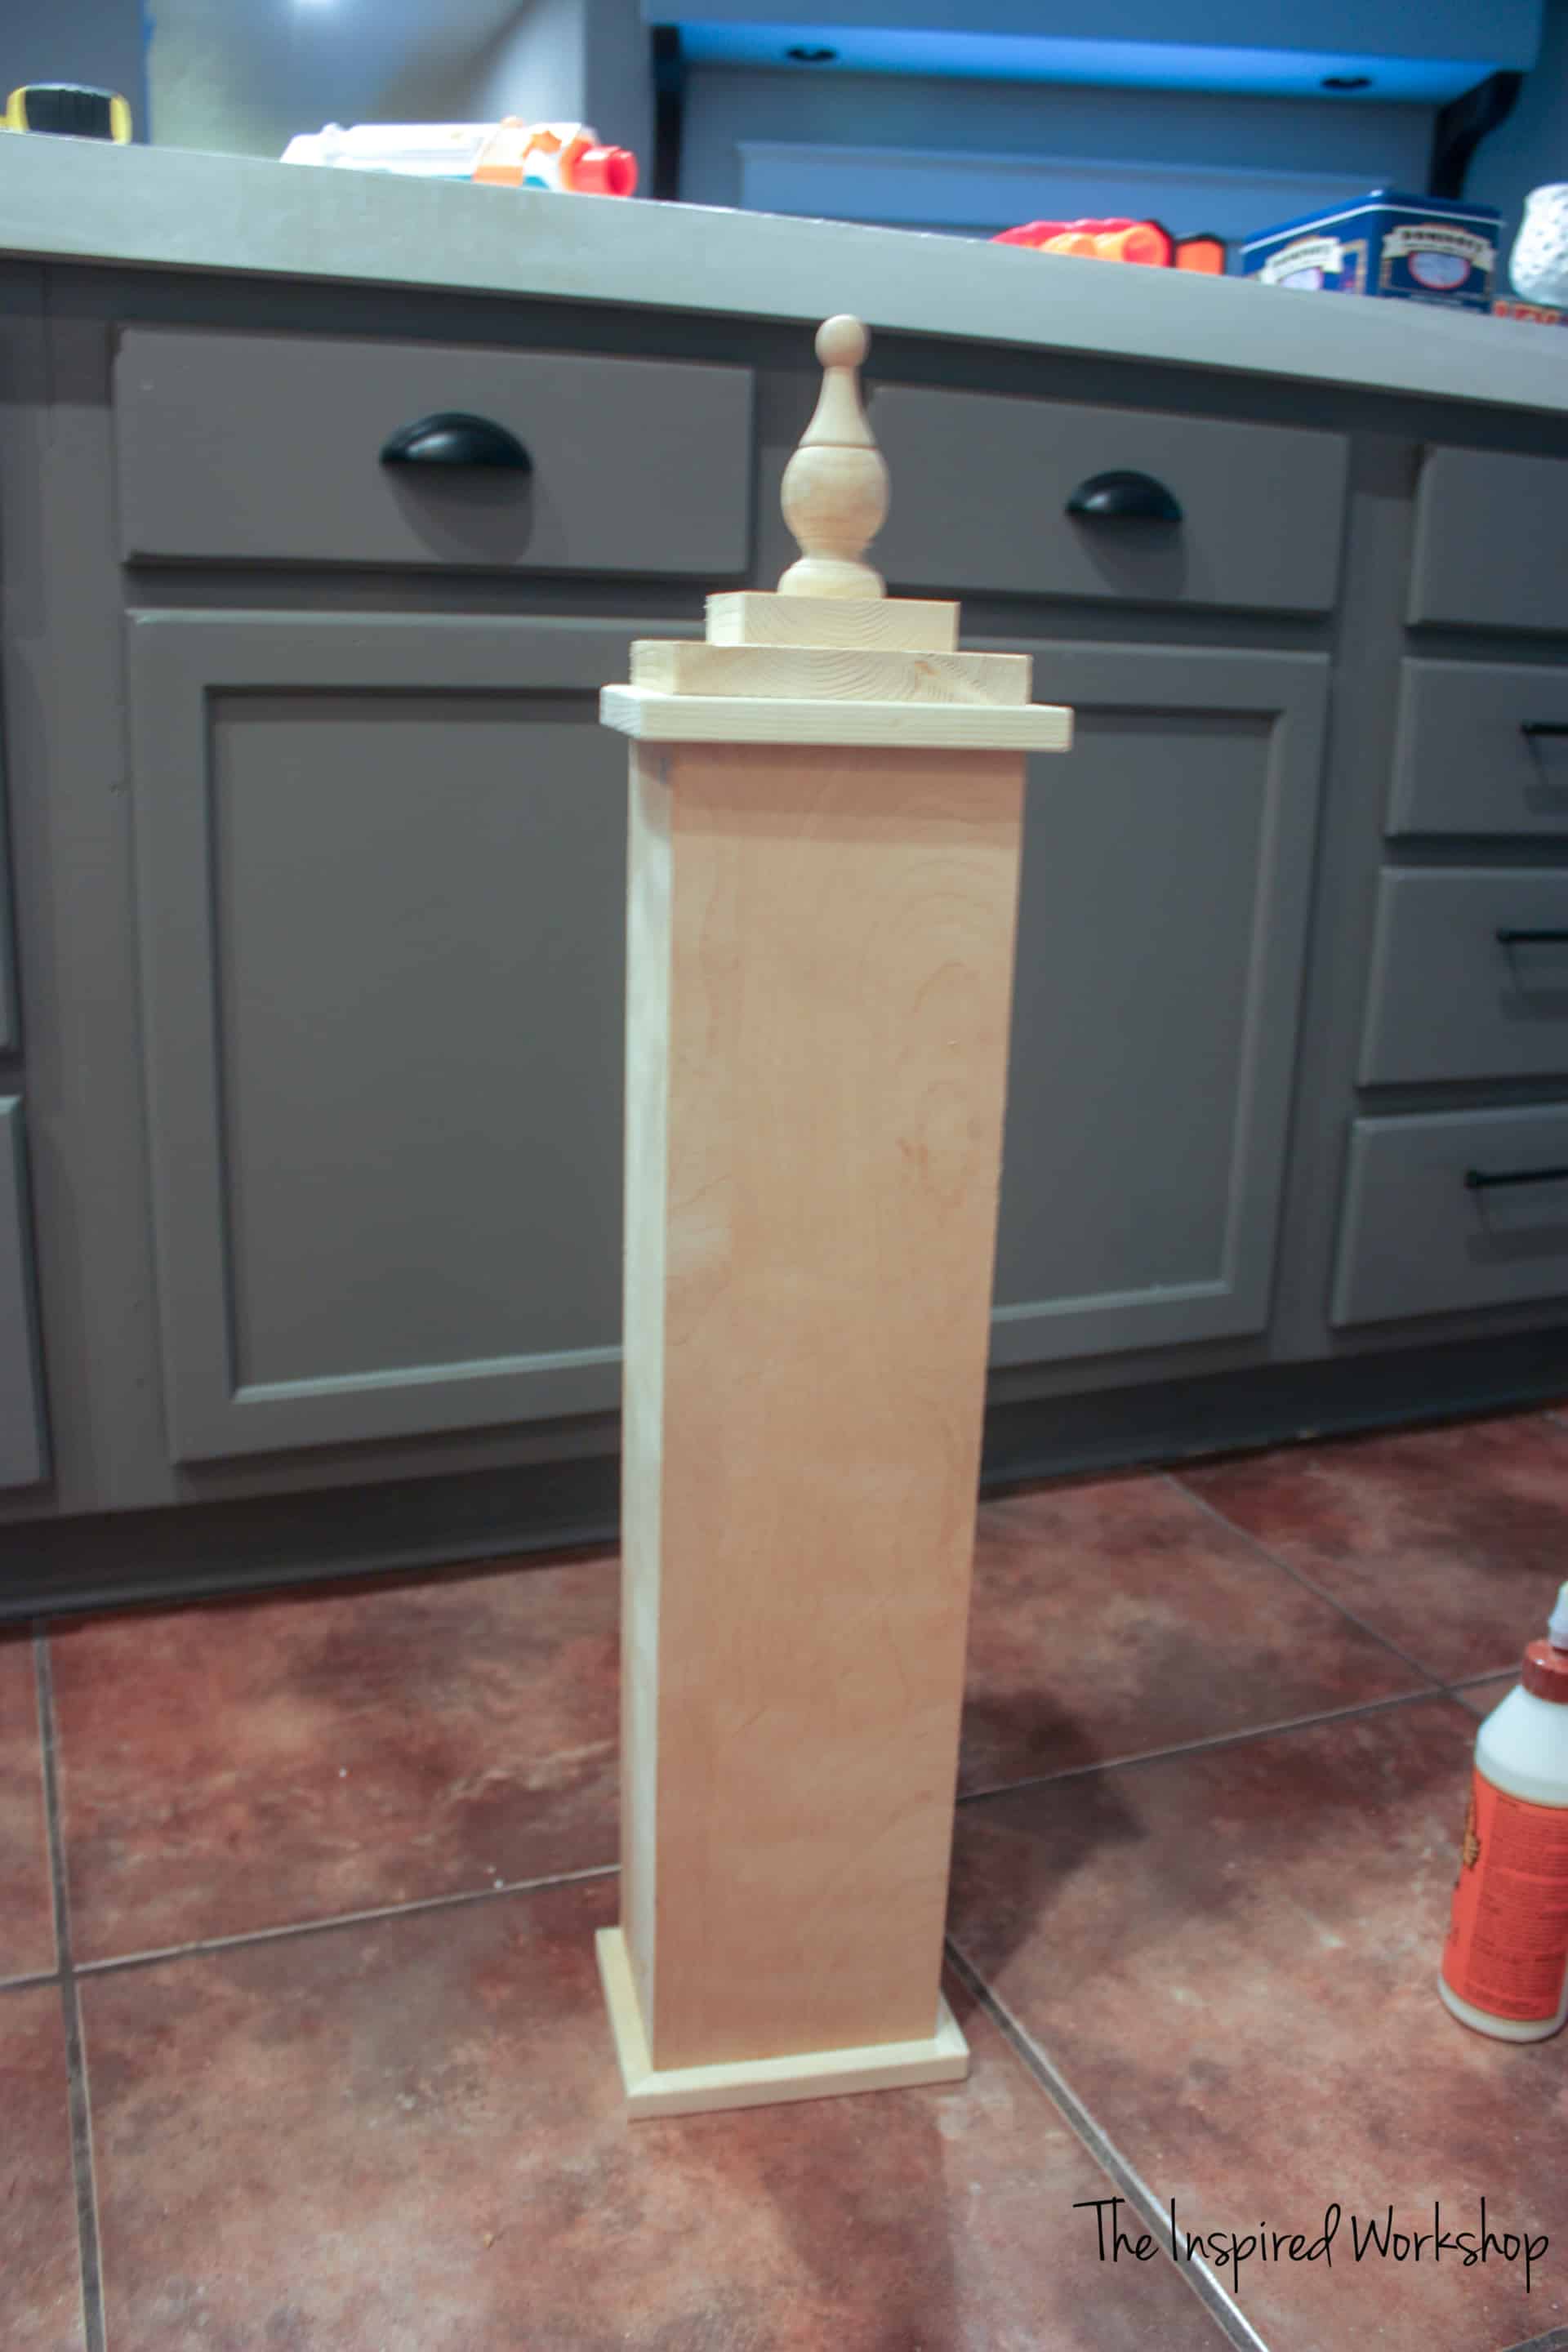
**Just a note, you do not have to miter any of the pieces if you are making it with trim as I did. I was not originally going to put the trim, I was going to leave it plain (like the picture below) so I mitered everything, but after building it too large and cutting it down too small, and having to rebuild it, I wouldn’t have had to miter it! So if you want options to miter everything, if you don’t care to have options (you know you want to add the trim) you can make straight cuts, just make sure to take off 1/2″ on each side board!
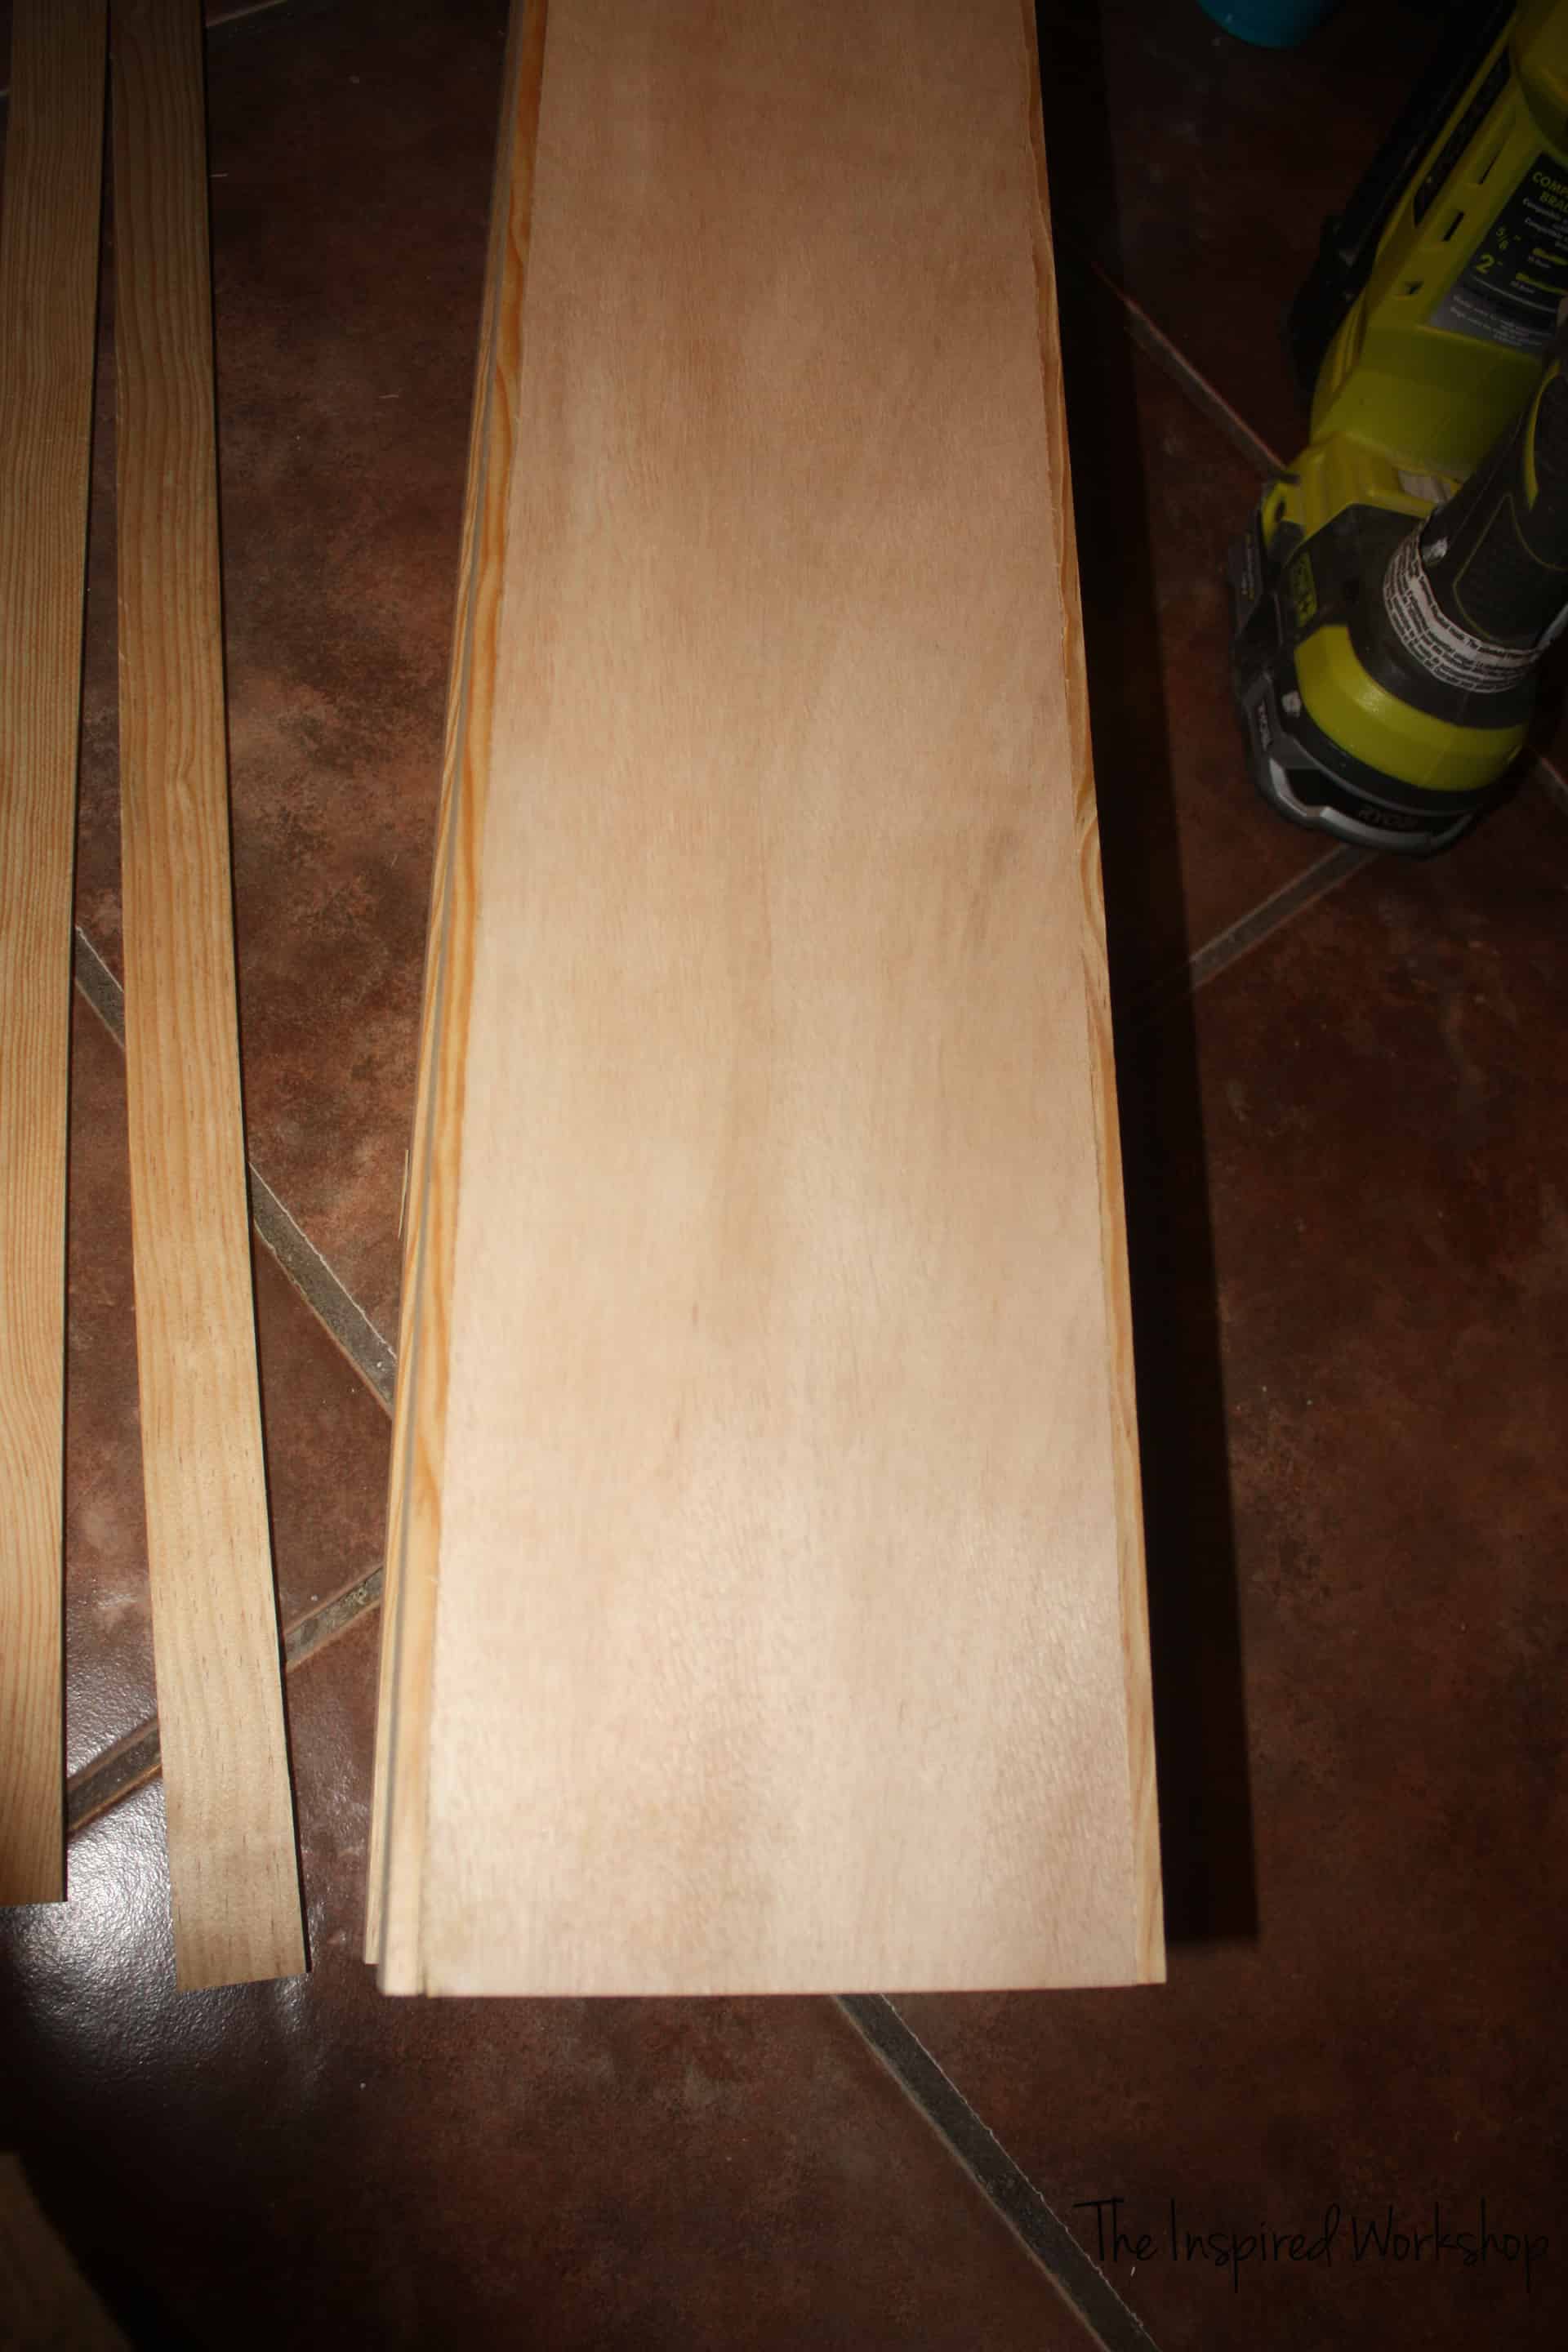
Step 1
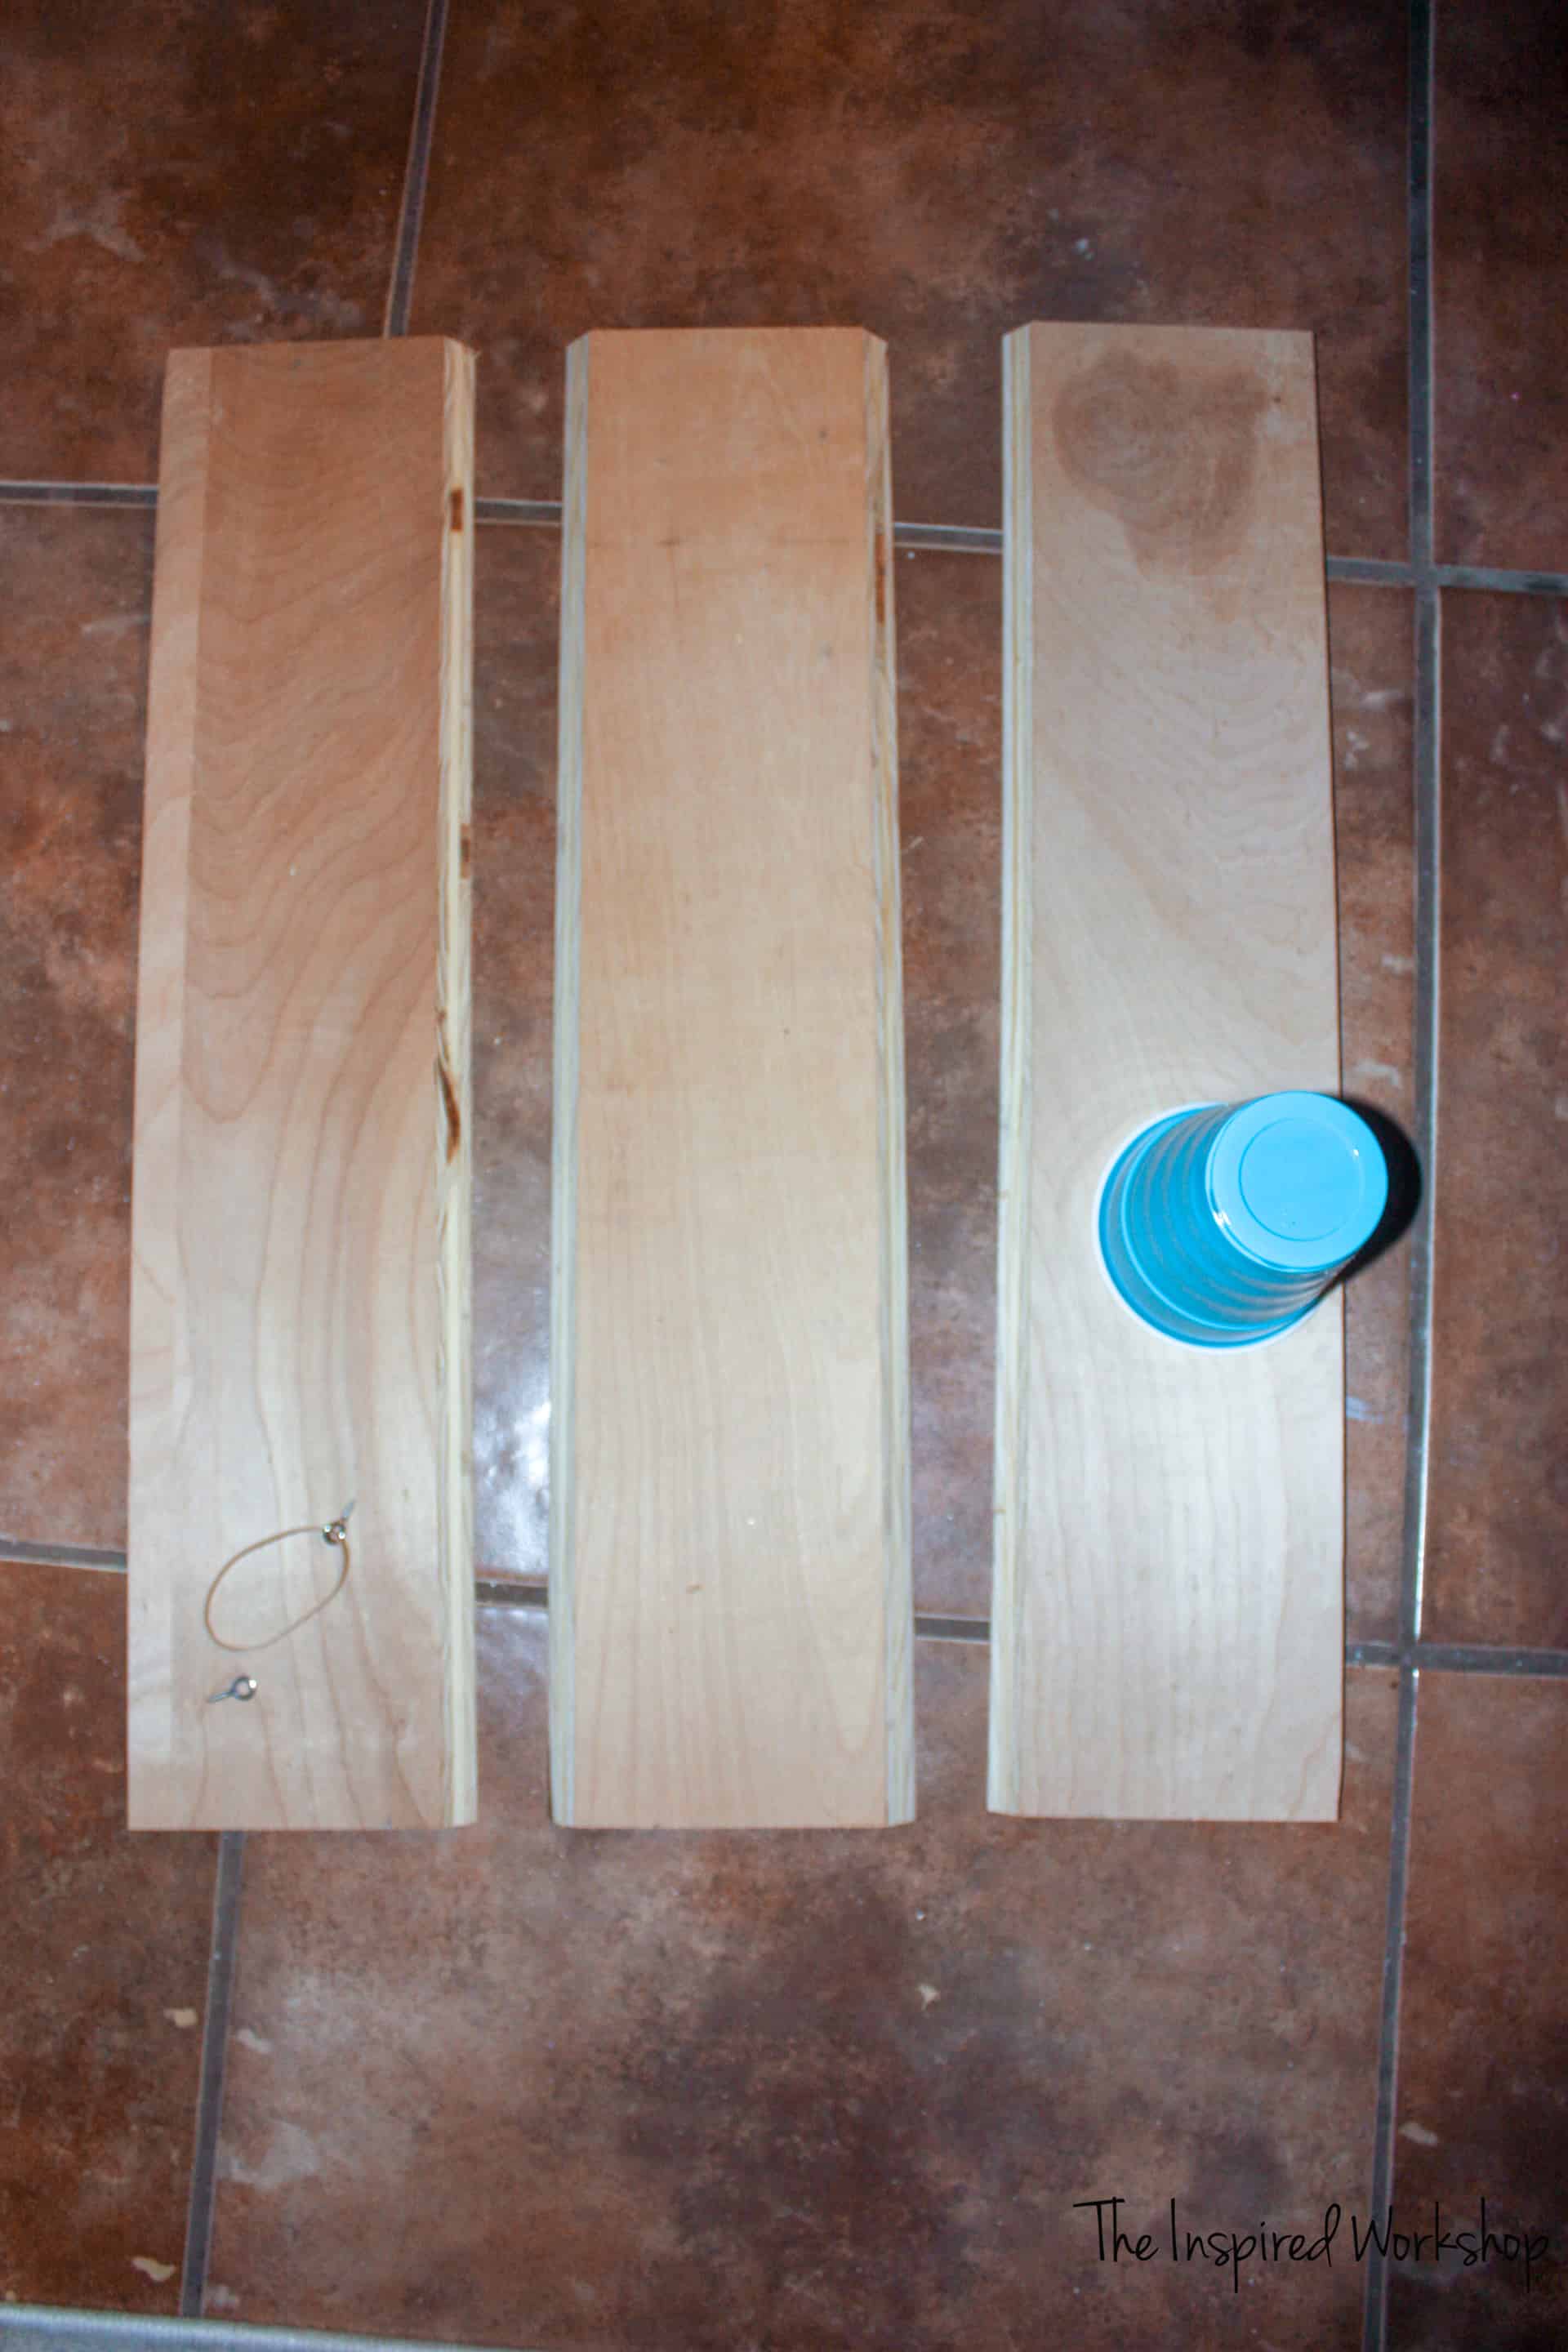
Rip three pieces from your 2×2 project panel. The middle one (5 1/8″ x 24″ ) will be mitered on each edge at 45 degrees off square. The other two (4 3/4″ x 24″) will only be mitered on one edge at 45 degrees off square. The measurements will be taken from the longest sides of the mitered edges.
Step 2
Cutting 2 of your pieces at 2″ x 4 1/8″ is really simple but may look or sound complicated. I just used scrap pieces of mdf for mine, you can use scrap pieces of the project panel you cut your other boards from, but if you are using scraps as I was, then as long as they are made out of 1/2″ material you are good to go.
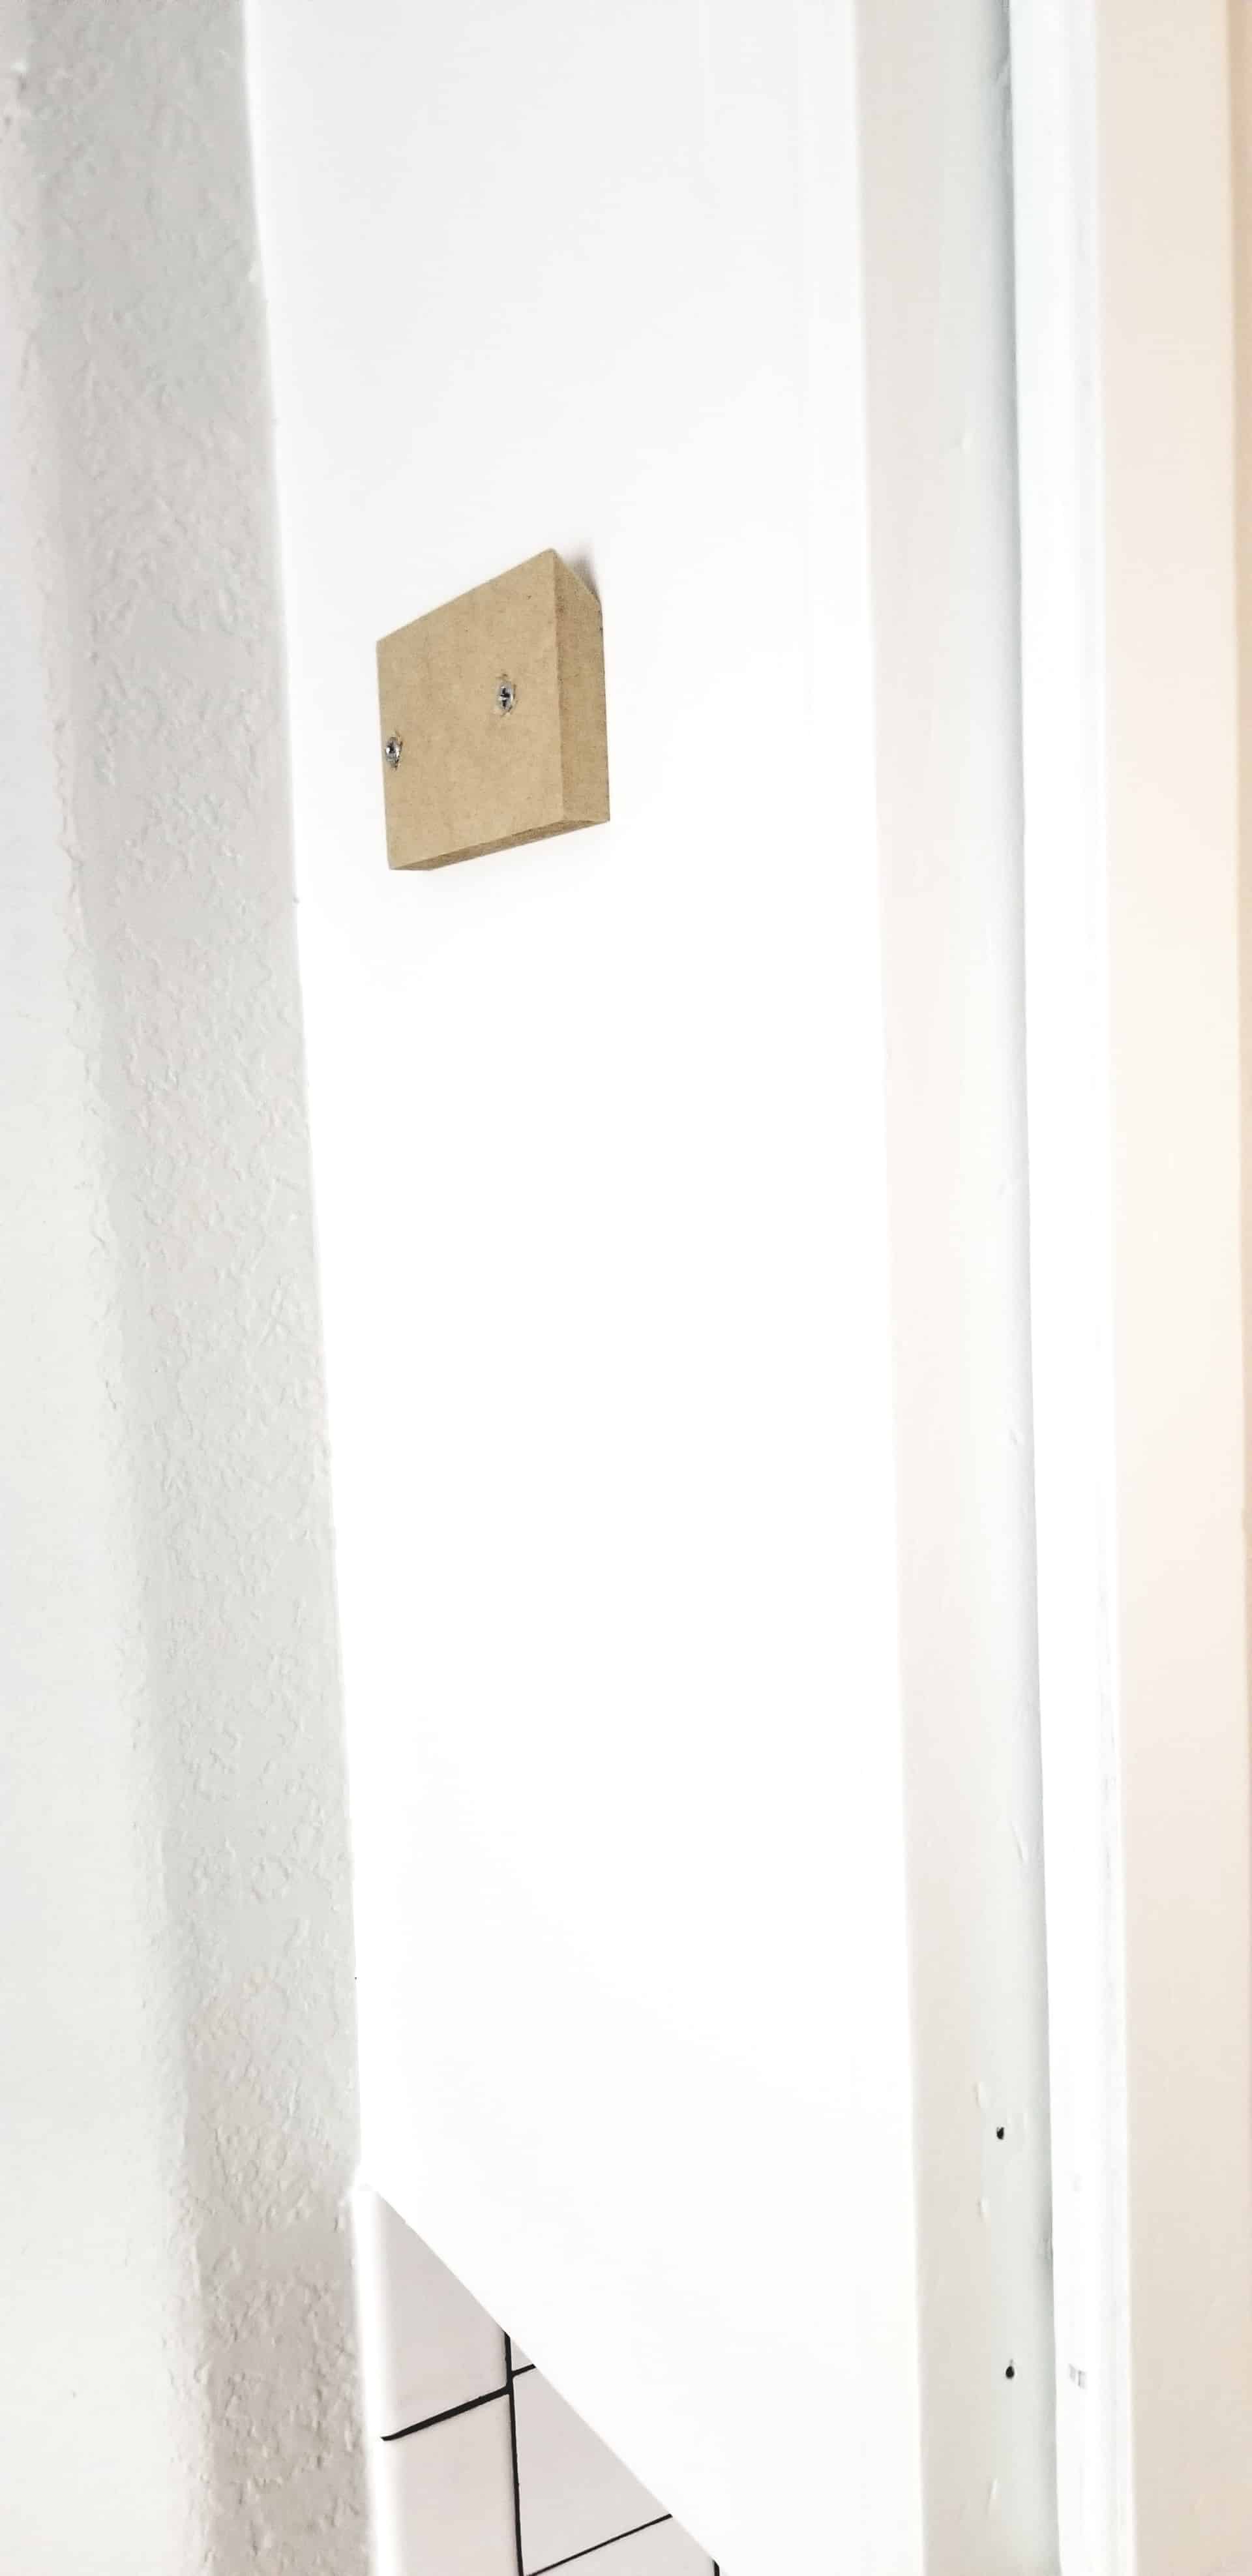
I cut the two pieces from one larger piece at a 45 degree bevel so I could use them to hang the cup dispenser.
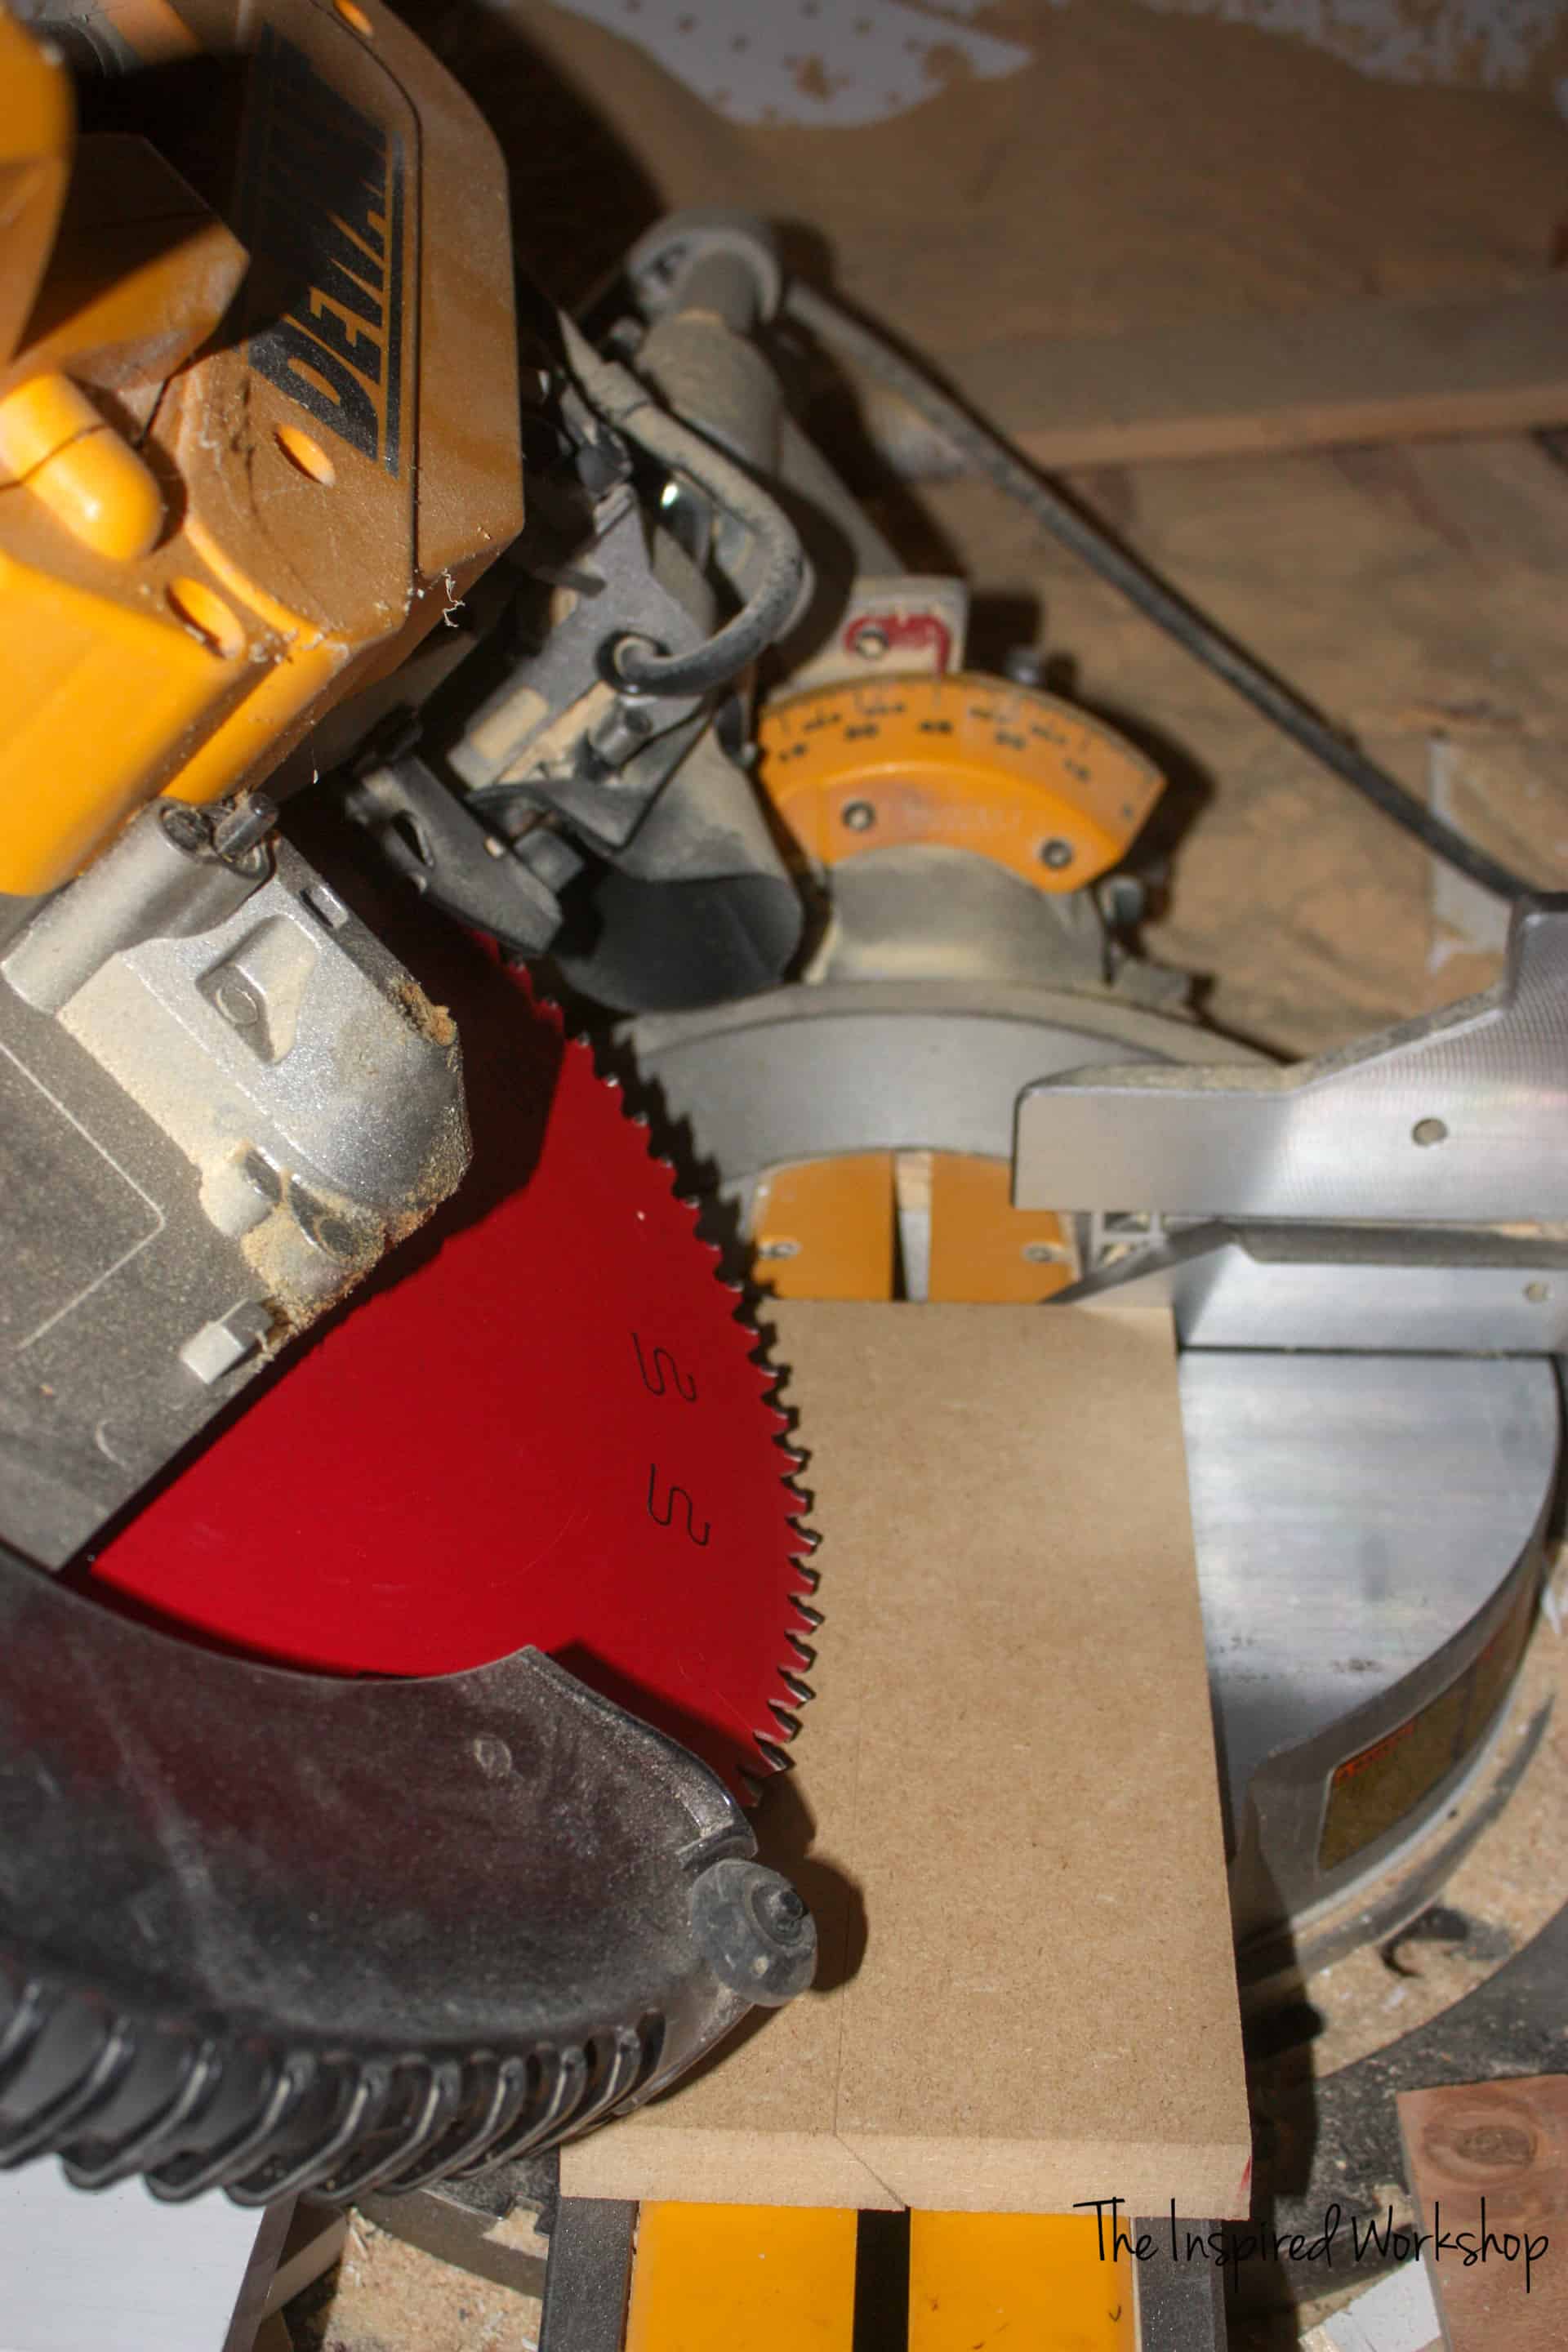

Now you can cut them down to length (4 1/8″). One will be attached to the DIY cup dispenser and the other will be attached to the wall or cabinets (like mine). They will work like a french cleat so you can easily remove the dispenser should cups get stuck or you change your mind about having it…or any other reason you may want to easily take it down and put it back up! Lol!
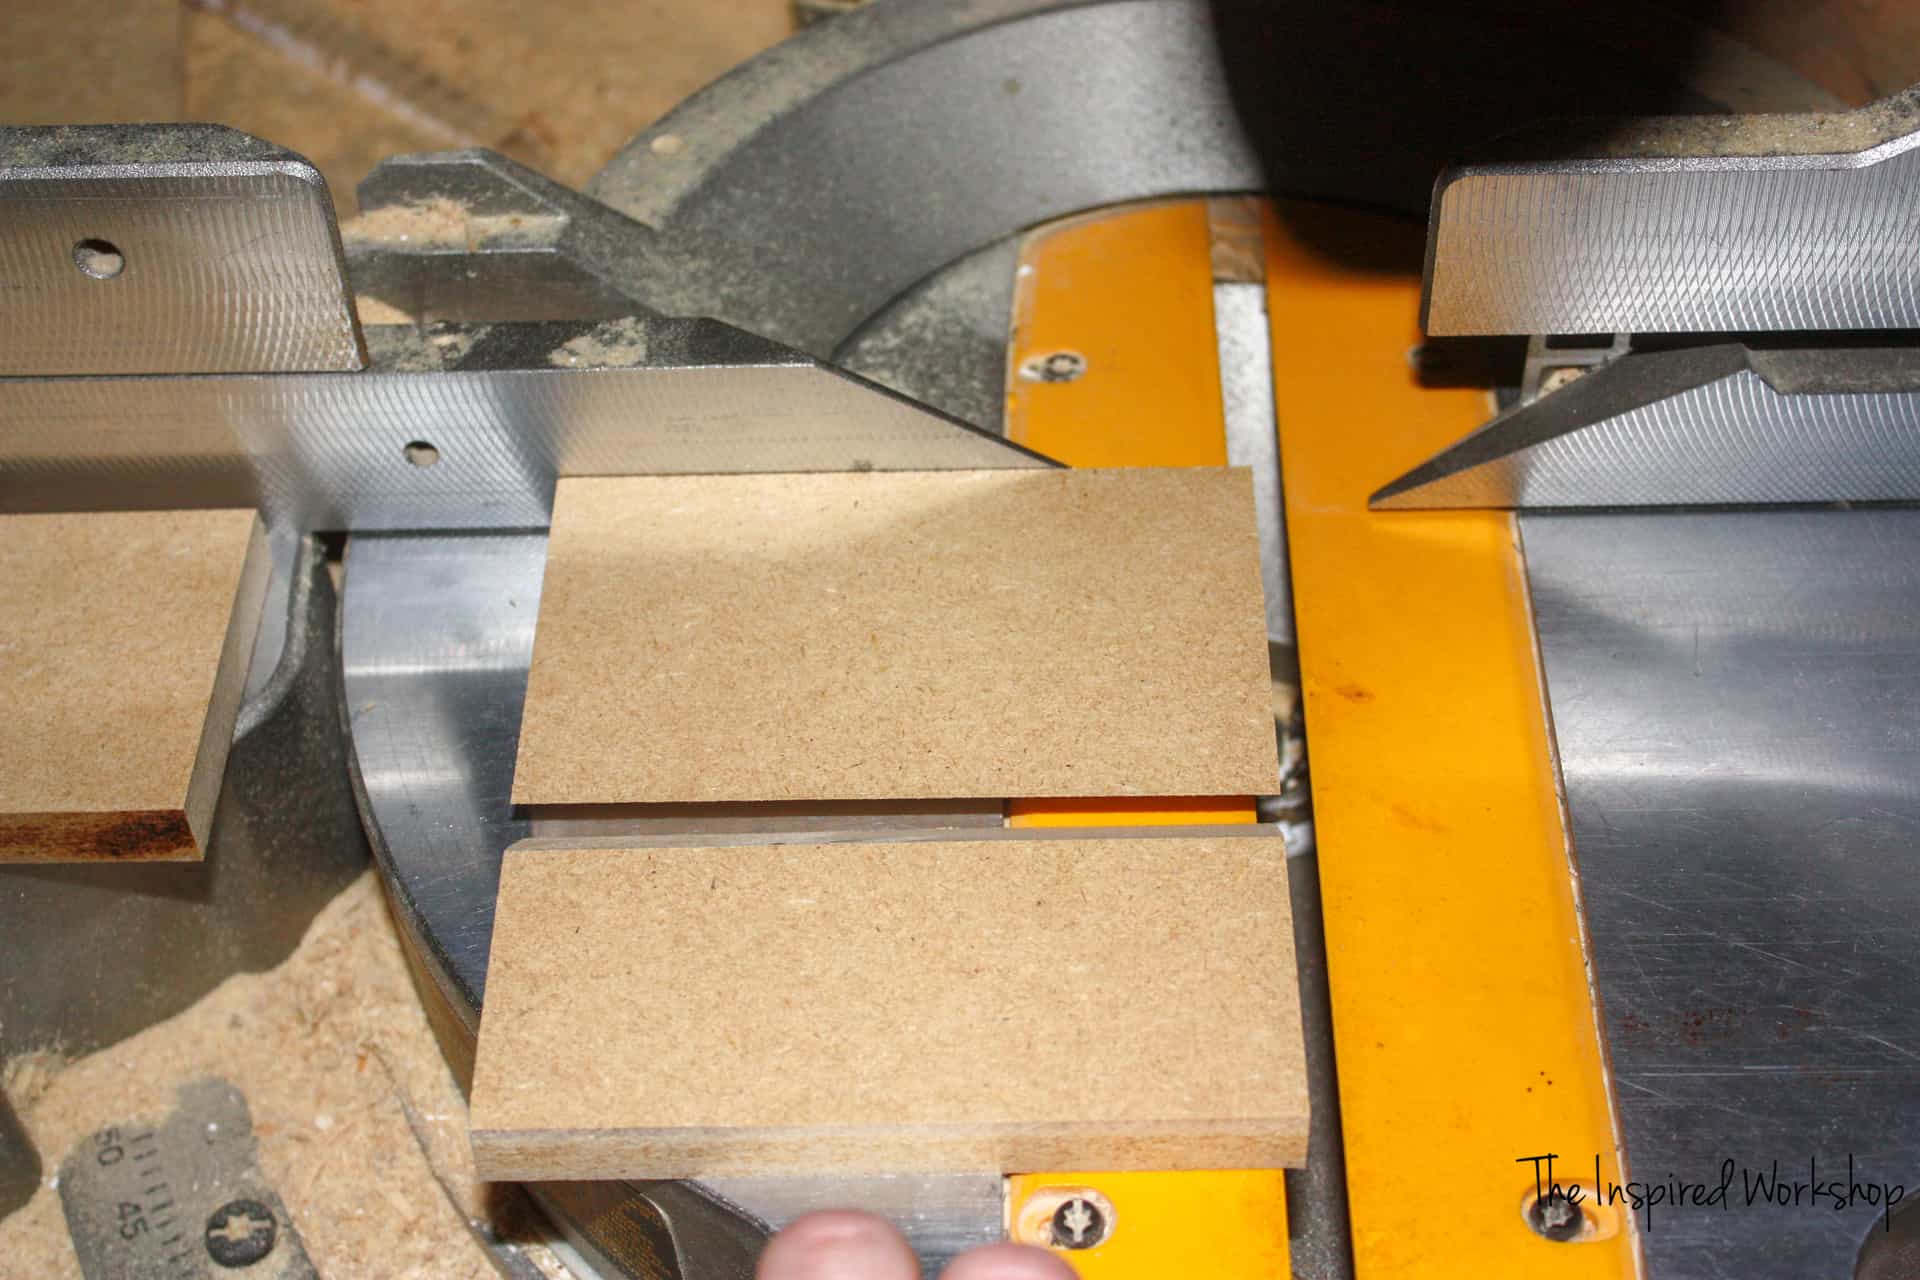
The third 2″ x 4 1/8″ board can be cut like normal!
Step 3
Drill pocket holes in one of the beveled pieces (2″ x 4 1/8″) and the regular piece (2″ x 4 1/8″). They will be drilled at a depth of 1/2″ and you will need 1″ screws to attach in the next step.
Step 4
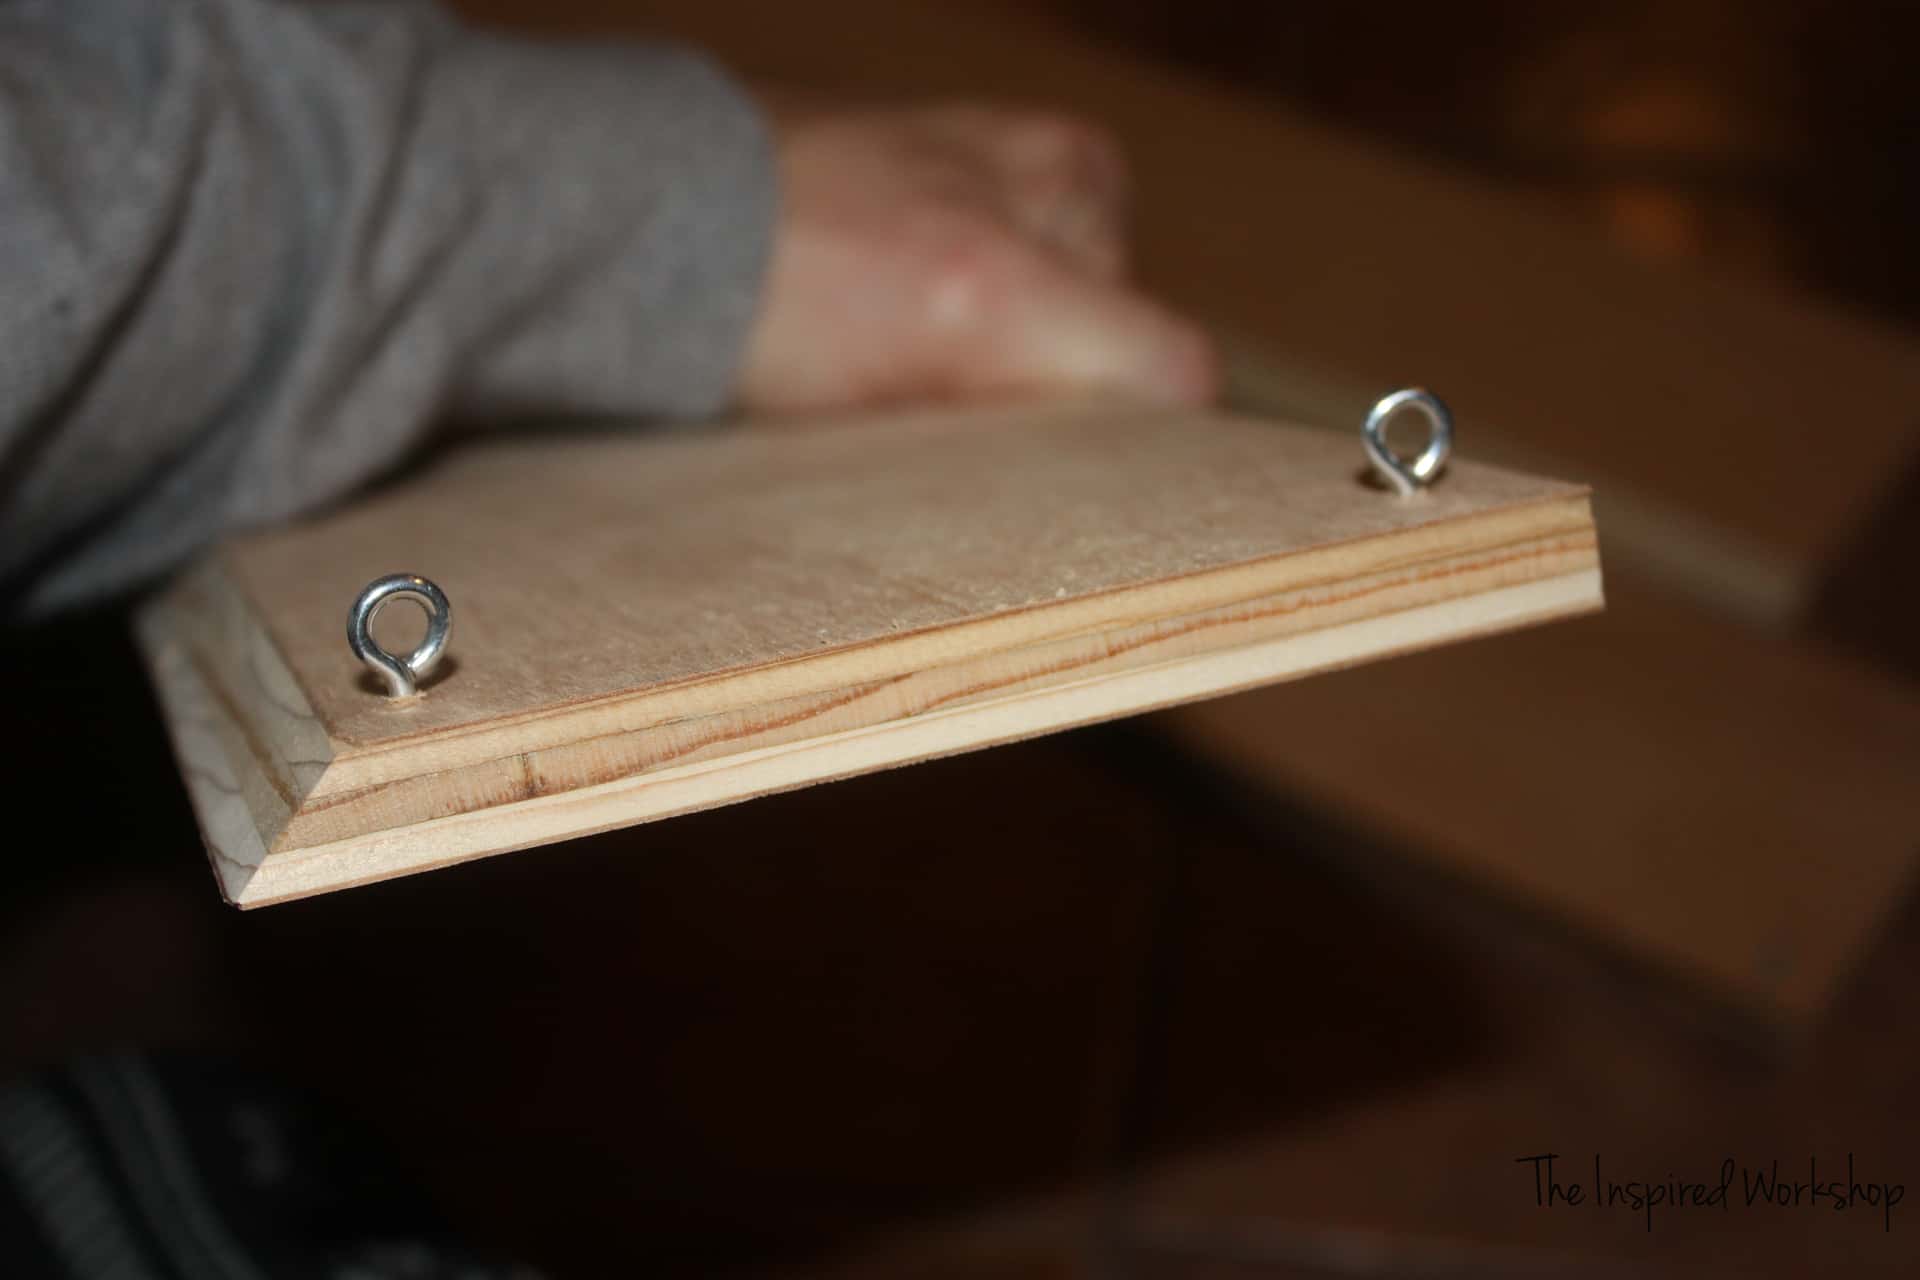
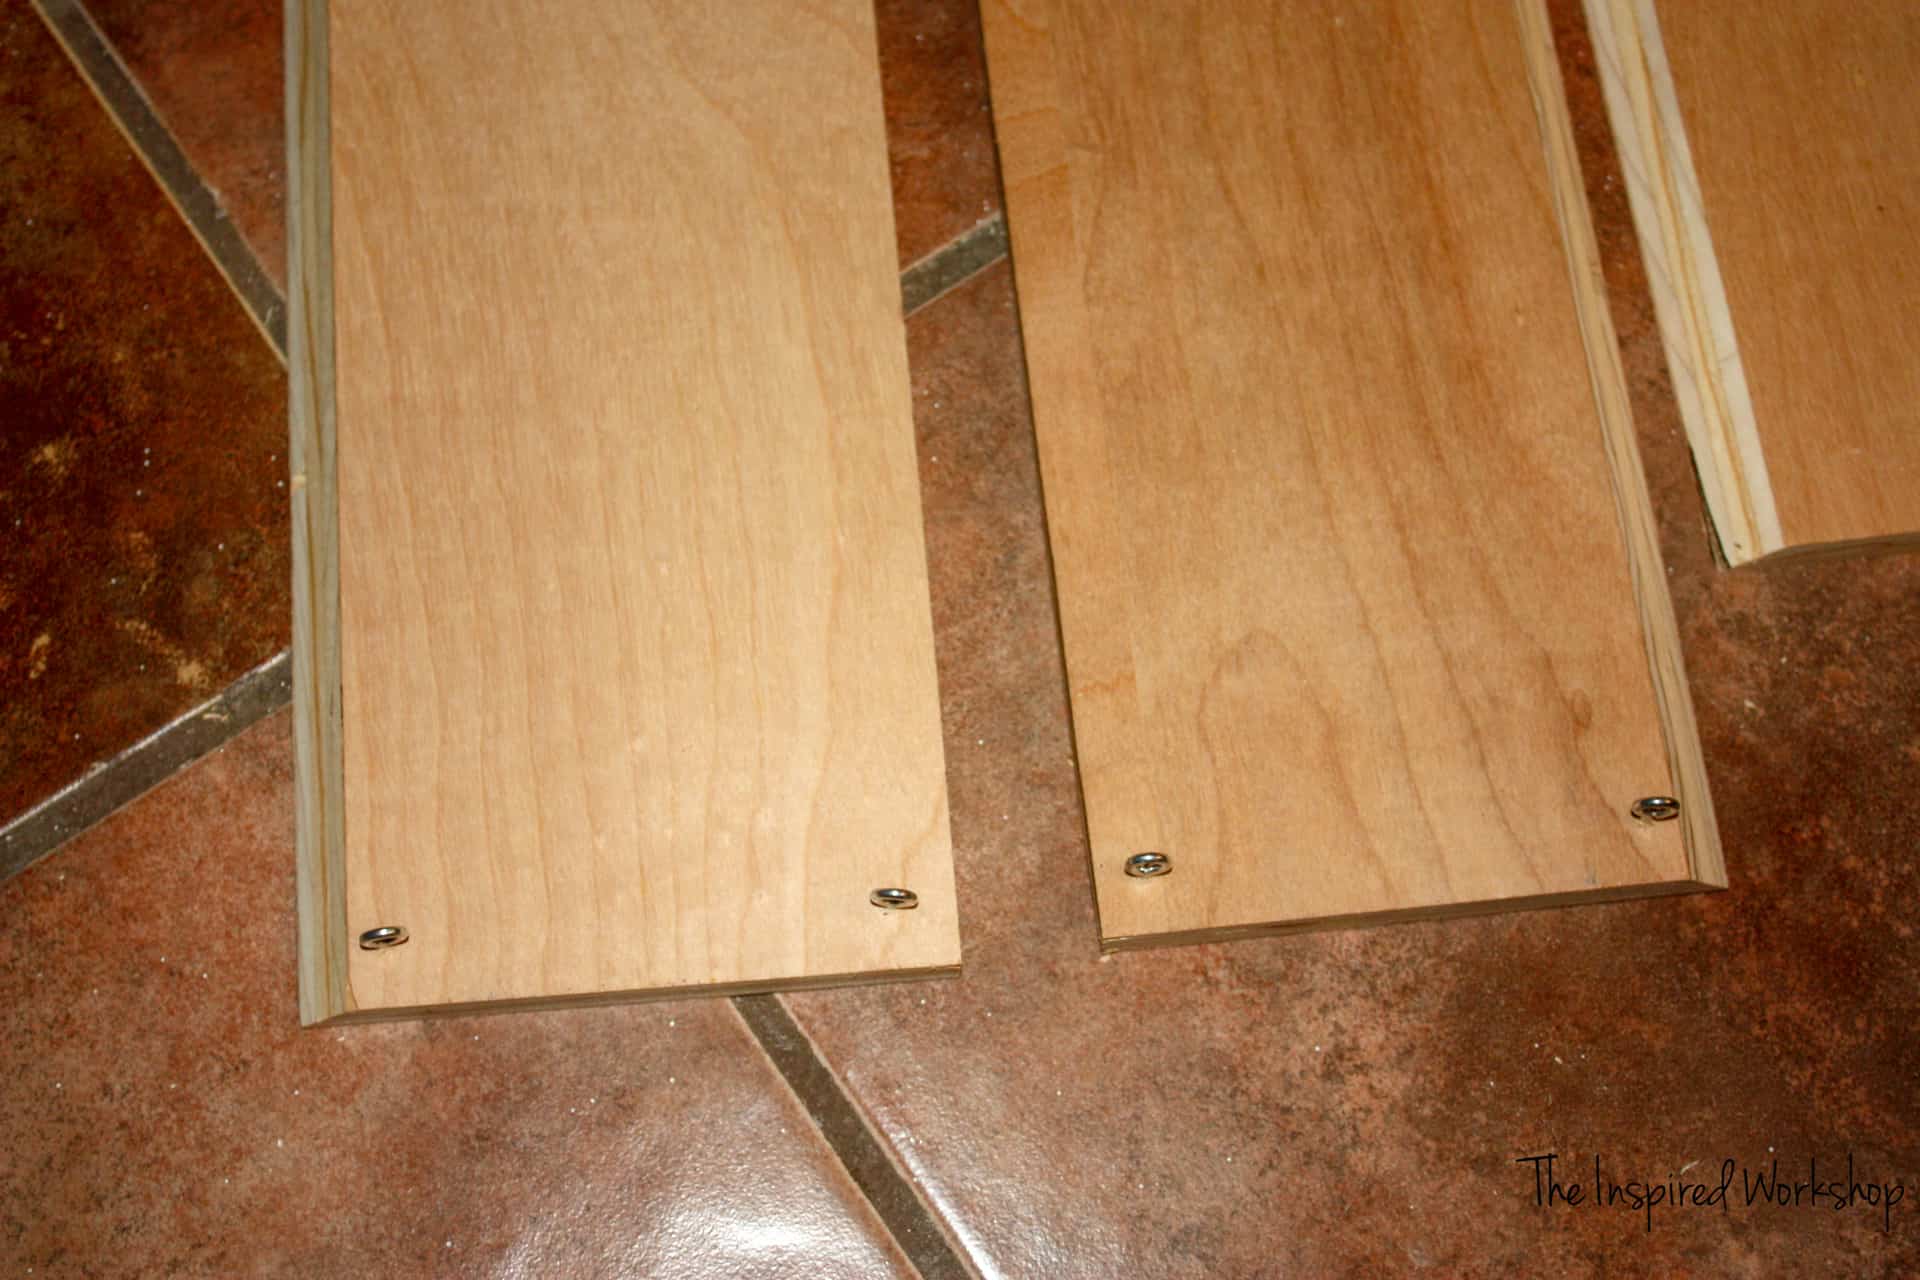
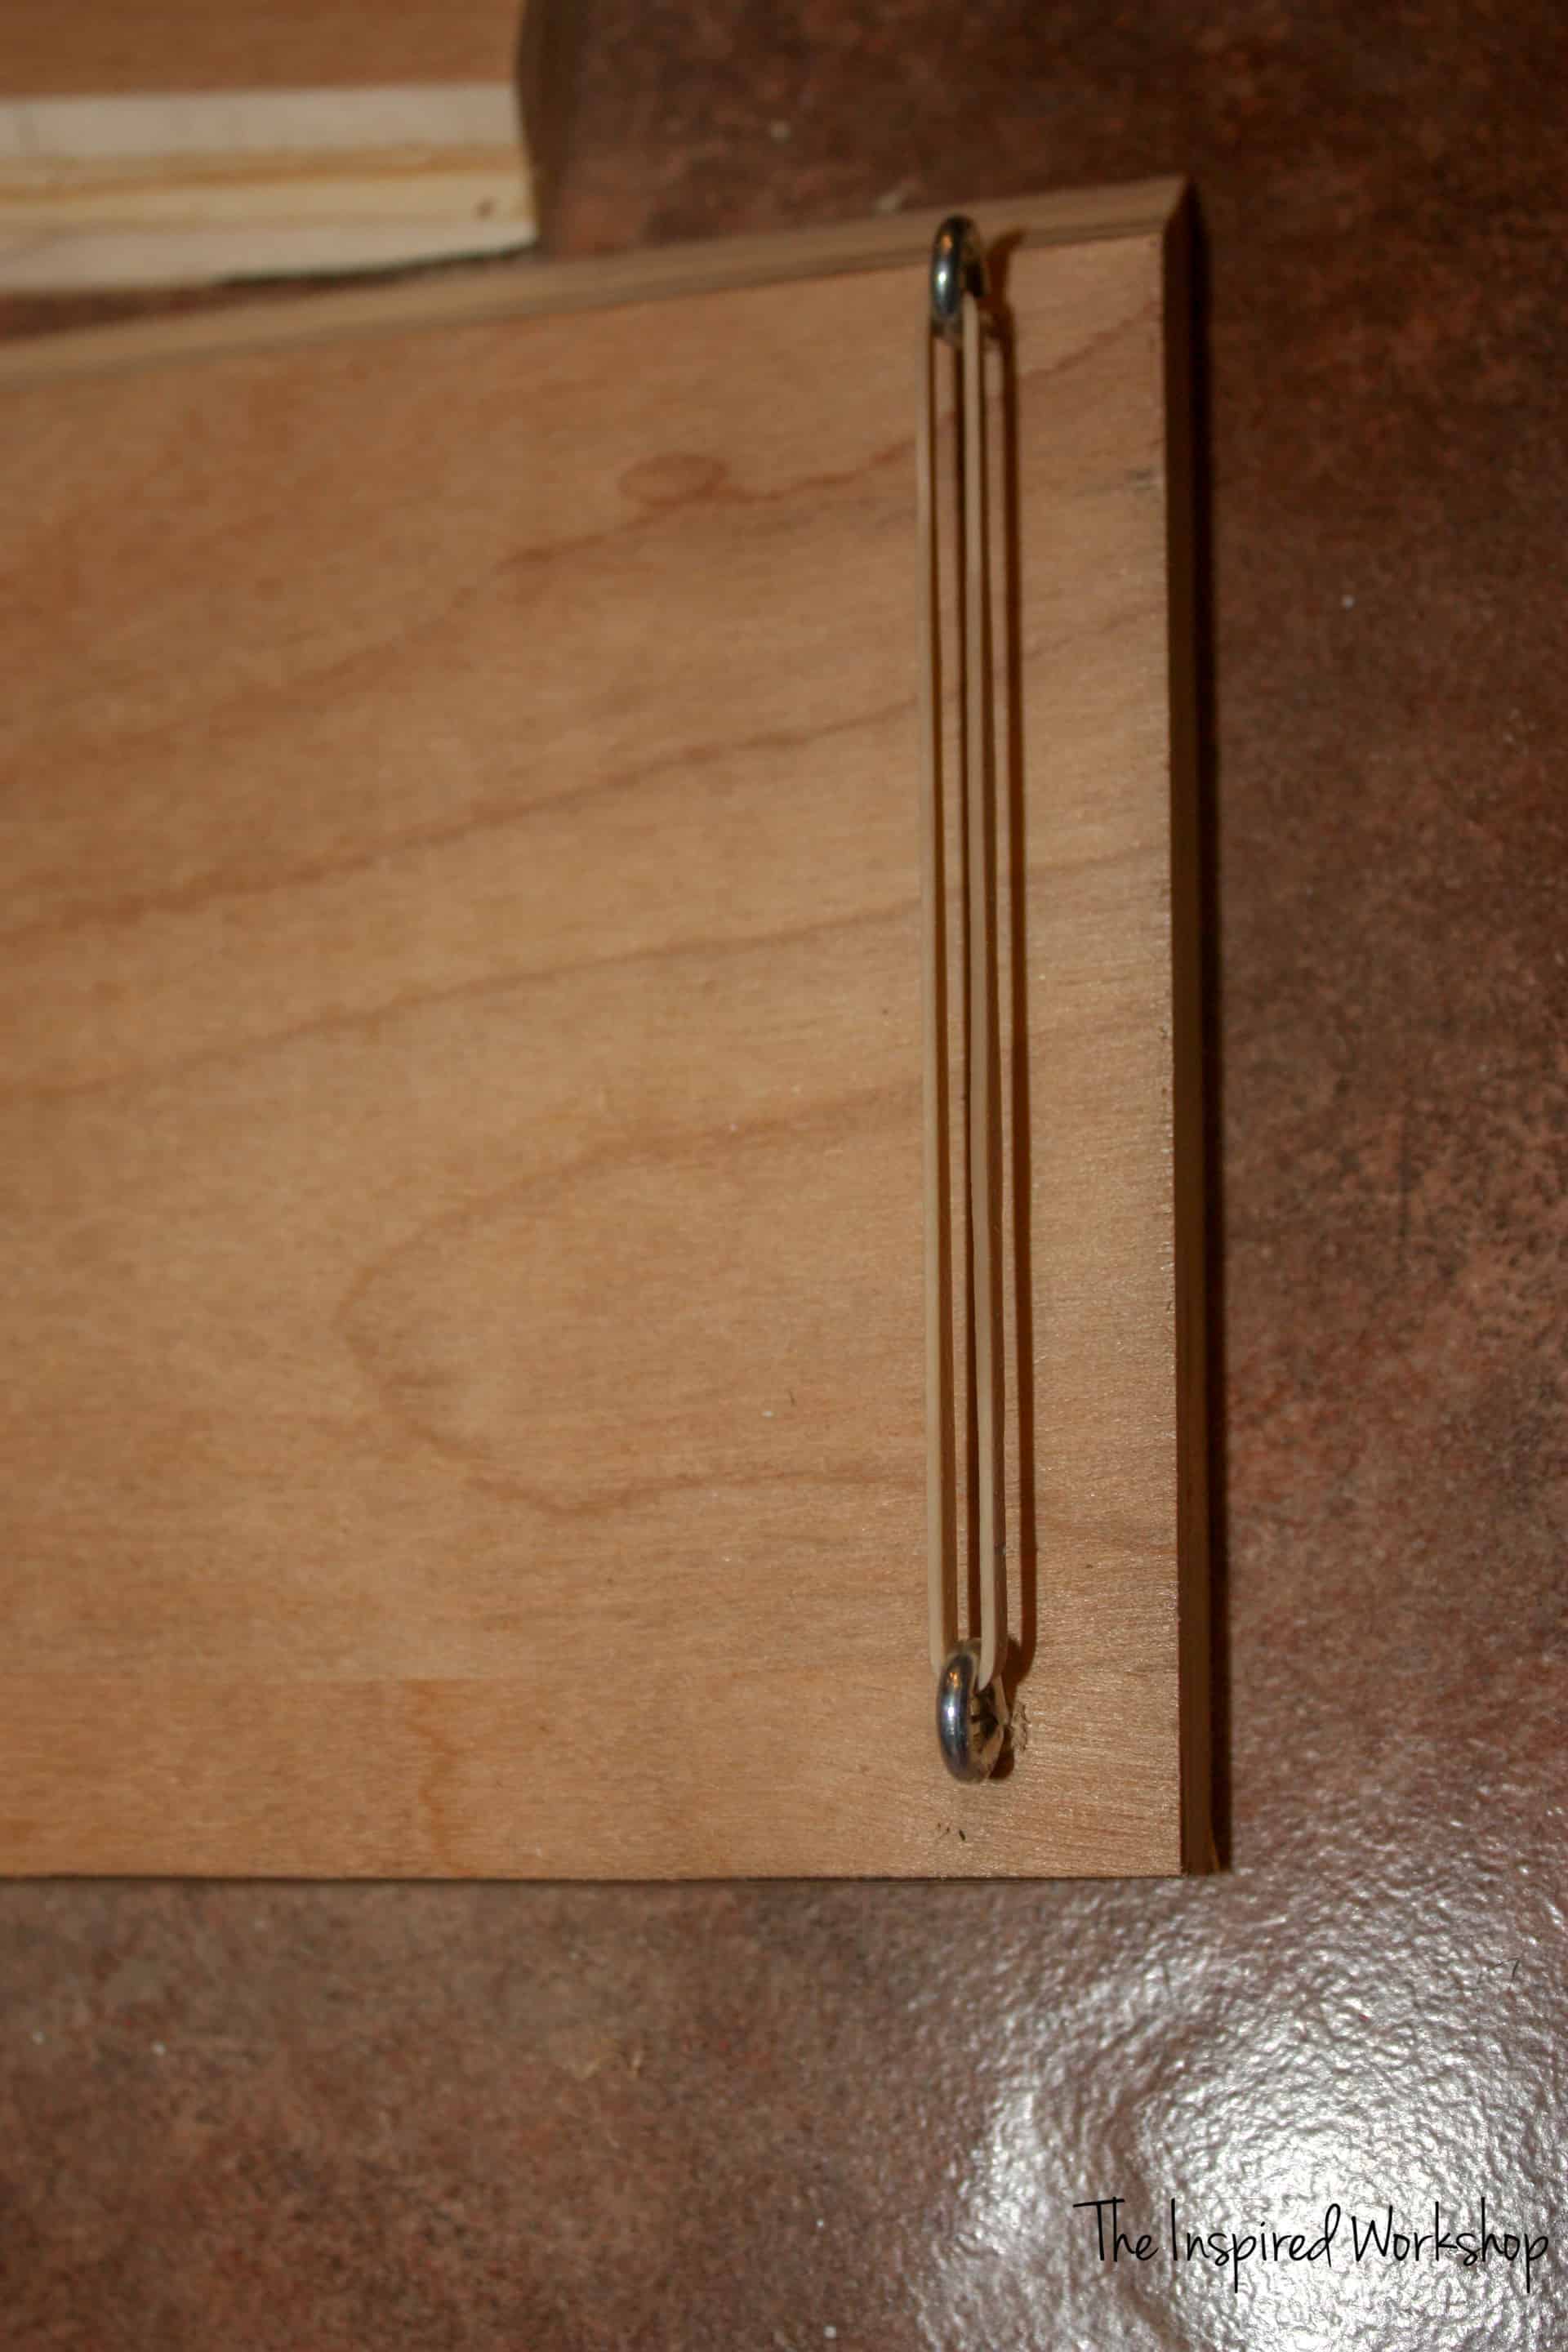
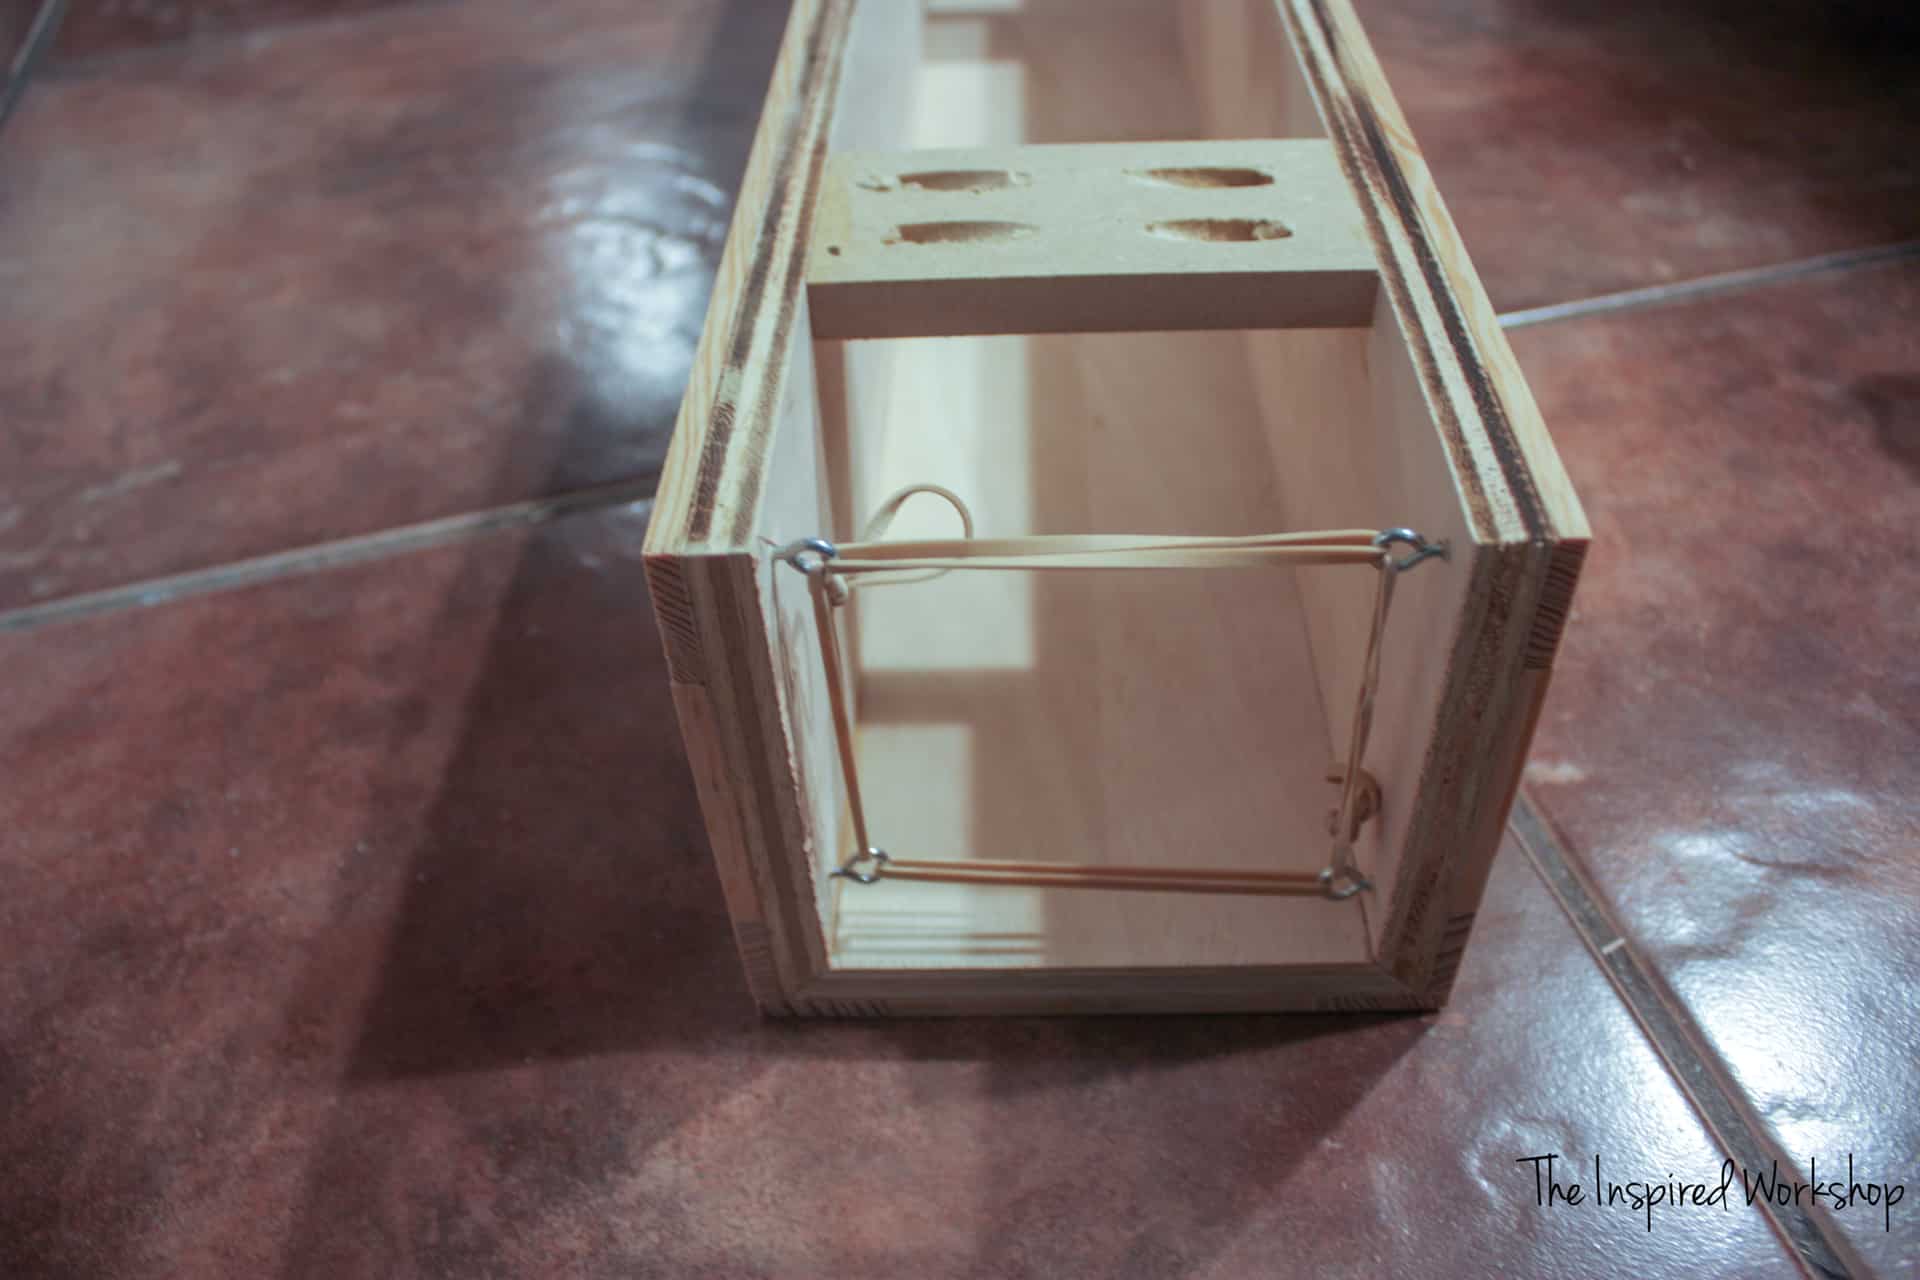
Before I put it all together I added the screw eyes so that I would not have to try and squeeze my hand into such a small space. It is possible to add or remove them once it is put together, just not AS easy as doing it now! They need to be placed 1/2″ in from the edge at least. I placed them slightly back further and they didn’t work too well, but being placed slightly in further than 1/2″ will still be okay!
Adding rubber bands now is helpful as well!
Step 5
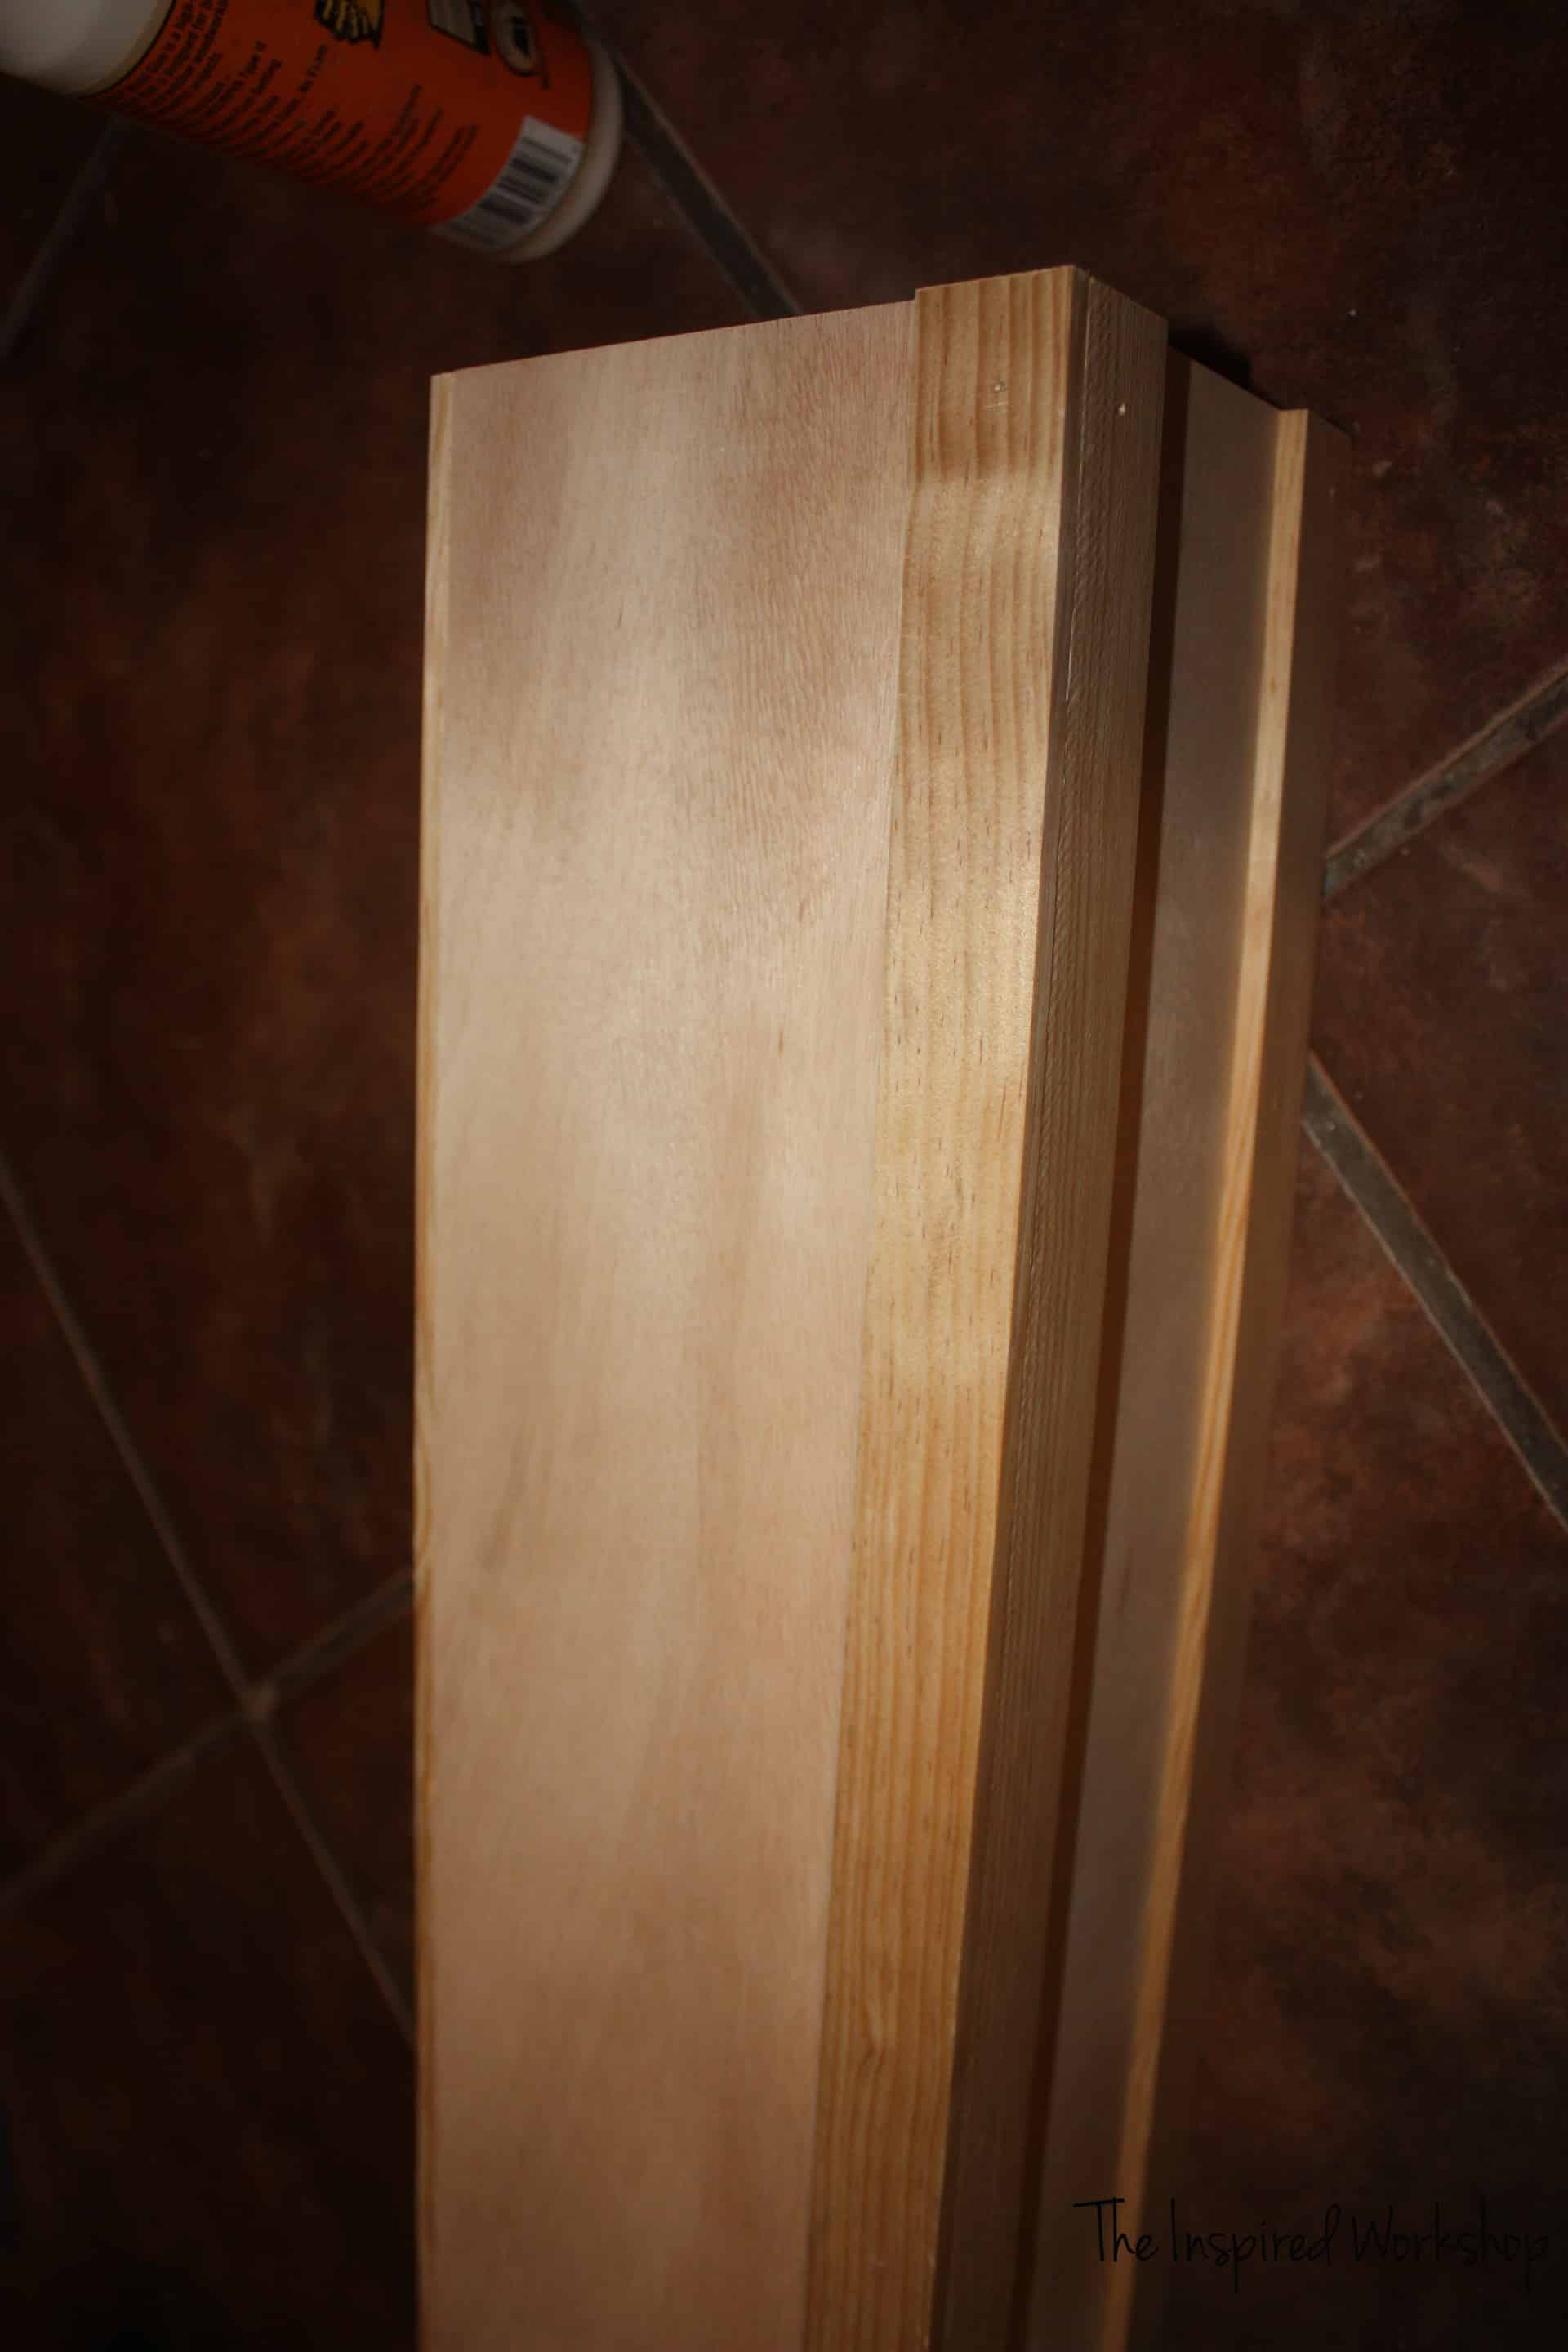
Lay all three of your 24″ boards on top of a couple of strips of painter’s tape.
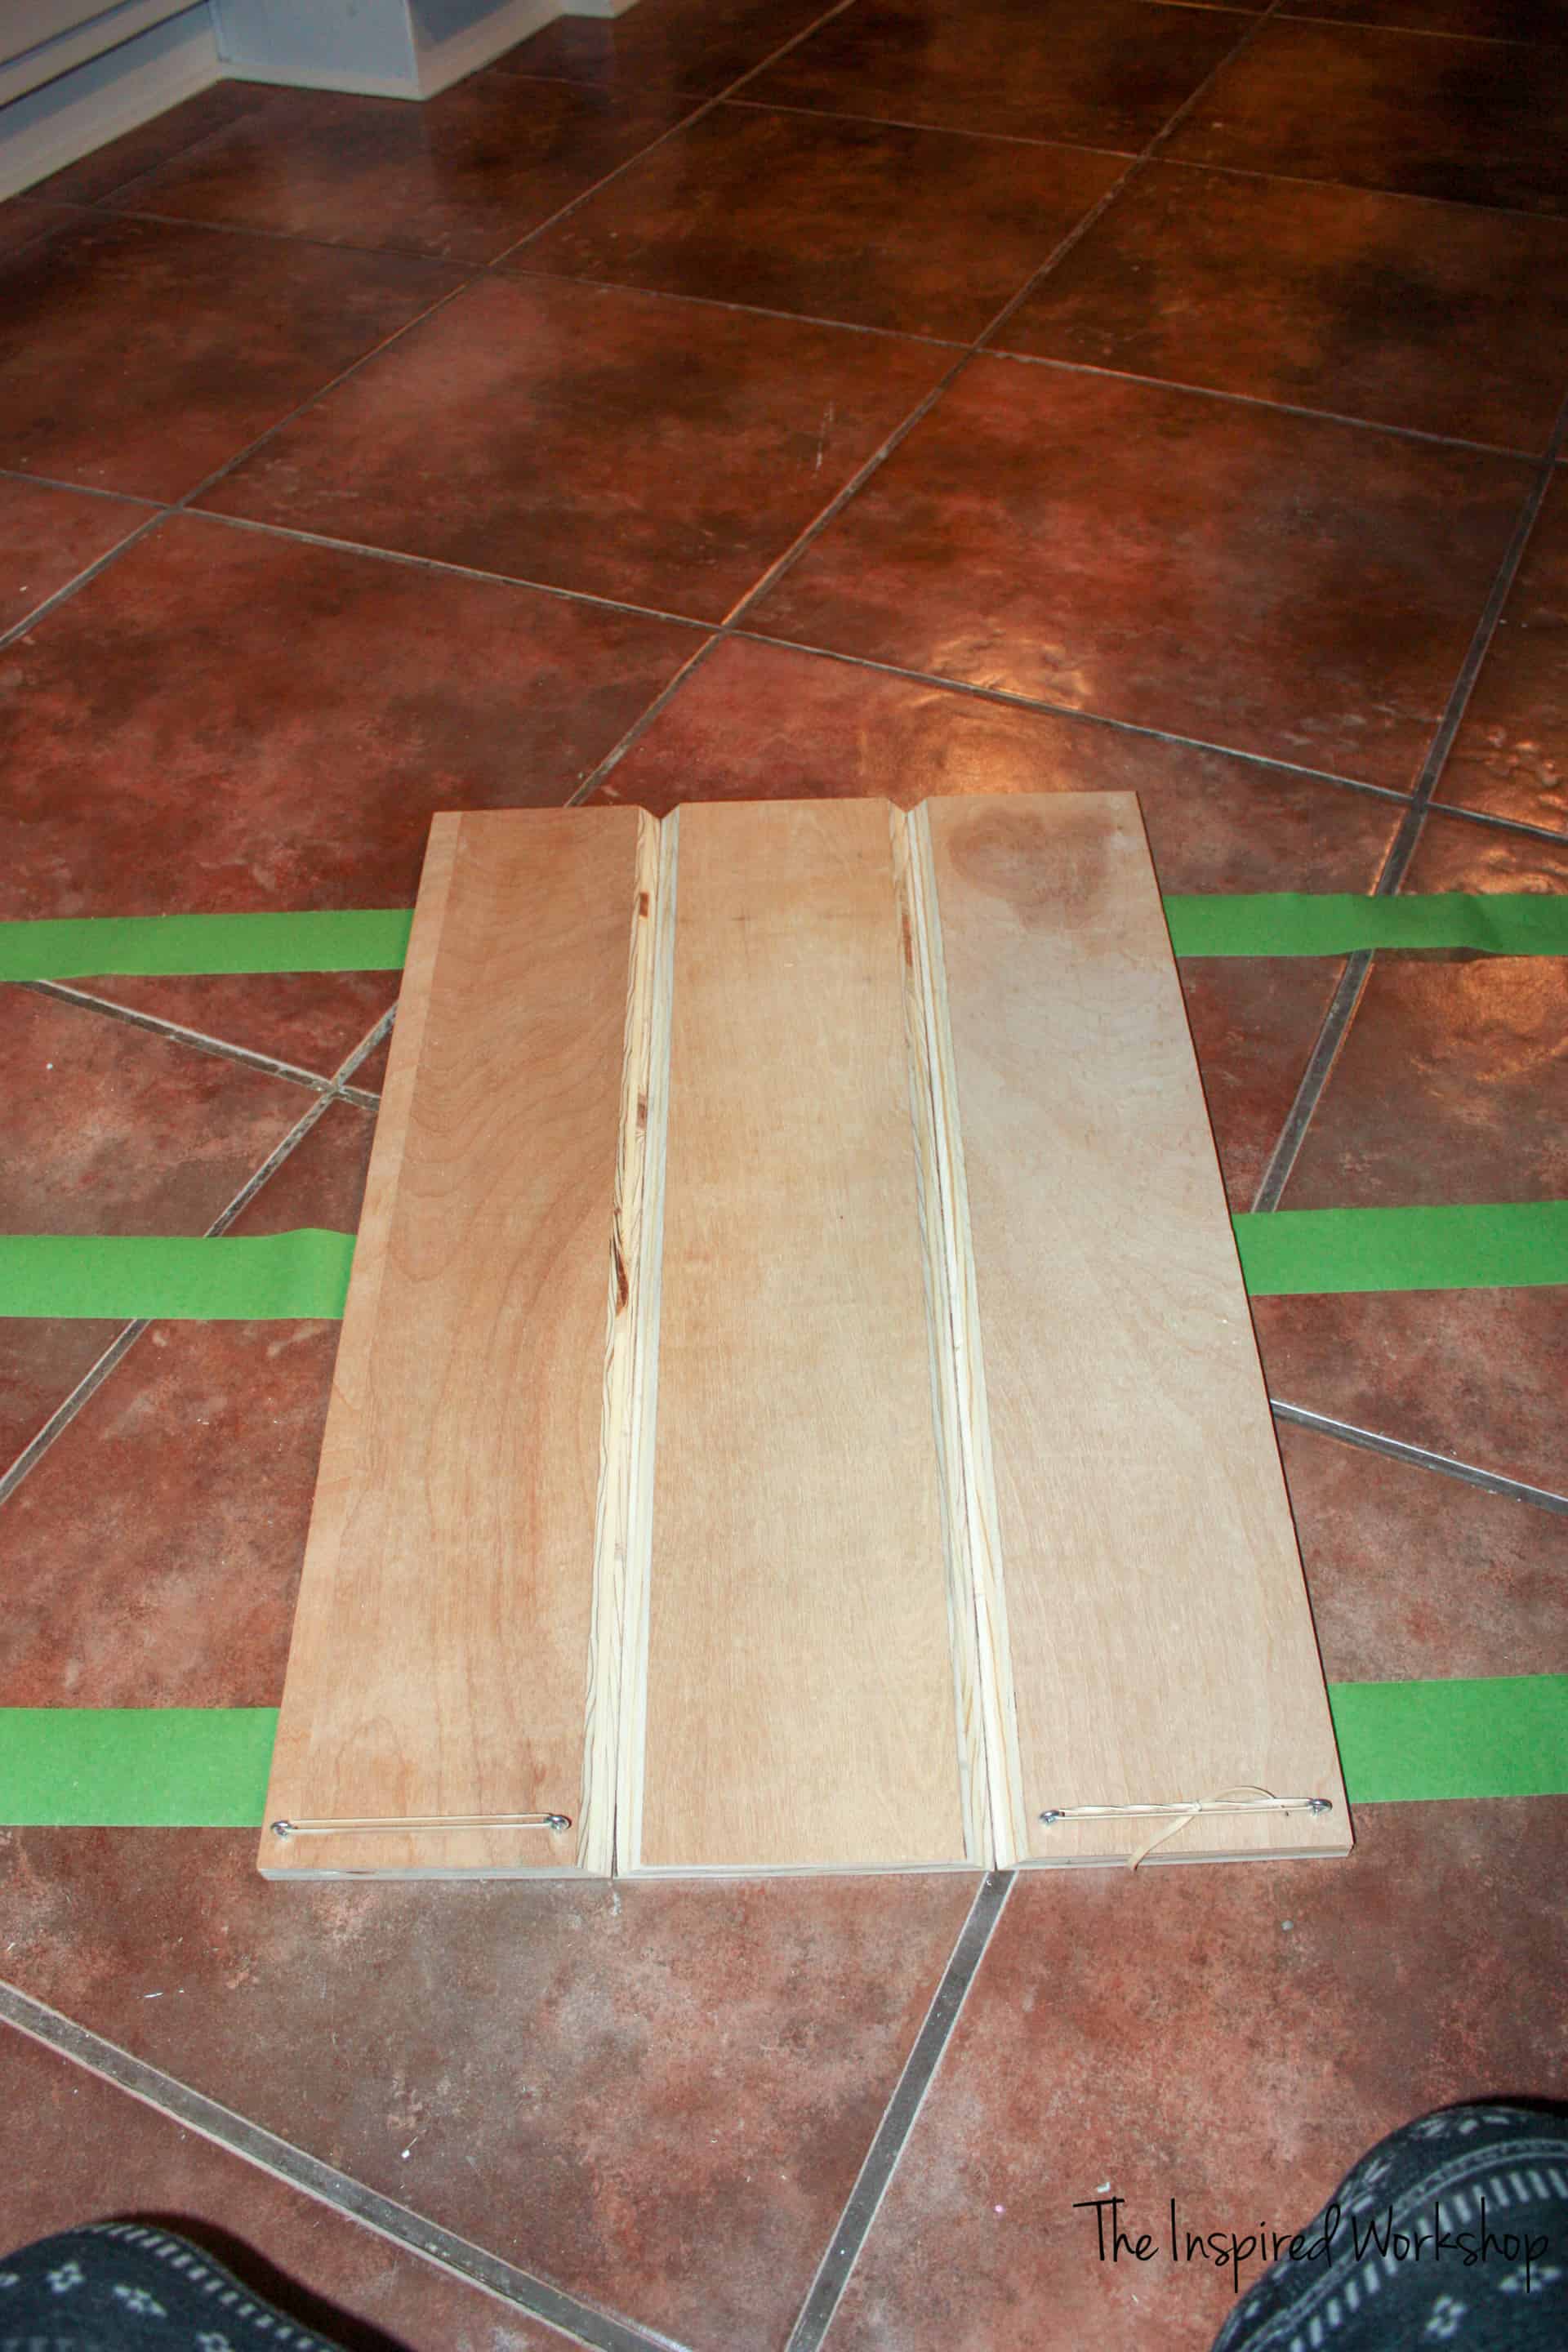
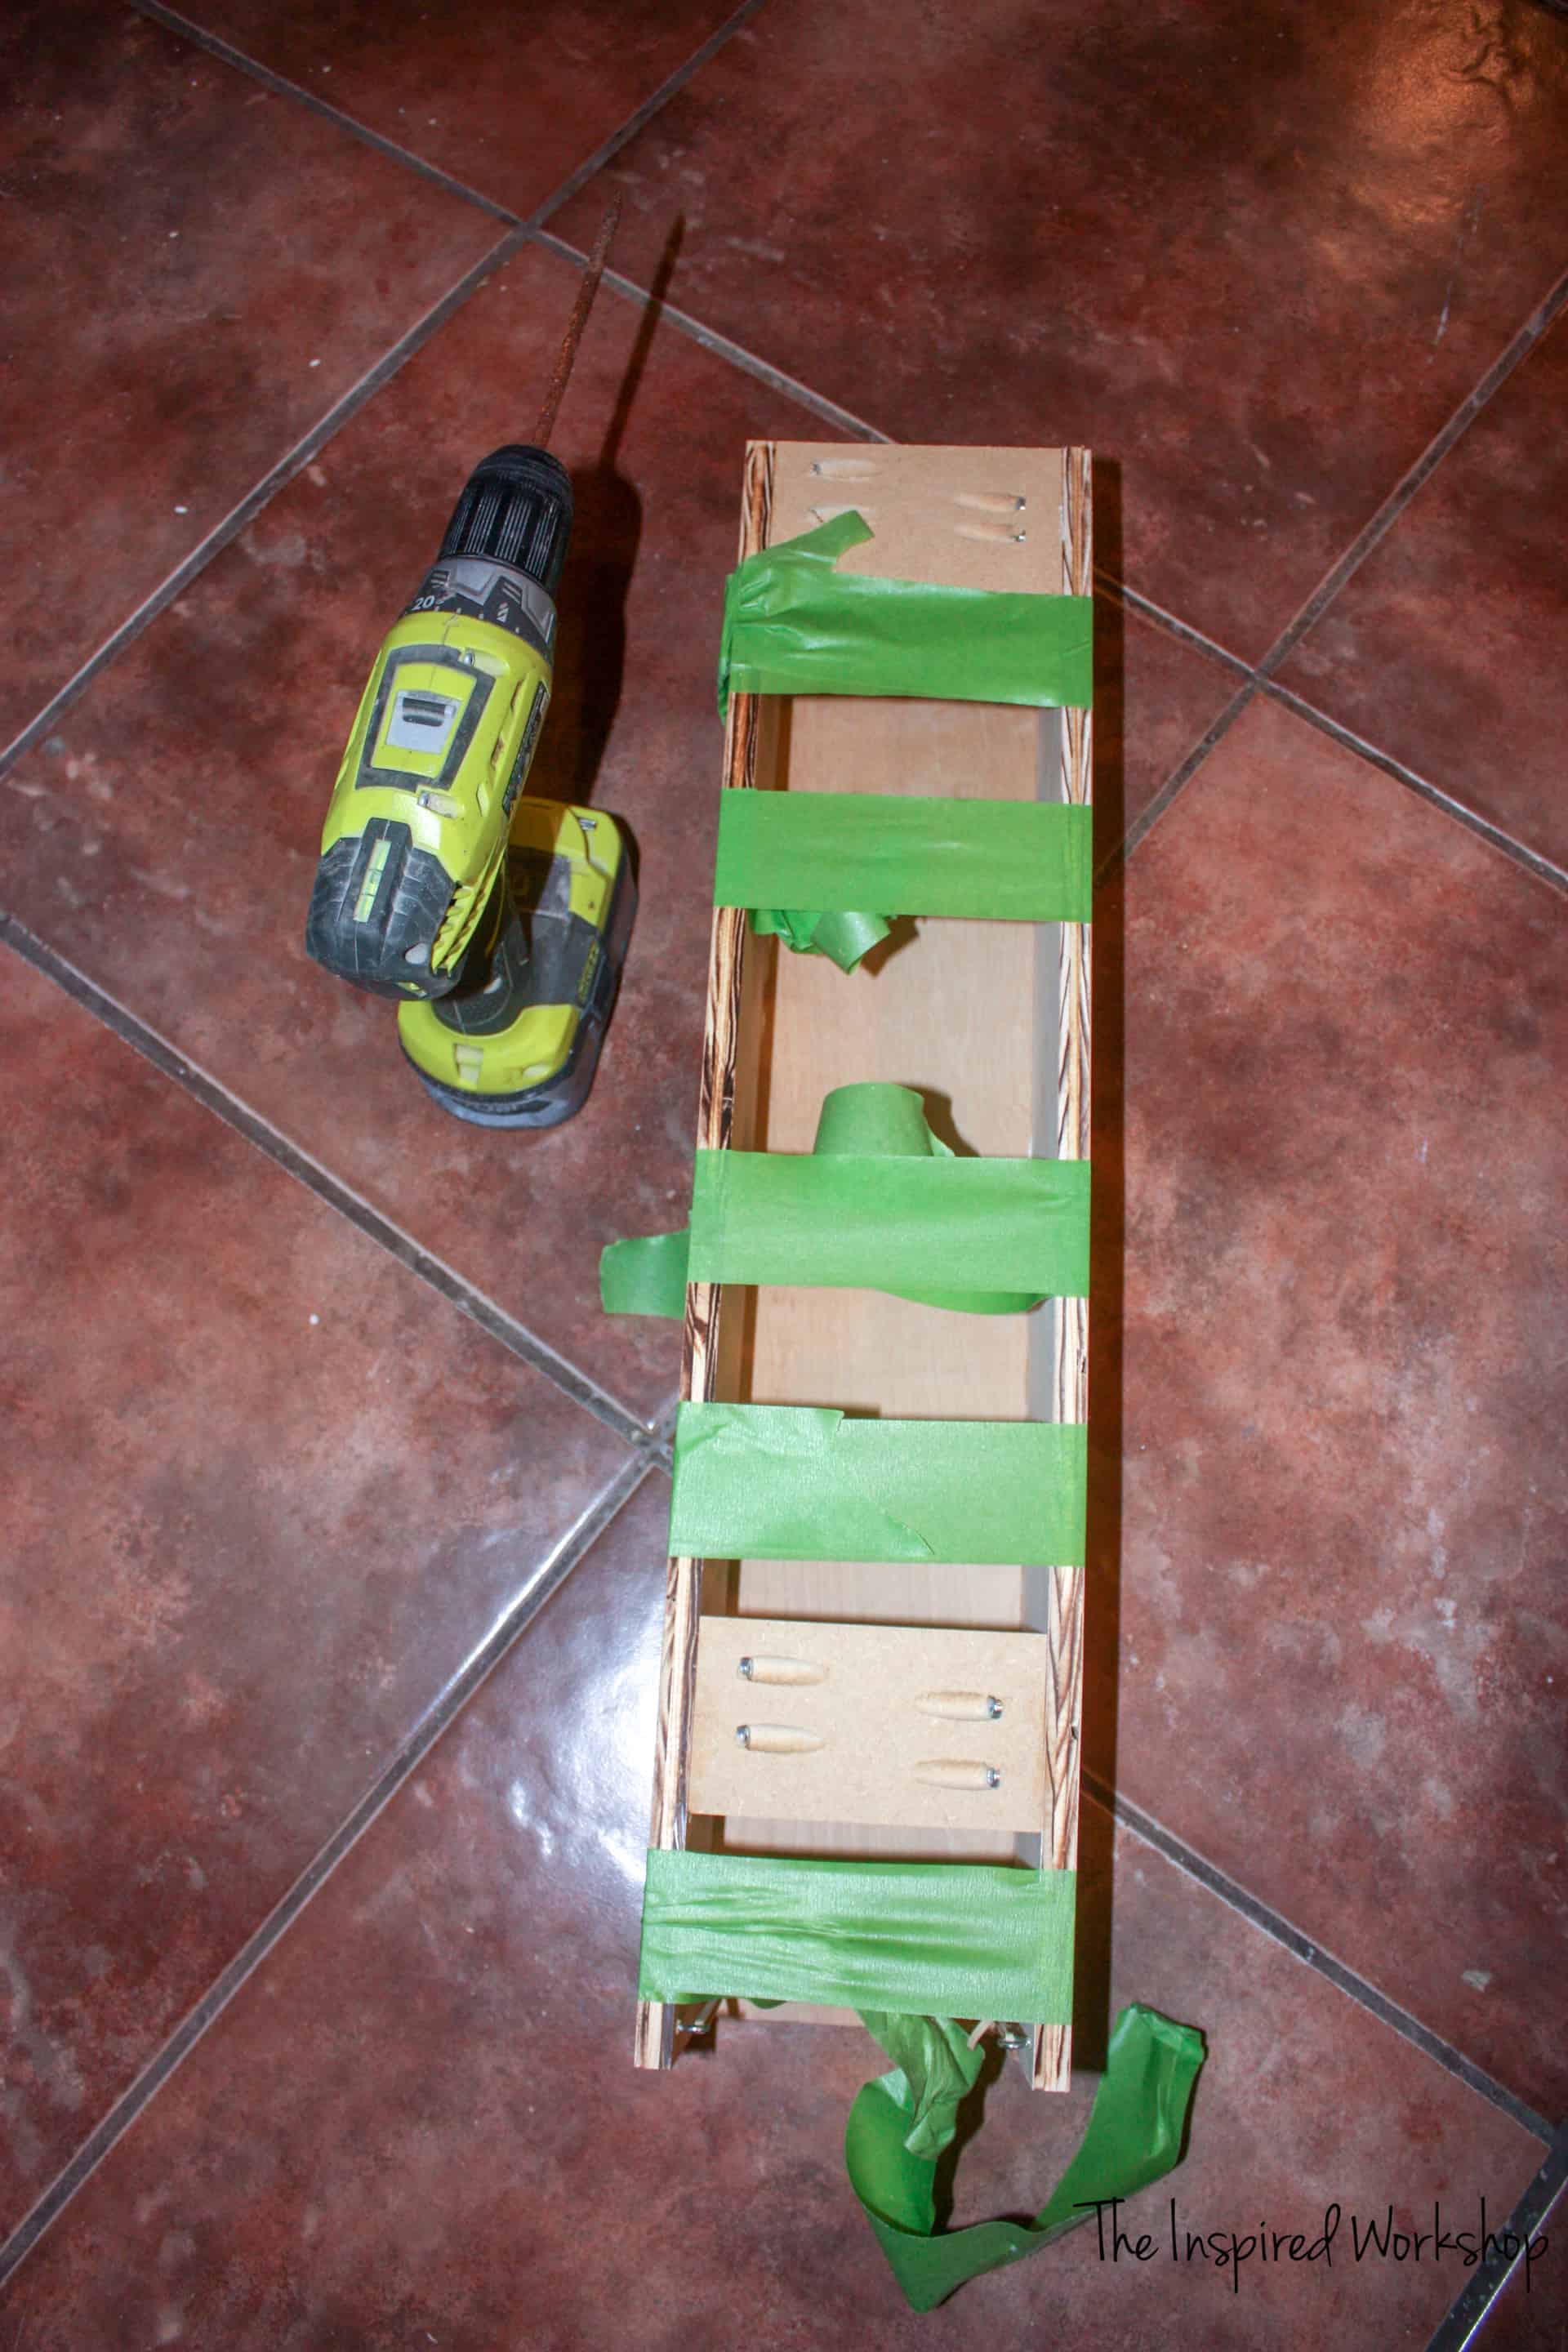
Step 6
Add ample glue and wrap the box up with painter’s tape, adding the small pieces to the back to keep it square. The beveled side is facing downward on the very top 2″ piece. The other beveled piece will be facing upward on the cabinet to hold it!
Step 7
Add the trim! Using the lattice strips, add the long strips to the sides first. I used 5/8″ brad nails and wood glue to attach them. If you don’t have a brad gun, you can just use glue and set something heavy on each side for a while.

Then add it to the front covering the trim of the sides!
Add small pieces of trim to the middle of the long strips.
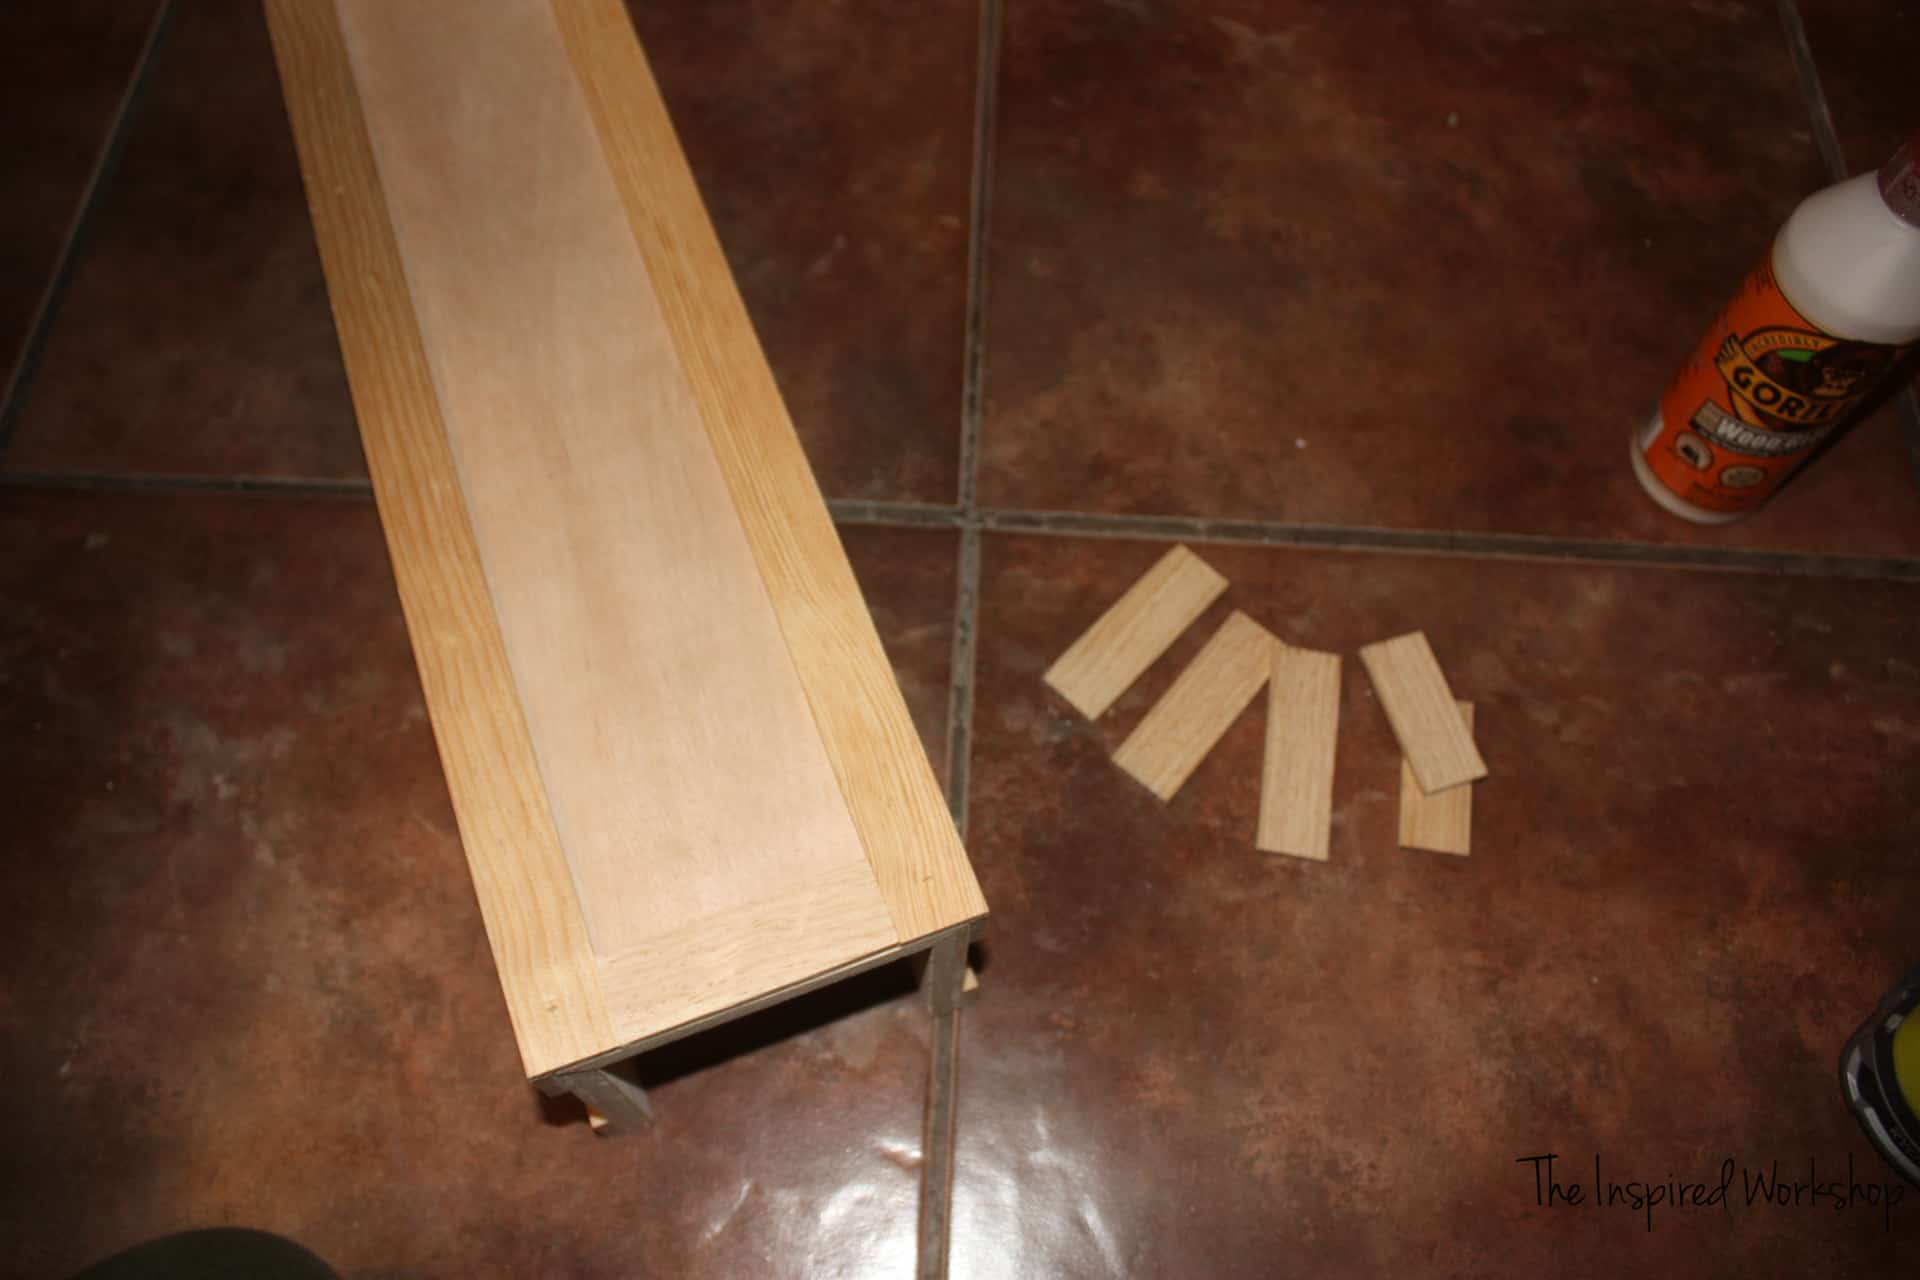
I then decided to add two middle pieces as well!
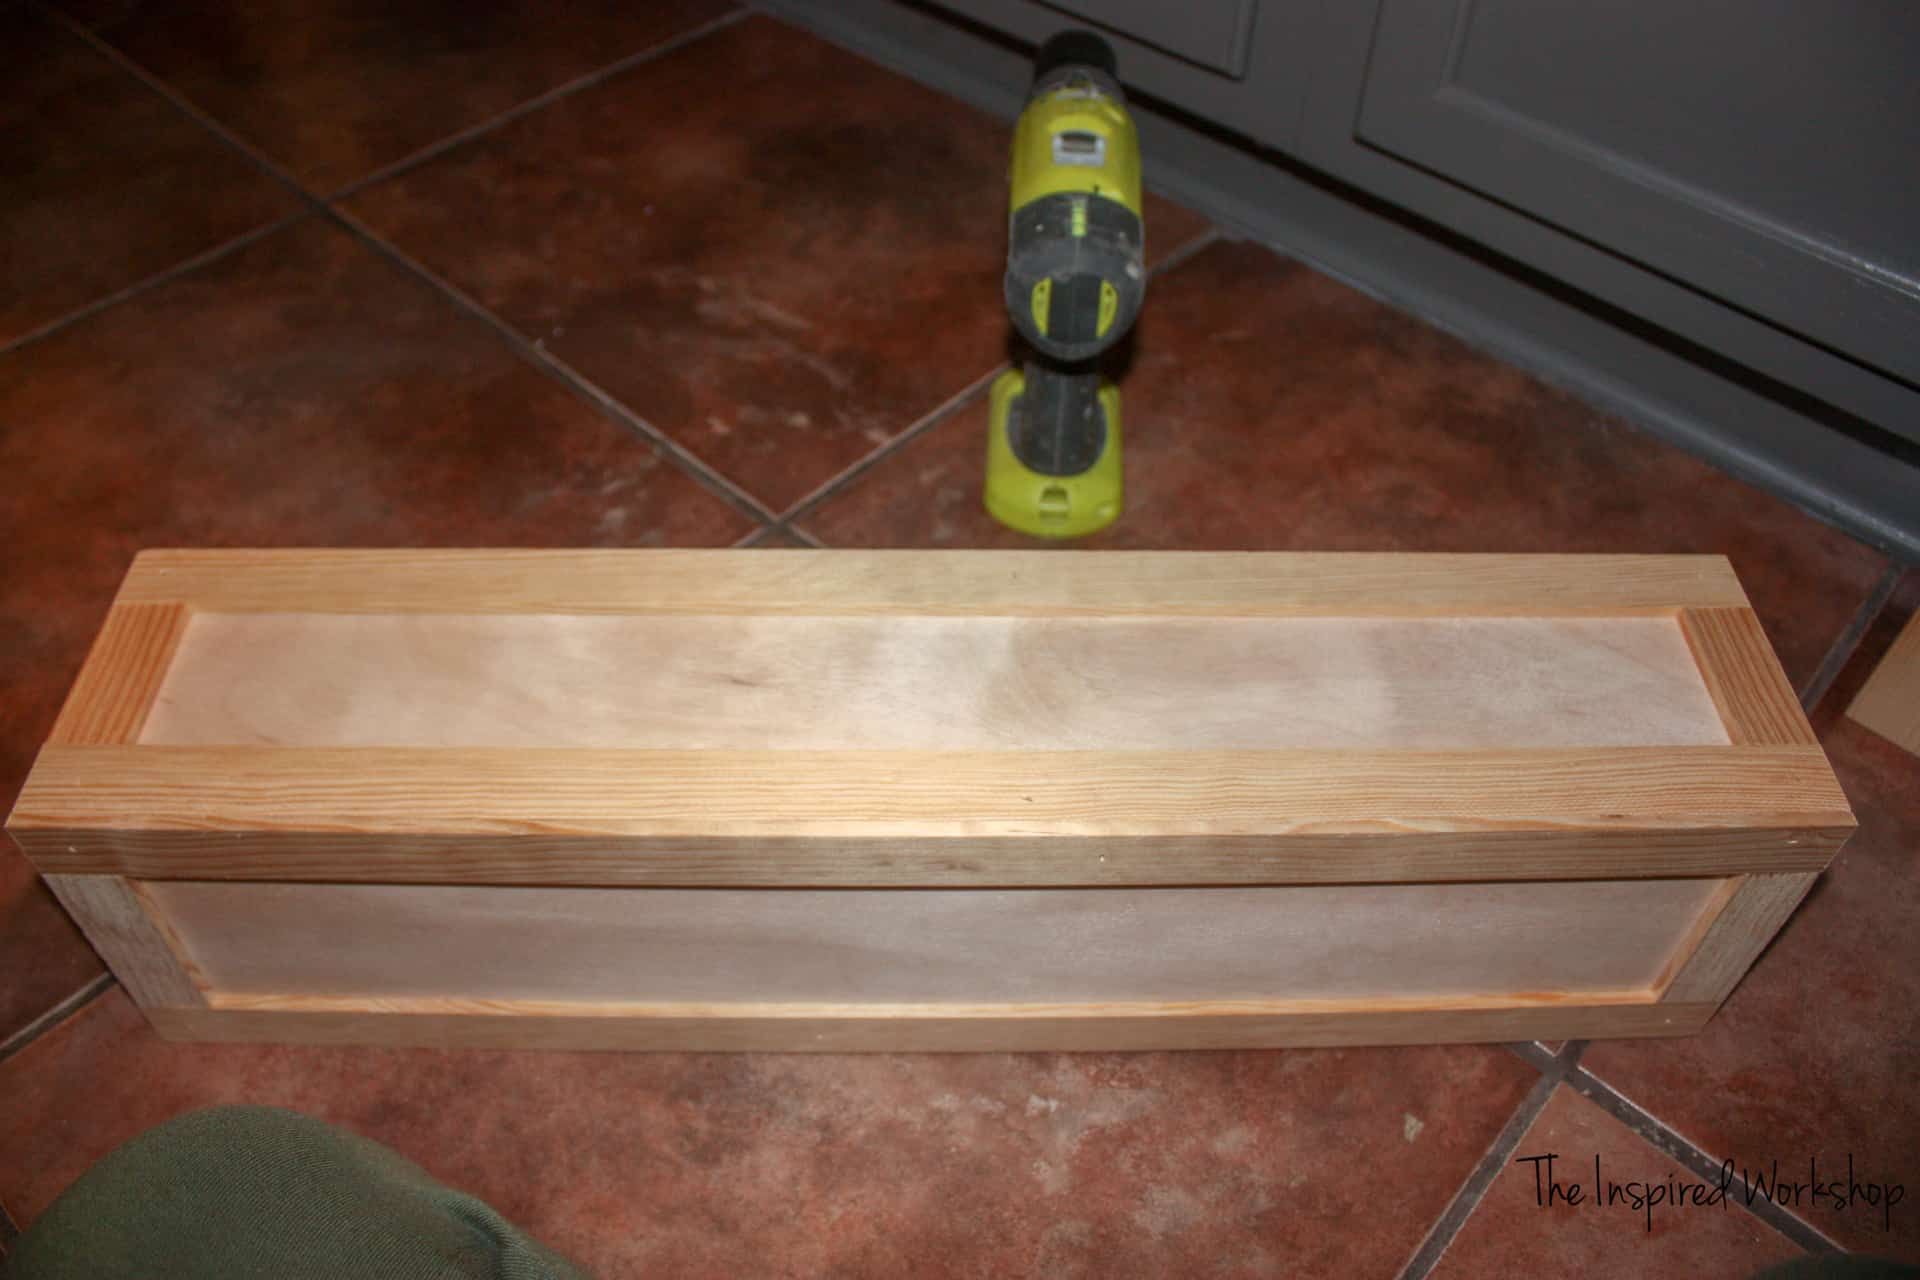
Step 8
Add the other two rubber bands to make a square, and hold your cups from falling out of the DIY cup dispenser.
Step 9
Fill in any nail holes and sand lightly! Stain it in whatever color stain or paint you would like. I used Old Barn Milk Paint stain in Weathered. It is my FAVORITE stain right now, no this is not sponsored, nor is the link an affiliate link, but I LOVE that I can use it indoors because it is totally non toxic…and it has a sealer built in! What?! YES!!! It is the best! I used it on the top of the drink station and on the shelves in my kitchen! It is a little more pricey than regular stain but it’s worth the extra money to be safe…and stay out of the cold during these winter months! Lol!
Step 10
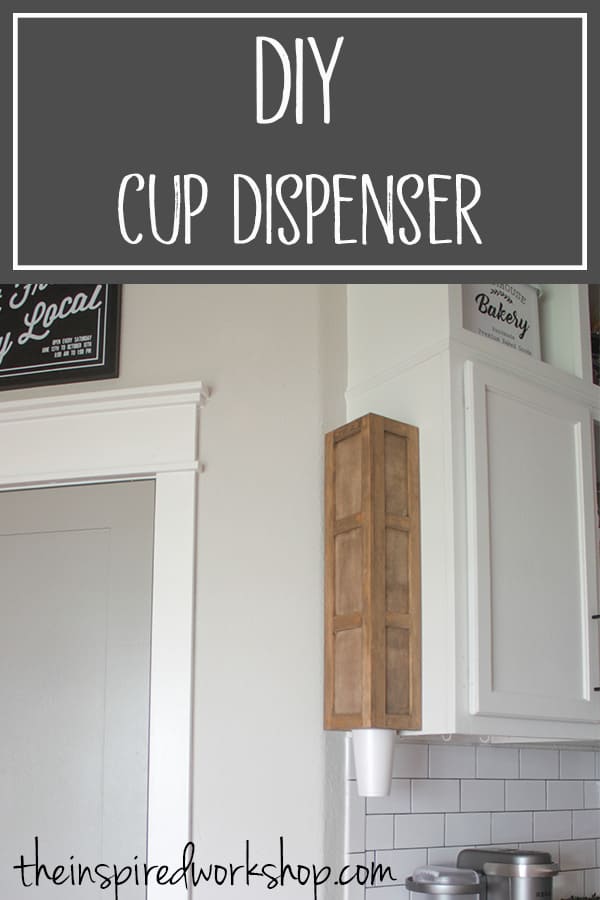
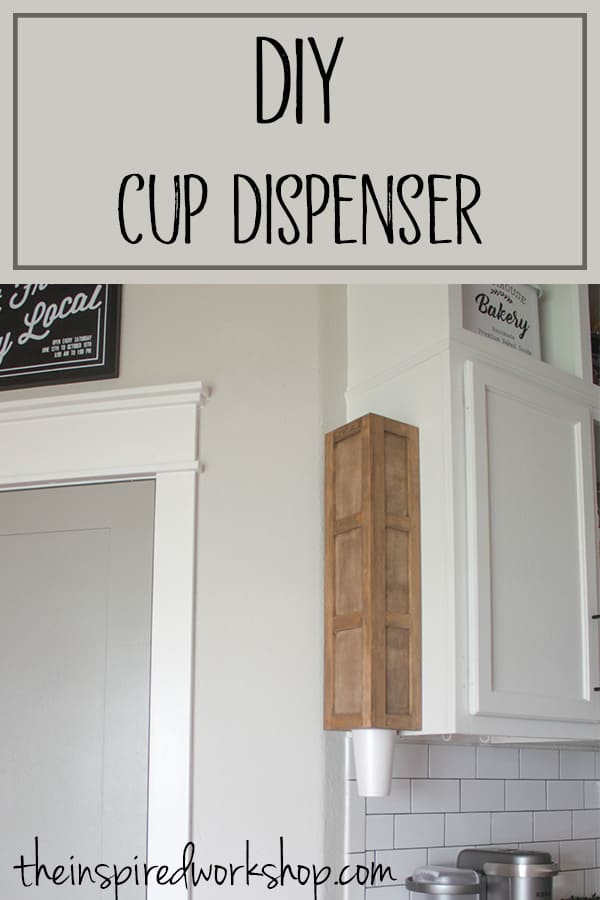
Hang it on the wall or cabinets! Just send two screws through the other beveled piece and slide the diy cup dispenser into place! Fill with cups!
I love my new cup dispenser! What do you think? I can’t wait to see all the variations you all come up with to put on this! Have a wonderful week!
Happy Building!

Enjoyed this post on how to make your own DIY cup dispenser? I would love for you to share it with your friends!
Want to save the DIY cup dispenser for later? Pin it!