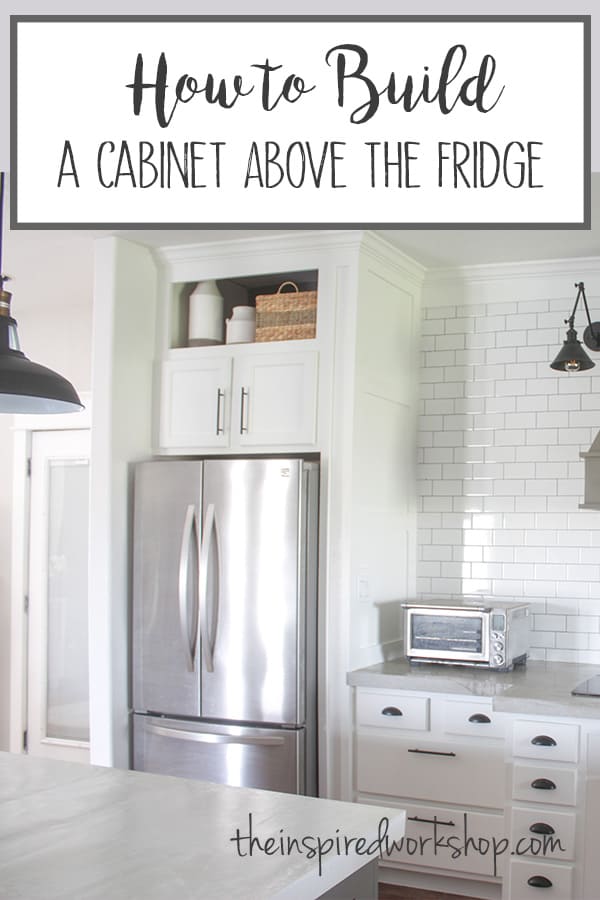
Building a Cabinet Above the Fridge – Kitchen Renovation
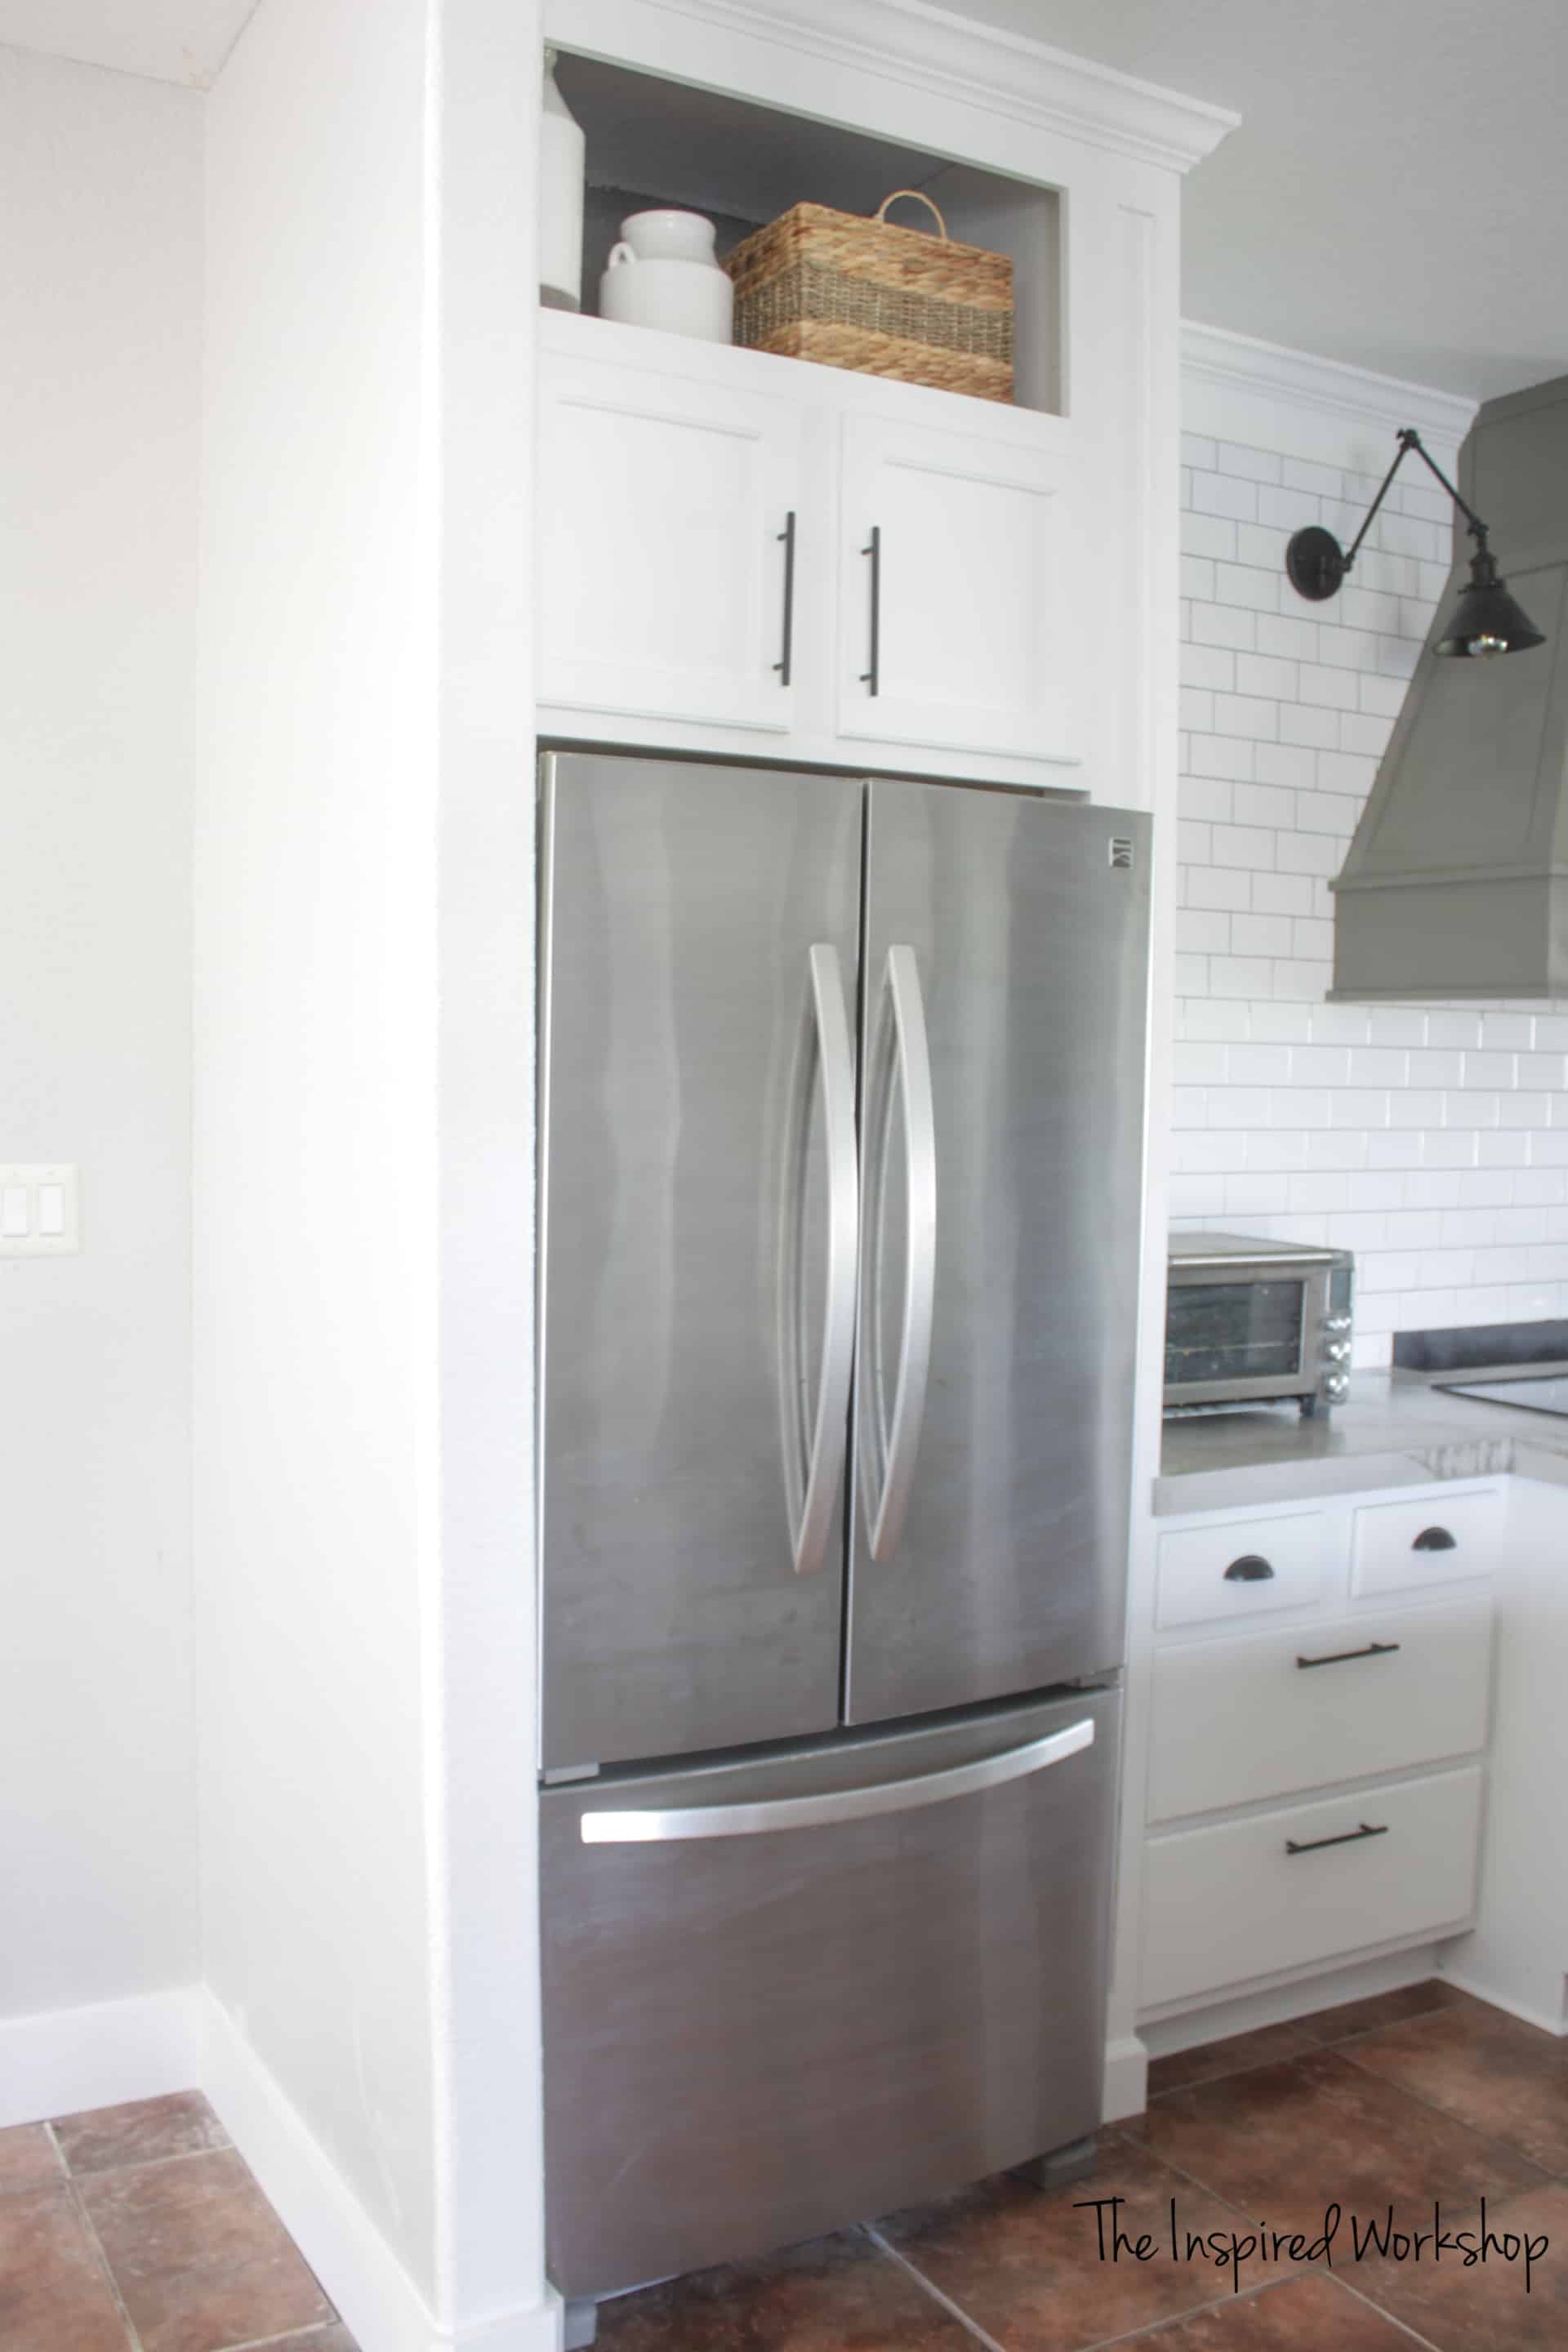
If you are looking to get the biggest bang for your buck in a kitchen remodel or renovation, building a designated space for your refrigerator is an easy way to accomplish this! Although we had a space for the fridge, it was just two walls. I was able to enclose this by building a cabinet above the fridge and adding some trim work, making this space look like I had custom cabinetry built!
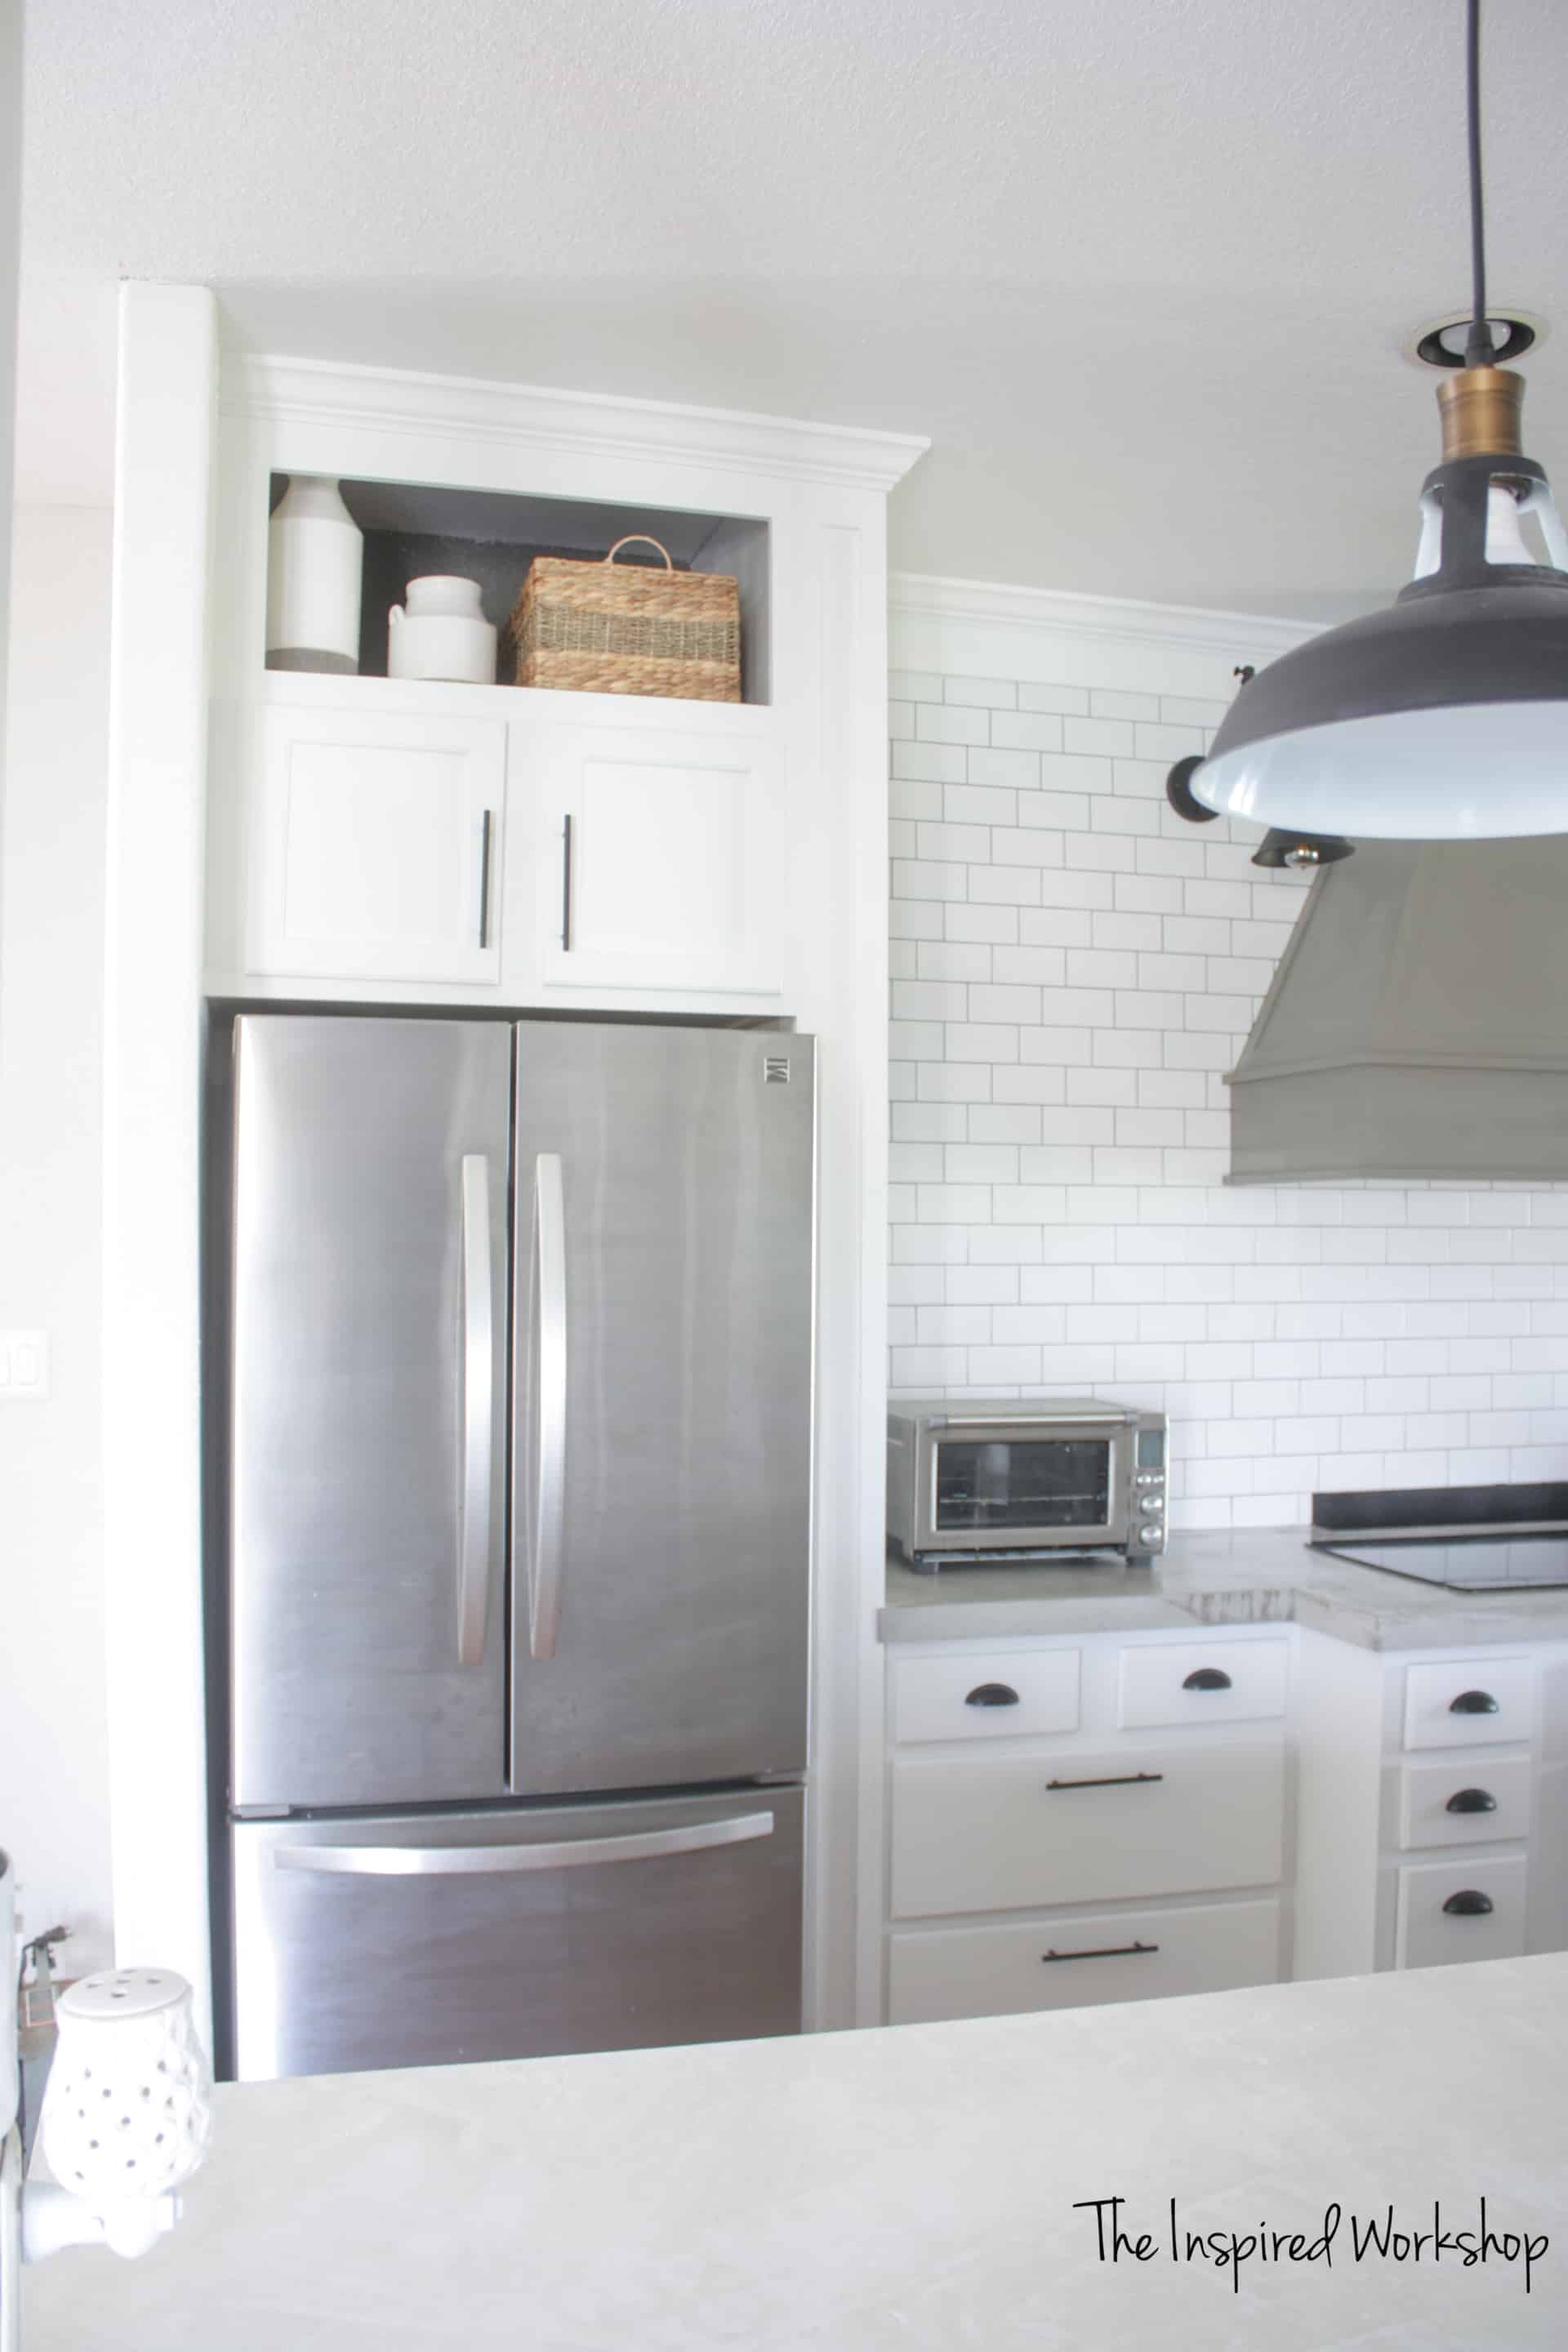
*Don’t mind that I tried a streak-free natural stainless steel cleaner recipe…that DID NOT work! Lol!

Building the cabinet over the fridge was one of the easiest projects in the kitchen and yet I feel like it was one of the most important! I was originally going to leave this area open until a later date, but after the rest of the kitchen was done, it needed a cabinet above the fridge and there was no way around it!
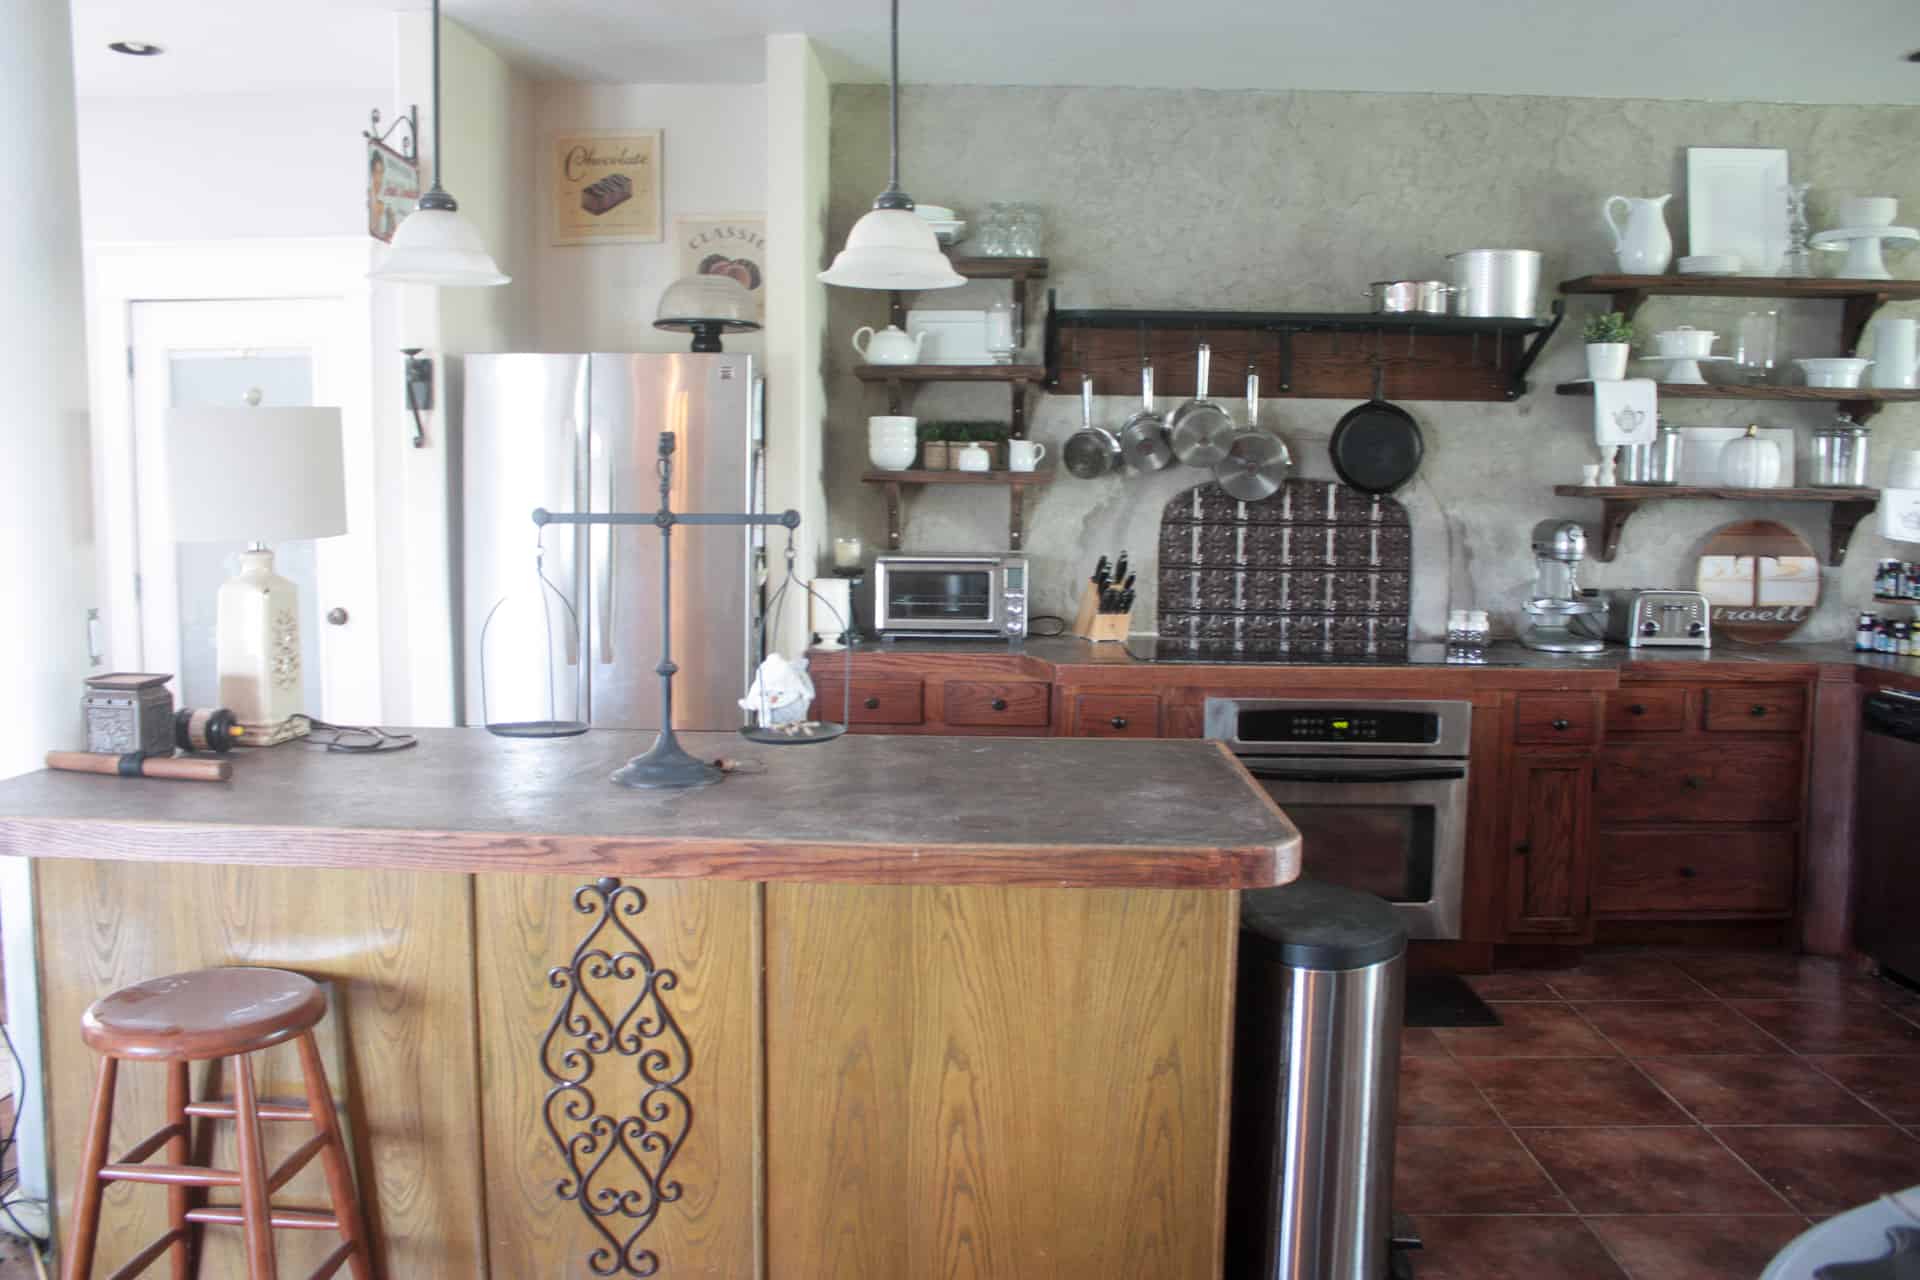
I realize that most people won’t have the same problem to work with in their kitchen as most kitchens do not have two walls on either side of the fridge! I’m not really sure why there are two walls instead of a refrigerator cabinet but this is what I had to work with. I wanted the side wall facing the kitchen to seem less like a wall and more of a divider or refrigerator cabinet so I added the MDF while I was adding it to all the other surfaces in the kitchen!
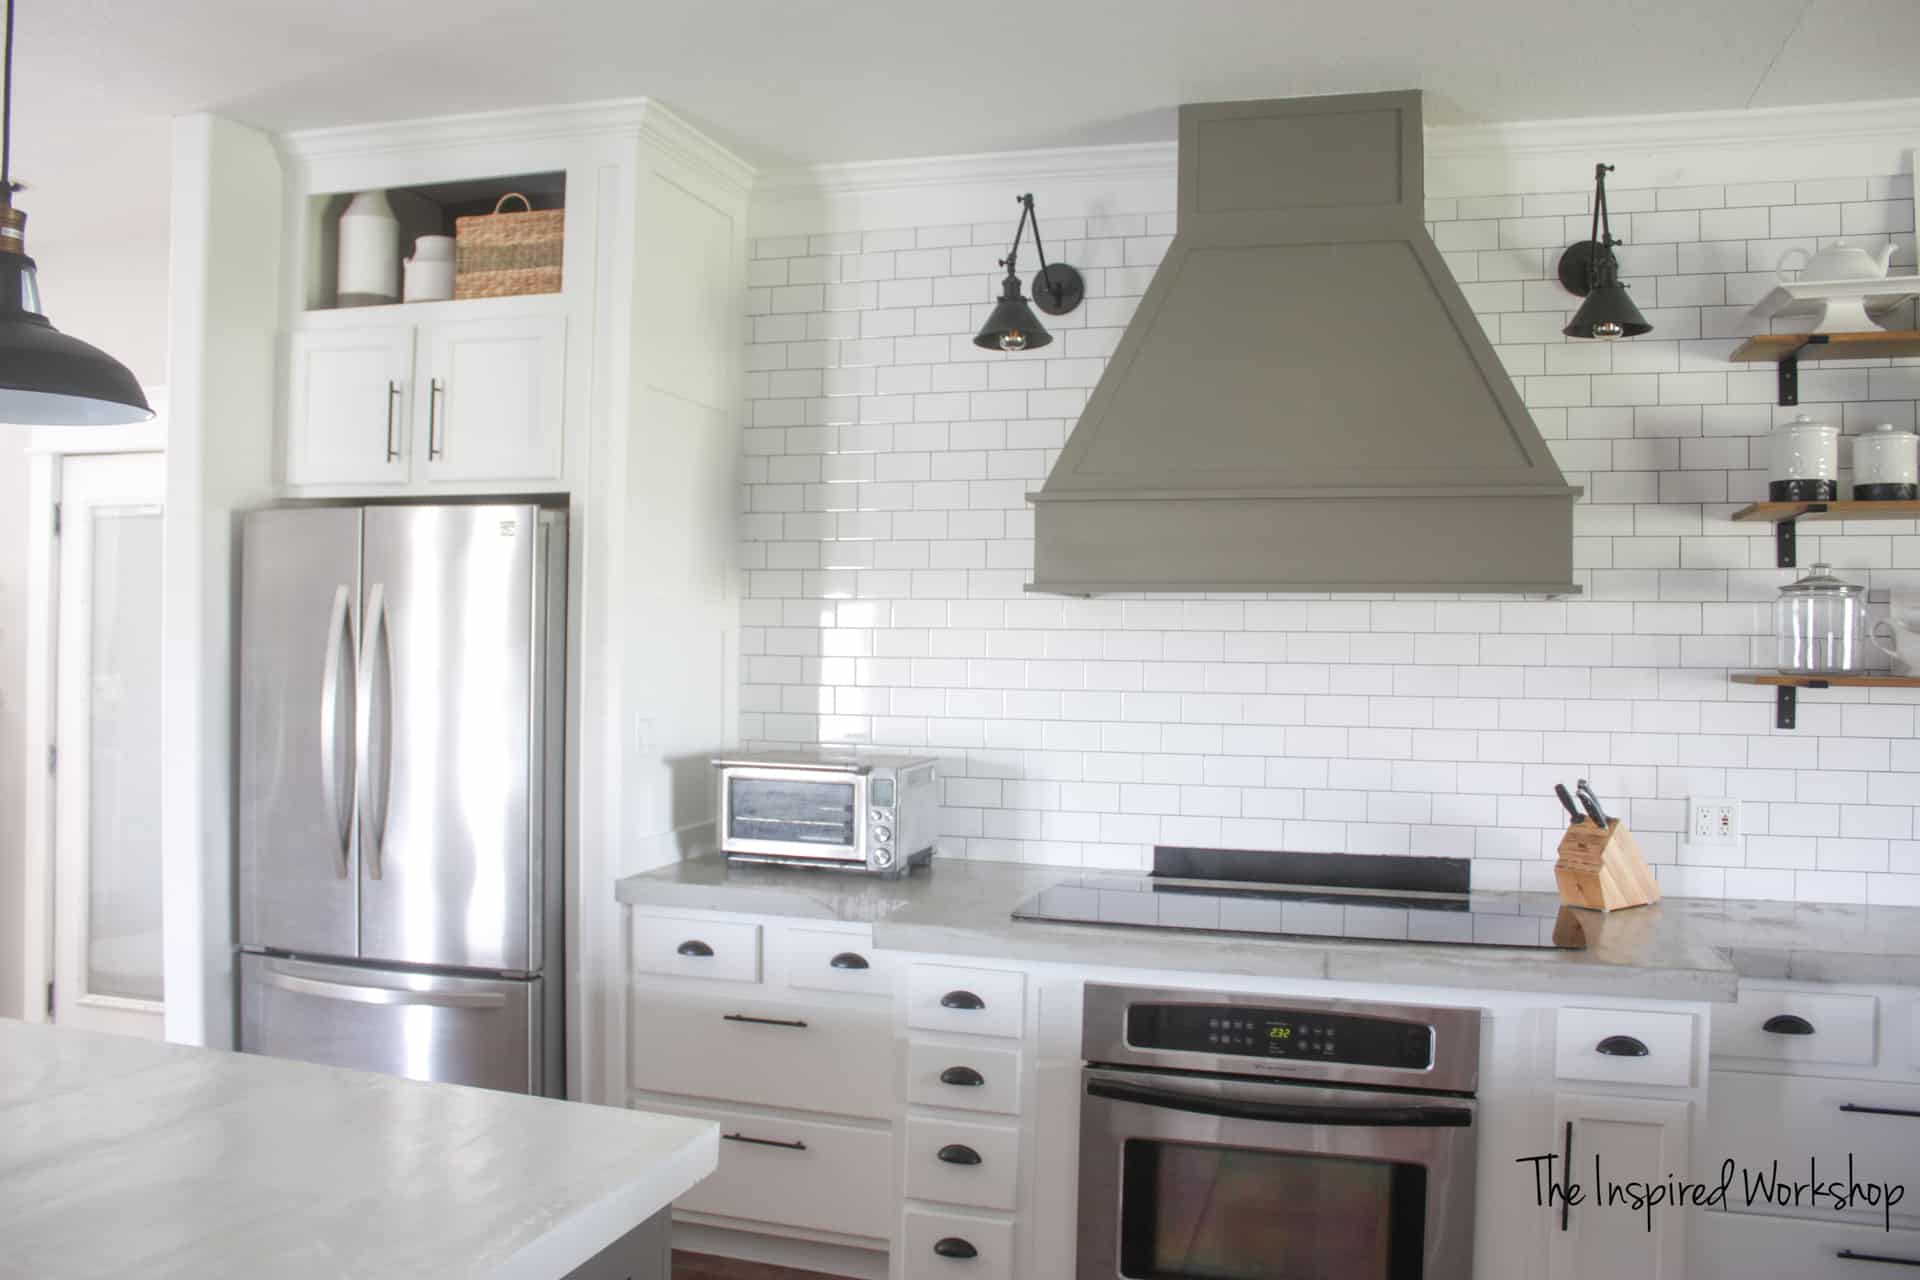
If you already have a cabinet above your fridge but would like to extend them up to the ceiling, this post is where you will find that information! If you want to see how I painted the cabinets you can see that as well!
What are we waiting for? Let’s dive in and I’ll show you how I did it!
Gathering Supplies to Build a Cabinet Above a Refridgerator
Now, this may not be your exact situation, but sometimes just seeing someone solve a problem similar to yours will help the creative juices flow, and you’ll come up with the perfect solution to your problem! I’ve had it happen to me before! Lol!
Materials to build in the fridge:
1 – 4×8 sheet of 3/4″ plywood
3 – 1x3x8
1 – 2×2 sheet of 1/4″ plywood
1 – 1x6x6
1 – a stick of crown molding @ 48″ to match another crown
Building the Cabinet Above the Fridge
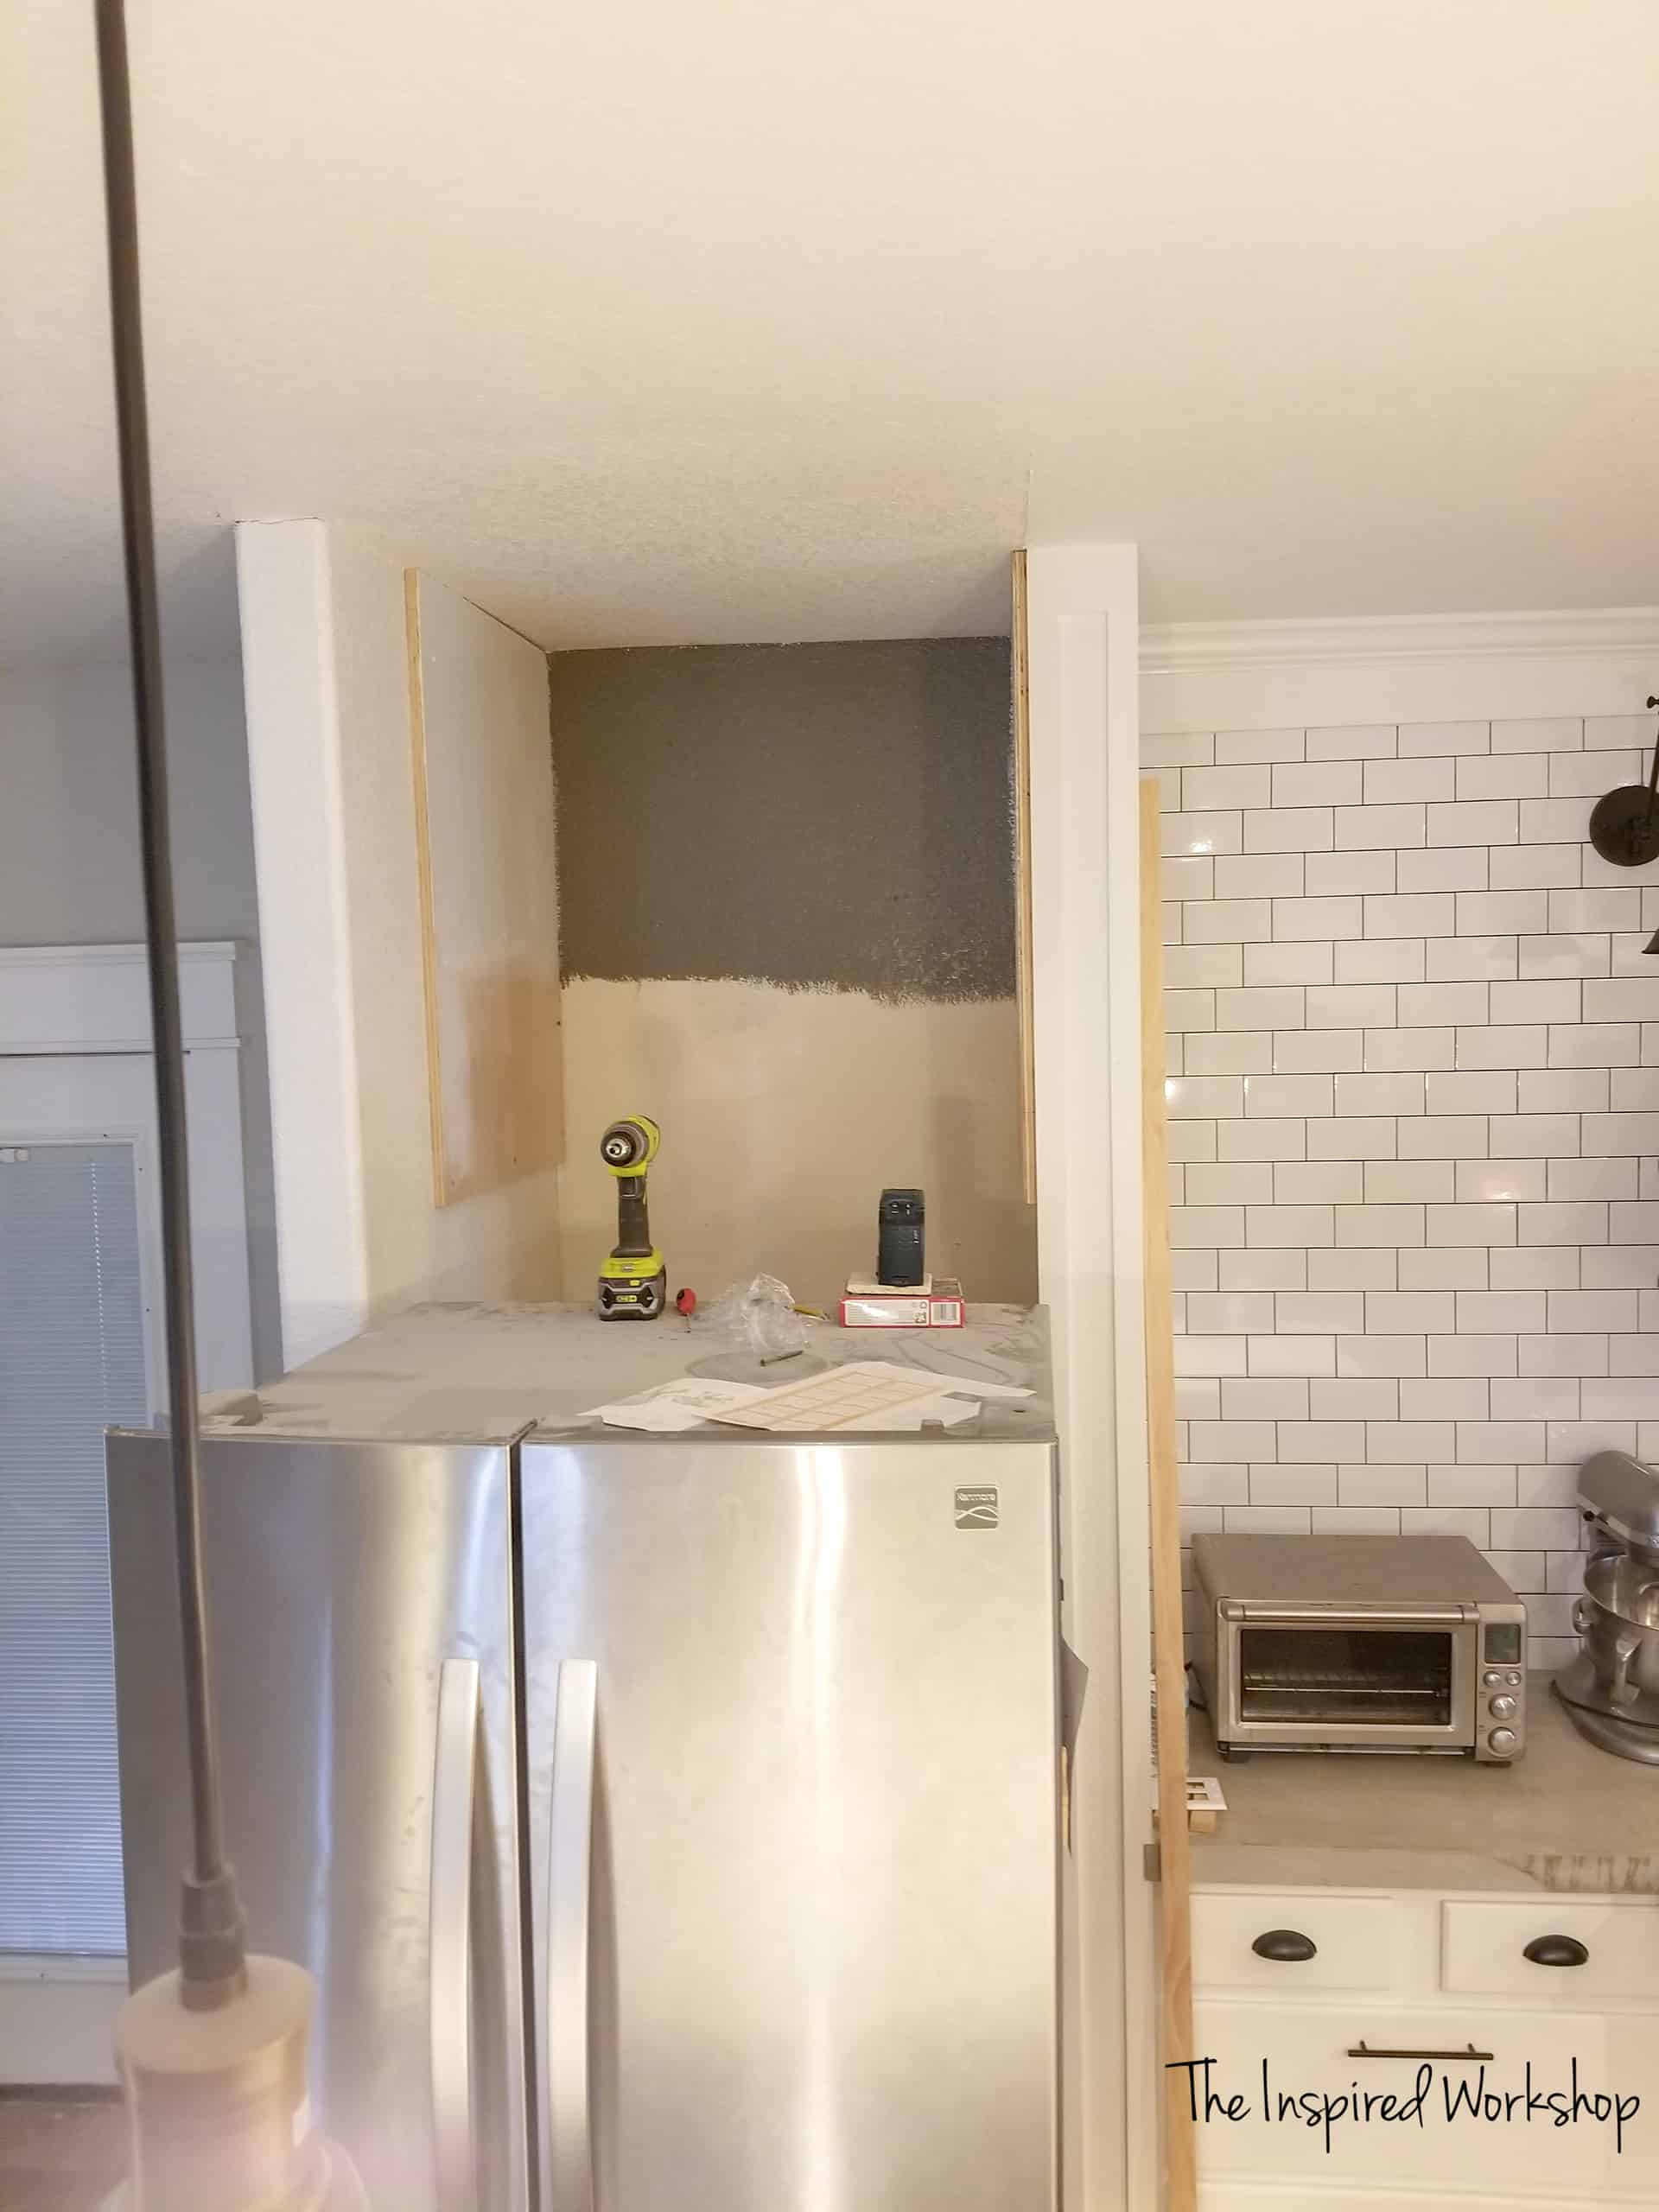
This area above my refrigerator was exceptionally out of square! I was not about to build a square box out in my garage and bring it inside and hang it up…it would NEVER have fit correctly! Lol! I mean, the back is narrower than the front of the opening, and the top is wider as you go up. After taking all the measurements and realizing this, the cabinet was going to have to be built in place! That’s the great thing about DIY…you can make alterations to best suit your needs!
I started by cutting my two 25″x36″ pieces of plywood. I measured from the top of my fridge to the ceiling to get the measurement of how long the boards needed to be, 36″ (the actual measurement was 40″ to the ceiling but to leave ample space to move the fridge in and out, I subtracted 4″). Then I measured from the front of the smaller wall to the back wall to get the width of the board which was 25″. I then cut pieces with my circular saw and Kreg Accucut! If you do not have a table saw or if you work alone and can’t cut large pieces of plywood by yourself on your table saw…this is a MUST HAVE TOOL!
After cutting the two boards to size, I hung them straight onto the wall. You know how I was talking about how out of square this space was…I forgot to mention the ceiling is not level either! I used my handy dandy laser level though to make sure the bottom of the boards were at the same height. It was okay that there was a slight gap at the top of one board at the ceiling. As long as they are level at the bottom, the other will be covered!
I used 3″ screws and made sure I found the studs!

Don’t mind how the picture was taken, they look uneven at the bottom…they are not, I promise!
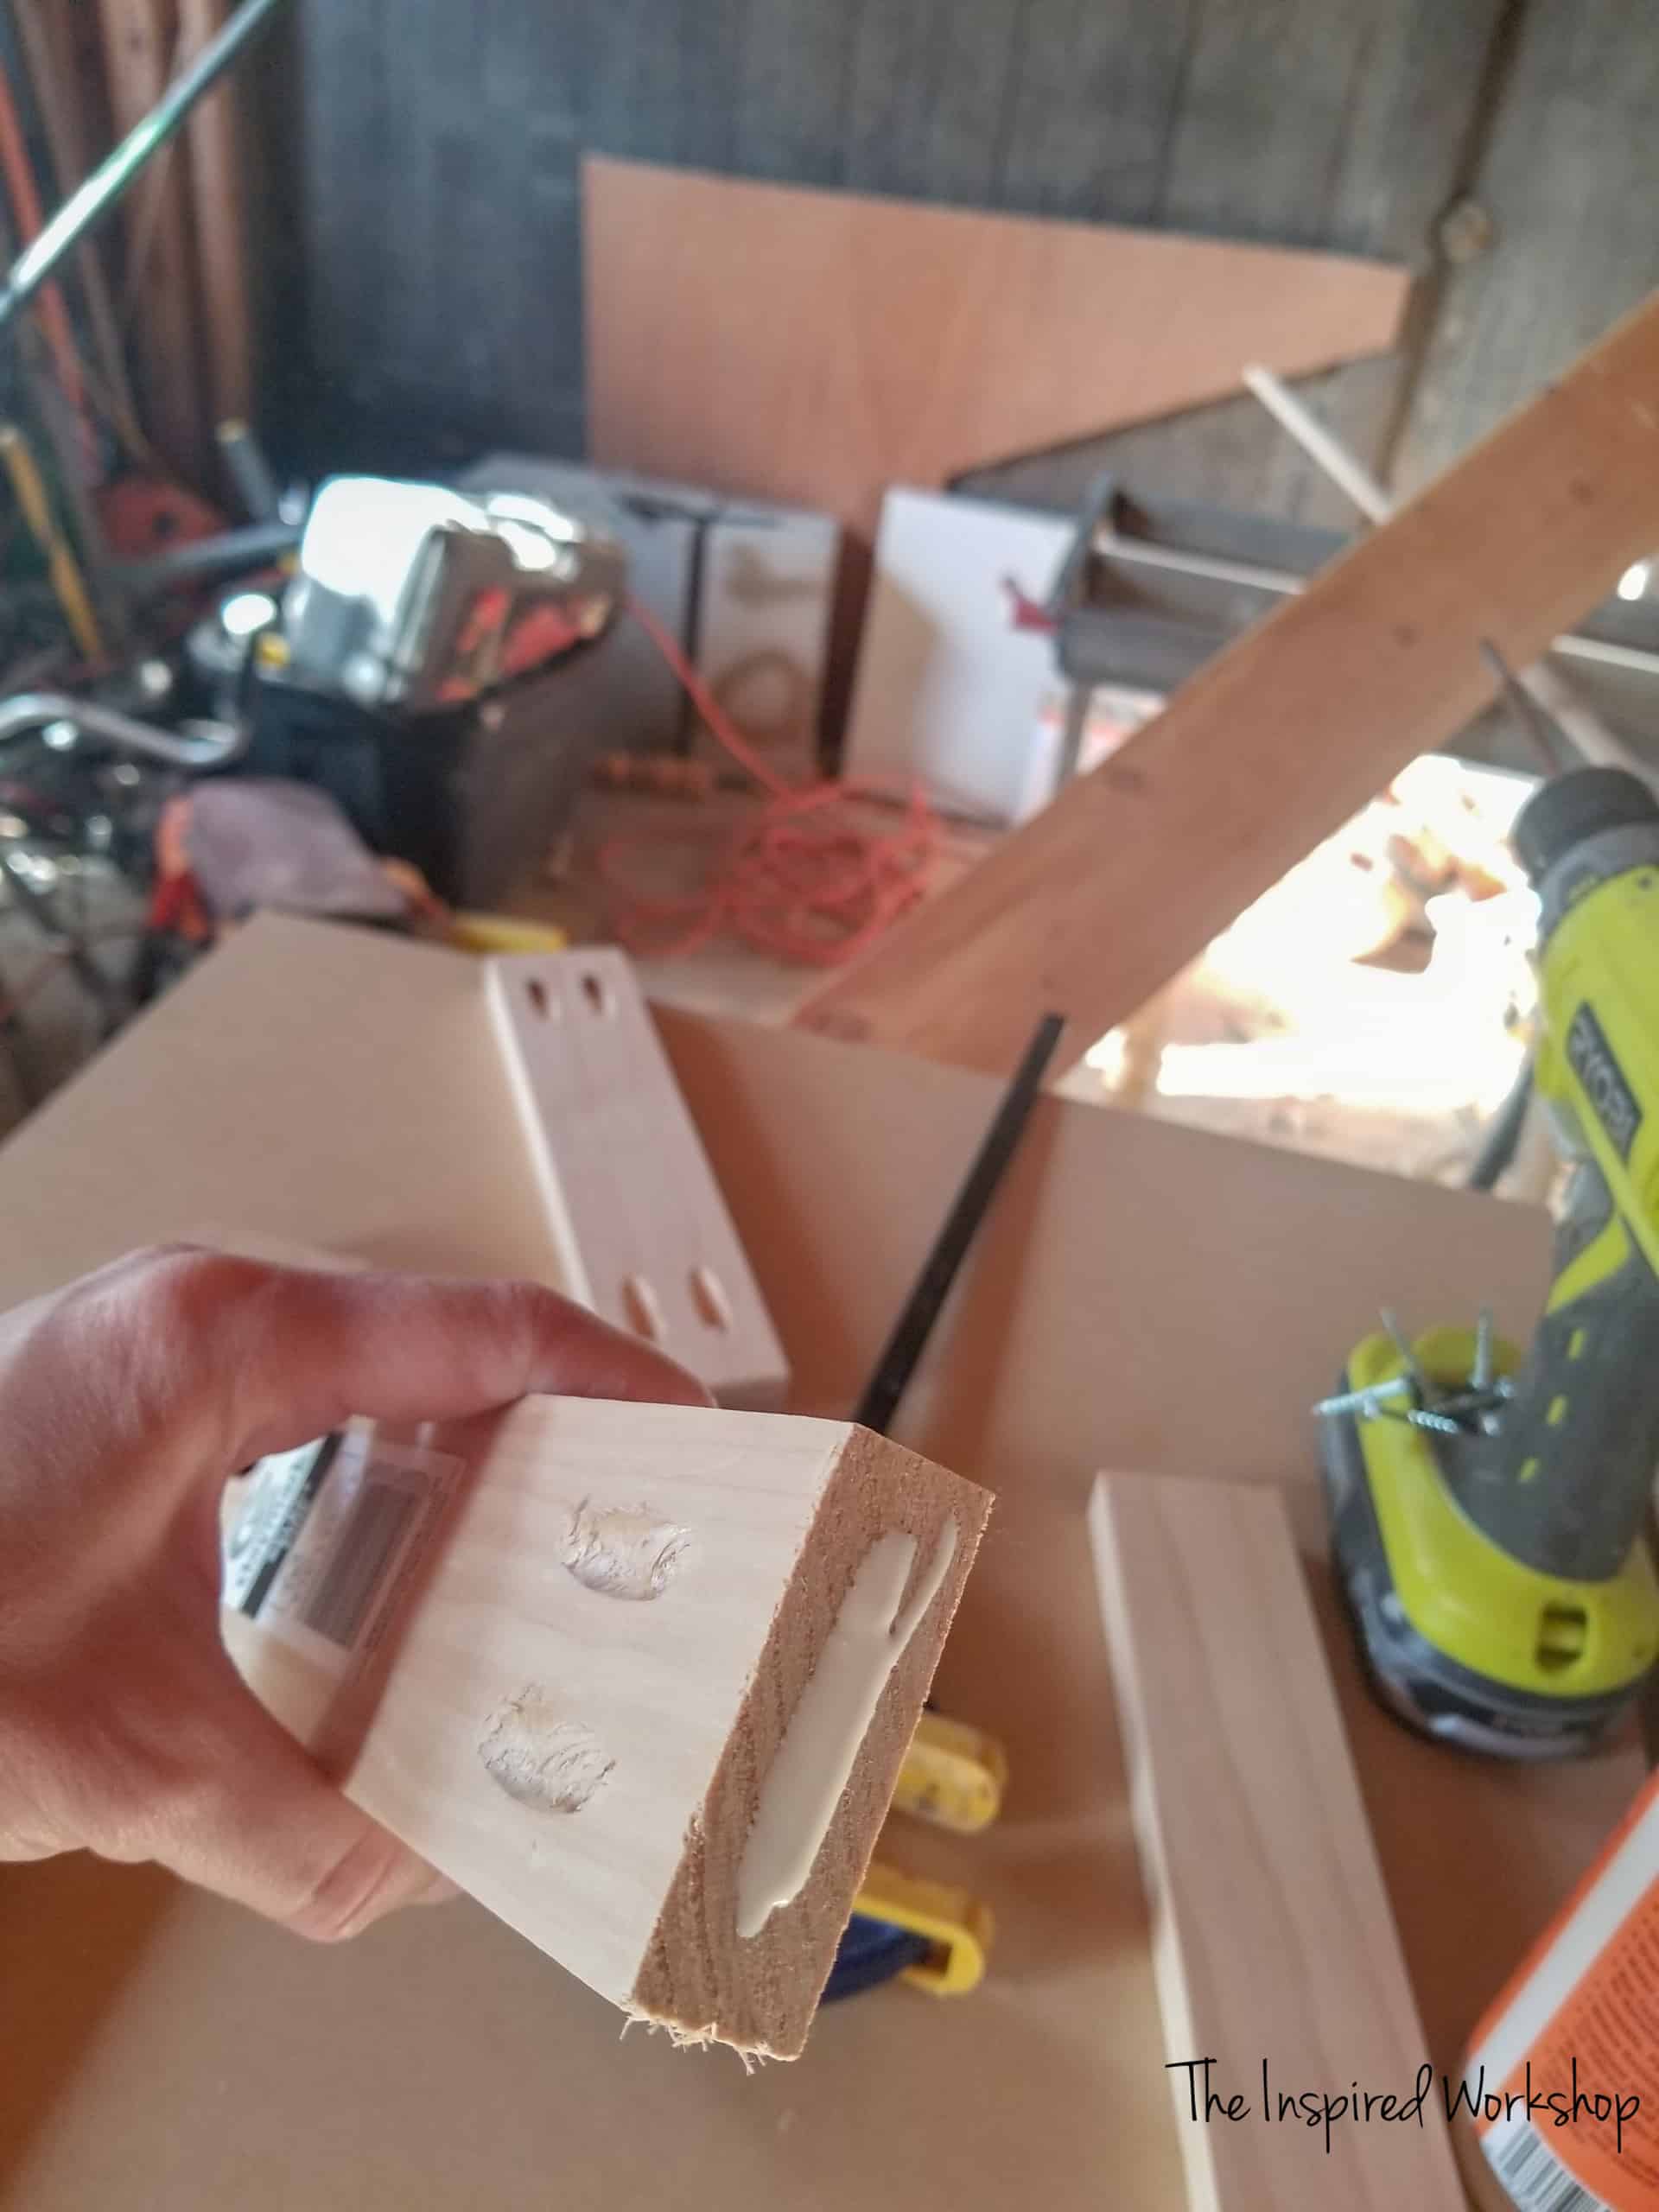
Anyway, after attaching the two sides to the wall, I added the bottom board. This board literally had to be cut like a trapezoid to fit. It was larger in the front and tapered back on both sides to the back. I used pocket holes to attach. Since I was using 3/4″ plywood, the holes were drilled at 3/4″ and I used wood glue along with 1 1/4″ screws to attach it. The face frame will sit lower than this so the pocket holes will not be visible!
I failed to take pictures of every step…my bad! Oy, seems to be a common occurrence with this darn kitchen!
Next, I added the board that makes the top of the cabinet and the bottom of the shelf. It was again shaped like a trapezoid! I didn’t use pocket hole this time, I just glued and brad nailed support boards underneath it… a lazy man’s way…because the support boards will be hidden inside the cabinet! Don’t judge me for that either…you would be taking all the shortcuts too if you had been working on your kitchen for over a YEAR, and you just wanted it to be DONE! 🤣

As I stated before, I didn’t take photos all along the way, but this photo shows the support that I explained above!
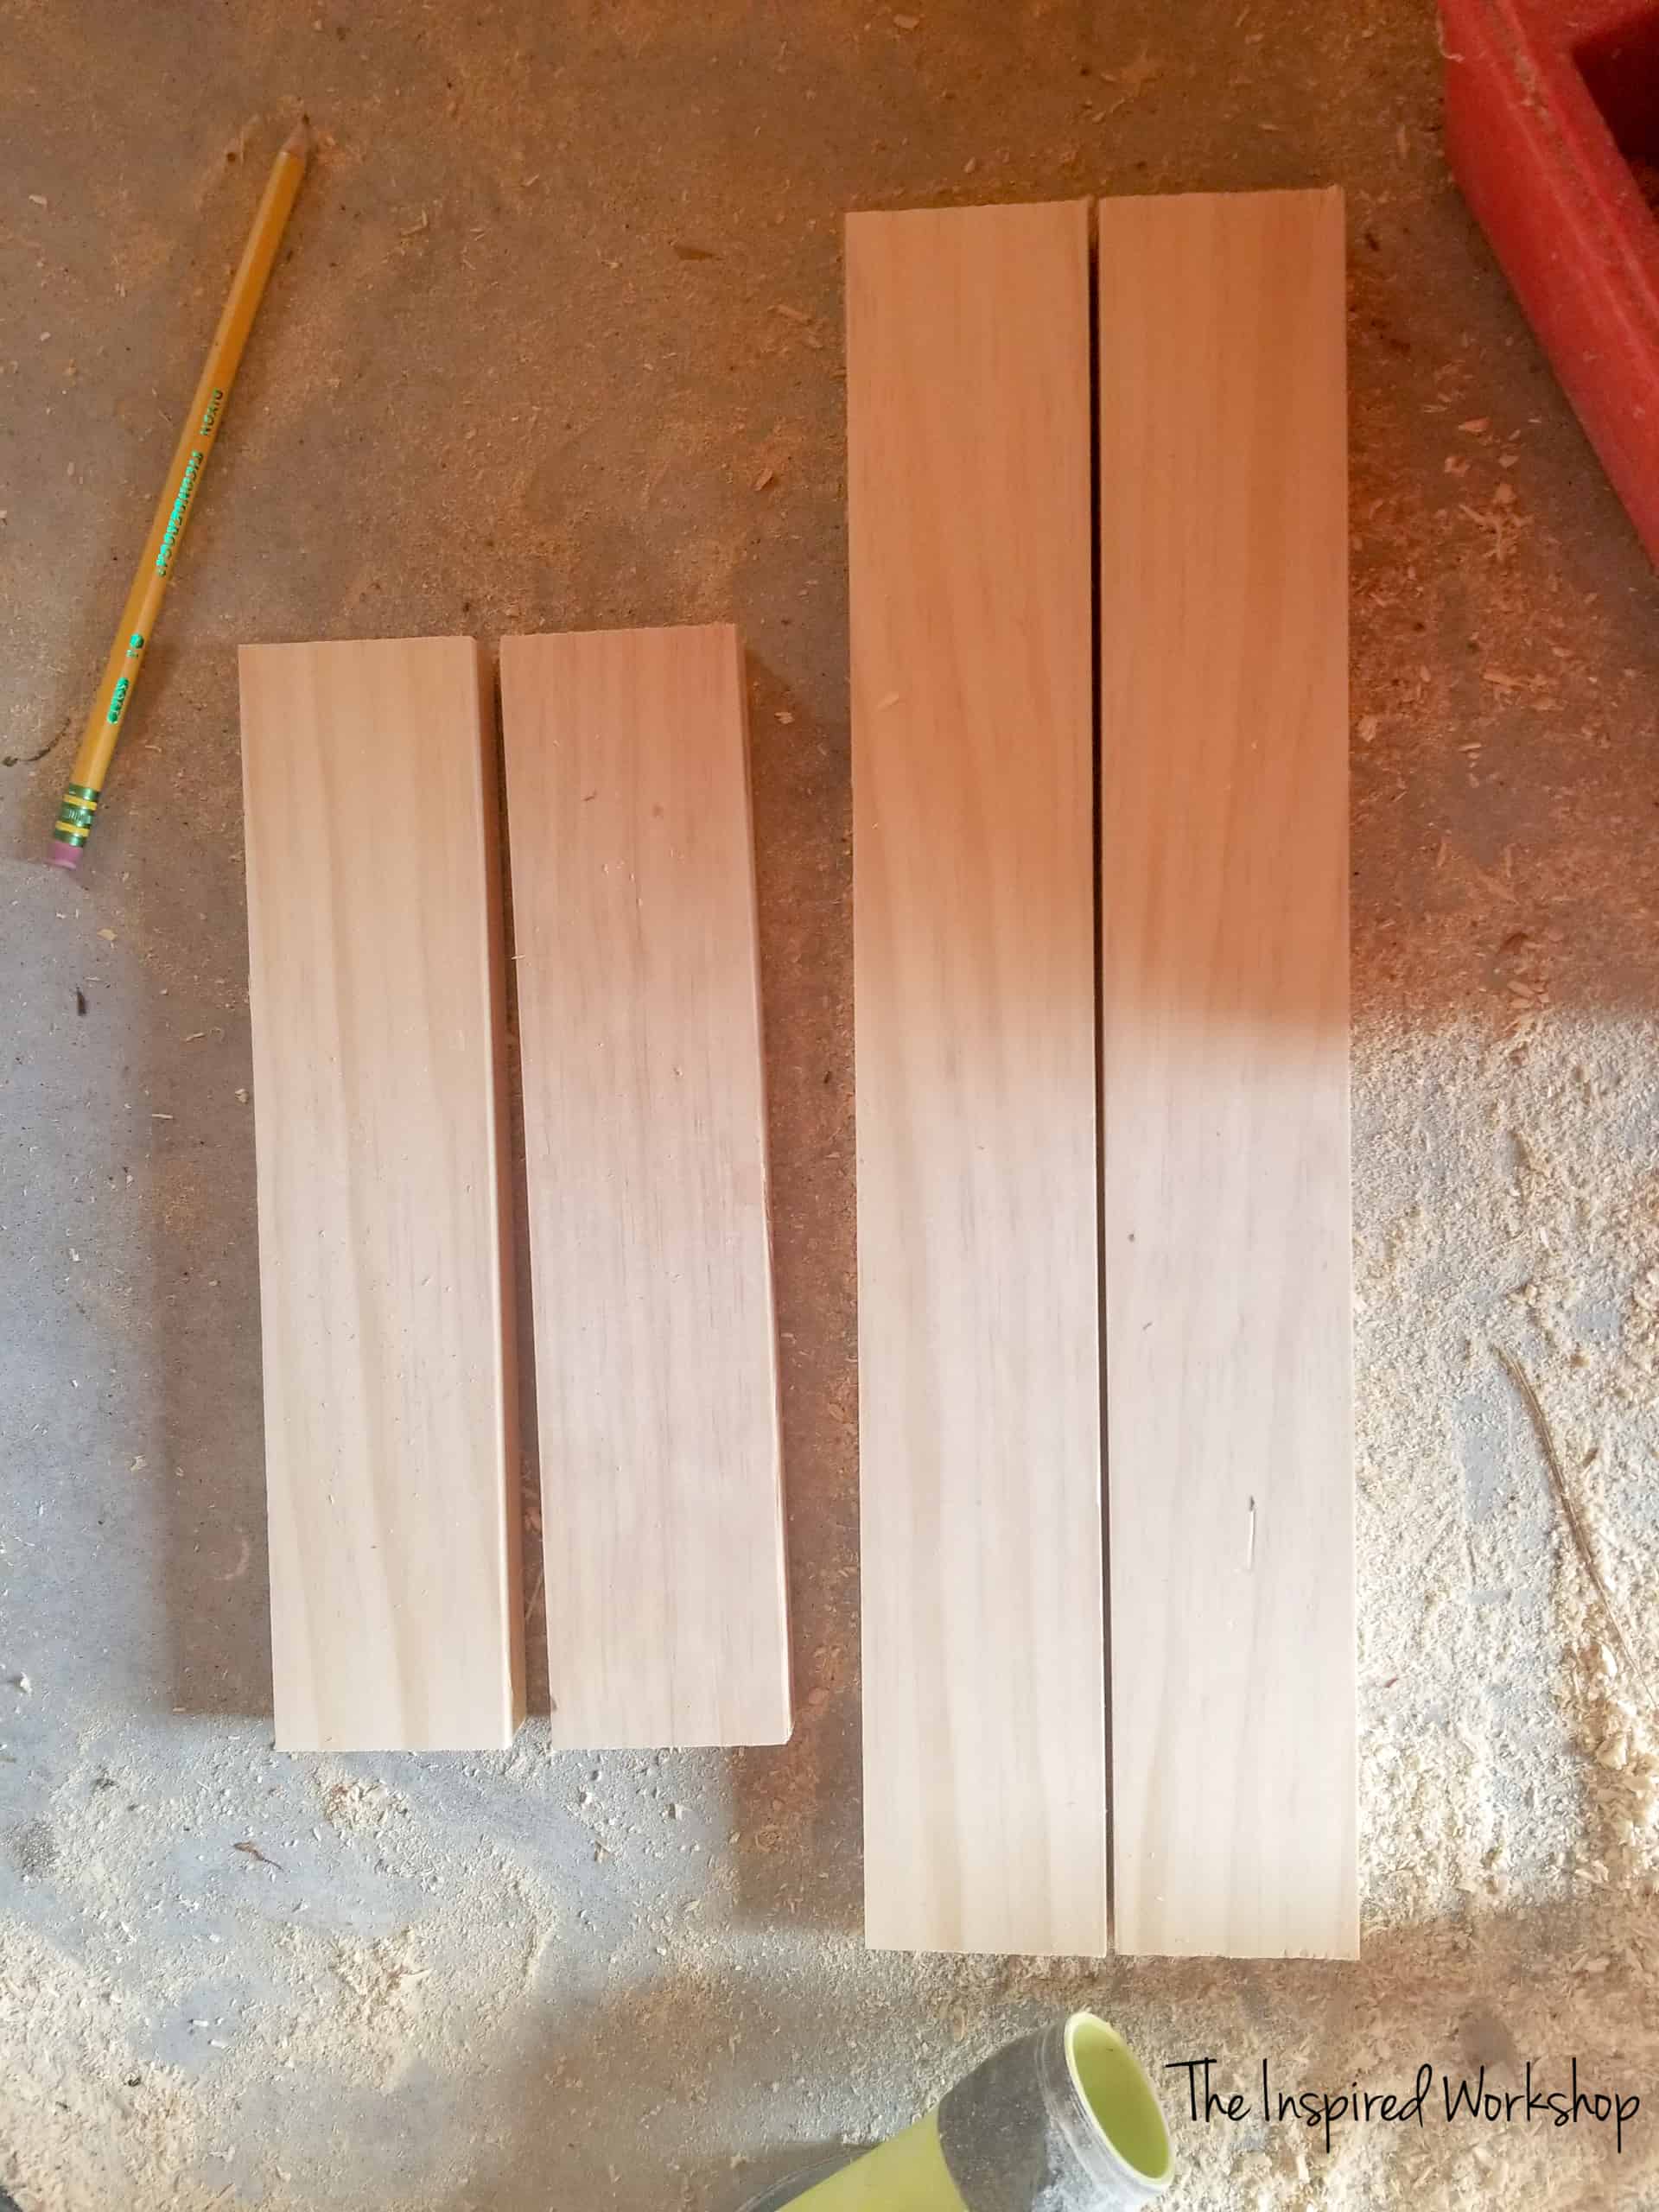
After adding the shelf board, you can add all your face frame boards! Measure along with all the areas that need a frame and cut boards accordingly. For instance, the bottom board measured 35″ across, so I cut the bottom face frame board at 35″ and glued and brad nailed the board into place!
I used a 1×6 at the top so that after adding the crown molding, it would still show underneath. I made sure this board was level all the way across, I used the laser level to make sure of this, and it left a gap at the ceiling on one end. This is fine, the crown molding will be placed all the way up against the ceiling to trick the eye away from noticing that the ceiling is not straight. As long as the square areas are kept square…like the shelf opening is kept square by using the laser level…the eye will not notice the slight difference on one end of the board being slightly larger than the other end! Thank goodness for that or else I would be screwed in this kitchen! Lol!!
Originally I did the side face frame boards out of 1x2s but after getting it all painted, it looked like the right side in the picture was larger than the left side because it was blending in with the wall, and so it looked larger. I ended up beefing up the left side to make it look more like the right! Good call Cara! It looks so much better!

See how small it looks on the left side in this photo! Now in the after photo, you can see that it is larger and matches the right better!
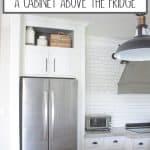
I LOVE this cabinet above the fridge! I cannot say it enough, “I’m in love, I’m in love, and I don’t care who knows it!” 😂 Name that movie!
Building Cabinet Doors
Once the box of the cabinet is built and in place, you have to build the doors. I wanted the doors to match the rest of the cabinets in the kitchen…if I would have had a bigger kitchen budget then I would have changed out all the cabinet doors to a more shaker style, but since I didn’t, I had to make them look like the rest. I made a mistake when building my doors so I’ll show you how to avoid this!
First things first, you will need to measure the openings of your box cabinet. Then you will need to buy hinges. Hinges are hard to find in a 1/2″ overhang like I needed for the actual cabinets but 3/8″ is pretty standard apparently, so I used 3/8″ overhang. So say my opening was 15″ wide by 18″ tall…the cabinet door will be made at 15 3/4″ x 18 3/4″. Easy peasy! Just add 3/8″ to each side which 3/8″ + 3/8″= 6/8″ which is reduced to 3/4″…and added to each measurement!
Going along with our hypothetical door here, the long ones are cut at 18 3/4″ and the short ones are cut at 11 3/4″ (the width of each of the boards is 2″ so I took a total of 4″ off the sideboards). Hopefully, that makes sense.
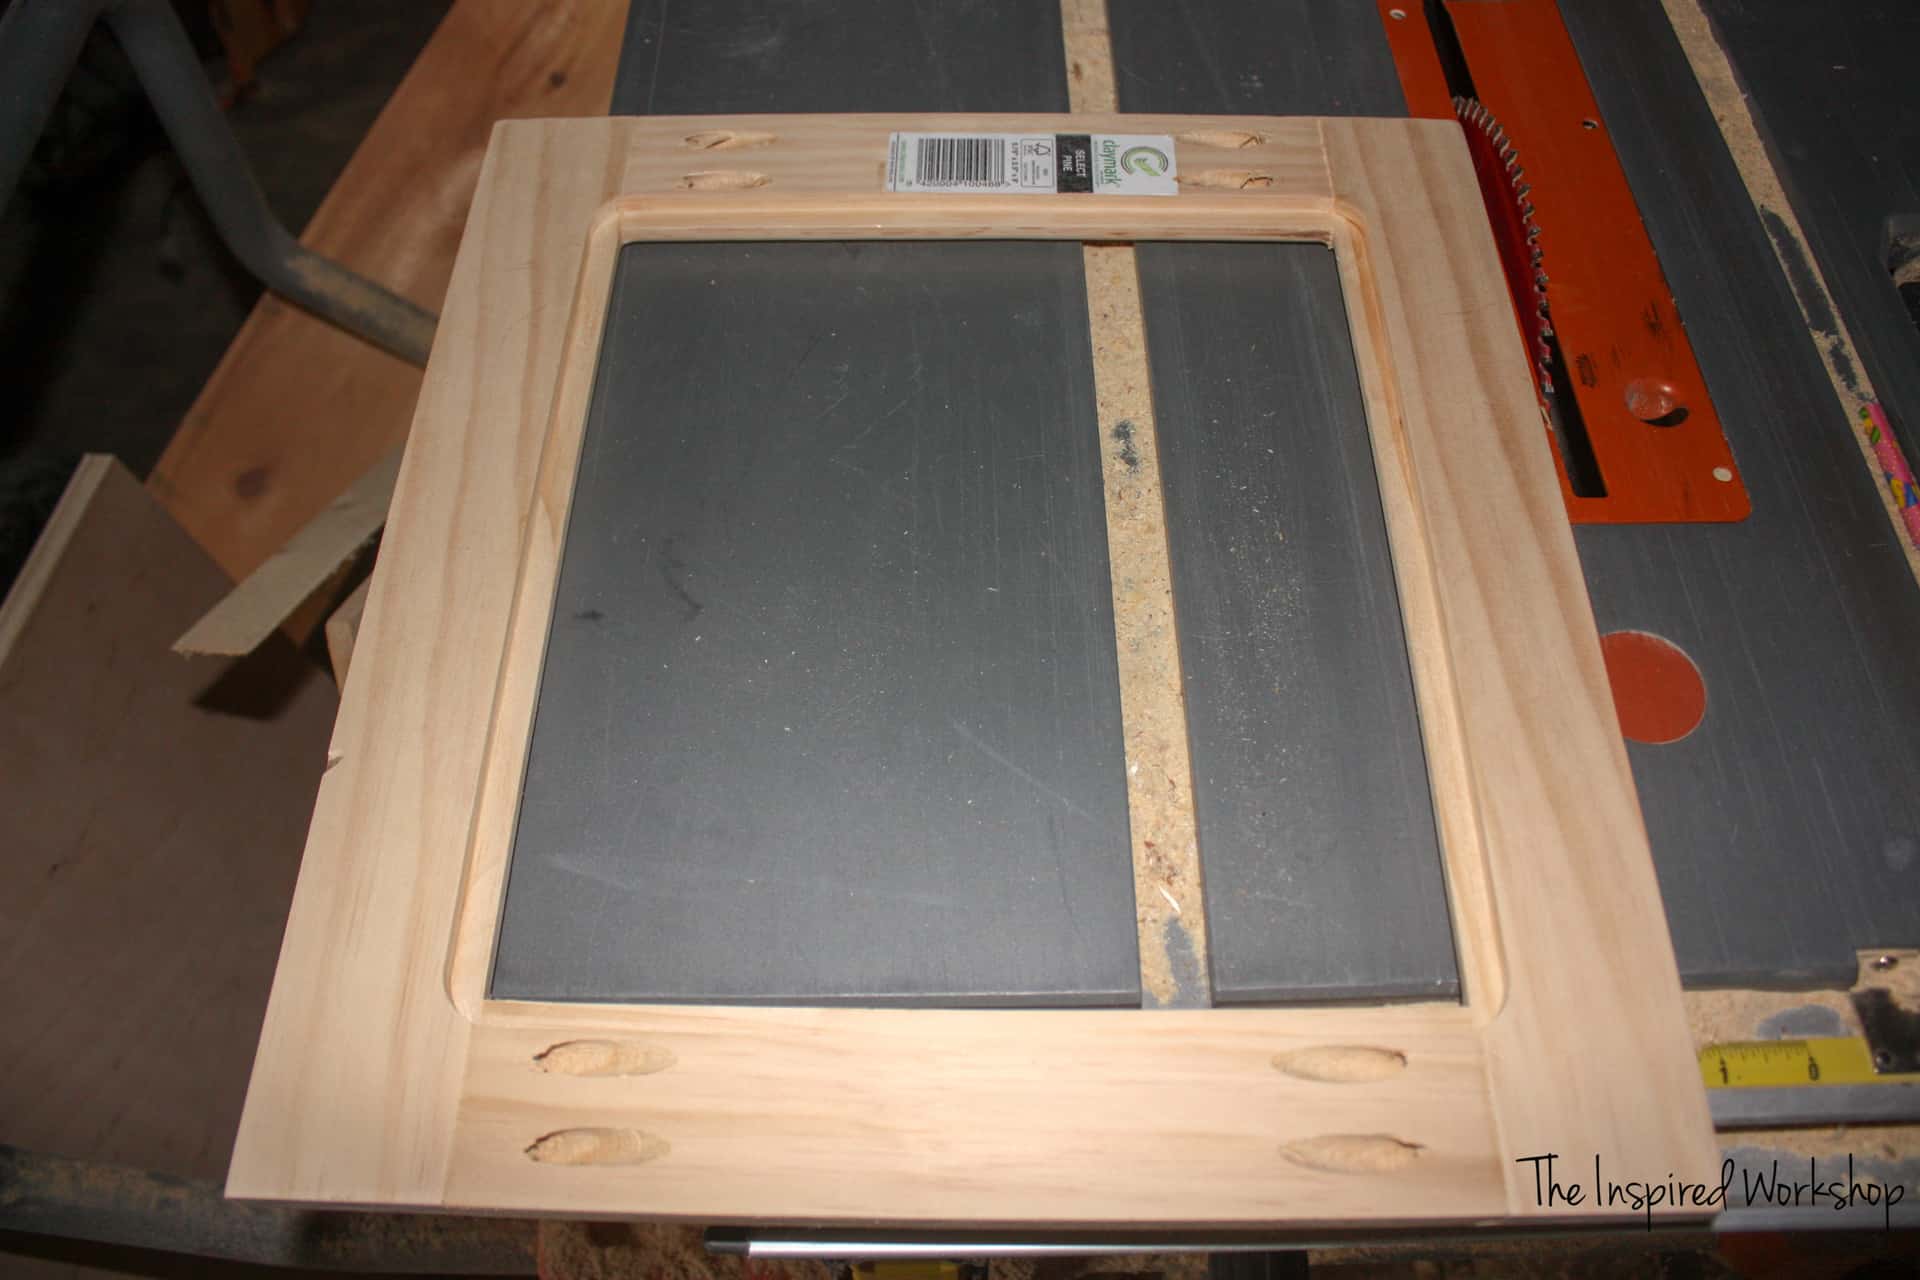
Here’s where I made my mistake though, I thought the boards were assembled and then routed to make this style of cabinet door…but I was wrong. The cabinet doors are first routed on the back to make the place for the plywood to fit (before the boards are joined together), but the front is actually a piece of molding mitered and placed on the inside that makes it look like it’s routed. Anyway, if you do it incorrectly as I did, then you will get rounded corners…which I do not like but no one has even noticed yet so I’m leaving it alone for now!

See the inside rounded corners! But oh well, what can you do?! Well, you can chisel them out as most people do, but where is the fun in that? 😜
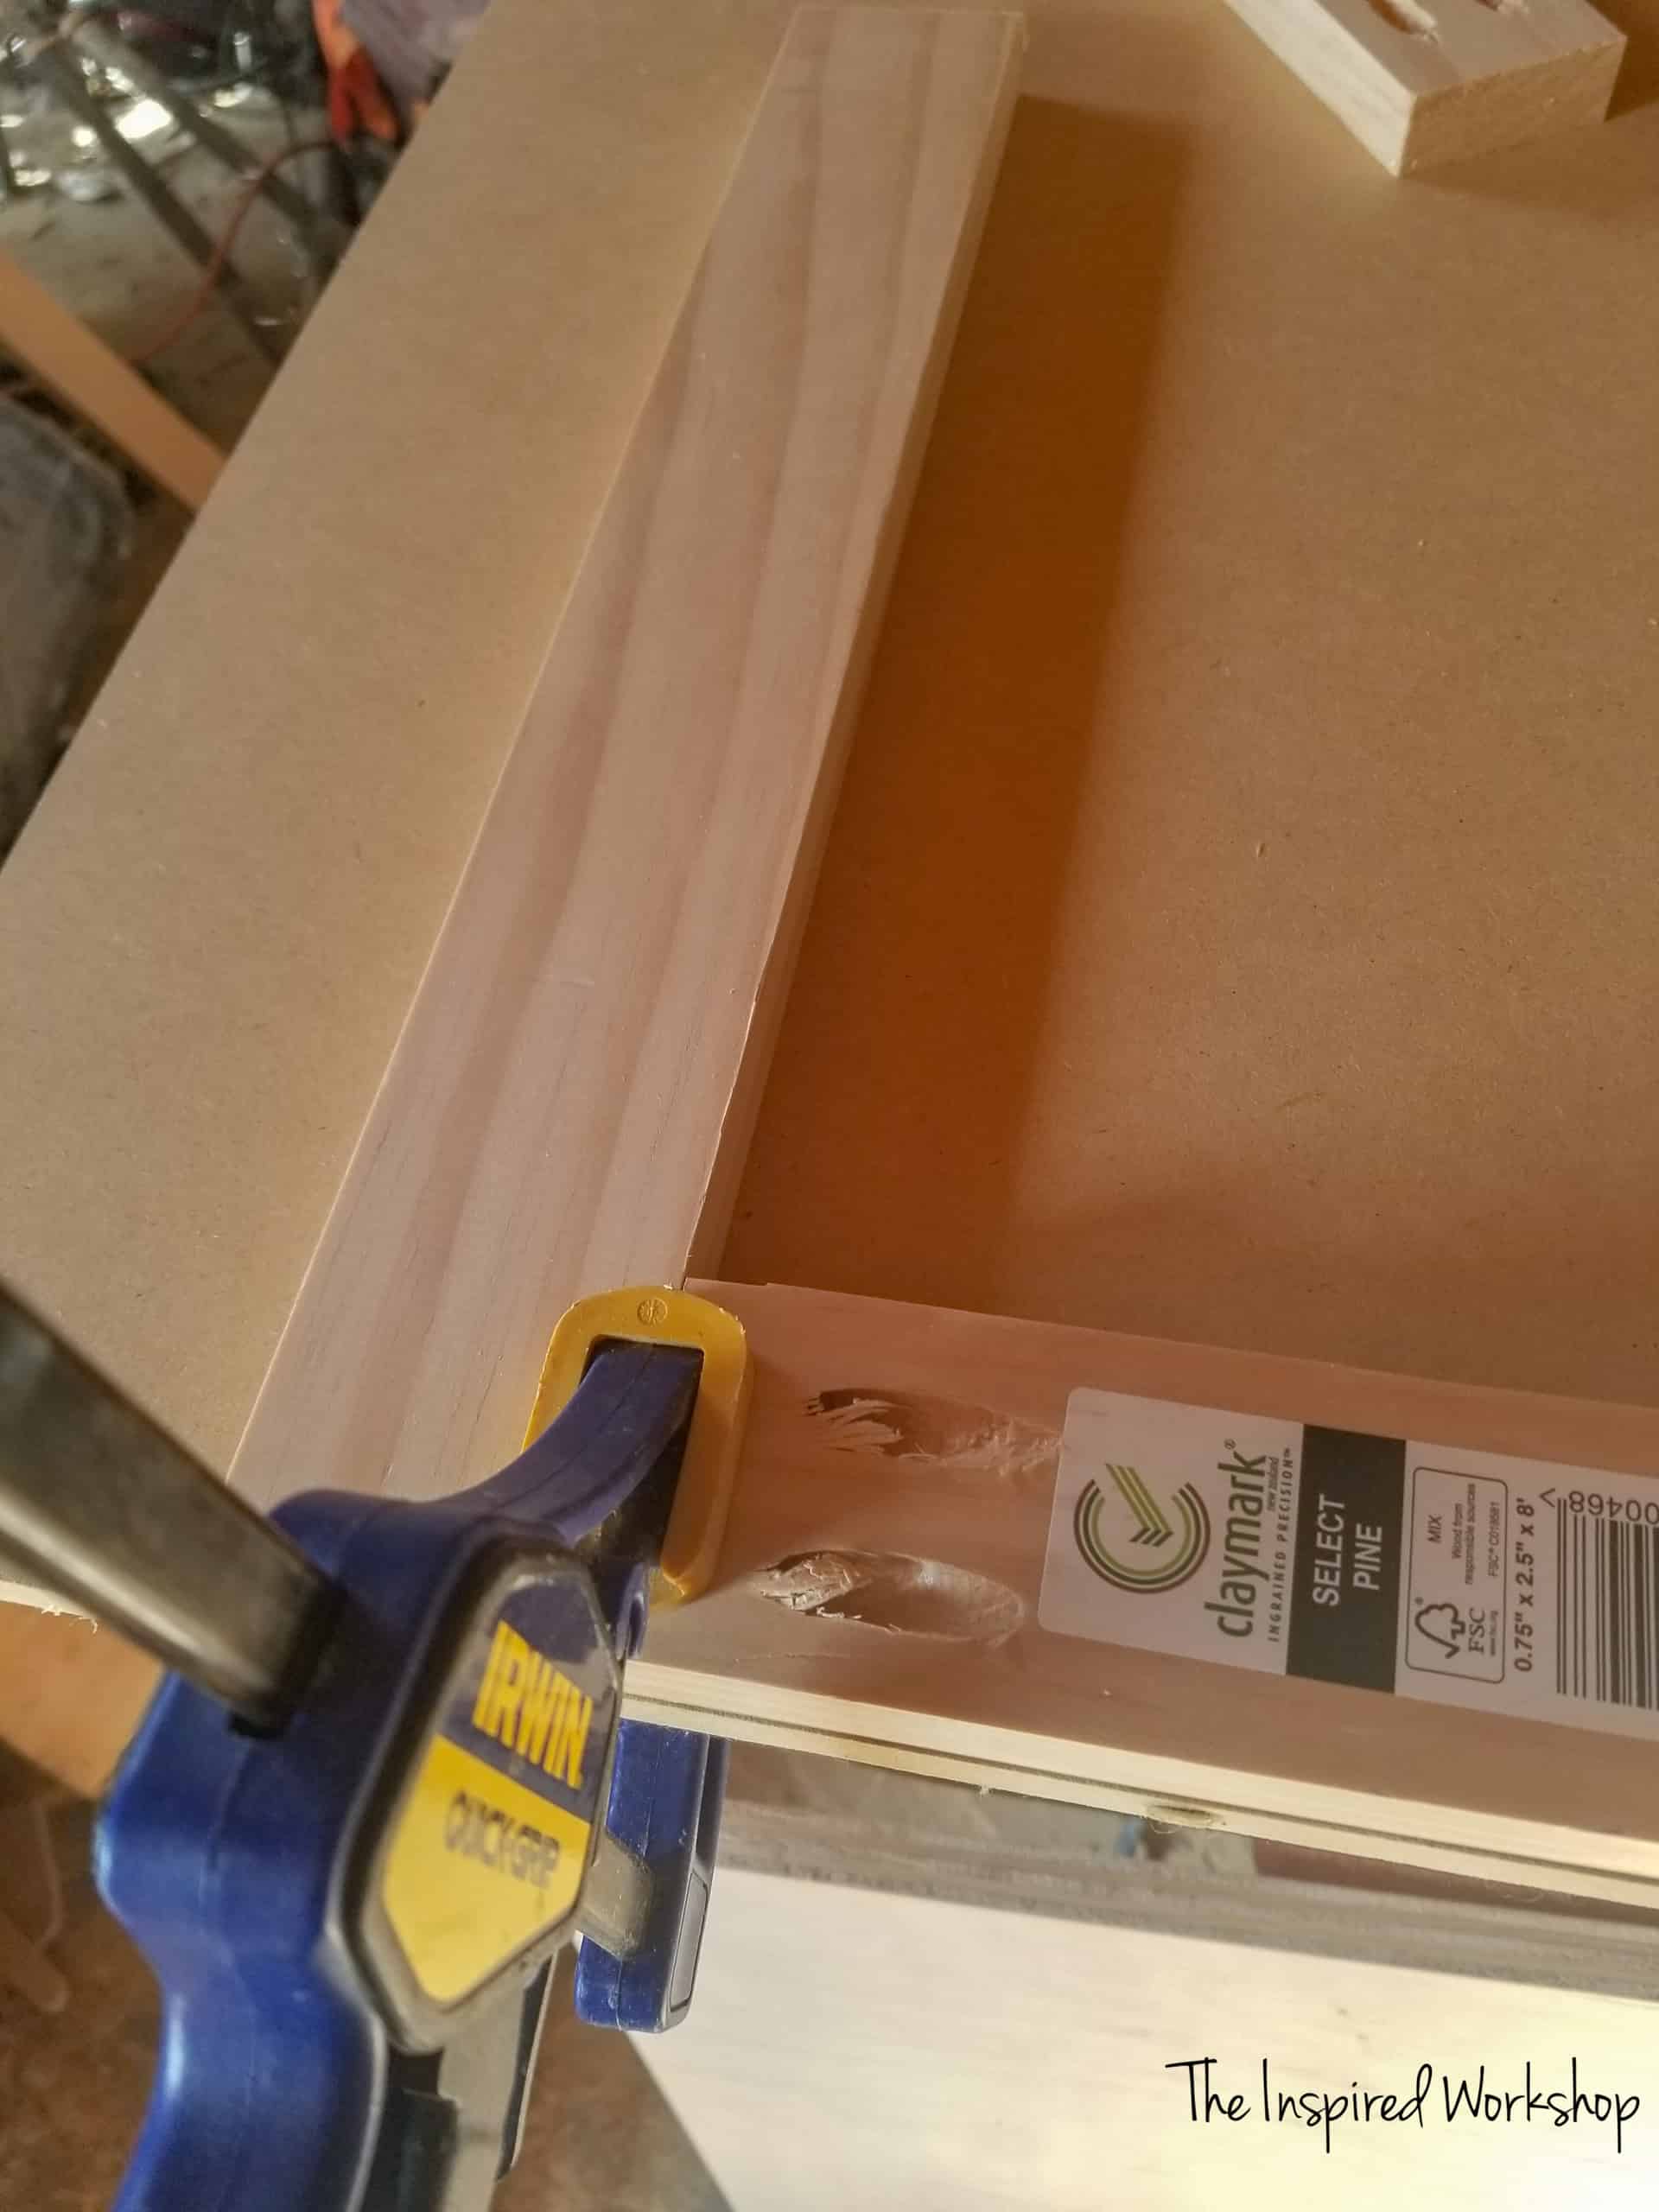
Moving on to build the door, I used the Kreg Jig to drill holes. If you want to be a fancy cabinet door maker, you will use a different kind of joint…but no one can even reach this cabinet so I don’t really have to worry about anyone ever seeing the inside of the doors! Lol! Holes will be drilled at 3/4″ since the boards are 3/4″ wide!

Then using wood glue and 1 1/4″ screws you will attach the boards together!
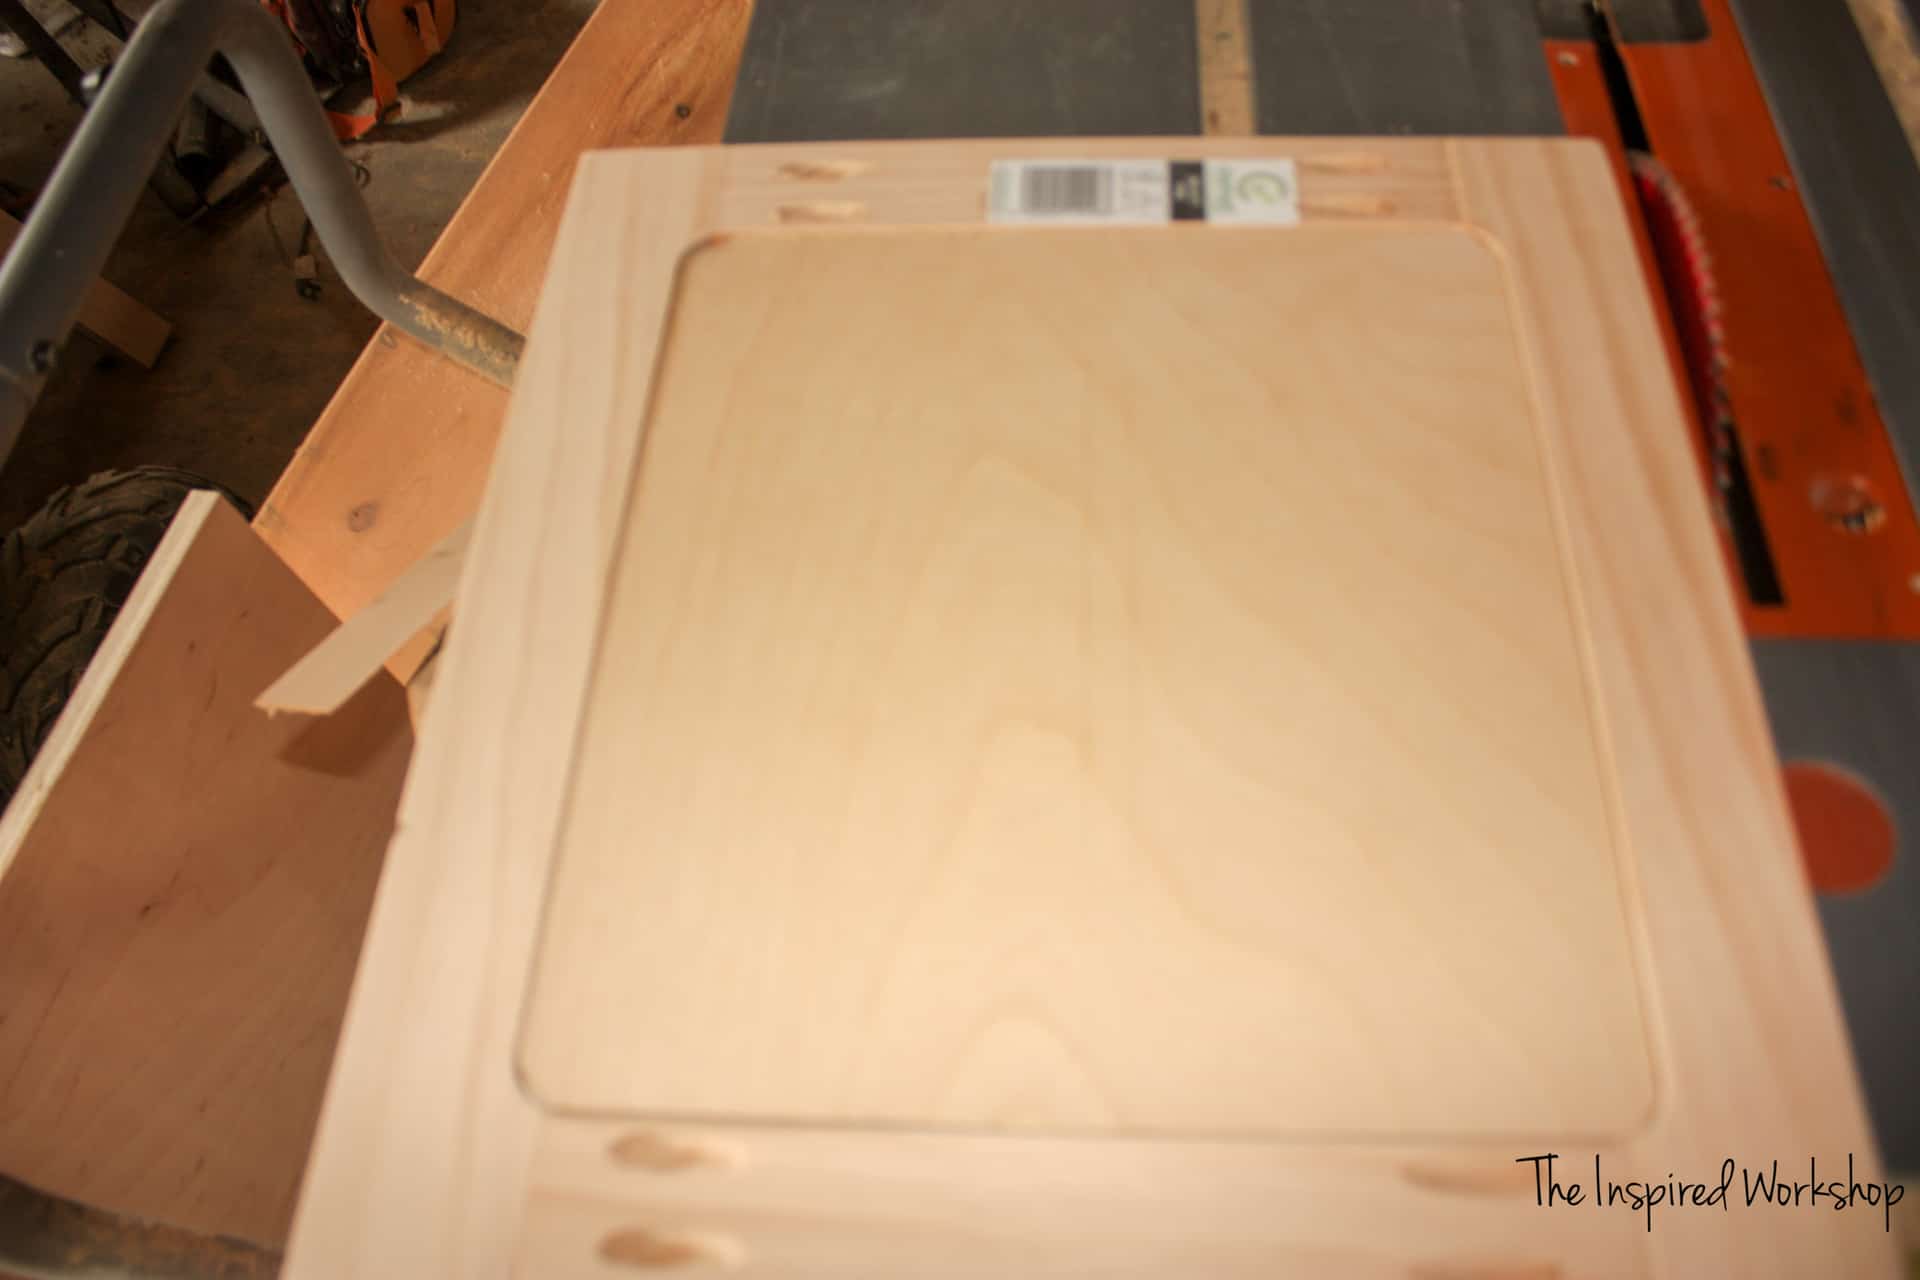
Next using the router and a 1/4″ round-over bit, you will route around the outside of the door to make it look just like the other cabinet doors, but do not do the inside like I did, unless you like the rounded corner look! Lol!
I used a rabbit bit to route the back of the door. Again, it made rounded corners since the door was already put together when I routed it. I just rounded the edge of my plywood to make it ALL GOOD!
I primed and painted it to match the rest of the kitchen cabinets in Pure White by Sherwin Williams and it was good to go! I used the same inexpensive cabinet pulls from EBAY as well!
Done and done! Yesss!
If you are wanting to build a cabinet above your fridge but need help figuring out how to go about it because your area is different than mine, shoot me an email ([email protected]) with some pics and I’ll help if I can!
I hope you have a wonderful week and stay warm! It feels so weird to be saying that in March…and in Texas!
Happy Building, Renovating, or whatever you are up to!

Want to save this tutorial for How to Build a Cabinet Above the Fridge for later? Pin it!