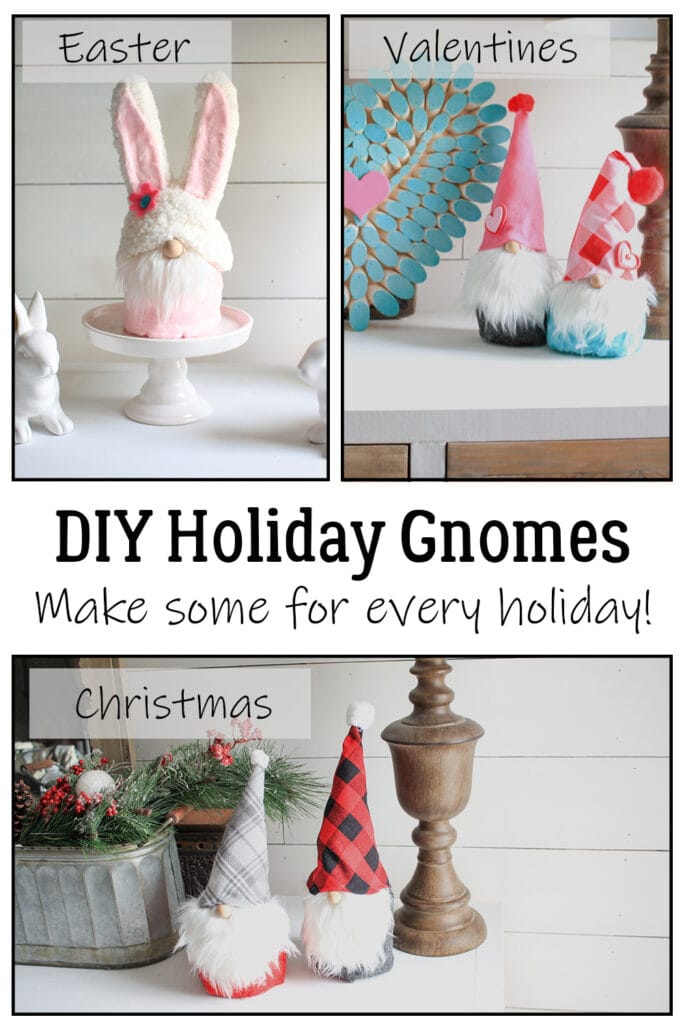
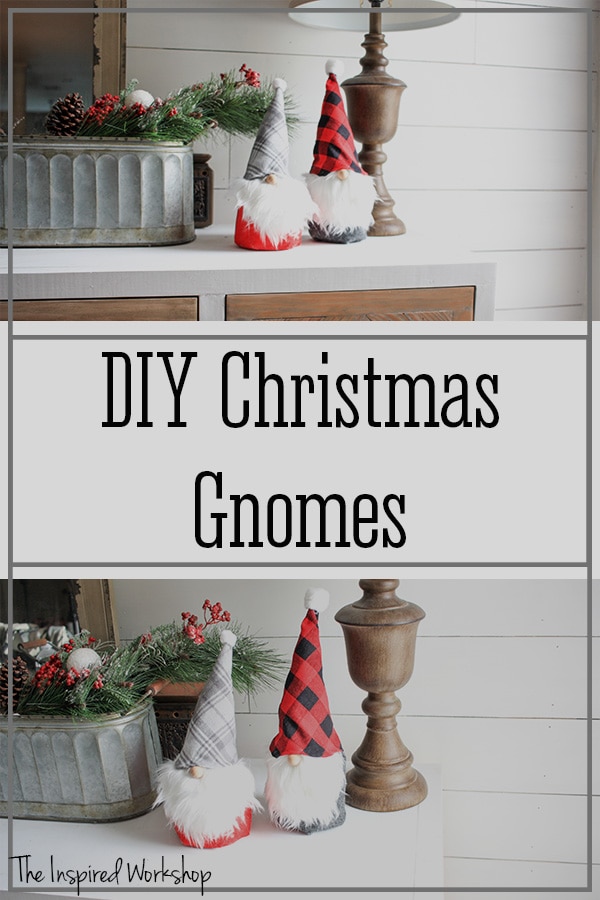
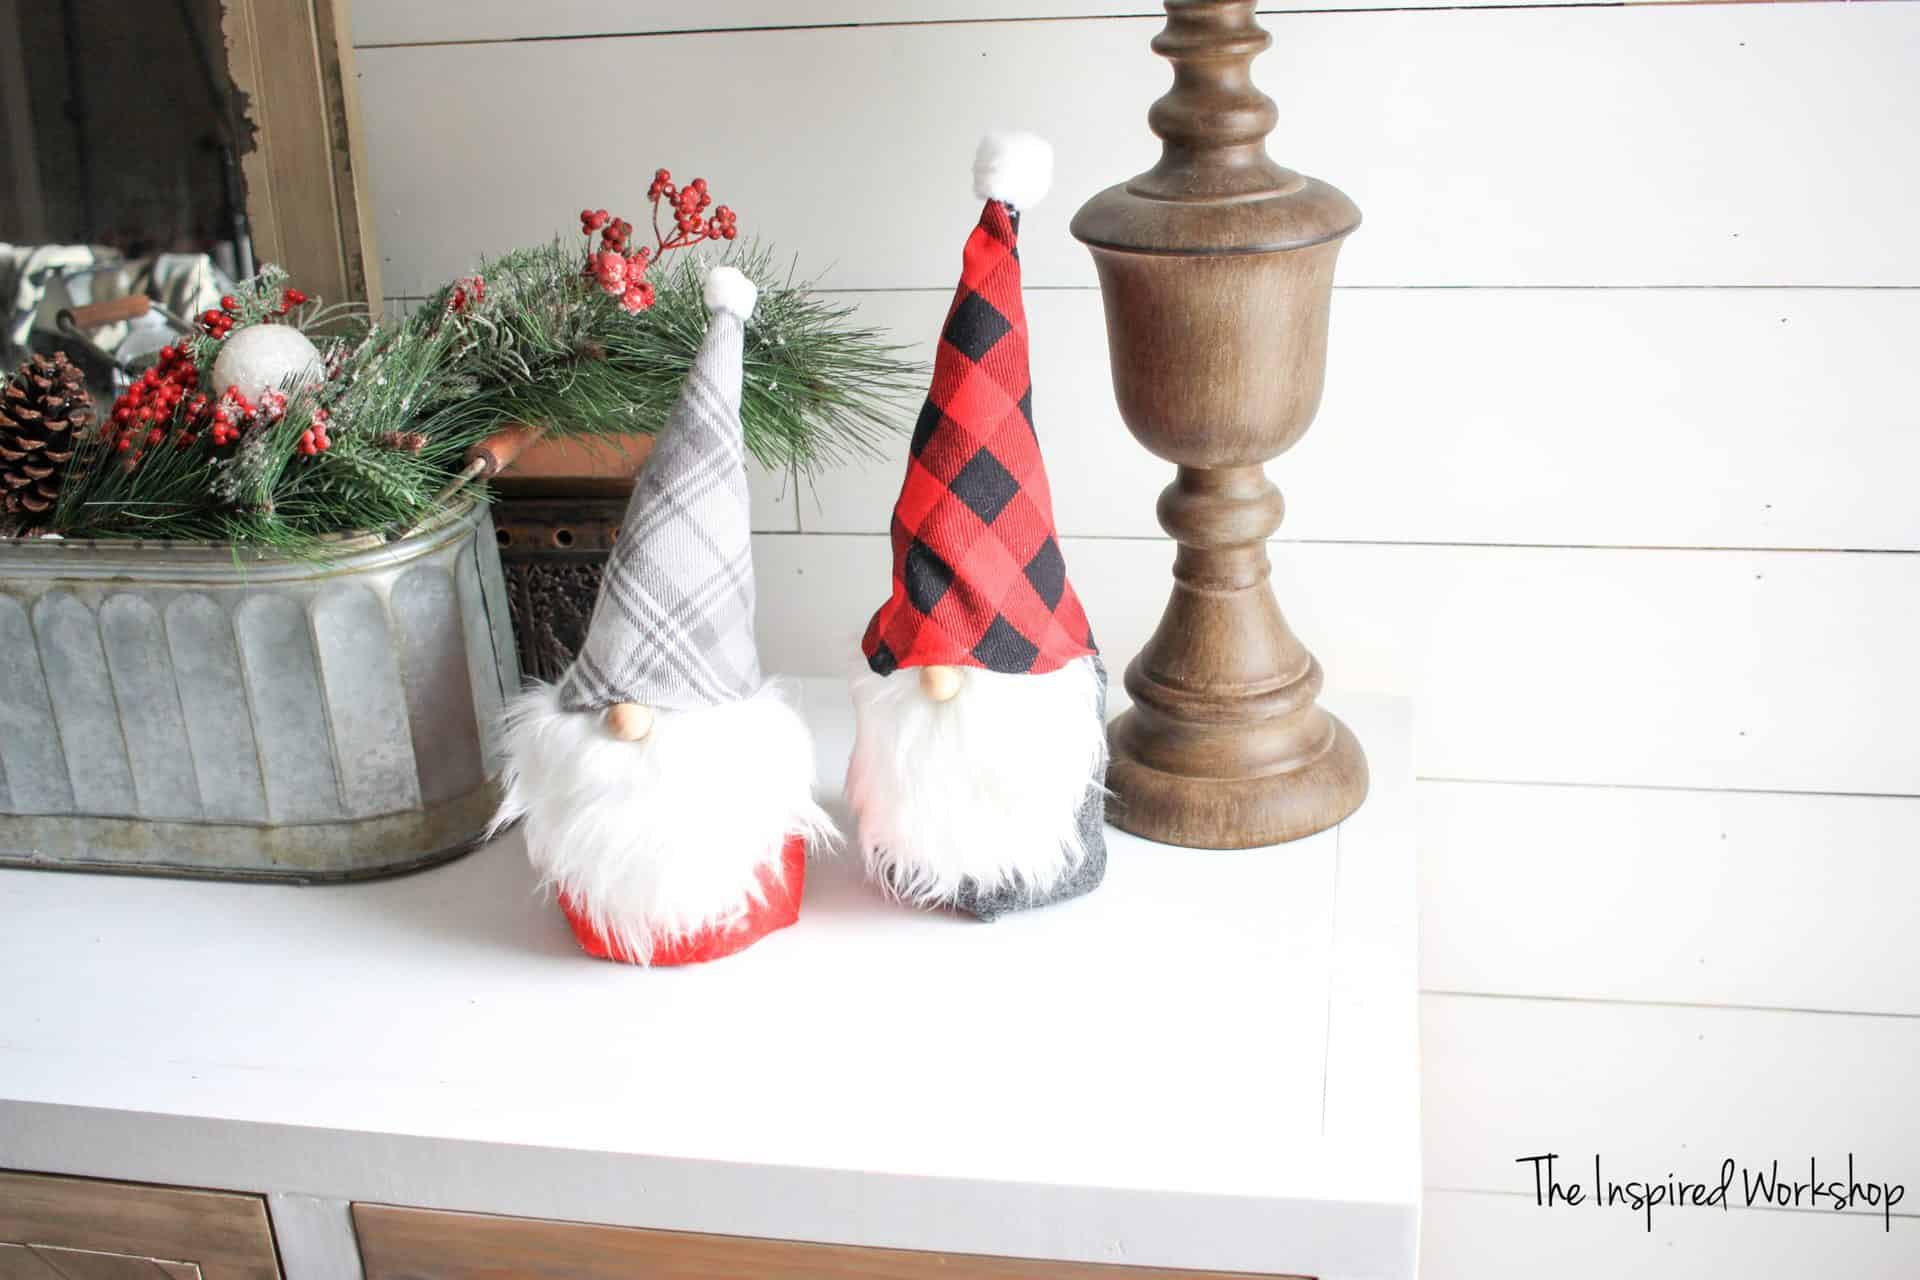
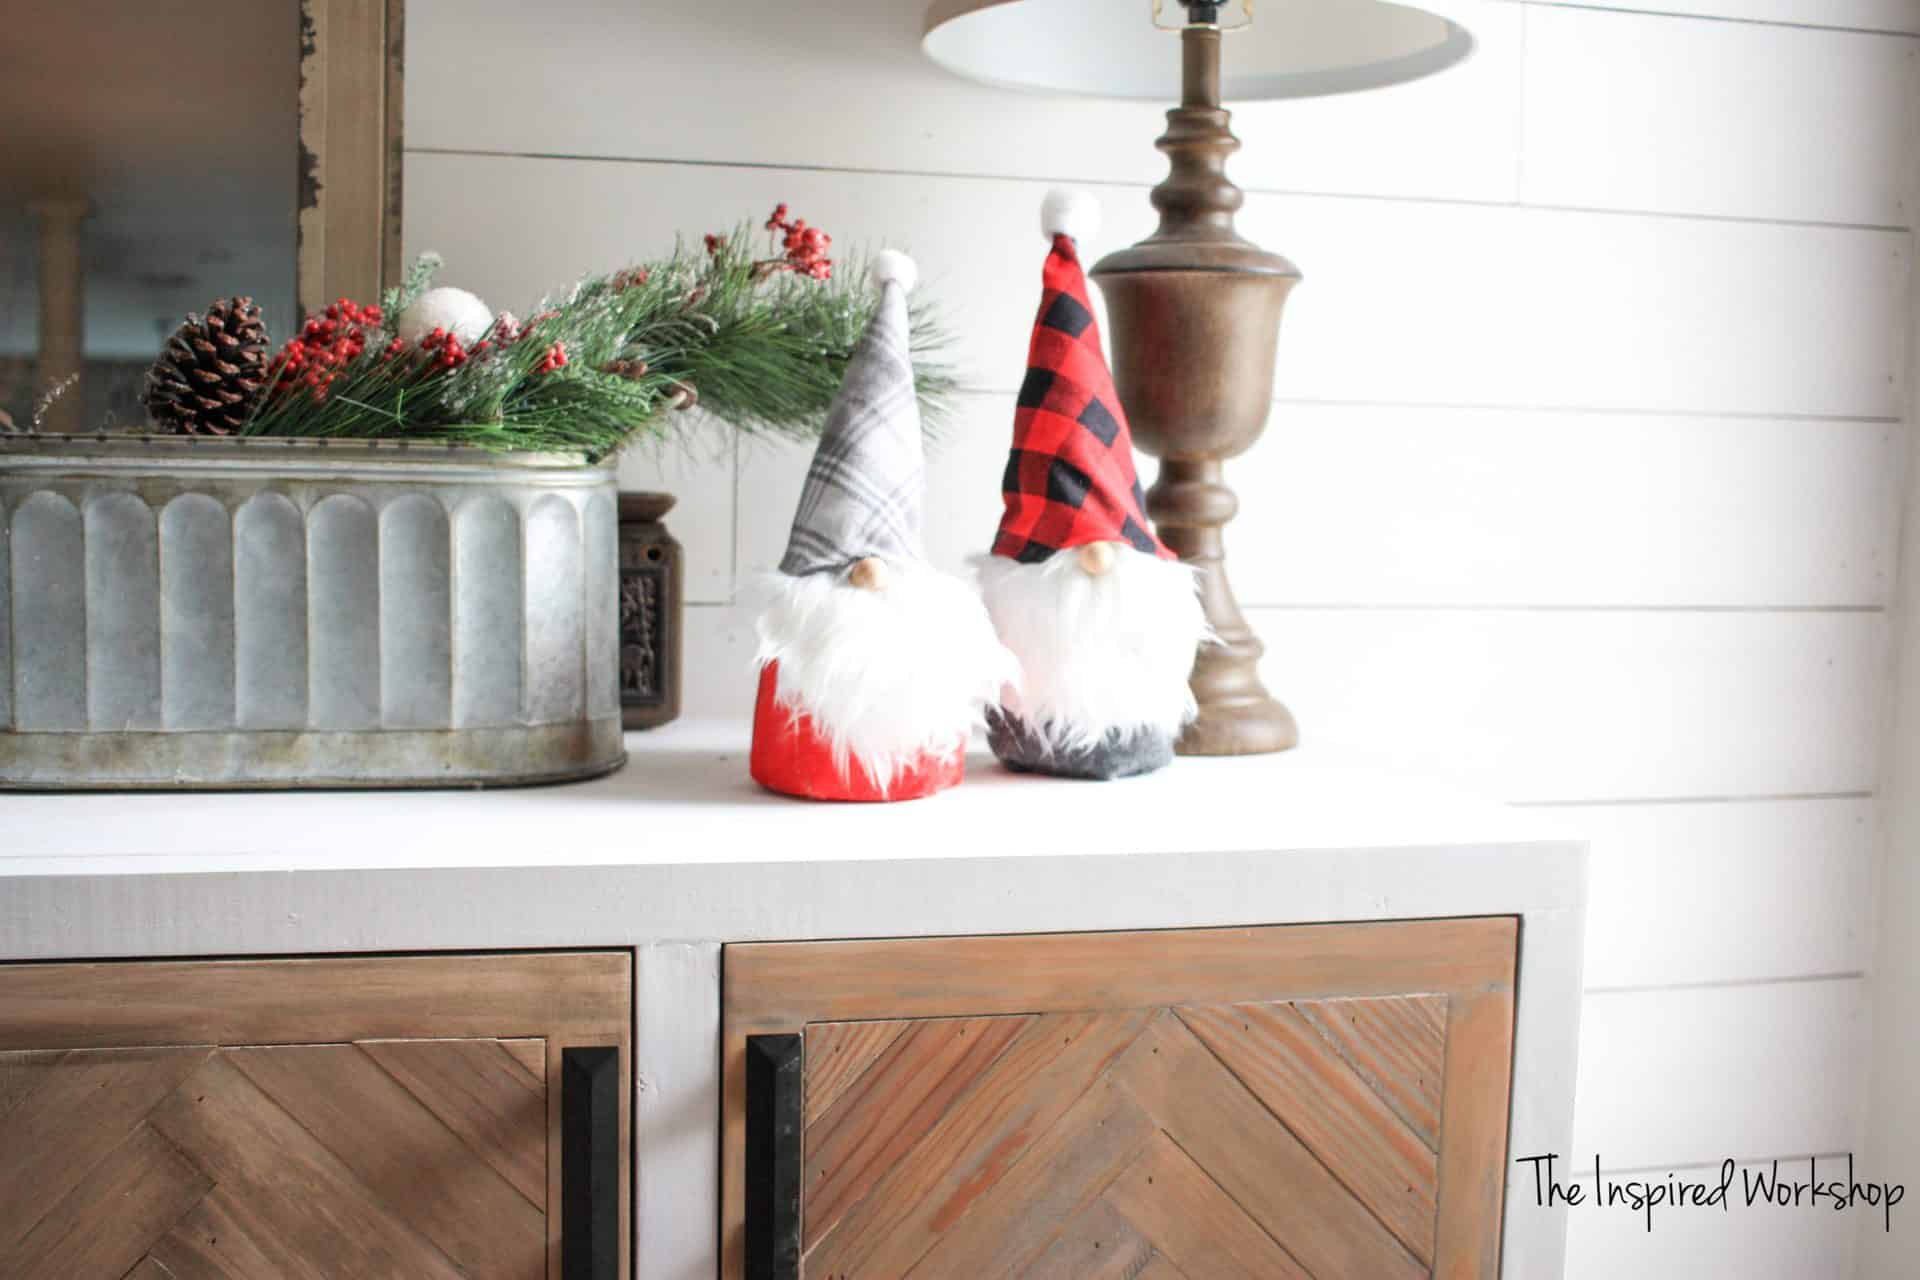
DIY Gnomes for the Holidays

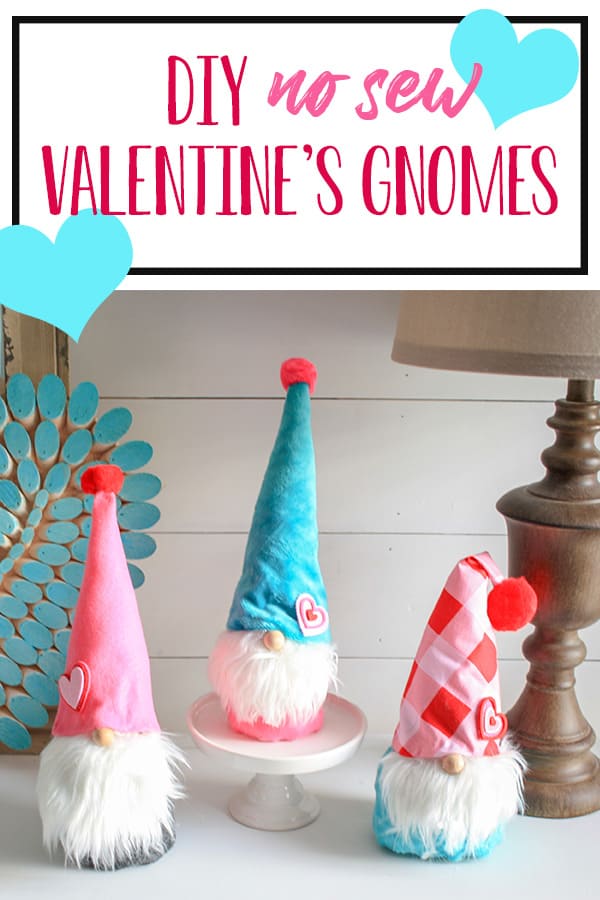
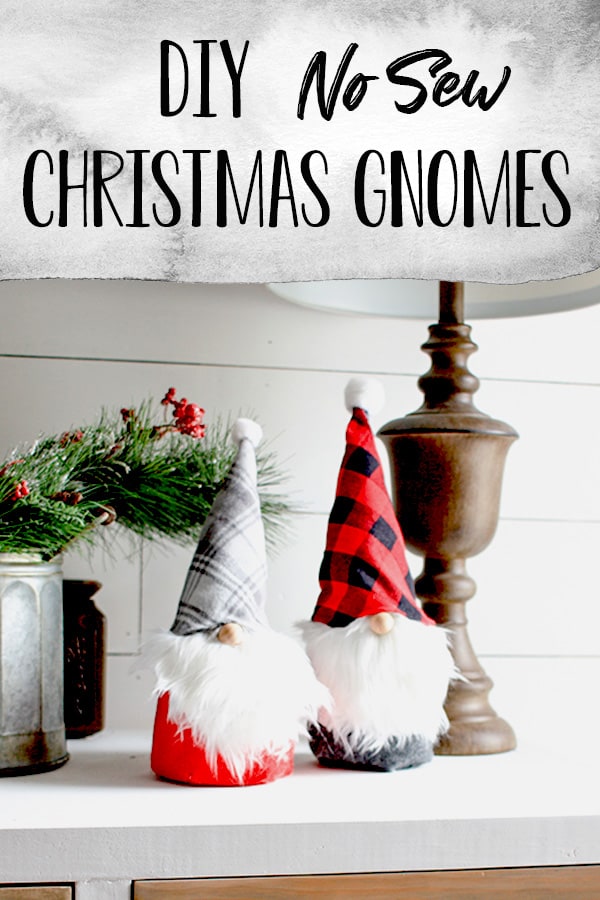
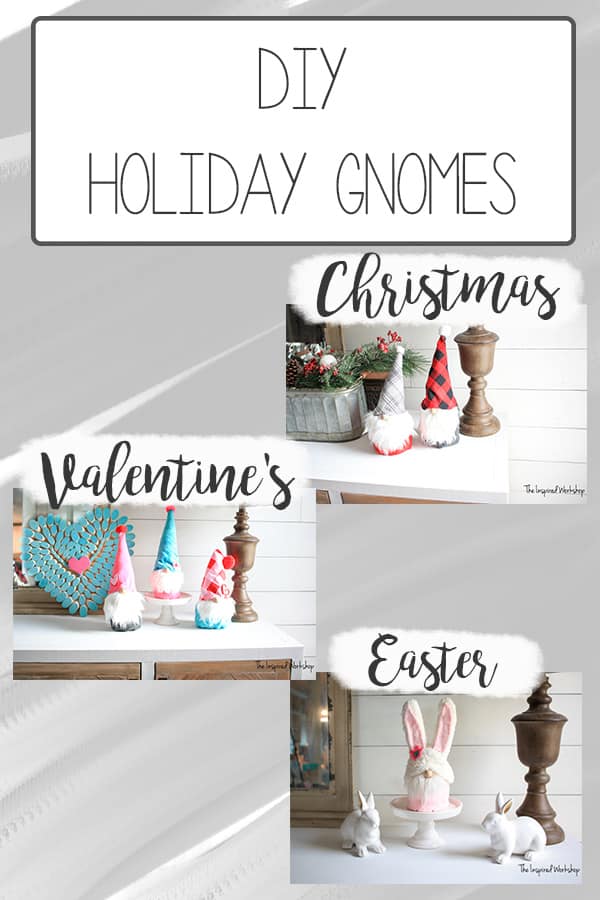
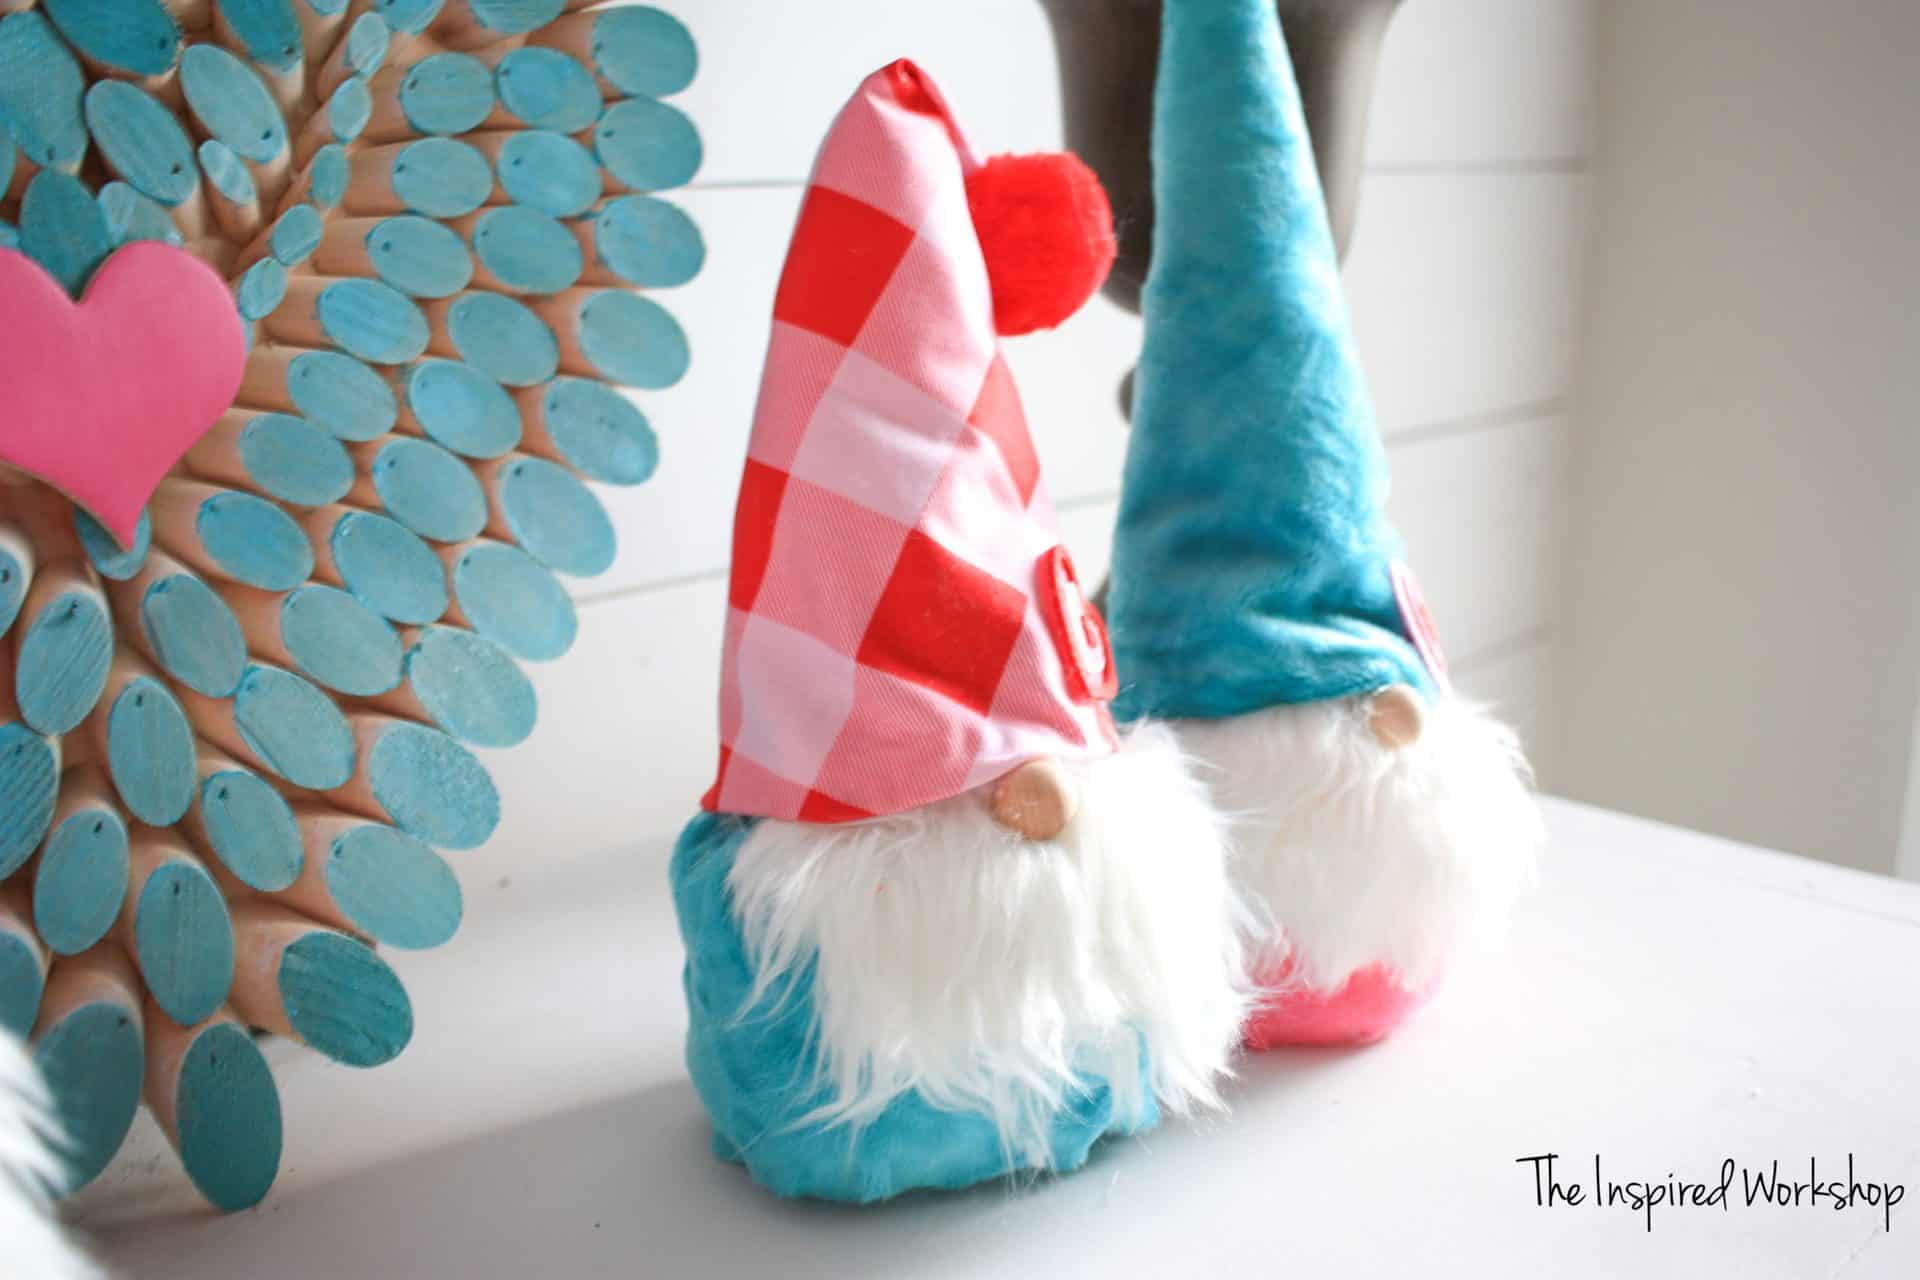
If you were following along during my Christmas posts, you know that I am in LOVE with gnomes and although I didn’t get to post my DIY gnomes for Christmas, as I was putting them away I was sad to see them go…so I decided, change the fabric a little and add hearts…and then I have Valentine Gnomes! And what, add ears and they become Easter Gnomes!
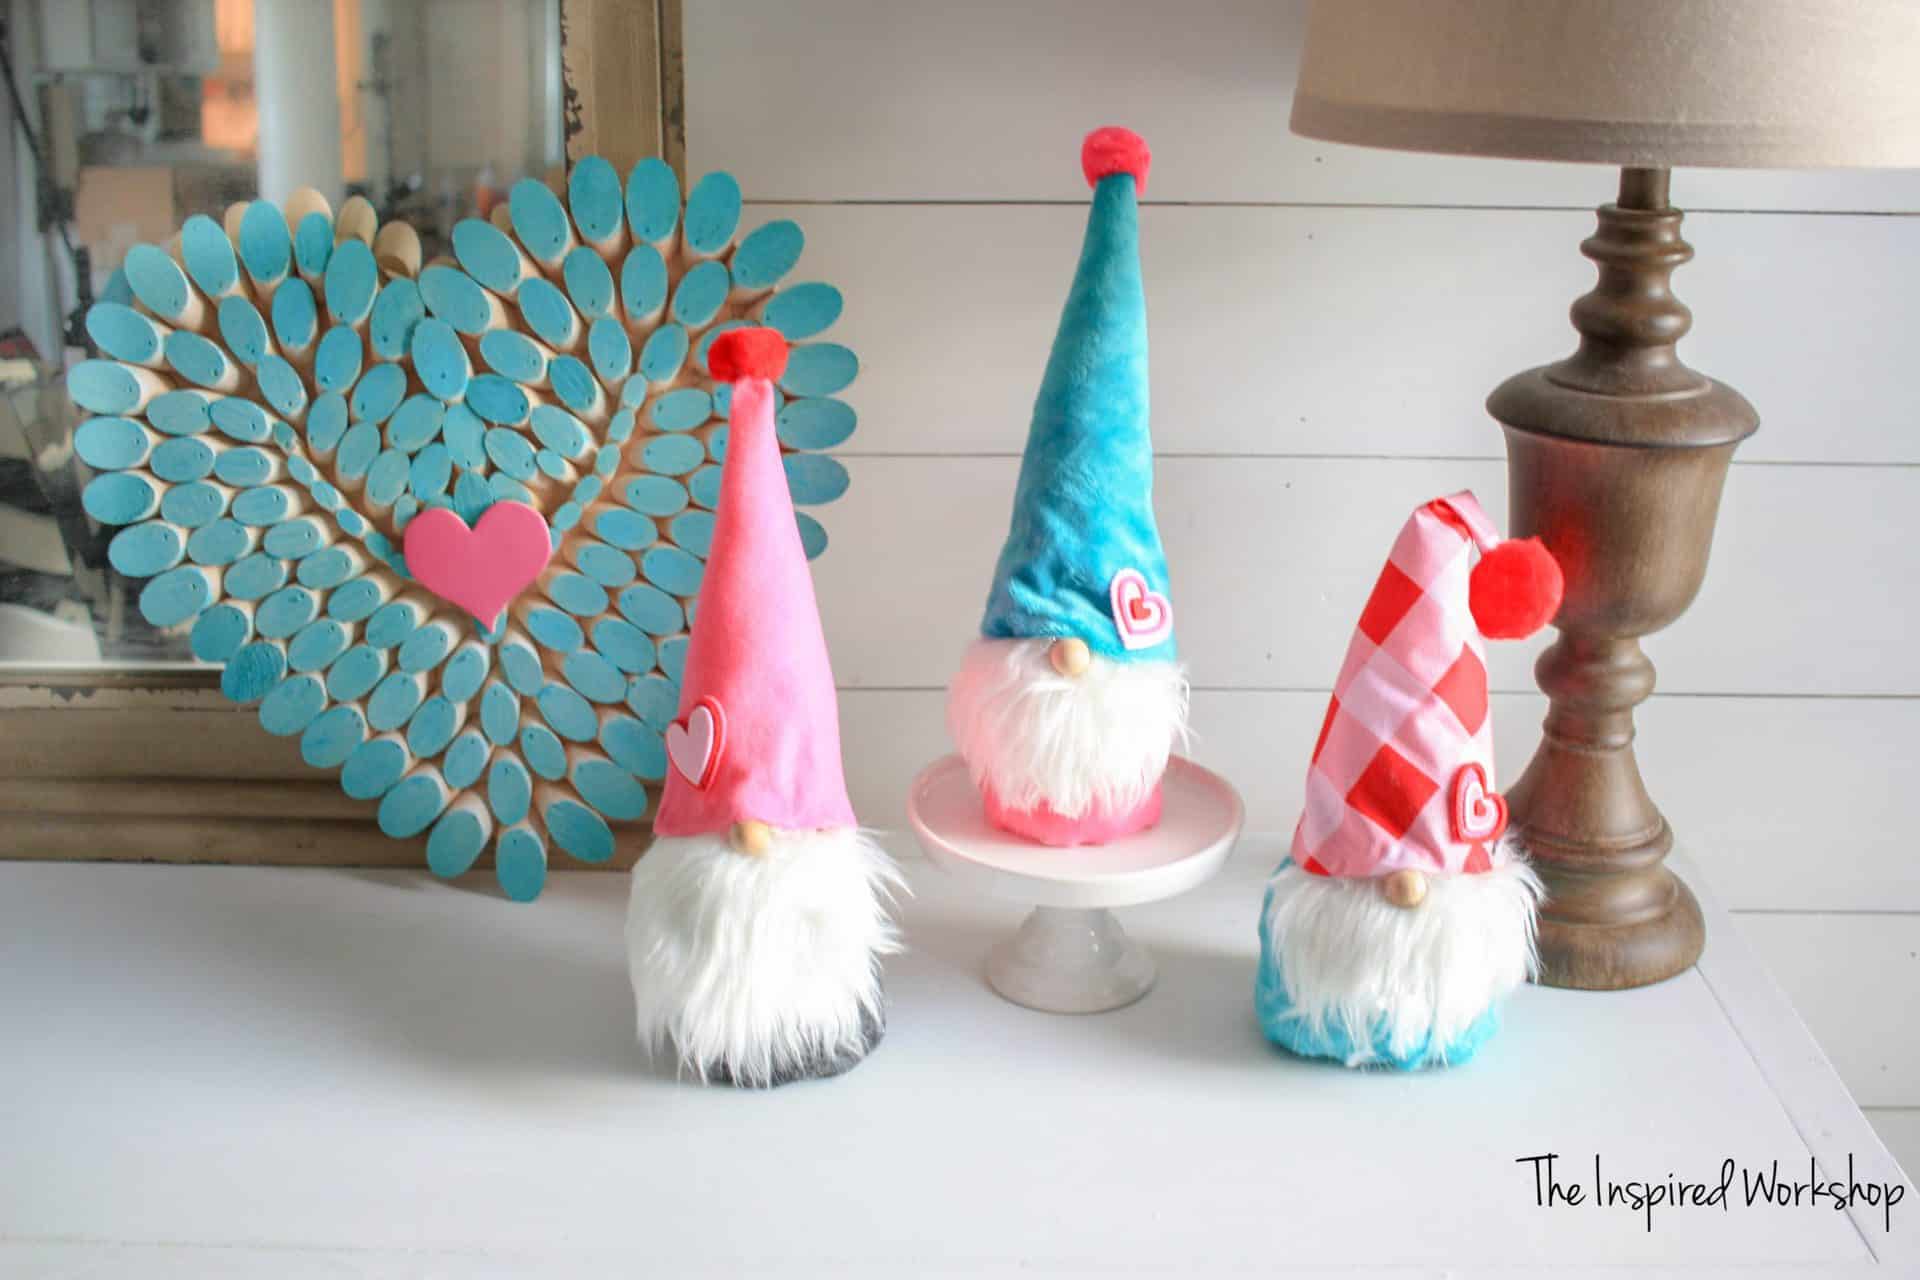
How cute are they? And did I mention how inexpensive they are considering they are just a few pieces of fabric and plastic pellets! Yes! I am sure my family was thrilled to have new gnomes around the house! 😂 No sewing, no socks, just some fabric, and hot glue! (Like that heart in the photo? Here’s the tutorial for the DIY Wooden Heart!)
I thought to myself, but why stop at Valentine and Christmas gnomes? What about Easter gnomes? I could go through and make gnomes for EVERY HOLIDAY! Cue the eye rolls from my family, but whatever!😂

I have a few other gnome projects that I wanted to post before Christmas but I will be posting them over the next few days and trust me when I say that I am EXCITED to share them with you all! Even though it’s late for Christmas, you can just Pin them for next year!
Do you love gnomes as much as I do? I have so many other DIY gnome crafts for you to try out! There is my absolute favorite DIY gnome stocking holders, my second favorite DIY gnome garland and then there is the adorable no-sew DIY gnome pillow! You can add gnomes everywhere! 😂
Want to save this DIY gnomes post for later? PIN IT
Alright, now I will show you how to make DIY gnomes, and then you can make Valentine gnomes, Christmas gnomes, Easter gnomes, or any other holiday gnomes you want…I am talking to you Fourth of July Gnomes!😜
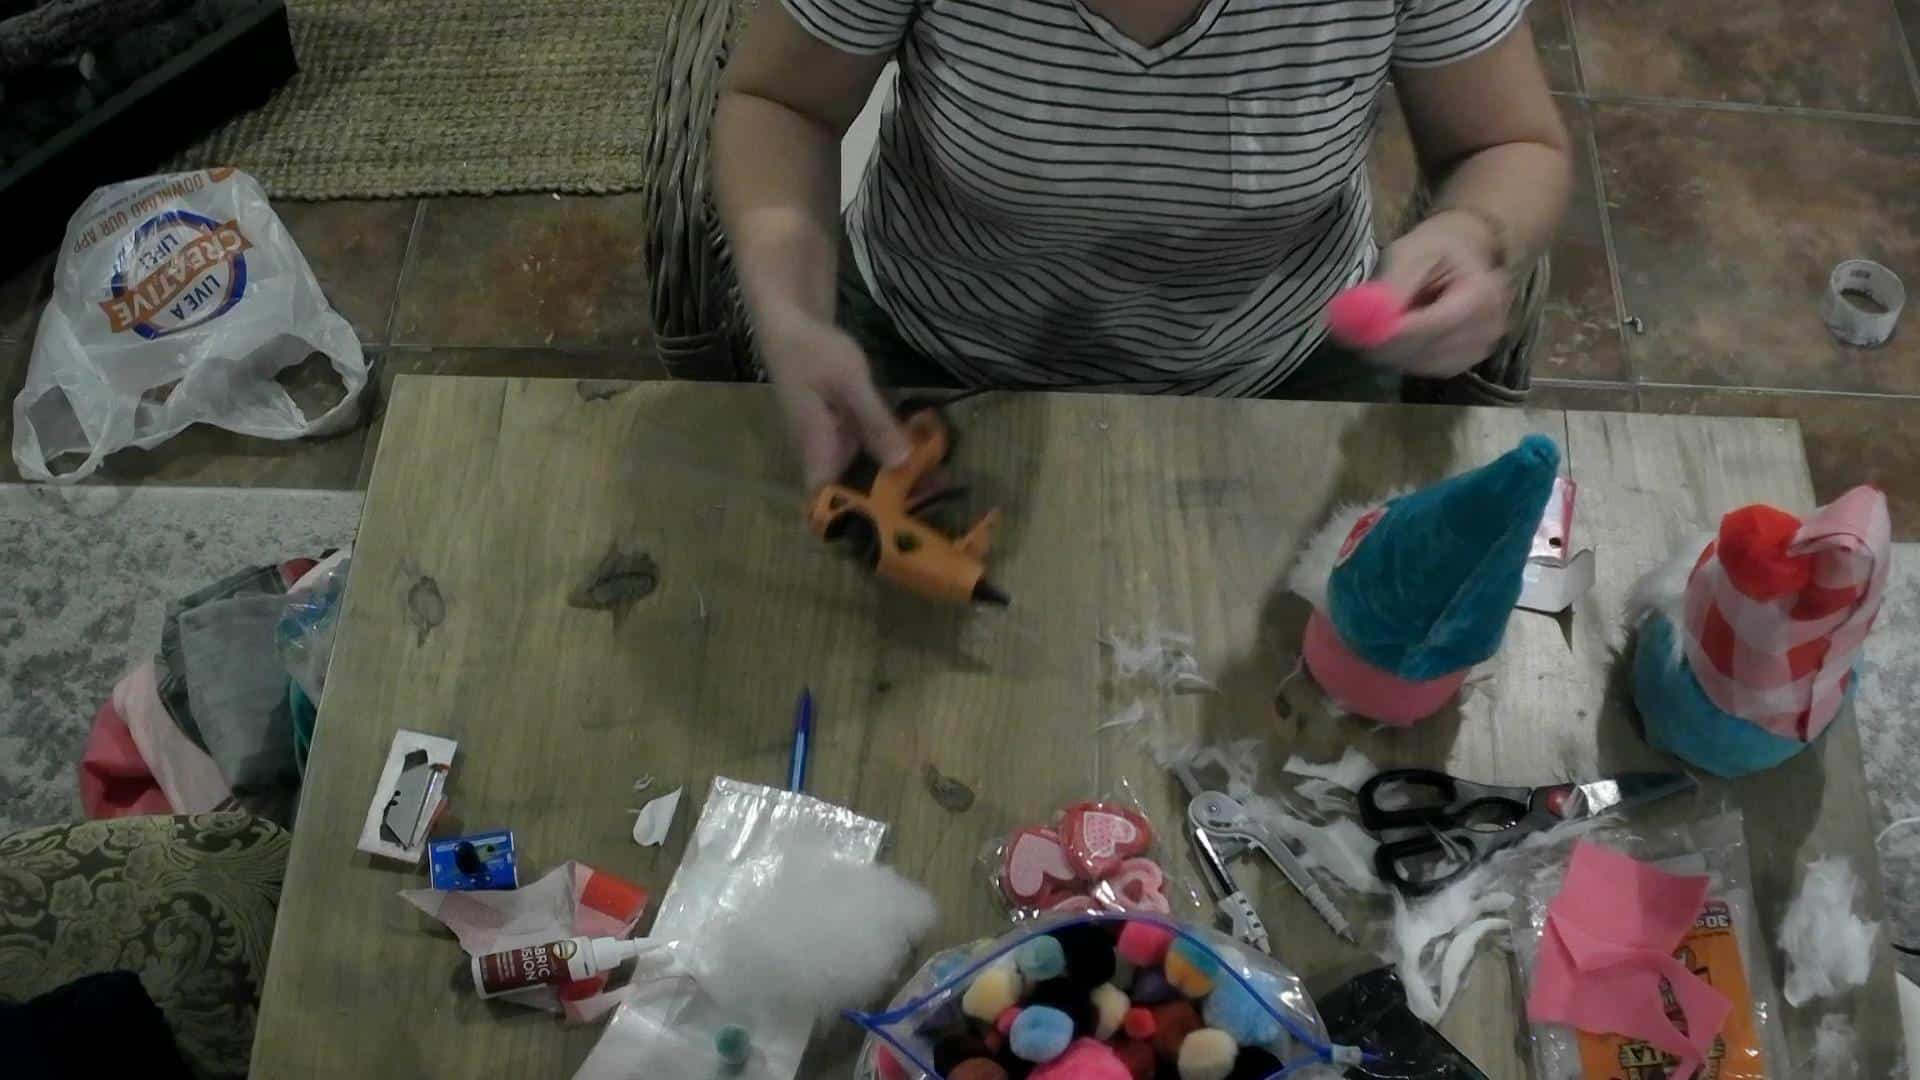
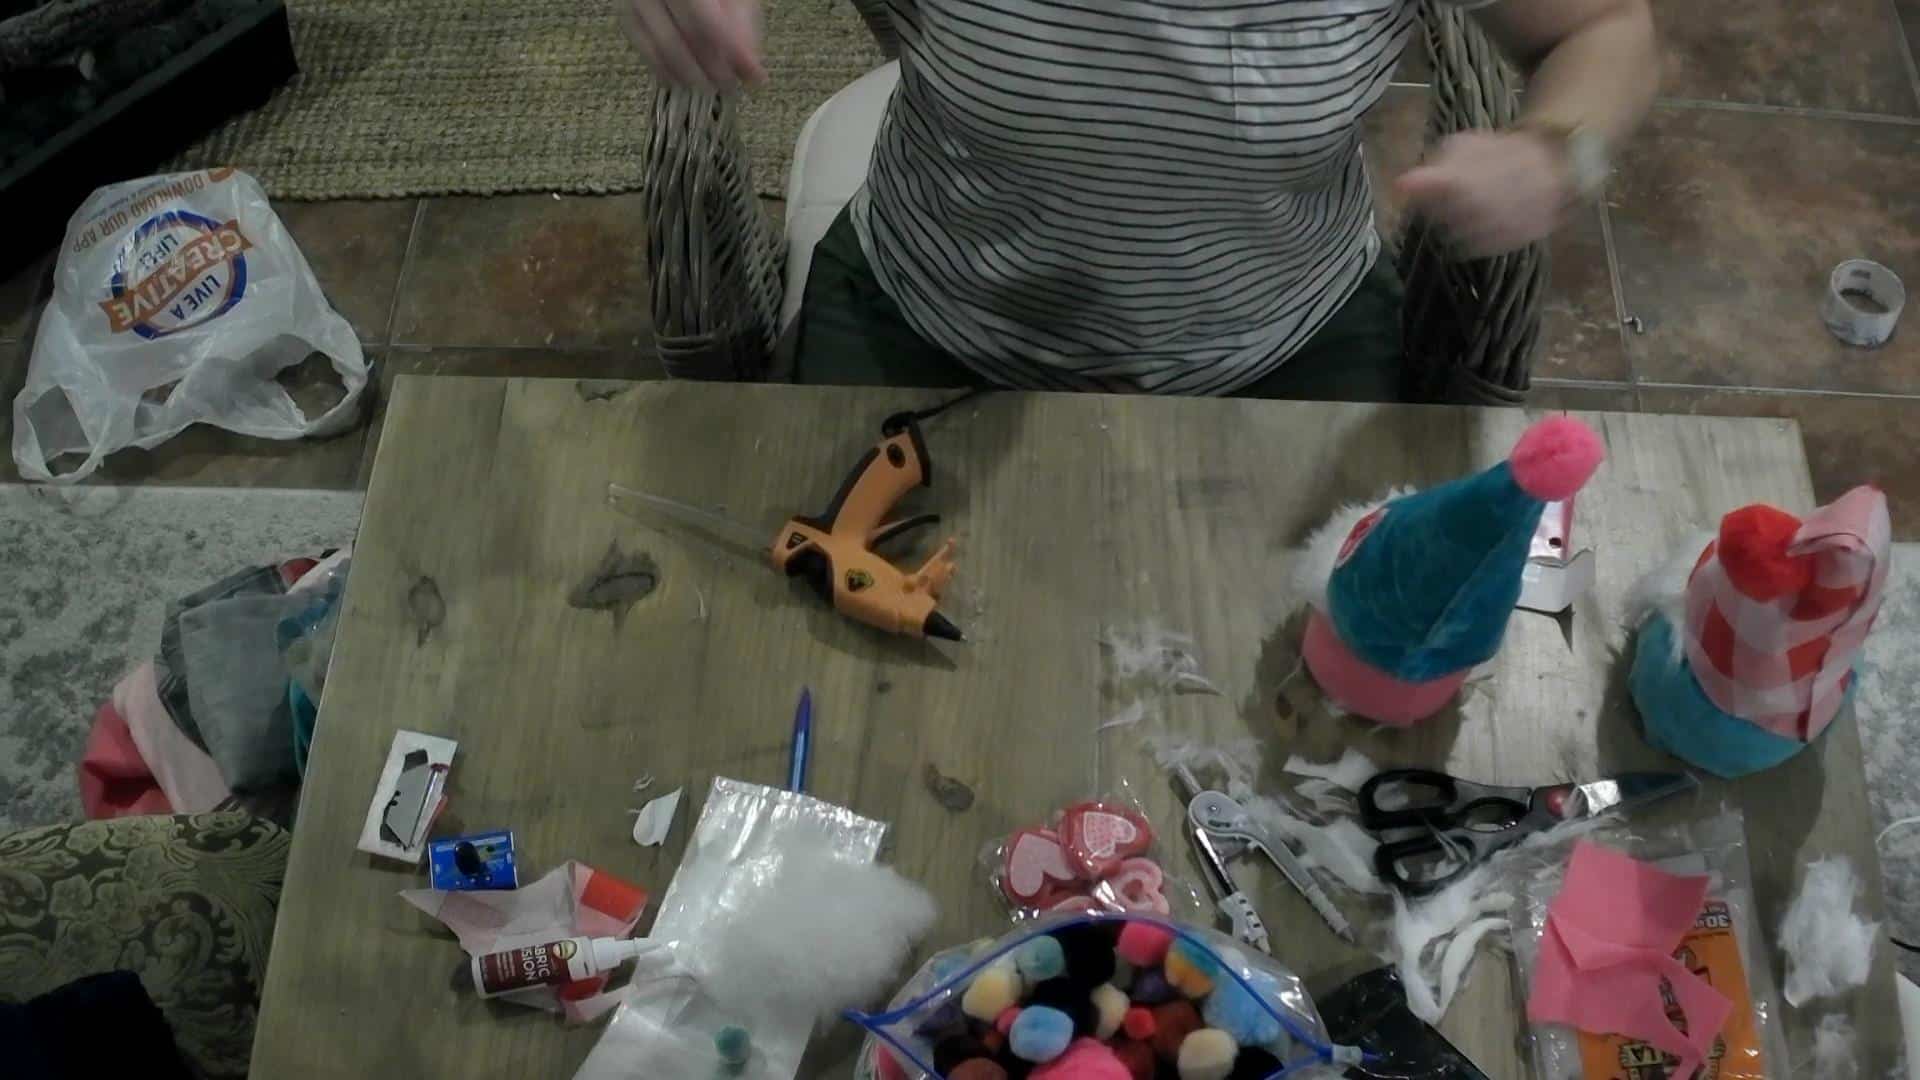
Gathering the Supplies to make DIY Gnomes
Materials Needed to make the DIY Gnomes:
The materials are pretty much the same for all the gnomes, the Easter gnomes just need the sherpa for the ears and the Valentines gnomes will have Valentine fabric, and the Christmas gnomes will have Christmas themed fabric and accents!
– 1/4 yard of fabric (body) – I found felt or other stiff materials work best for the body
-1/4 yard of coordinating fabric (hat) or sherpa for ears – I found that felt does not work that great for hats but that softer fabric works great for hats!
–poly beads (filler)
-a string of some sort – use anything you have on hand because it won’t be seen
–pom poms, stickers, or any other accessories you may want to embellish your gnomes with.
Making the DIY Gnomes
Using a protractor, draw a circle on your fabric at the size you want the body of the DIY gnome to be! I used a 5″ circle to be the base of my gnome (my protractor was set at 2 1/2″).
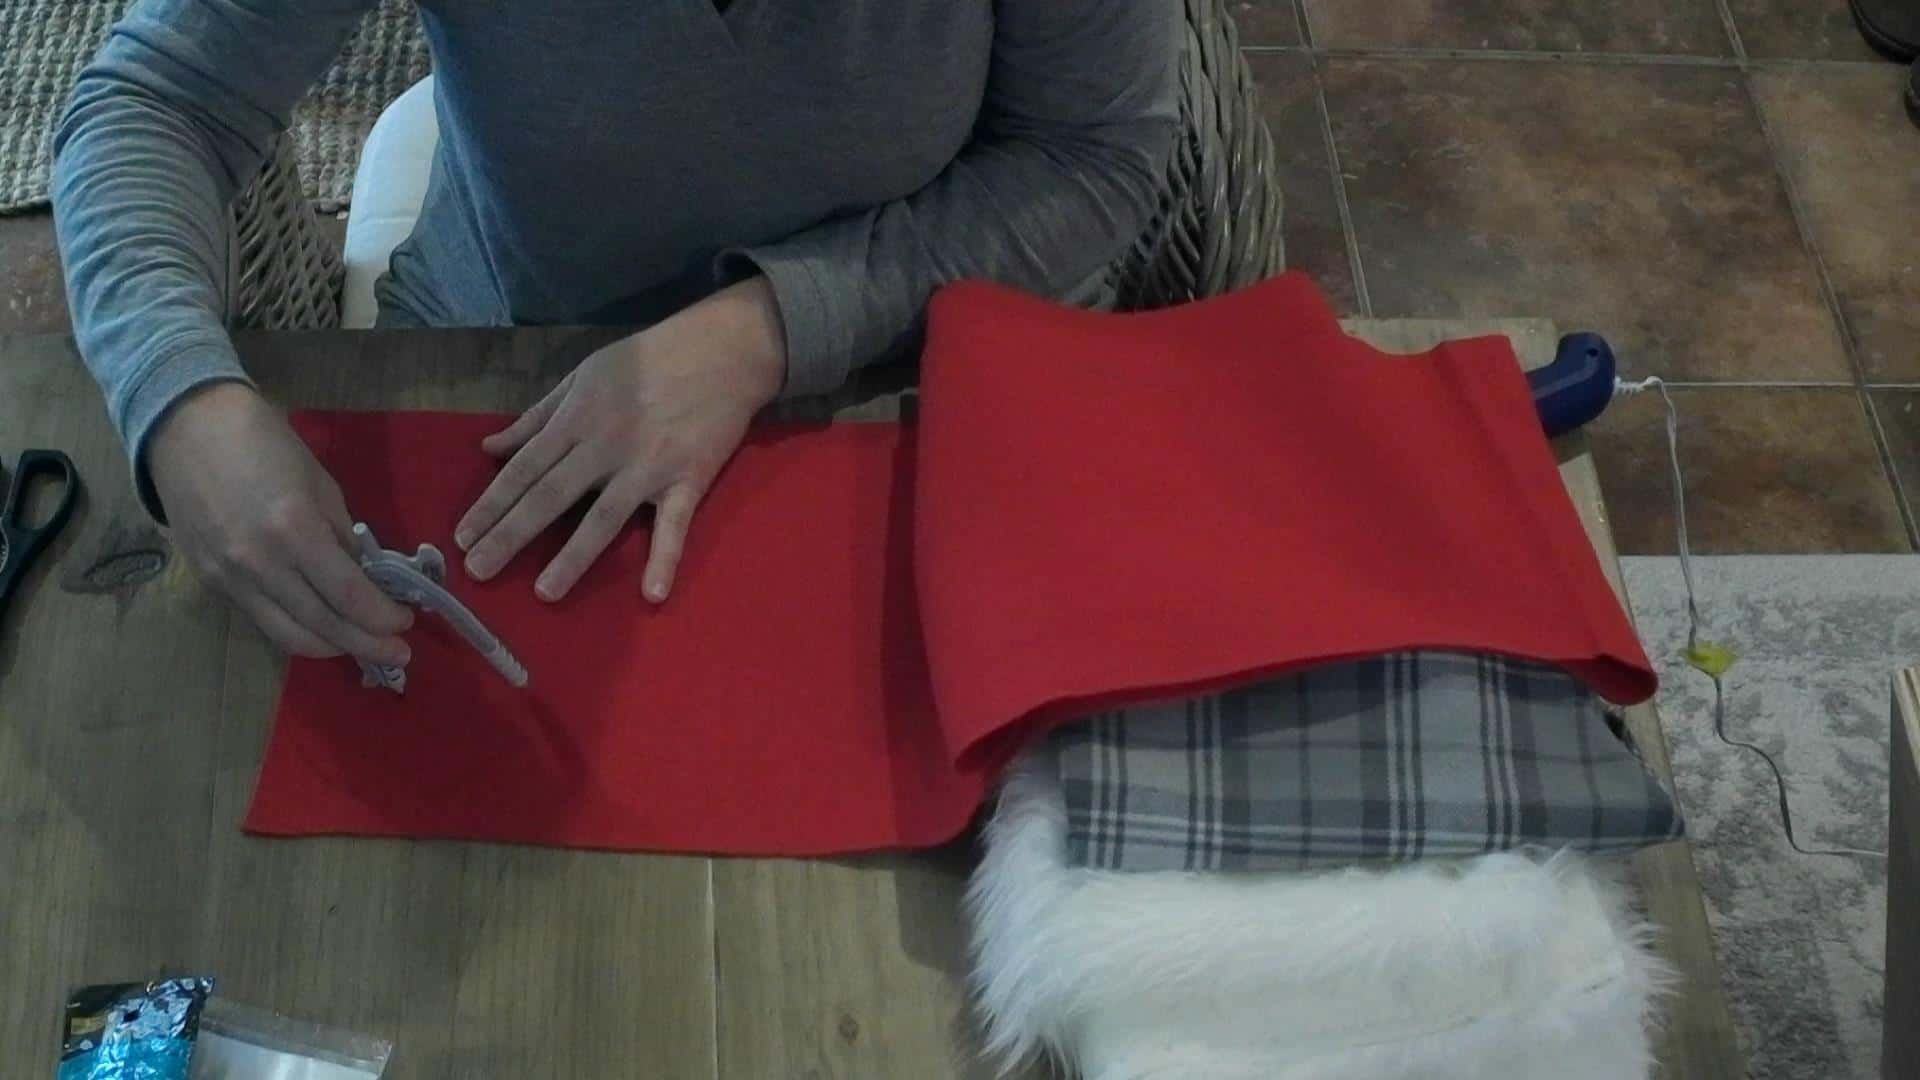
Cut the circle for your base!
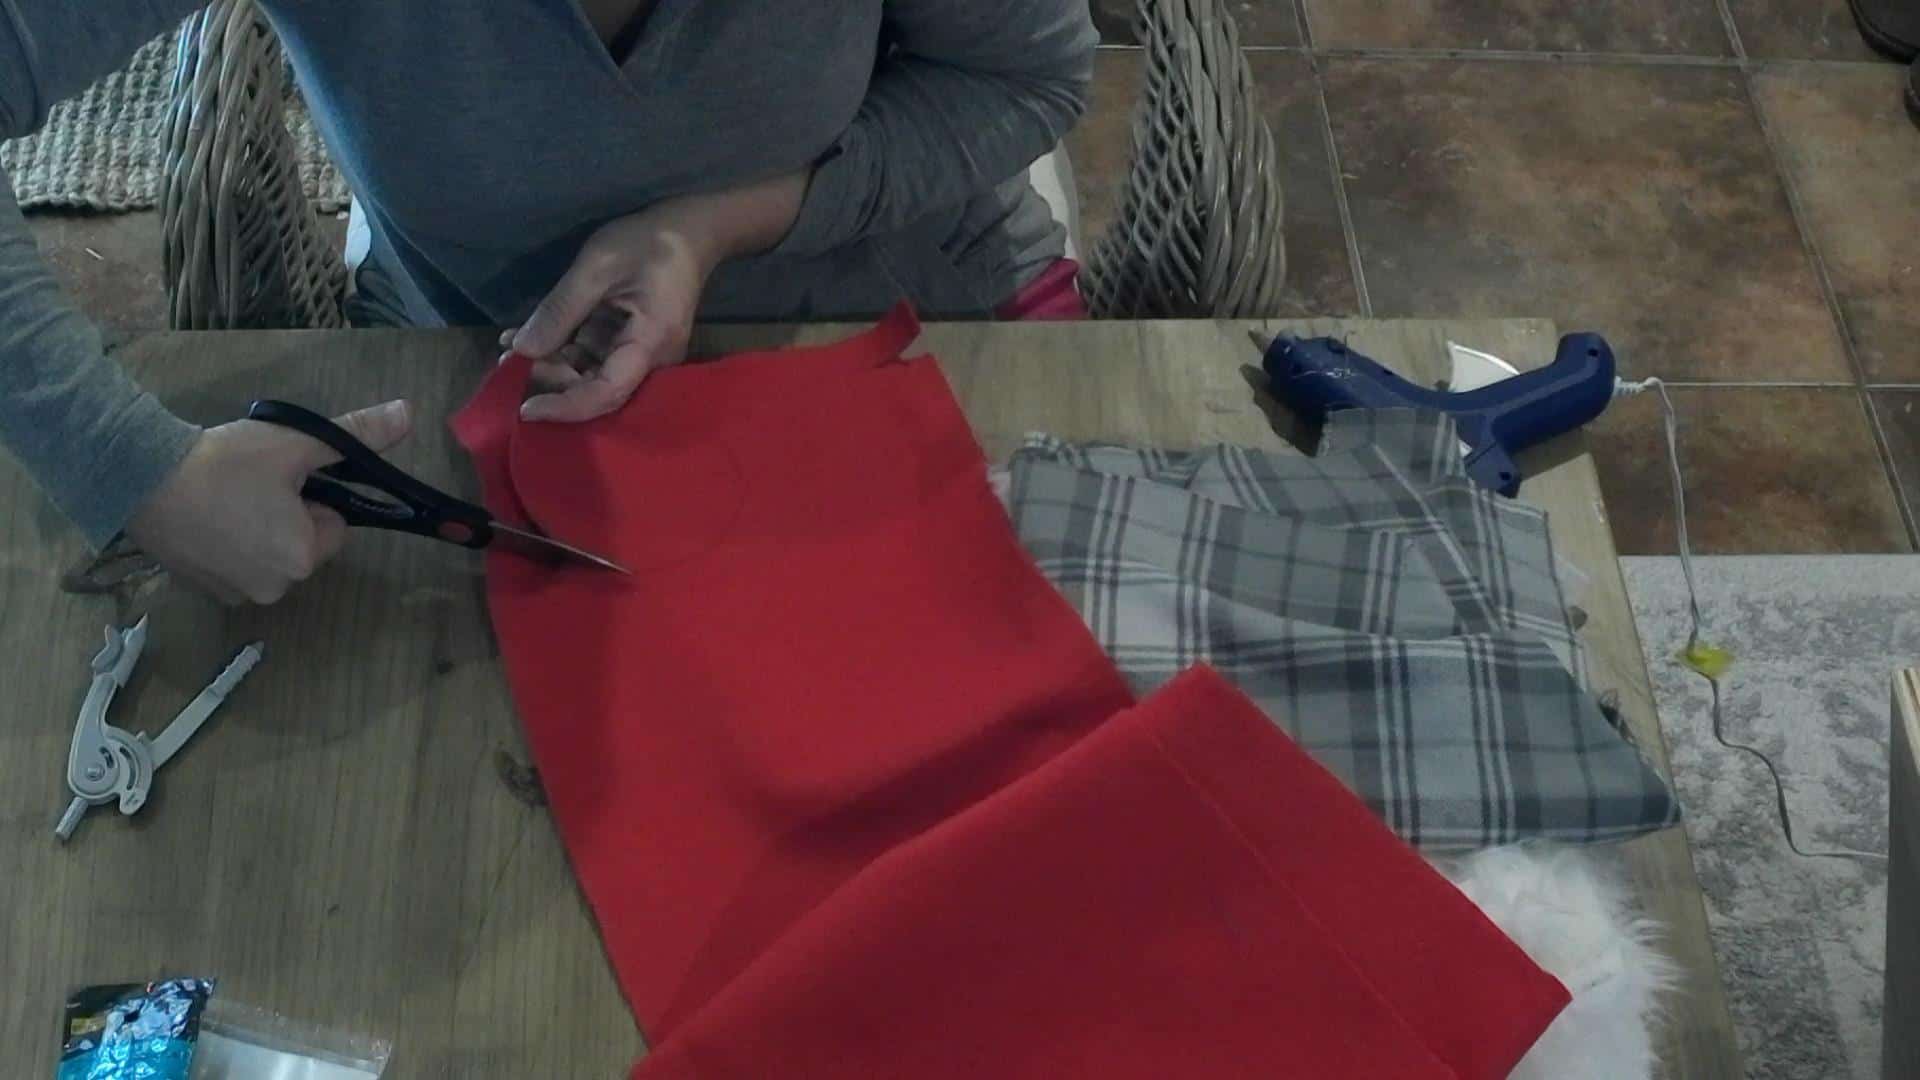
Then using the same fabric, cut a rectangle about 16 1/2″ long, and about 6″ tall. If you make your base circle smaller or larger you will need to adjust the rectangle as well! Just remember the diameter multiplied by 3.14 and then add a little extra to overlap!
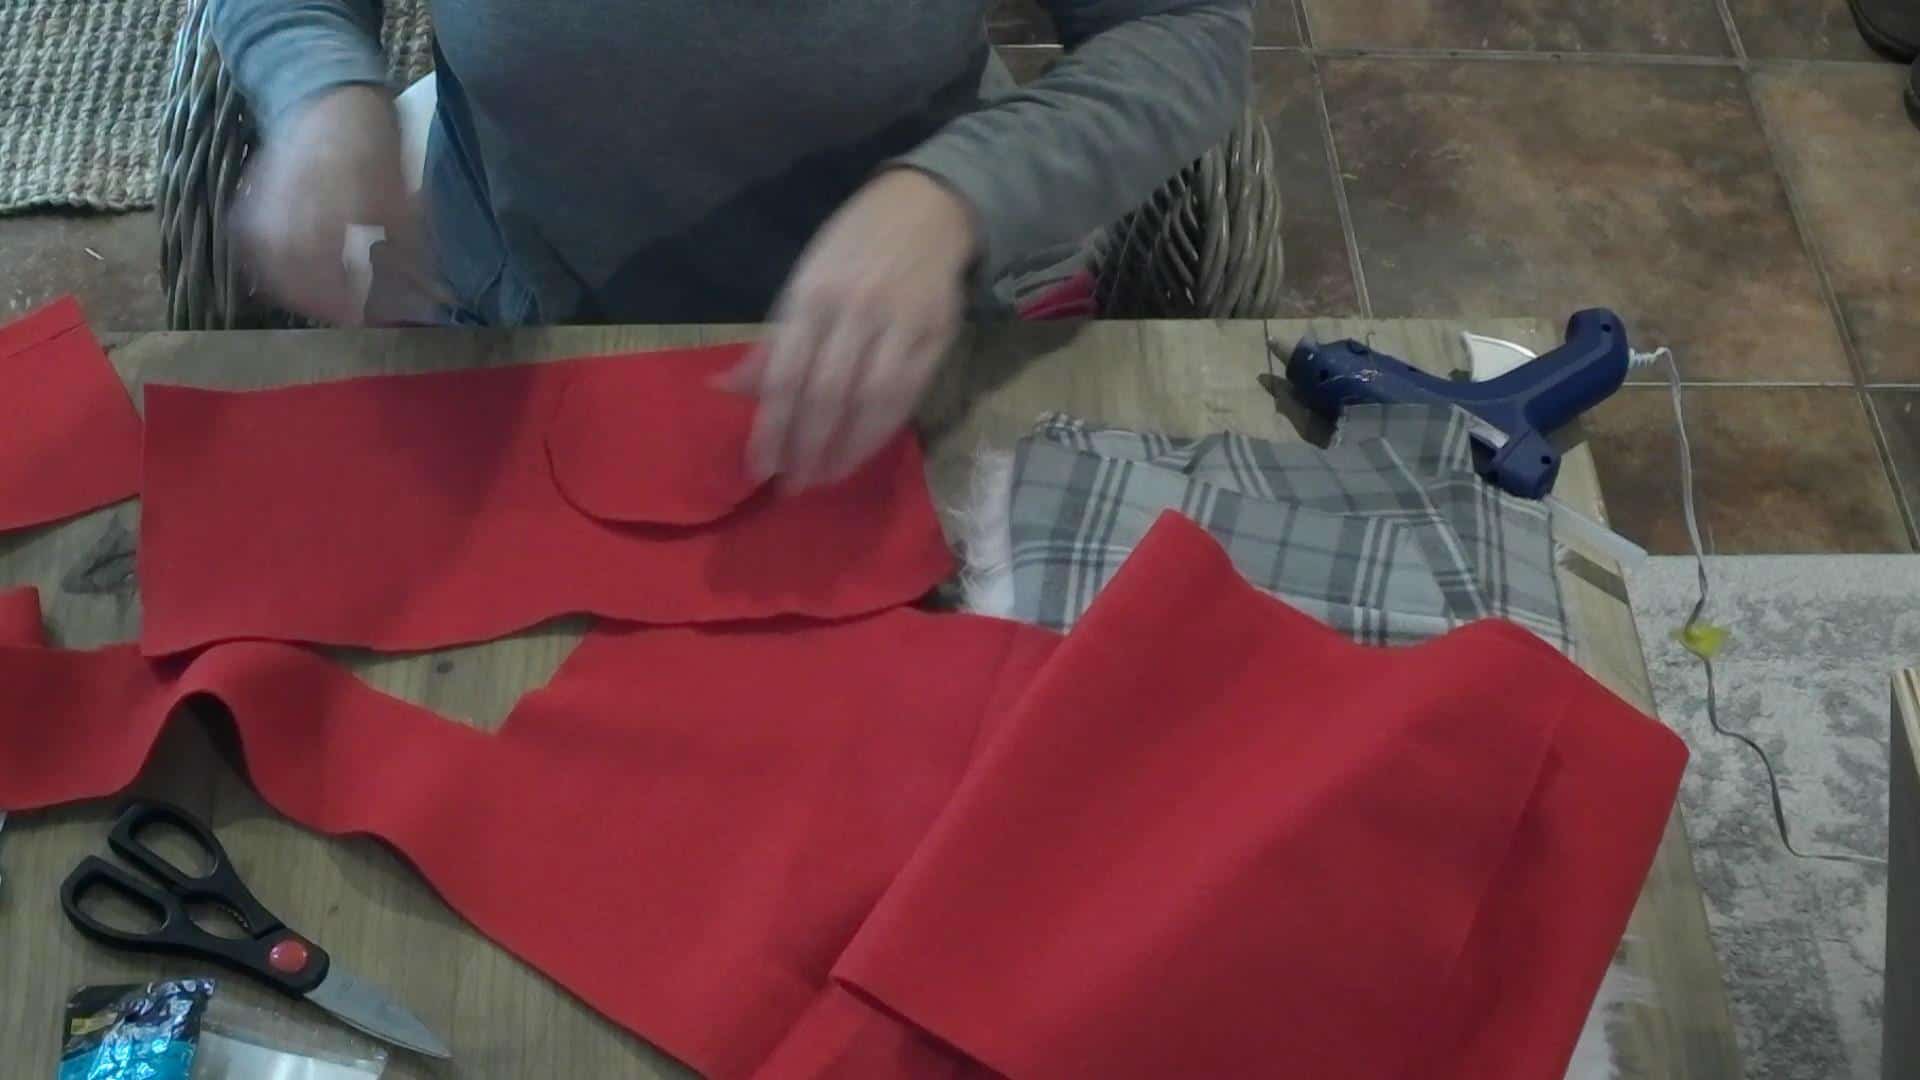
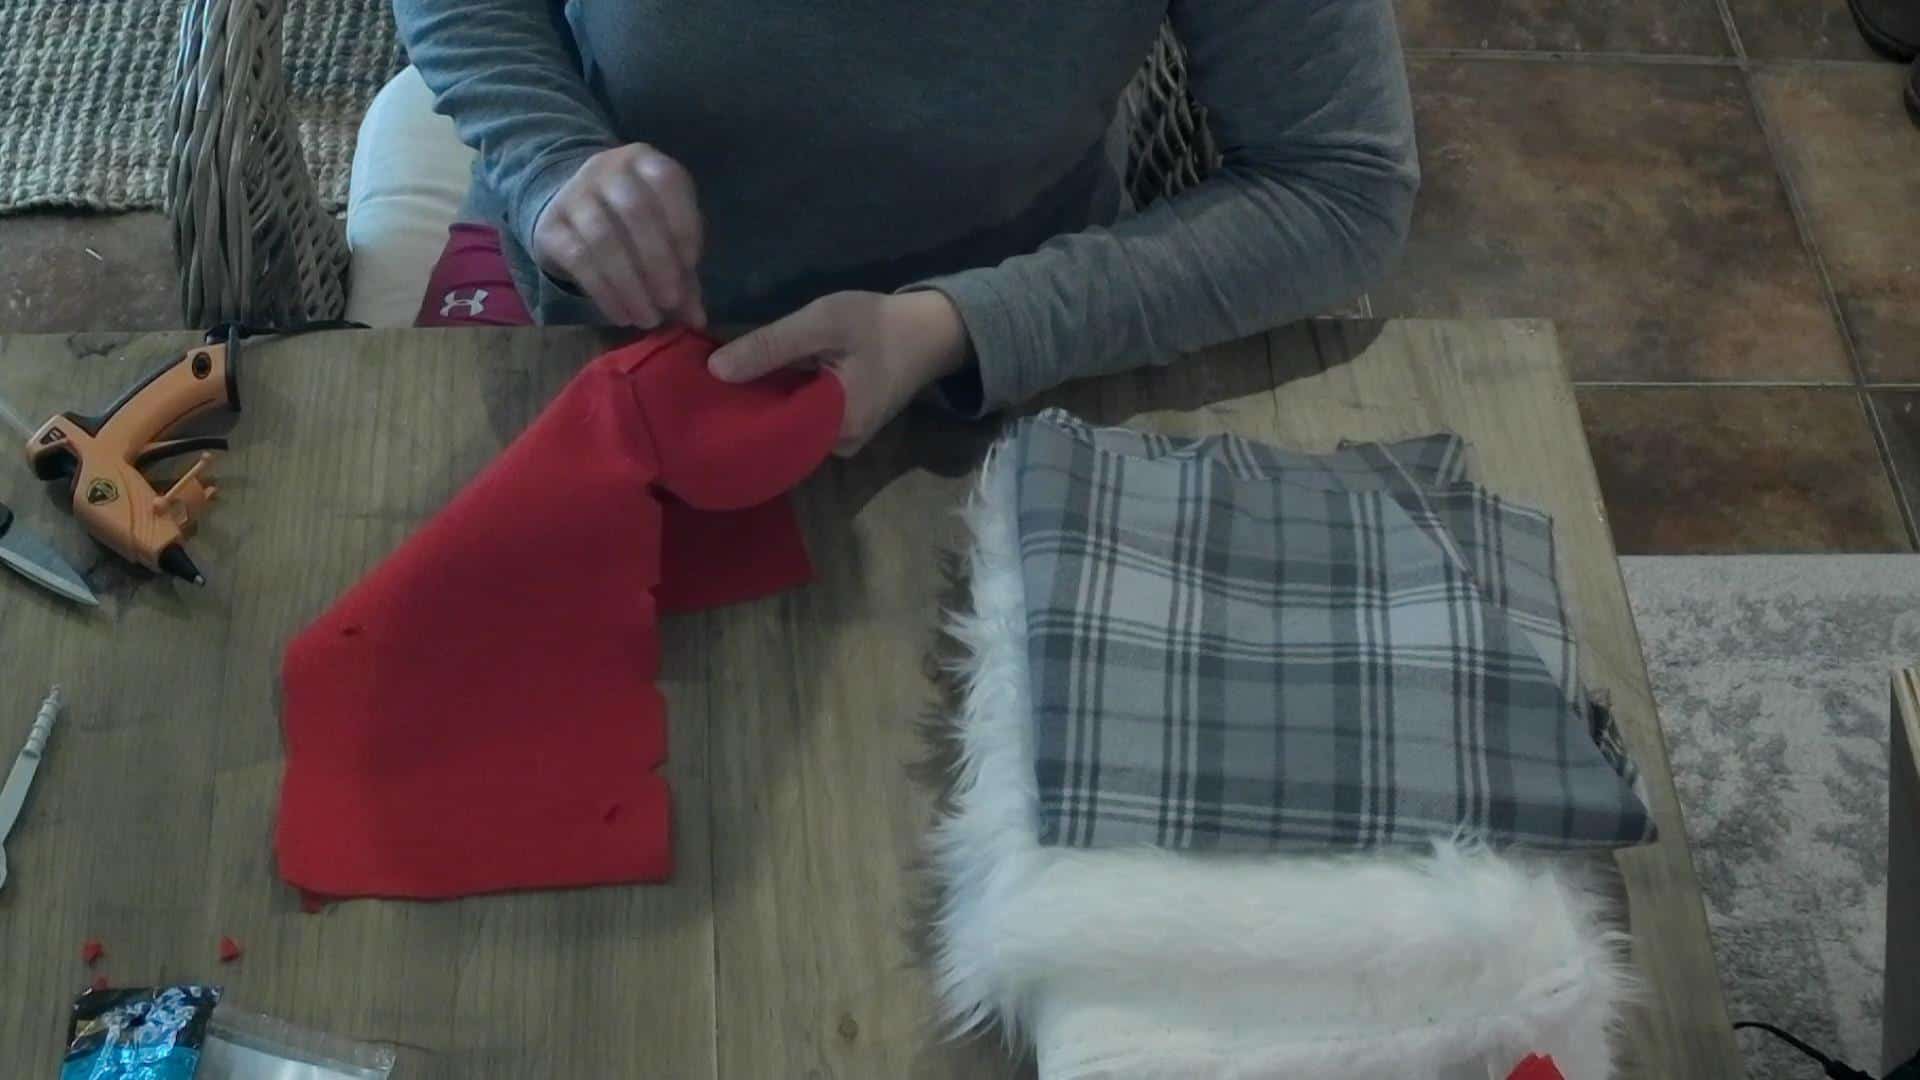
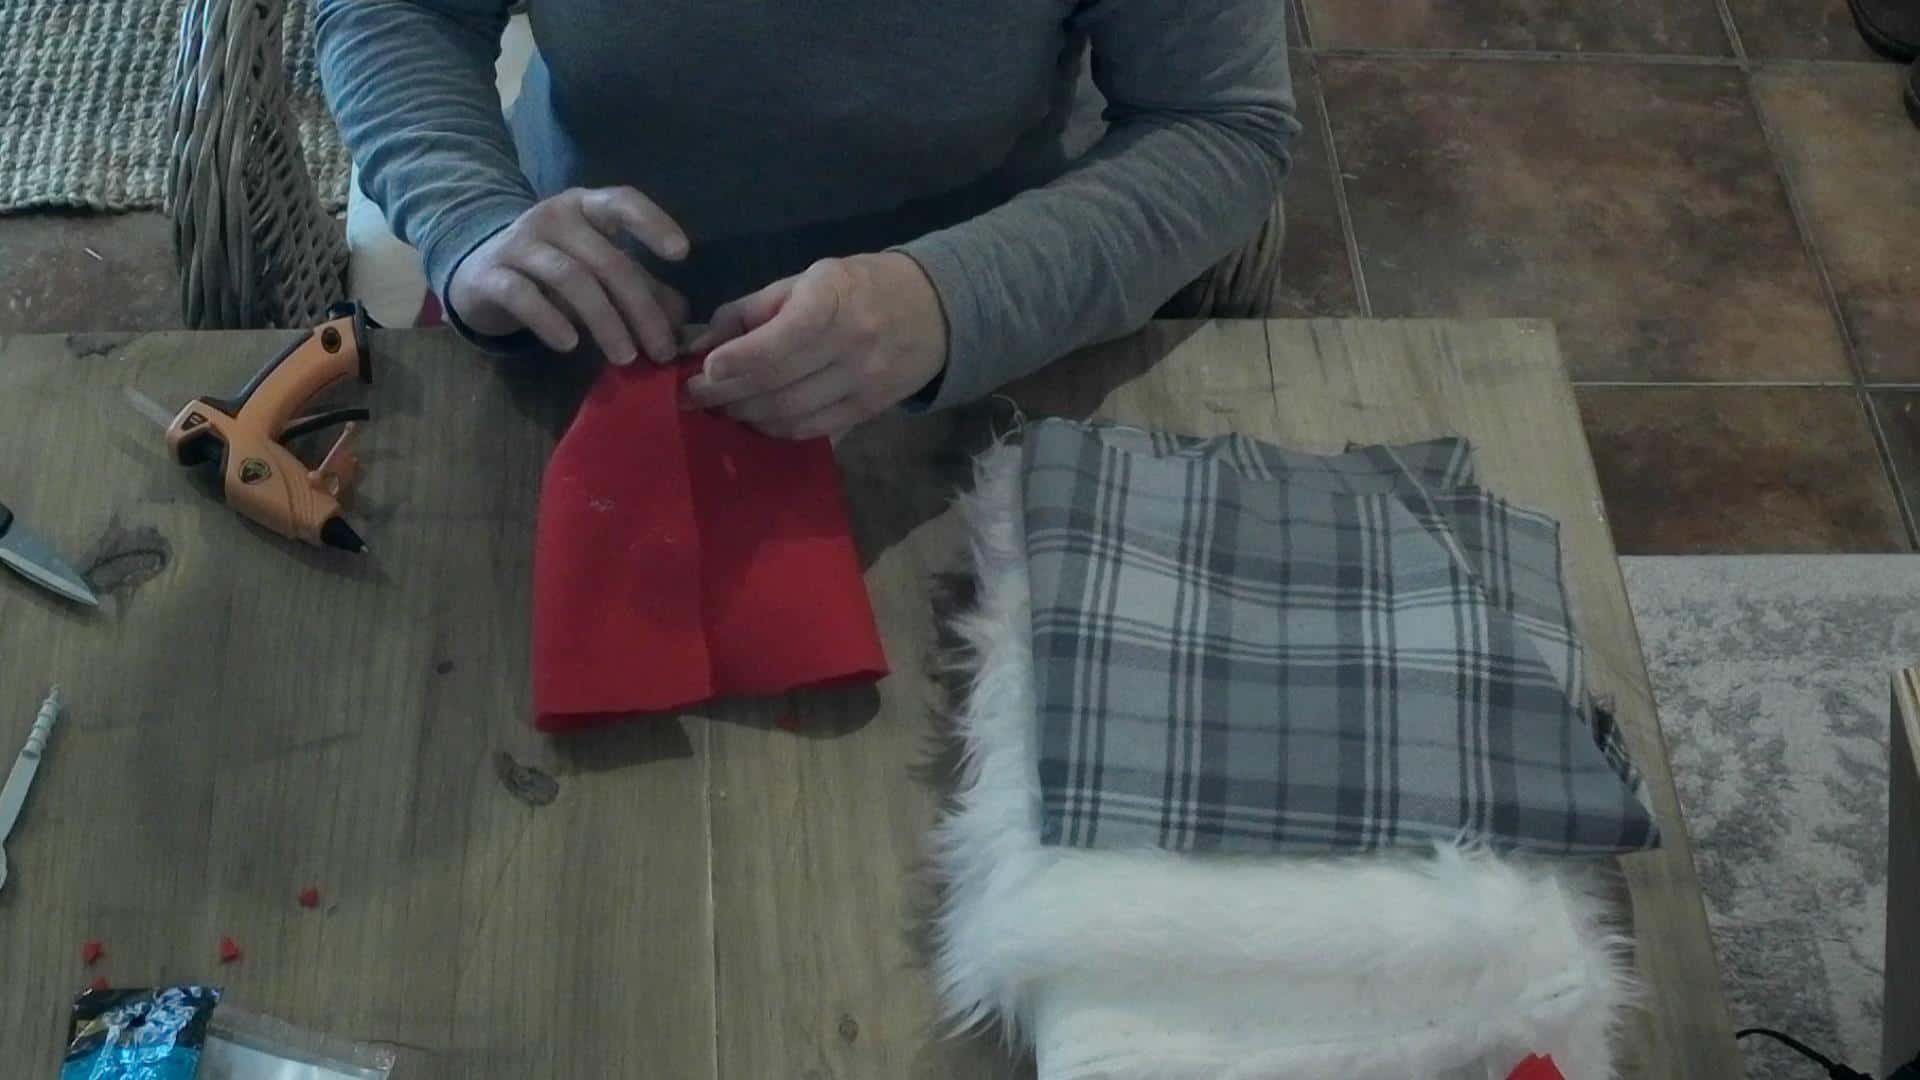
You will need to cut a few notches along the bottom of the rectangle so that it won’t bunch up on you as you glue it around the base circle! Look to the bottom of the rectangle.
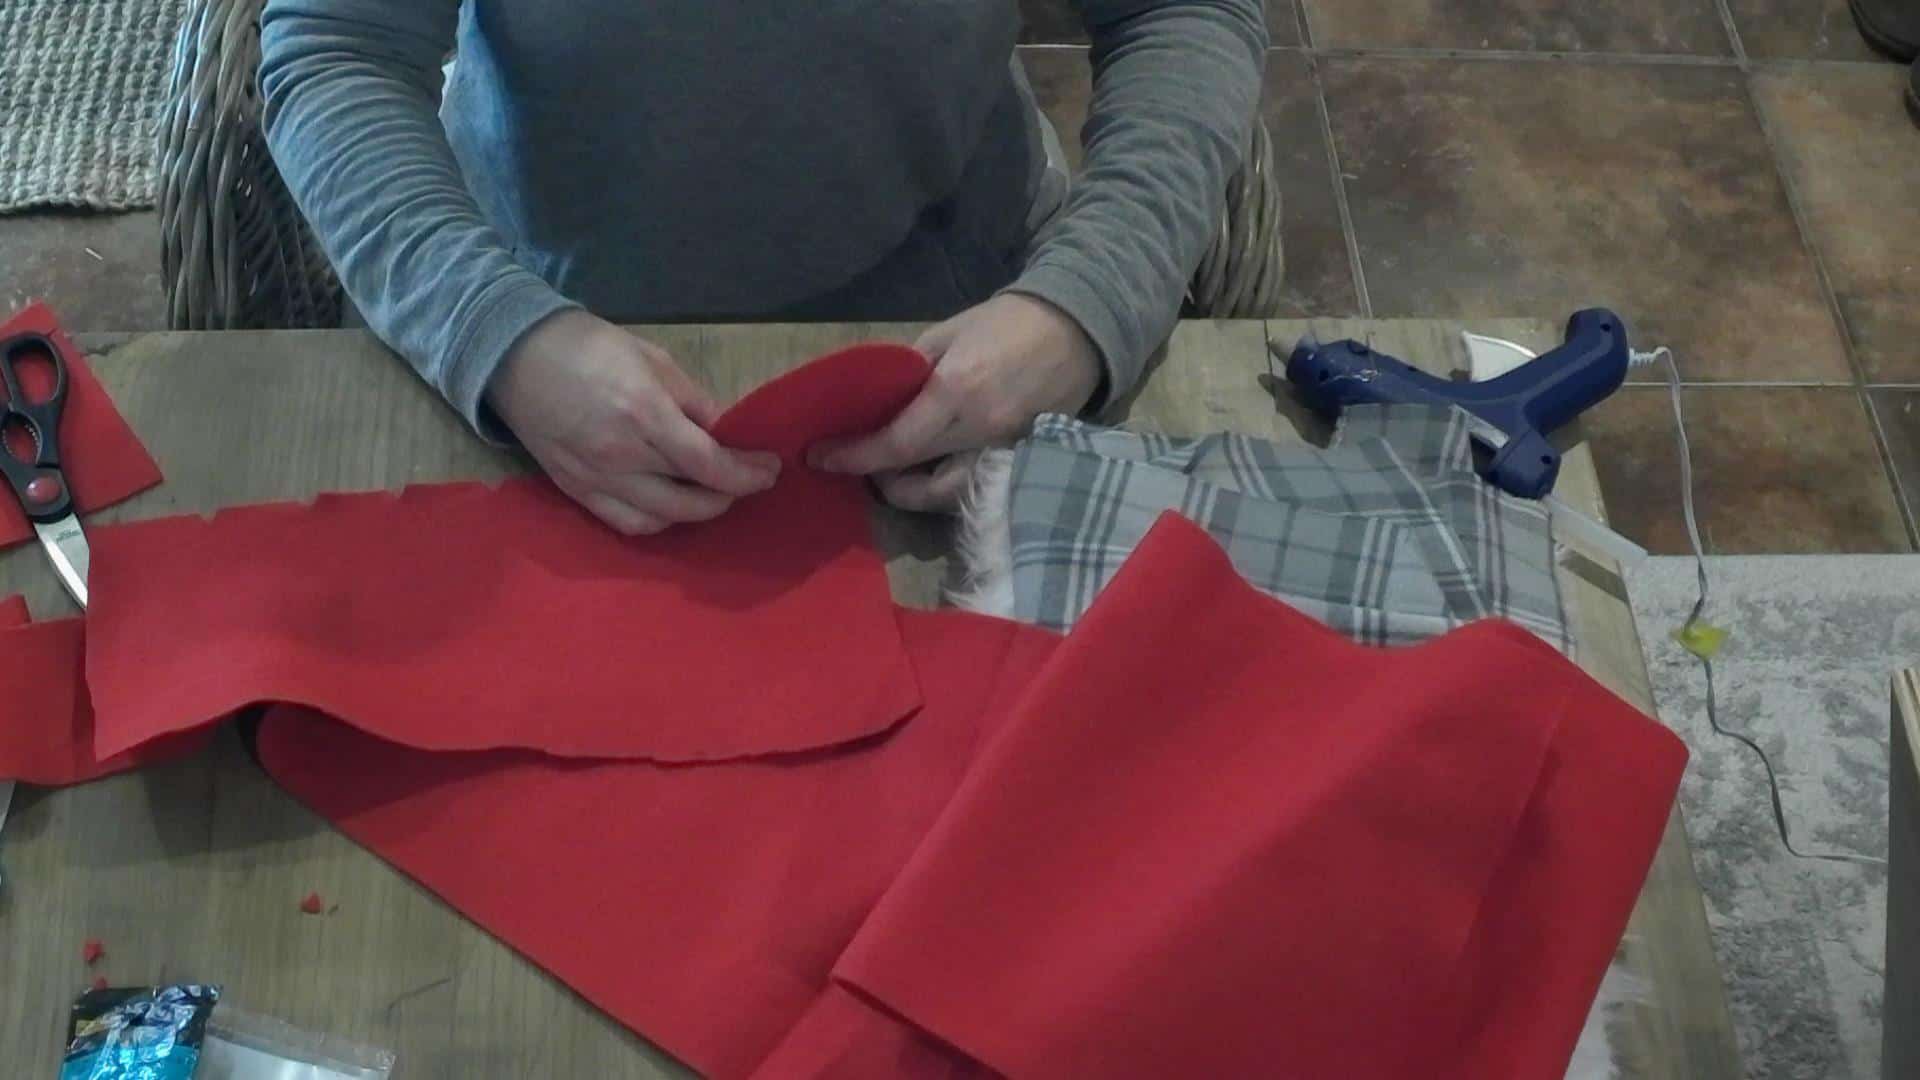
I just hot glued around the bottom and tucked the fabric under the base, then I hot glued the two flaps over one another! You can also glue it on top of the base if it is easier and then flip it inside out! Works the same either way!
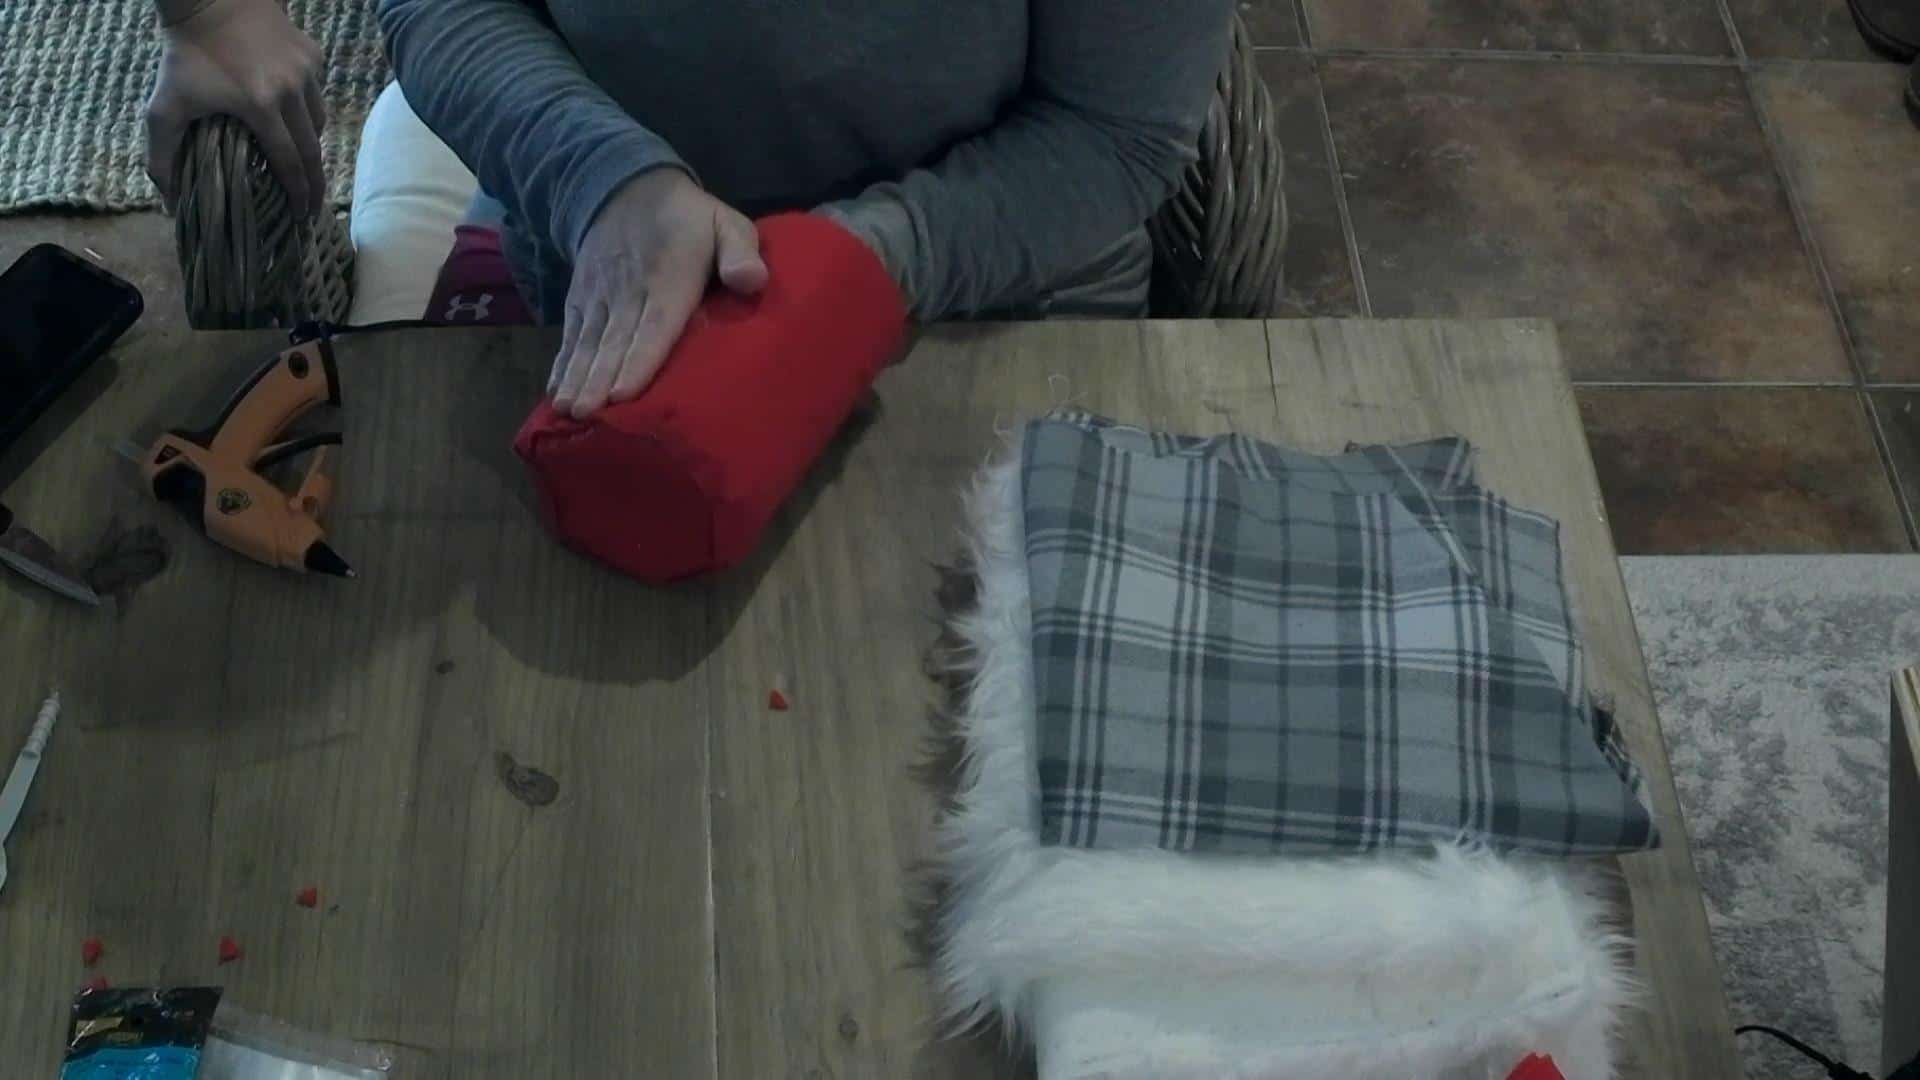
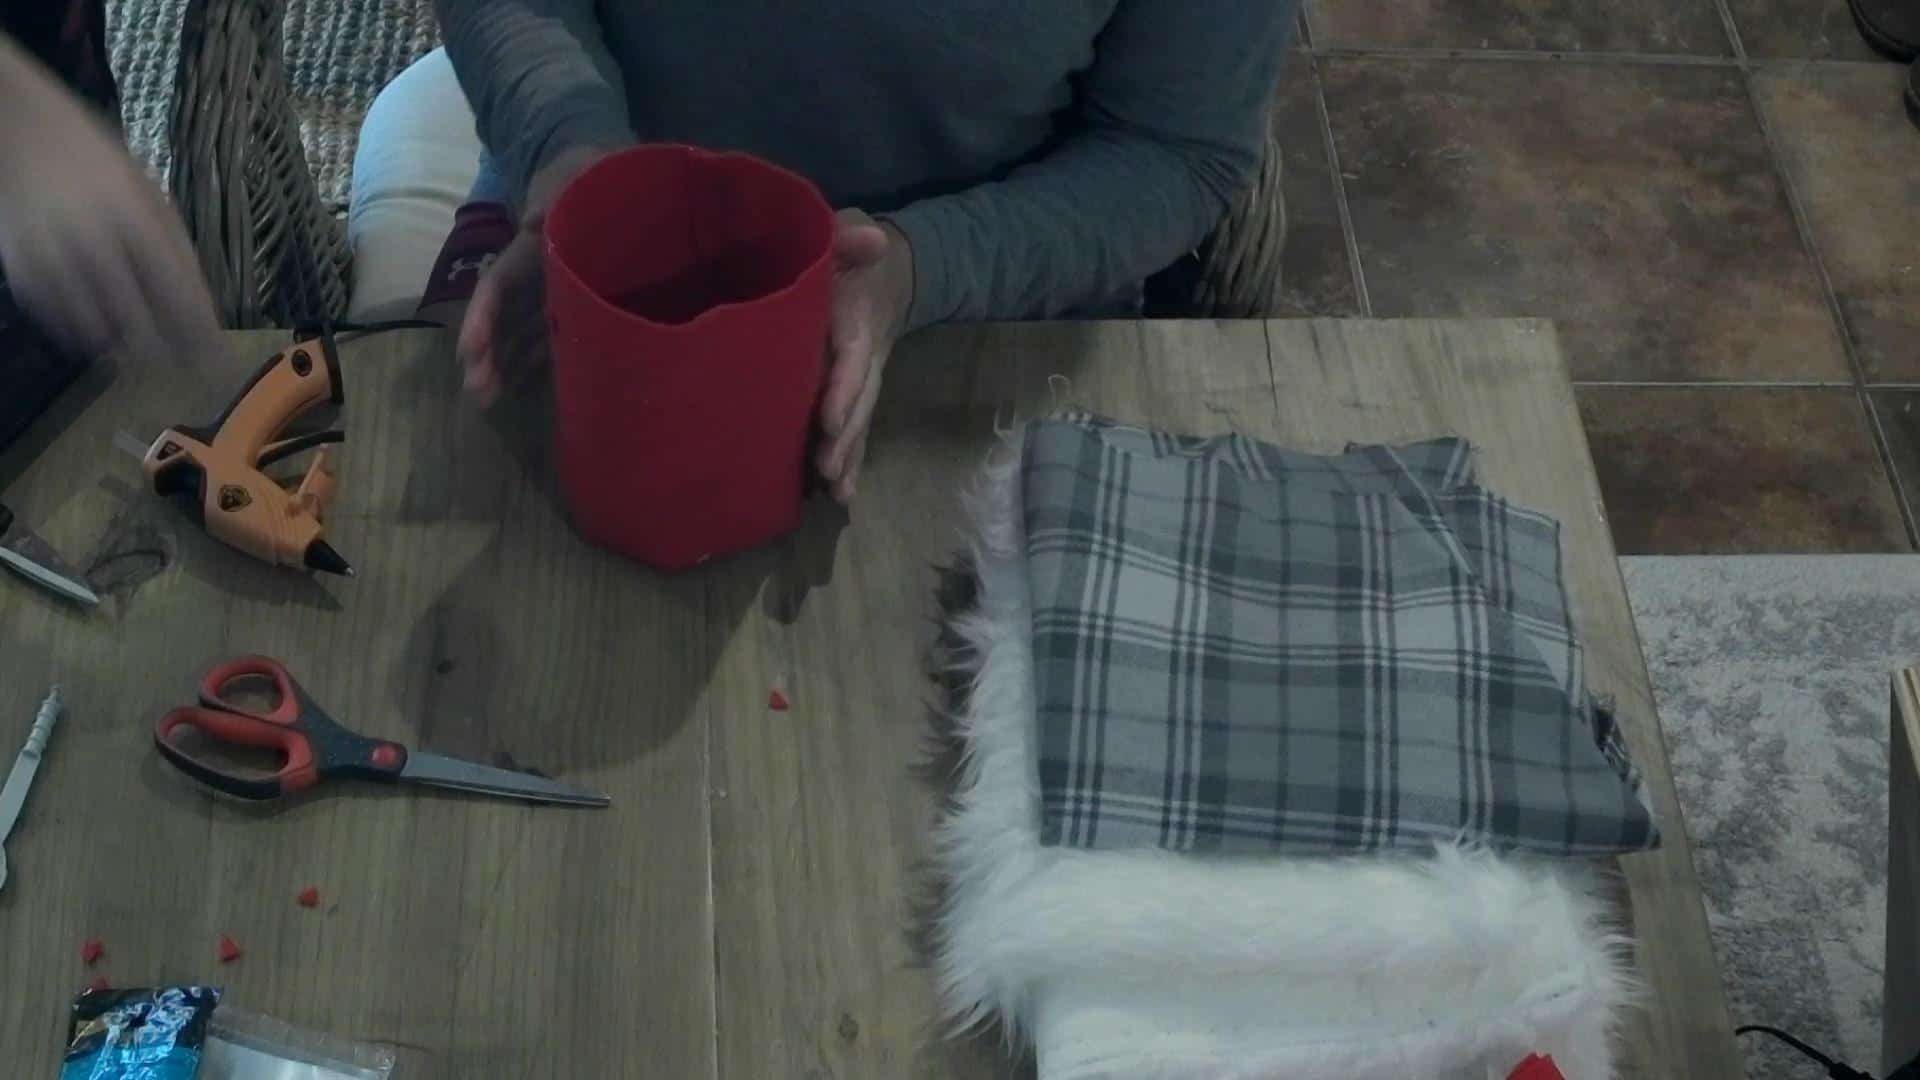
The base is made!
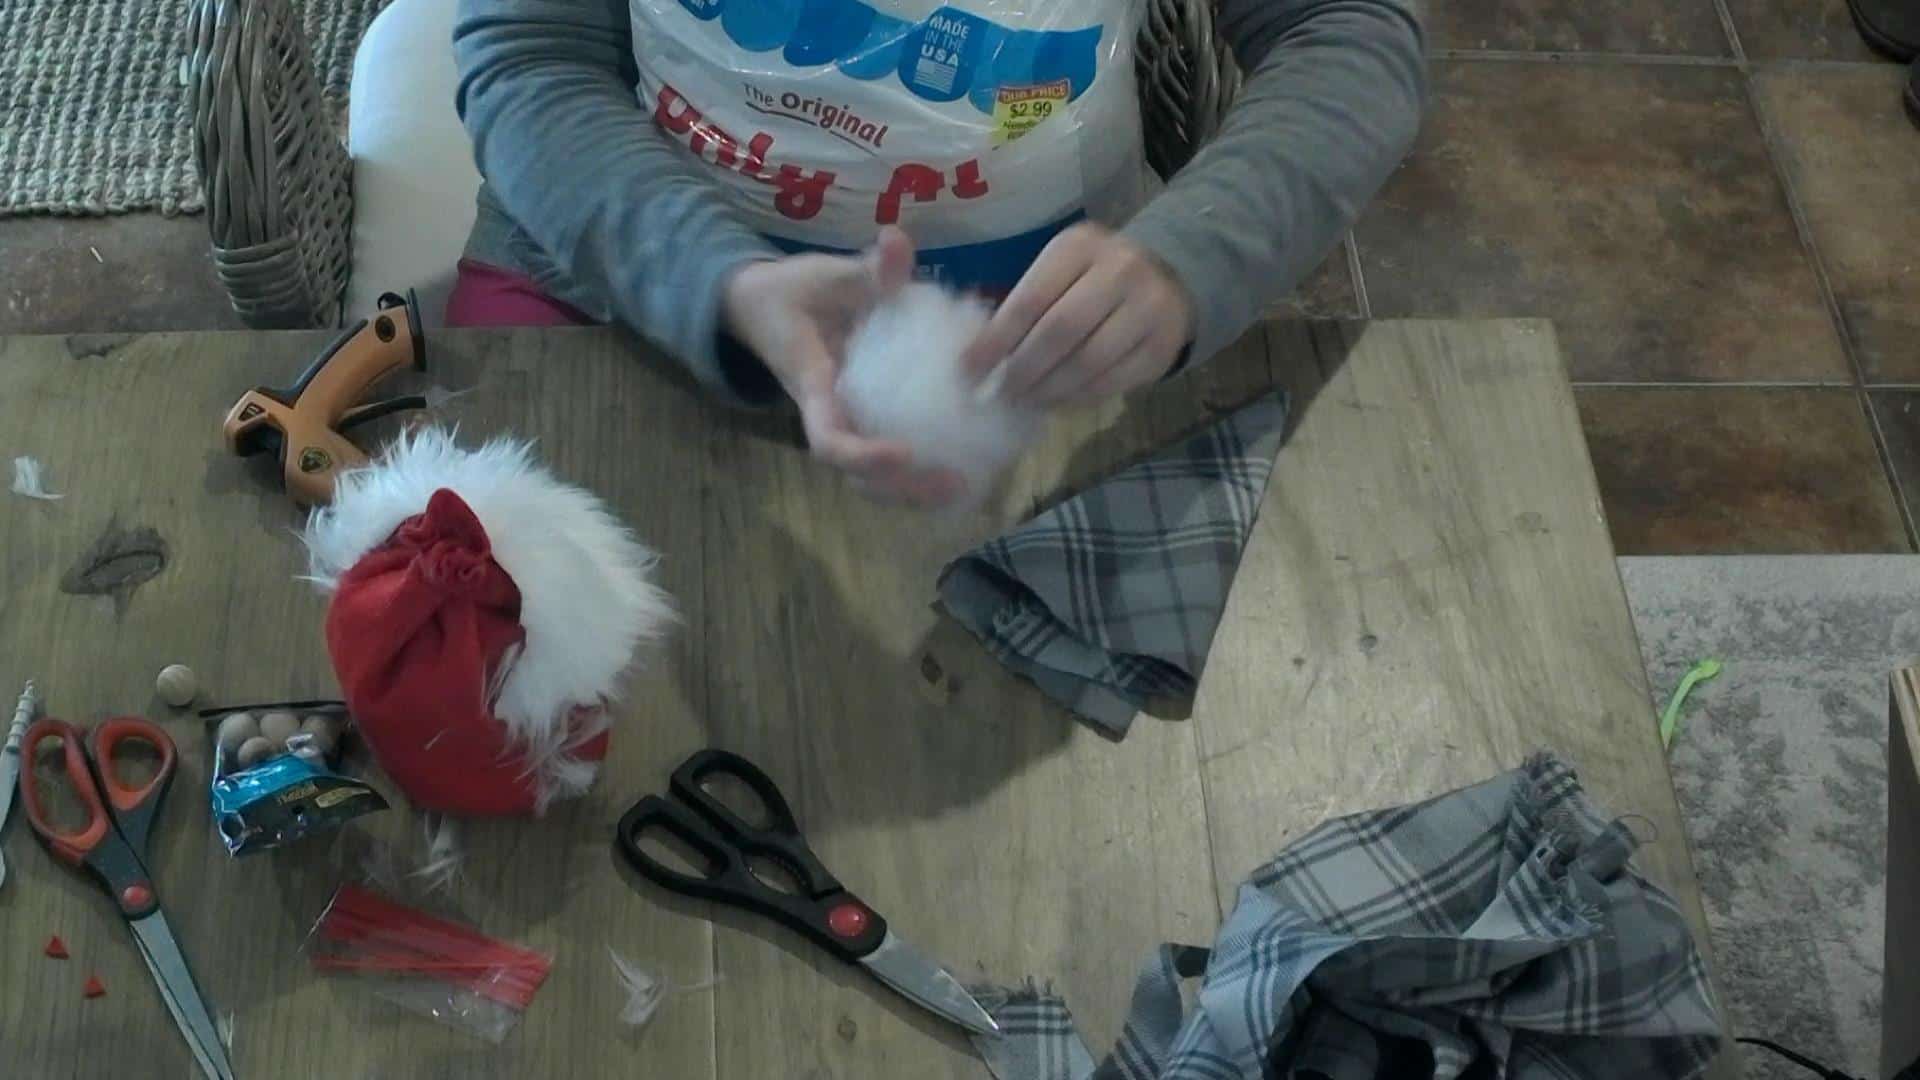
Next, put a small amount of polyfill into the base you created. Then grab a bag, any kind of bag will work, I just had a bunch of these cellophane bags, so I used them. Fill up the bag about 1/4 – 1/2 of the way full and tie it off.
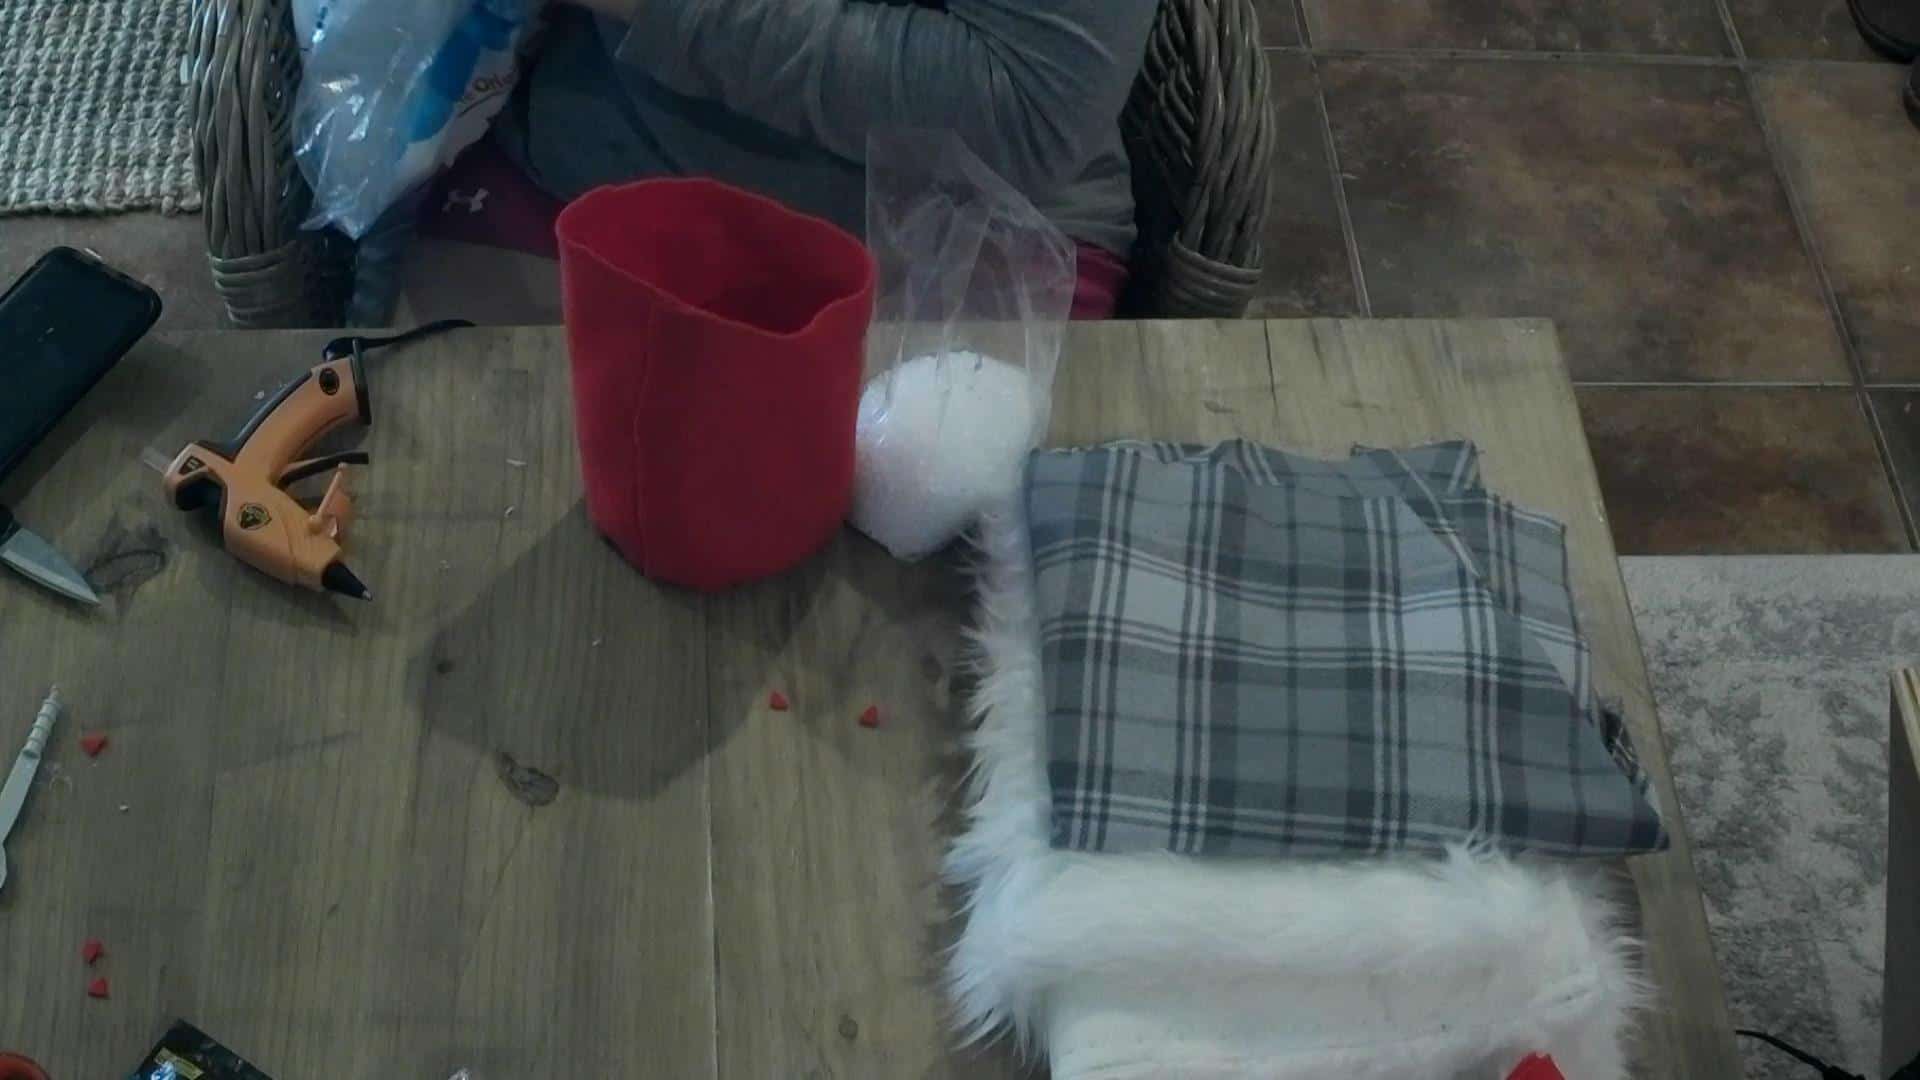
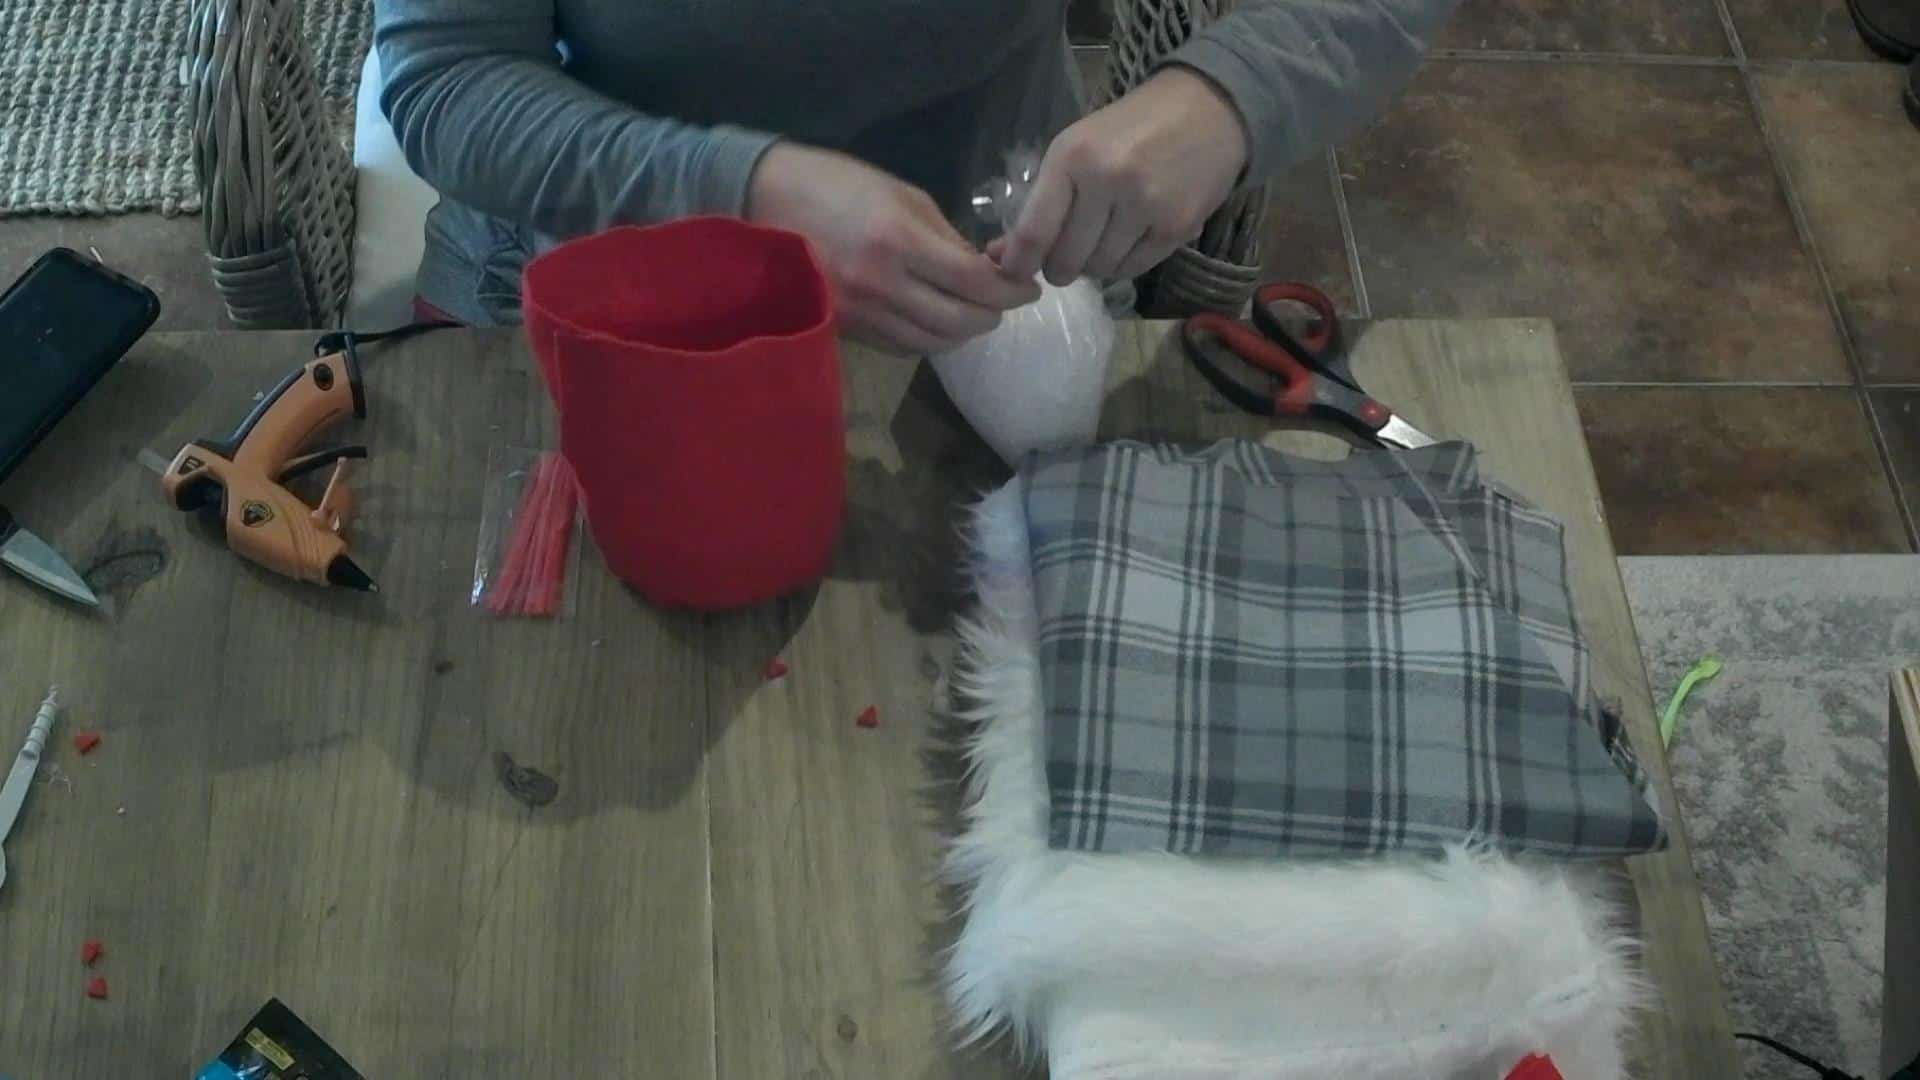
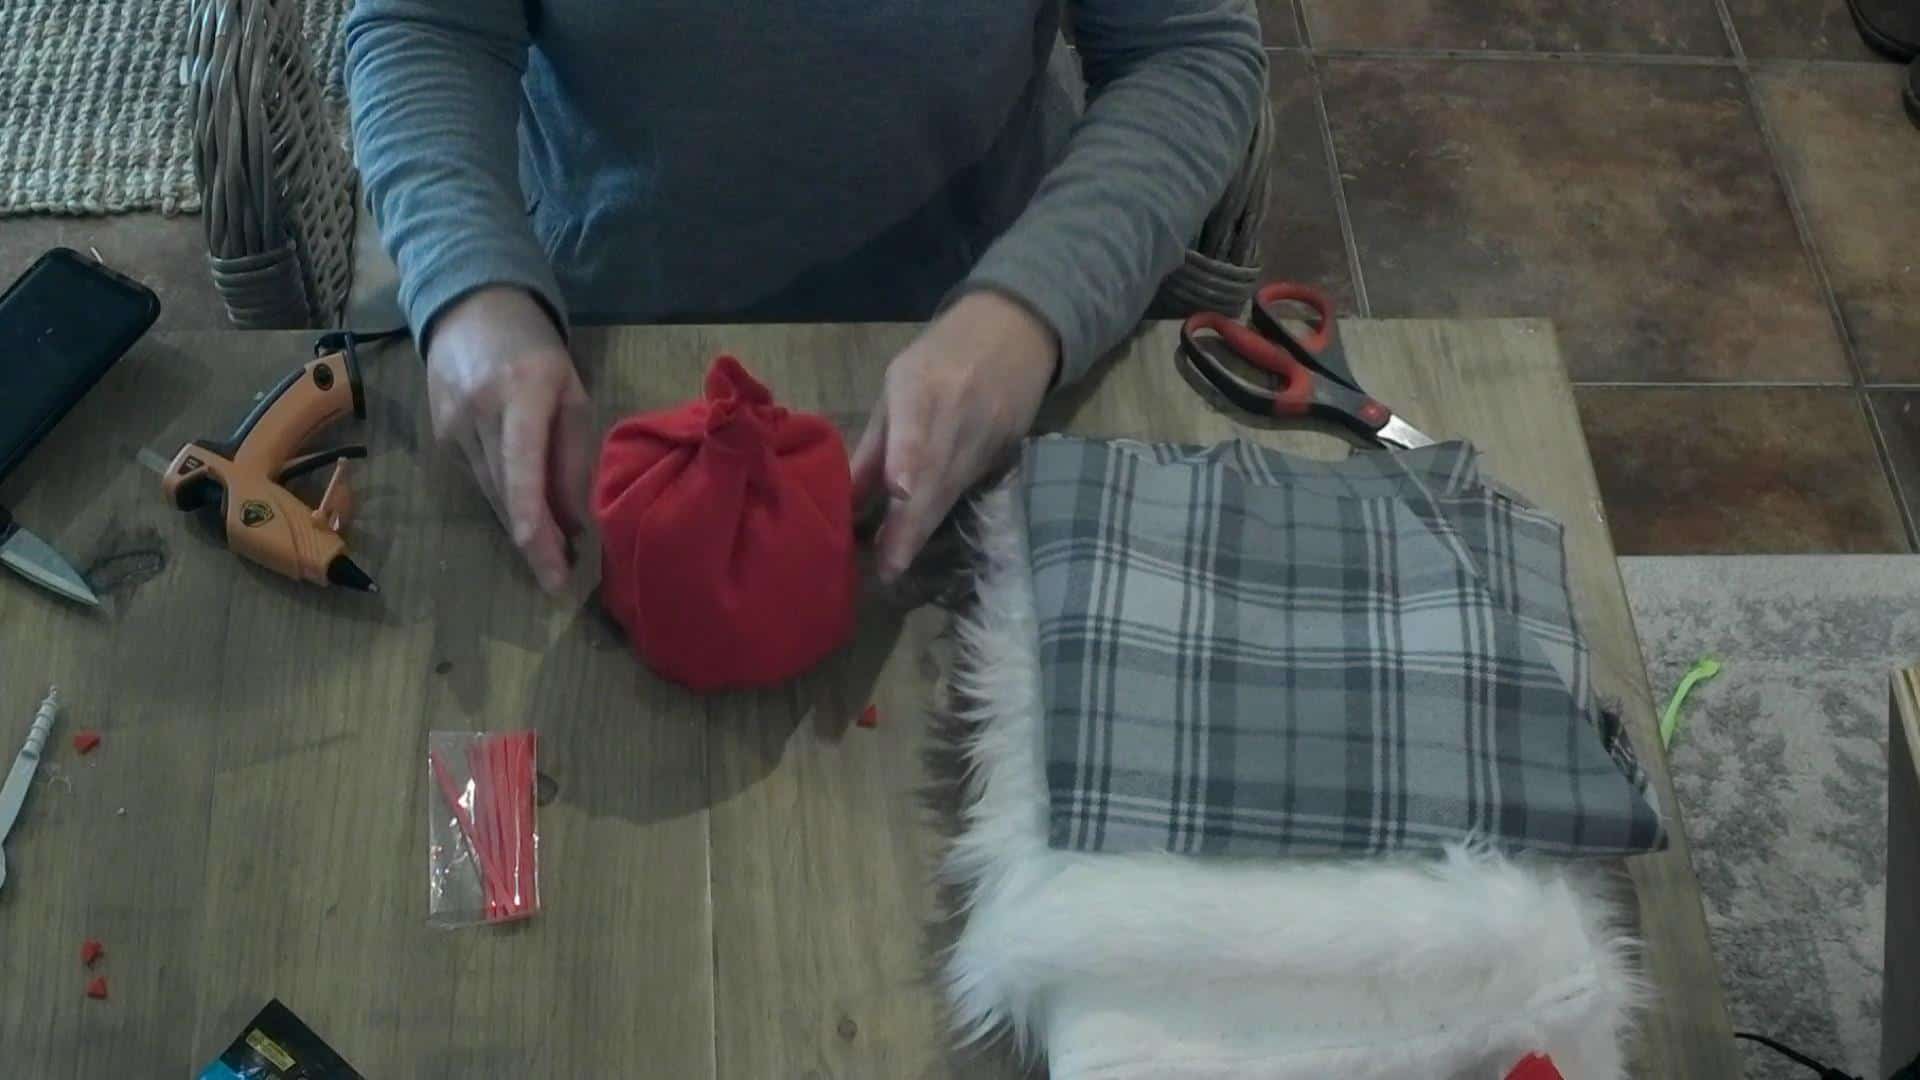
Drop it inside the gnome, add a little more stuffing around and above the bag, make sure the base sits level and doesn’t fall over, then tie the top closed with whatever string you have!
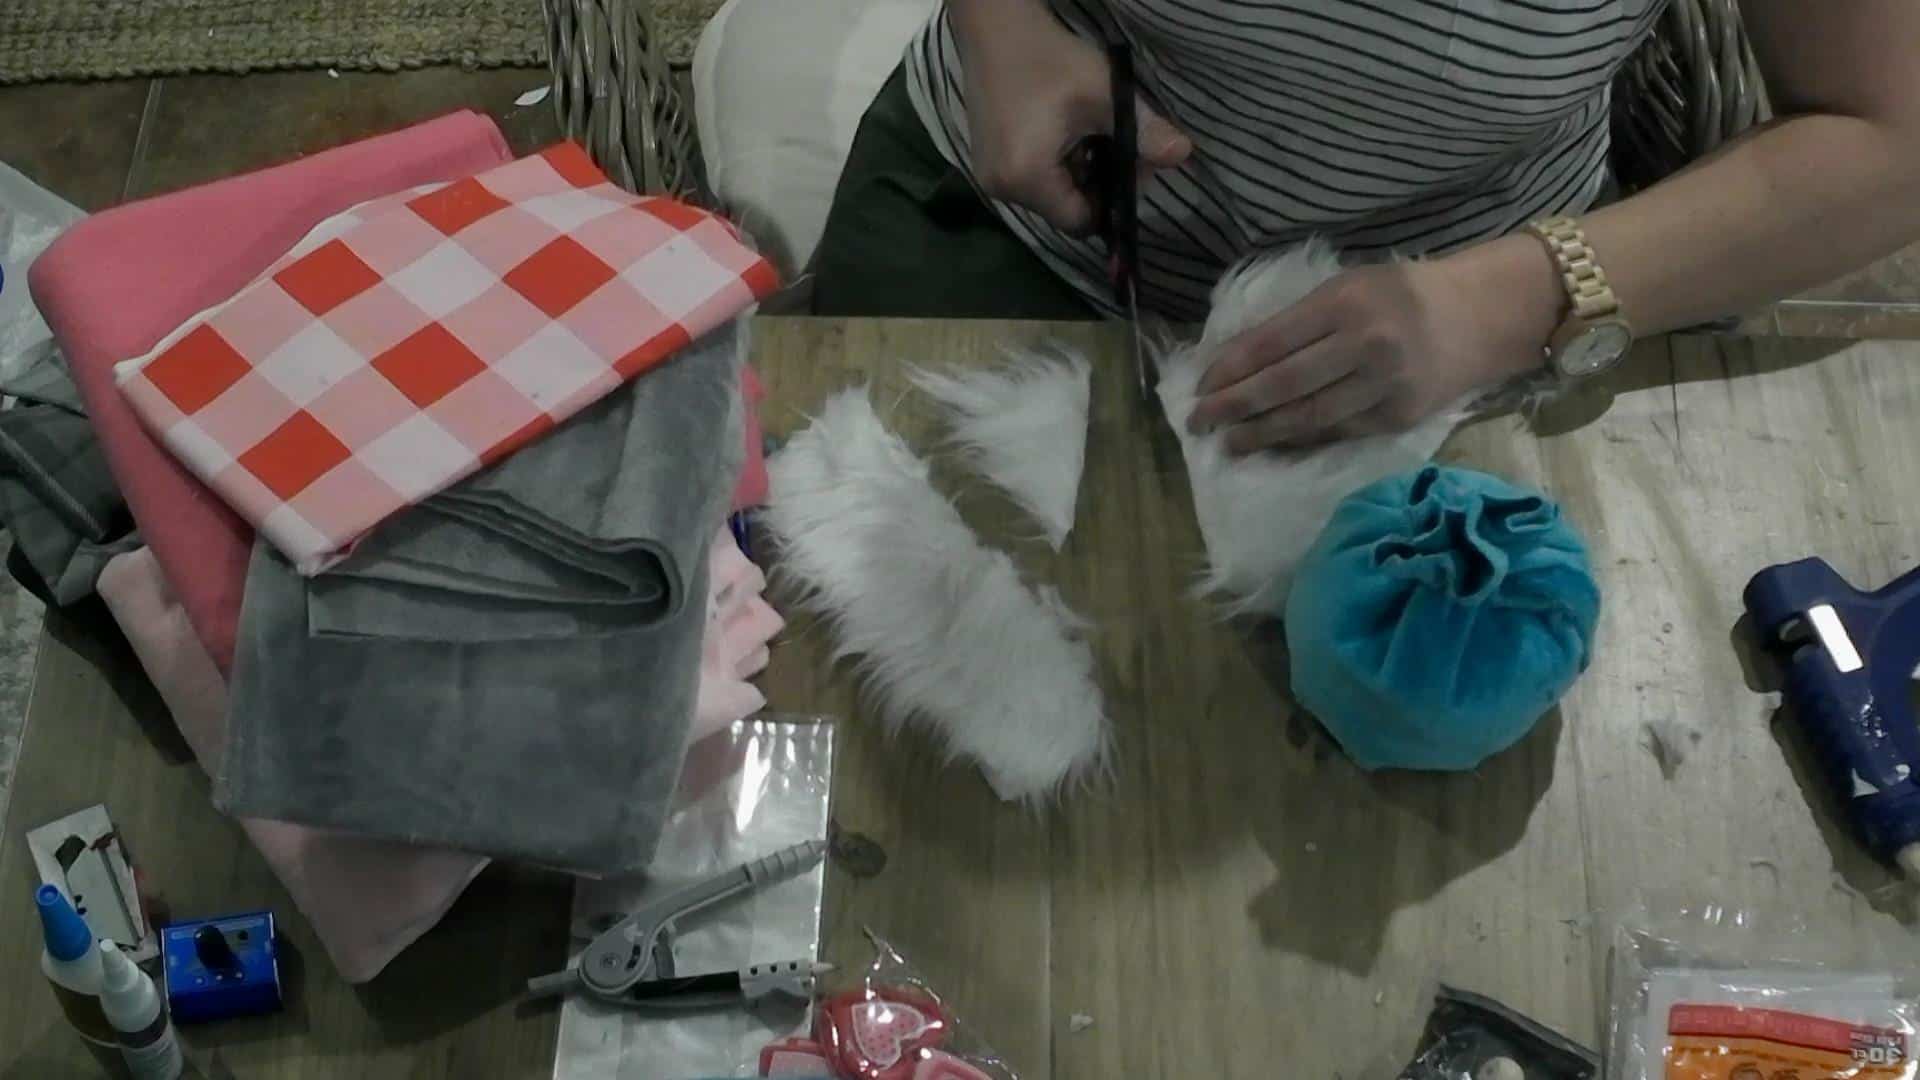
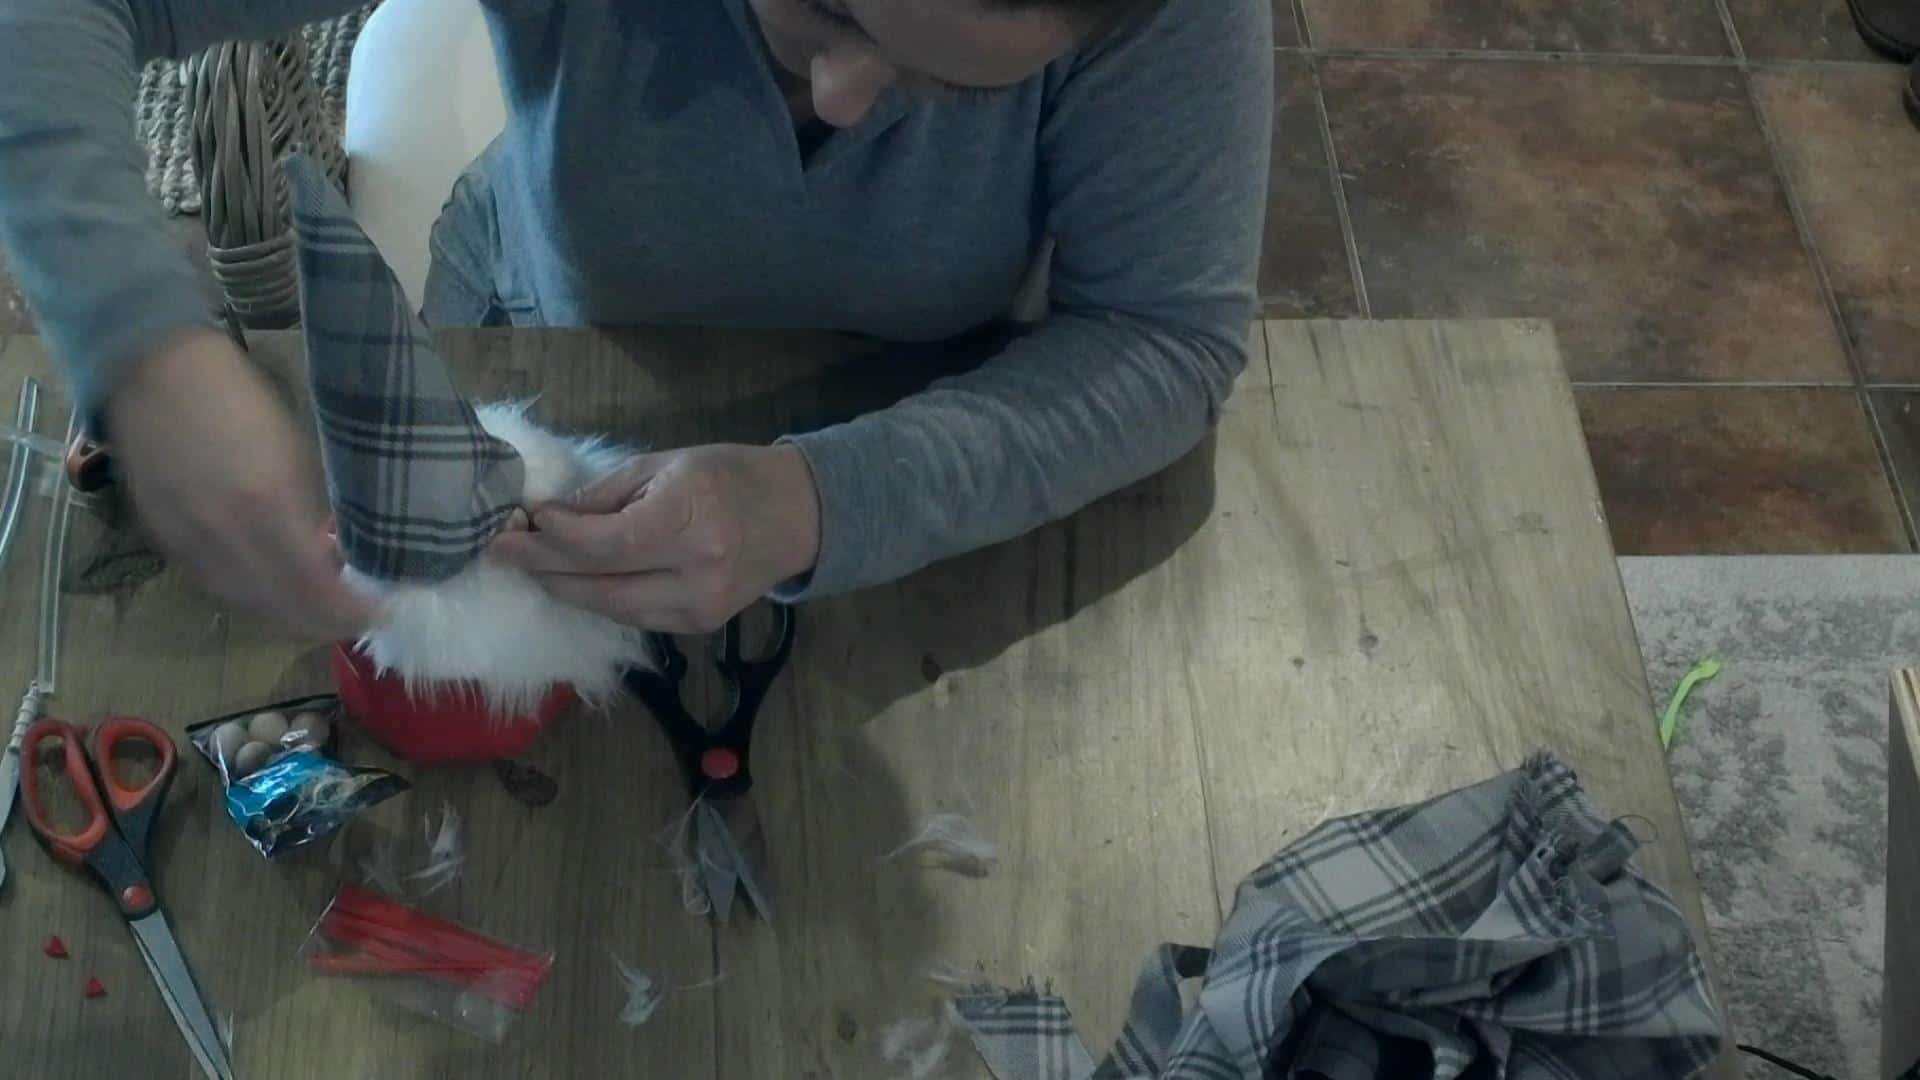
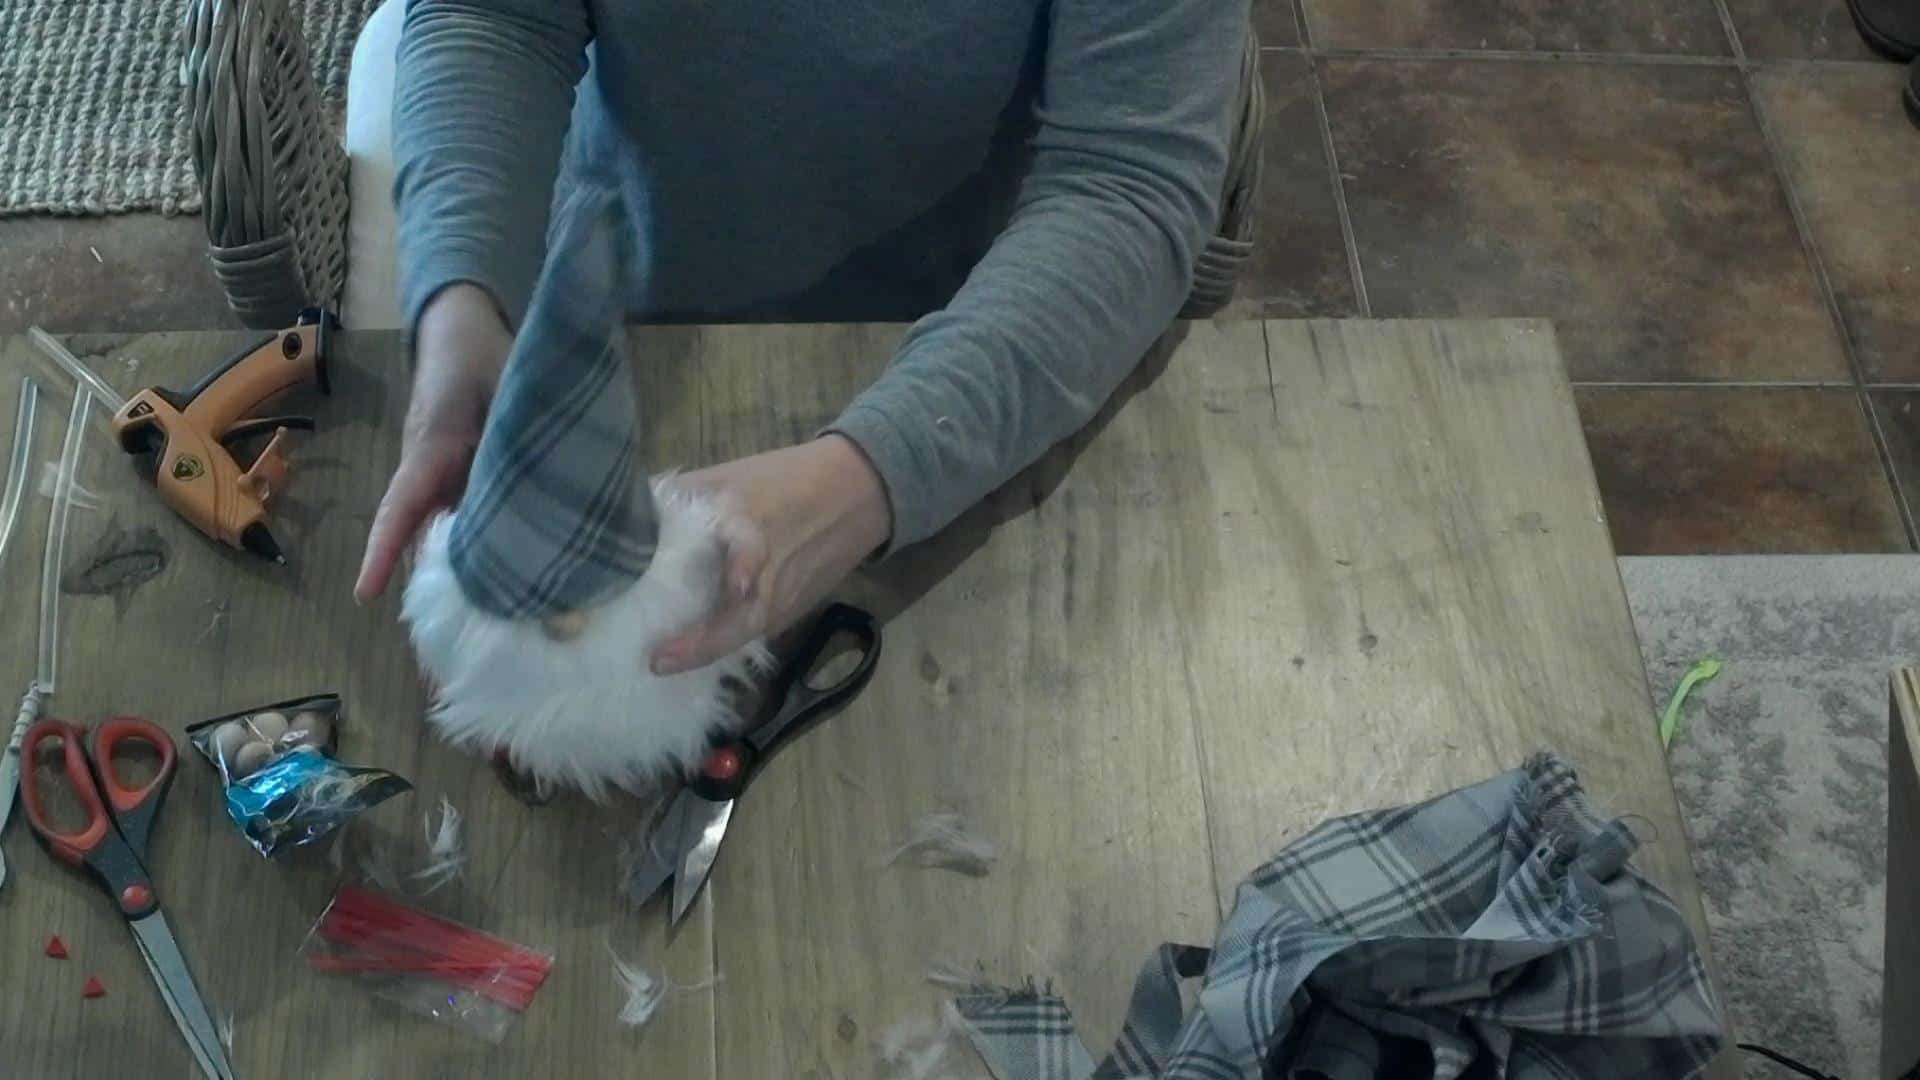
Using the fur of your choice, cut a U shape out to create a beard! Make sure and cut the fur about an inch larger than the final size you want to be.
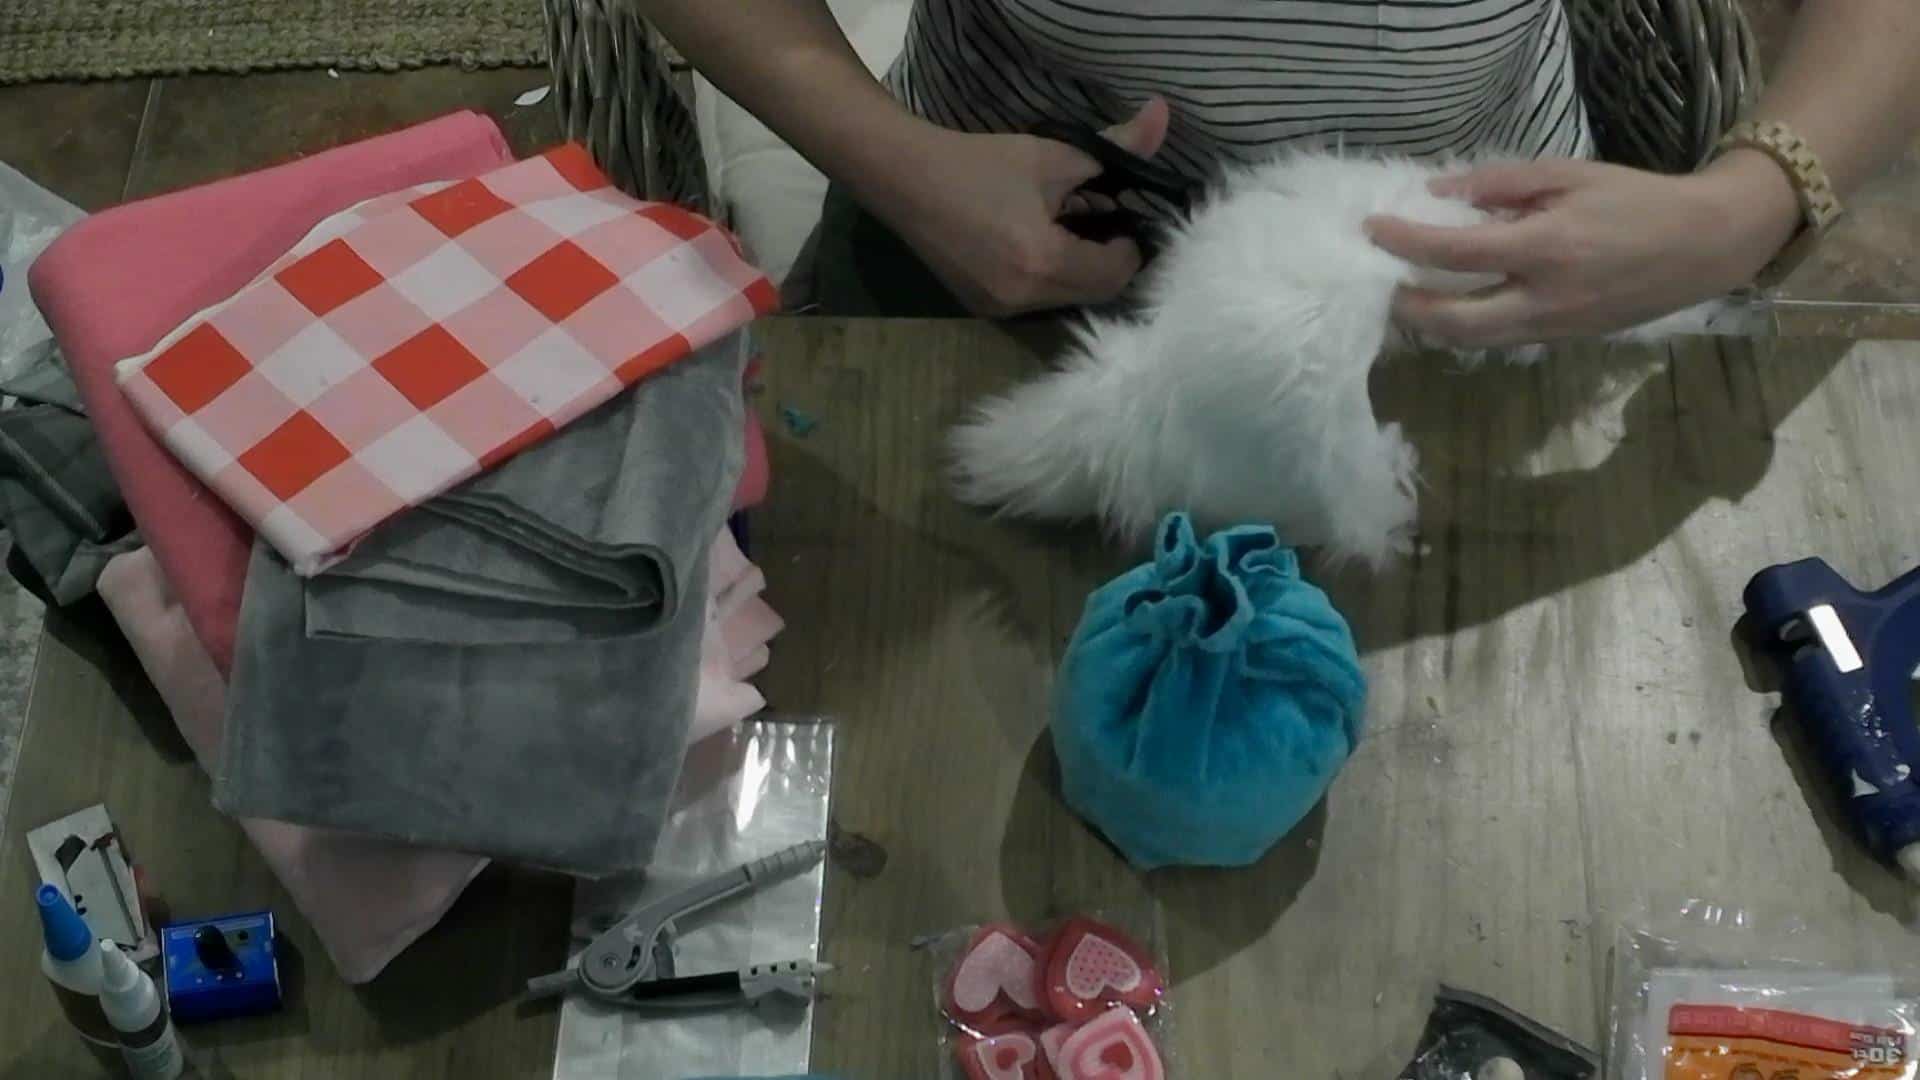
When cutting the beard down to size, make sure and flip the fur up away from where you are cutting so you don’t get blunt fur on the edge.
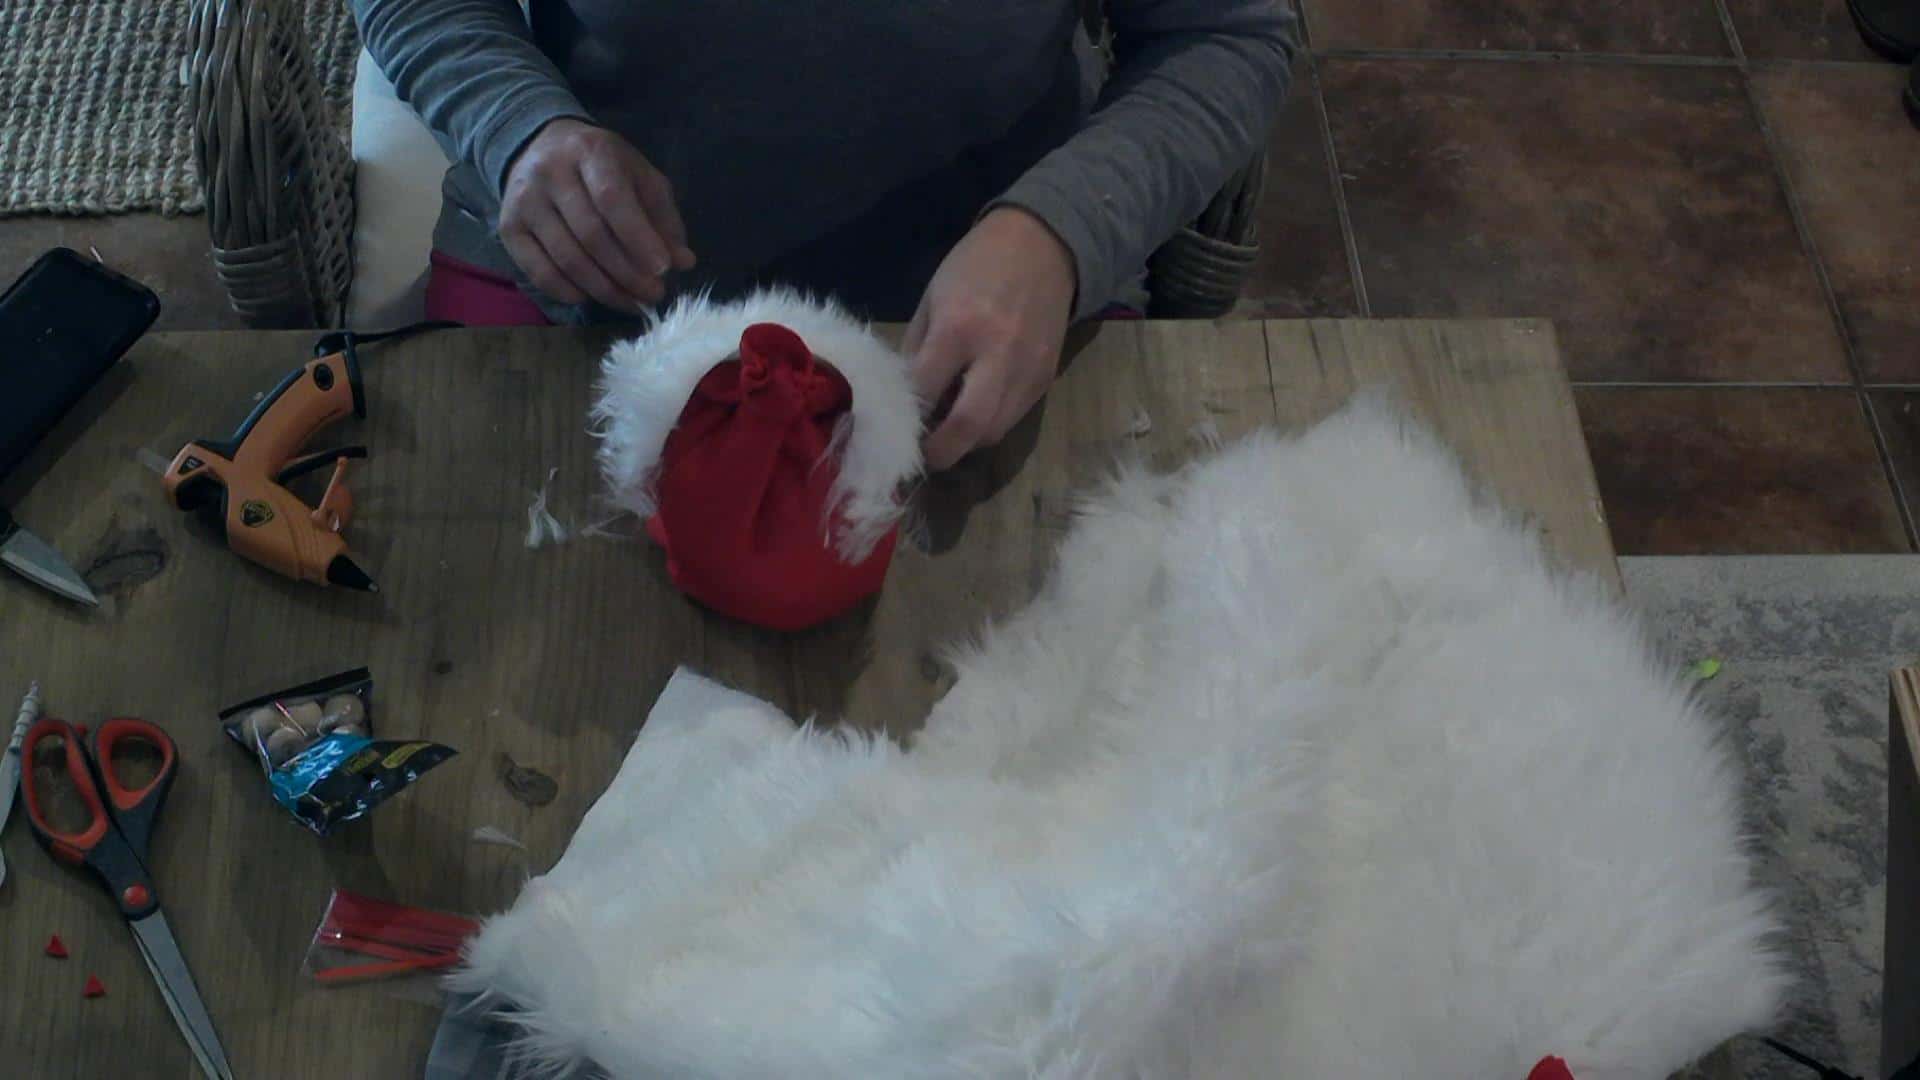
Fit it to the gnome base and glue!
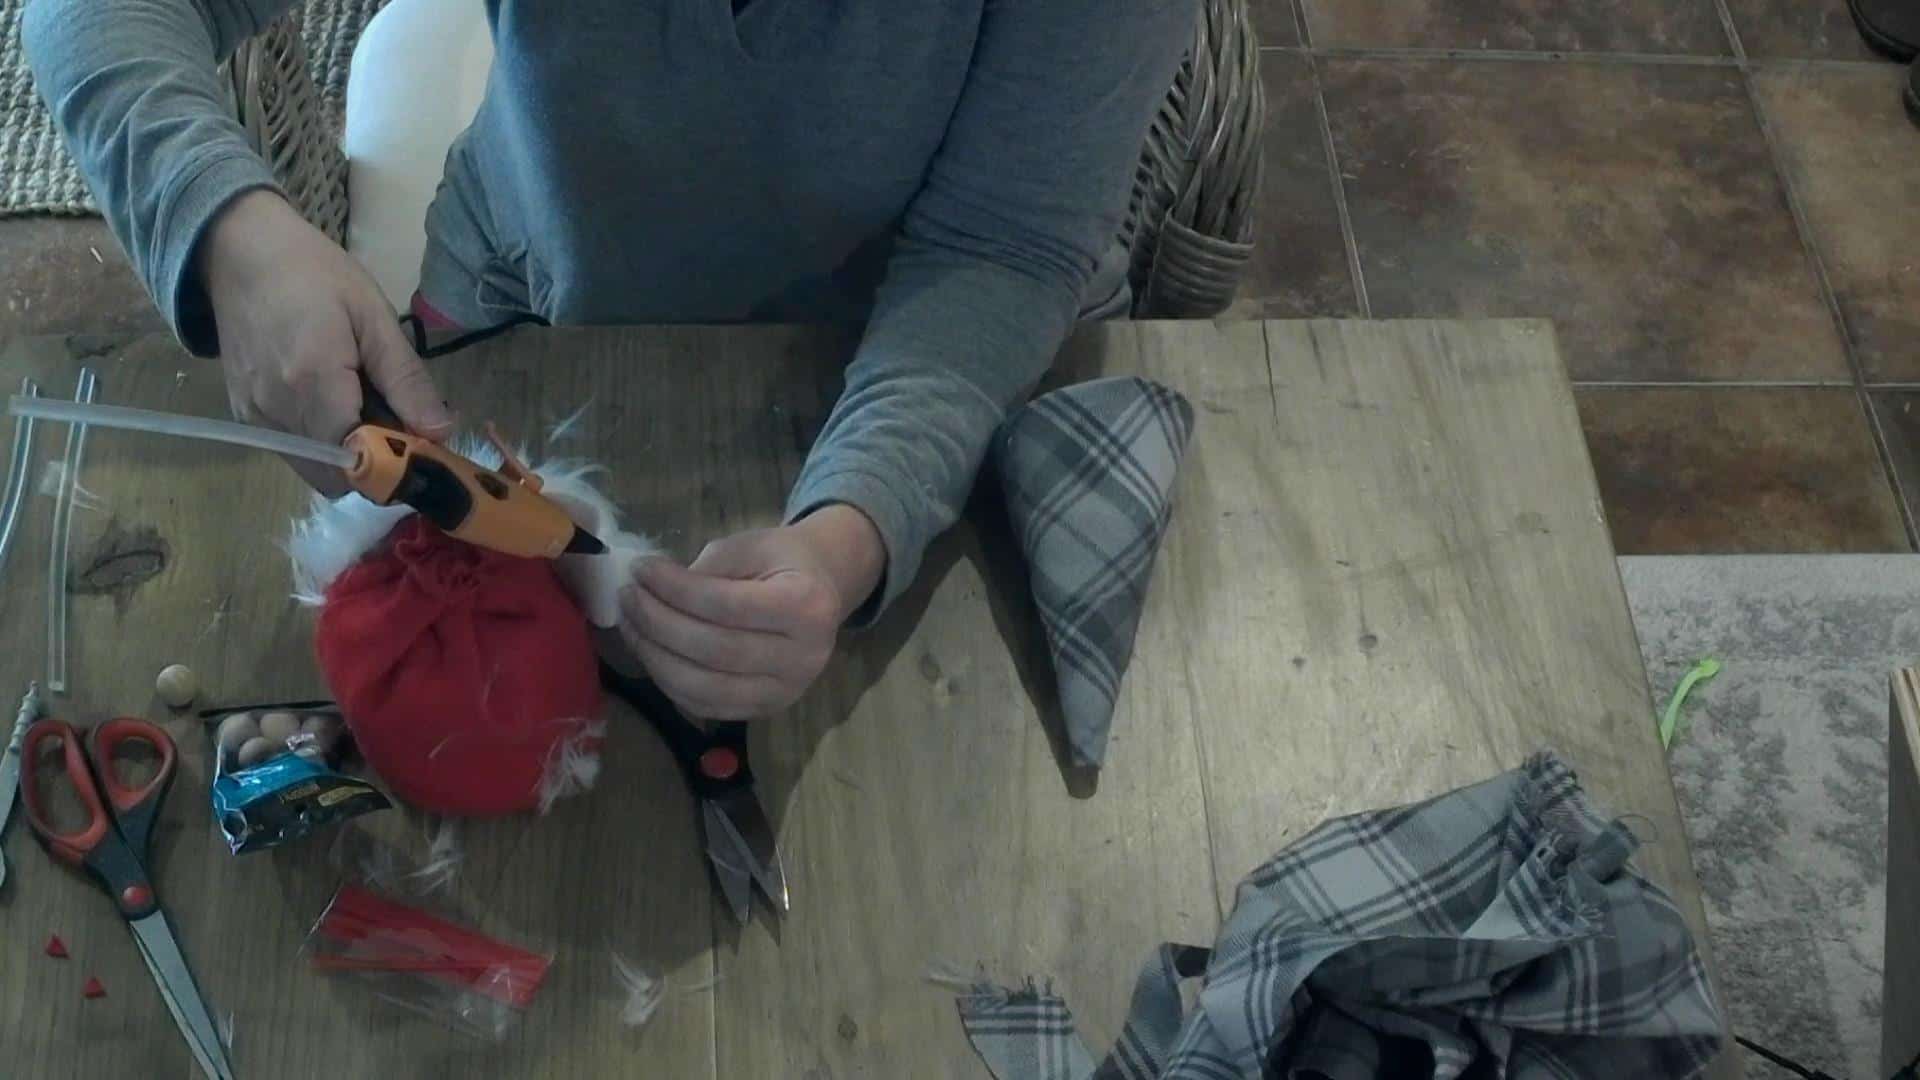
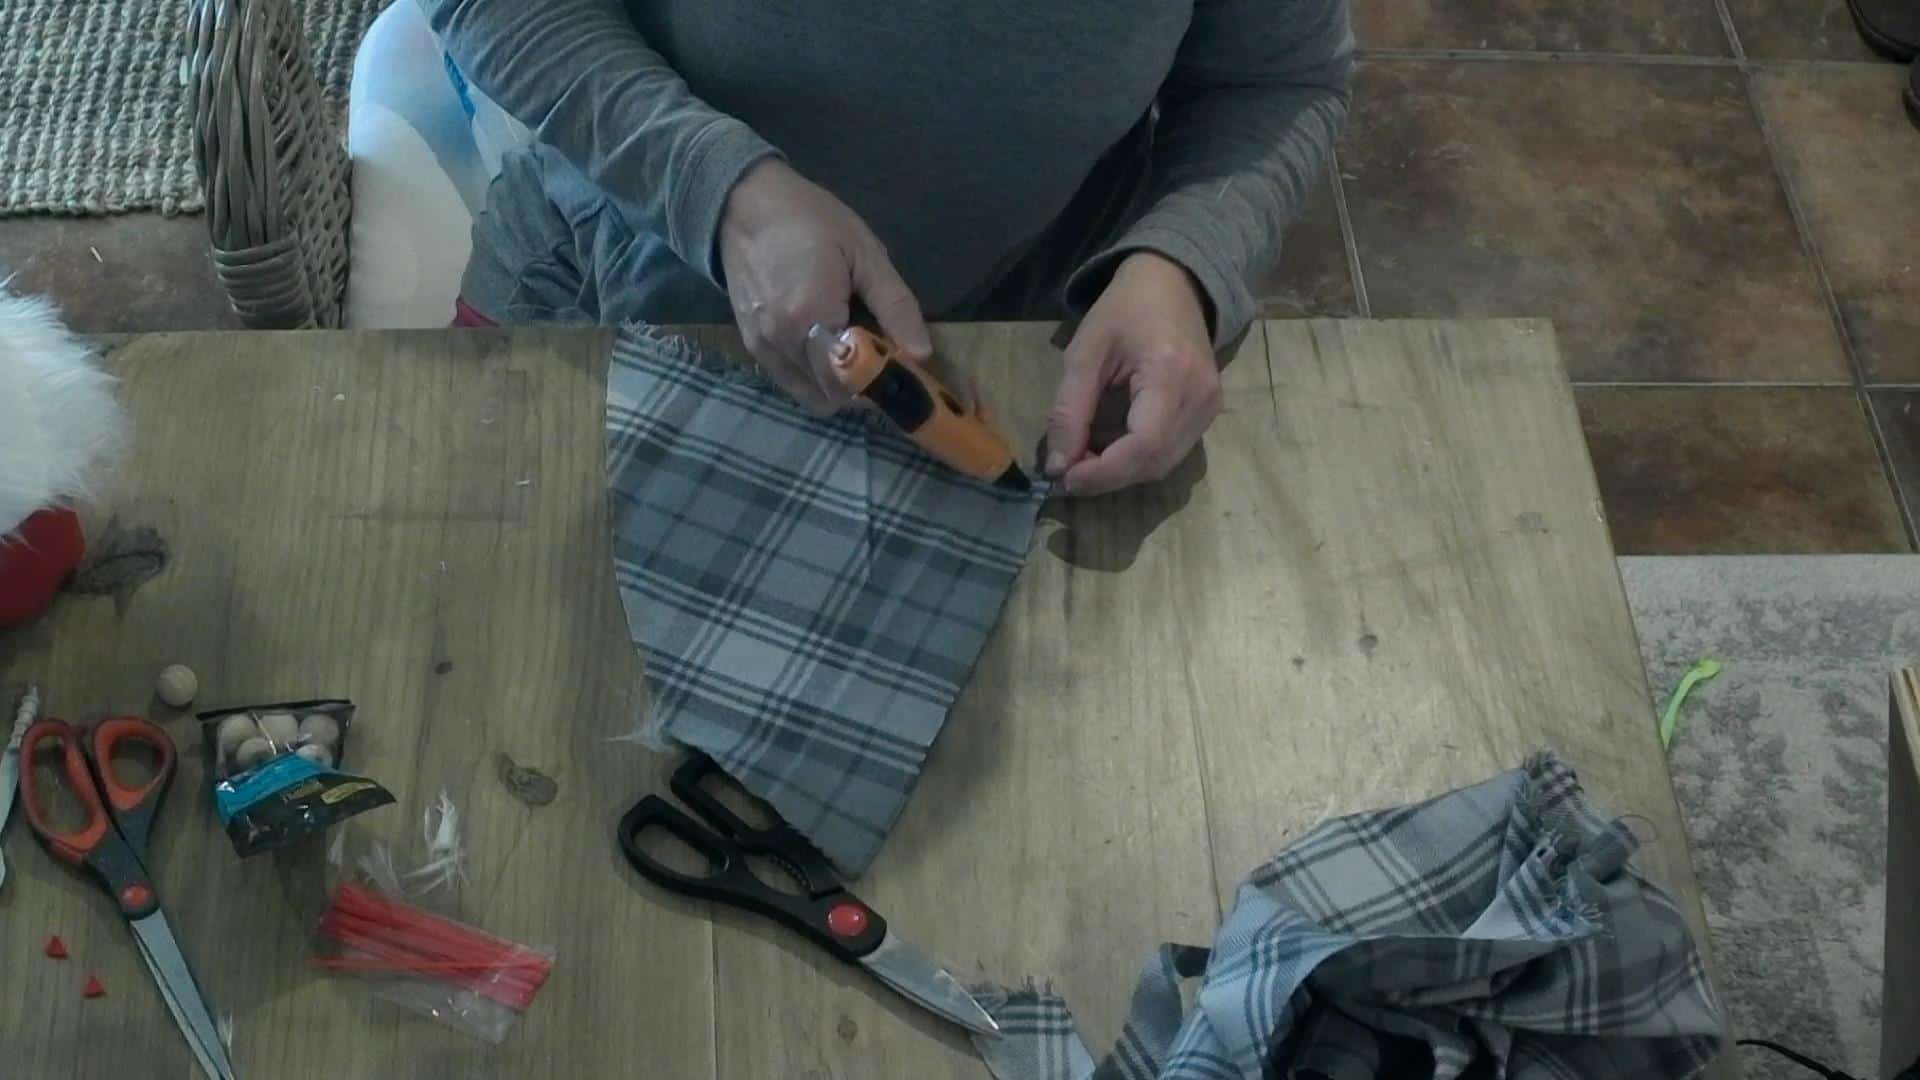
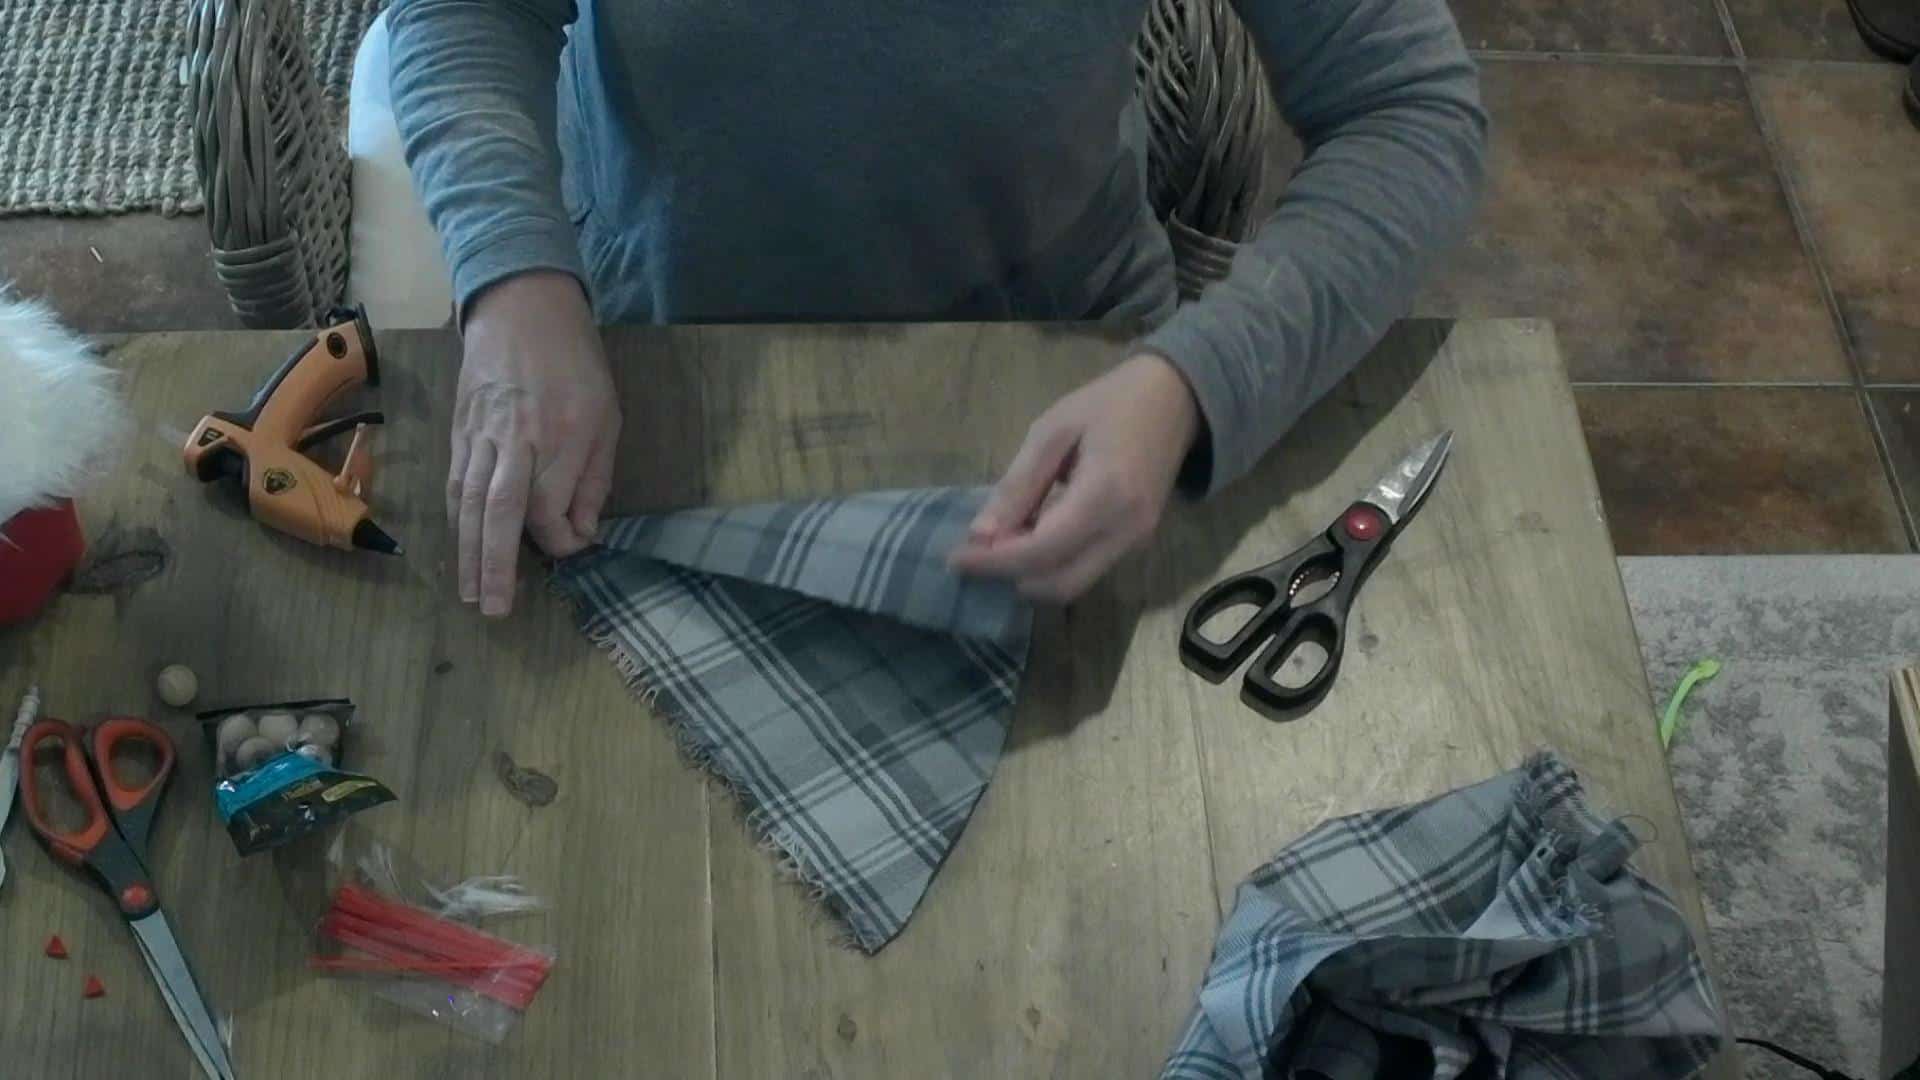
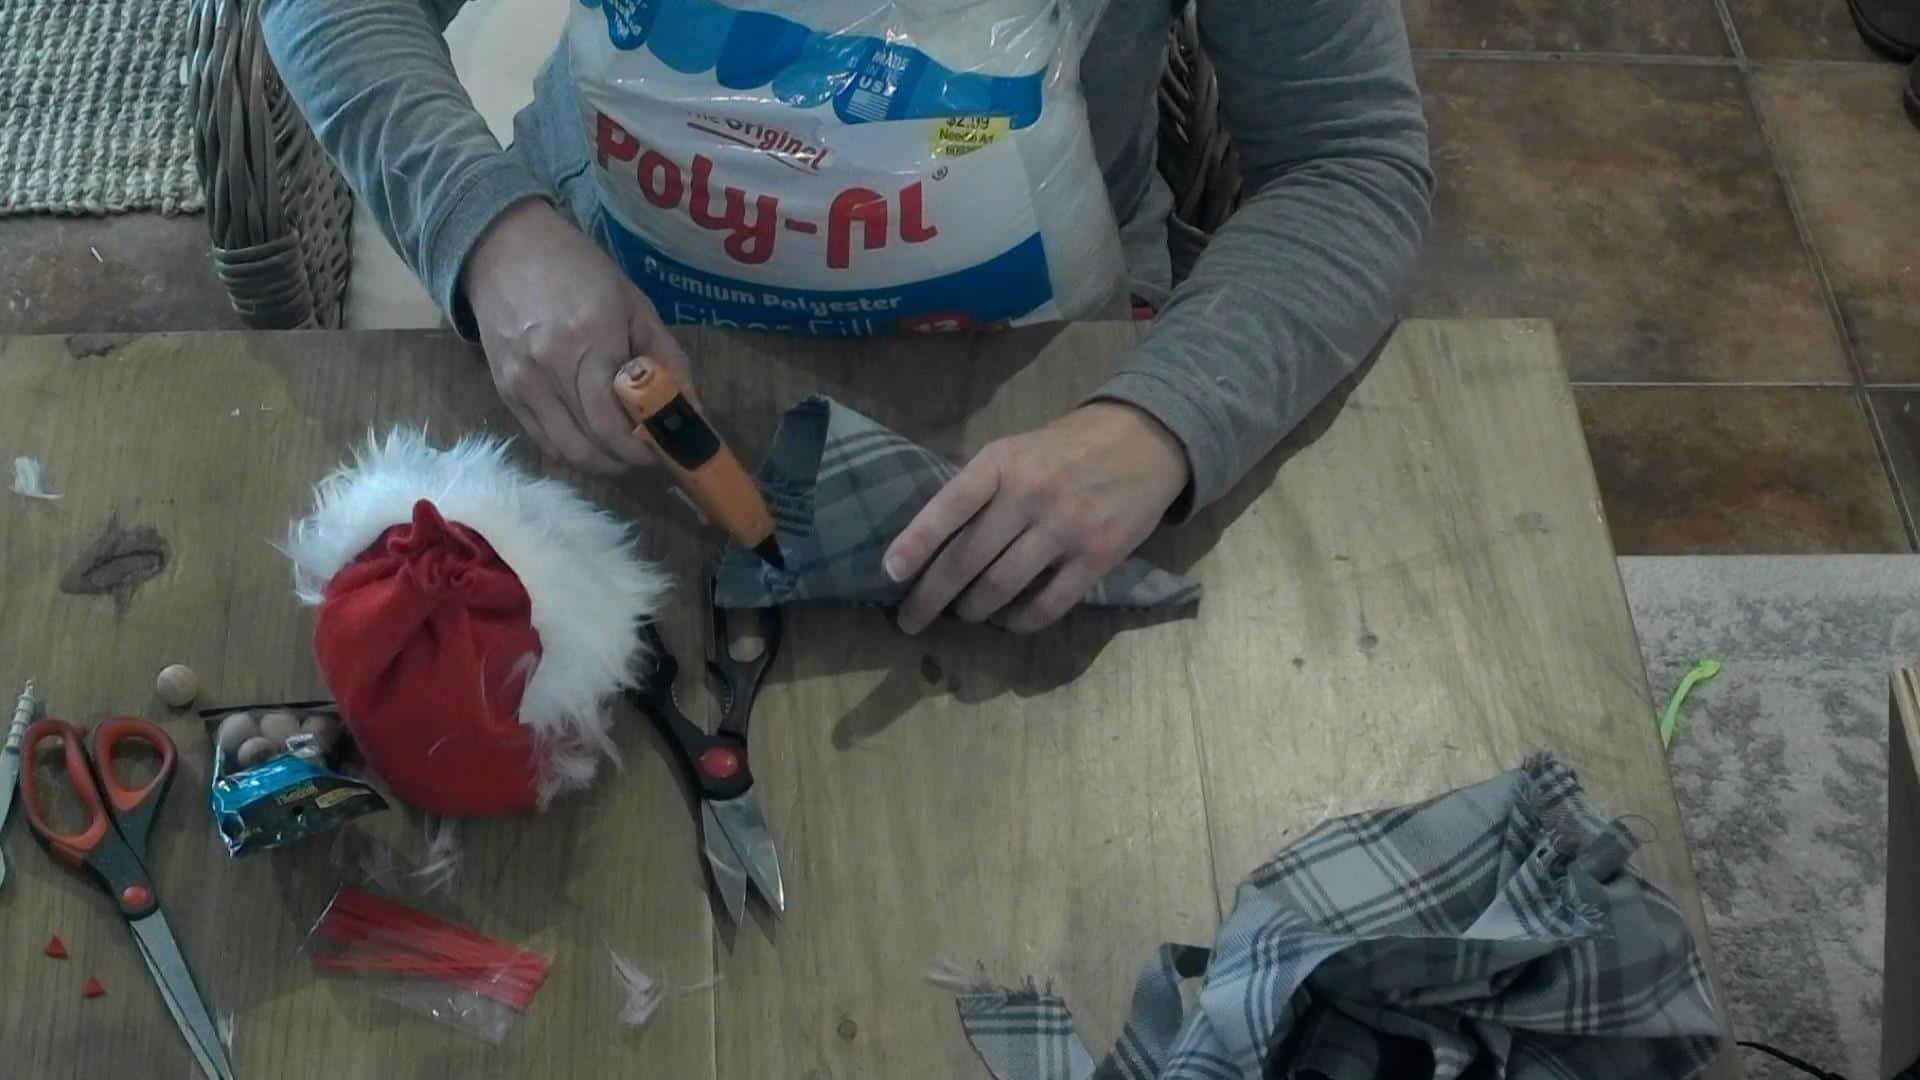
Next, make that infamous gnome hat! They all need one! Lol! Pick the fabric you like best, and cut a triangle with a rounded bottom!
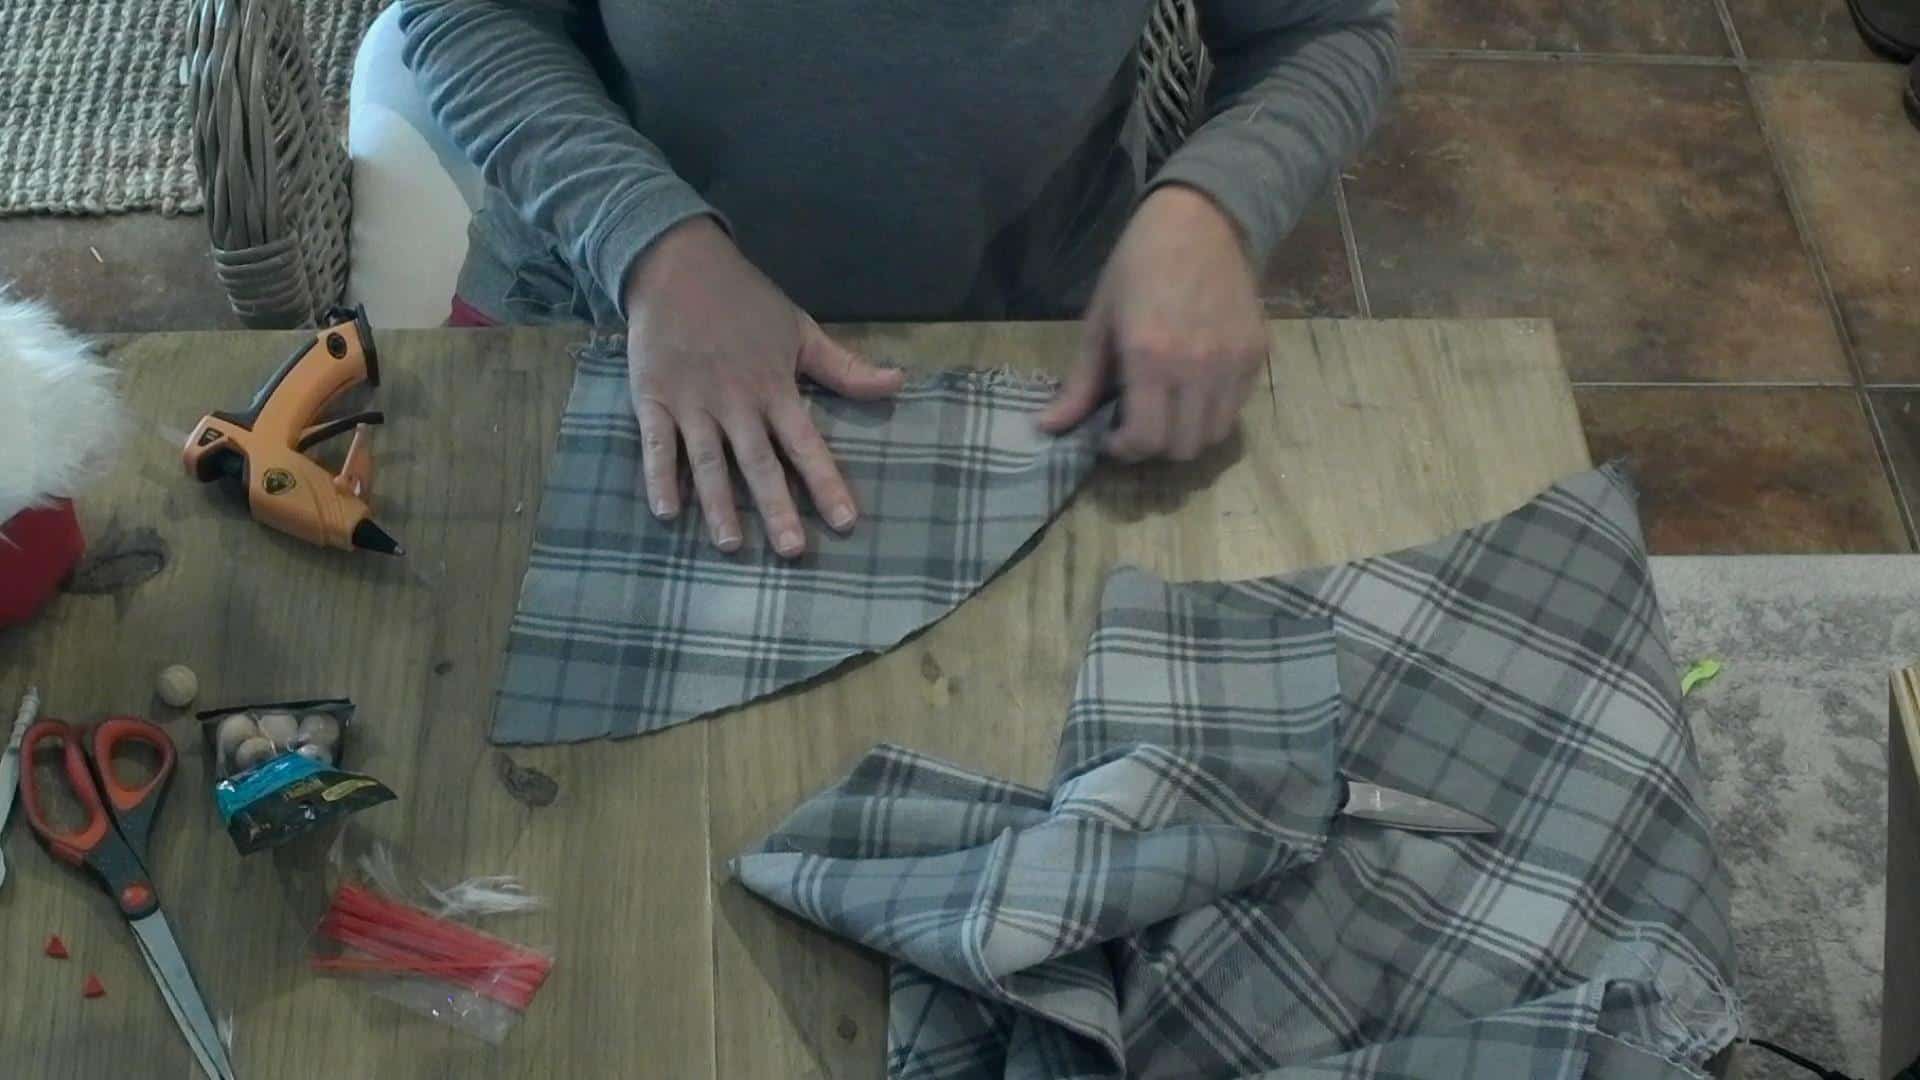
Flip the fabric down at the point and hot glue.
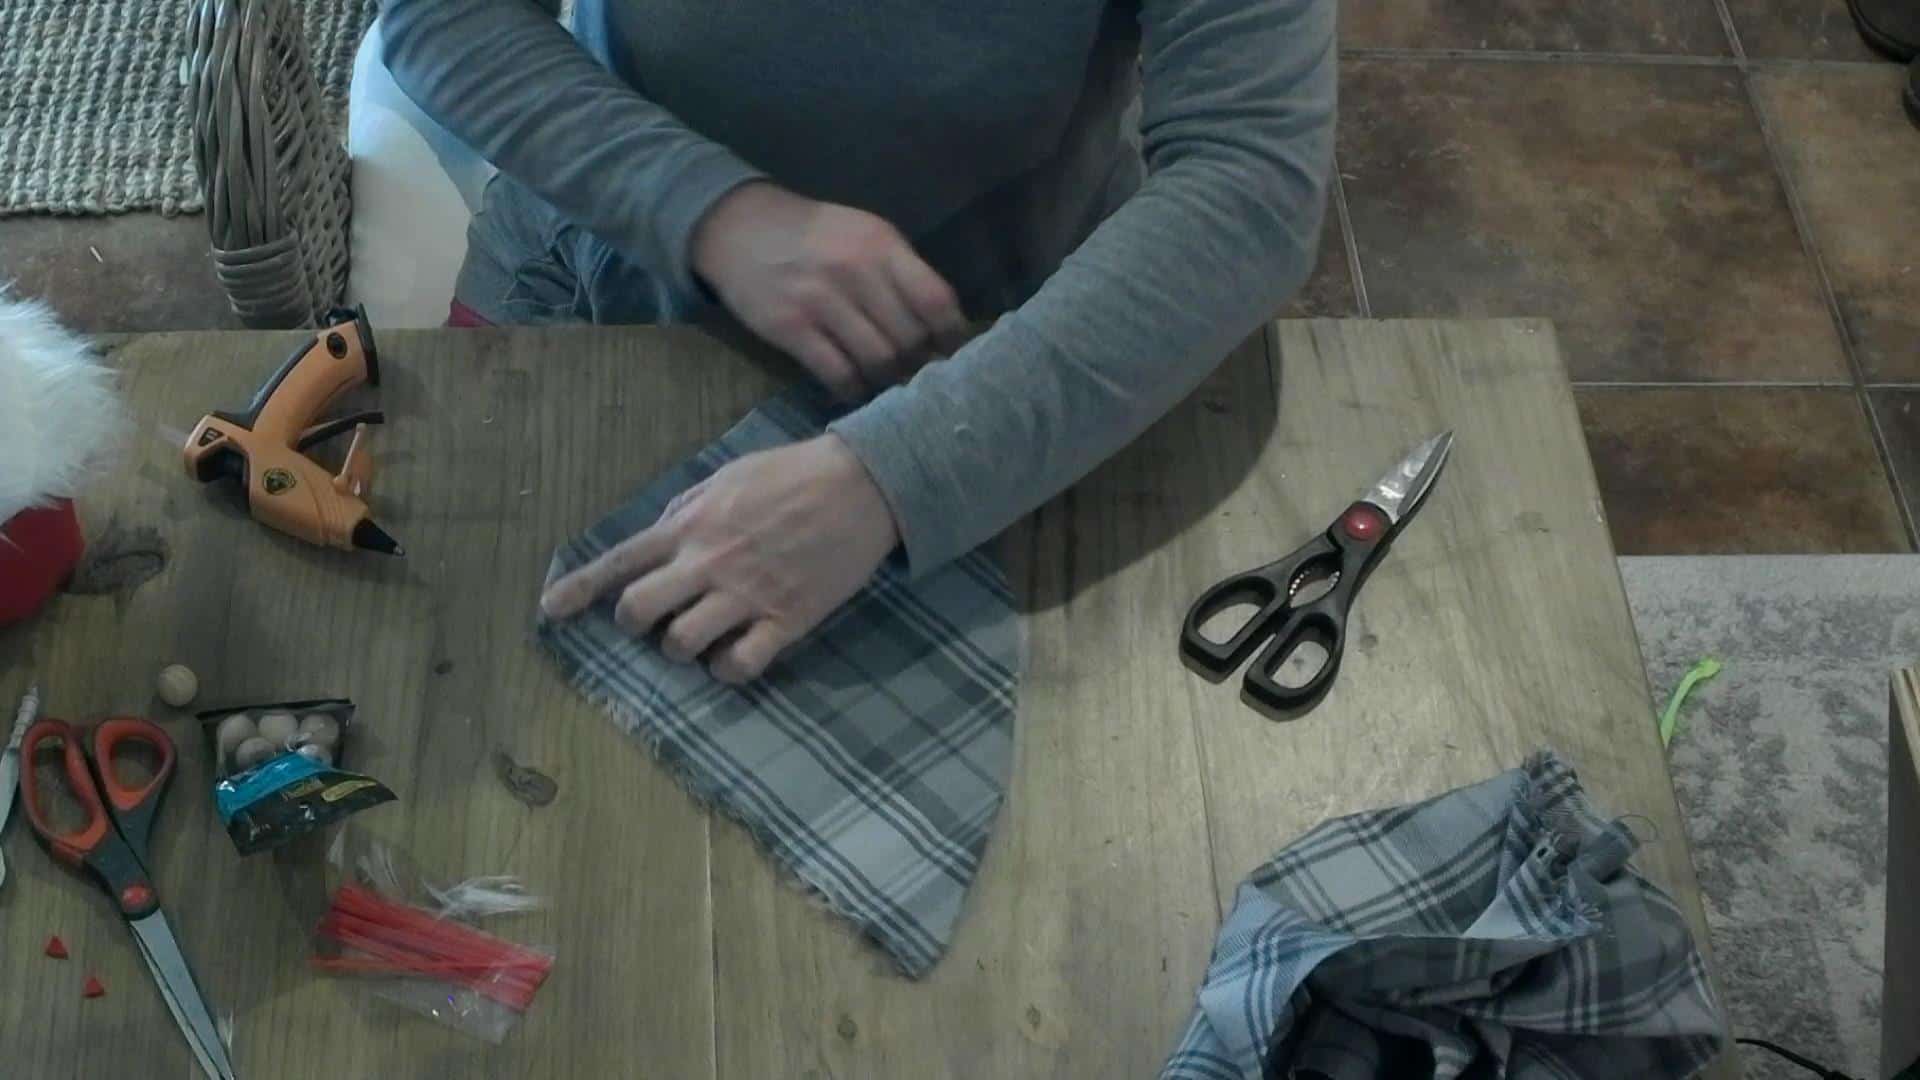
Next roll the hat up! Use hot glue along the edges to hold it together!

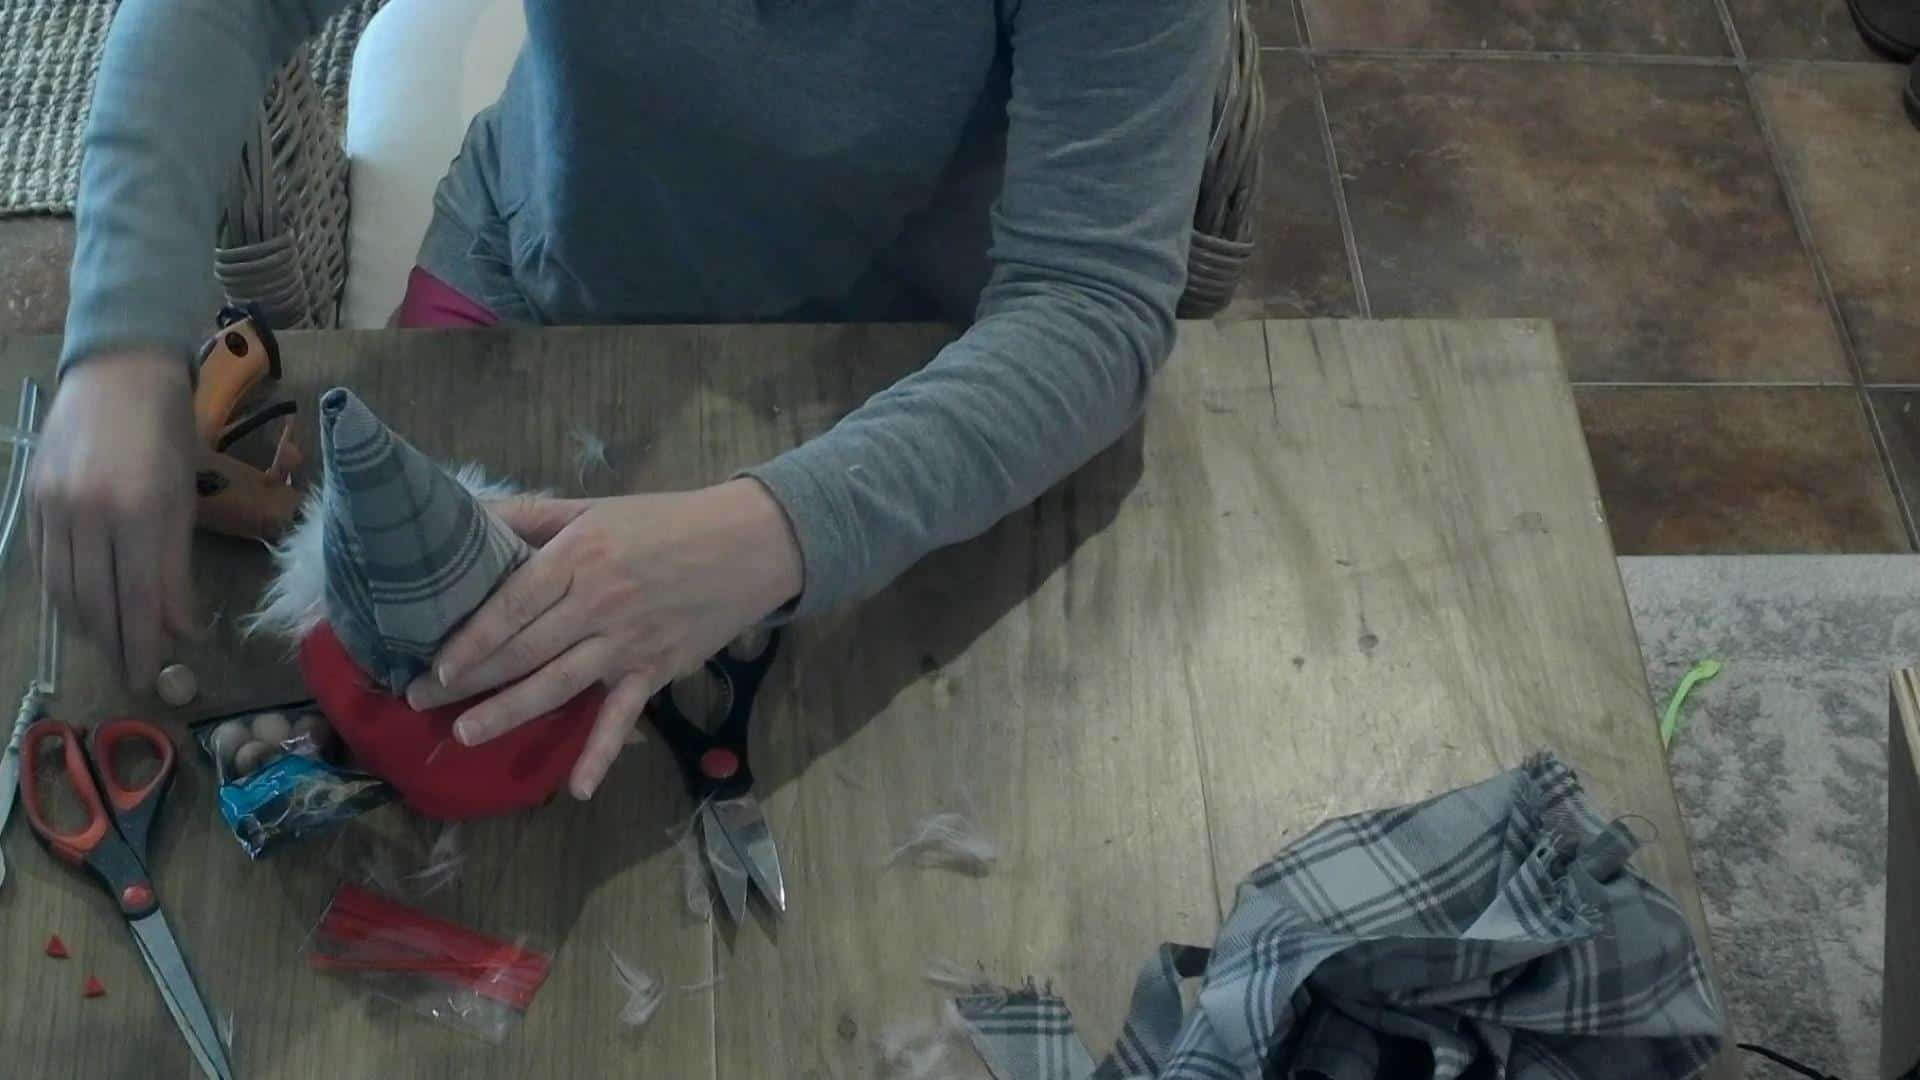
Make sure and check it for size. Fill the hat with a TINY bit of polyfill. For all the gnome projects I have made, I still haven’t even put a dent in my bag of polyfill! Lol!
Then fold the bottom under and hot glue it to give it a prettier edge that won’t fray!
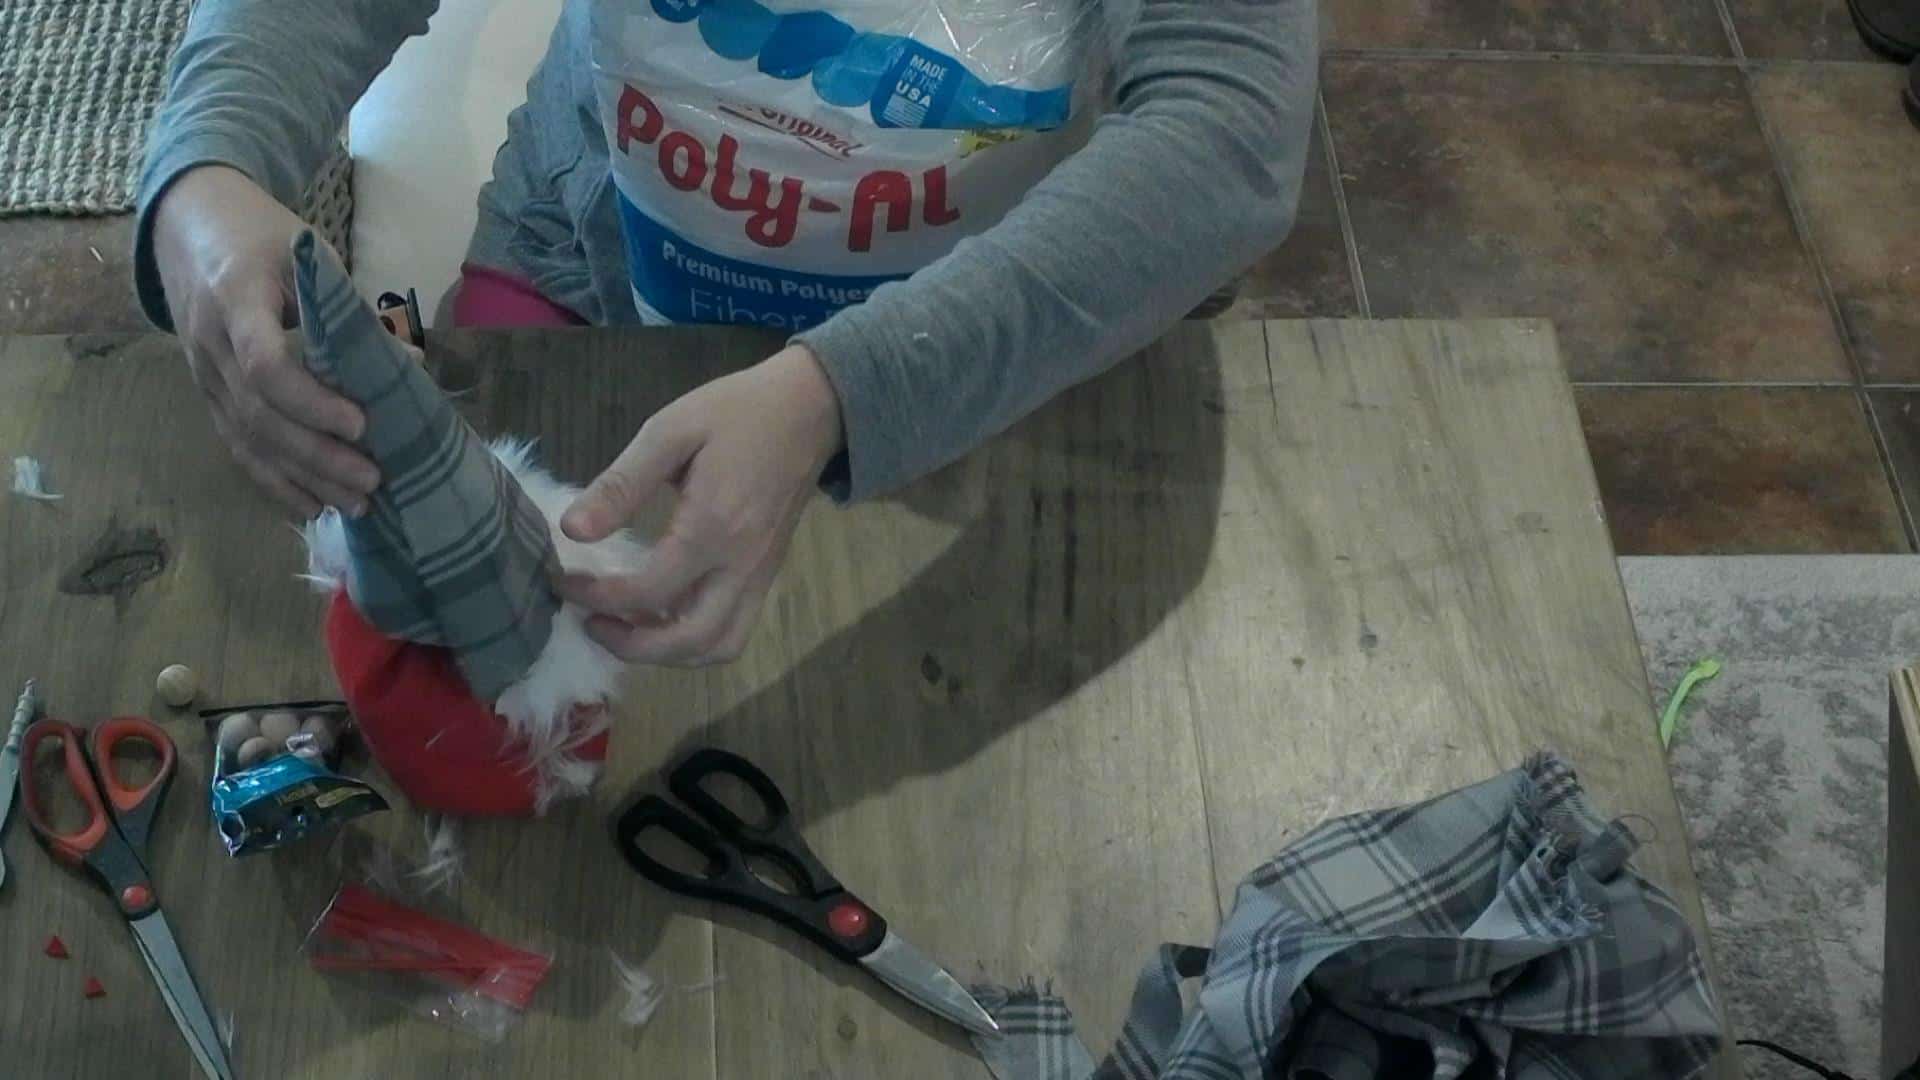
Glue the hat onto the DIY gnome! (If you are making the DIY Easter Gnome, scroll to the bottom to see how to make the ear hat!)
No gnome is complete without a wooden nose! Using a 3/4″ wooden bead, hot glue it right under the edge of his hat.
Last but not least, give the gnome’s hat a pom-pom!
It’s DONE! Yep, no sewing, no socks, easy peasy and done!
How can you NOT love gnomes?!😂
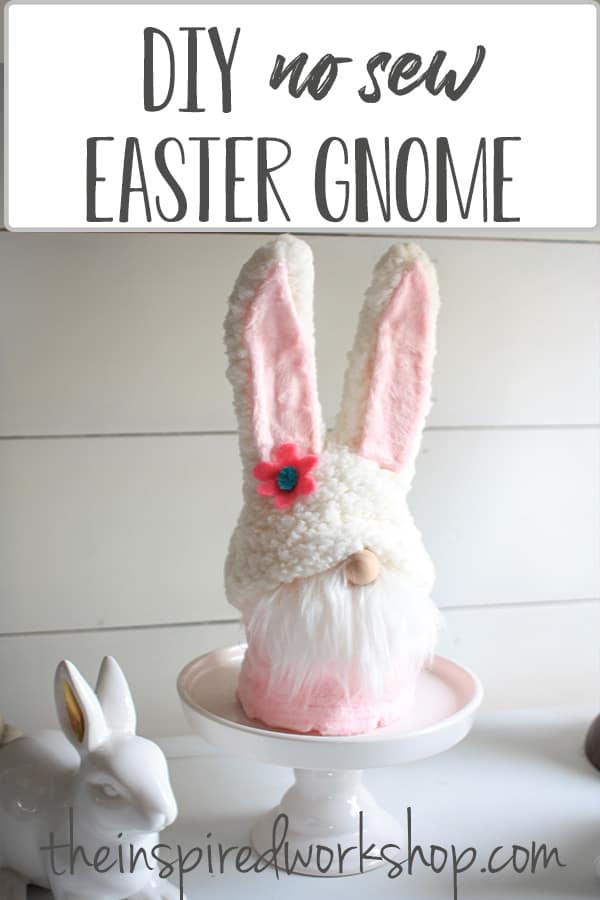
DIY Easter Gnomes
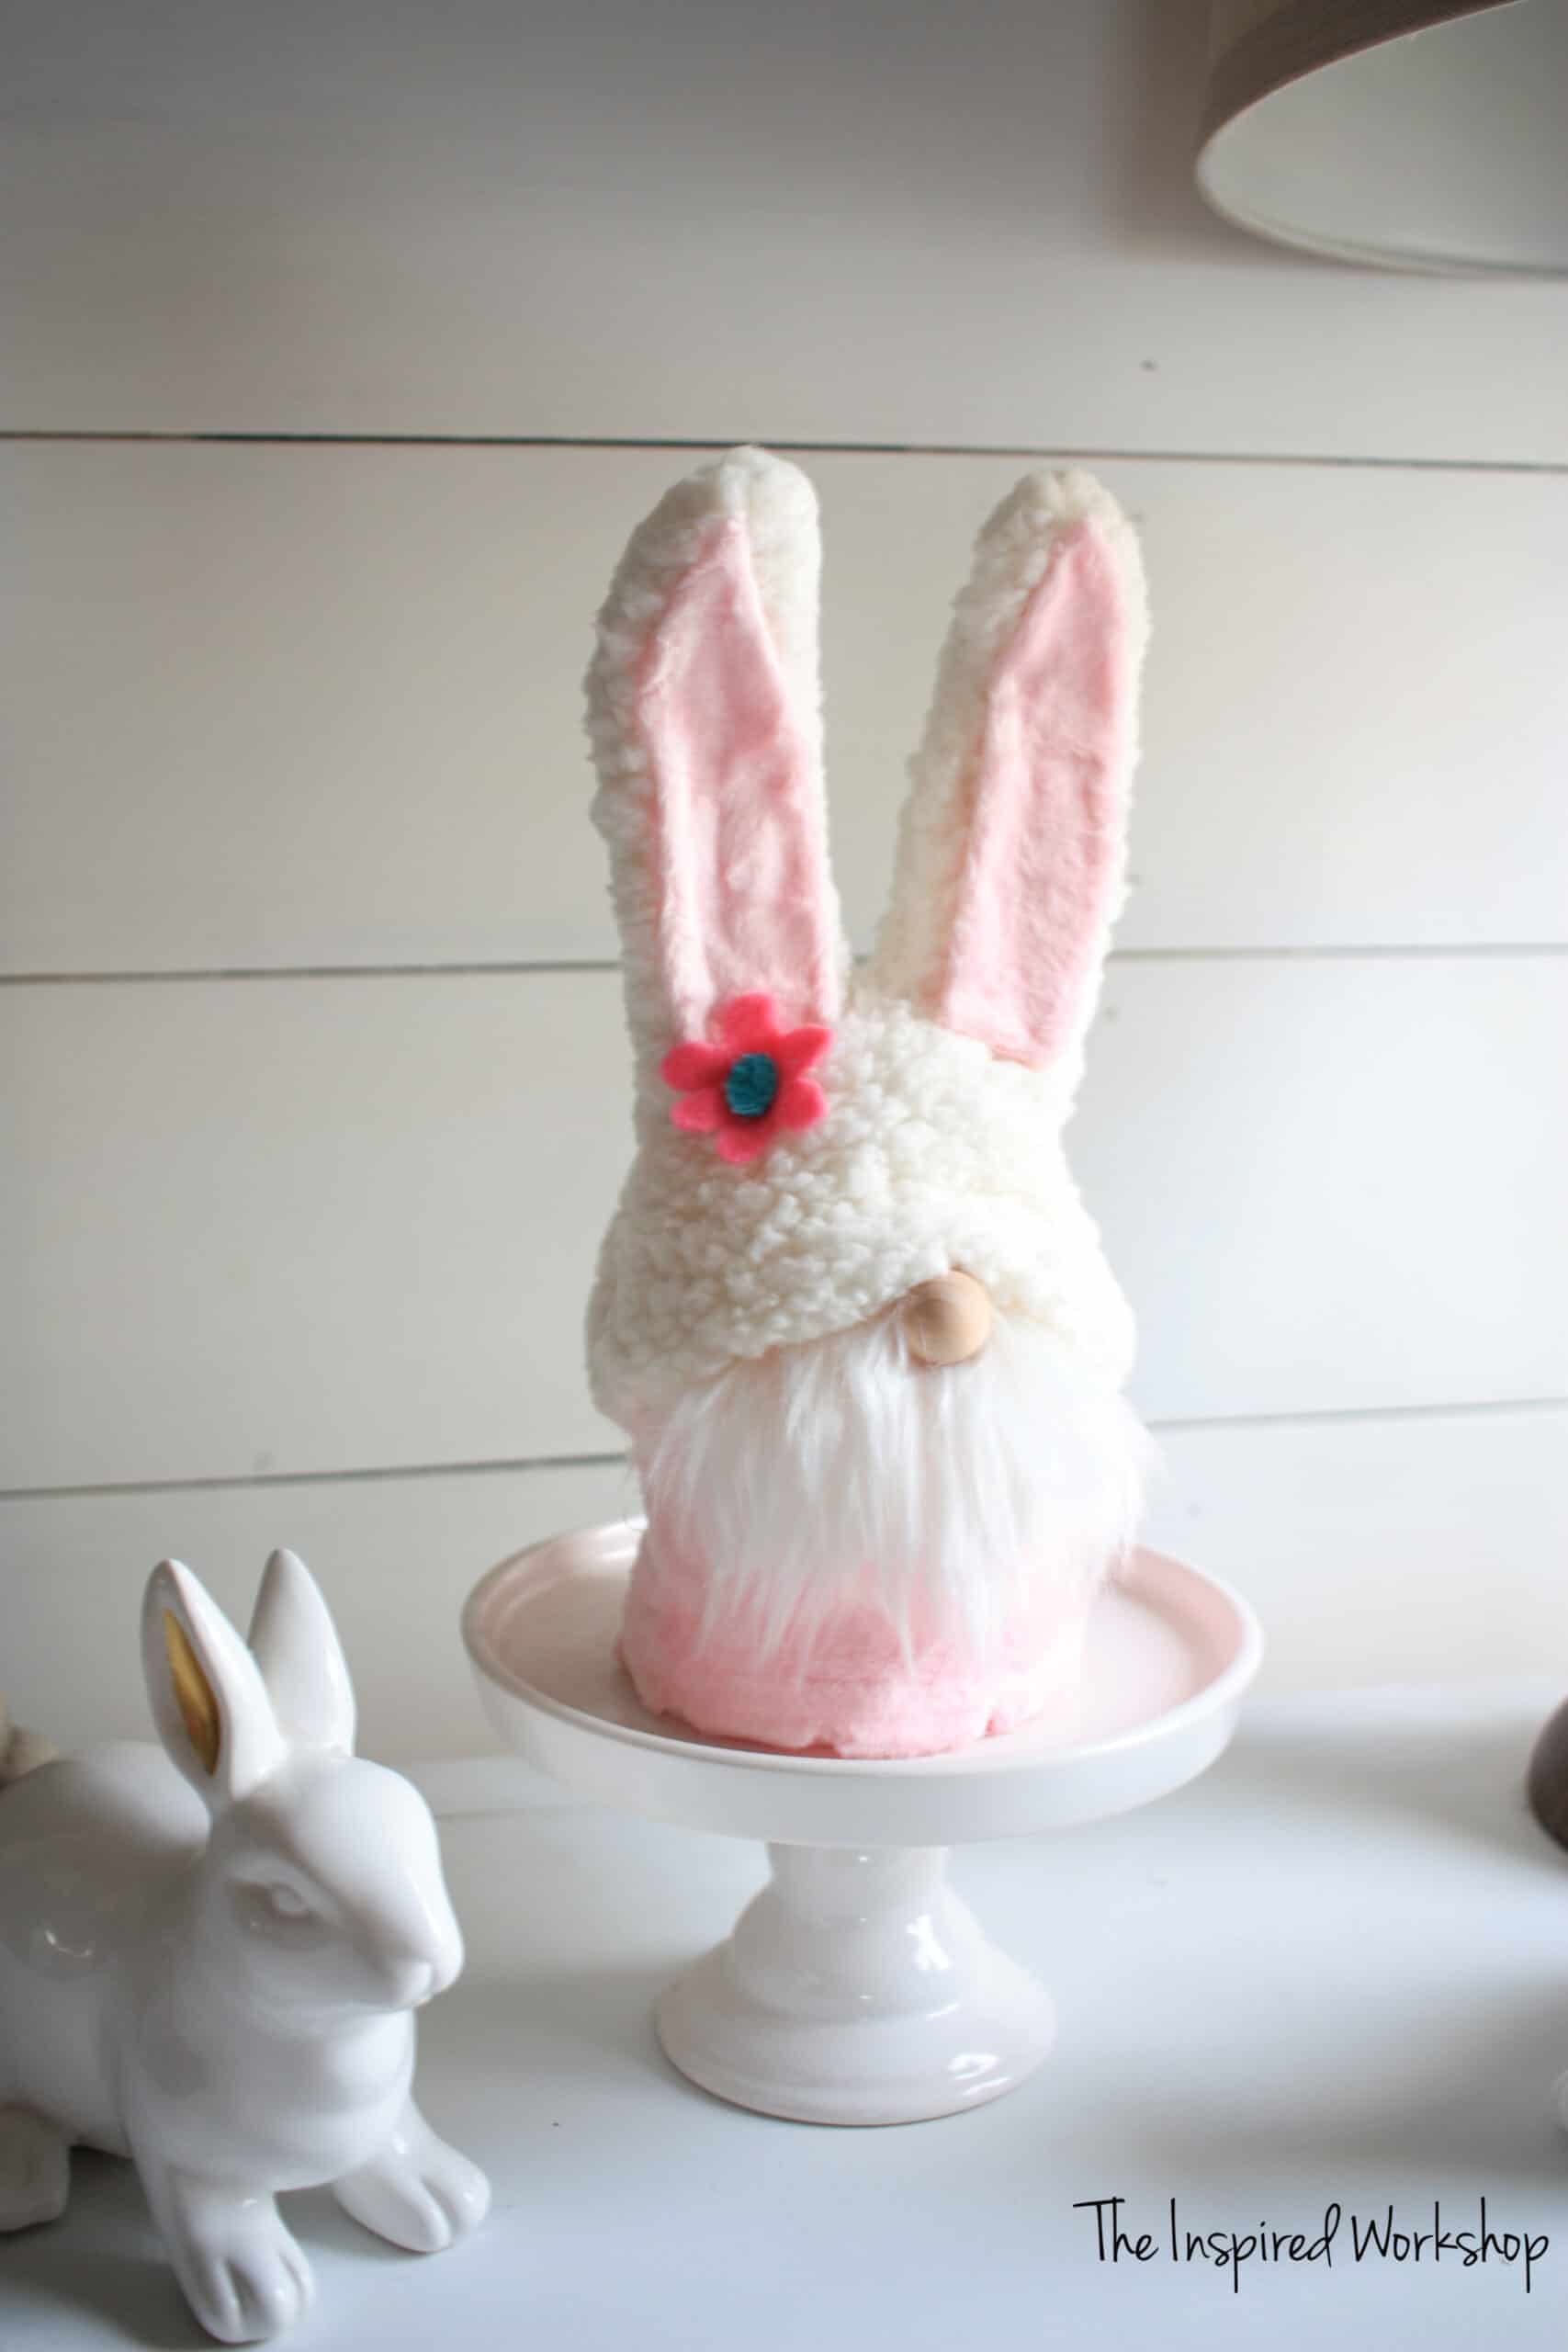
If you would like to use a pattern, here is the Bunny Ears pattern! I just freehanded the drawing on the pattern as I did on my fabric! It does not have to be perfect to look great! Mine is totally imperfect, and I still love it!!😊
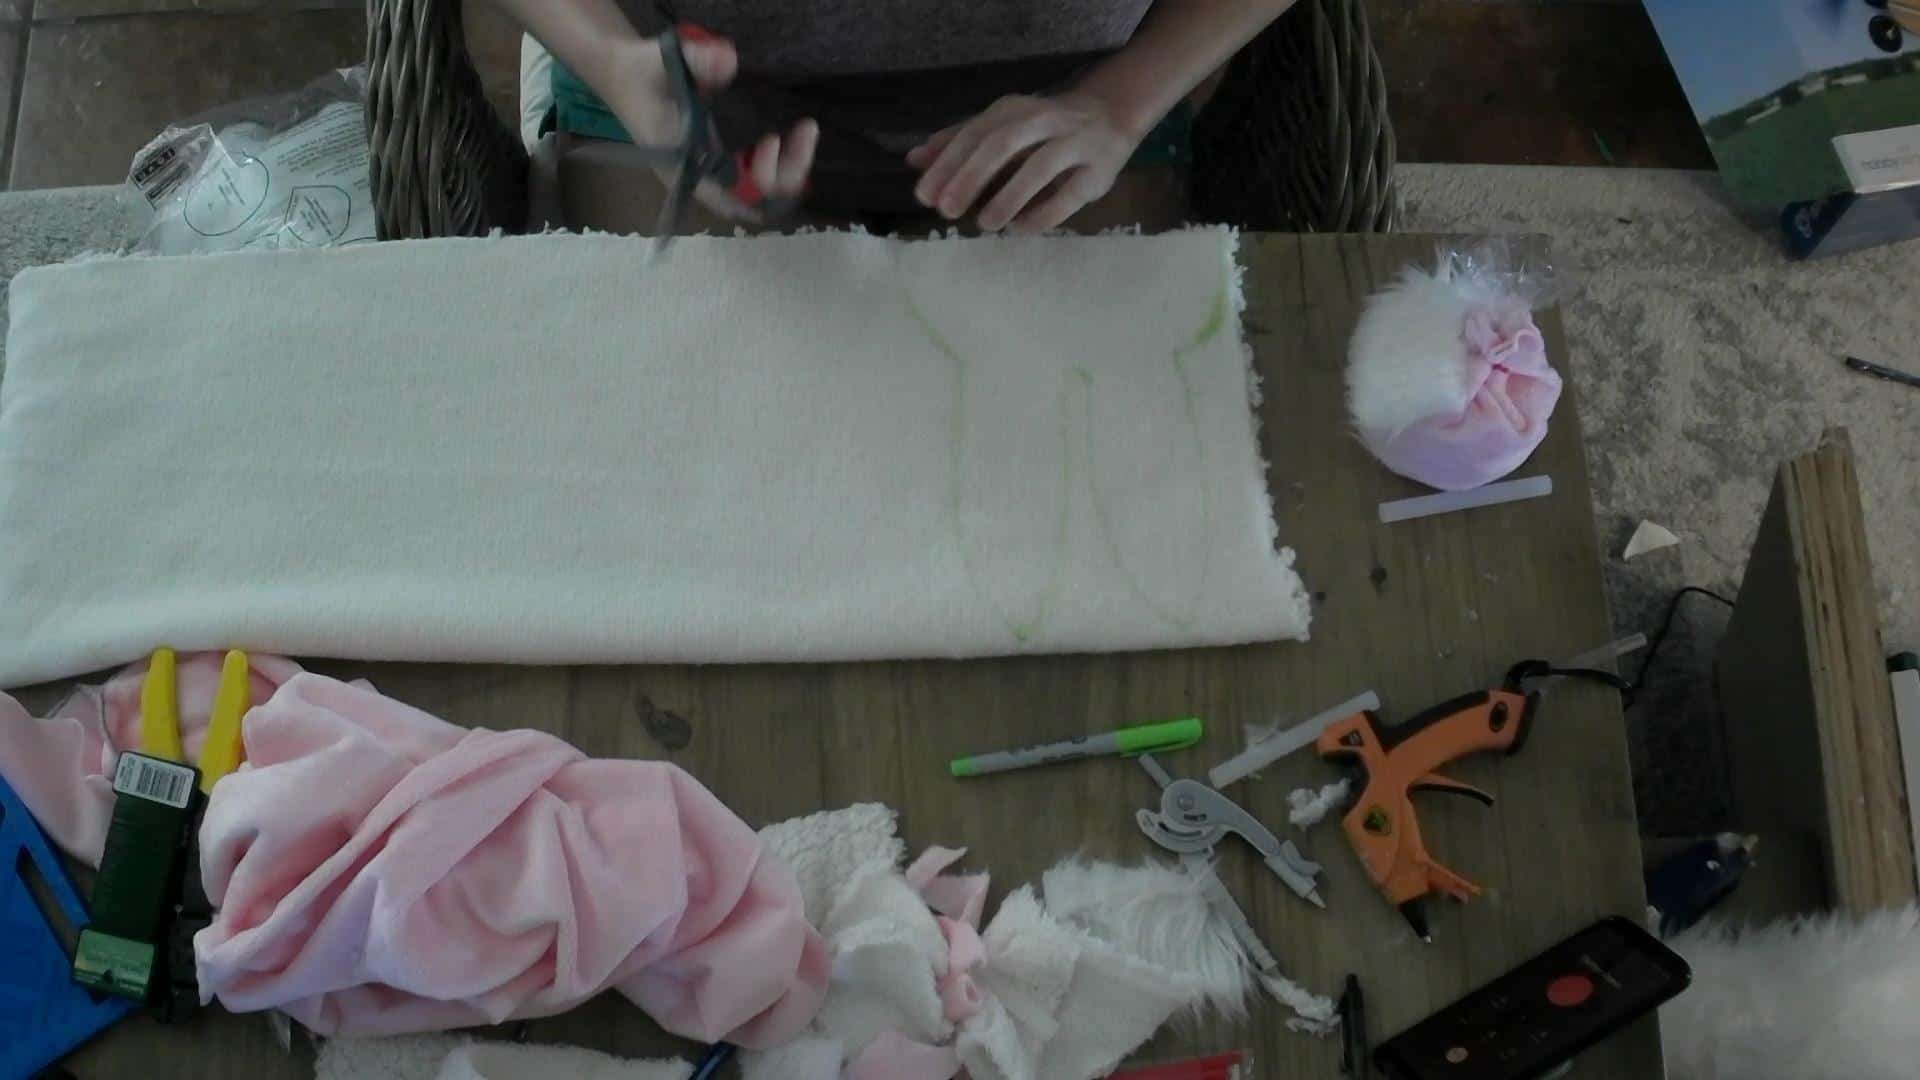
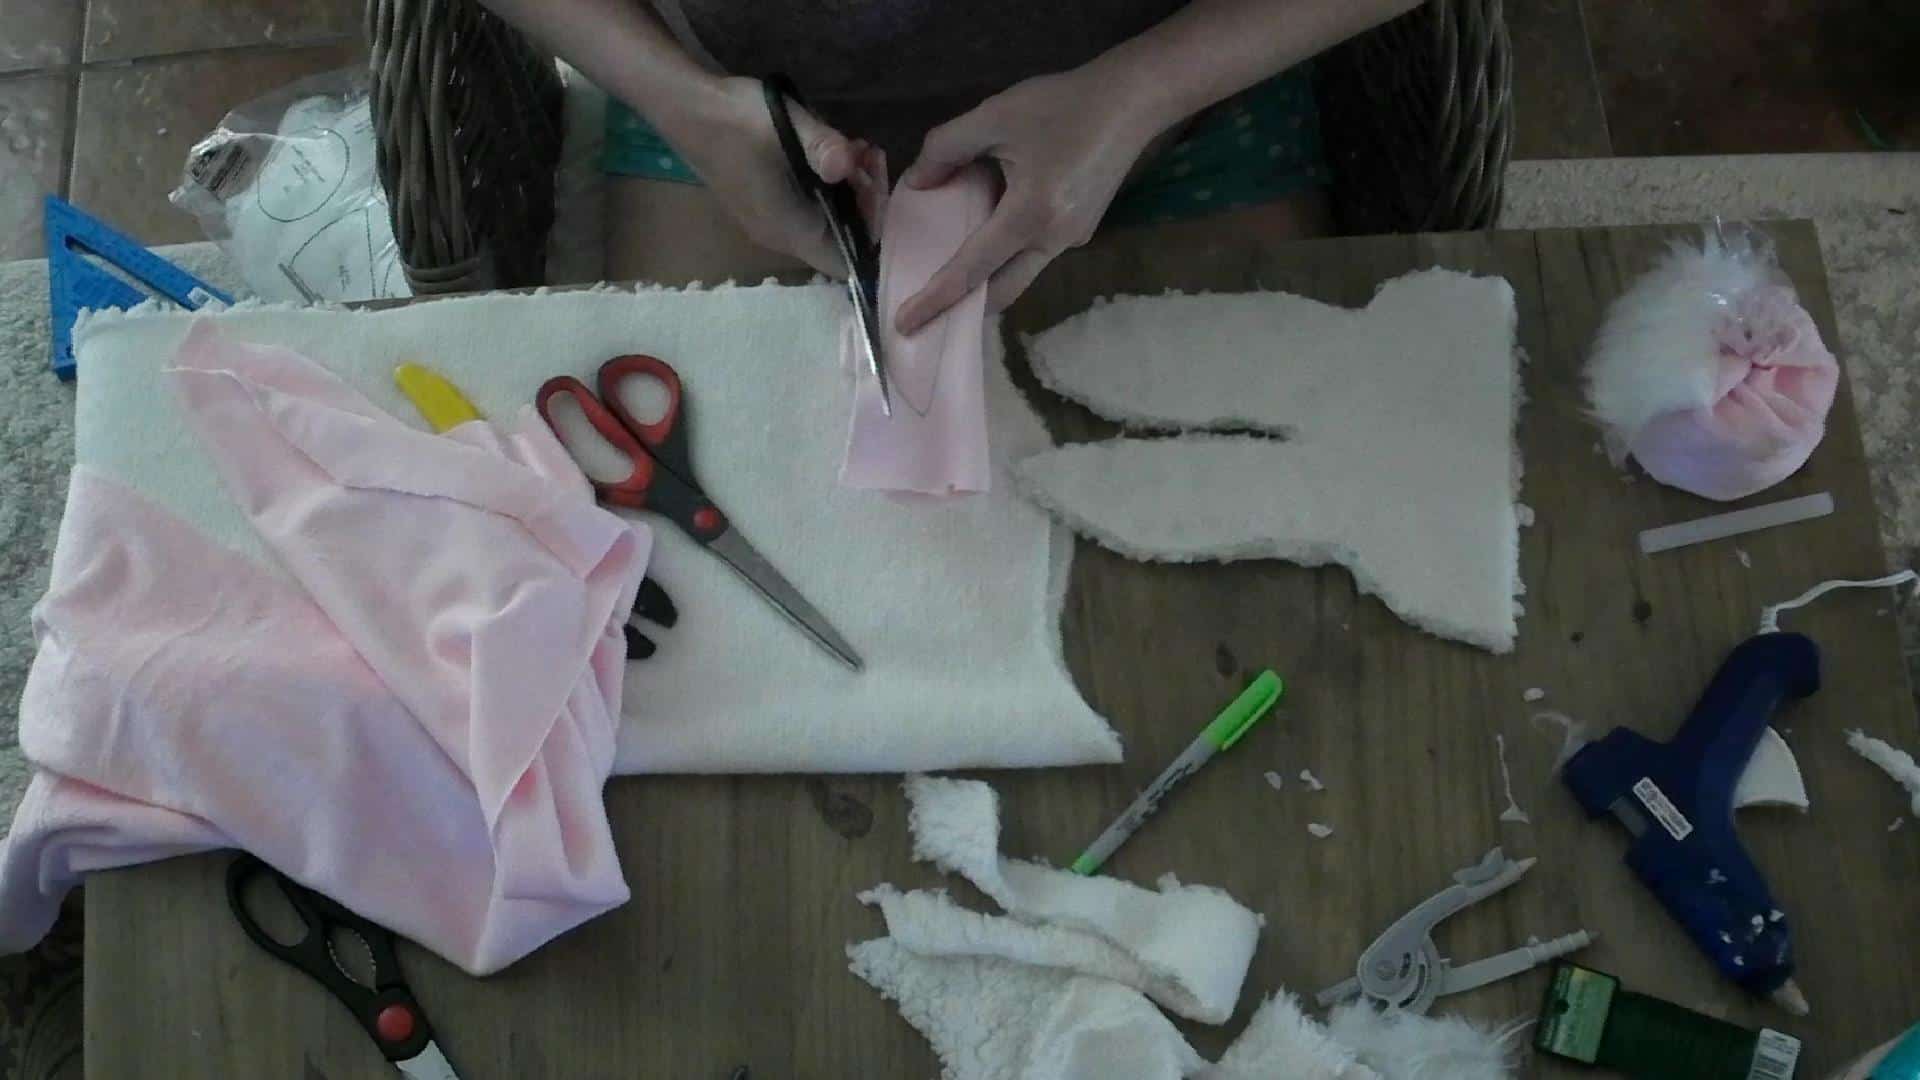
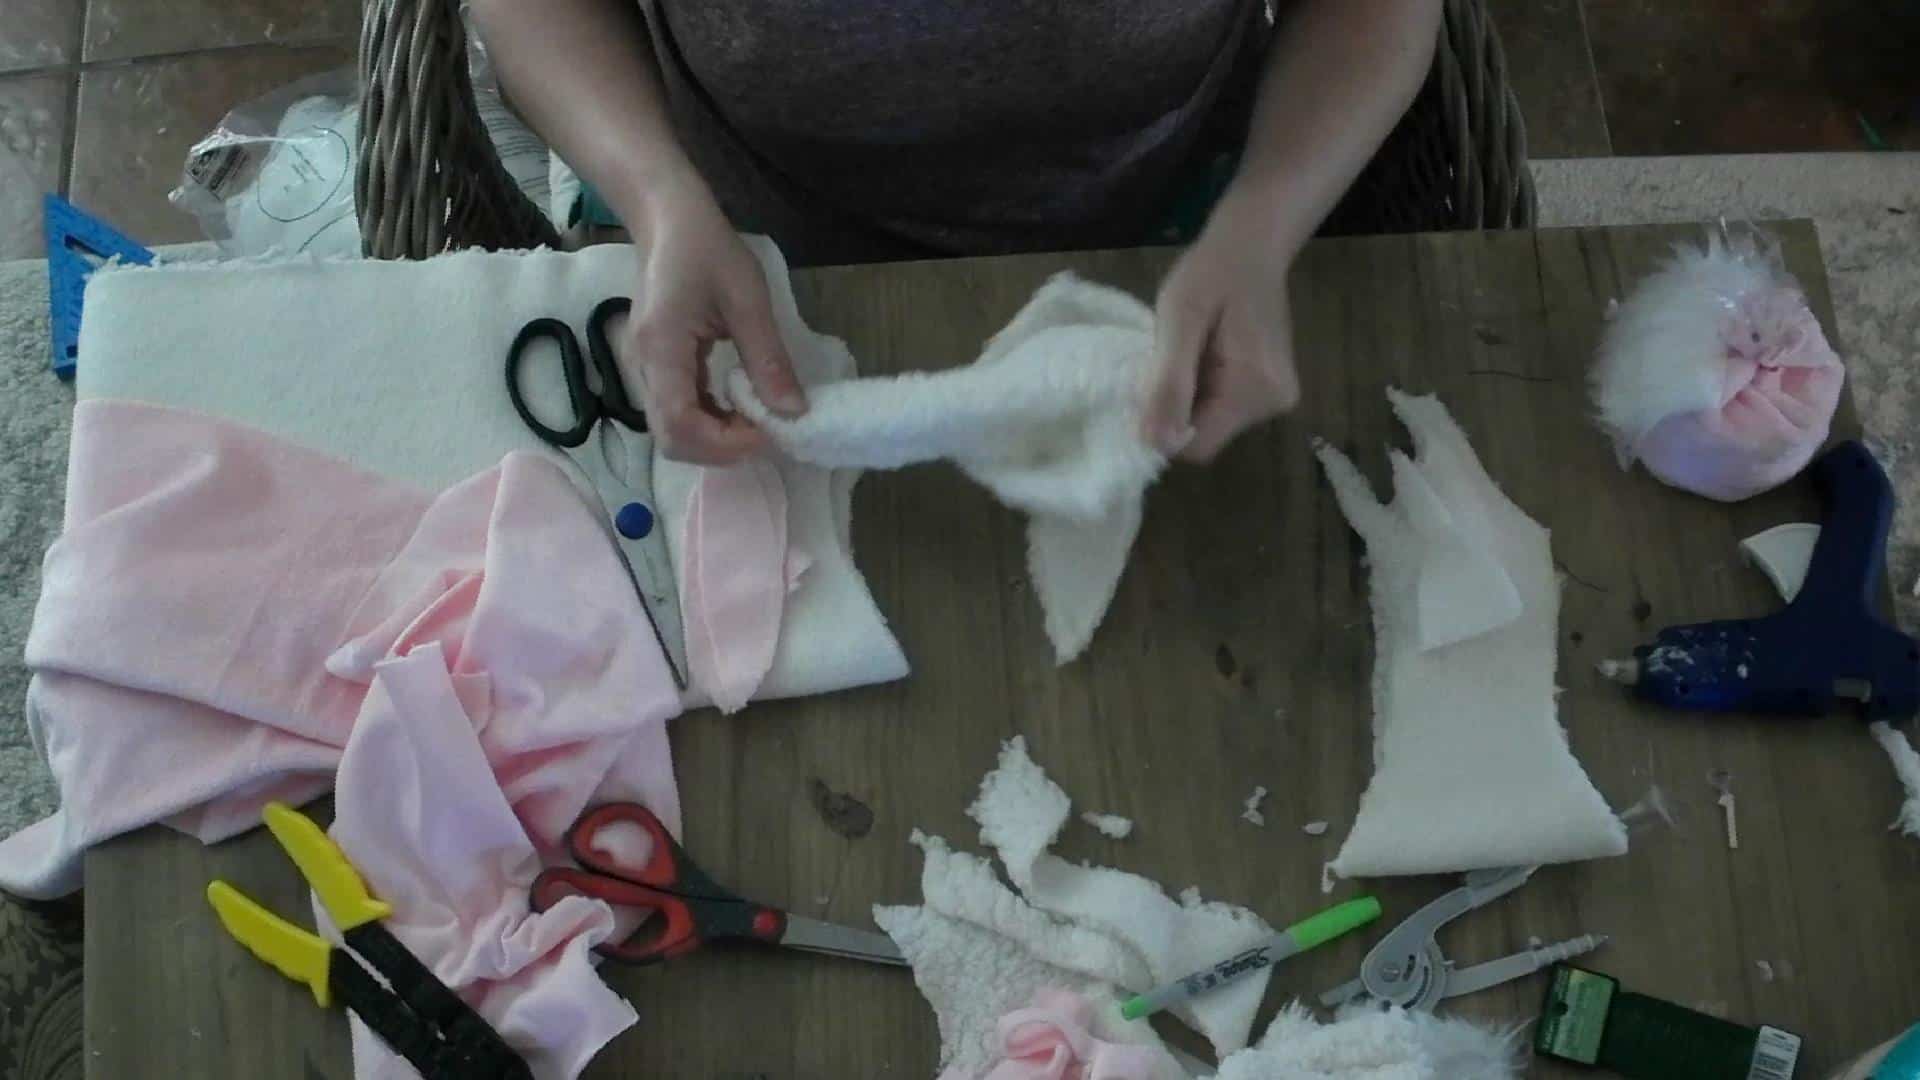
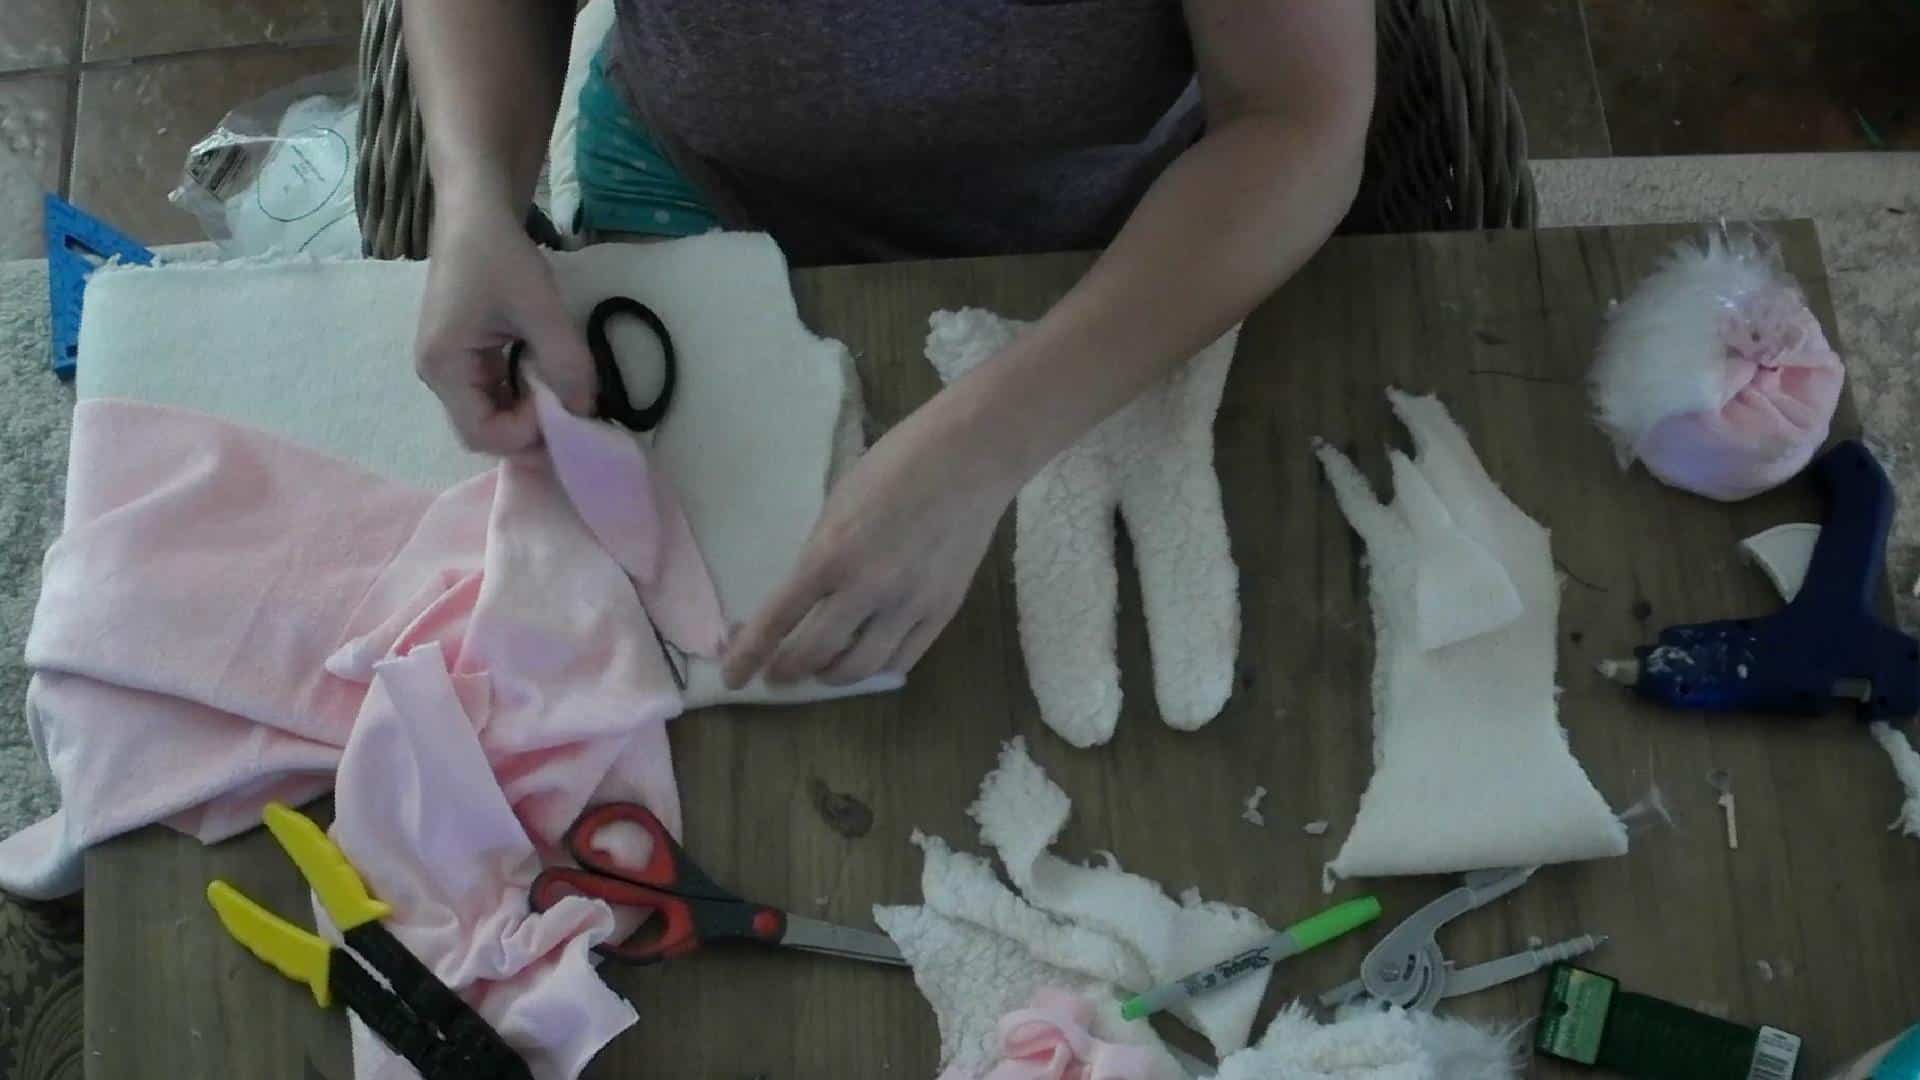
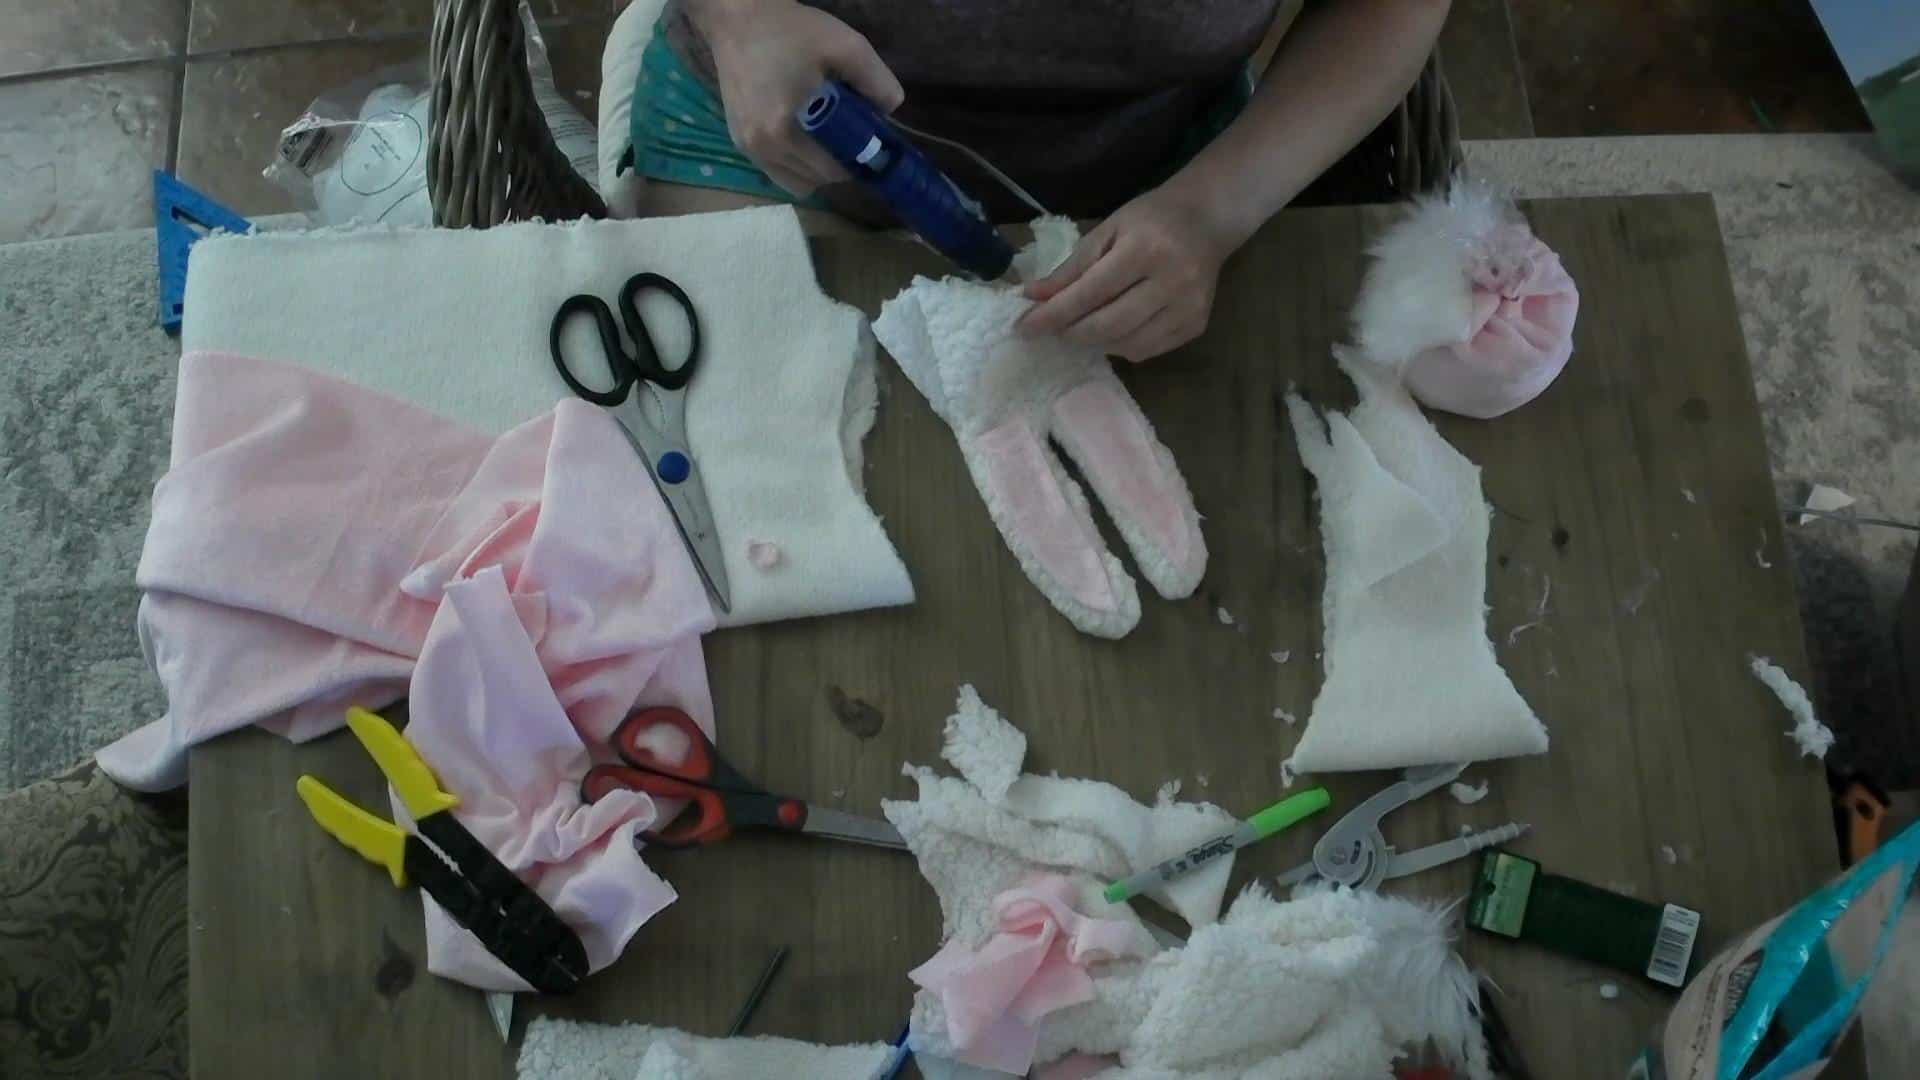
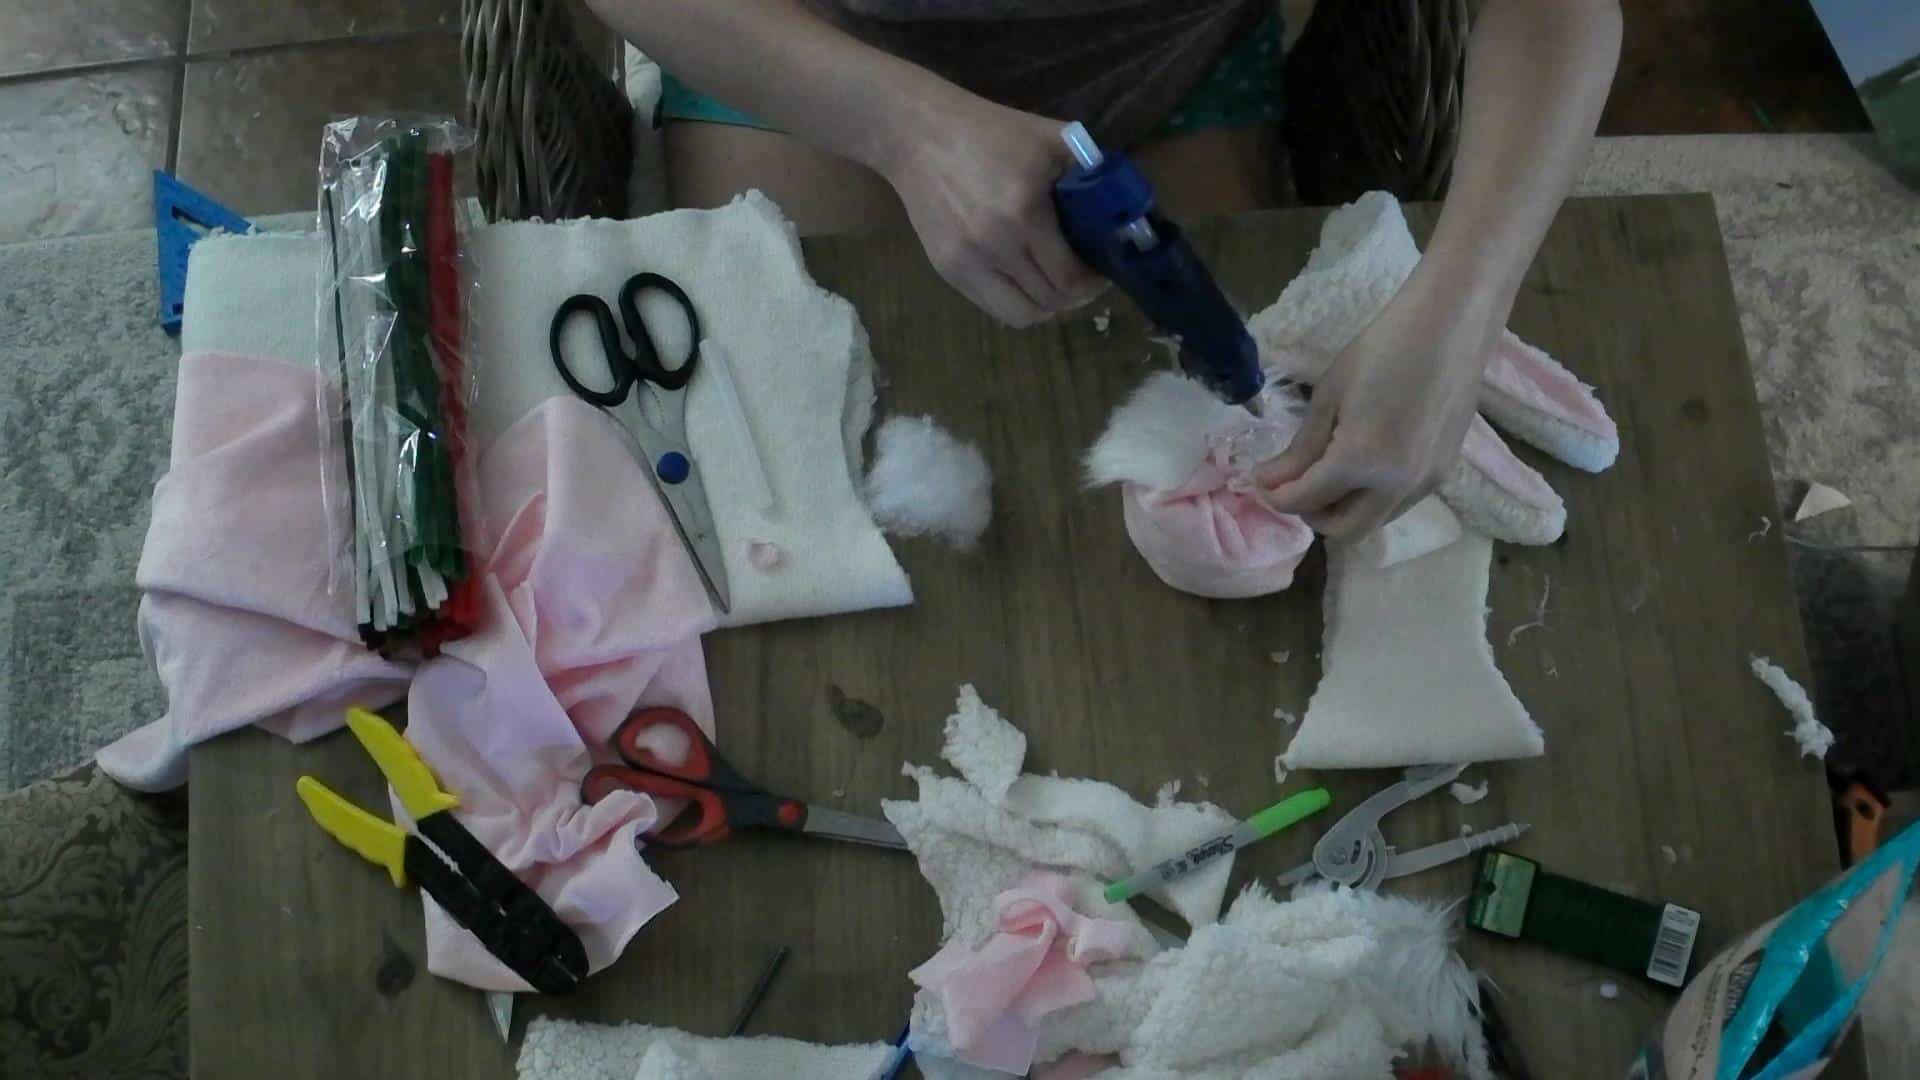
Starting out, I just drew the shape I wanted onto the fabric. I folded it in half so that I could cut two at a time so they would be the same and drawing on the backside of the fabric worked best!
After cutting them out, hot glue all along the edge to connect the two pieces. Make sure and hot glue on the good side, the sherpa side. You will flip it in a minute!

Place the other set of ears on top and let it dry thoroughly before trying to turn it right side out! I went ahead and started cutting the pink for the ears while I was waiting.
Once it is dry, flip it right side out!
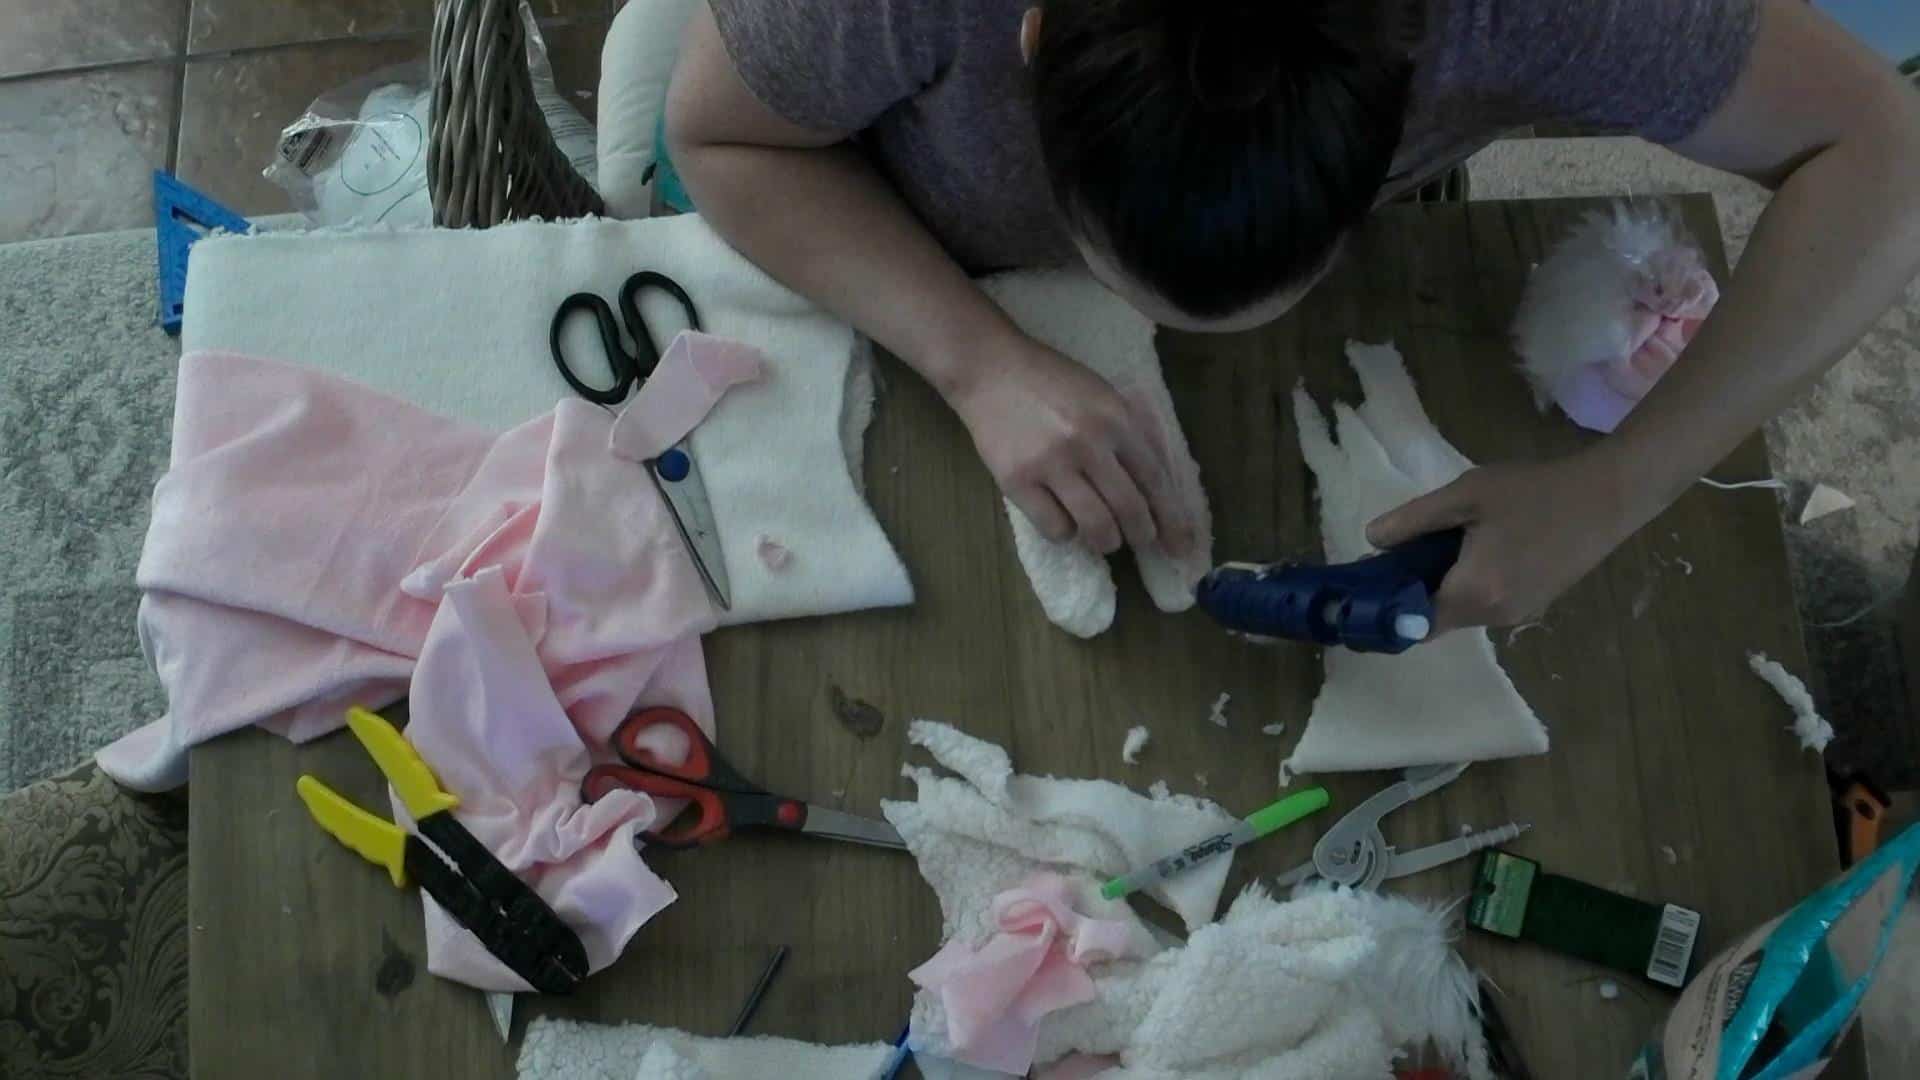
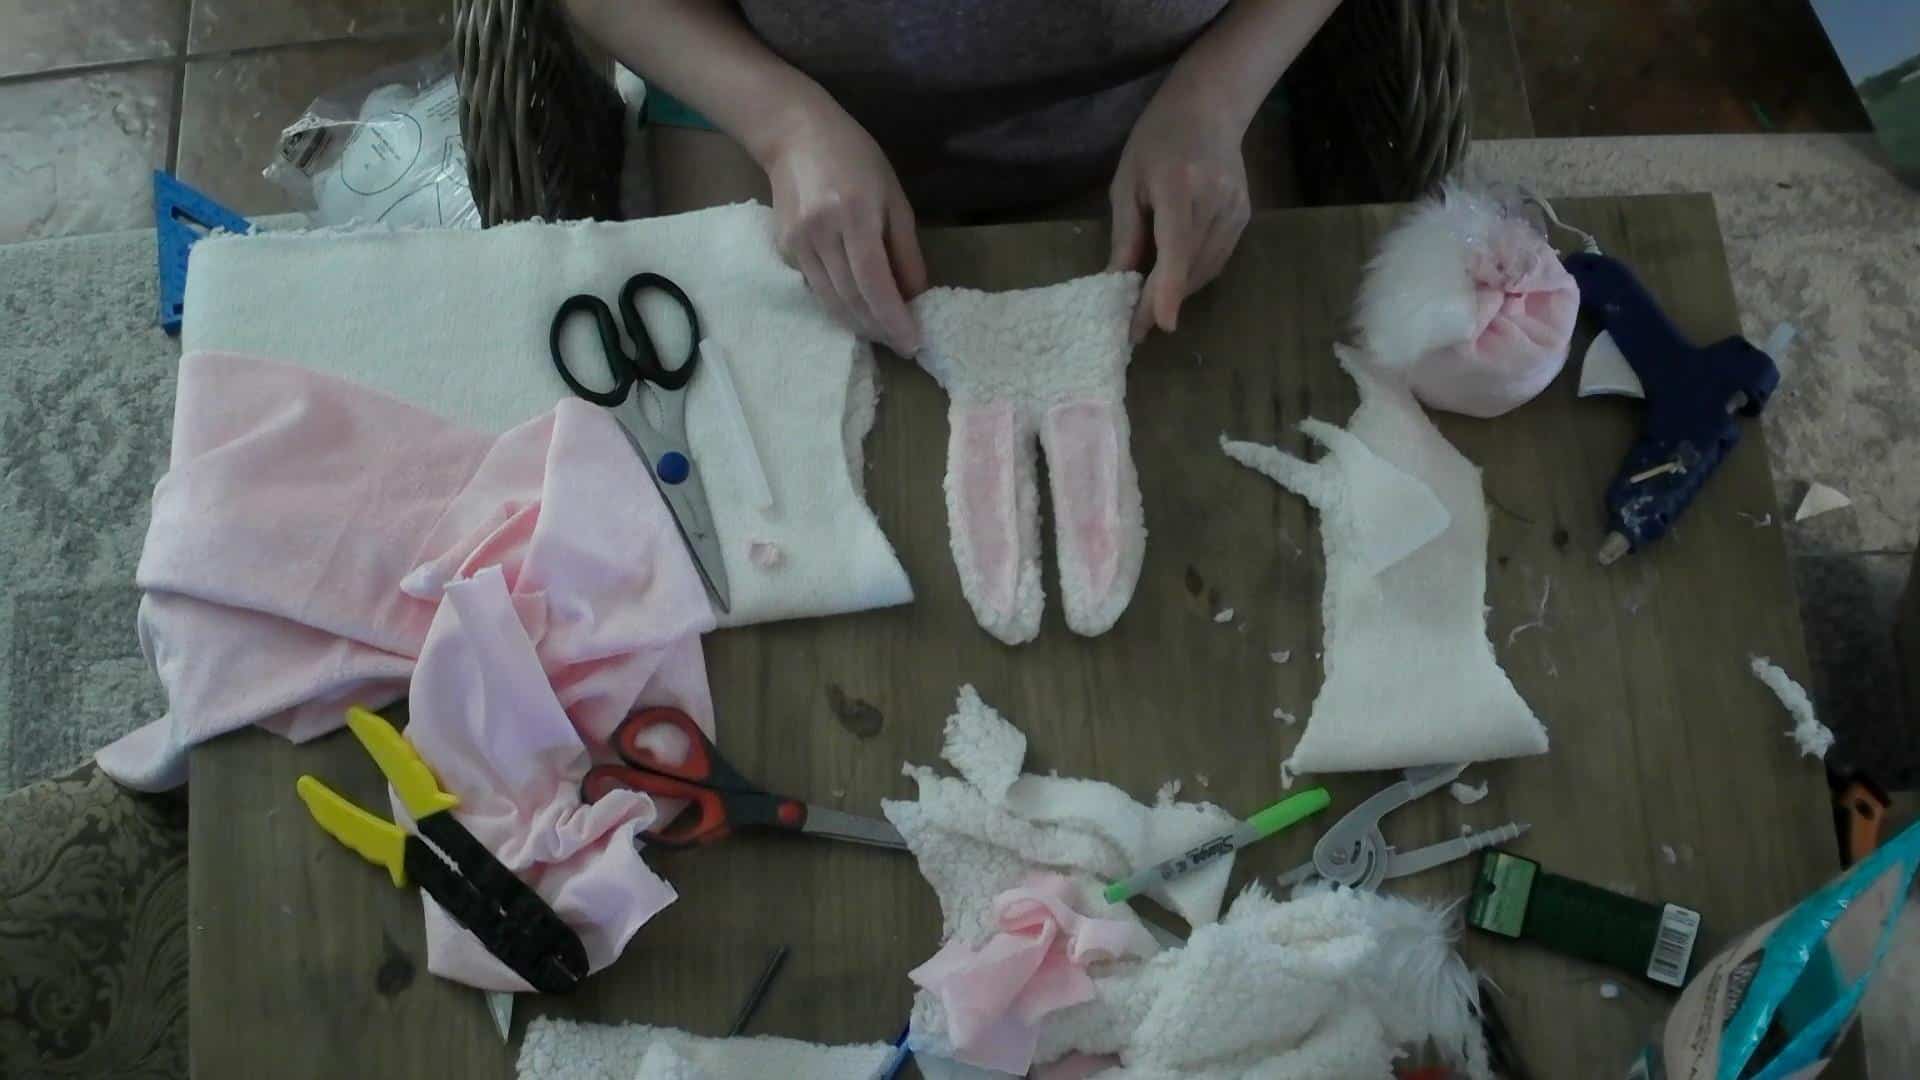
Then, take the pink of the ears and hot glue the edges so you don’t see ugly cuts of the fabric.
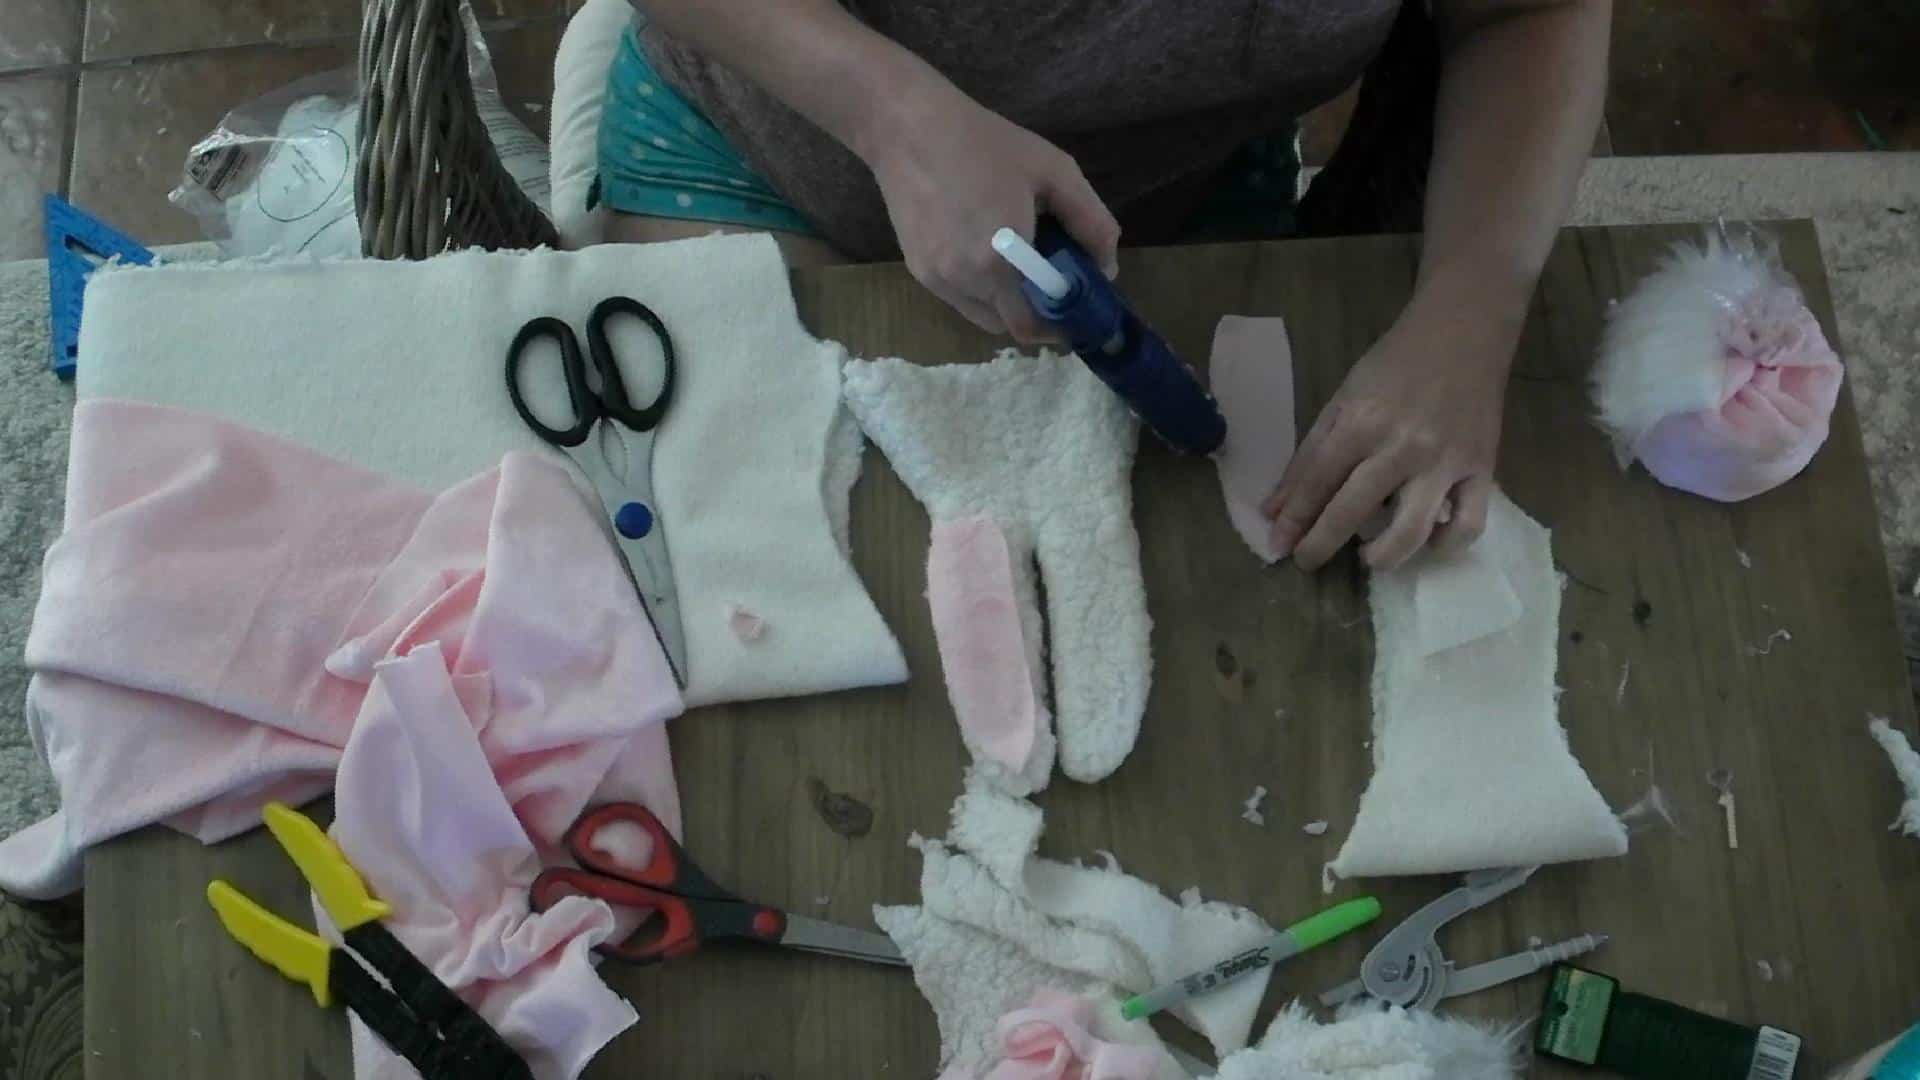
Glue the pink to the ears. Make sure and press it down well!
After gluing the pink of the ears, check the fit on your gnome base, and then fold the bottom of the ‘hat’ part of the ears and glue it to give it a finished look and to get a perfect size and fit.
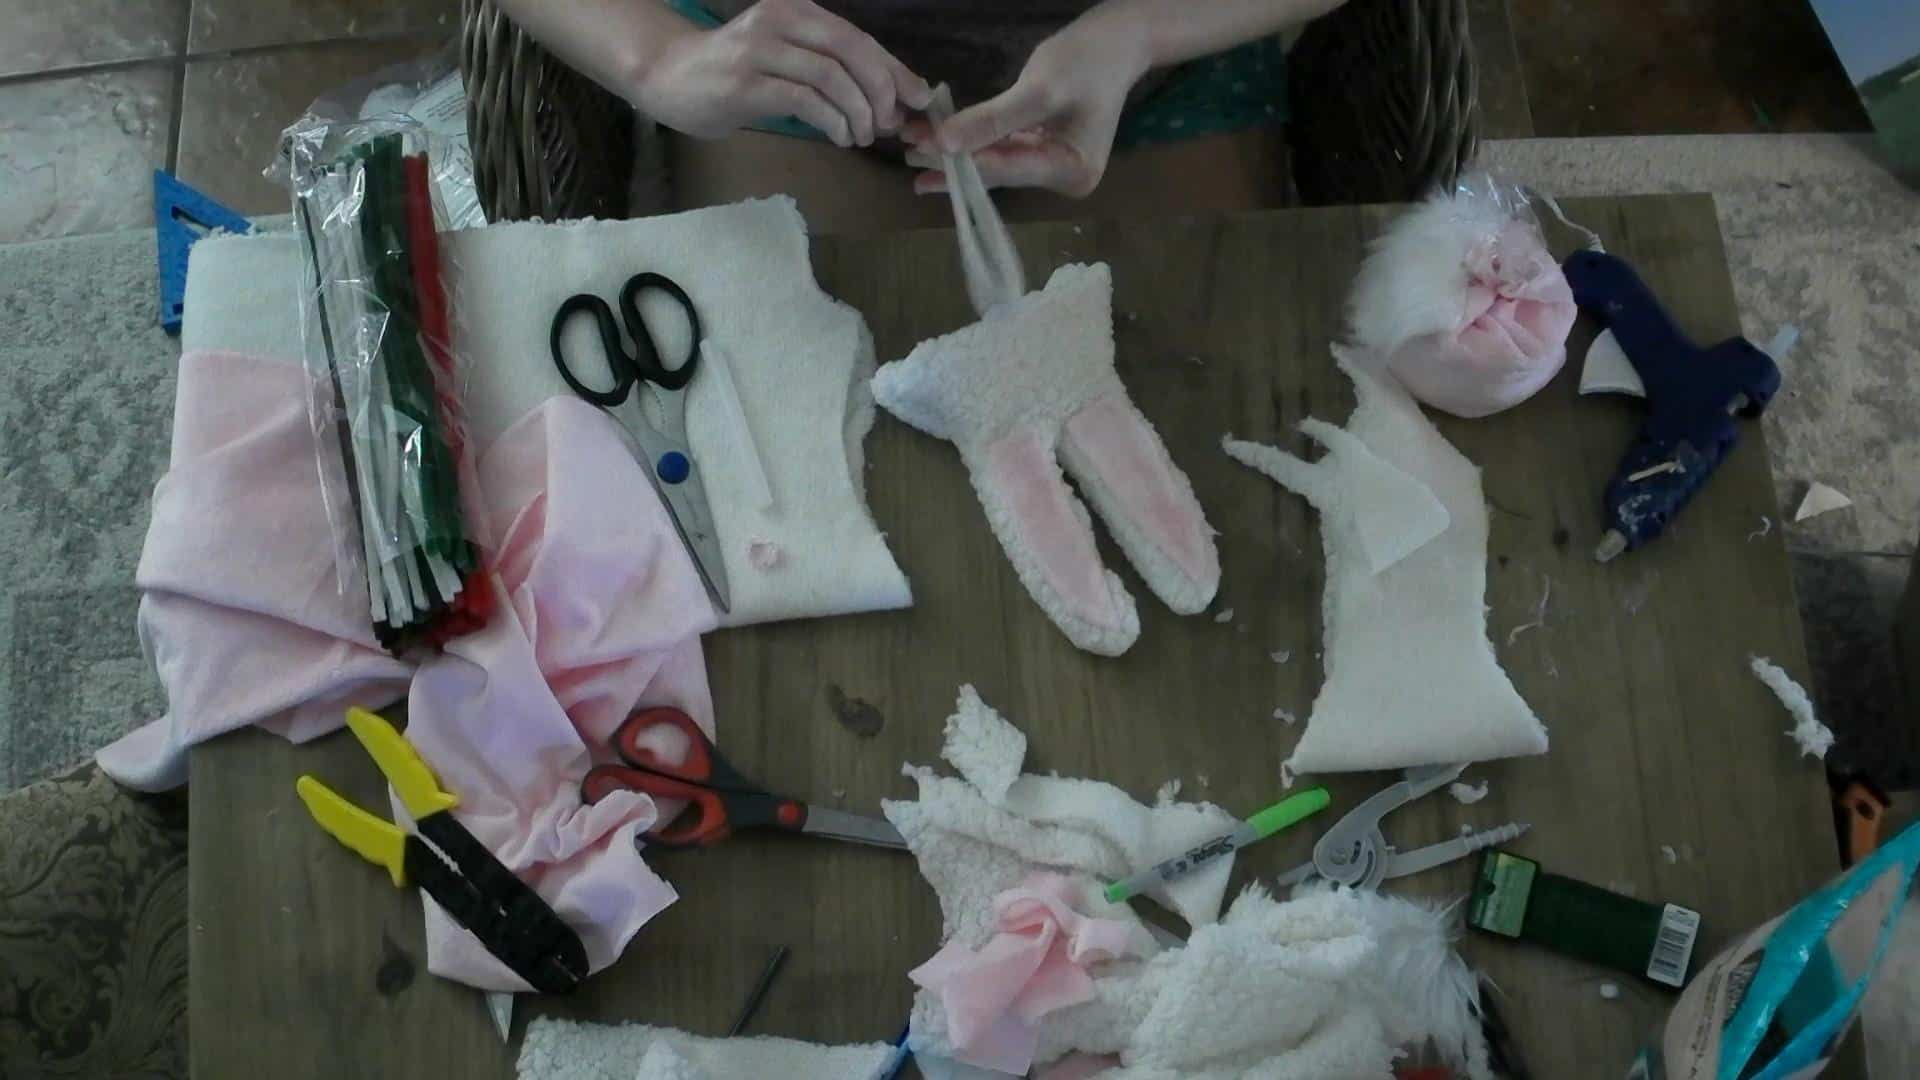
I used pipe cleaners to make the ears stand up! I used two in each ear and folded them in half. I also added just a tiny bit of polyfill to the hat part of the ears!
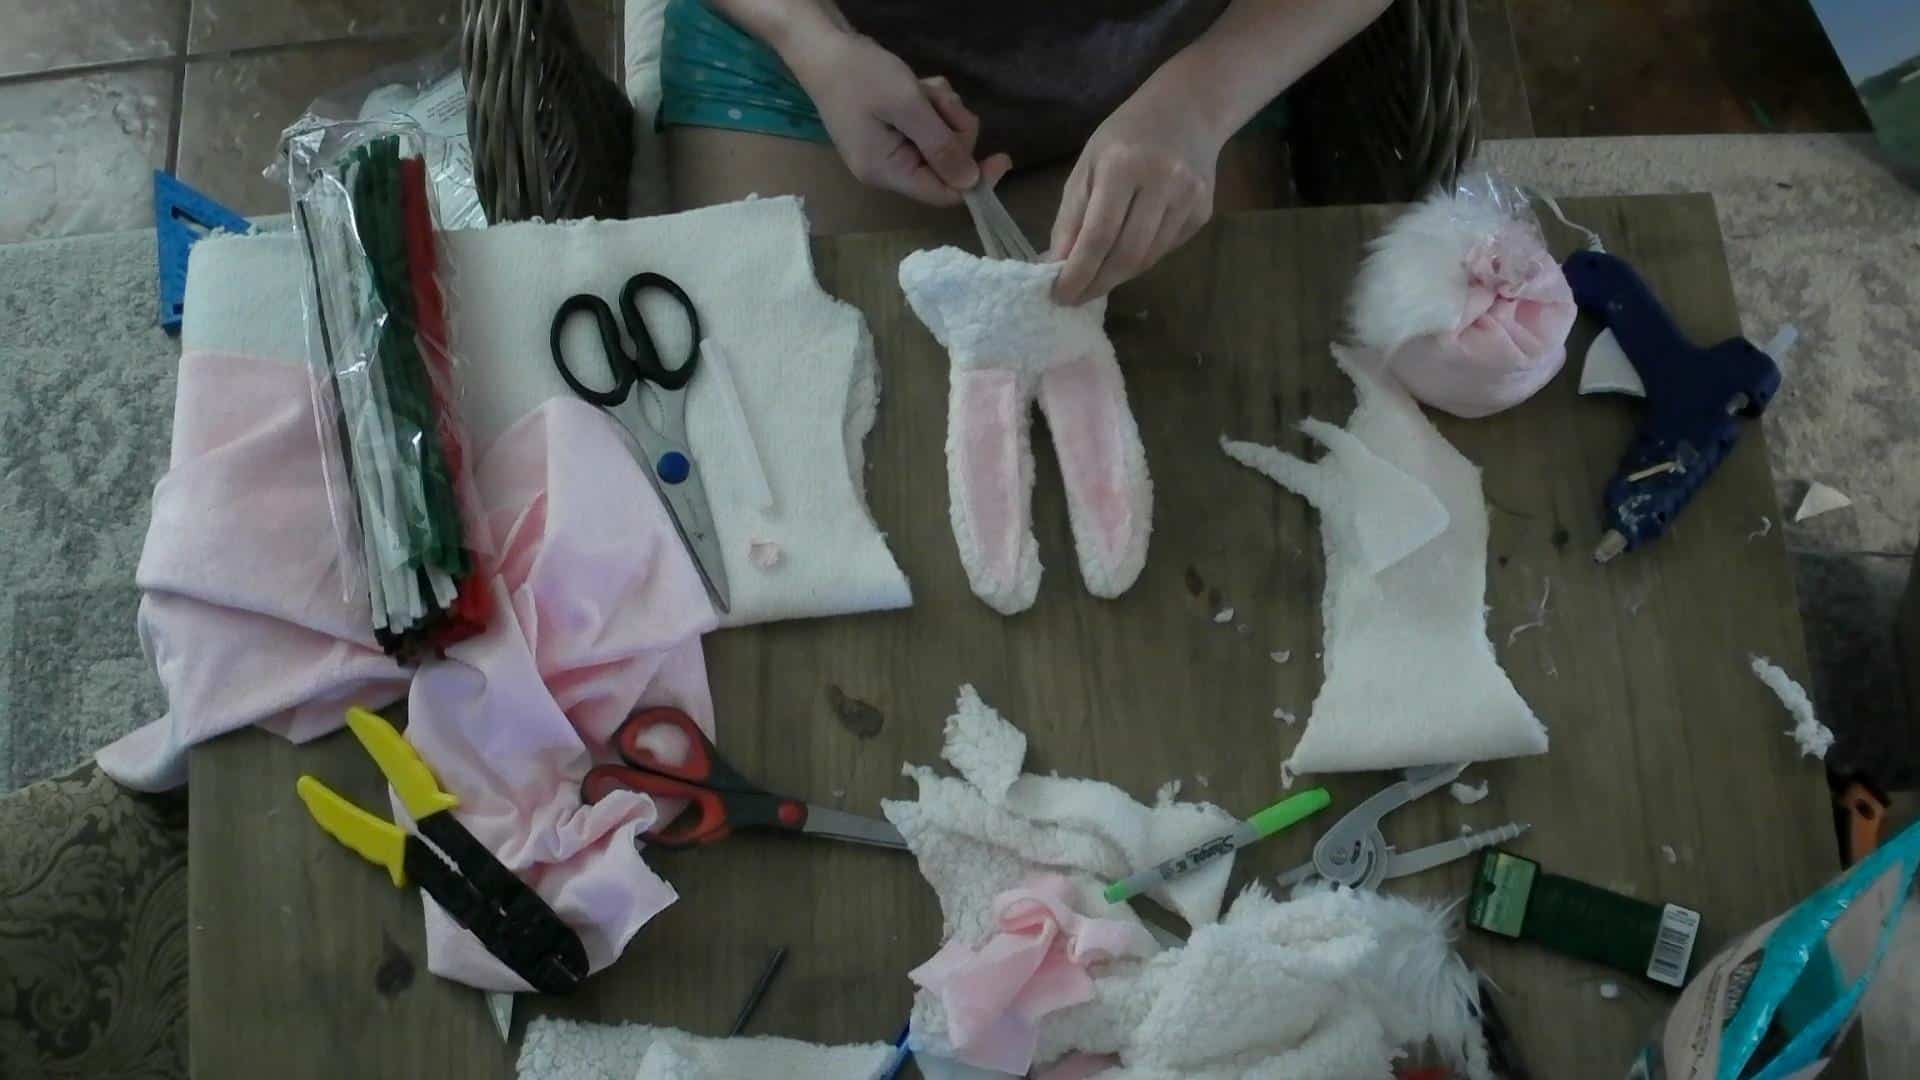
Once you have the ears stiffened with pipe cleaners and the correct size you want, hot glue the bunny ears to the base!
Add any embellishments that you would like! I cut a flower out of pink felt and blue fabric, glued it on, and bam cutest bunny gnome you ever did see!😁
Oy, just typing this post makes me want to go make MORE DIY GNOMES! 😂🙈 I just think they are ADORABLE! If you make any, I WANT TO SEE THEM!😏
Do you know someone that would LOVE this tutorial on how to make DIY gnomes as well?! SHARE IT with them!
[social_warfare]
Have a good one!

Don’t have time to make DIY gnomes now? PIN IT for later!