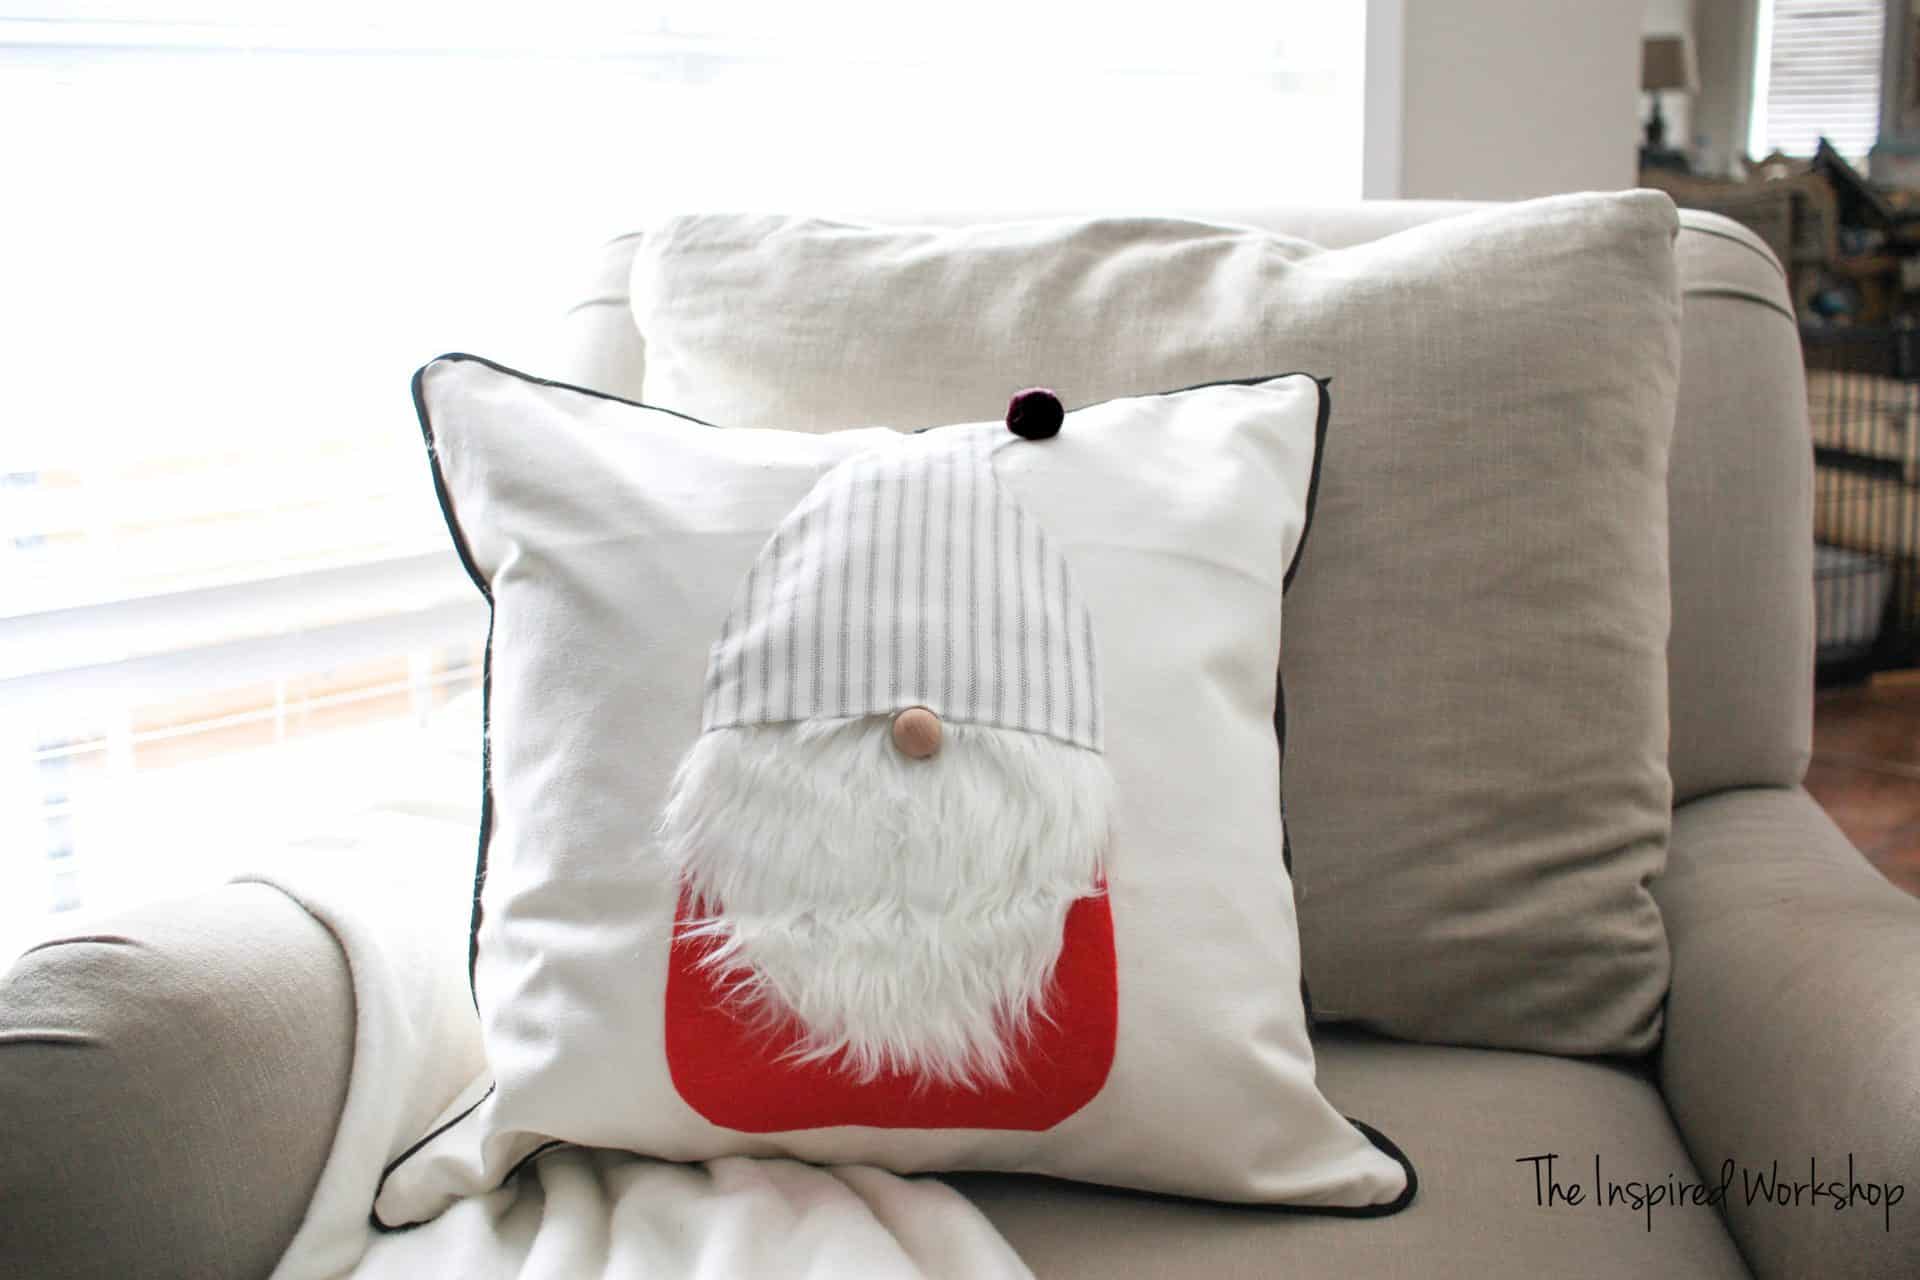
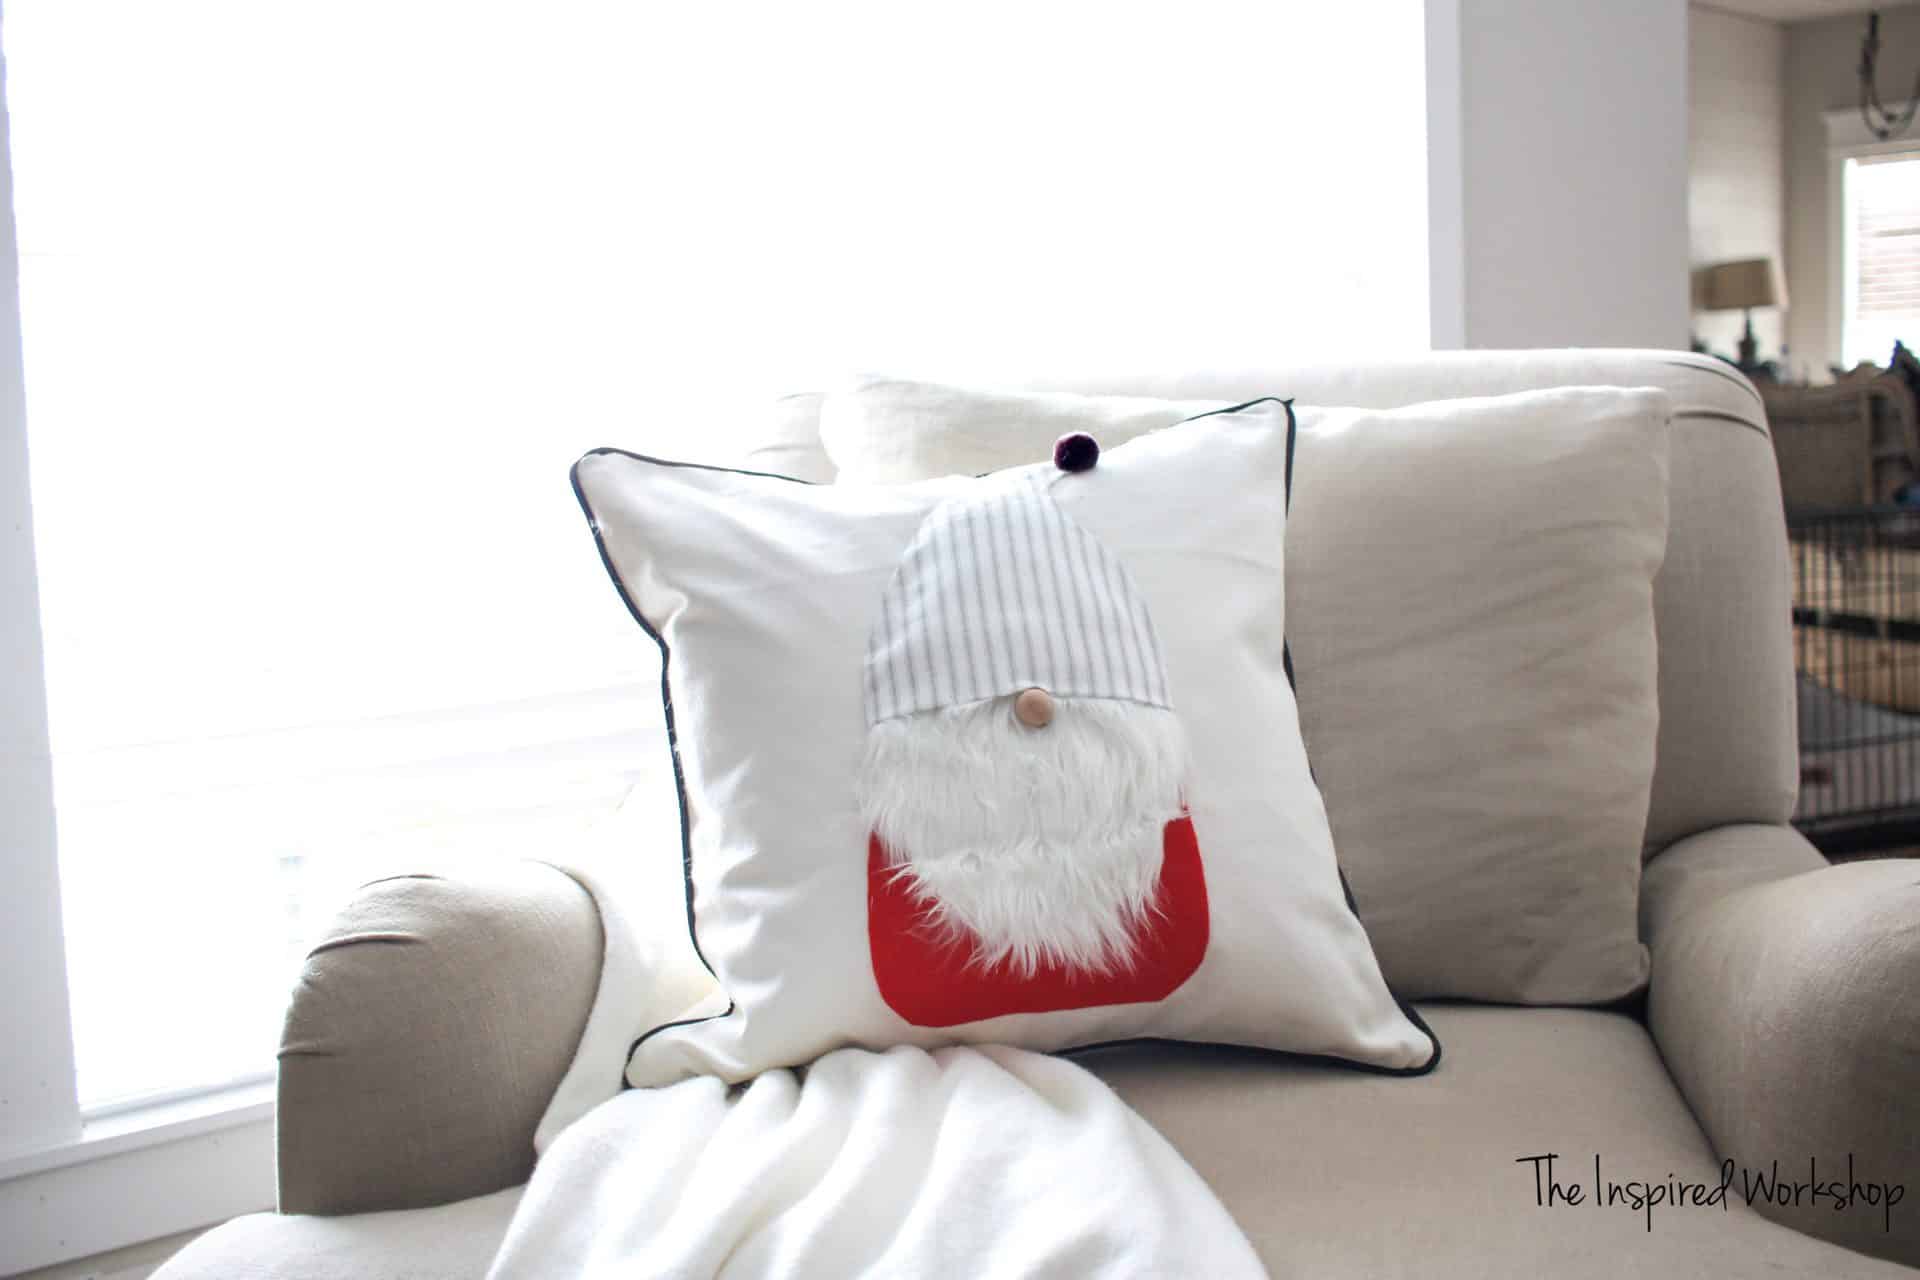
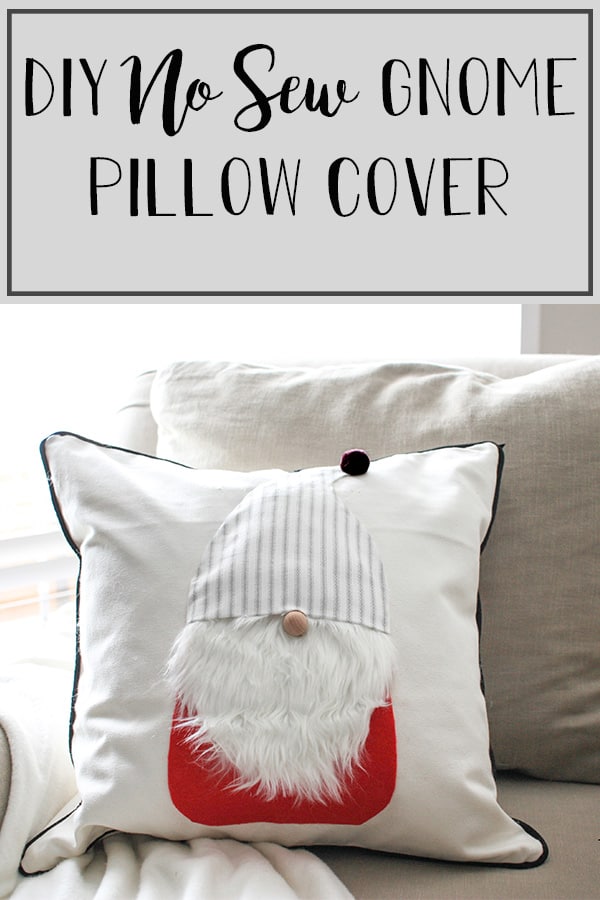
DIY Christmas Gnome Pillow Cover

Gnomes are so popular in Christmas decor right now that even Pottery Barn has jumped on the gnome train! This no-sew DIY gnome pillow cover is the perfect addition to your Christmas decor this year! Free patterns to make yourself a cute gnome pillow cover!
*And I say to myself as I am editing pictures, “I sure hope Santa brings me a handheld steamer this year so I can get the wrinkles out of this cushion!”😂
I am ALL about the gnomes this year and Pottery Barn kinda sealed the gnome love for me when they put them on everything! I could not have been happier to see gnomes on stockings and tree skirts…they even have gnome bedding! 😍
So, that was just to forwarn you about the fact that there are a few other Christmas gnome projects coming, like these adorable no-sew gnomes, gnome stocking holders, and this adorable gnome Christmas garland! Yay! Plus, this cold weather has me wanting to cuddle up inside with a good movie, hot cocoa, and a craft so these gnome crafts are the perfect way to have it all! Lol!
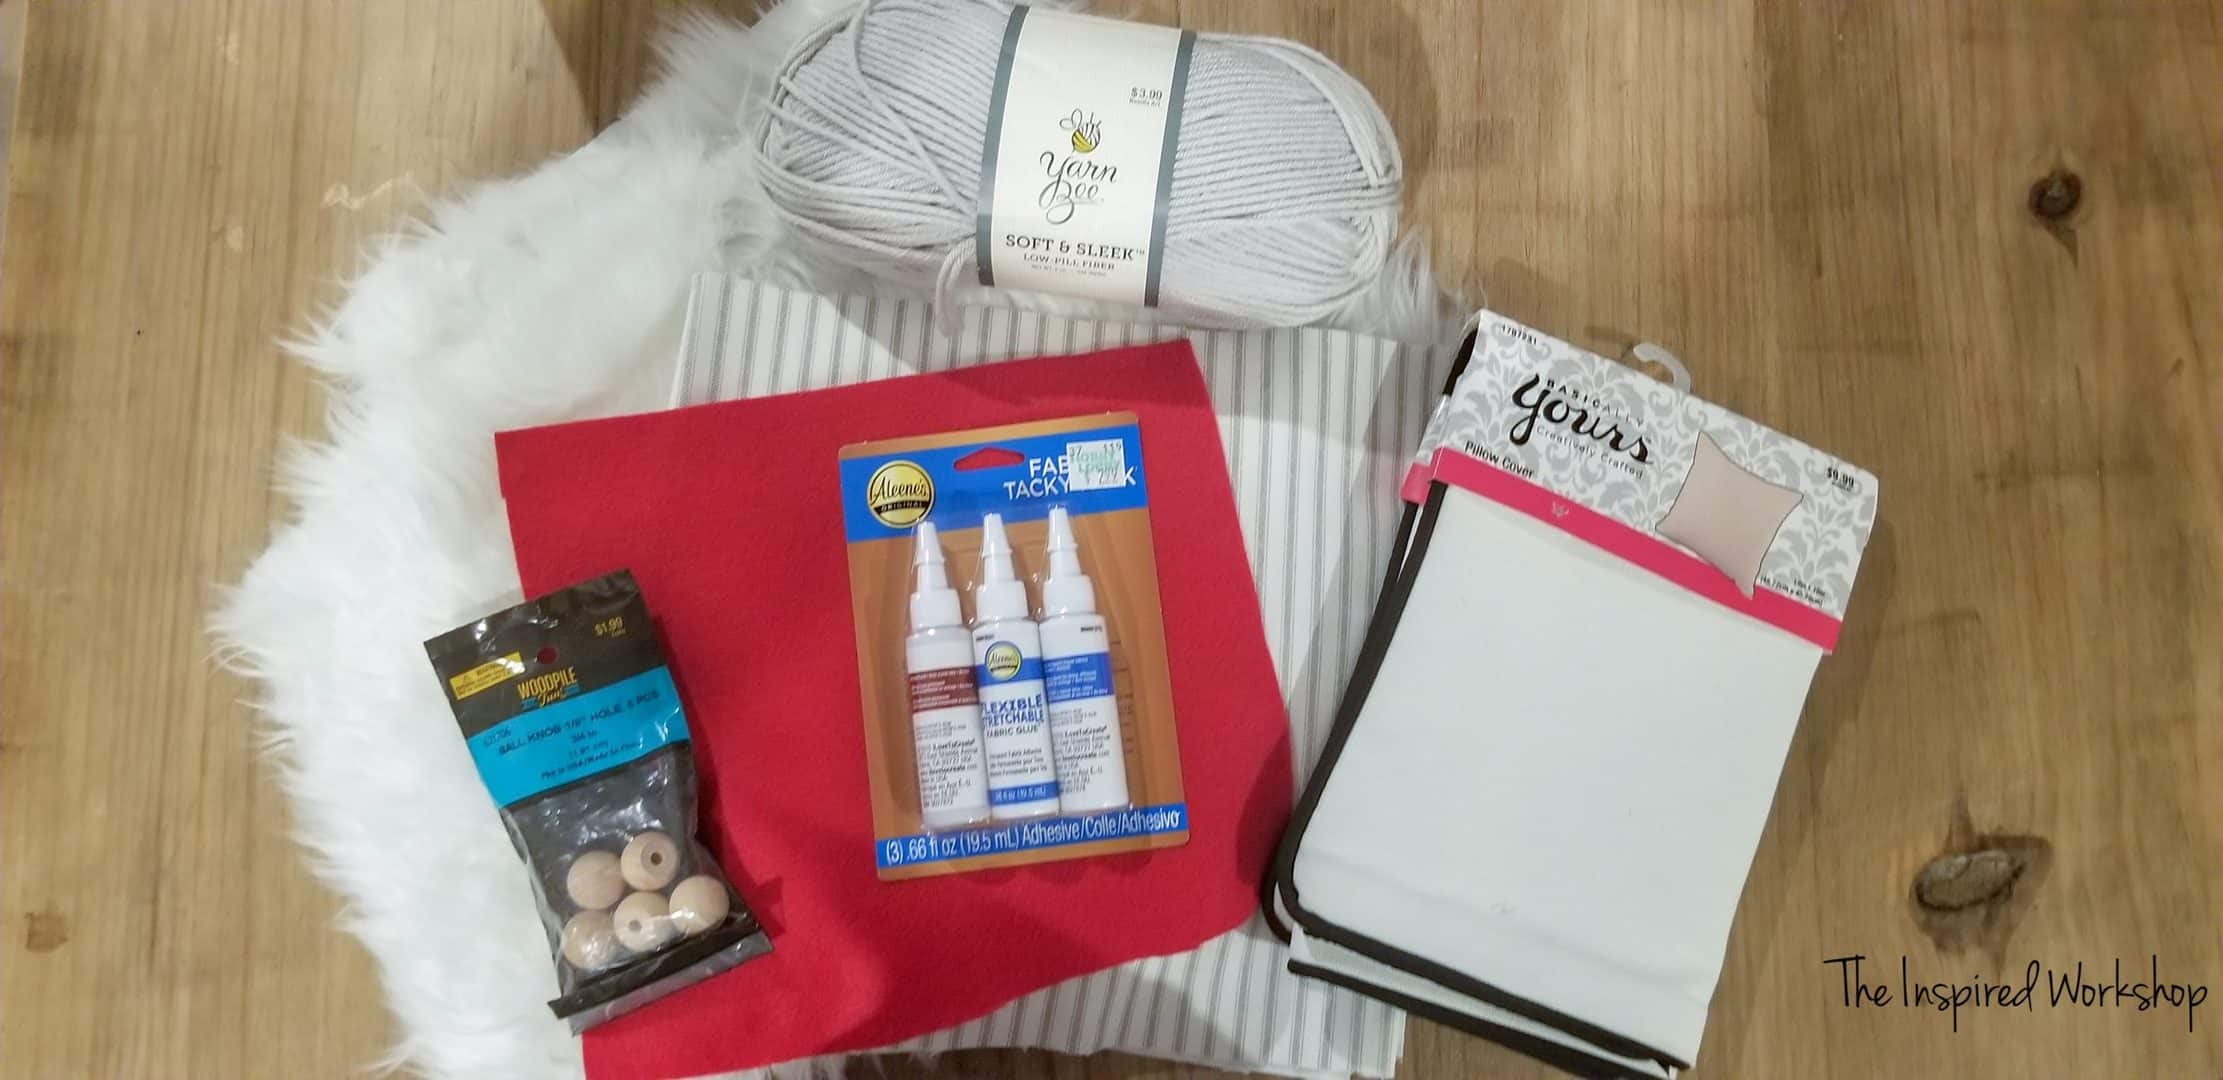
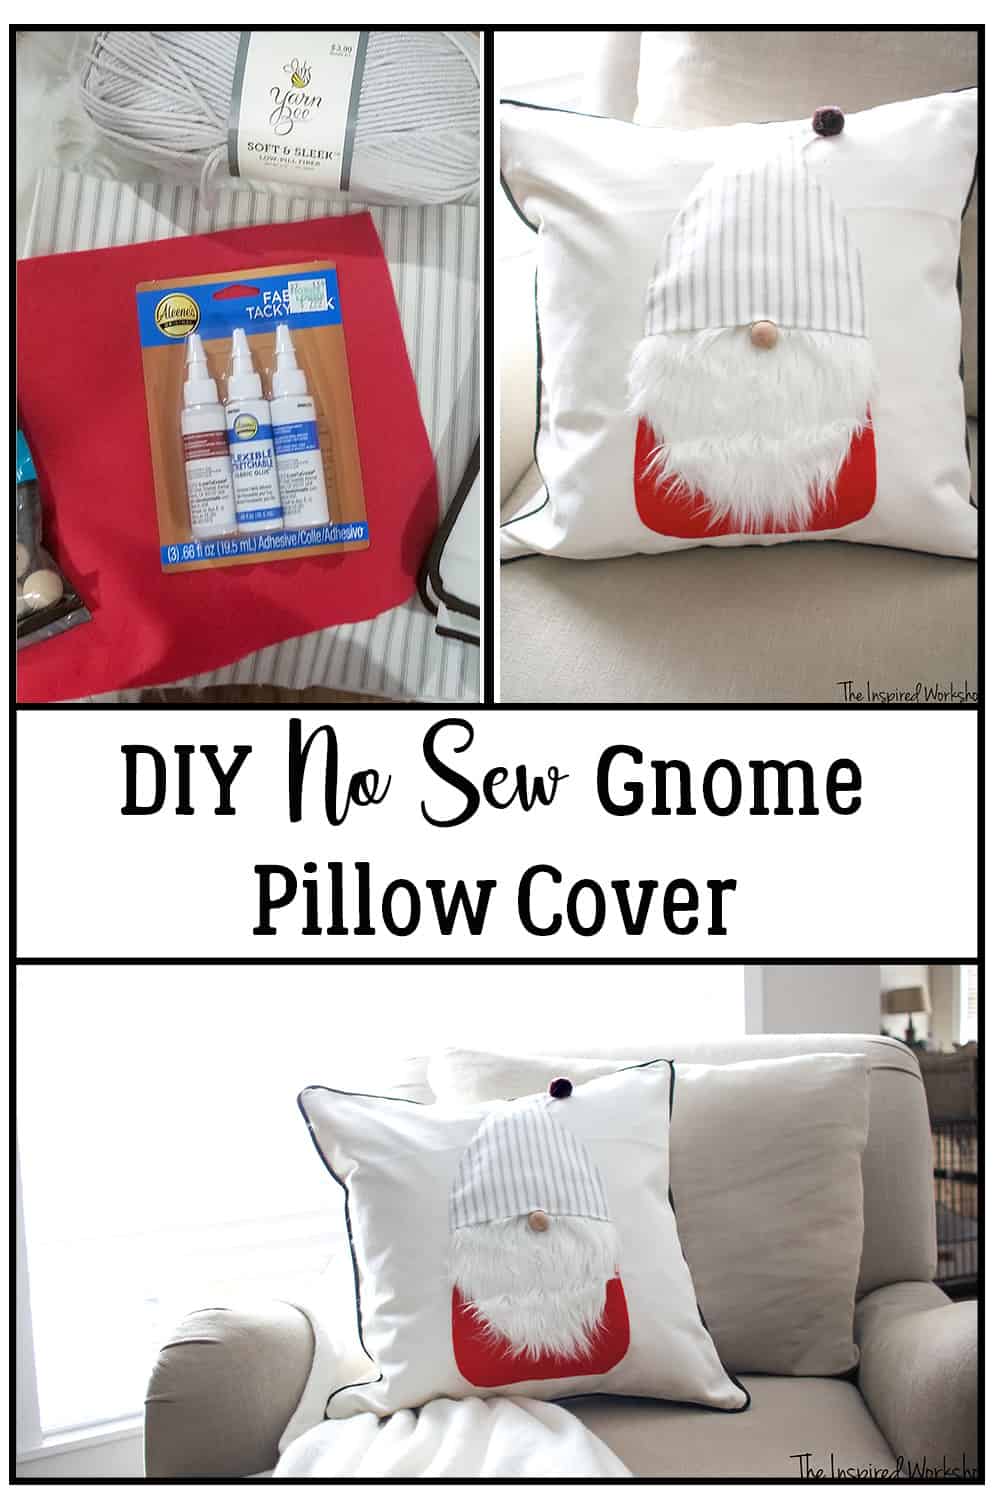
Gathering Supplies to Make a Gnome Pillow Cover
“Do you wanna make a Christmas gnome pillow cover? Or make a gnome with a body of beans?” That sang in my best “Do you wanna build a snowman?” voice! 😎
Anyway, the best part about this adorable pillow cover is that it can adorn your couch all winter too!
Materials to make gnomes:
*NOTE: Amazon Links below are affiliate links, which means that if you click a link and you make a purchase after clicking that link, I make a small percentage of that sale at no extra cost to you! It’s a pretty sweet deal to help me keep this content coming at you for free! Thanks in advance for supporting my little ole blog! All other links are just to be helpful in finding the same items I used!😉
- pillow cover – Amazon has a ton of options even cheaper than the one I bought at Hobby Lobby or you can throw one together on the sewing machine, but for the 6 dollars I paid for this one, I didn’t want to spend the time making one!
- Red felt (body) – I bought a 1/4 yard (to have extra to make other gnomes! Lol!) but since you will only use a 9″x9″ square of it, you can purchase a felt sheet that is 9″x12″
- White faux fur or white felt (beard) – again one sheet is enough, but they also sell it by the yard…to make more gnomes! Lol!
- gray ticking stripe fabric (hat)
- Fabric Fusion Glue (or you can grab the sampler bottle three-pack at Hobby Lobby as I did)
- pom pom (hat)
- wooden ball (nose) I couldn’t find them online at Hobby Lobby, but they are 1.99 for a bag of 6…I am pretty sure!
- polyfill if you want to stuff the hat ever so slightly as I did.
Making the DIY Christmas Gnome Pillow Cover
If you would like a pattern, I have included mine here for download, it is super easy to cut the shapes yourself though, and my patterns are not anything fancy! Lol! They are hand-drawn from the actual pieces I cut, so they are not perfect! Luckily, you can use them for size reference and make them as perfect or as imperfect as you’d like!
Christmas Gnome Pillow Patterns
Gather all your crafting supplies! Maybe grab a cup of hot cocoa, and turn on your favorite Christmas movie! This craft can be done sitting on the living room floor! That is part of the reason I LOVE this as well!
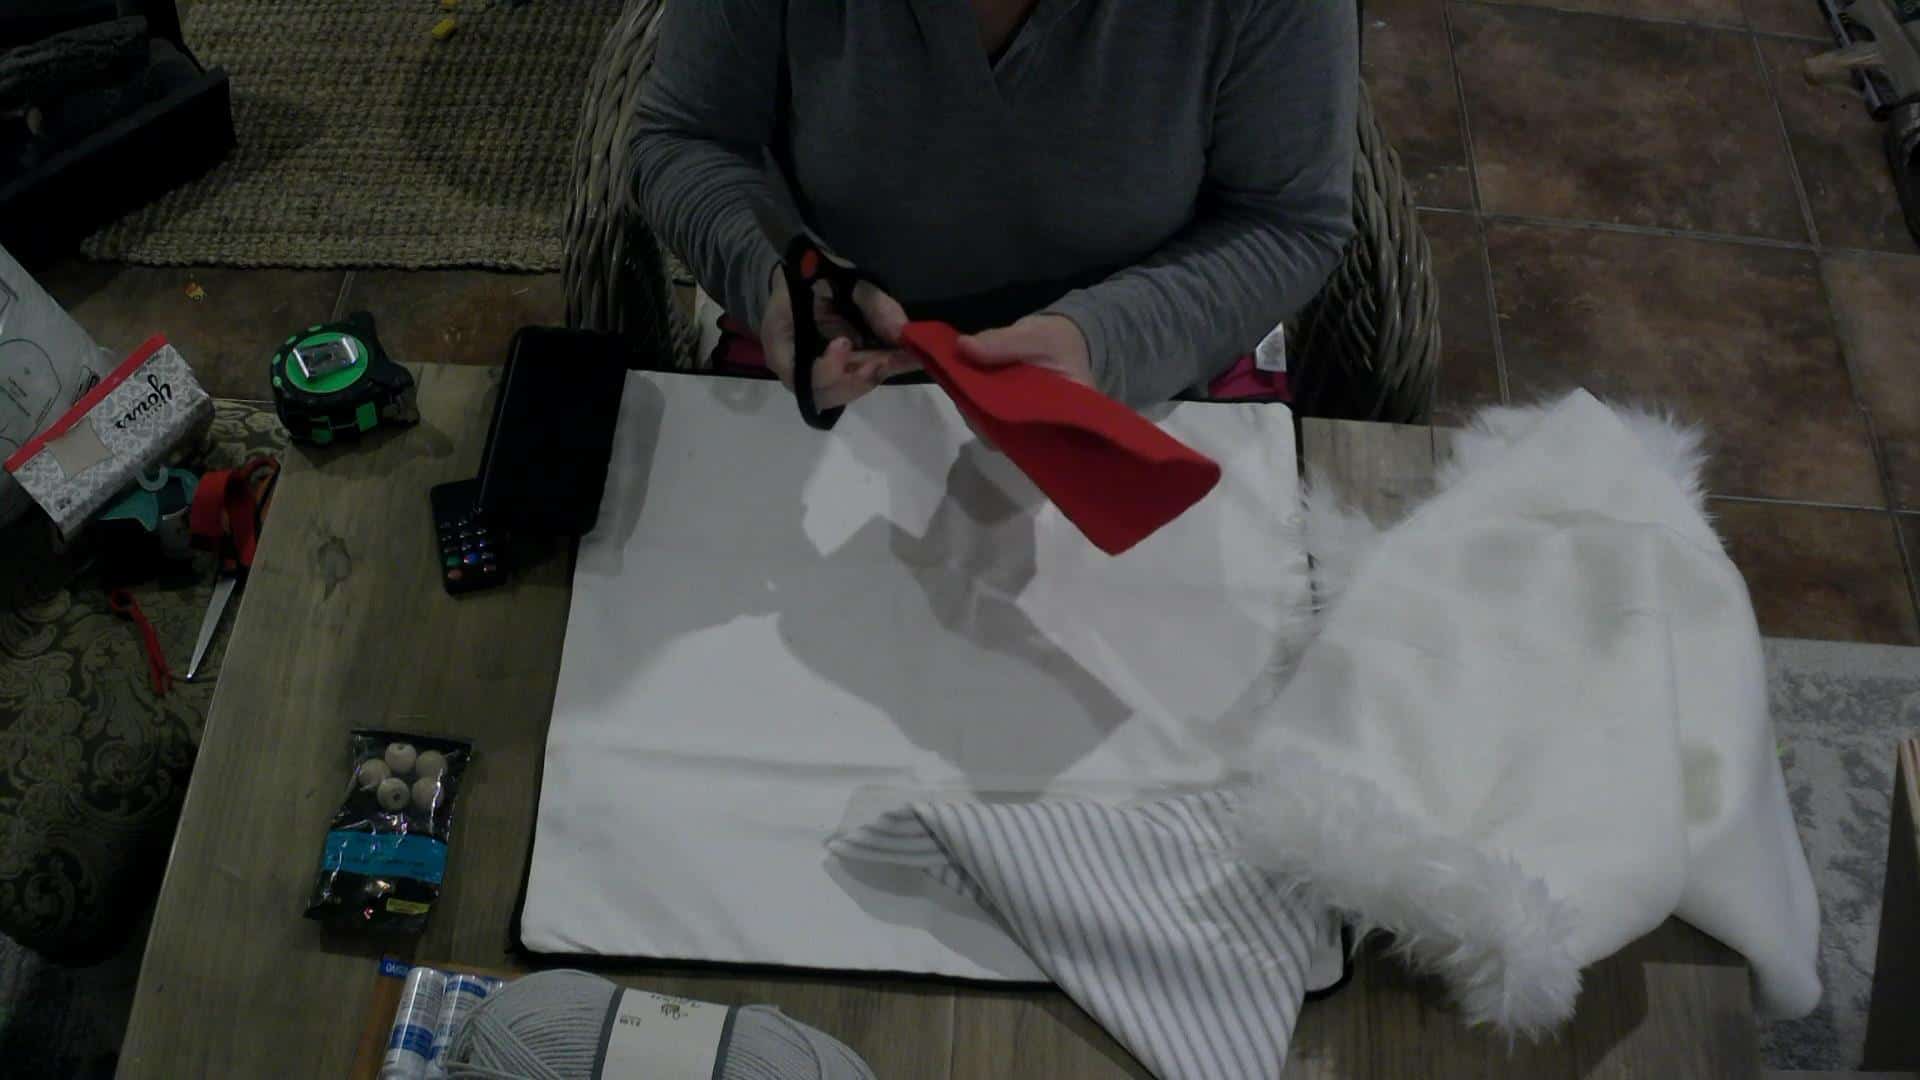
Okay, I cut all my designs and made sure of how everything was going to look before I glued a thing!
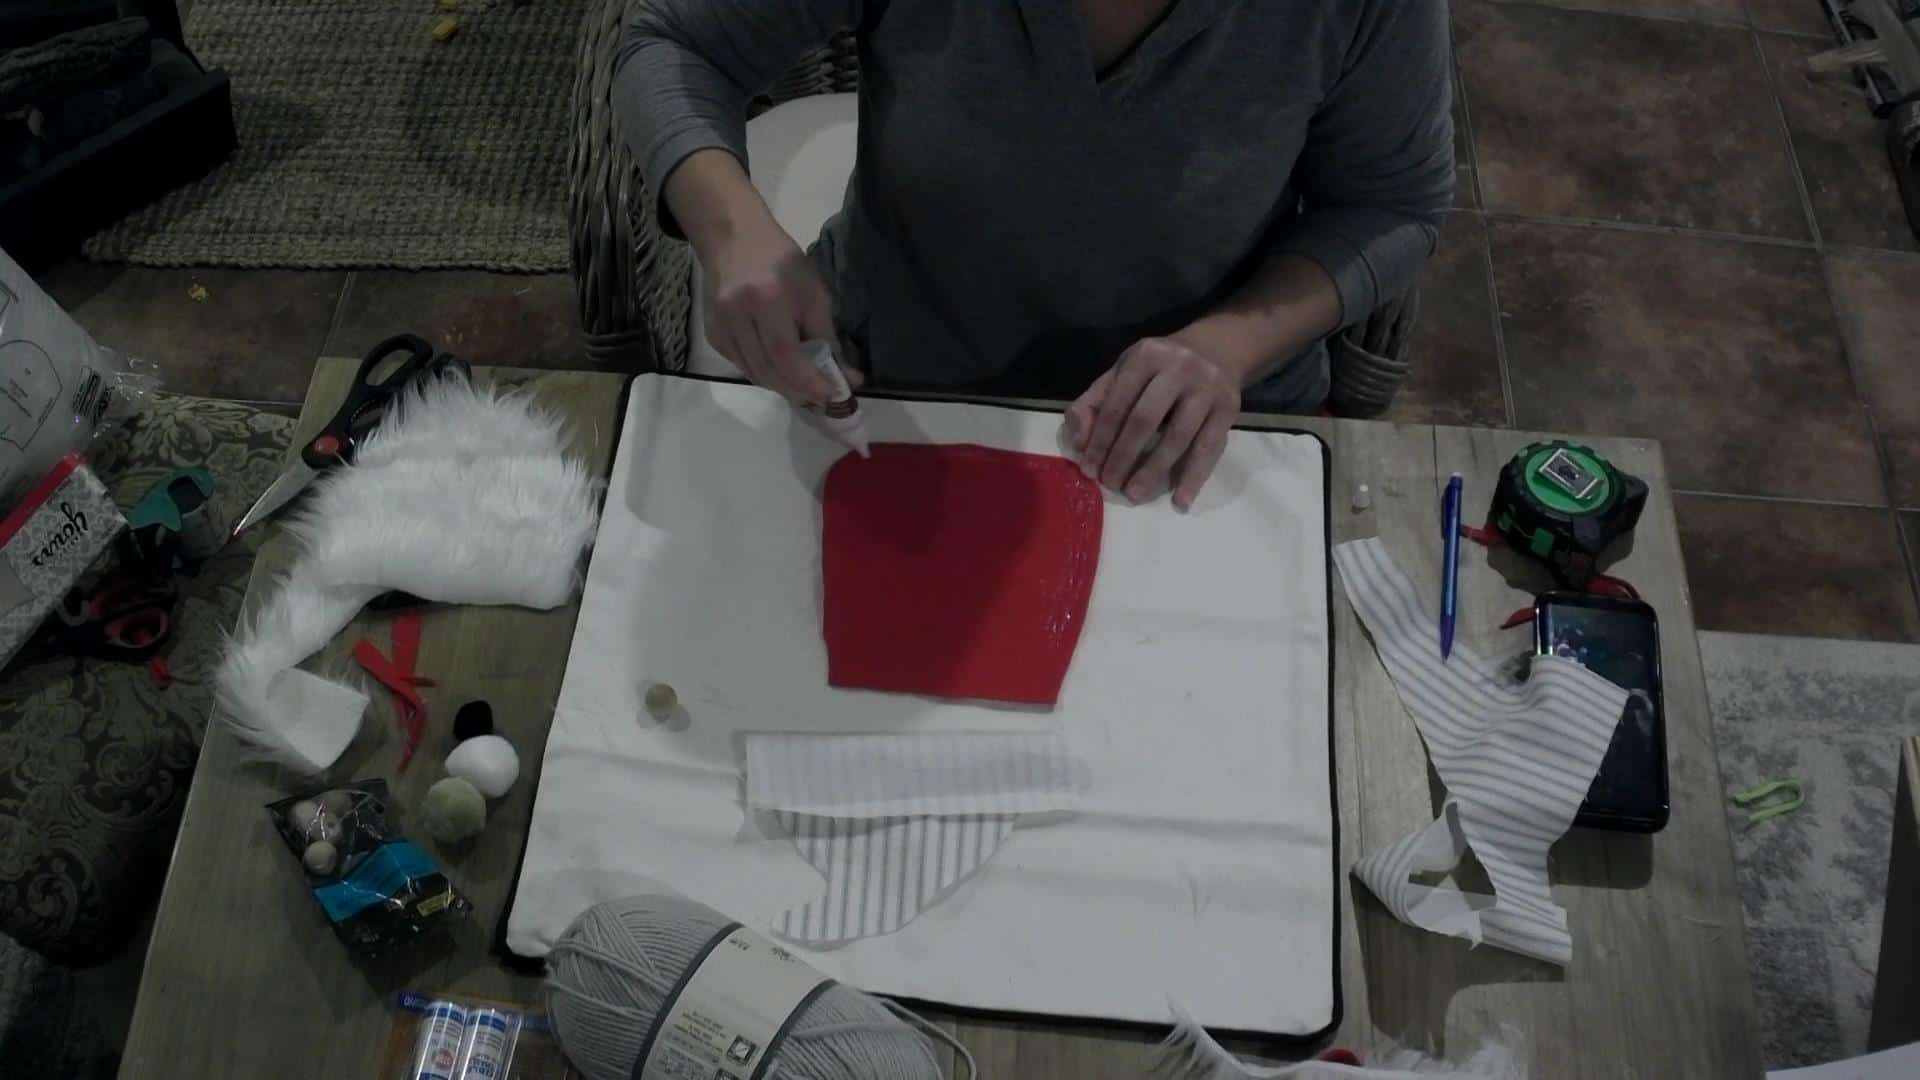
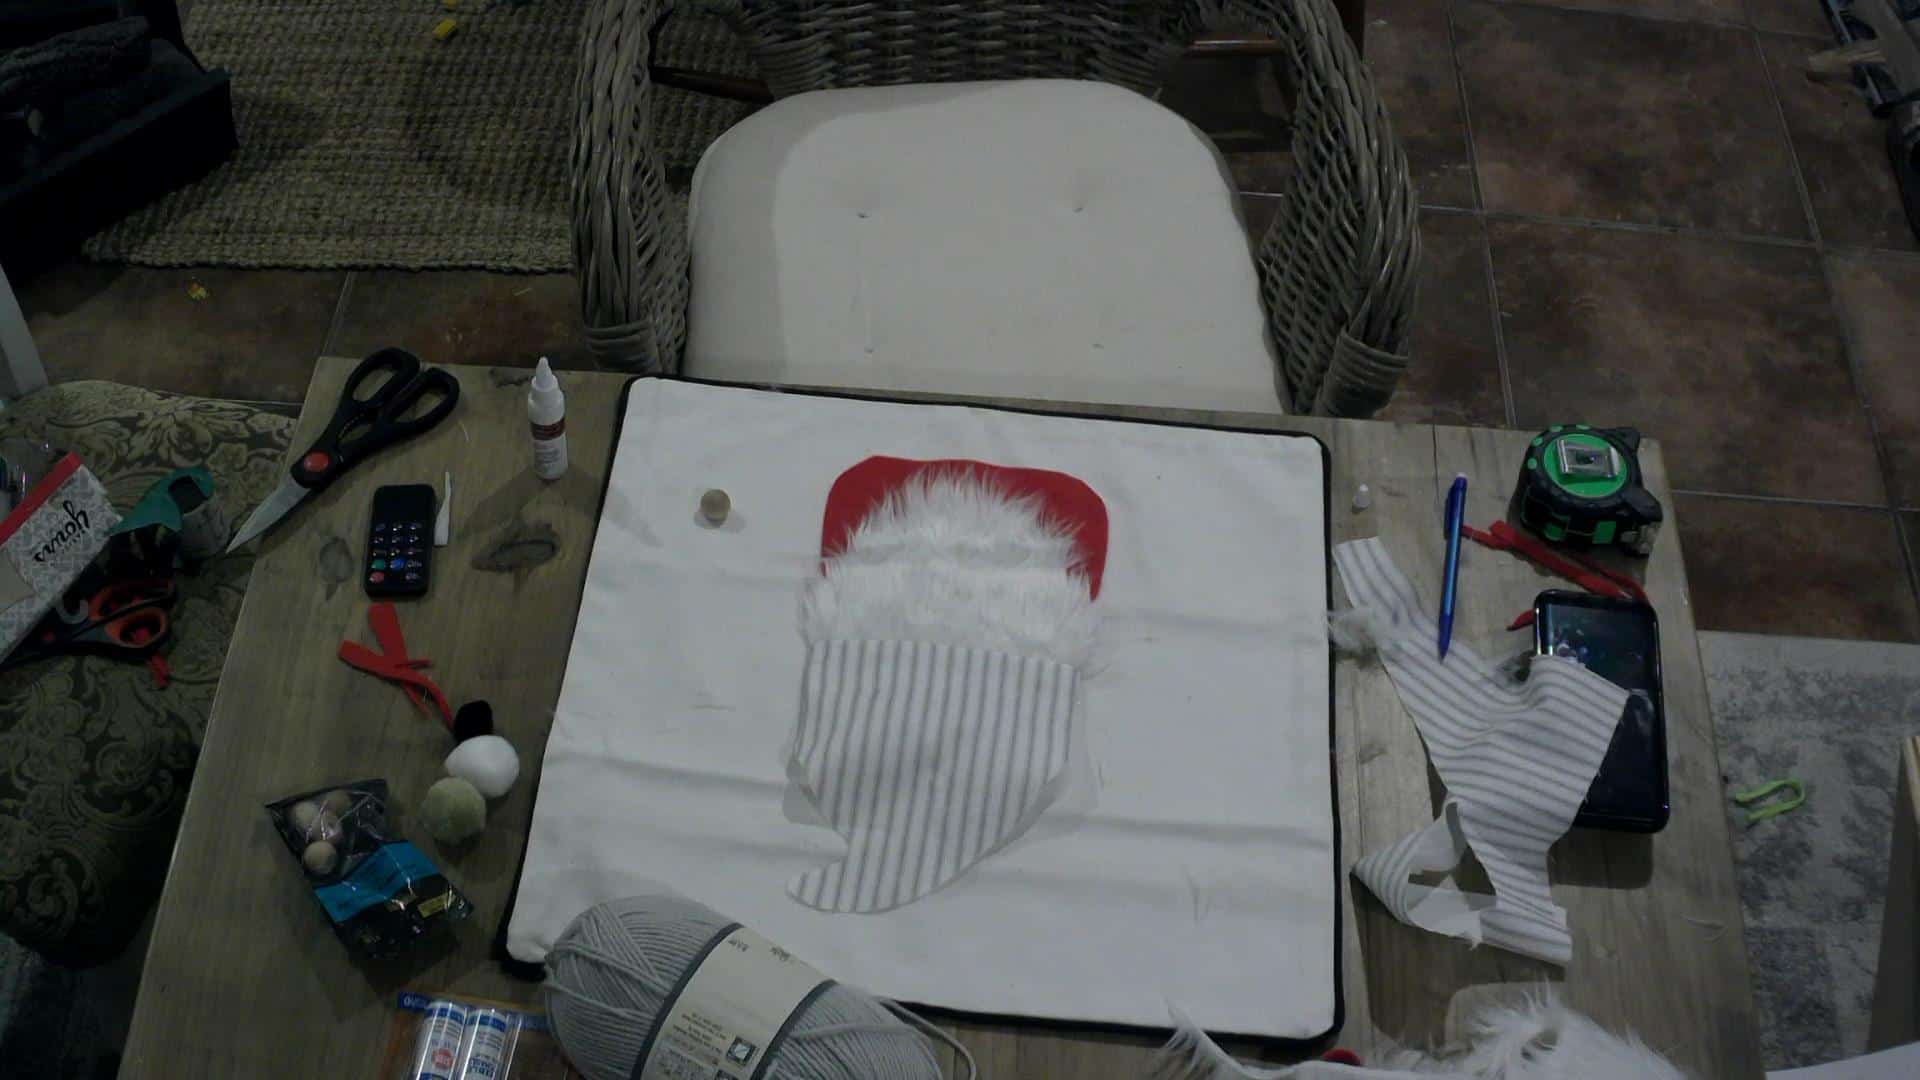
I first cut the body out of the red felt! I cut a square out of the felt, then folded it in half and rounded the bottom corners off, and tapered the top!
Sorry, the pics are a little dark, I was working hard late at night! Lol!
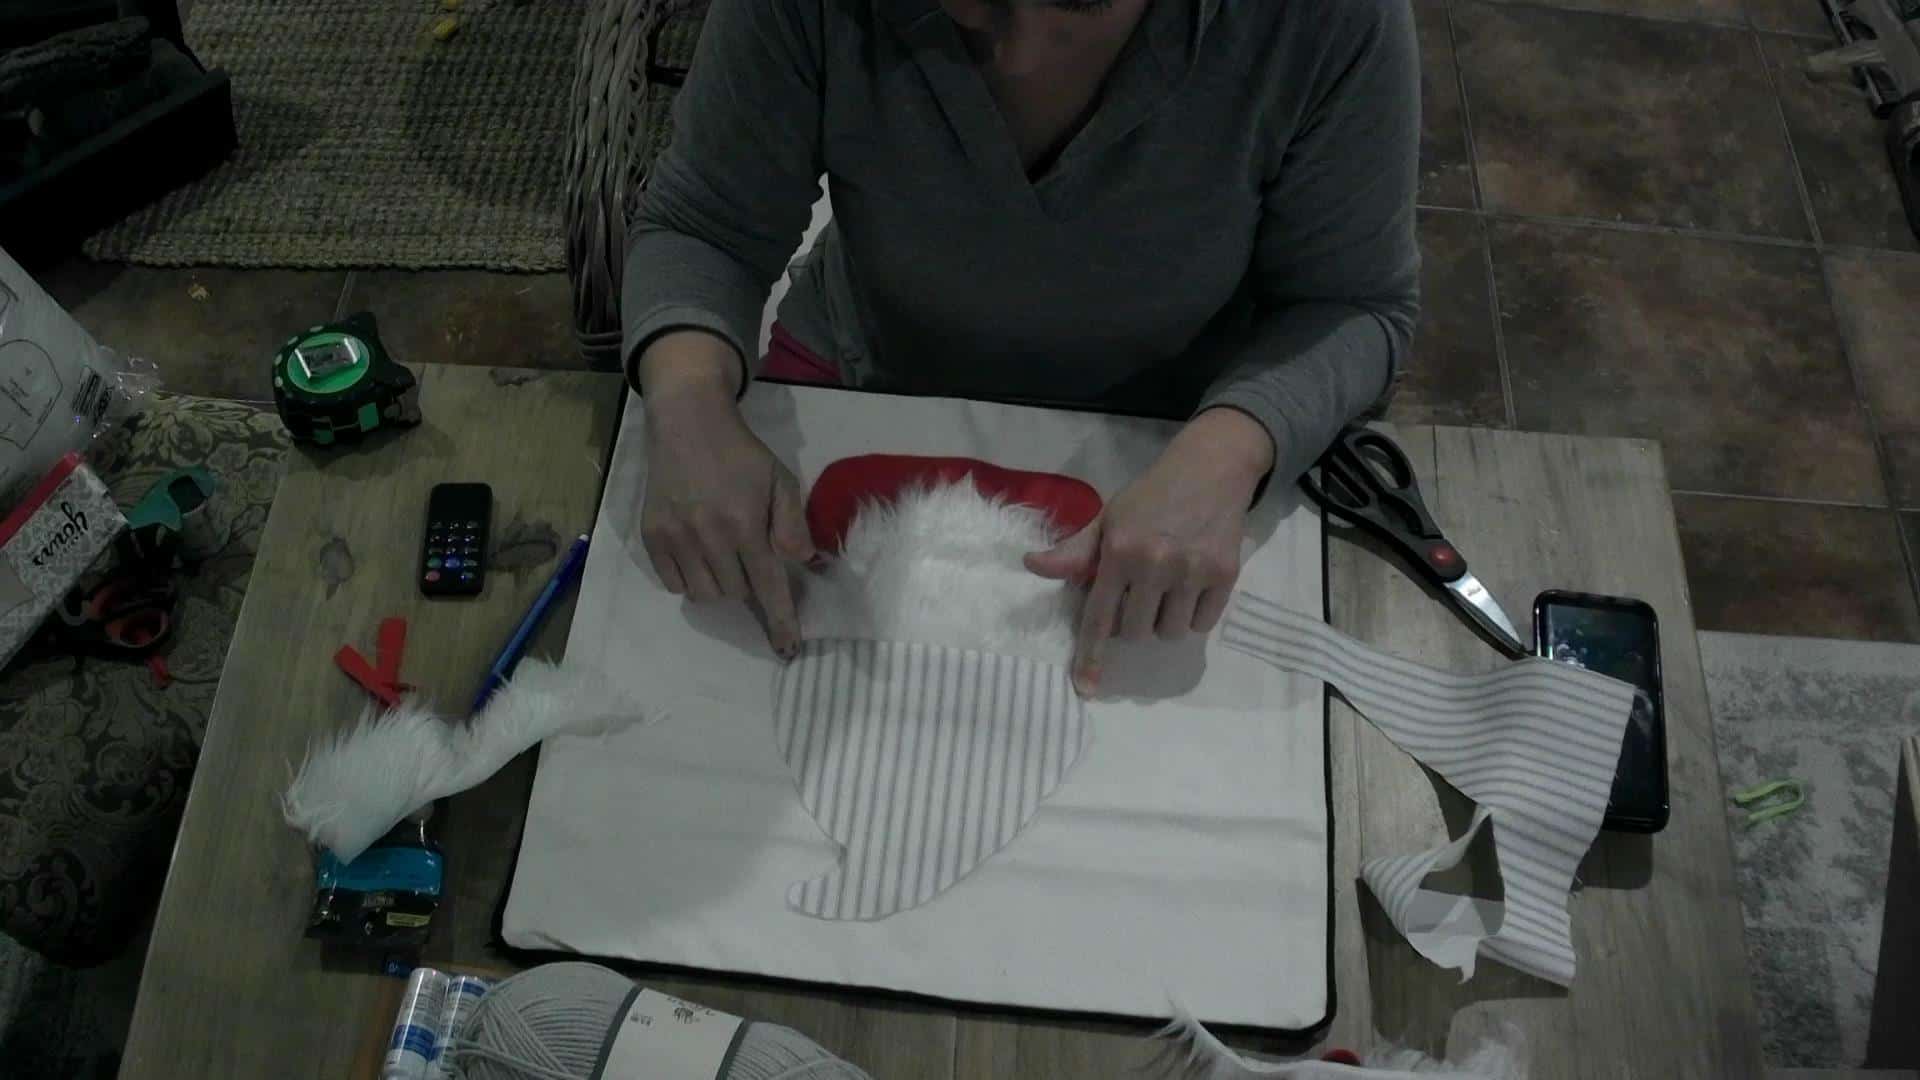
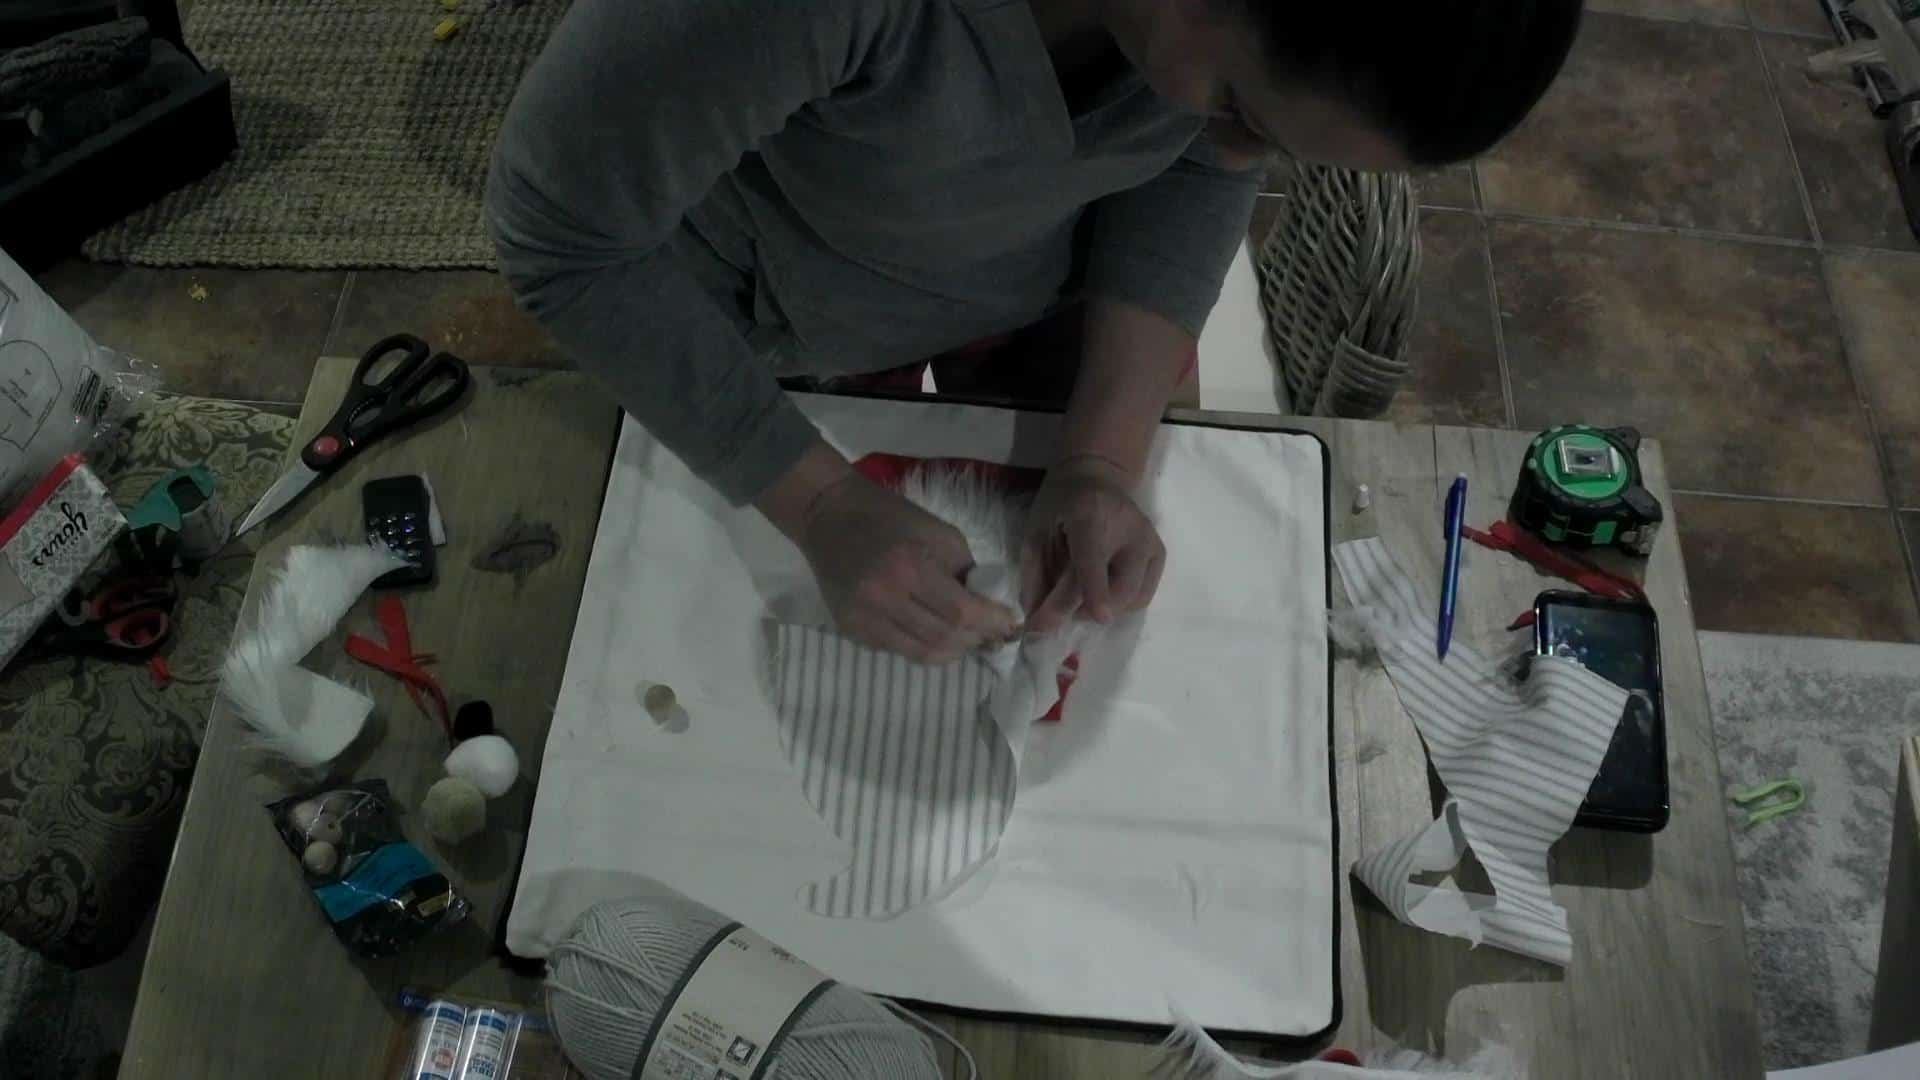
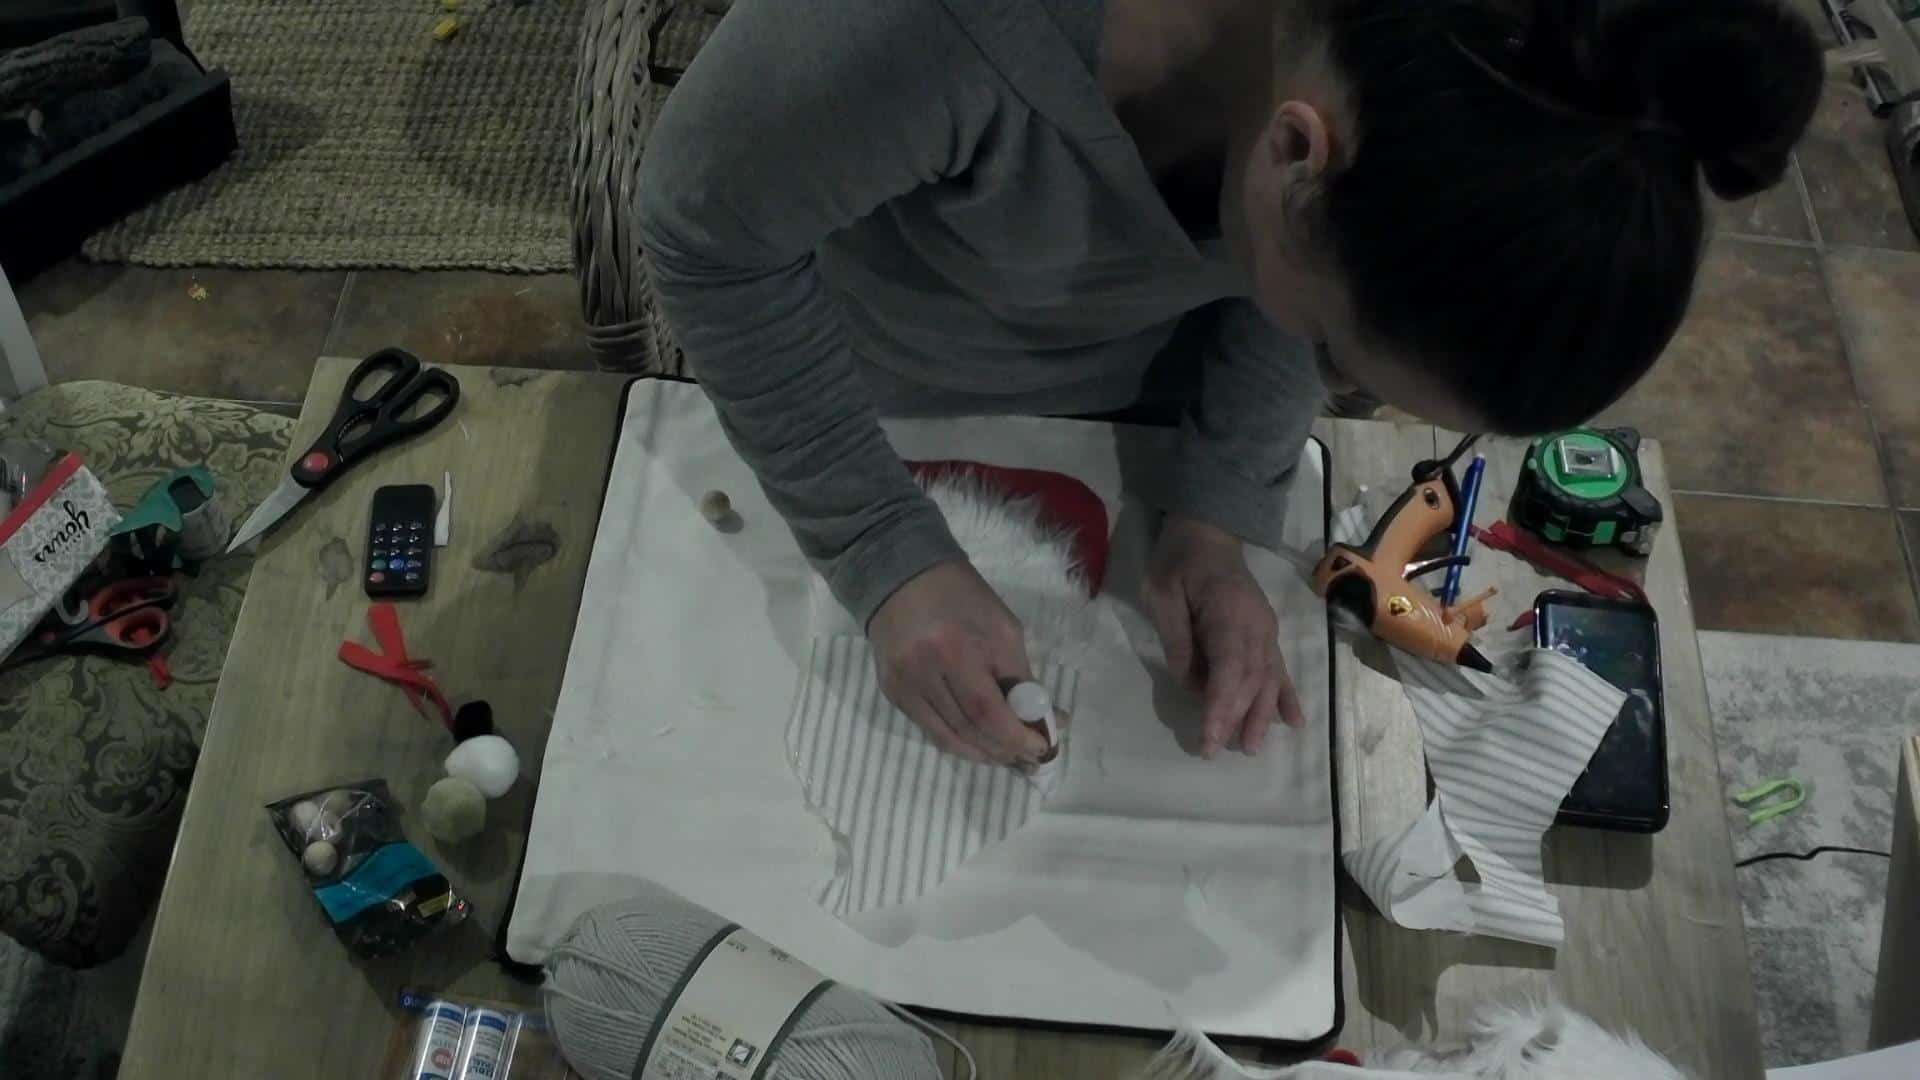
Once I had the body how I liked it, I measured to make sure it was centered and laid it down exactly where I was going to glue it. I didn’t glue it just yet!
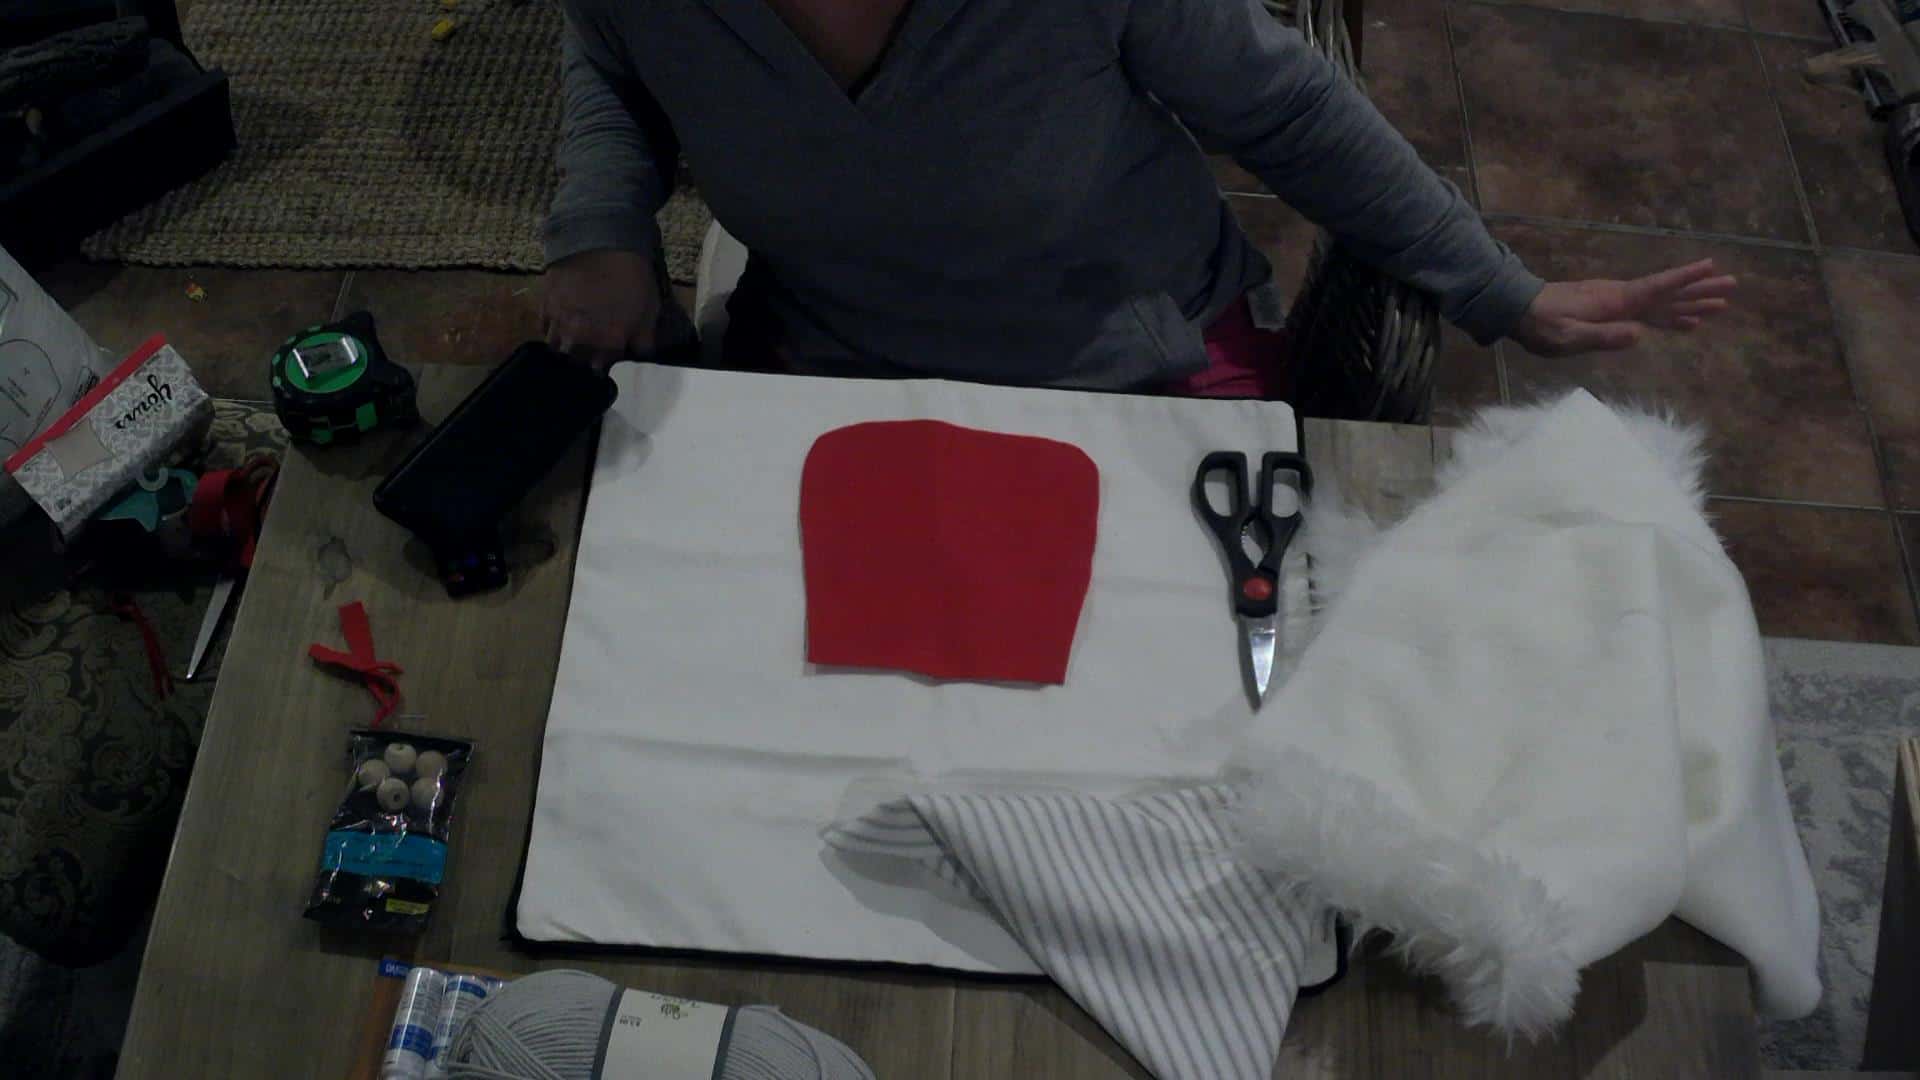
Don’t mind the crazy hand, I was on the phone with my sister while I was making this!😂
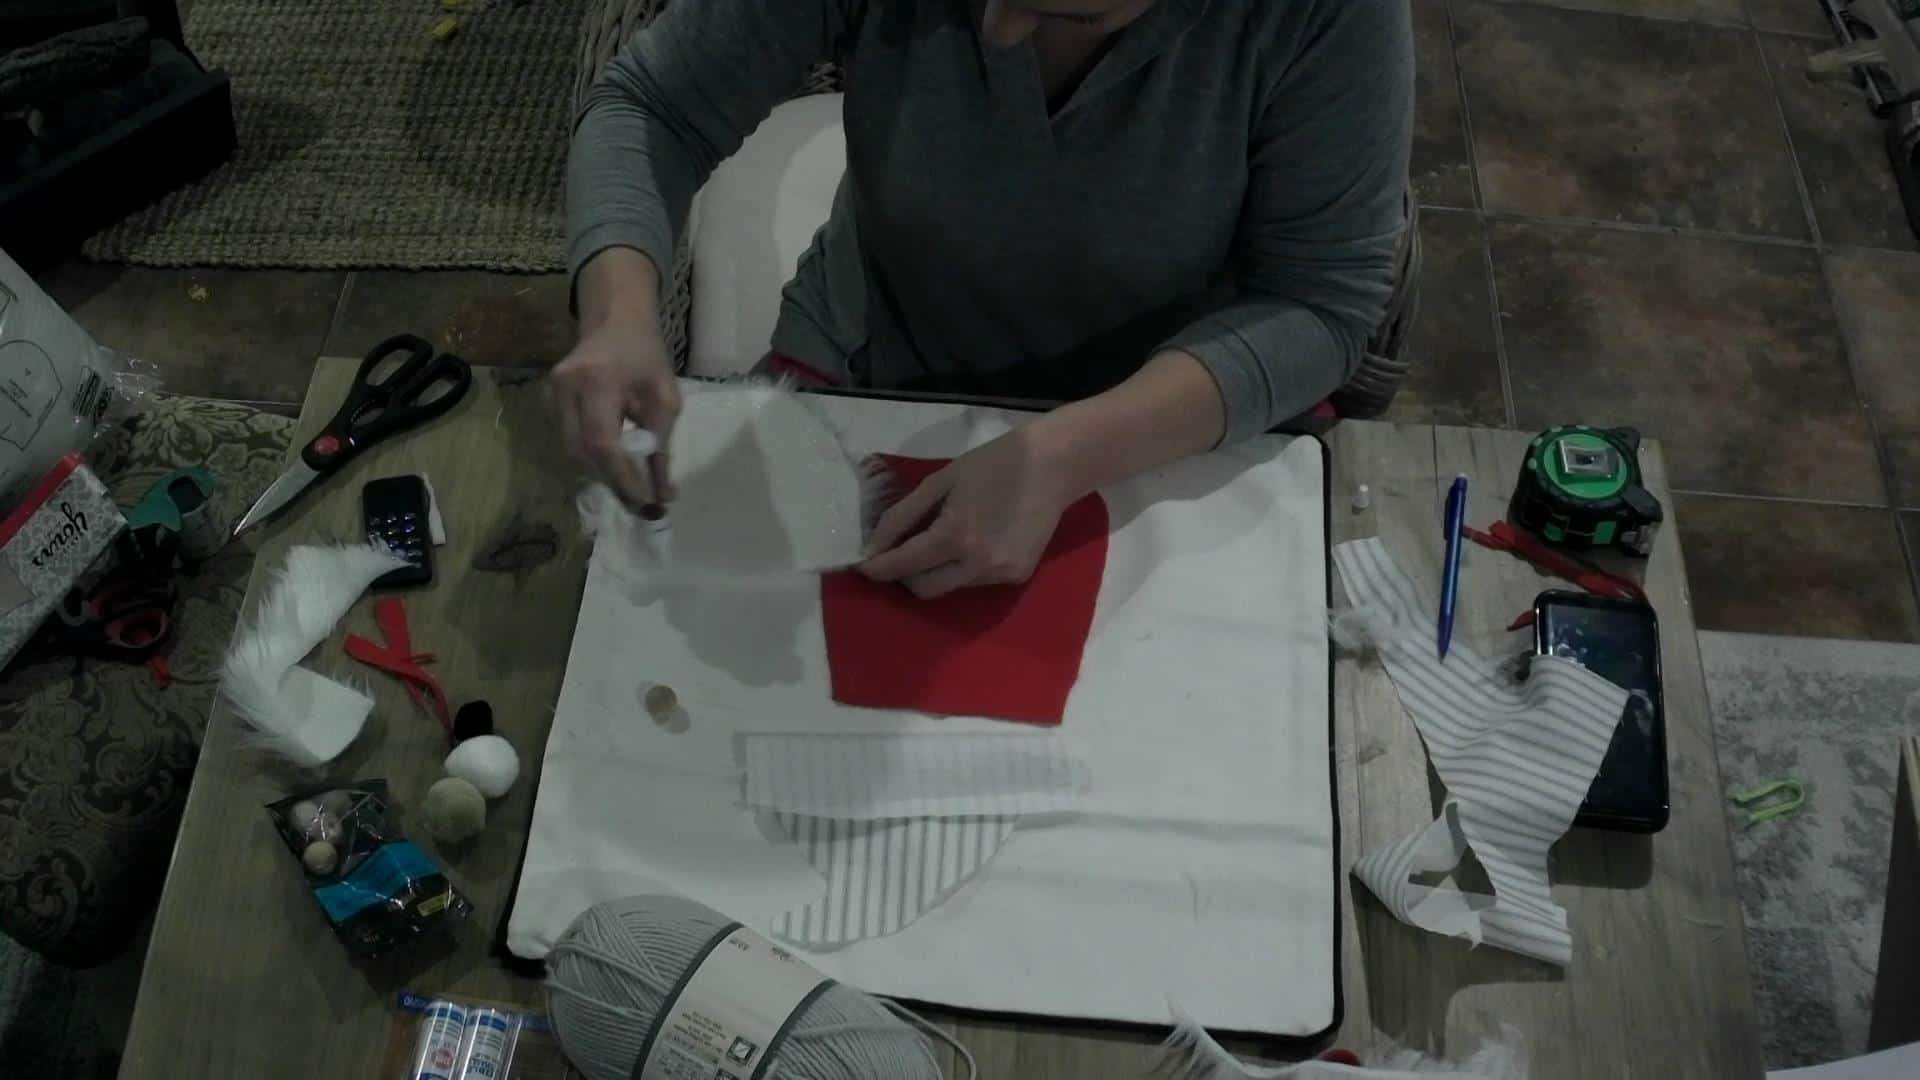
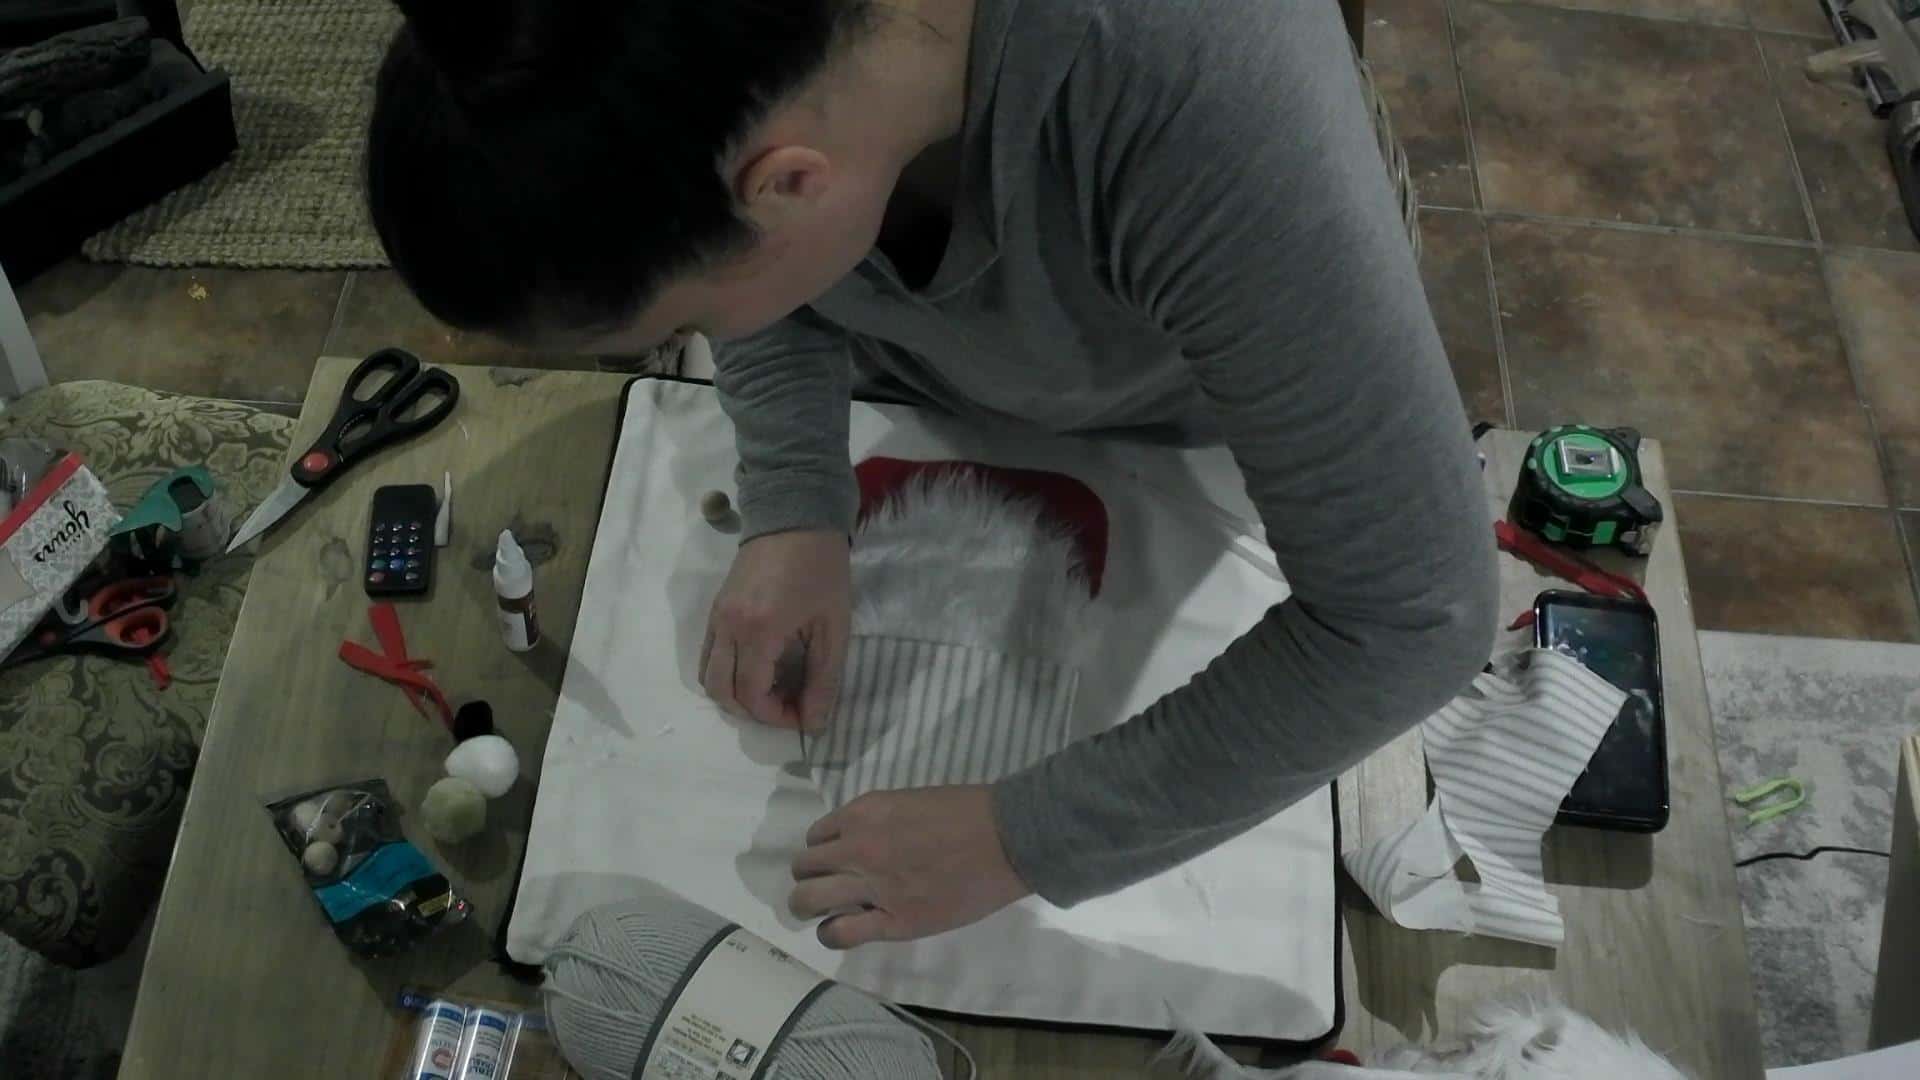
Next, I cut my faux fur into a U shape to make the beard! I found after a bunch of faux fur projects, it is best to cut the fur about an inch or two larger than you want the beard, then you can push the fur upwards away from where you are cutting to keep the fur scraggly. If you don’t do this the fur will be bluntly cut and look silly at the bottom!
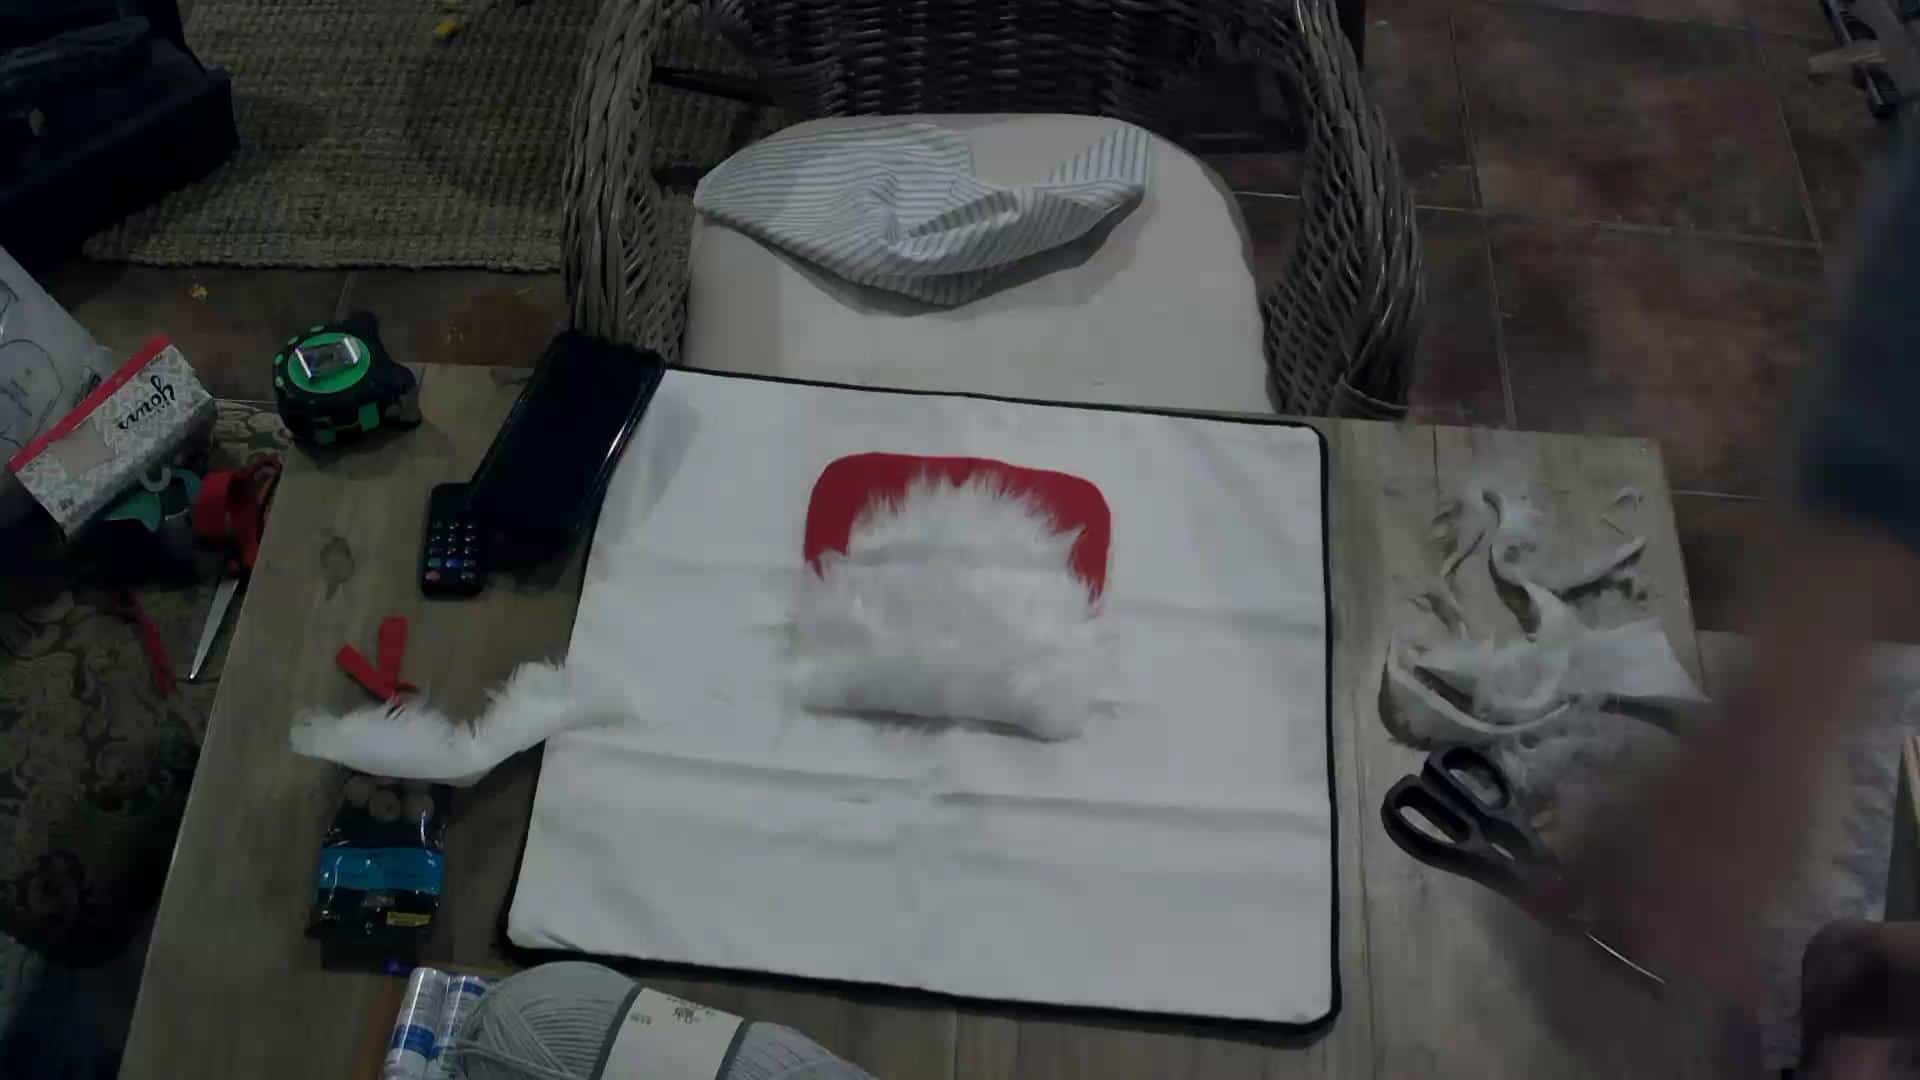
I know the pictures seem like they are upside down, my video camera was overhead and now it’s backward to y’all…I can’t get it right! 🙈
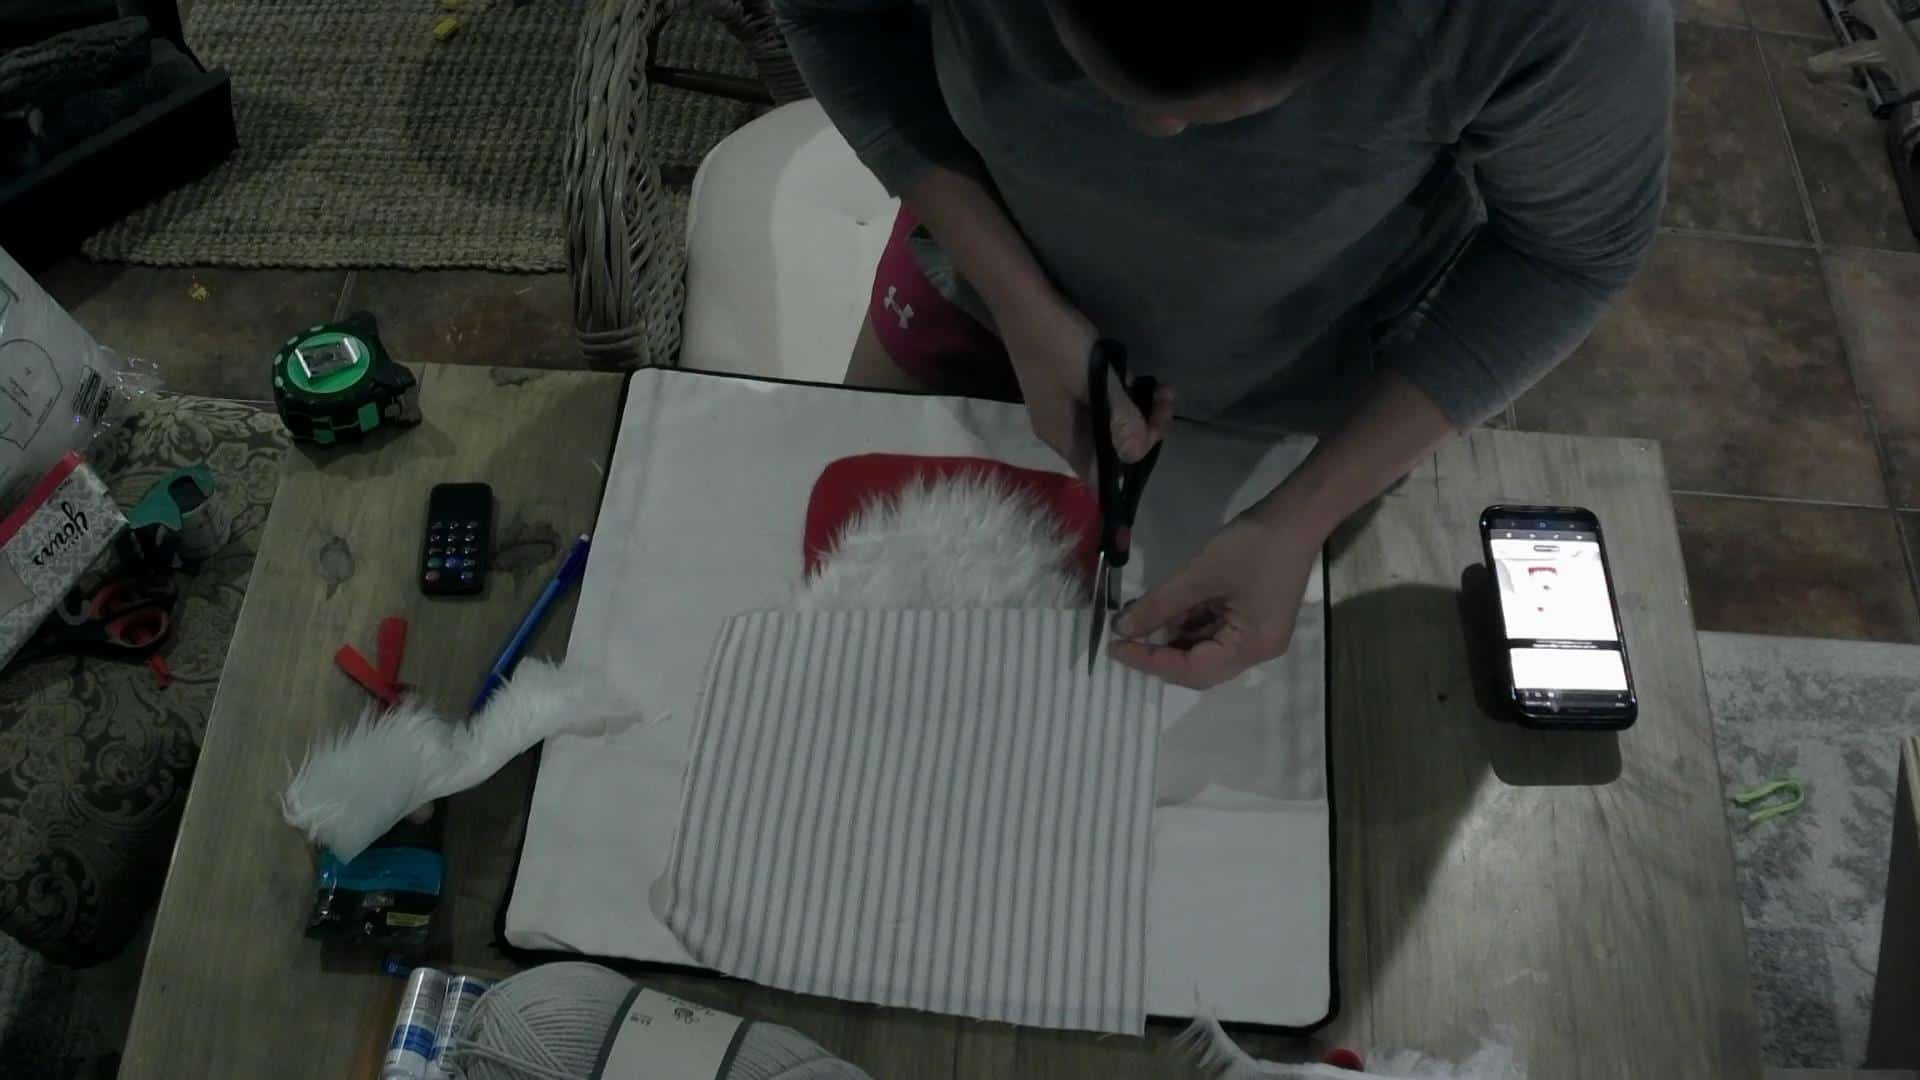
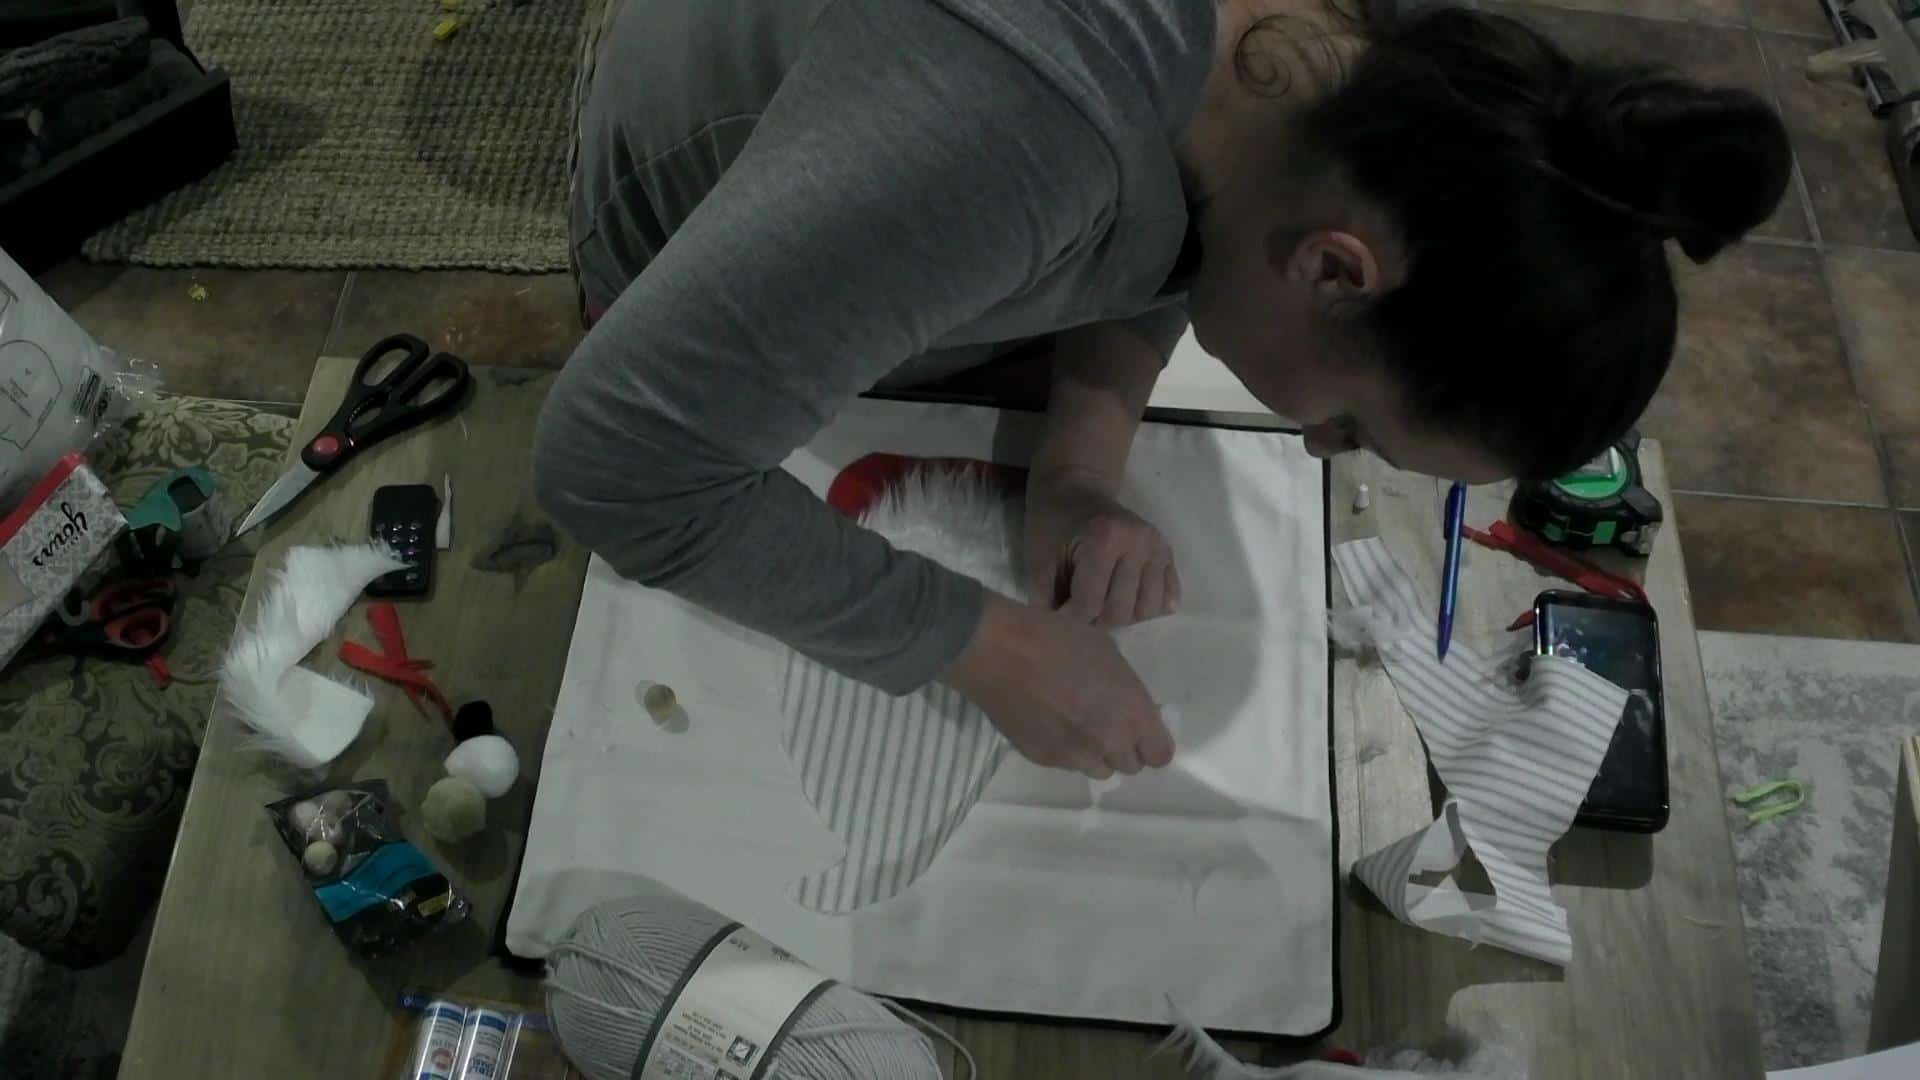
Next, make the hat! I placed the hat fabric down to make sure it was large enough to cover the beard and red felt, then drew out the basic shape I wanted!
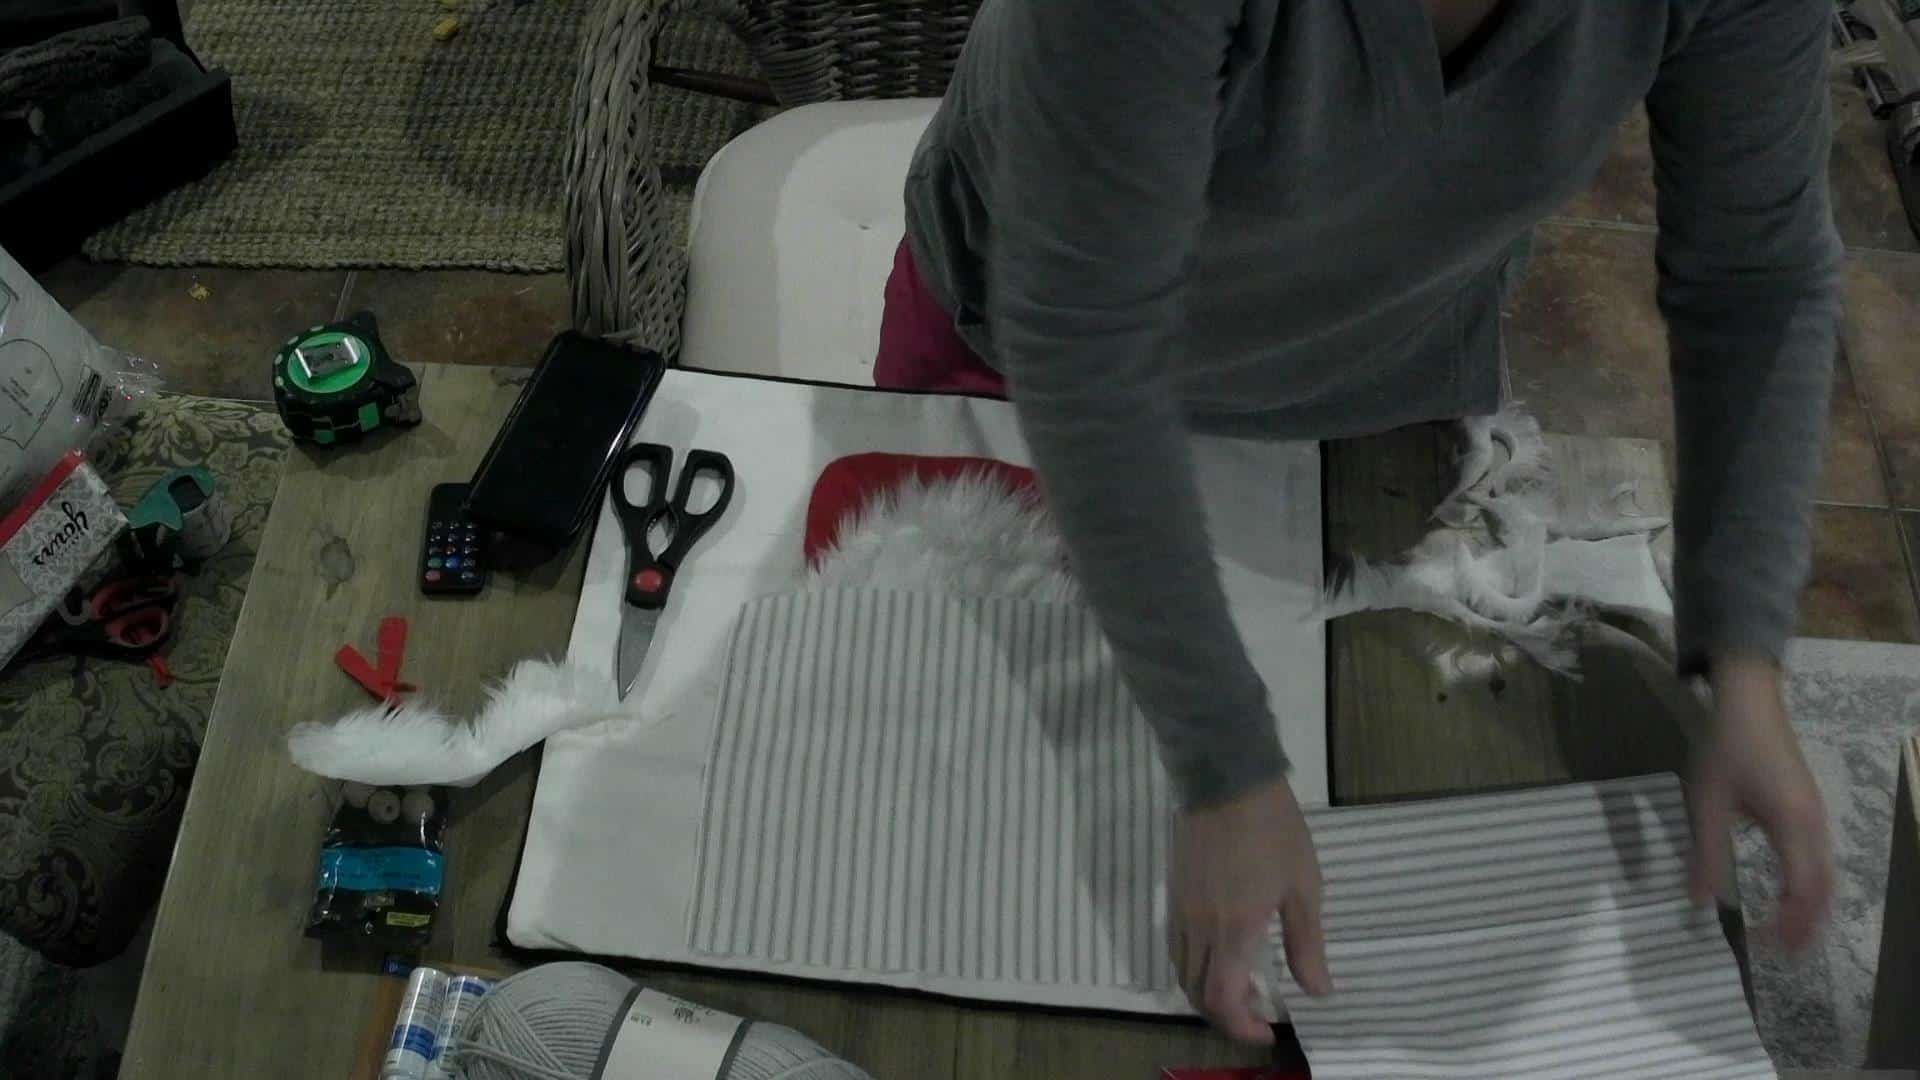

Then I cut out the shape that I had drawn onto the fabric!
I had to check the nose to make sure…
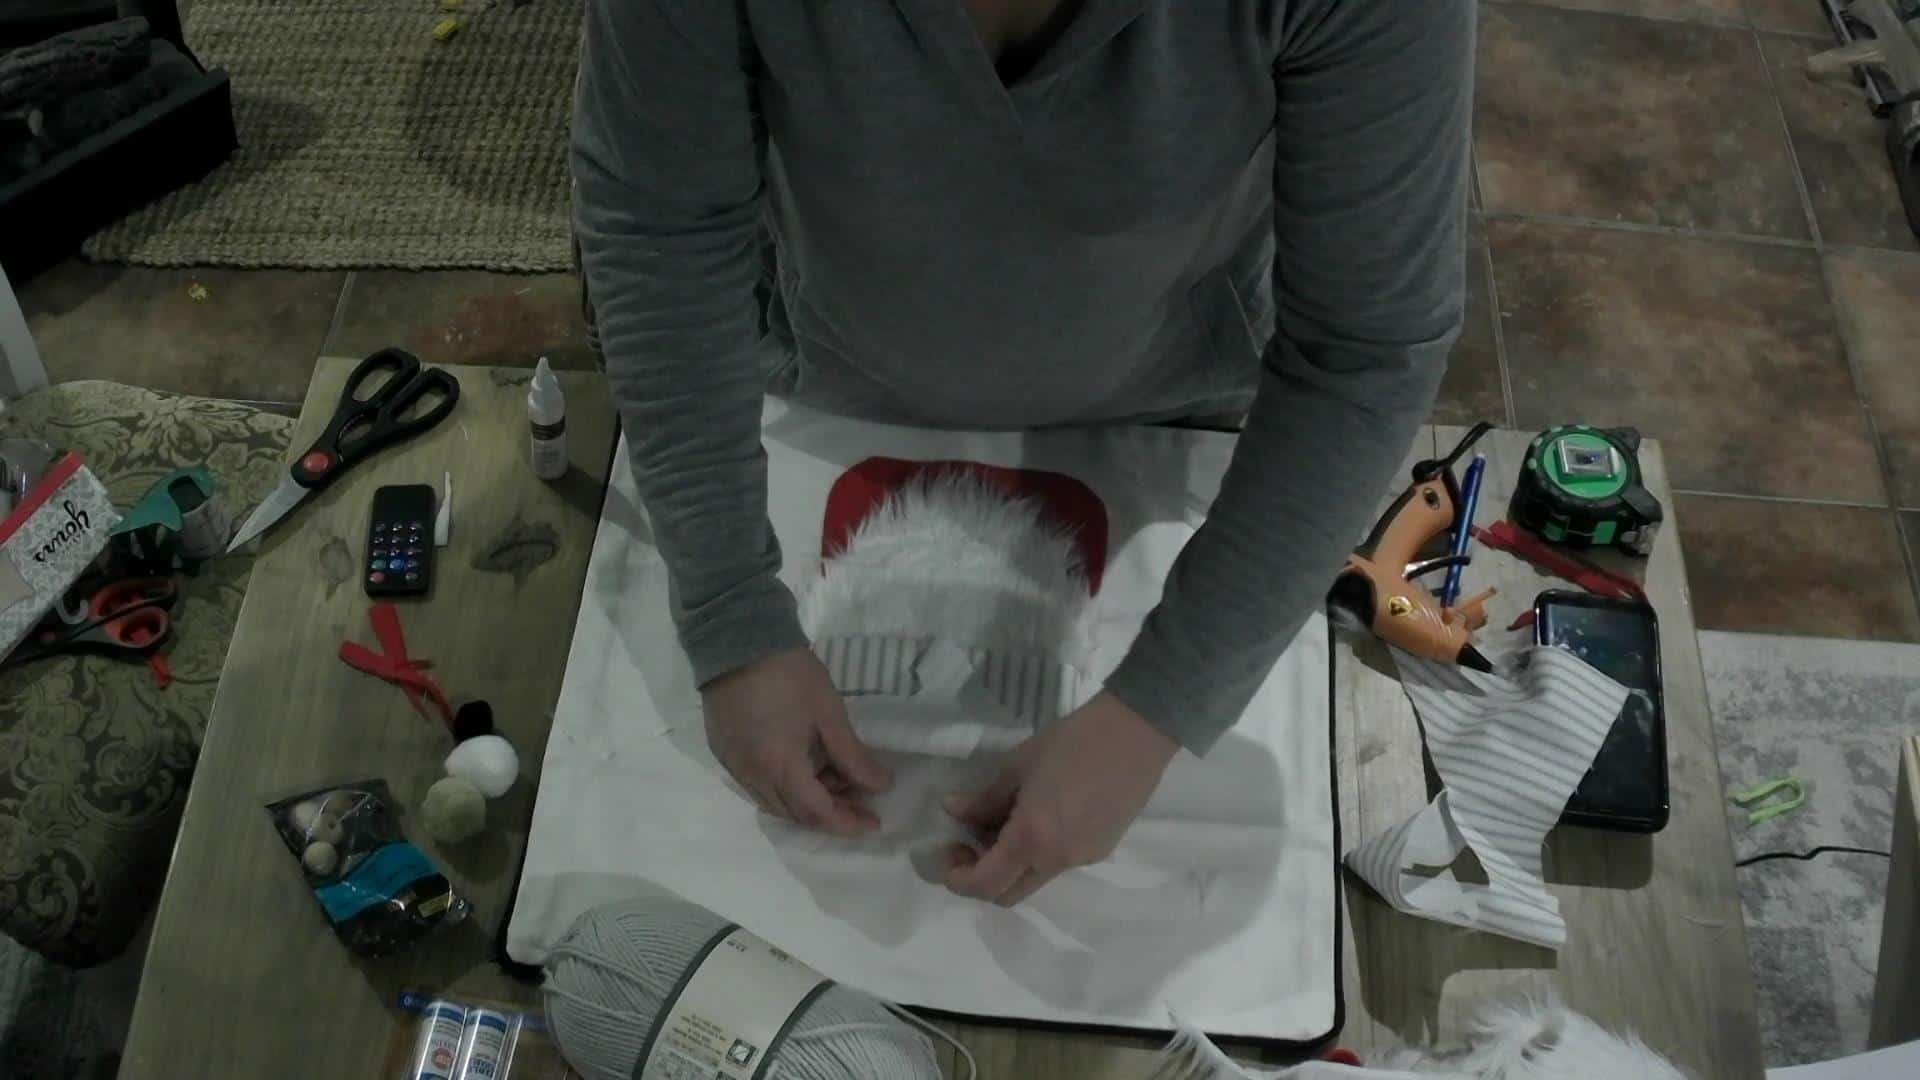
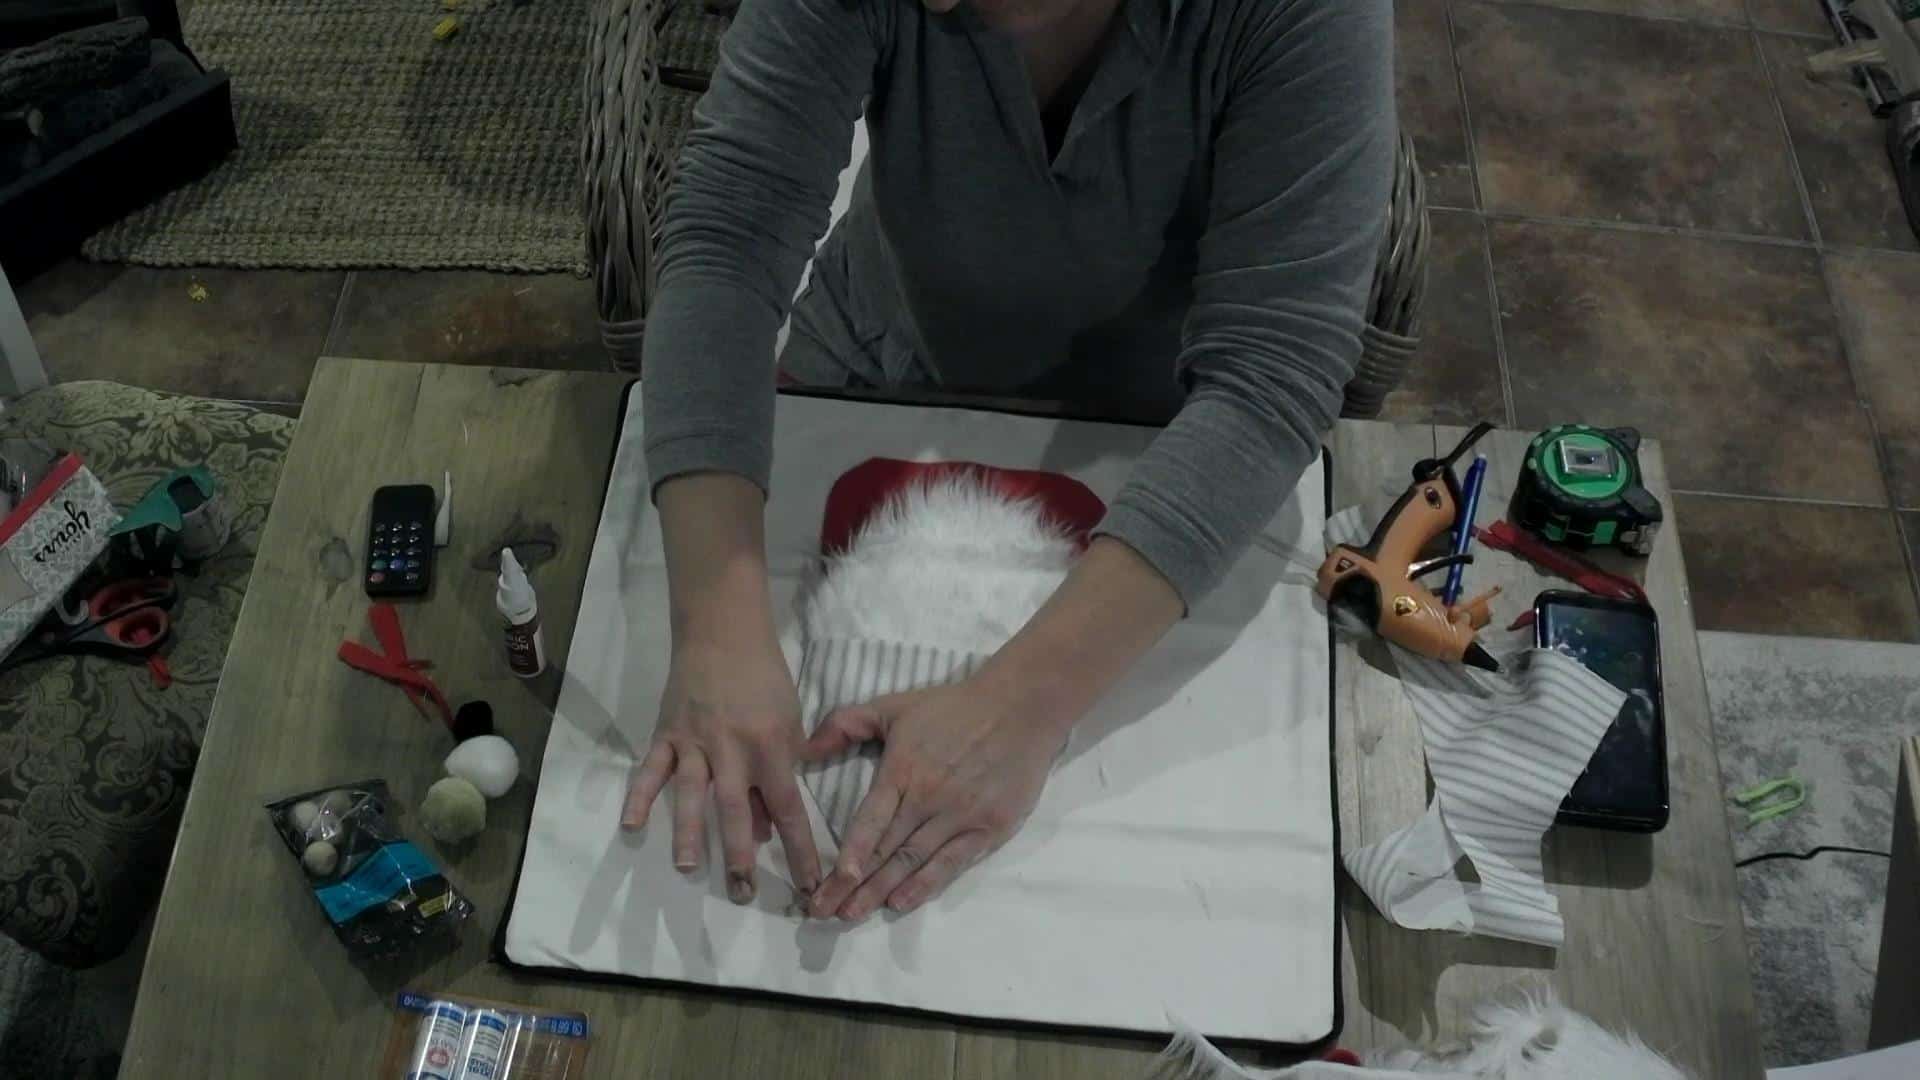
Now I was ready to glue it all in place!
Of course, you can sew this on instead of gluing it, but I am NOT a seamstress, though I wish I was!😩 So glue for me, for now! Lol!
Glue the beard in place.
And, now make sure to wrap the hat around the sides of the red felt and fur to finish off the edge there. I let this sit for a while to let the glue dry a little.
After it set for a little while, I added ever so small an amount of polyfill batting, I mean a tiny bit! Just so there wasn’t a major drop off from the fur to the rest of the hat.
Then I rolled the edge under slightly and glued it down, all the way around!
It gives it a finished look without having to sew. You could also glue the hat about a 1/4″ inside and leave a frayed look around the edge! I think that would look really cute as well! You can make it your own! Do whatever it is that YOU like!😊
I had to hold the gnome hat a little while until the glue started to take.
Look at those gnarly fingernails! 😂😂 I had just stained my DIY ice skates if you must know! 😏 Oy!
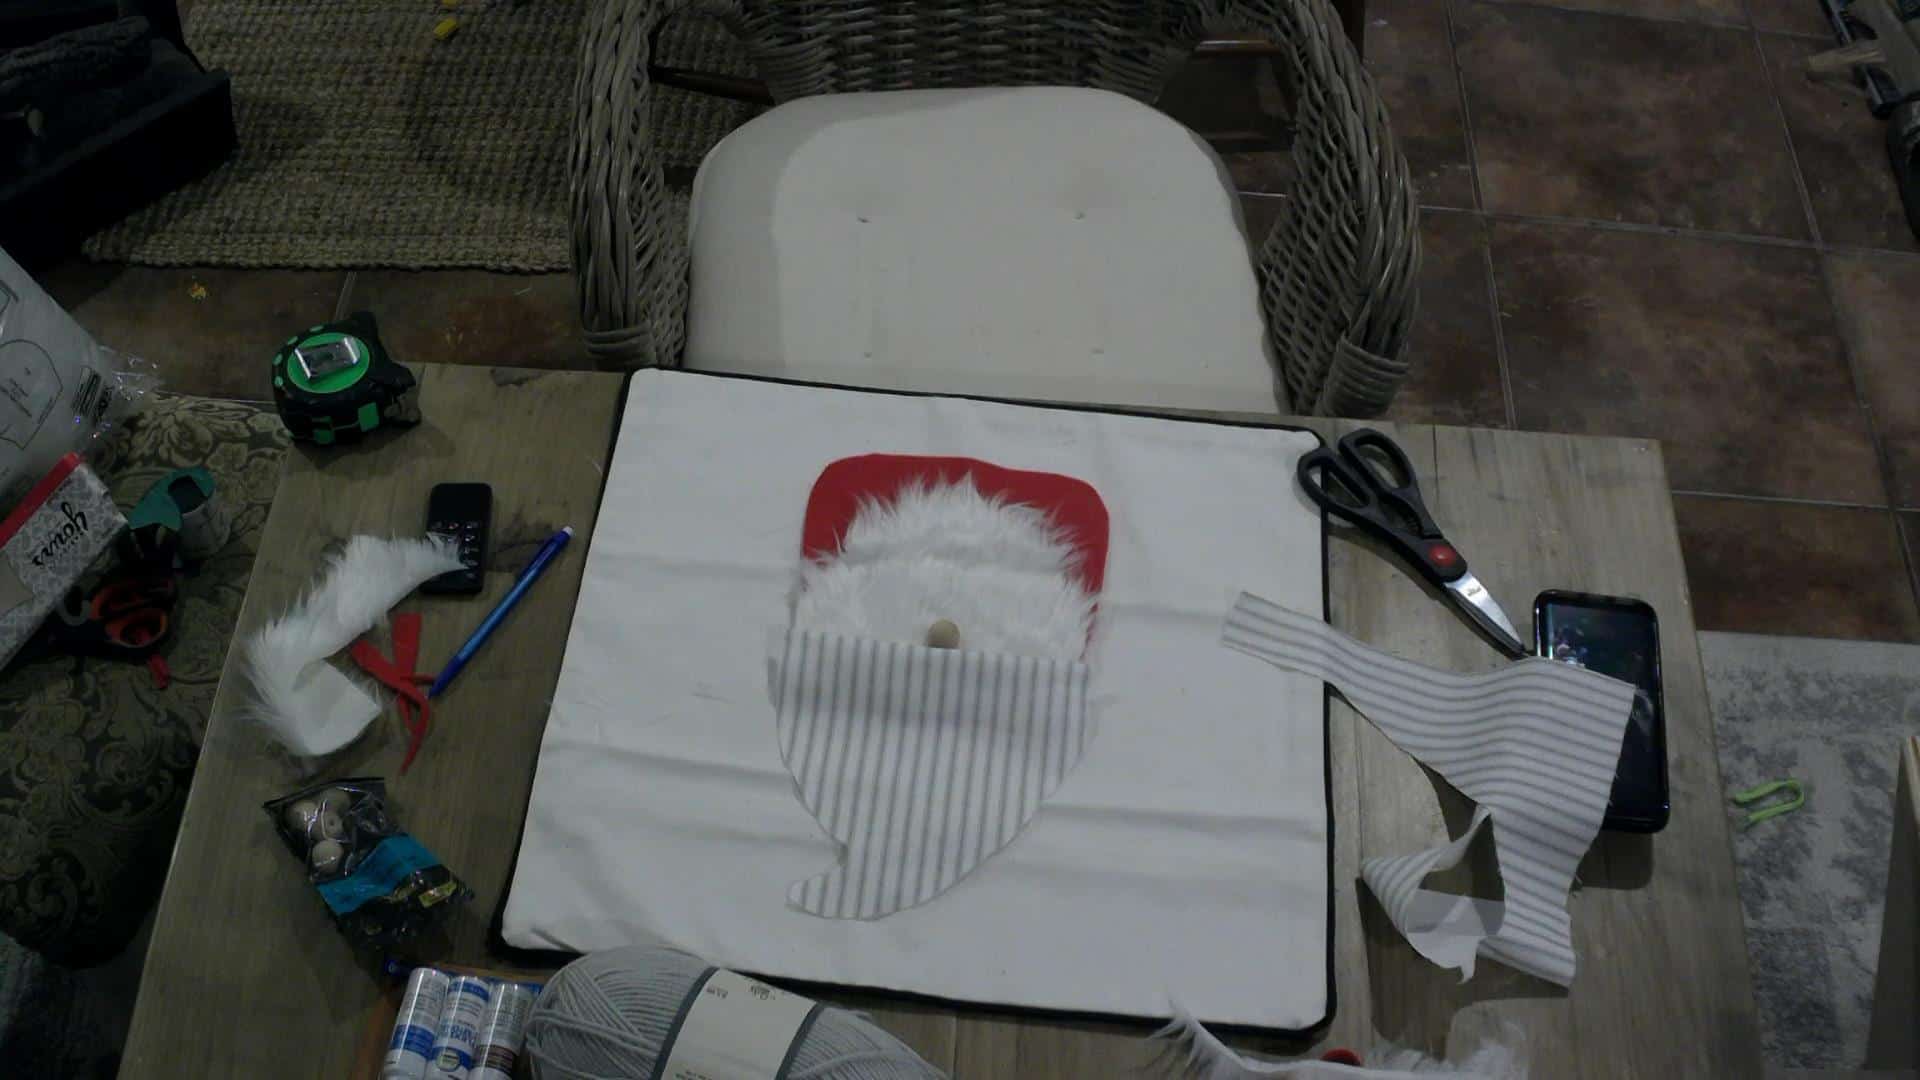
And then I sat back and admired my work! He is looking really good my little holiday Gnomeo!😍 I added the nose with some hot glue!
I used the unfinished wood bead for the nose, but you can use a pompom instead if you want it to be soft!
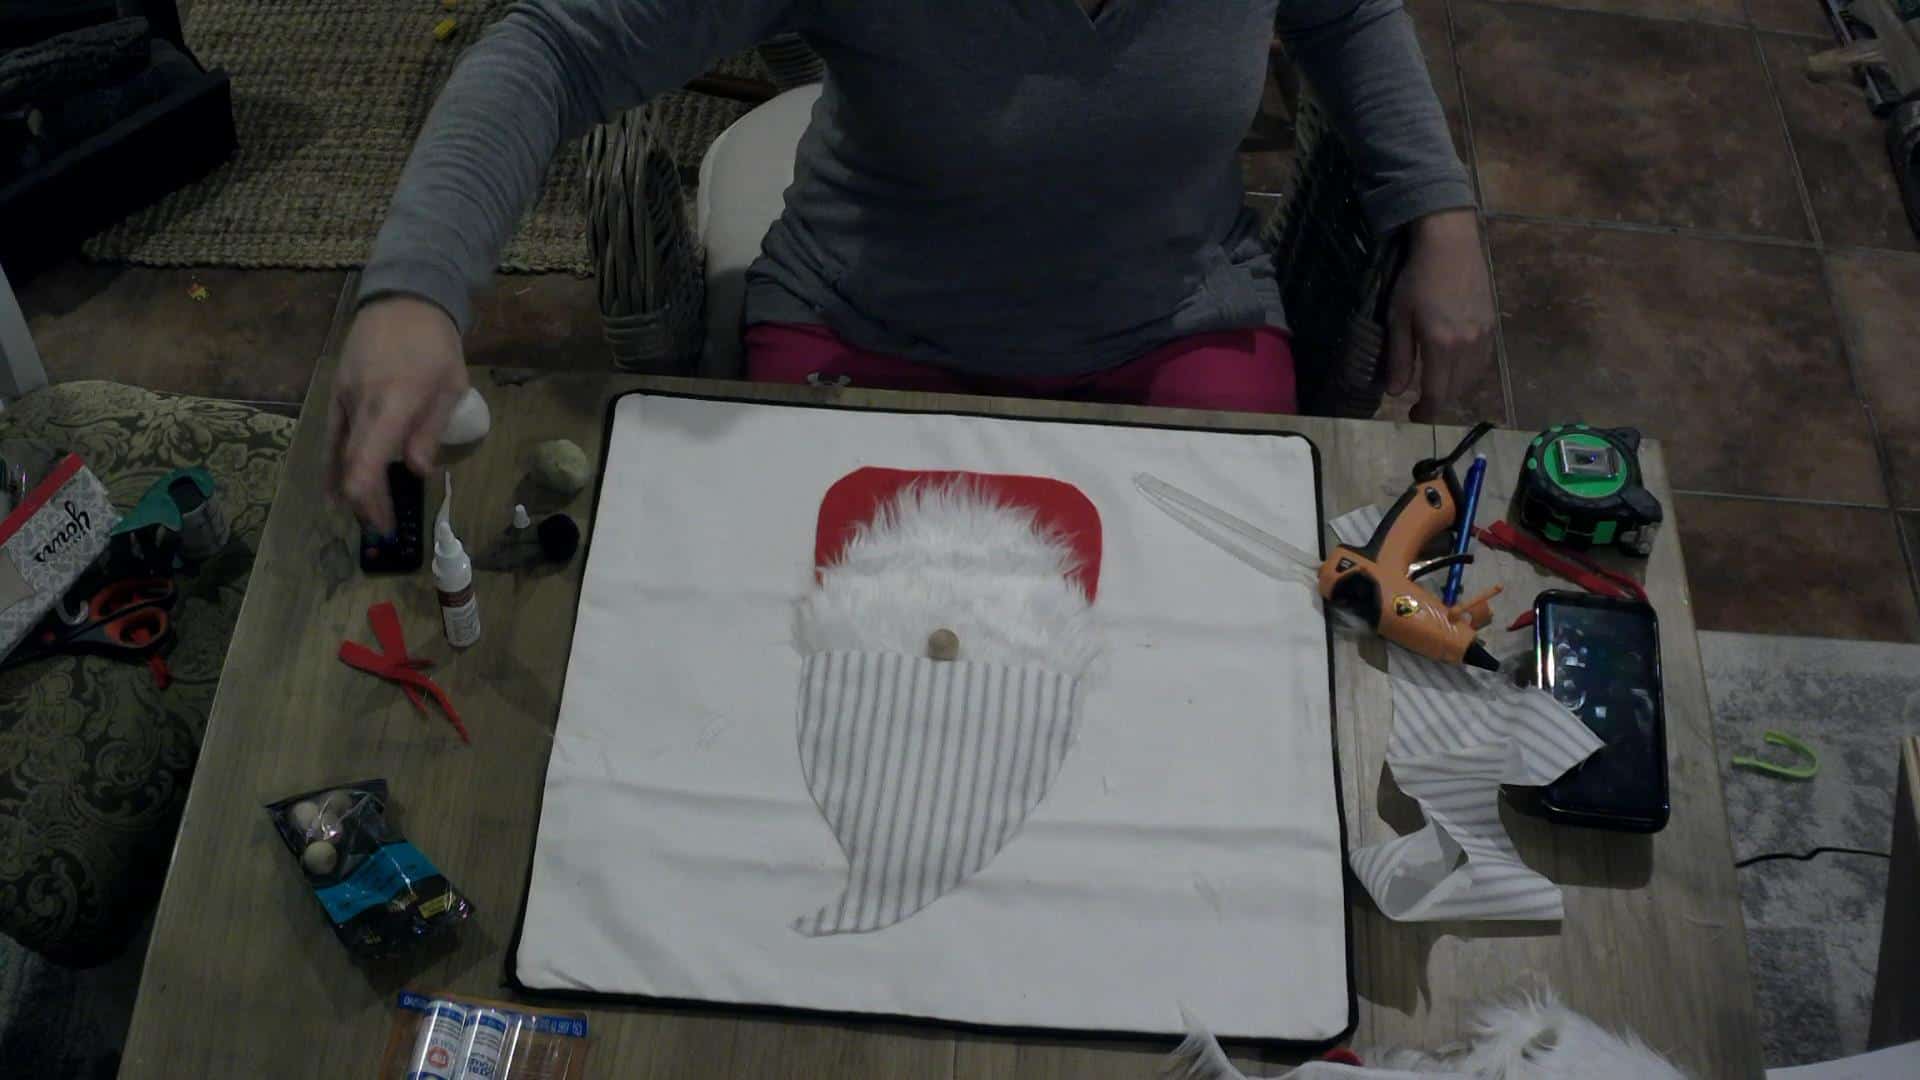
I added the pompom to the top of his hat and bata bing, bata boom, DONE! Fill that pillow cover and make it a dang beautiful DIY gnome pillow if I’ve ever seen one!
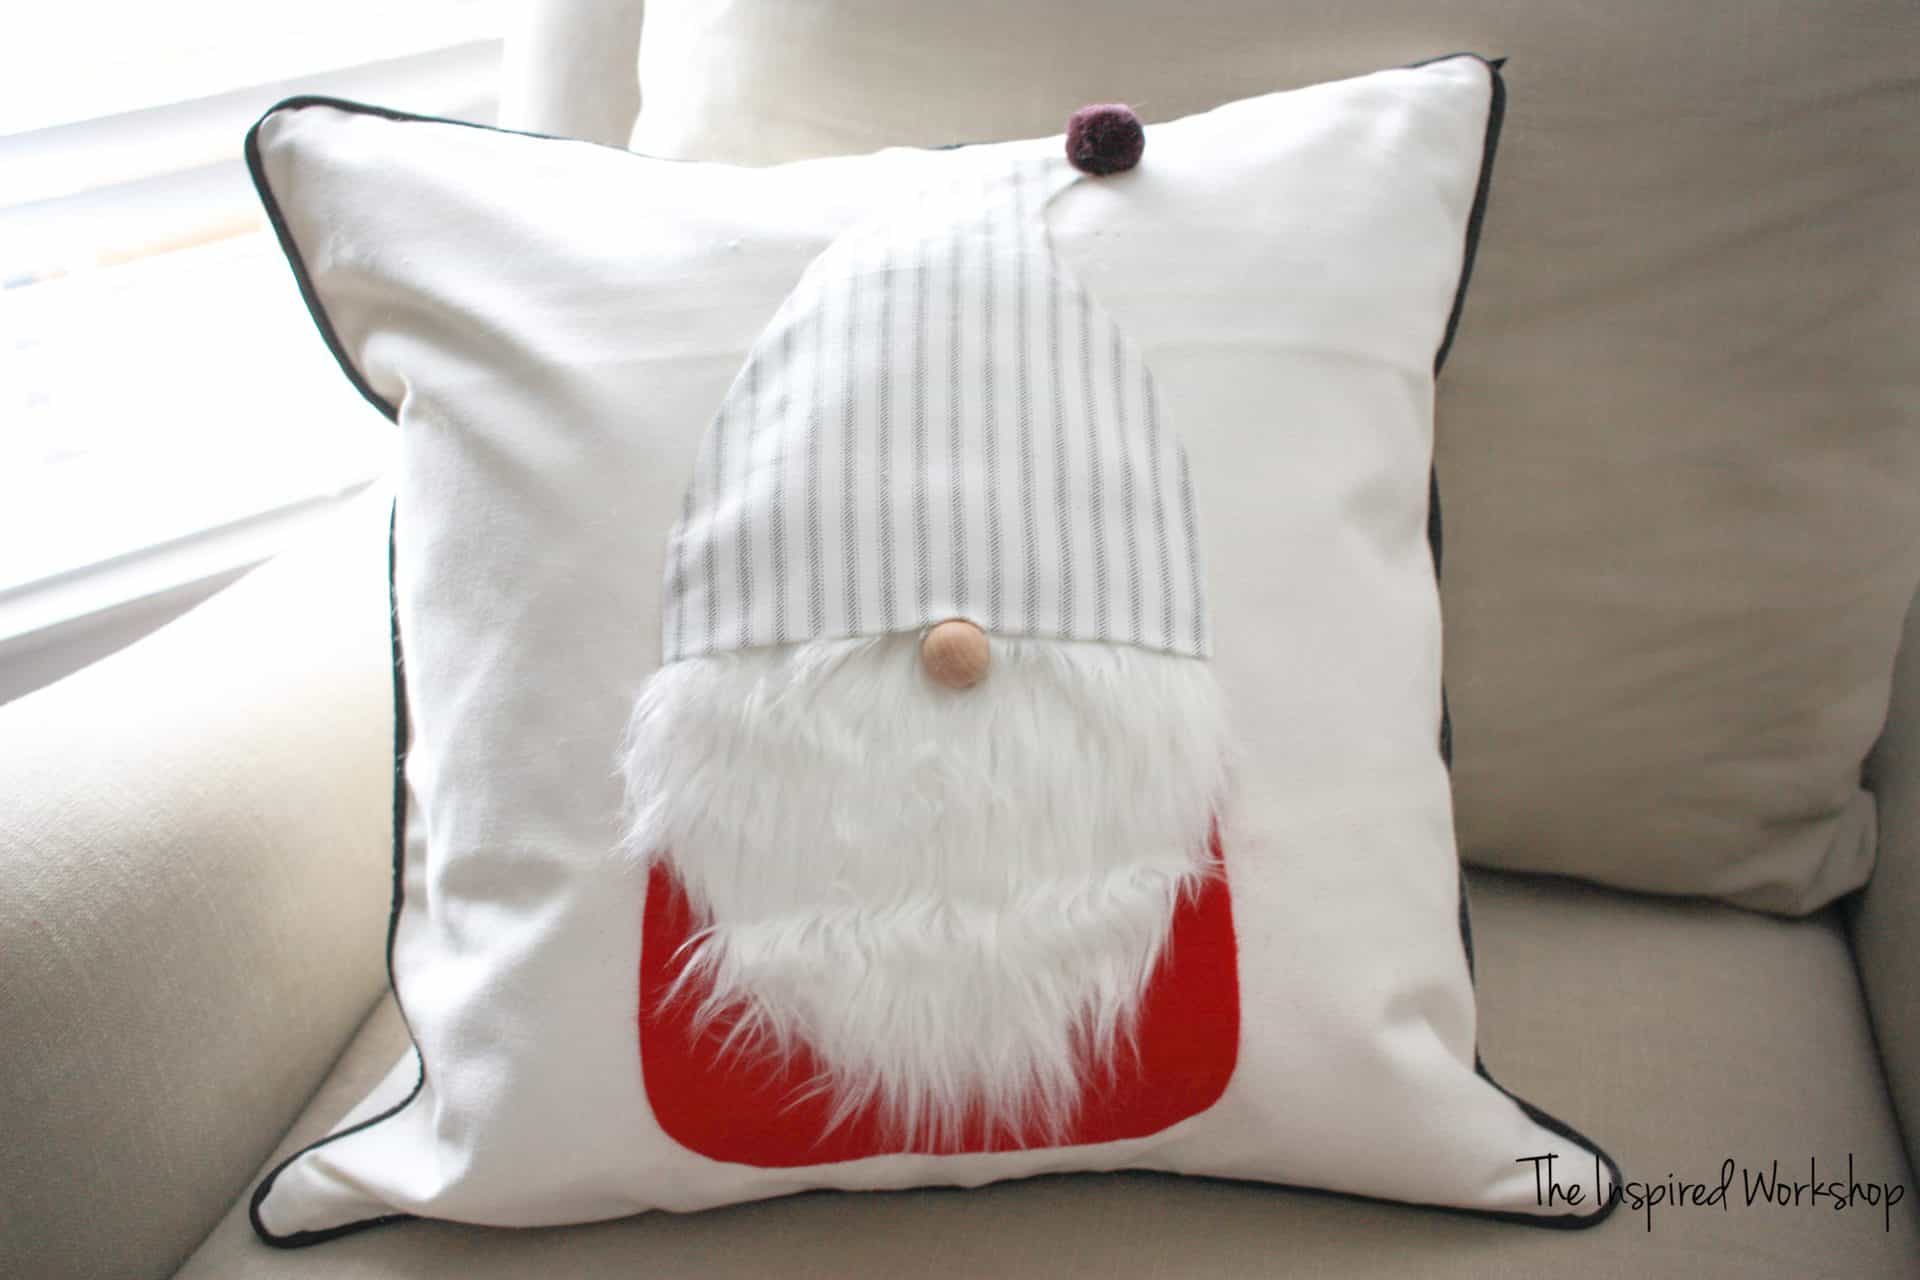
Oh, I love snuggling with my little Gnomeo! 😂 I really do laugh every time I look at this little guy’s face, and that makes me happy that my projects can bring happiness to someone…even if it’s me!😂
Know someone who would like this pillow too? Share it with them!
[social_warfare]
Thank you for stopping by and if I don’t catch you again before Christmas, I hope you have a wonderful time this Holiday season!😚 Merry Christmas!

Want to save this DIY gnome pillow cover for later? PIN IT!


Do you still have the patterns you could send?
Just wondering if the patterns we removed. I wasn’t able to find them for download.