DIY Budget Door Makeover
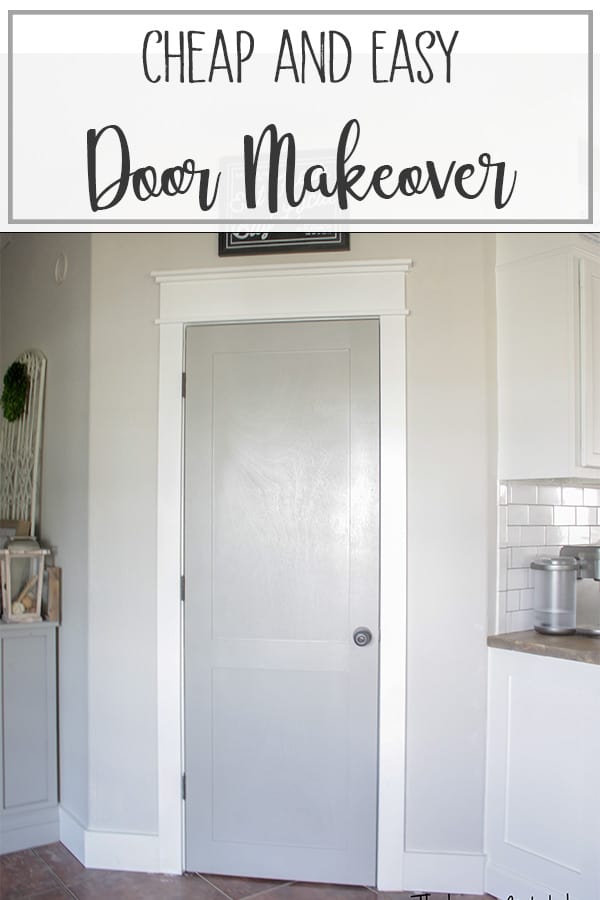
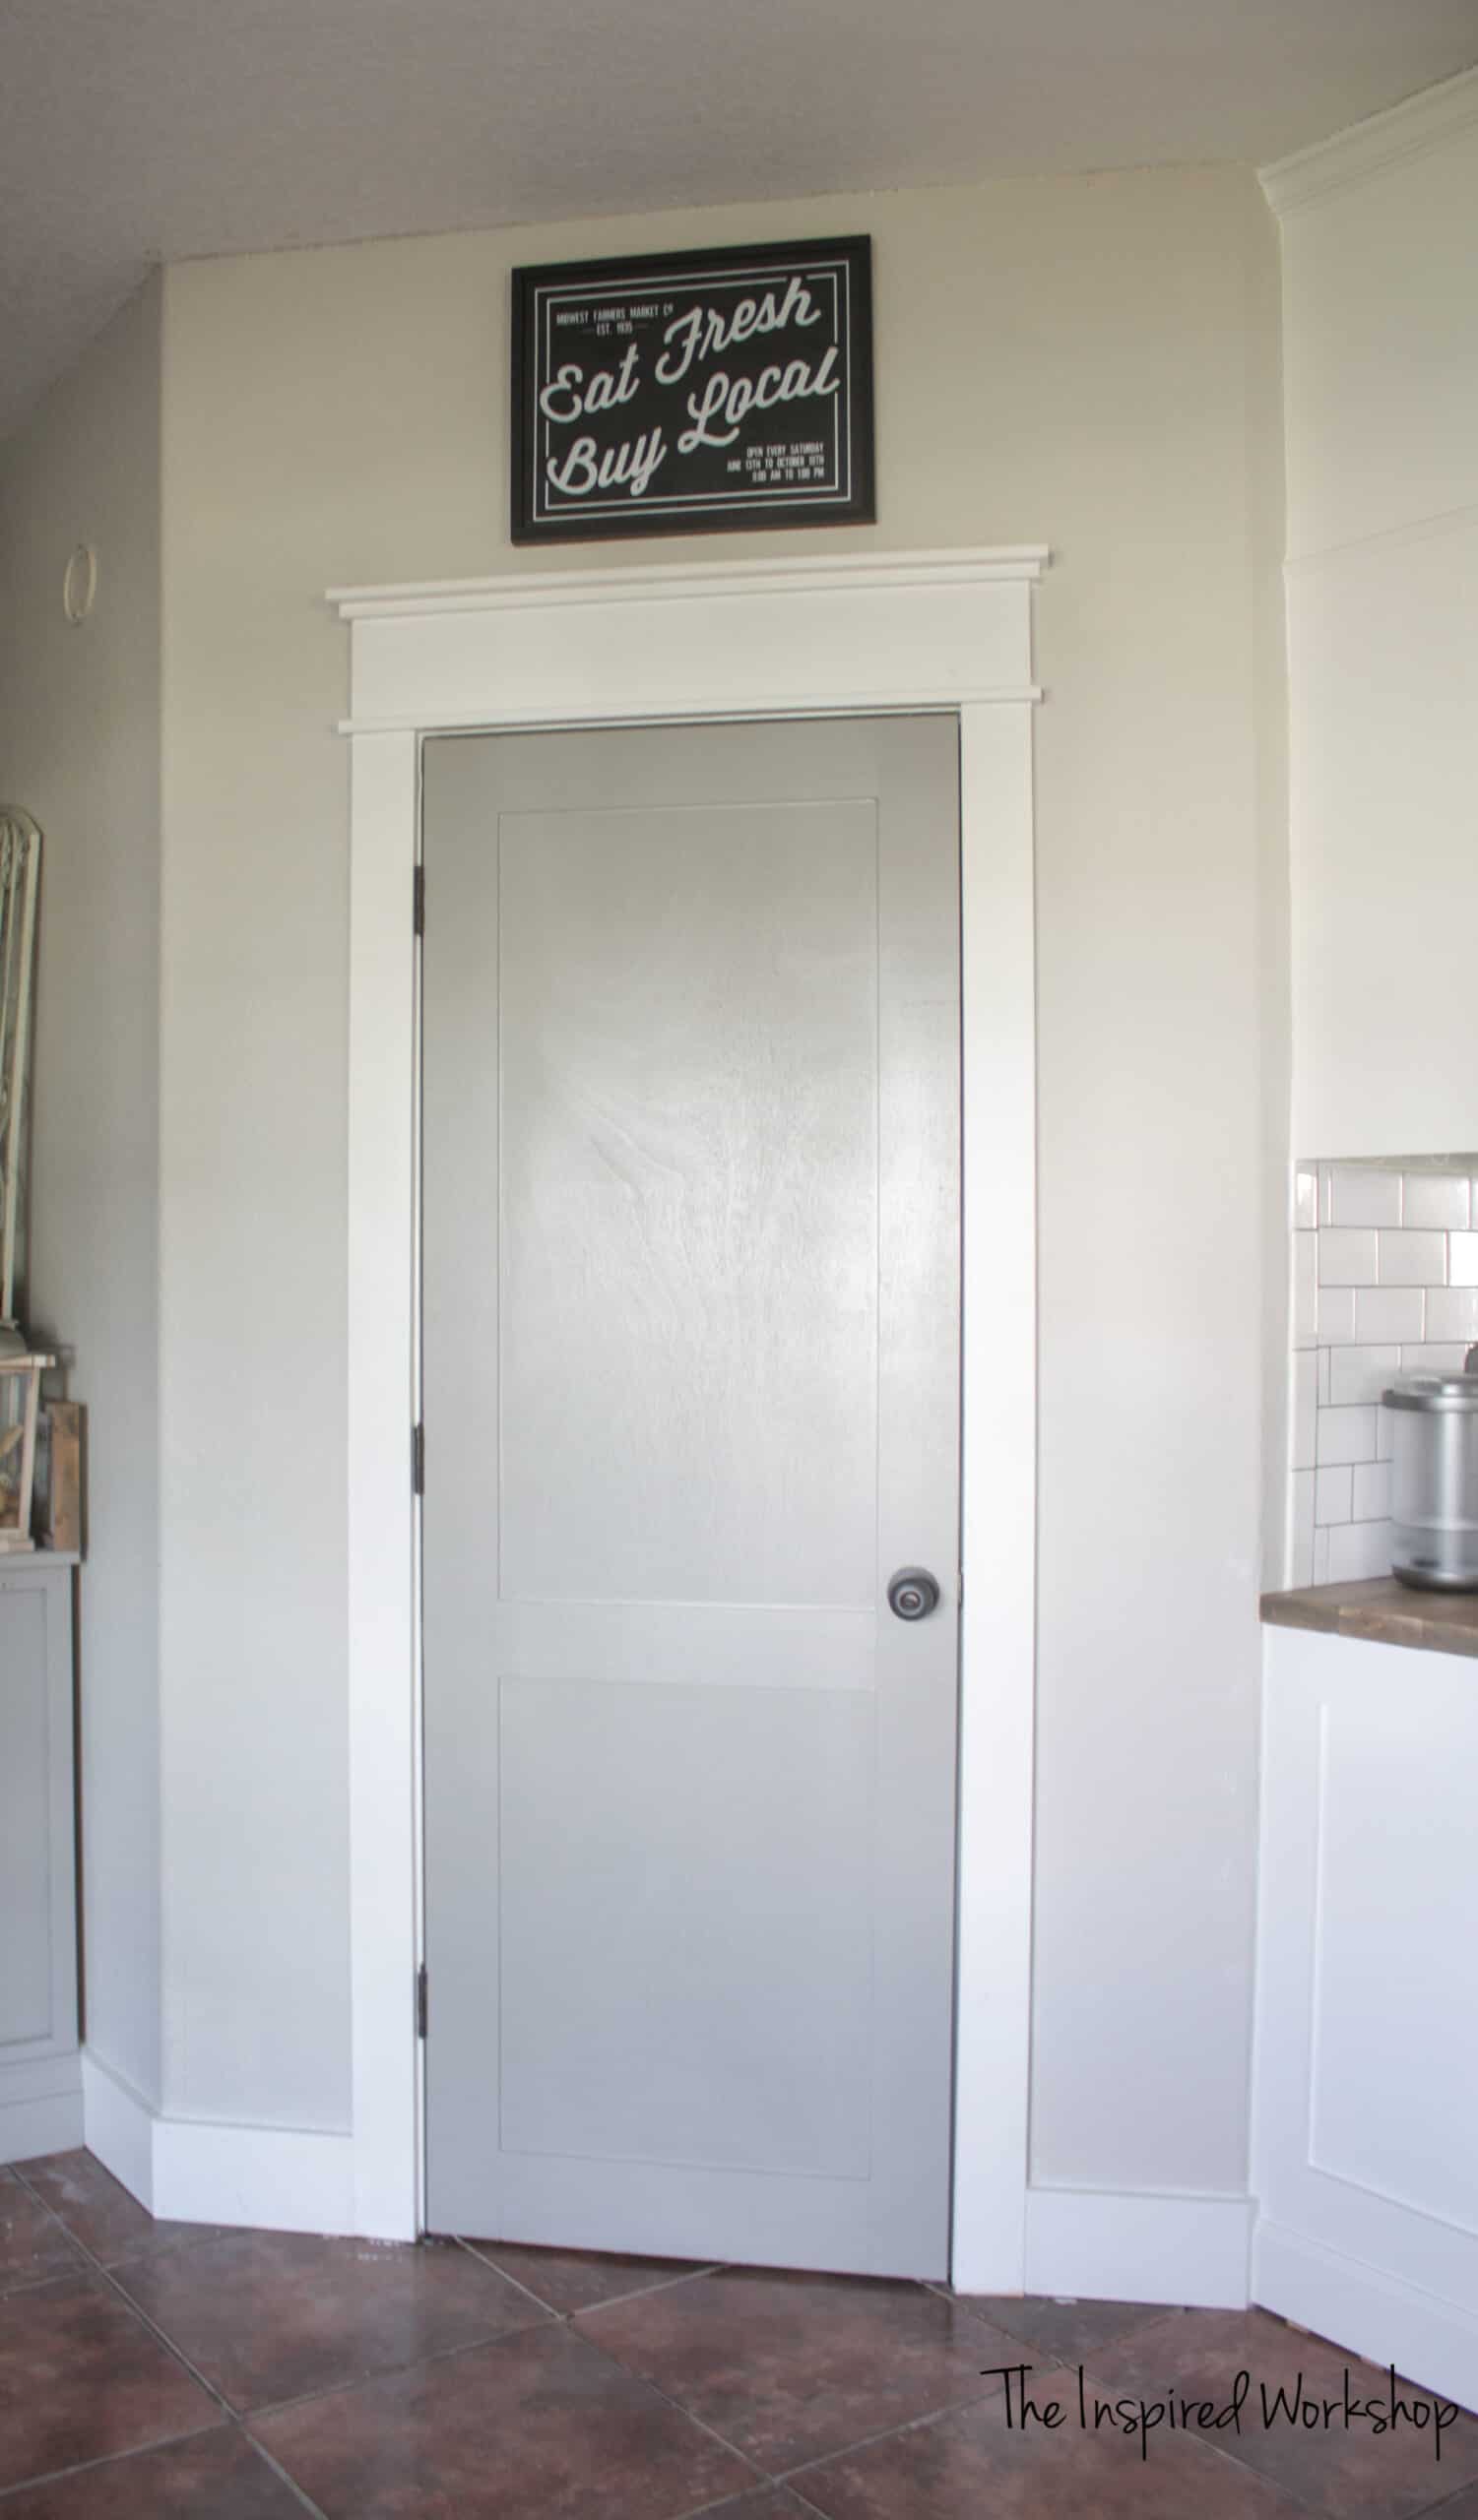
Do you have basic, boring hollow-core doors in your home? I sure did until recently when I worked a little DIY magic during my kitchen renovation to make my pantry and storage closet doors over! There are so many variations of door makeovers you can do on hollow core doors and this is just my version of a DIY budget door makeover! It’s amazing that by adding a few strips of 1/4″ plywood and a little paint, you can get a WHOLE NEW LOOK!
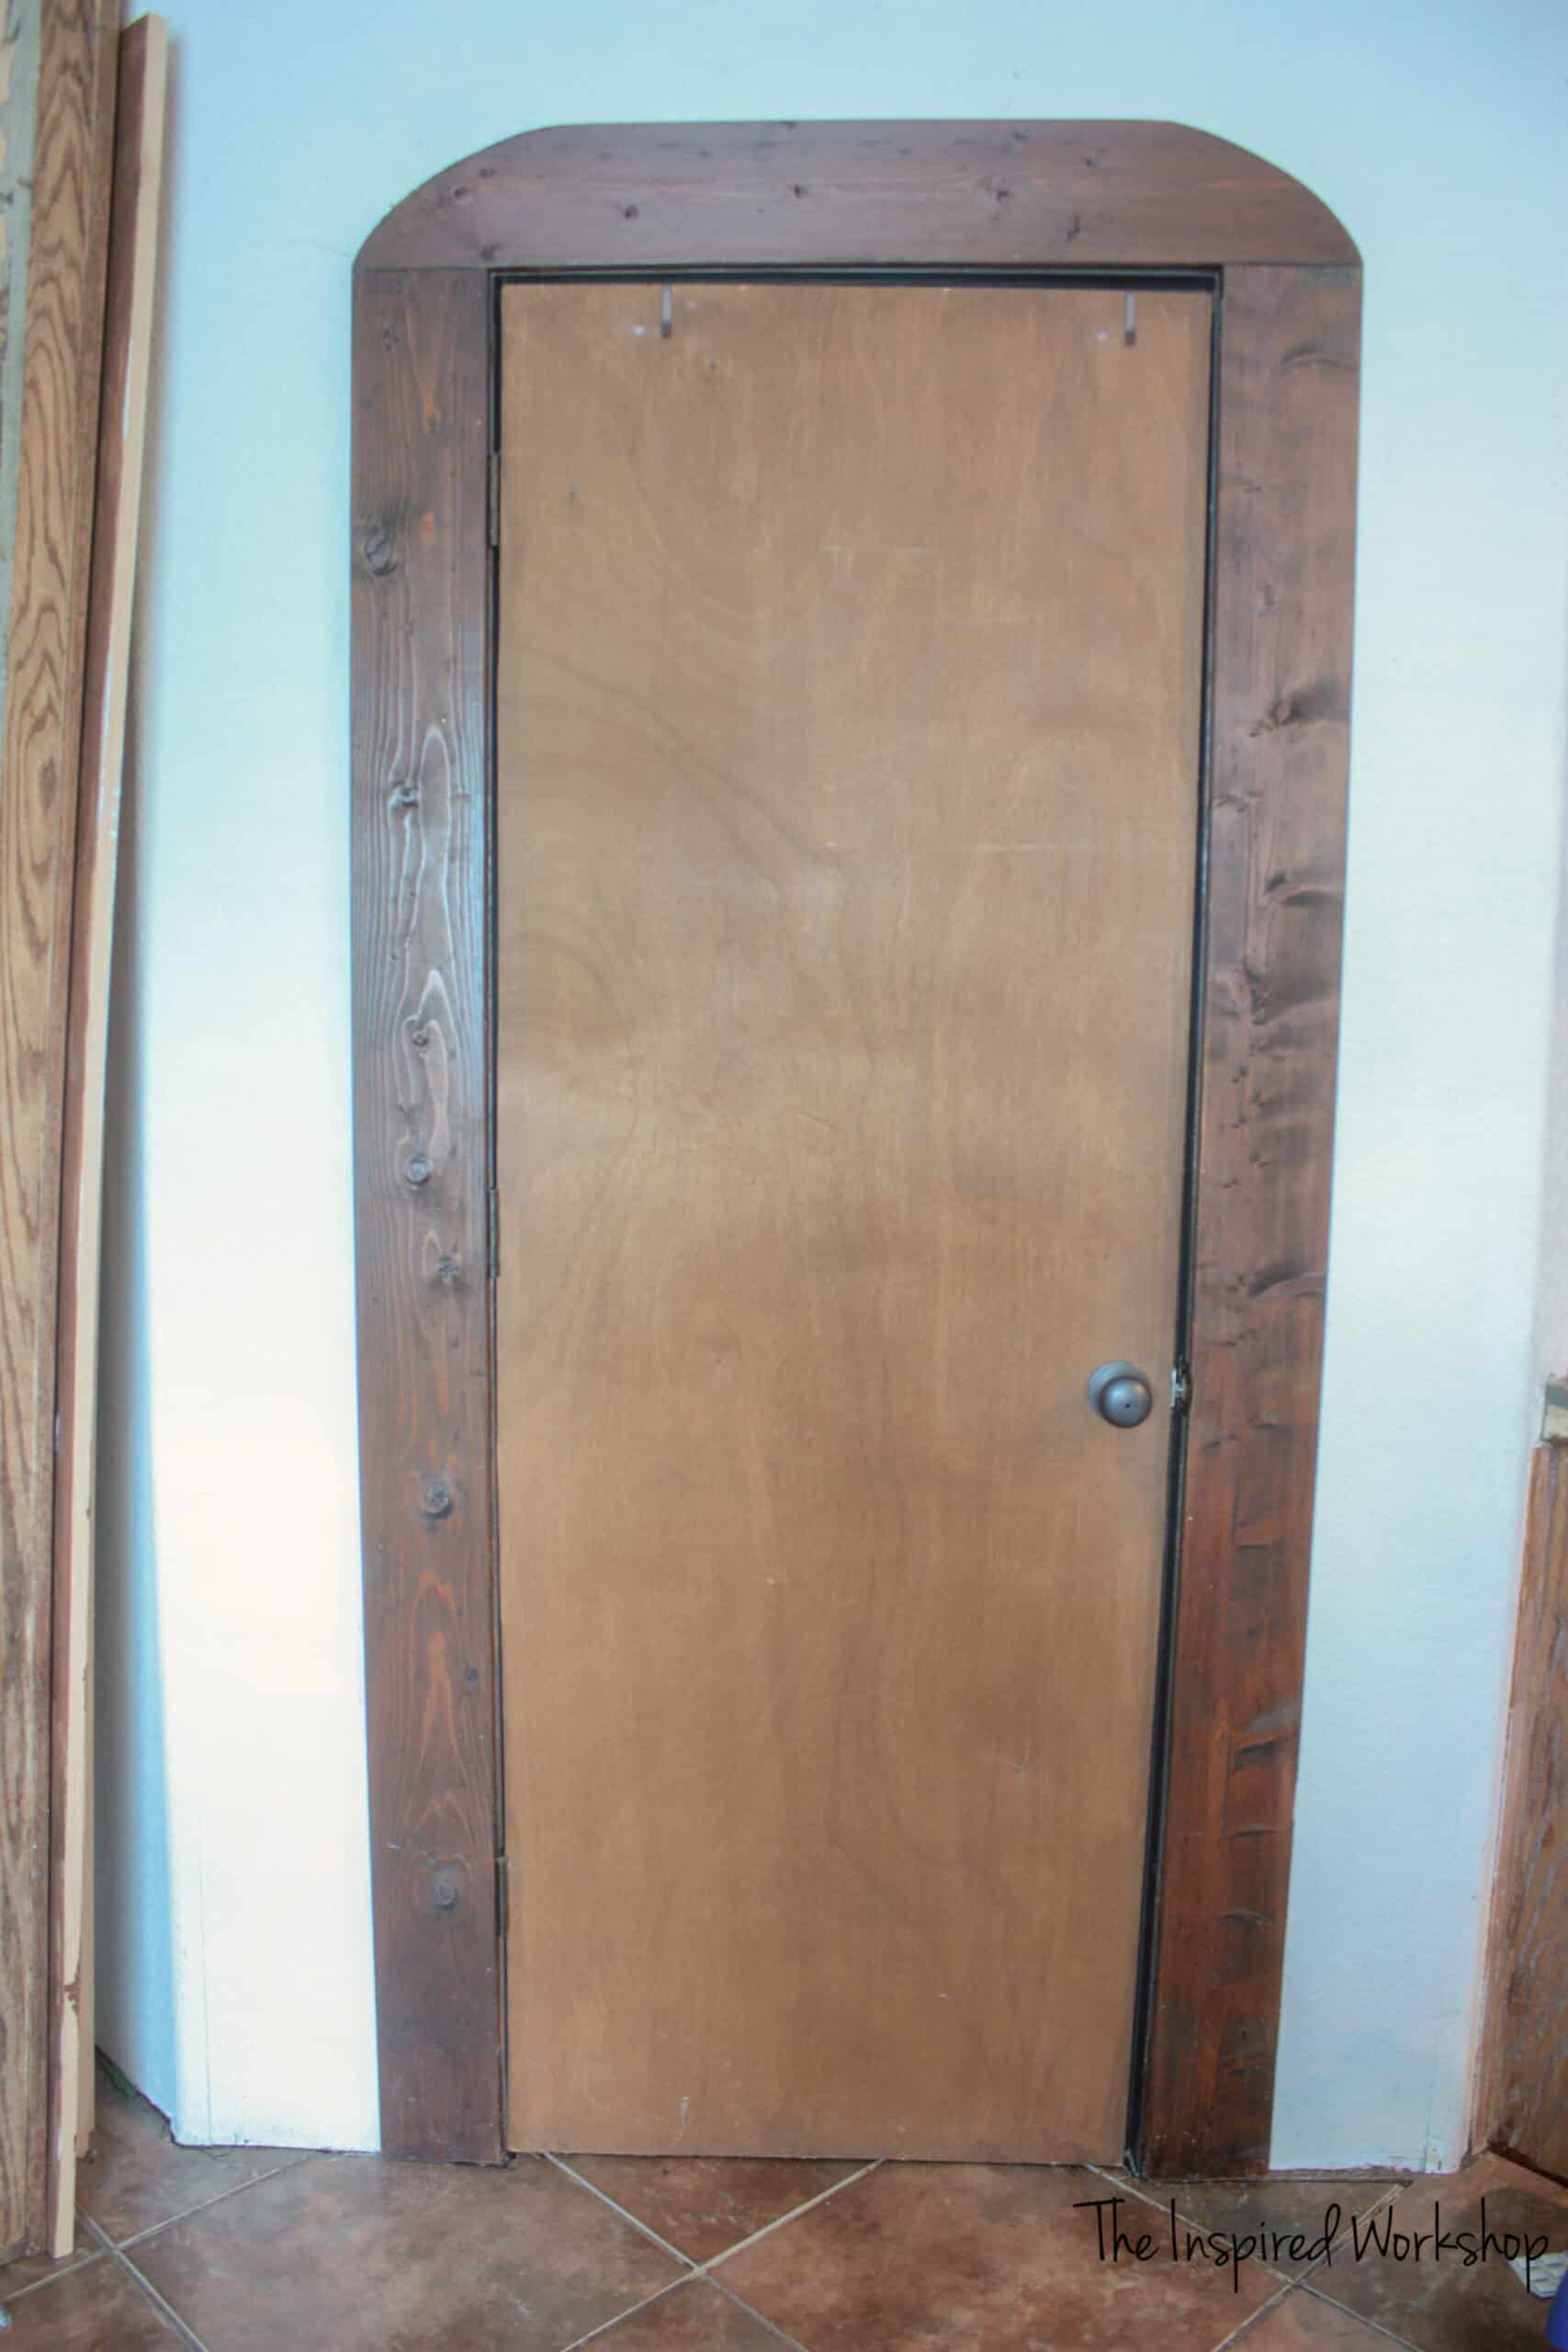
Check out the door before the plywood! It was just a stained, flat door that I was able to transform with a few pieces of 1/4″ plywood!
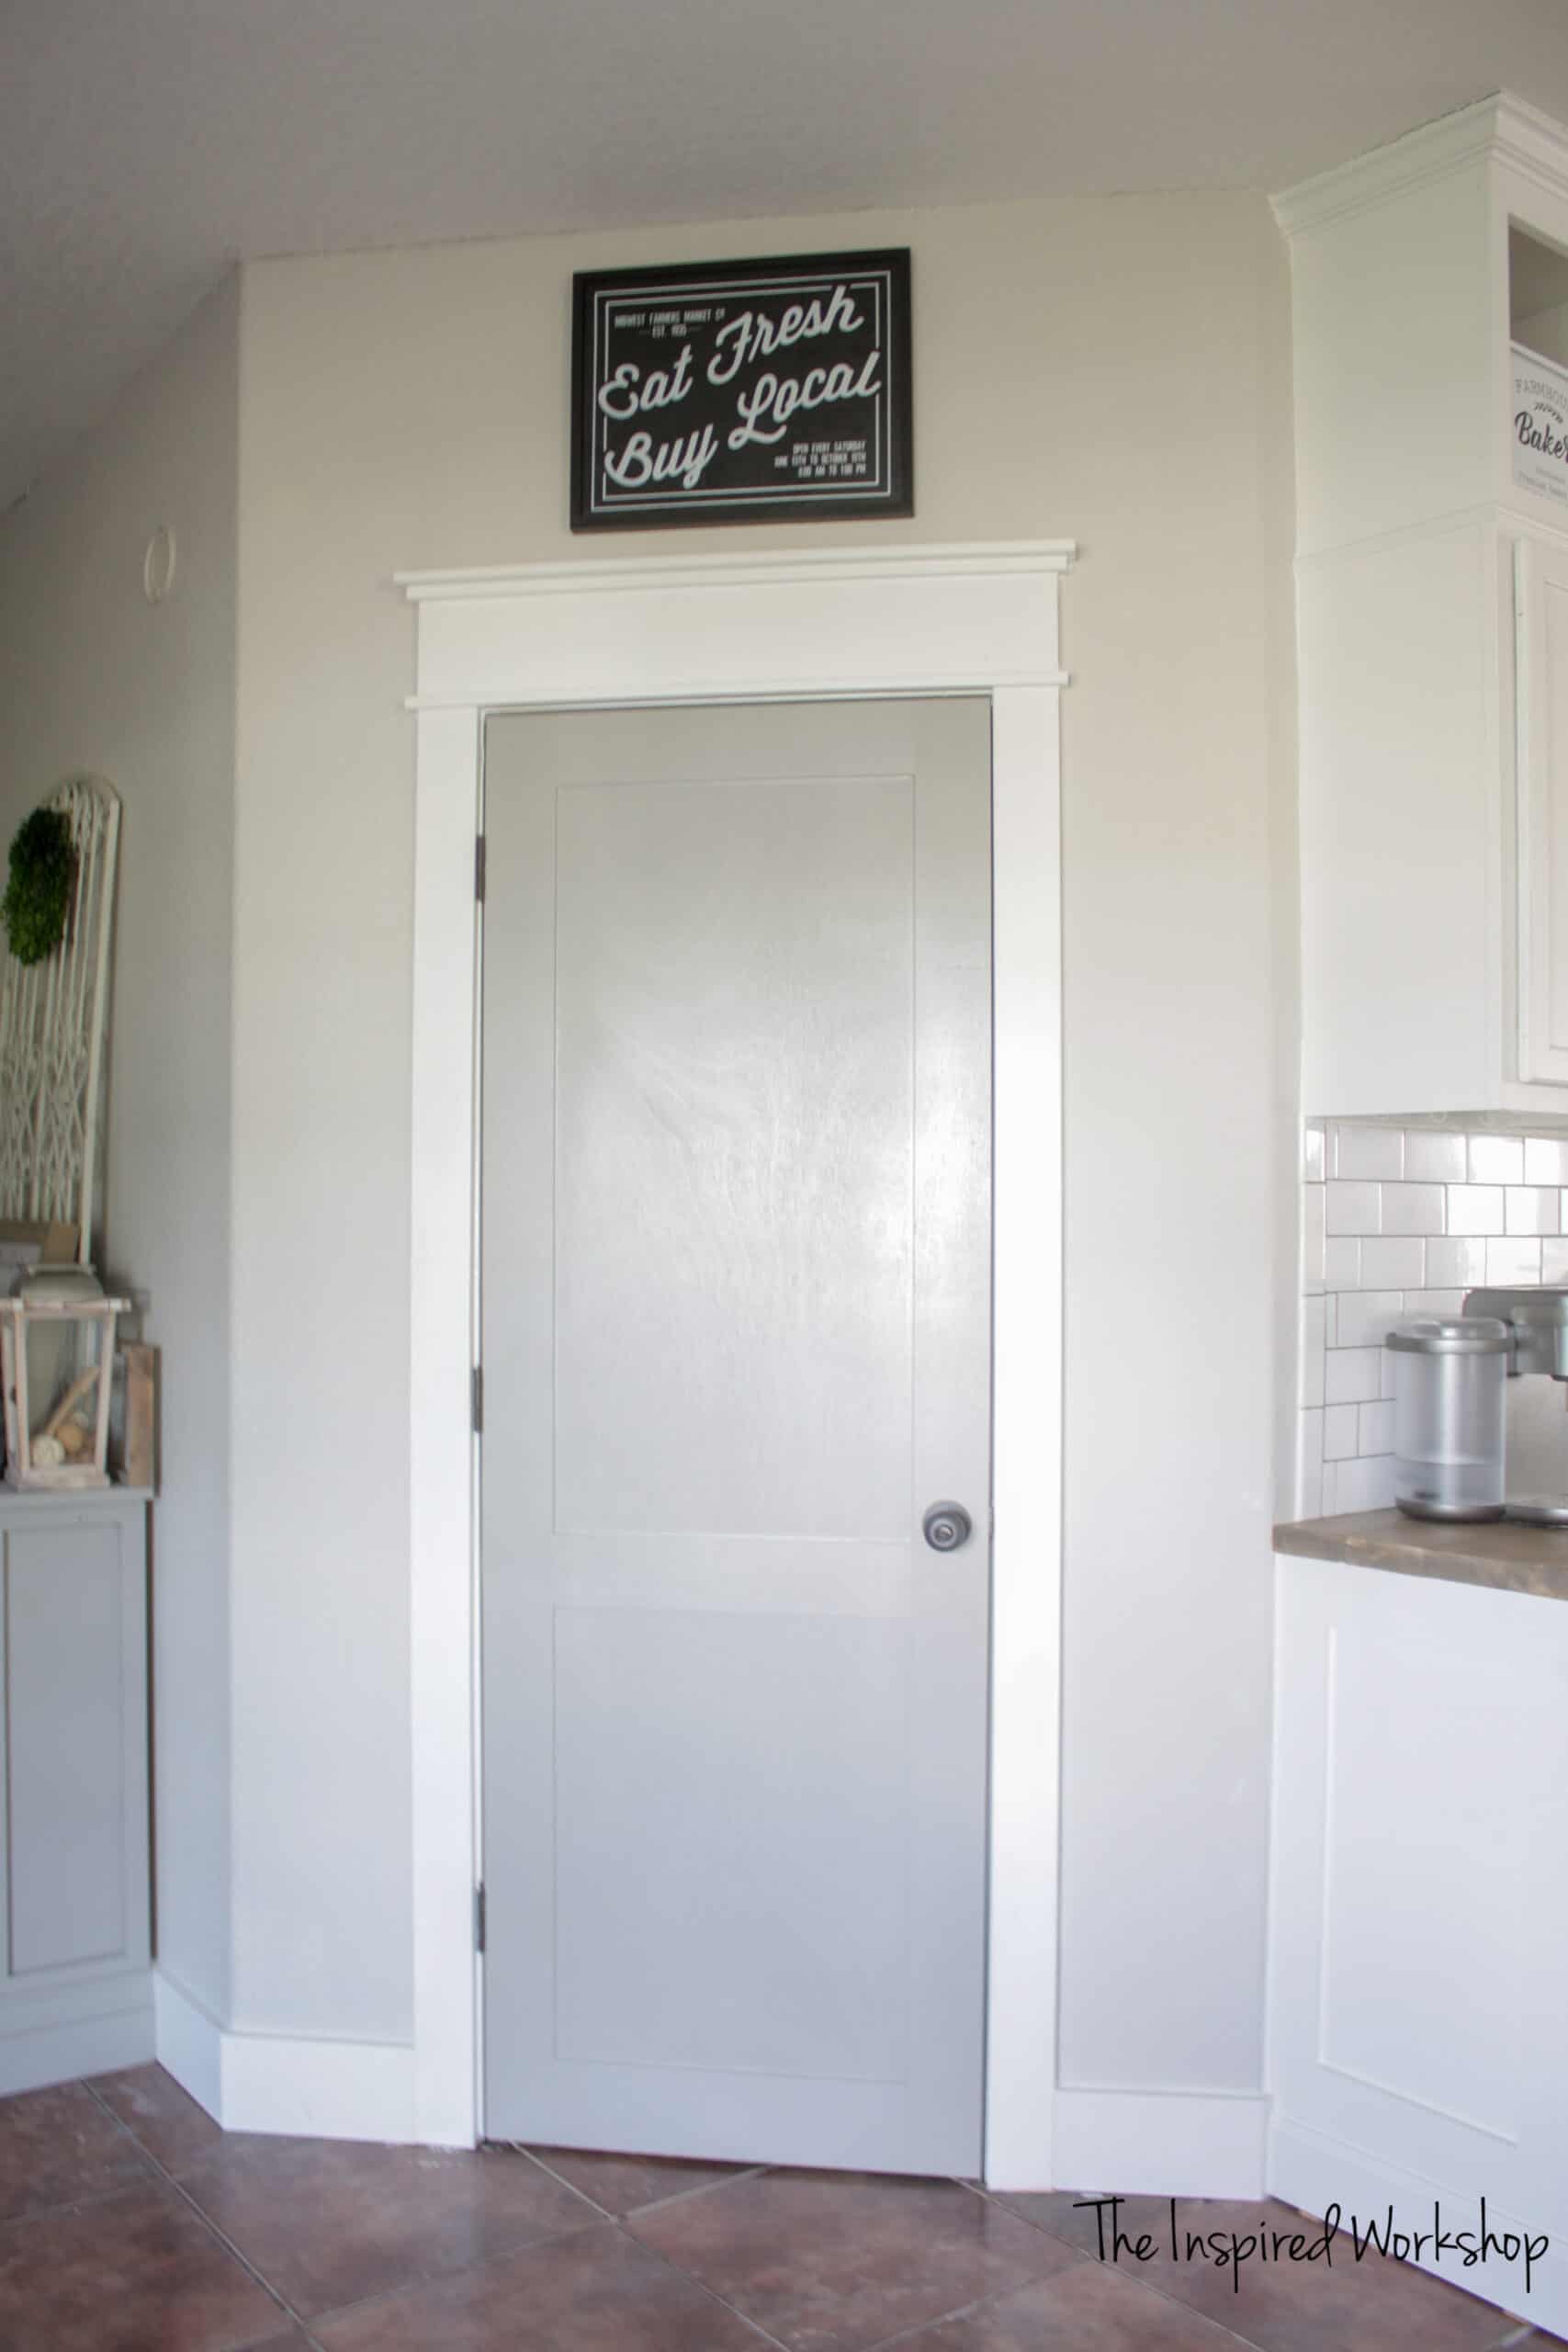
I would say that is one heck of an instant upgrade! I did update the door trim as well, you can see that here!
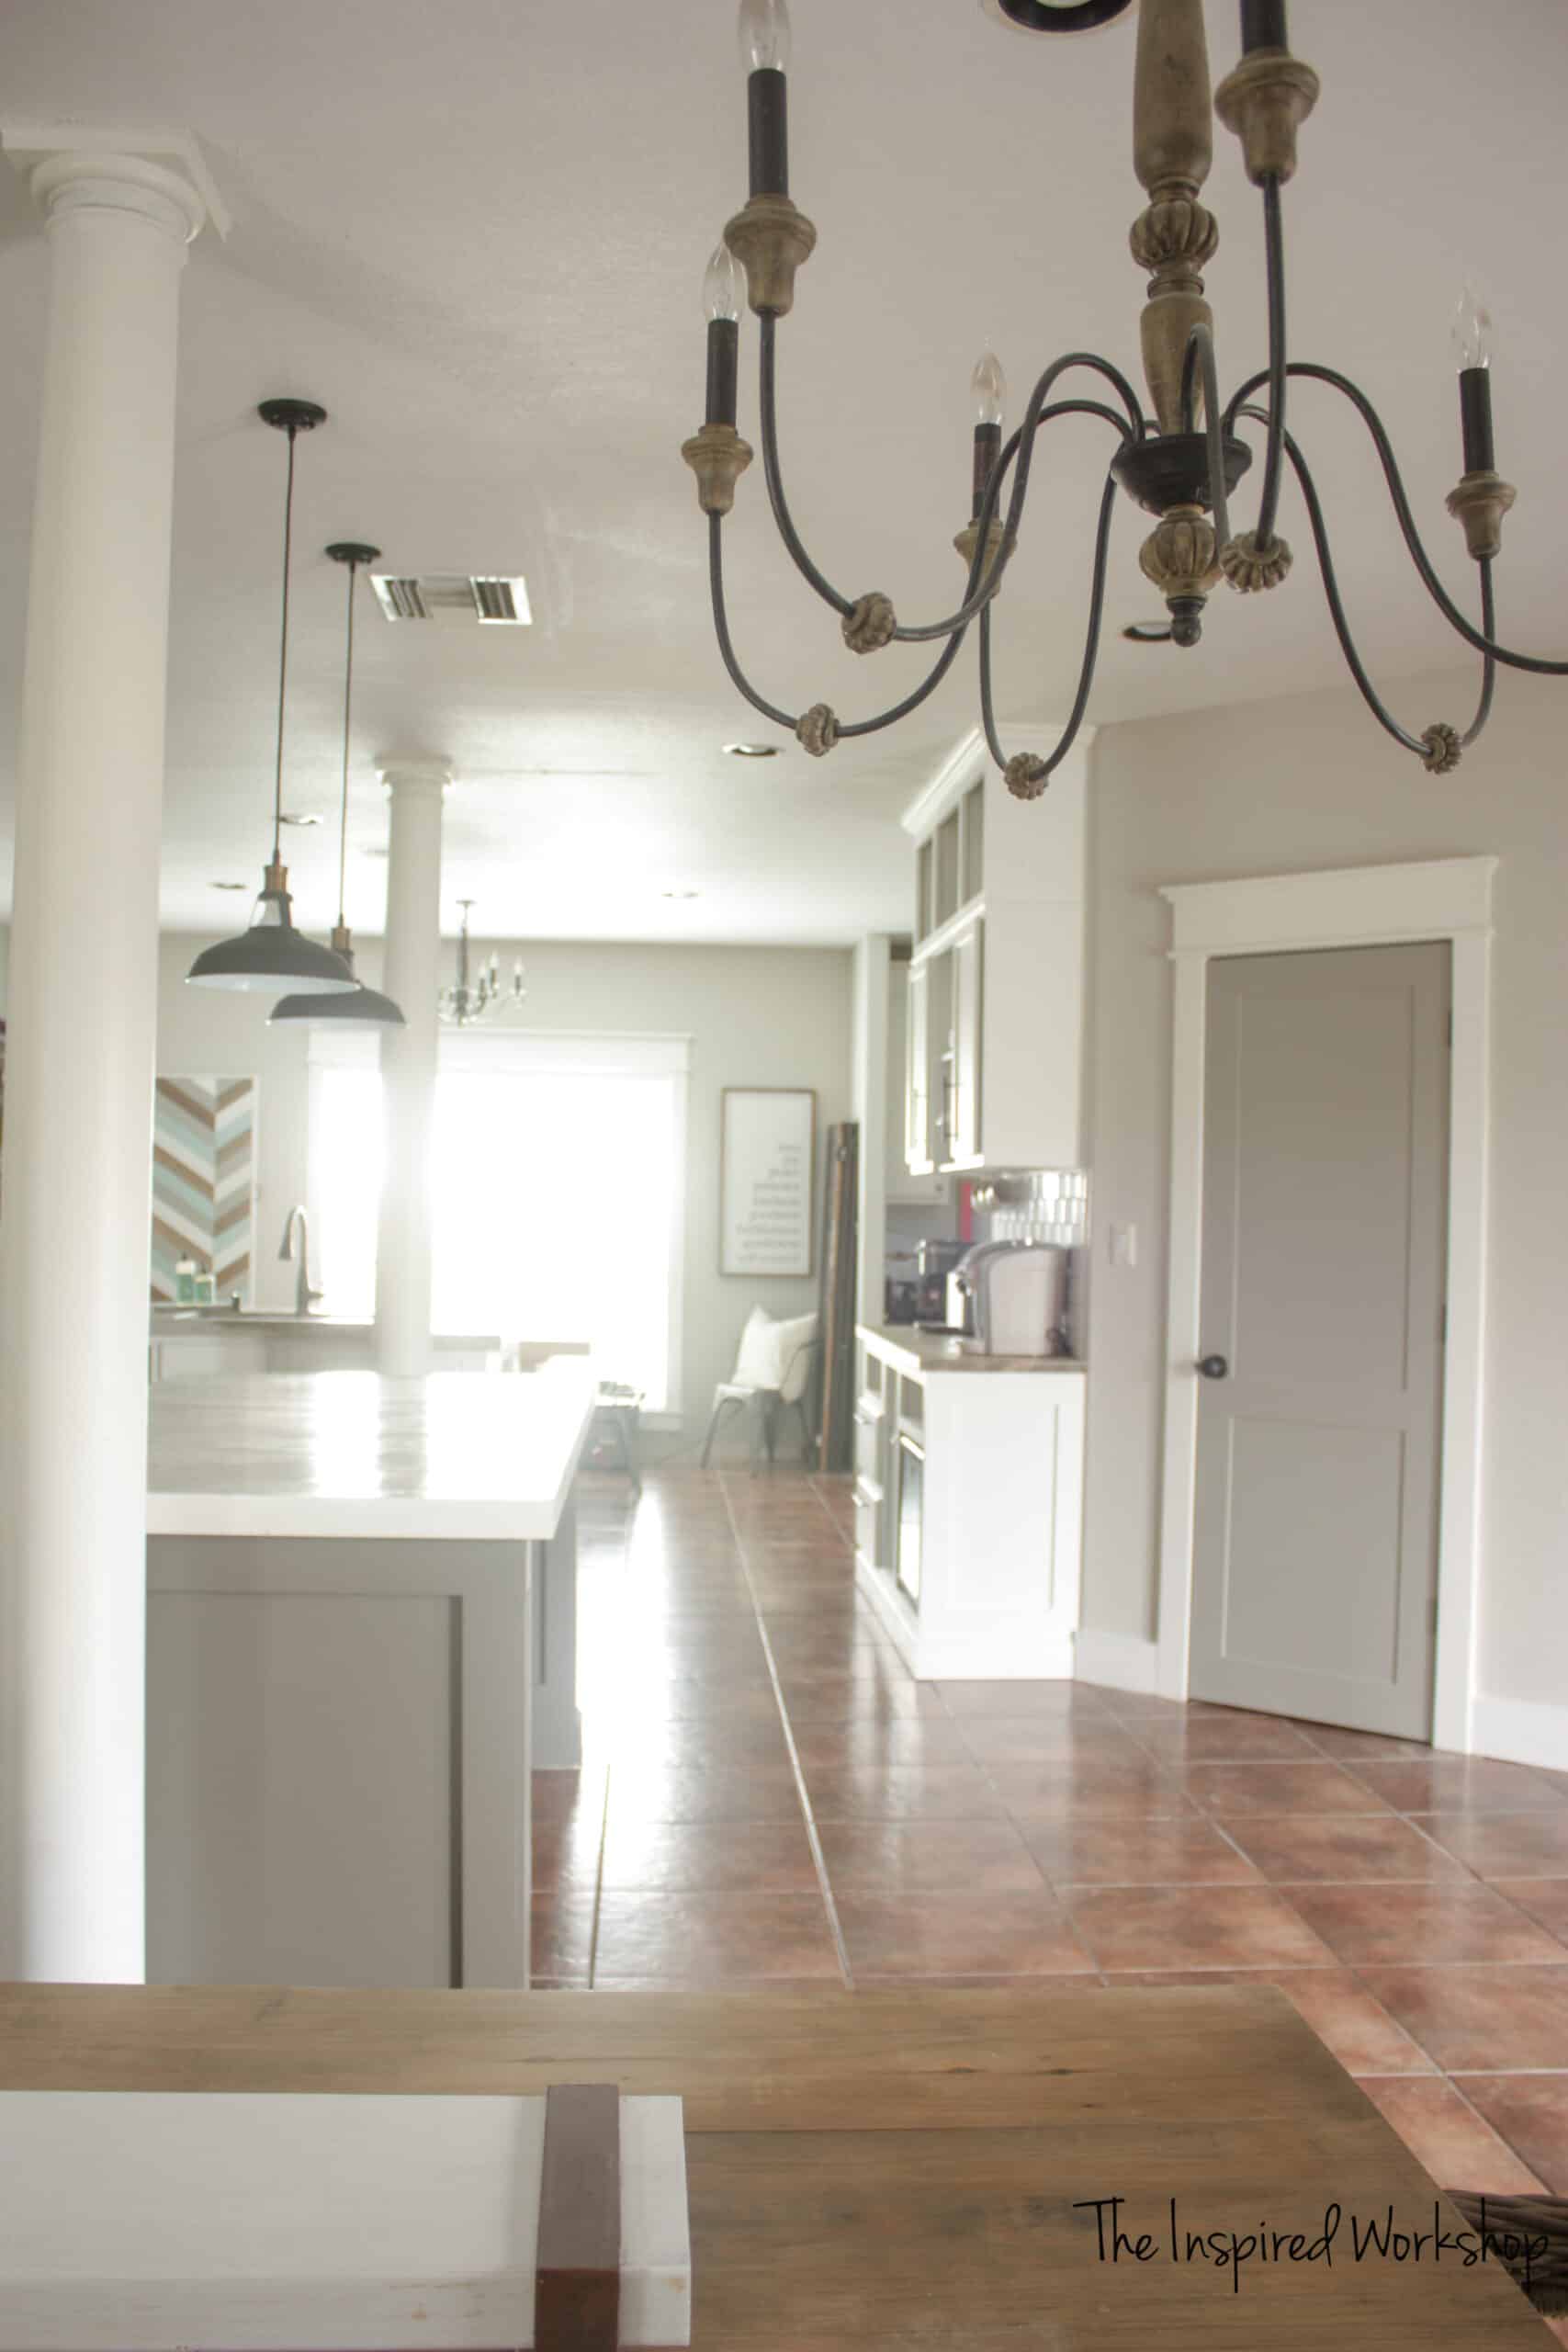
I also cannot emphasize what difference baseboards make in a home either!😳😄
The whole sheet of 1/4″ plywood cost me 14 bucks and there was enough to do 2 full doors! A little caulk, wood glue, and brad nails…and boom…it looks 10 times better! I used the same hardware that was on the door to start. So I really didn’t spend but 7 dollars per door… and still had enough to do another door!
Want to create your own beautiful doors? Here’s how I did it!
**Note: Amazon links below are AFFILIATE LINKS! When you click an affiliate link, and make a purchase, I make a tiny amount of money off of that purchase at no extra cost to you! All other links are just to be helpful, I do not make any money off of them!
Materials:
-1 – 4×8 sheet of 1/4″ plywood (I bought Luann underlayment)
Cut List: (for one door)
– 2 – pieces of 1/4″ plywood ripped at 4″ and then cut to the length of your door.
-1 – piece ripped at 4″ and cut to fit the width of your door at the top and middle.
-1 – piece ripped to 6″ and cut to fit the width of your door at the bottom.
DIY Door Makeover
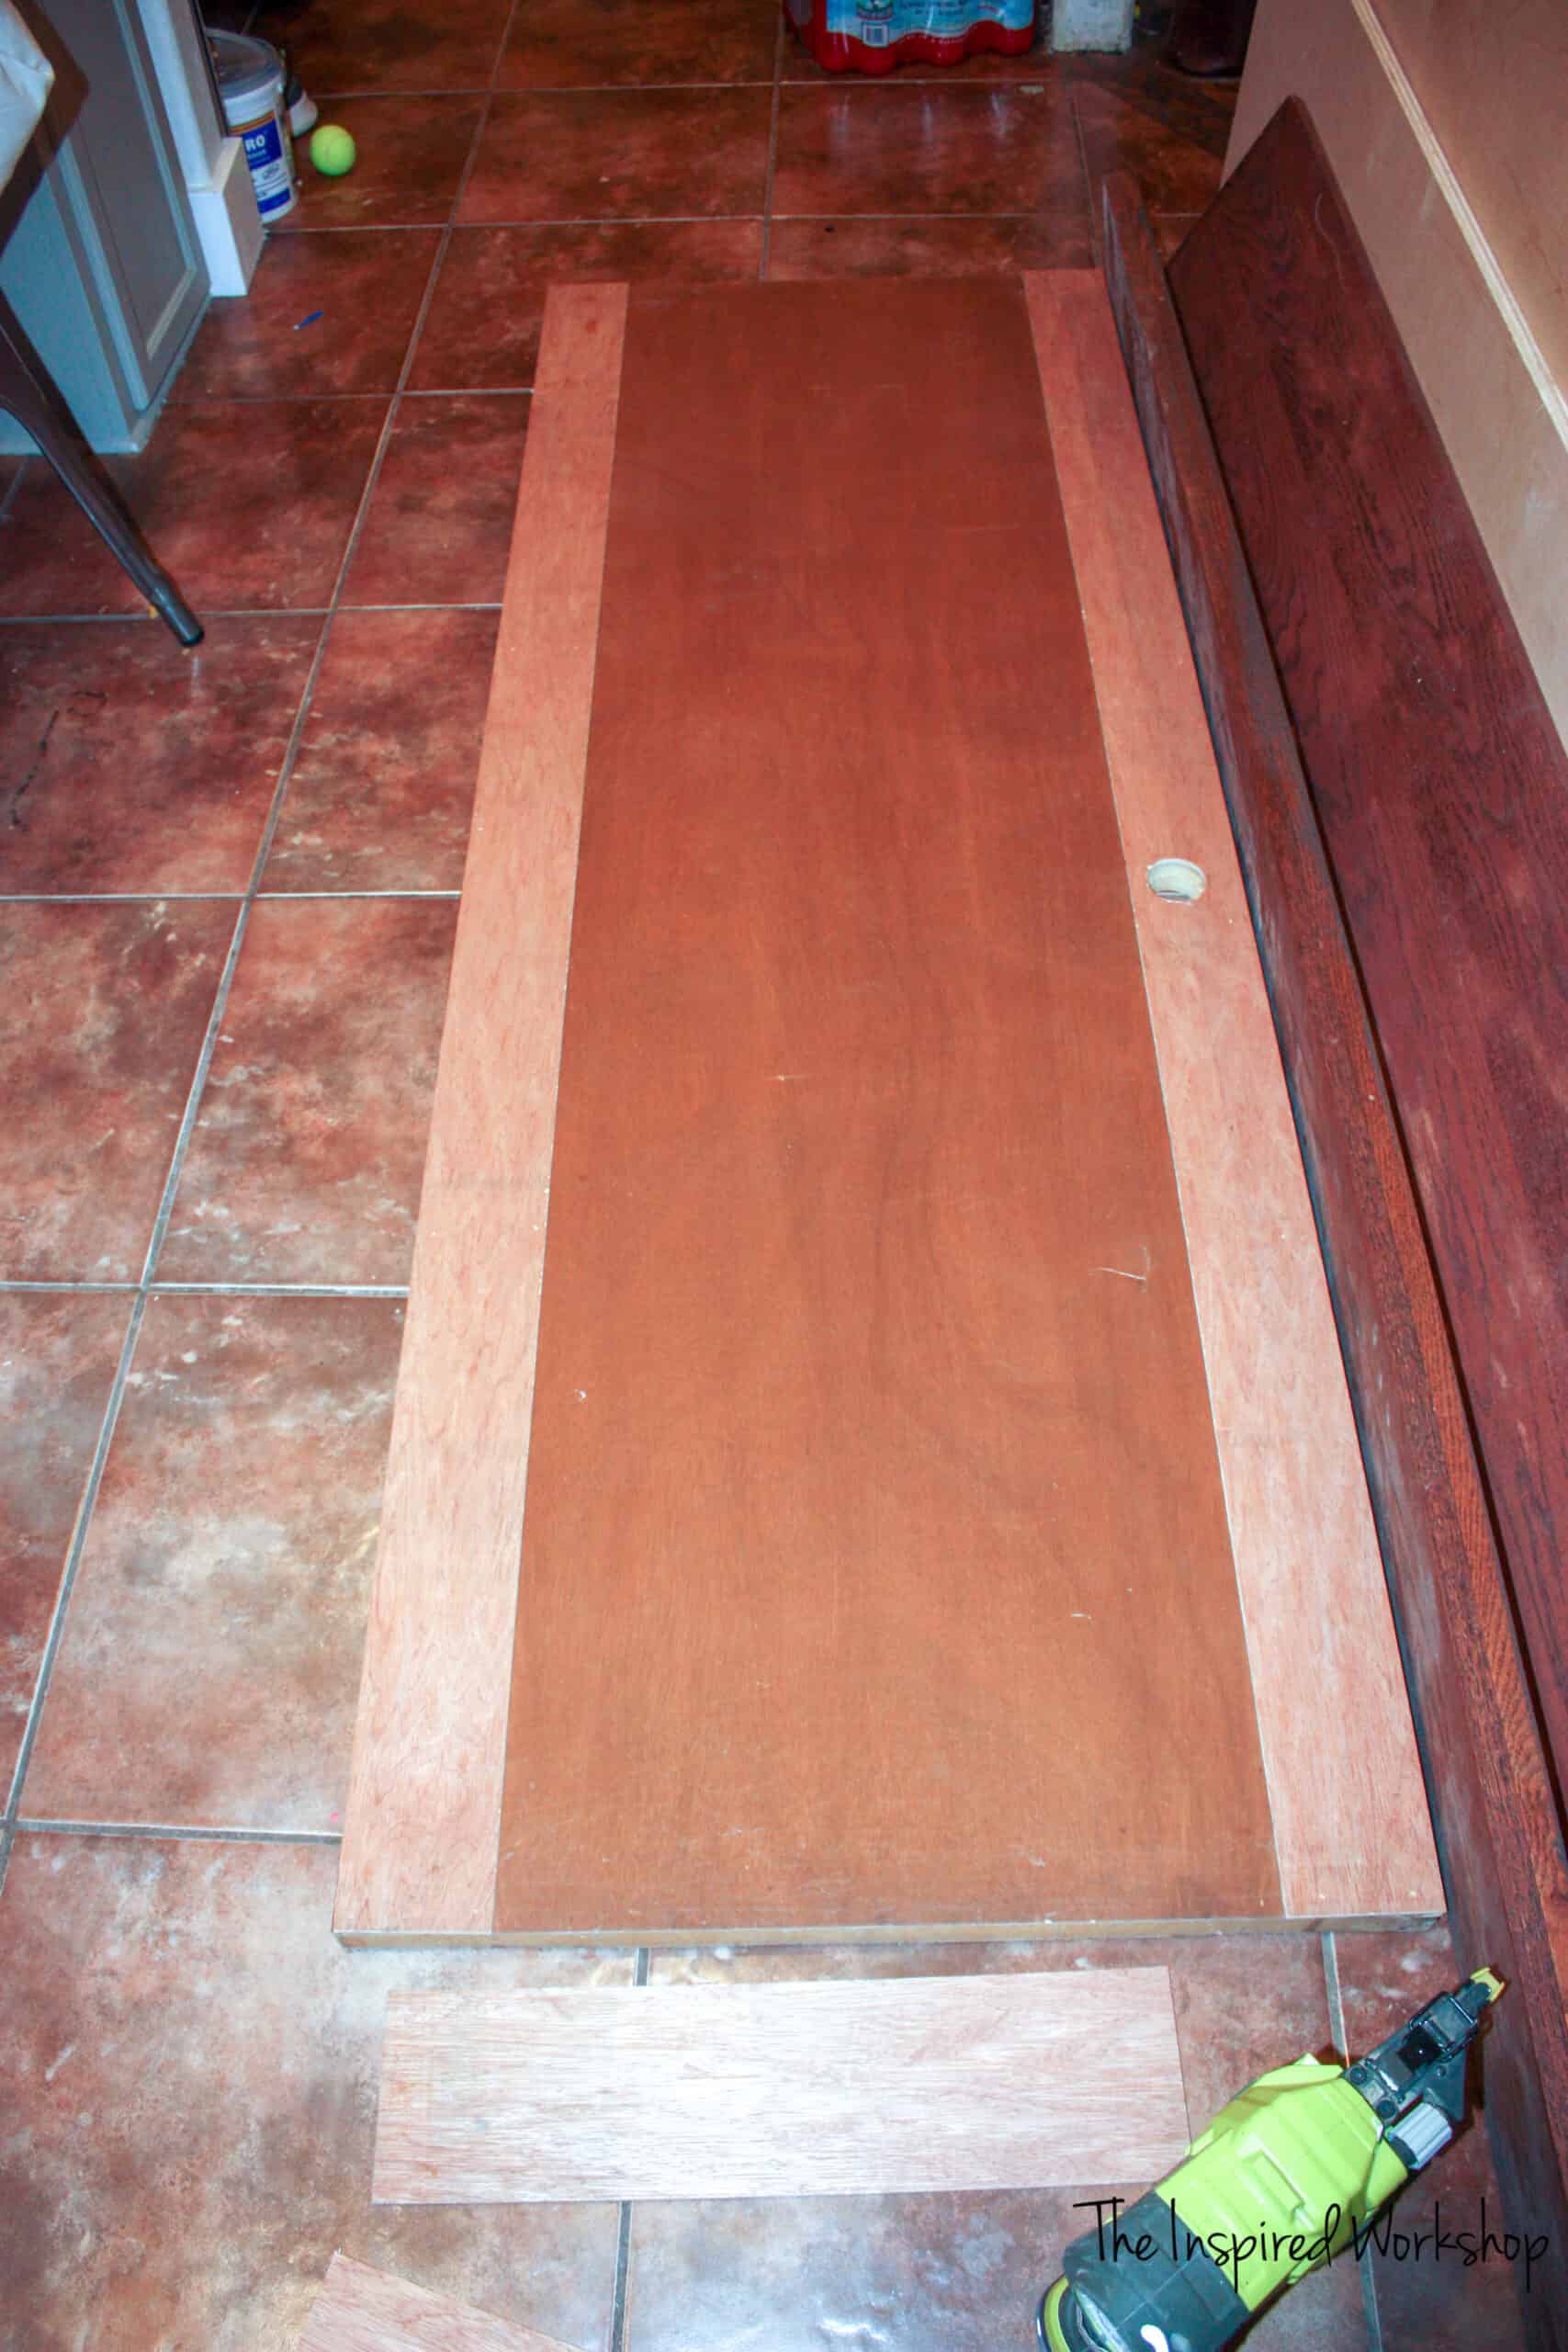
Start with laying the door on a flat surface where you can easily measure the length of the door. Cut the first two strips you ripped down to the length of your door! Mine was 7′ 6″. Once they are cut to the length of the door, glue and brad nail them with the edge flush with the outside edges of the door.
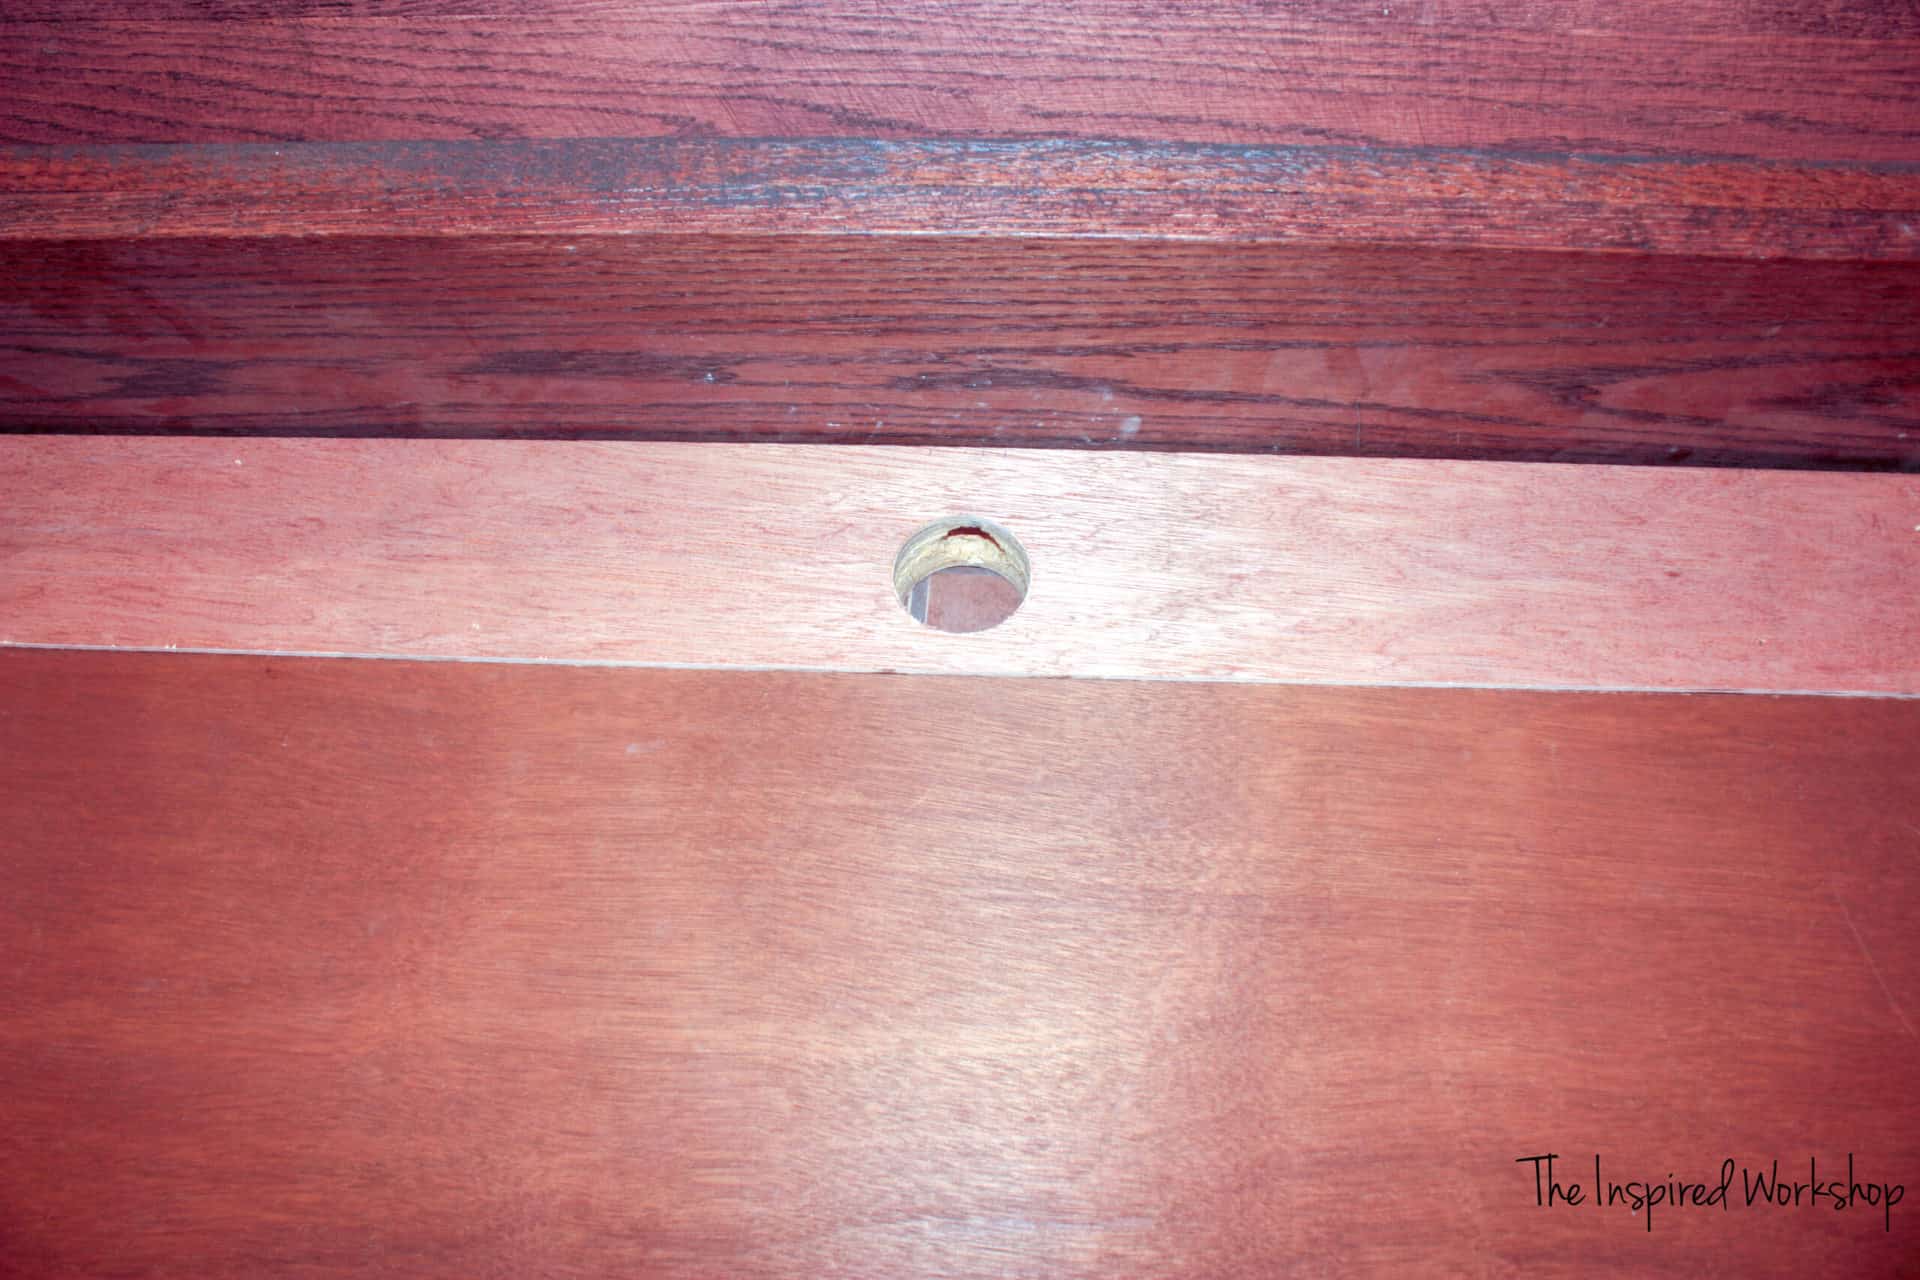
Pretend that the doorknob hole wasn’t drilled yet! Lol!
You will need to re-drill the hole for the doorknob through the 1/4″ plywood if your door was already used before…if it is a brand new door, you will need to drill a hole through the door and your plywood to attach a doorknob and you may need a kit! It takes a 2 1/8″ hole saw to cut the hole.
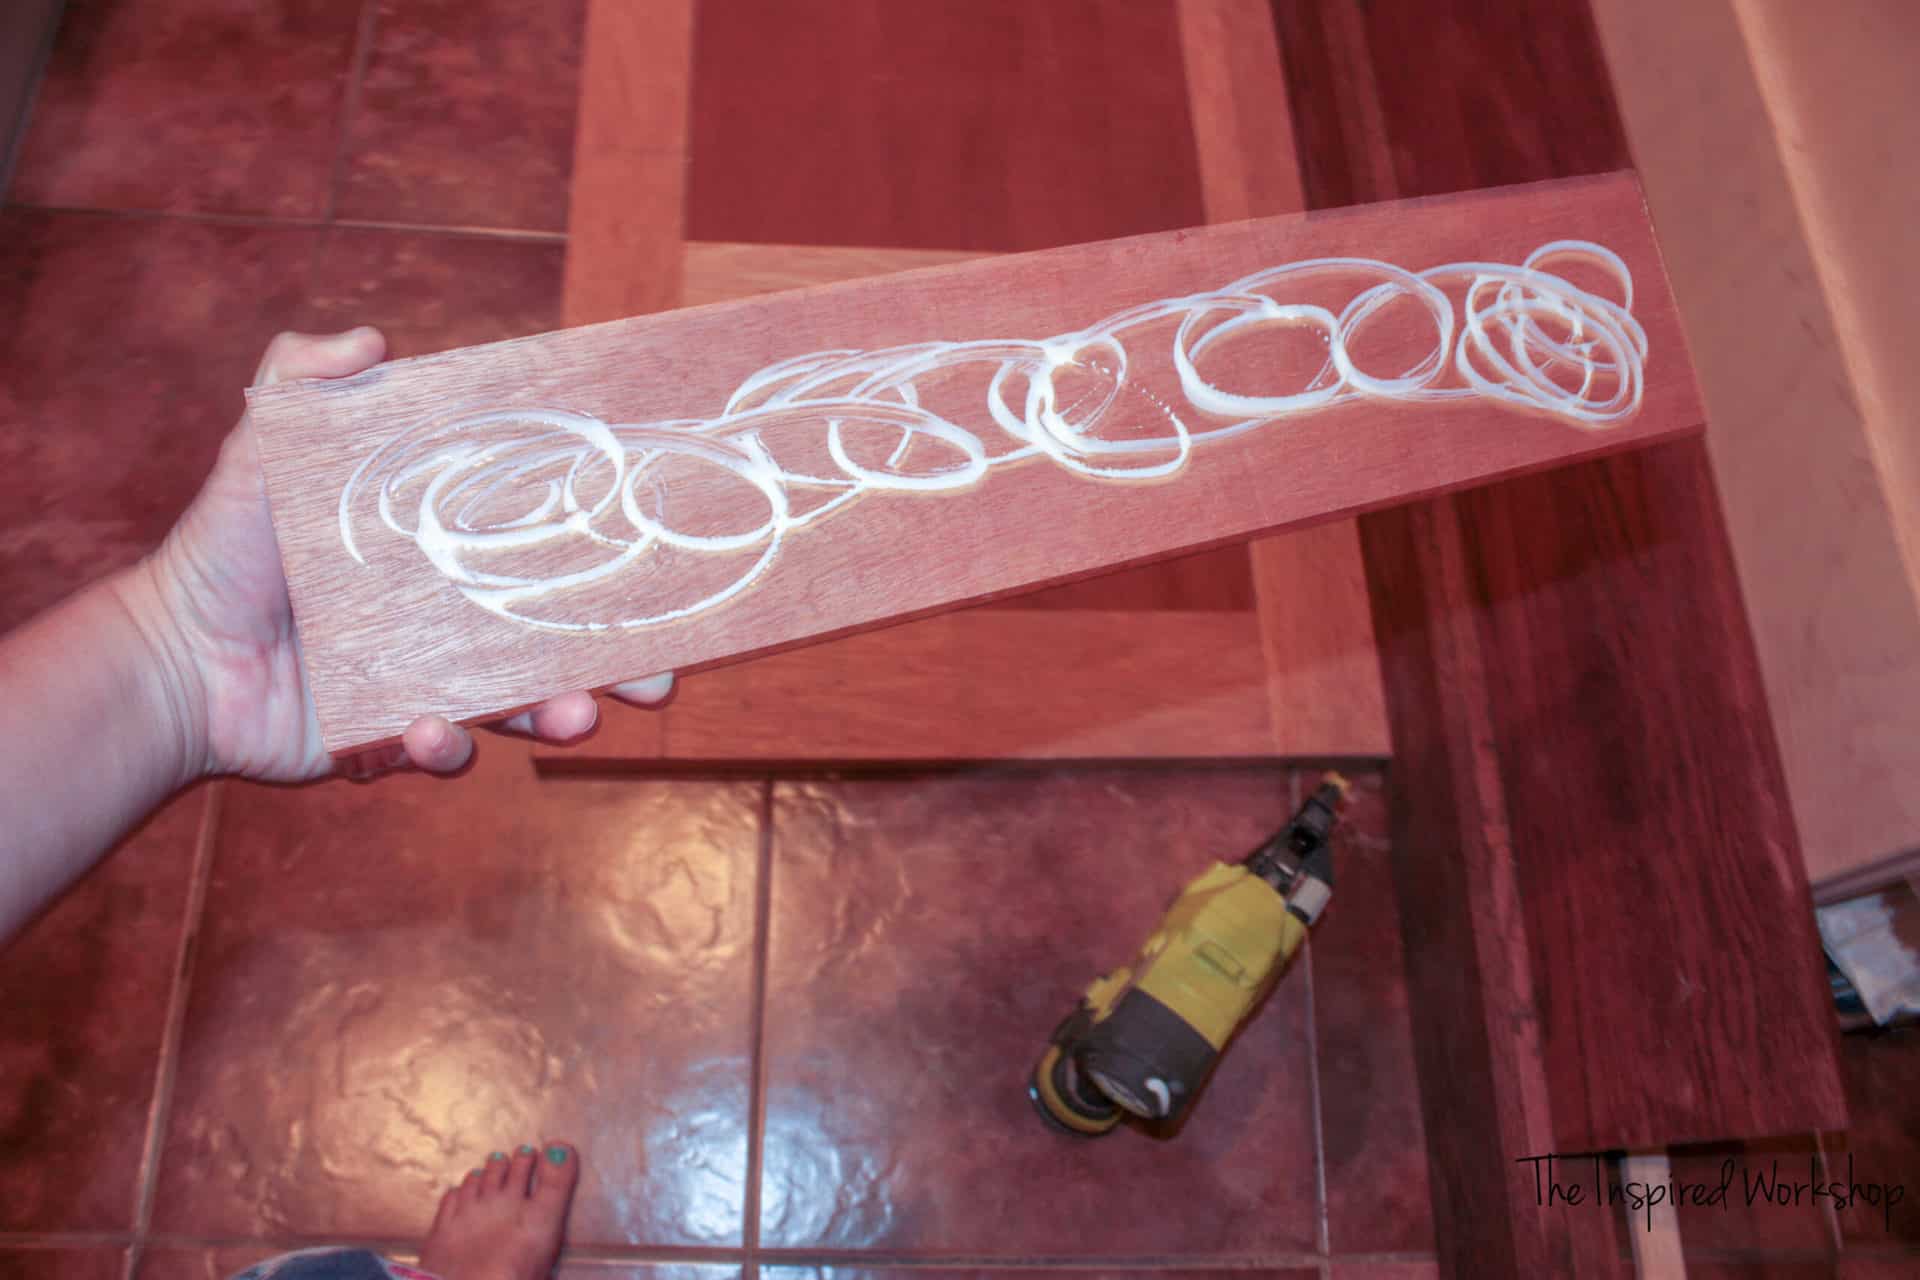
Make sure and use ample wood glue when you put your strips down to make sure they adhere well!
If you cut your boards and put them in place for the bottom (6″) and top (4″) then measure up, 25 3/4″ and place the middle board. That gives a longer on the top, sleek look to the door!
And what do you know, I didn’t get a good finished shot before painting! Ugh!
Make sure and caulk all of the edges so that the paint looks beautiful, I sand the caulk after it is dry as well, just to make sure there aren’t any raised areas that will show up after the paint!
So I primed it with the same primer I used on the rest of the cabinets in the kitchen, Zinsser Bullseye Primer. Then I sprayed it with Dorian Gray by Sherwin Williams Snap Dry paint! I do suggest spraying the door vs brushing it, simply because there really is a huge difference between the finish of the sprayer and the brush!
A sprayer is not expensive and it is worth its weight in GOLD! I have the HomeRight TPS sprayer and completely recommend it! I heard a blogger recently say they could not recommend this sprayer because the finish had raised spots all over like the sprayer was spitting the paint… this ONLY happens when you don’t thin the paint properly!
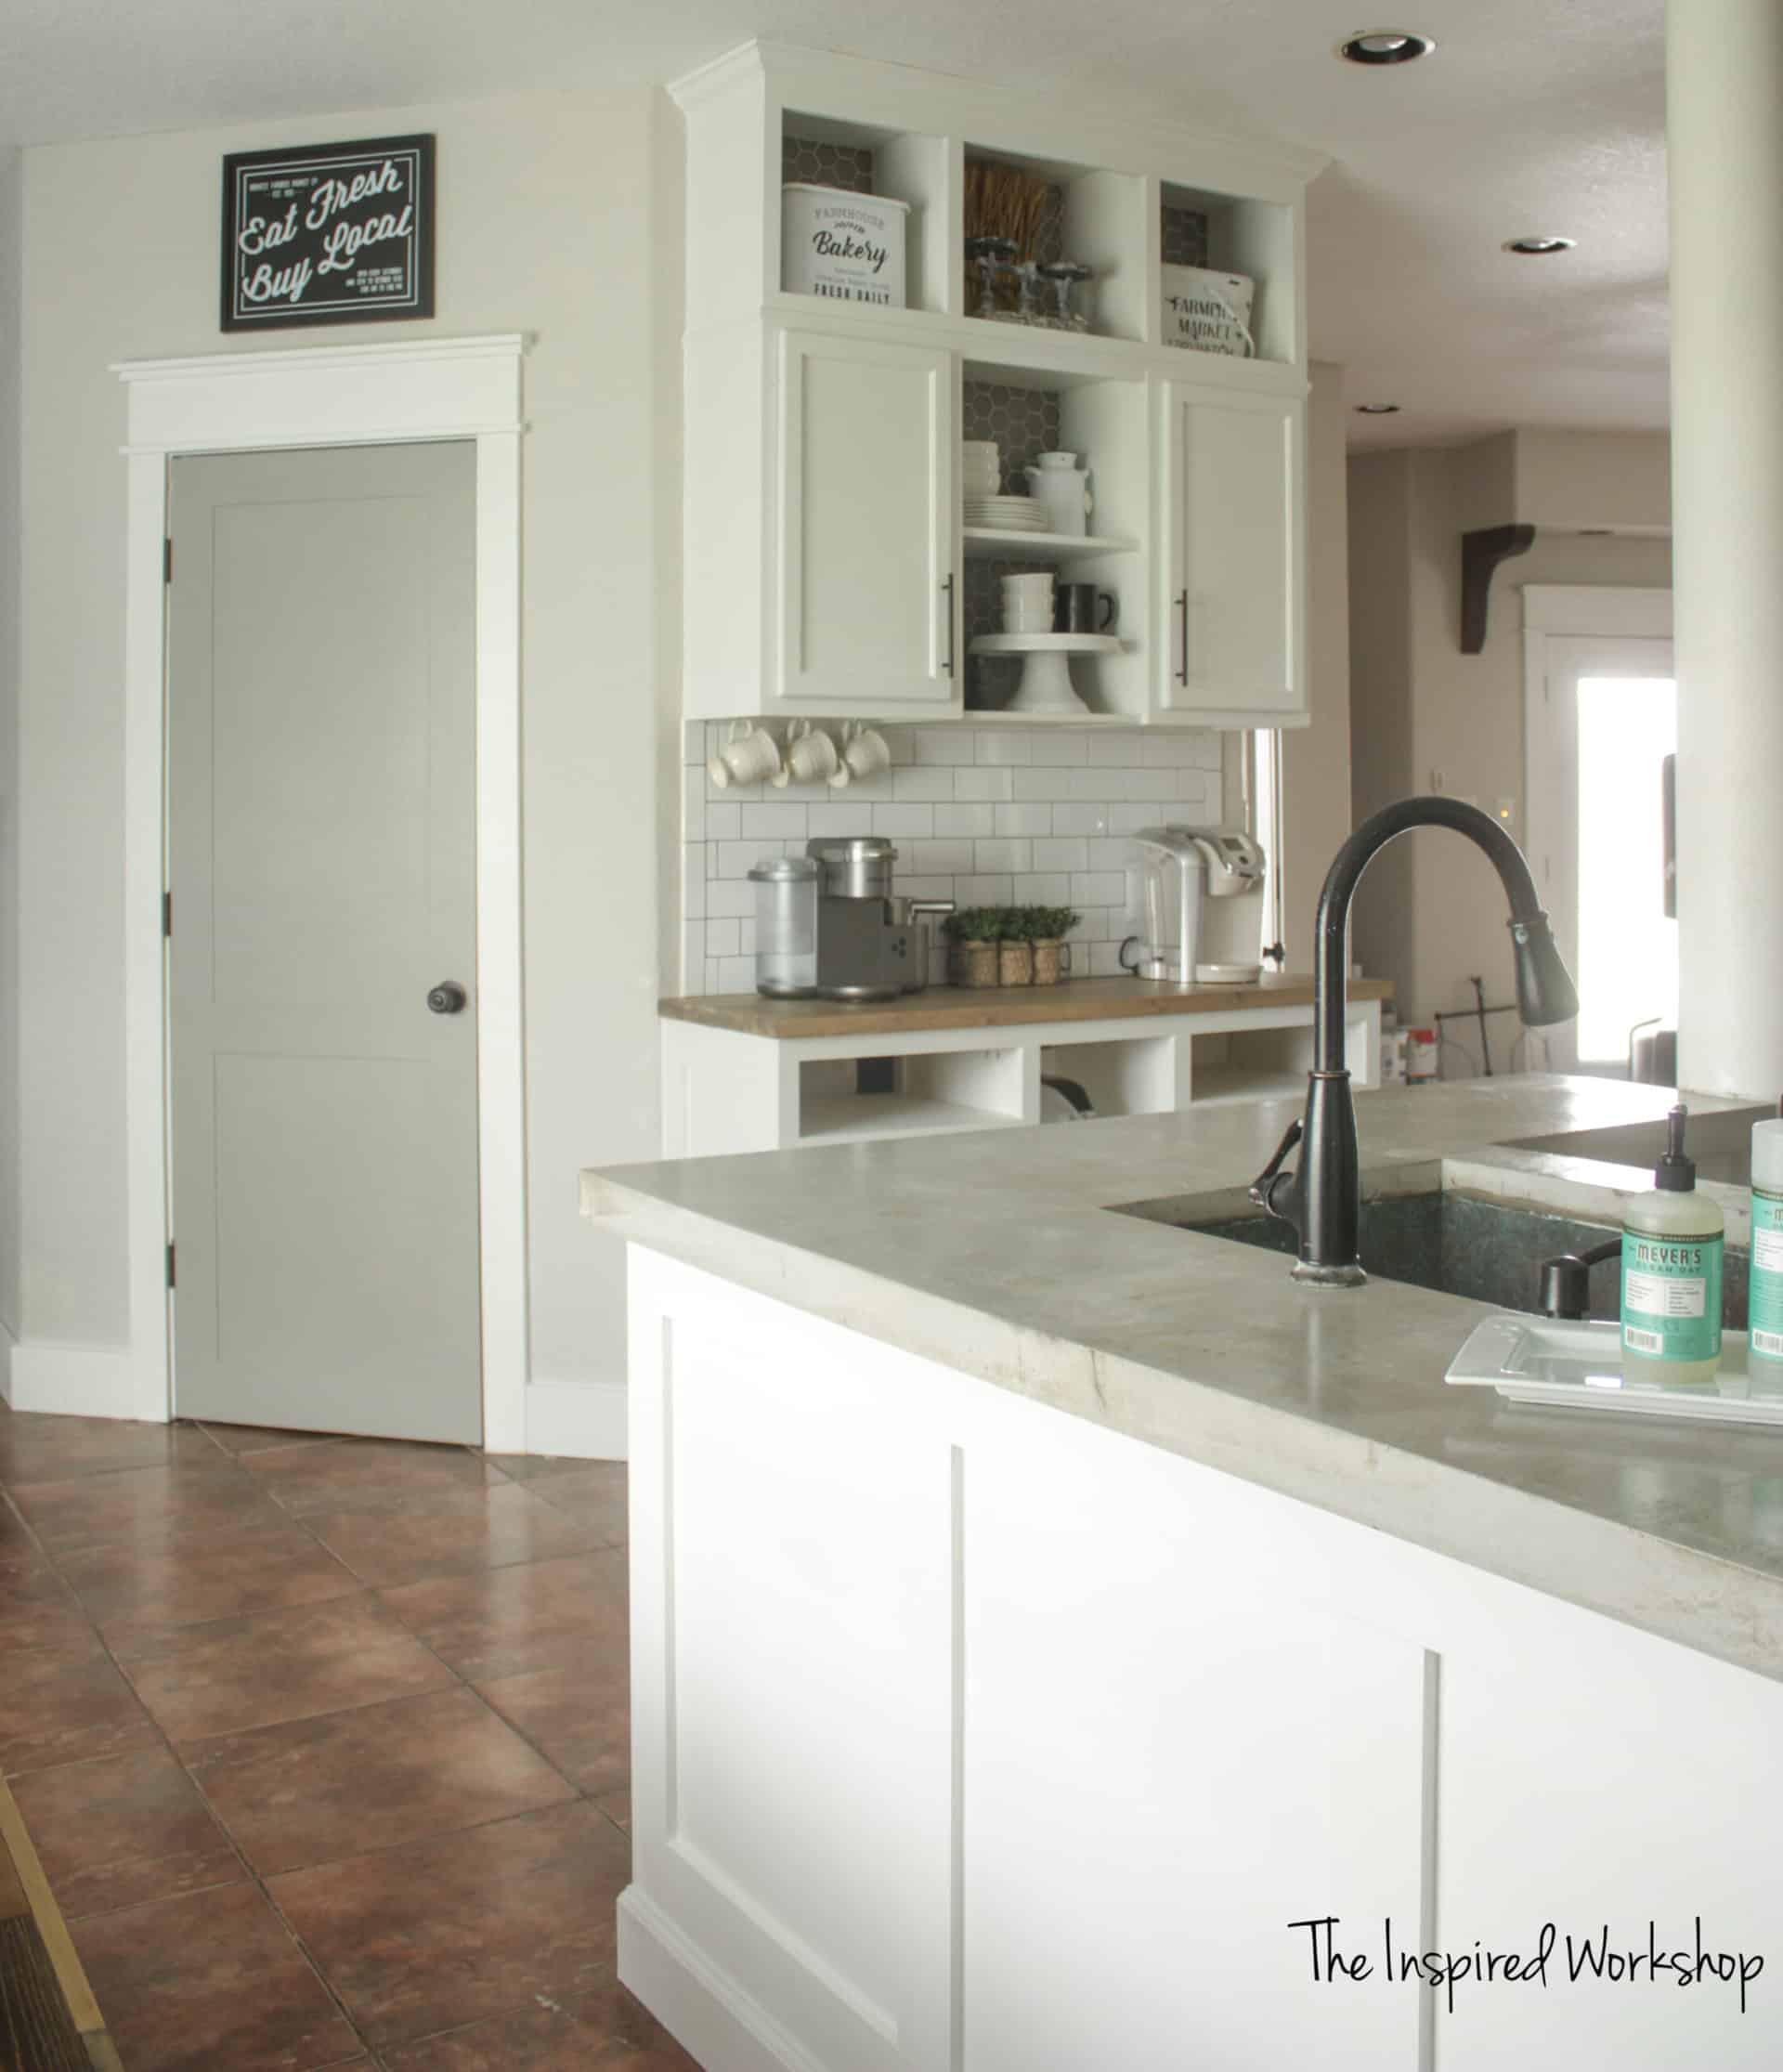
Anyway, so after the paint dried, I put the old doorknob on and hung the doors back up!
They look pretty amazing if I do say so myself! 😄😉
Do you have a door that you are already thinking about using this DIY door makeover tutorial on? It’s perfect so that you don’t break the bank but get a classic upgraded door! If you try this out, I would LOVE to see it!
Have someone you know that would love to do this to one of their doors? SHARE IT with them!
Happy renovating!
Wanna save this awesome project for later? PIN IT!
Related Posts



did adding the trim affect the hinges ability to open and shut? we would love to do this to all our boring doors, but worry about that.