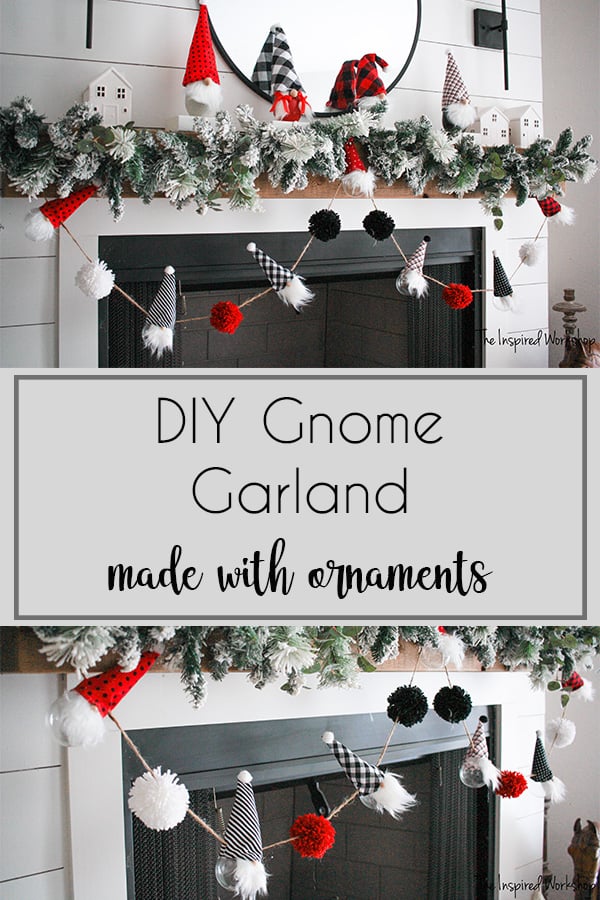
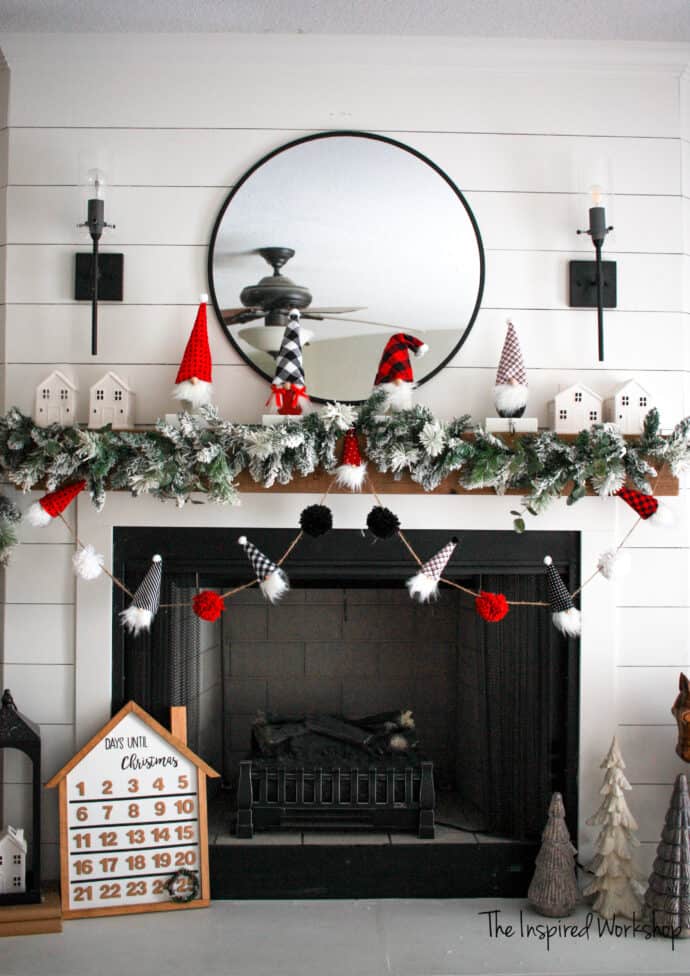
DIY Gnome Christmas Garland

If you love gnomes, you are going to love the latest tutorial on how to make a DIY gnome Christmas garland! Craft the gnomes and pom poms to match your Christmas colors or theme and decorate your Christmas tree or fireplace mantel with all the gnomes!
Can you believe all the ways you can make gnomes and incorporate them into your Christmas decor?! I just can’t stop myself! Lol! Once you make one or two, you just want to make all the gnomes, and they are so simple, cheap, and easy to make that you end up making all sorts of gnomes for your decor! Hence how this DIY Christmas garland with gnomes was crafted!
Do you love gnomes as much as I do…or know someone who does? Here are a couple of other gnome projects I have done!
I just can’t get over how happy these cute little fellas with no face make me! 😄
The great thing about this is if you have made one gnome, you can make any gnome! If you can make a U shape and cut a triangle…and use a hot glue gun, you’ve got this! And a garland is simply throwing a few ornaments and pom-poms on a string!
Plug in the hot glue gun so it can warm up and let’s grab the other things you need!
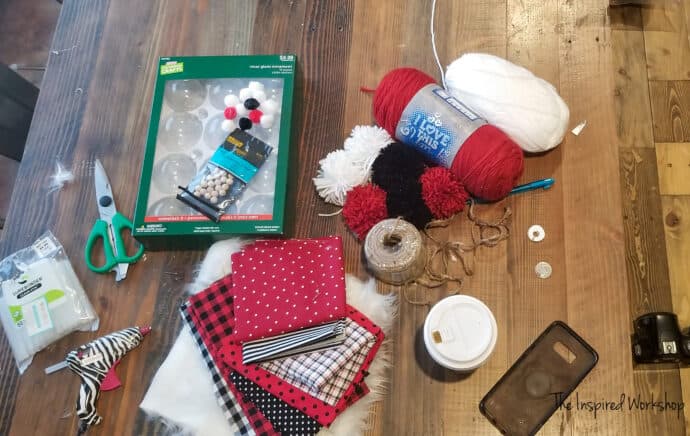
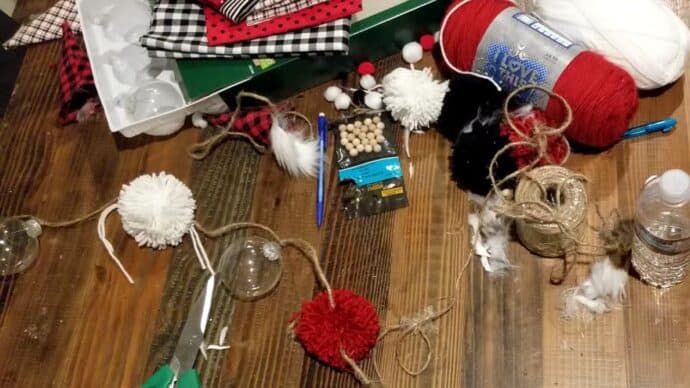
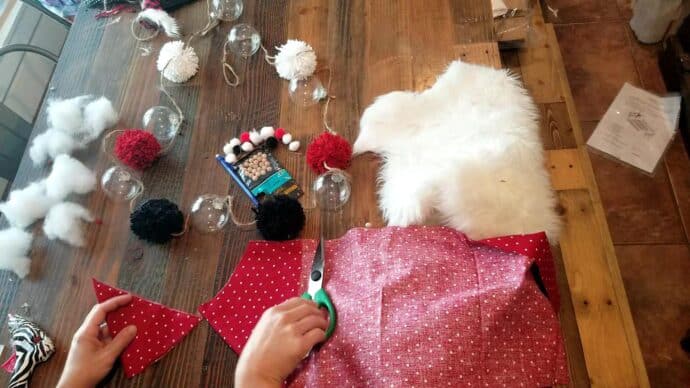
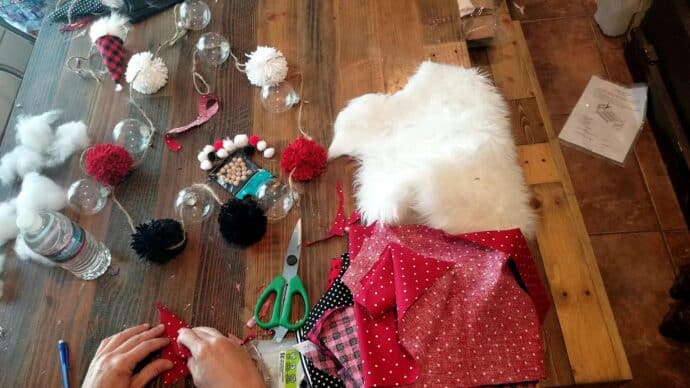
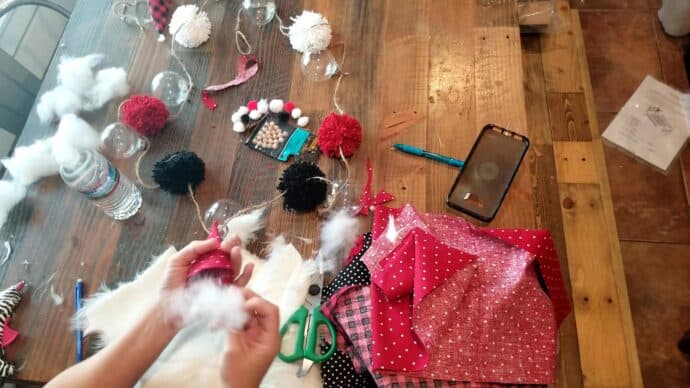
Gathering the supplies for the Christmas gnome garland
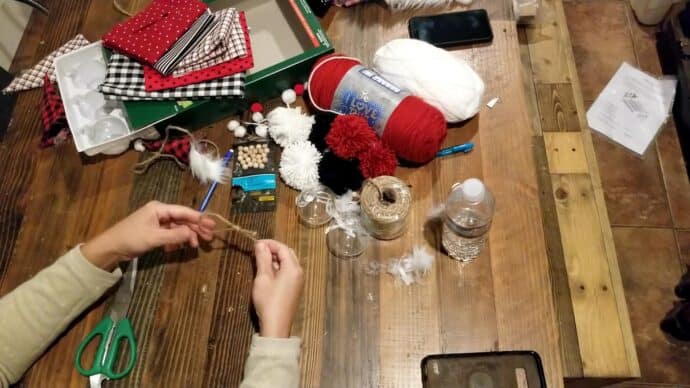
Materials Needed for the Gnome Garland:
- Yarn of your choice – or already made pom poms
- Ornaments of your choice to use as gnome bodies
- fabric of your choice to make gnome hats
- twine or string of your choice to make garland
- small wood beads for nose
- hot glue gun and glue sticks
- small pre-made pompoms for the hats
- stuffing for inside the hats
- fur for beards
- cardboard for making pom poms if you are making your own
Making the DIY Christmas Garland with Gnomes
Okay, so it took me several attempts to get this right! Lol! The first time around, I didn’t tie the twine through the ornaments…well that didn’t work because the gnomes fall forward!
The second time around, I tied the twine through the ornaments but glued it under the hats, and they still fell forward! I tell you this just so you understand why I made it the way I did, in case, like me, you think you don’t need to do it in the order I did! 😂
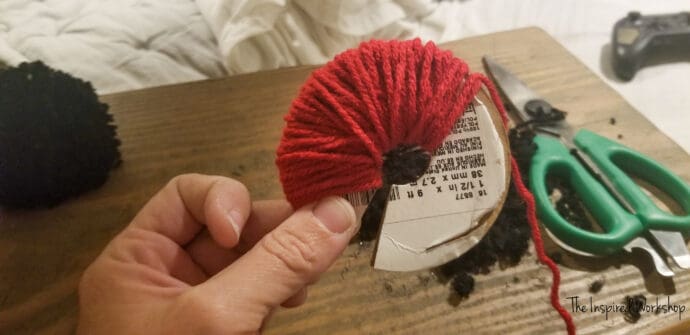
Step 1 – Make Yarn Pom Poms for Christmas Garland
Make yarn pom poms! If you purchased pre-made pom poms, you can skip this step! I used the method of two small pieces of cardboard cut into circles.
I used the circles off of a ribbon roll though to save the time of cutting circles! Lol! They already had a nice size hole in the center and everything! I only had to make two small cuts to start making my pom poms!
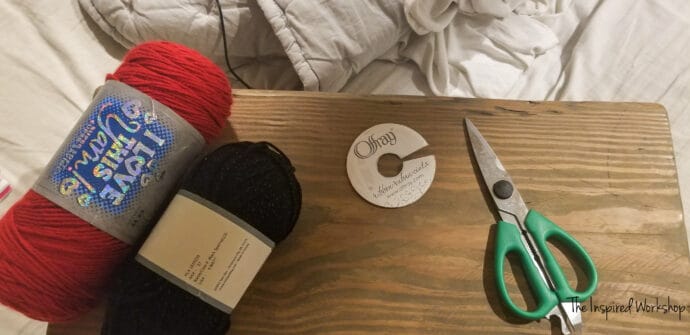
This was my first time making pom poms actually and it was pretty darn easy! I will confess, I made them in bed using my DIY lap desk I built a few months back! I LOVE to craft while watching Christmas movies and this created the perfect opportunity!
All you do to make the pom poms is wrap the two circles of cardboard with yarn…you can’t see it, but I do have two circles here, both sides of the ribbon roll! Lol!
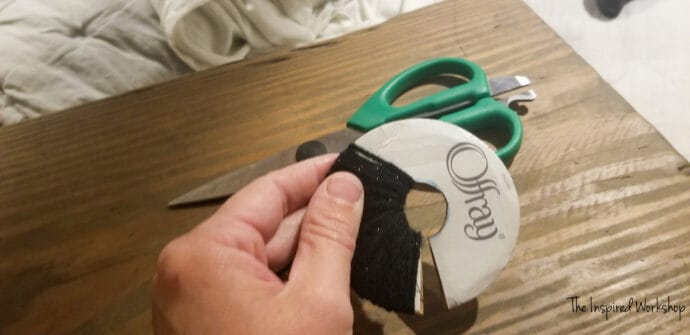
Keep wrapping until it is pretty thick, the thicker you wrap, the fluffier the pom pom! Then cut all the yarn in between the two circles. Take two pieces of about 12 inches of yarn and put them together in between the two pieces of cardboard, and tie really tight. Then you can take the cardboard out of the yarn…and it’s a pom pom!
I am sorry I did not take better photos of making the pom poms, I was relaxed in bed and apparently forgot all about the fact that I was going to do a tutorial on this and needed pictures! Oy! But there are many great videos and tutorials out there if you need better instructions!
They even have plastic pom pom makers that I am ordering now that I have made some… because I ended up cutting my cardboard all up! Lol! This will make it so much easier!
But they still became pom poms! Yay!
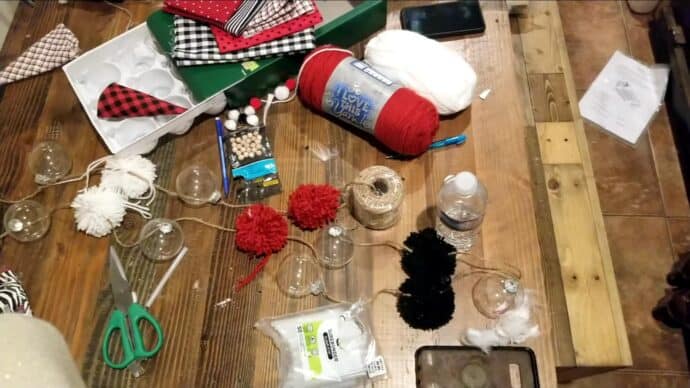
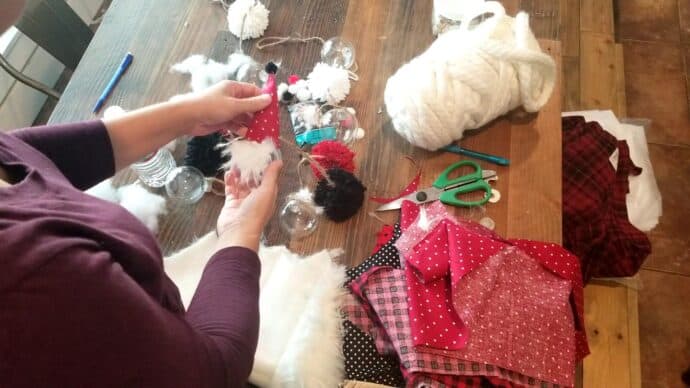
Step 2 – String the Ornaments and Pom Poms onto the Garland
I went ahead and attached my ornaments and my pom poms to the twine before making the ornaments into gnomes…because as I mentioned earlier, it didn’t work to not string the twine through the ornaments!
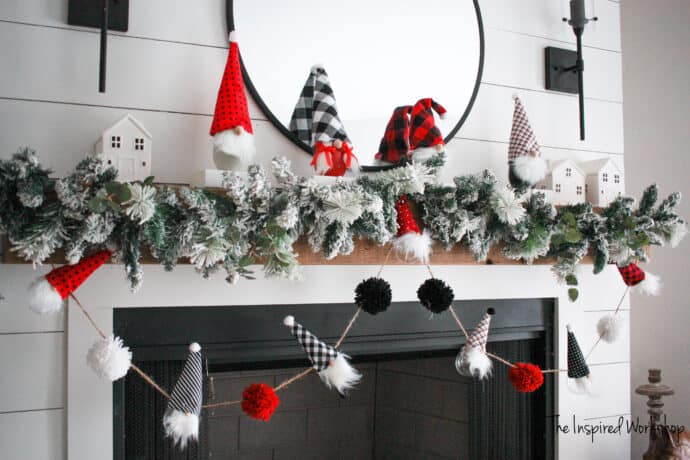
First, I created a loop on the end to be able to easily attach the garland over one of the small nails on my mantel!
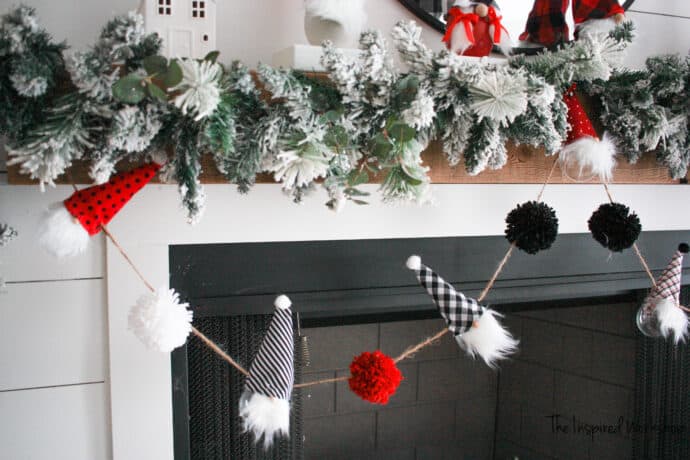
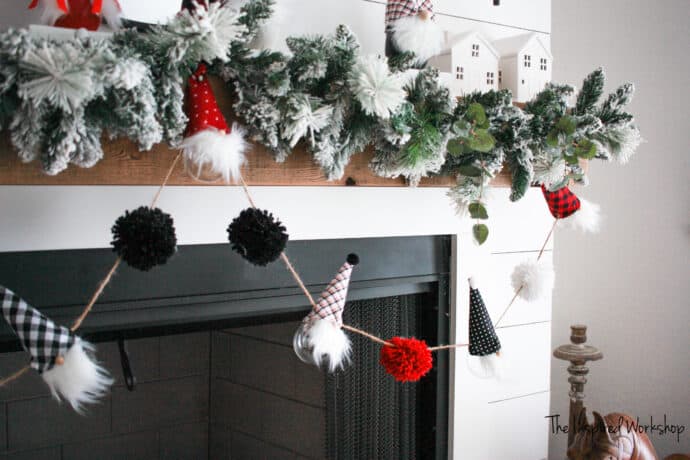
Next, I added an ornament but that was because I wanted to start my garland with a gnome, but now seeing where the gnome sits on the garland, I might would start with a pom pom if I made it again…just a preference thing, you can look at the photo and see what you think you would prefer!
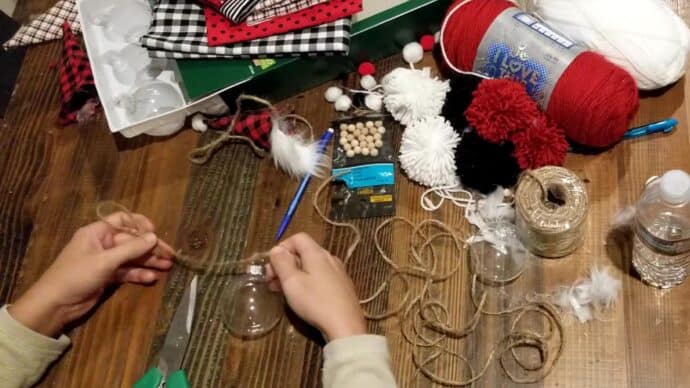
Also, I used clear ornaments because I wanted to be able to string lights behind them and have them look like they light up! Just an fyi in case you were wondering why I didn’t use black and red ornaments or somethign cute! 😆
Now add a pom pom now, I didn’t measure this I just eyeballed it as I went until I got to the middle of the garland and then matched up each side!

I accidently cut my tie strings off of some of my pom poms…and it turned out, I liked the look of just hot gluing them, spread the yarn and hot glue, it makes it look like you used a needle and strung it through the middle of the pom pom! Using the tie strings left a blank space in the back…which is fine as long as it doesn’t roll to the front!
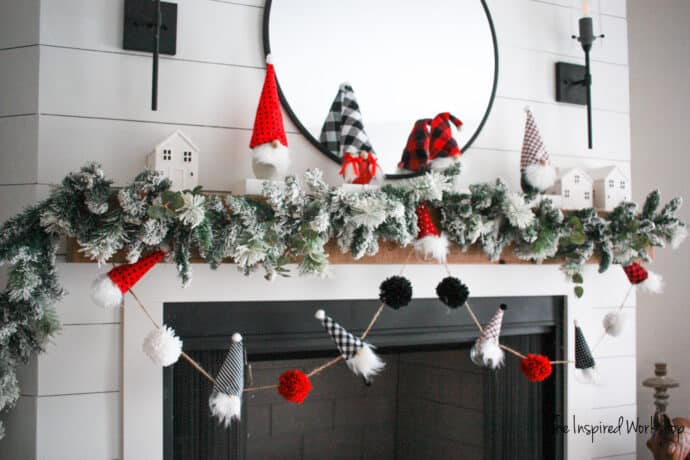
Continure adding ornament and pom pom until you have it as long as you want! Mine has 7 gnomes and 6 pom poms spaced roughly at ” apart. That makes for a ” garland including the loops!
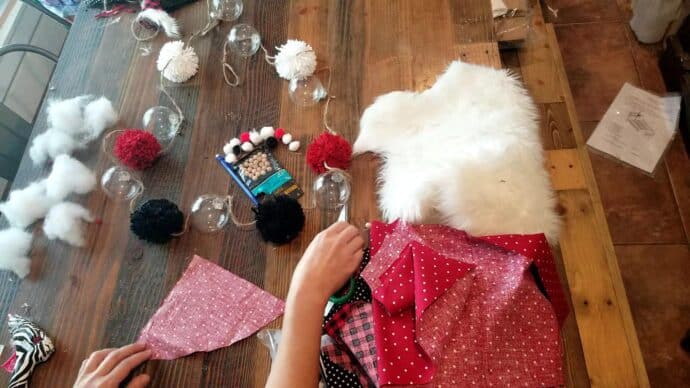
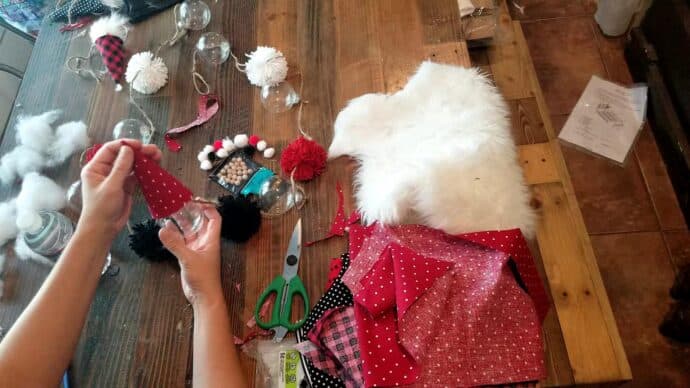
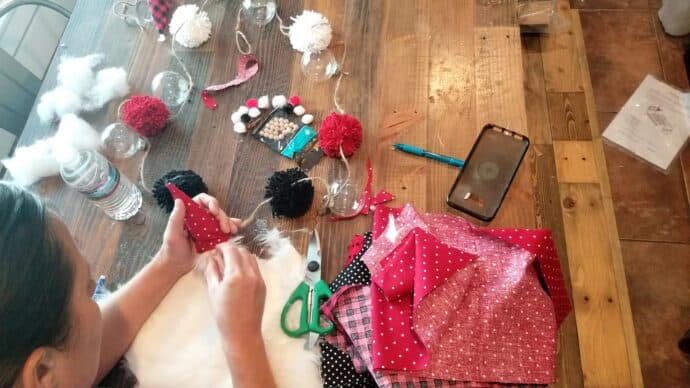
Step 3 – Make the beards for the gnomes
Alright, the garland is strung, now we have to turn those ornaments into gnomes!
Honestly, if you have read the posts for any of my other gnome projects, this is essentially the exact same thing, cut U-shaped beards, cut triangle hats, and hot glue noses and pom poms to hats! Same thing I have explained plenty of times before! I will still go through the whole process though in case you haven’t seen one of the other gnome prjects I have done!
There is one difference on this project as opposed to the others…you will cut little slits in each side of the hat for the twine to come through so your gnome will not fall forward!
Anyway, lets cut some beards!
I will have small patterns for you to print here shortly once I add them! But you can see in the pictures and tell the size, they don’t have to be perfect and you can make them bigger or smaller than mine if you would like!
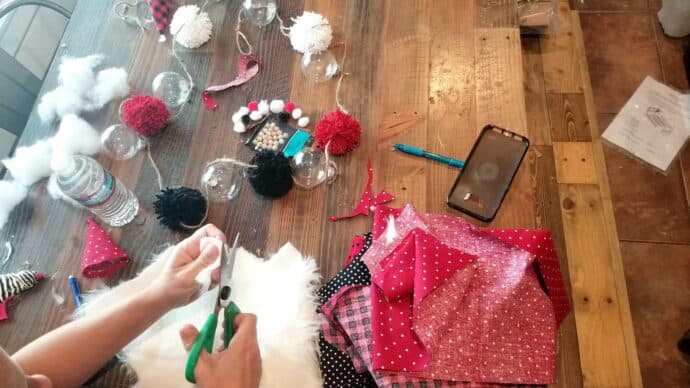
I always cut the fur into a square shape first that is slightly larger than I want my beard to be.
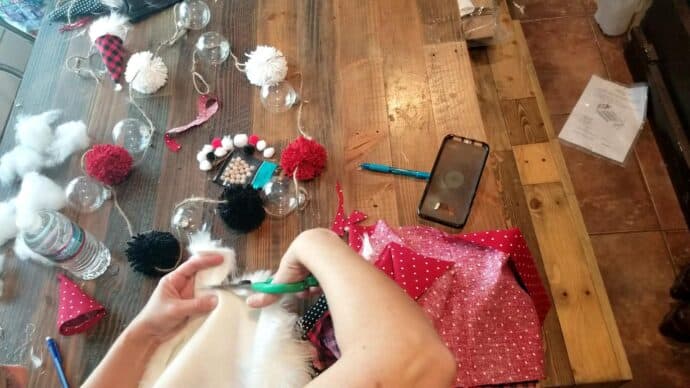
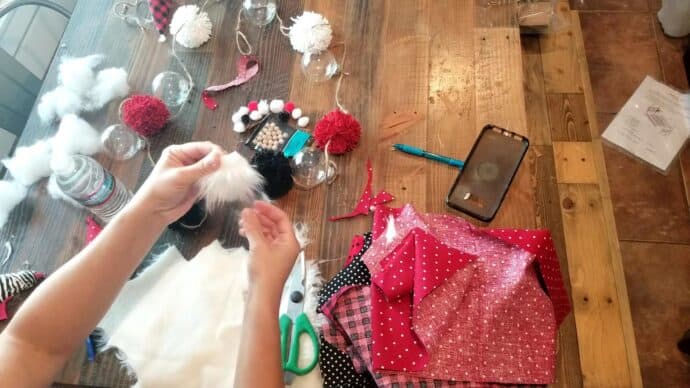
Then take the fur and flip the hair back away from the edge you are cutting, and cut the U shape…flipping the hair/fur away from the bottom keeps the hair from being blunt across the bottom. Hopefully you can tell that in the photo below, sorry its a little blurry!
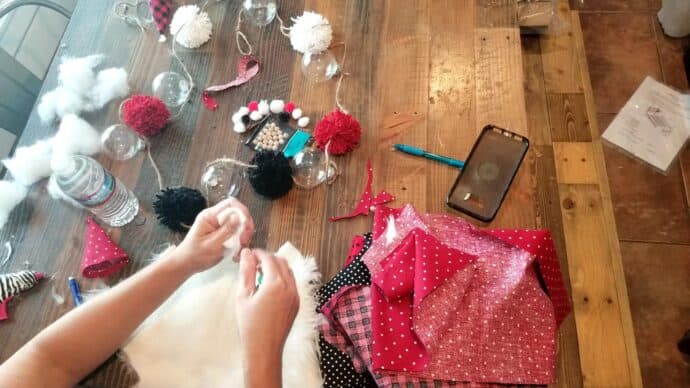
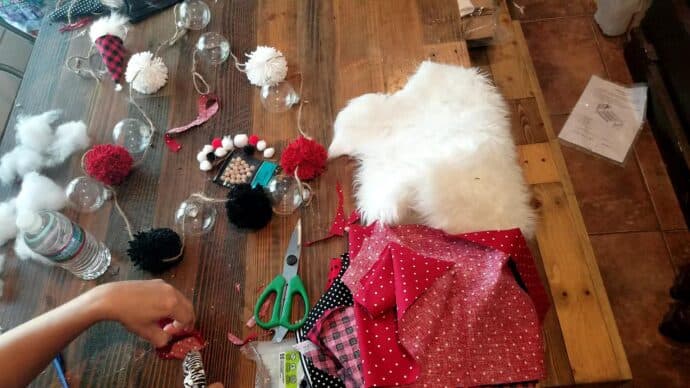
It should then look like a gnome’s beard!
Hot glue it in place with a small line of glue along the top to leave the beard free flowing at the bottom!

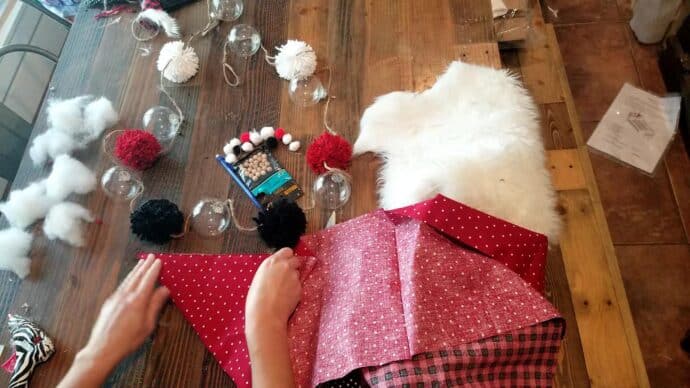
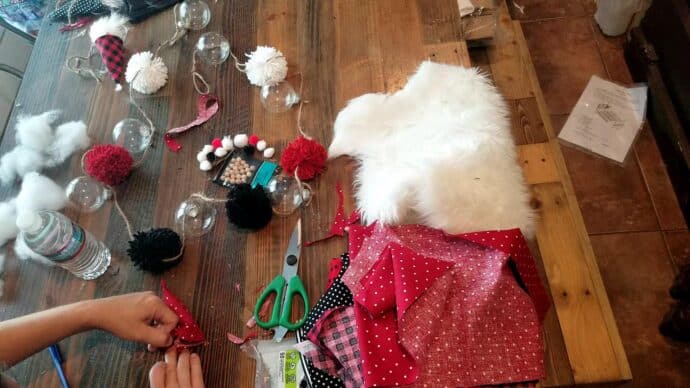
Now you will need to cut the fabric for the gnome’s hat!
Step 4 – Make the hats for the gnomes
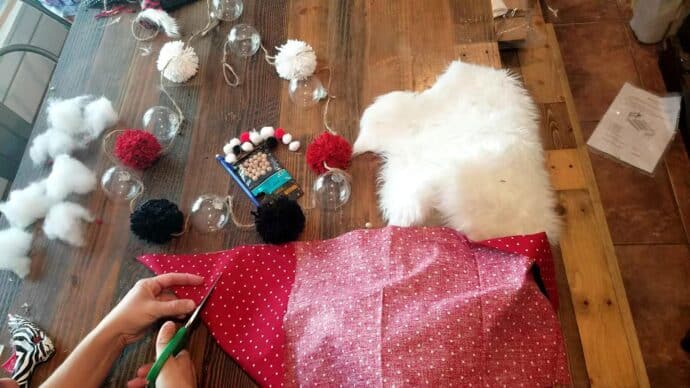
You will want to take the edge of the fabric and fold it up along the top of the fabric…not sure that makes sense…lol!
Cut the triangle with a slightly curved bottom!
Open up the fabric.
Fold the very top of the triangle down.
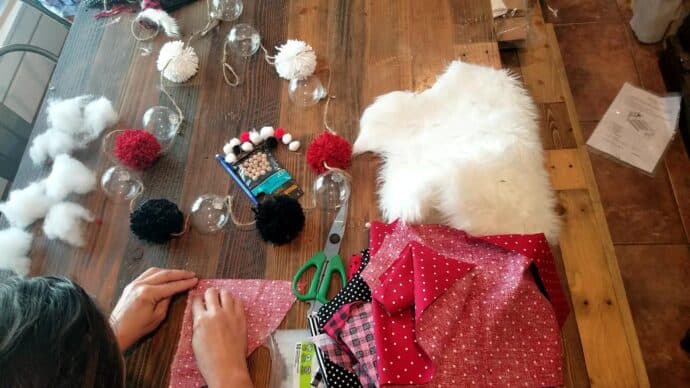
Fold one flap over to the middle and add a line fo glue, then fold the other flap over. Look to the wee bottom of the photo…apparently my camera was bumped! Lol!
Once you have the basic shape of the hat made, make sure to set it on your ornament just to make sure it fits before you waste any more time! LOL!
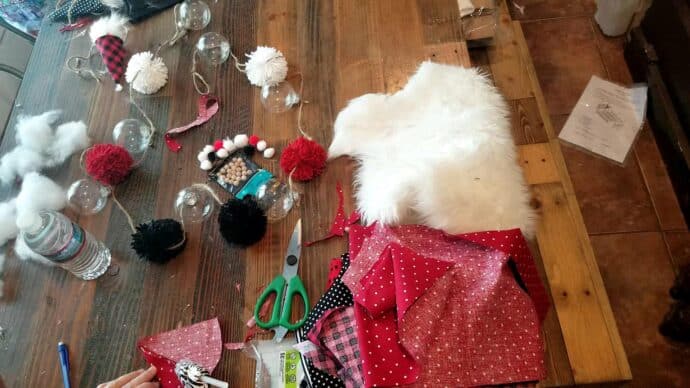
Glue along the bottom of the hat and roll up the end to keep the hat from fraying and give it a nice sewn look!
Once you have it glued and folded all along the bottom, you can now attach it to your ornament! Mak esure and throw a little stuffing in the hat before you attach it!
And, I only placed glue along the back of the hat to keep it in place while I cut the two sides! I just cut little slits up about a 1/2″ or so, and then put a little hot glue to glue the front over the back…just to keep it neat looking.
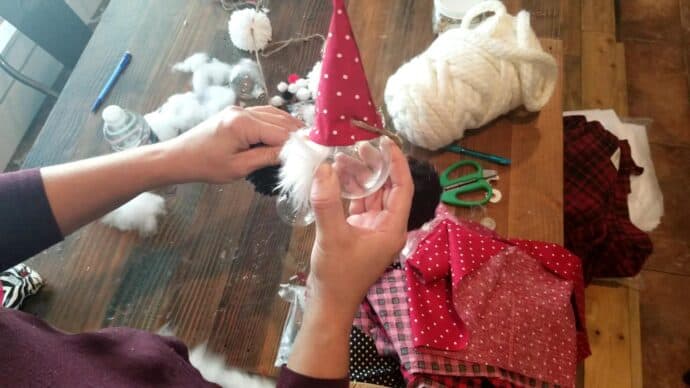
Ugh, the photo isn’t very clear…but at least I hope you can see the slit and the twine coming out! Oy!
Adding the finishing touches to the gnomes
Add the wooden bead for the nose and add the pom pom to the top of the hat!
Decorate and add it to your mantel or Christmas tree, hang it on your child’s headboard, wherever it makes you happy!
I’m off to make some more holiday crafts so if you need me, I’ll be here covered in glitter, hot glue or sawdust of some kind! Are you making anything cool this holiday season? I’d love to see it if you do!

Want to save this post for later? PIN IT!