DIY Winter Christmas Wreath
Christmas wreaths are an essential part of Christmas decorations! You need one on the front door to welcome everyone during the holiday season, one above the fireplace, and maybe even a few on the backs of chairs around the Christmas dinner table! This DIY Christmas wreath is perfect for Christmas and can stay up throughout the winter season!
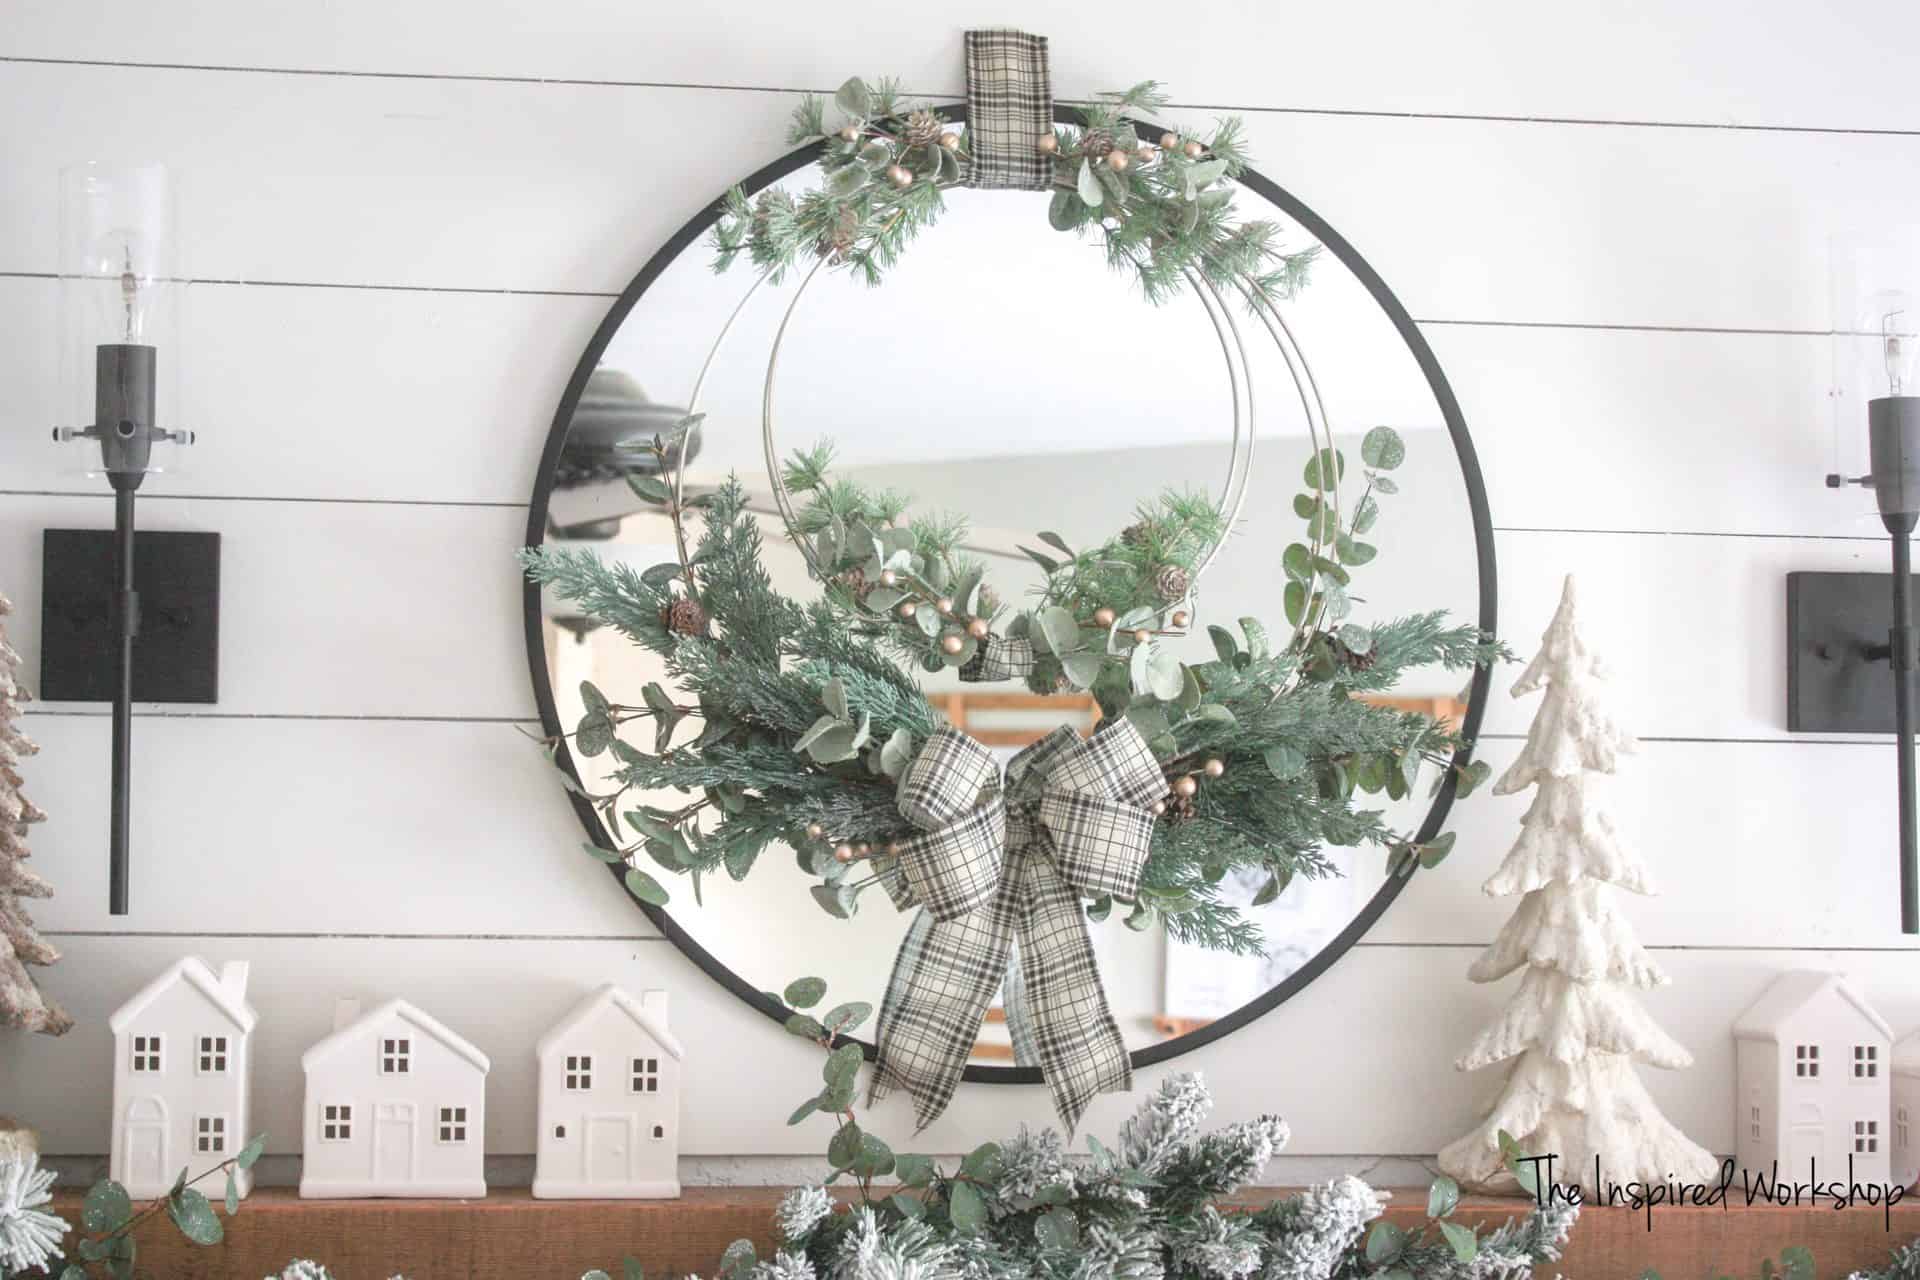
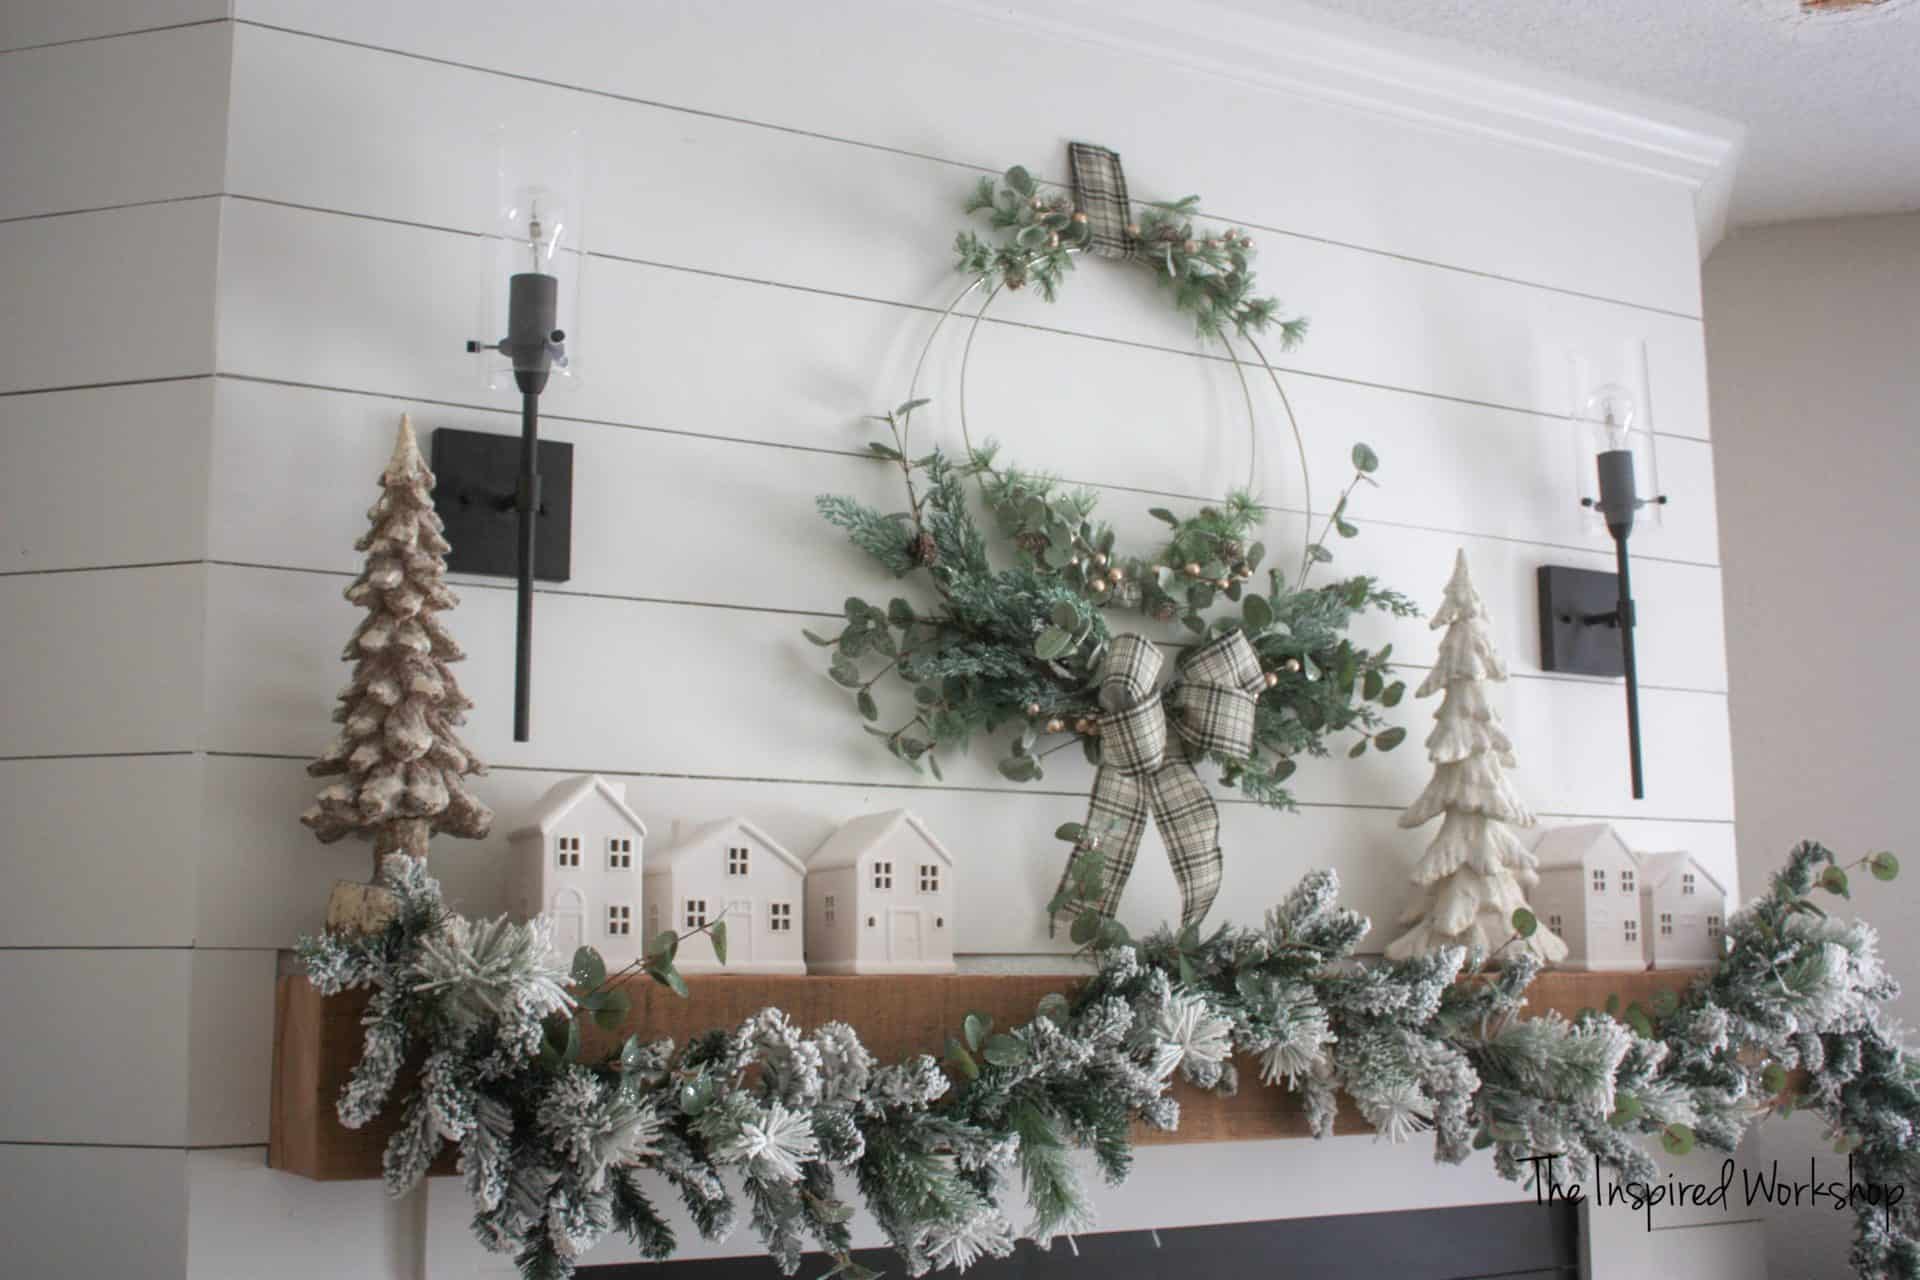
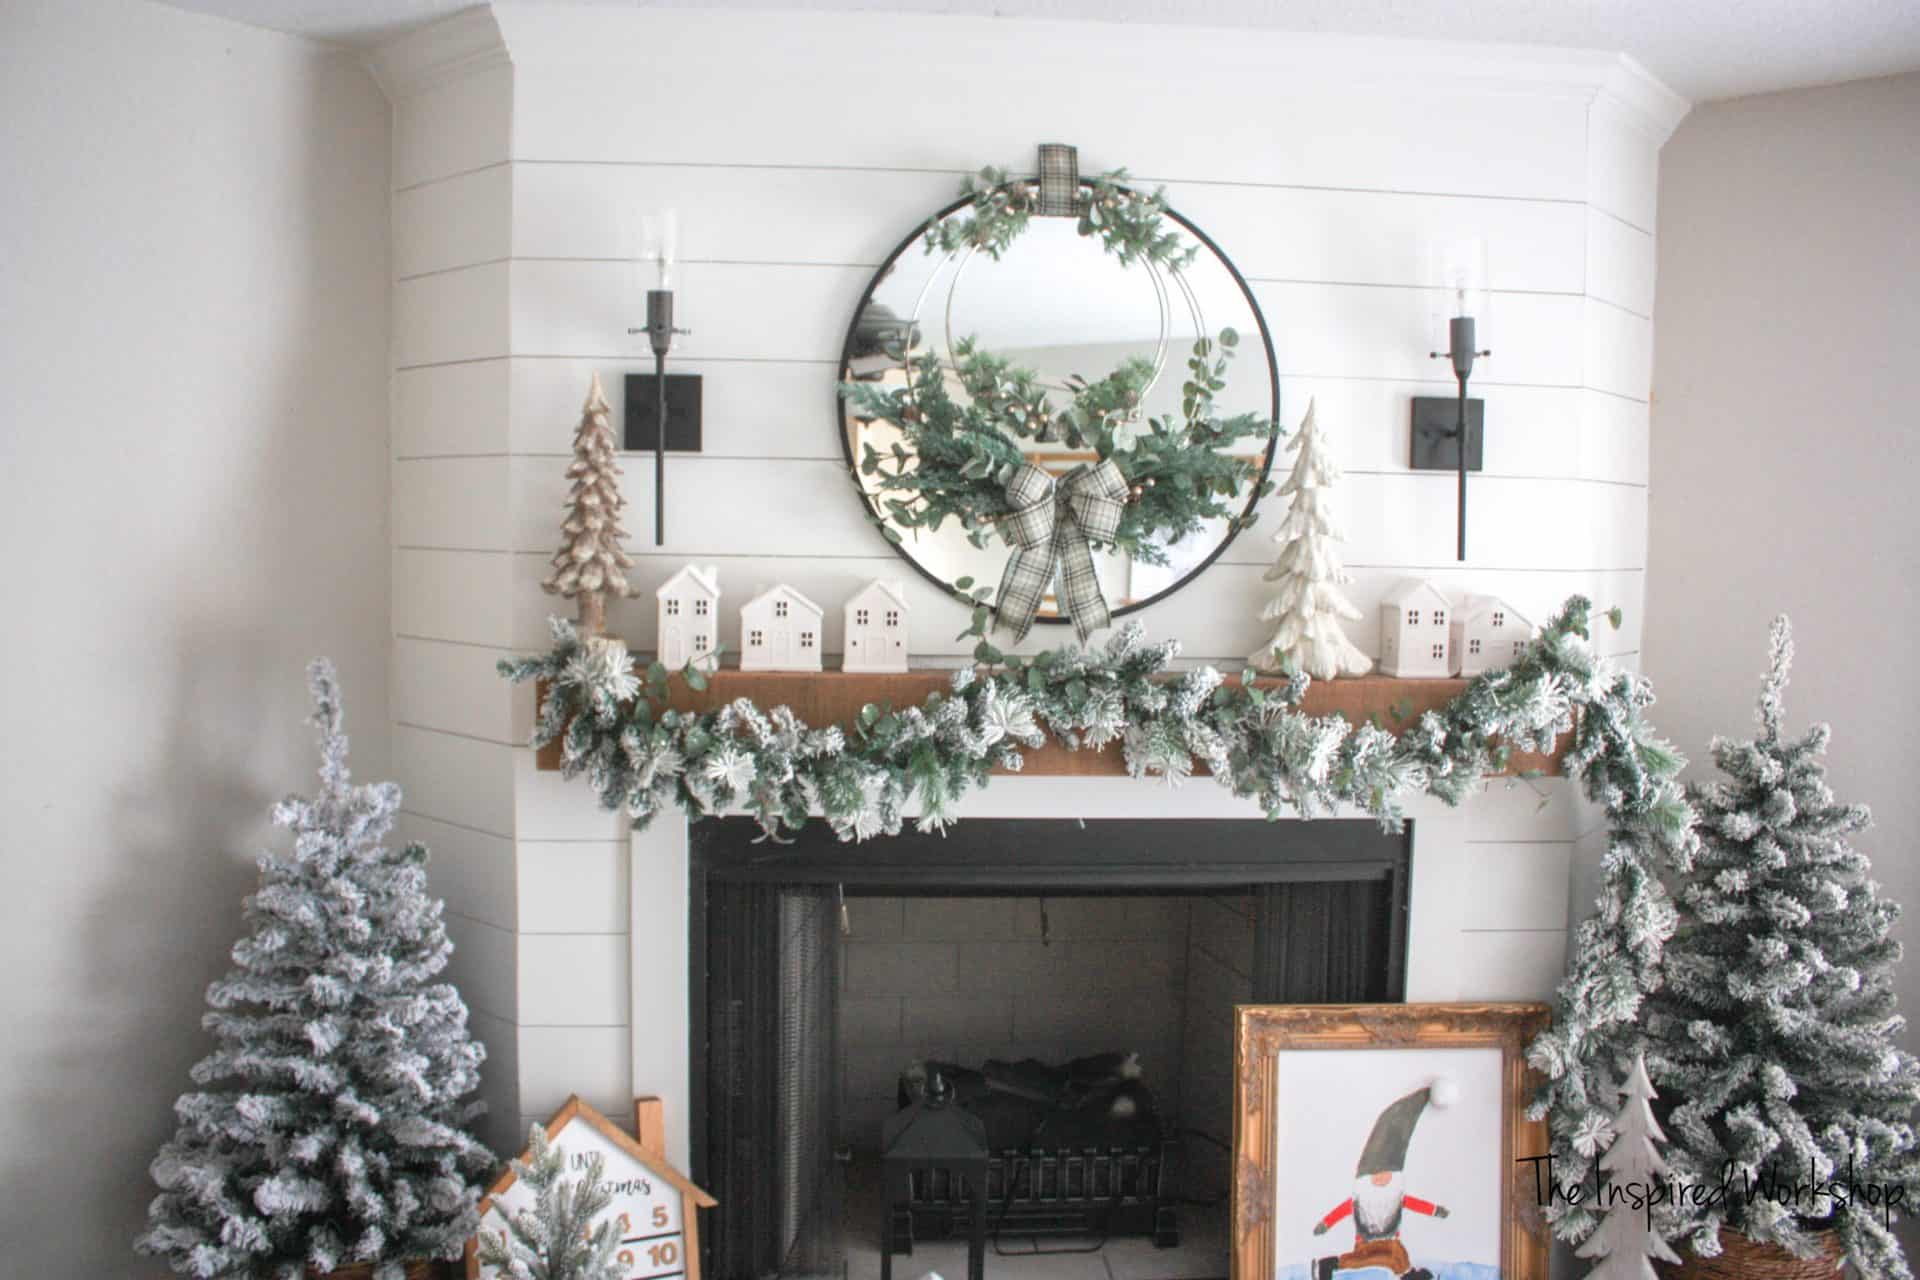
Here is the DIY Christmas wreath without the mirror behind it, and I really can’t decide which I like better honestly! Lol! There is something so simple without the mirror, but there is that layered feeling with the mirror that I love!
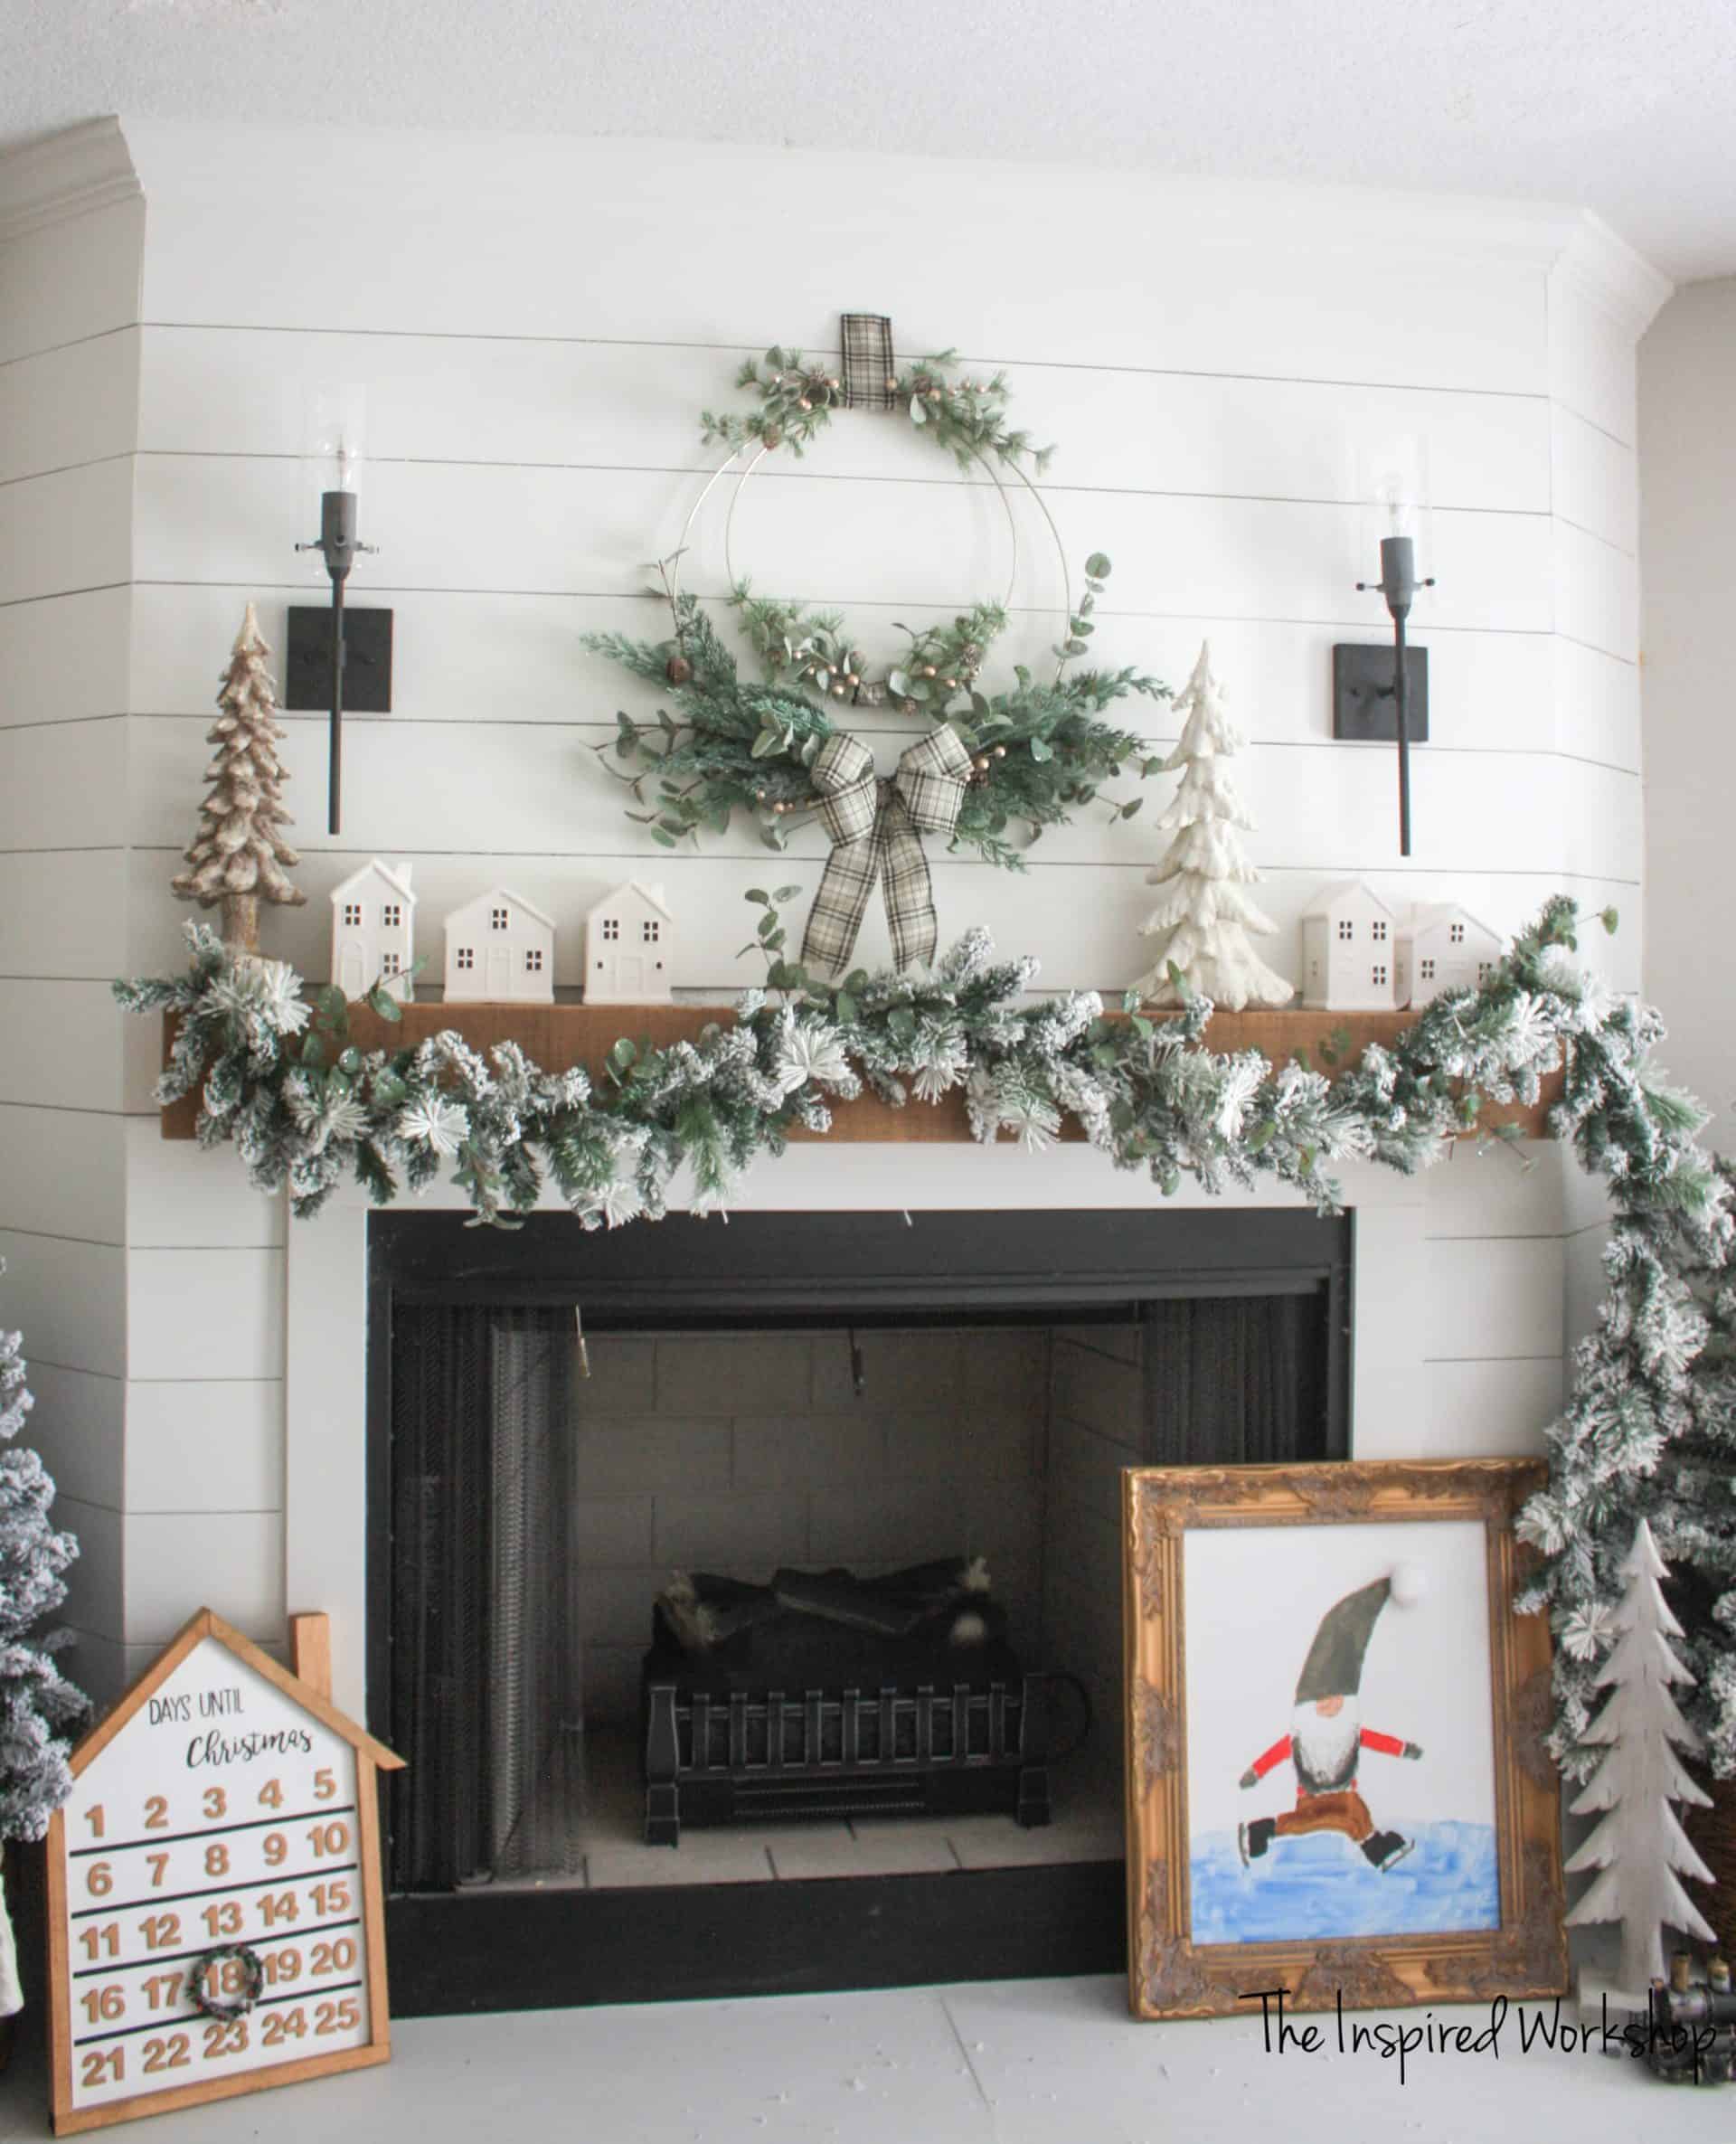
Oh, and LOOK at my cute little gnome painting! My youngest son painted it for me and I couldn’t love anything more than this right now! As my 25 days of a DIY Christmas progresses you will see that I am completely smitten with all things holiday gnome! Lol!
Back to this beautiful wreath though! I love how it has a modern farmhouse style to it but yet with a few added touches, it could fit with any decor!
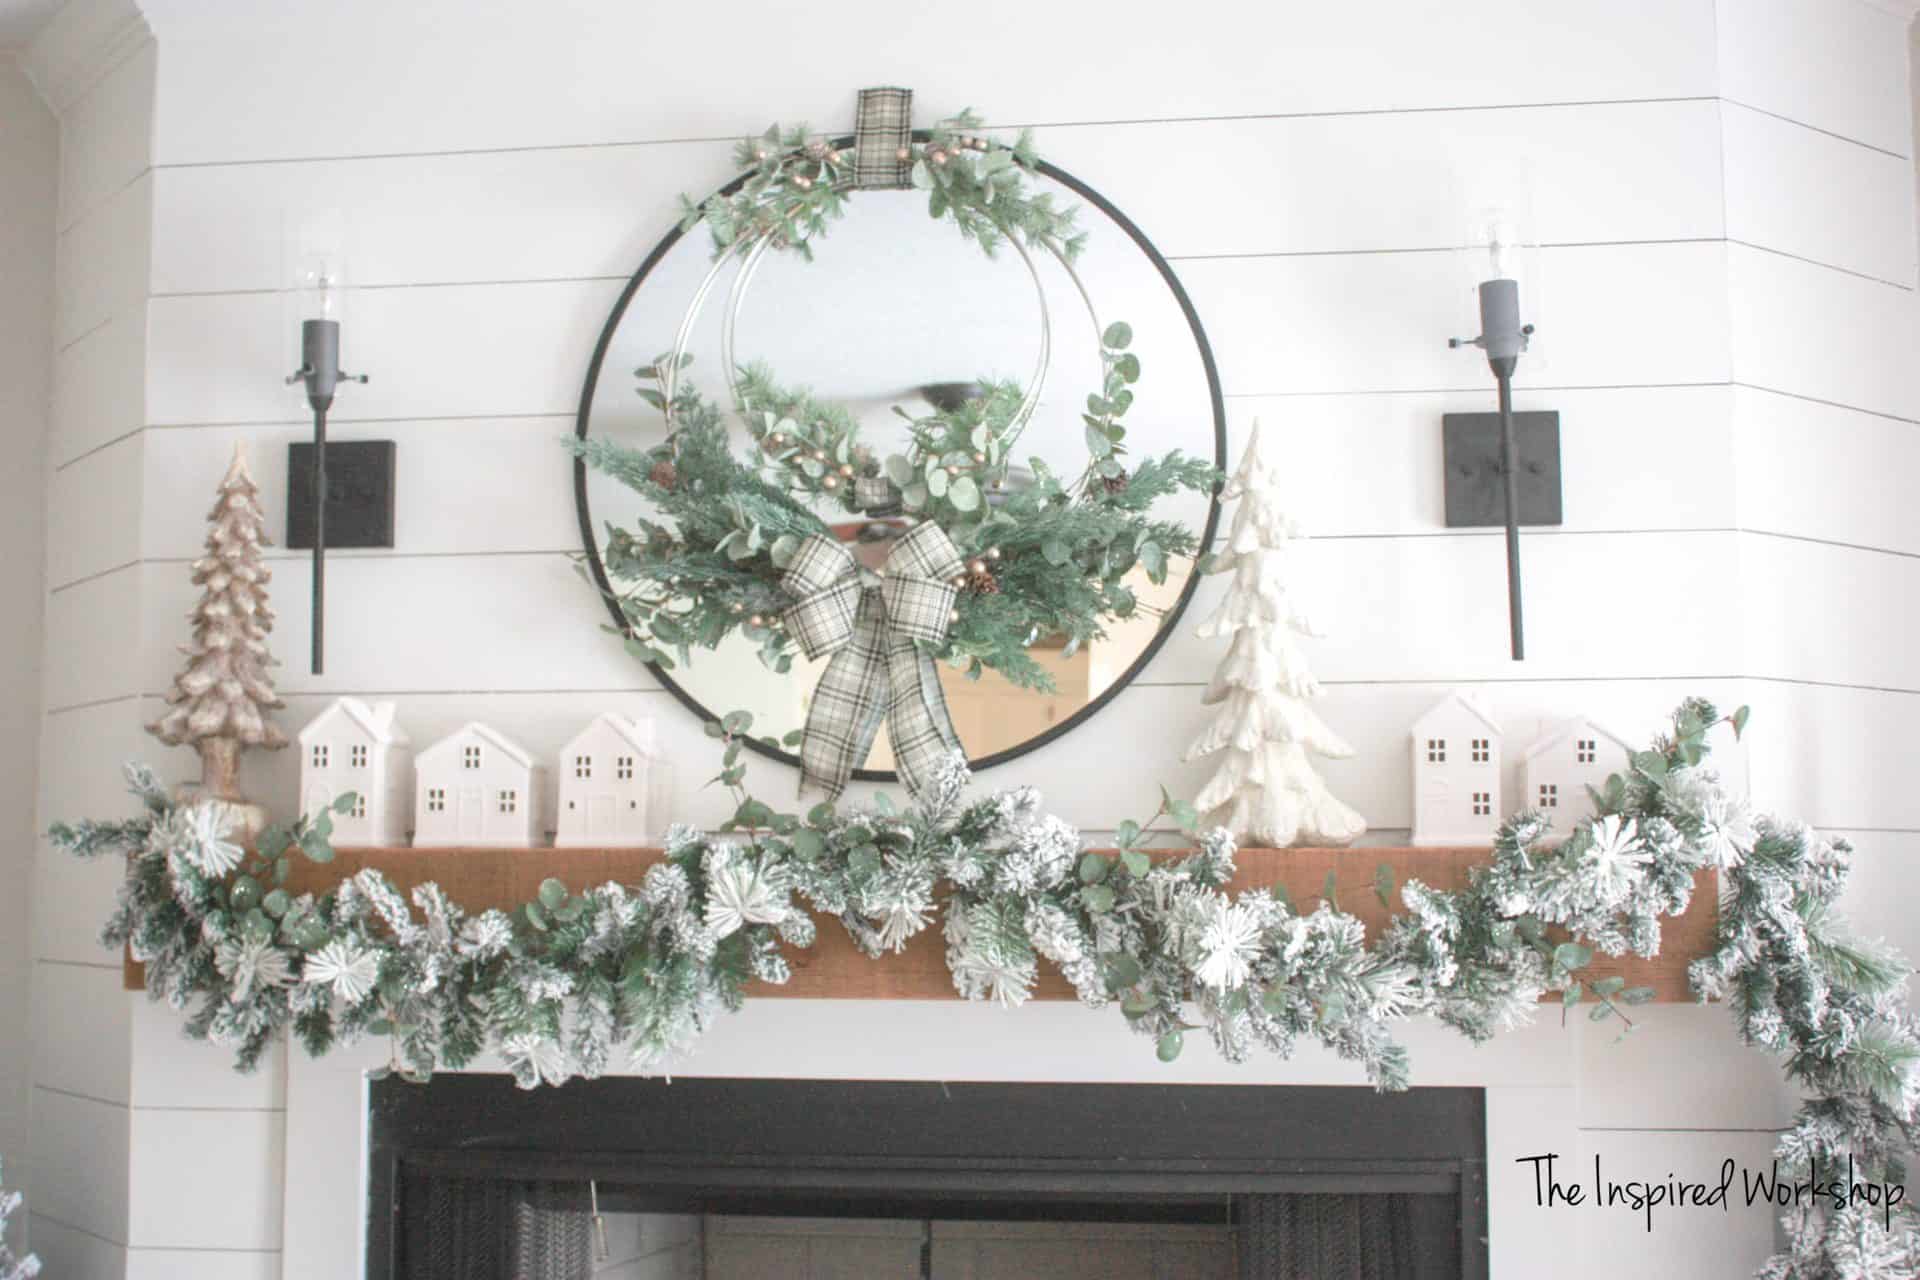
Plus, this was the look I was going for that I couldn’t find anywhere. I wanted a wire hoop wreath, but not one as simple as most of them that I have seen. I also love decor that can stay up through winter and this is perfect for that!
Alright, here are the instructions! The video will be below and the step-by-step post is following!
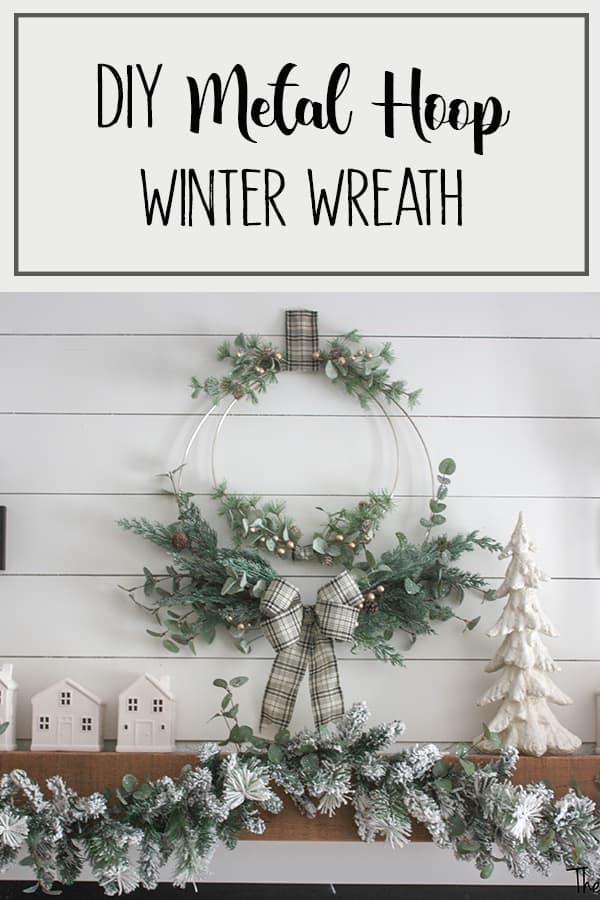
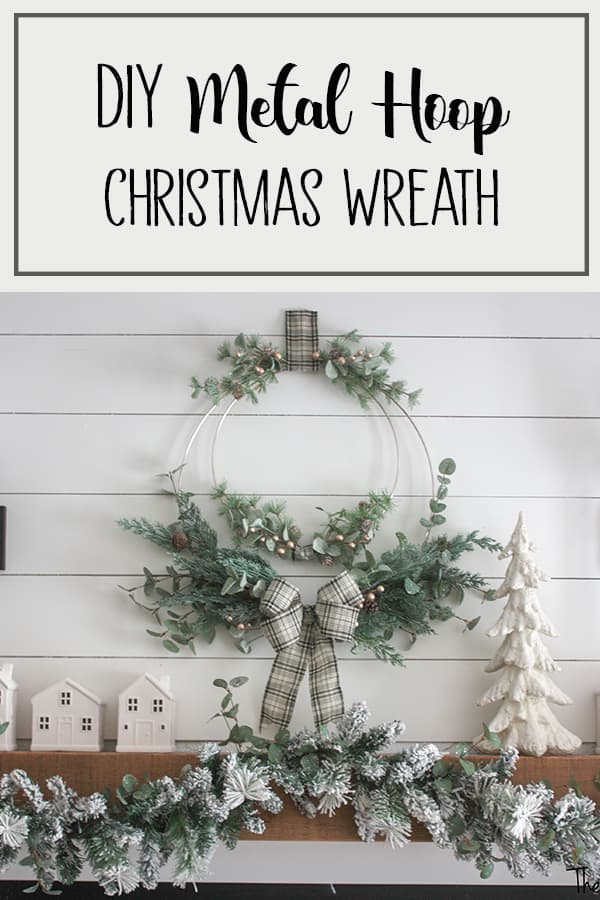
Don’t have time to make this now? PIN IT for later!
Gathering Supplies for the DIY Christmas Winter Wreath
I tallied all the supplies up to see how much the Christmas wreath cost, it came in at a grand total of 37 dollars! That’s really not bad for how large and full it is, I mean I’ve seen smaller, skimpier ones for more expensive!
Materials for the Christmas Wreath:
- 1 Large metal hoop – 19 inches
- 1 Medium Metal hoop – 14 inches
- Ribbon of your choice (mine is from Walmart but they don’t offer it online – it is in the Christmas section though)
- 4 large stems of your choice (mine has 2 glittery Eucalyptus from Hobby Lobby which I could not locate online, here is a link to the closest thing I could find to it: Silver Eucalyptus and 2 glittery pine with pinecones from Target)
- 4 small stems of your choice (mine has 4 glittery pine with pine cone stems from Hobby Lobby- of course, they don’t have the ones I used online…and I can’t find exact ones online either)
- 2 small stems (mine are glittery lamb’s ear)
- 1 stem of champagne balls (mine are from Target and they are not online, ugh!)
- floral wire (this kit has wire cutters, several types of floral wire, and floral tape at a really low cost)
- wire cutters
- scissors
- hot glue gun
Making the DIY Christmas Wreath
Gather all your supplies and get your hot glue gun ready! I love making wreaths, especially on a cold winter day when I am stuck inside, it’s an easy craft that makes a big statement!
Step 1
Tape the two hoops together at the top. I used packaging tape because I knew it would be covered. Even if you want to leave the top without greenery, you can still cover the tape with the ribbon.
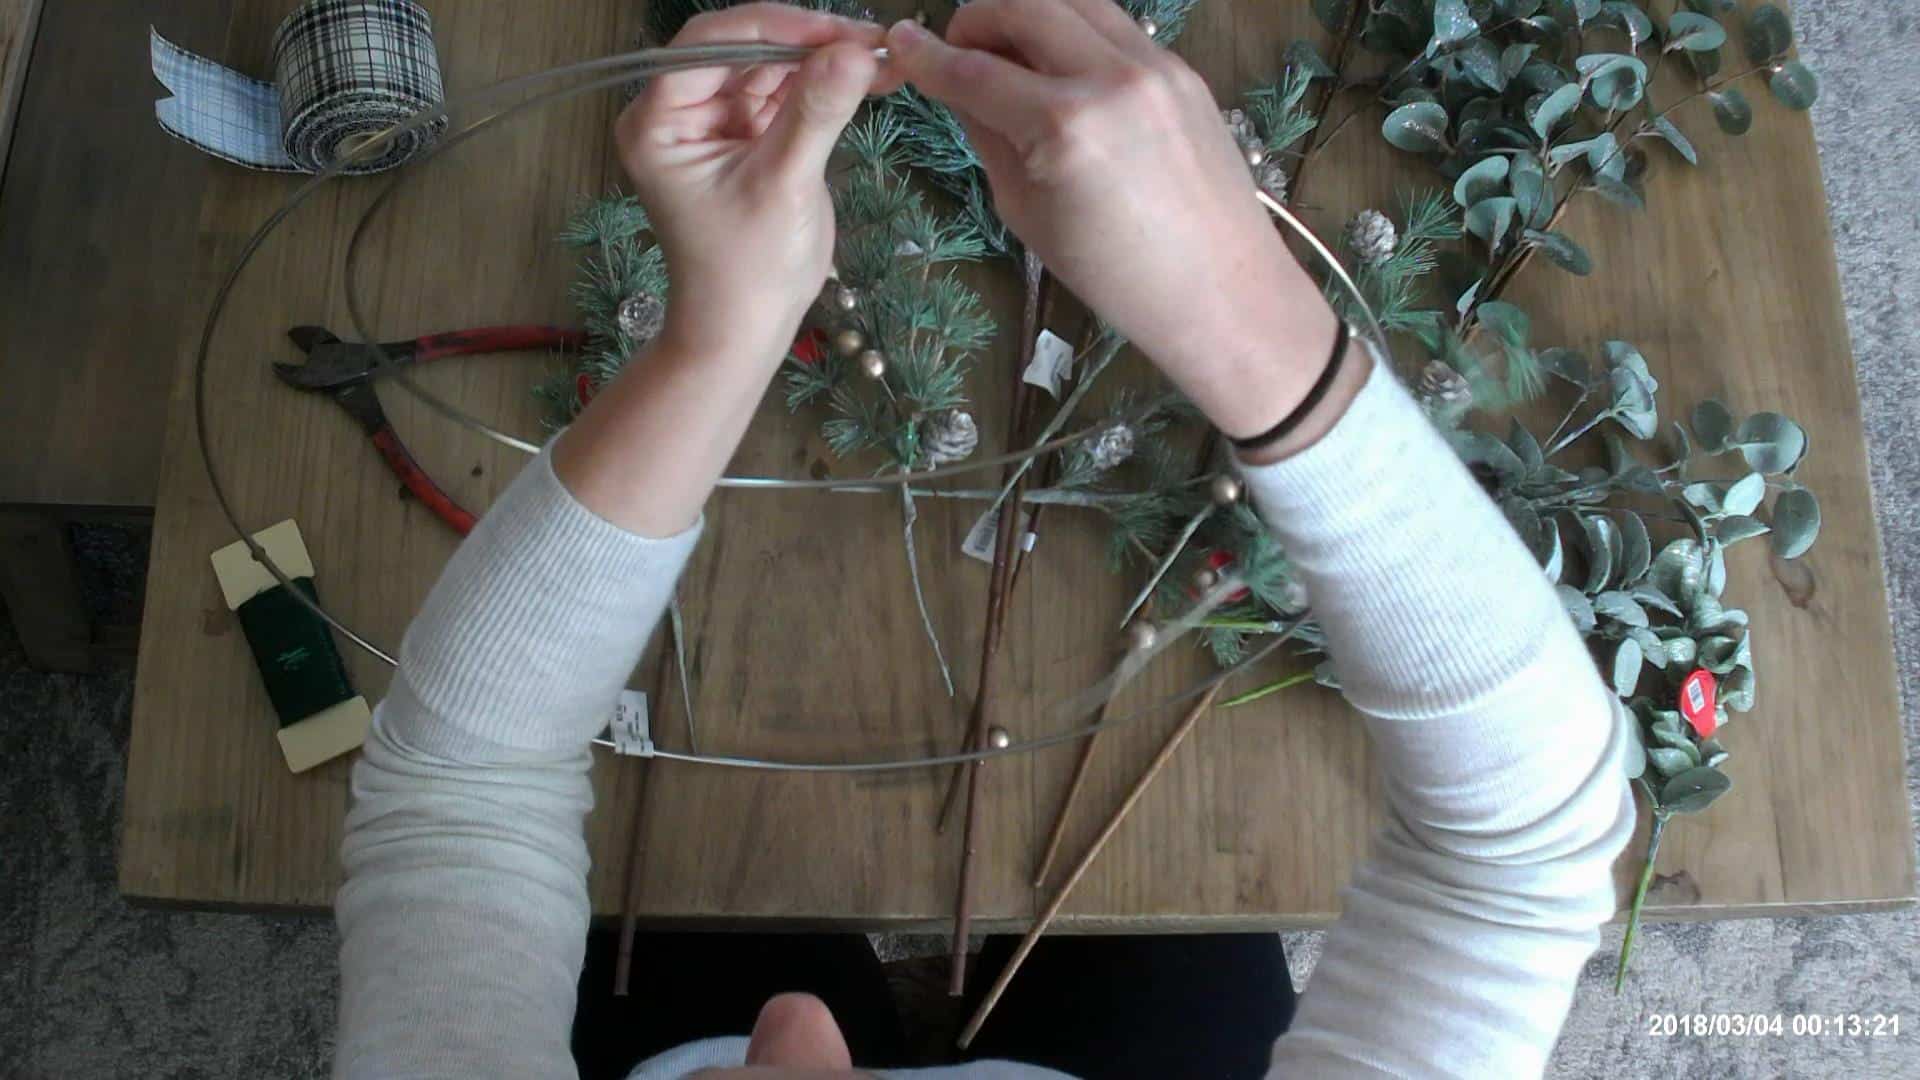
I played around with my greenery for a few minutes before actually putting it all together to get an idea of how I wanted them to be placed. This is crucial and you need to do this as well…even if you forget what you JUST put together and attach the wrong stems first!🙄😅
I cut the stems down to a manageable length and started working. Yes, I was supposed to attach the eucalyptus first and had to go back and correct myself! Lol!
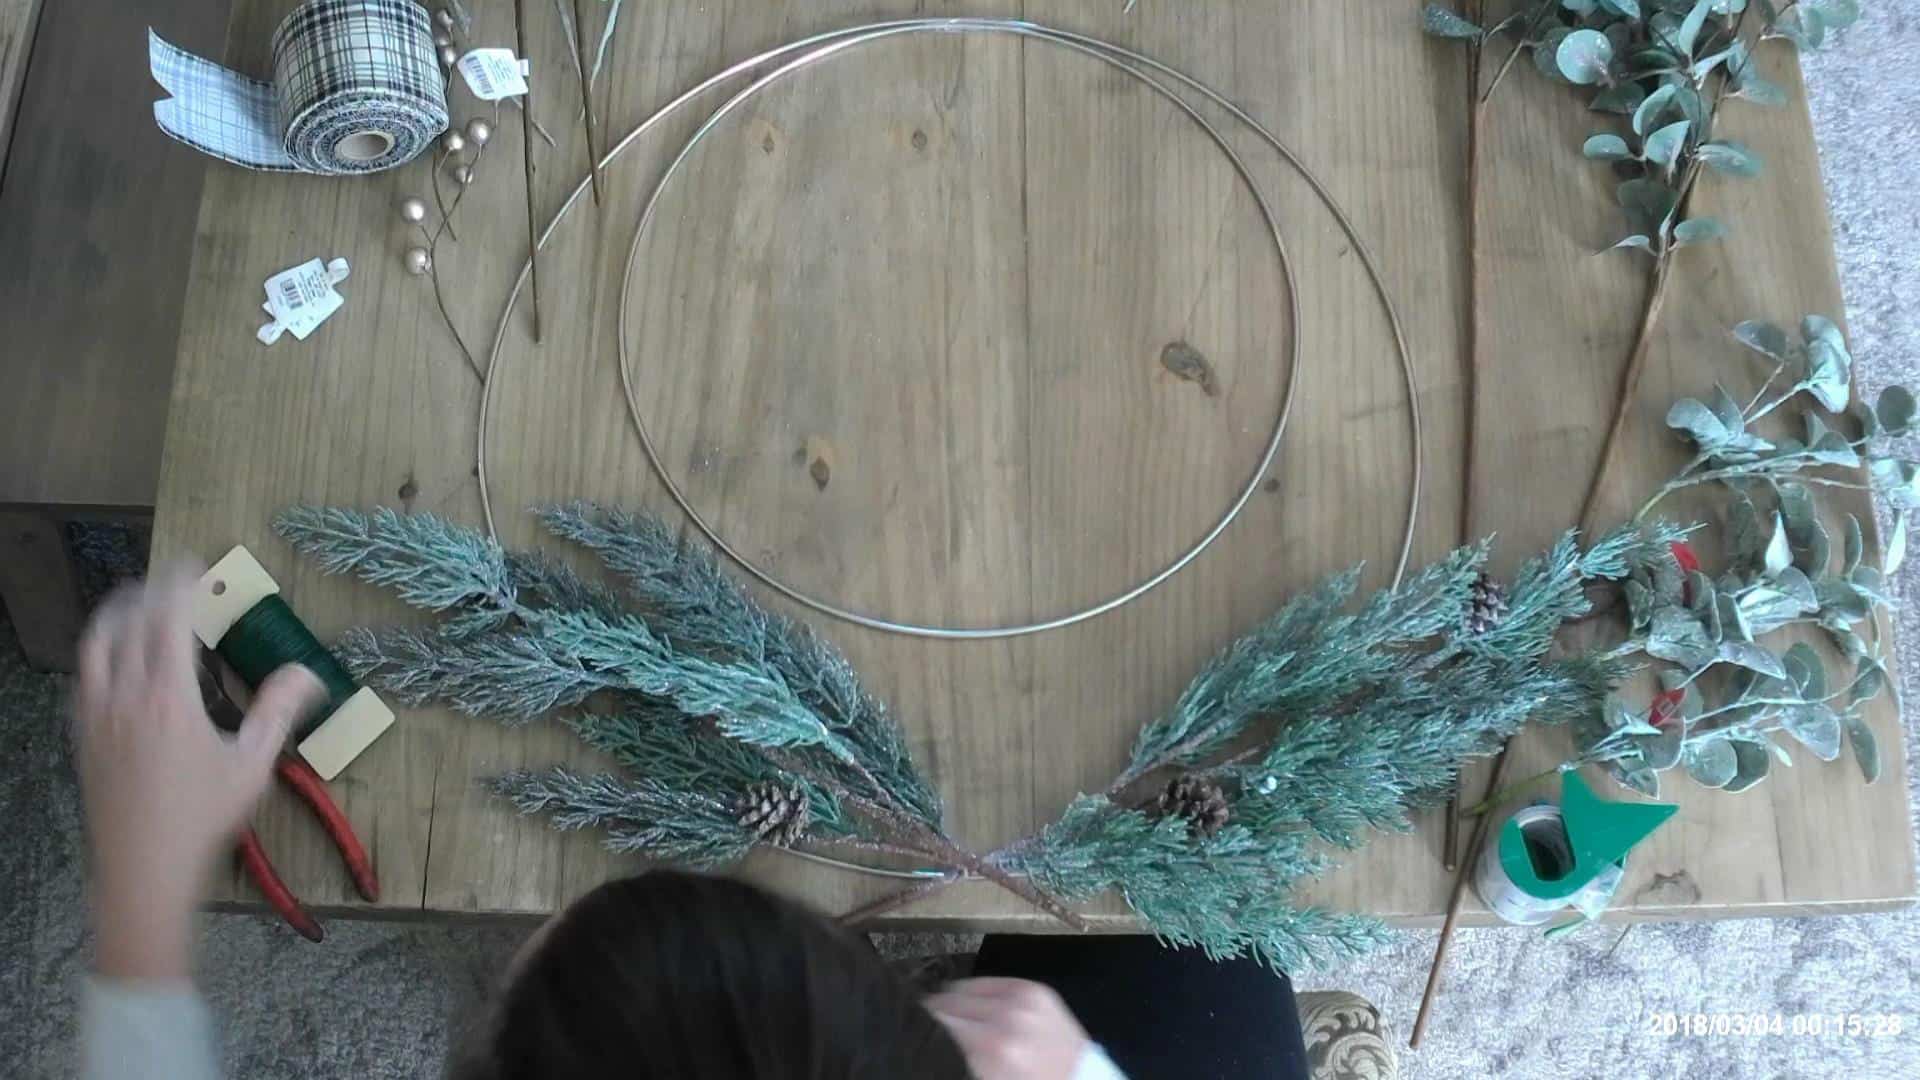
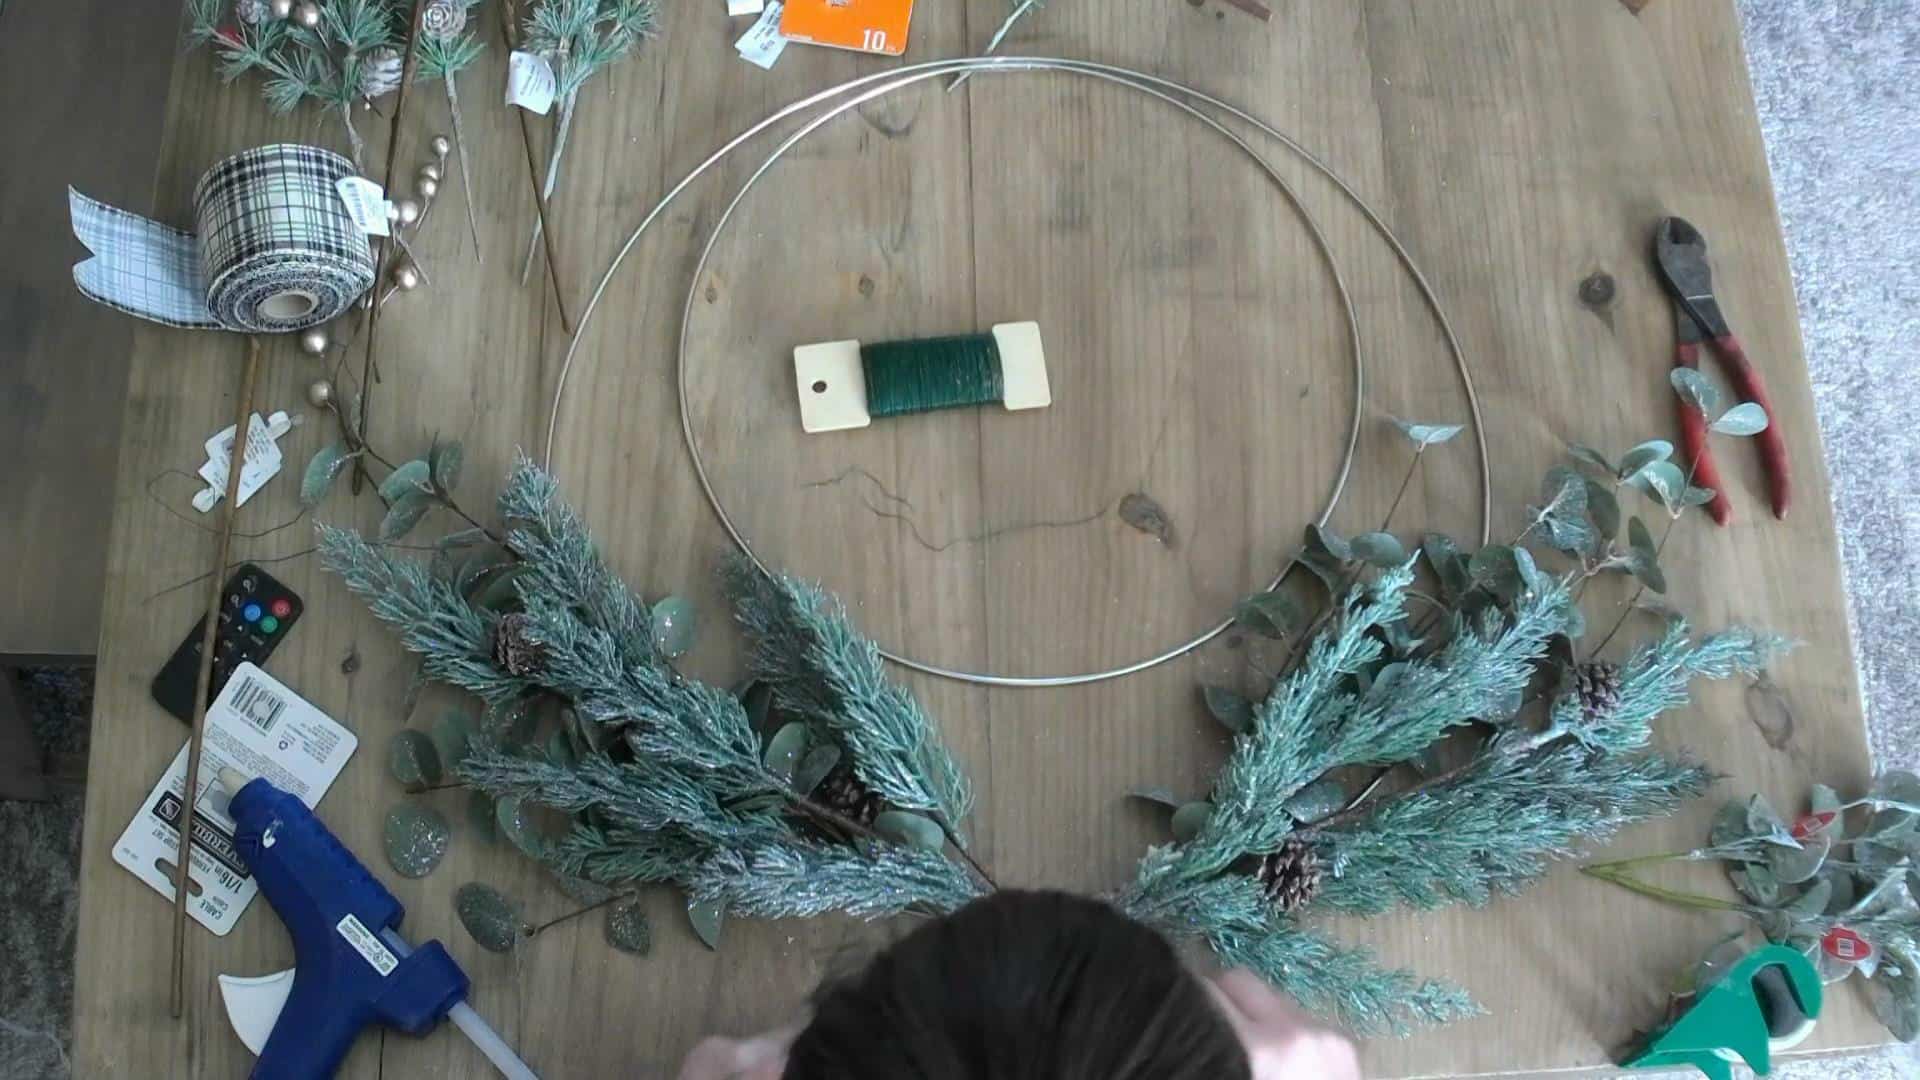
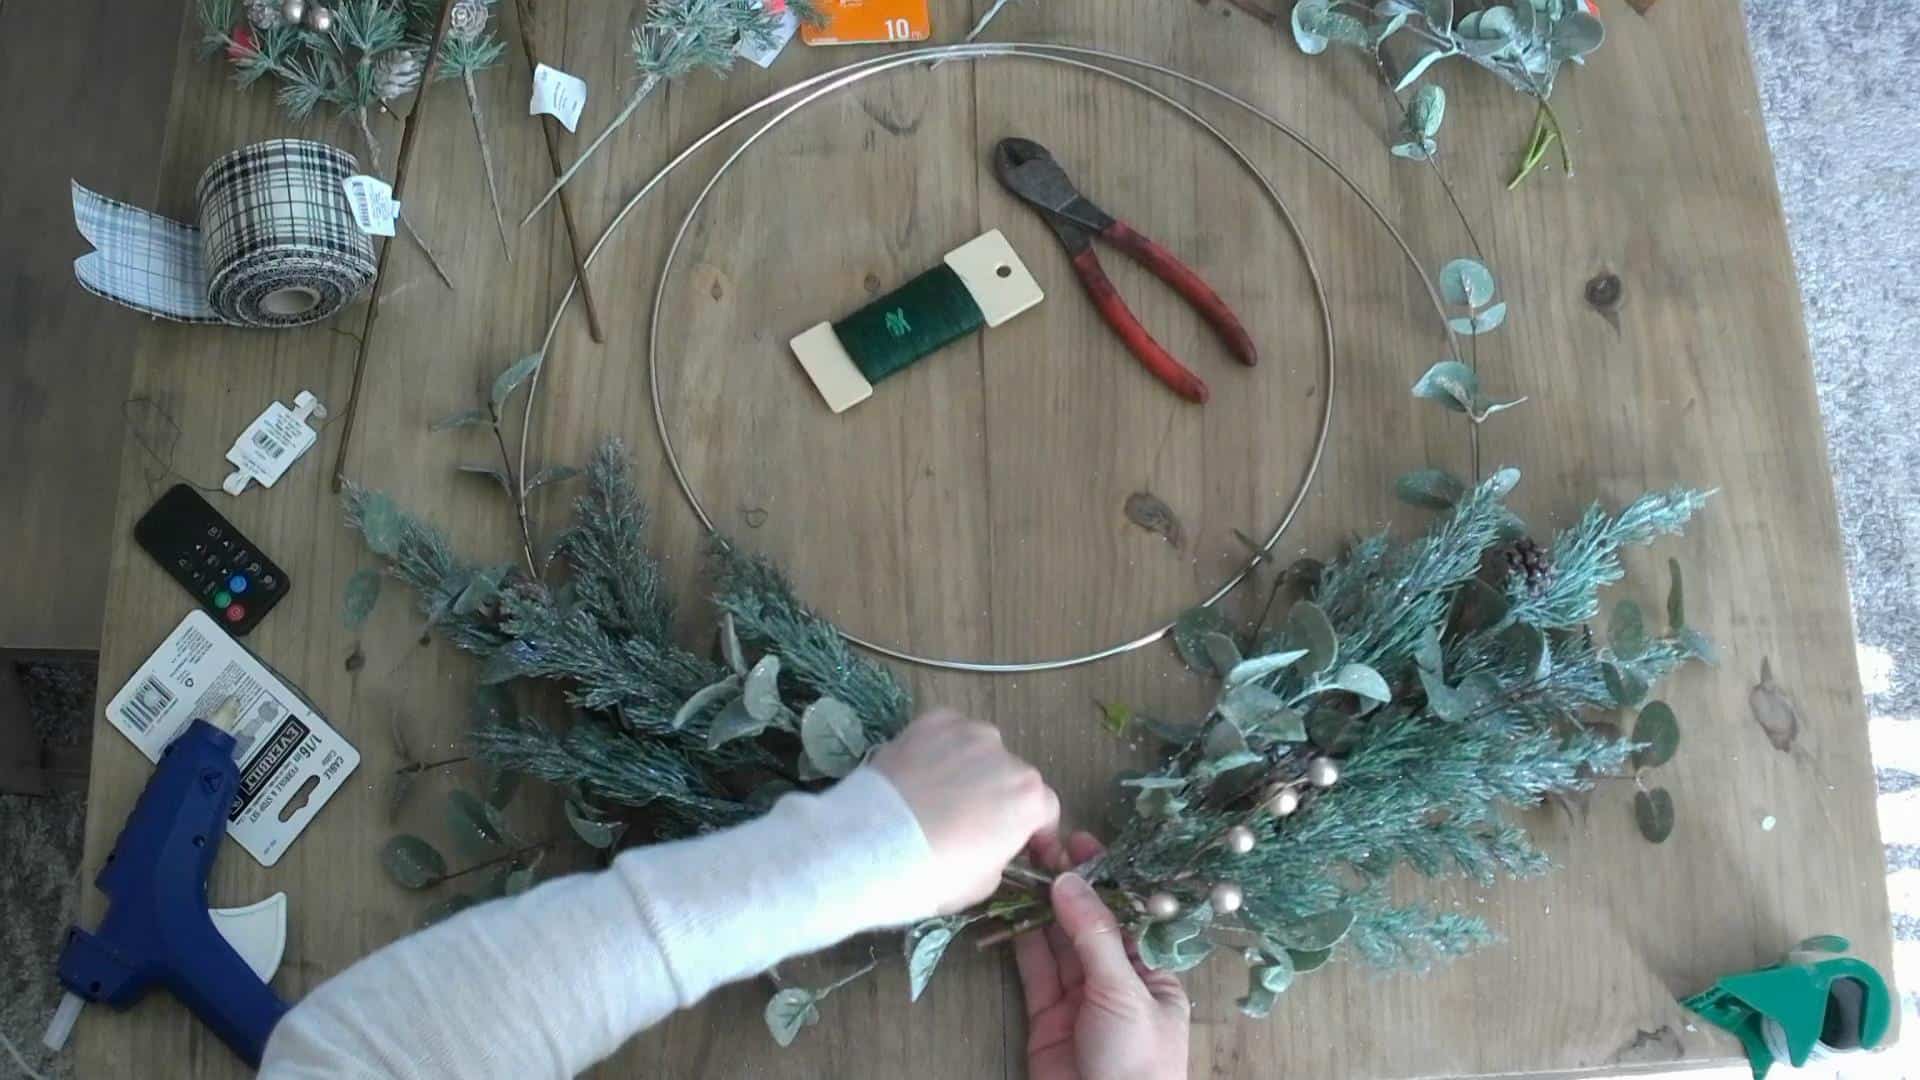
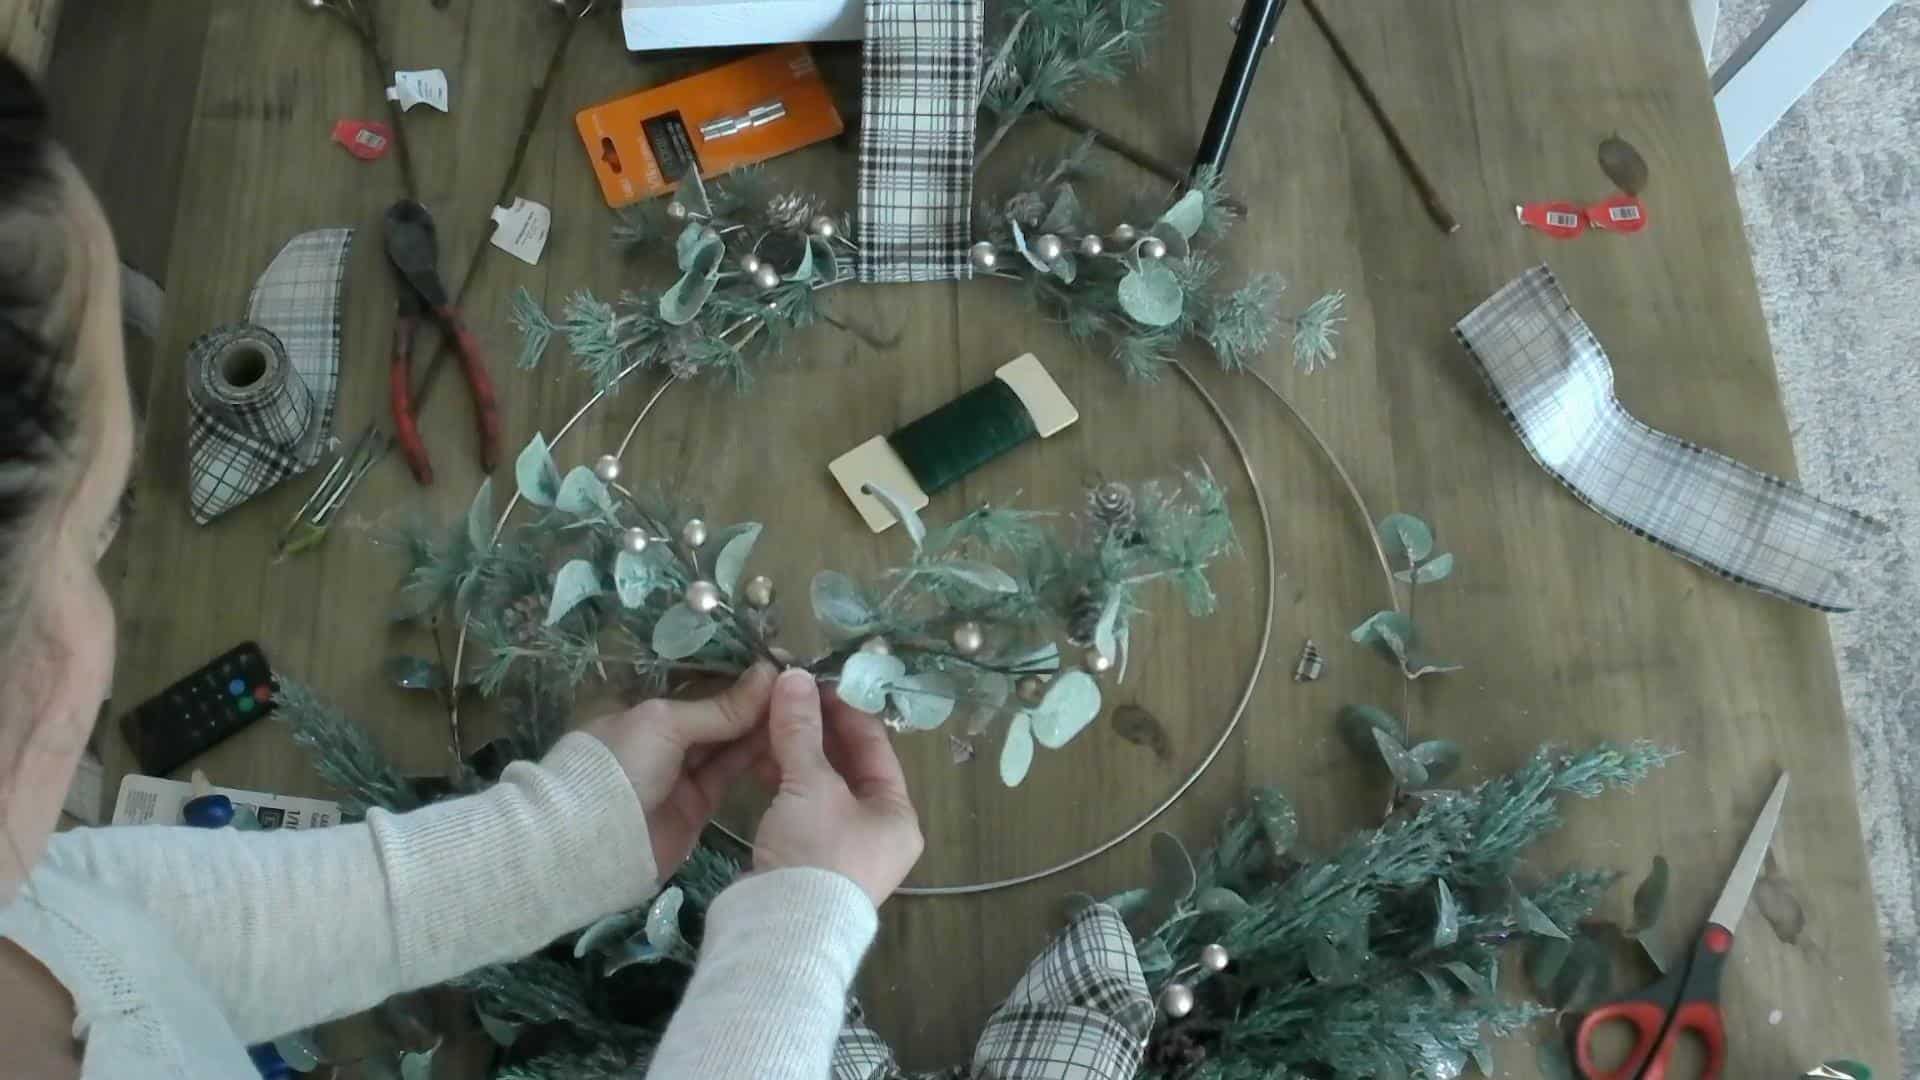
Once I had them where I wanted them, I used the floral wire to attach them to the metal hoop.
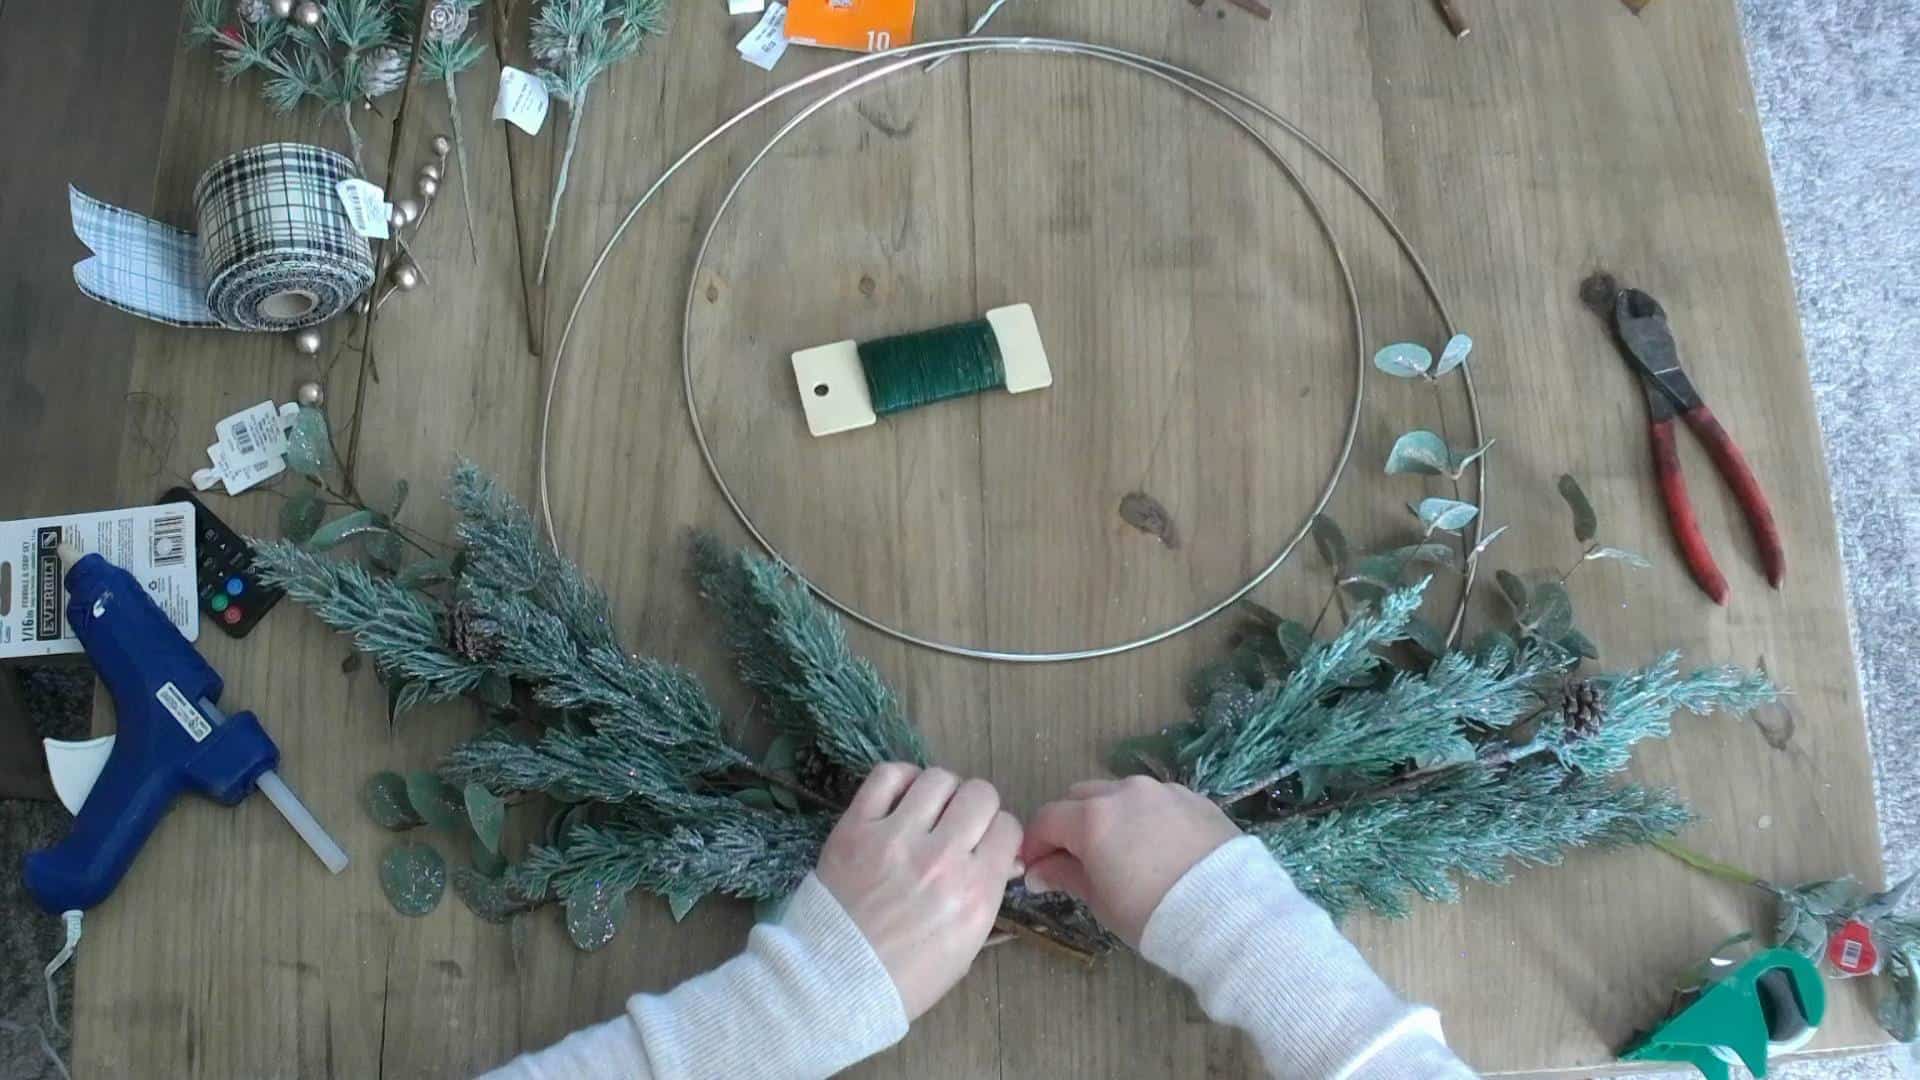
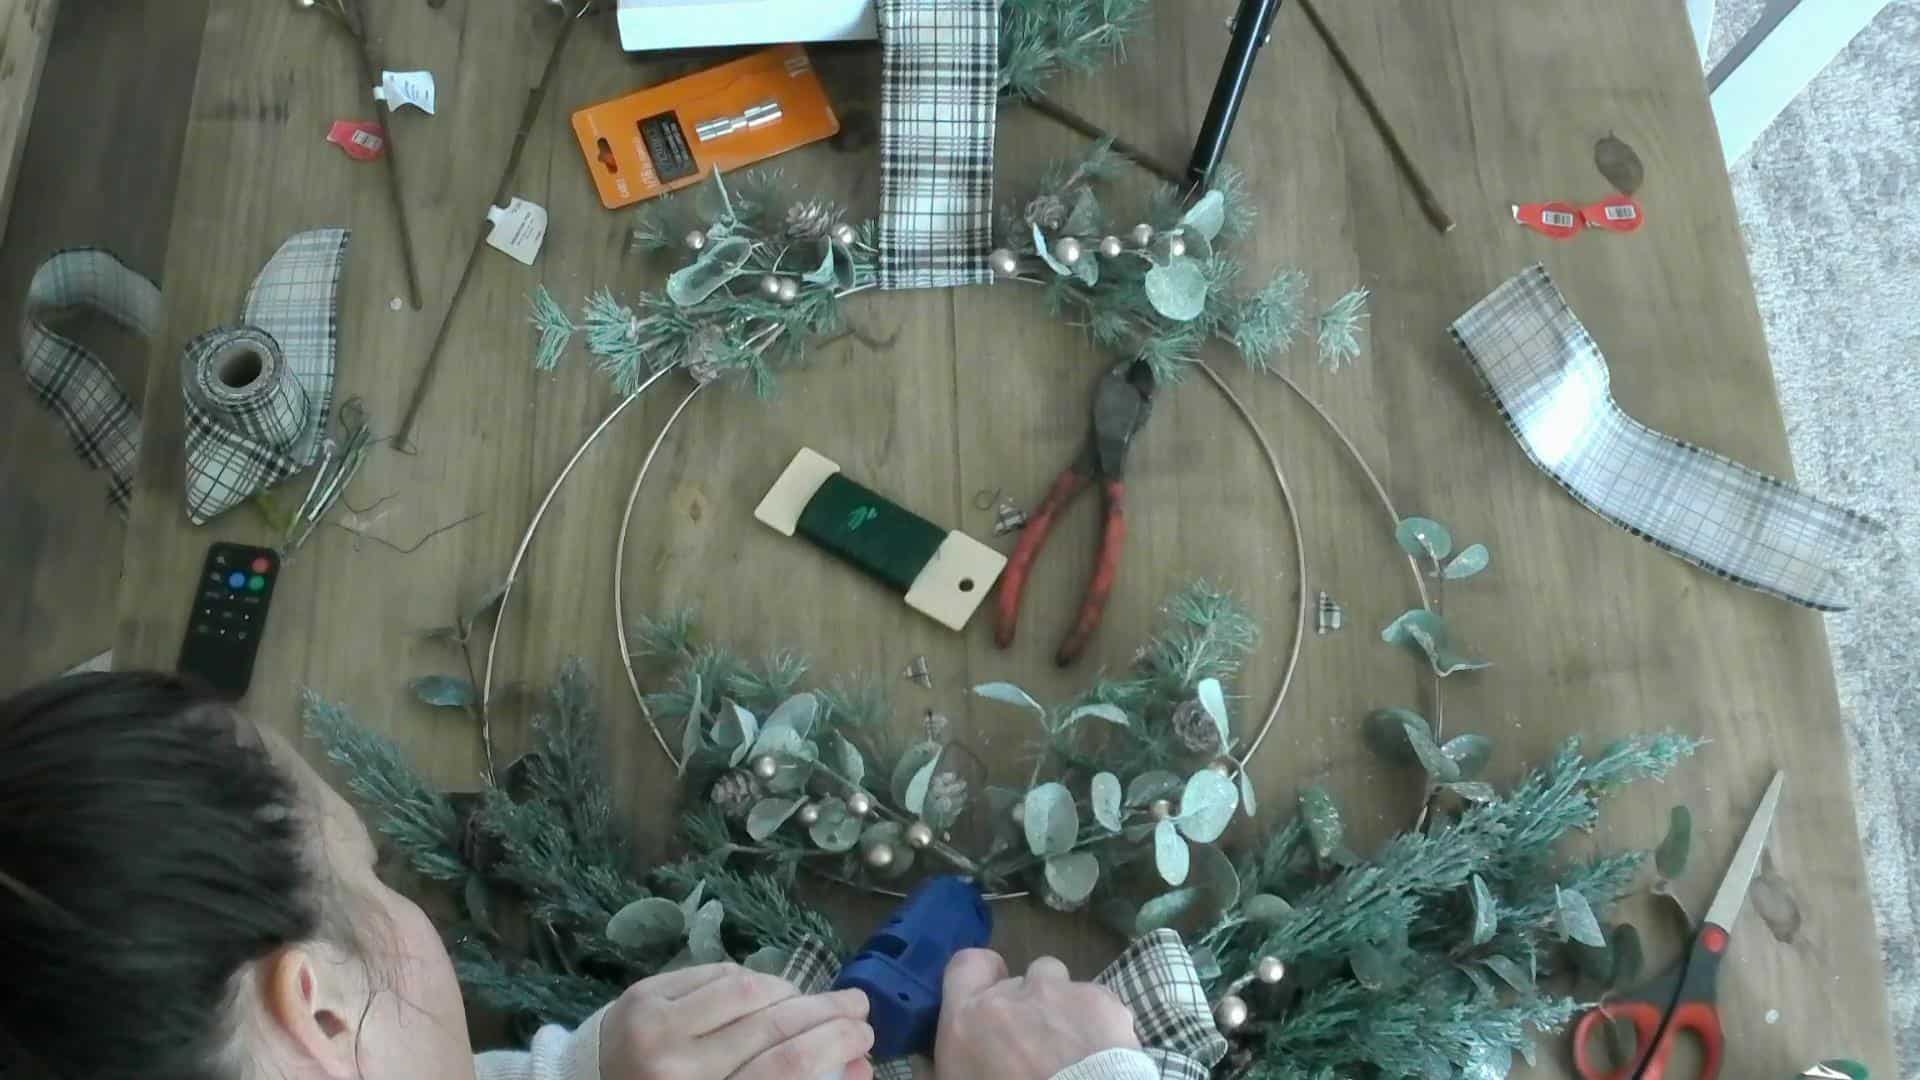
And then a little hot glue to make sure they don’t go anywhere!
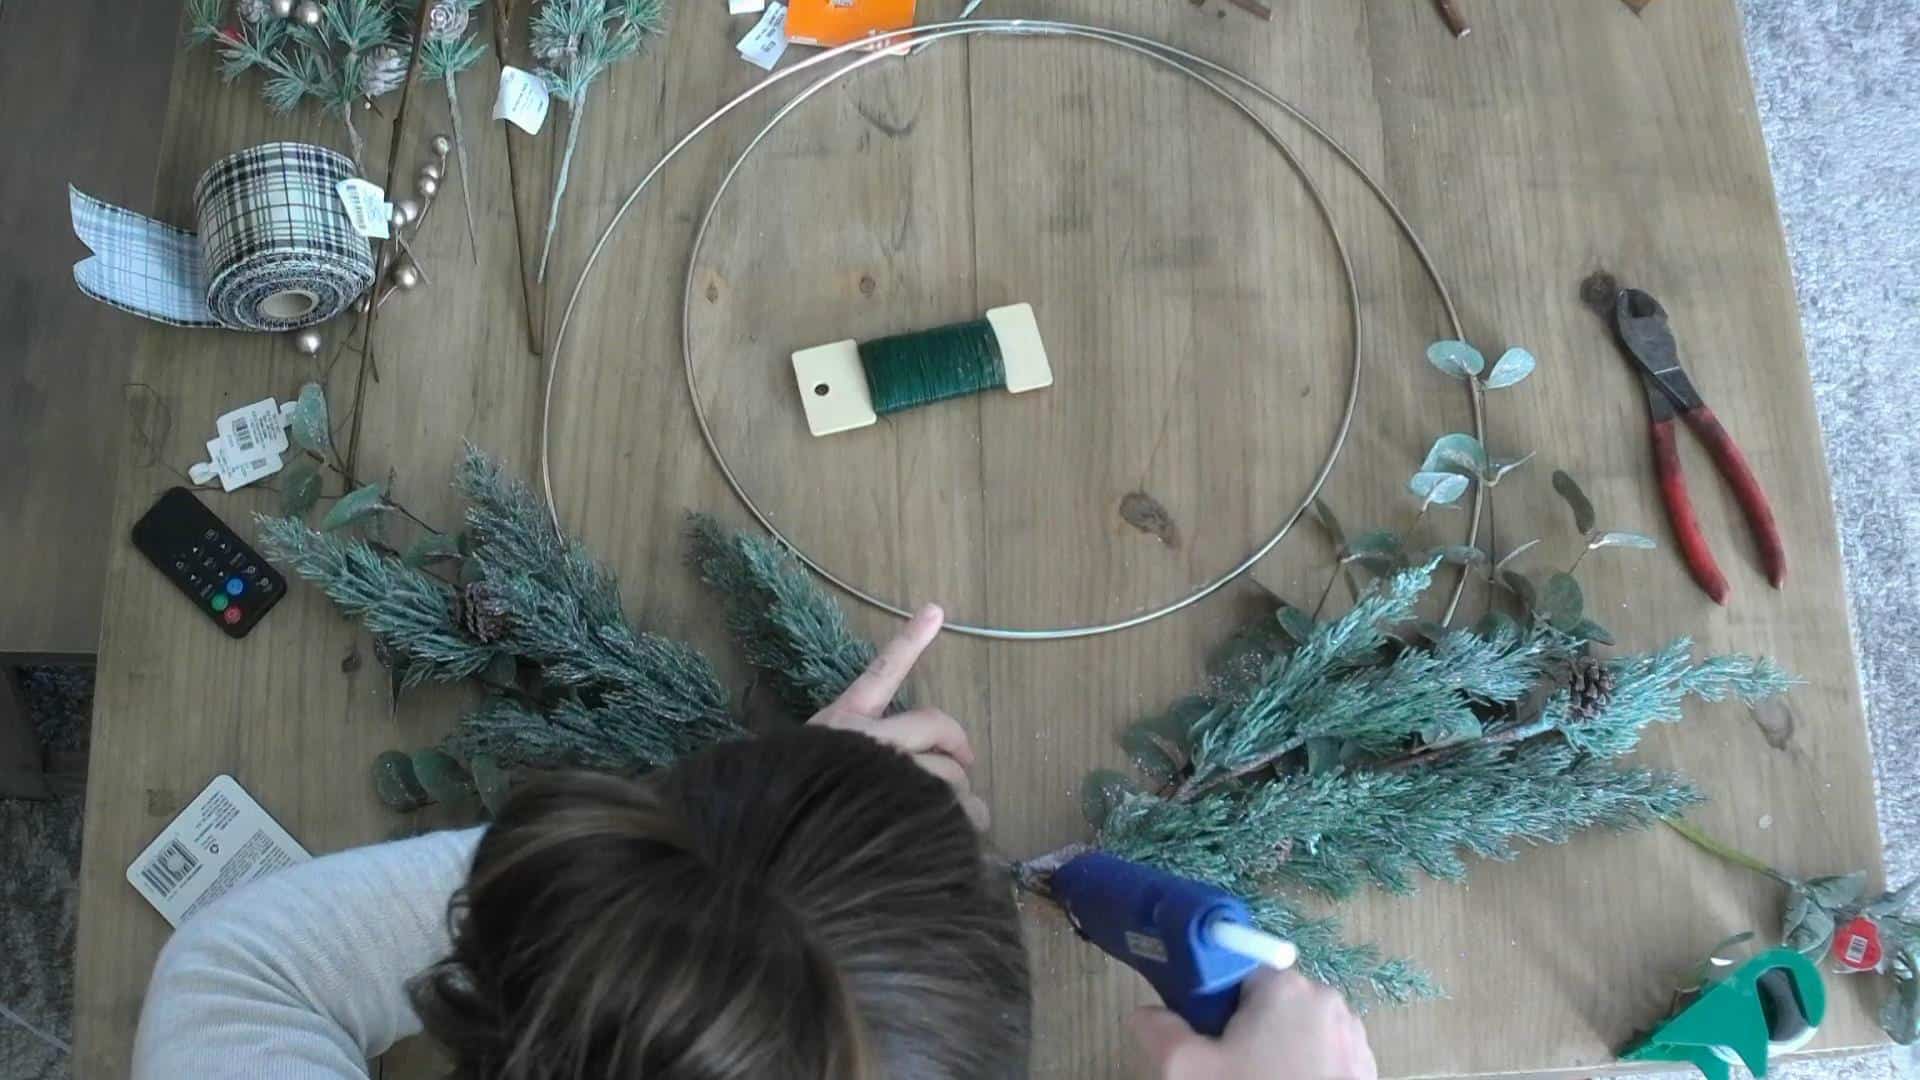
I then worked up the sides to make sure and attach some of the greenery with wire and hot glue so it didn’t get too heavy and hang weird!
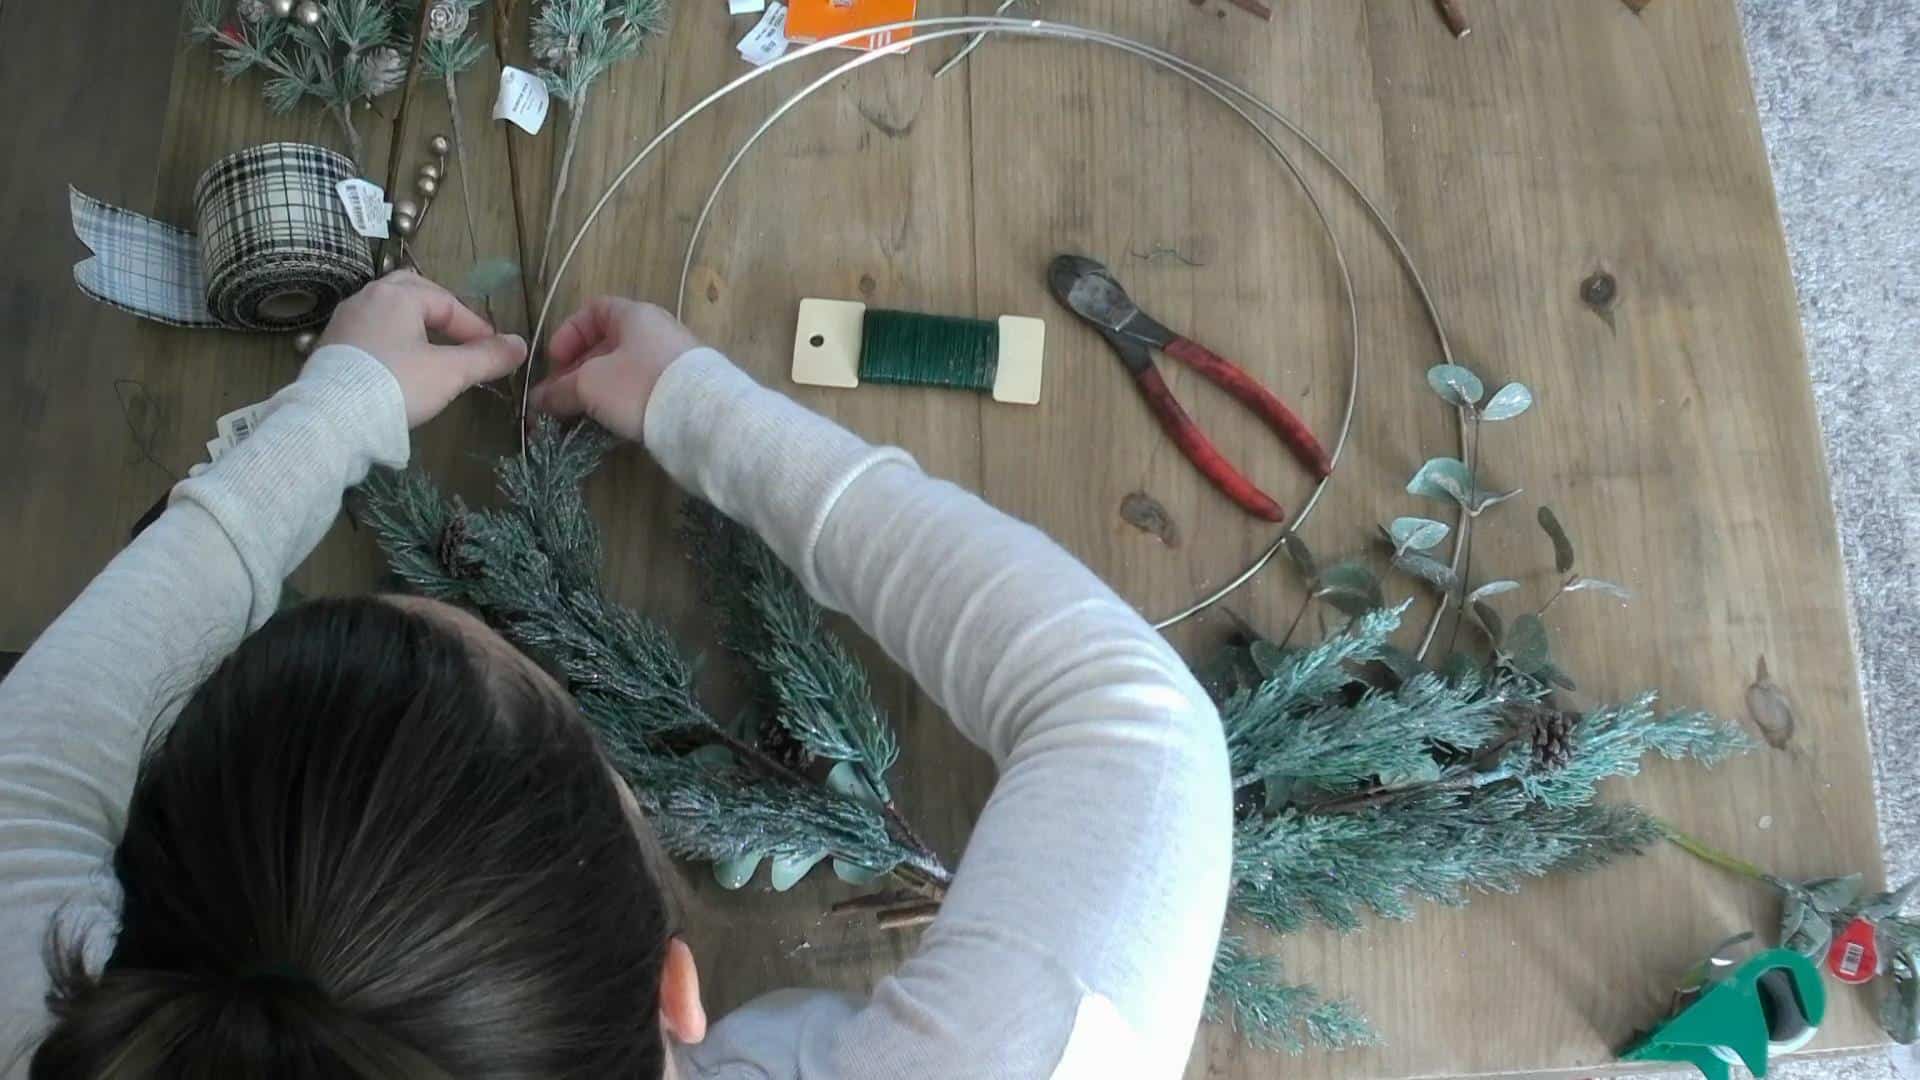
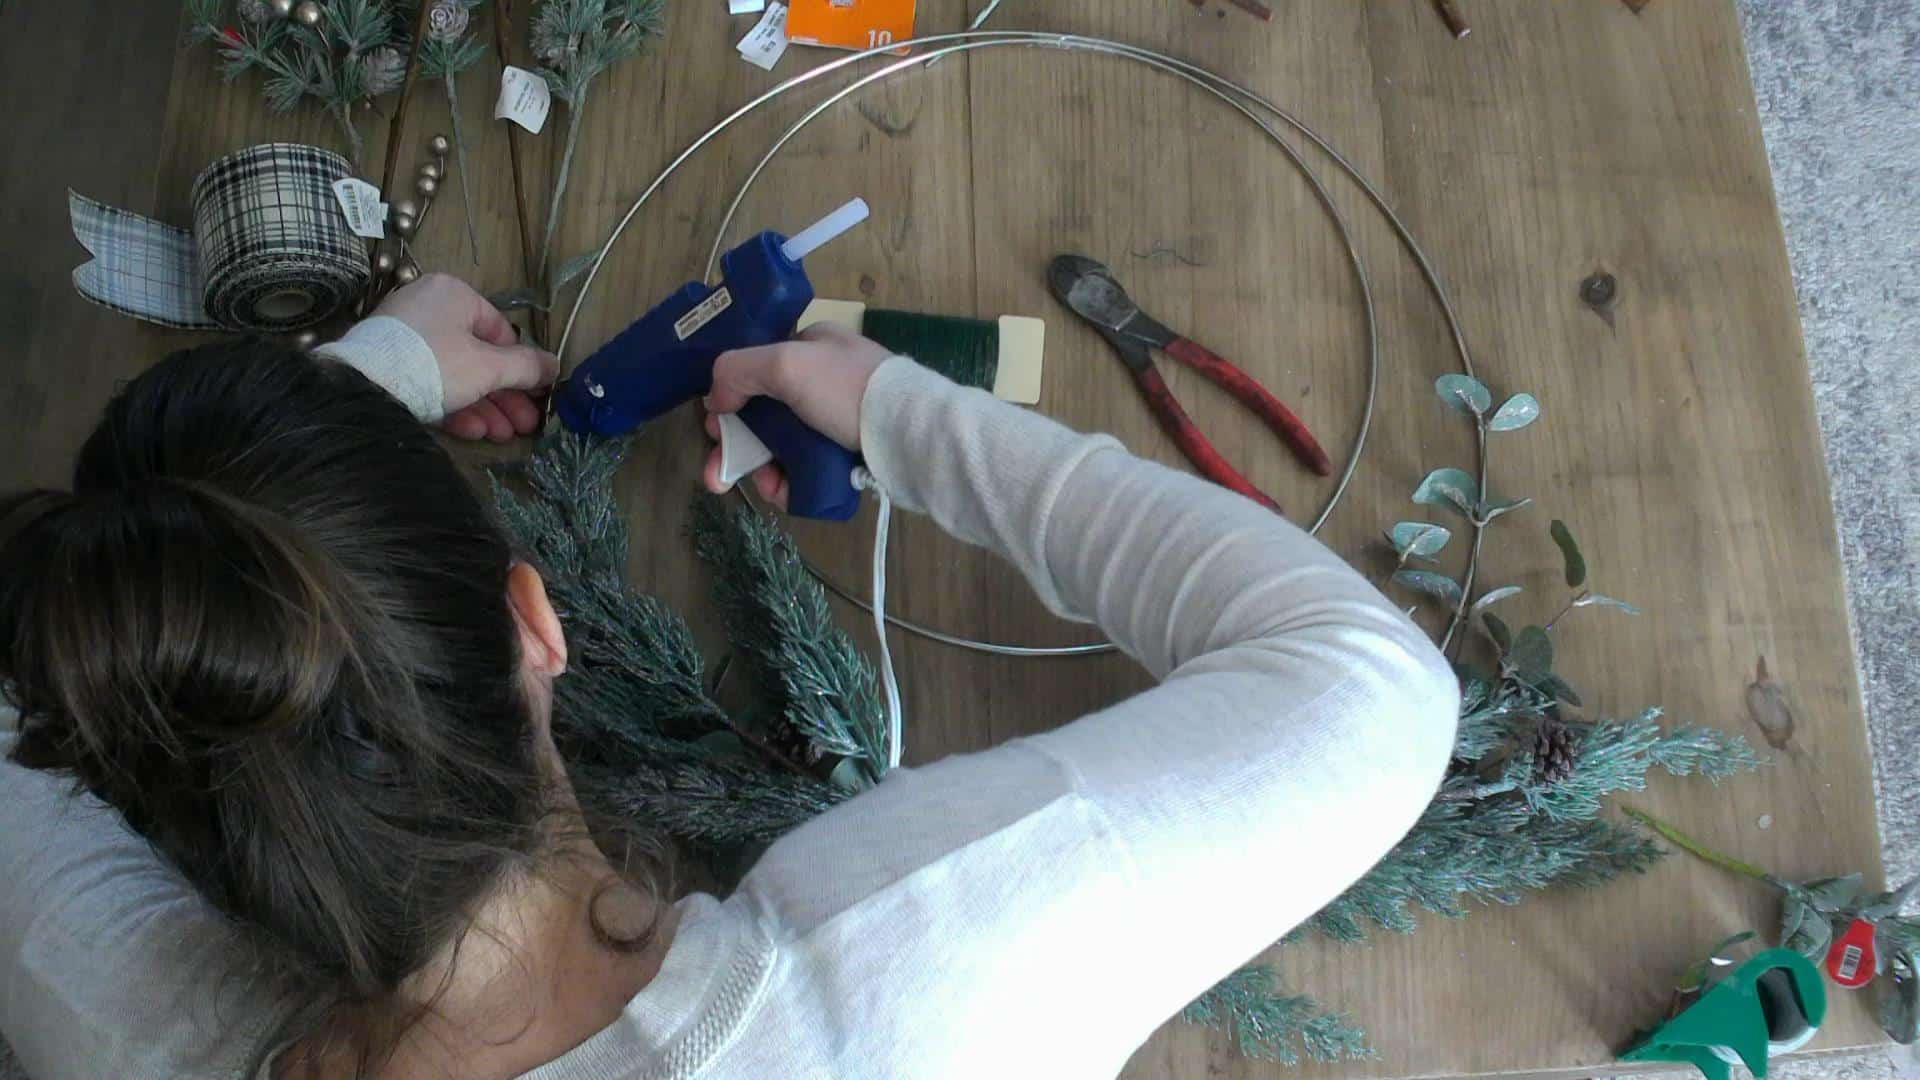
Next, I added the little twigs. I took stems out of the lamb’s ear picks because I didn’t want that much, just a touch! I hot glued them and then wrapped the wire around all the little stems once I had them all hot glued in.
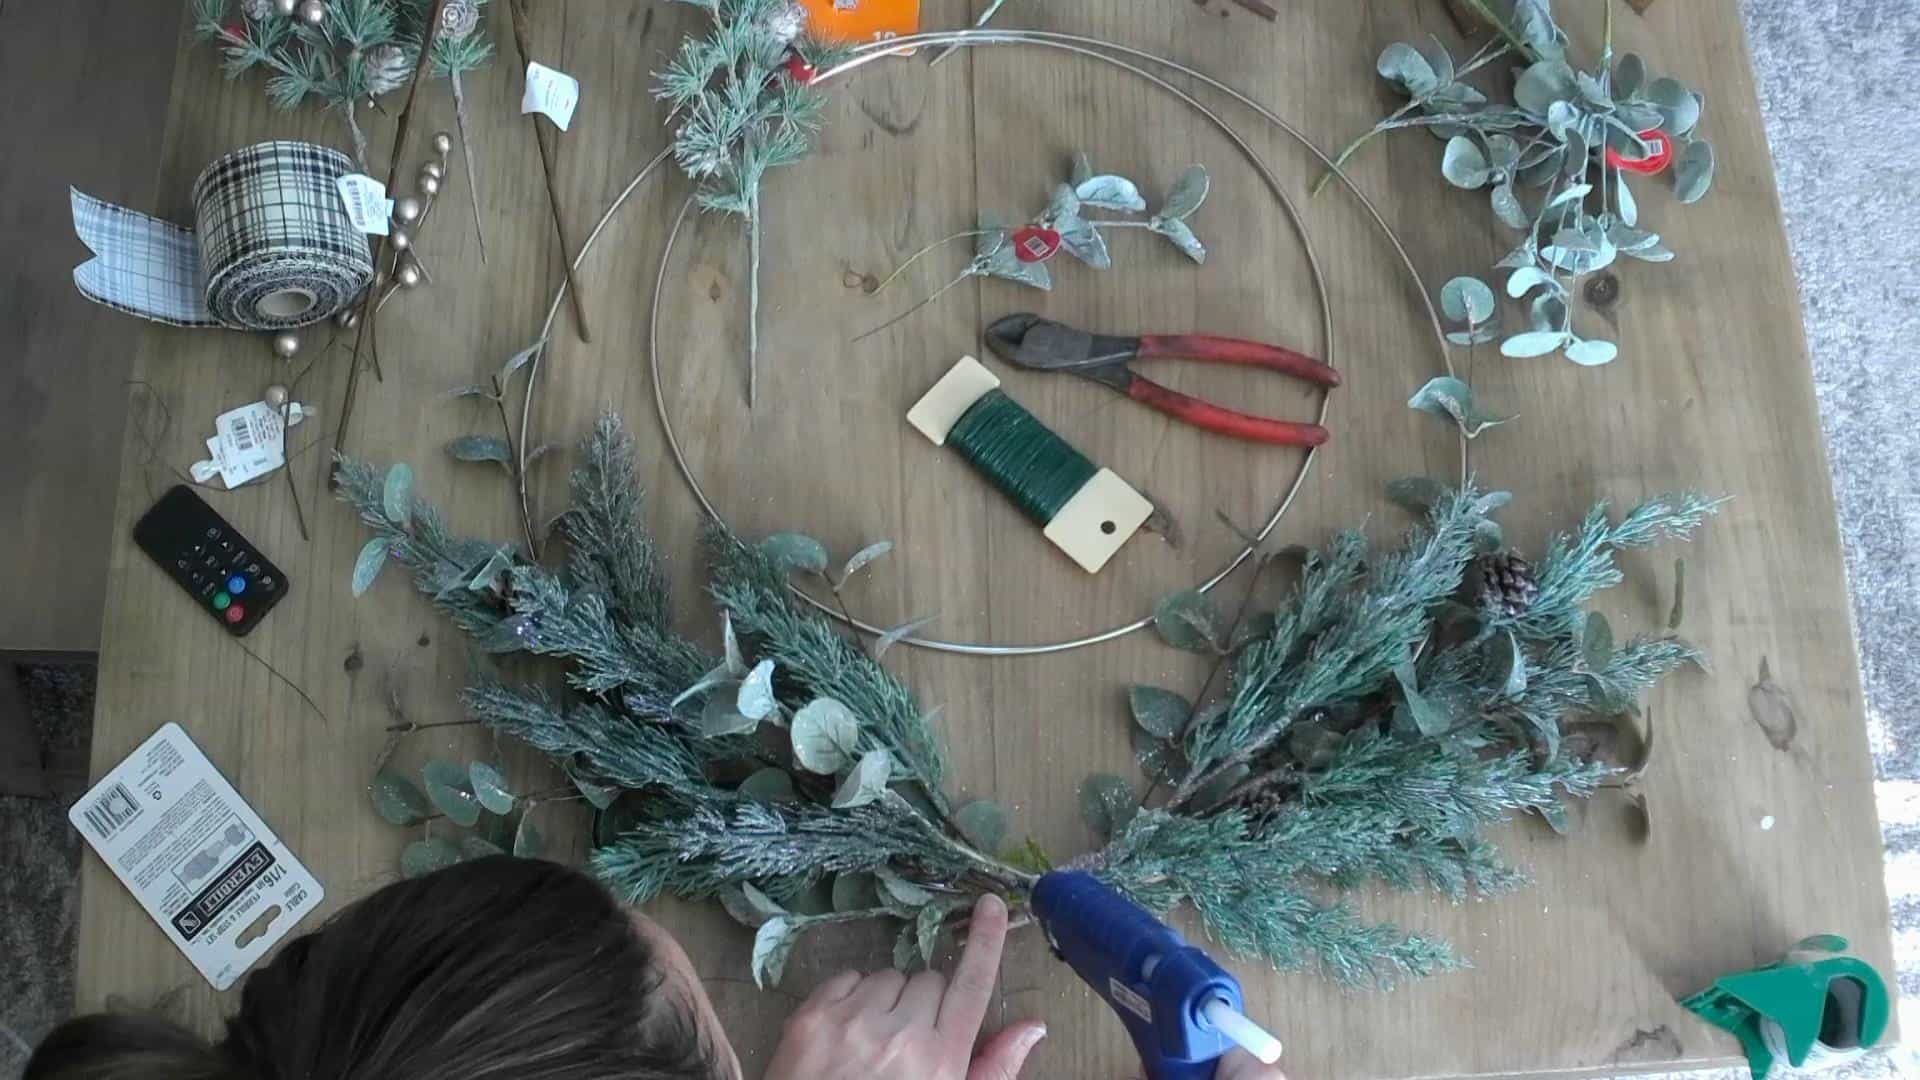
Making the Bottom Bow for the DIY Christmas Wreath
Take whatever ribbon you like, wired ribbon preferably, and I only wanted 2 pieces on each side…not sure what you call them on a bow?! Lol! I made a video while making this wreath so the step by step pictures are not as great as they should be, but if you want to see step by step photos, I used the same method as when I made the bow for THIS WREATH. Check that out for help until I get the video uploaded!
I basically find start one side of the bow, and figure out the size by that. Make 2 loops big loops and pinch them in the middle.
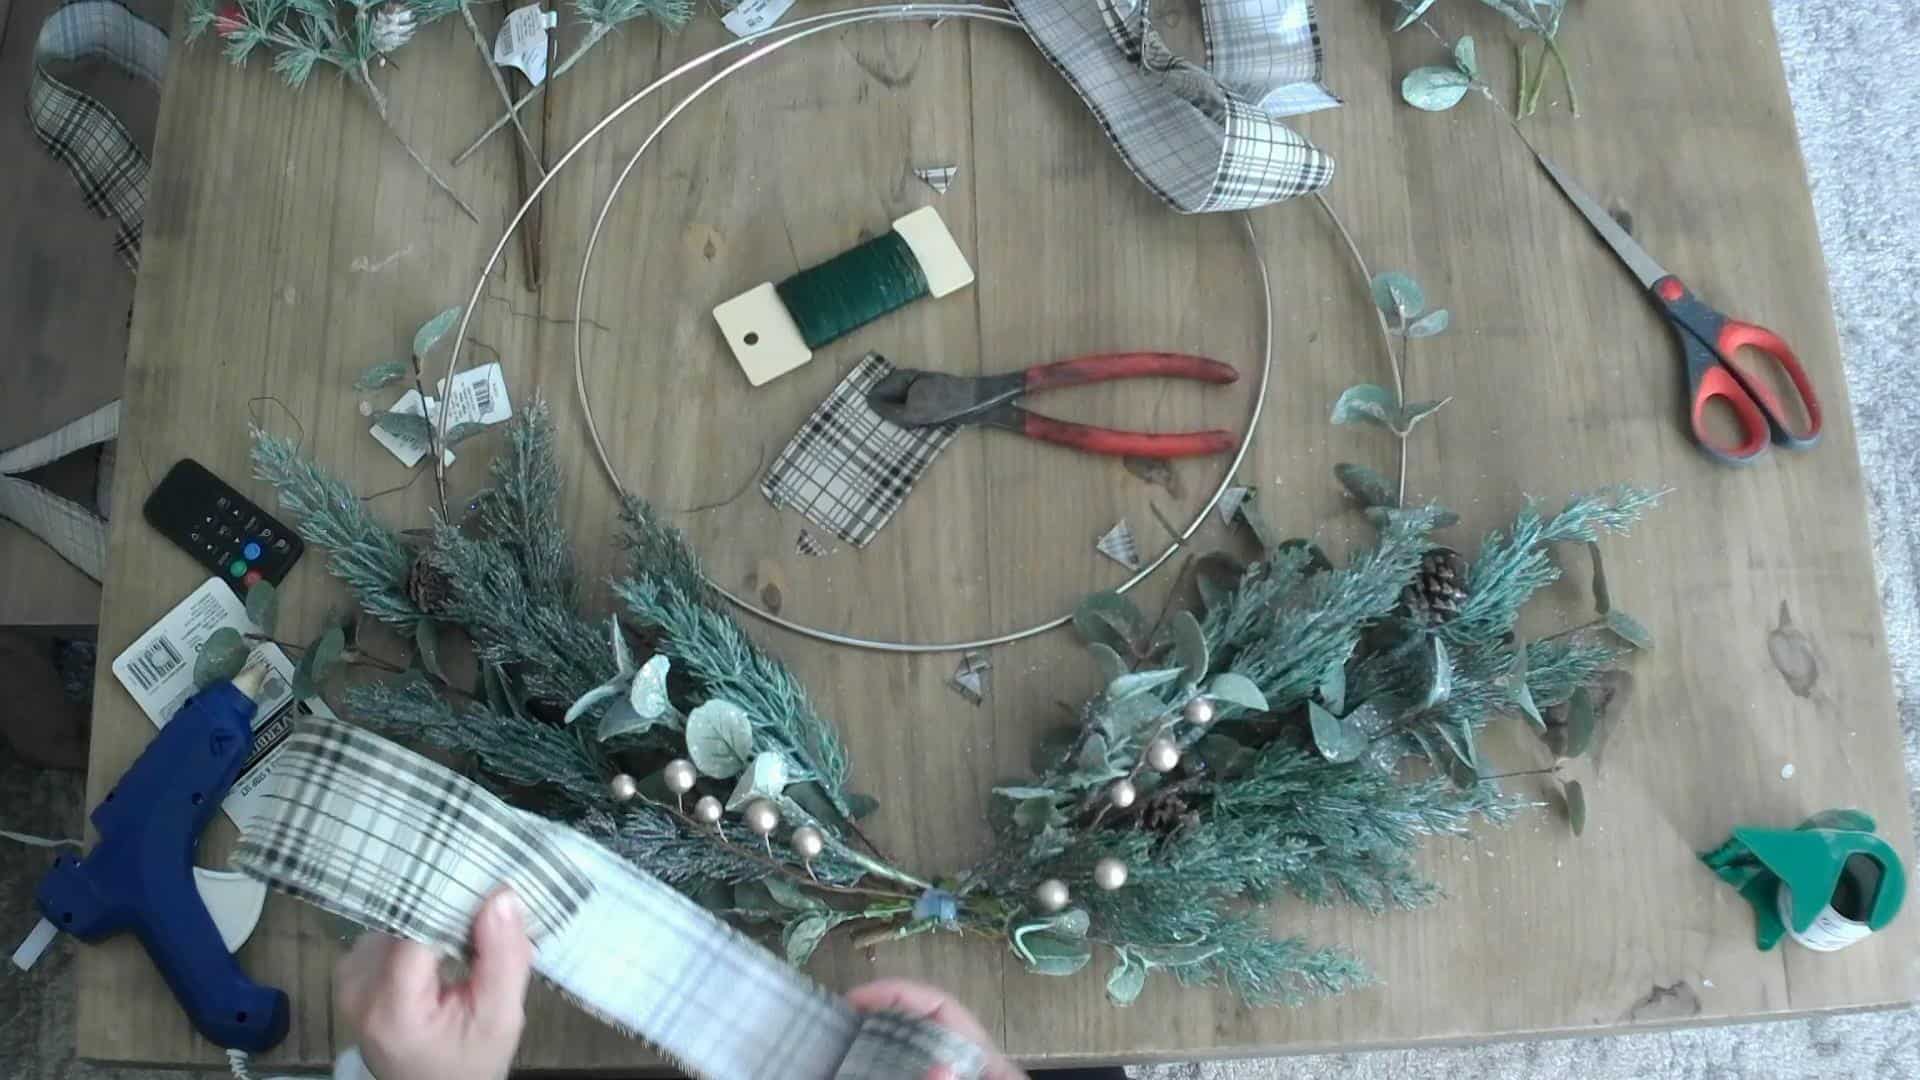
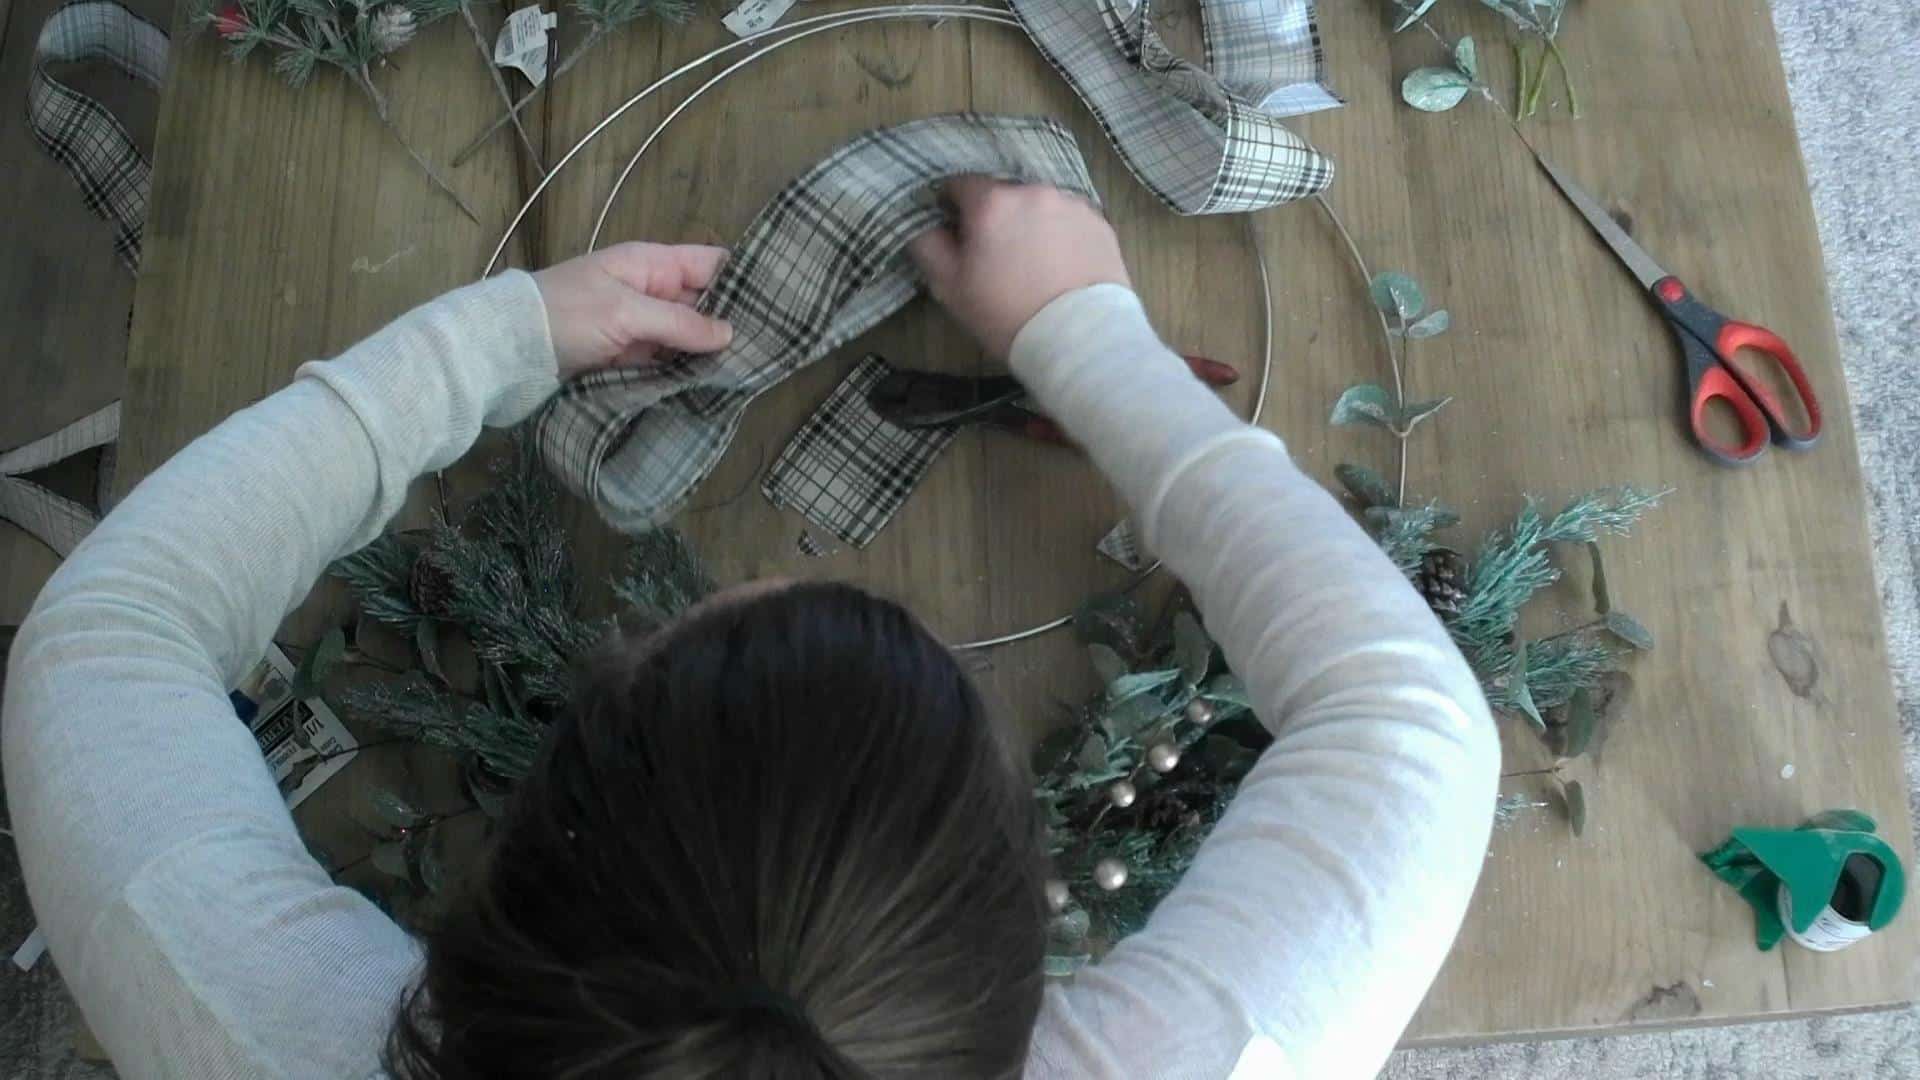
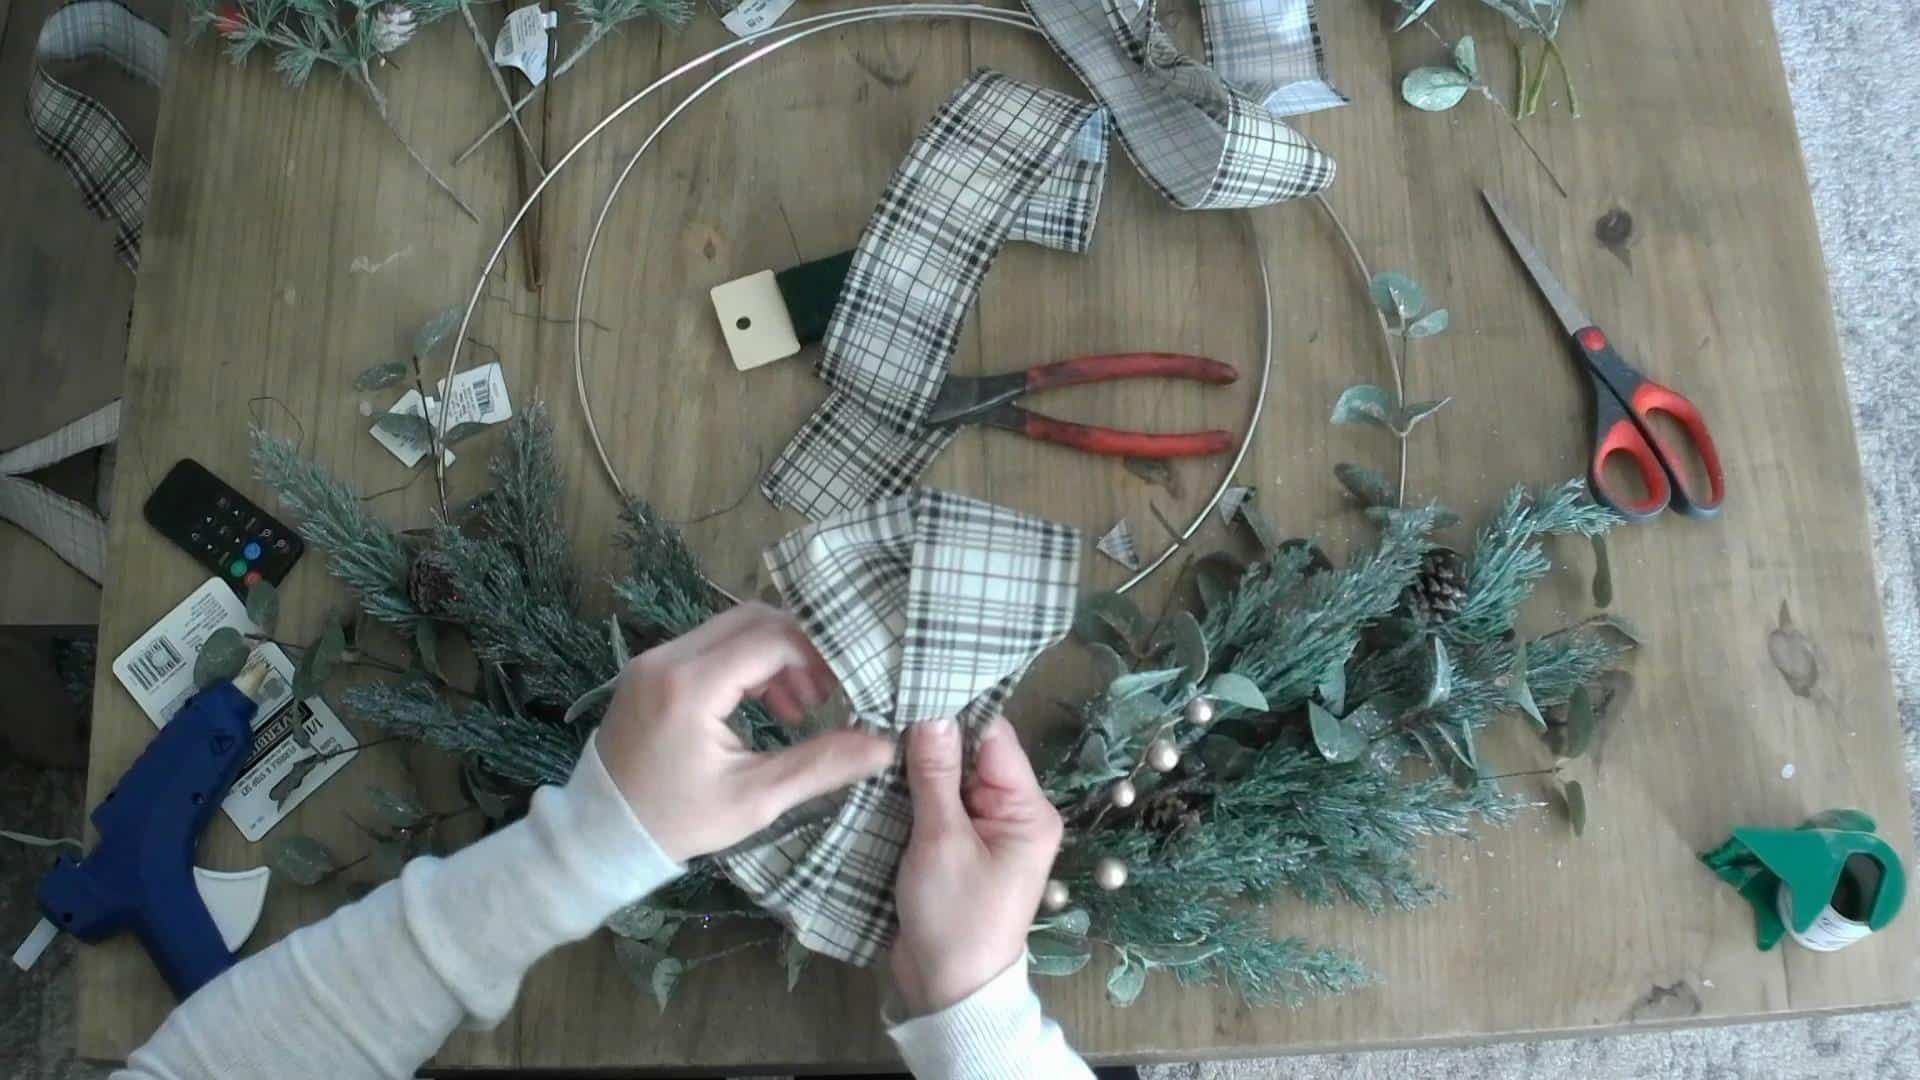
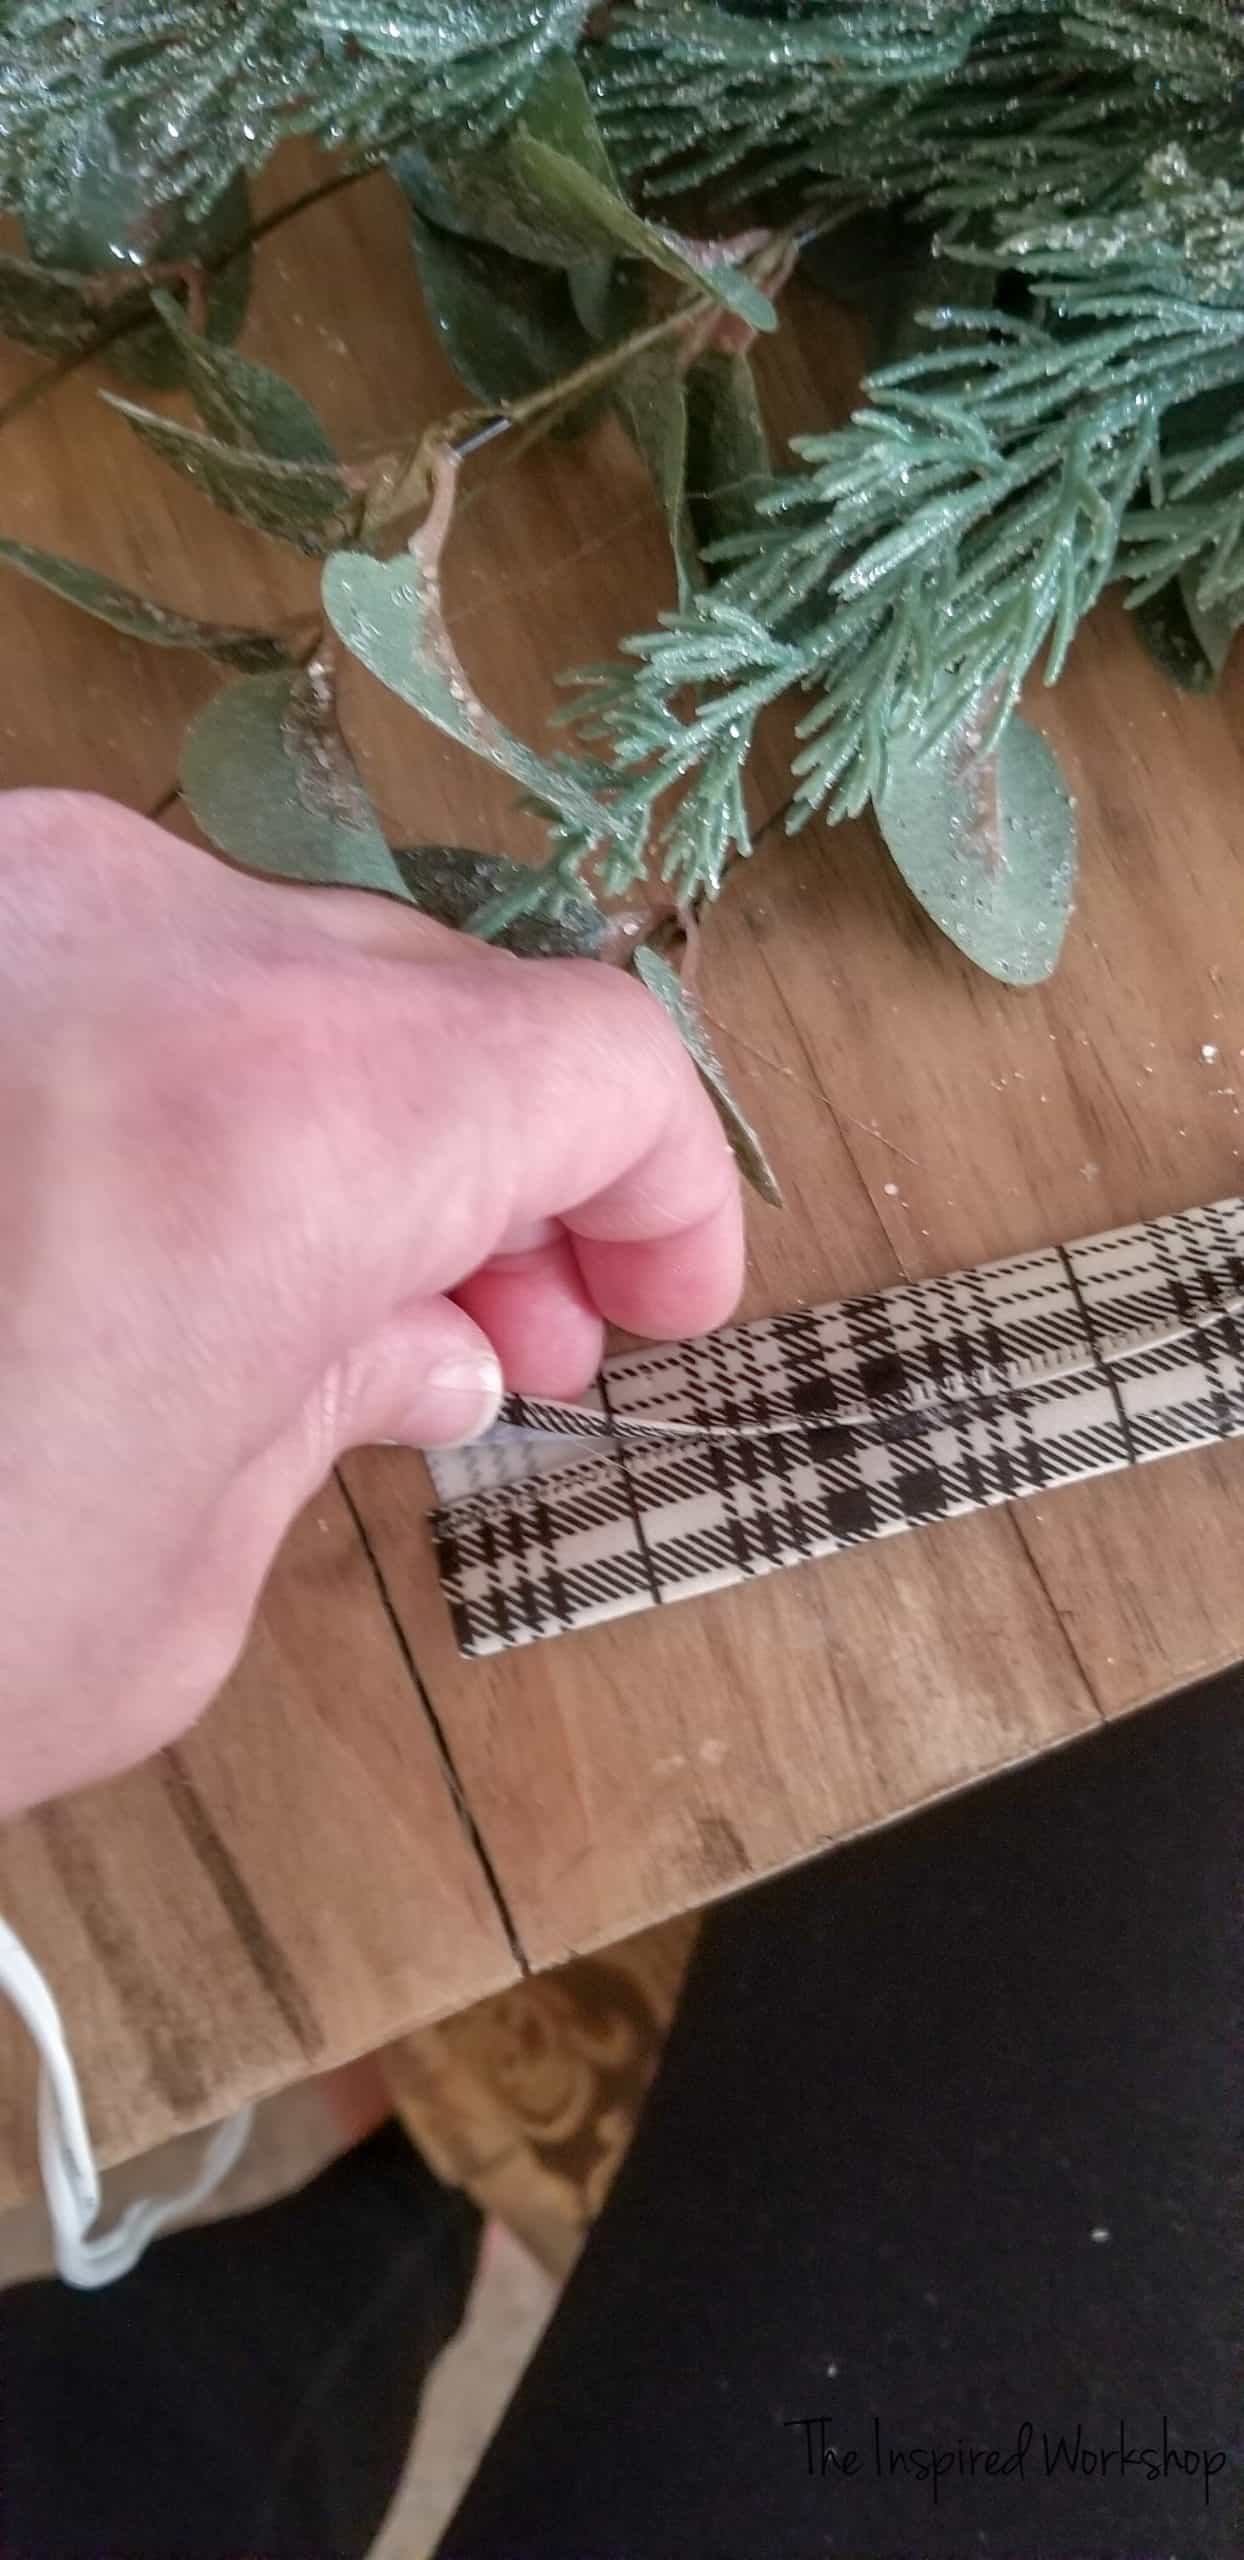
Use the floral wire to hold the middle together while you wrap another small piece of ribbon over the center and hot glue it on the back.
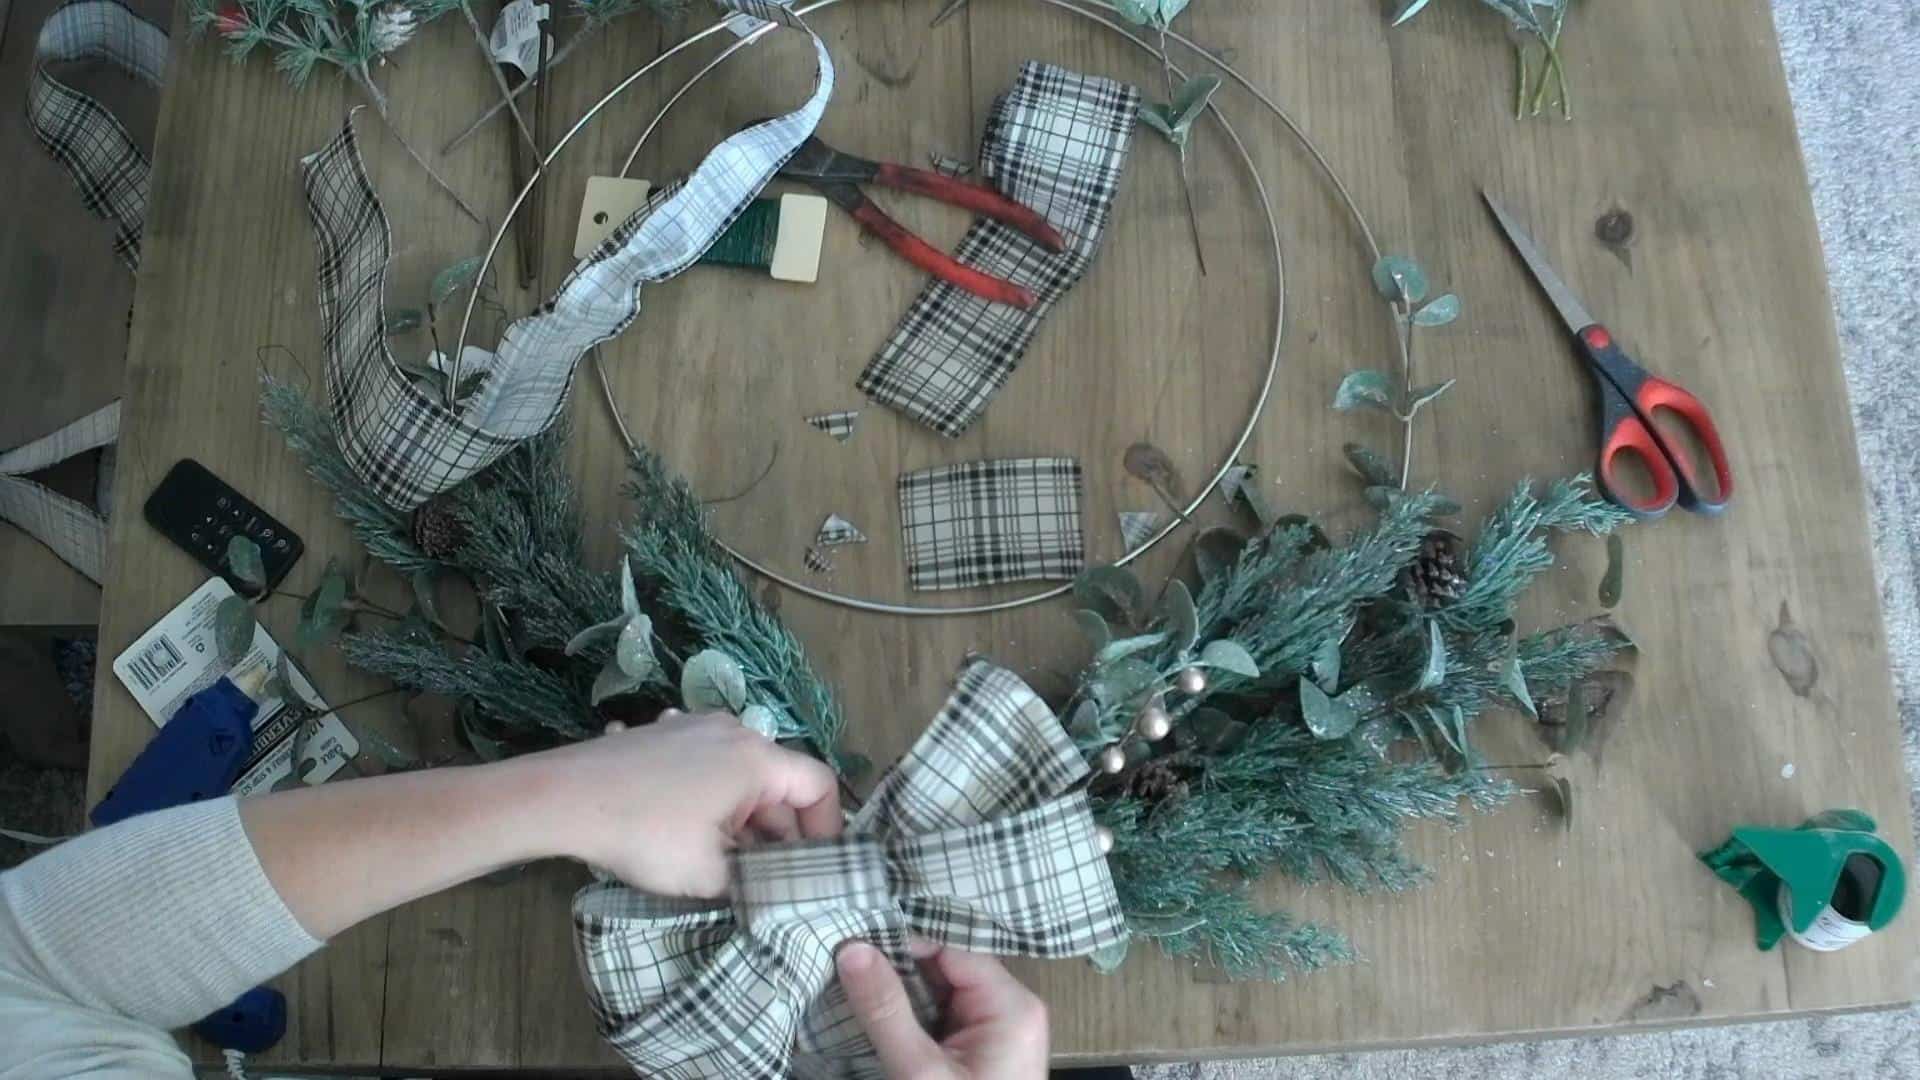
Hot glue another ribbon on the back to hang down. Brain fart again as to what they are called! Tails? I don’t know, I am typing this with my eyes half-closed falling asleep so yeah, my brain isn’t working that well…oh the typos I will find tomorrow! 🙃
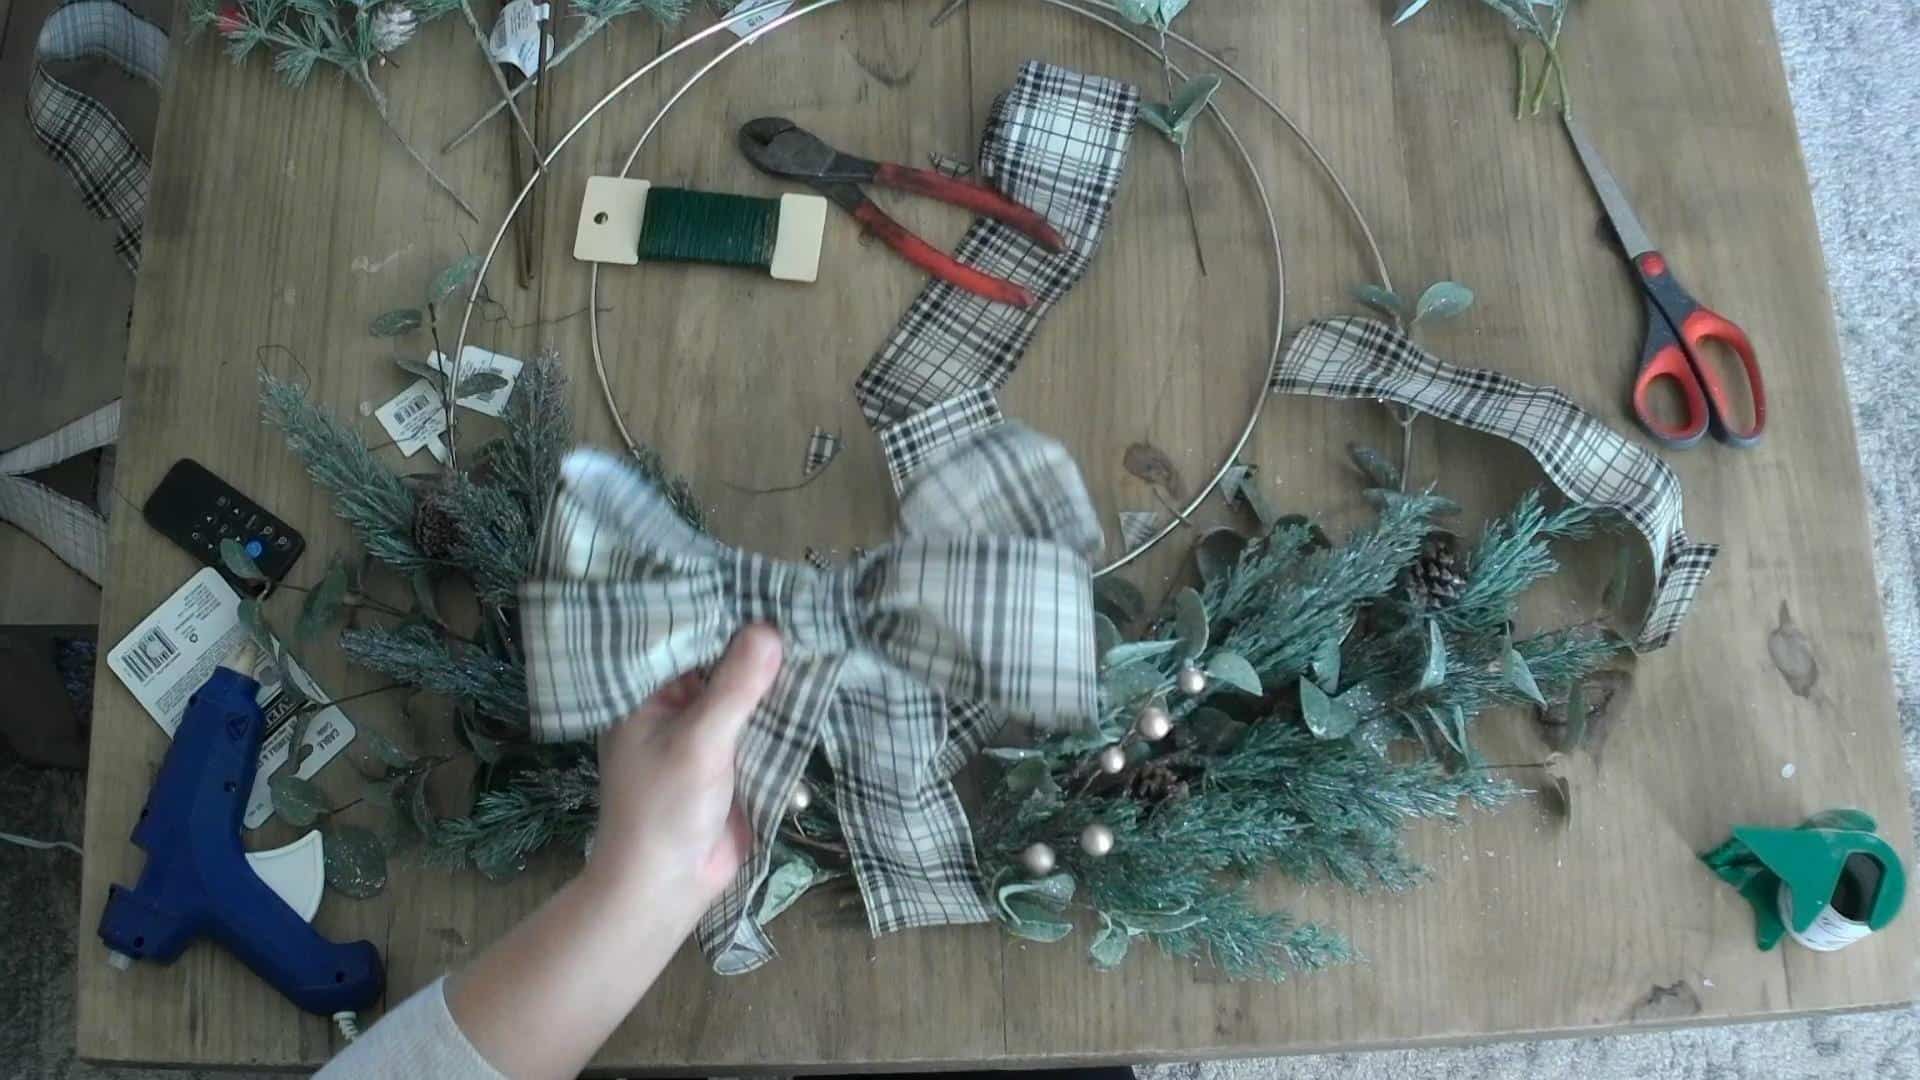
Attach the bow to the bottom of the wreath. I used wire and a lot of hot glue!
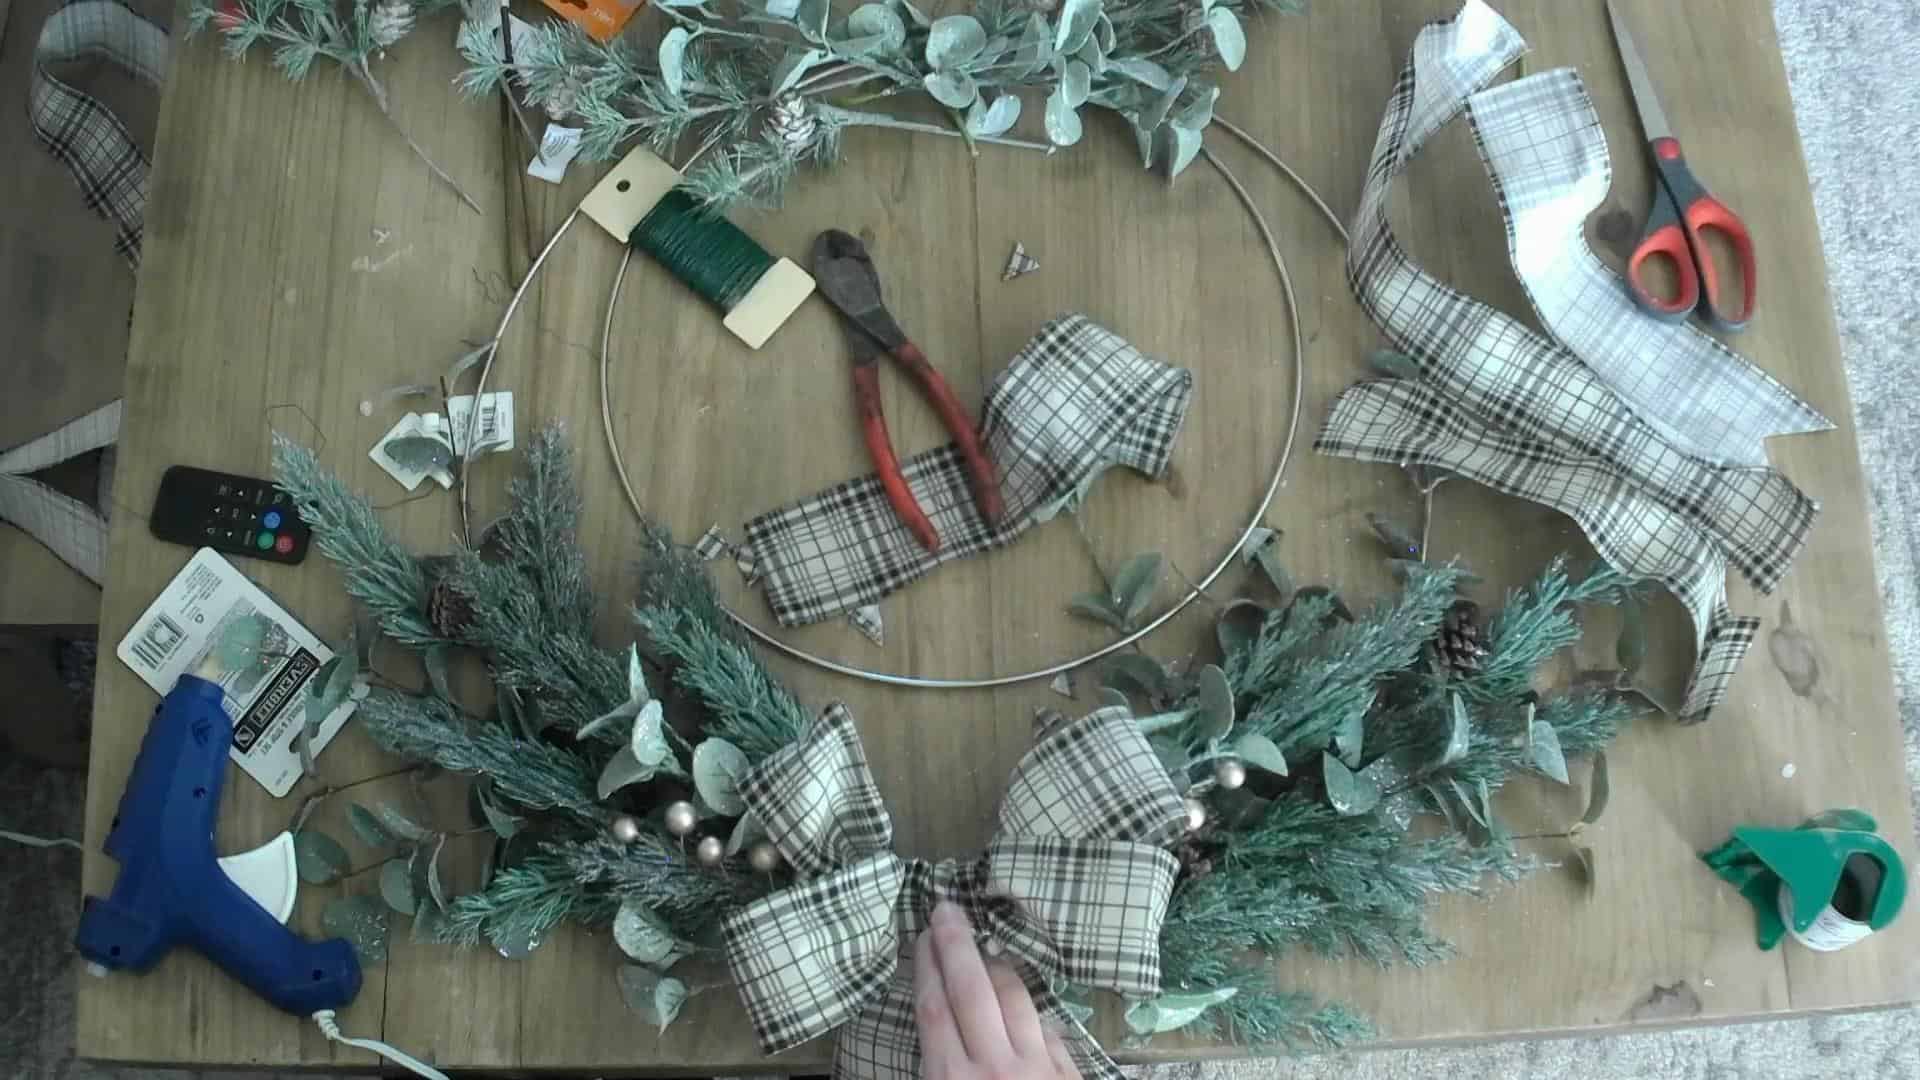
Placing the Greenery at the Top of the Wreath
Again, I kind of had to play around with the stems to get them to lay how I liked them. I just used the small stems, one on each side, and bent them downward. Then I added a couple of pieces of the same lamb’s ear I used at the bottom (not the whole pick, just a couple of pieces pulled out). This was all out of the frame of my video so I don’t have any photos to share. Ugh! 😬
Add the wire and hot glue the picks into place.
I then wrapped a piece of ribbon around the stems and hot glued it over them to hold it all in place.
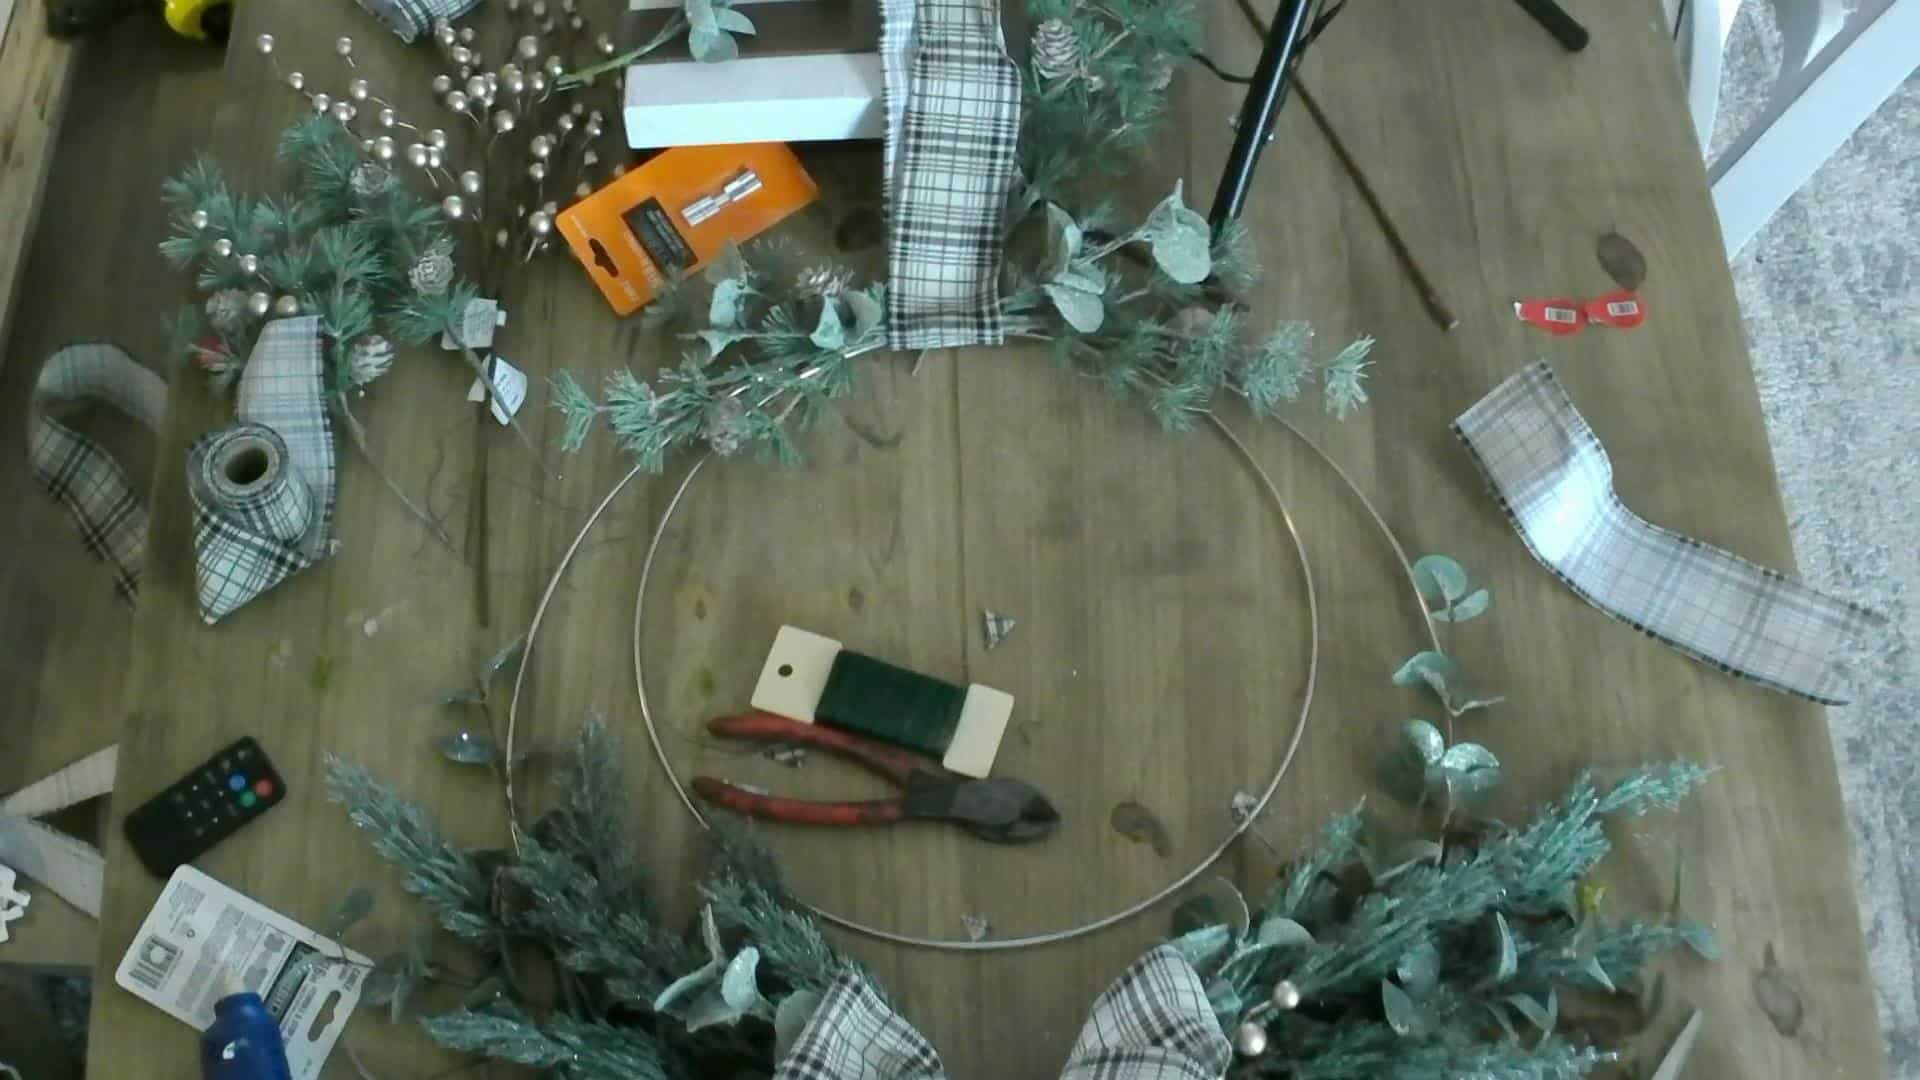
I stuck a piece of gold balls on each side of the ribbon while the hot glue was still wet. Viola!
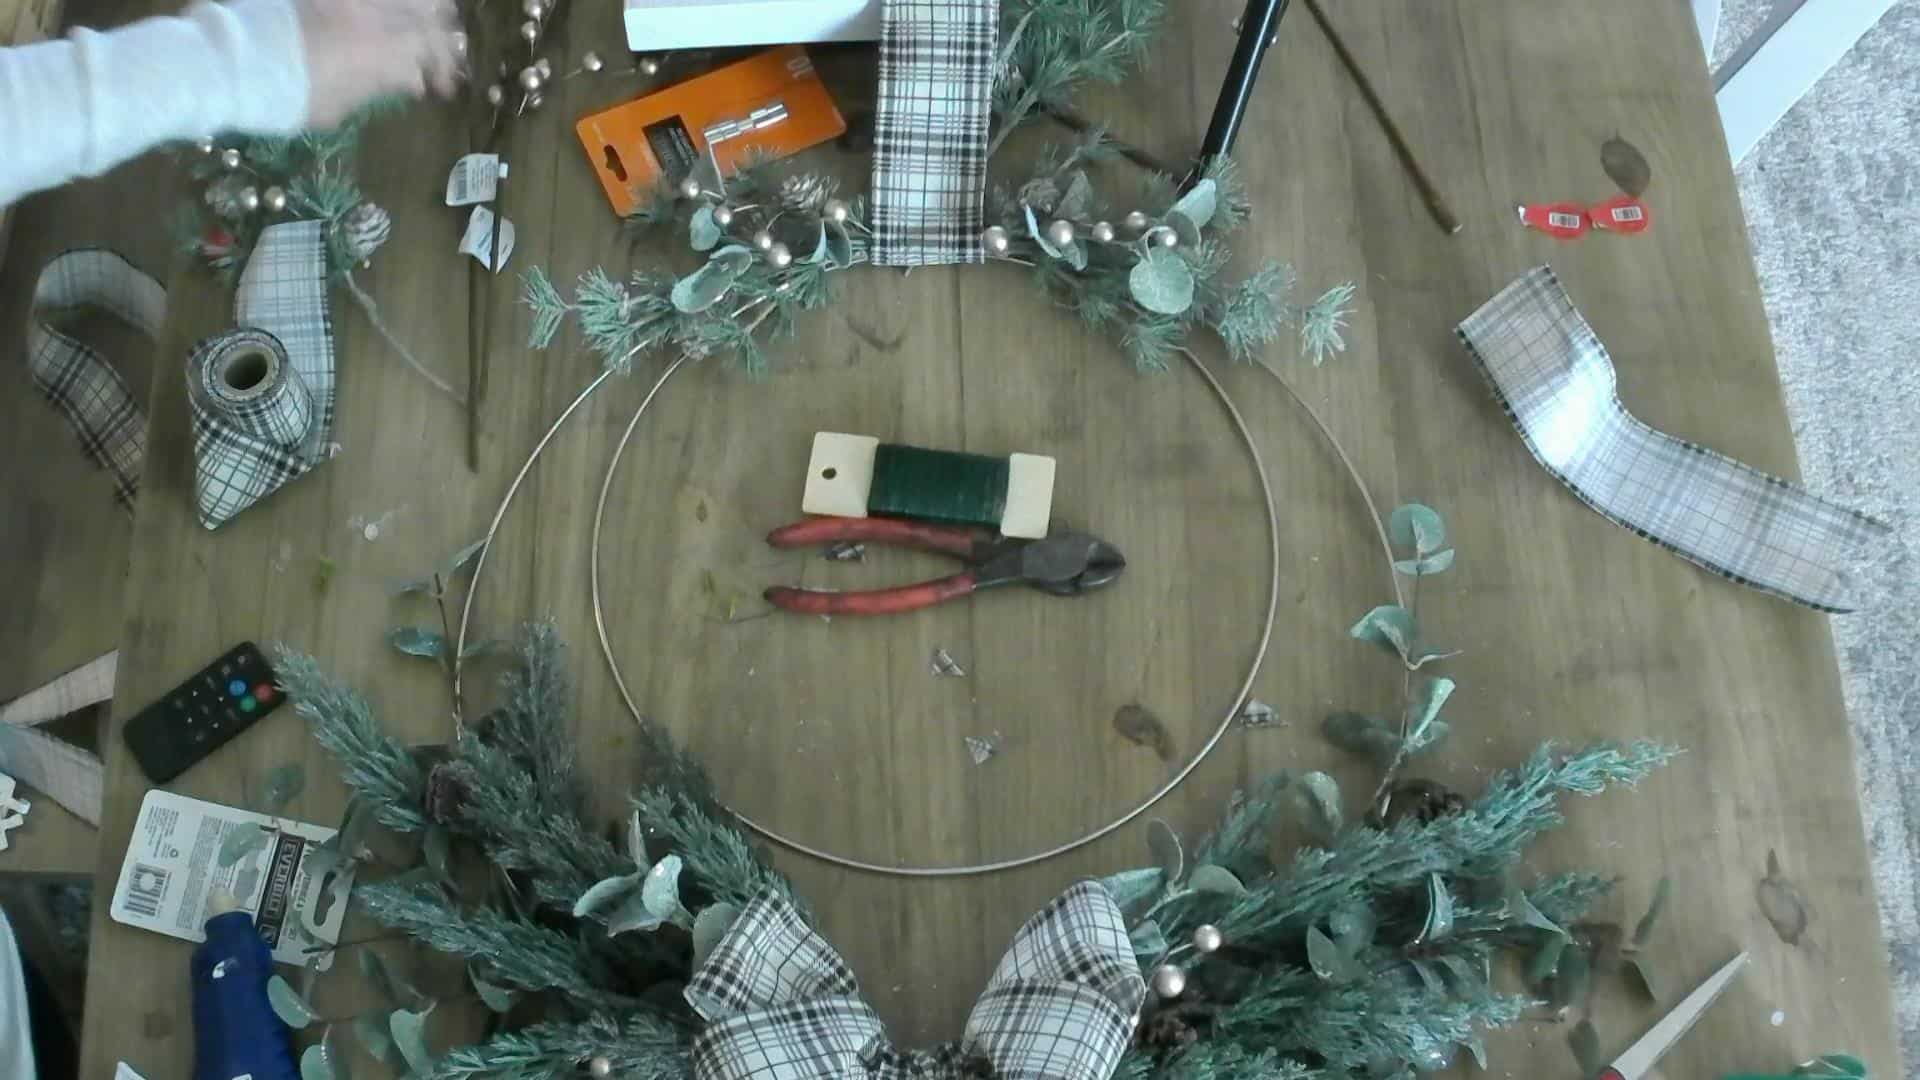
I thought I was done at this point, but I had a few stems left and thought I would try adding them along the bottom of the smaller hoop, and I kinda loved it! So you could leave it right here, or you could add a little extra as I did!
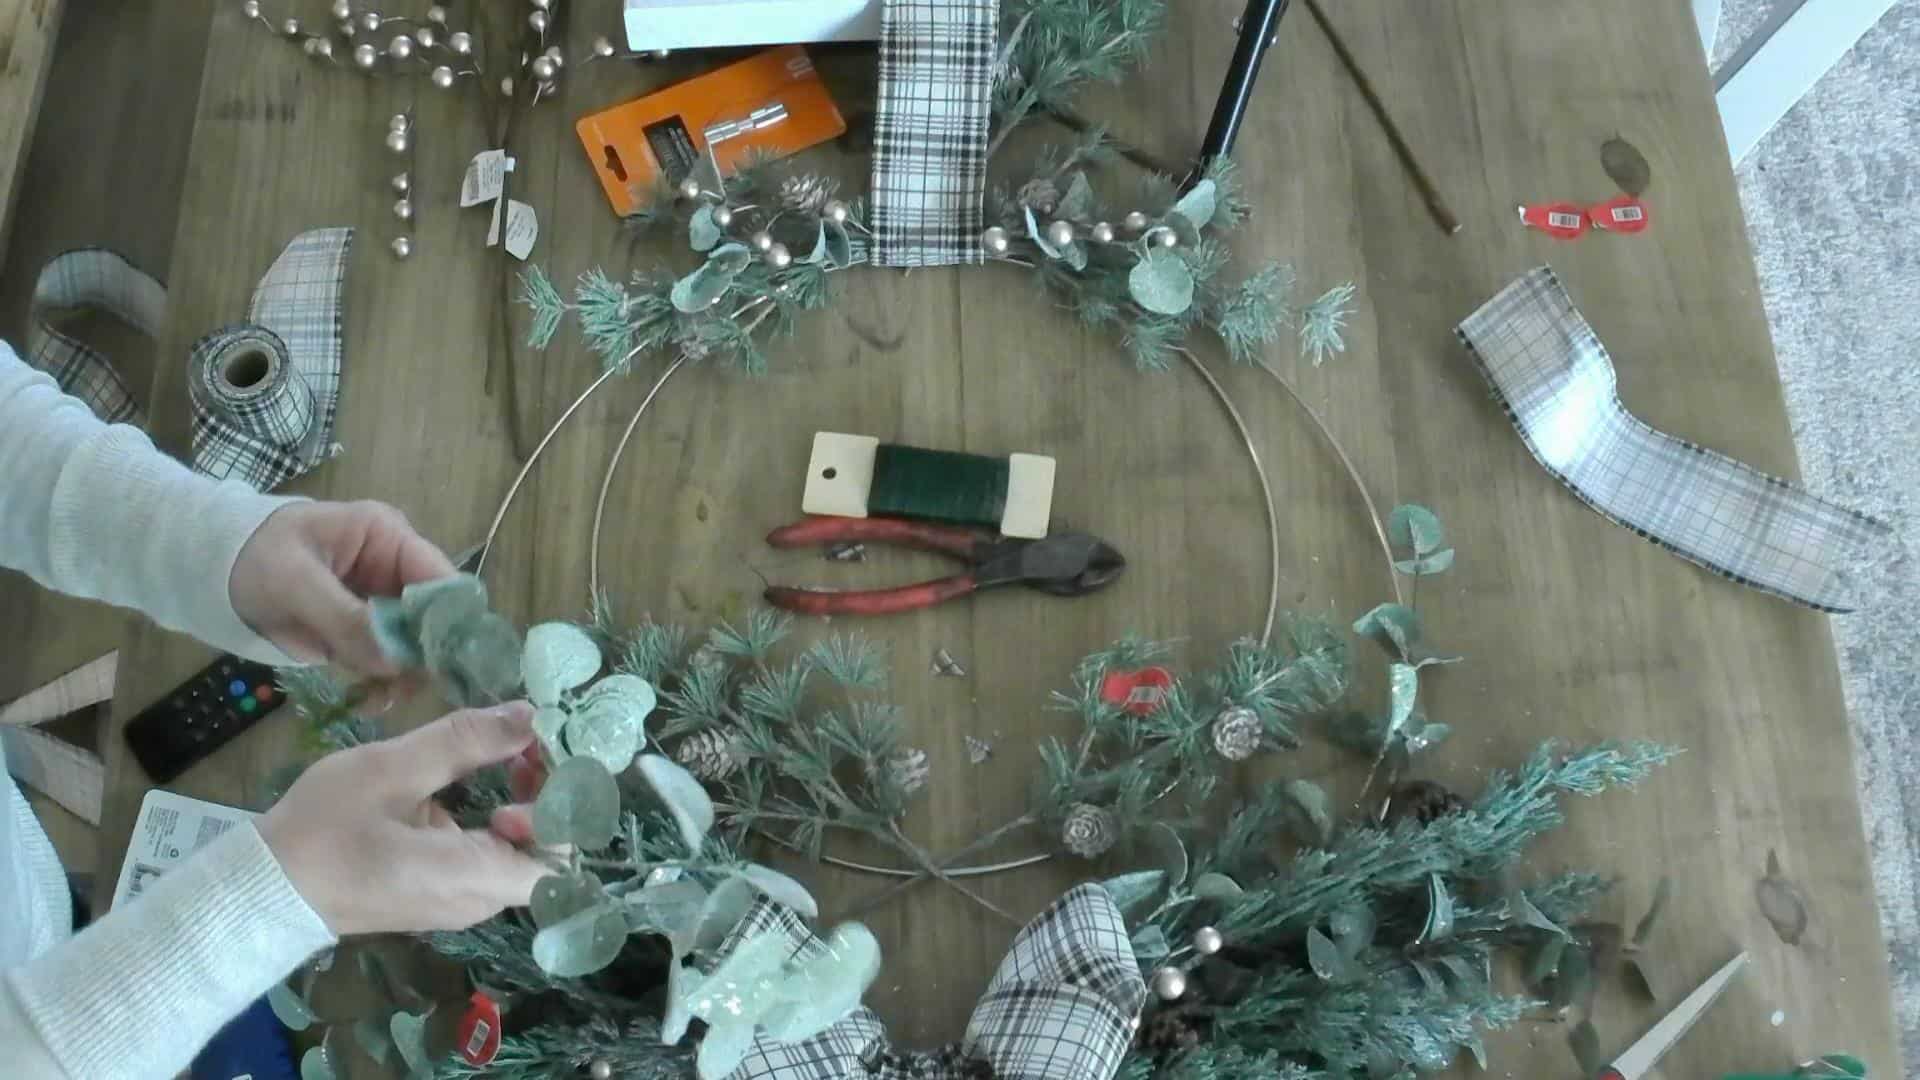
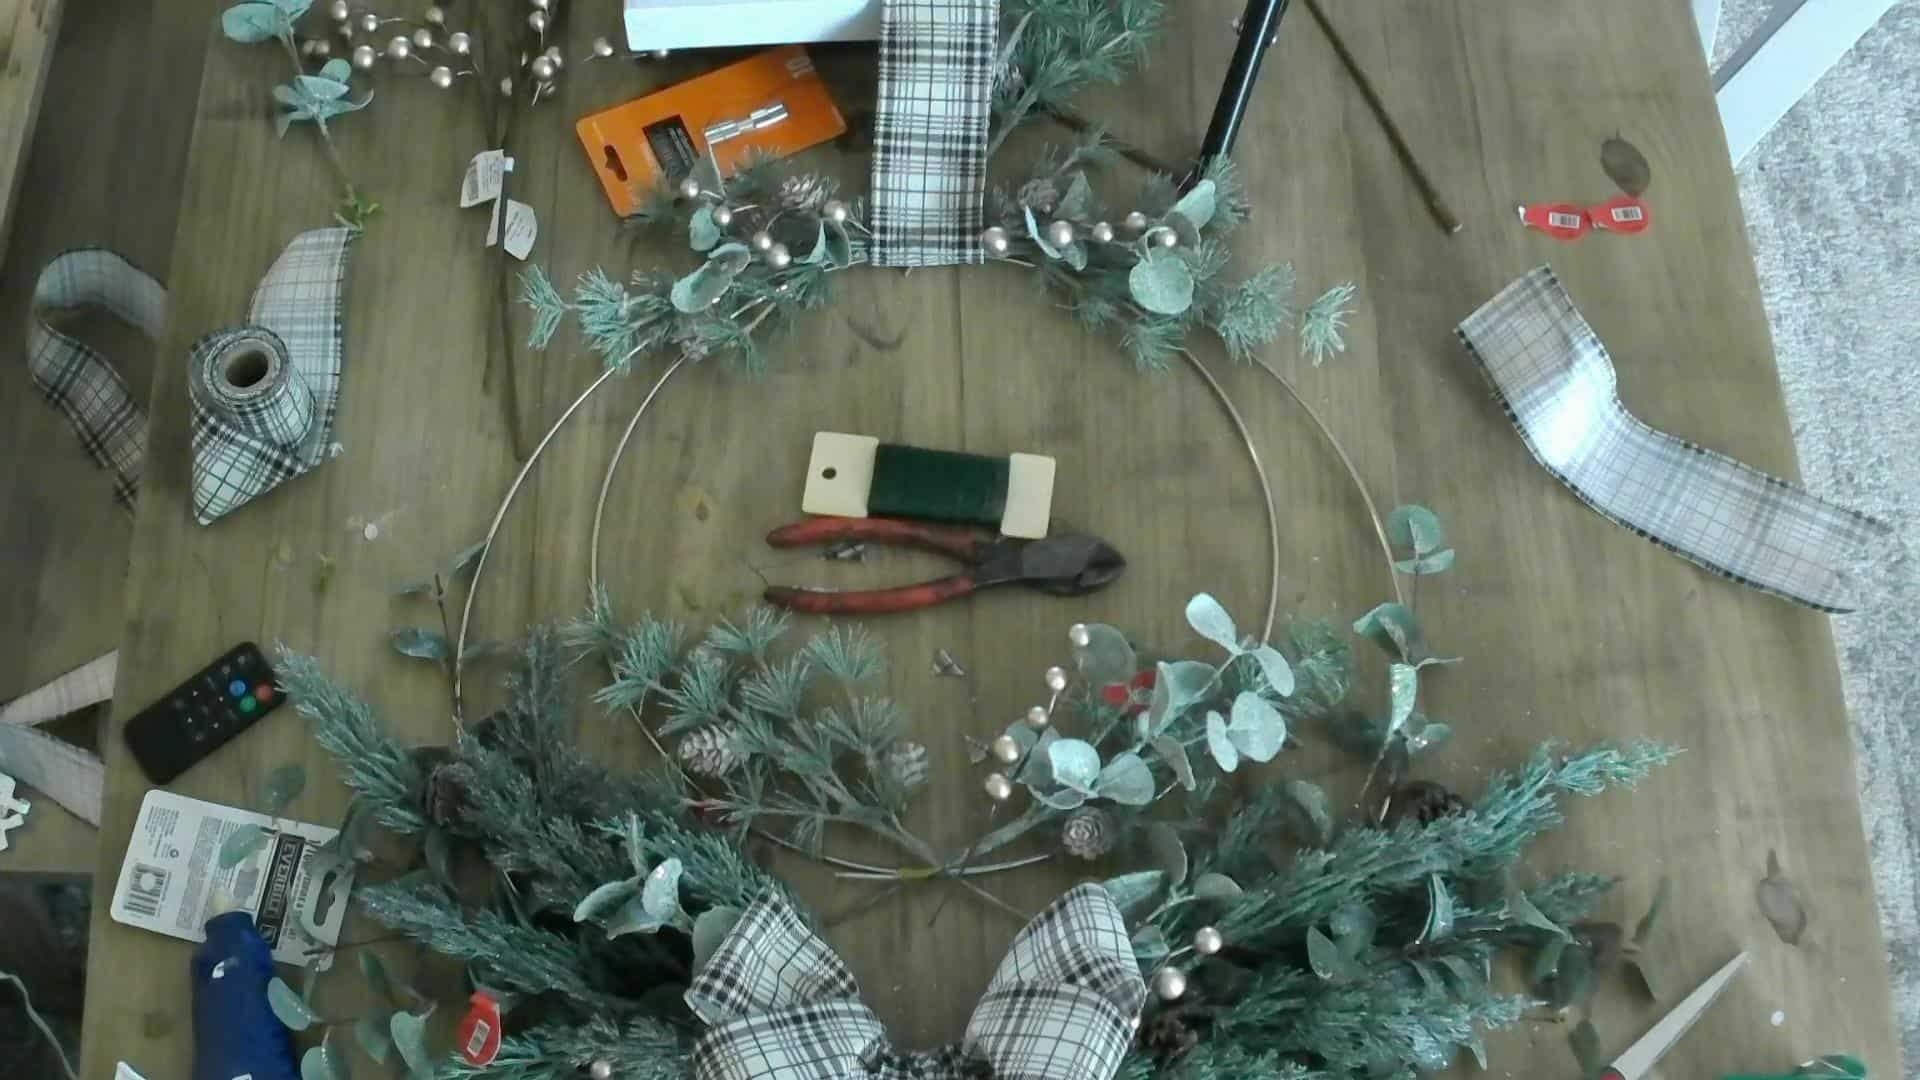
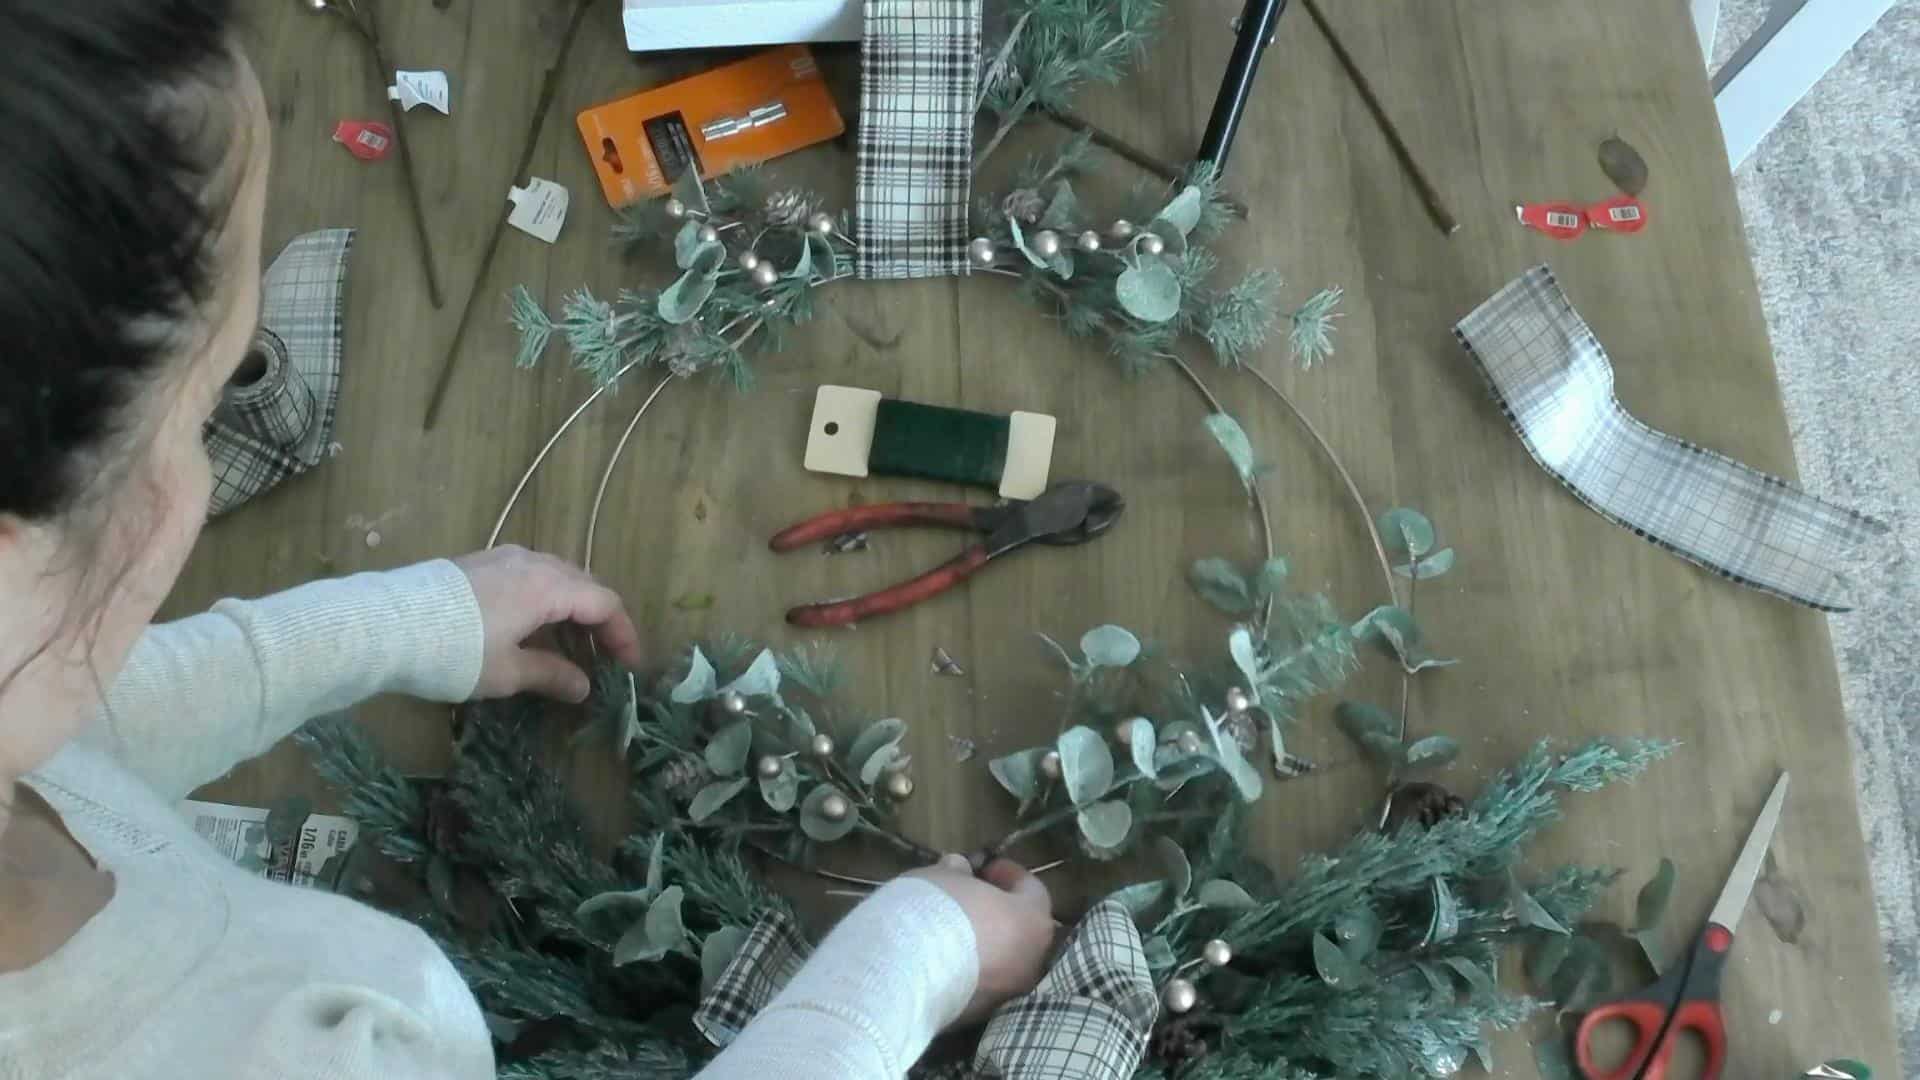
Once I had it how I wanted it, I used wire to wrap it all together, and then hot glued it into place!
I added one more small piece of ribbon to cover where the stems cross and it was DONE! And I LOVE it!
Think someone in your family or one of your friends might love this wreath, PLEASE SHARE IT with them!
Thank you so much for stopping by, can’t wait to see you again soon! Make sure and check out all the other great holiday decor and gift ideas!
Happy Building!

Related Posts
