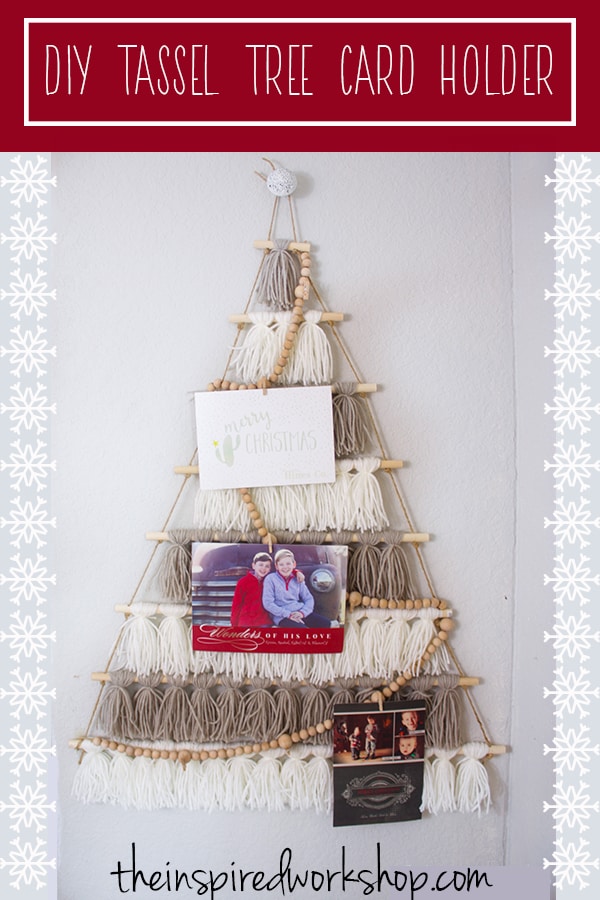
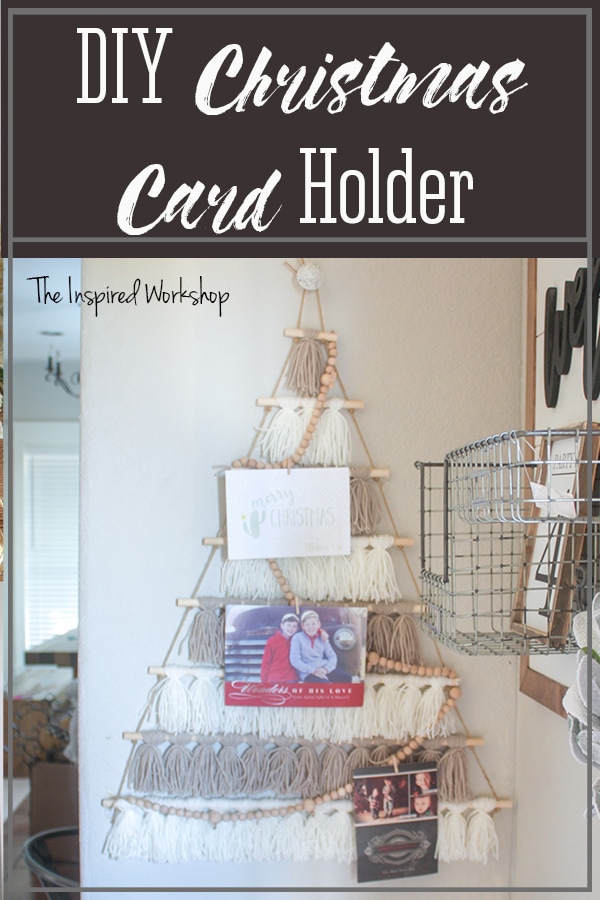
DIY Tassel Tree Christmas Card Holder
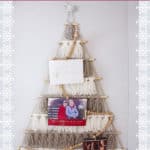
It’s that time of year again when the Christmas cards start coming in and you need some place to display them! Make yourself a DIY tassel tree Christmas card holder to display all the Christmas cards this year! Customize the tassel colors to match your Christmas decor!
I don’t know what it is but there is something so exciting about receiving Christmas cards in the mail! I patiently wait every year to receive them and so displaying them is a top priority once they are received! In the past, I have displayed them on my other Christmas tree card holder that I also love but I can use them both now!
Sometimes when it’s cold outside and it gets dark so early, I enjoy an indoor craft that I can be doing while watching a Christmas movie and drinking hot cocoa with the kids! And that’s just what I did when I made my first tassel tree Christmas card holder, then I loved it so much I thought I better make a tutorial and share it with you all!
So I even made another one and created a video for you all to make it that much easier to create one yourself! After all those hours slaving behind the camera…PLEASE go watch it and subscribe to my YouTube channel! The photo tutorial is still down below as usual so take a look at that if there’s something I missed in the video!
DIY Tassel Tree Card Holder Video
Video will be coming soon…my phone apparently records in 4K and so my computer was having a really hard time editing it when I would speed the video up, so I have to start the editing process all the way over and convert them to lower resolutions! It will take a couple of days! So in the meantime, below is the step-by-step tutorial to help you create the tree card holder!
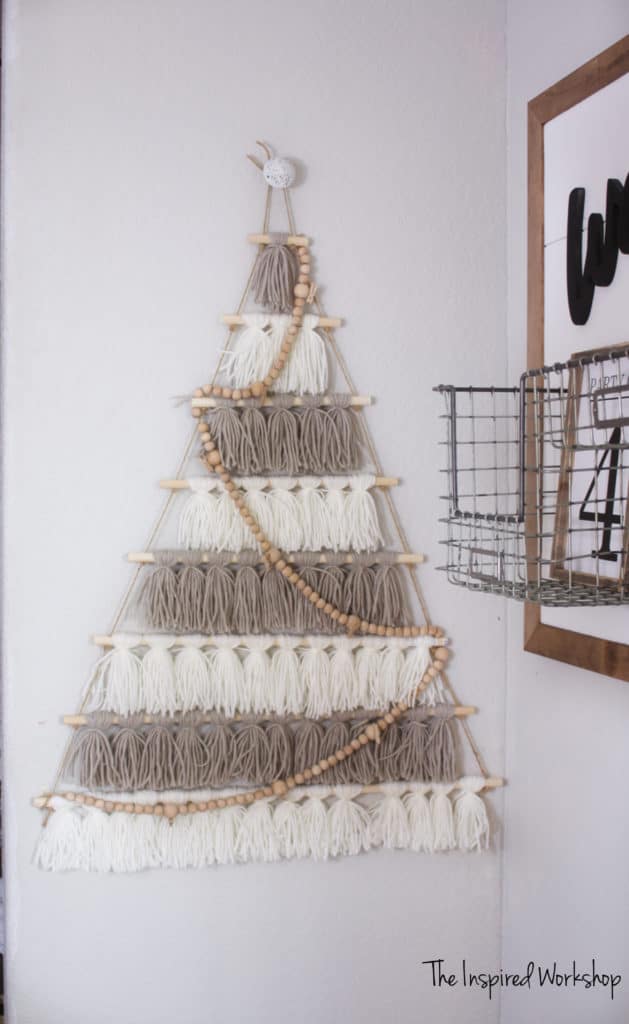
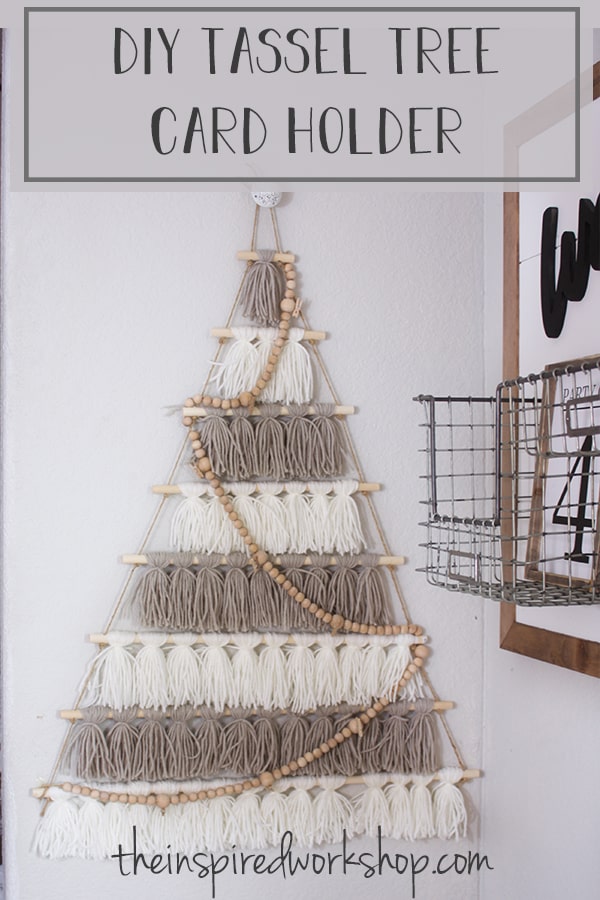
Here is a photo without the garland if you wanted to just use it as a Christmas tree made of tassels as decoration, or you could add string lights, I recently found these really cute ones with clips already on them to use to hold the cards! There are so many options…I can’t wait to see what you all come up with in addition to what I have done here!
Gathering Supplies for the DIY Christmas Card Holder
Note: Links below may be affiliate links! This just means, if you choose to make a purchase after clicking one of my links, mind you…you don’t have to buy the item you click on, you can purchase anything you like…and I make a small commission at NO extra charge to you! It just helps me to keep creating fresh content!
Materials for the Christmas Card Holder:
- Yarn of your choice in as many colors as you would like
- 4 Dowel rods – 1/4″ x 48″
- Drill and drill bit
- Twine – I used a little more heavy-duty one than what you may get in the gift wrap section per se!
- Hot glue gun Affiliate link – this cordless glue gun is on my Christmas list! Lol! (you only need a glue gun if attaching a garland of some sort)
- Scissors
- pencil or marker
- 1/2″ wood beads (mine are from Hobby Lobby but I found this great set on Amazon that contains enough of both sizes – Affiliate link)
- 3/4″ wood beads
- 6-10 tiny wooden clothespins
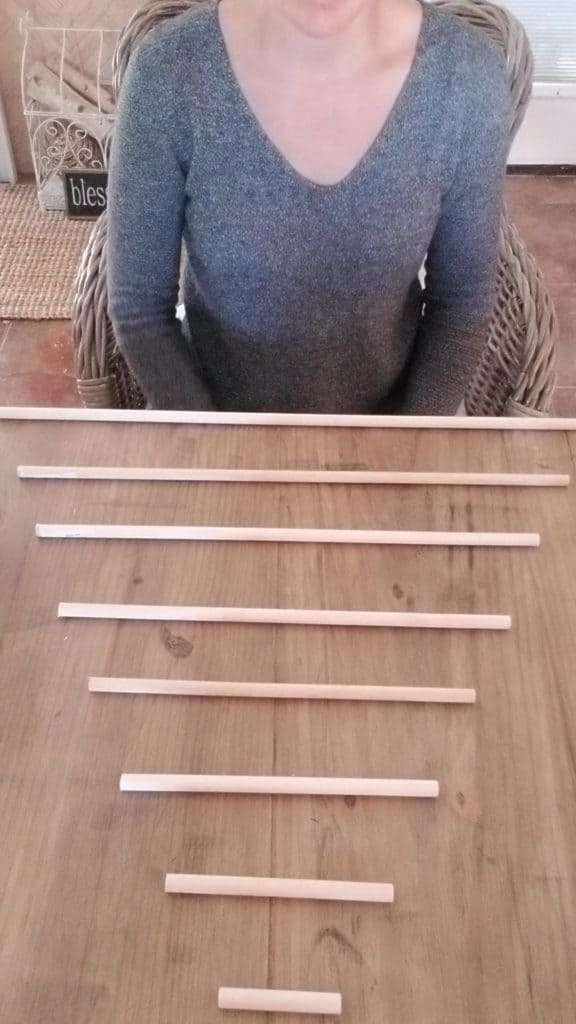
Cut List for the Christmas Card Holder:
- 1 dowel rod cut @ 3″
- 6″
- 9″
- 12″
- 15″
- 18″
- 21″
- 24″
I get excited when I can create something with my hands that I can enjoy my family while doing it…and that is just what this craft is so great for! You can invite your girlfriends over to make them with you or get your mom and sister together! Or just catch up on your favorite Netflix series while binging on wine and chocolate…no one is judging here!😉
Making the DIY Tassel Tree Christmas Card Holder
Alright, after you have gathered all your supplies, cut the dowel rods down to size!
Measure 3/4″ in from each edge and place a mark. This will be where you will drill your hole for the twine which we will tie the tree together with at the end.
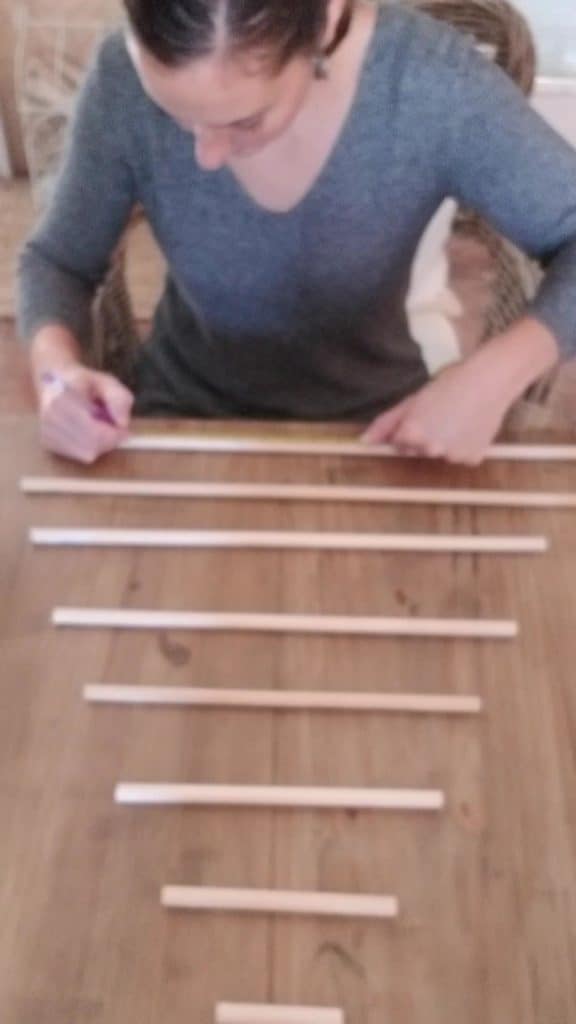
Not sure why that photo is so fuzzy?! I’m measuring though I promise!
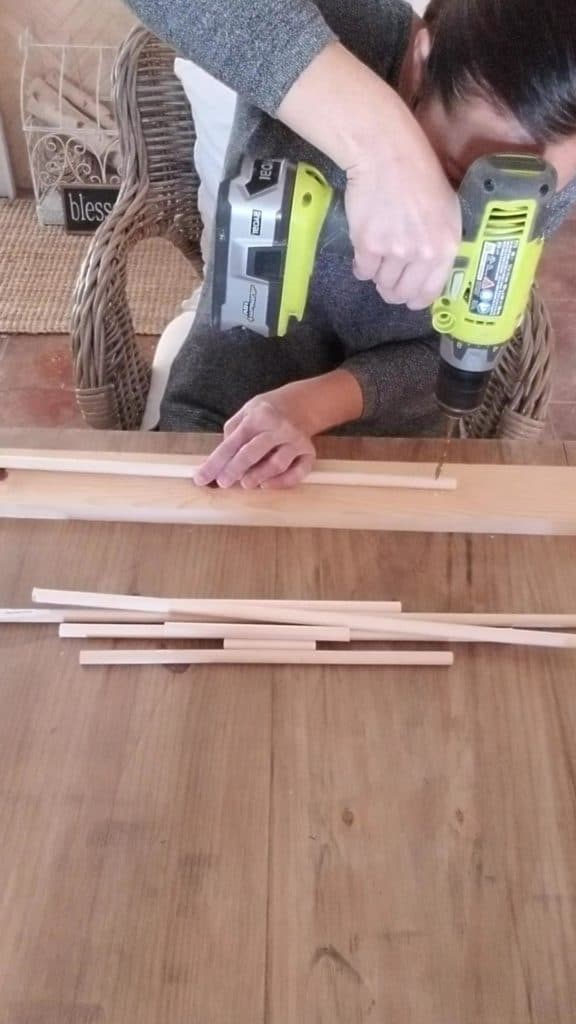
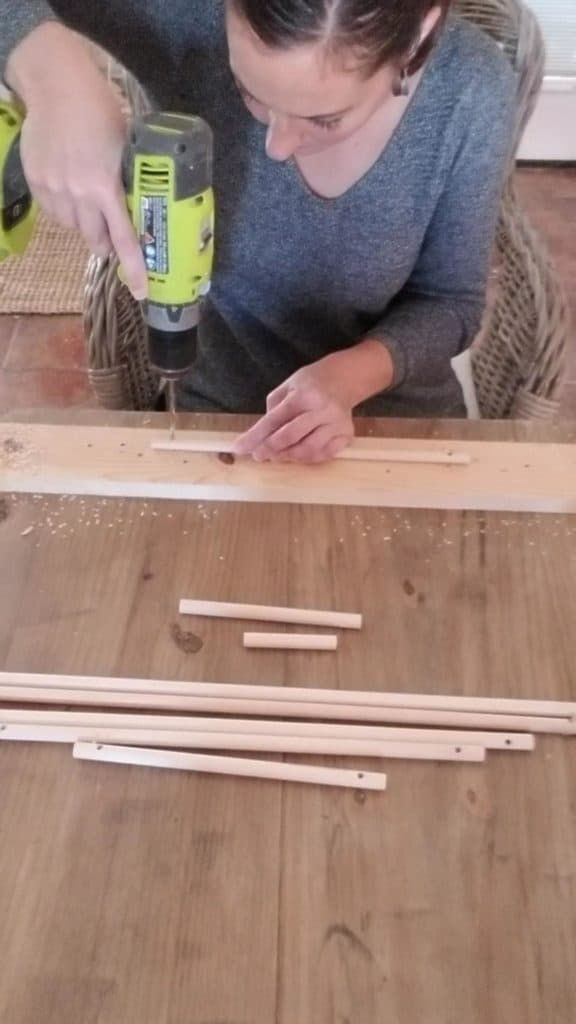
Drill your holes in each end, making sure that you are drilling in the same direction on each end!
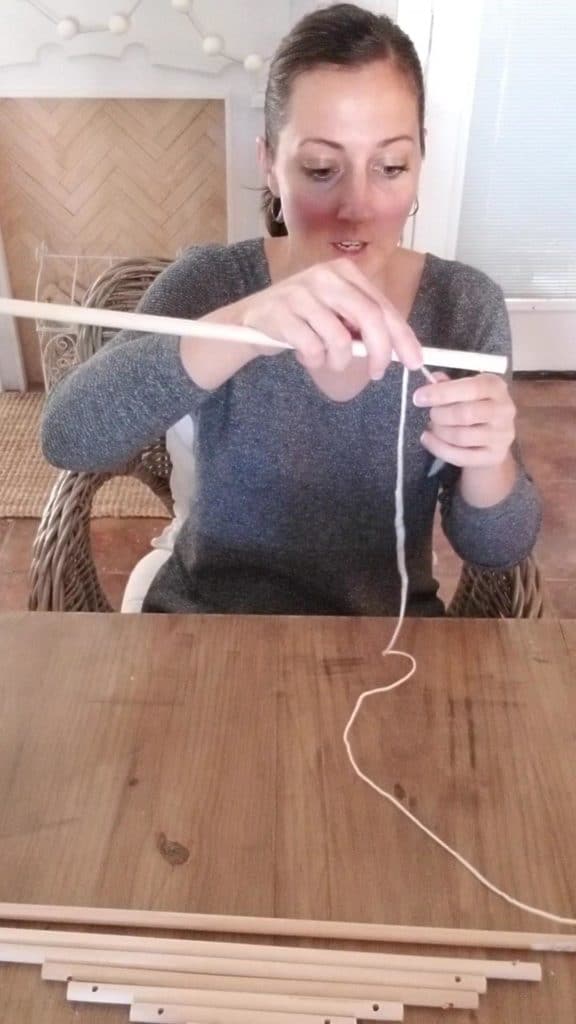
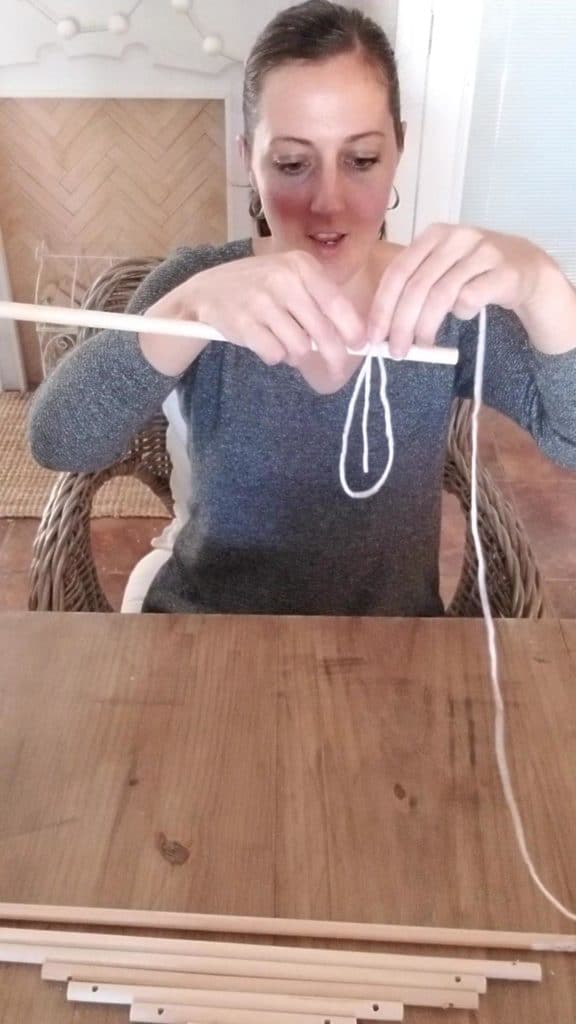
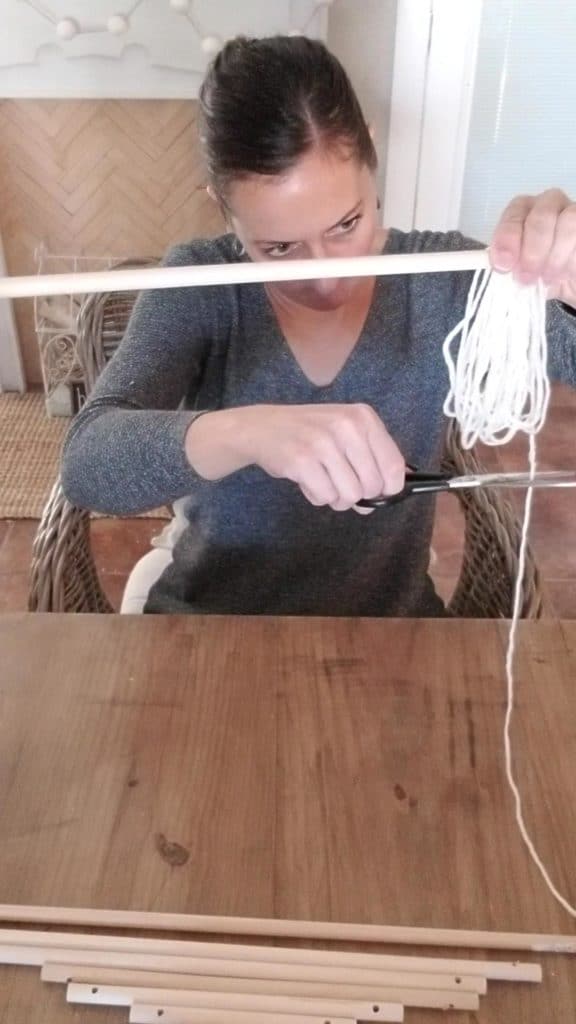
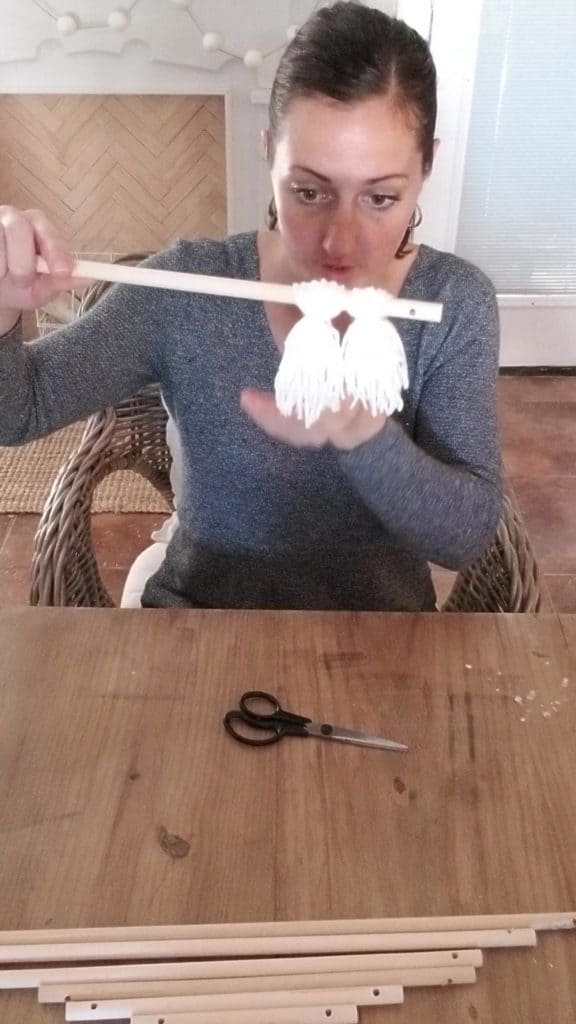
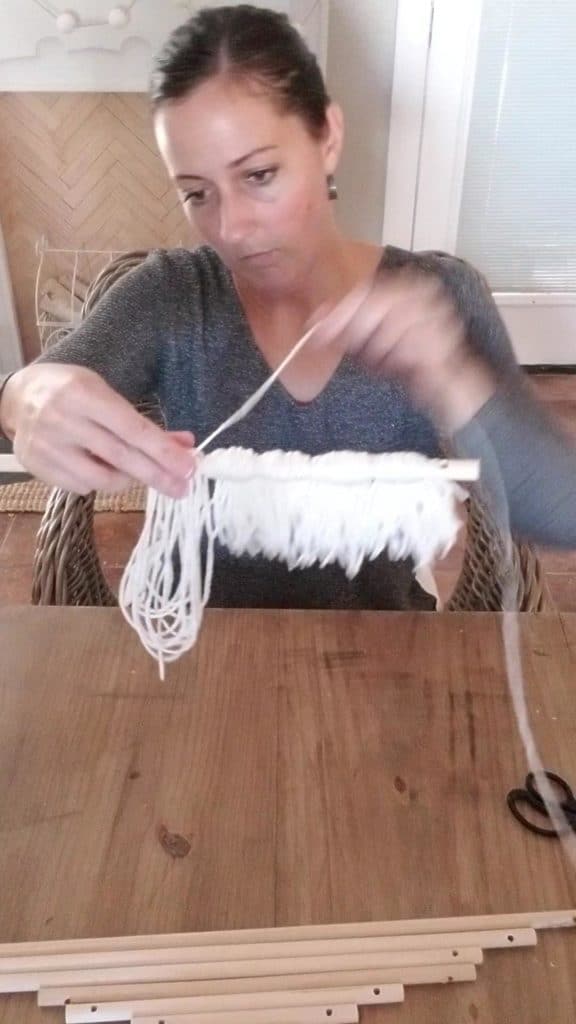
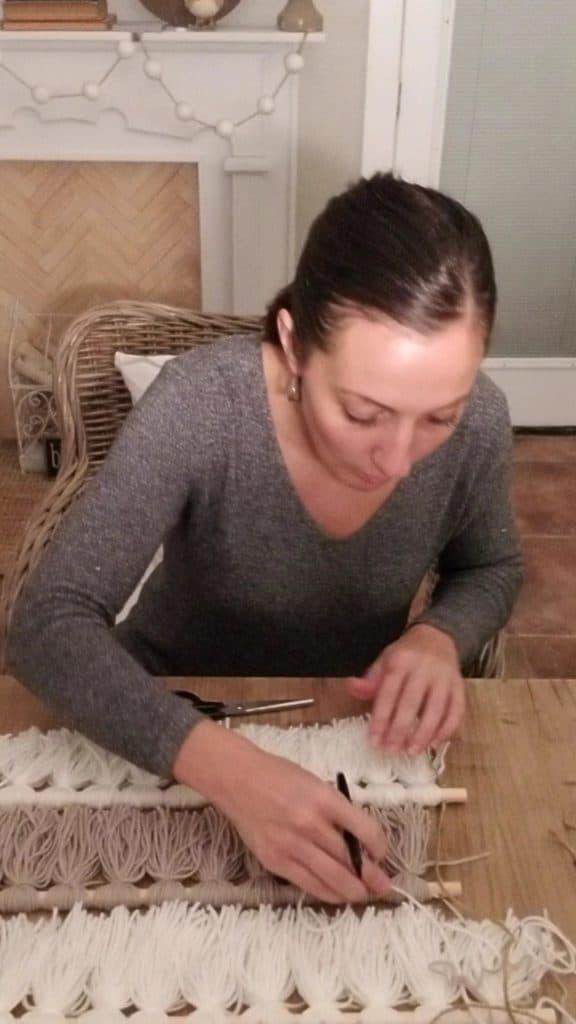
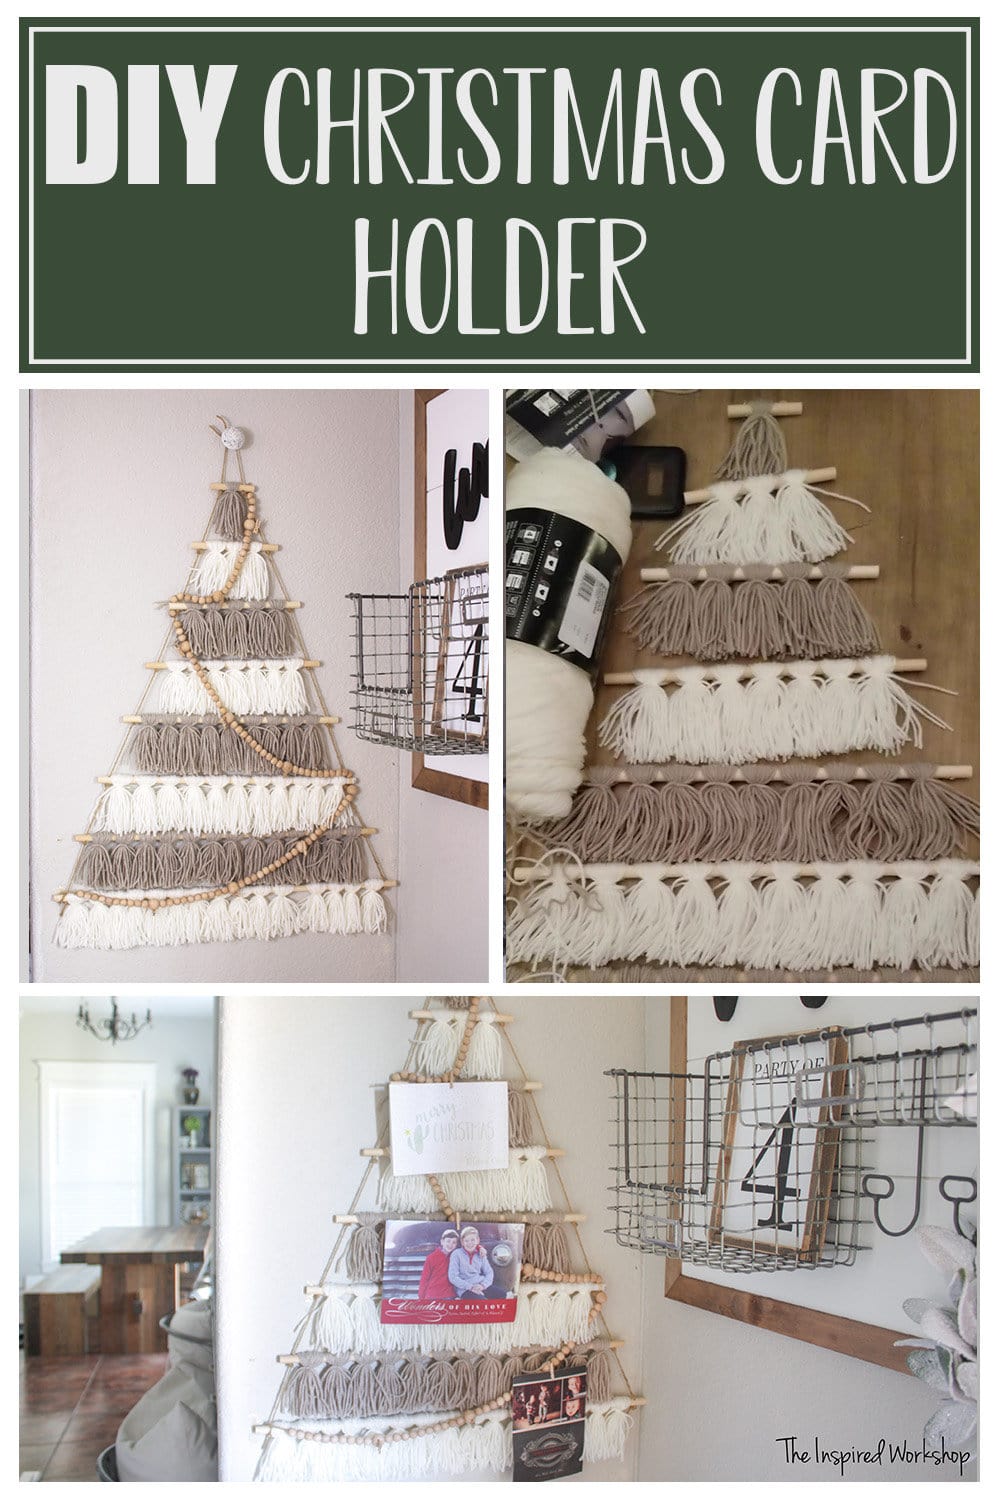
Now you can start making your tassels. I didn’t do any measuring of the yarn for the tassels, I simply left the yarn attached to the spool (is that even what it is called? Ball? Spool? Skein? I am not sure…I will just say spool and you just know what I mean, okay🤭).
I kept looping it over the dowel rod until it had 10 loops on each side and then left the single strand on the opposite side of where I started the single strand (see video if that doesn’t make sense) I then cut the yarn and cut another piece roughly 10″ or so long and tied the tassel! Trim the tassel to your desired length…mine measure about 3″ from the tie…but again, they were not measured, just roughly eyeballed based off the one next to it!
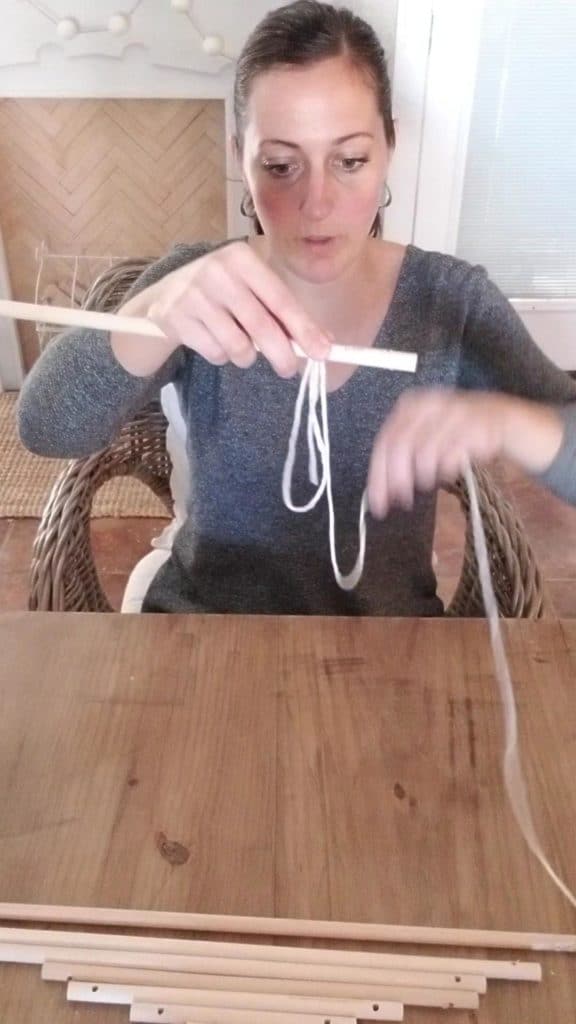
Keep going…10 times on each side I said!
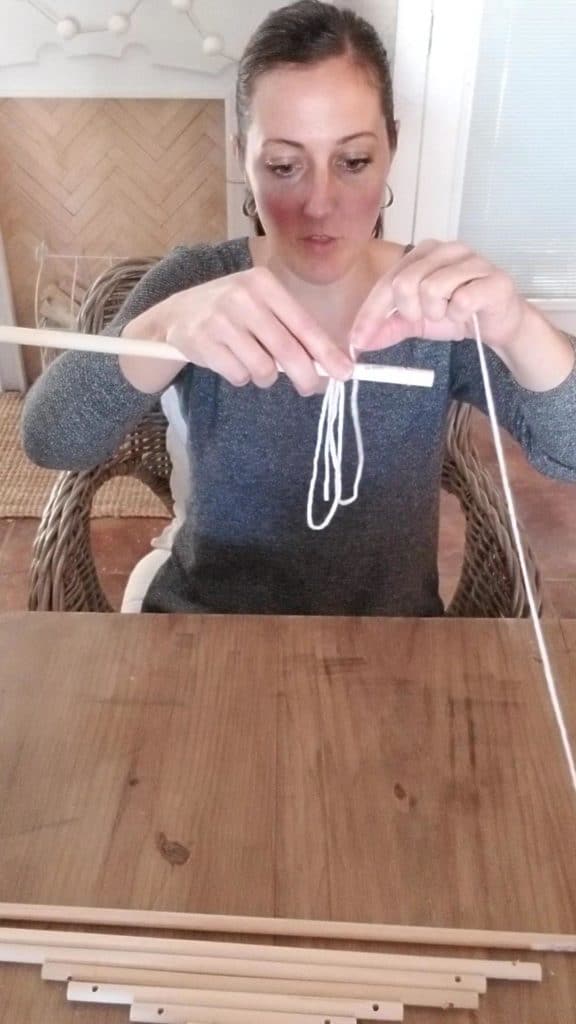
Tie it in a knot with the extra piece of yarn!
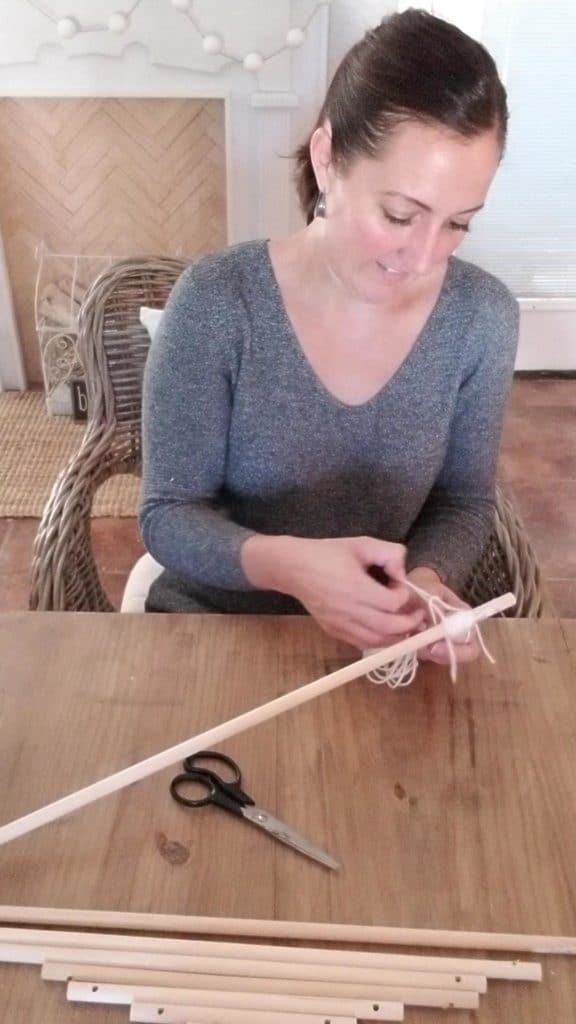
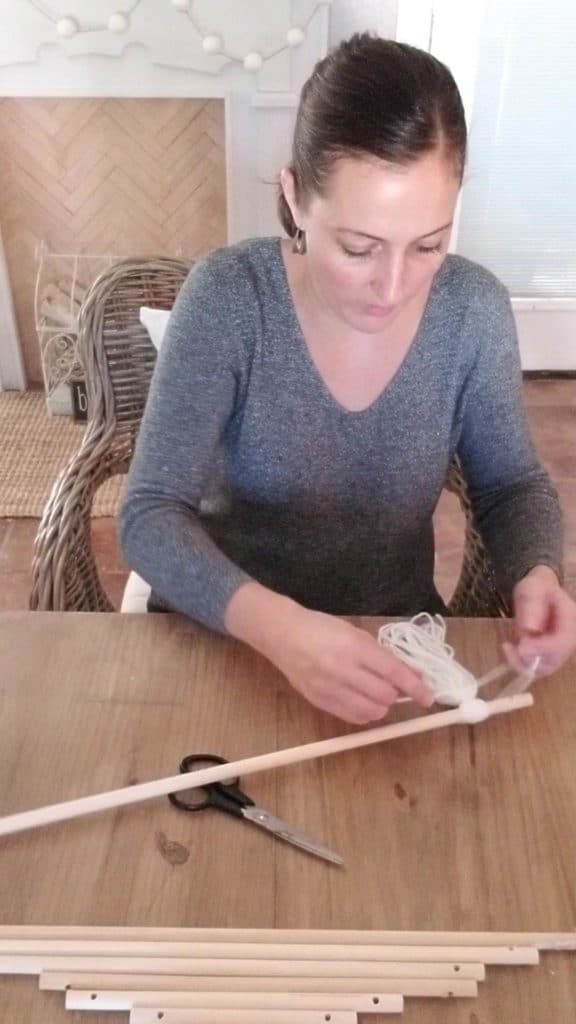
Cut the tassel!
Don’t mind my strange faces…the photos were exported from the video!🤣
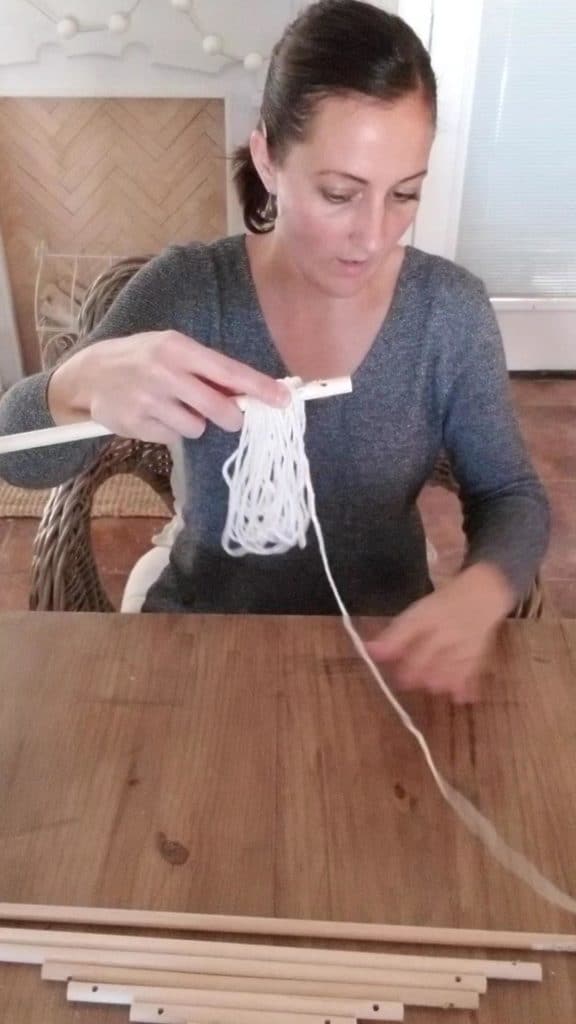
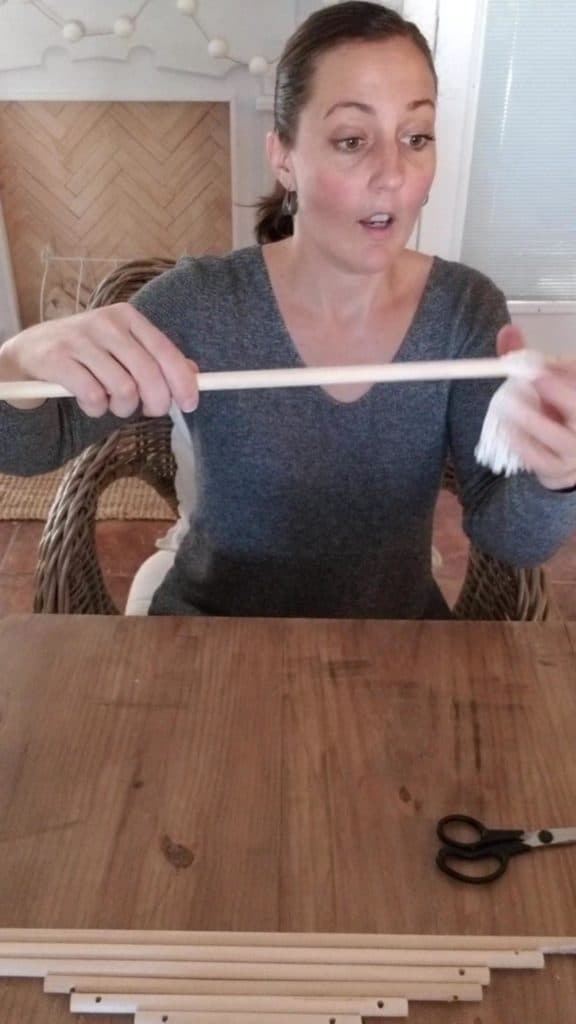
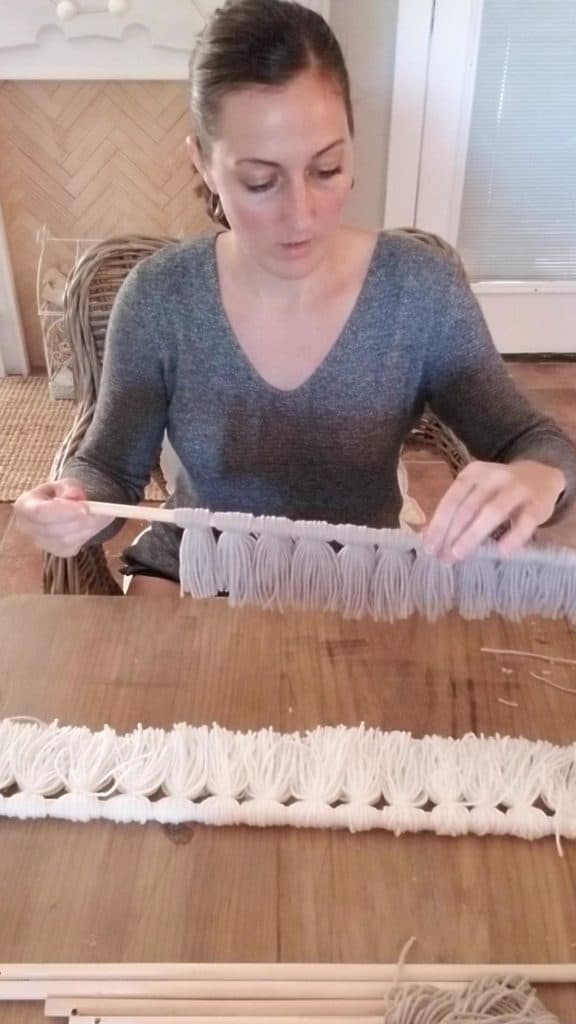
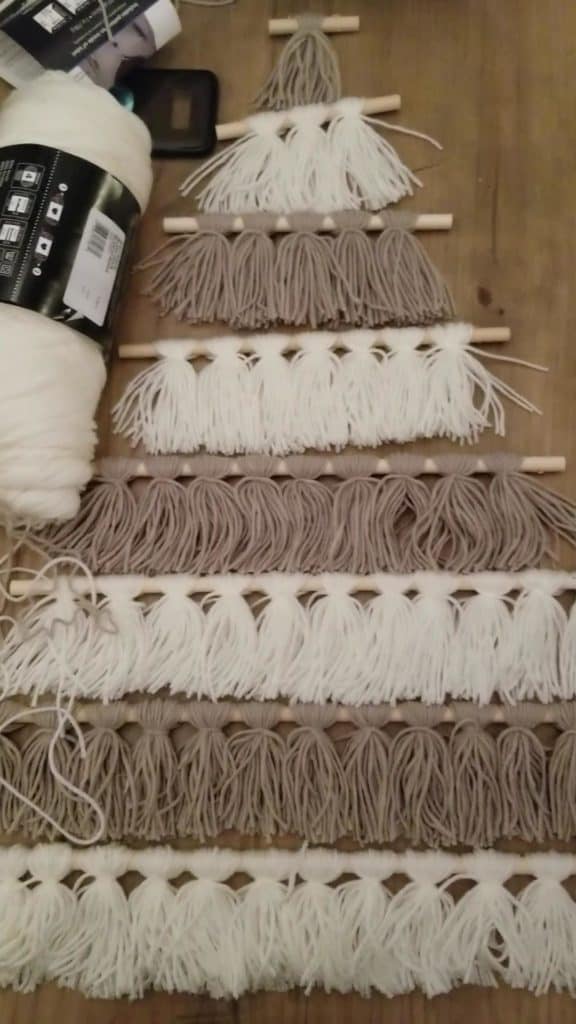
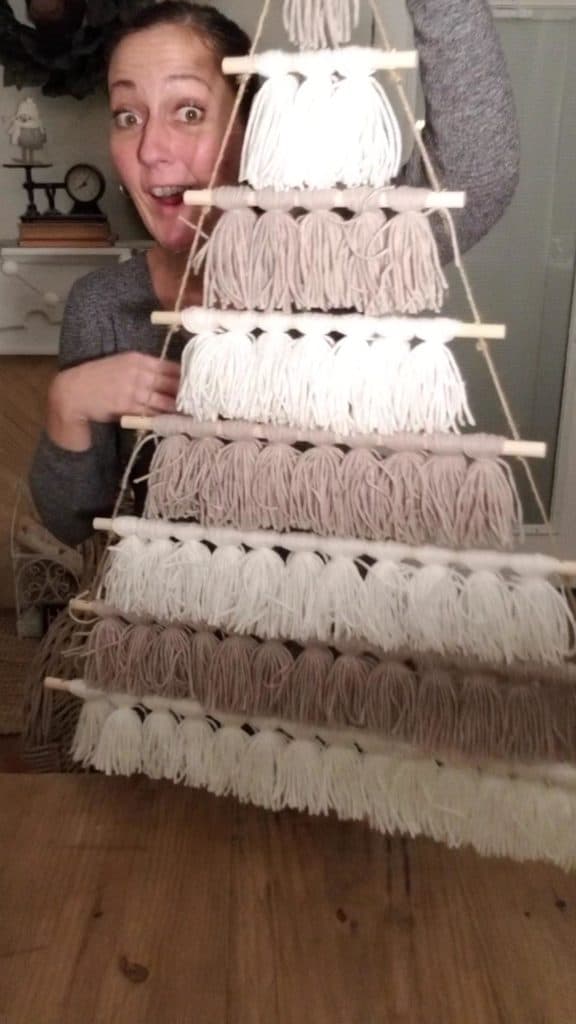
That’s pretty much it! You just repeat this over and over and over again until you fill up your dowel rods! There is 1 tassel on the first dowel that measured 3″, I did 3 tassels on the 5″ dowel, 5, 7, 9, and so on…adding 2 to each rod as they went up in size! So on the 24″ dowel rod, there were 15 tassels!
Assembling the Tassle Tree for the Christmas Card Holder
After all your beautiful tassels are tied, now you have to tie all of the dowels together with the twine! I cut two separate pieces of twine and started from the bottom and went up. I tied them together at the top once they were all knotted where they needed to be.
Starting at the largest dowel rod (the bottom of the tree) tie knots at one end of each piece of twine and thread the twine through the holes in the dowel rod. I did both ends of the dowel at the same time before moving on to the next dowel.
Now you will need to somewhat measure here to make sure you don’t have 5 inches between one dowel and 2 between another! Lol! Mine was roughly 3 1/2″ from dowel to dowel. After measuring, I marked my twine where I needed the knot to be and tied it there. Sometimes you may have to tie and untie it because it sits wrong…no worries, I had to do this a number of times!
Once you get the knot tied at the right place, feed the twine through the hole and repeat that process to get the next one properly tied. Once you make your way to the top, just tie the two strings together a couple of inches above the last dowel! Woohoo! The hard part is over! Now you just have to decide what amenities you would like your tree to have!
Making the DIY Bead Garland for the Tassel Tree
After completing the tassels on your tree, you can leave it as is…which is beautiful…or you can add a diy bead garland! Or if you are lucky enough to find one already made for cheap then you can use that instead! But of course, I couldn’t manage to find one, so I had to make mine!
I bought the beads while they were 30% off at Hobby Lobby. I used 5 bags of the 1/2″ and 2 bags of the 3/4″ beads. So all in all the beads cost me $9.75 and the twine I already had, but it was only like $3.99 for a really large spool when I bought it!
Using twine on the beads is not the easiest since twine cannot be burned to make it stay together on the end. I used nail polish which worked pretty well for a while, but then I would have to still cut a fresh end. Make sure to leave plenty extra for this. I actually didn’t cut mine until after I was done, I left it attached to the spool so I could make sure I had enough!
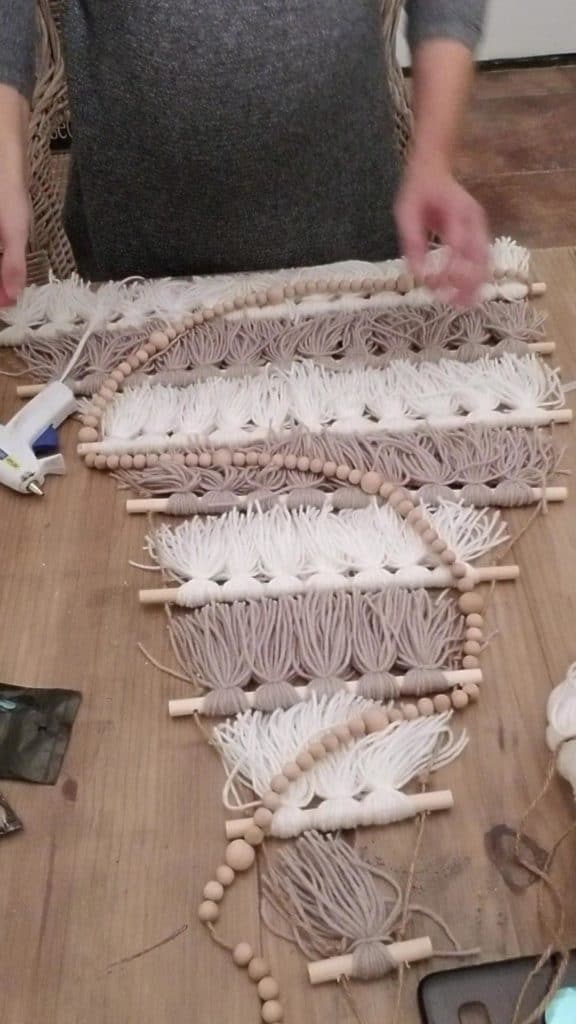
I started with (10) 1/2″ beads in a row, then added (1) 3/4″ bead and continued that pattern all the way down. You can definitely change the pattern and make it your own! I would LOVE to see it if you do!
Once I had enough beads on my garland, I tied a knot in one end and made a loop in the end so I could slide it onto the bottom dowel and see how I wanted to drape it. After messing with it for a while, I was able to find a way I liked it and then I just hot glued the twine to the back side of the dowel!
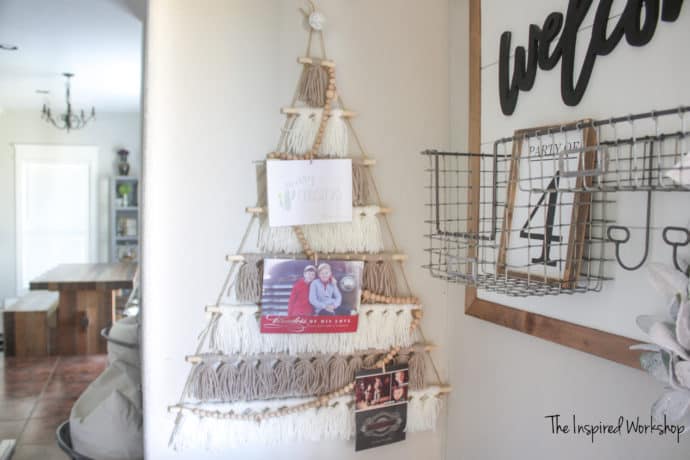
After completing the bead garland, I came back and added the tiny clothespins to the 3/4″ beads with a little hot glue! Viola! Just make sure that the clothespins are glued in the direction you want your card to hang!
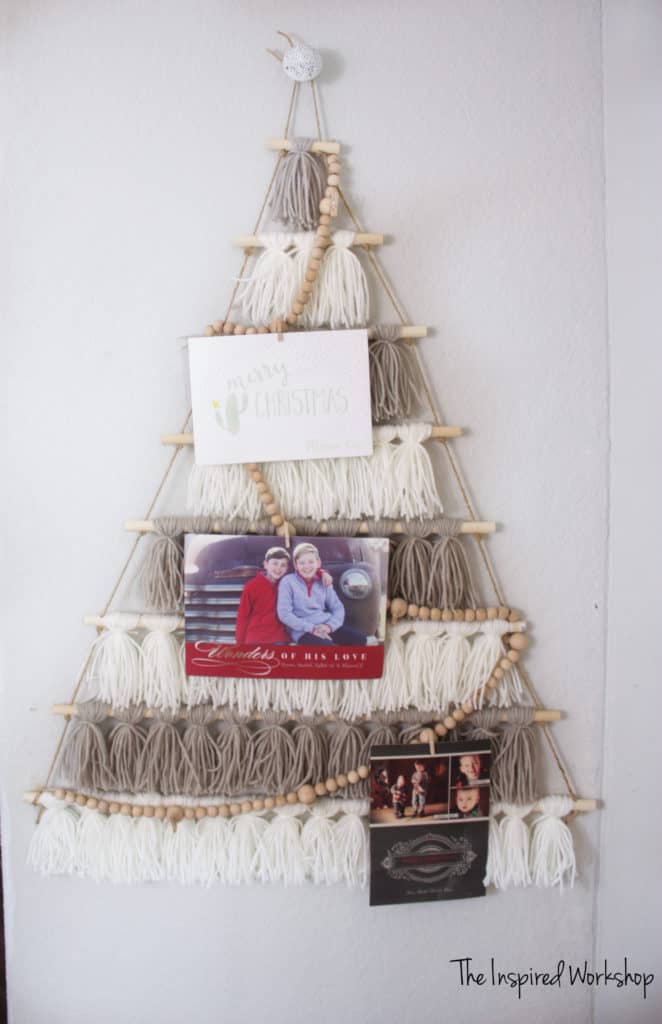
Add your holiday cards to make it even more beautiful!
How do you display your holiday cards? Tell me in the comments below!
Thanks for stopping by!

Want to save this DIY Christmas Card Holder project for later? Be sure and pin it!
2 Comments