How to Make a Shadow Box for Christmas
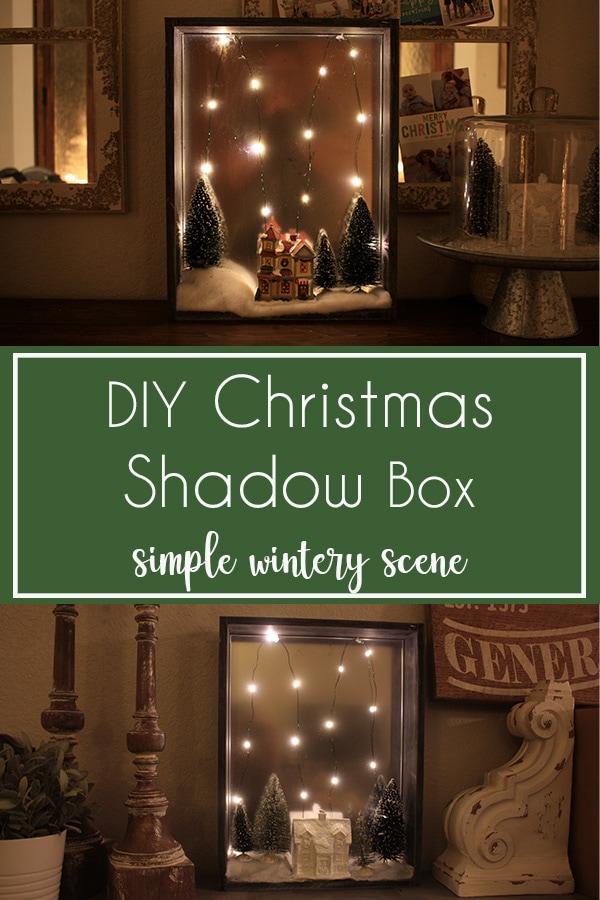
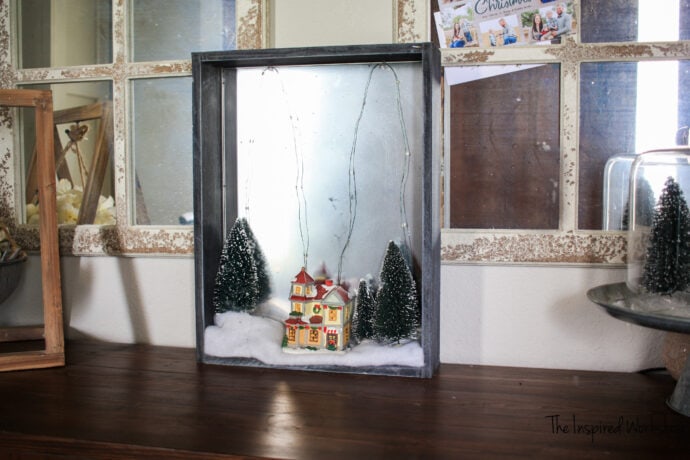
There is something so classic and nostalgic about a Christmas shadow box! This one is so easy to throw together and can be hung on the wall or set on a table! You can make this Christmas shadow box in a few minutes and display it for years to come!
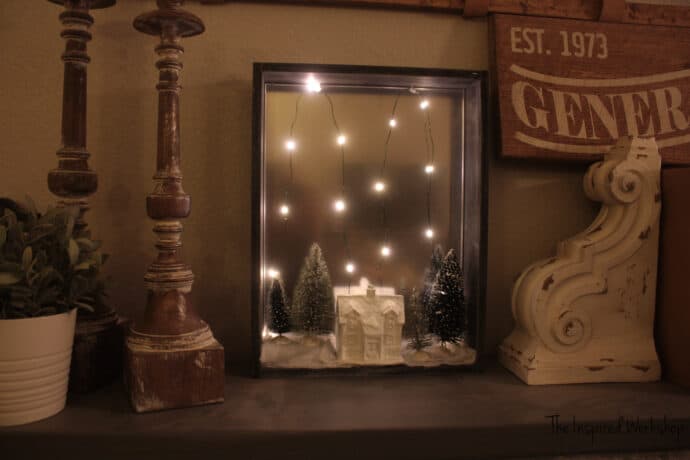
If you follow me on Instagram, YEARS ago I posted this DIY Christmas shadow box that I made after seeing some in a few high-end stores! As I was pulling out all my Christmas decor this year, I realized I never showed y’all how to make a shadow box like this Christmas one!
It was one of the easiest Christmas projects I have made and yet I still use it year after year, so I figured I would share just in case you want to make one too!
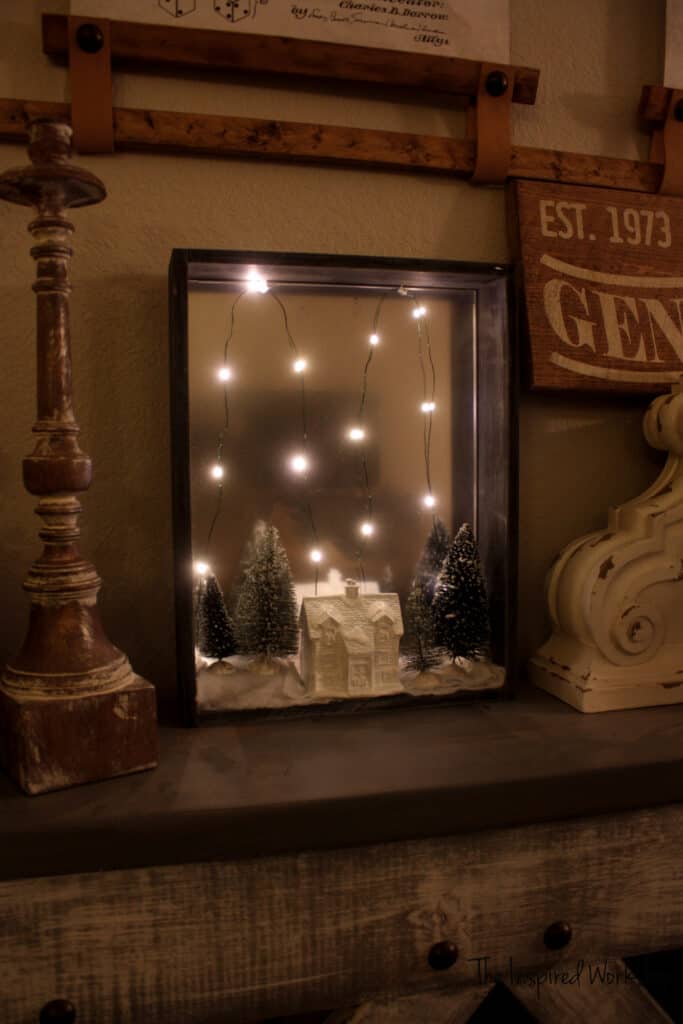
How cute is that?! 😍
This adorable Christmas shadow box is so cheap to make! I whipped it up in a few minutes, maybe an hour when counting the time to let the paint dry! Lol! It would be fun to make four or five of them to make a walled village to save tabletop space!
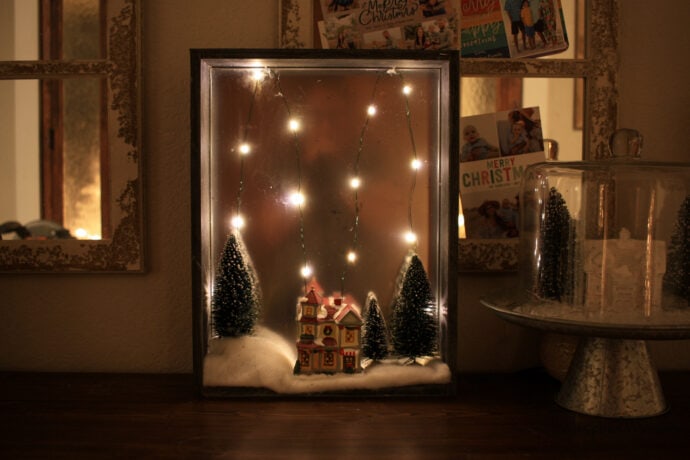
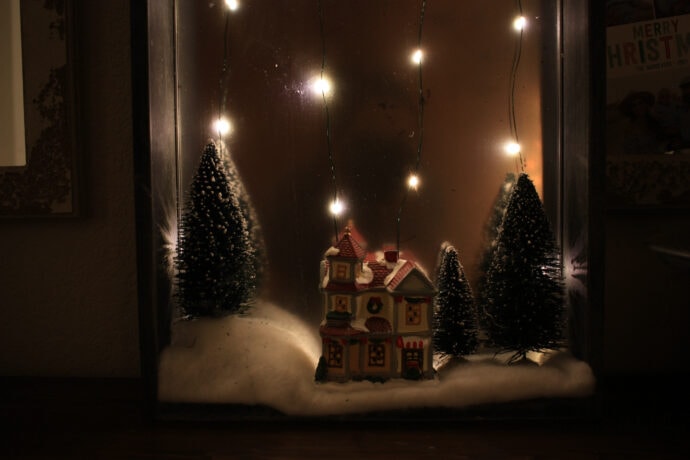
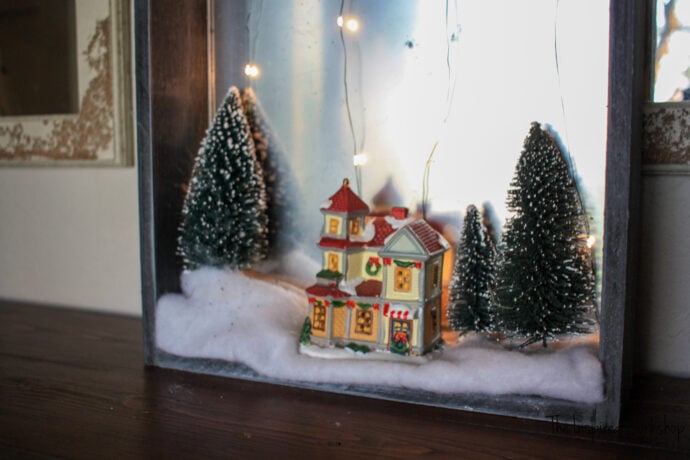
I have several inexpensive little houses, so I changed the house out to one I hadn’t painted! I love white, but the color is really cute too!🤩
Want to see how to make a shadow box of your own…there is still plenty of time before Christmas!
Do you enjoy Christmas crafts with the kids or girlfriends? I have so many great ones for you to check out if you are interested!
There are so many more if you search for Christmas crafts too!
Gathering the supplies to make a Christmas Shadow Box
***NOTE: Amazon Links in this post are AFFILIATE LINKS! Affiliate Links are links that once you click them and head to Amazon, if you make a purchase, I make a small commission off of that purchase at no extra cost to you! It’s a real win-win for the both of us! I can keep the awesome projects coming for FREE, and you get your Amazon goodies at the same price you always have!😉 I always appreciate your support when shopping through my links!
Let’s get started!
Materials for a DIY shadow box:
- 12×16 frameless picture frame
- silver metallic spray paint
- small village house – bought at Walmart but they don’t sell them online – in store should have them for $1 or you can get them at Dollar Tree, or Target usually
- 3 or 4 bottle brush trees
- fairy lights
- small piece of quilt batting or fake snow, whatever you may have on hand! Heck you can even use cotton balls if that’s all you have!
- 1 – 1/2″x4x4 project board
- 1 – 1/2″x4x2 project board
- brad nailer and 1″ brad nails
- super glue
CUT LIST for DIY Shadow Box:
- 2 – 1/2″ x 3 1/2″ x 17″
- 2 – 1/2″ x 3 1/2″ x 12″
Steps on How to Make a Shadow Box
Step 1
Take your picture frame and spray paint it with the metallic silver paint so it has a slightly reflective effect but is not so shiny it’s a mirror! Of course, I cannot find pictures of me spray painting mine so there’s that…I guess I should have posted this project when I made it! Lol!
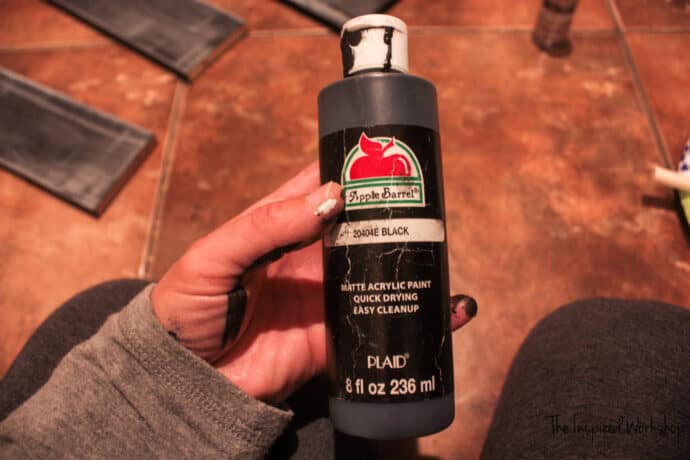
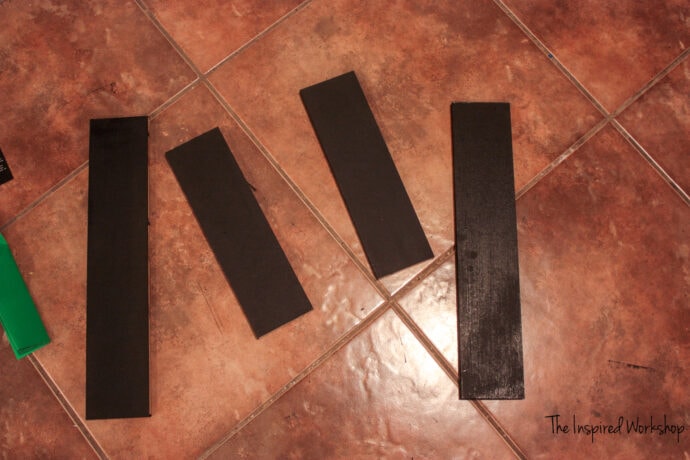
After the mirror is painted, cut your MDF or project boards down to size and paint them black! I just used regular old black acrylic paint! Make sure and paint both sides as they will both be visible!
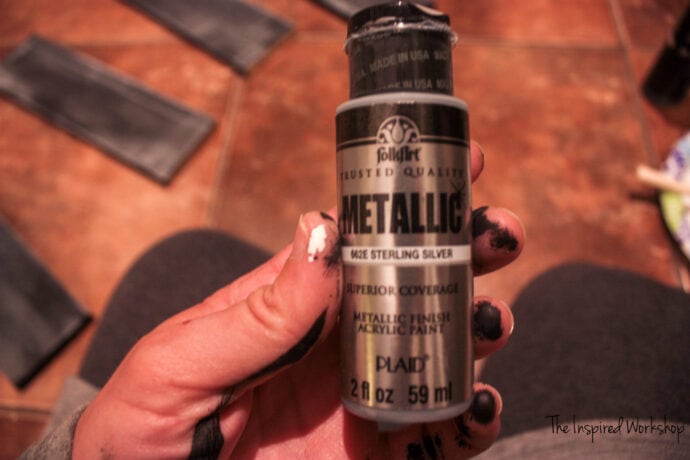
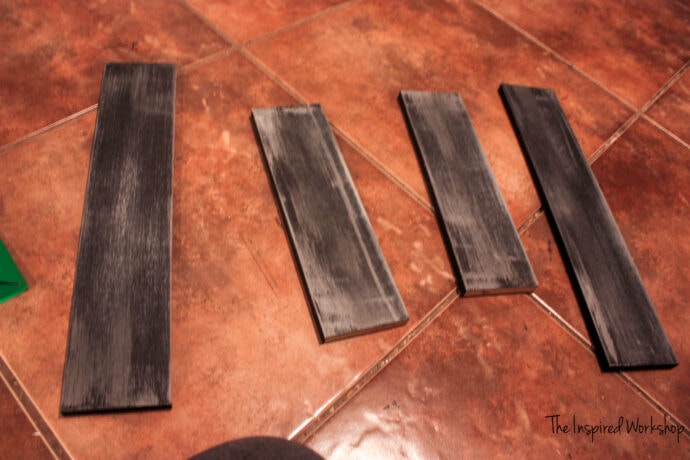
Next, I added swipes of silver over the black just to give it a little more of that wintery/ Christmas look! I used metallic silver acrylic paint. Again, paint both sides!
Step 2
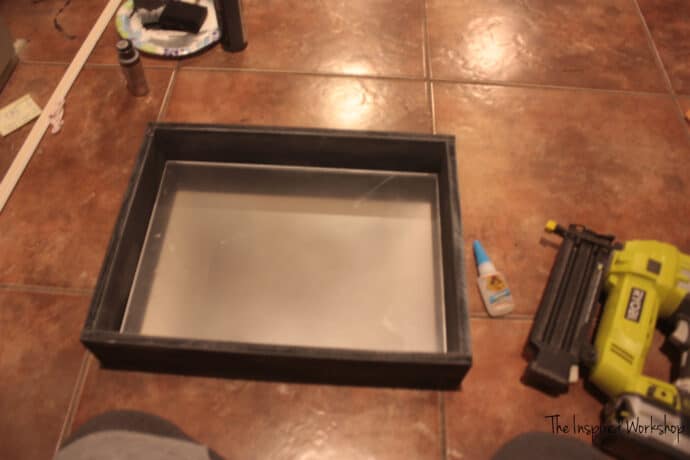
Build the shadow box!
Use super glue to attach the boards to the picture frame and each other, then brad nail the boards to each other!
Step 3
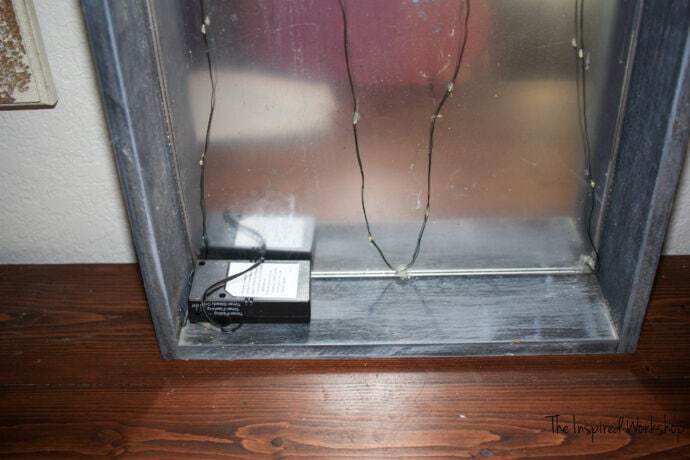
Add the battery operated fairy lights. Hot glue them on the bottom where you want to start them, and then hot glue them along the top, bottom, top, and bottom until you are back at the other side, you can go up and down as many times as you want or your lights have length for! Sorry, I really don’t have a photo showing this step, but you can see from the finished photos what I mean!
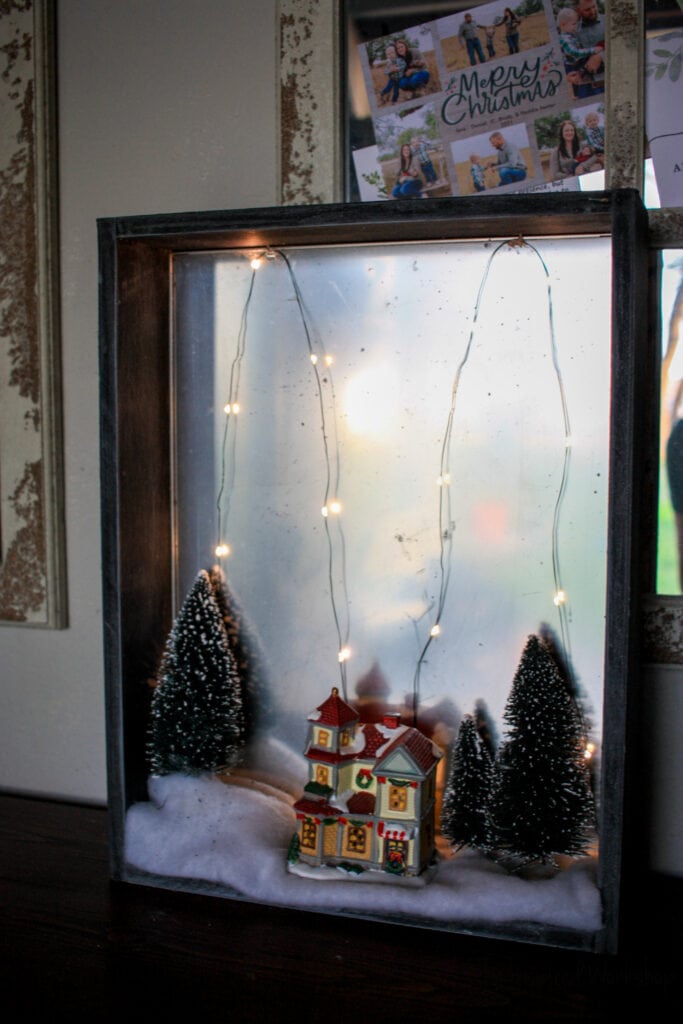
I love these lights, they have a timer on them, so once I turn them on in the evening when I set the shadow box out, they come on automatically every evening!
Leave the battery box at the bottom in the left corner, it will add a hill for your trees to sit on!
Step 4
Add the decorations!
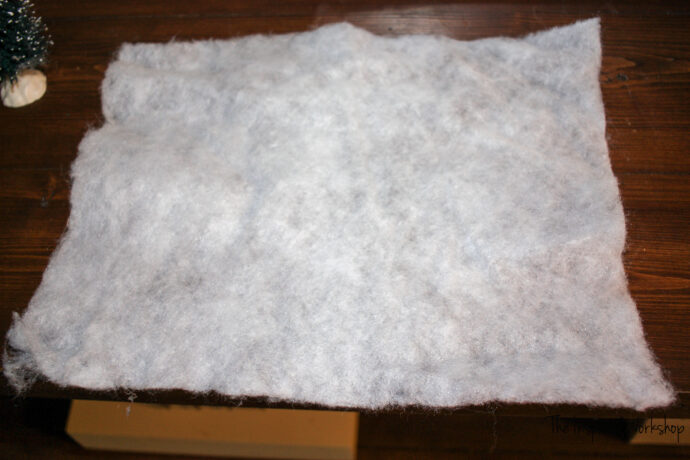
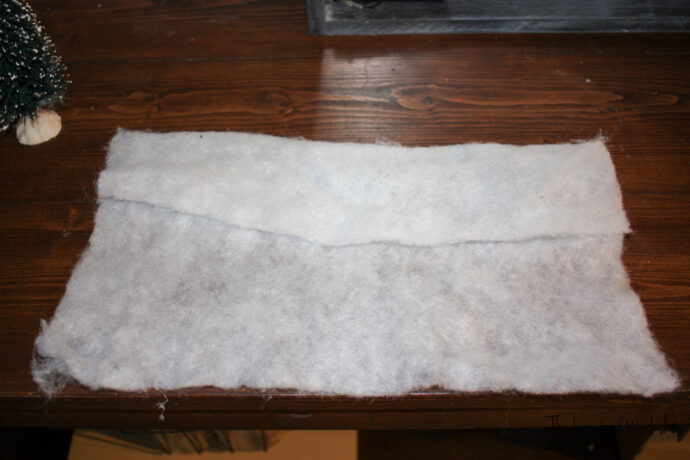
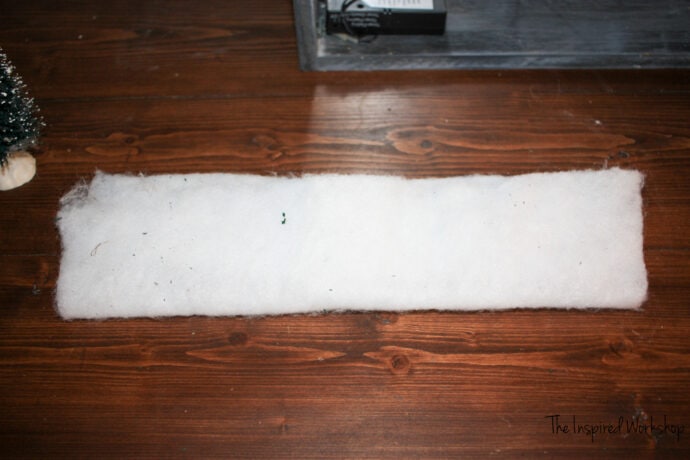
Lay down your quilt batting, I just used a small square and folded it in thirds, then laid it in place and tucked the corners a little! Then, just added decorations on top!
I used cheap ceramic houses and bottle brush trees, but you can use anything you want to decorate the shadow box with! You can make some fur trees like I made for ornaments and use them in there, make pipe cleaner trees, the ideas are endless…just have FUN with it!🤩
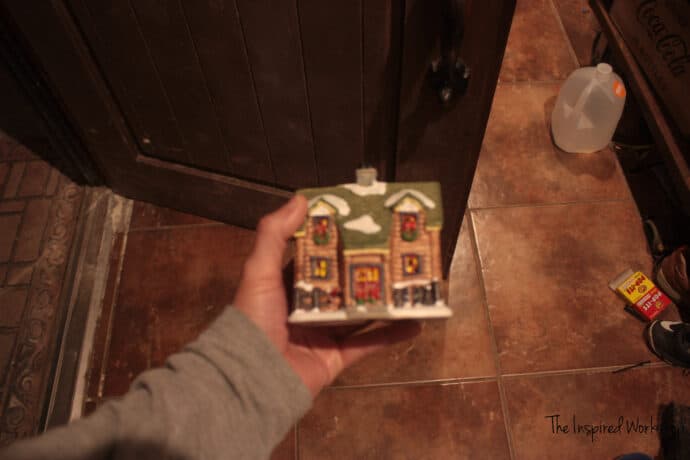
I spray painted this house white to use in my Christmas shadow box, but then I also rearranged it with the colored house as well! I loved it both ways!
Set them inside, and you are literally DONE! It was such an easy project but I can’t help but love to use it every year…and I am not like that with many things! Lol!
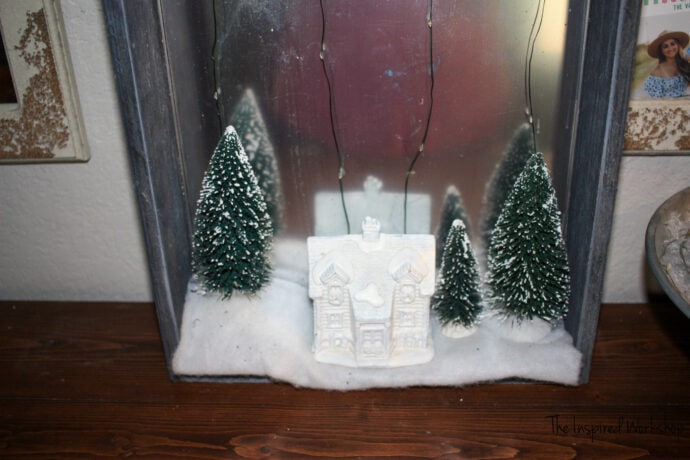
This is the perfect substitution when you don’t have the room for a full on Christmas Village! You can make a couple of these boxes to hang on the wall in both vertical and horizontal orientations and have the cutest little winter village!
Have you made any cool Christmas crafts this year…or even years ago? LOL! I would love to see them!
I hope you all are having the best holiday season enjoying family and friends!
Wishing you peace, love, and joy!

Know someone who would enjoy this Christmas craft as much as you? Share it with them!
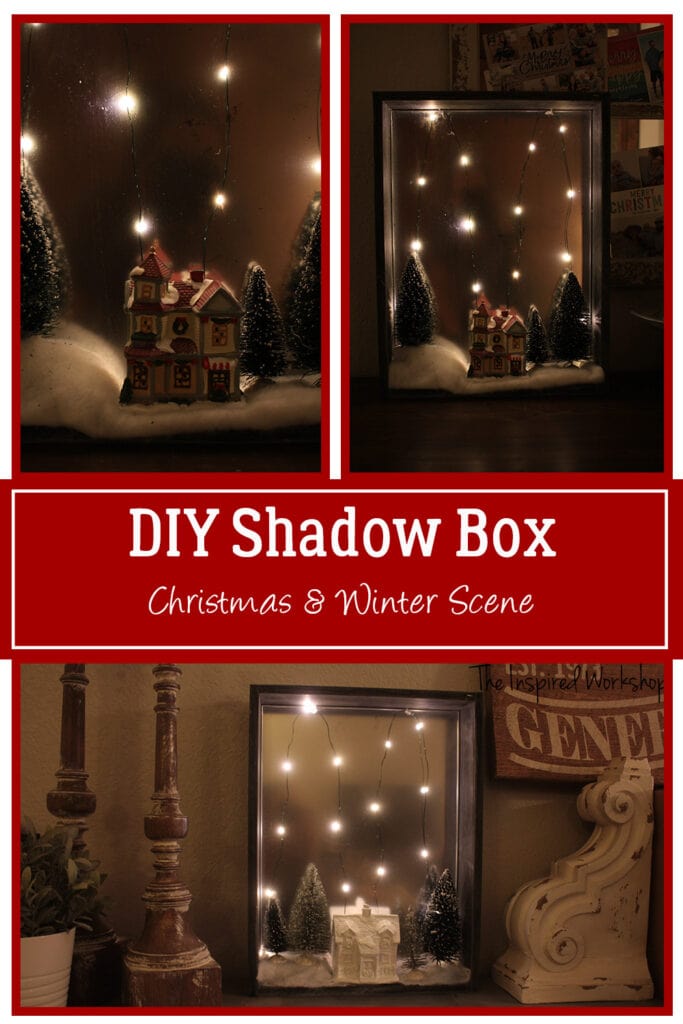
Want to save this post on how to make a shadow box for Christmas? PIN IT!
Related Posts
