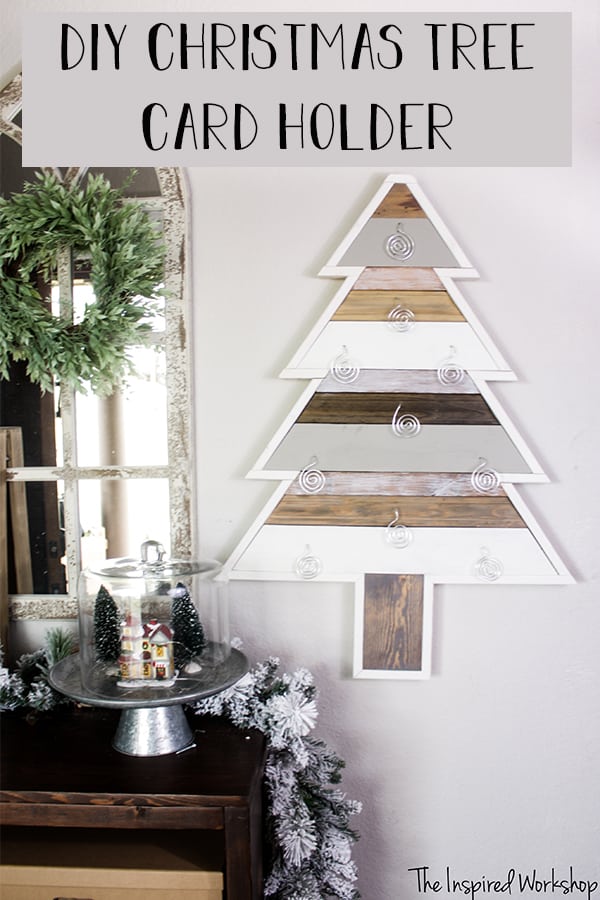
DIY Christmas Tree Card Holder

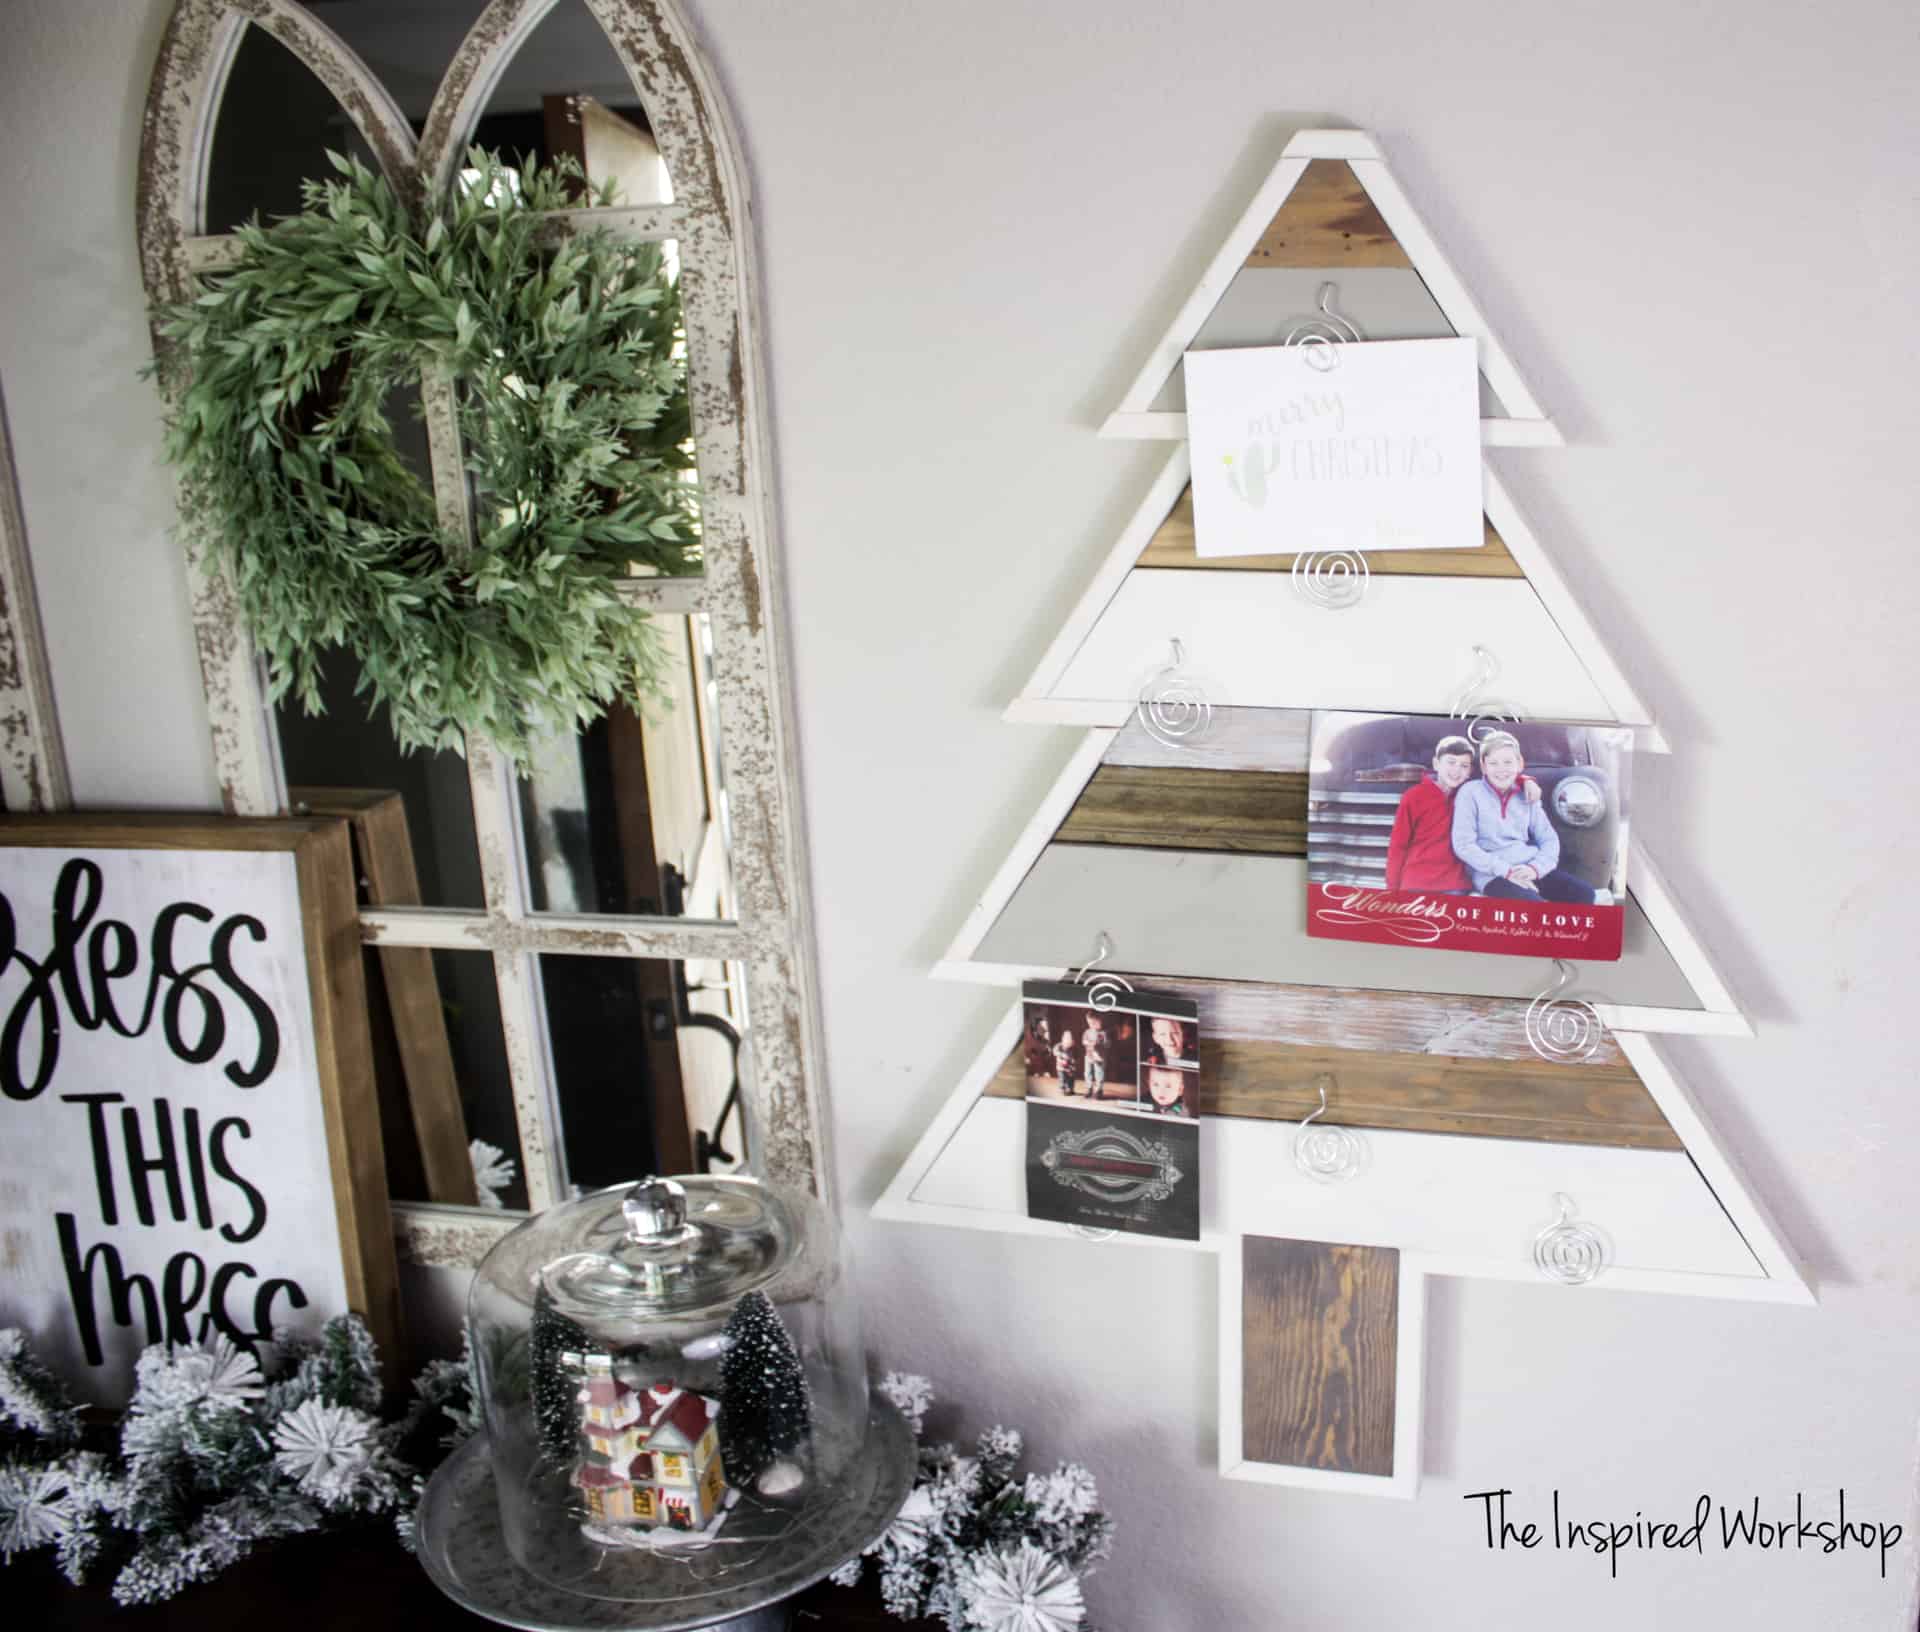
Christmas cards start rolling in around Thanksgiving and keep coming throughout the holiday season! Christmas cards are so pretty they need to be displayed for everyone to see! You can easily and stylishly display them with this DIY Christmas tree card holder which can be wall-mounted or made to stand on its own!
Okay, if you follow me on Instagram you are aware that I have teamed up with 11 other bloggers for 12 Days of a DIY Christmas! We are all teaming up to bring you 12 simple DIYs to make your holiday decorating perfect! Here is my addition to the 12 days. I bring to you a way to wrangle all your holiday cards by throwing together this little Christmas tree card holder!

See all the other bloggers’ projects at the links below!
I had day 3 and was trying to make a 3d Christmas tree card holder last weekend, and it did not turn out as I imagined it! Lol!! I posted it on Instagram and everyone was very polite about my not-so-great first attempt!! A very wise man told me on that post that a F.A.I.L. was just a First Attempt In Learning!!
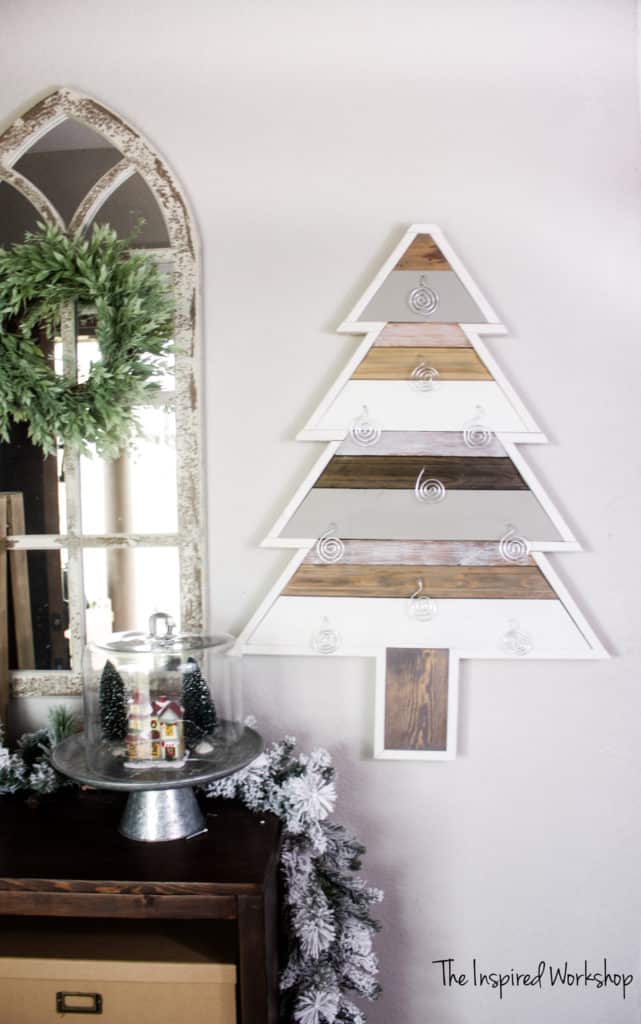
That was so great Scott and I thank you for sharing that brilliant statement with me! (If you would like to follow Scott and read his brilliant blog about all things woodworking and restoration on old homes check him out at The Craftsman Blog!) Anyway, so I went back to the drawing board and created a non-3d version and the pictures don’t even do it justice…it is so cute!!
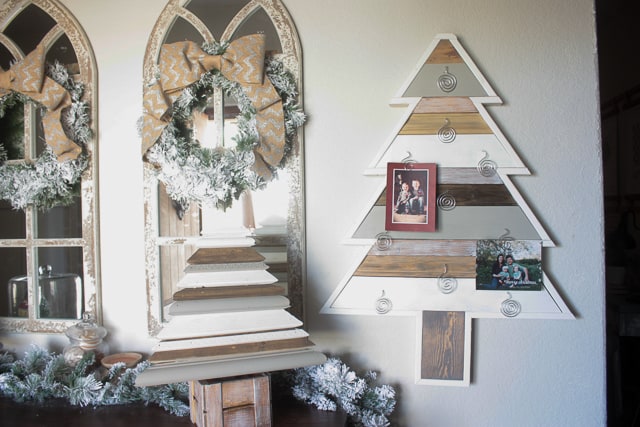
Cloudy day=bad pics errrry time!! But at least you can get the idea! I hung my Christmas tree card holder on the wall, but once I get the fireplace redone I plan on placing a 2×6 block in the bottom of it so it can be free-standing! Also, in this pic to the left is the 1st failed attempt at the card holder! It’s still kinda cute…but you definitely can’t hang any cards on it! Lol!!
I whipped up this cute little Christmas tree card holder in a few minutes with only scrap pieces I already had in my garage… but was in quite a hurry since my first attempt didn’t work out so well! So I didn’t take nearly as many pics of the process as I should have…I was almost done when I remembered! But it is pretty self-explanatory if you have the dimensions and angles!
If you are looking for something a little more modern, I made this adorable DIY Tassel Tree Card Holder that you may like more! They both are perfect in their own ways, and I use them both every year!
Here’s the list of the other projects from the 12 days of Christmas which you will certainly want to check out!!
- Day 1: Amy of Her Tool Belt shared this DIY Sleigh Rides Sign
- Day 2: Shara of Woodshop Diaries shared this DIY Christmas Lantern
- Day 3: This post you are reading! DIY Christmas Tree Card Holder
- Day 4: Kim from the Six Fix shared Santas and Trees From Scrap 2x4s
- Day 5: Anika from Anika’s DIY Life shared Simple Photo Frames
- Day 6: Vineta from The Handyman’s Daughter shared DIY Christmas Tree Yard Decoration
- Day 7: Cristina from The Painted Key shared Rustic Moose Advent Calendar
- Day 8: Mindi from My Love 2 Create shared Wooden Reindeer Puzzle
- Day 9:Hazel and Gold Designs shared DIY Decorative Ladder
- Day 10:The Created Home shared DIY Dining Table
- Day 11:Uncookie Cutter shared DIY Christmas Sign
- Day 12:Handmade with Ashley shared Christmas
Now back to this fancy DIY Christmas Tree card holder project!!
Materials:
- 3 – 1×2 furring strips
- 1 – 1x4x8
- 1 – 8 ft stick of door casing/molding
- 1 – scrap piece of 1×6
- 1 – roll of 12 gauge floral wire…this is what I used, but it is a little more flimsy than I would like but it is easily rolled into perfect lollipop circles and it does hold the cards just fine! But I did just find galvanized steel picture hanging wire that I think may work better…but getting it into the lollipops is not that easy!! Lol!
- wood glue
- brad nailer and 1 1/4″ brad nails
- saw
- drill
Cut List:
Note: the cut list is in order starting from the bottom of the tree up to the top! That’s how I cut mine as I went because the bottom of each piece will need to be the same length as the top of the last board until you start a new section…so you will probably have measurements that are slightly off from mine, and that’s okay!!
- 1 – 1×6 @ 7 1/4″
- 1 – 1×4 @ 24″ mitered at 35 degrees off square, ends not parallel
- 1 – piece of molding @ 19 1/4″ ends mitered at 35 degrees off square, ends not parallel
- 1 – 1×2 @ 16″ ends mitered at 35 degrees off square, ends not parallel
- 1 – 1×4 @ 19 1/2″ ends mitered at 35 degrees off square, ends not parallel
- 1 – piece of molding @ 14 3/4″ ends mitered at 35 degrees off square, ends not parallel
- 1 – 1×2 @ 11 7/8″ ends mitered at 35 degrees off square, ends not parallel
- 1 – 1×4 @ 14 1/2″ ends mitered at 35 degrees off square, ends not parallel
- 1 – piece of molding @ 9 1/2″ ends mitered at 35 degrees off square, ends not parallel
- 1 – 1×2 @ 6 7/8″ ends mitered at 35 degrees off square, ends not parallel
- 1 – 1×4 @ 9″ ends mitered at 35 degrees off square, ends not parallel
- 1 – 1×4 @ 4 1/8″
- 1 – 1×2 @ 34″ (strips for the back to hold all the pieces together)
- 2 – 1×2 @ 18″ (strips for the back to hold all the pieces together)
Building the DIY Christmas Tree Card Holder
Now, I am not going to give all the exact measurements on the 1×2 furring strips I used to frame the tree, simply because you will have to measure each piece of your tree…since my boards were scraps, they were not perfect and square…so the two sides of the tree were often different measurements since the wood was thinner and thicker in some areas!
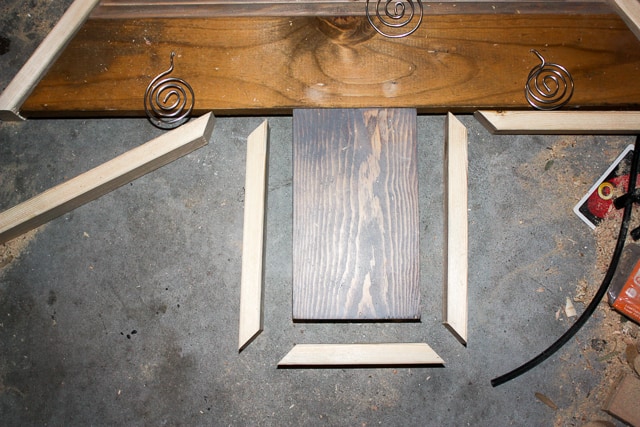
All 1×2 framing furring strips are beveled at 35 degrees off square…except for framing around the bottom 1×6…those will be 45 degree angles!
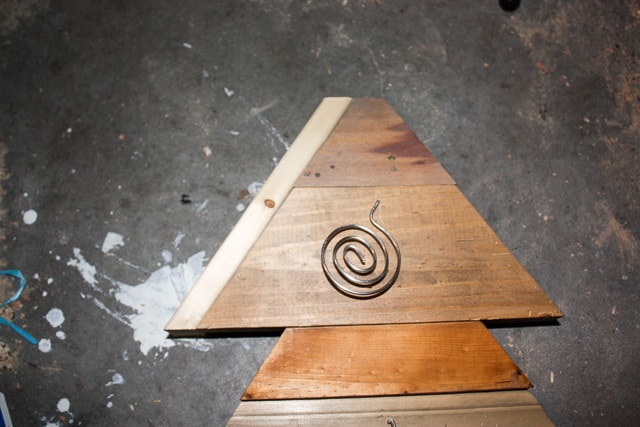
So basically, you will just use the 1×2 furring strips and run them along the back of all the boards, attach them with wood glue, and brad nailer! It’s about as easy as it gets! LoL! In this photo below, I have already drilled the holes and put the wire through so imagine that they aren’t there!
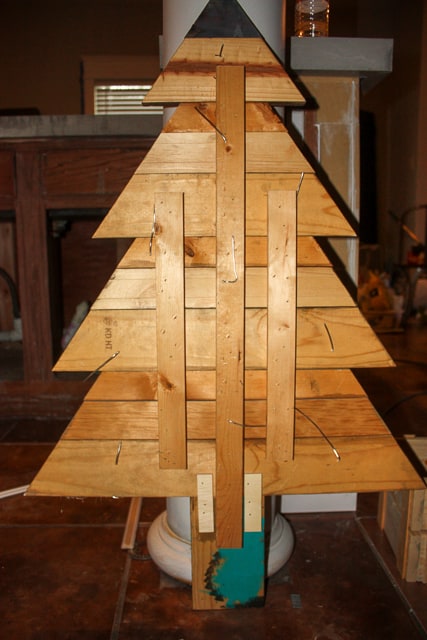
I placed those small scrap pieces where the 1×6 meets the tree just for extra support, I don’t know that they are really needed!
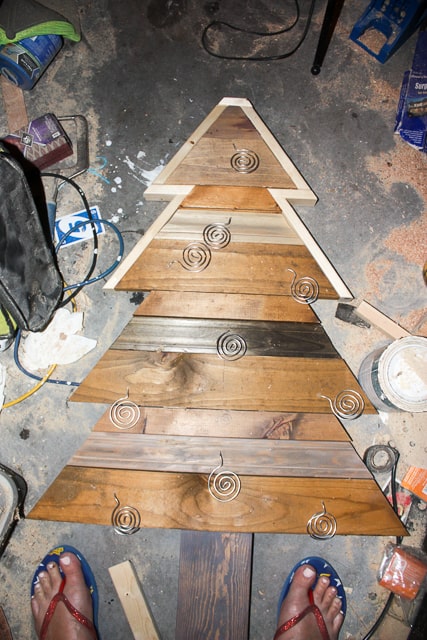
I thought I was done once I built the tree like this, but it seemed like it was missing something, a frame of course!
Adding Trim to the Christmas Card Holder
I cut the frame piece by piece and though it seems like it would be a long drawn out task…it took maybe an hour! I cut all of them and then painted them before I brad nailed them!

Once I had the frame stapled on…I used a D-ring to attach it to the wall! Boom!! So simple but so cute!

Now, back to the kitchen reno! I hope to give you all an update real soon!! UPDATE: Kitchen Renovation is DONE, I would love for you to come check it out! Kitchen Renovation Reveal
Happy Building!
Cara
Want to make sure to save this DIY Christmas Tree Card Holder for later? Pin it!
4 Comments