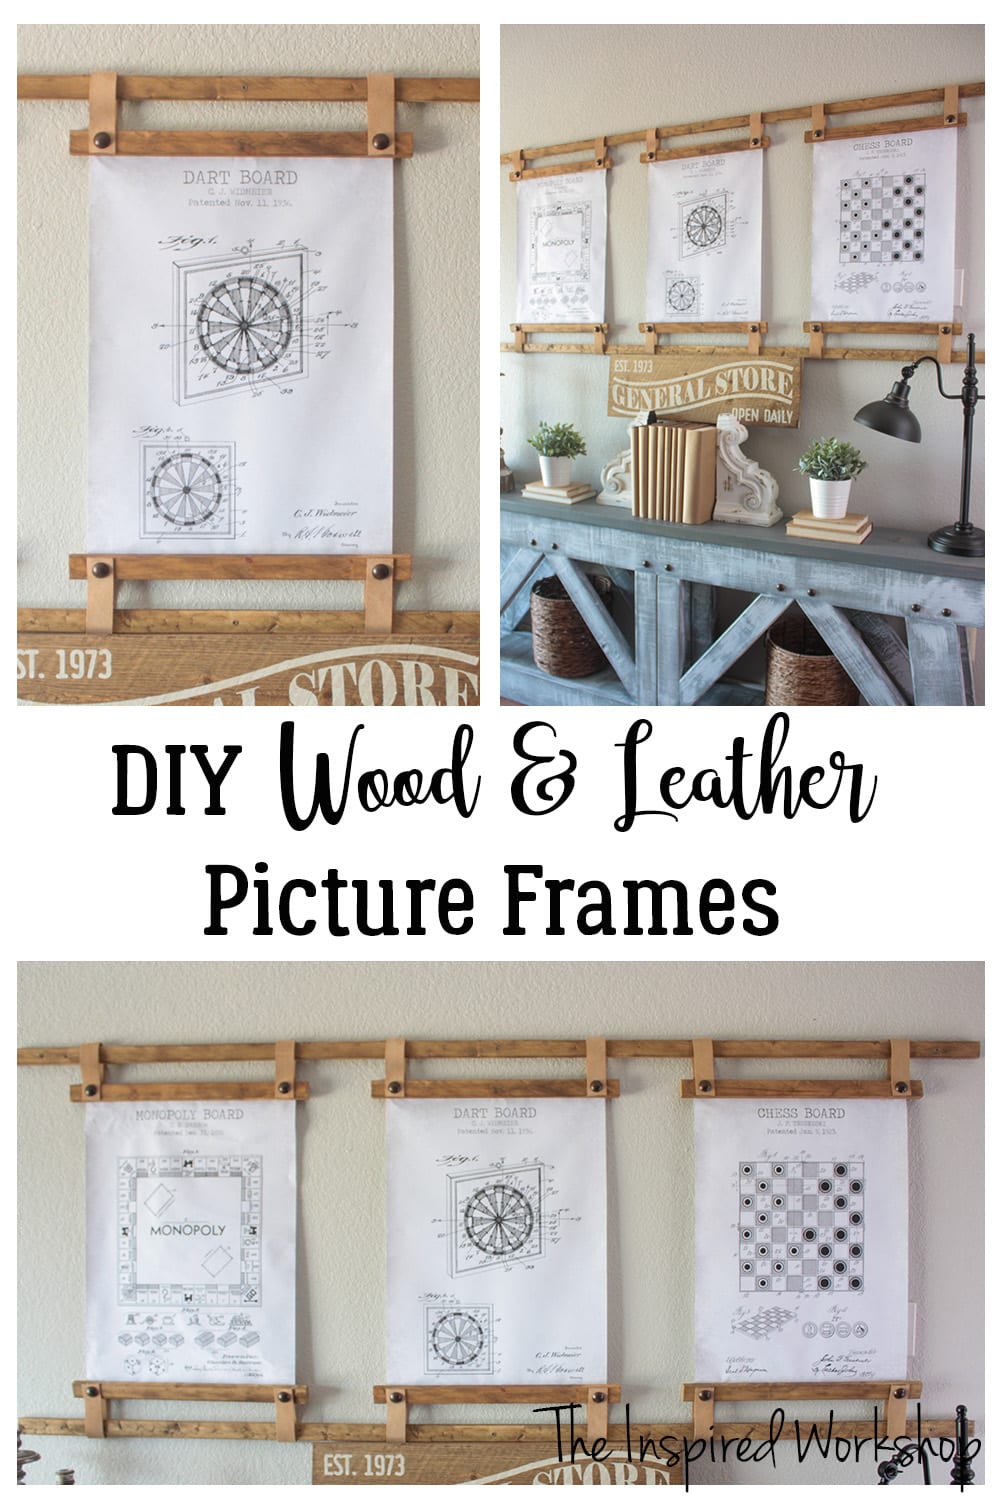
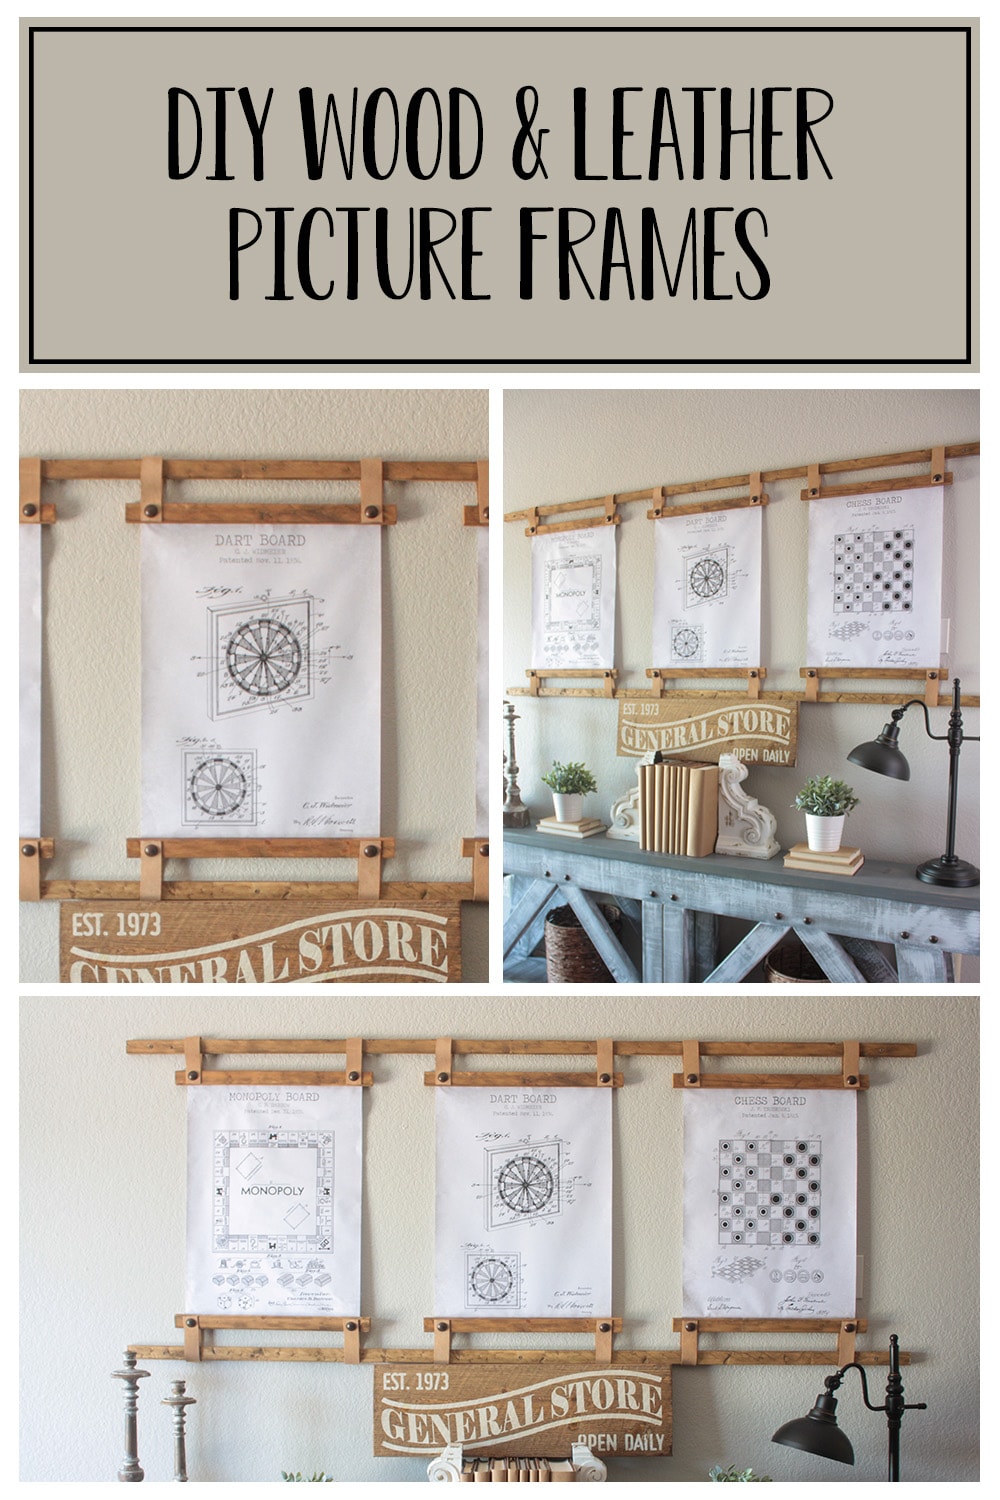
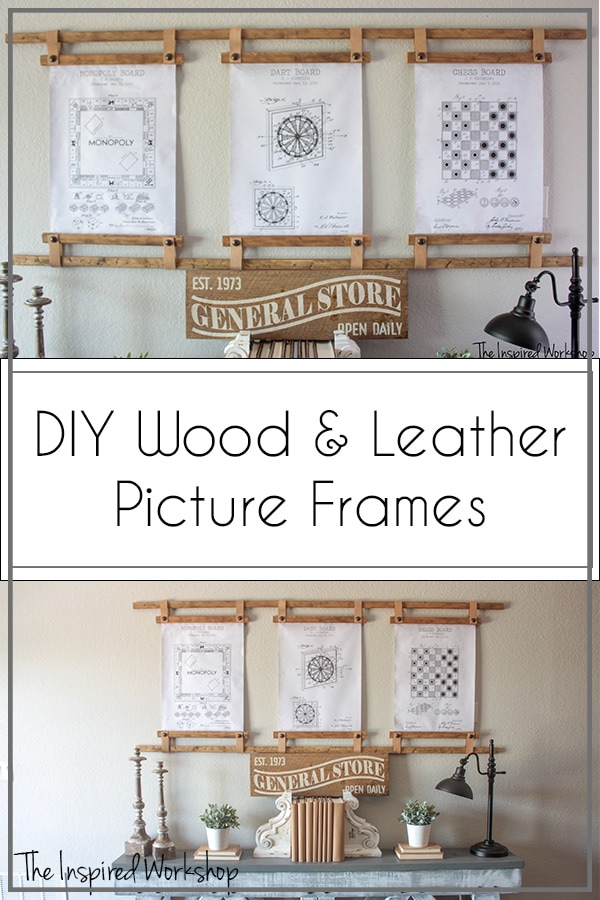
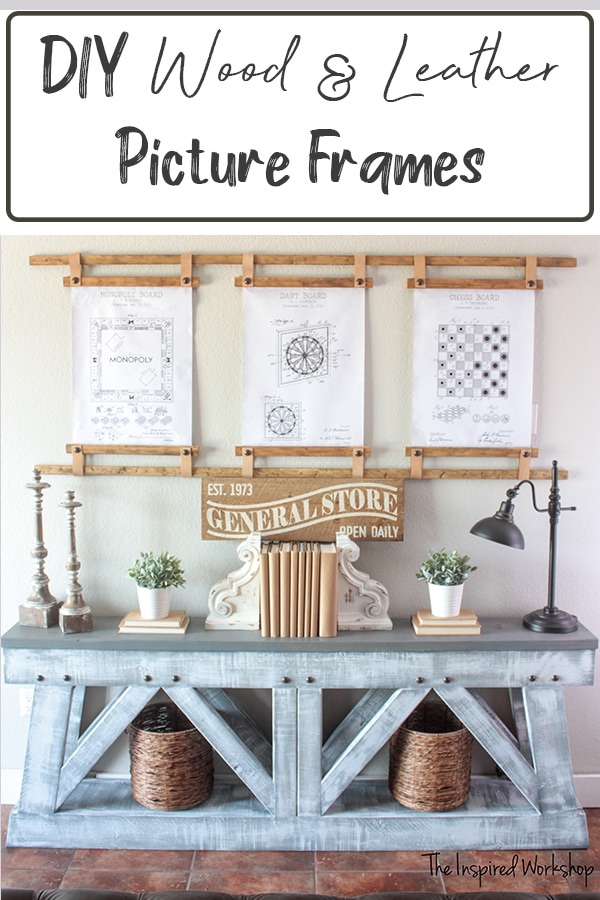
DIY Wood Picture Frames
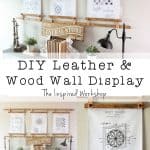
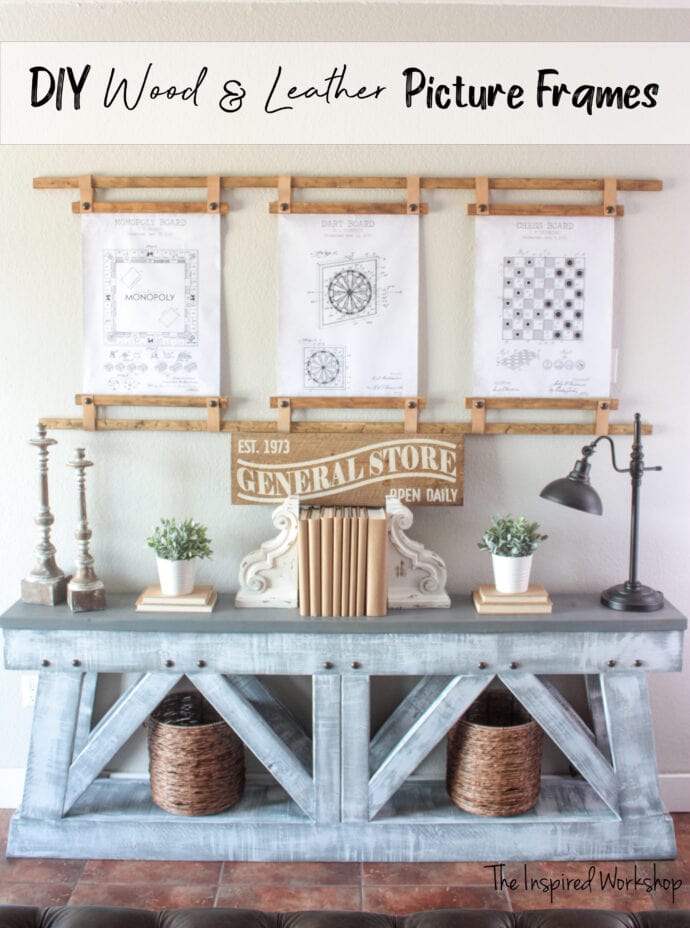
These DIY wood picture frames are not only beautiful but only cost around $40 for the whole set! A great way to display large artwork and turn a couple of pictures into a whole set of wall art to decorate a large wall! Cheap, easy, and unique picture frames that anyone can make!
It sounded so much better when I thought I spent around 25 bucks for all of it…but I forgot I bought the files to print for an additional 17.00!! Lol!! But still one 18 x 24 picture would have run me about that, and I have three plus some leather and wood for that price!! Plus if you have your own pics, you can print your own and only spend a little around $25!!!
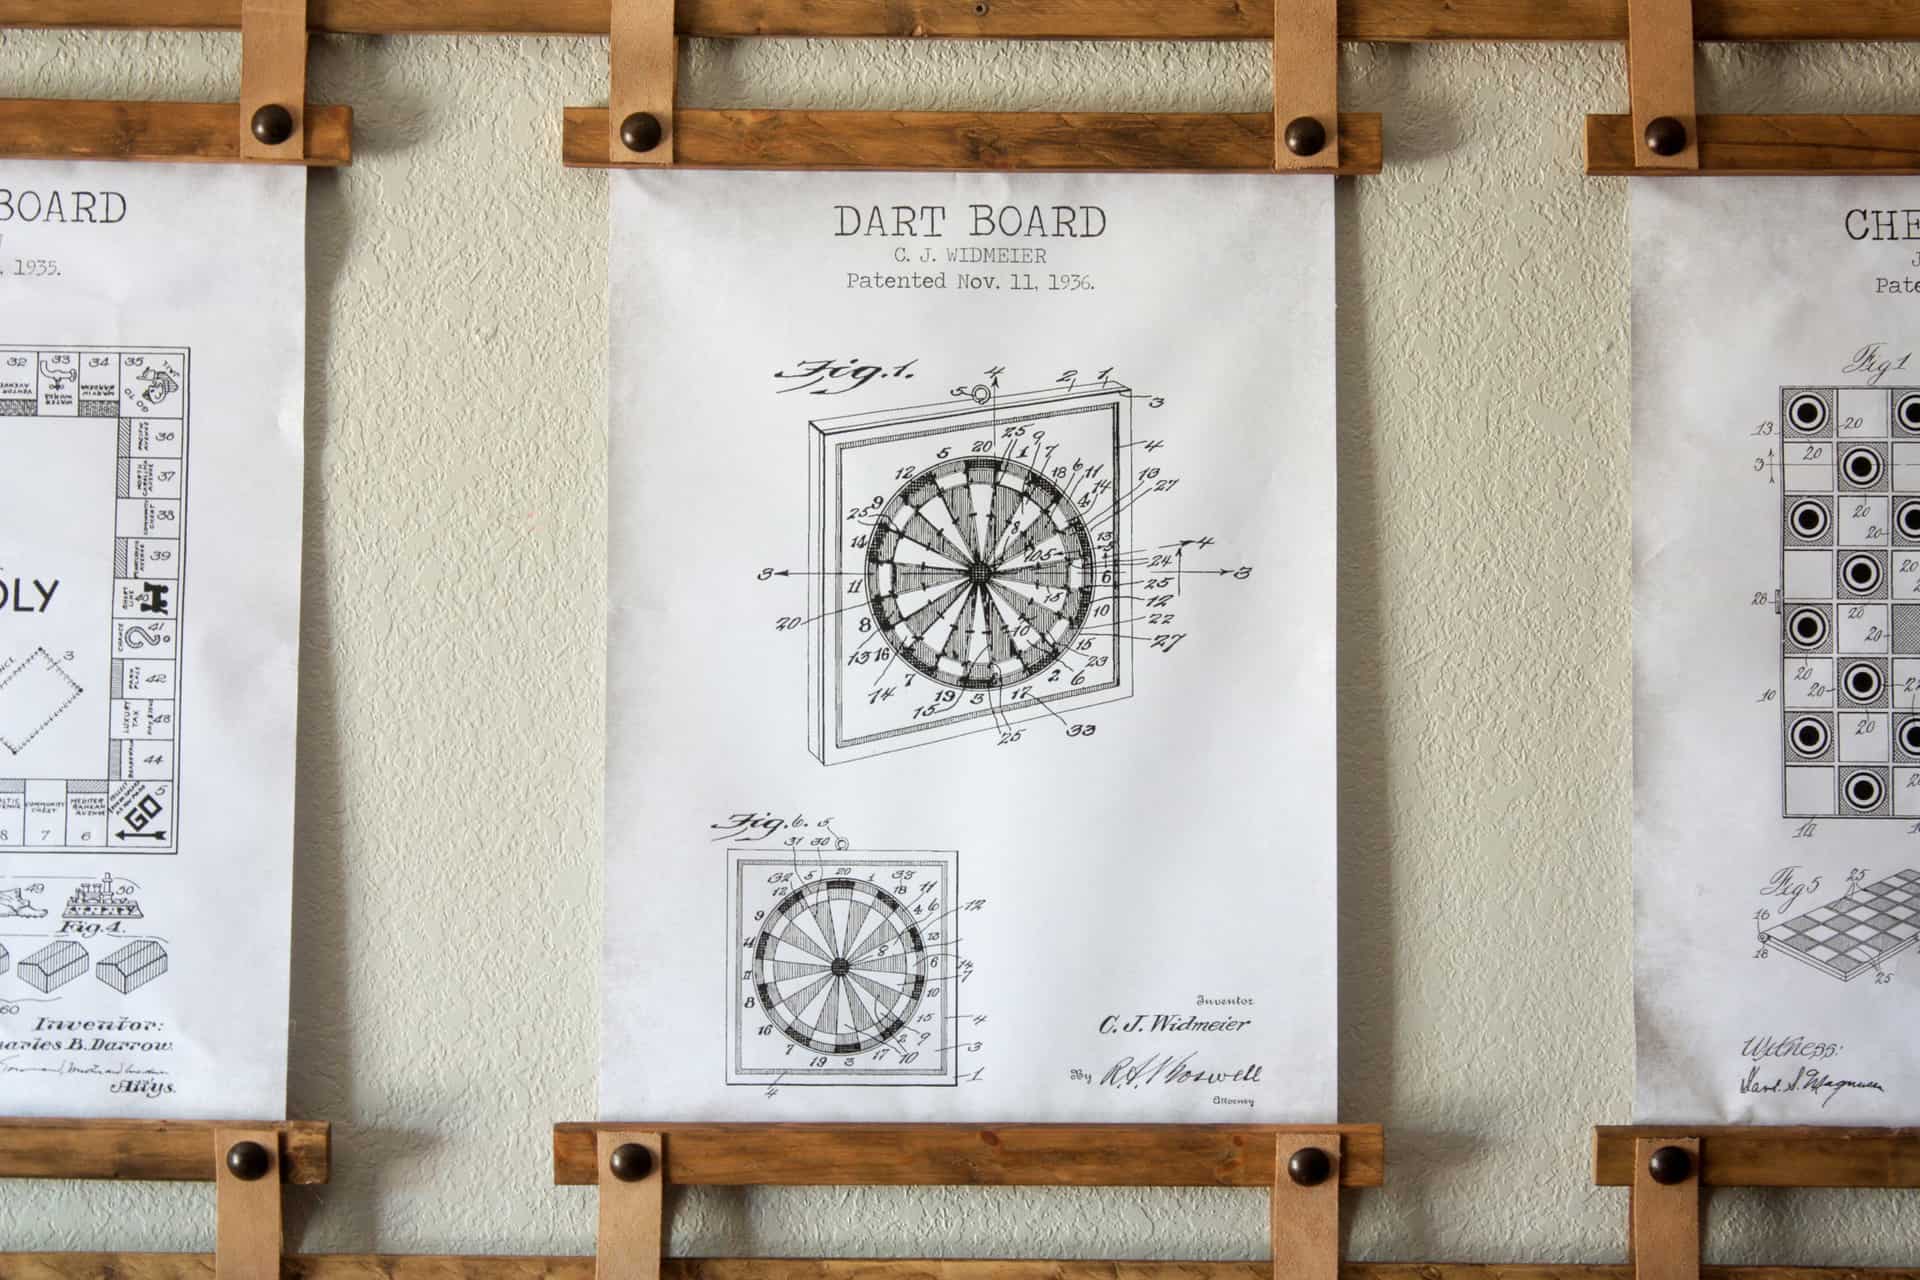
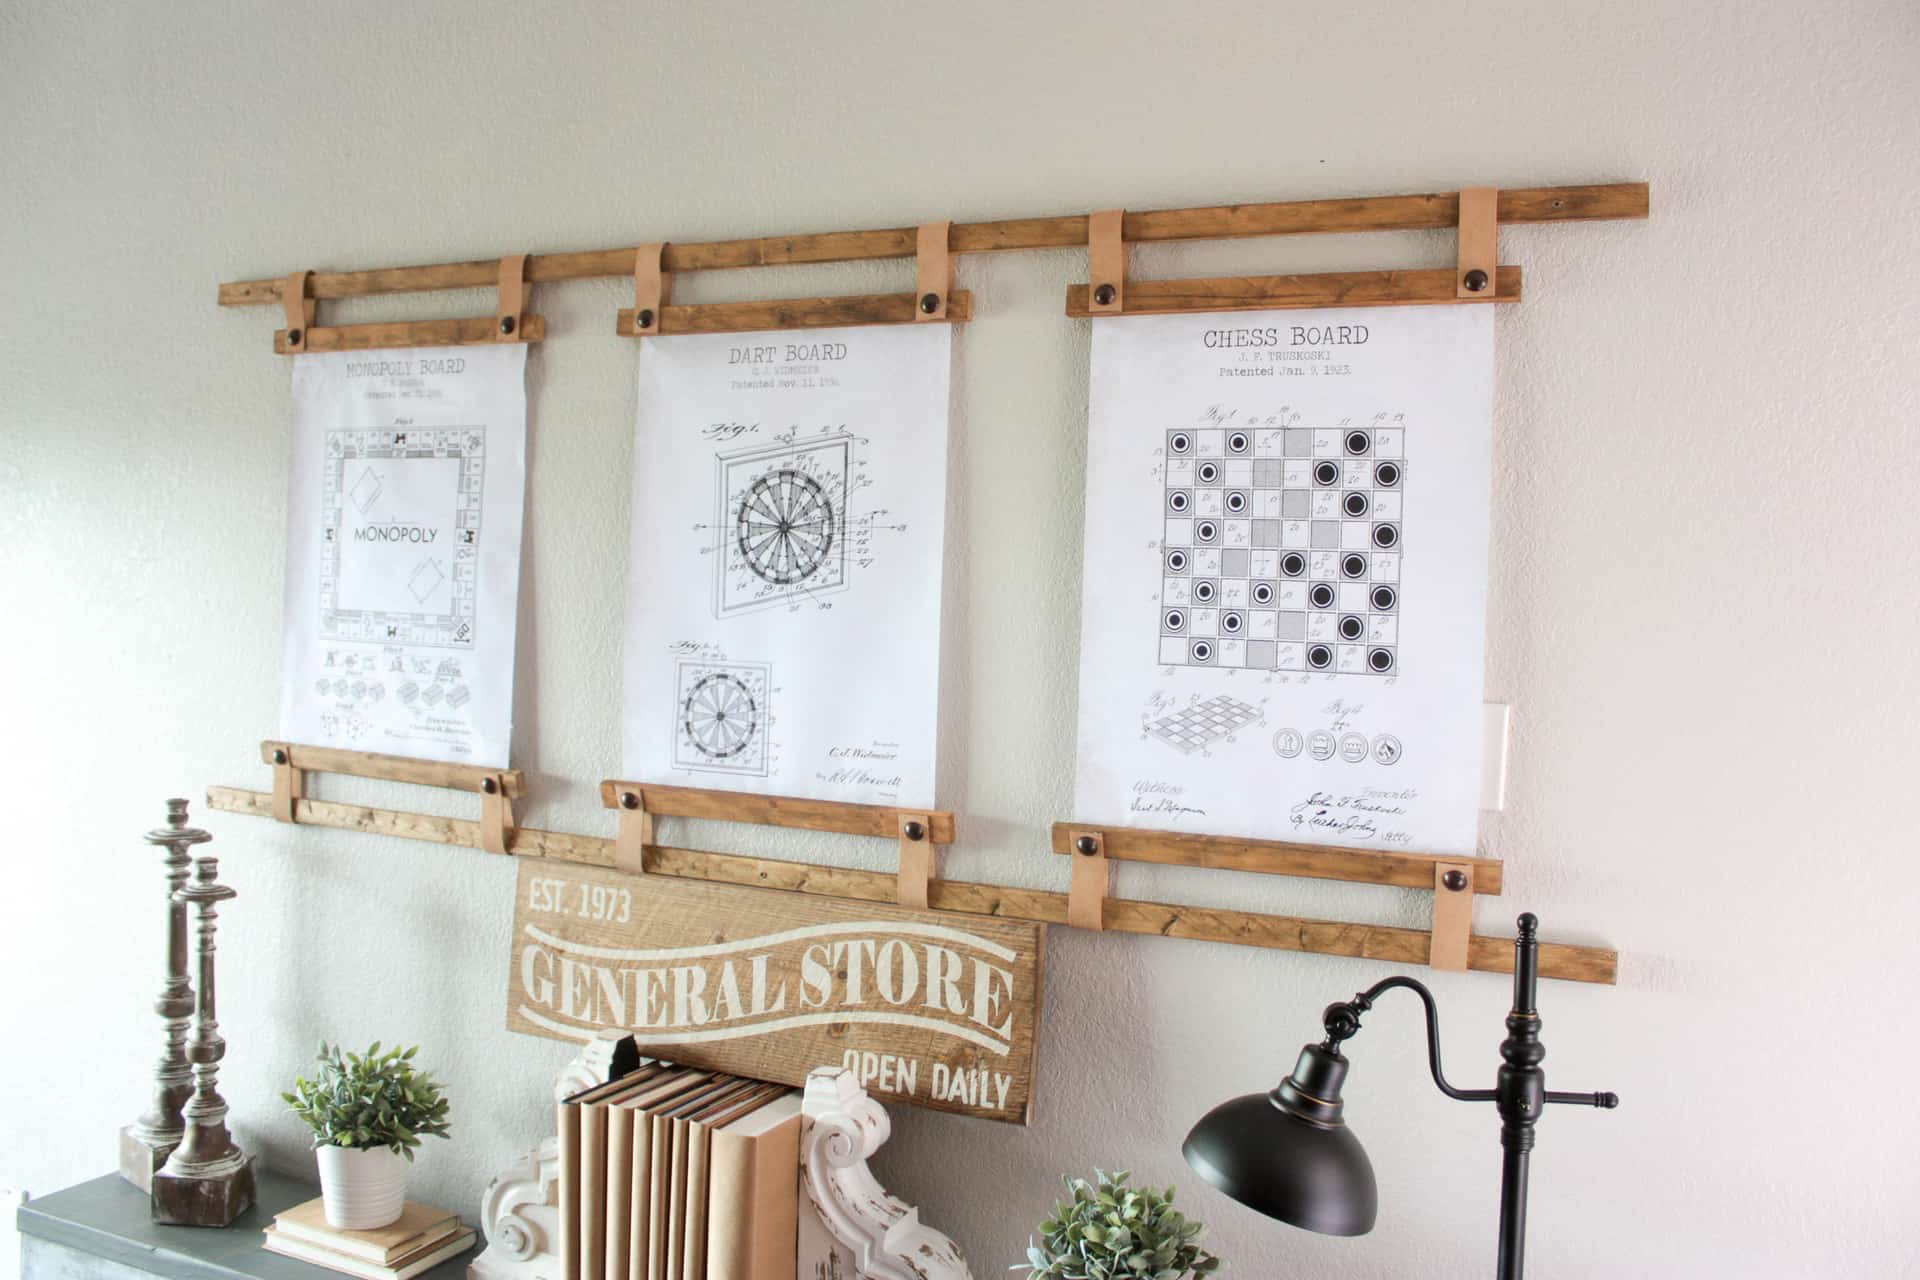
The prints are inexpensive engineering prints so they don’t show up that well in far away pics but they look sharp as can be in real life!!
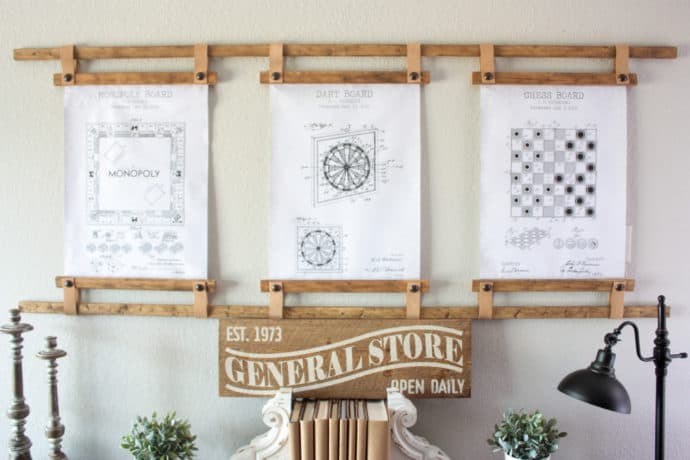
This is a fun and simple craft! For the amount of time involved and money, it can’t be beaten for the satisfaction it brings!! The picture makes it look average size but trust me…it’s almost seven feet long!!
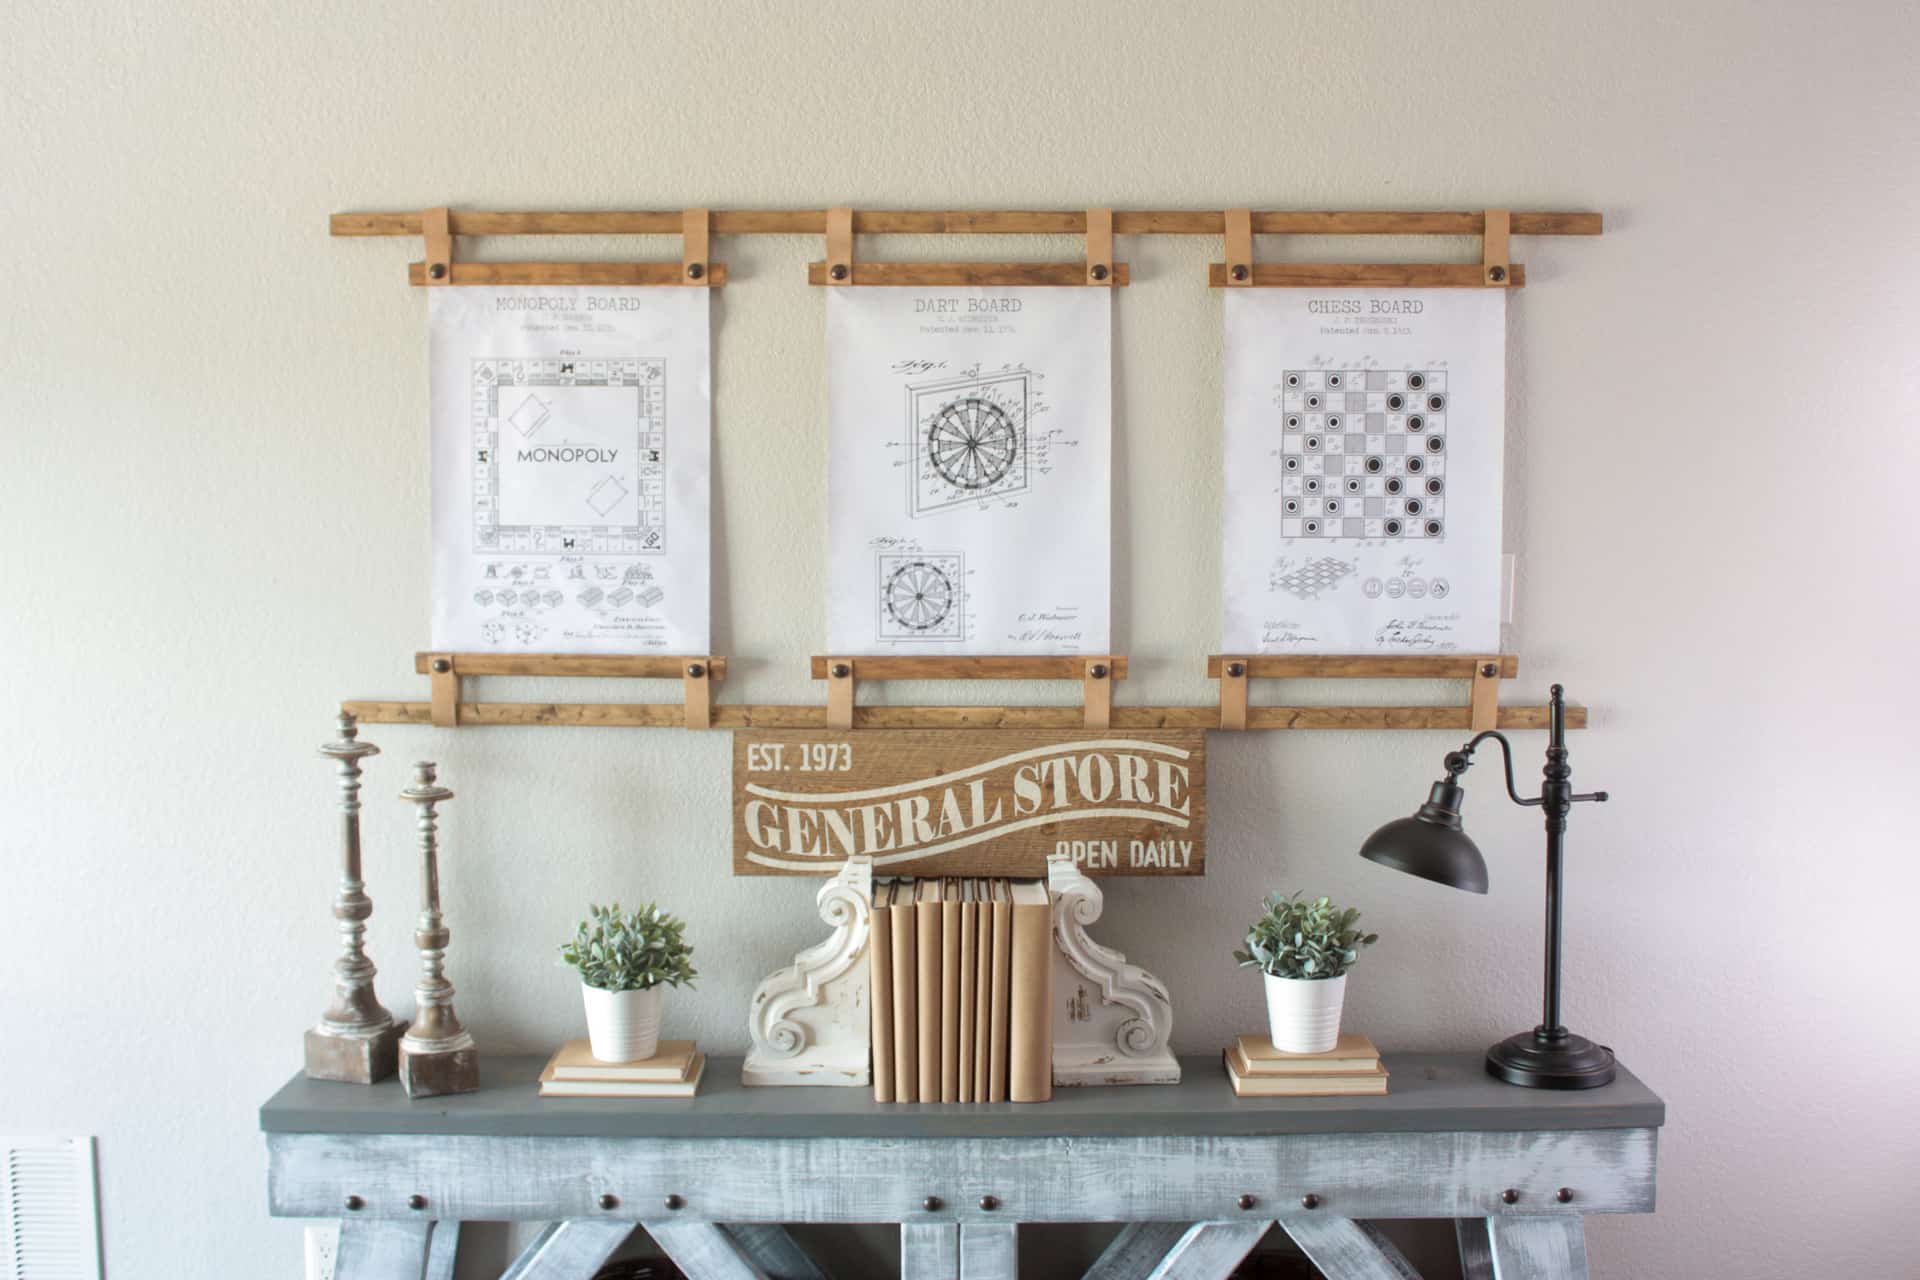
It is such a wonderful compliment to my new console table!! I love it!! But I may change out the prints…my kids picked them, and I like them, I just don’t know if it goes with the decor below them!! Lol!!
If you like leather on the picture frames, you should also check out this wall-hanging blanket ladder I built to match these wood frames!
Well, let’s get this wall decor made and hung!!
Gathering Supplies for the DIY wood picture frames
***Note: All Amazon links below are affiliate links! That means when you click a link and make a purchase, I receive a tiny commission at no extra cost to you! It helps keep my content free, so I appreciate it!
Material List for wood picture frames:
-4 – 1x2x8 furring strips
-3 – 18×24 prints of your choice (mine are from HERE)
-3 – 1 1/2″x 72″ strips of leather (mine are from Hobby Lobby but I can’t find them online, the ones I linked at Amazon are 50″ long, you can make this work for all three)
-1 – pkg. of 1″ furniture tacks/decorative nails
–saw – you can easily use one of these inexpensive miter boxes with a hand saw if you don’t have an electric miter saw, I built my very first sign using this saw!
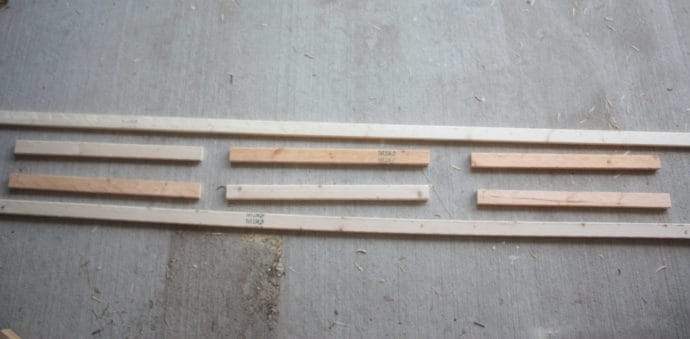
Cut List for wood picture frames:
-2 – 1×2 @ 80″
-6 – 1×2 @ 20″
See how easy this is going to be!! With a cut list that small you know you can easily tackle this project!
Making the DIY Wood Picture Frames
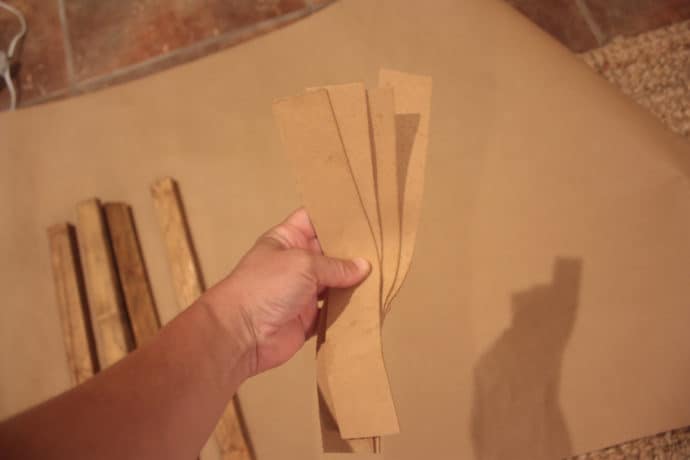
First things first, cut the boards down to size!
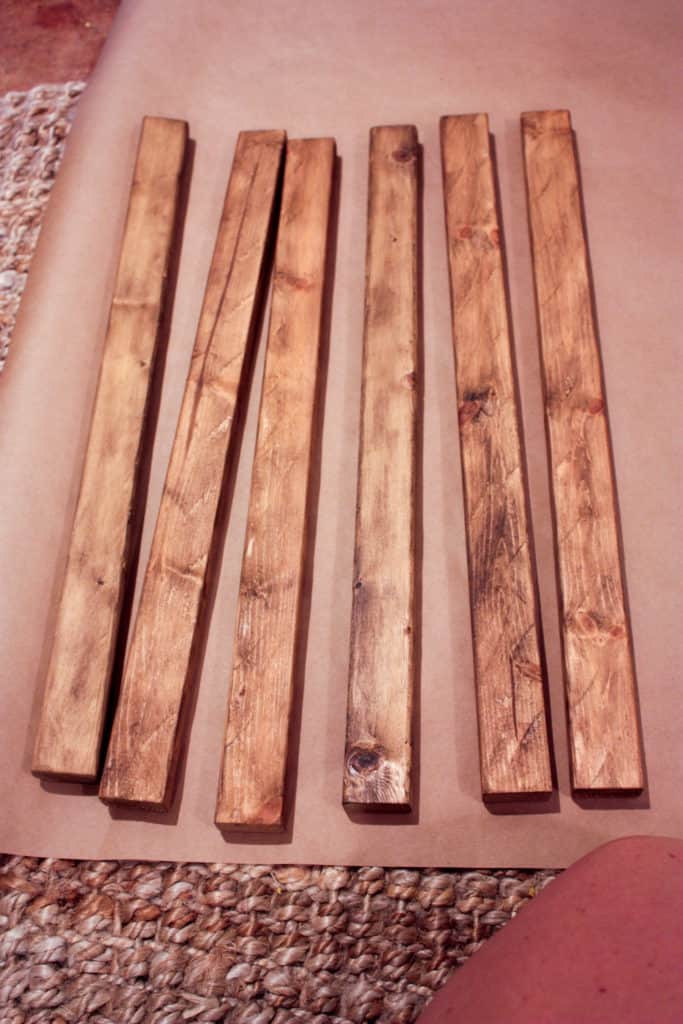
Sand and stain them whatever color you choose! I started with Fruitwood by Minwax, but it stained darker pieces too orangy! I tried Weathered Oak by Minwax on top of that…didn’t really change anything but my fingertip color!! 😄
I then went over them very lightly with Jacobean by Minwax and was happy enough to move on!! Lol!! It basically made them look as if I used Provincial by Minwax, so if you like the color, just use that! 👌
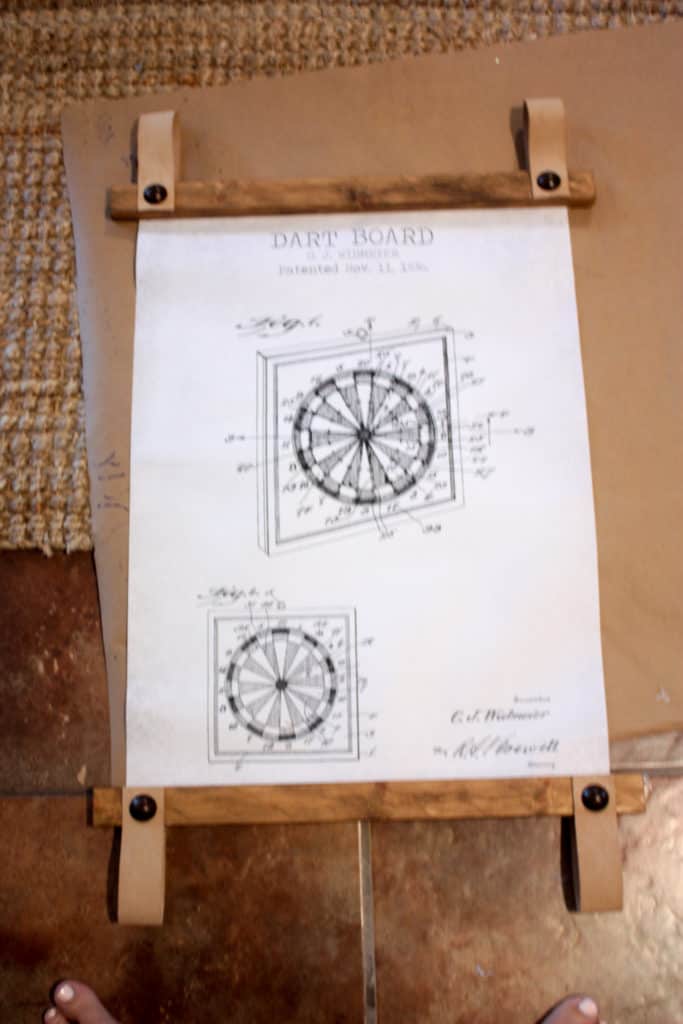
Next, I laid my prints out!
I ordered my engineering prints from Staples, they cost $1.39 each I believe!! That’s for an 18×24!! 😳 And they can usually do it for you in less than an hour if you live near one…but I had to order mine!!
Anyway, two of them got wet during the same crazy storm that threw my console table around, it broke out two of our home windows as well, and the prints were sitting on my dining room table…near the window that was broken out…rain got to it!! LoL!! Luckily, the print didn’t smear at all, they are just a little wrinkly!
Adding the Art to the DIY Wood Picture Frames
Cut all the leather straps to size!
I cut them around about 12-13 inches! As I was typing this though, I was thinking that I should have been able to get 6 straps out of each since the pkg says they are 72″ long…but I only managed to get four out of each pack, hmmm, I think there is a discrepancy on the package!!
Here is a pic of the leather I used from Hobby Lobby, it is 8 bucks a pack, but I am not embarrassed to say, we were savvy shoppers… I checked out with one, while my kiddos each checked out with one to get 40% off every one of them! No shame in my cheap game! The stuff I will do for a good deal can be silly…but oh so worth it!! 🤣

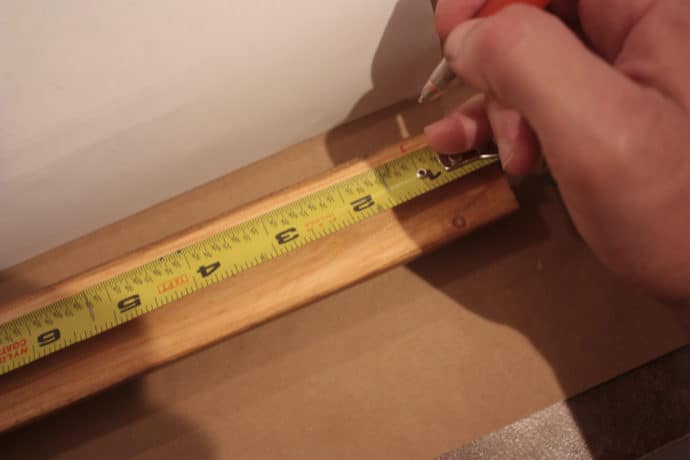
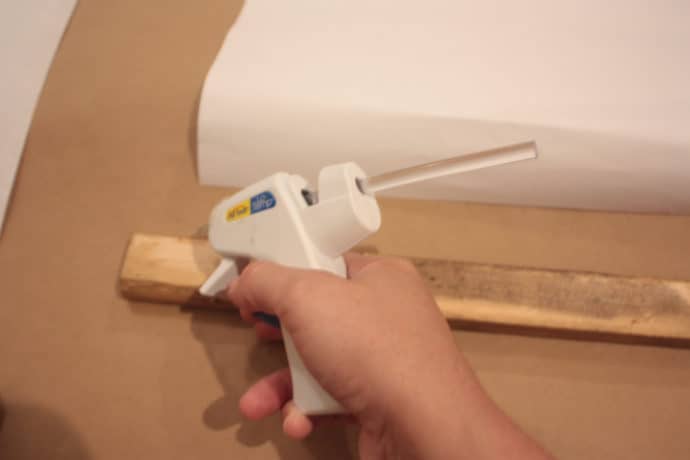
Now that you have all the supplies ready, it’s time to start hot gluing it all together! I turned the boards over and marked 1″ in from each side!
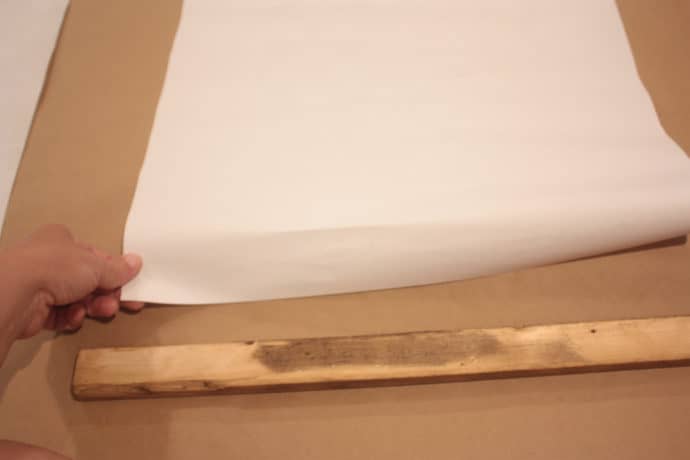
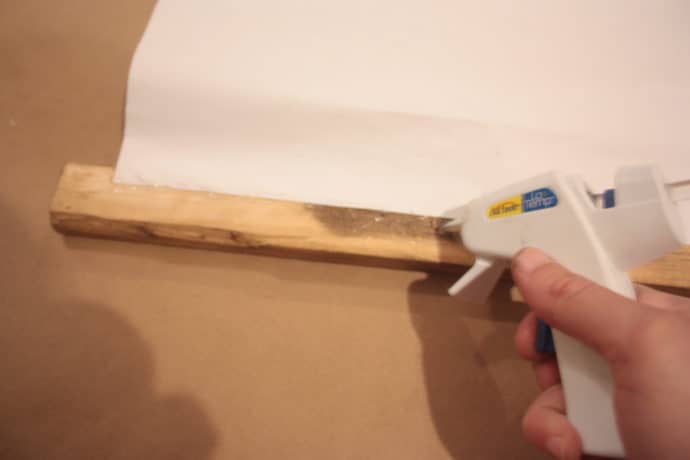
Next, I flipped my poster over and started gluing!
After I glued the paper to the board, I came back and put a hefty line of glue where the paper meets the board! UPDATE: After wanting to change the paper out for another print, I realized it would be so much easier to just attach thin magnets to the board and to the paper. Then there is no glue to remove and mess with! Just a thought!
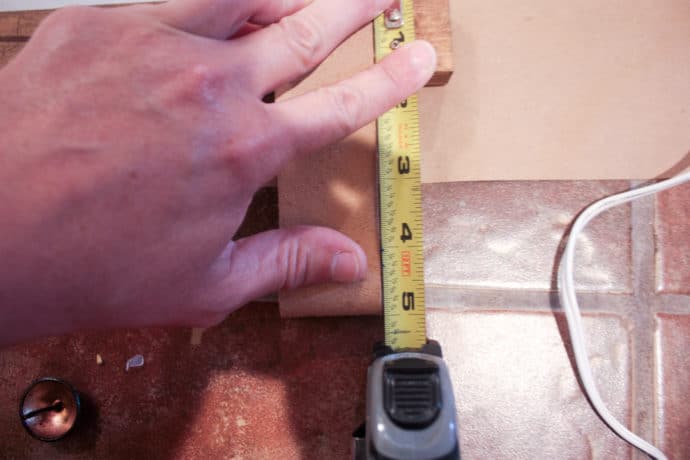
Flip it over and attach the leather strap baby!!

I hot glued the front and then measured to make sure my loop measured 5″ before I glued the back!
Once both pieces were glued, I hammered in a furniture tack on the front of the wood picture frames!
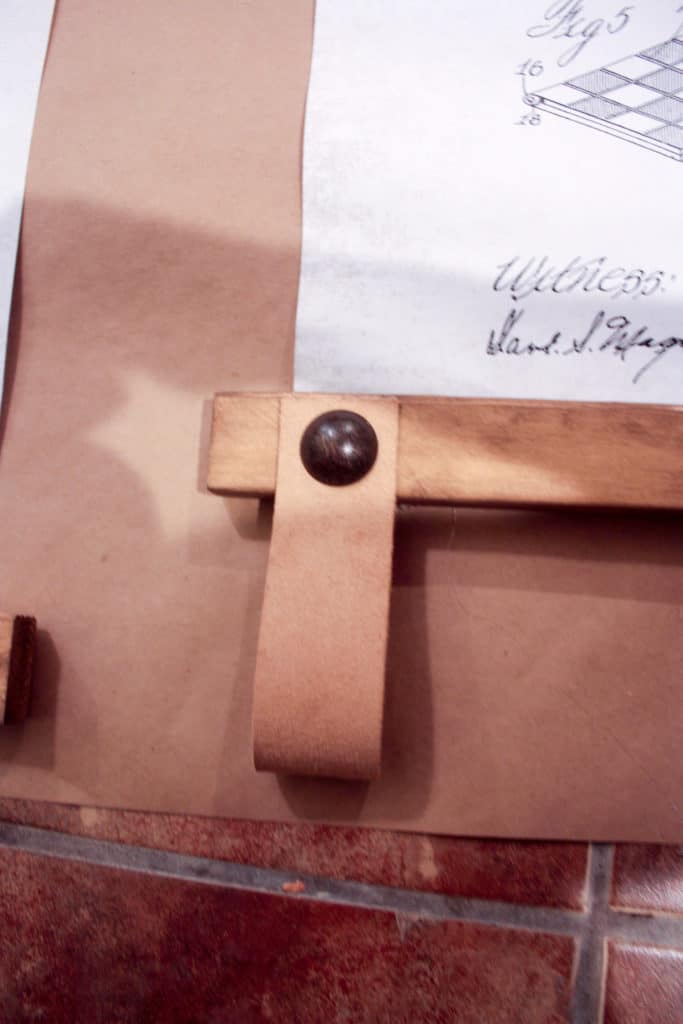
Pretty exciting at this point, since I had only envisioned this in my head and wasn’t sure how it was going to look, I was very excited to see it come to life…and like it!! Lol!!
A little blurry on the picture taking, but Yaaasssss they are looking good!!!!
Hanging the DIY Picture Frames
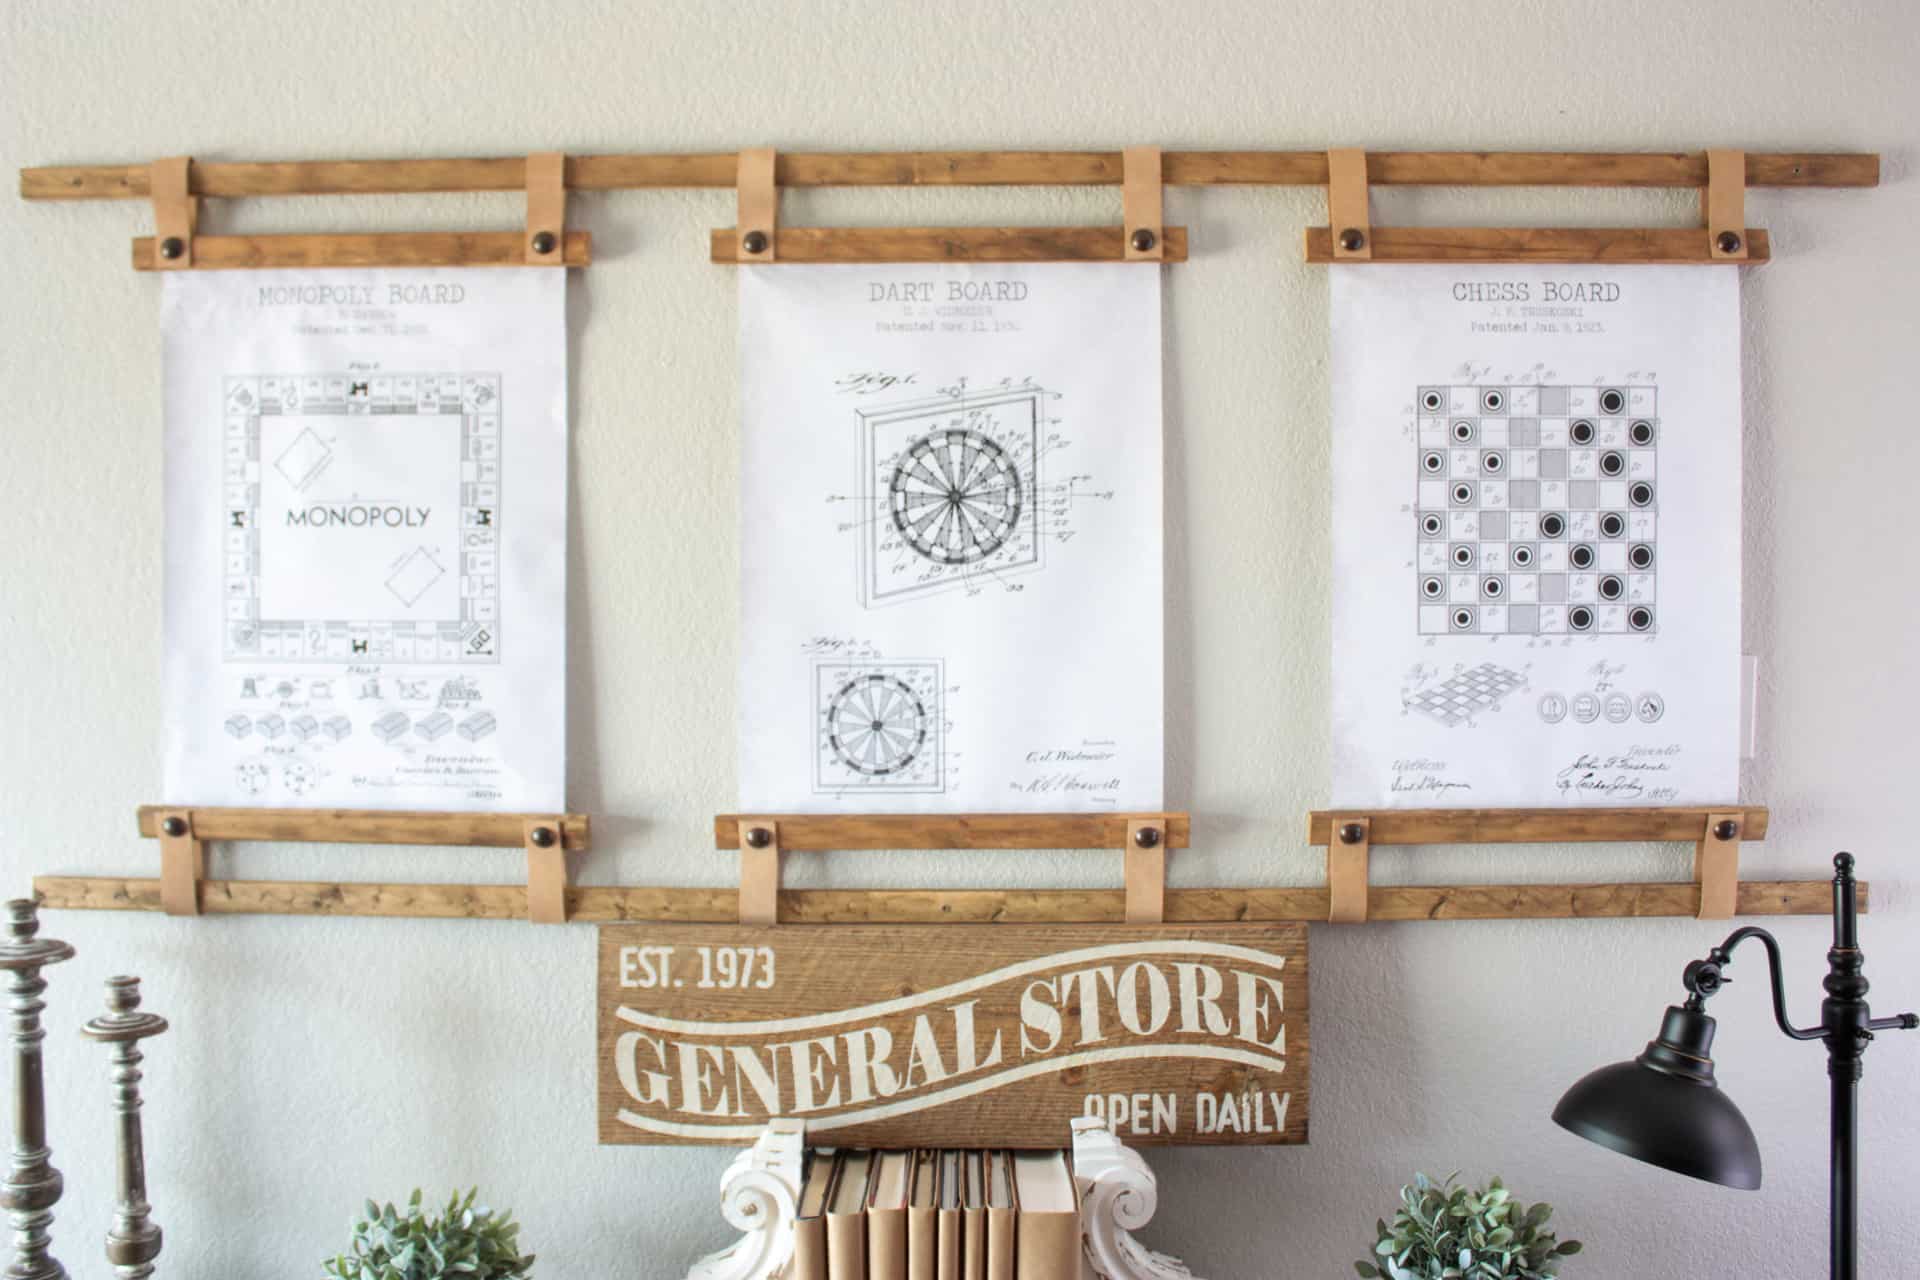
Once you have all three picture frames made, thread them onto your top and bottom long boards…it helps to have an extra hand while doing this! Pick the perfect spot you want to hang it, and screw the long top and bottom boards to the wall! I just screwed through the front of the boards with deck screws that are a light brown color so you don’t even notice them!
Make sure the spacing is exactly how you want it before you screw it into place on the wall, the end picture frames will not move once it is screwed in place!
And Viola!!! It was really that easy to make these wood picture frames that are the absolute cheapest DIY wall decor!!
Do you have any great ways to hang large art or family photos with DIY picture frames, I’d love to see them and share them if you do!
Hope you have a wonderful Father’s Day being celebrated or celebrating the great men in your life!!
Happy Crafting,

Want to save the DIY Wood Picture Frames for later? PIN IT!

This is such a cool and big impact project! Love the wood and leather mix and hey, those prints are awesome!