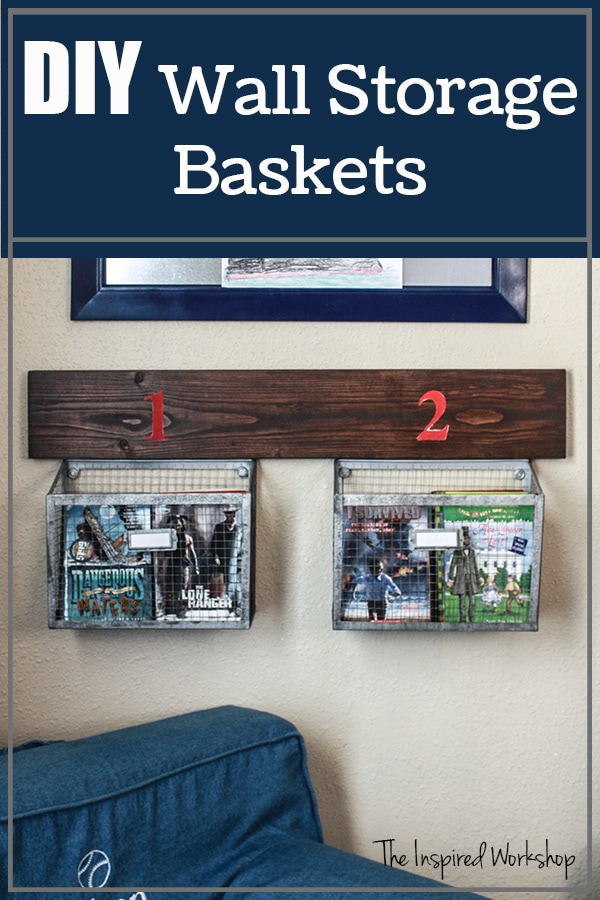
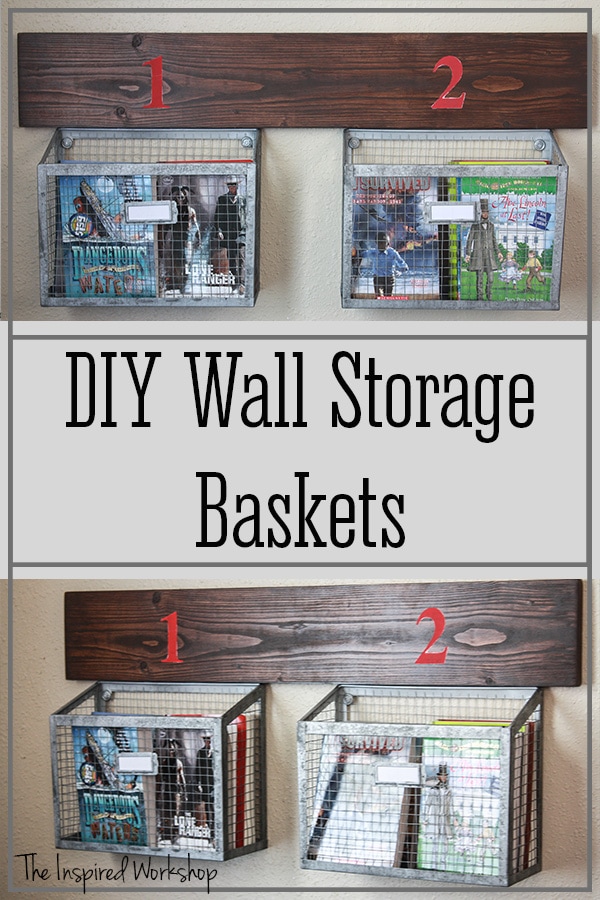
DIY Wall Storage Baskets
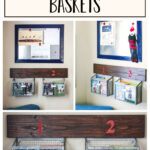
Storage is always a problem it seems when you have kids! They have so many toys, books, and clothes that finding creative solutions to storage is always a favorite among parents. Building this DIY wall storage baskets set is the perfect option to store books, magazines, or small toys! Make it two baskets or four, whatever suits your space!
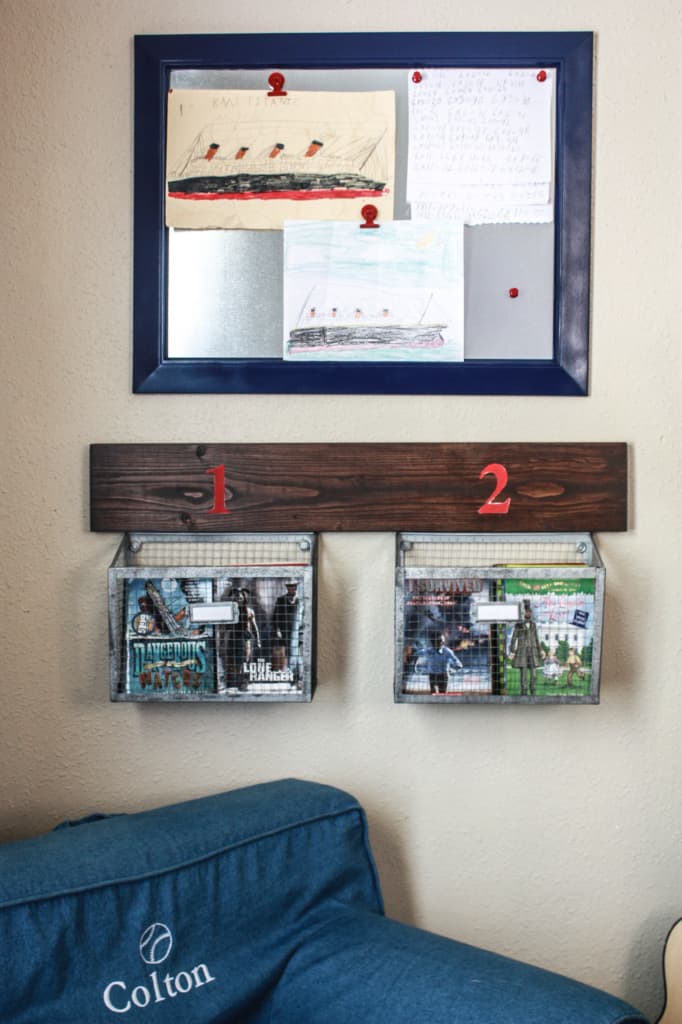
In my son’s room, we had a problem with finding a place for his books, his room is tee-tiny and with a twin bed, dresser, nightstand, and small chair he is ALL out of floor space! We settled on the idea of something to hold books that could be wall-mounted and hold just a few books that are on his level right now, and we could house his other books on a shelf in another room!
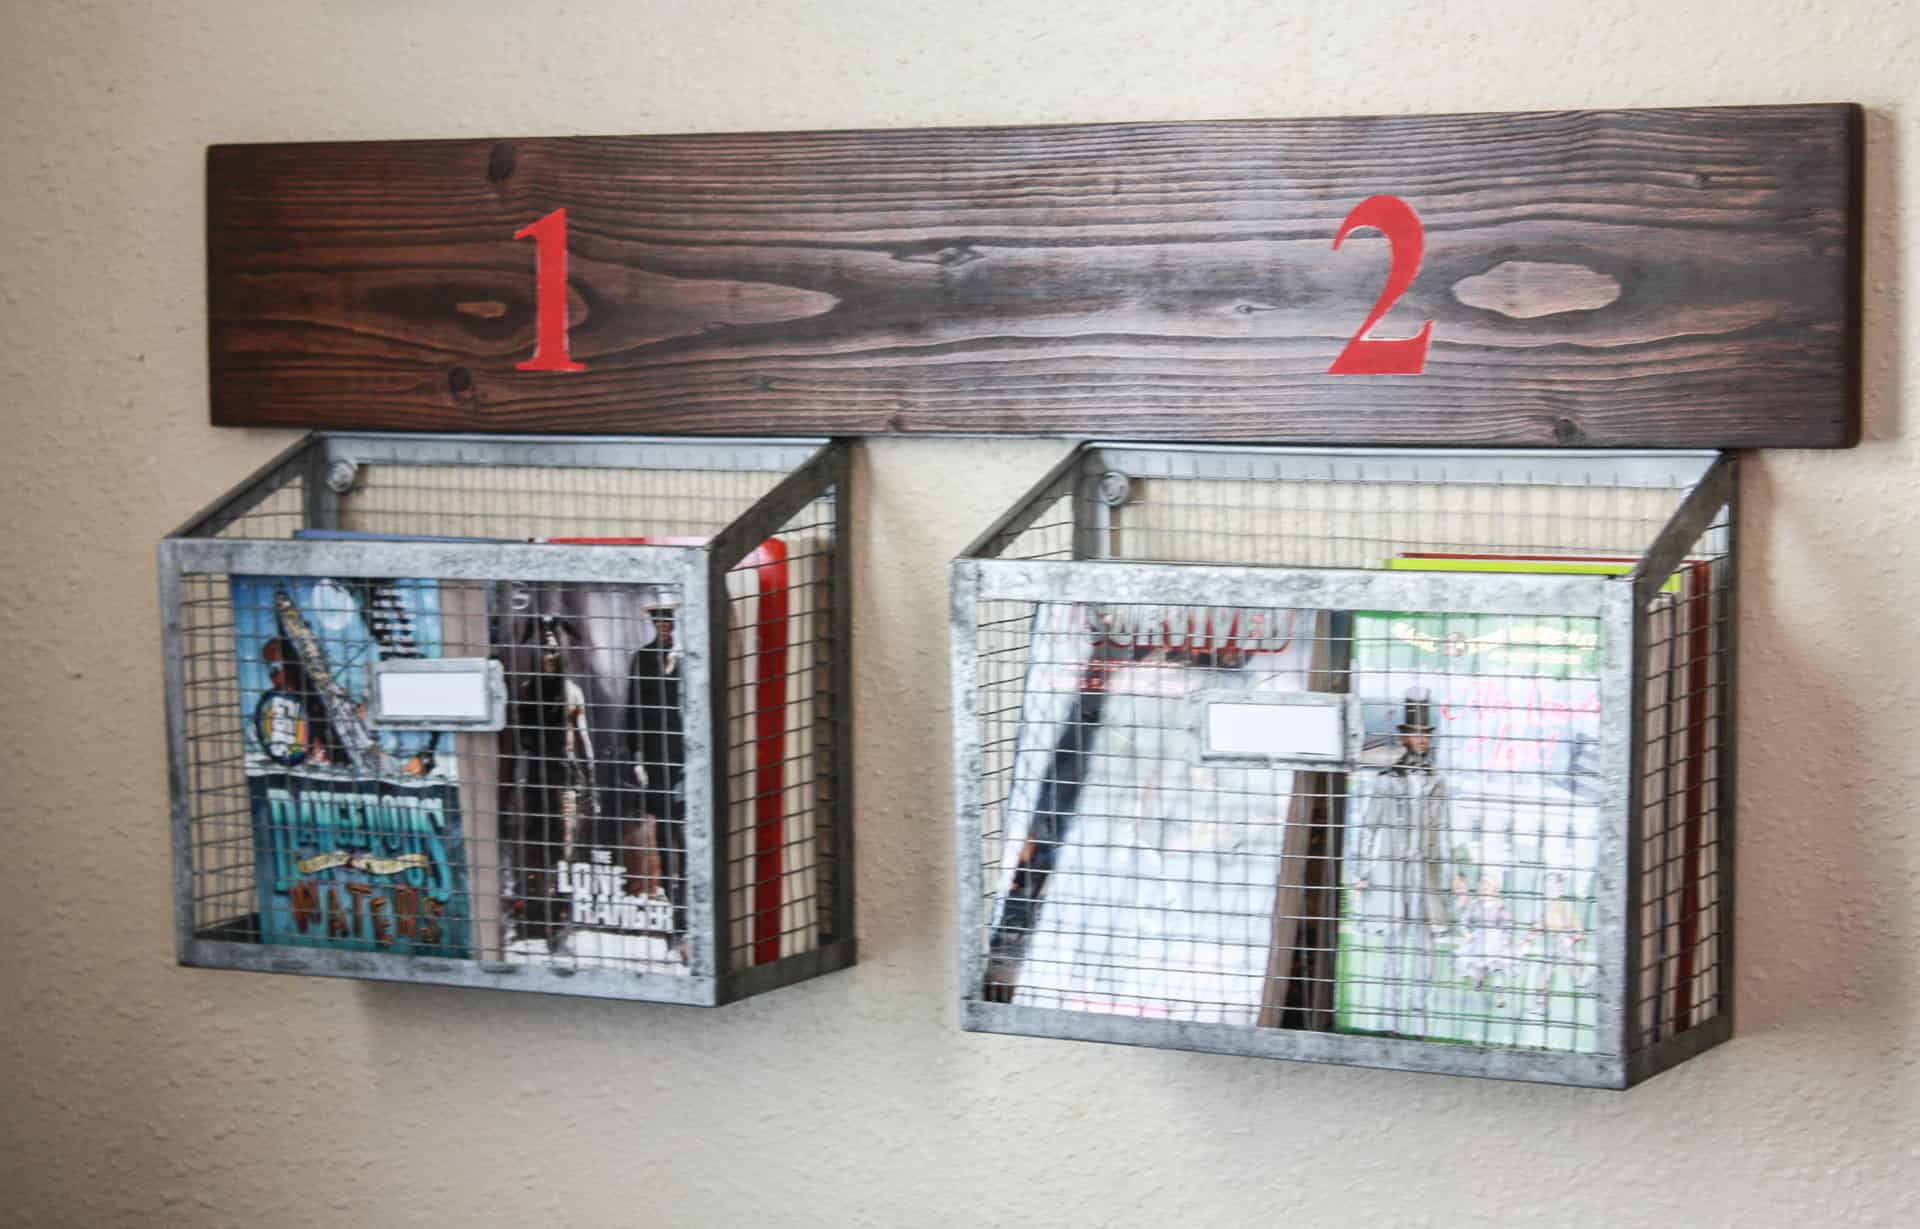
I had seen a wood and wire wall hanging basket at PB Teen and loved it, but it had four baskets and was WAY too long for the small space we have available even on the wall in his tiny room! So, of course, I figured that I could throw together this set of DIY wall hanging storage baskets that looked similar but is a smaller version to fit his space!
My inspiration piece had 4 baskets, we only had room for two baskets but you can easily make this with three or four baskets and still come in much cheaper than their cost at $99.00 plus shipping and taxes. In total, I spent $32.00 on this with two baskets and wood but you can save $5.00 if you have a scrap piece of 1×6 laying around!
You would spend a total of $57.00 if you made this using four baskets, so it’s still a good deal! And I love the idea of being able to DIY things simply because you can customize them to exactly what you want!
I have some other great DIY boy’s room decor ideas as well if you are interested in such as these adorable Suitcase Shelves, this cool Initial Wall Art, or this awesome Modular Storage System.
Let’s get this tutorial rolling!
Gathering Supplies to Make DIY Wall Storage Baskets
Material List for the DIY wall storage baskets:
***Note: All Amazon links are affiliate links! Affiliate links allow me to make a small commission at no extra cost to you should you make a purchase after clicking a link! I always appreciate you shopping at my links, so thanks in advance!
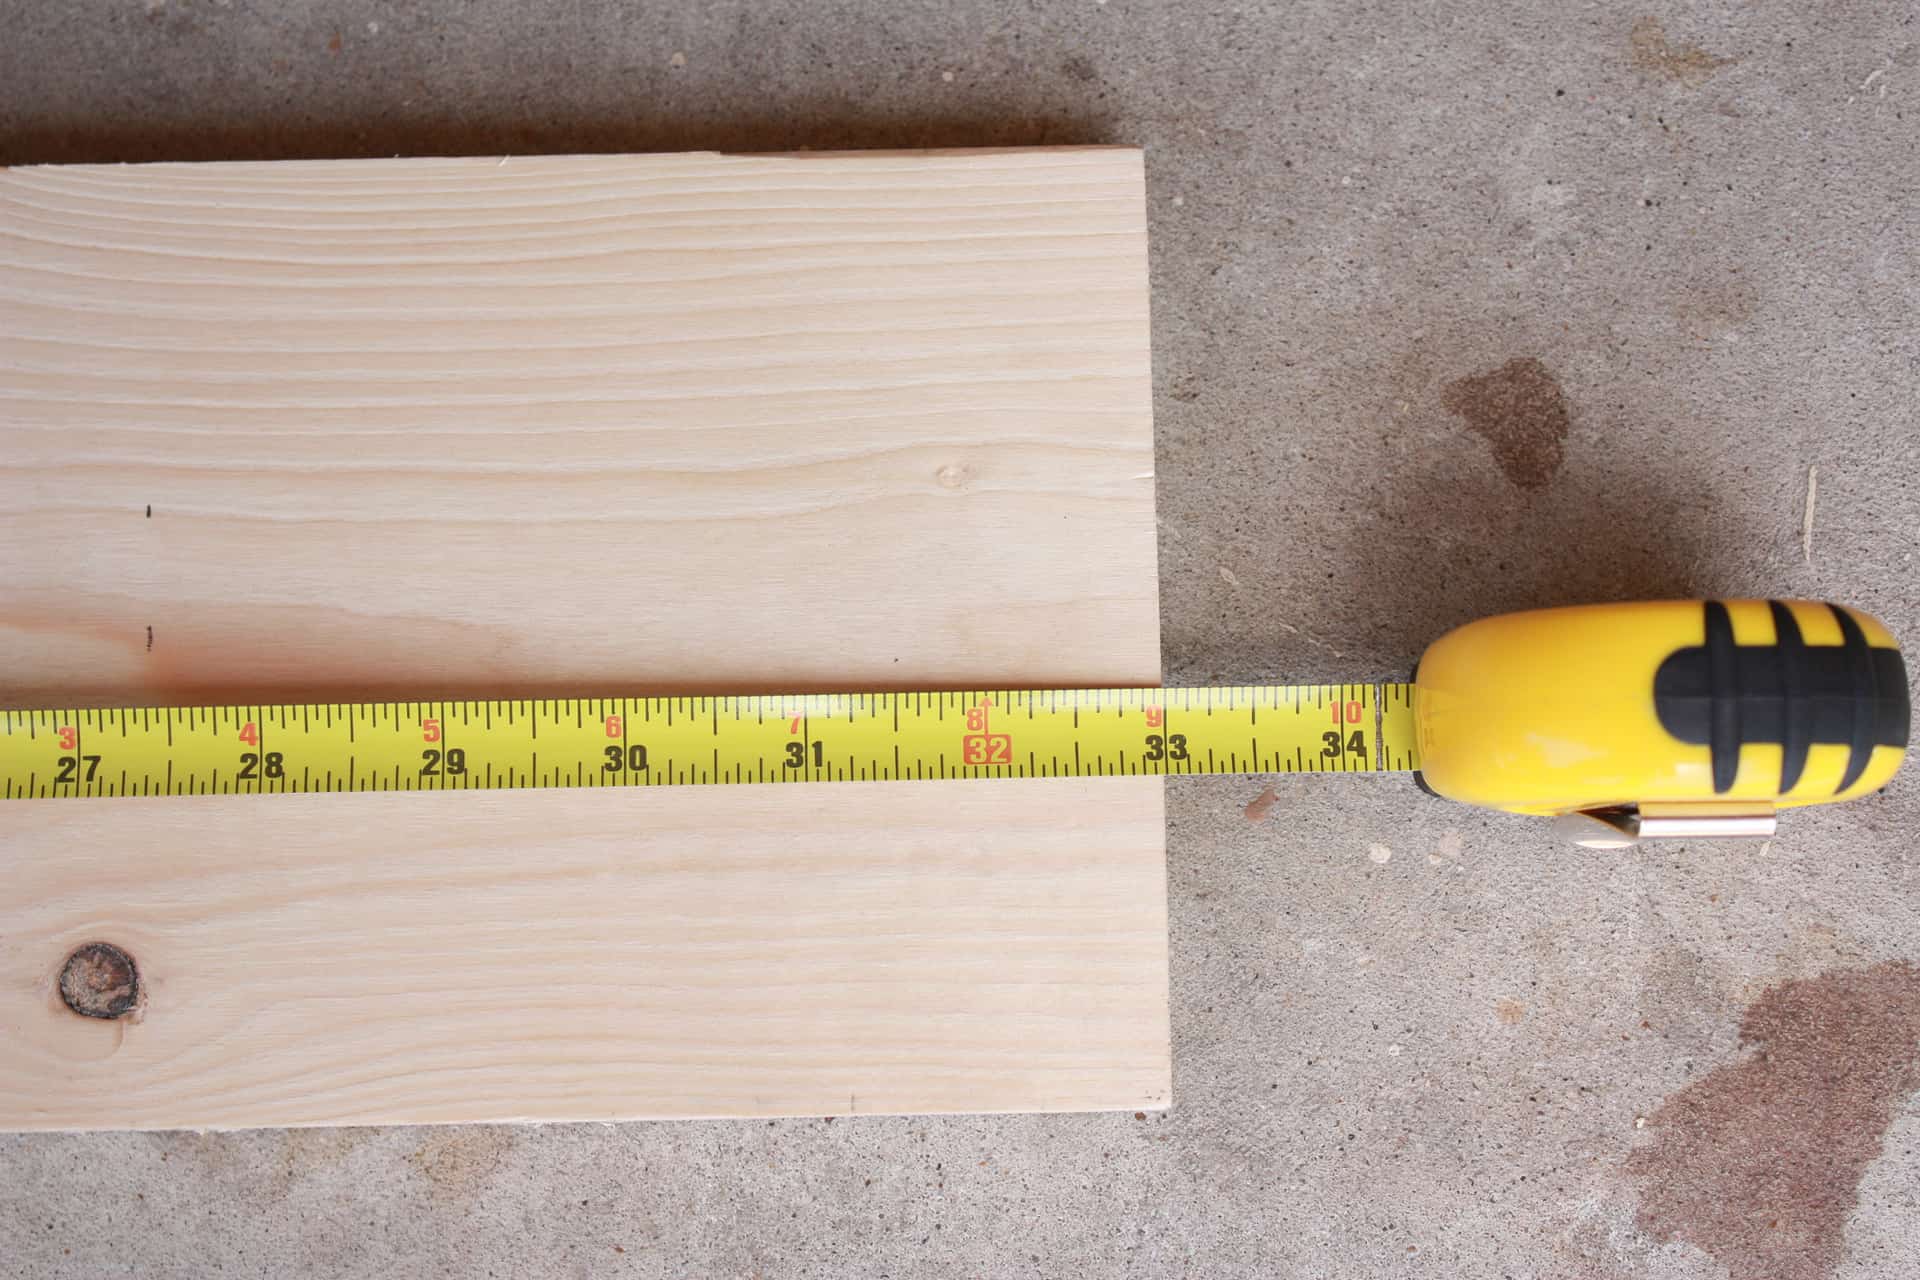
- 1 – 1×6 cut at 33″
- 2 – wire baskets – I got mine at Hobby Lobby, but found these cuties on Amazon!
- 4 – 2-inch mending plates (cheaper at local hardware store but just to show what they are, I added link)
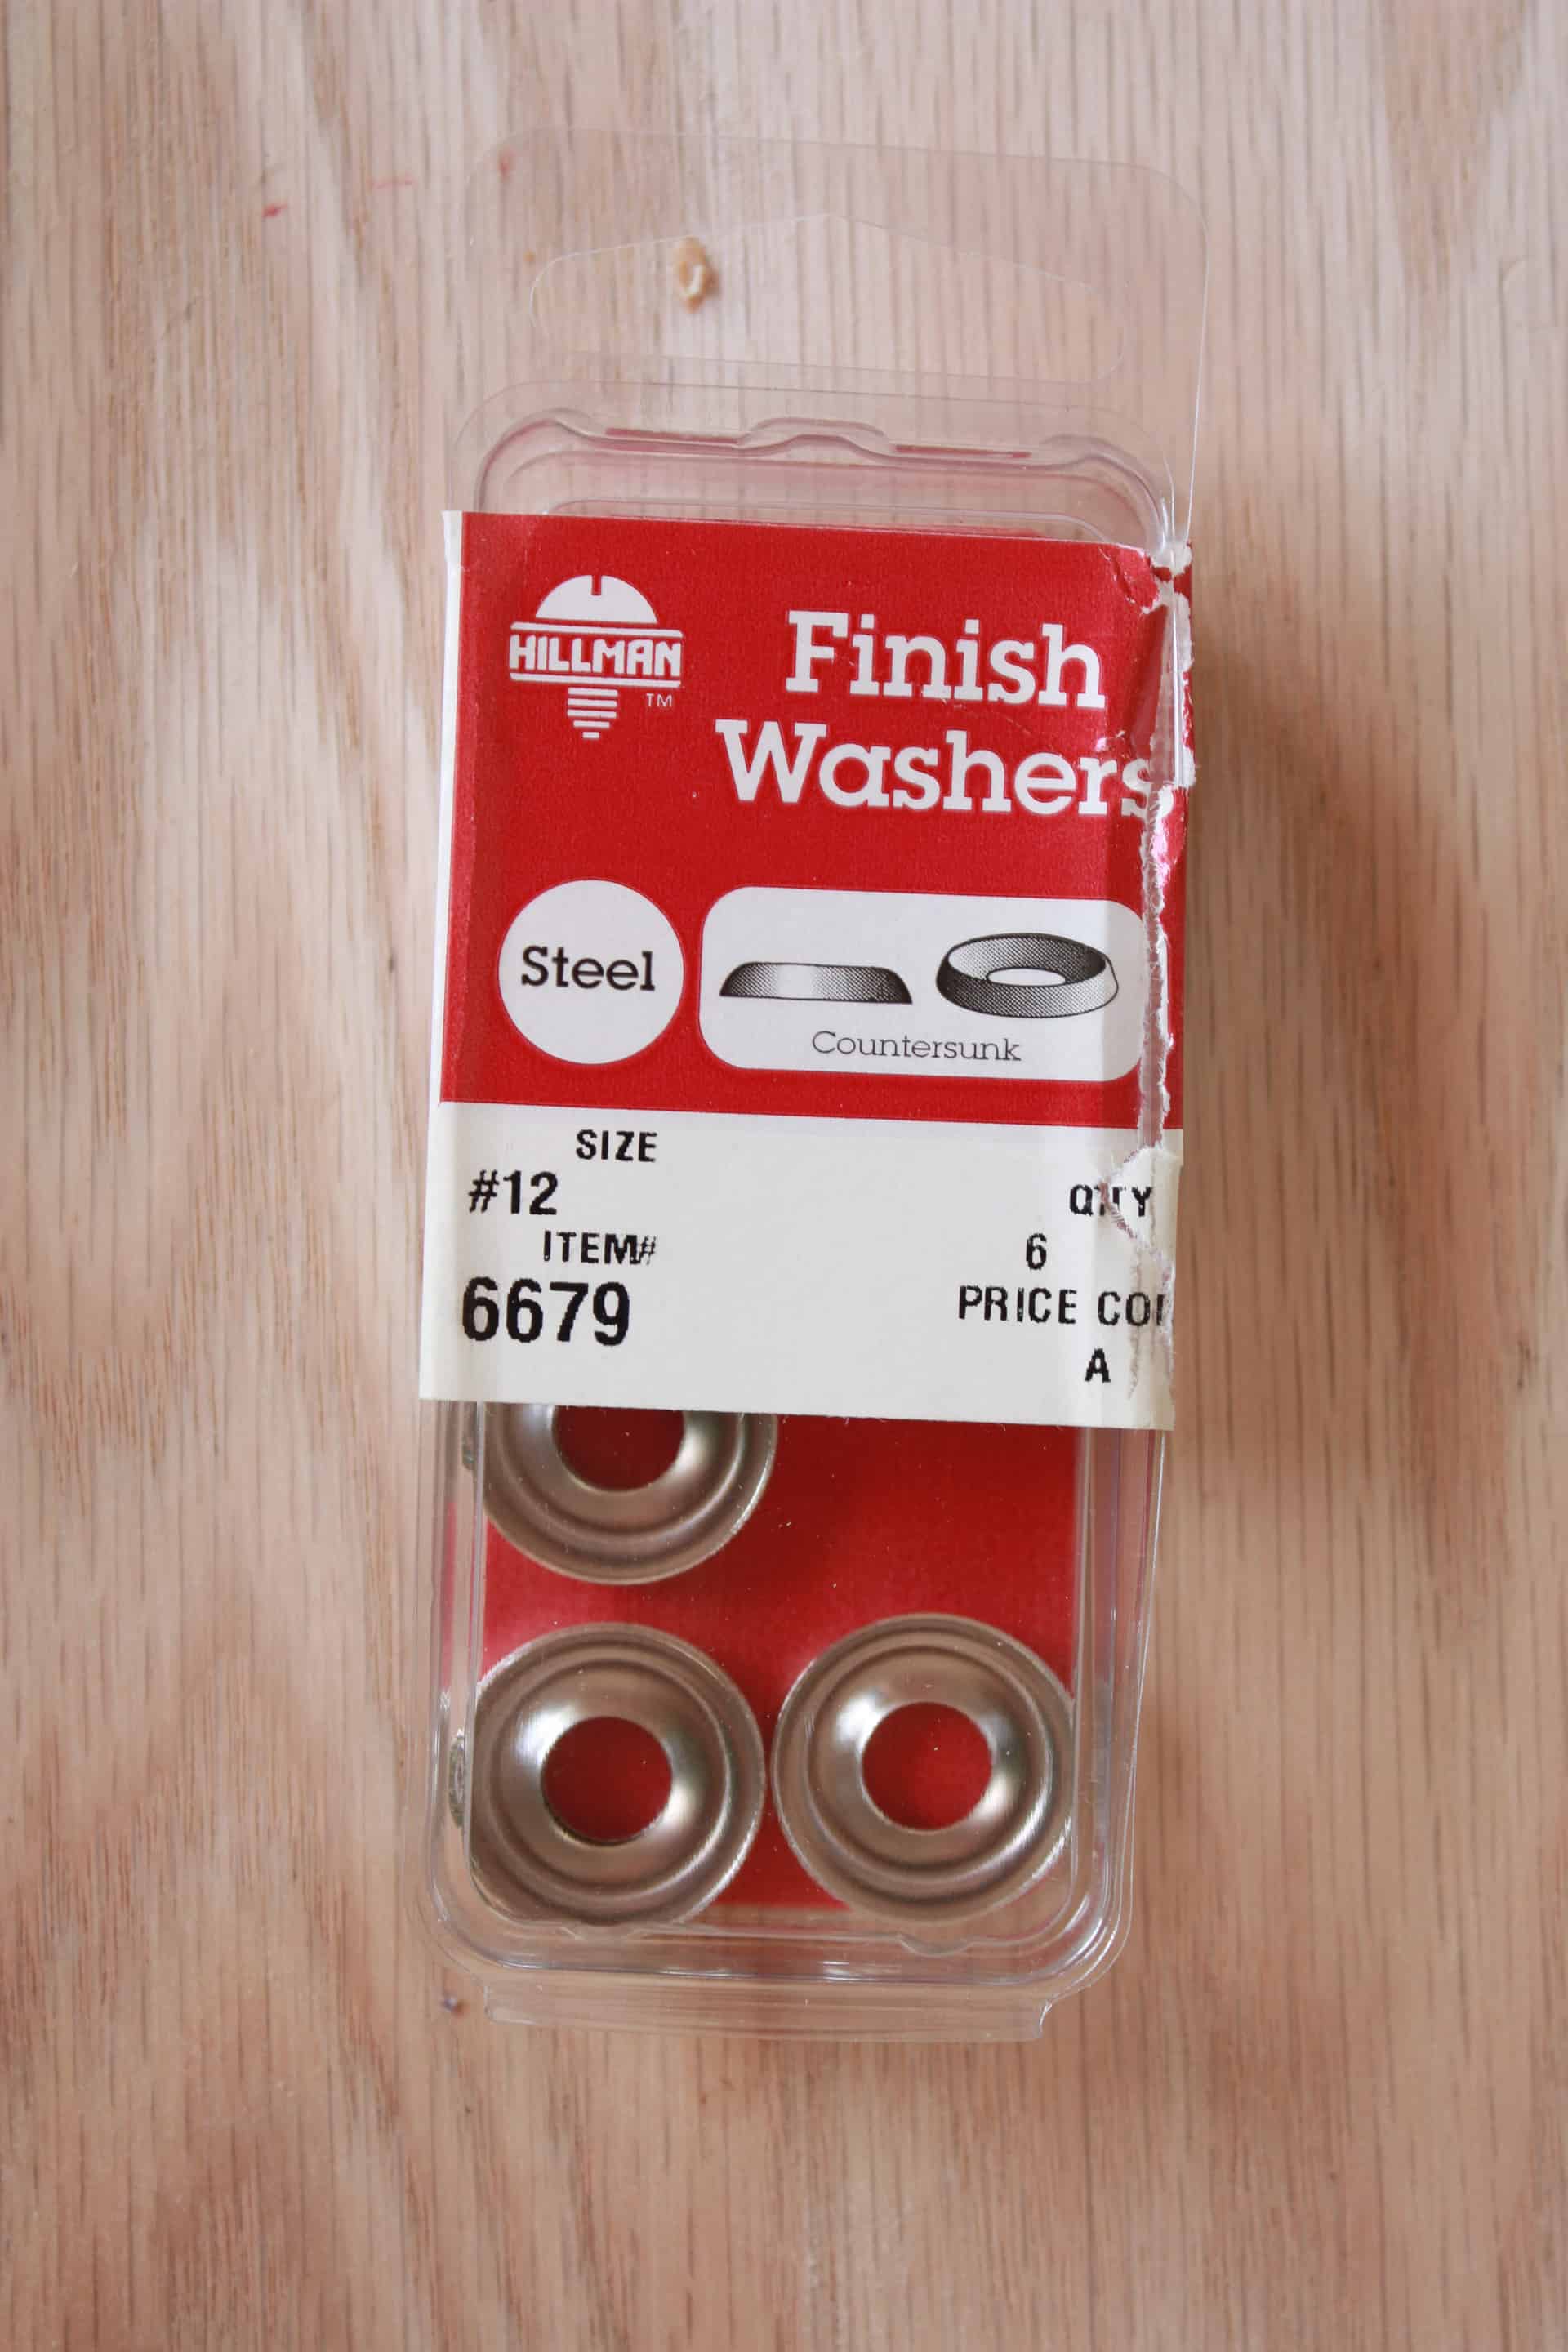
- 4 – #12 finishing washers
- 1 – 1×6 cut at 33″
- 2 – wire baskets – I got mine at Hobby Lobby, but found these cuties on Amazon!
- 4 – 2-inch mending plates (cheaper at local hardware store but just to show what they are I added link)
- 4 – #12 finishing washers (cheaper at local hardware store but just to show what they are I added link)
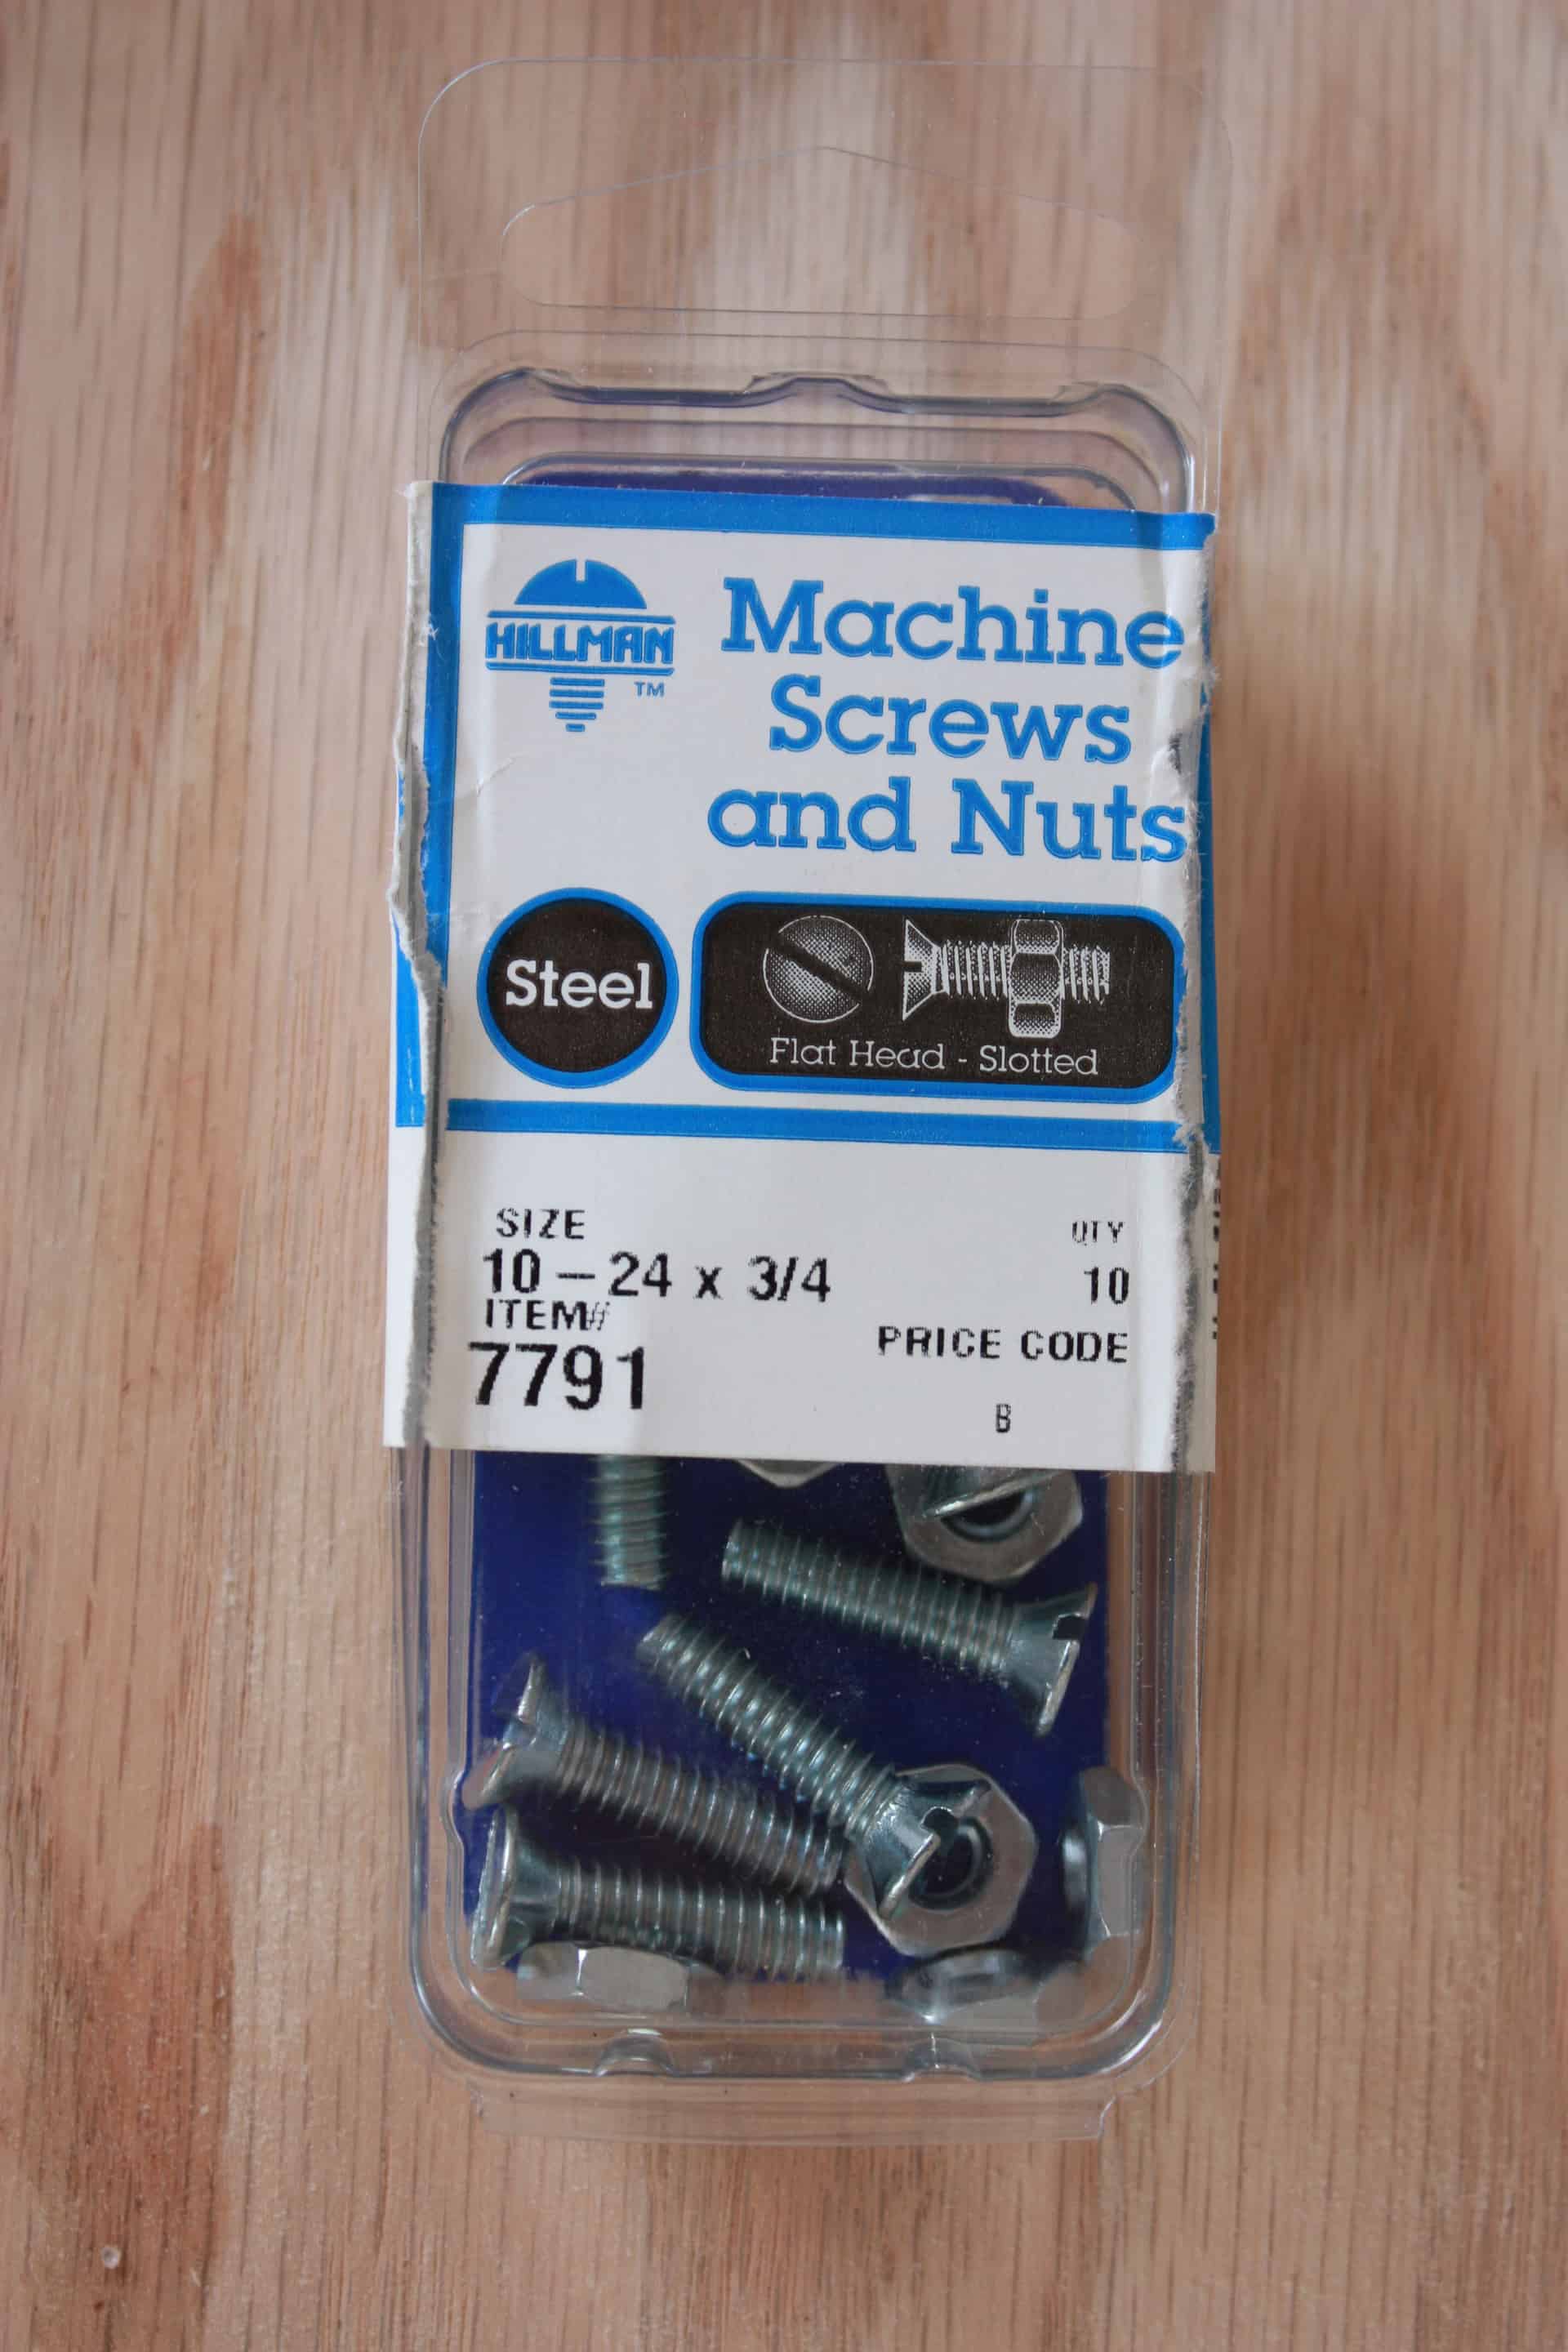
- 4 – 3/4 machine screws and nuts (cheaper at local hardware store but just to show what they are I added link)
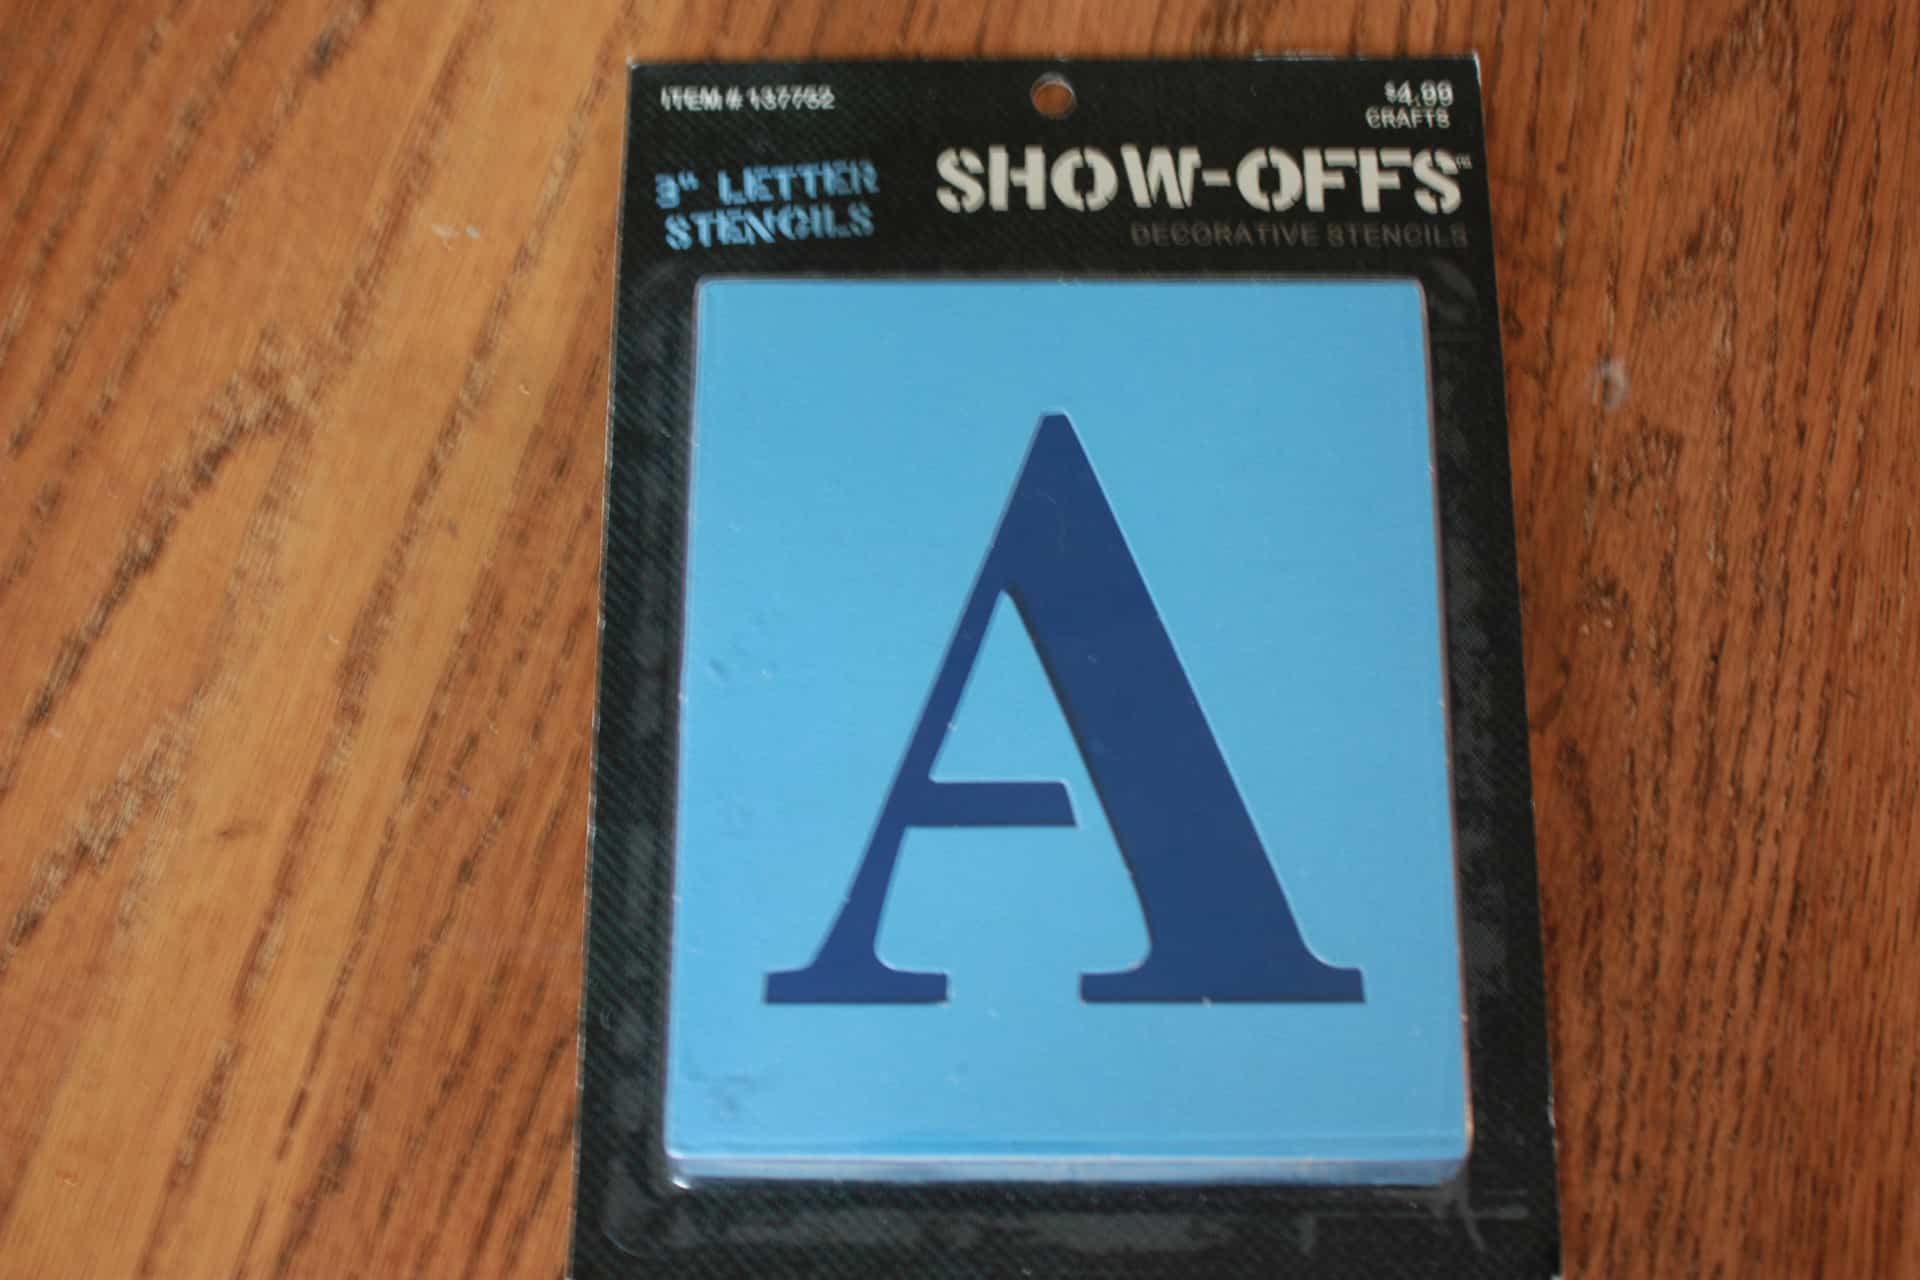
- 3″ number stencils
- saw
- hanging hardware
- optional: Dremel tool
Building the DIY Wall Storage Baskets
This set of DIY wall storage baskets is so simple and easy to make, the longest part was letting the stain and paint dry, other than that it was only about 30 minutes of assembly and hanging! That’s my kind of project! I love it when it is so quick and helps with a problem we have had for quite some time now!
Also, it’s surprising how many books the little baskets can hold, my son is into the smaller chapter books, and each basket can easily hold 15-20 books! Score! That keeps about 40 books from getting stuffed in a drawer, left on the floor, or thrown in a toy box…you know…wherever feels right while they are “cleaning”! LOL! If you don’t need a space for books, you could use the baskets for a host of other items!
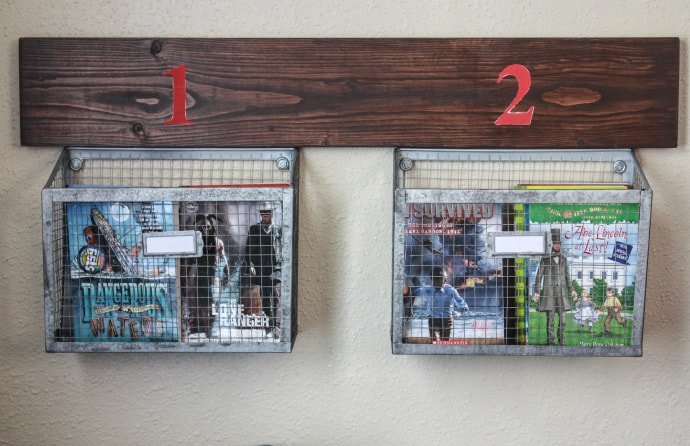
So to get started, cut your 1×6 to 33″ or if you prefer, you can cut it a little longer, I had thought about making it a little longer and hanging a chalkboard in between the two baskets so my little one could write down the page number he stopped on and such…but there again…not enough wall space in his itty-bitty room, but something you may have room for!
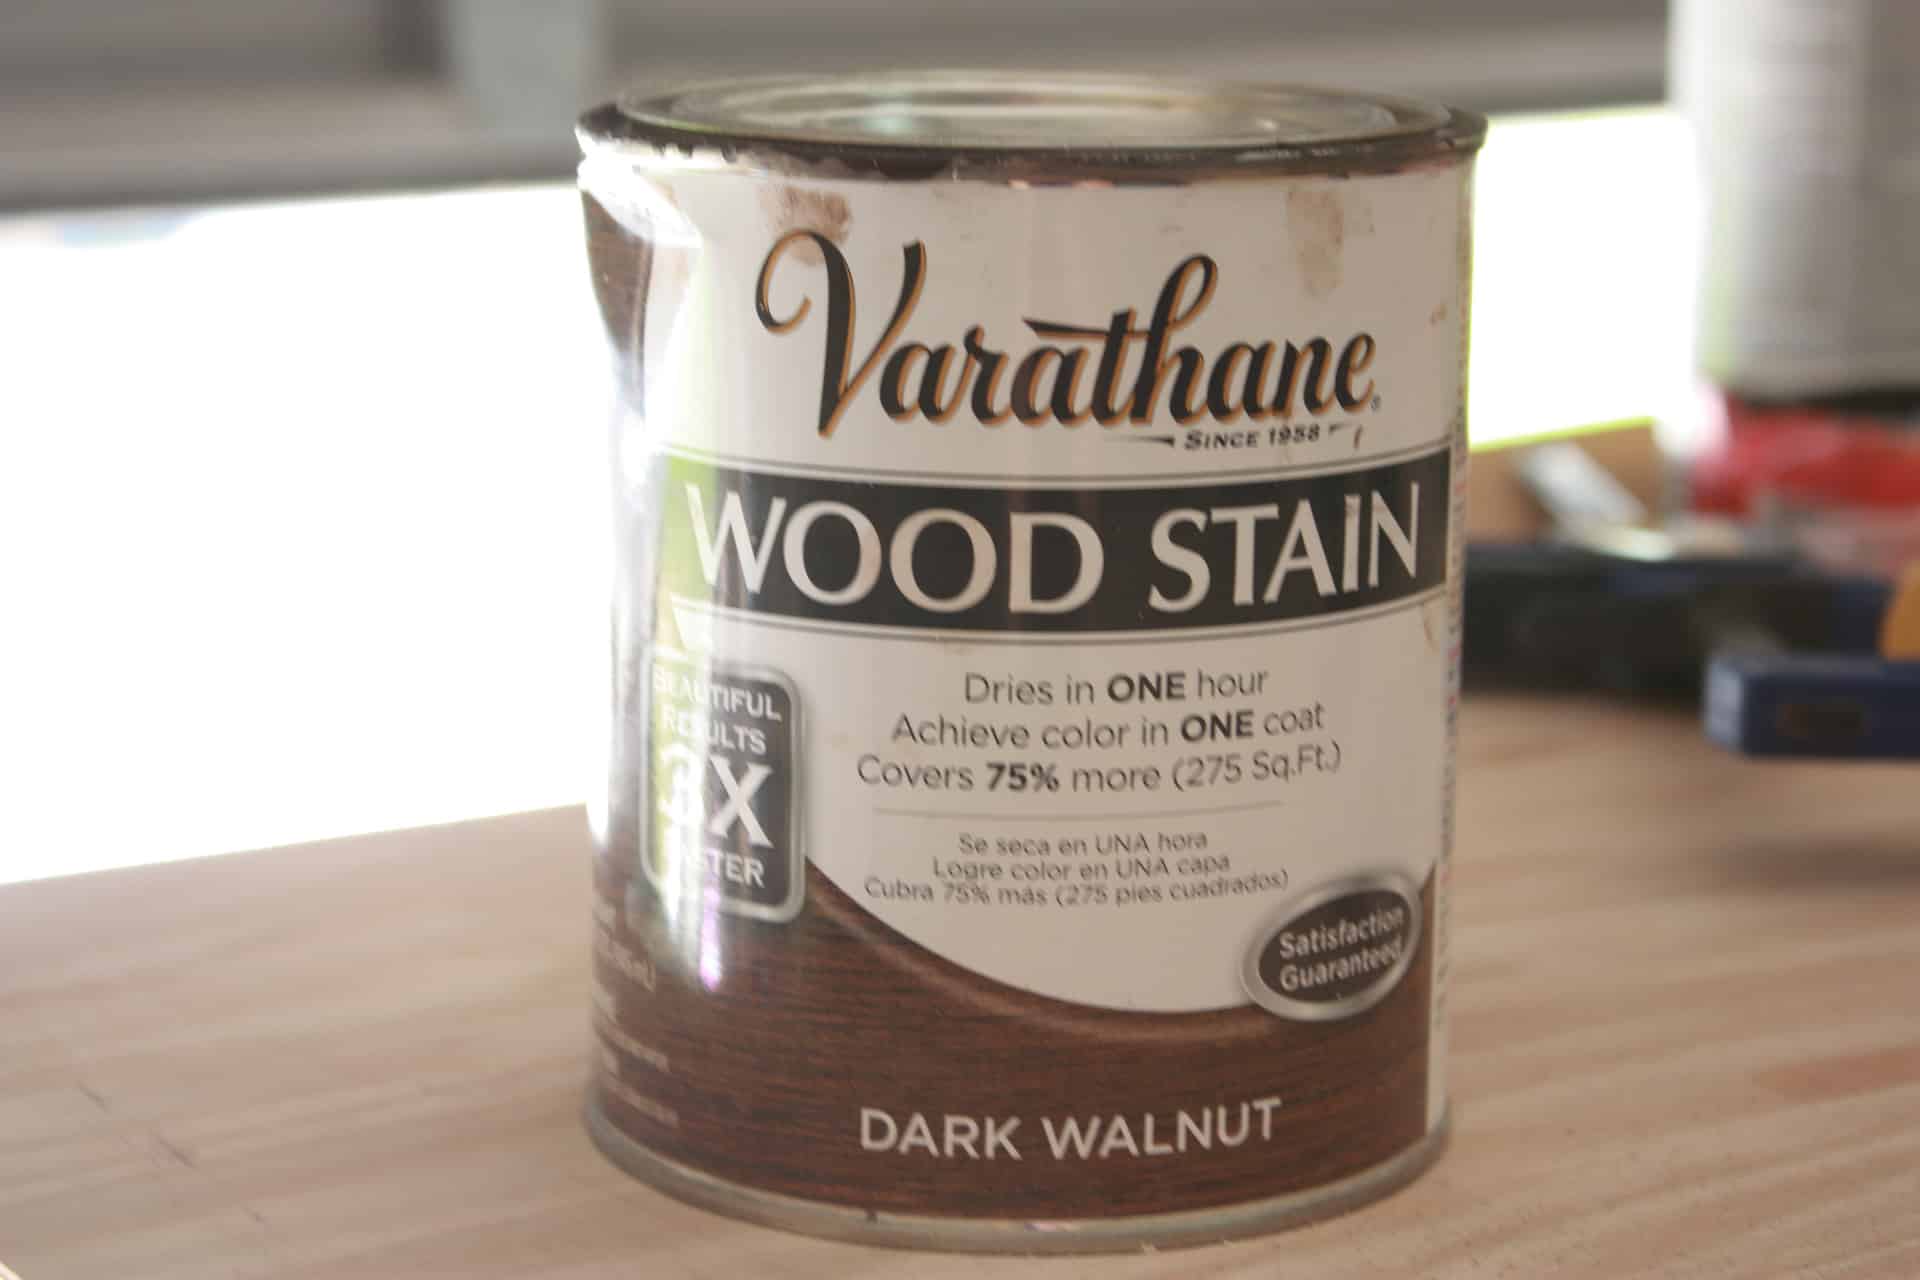
Okay, after cutting your wood for your DIY wall storage baskets, stain it using whatever stain your little heart desires! My heart LOVES dark walnut and I absolutely LOVE Varathane stain, ONE coat and done…dries in an hour or less! Can’t beat it I’m telling you! (Varathane stain is sold at Home Depot but it is made by Rust-oleum so if you find Rust-oleum Dark Walnut at Lowe’s or another store, it is the same thing)! You can now find it on Amazon as well!
While letting the wood dry, I spray painted the baskets because, well, they were turquoise when I bought them!
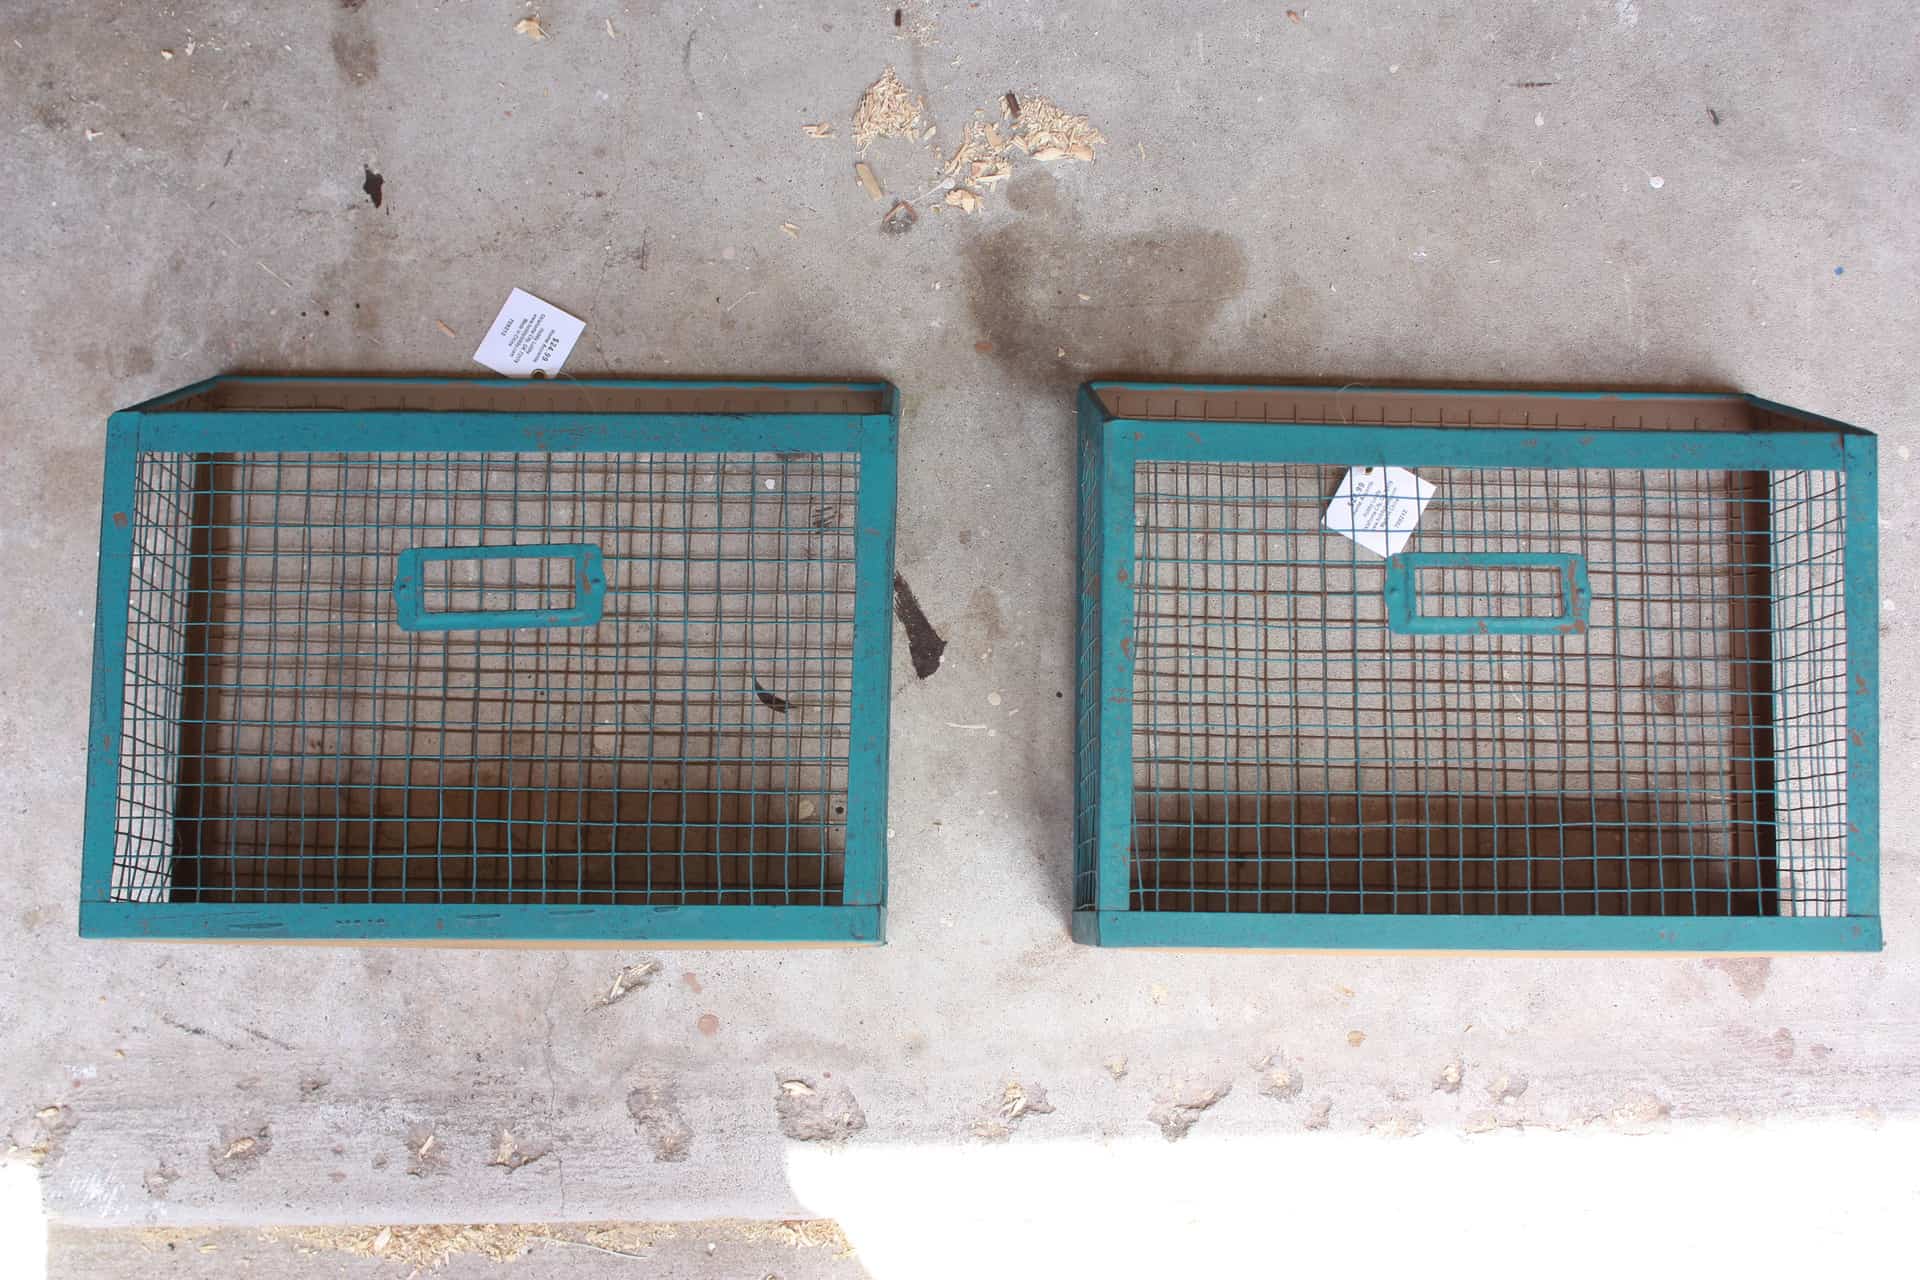
Yep! This is what they started out like! I got them on sale at Hobby Lobby for 50% off which made them worth a little extra work! If I couldn’t have got them on sale I would have continued my search until I found something different, but at $12.50 each, I was SOLD! I had been searching for quite some time to find wall baskets and everything was rather expensive so I was beyond happy when I stumbled across these babies!
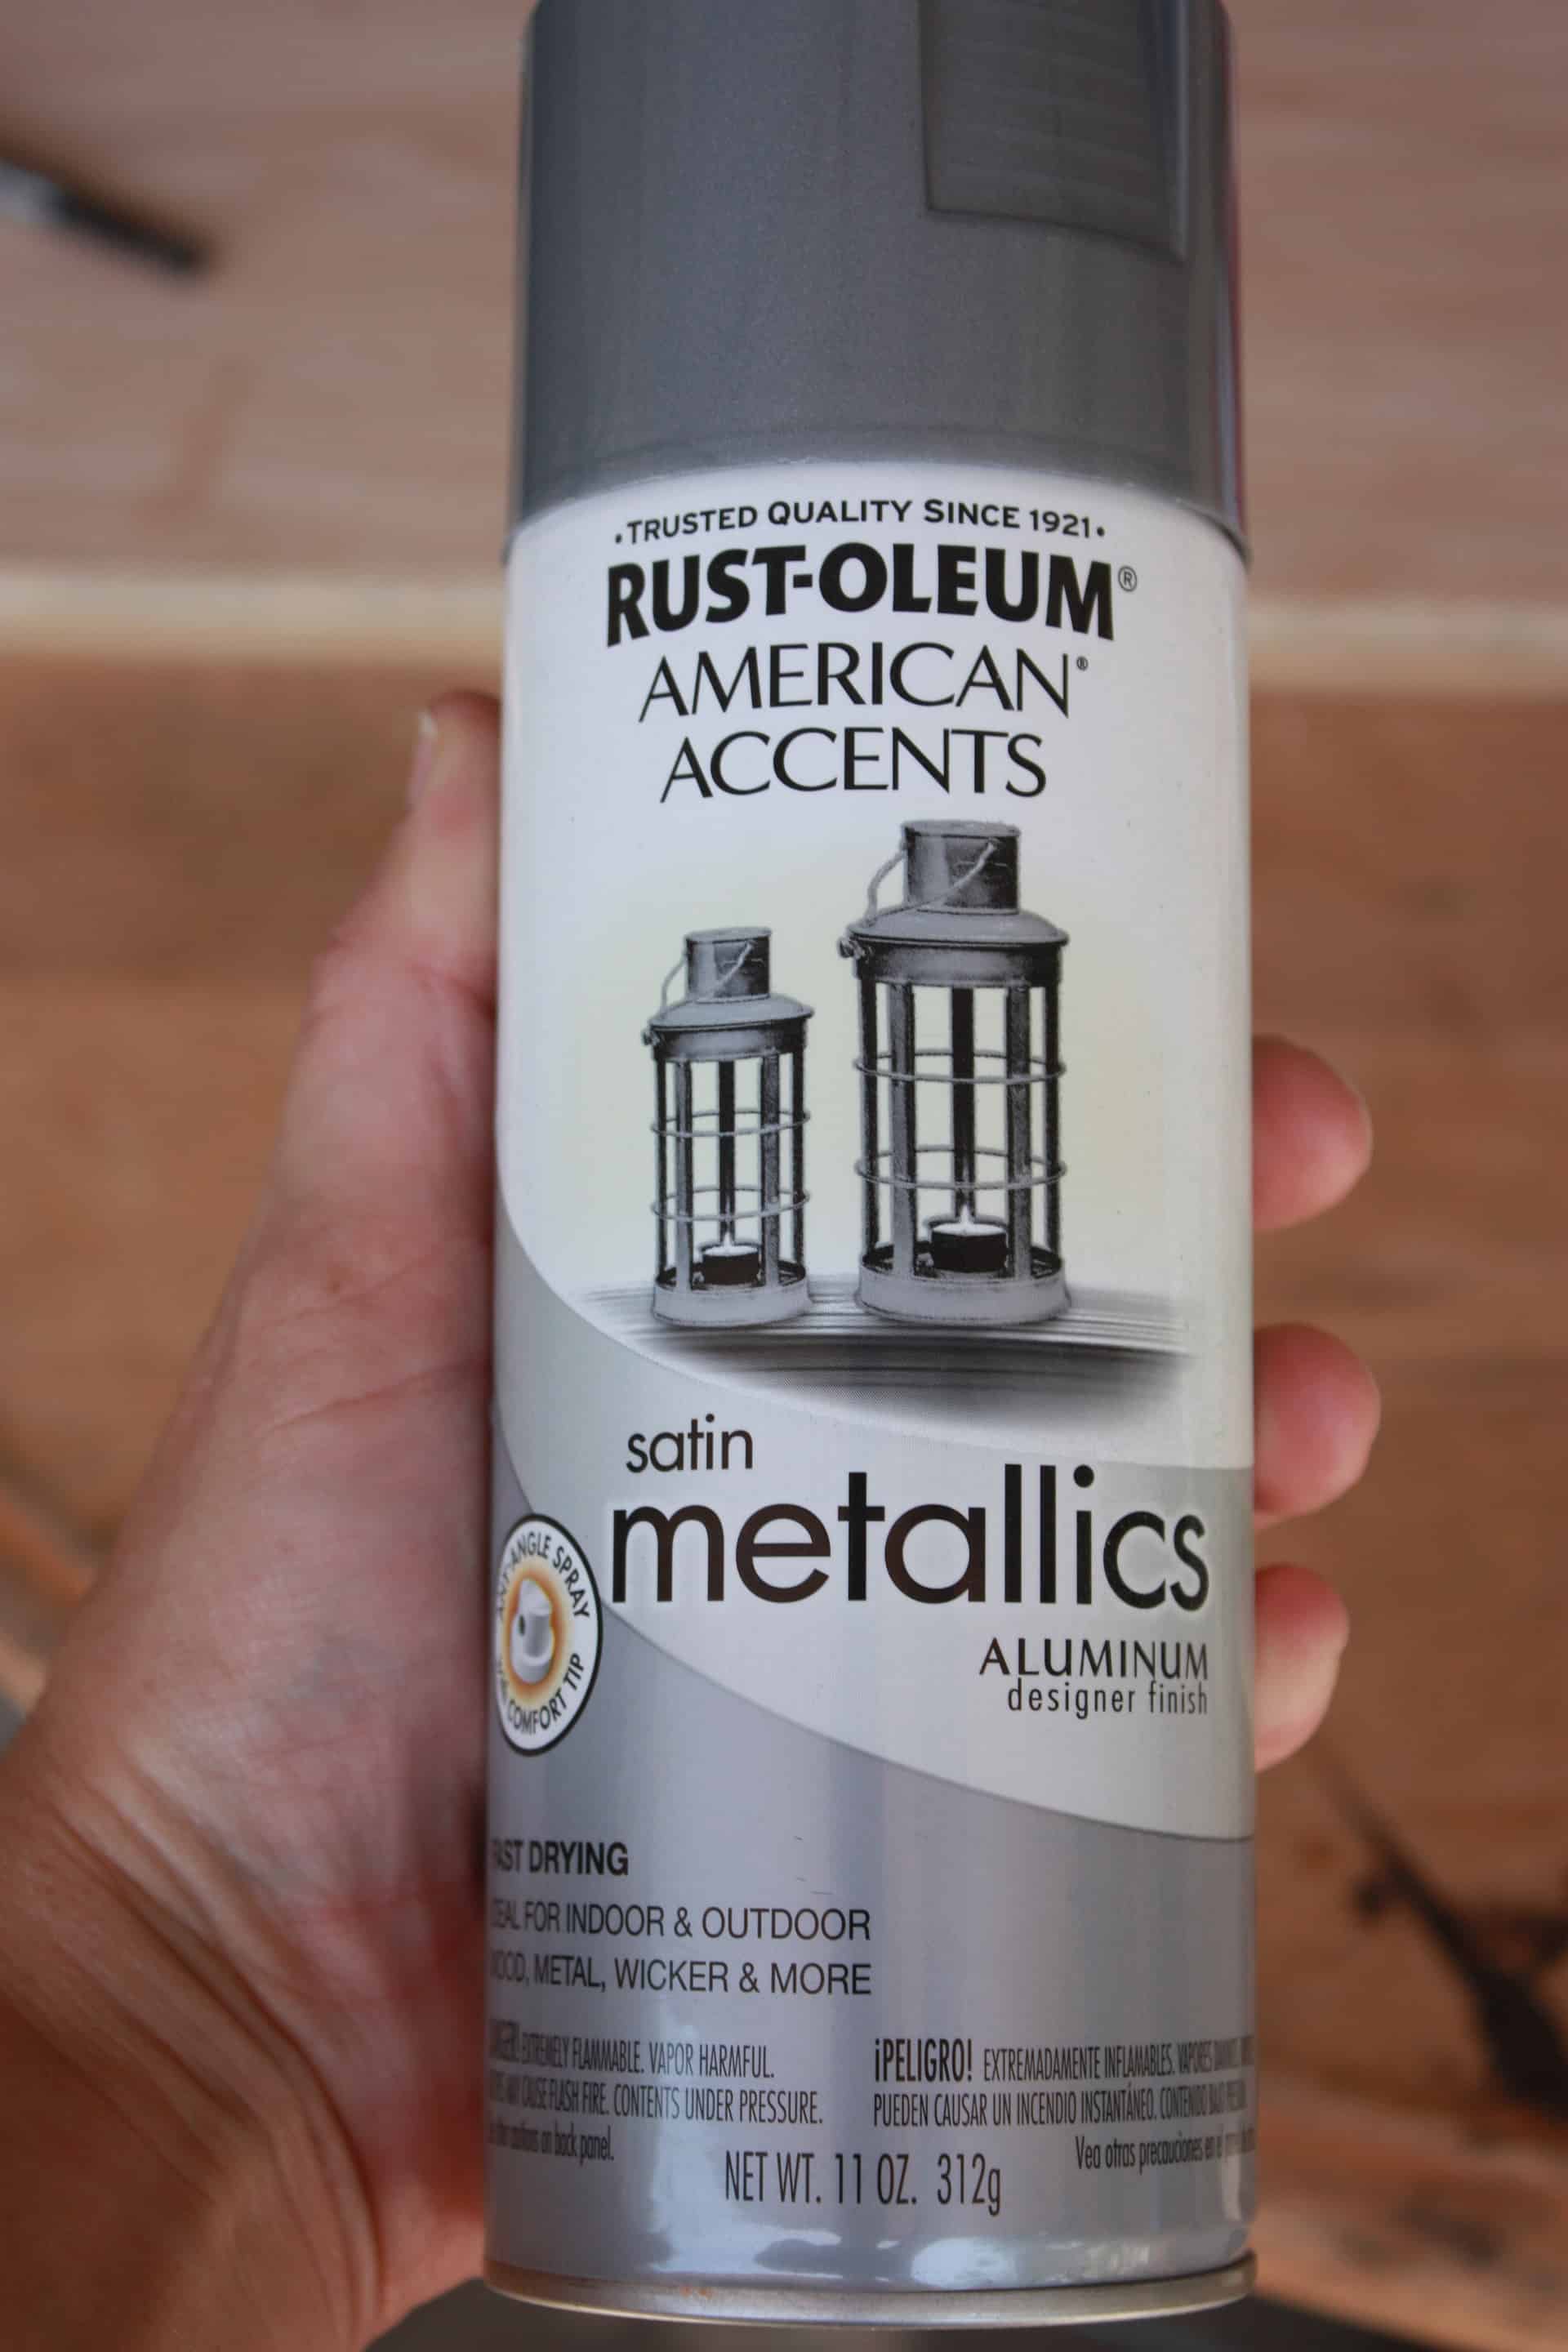
After two coats of this spray paint, they were looking much better!
I forgot to snap a picture right after painting them…my apologies!
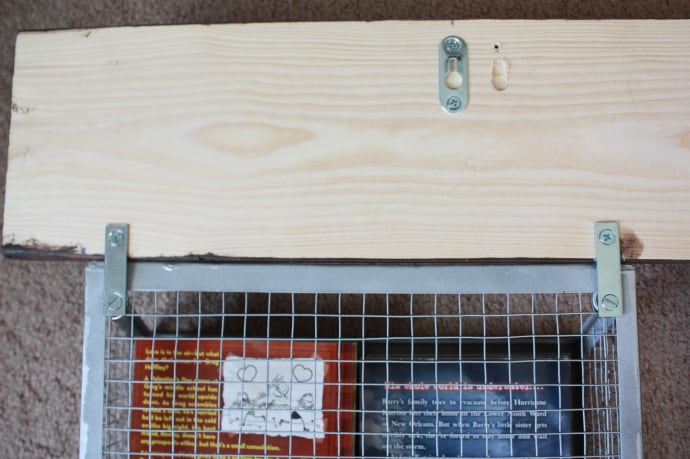
After waiting a little while for everything to dry, it is time to attach the mending plates to the basket. This part may seem a little tricky but it really was not at all!
Here are the fasteners I used.
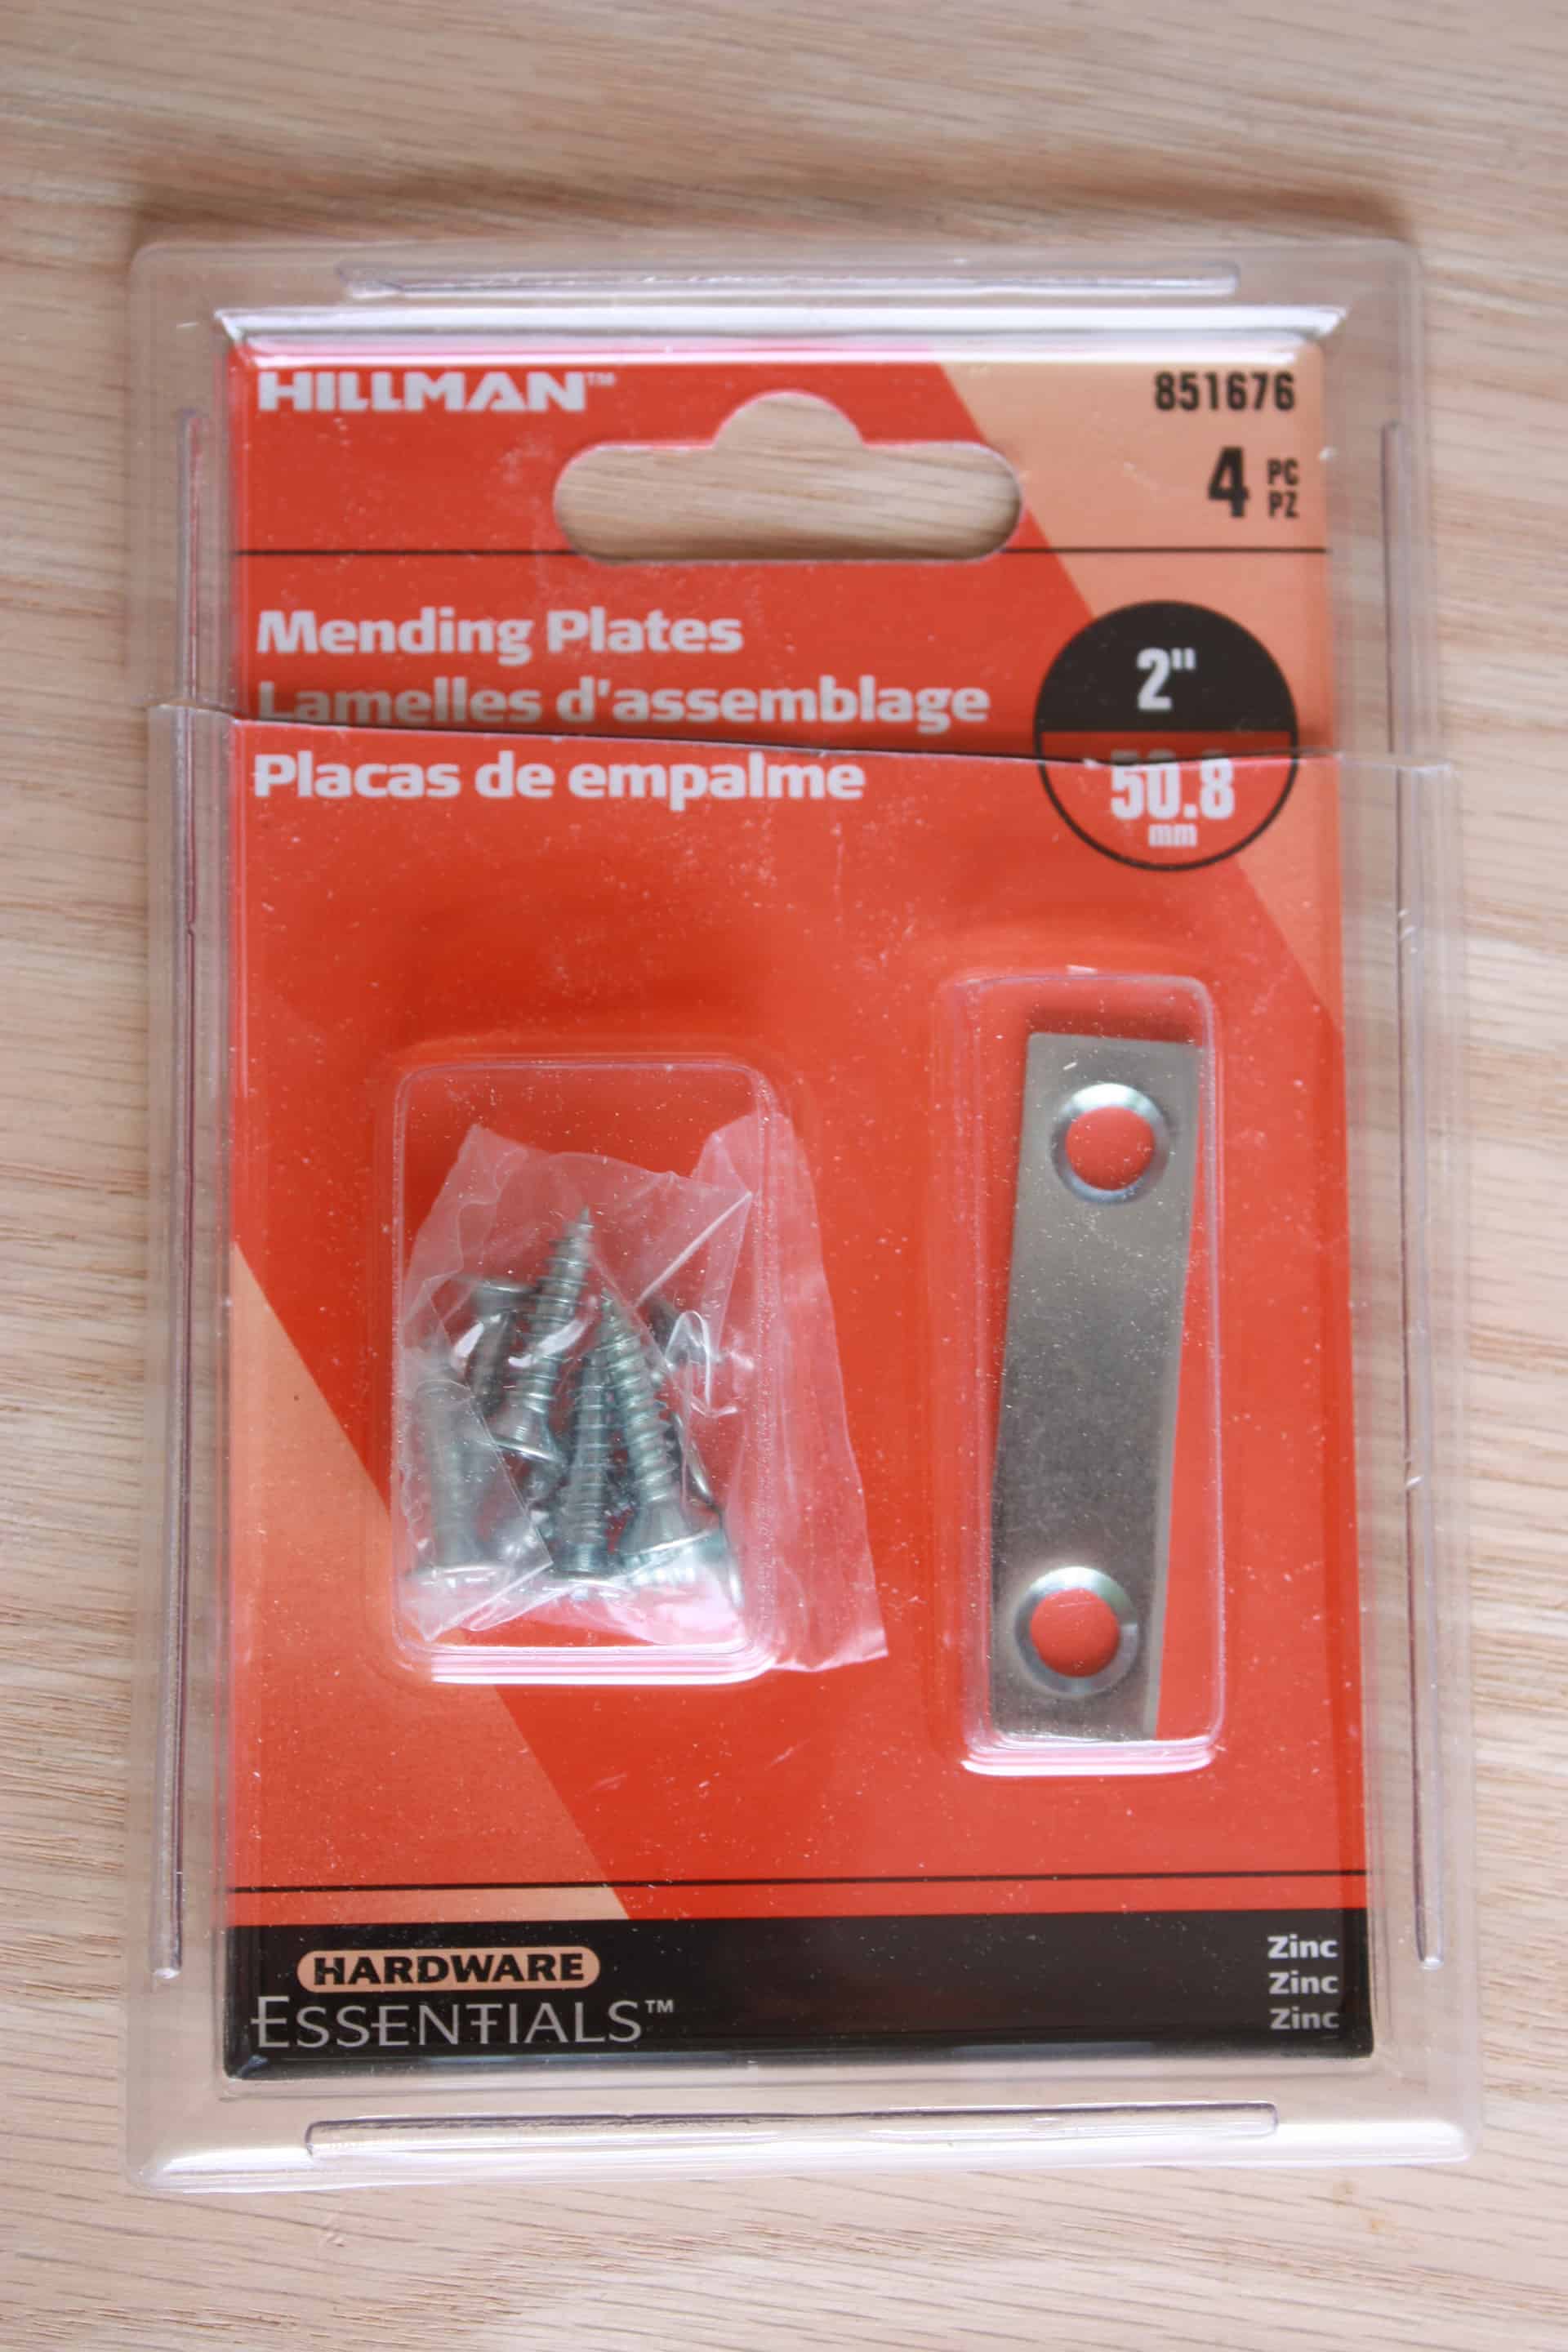
On each basket there are two hanging holes, on each hole you will need a mending plate on the backside of the basket then you will put one of the machine screws through the mending plate and then through the hole, on the inside of the basket you will place your finishing washer and then the nut! The screw will be sticking out pretty far and you can cut it with a hand saw or I used a Dremel tool! They will look a little something like this!
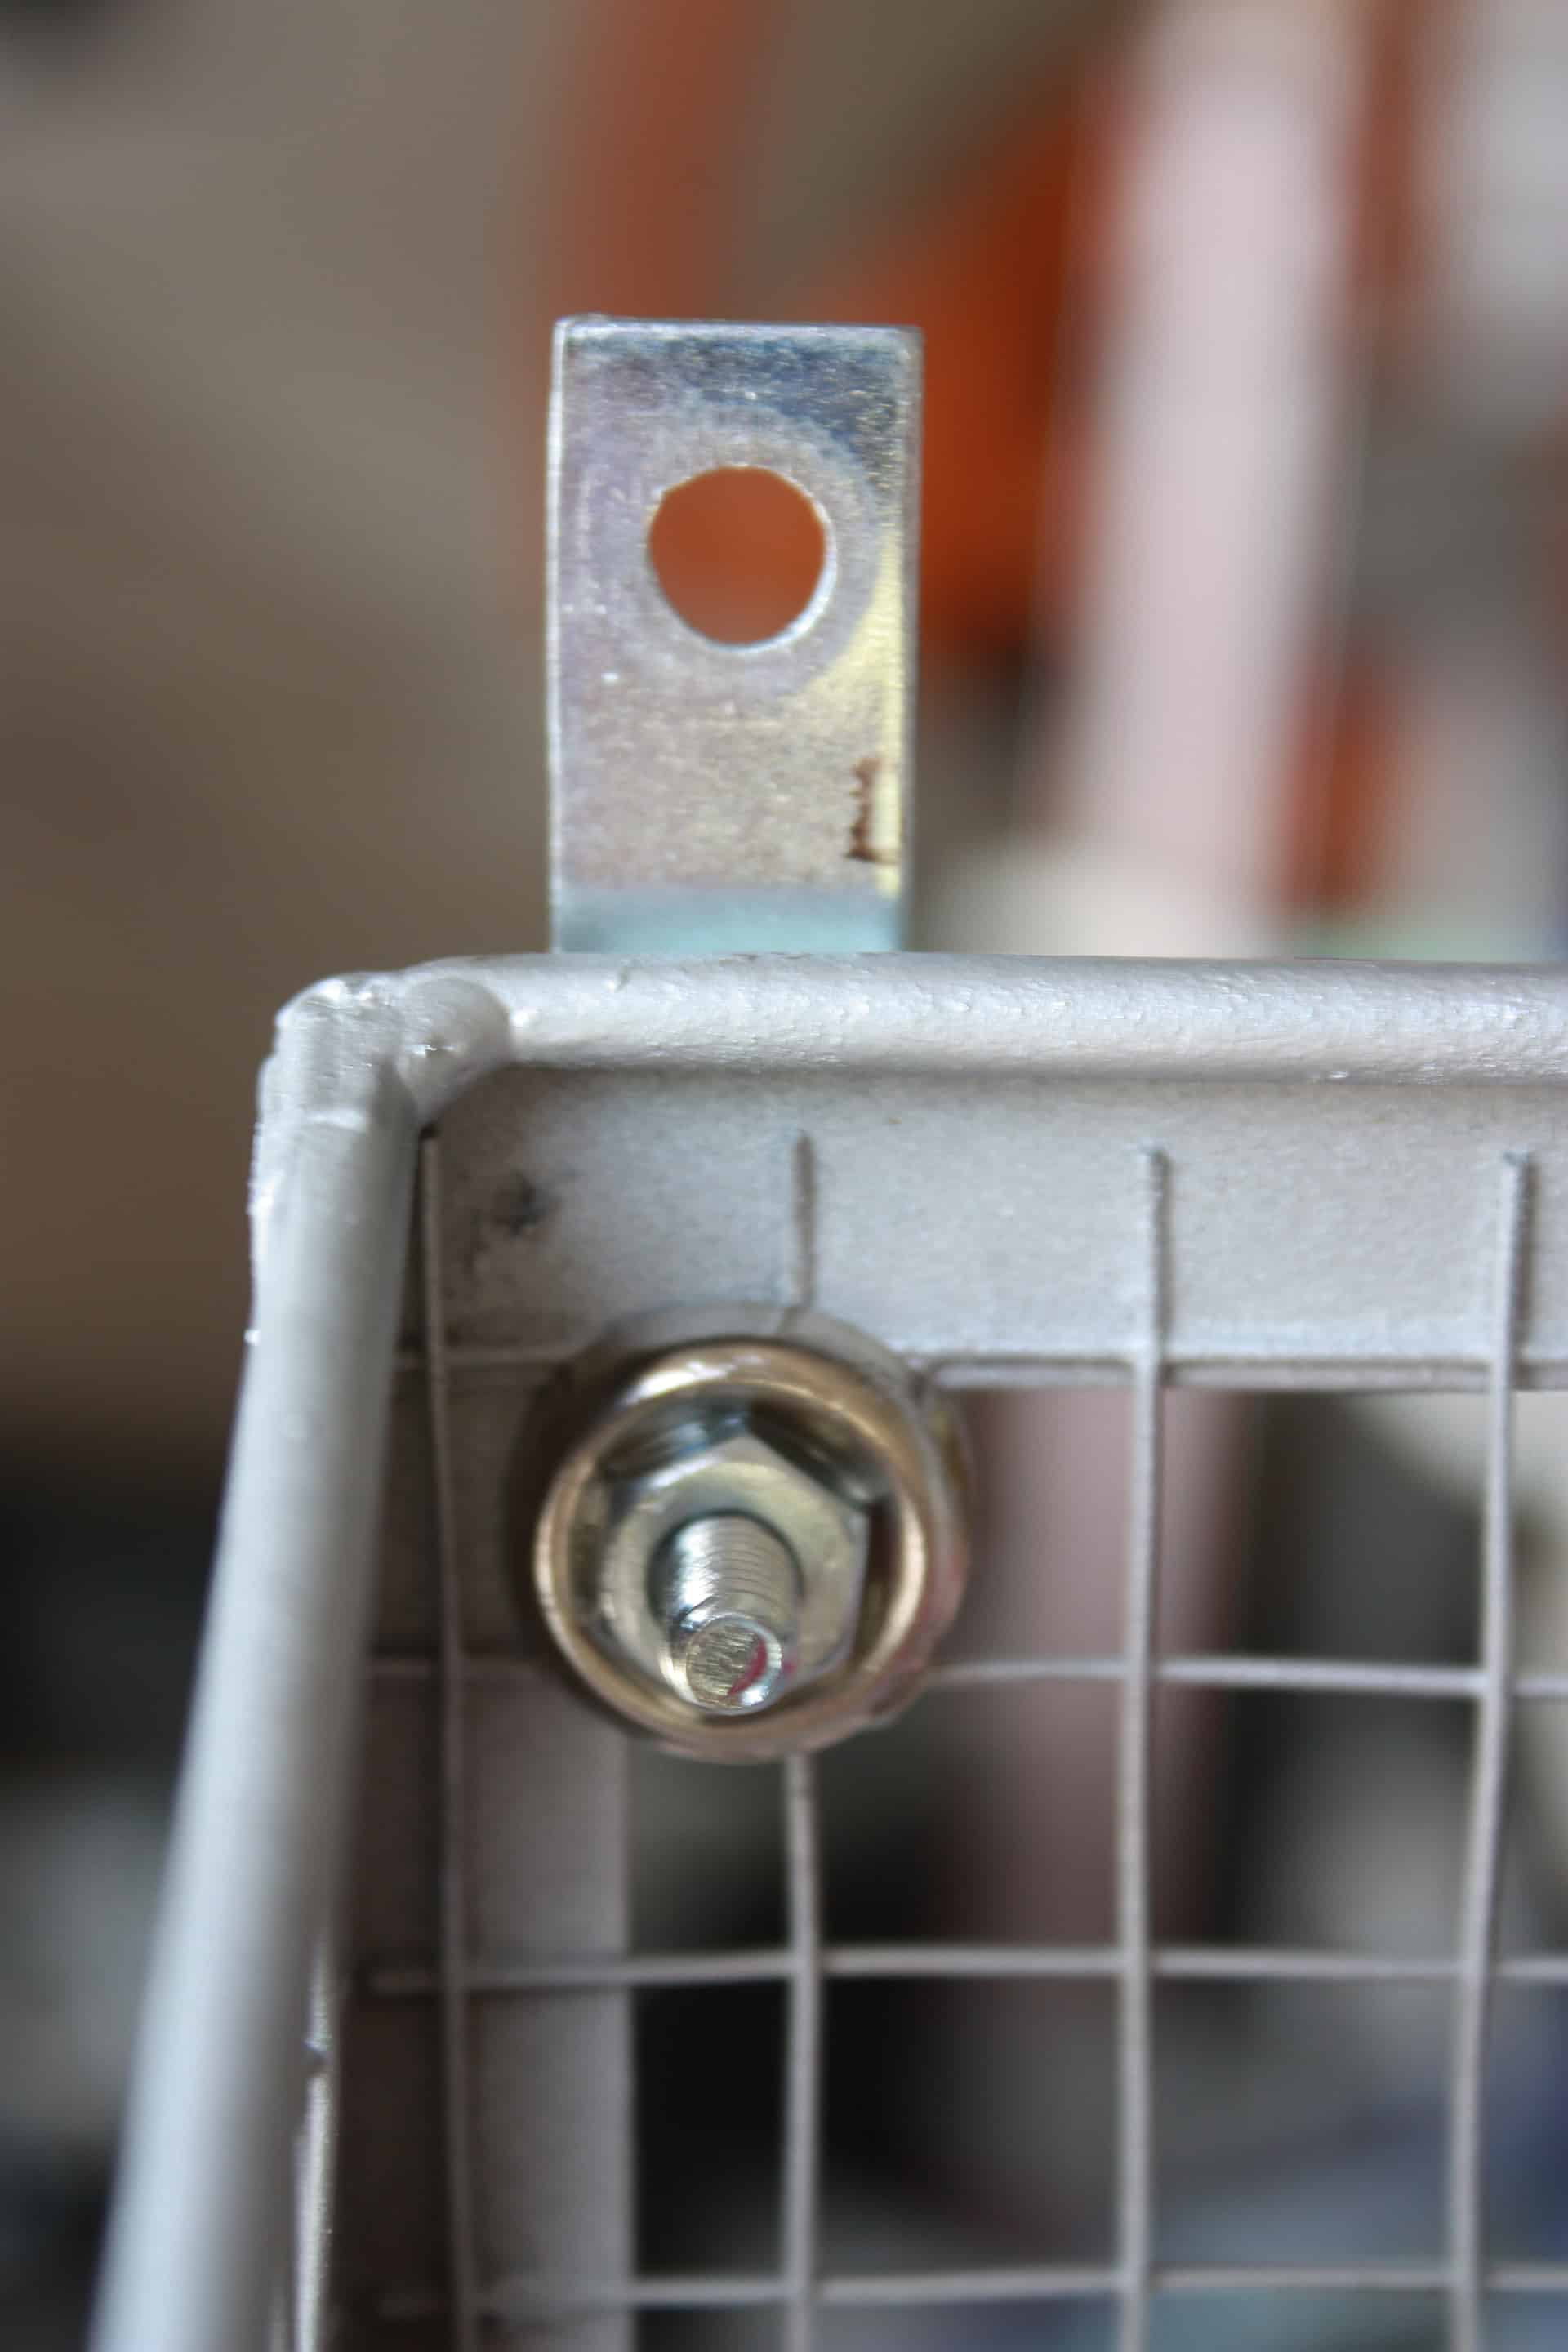
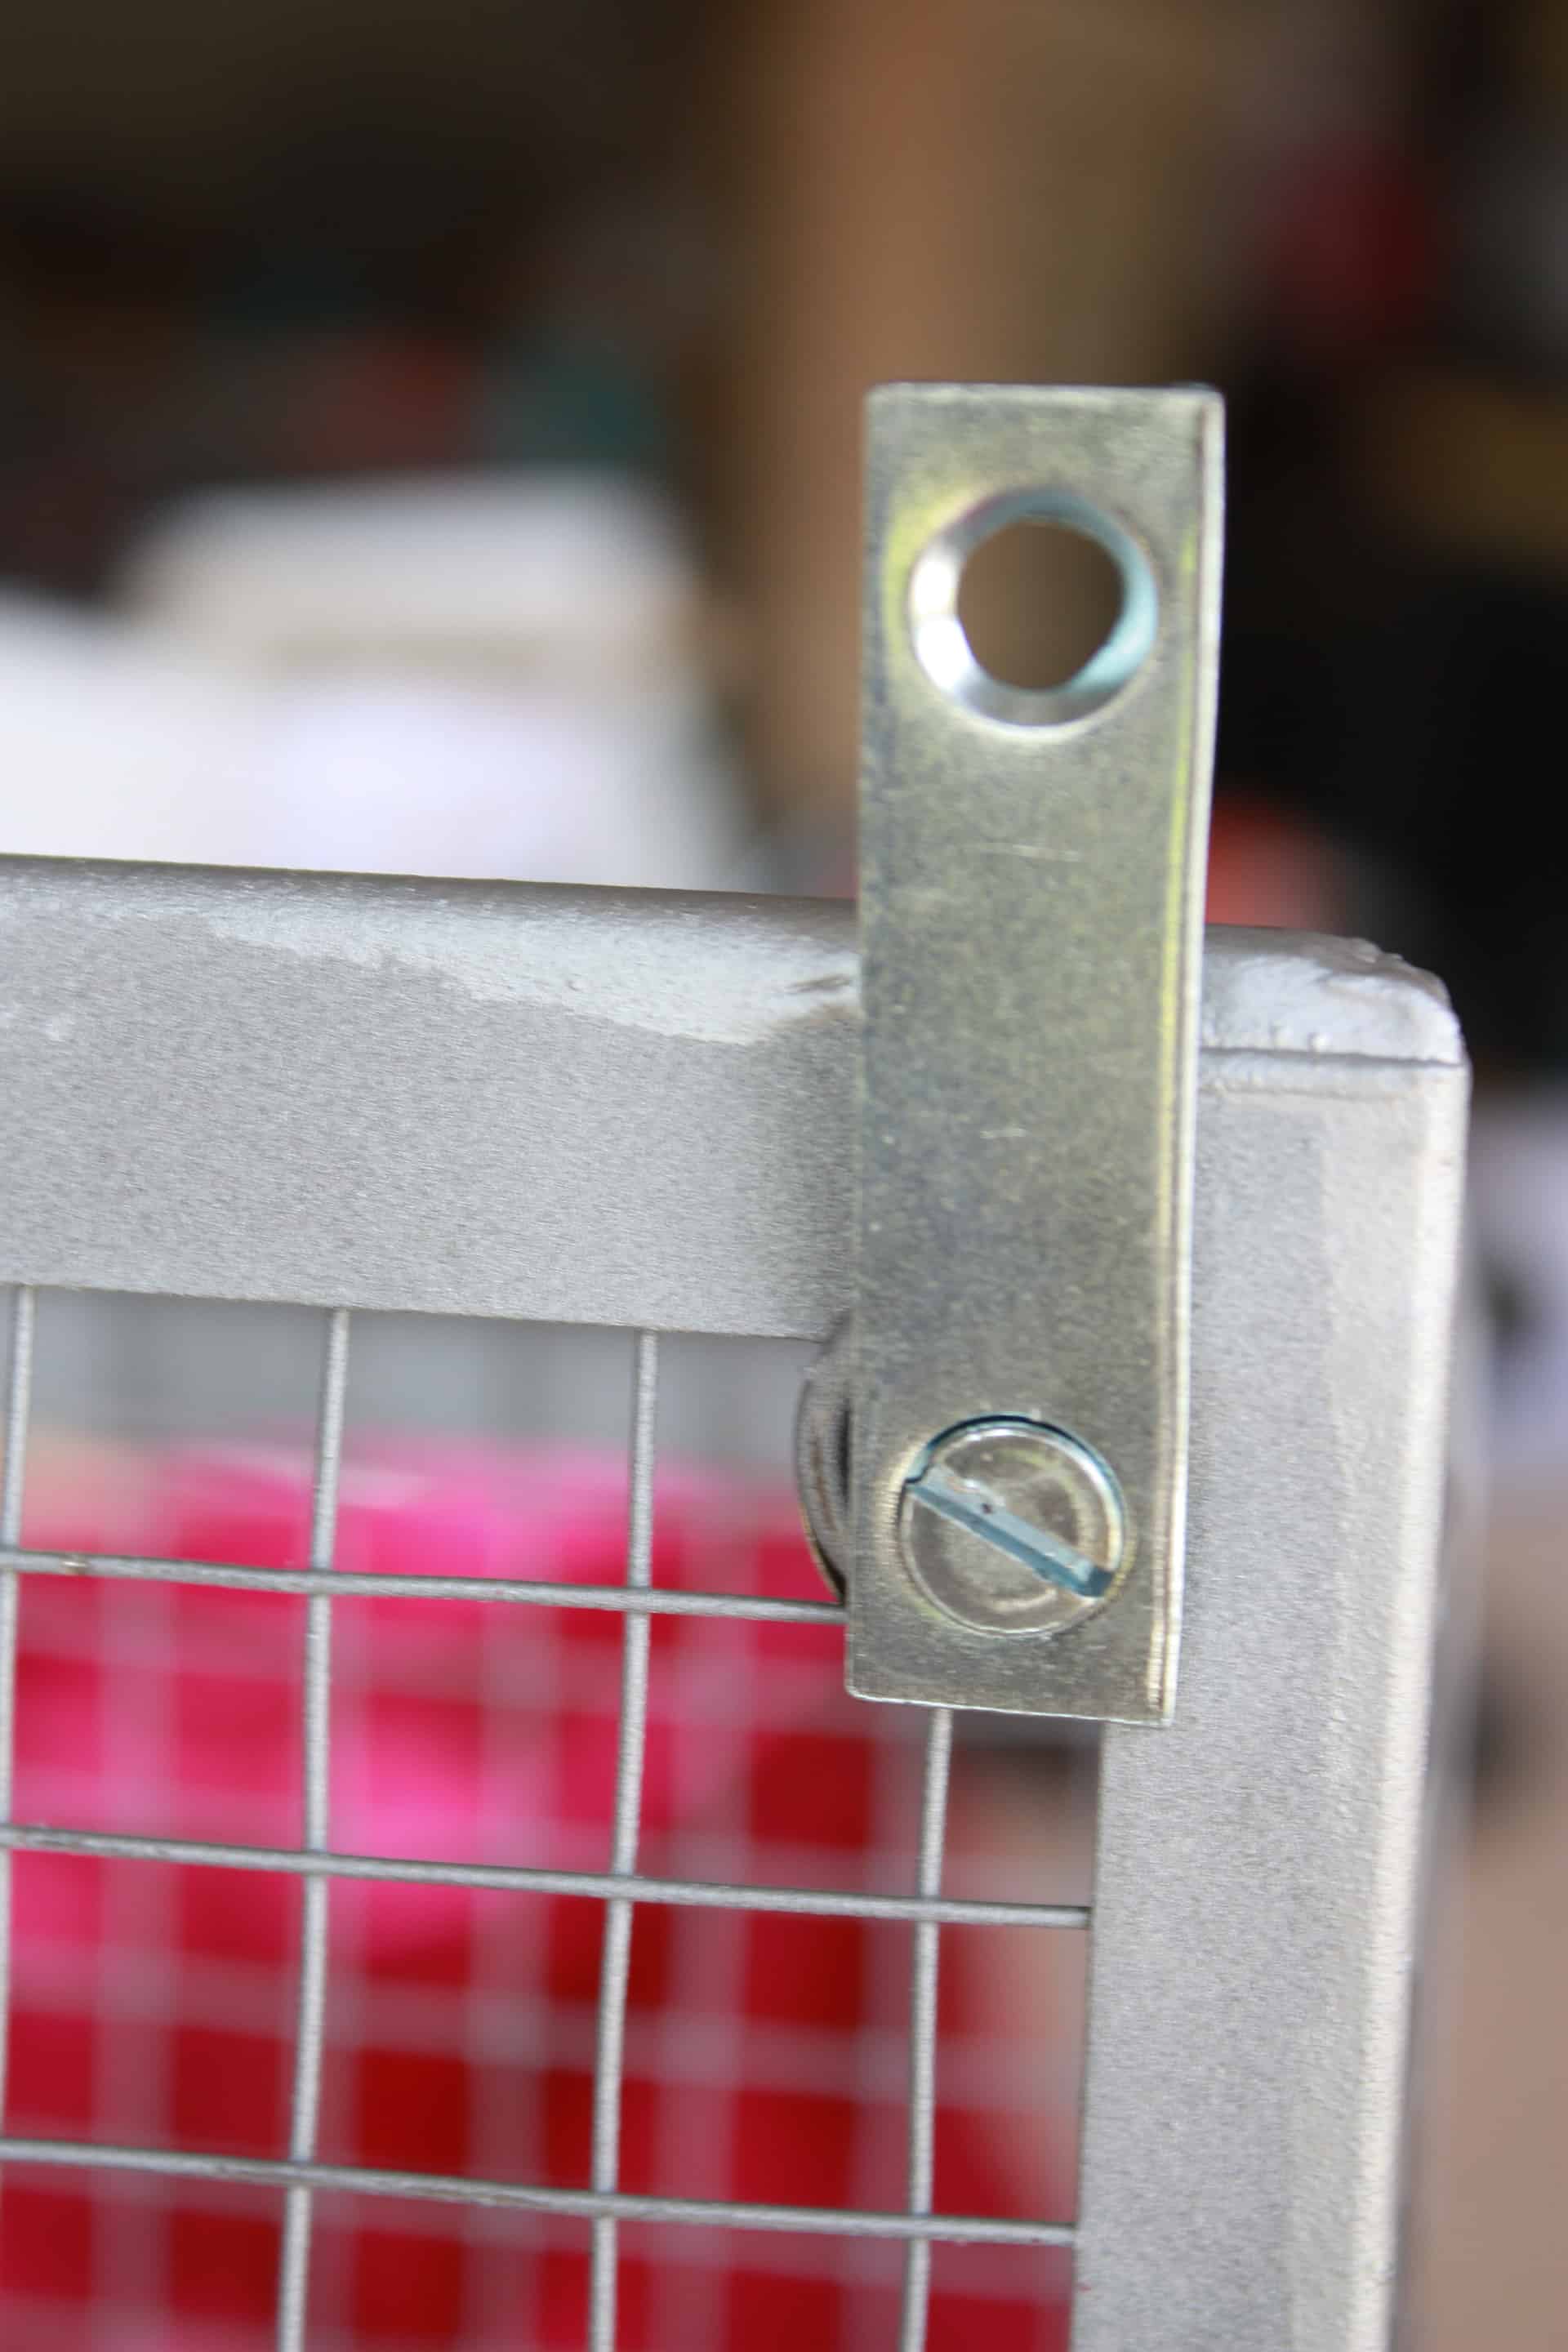
Then you give them a quick spray with the same spray paint you painted the basket with just so all the metals look like they were supposed to be there! Now they are ready to be attached to the wood! Woohoo!
The mending plates come with little screws that work perfect for attaching the baskets to the wood, so you just line them up where you want them and screw them in! Fantastic!!
Now you are ready to stencil the numbers on your DIY wall storage baskets if you would like! I had these stencils from Hobby Lobby that I had bought for another project, I never used them so, Whoop! Whoop! You can find them at Wal-Mart, Hobby Lobby or even cut your own if you have a die-cut machine like a Cricut! I linked some above in the materials list from Amazon!
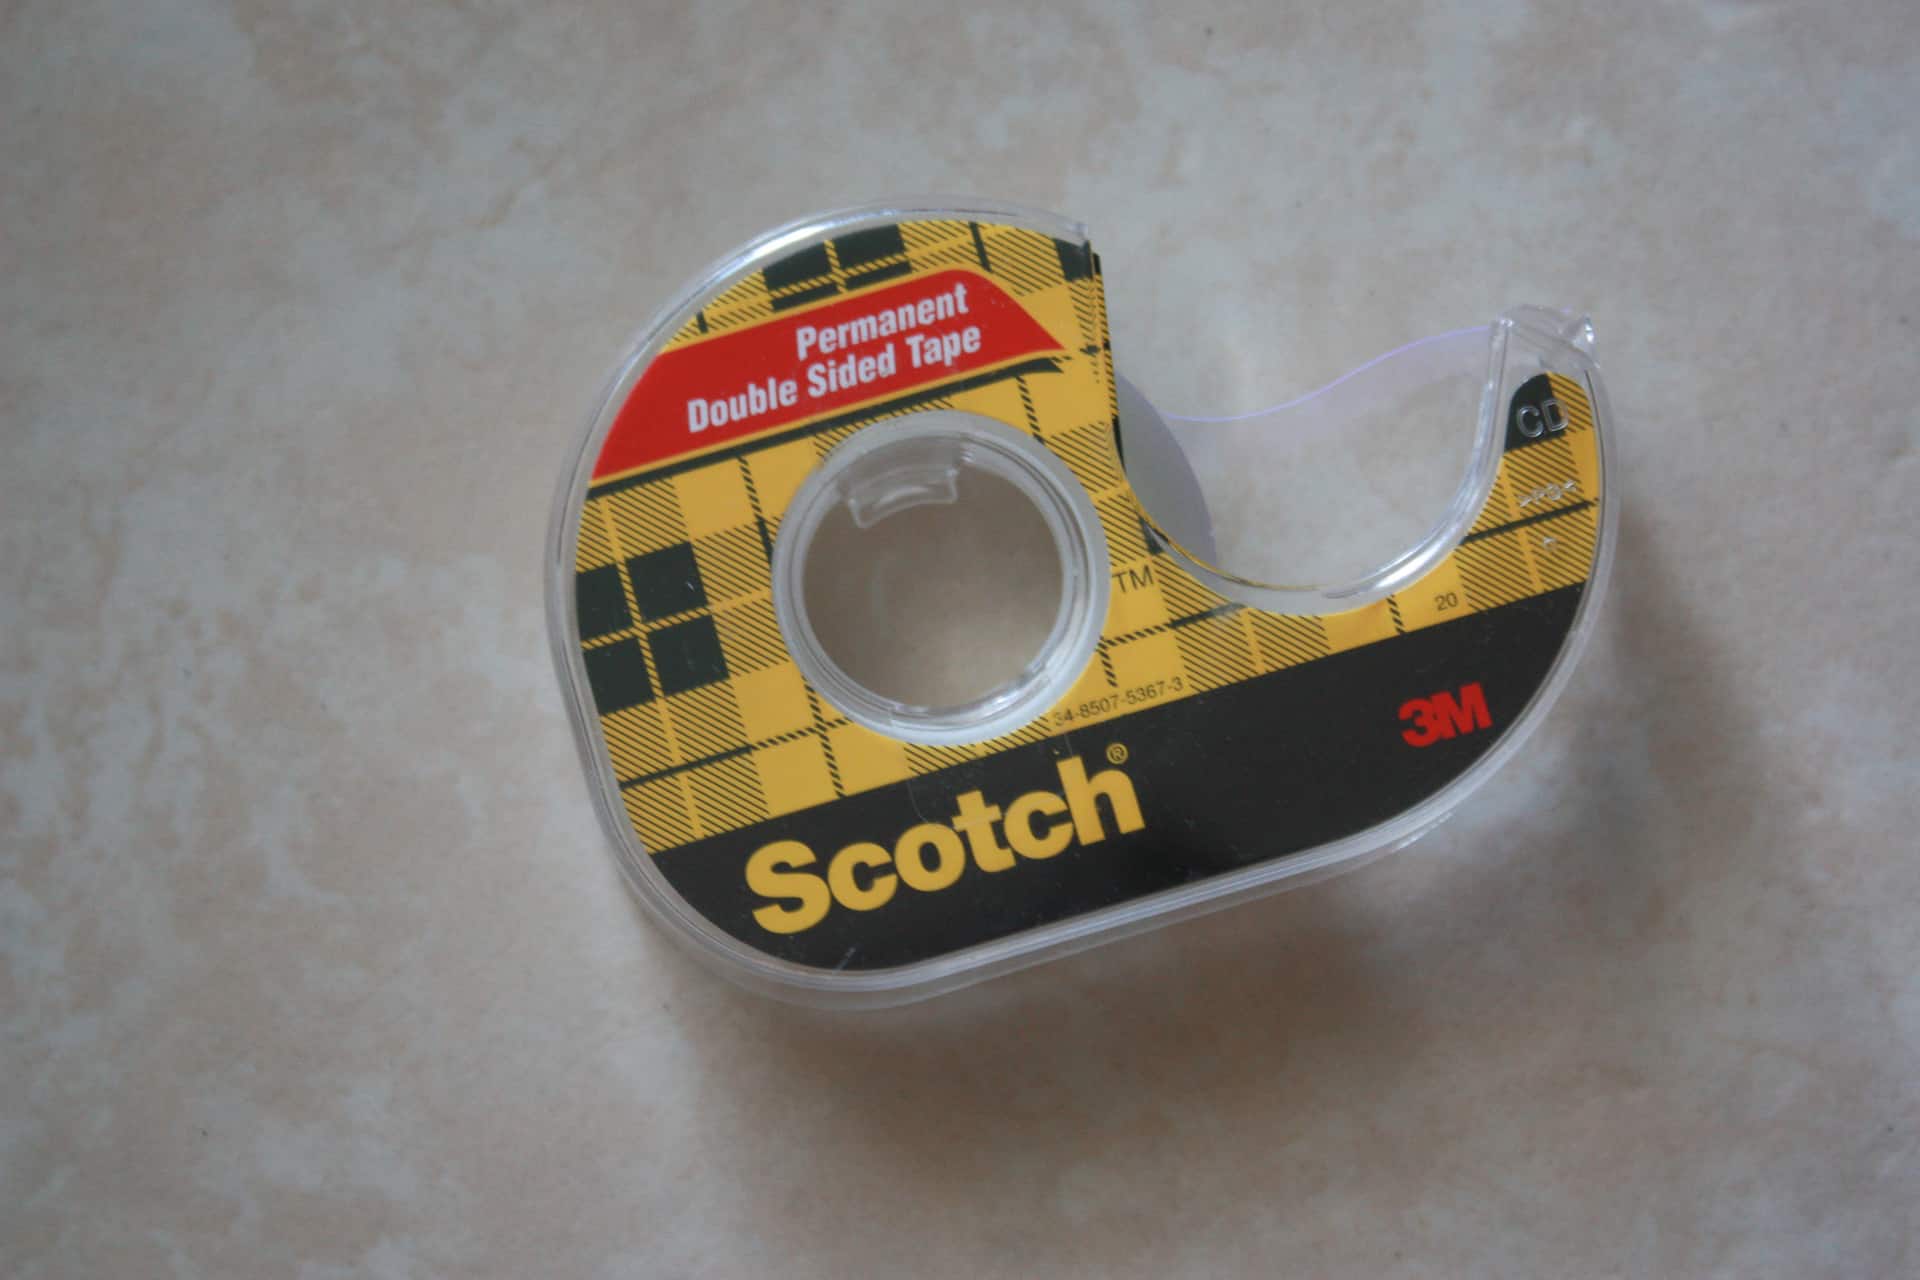
I used double-sided permanent tape, though it is NOT permanent (luckily), to hold my stencils down to where the paint wouldn’t bleed through.
I measured where I wanted the numbers to make sure they were even and started painting, I just used regular acrylic paint from the craft section to paint the numbers.
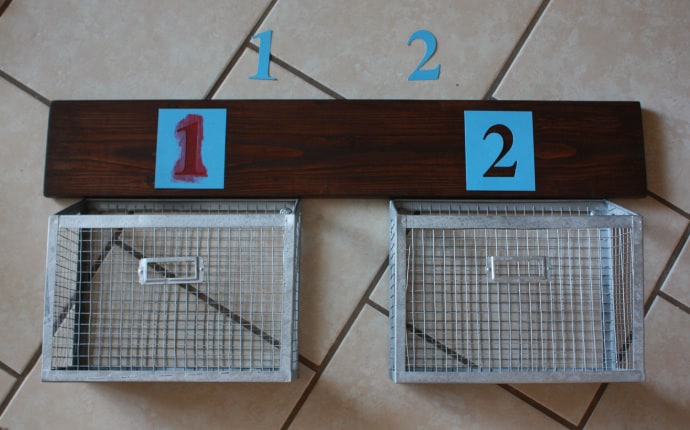
After a few minutes to let the paint dry, I took off the stencils…viola! Amazing! I almost love it!
My stencils left a little paper behind where I saturated them with paint! I ended up liking the look but just wanted to make sure and warn you not to over-saturate your stencils as I did…unless you want the paper around the edges as mine have! Lol!
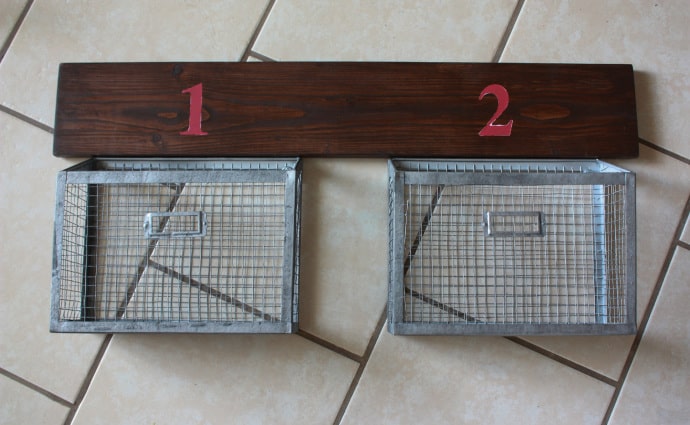
Also, I wasn’t crazy about how silver the baskets were, they were a bit too much of a blingy, shiny silver, so I made a glaze out of black acrylic paint and water, I always start out just mixing half paint and half water, then slowly add more paint until it is just the right consistency to glaze the paint. It has to have enough water to dilute the paint so it doesn’t cover the silver but not too much water that it runs off.
All you do is paint the black all over the silver and let it sit for a few minutes and then wipe it off with a paper towel. You can keep coating it until you get the desired effect that you want! I love giving shiny silver a black aged and industrial look!
Now we are ready to add the hanging hardware! This is awesome…we are so close to done and so quick! Ha!
I used this hanging hardware.
I was thinking at the time that it needed to hold a lot of weight but really even with all the books in it, it isn’t all that heavy! So you can really use any type of hardware…the only thing is to make sure to measure where your studs are and make sure to place your hardware where they will hit the studs…another really great thing about DIY…customized hardware placing to make sure you get the studs!
Then you hang this set of DIY wall storage baskets up on the wall and get your kids’ books off of the floor…or whatever else you may want to get off of the floor and place in this!
I hope you have a great time building this! If you have any questions on how to build the DIY wall storage baskets, or comments, feel free to leave them below! Make sure and sign up for my email subscriptions to be notified of new posts!
If you liked this post, you may like DIY Wall Hanging Blanket Ladder as well!

Want to save this cute little set of DIY wall storage baskets for later? PIN IT!
this is very cute and looks easy enough to make. thank you for sharing
Thank you Cami! This is very easy to make and it is amazing how much stuff those little baskets can hold! If you give it a go, I would love to see pics!
Hey Cami,
Thank you so much! It is super easy to make and it really amazes me how much this little guy can hold! If you give it a go and try making it I would LOVE to see pics! Thanks again! Have a good one!