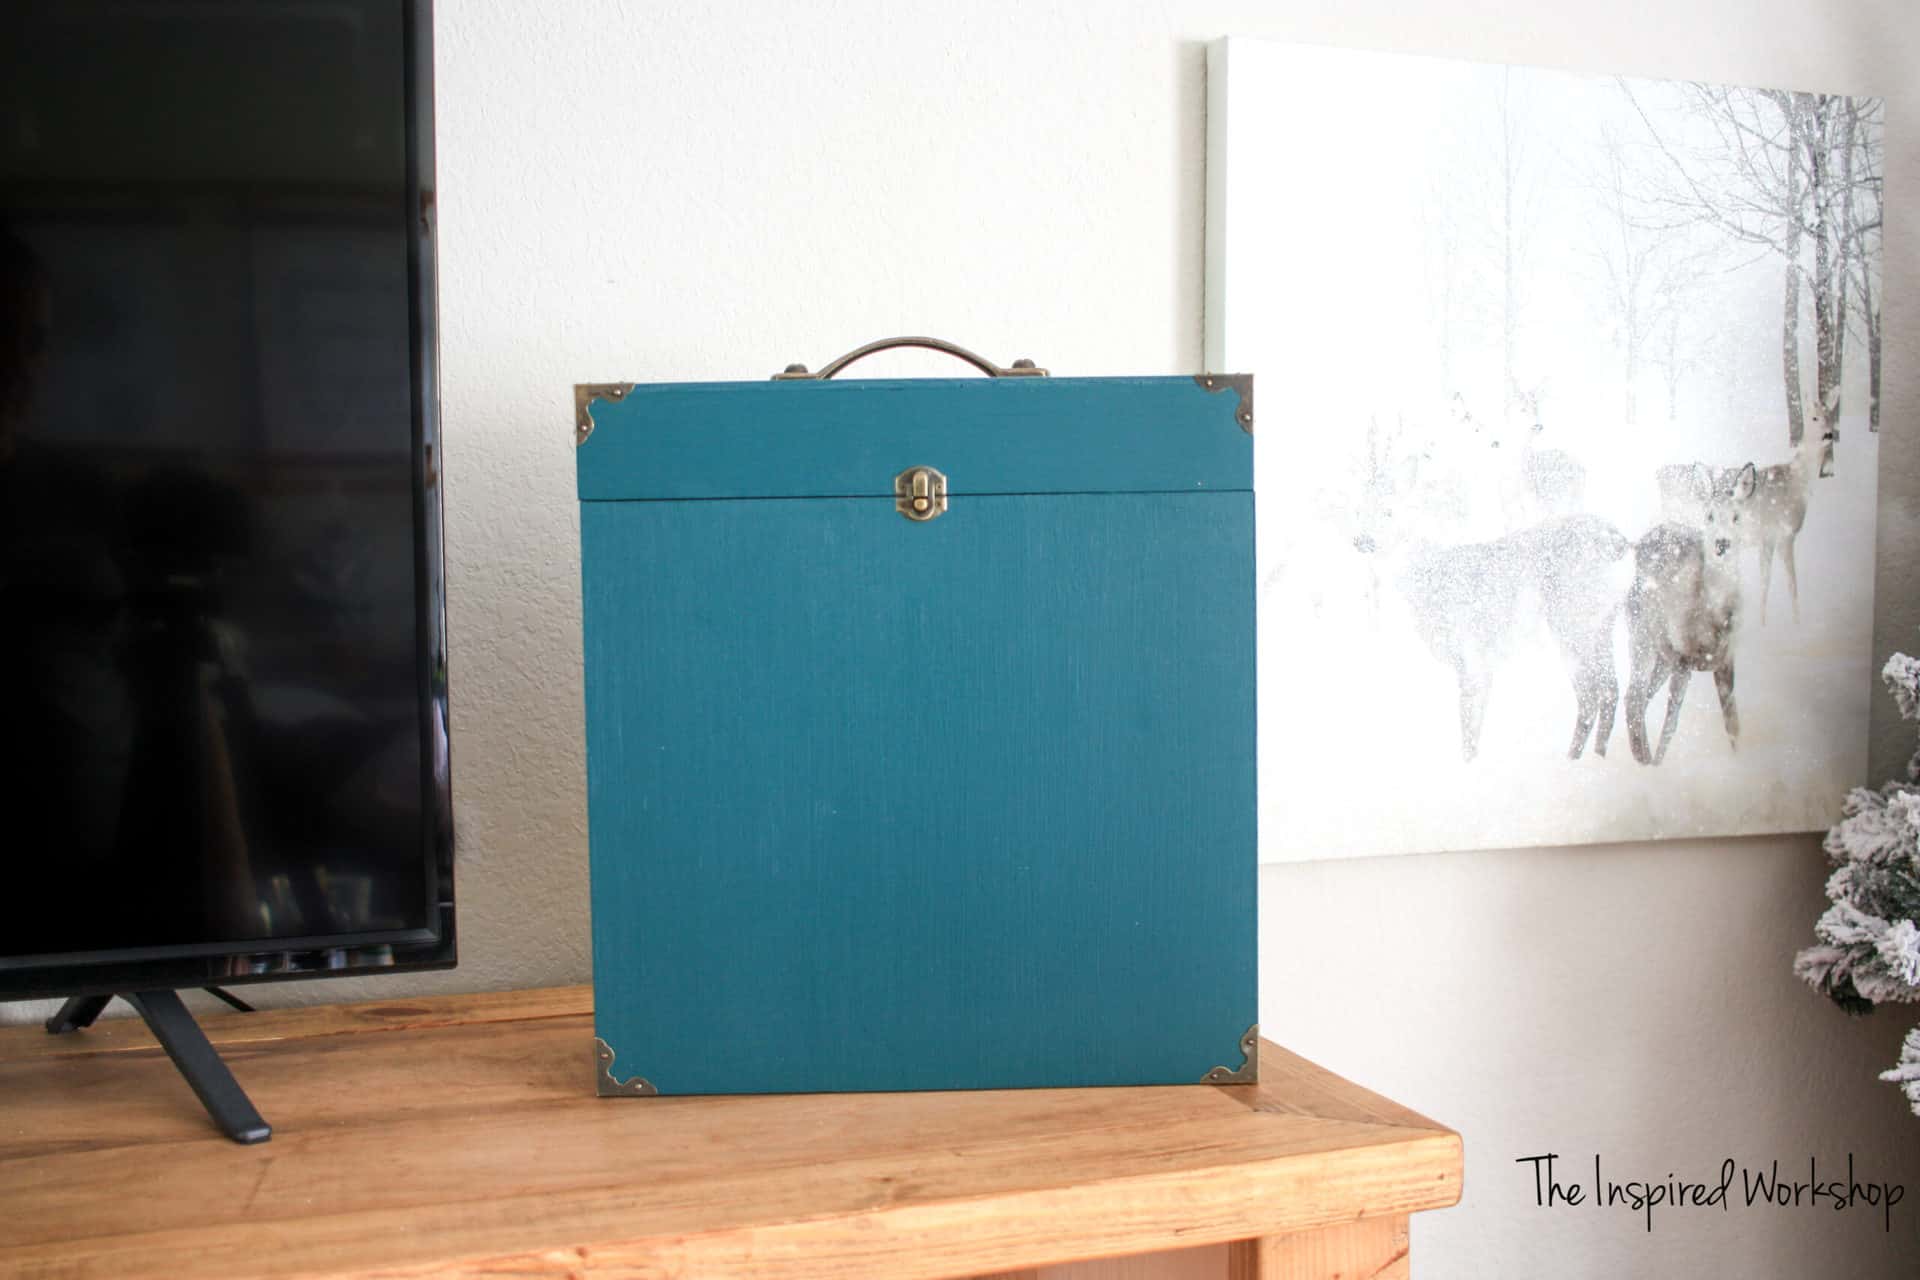
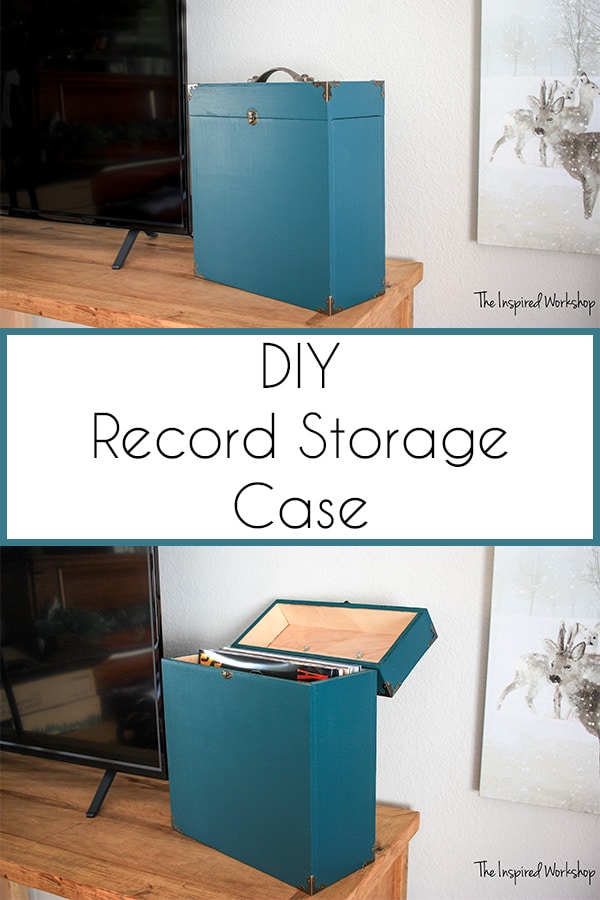
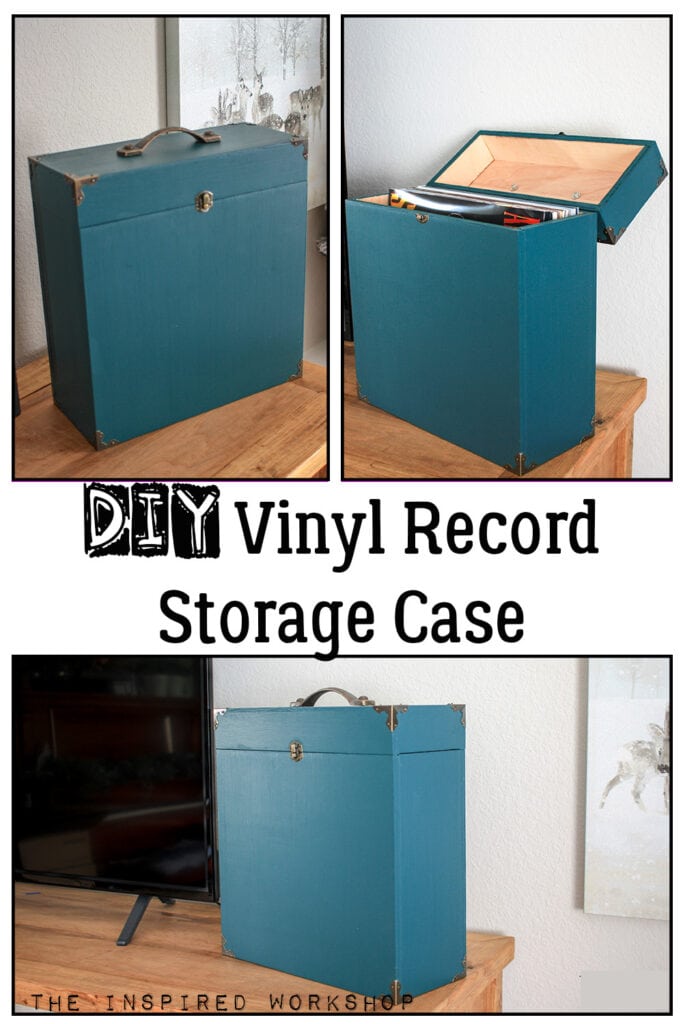
DIY Record Storage Case

It’s true, music sounds better on vinyl, and vinyl records have started making their comeback in recent years and they are being sold in all your favorite stores once again! Seeing these records, you can’t help but start yourself a collection, and starting yourself a collection means needing a place to store them! Build a DIY record storage case to hold your newfound love of vinyl records!
Hope you all had the best holidays with your family and friends! I’m here today to share with you all the DIY record storage case that I made for my son! Y’all he is 14 and a boy after my heart with his old soul! I LOVE vinyl records and record players, they remind me of my dad when we were really little, and now my son has taken a liking to them! I couldn’t be more excited!
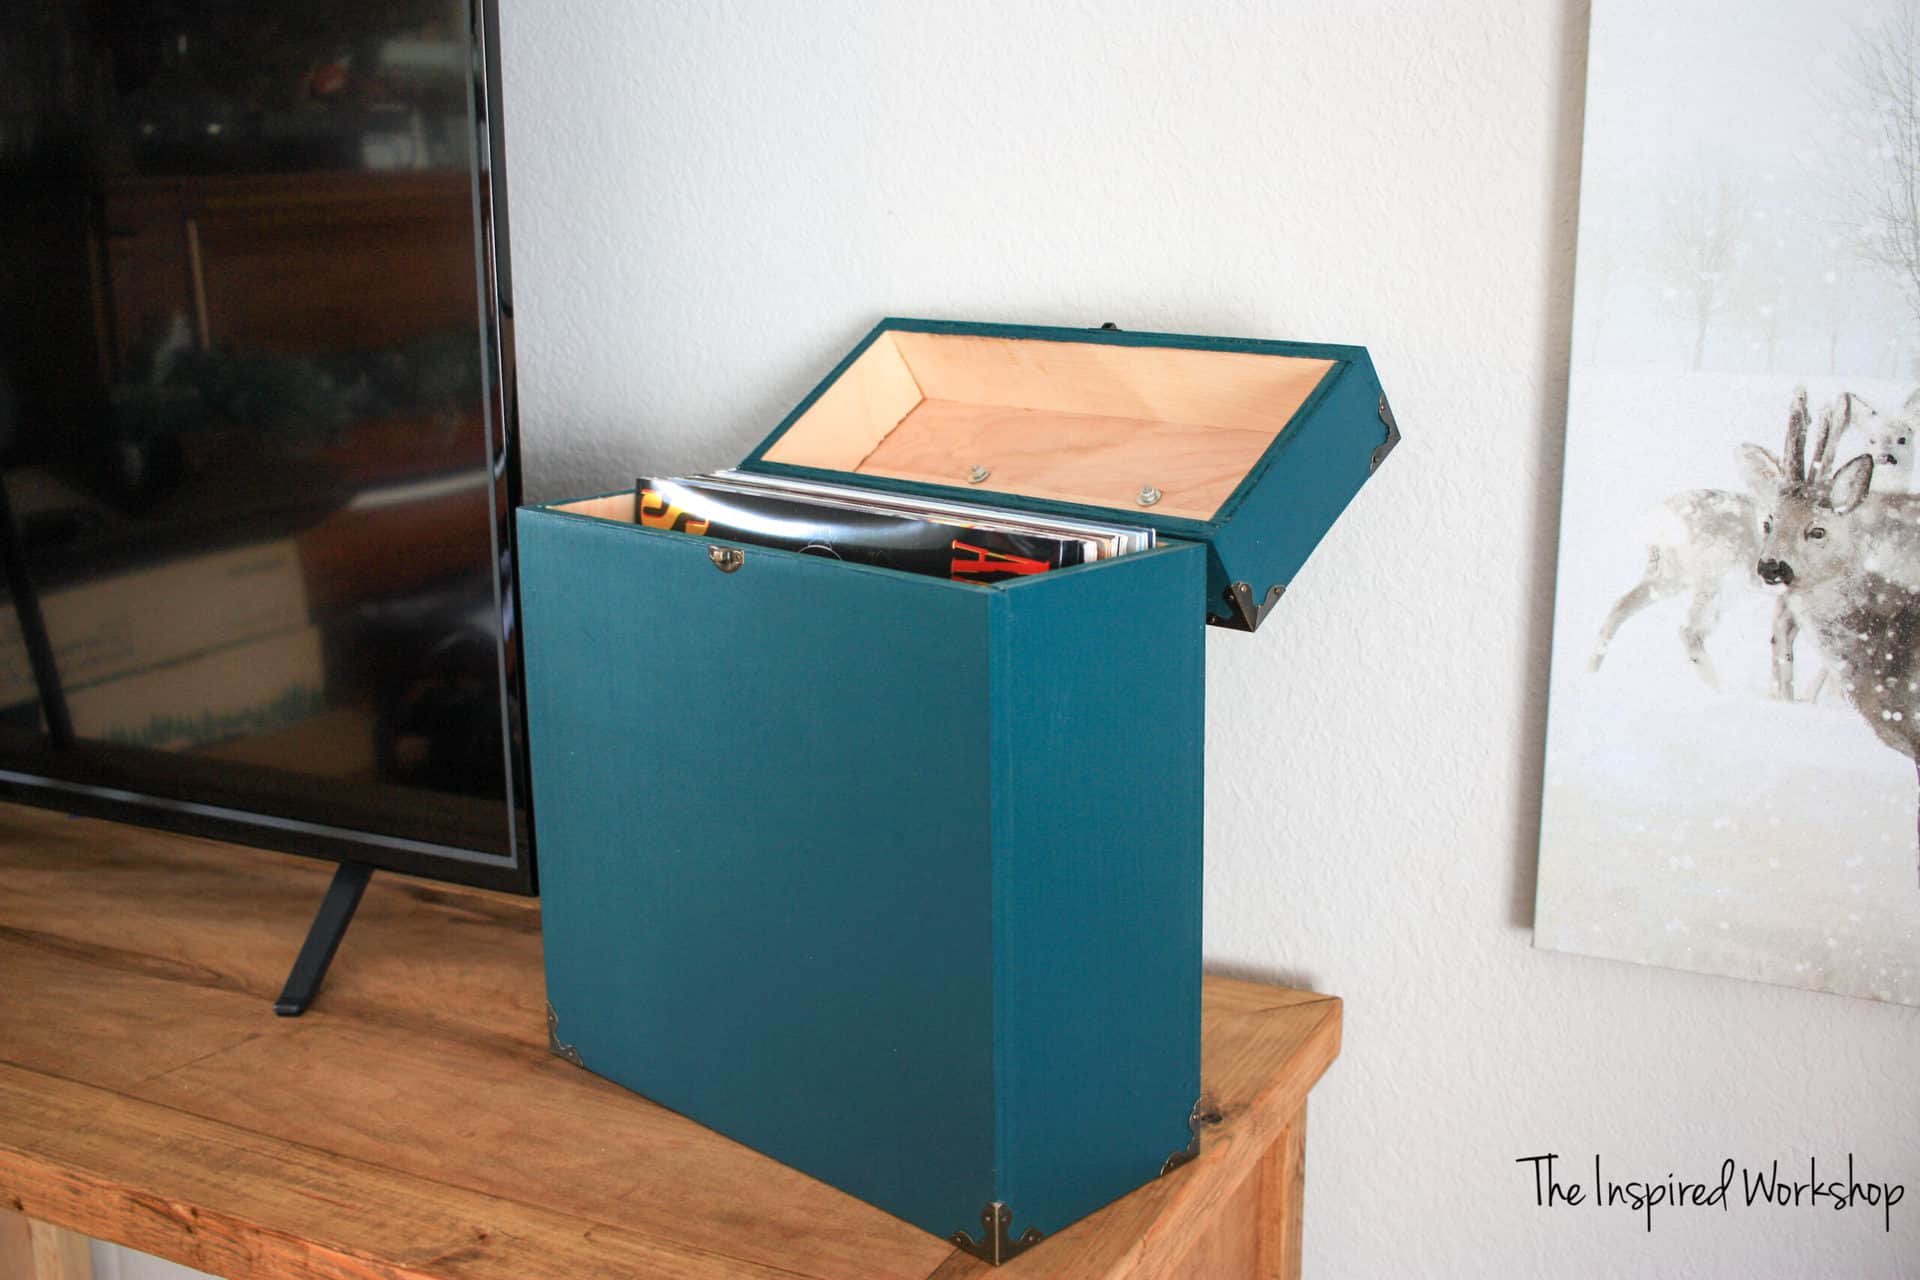
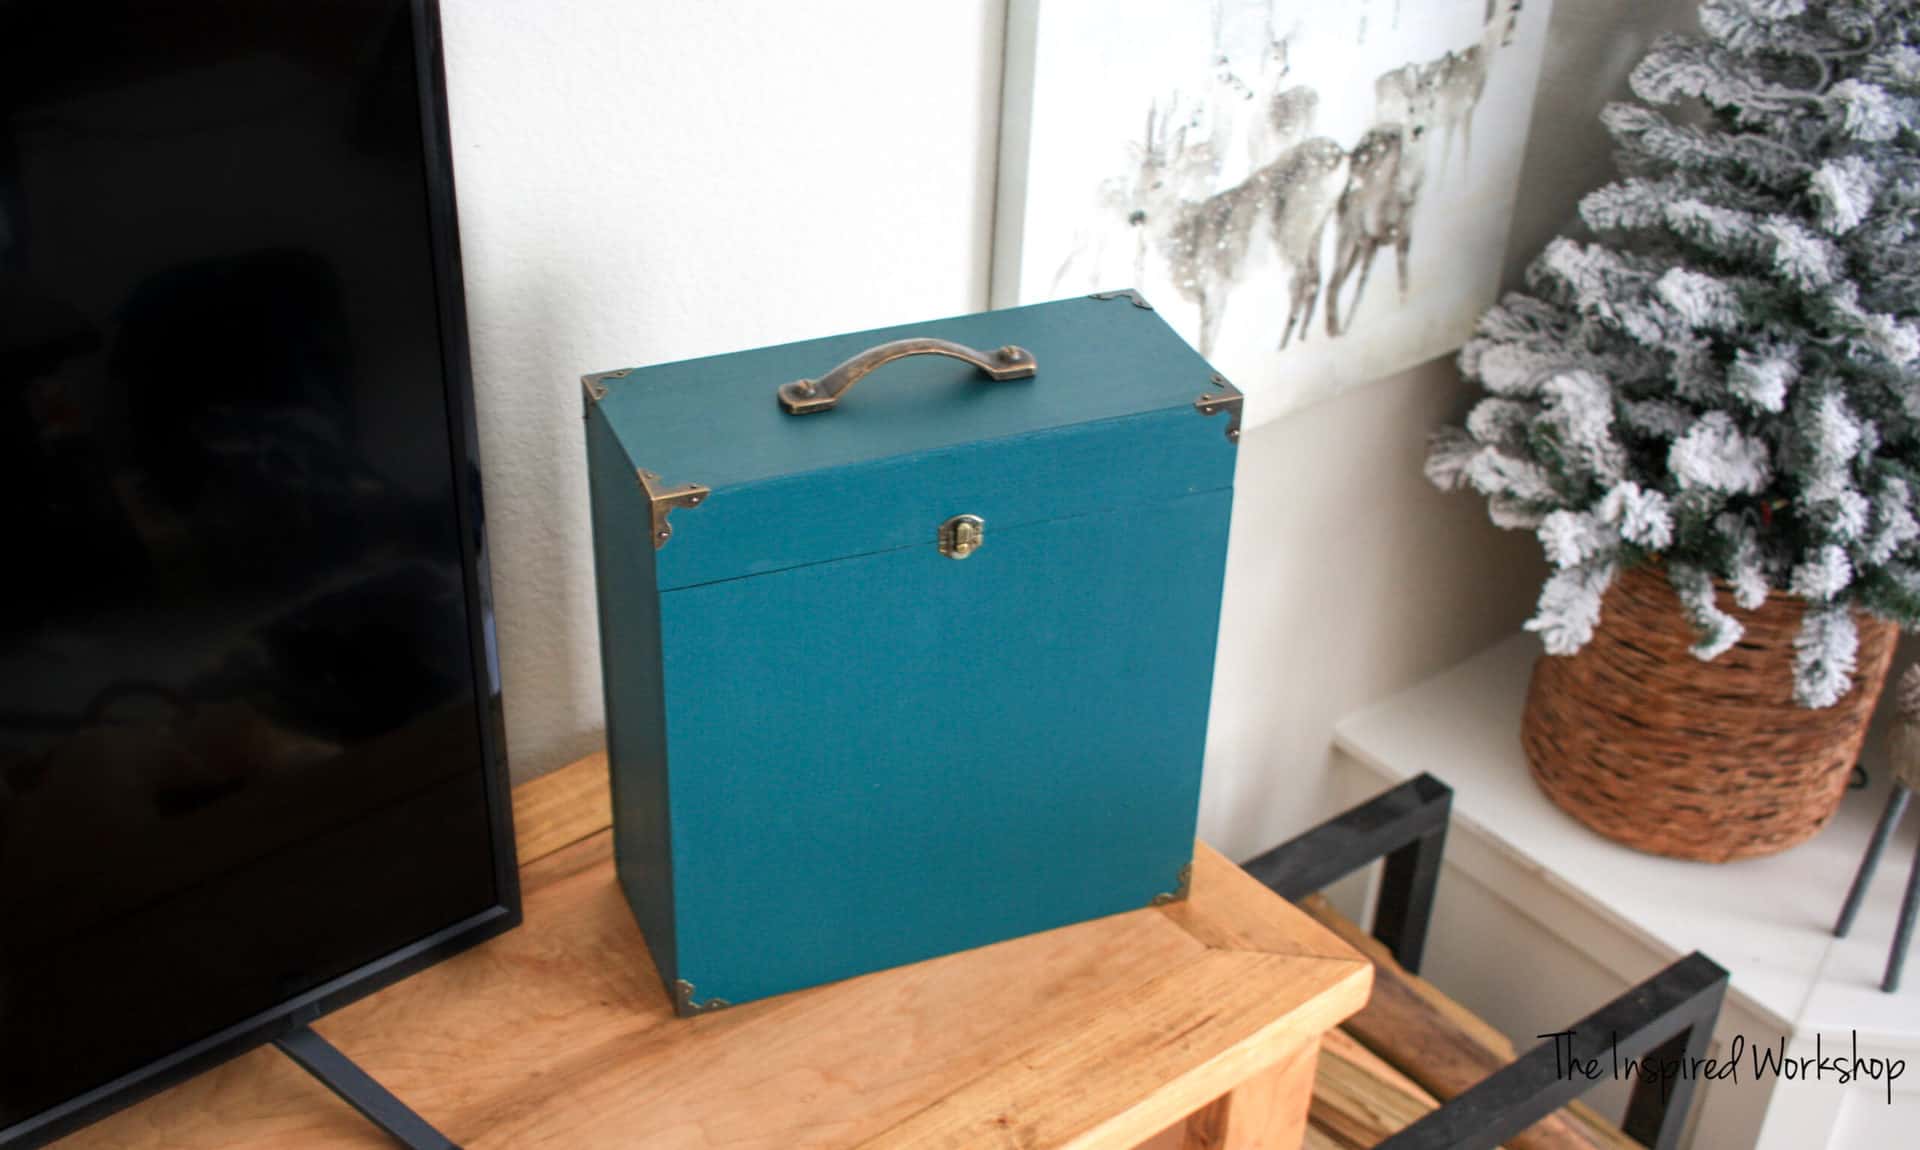
Anyway, he doesn’t have a large collection yet, but I can guarantee that it won’t take long since I love them, and he loves them! Lol! This storage case is perfect though because he can take them with him if he wants or just leave them sitting on the top of the media cabinet because it is so pretty! It holds about 20 records I would say.
Heads up though, he already has another one he wants me to build to showcase the record that he is playing! Not a problem, I can do that!😉 I’ll be sure to share it with you all once it is finished, for now, you have to be wowed by this beauty!

Alright, so I bet you want plans?! Well, I’ve got you covered! 😊 You can easily follow along with the tutorial below or you can enter your email to access the free printable plans! Download your plans for the DIY record storage case.
Don’t have the time to build this DIY record storage case now? PIN IT for later!
Gathering Supplies for the DIY Record Storage Case
The tutorial is below and shows a basic step-by-step guide. The downloadable plans show a clutter-free Sketchup version so if you have any trouble, make sure and check the plans or vice-versa depending on which one you are using! And feel free to ask questions down below in the comments or email me! cara.theinspiredworkshop(at)gmail.com
Materials for the DIY record storage case:
***Amazon links below are AFFILIATE LINKS. When you click on an affiliate link and make a small purchase, I make a small percentage of that purchase at no extra cost to you! It helps keep content on my blog free and I appreciate any time you make a purchase from one of my links! ***Hobby Lobby or other links are NOT affiliate links, they are just linked to help you find items I used!
- 2’x4′ – 1/2″ plywood project panel
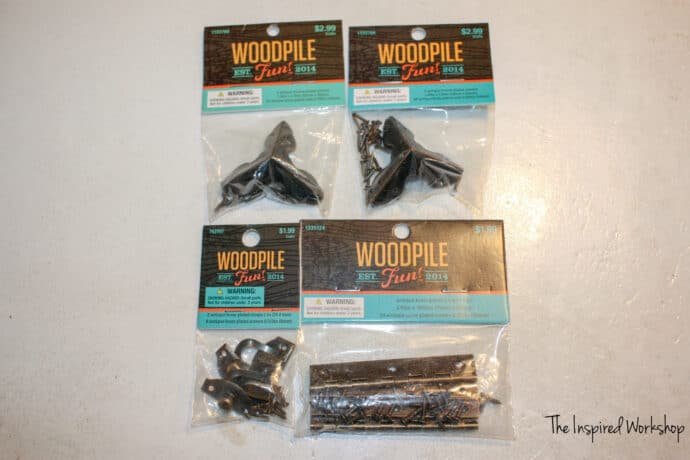
- 2 – sets of corner squares – Amazon has a TON of options! If you want the same ones I bought, I bought them at Hobby Lobby!
- 1 – handle
- 1 – clasp – I bought this pkg at Hobby Lobby, but I wish I would have bought the ones from Amazon!
- 1 – set of hinges– I bought mine at Hobby Lobby but cannot find them online…in-store, they are with all the other Wood Pile components! Amazon has a lot of antique brass options though if you don’t have a Hobby Lobby nearby!
Cut List for the record storage case:
- 2 – 1/2″ plywood pieces cut @ 14″ x 12 1/2″
- 2 – 1/2″ plywood pieces cut @ 12 1/2″ x 5″
- 1 – 1/2″ plywood piece cut @ 14″ x 6″
- 1 – 1/2″ plywood piece cut @ 13″ x 5″
- 2 – 1/2″ plywood pieces cut @ 14″ x 2″
- 2 – 1/2″ plywood pieces cut @ 5″ x 2″
Building the DIY Record Storage Case
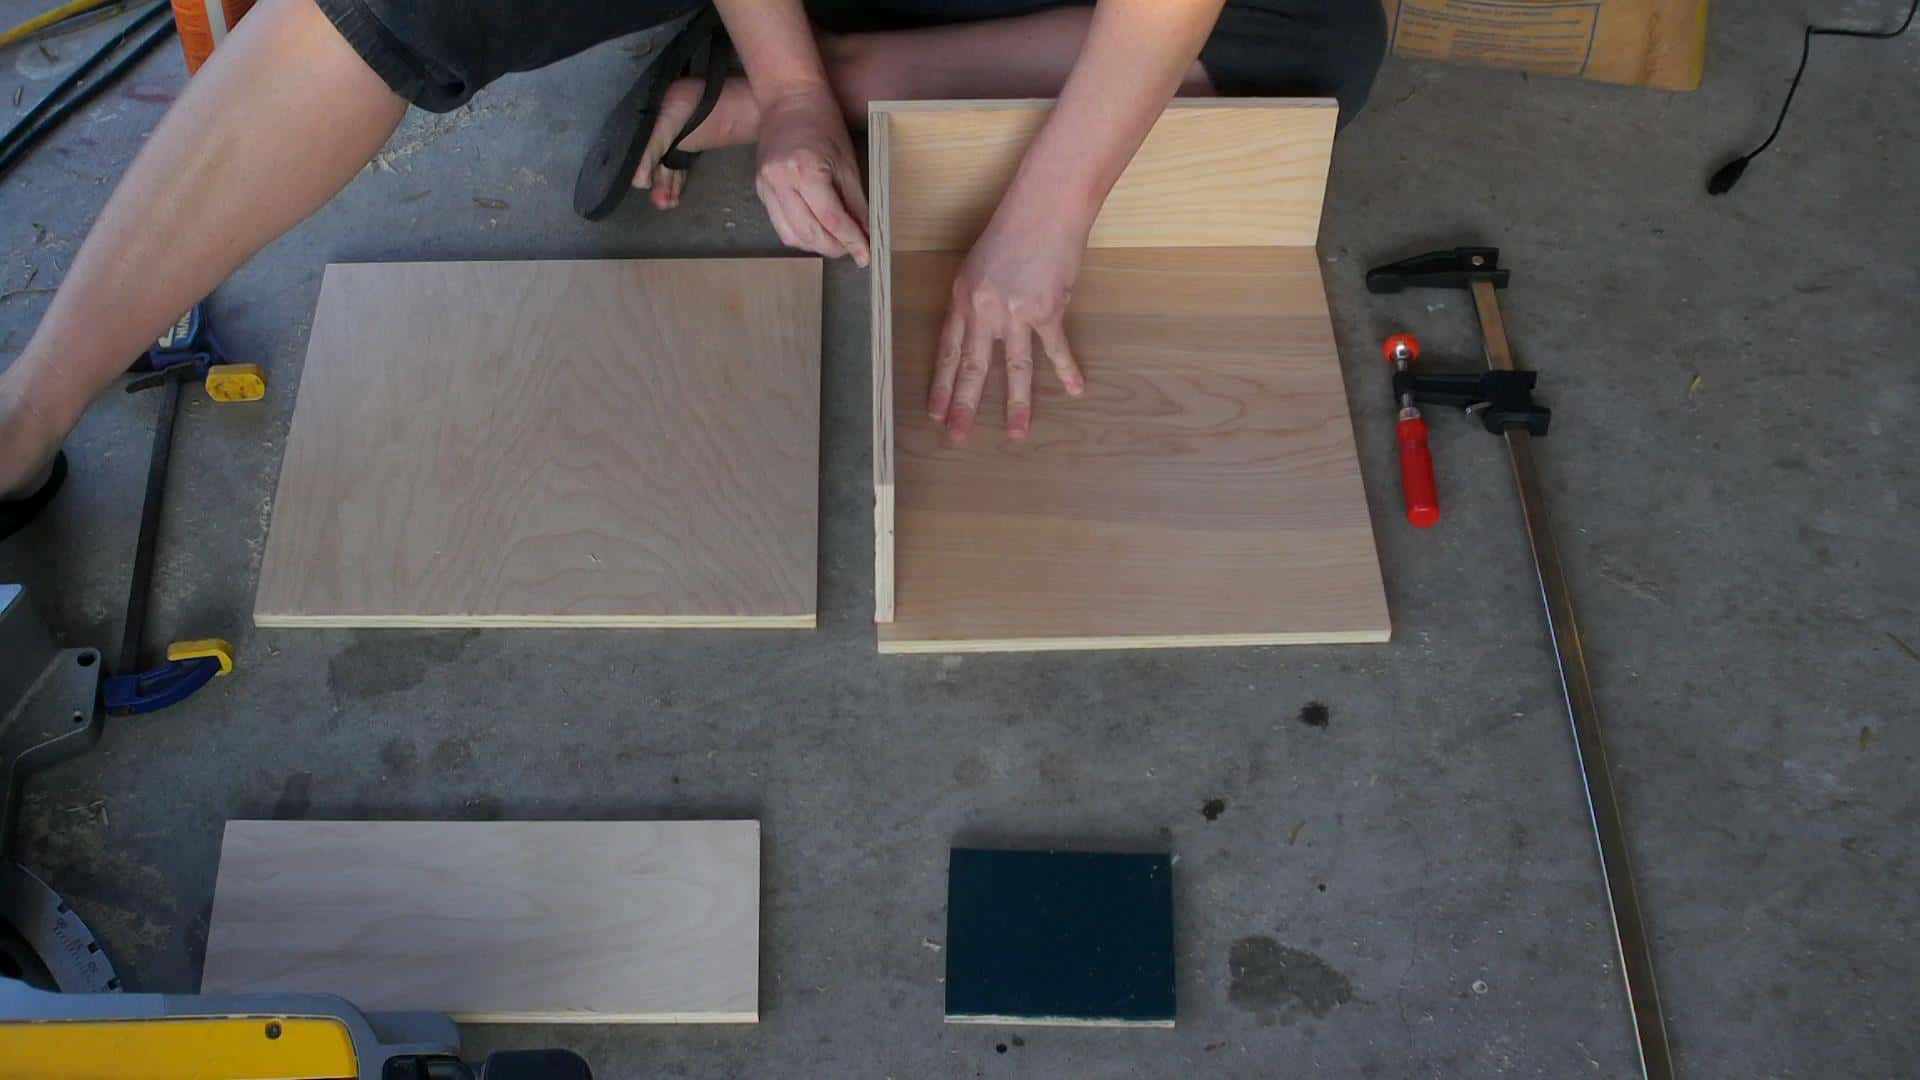
Step 1
Rip your plywood down and cut your pieces to size. Here are the base pieces.
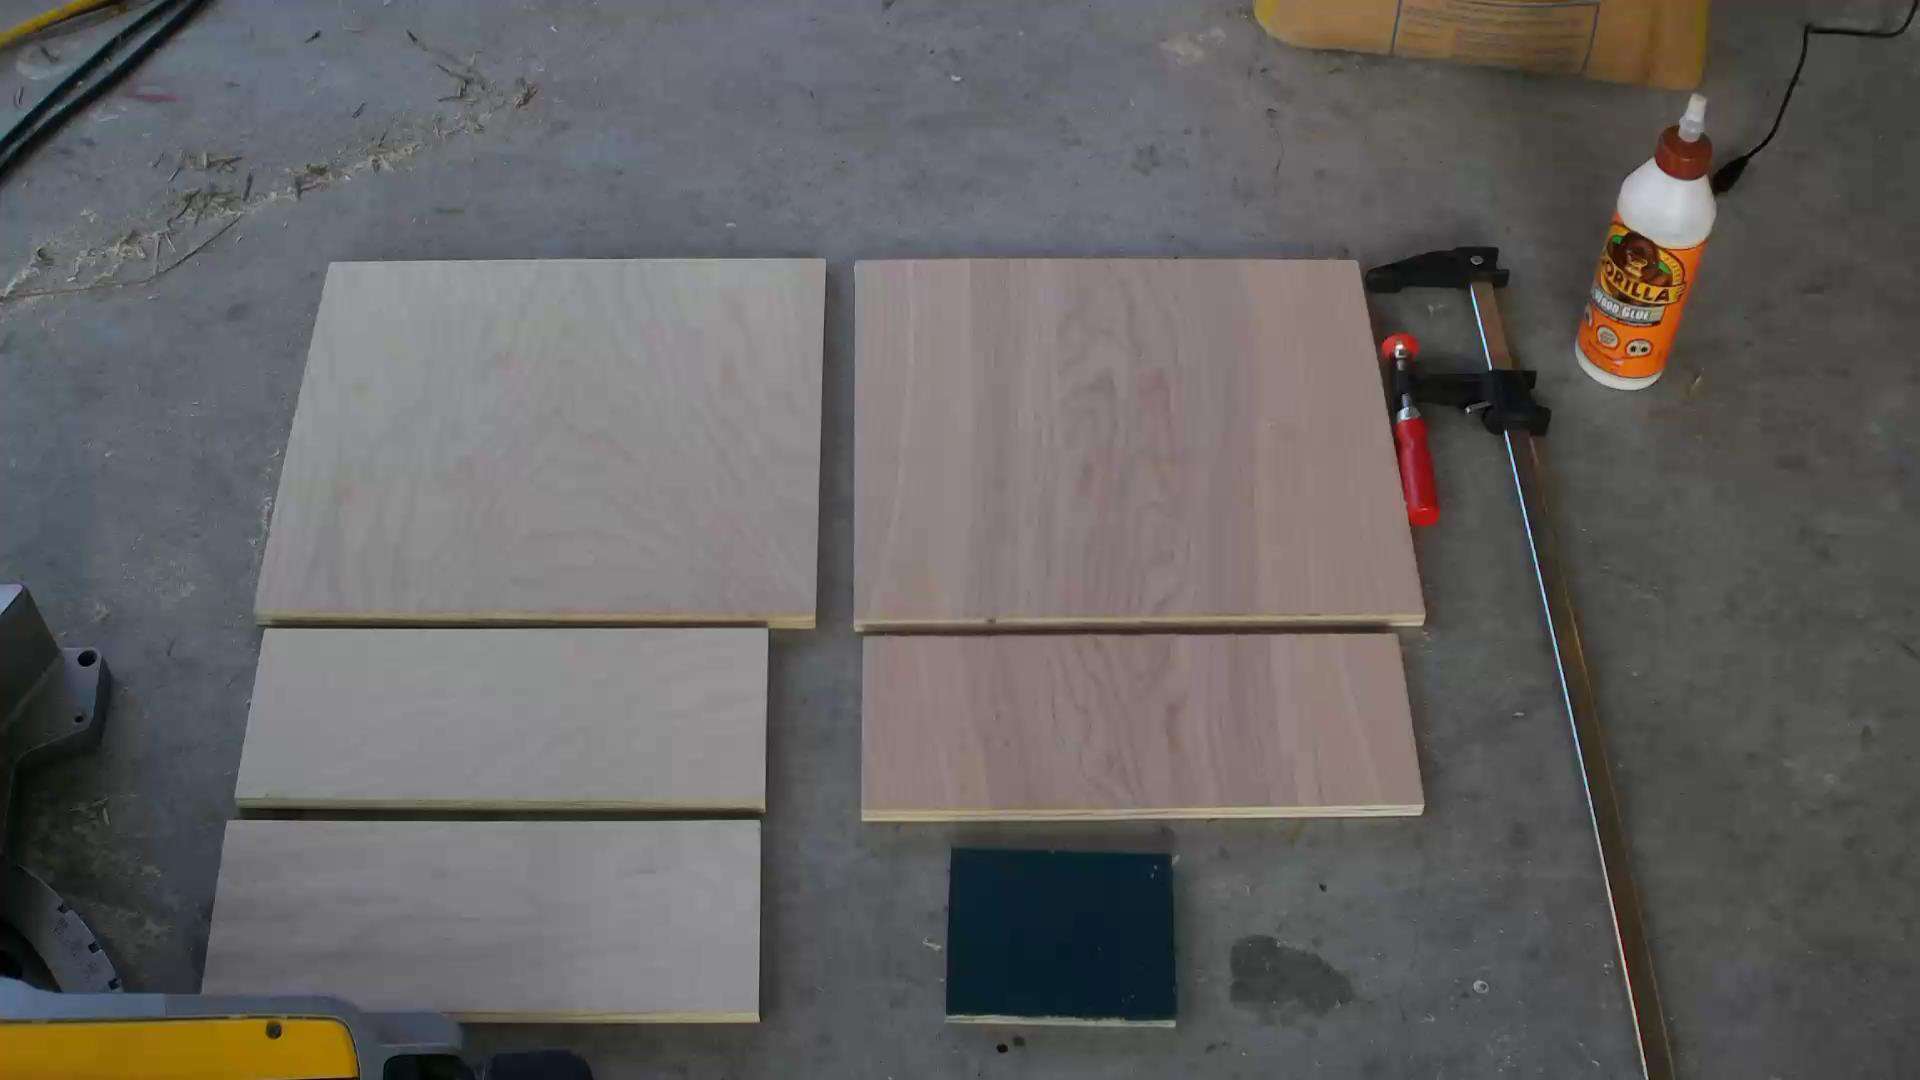
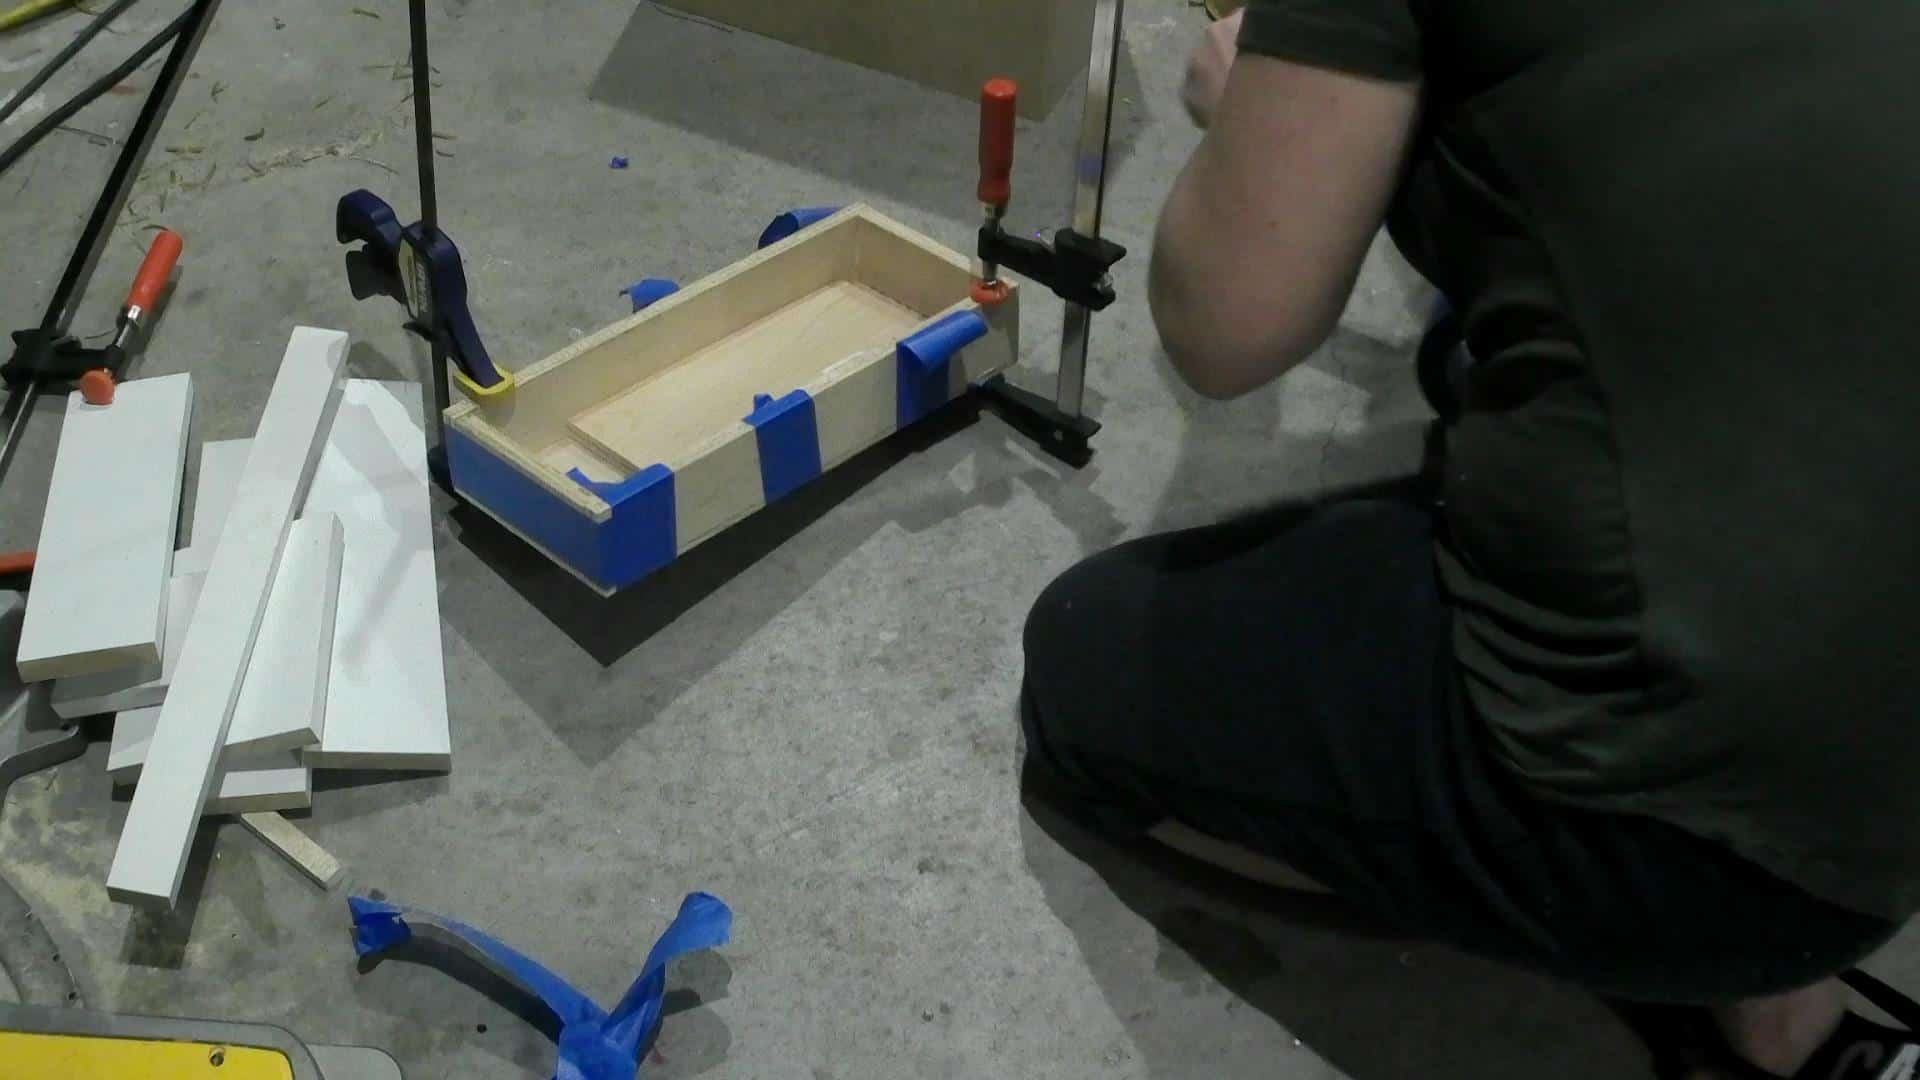
Glue up your front, back, and sides! I did not use my brad nailer on this project simply because I did not want to fill in nail holes since I thought I was going to stain it. If you are painting yours, save yourself the trouble and just brad nail it! Lol!
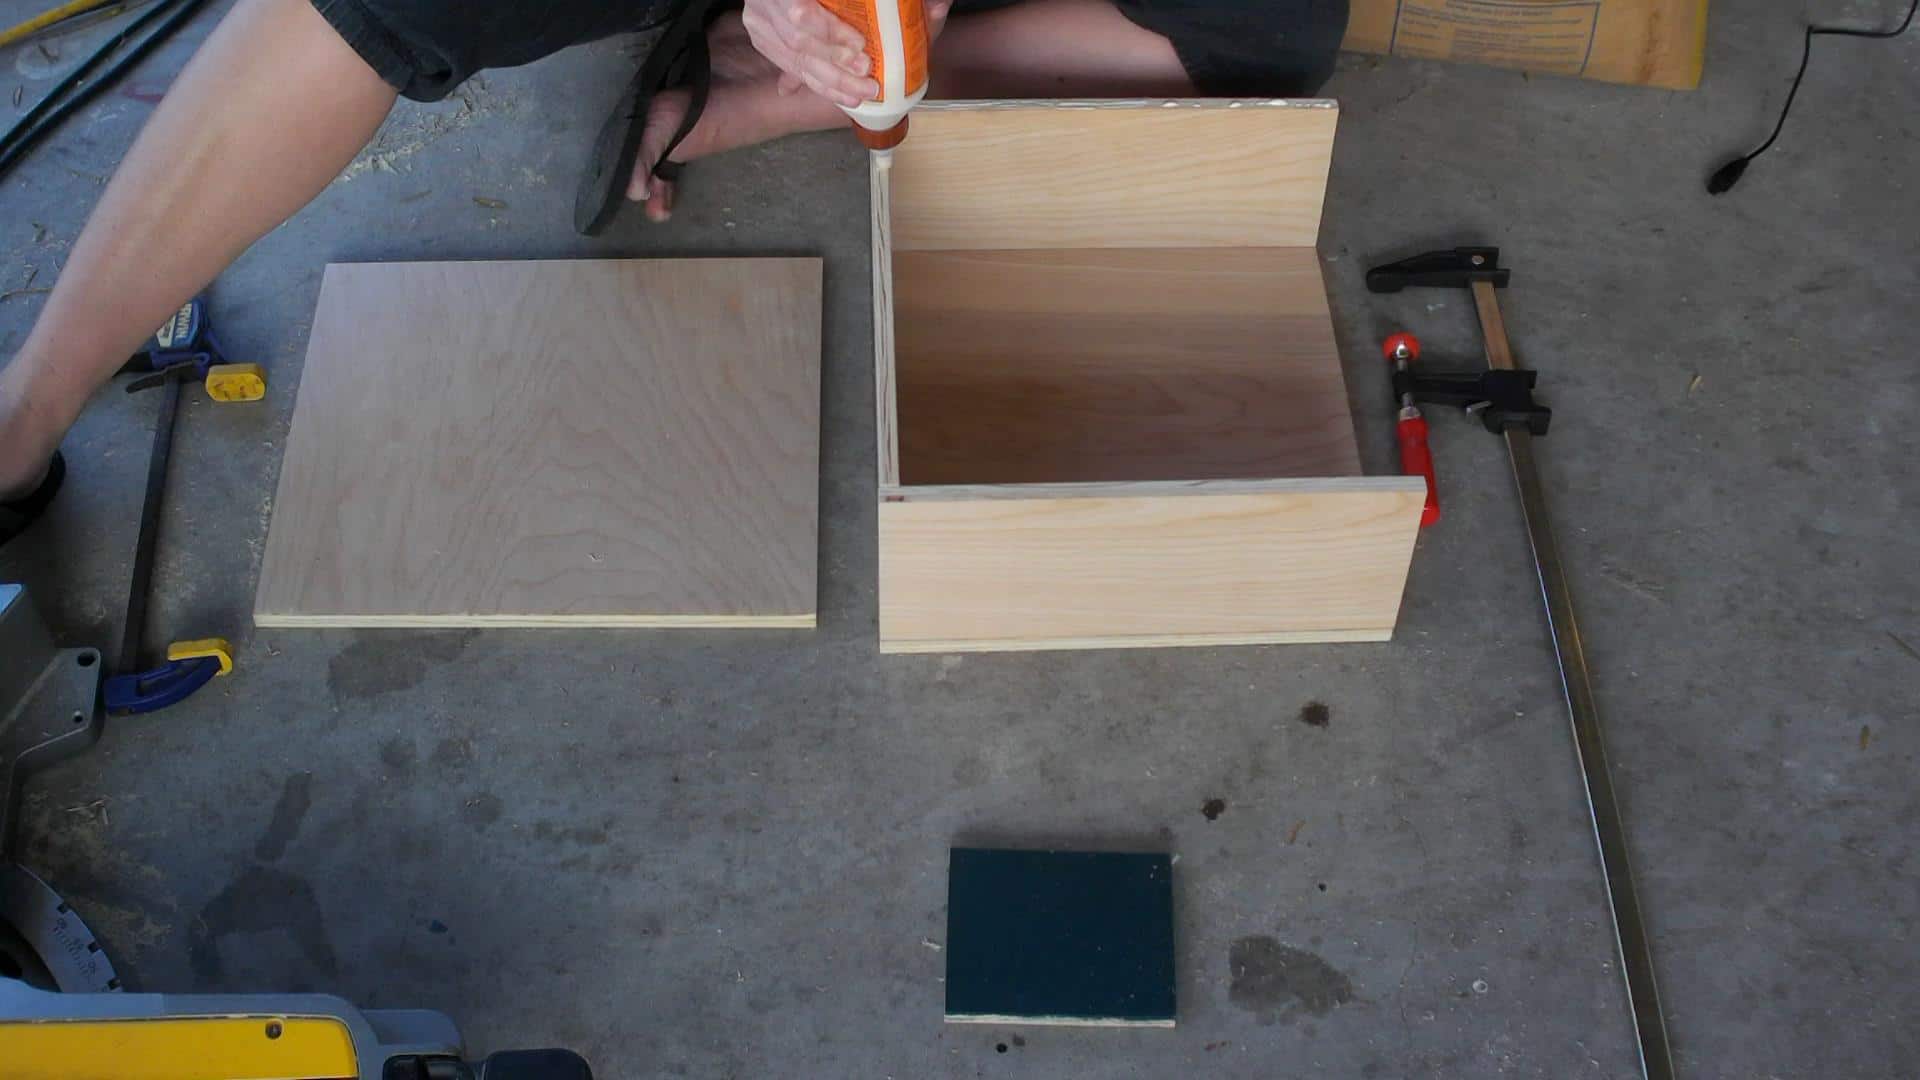
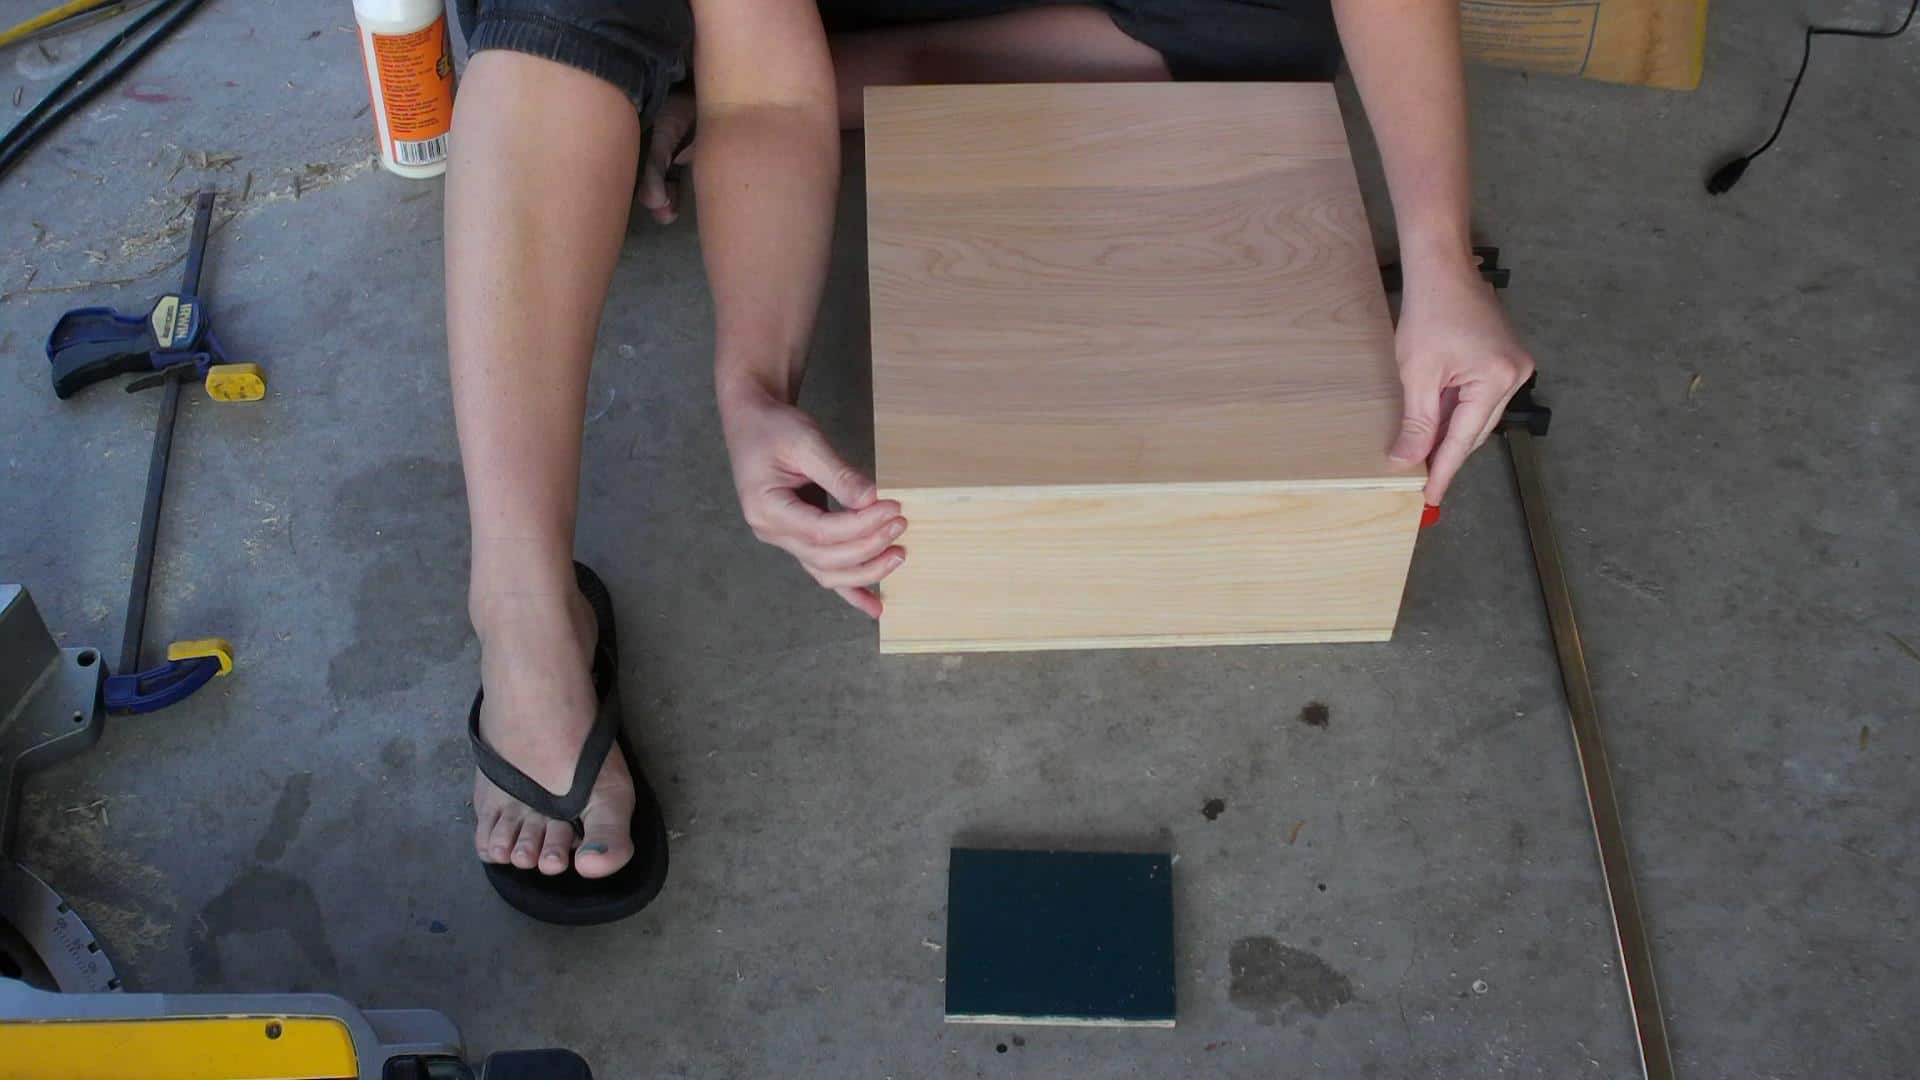
If you want to glue it up without a brad nailer, you can use painter’s tape to wrap it, or clamps! Also, using a scrap piece of 5″ plywood helps give you support to clamp the top with!
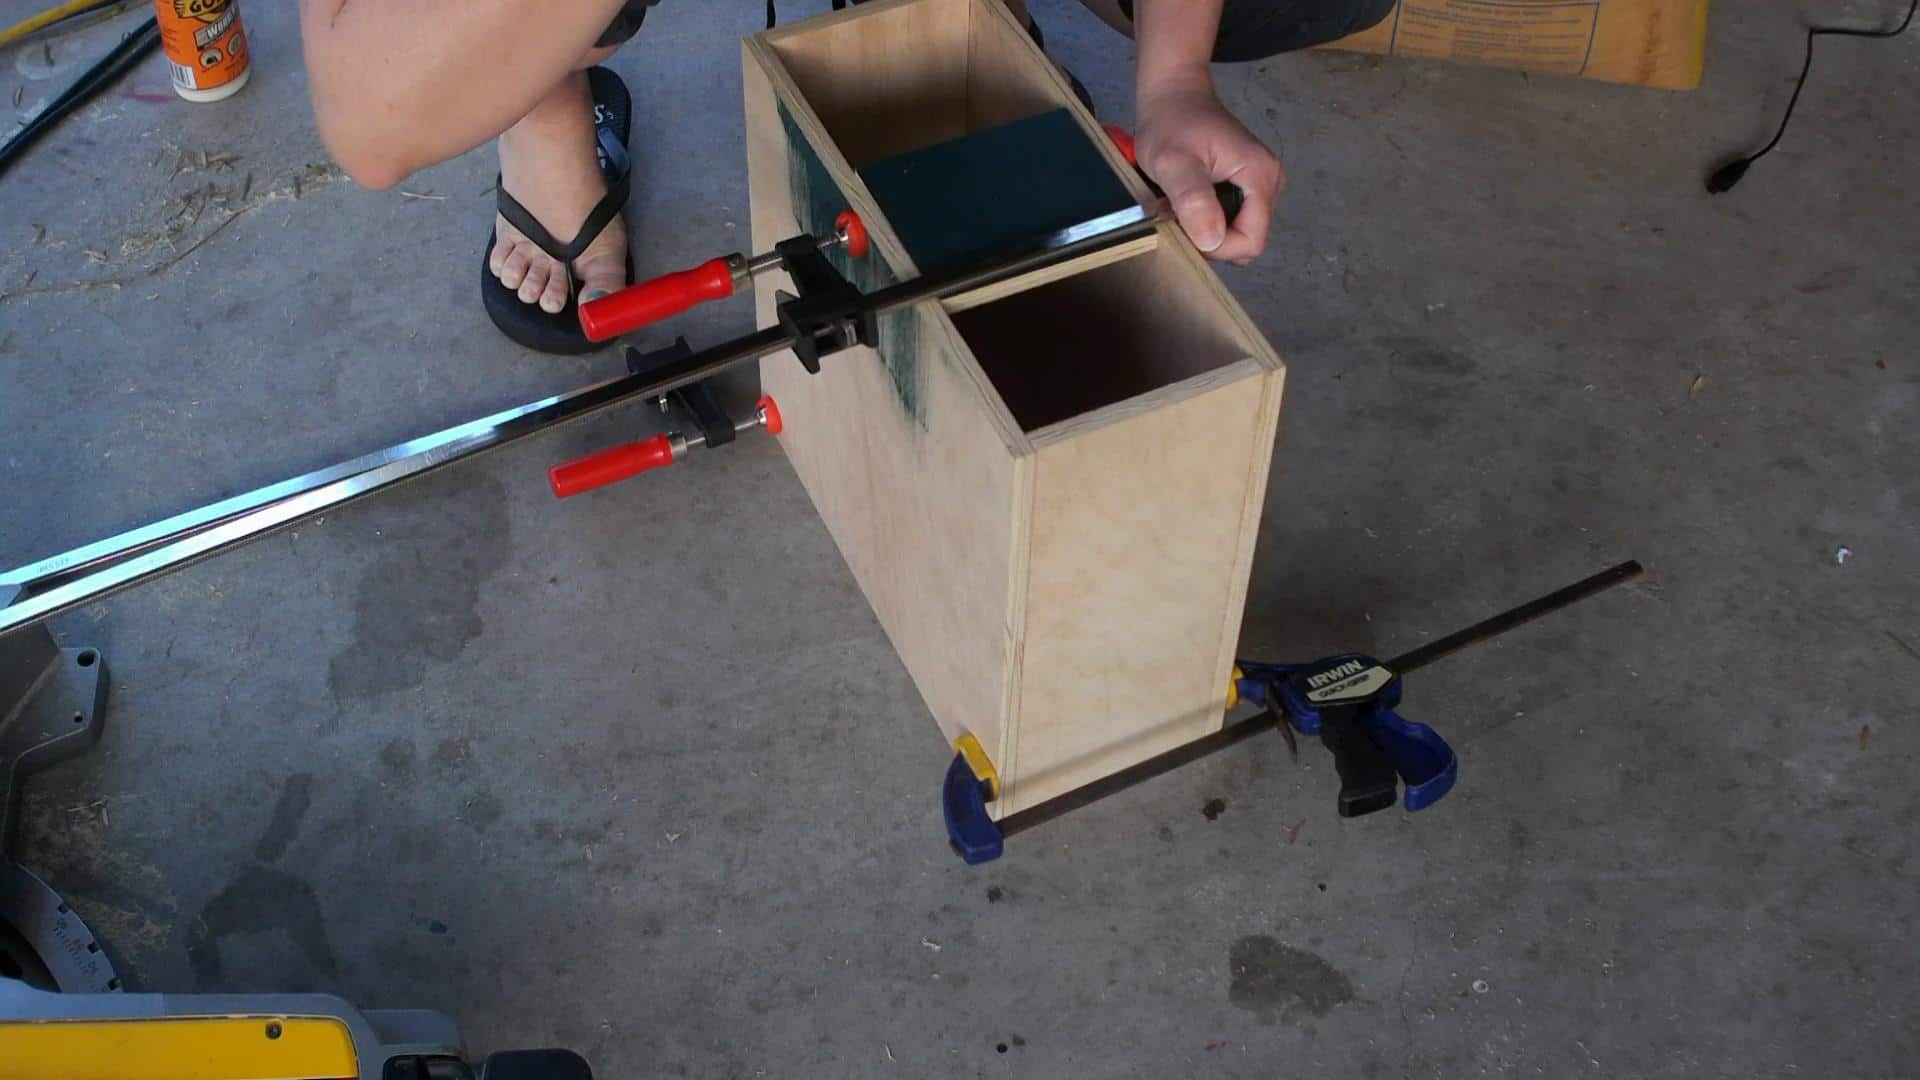
Step 2
Build the lid to the record storage case using the same method as above!
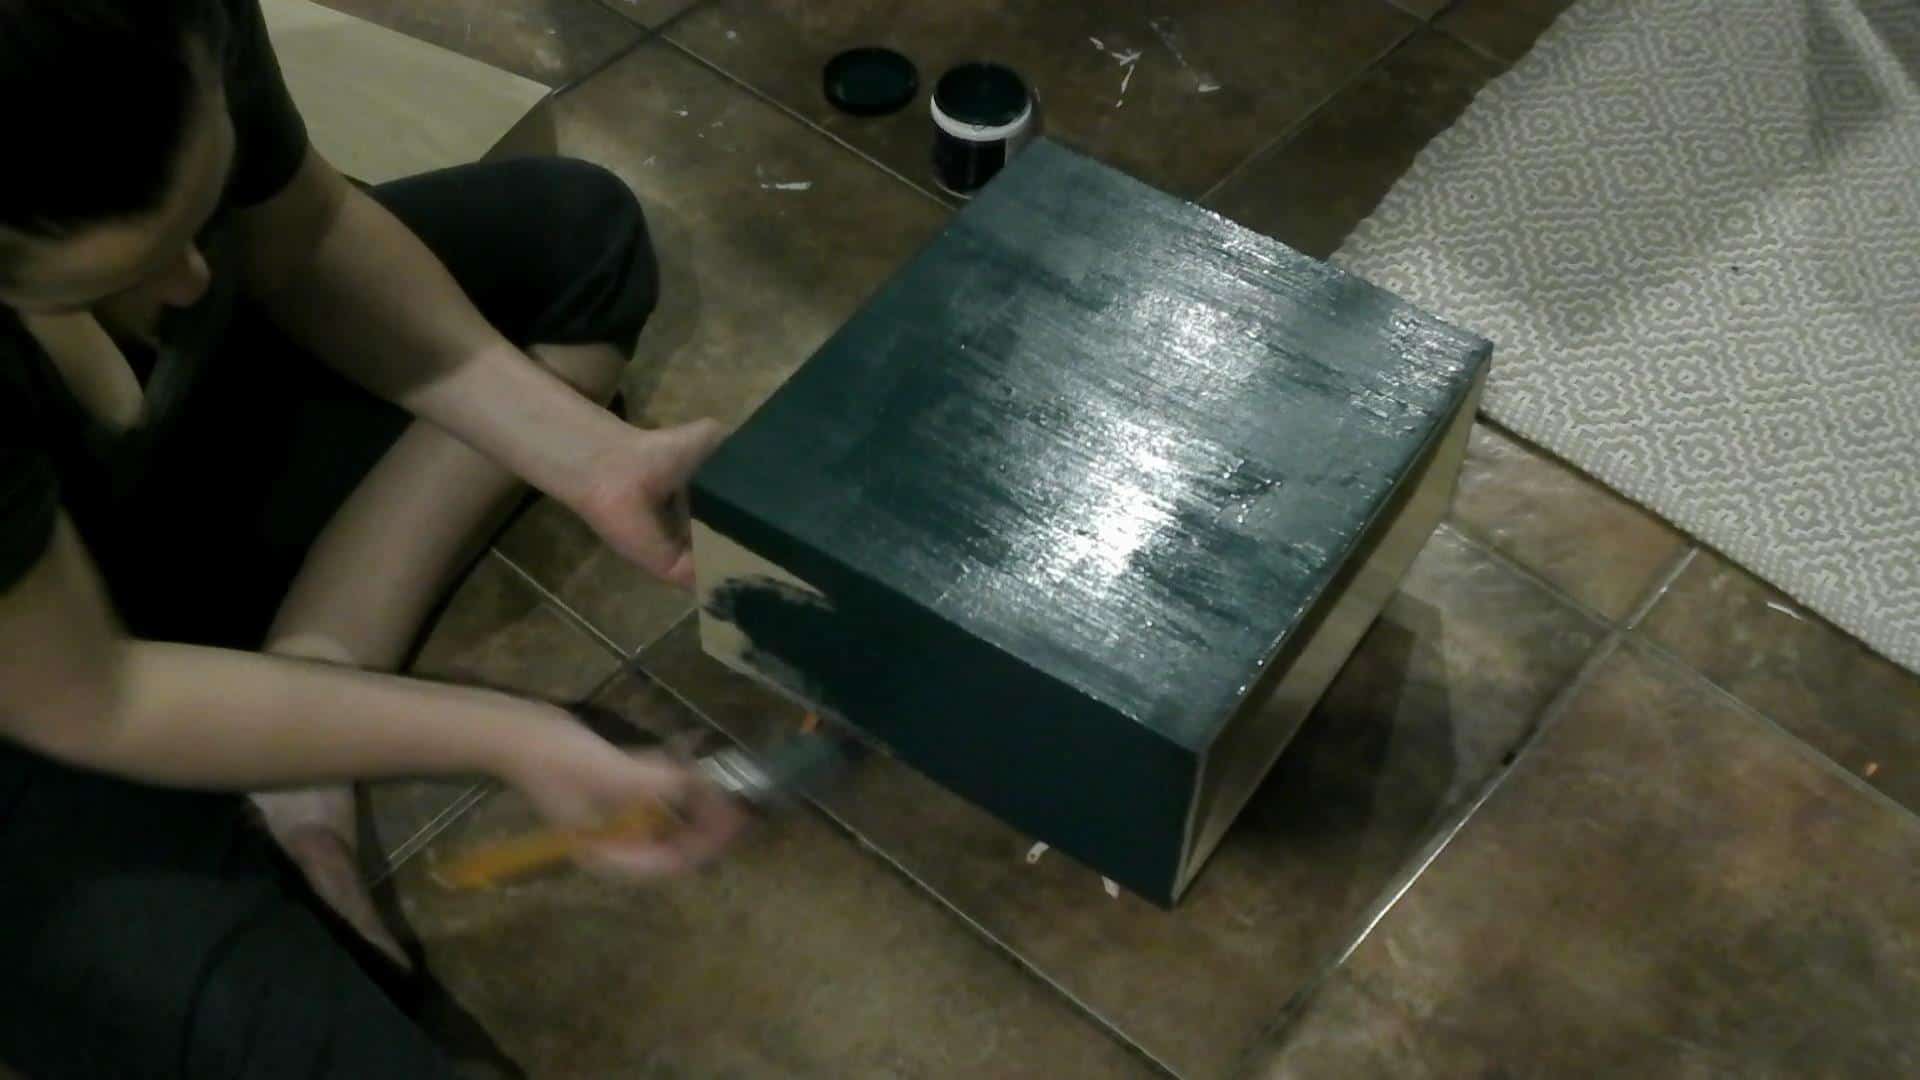
Let the glue dry for about an hour or so, and then lightly sand. Paint or stain the color of your choice. I painted mine in Behr Thermal.
After the paint is dry, add the hinges and accessories (metal corners, latch).
To make this process so much easier, I superglued the hinges and corners in place before screwing or nailing them into place!
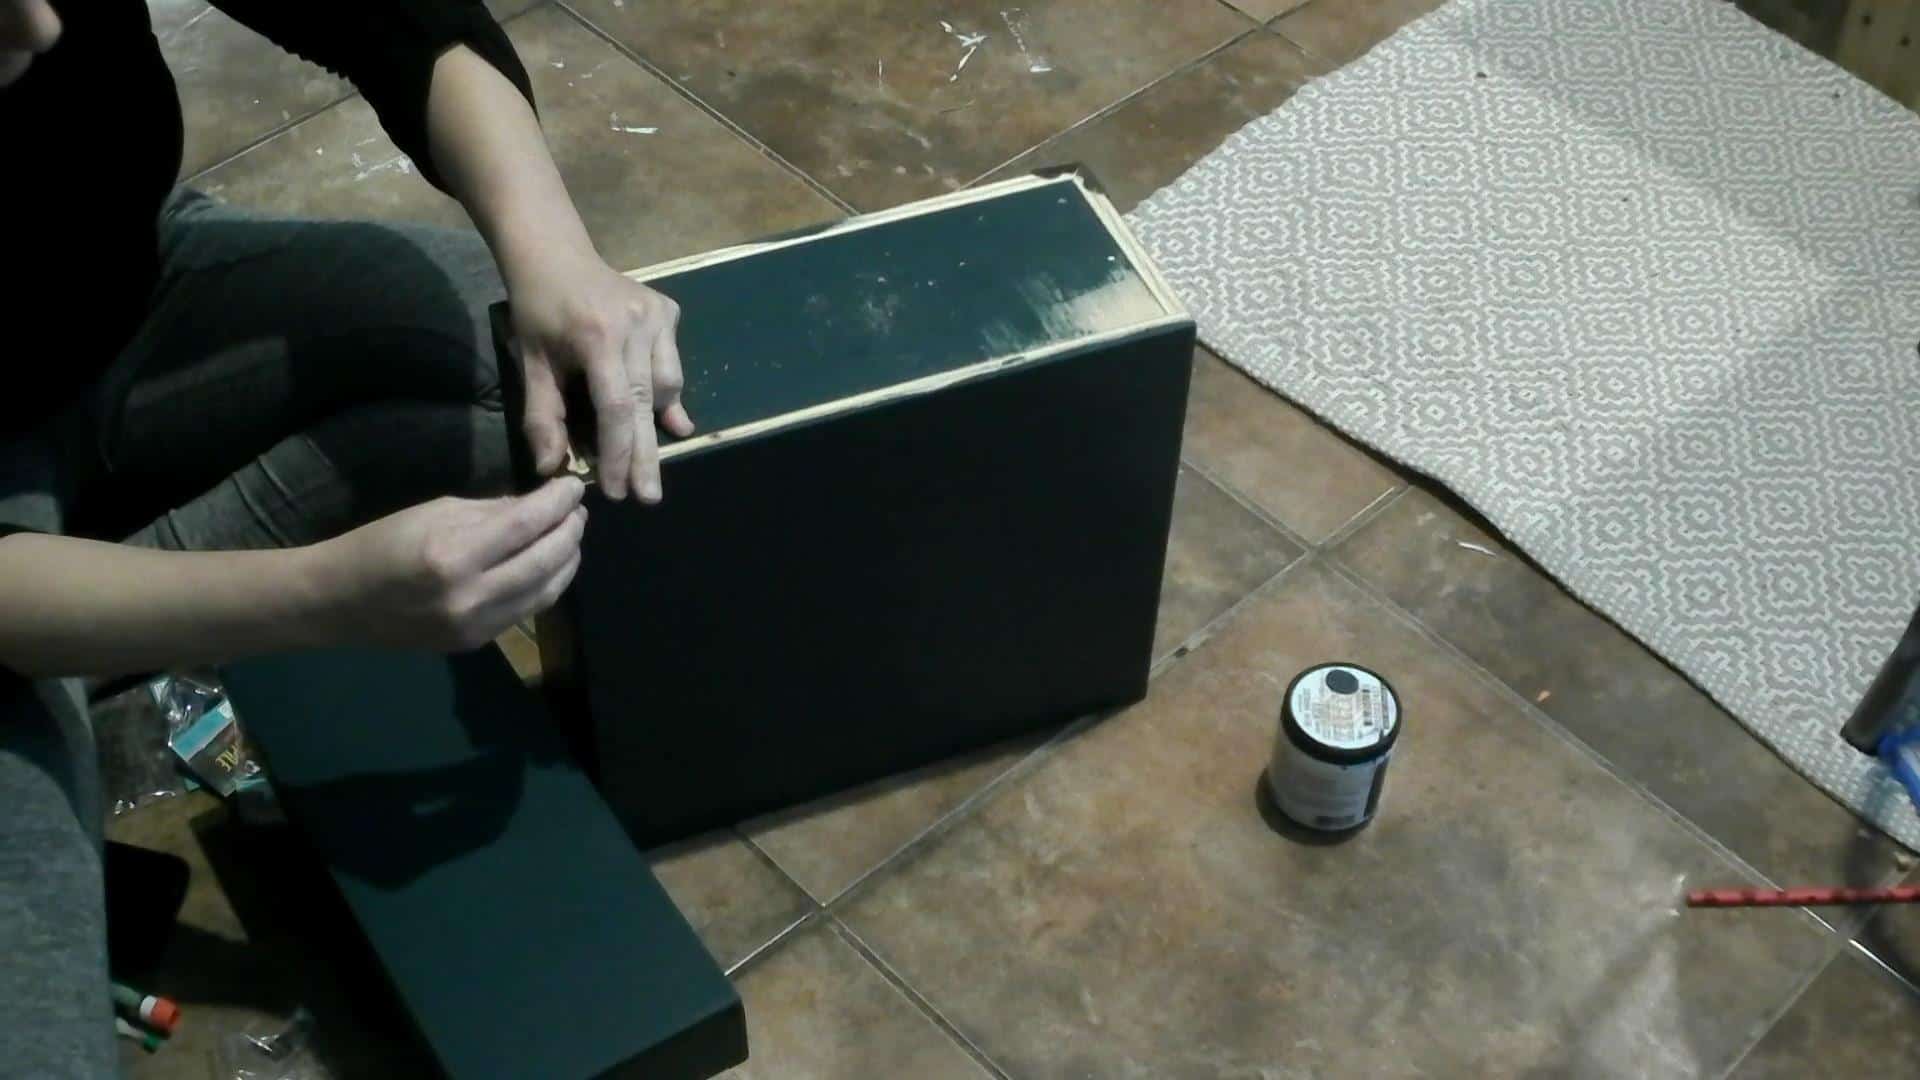
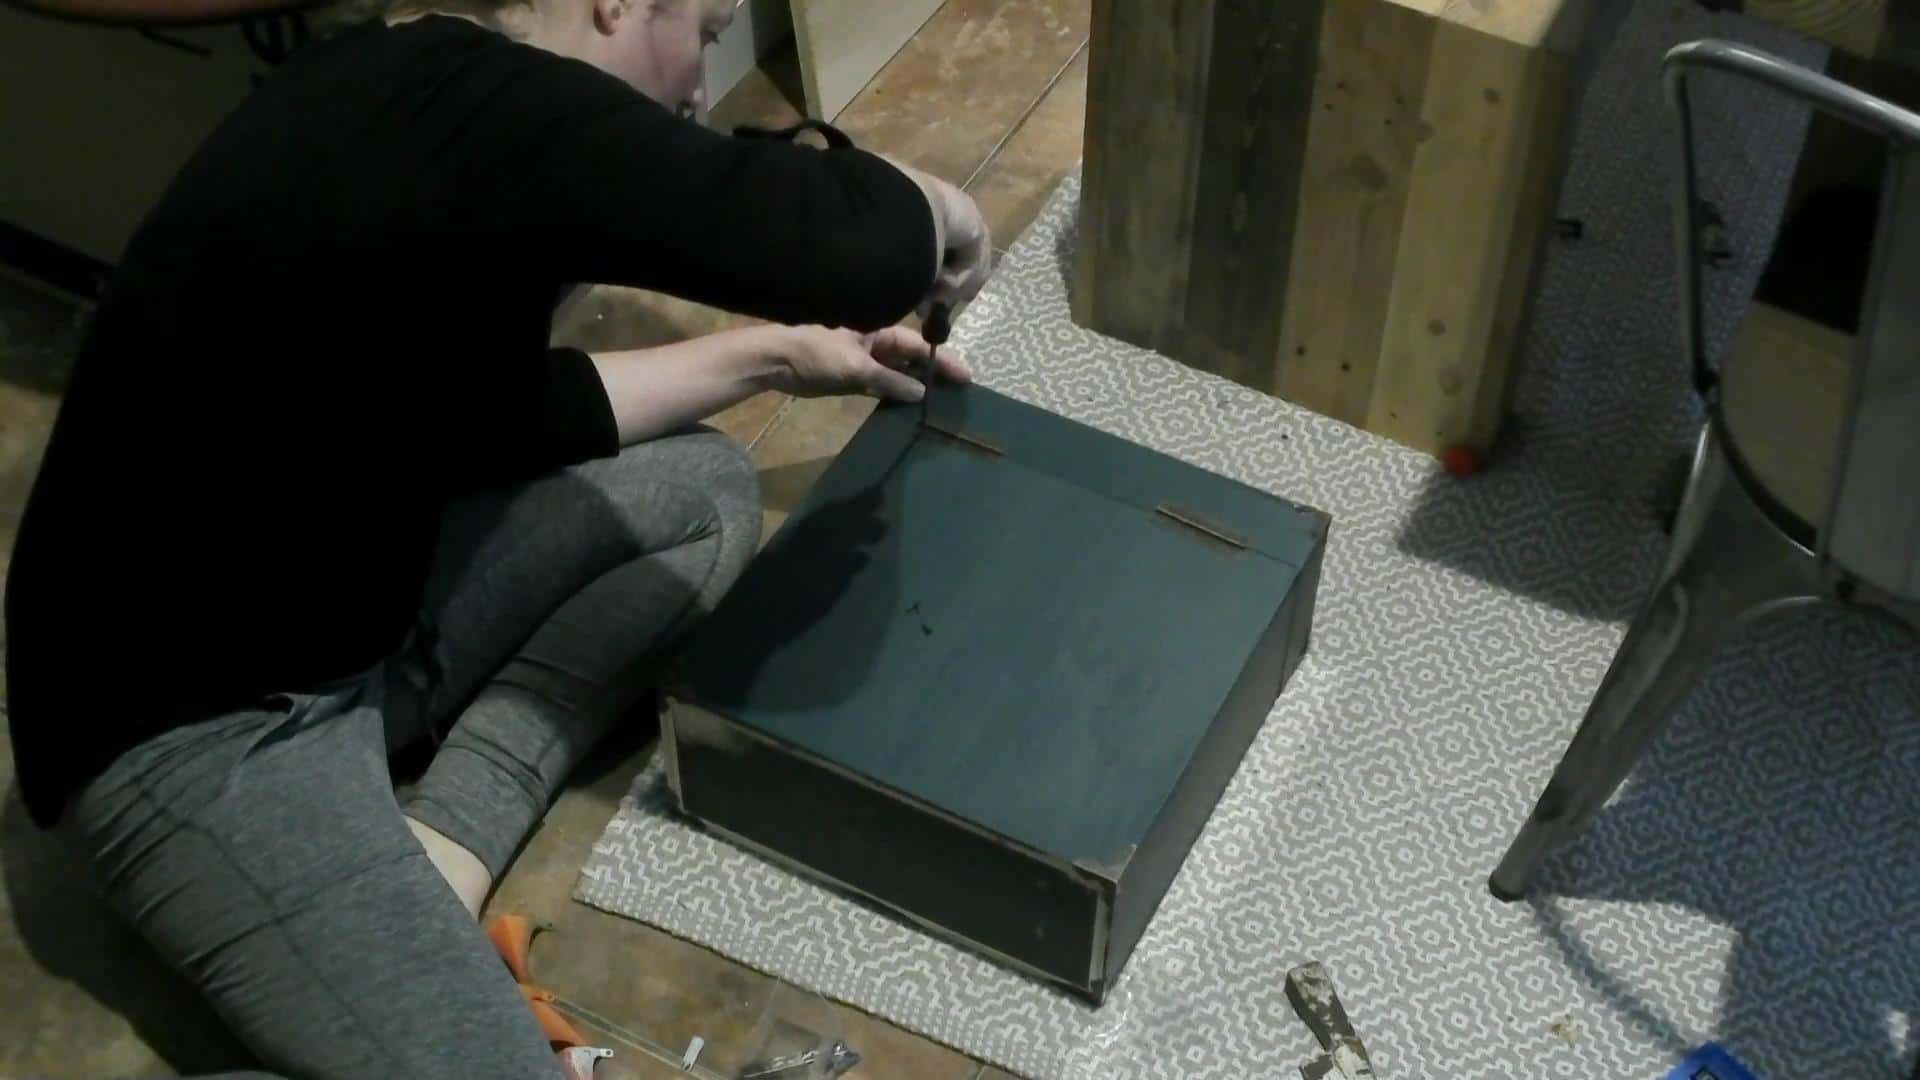
And boom, done!
Anyone would be happy as a lark to receive this as a gift, or for yourself to display proudly!
Love this build and know someone else who would love this vinyl record storage as well?! SHARE it!
[social_warfare]
I am loving this DIY record holder and all the little builds that I have been doing lately but if you are someone who followed me for the bigger builds, don’t worry, I have some of them coming really soon, and in the meantime, check FURNITURE to make sure there wasn’t something you missed!
Have a wonderful weekend everyone! See you back here on Monday!
Want to Save this Vinyl Record Case for later?! Pin it!


Nice job! I was a serious woodworker for a good ten years and then pretty much stopped. I’m online right now looking to buy a carrying case for Christmas vinyl, so I can put those LPs away for the remainder of the year, bringing them out only during the holidays. I came across your project this AM and decided to go ahead and build my own. Seems like a simple, fun build. Corners, latches, handle, etc. are all fun to pick up. Thinking I might wrap mine in fabric as well! Thank you!