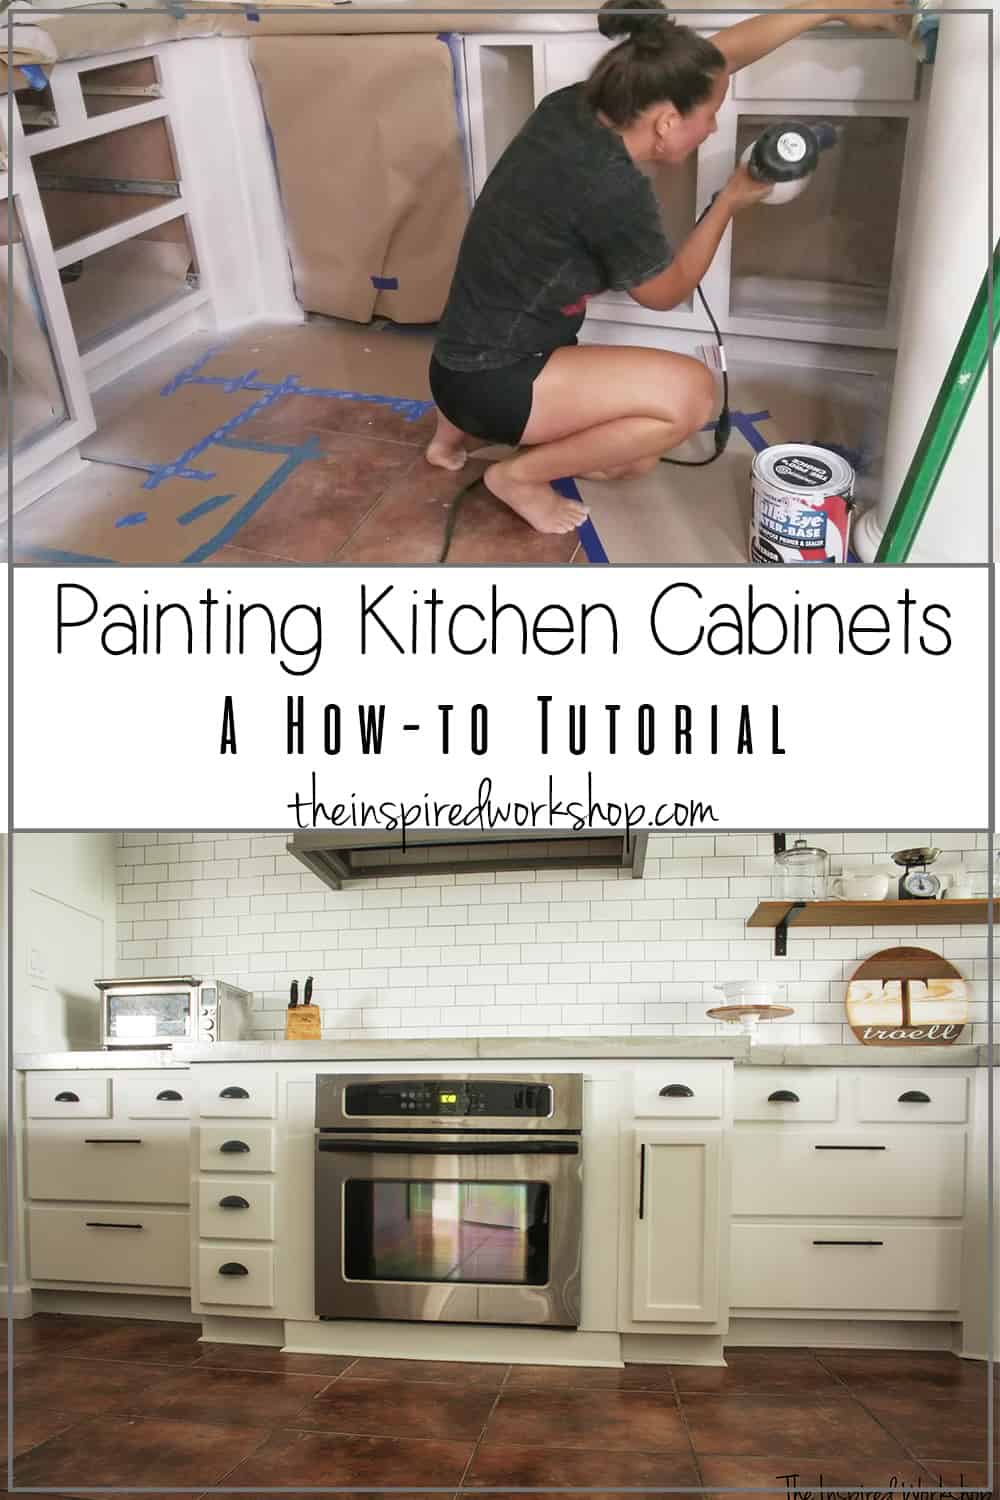
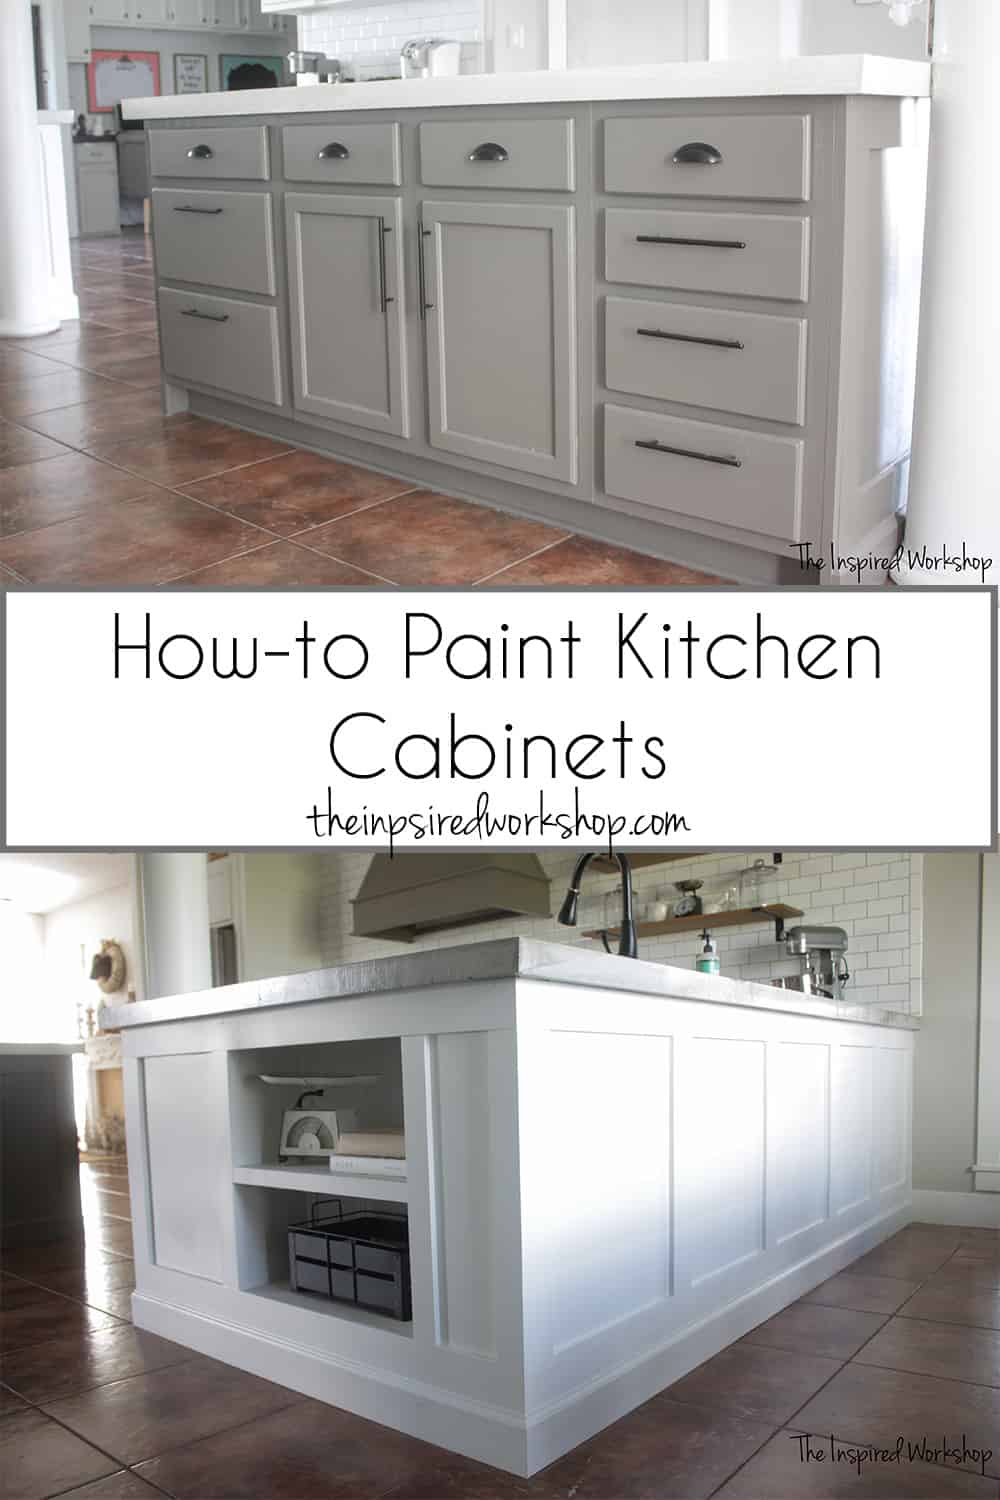
How to Paint Kitchen Cabinets
Hey there! So I thought I had published all my kitchen renovation posts…and then I saw this little draft sitting all alone, ready to be published but not! Lol! Here it is, all about how to paint kitchen cabinets! This is one of my favorite posts ever because of how great painting the kitchen cabinets turned out but yet it was inexpensive and so easy to do!
I am telling you, I was beyond skeptical about painting my kitchen cabinets…but ordering a whole new kitchen this large of cabinets was out of the question for my budget! Knowing that prep work is the key, I knew if I could just be patient and take each step one at a time, I could paint my cabinets and LOVE them!
I never liked the idea of painted cabinets simply because I felt like they always LOOKED painted, but after painting my desk cabinets a few weeks before with a paint sprayer, I was sold that I could do my kitchen cabinets as well, and even make them look GOOD! Eeek! I even made a video for you guys, even though somehow I managed to not record…or perhaps delete🤔 some important parts!😅 Go ahead and grab a cup of coffee, and I’ll show you how to paint kitchen cabinets!
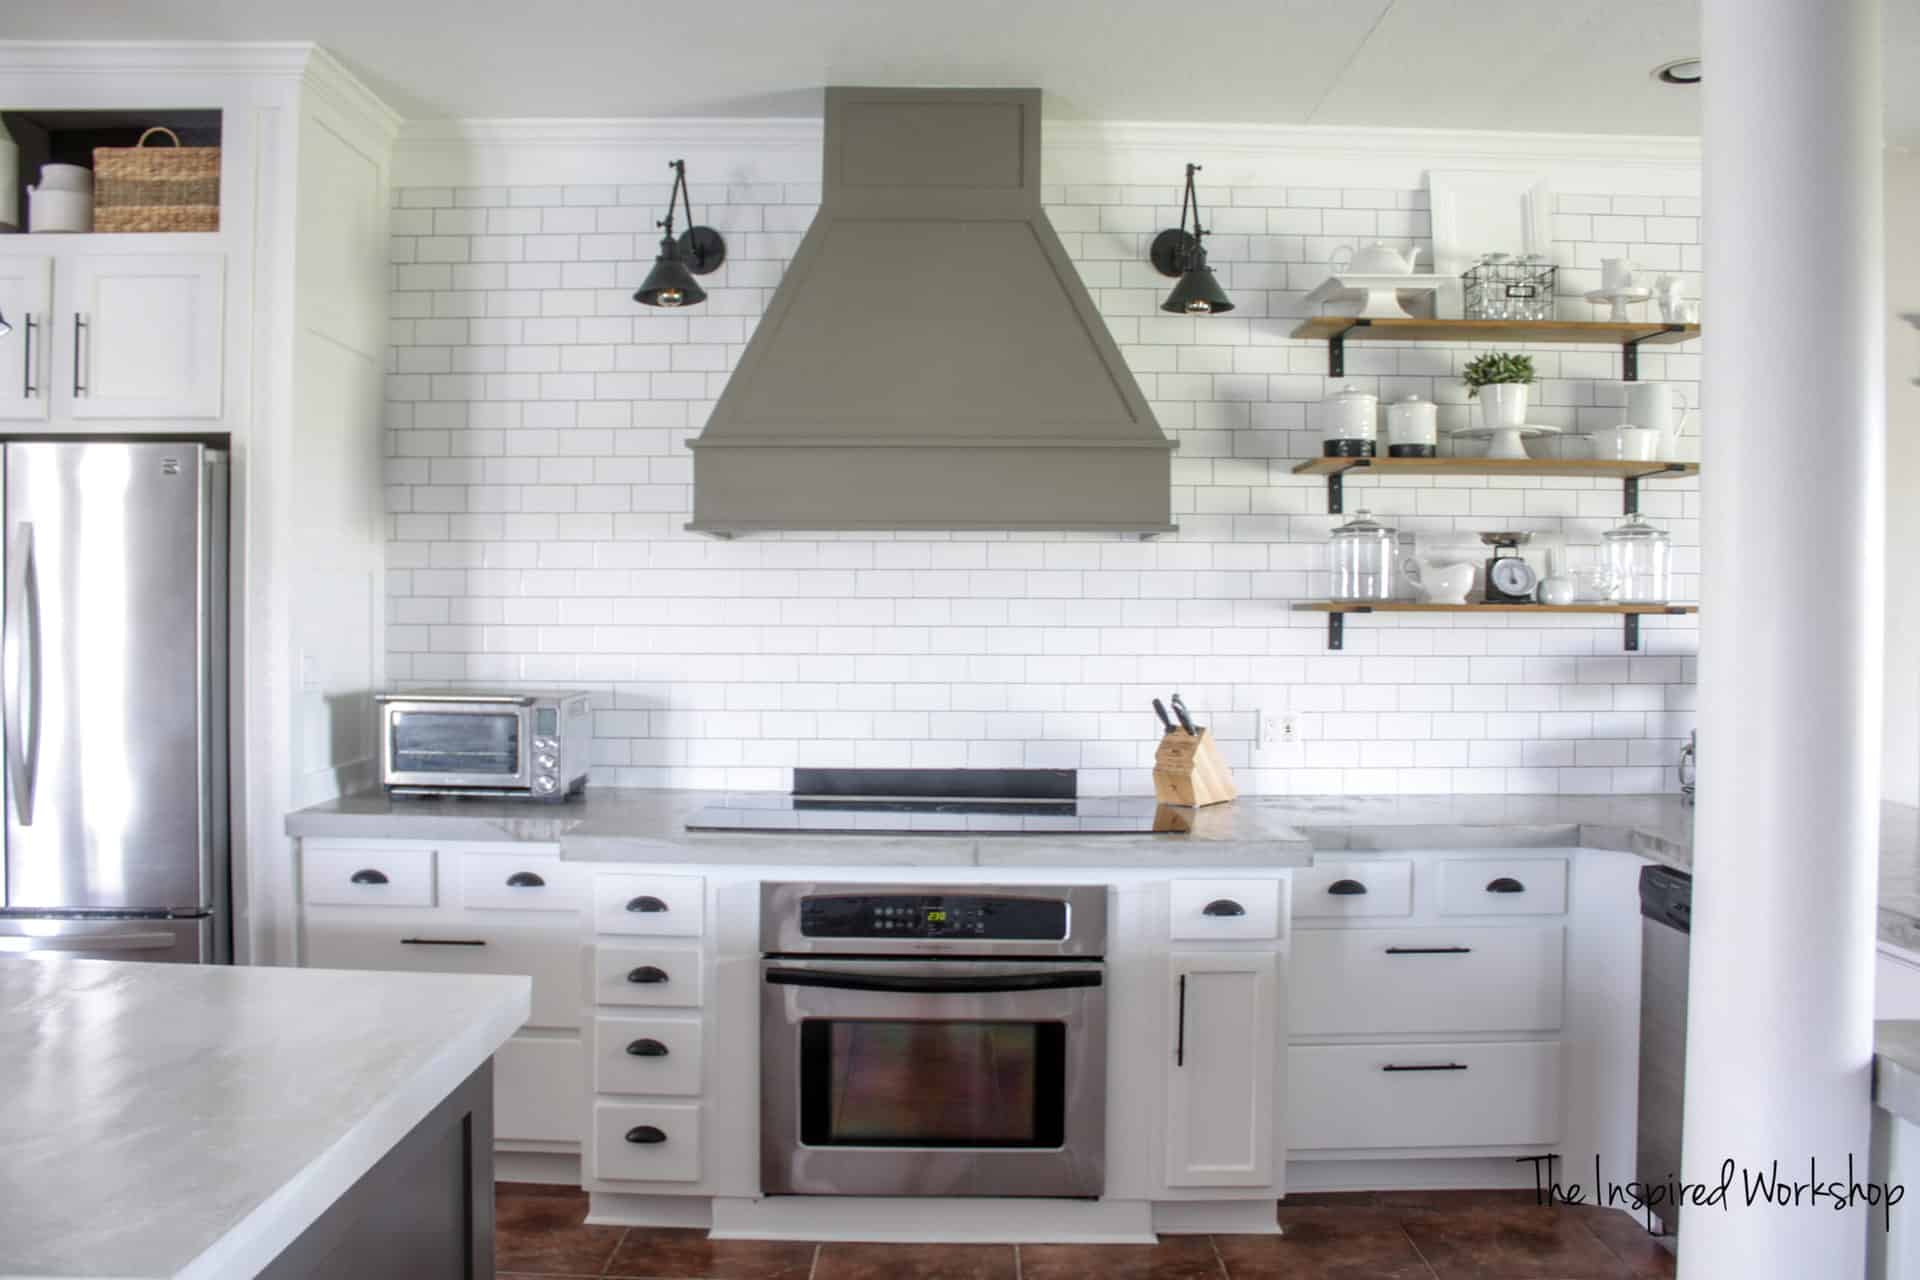
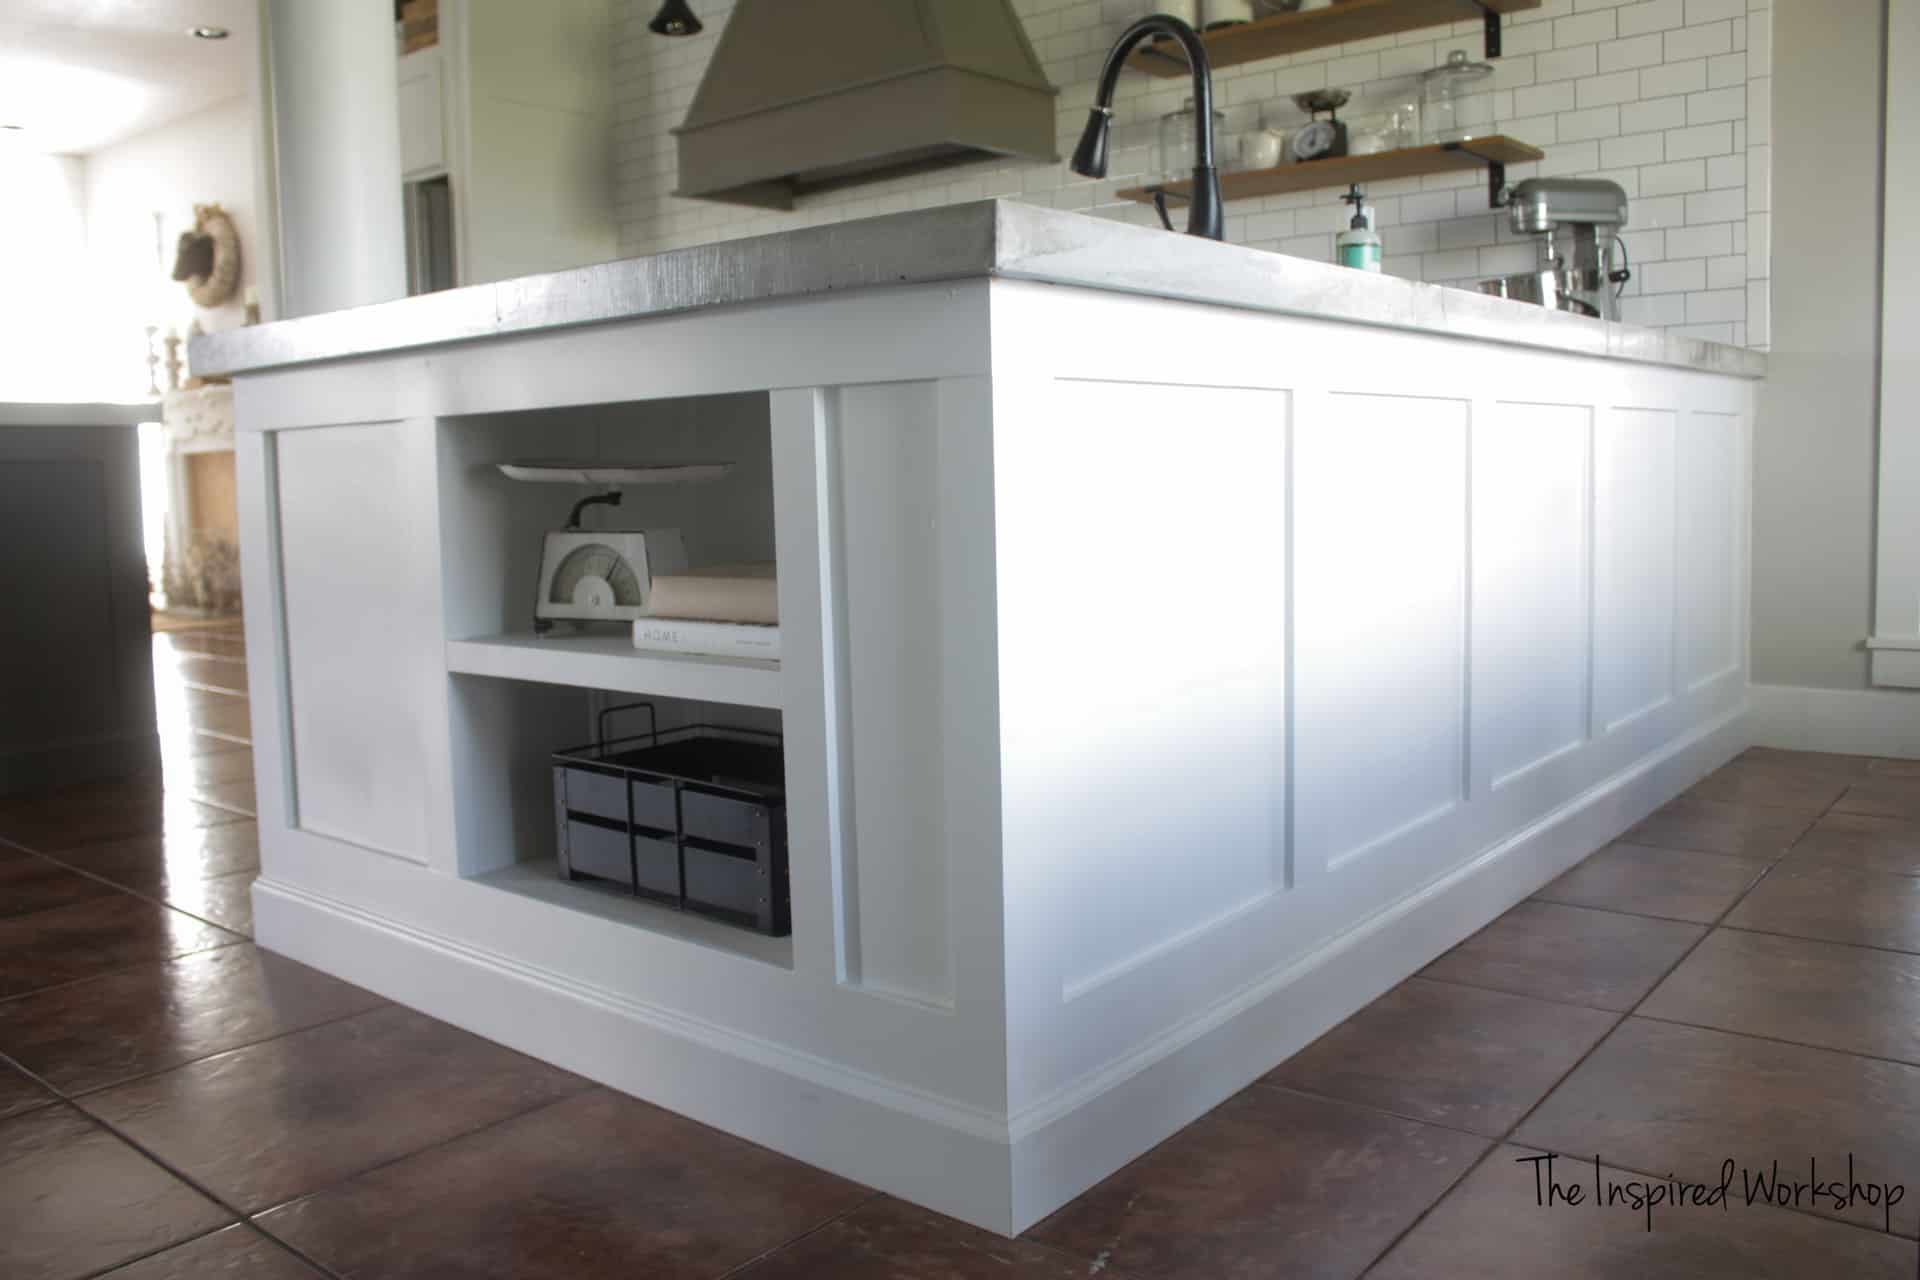
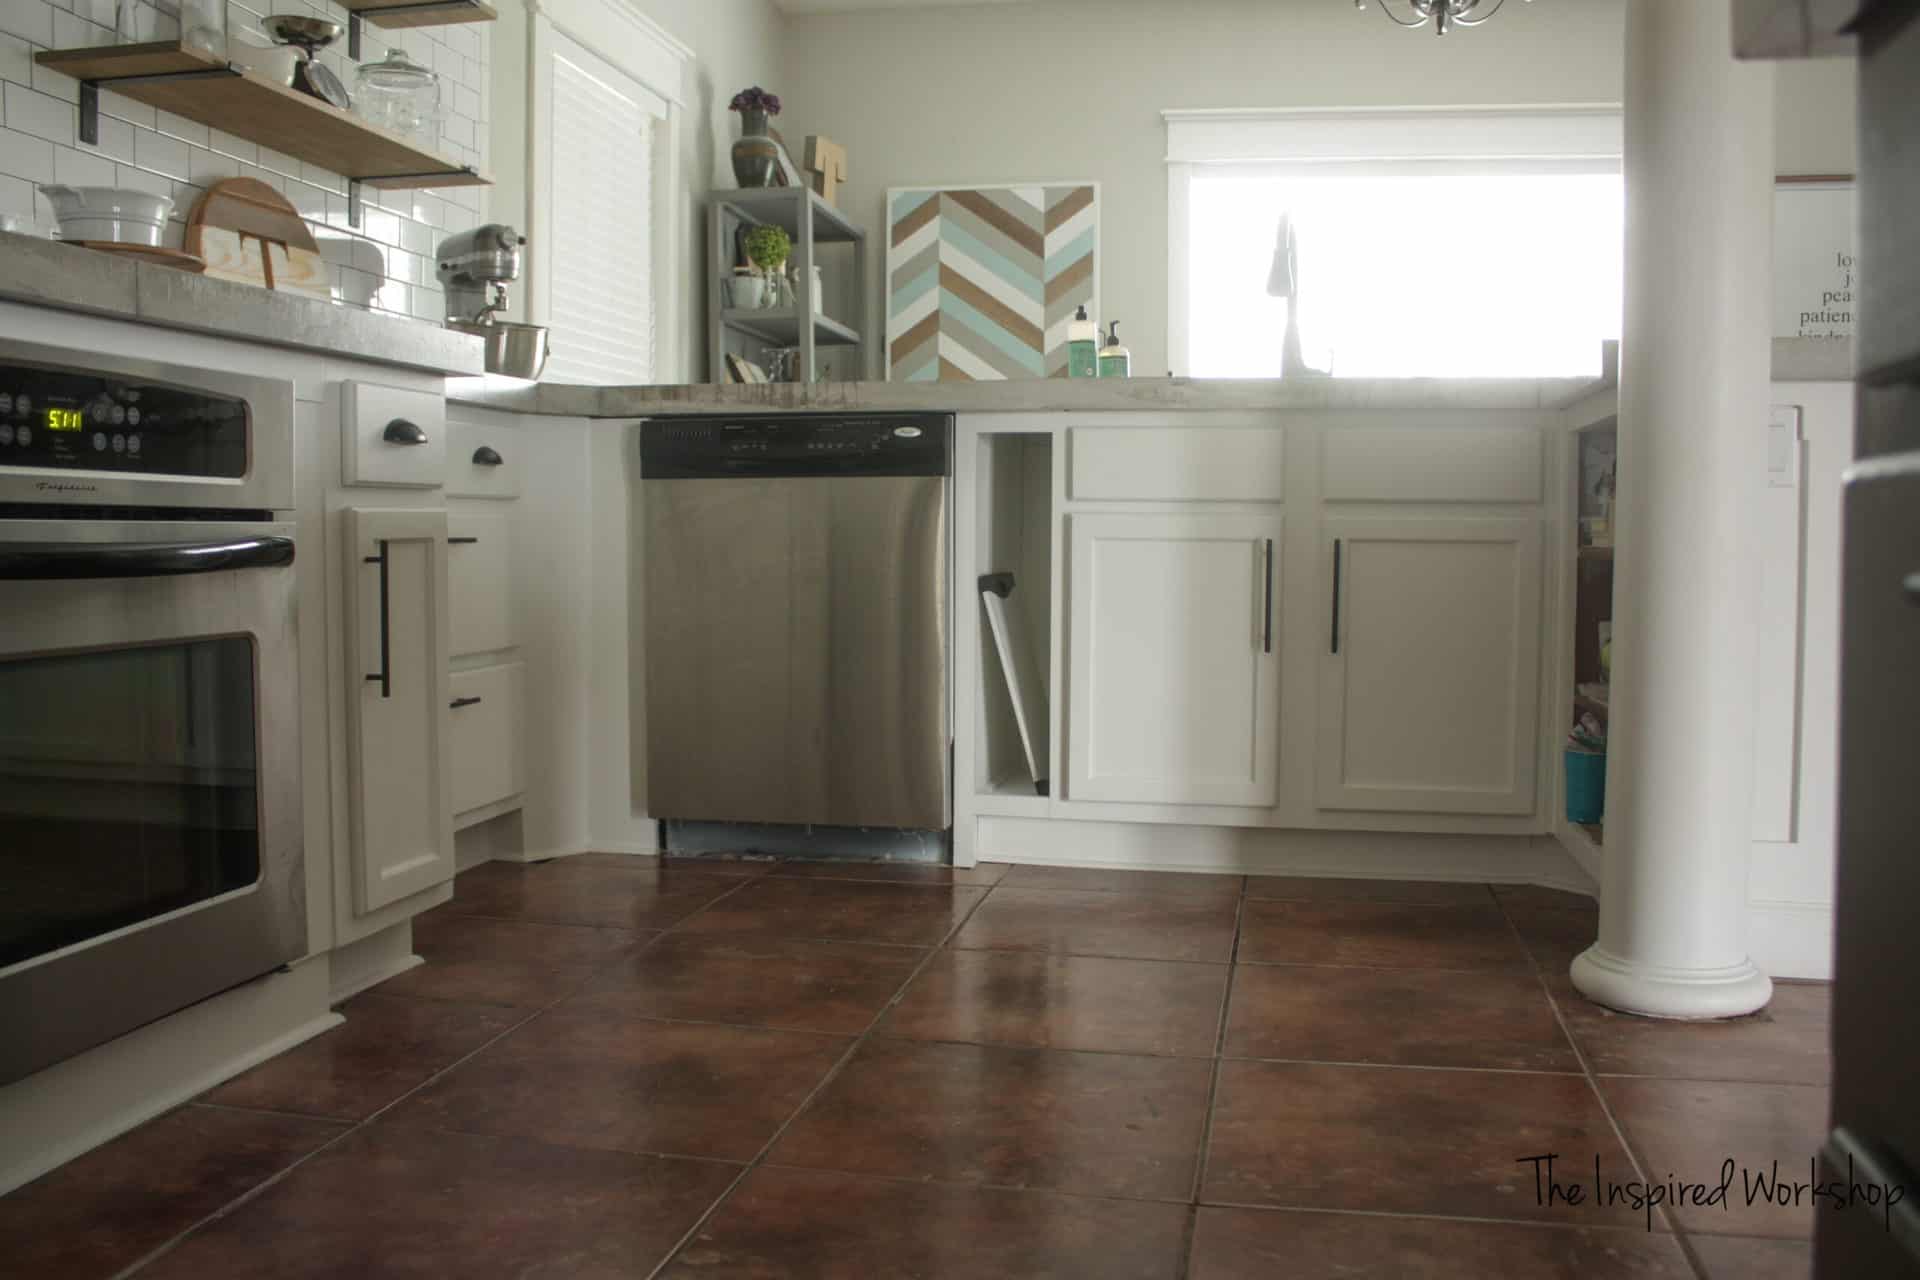
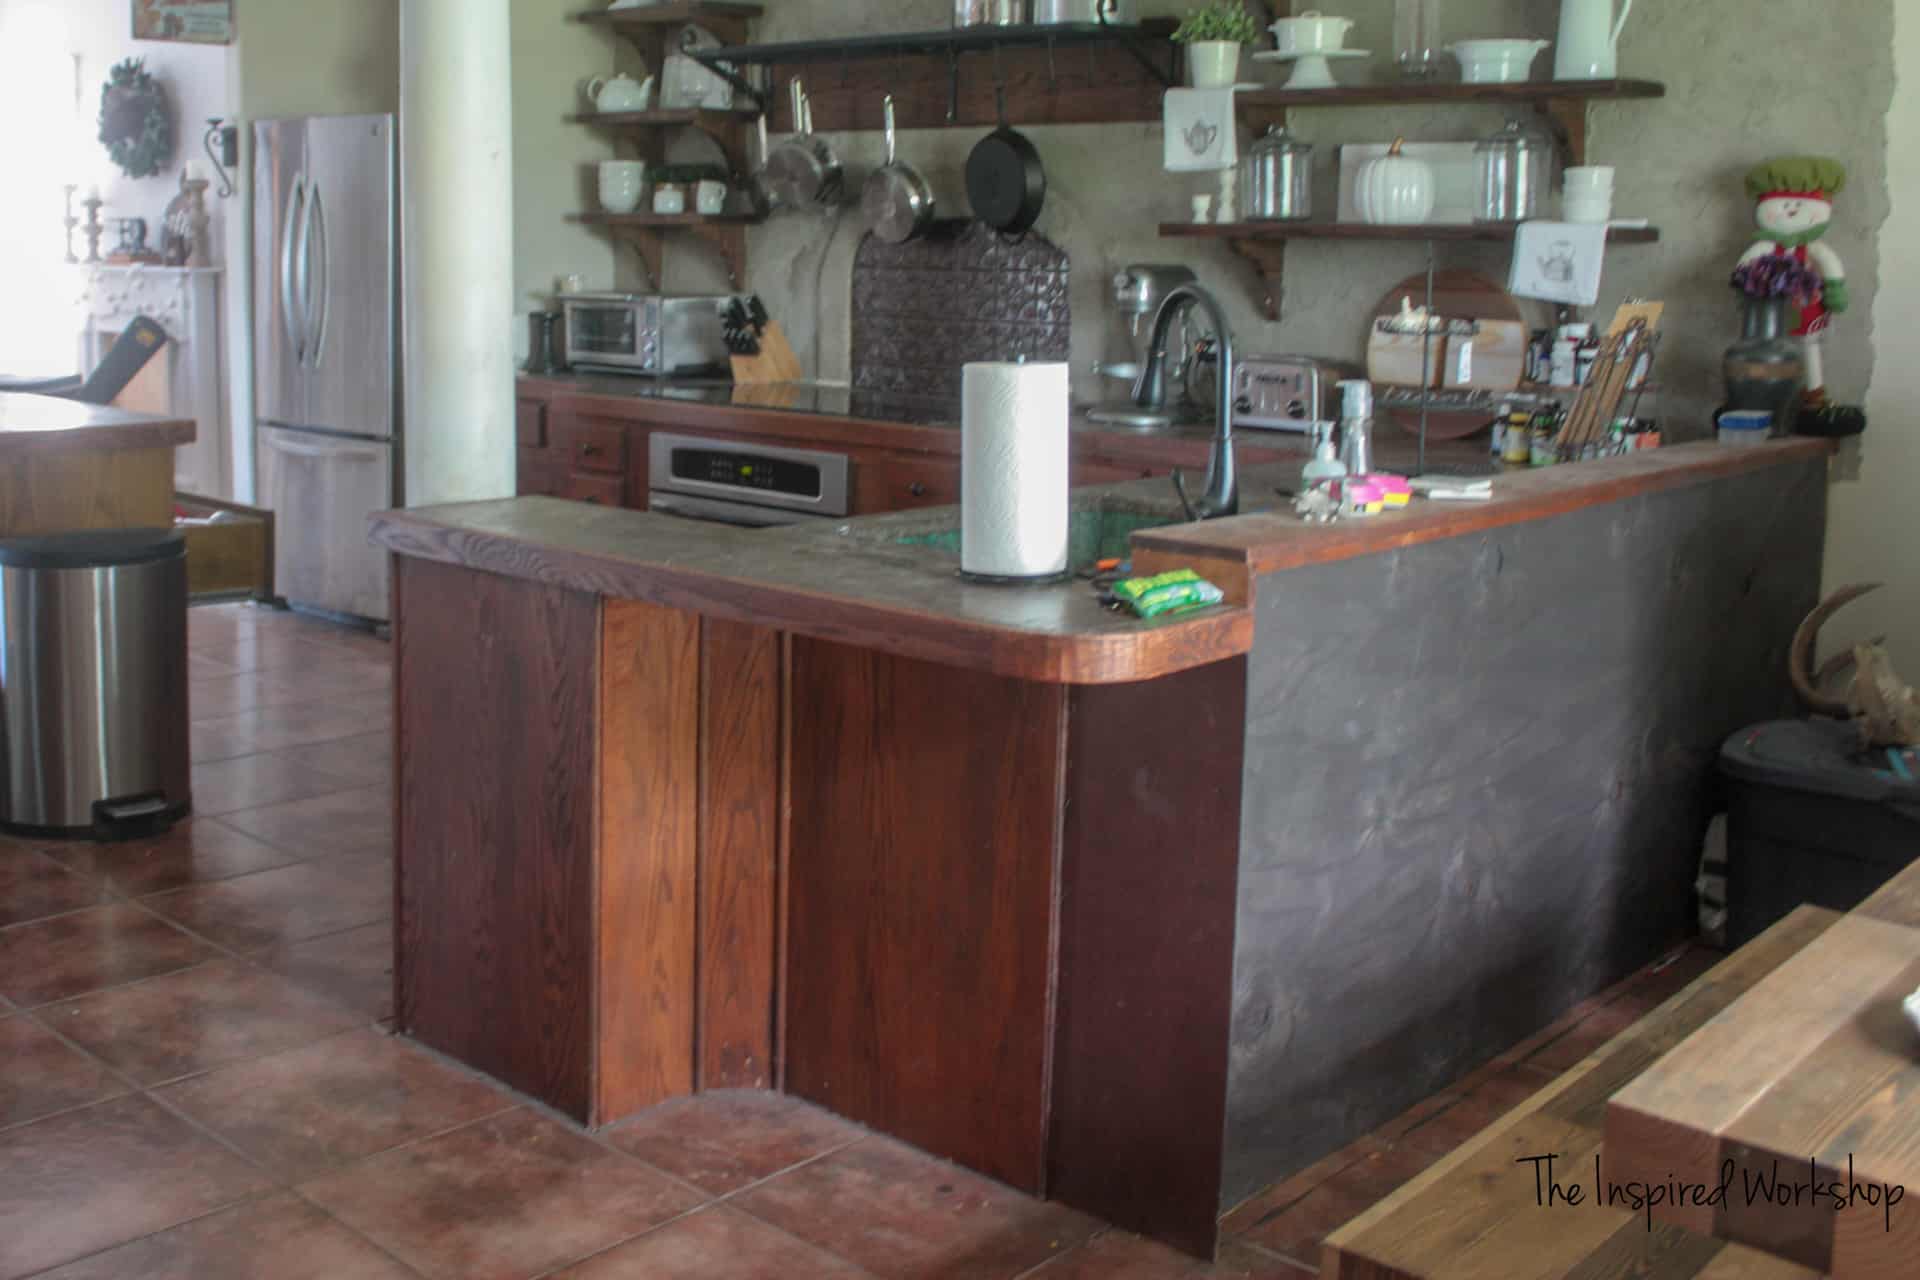
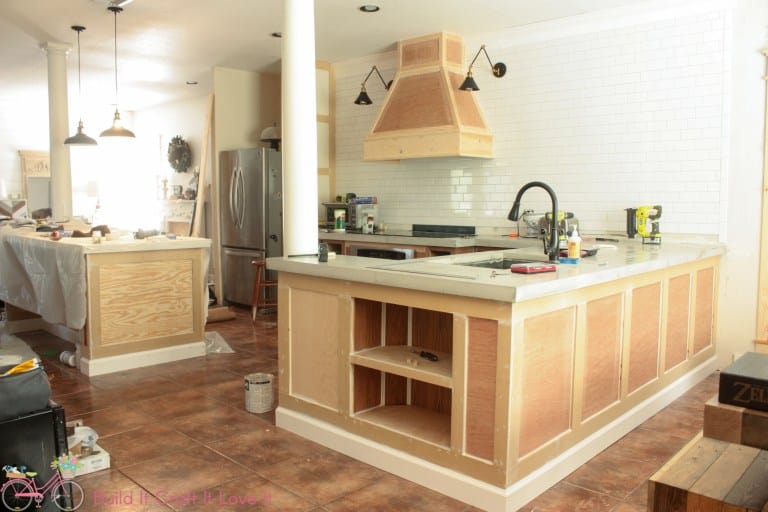
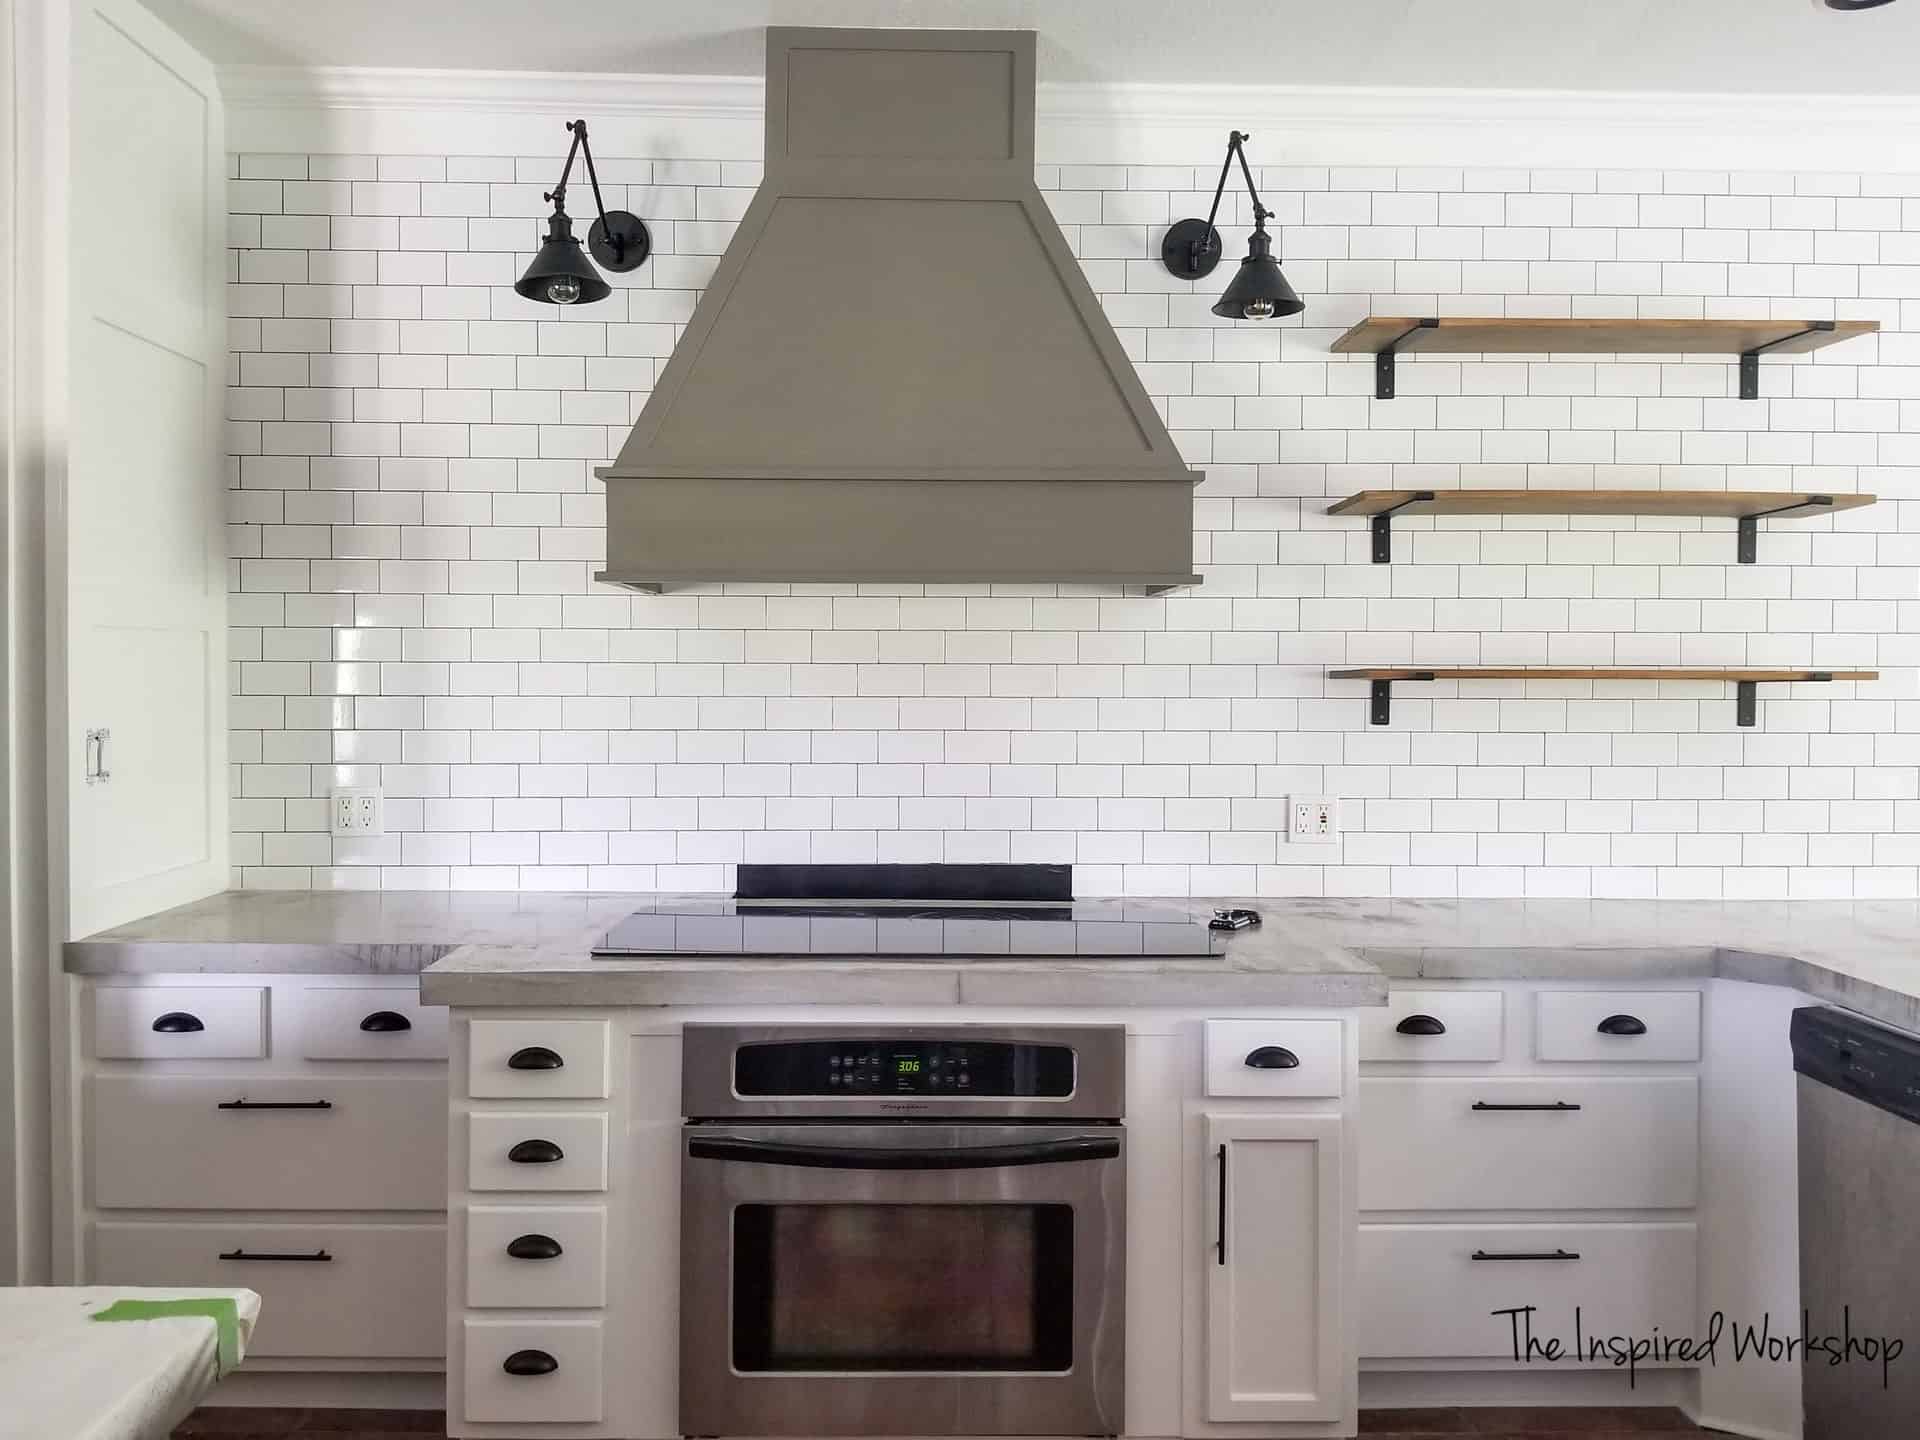
Let’s check the kitchen out before the cabinets were painted! It is AMAZING the power of paint…and a little added plywood and trim! I don’t know if it will ever stop amazing me! Lol!
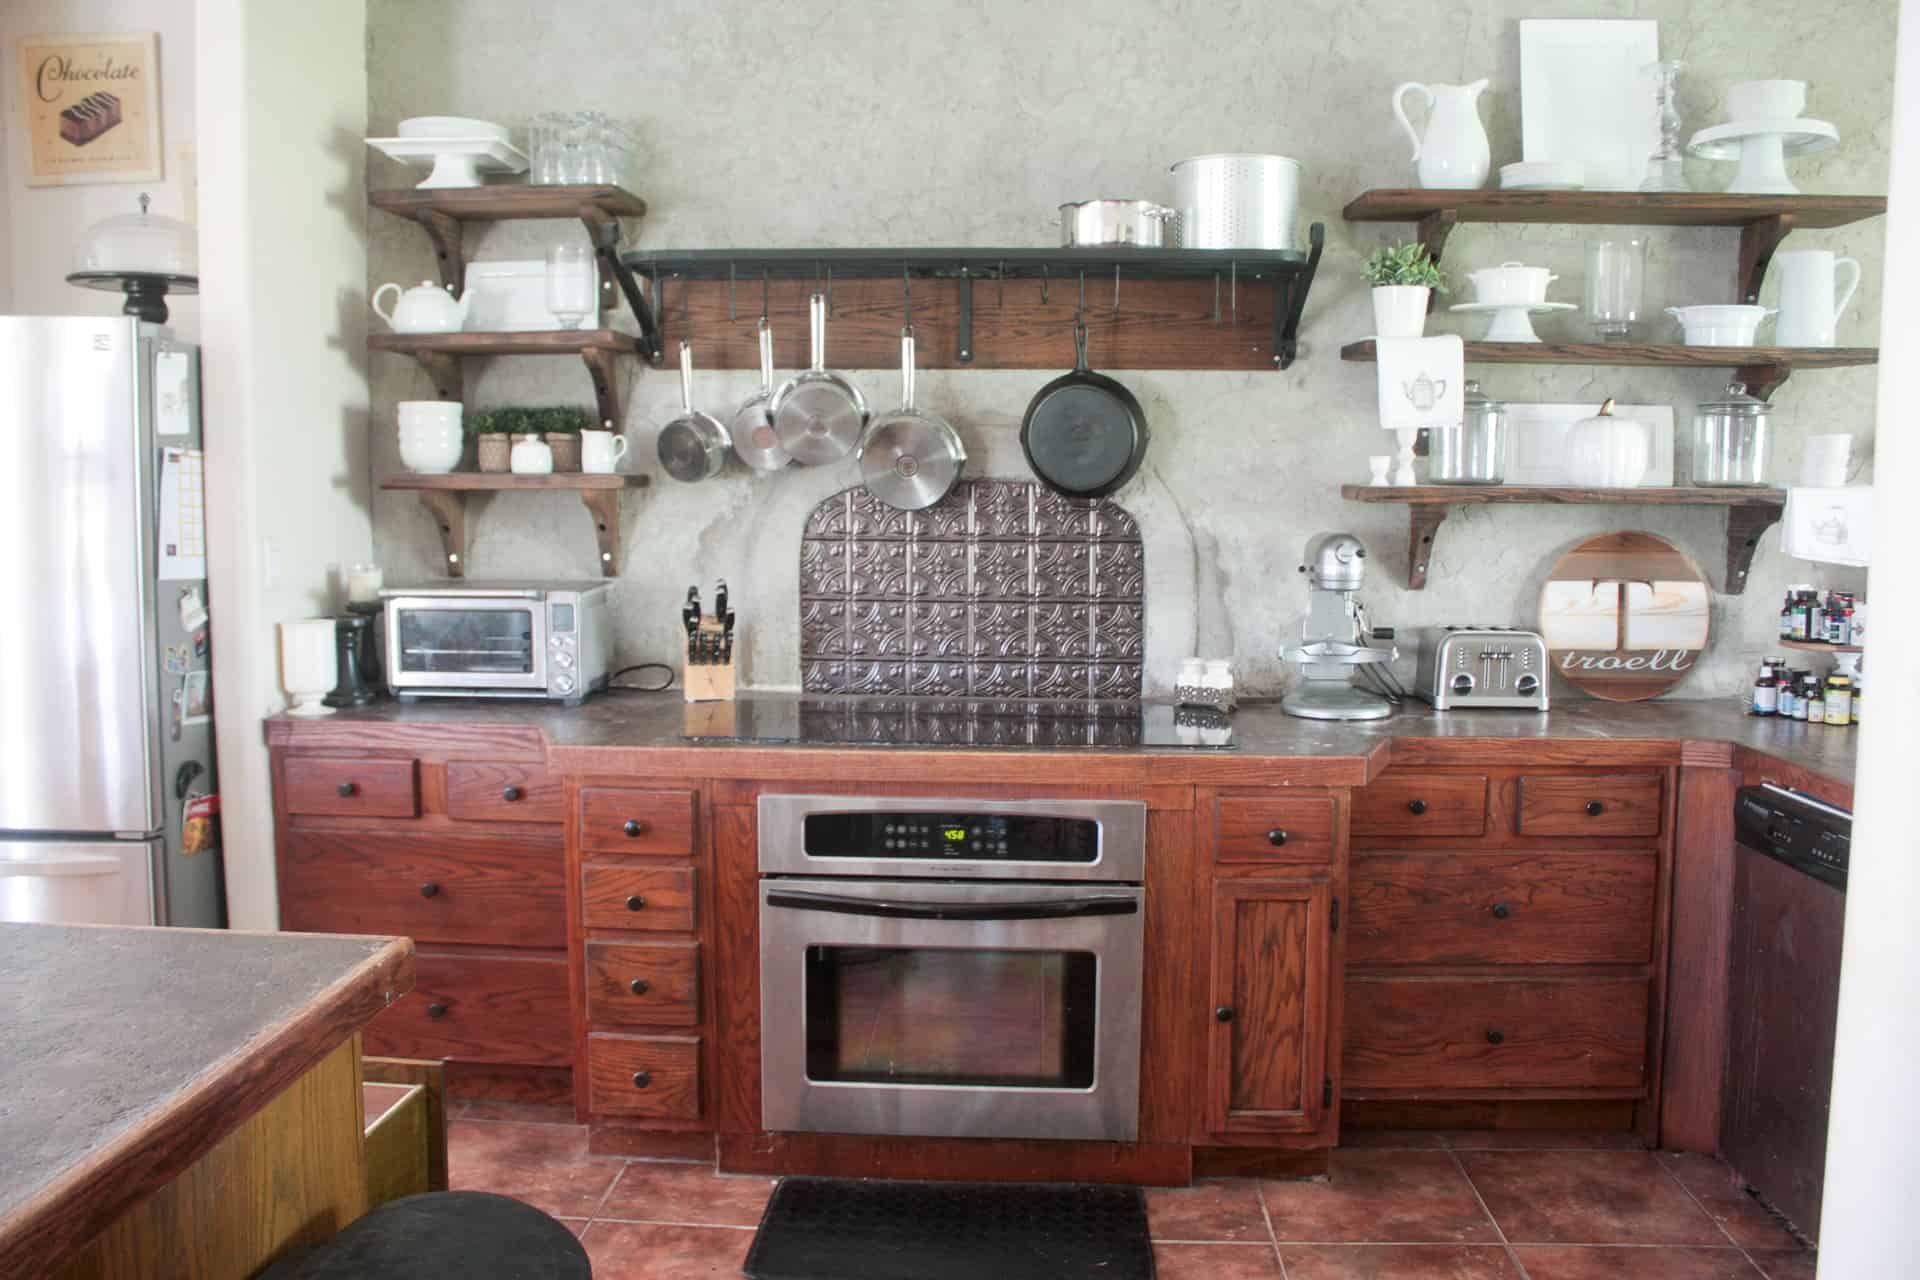
If you haven’t been following along since the beginning then you may want to take a look at some of these other posts of the DIY kitchen renovation to see how I got the kitchen to this point and ready to be painted!
Extending the Cabinets to the Ceiling and Building Out the Peninsula
Pour in Place Concrete Countertops
Building the Cabinet Above the Fridge
Alright now that you have caught up on all that I did to get the kitchen ready to be painted, let’s dive in! This is a LONG post just to forewarn you, but it’s all necessary information to share so that you will get the results you want on your cabinets so you don’t waste your time!
Real quick, make sure and save this for later so you don’t lose it? PIN IT!
Let’s gather some supplies to get started!
Materials Needed to Paint Kitchen Cabinets
***AMAZON links below are affiliate links! If you make a purchase after clicking one of the links, I make a small percentage of the purchase price at no extra cost to you! Thanks in advance if you make a purchase at one of my links!
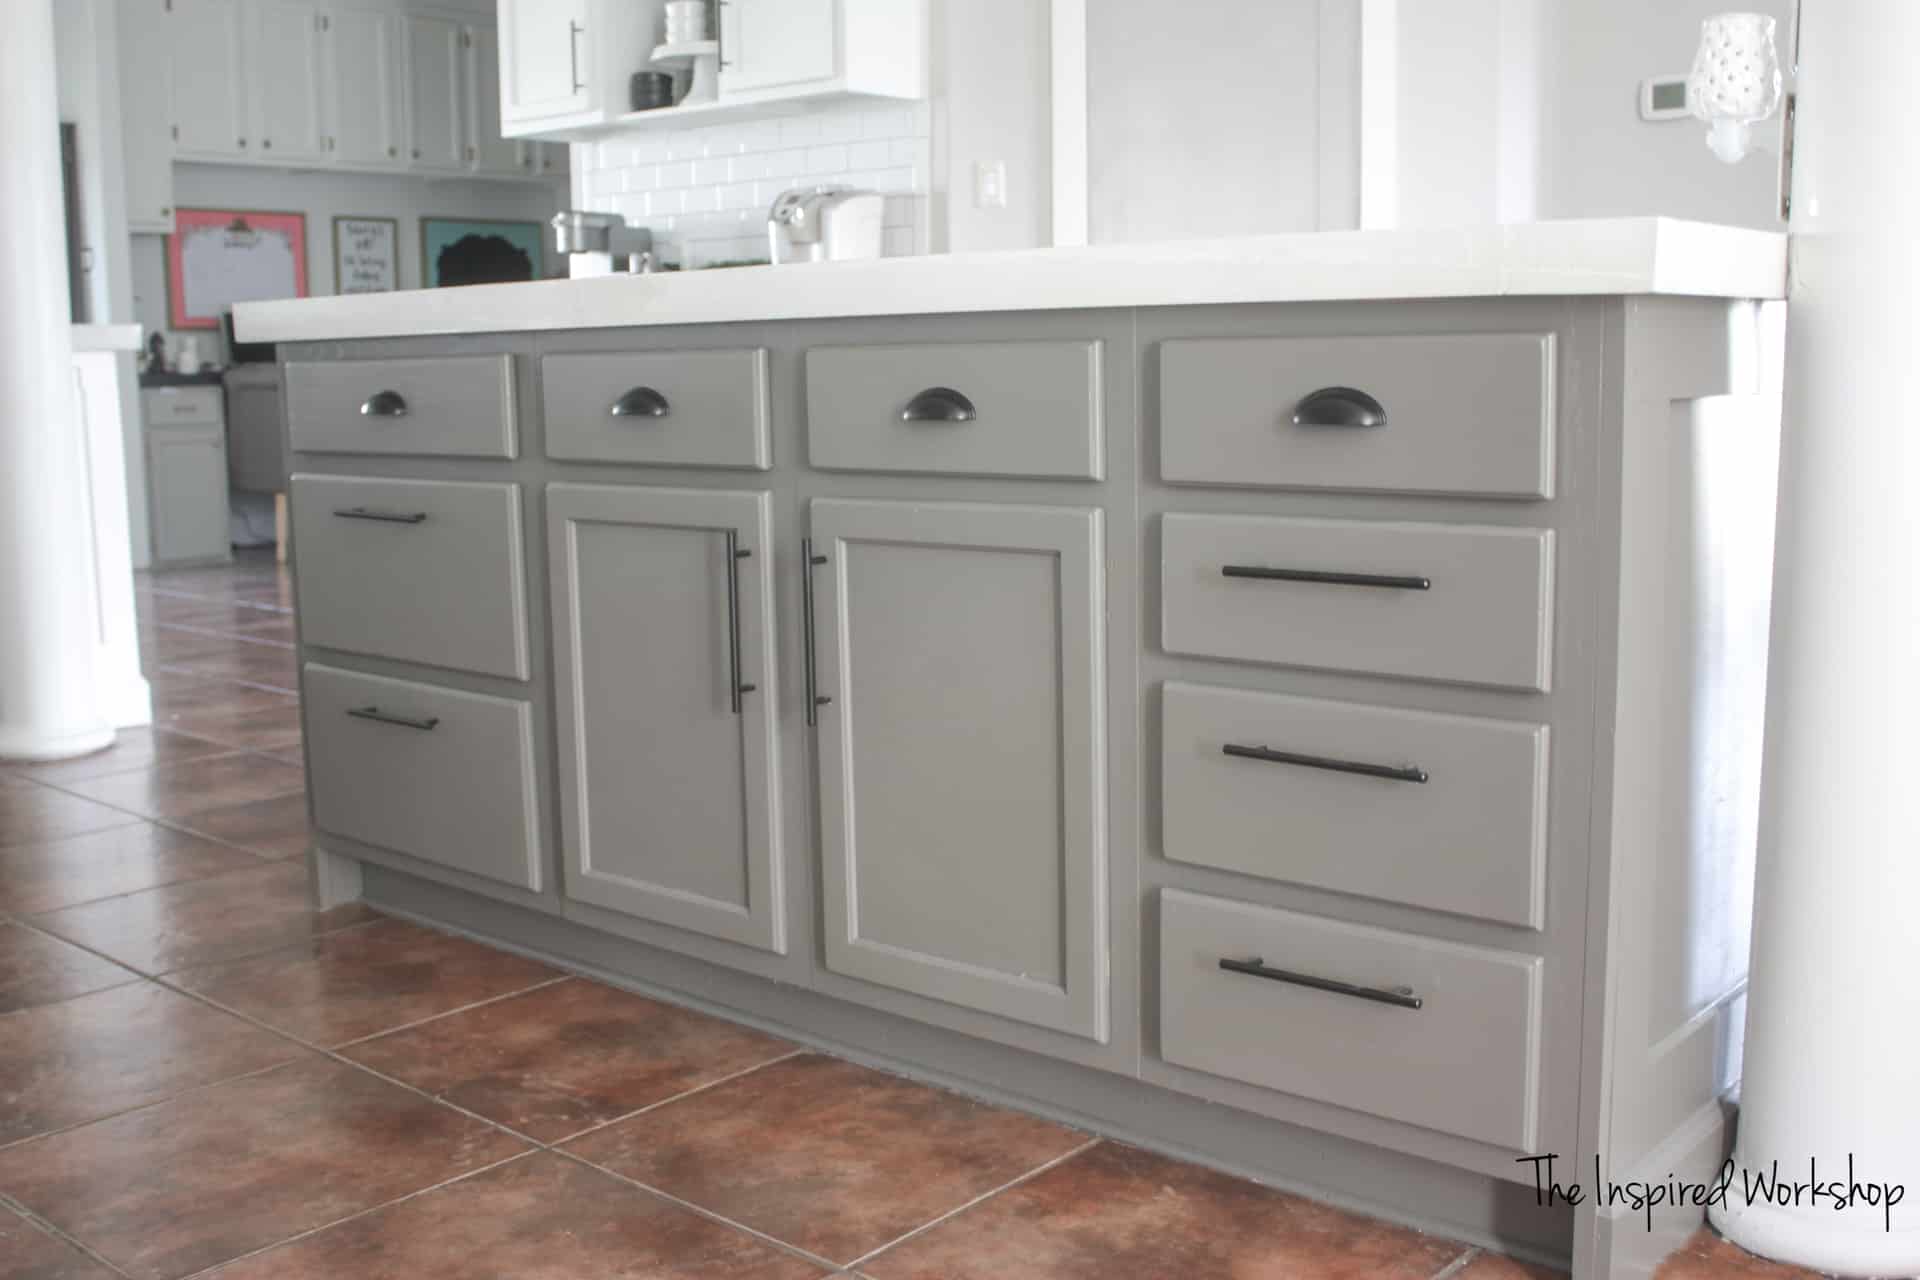
– Paint – I used Sherwin Williams Pro Classic in Pure White satin sheen (cabinets) and Gauntlet Gray satin sheen (island and vent hood) – I would not recommend painting them with a paint and primer mix…but that’s just my opinion!
–Primer – I used Zinsser Bullseye Primer – It’s thick and has to be watered down quite a bit for the sprayer but it works really well! The link above is to Amazon, just to show you what the can looks like…you can purchase it at Home Depot or Walmart though for cheaper!
–Paint Sprayer – I was sent the newer version of the Home Right sprayer for this post, but I had previously purchased the other previous model and both work GREAT! If you have the extra in your budget, splurge on the newer model, but if you don’t, the older model WILL do the job!
–Painter’s Tape – I really don’t have a favorite here anymore, I have bought all of them and had good and bad results with all of them! Lol!
–Brown Paper – to protect the floor – I liked this better than drop cloths for around the cabinet bases on the floor, I didn’t want to have to buy a ton of small drop clothes or cut them down, so this worked best!
–Drop cloths – I love the ones that are paper but have the plastic back, they are cheap but I like them more than the solid plastic ones! I only use these when I am spraying the doors and drawers…I get them at Walmart for the best price!
–Sanding Materials – This sander was what I used on almost the entire kitchen…yes, this tiny micro zip by Gator…found much cheaper at Walmart, was AMAZING! I also used a sanding block as well!
–Caulk and wood filler – A great paint job starts with the prep work, making sure to fill any gaps or brad nail holes makes all the difference in a good or bad paint job, and just a little info for you…white paint magnifies all imperfections! Lol!
–Respirator – or charcoal mask at least – The paint that is in the air is unreal when you are using the sprayer, and even though you may not realize it a the time, you are breathing a ton of paint into your lungs! Do not do this to yourself as I did! 🙈Wear a respirator! I had a fan going in the dining room window, pretty far away from the painting, and you should have seen the white paint on the window screen. That’s when I realized how dumb I was for not wearing at least a mask the entire time and I started wearing one! Also, the painted boogers were a really good indicator as well! Lol!
-Old Clothes – My clothes were speckled with paint just like the floors where they received overspray!
Once you have all your supplies together, you are ready to paint the cabinets!
Want to see me IN ACTION, watch the video on how to paint kitchen cabinets!! (Well you will be able to tomorrow)Lol!
Prepping to Paint Kitchen Cabinets
After making sure the cabinets are built out how you want, added on to, crown molding applied, or any other changes you would like to make, you will need to caulk any gaps and fill any nail or screw holes. I used Dap Alex Plus caulk to fill all the gaps around the MDF I added as trim to the cabinets, where the baseboards meet the cabinets, where the inset section of the cabinet doors met the cabinet door trim, ANYWHERE and EVERYWHERE I saw a gap. The paint will exaggerate any gap left without caulk!
I used Minwax Wood Filler to fill in all the brad nail holes where I nailed the trim on! Caulk is not as easy to sand as wood filler is, so I used wood filler anywhere I could, but a good rule of thumb is, caulk is for gaps and filler is for holes!
After caulking and wood filling, you will need to SAND EVERYTHING DOWN! If the caulk is left slightly raised anywhere, you will be able to see it after the paint. So sand, sand, and sand some more! The best bet with caulk is to rub it as thin as possible at the edges when you apply it as opposed to trying to sand it later!
Here’s my kitchen ready to be primed and painted!
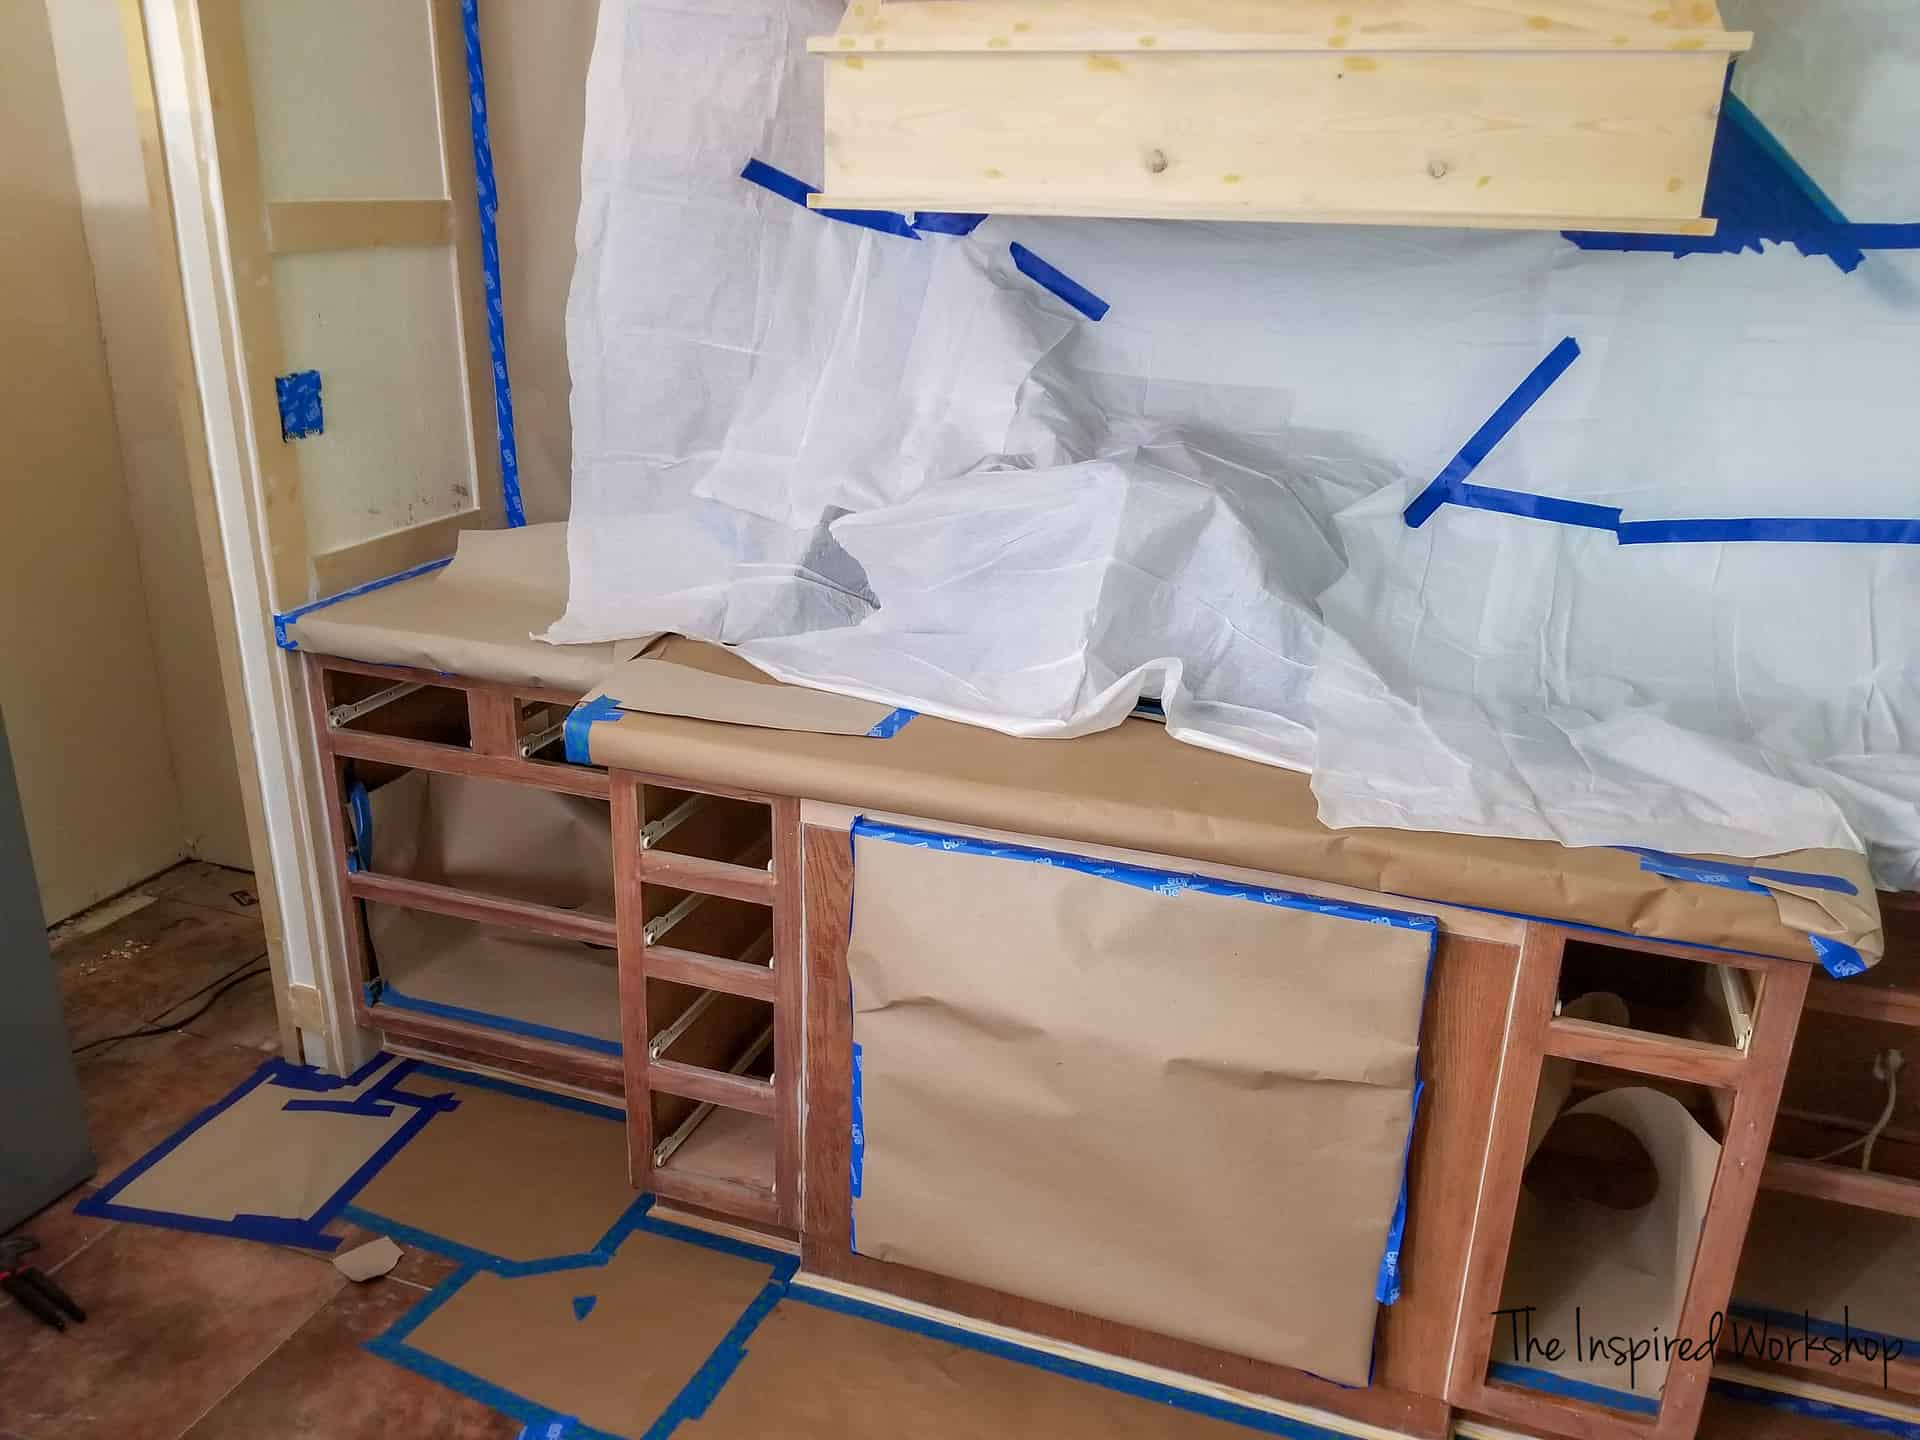
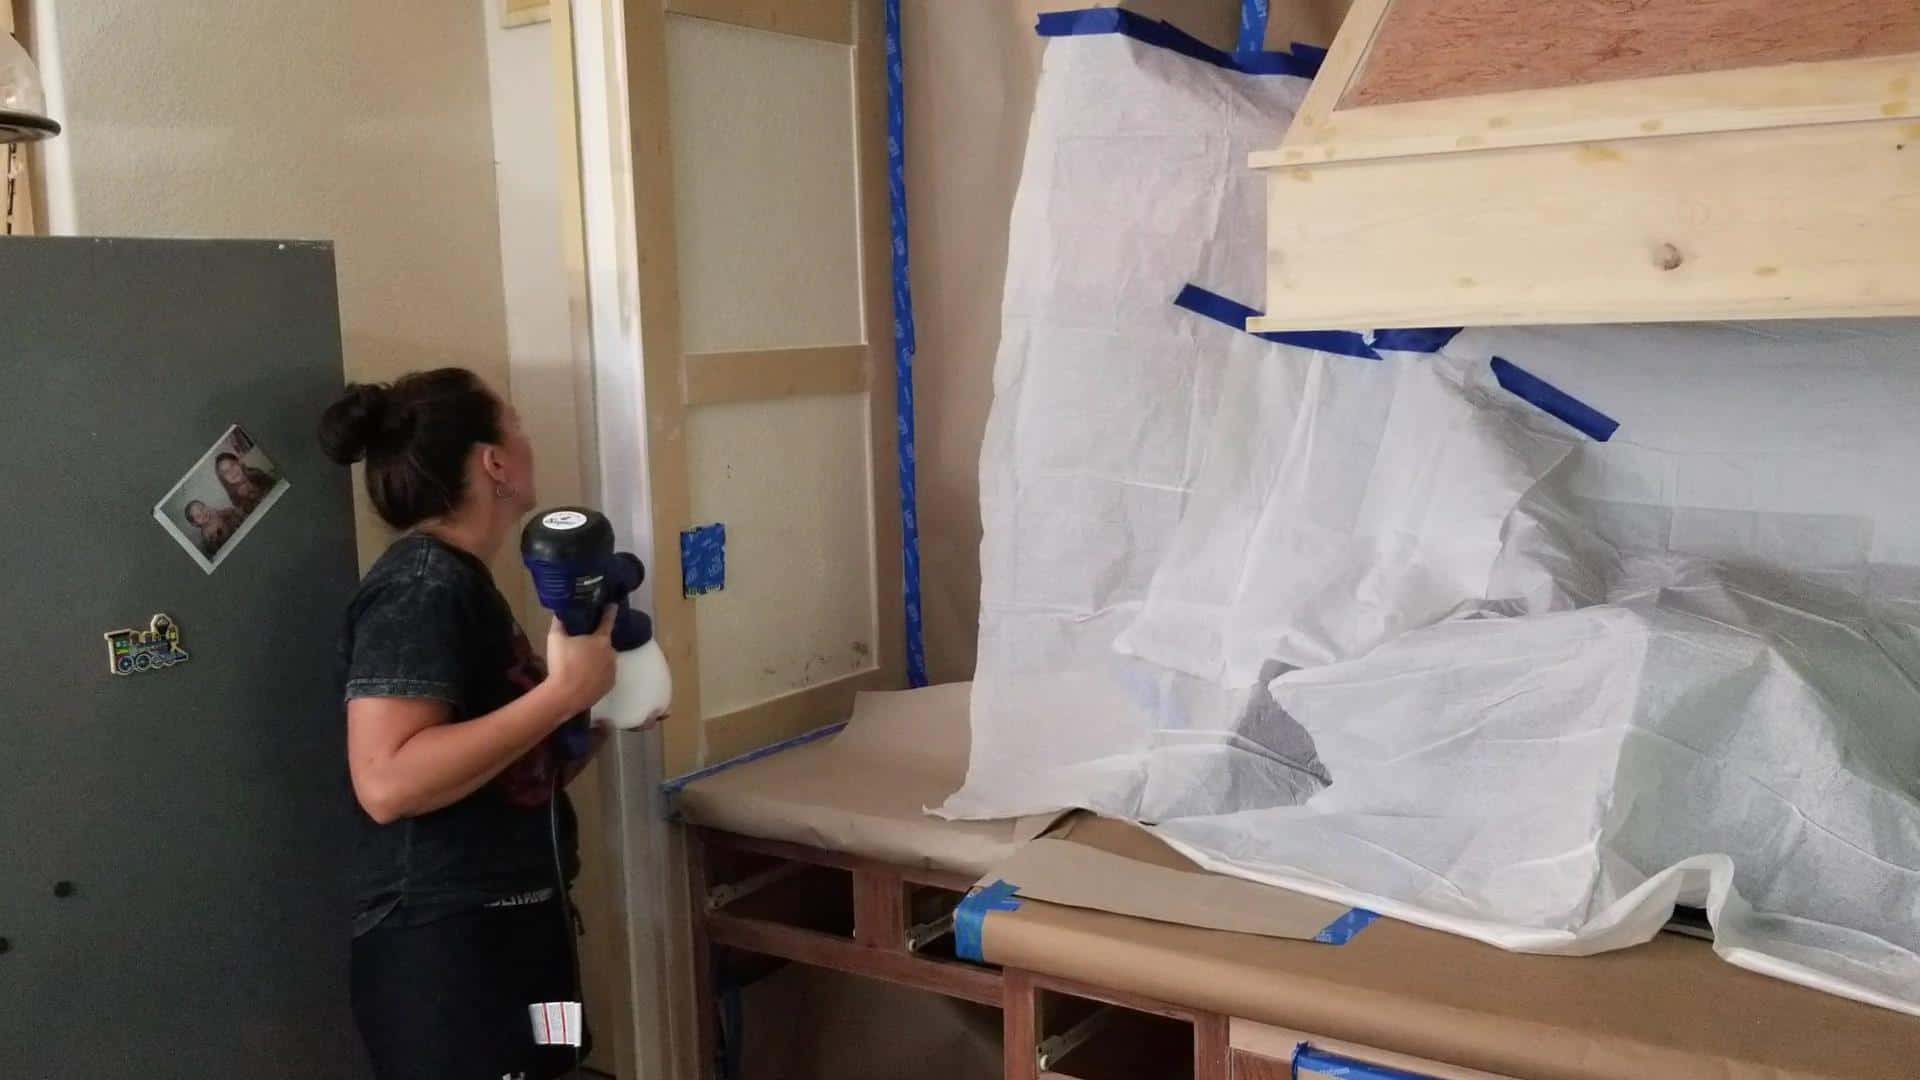
Before painting, everything must be covered! You would be shocked at how far that overspray can manage to go! I like the brown paper around the cabinets on the floor and the countertops. I used the plastic-backed paper-like drop cloths around the vent hood and inside cabinets. I used the same drop cloths later for the cabinet drawers and doors to be painted on!
It took me a couple of hours to get all the paper taped and spread, but you will be so happy you did it as opposed to scrubbing paint off the floor or ruining your new countertops!
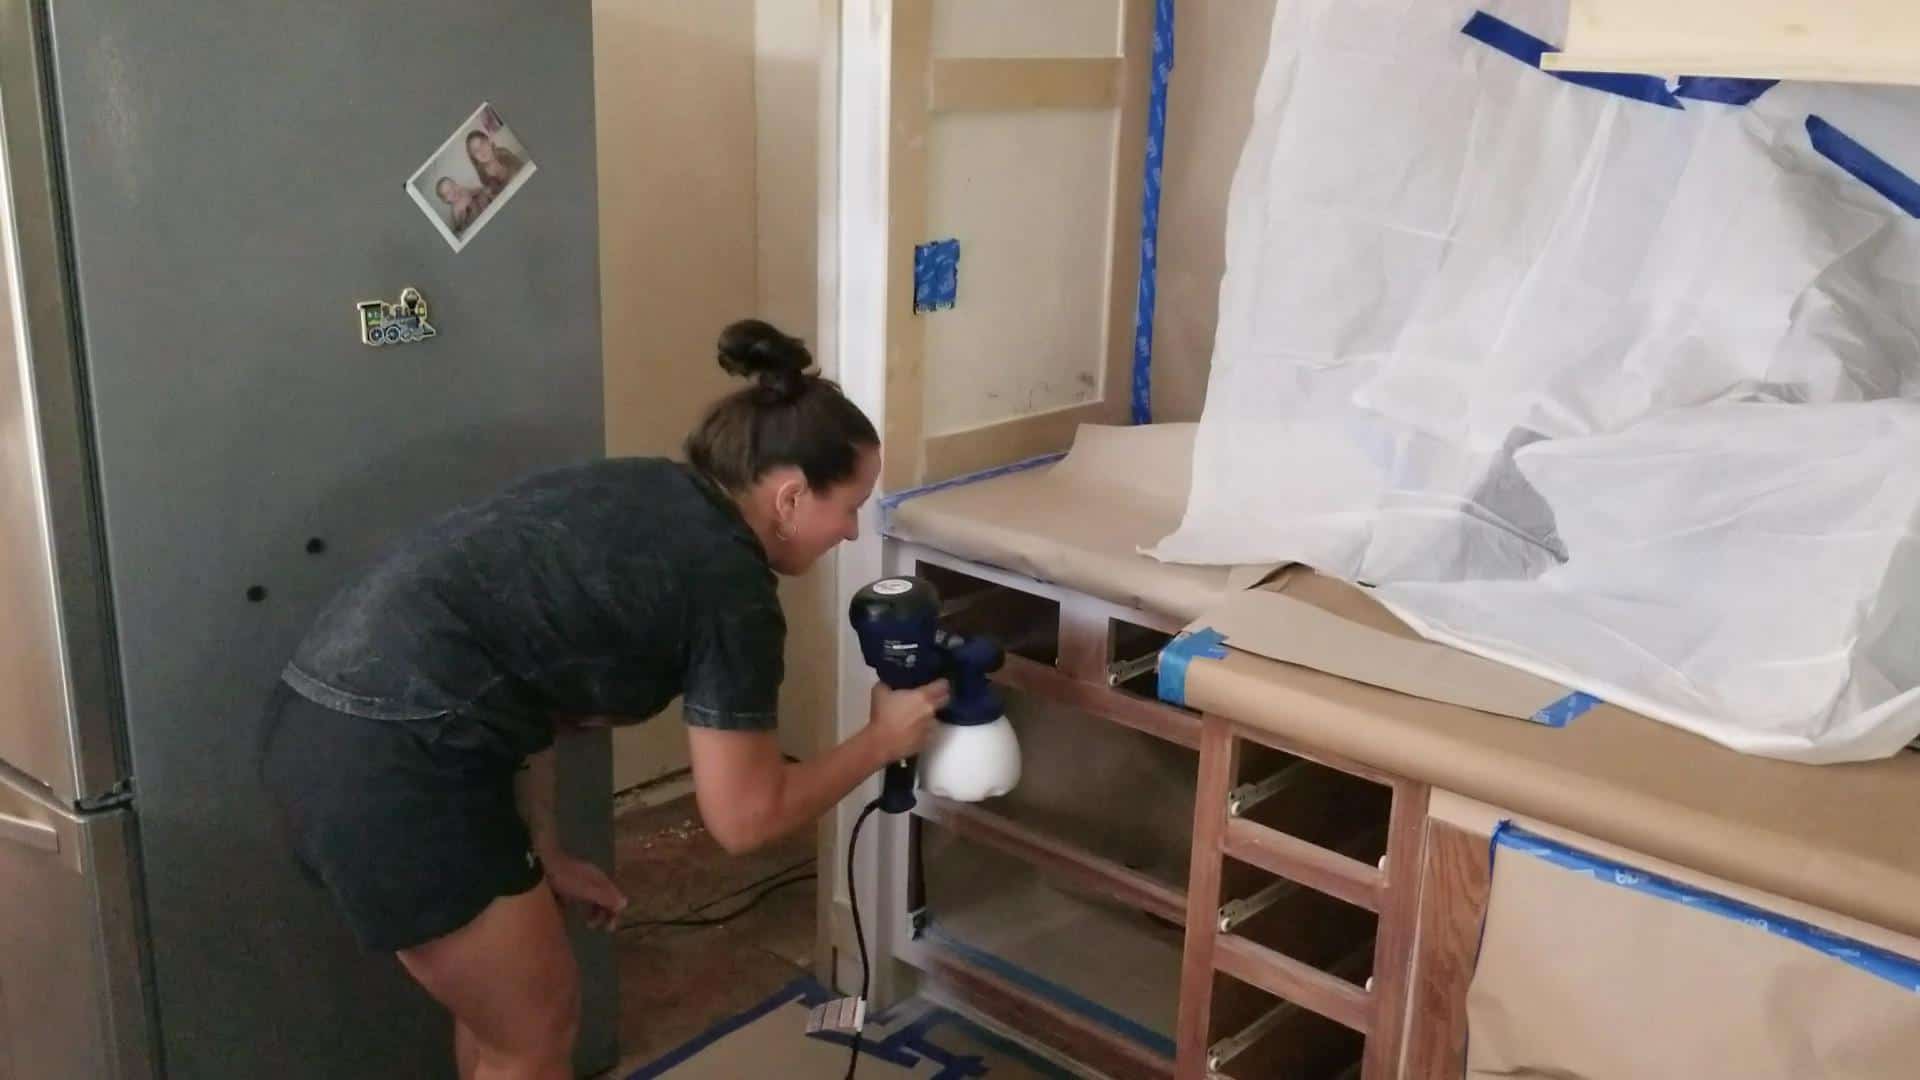
Painting Kitchen Cabinets with a Sprayer
**Tip of the Day: If you want to paint your kitchen cabinets without a paint sprayer, it can be done with a quality paintbrush, just make sure to keep your paintbrush wet with water, as I have found that to be the secret to not having any brush strokes! Keeping your brush wet works to thin the paint so it will settle, I think water works FAR better than Floetrol or any other paint additive when using water-based paint.
Setting up the Paint Sprayer to Paint Kitchen Cabinets
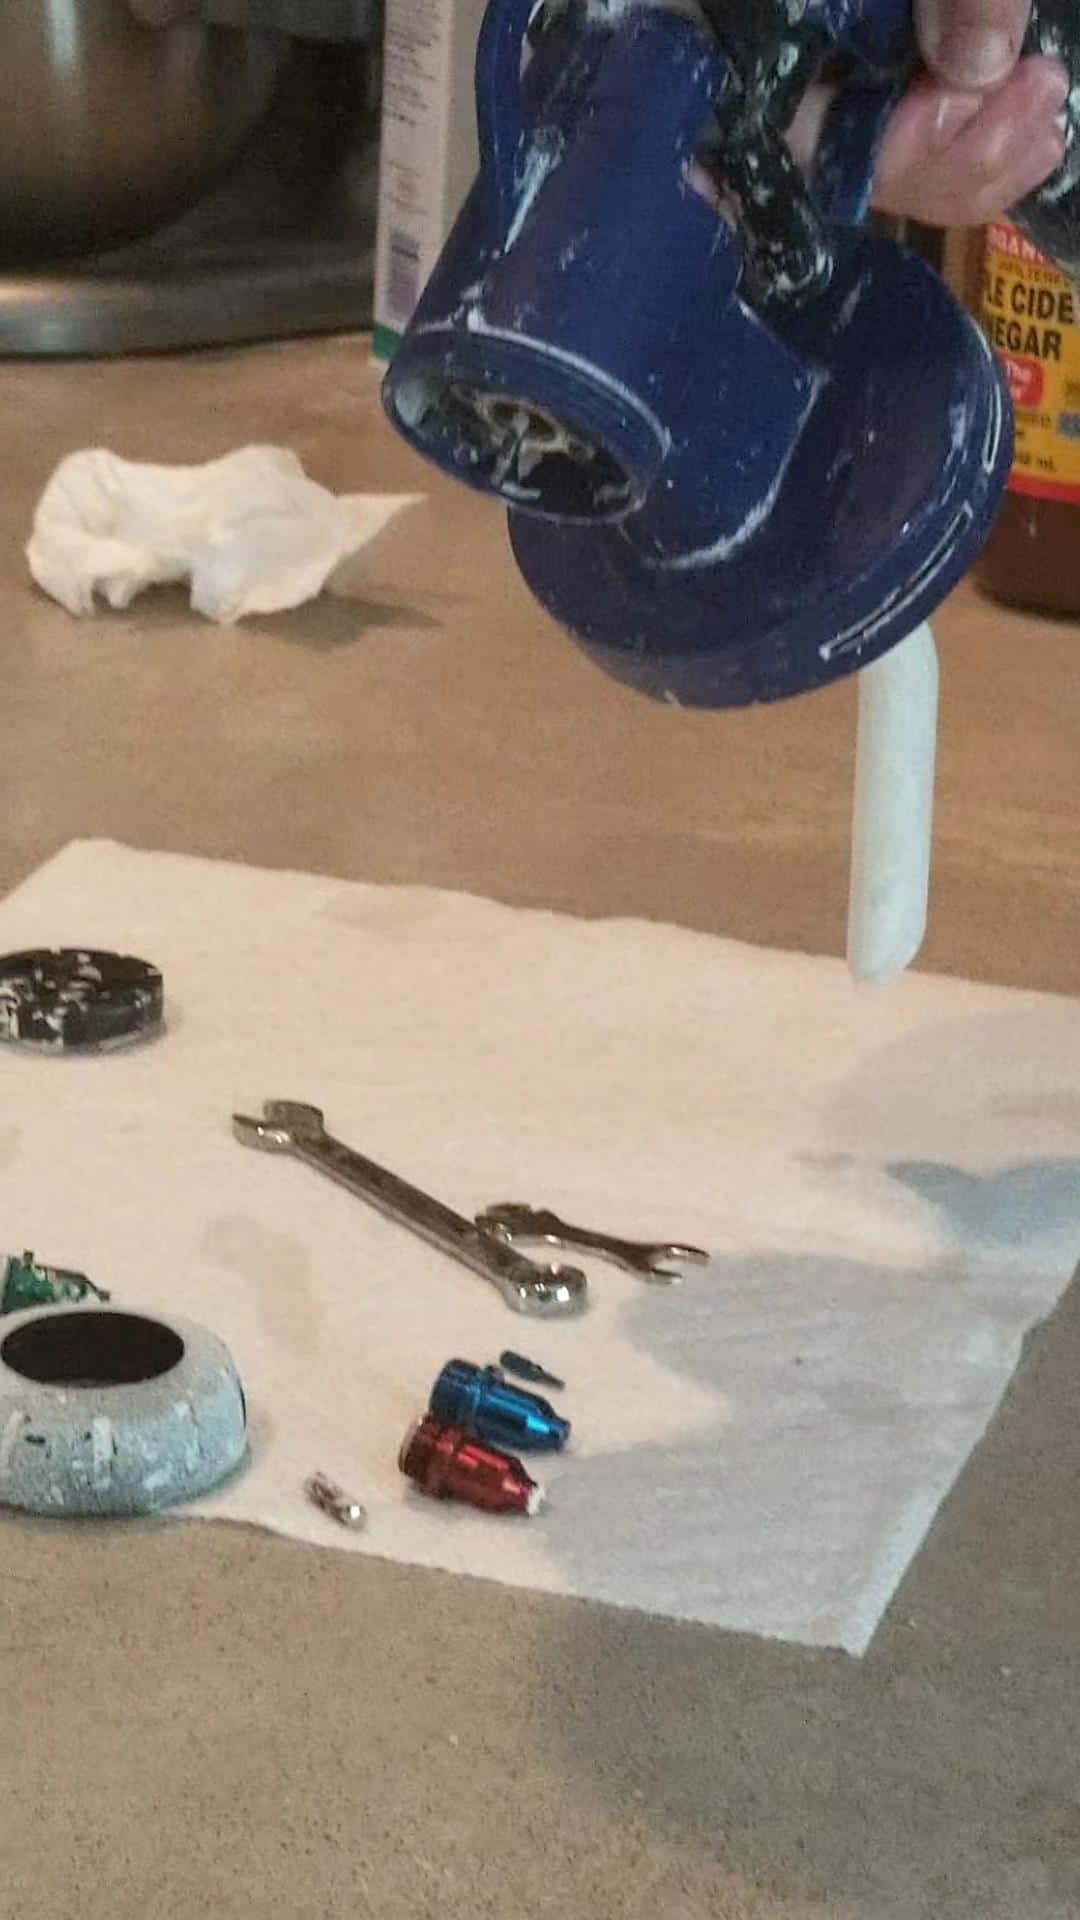
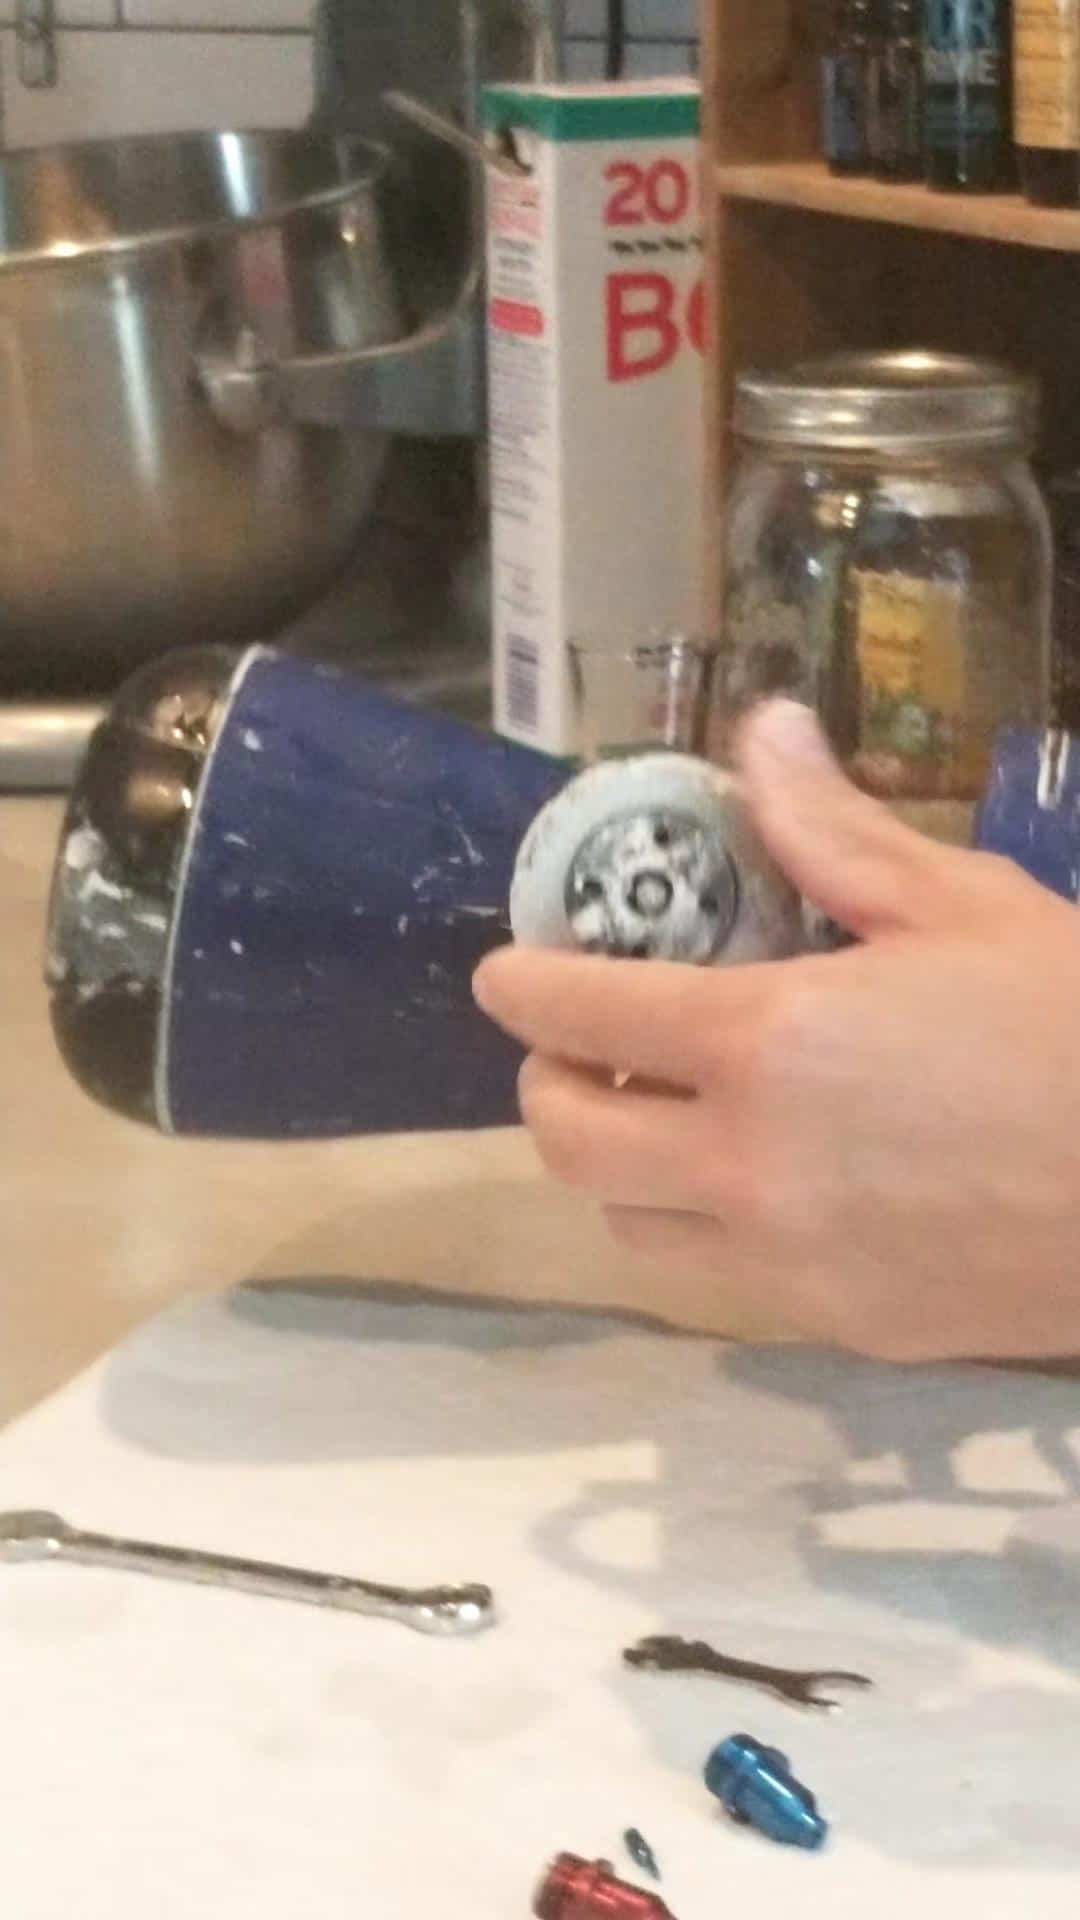
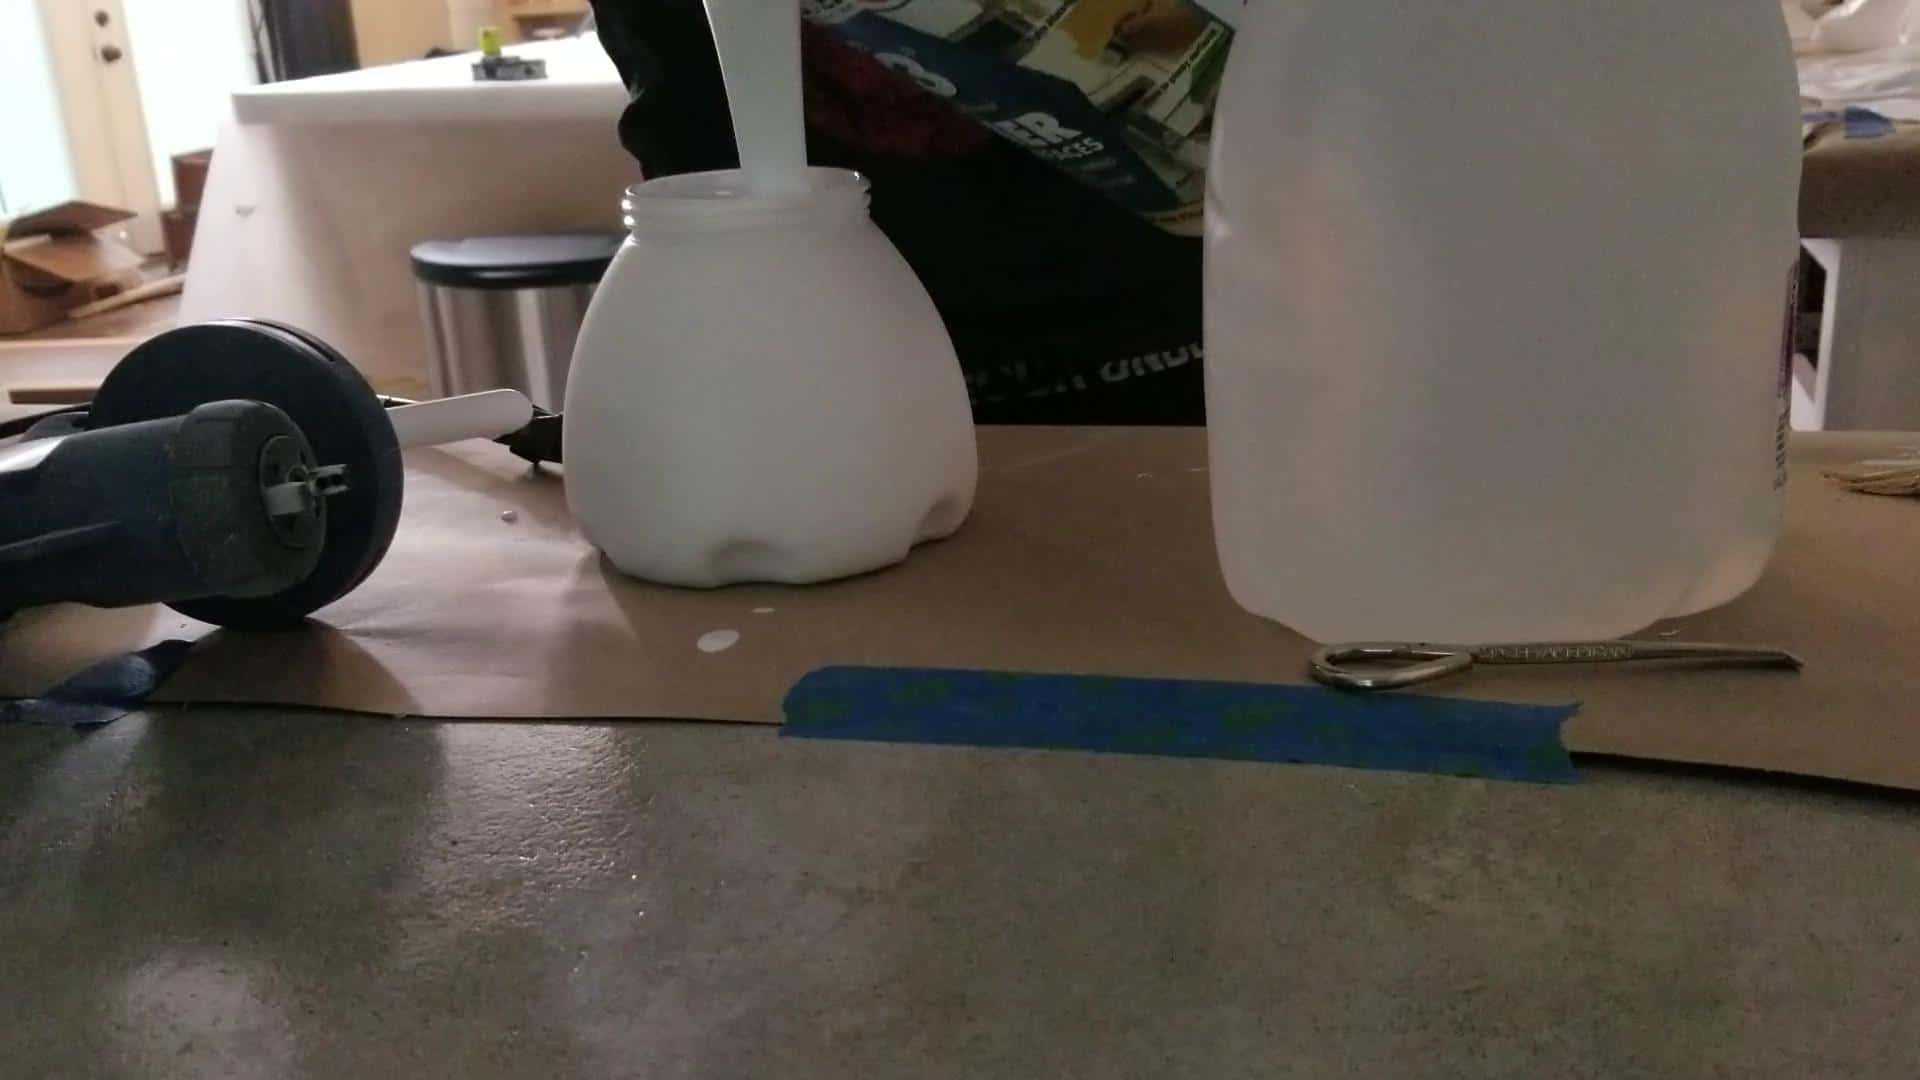
Using the sprayer is pretty easy, the instructions show you how to put it together, but here are my pictures to help. Don’t mind that I took shots from the video and they are really grainy and ugly…I’ll update them as soon as I can!
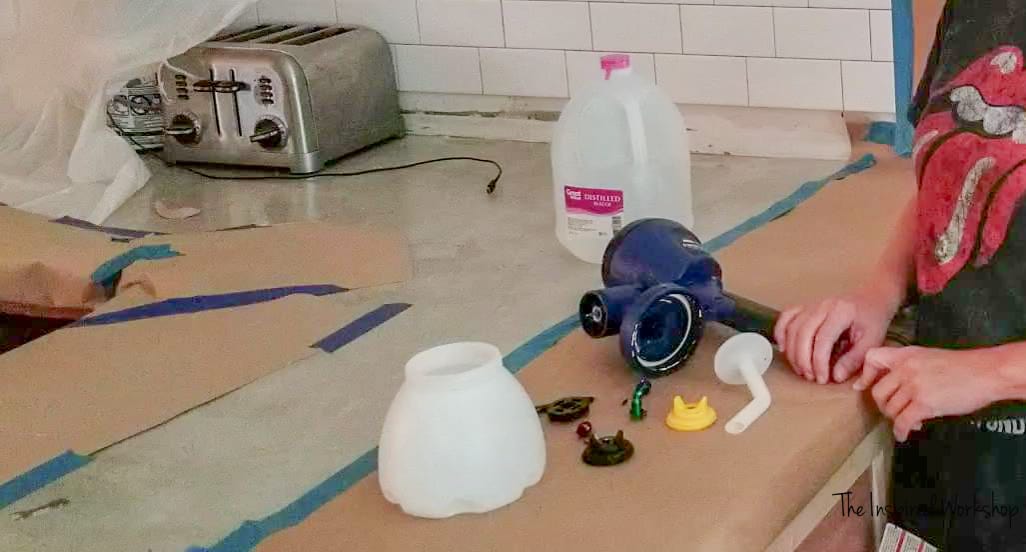
Attach the straw.
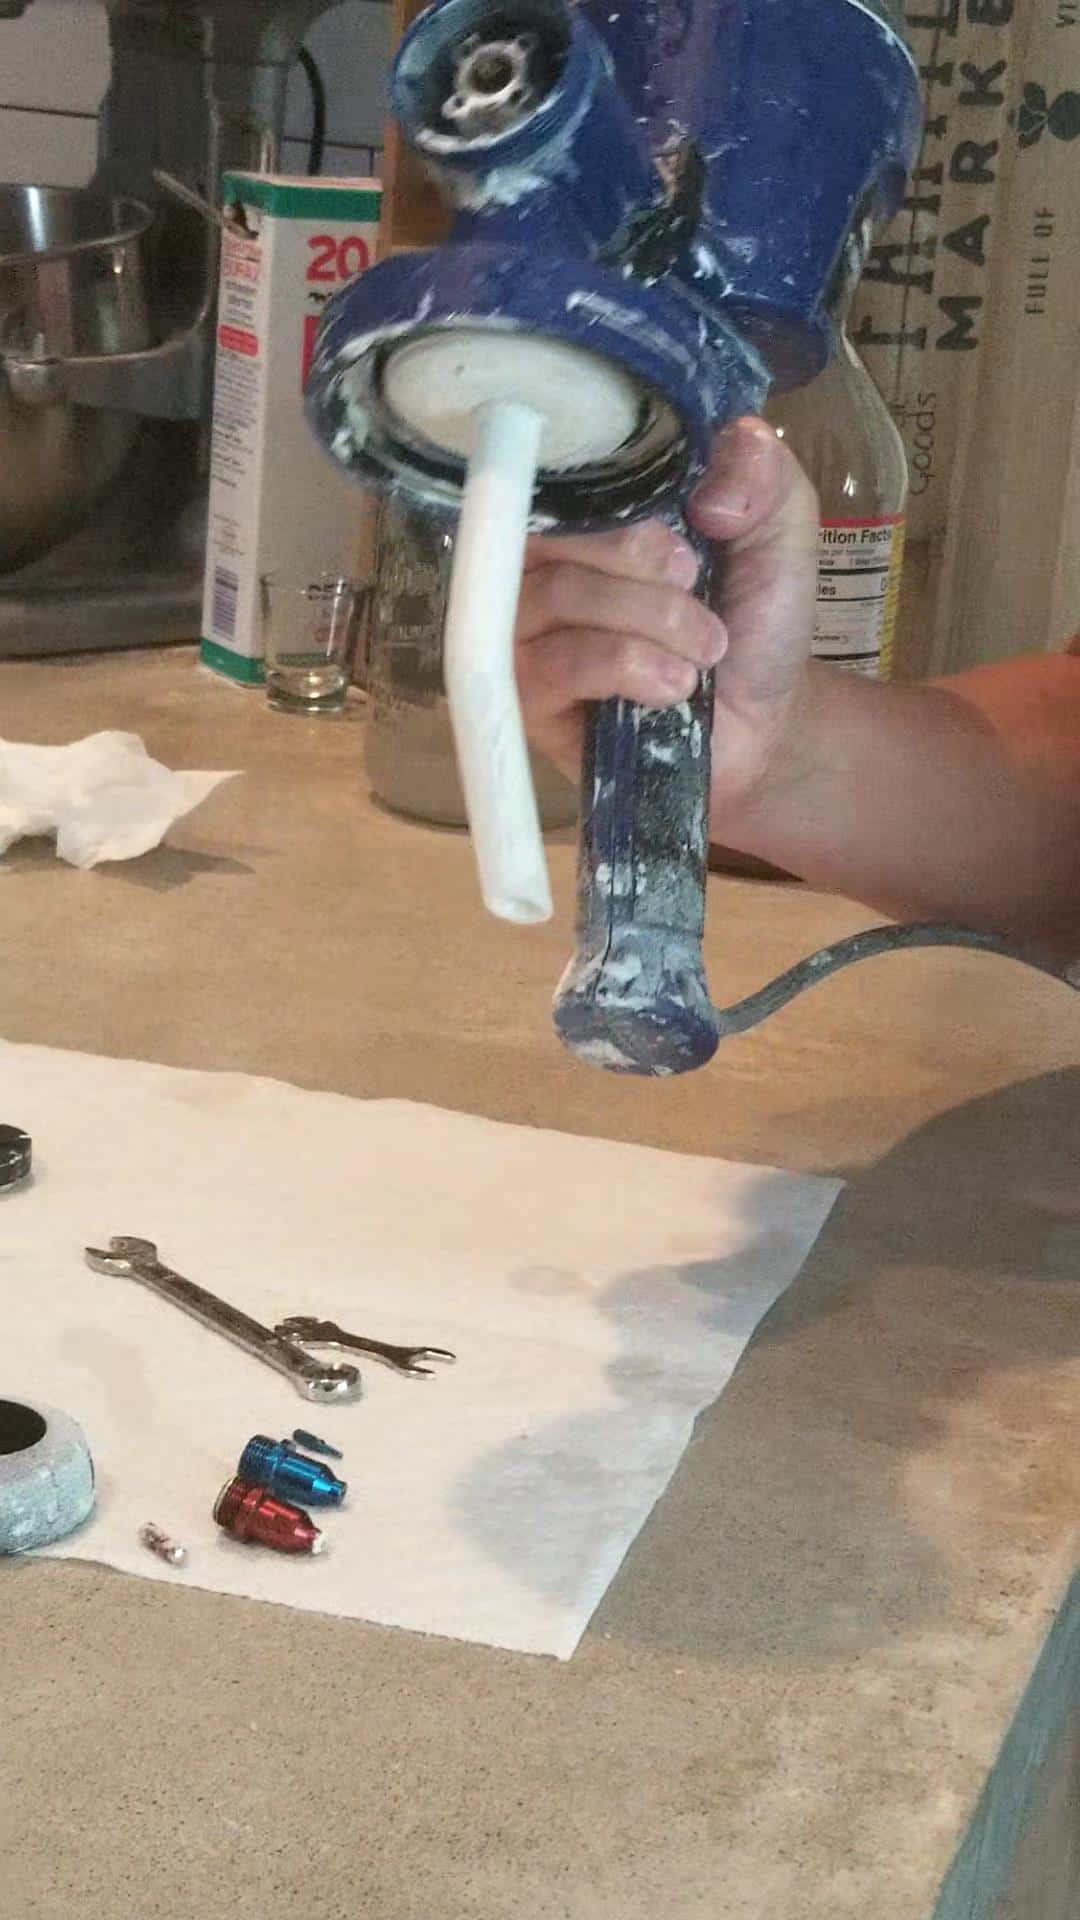
If you are going to be leaning the paint sprayer down a lot, turn the straw to the front.
If you are going to be painting upwards, turn the straw backward!
Next, pick the tip that fits your project, for cabinets the green tip is best! The tip has a needle that goes with it (mine is stuck in the tip but if you look at the blue and red ones, you will see their needles. You will need to screw the needle into place first and then screw the tip in (mine is screwed in together🙊).
This is something unique to the new version, having 3 different tips, the older model only has one, and this is AMAZING!! I was able to spray my kitchen cabinets with this sprayer using the green tip, and then go out and spray my large chicken coop as well, using the red tip you can do a wall in minutes!
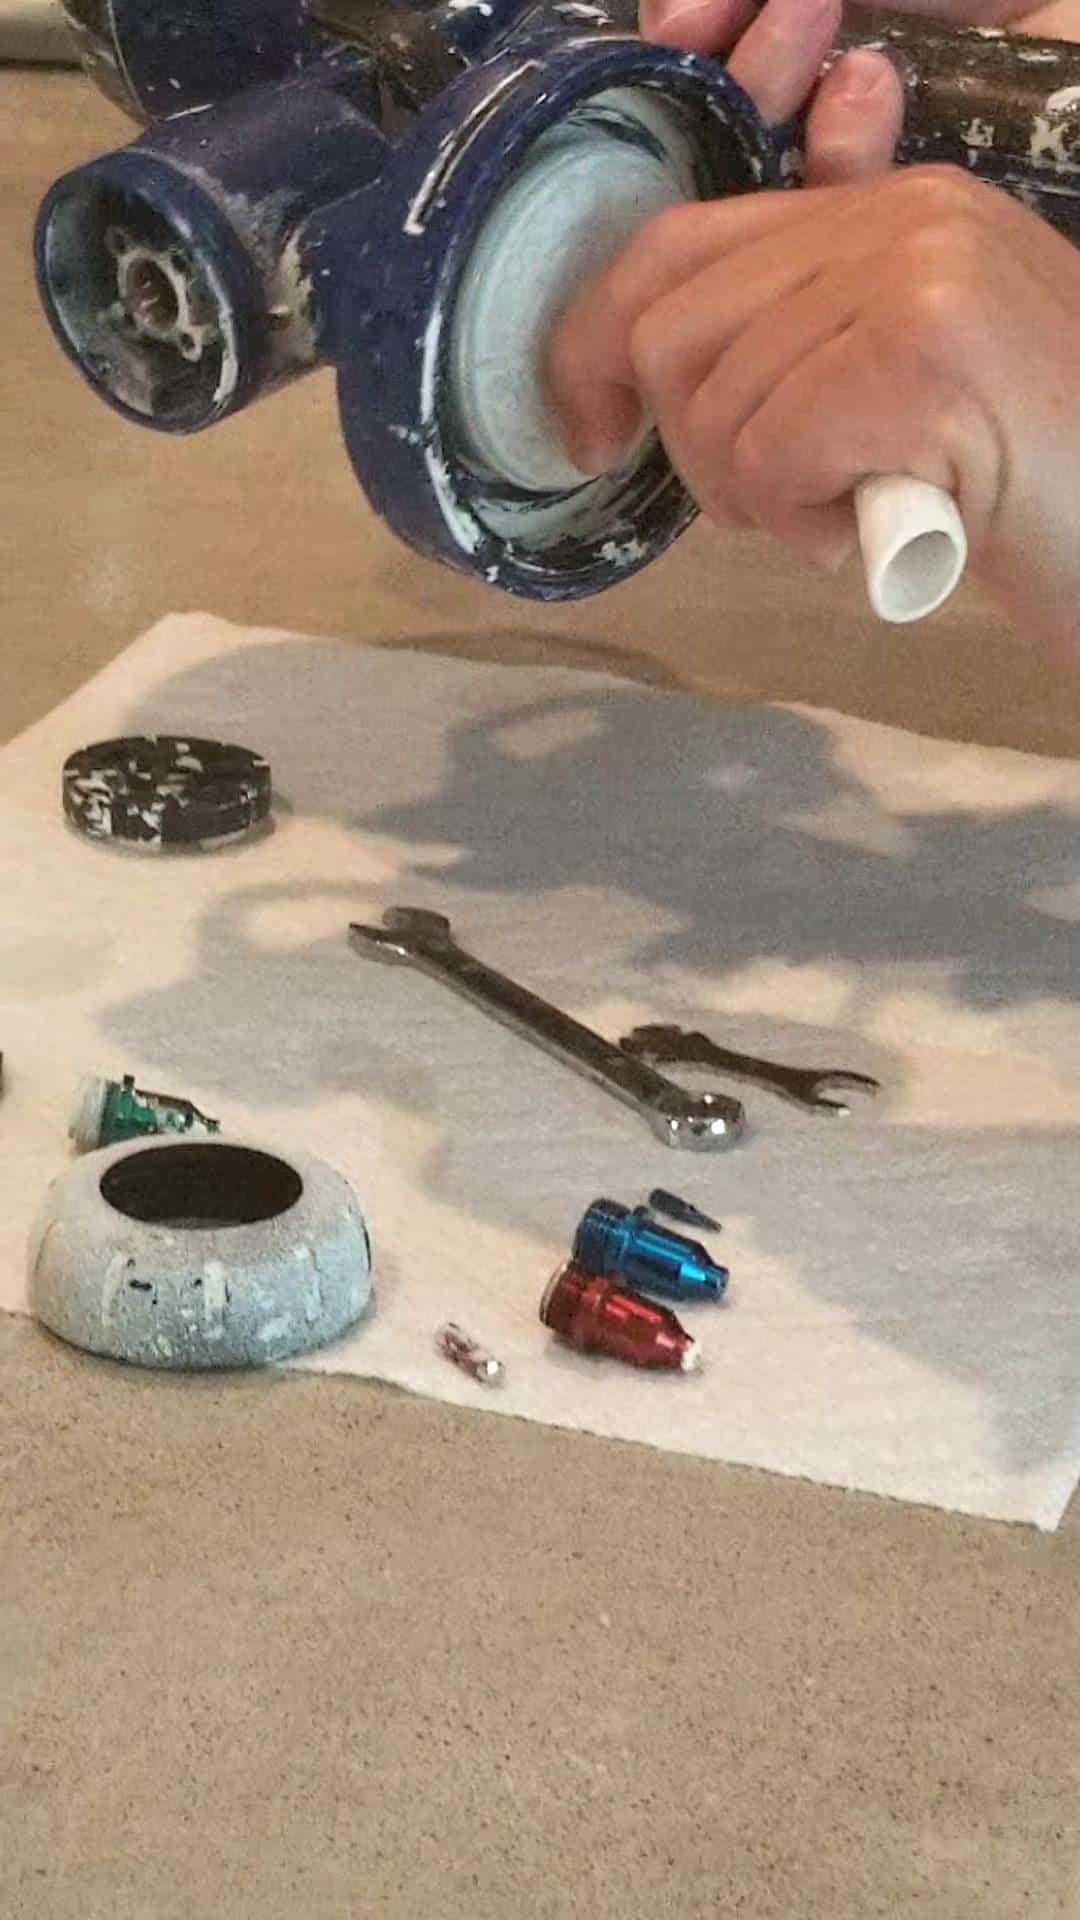
The sprayer comes with a small wrench to tighten the tip, but I found a wrench that fits it and I use that, it works better than the cheap one that comes with it!
Place the springy thing in there, LOL! I have no idea what you would call this!
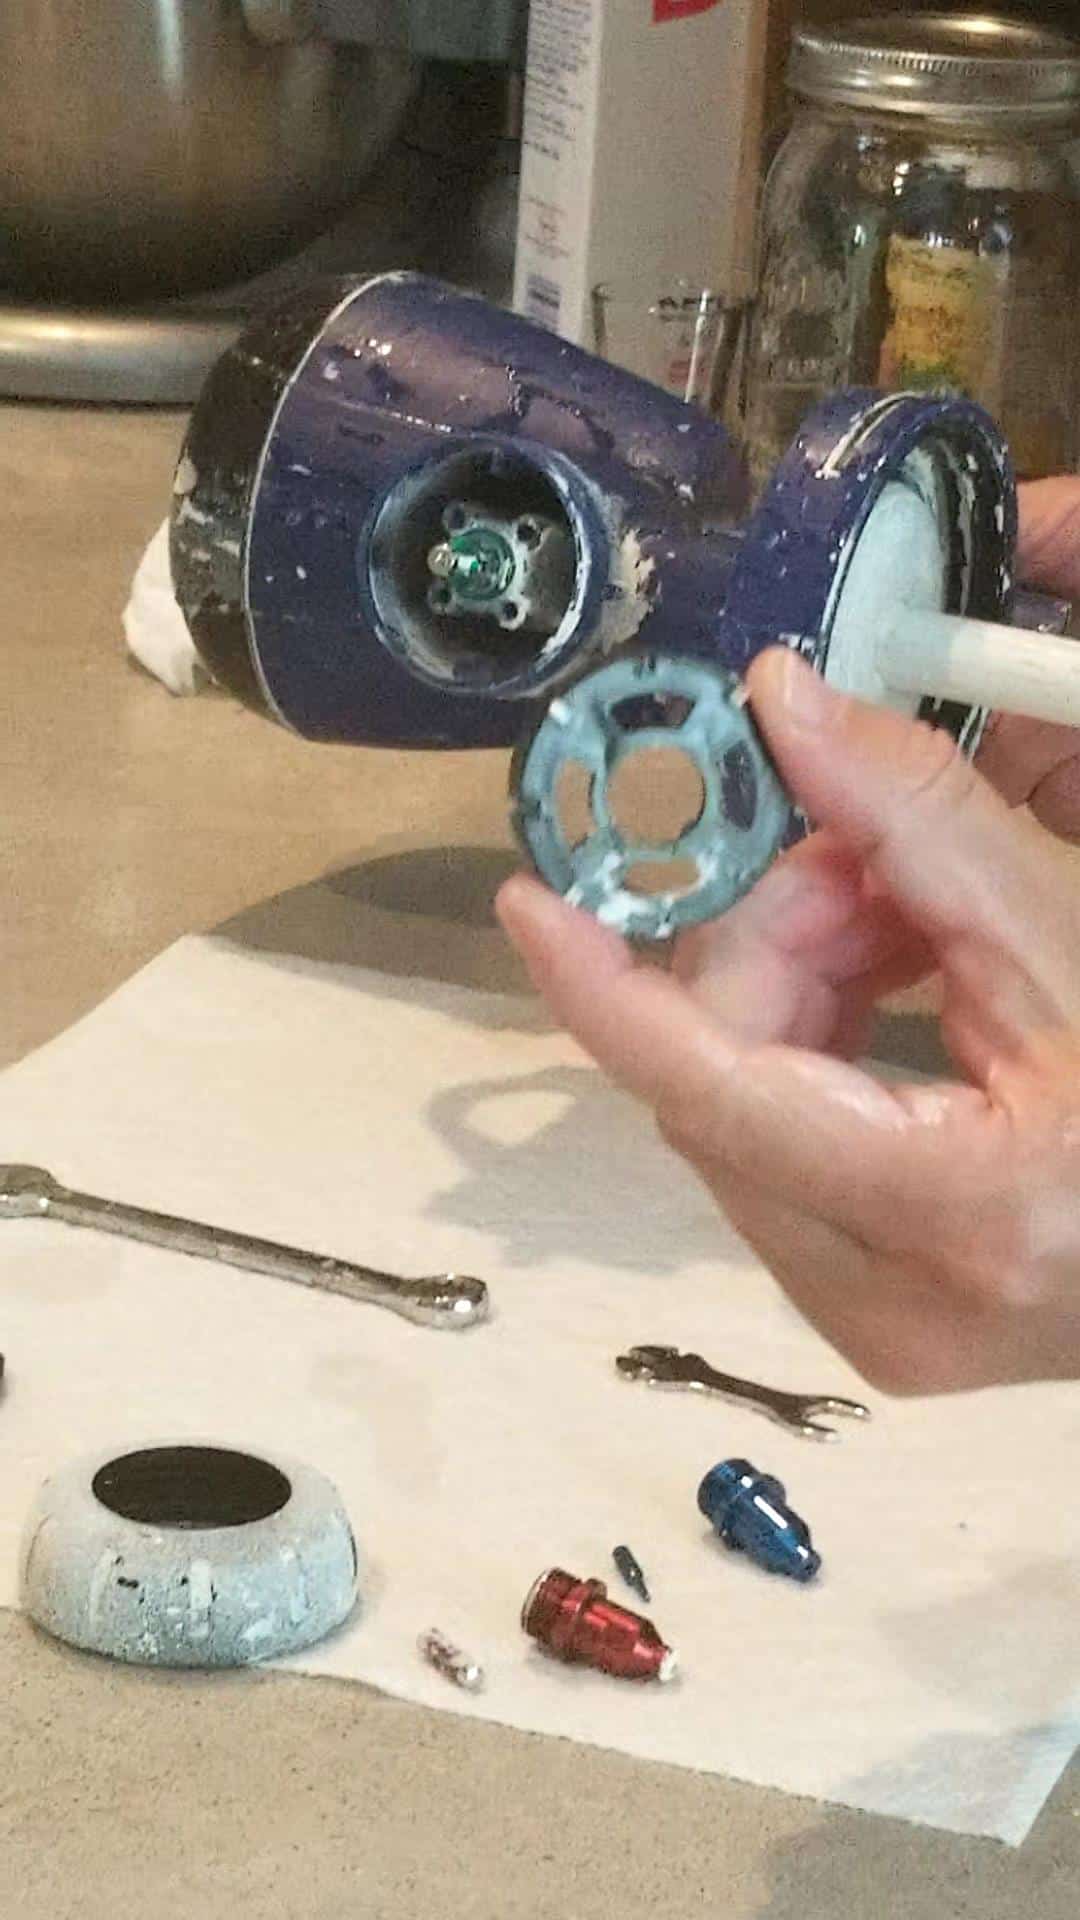
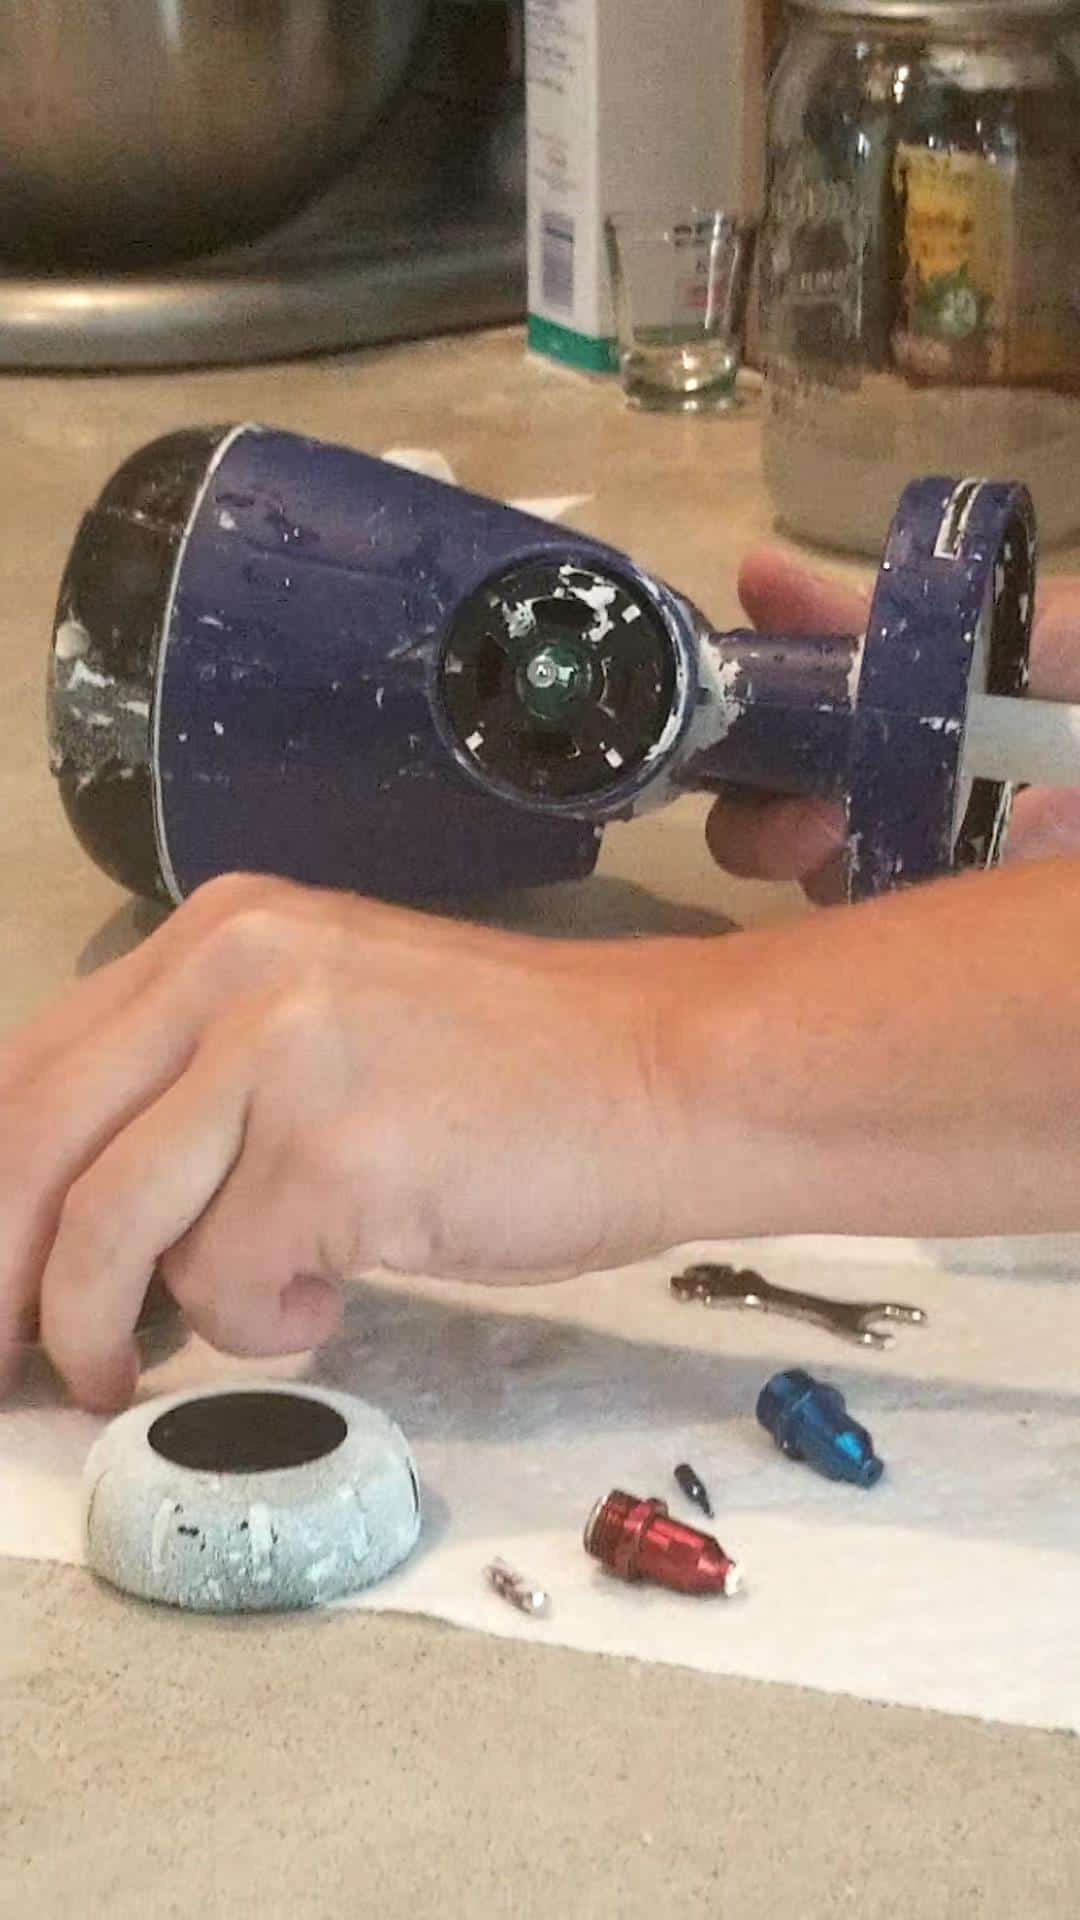
Pick the size of the air cap needed. Black is the one that is best for cabinets! (The older model doesn’t have two, it only has one.)
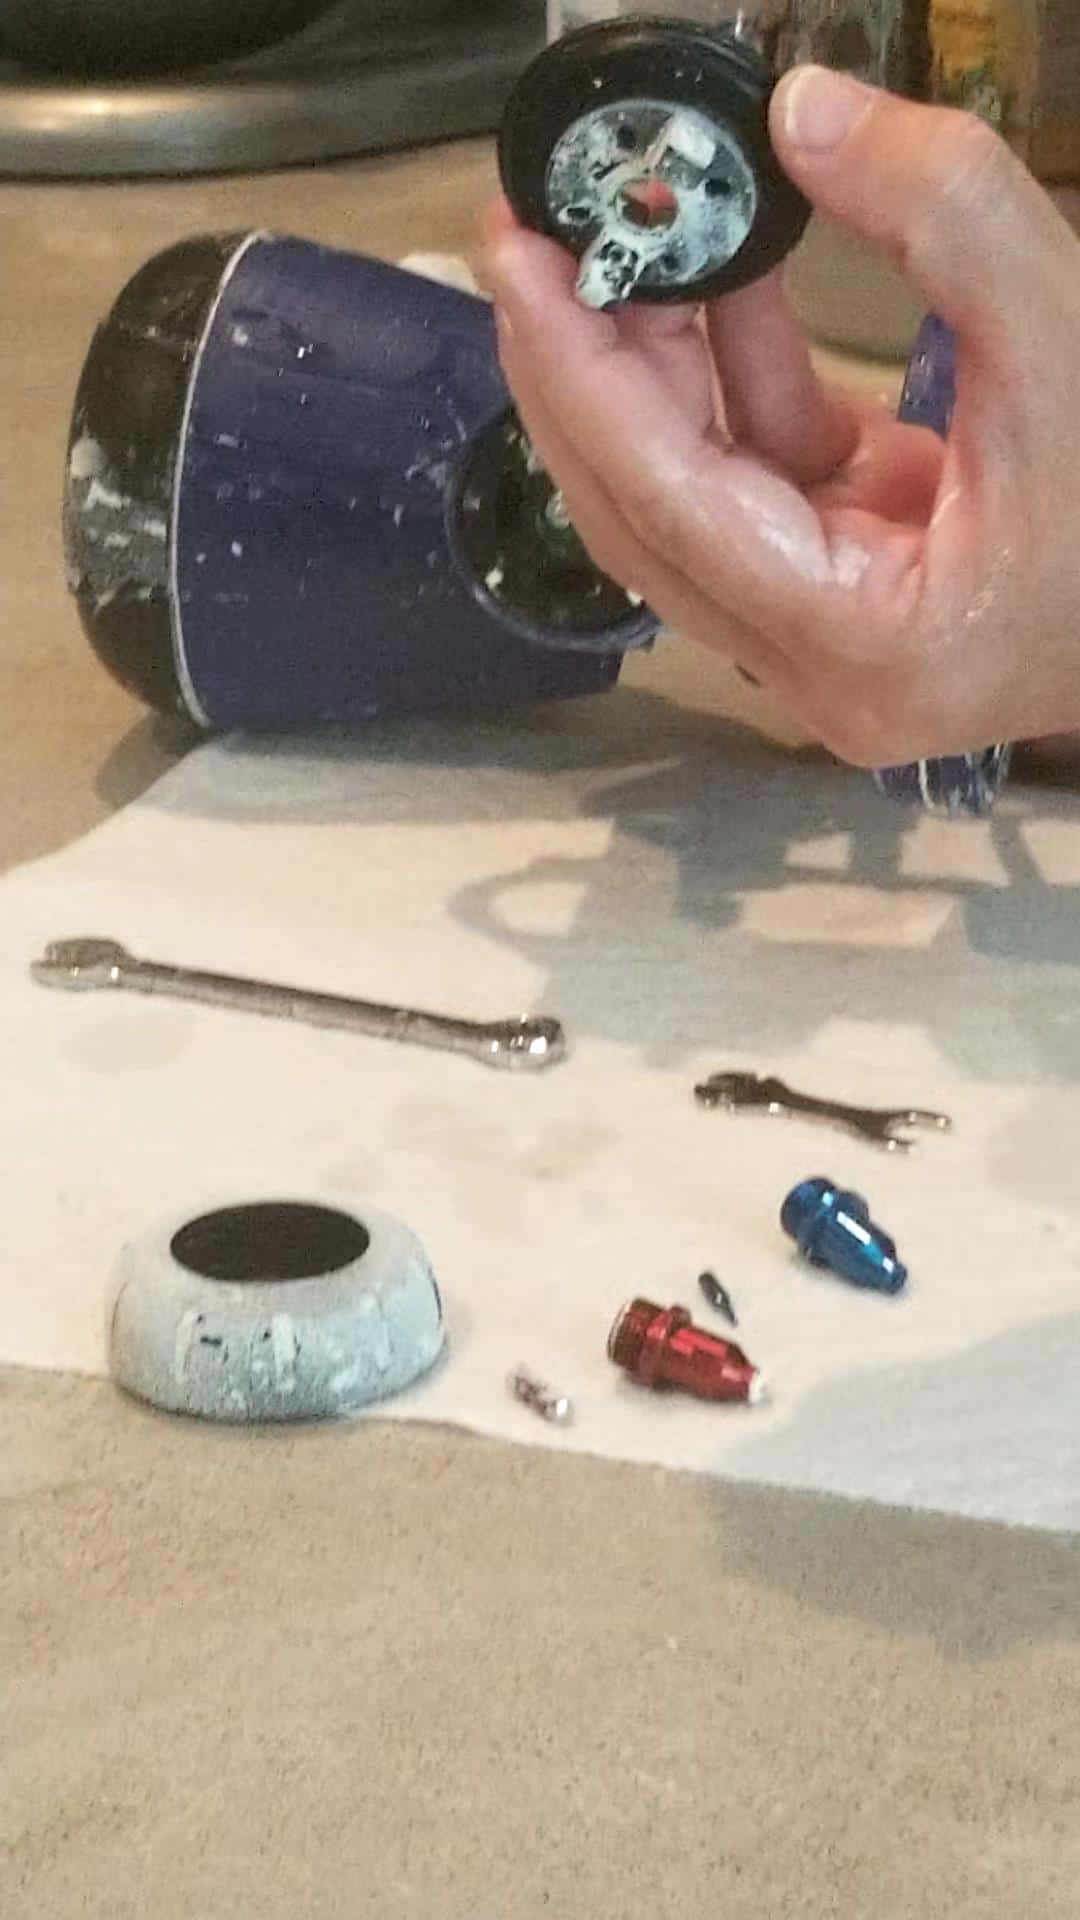
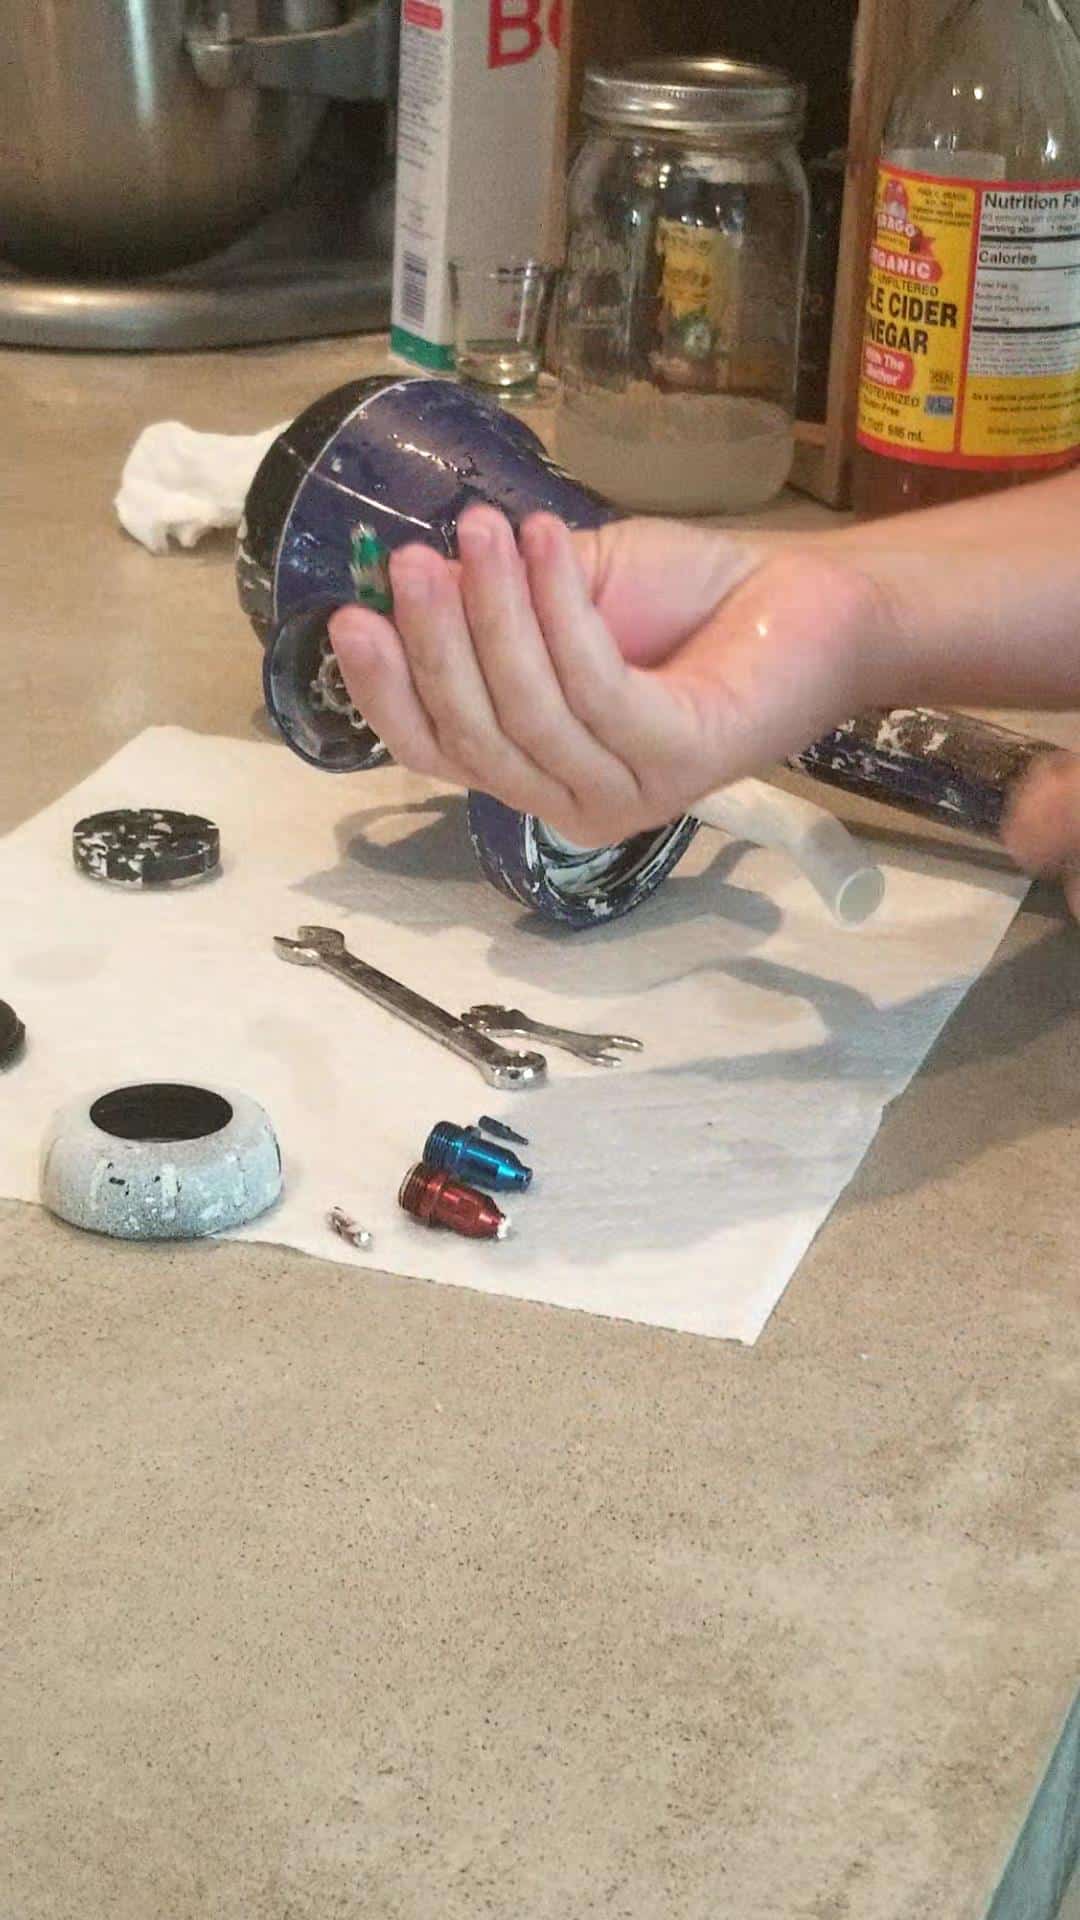
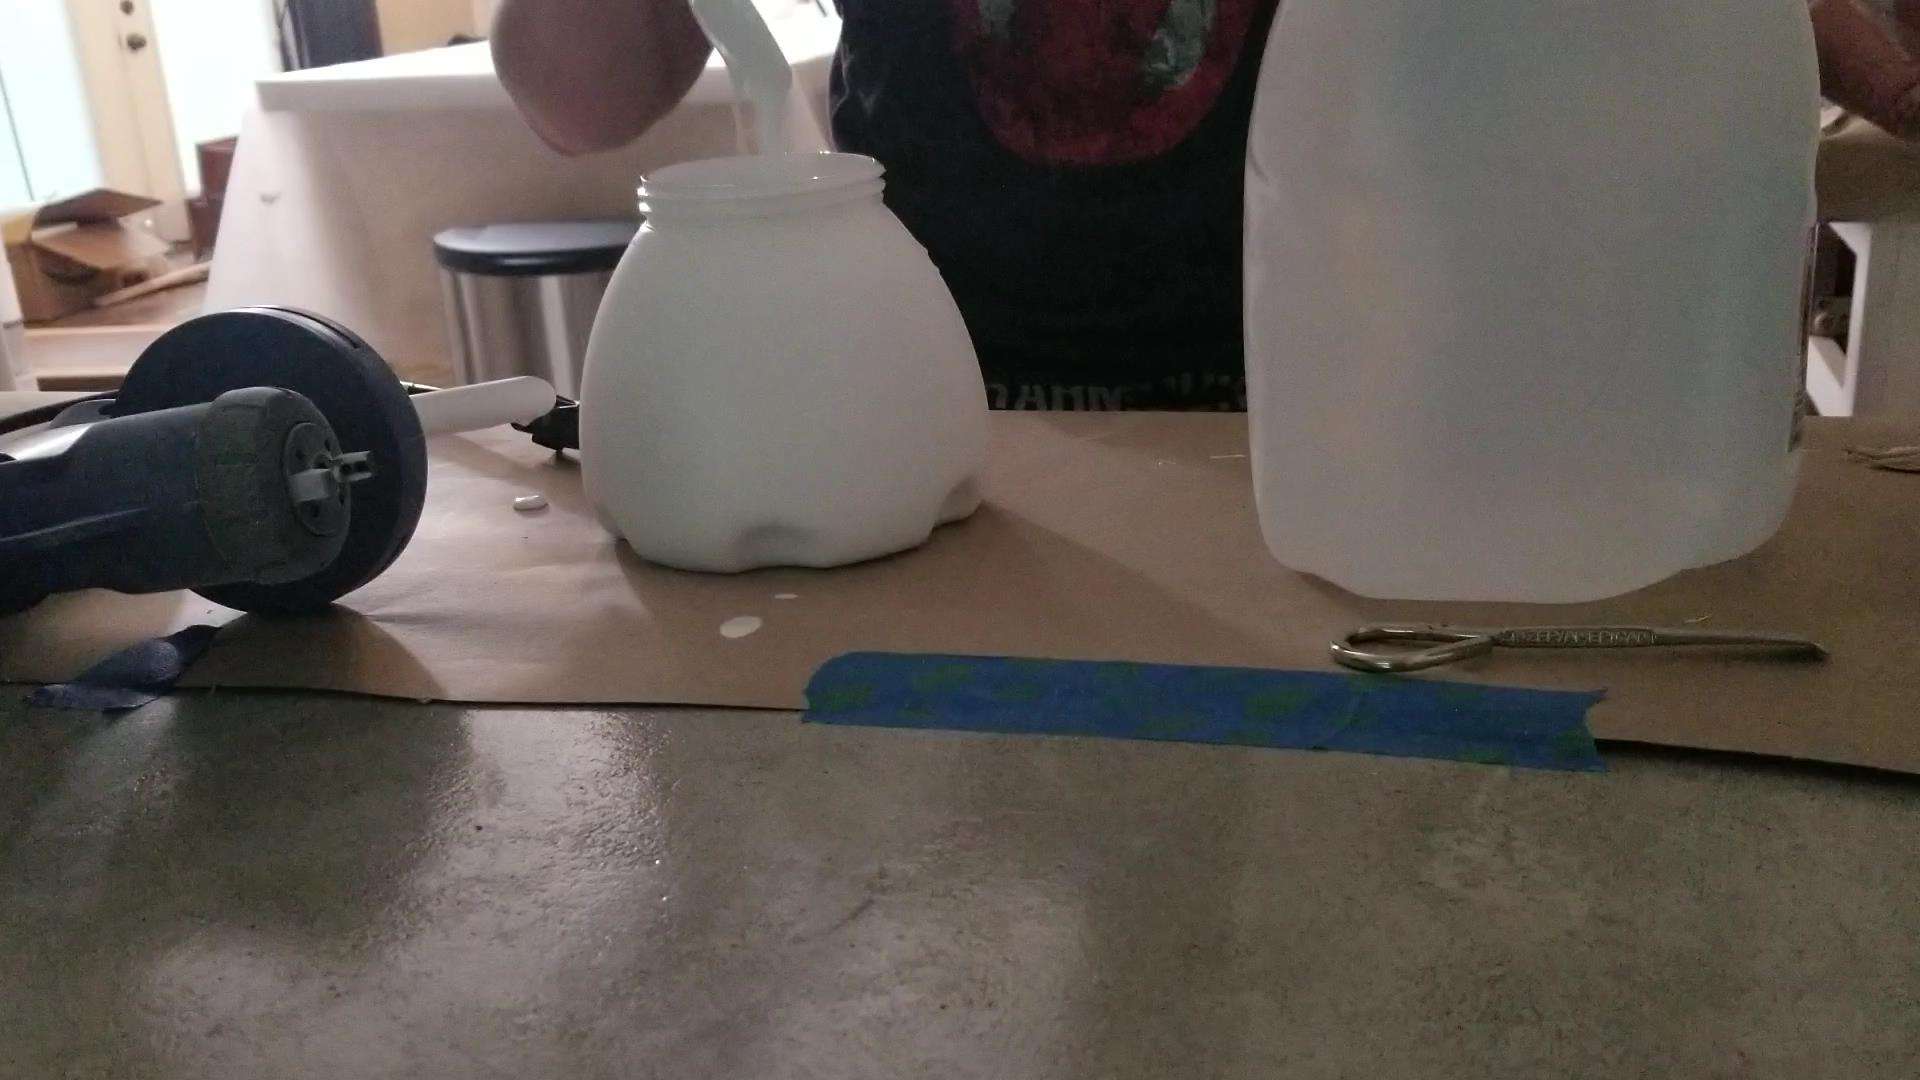
Last, pour your paint into your container and thin it as needed! FYI: The newer model has a larger container that really makes a big difference in how long before you have to refill! My son and I were using them at the same time the other day painting our goat house and he would have to refill when I still had 1/3 of a container left. That makes a big difference on a project of this size.
Add water to the paint or primer.
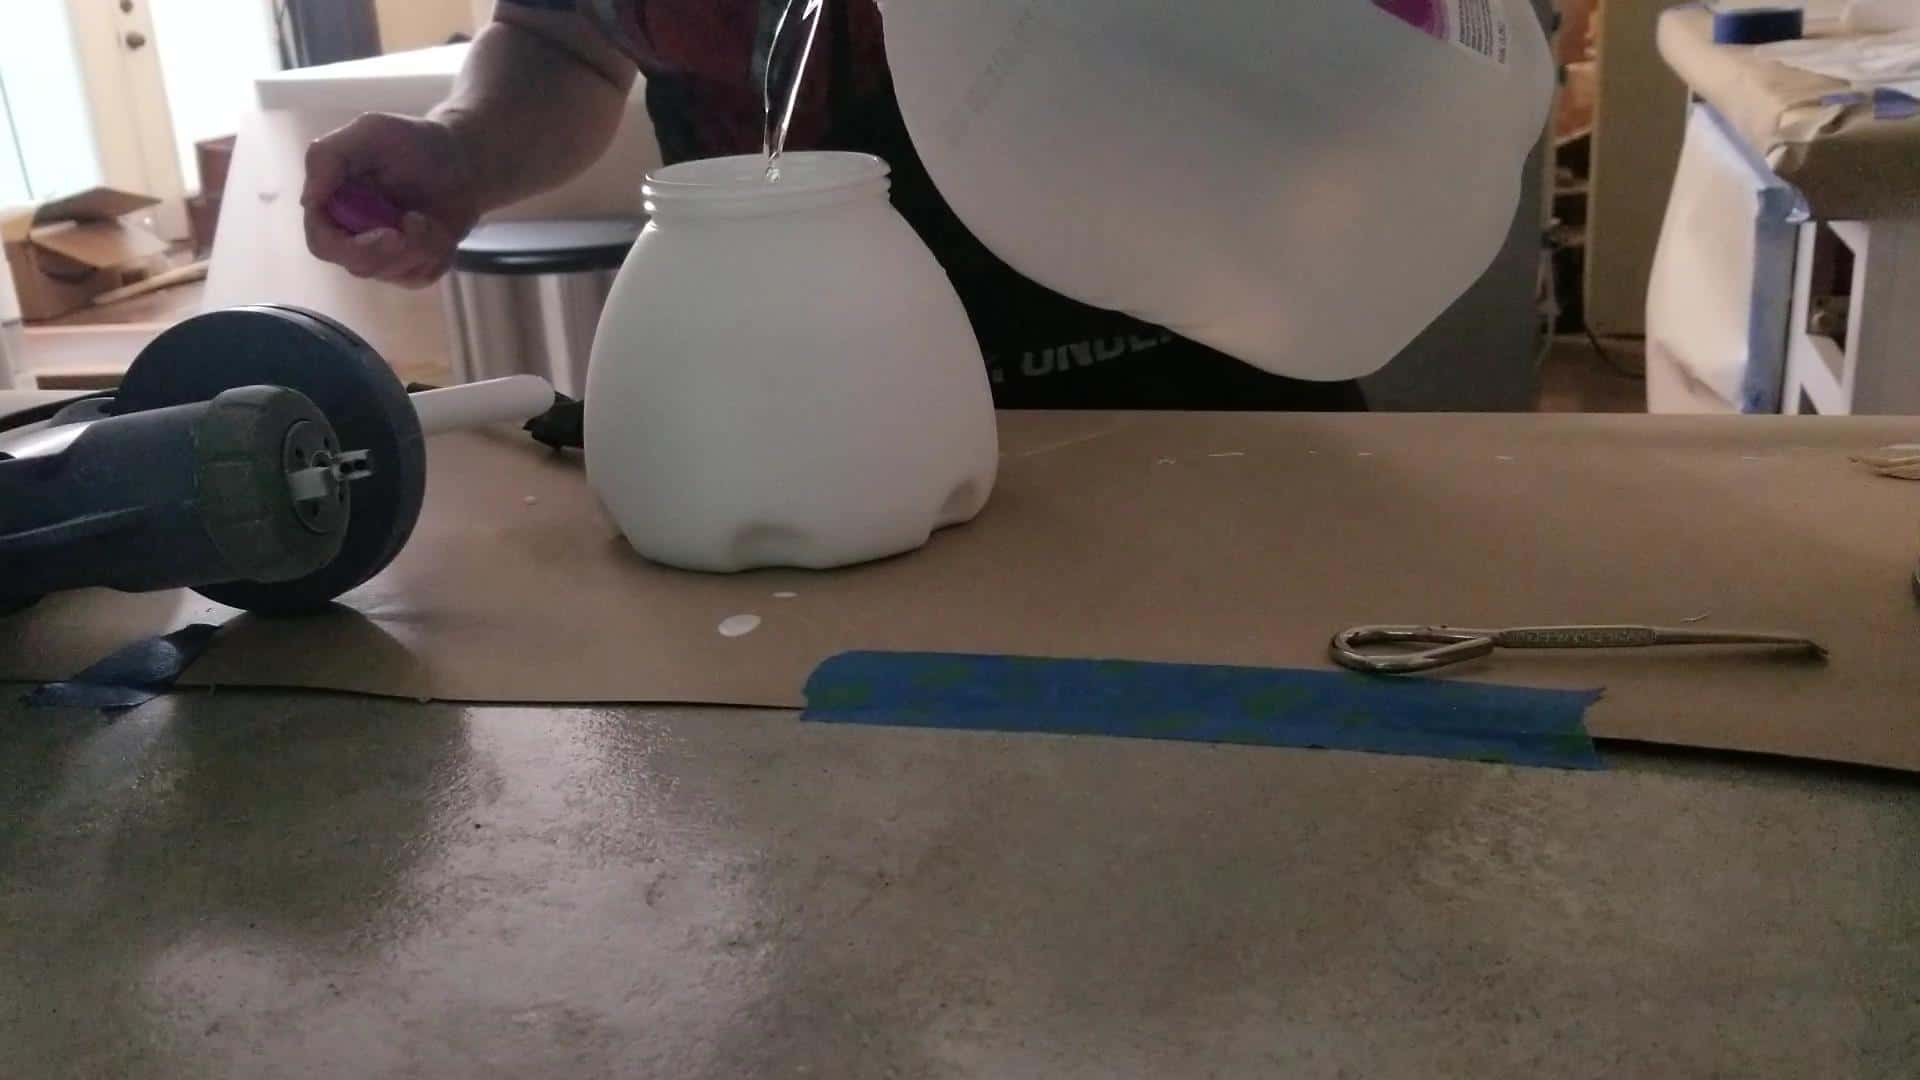
Stir and check consistency! The more often you use the sprayer the easier this part becomes, it may take a few tries on your first attempt…heck it still takes me a couple of tries at times! LoL!
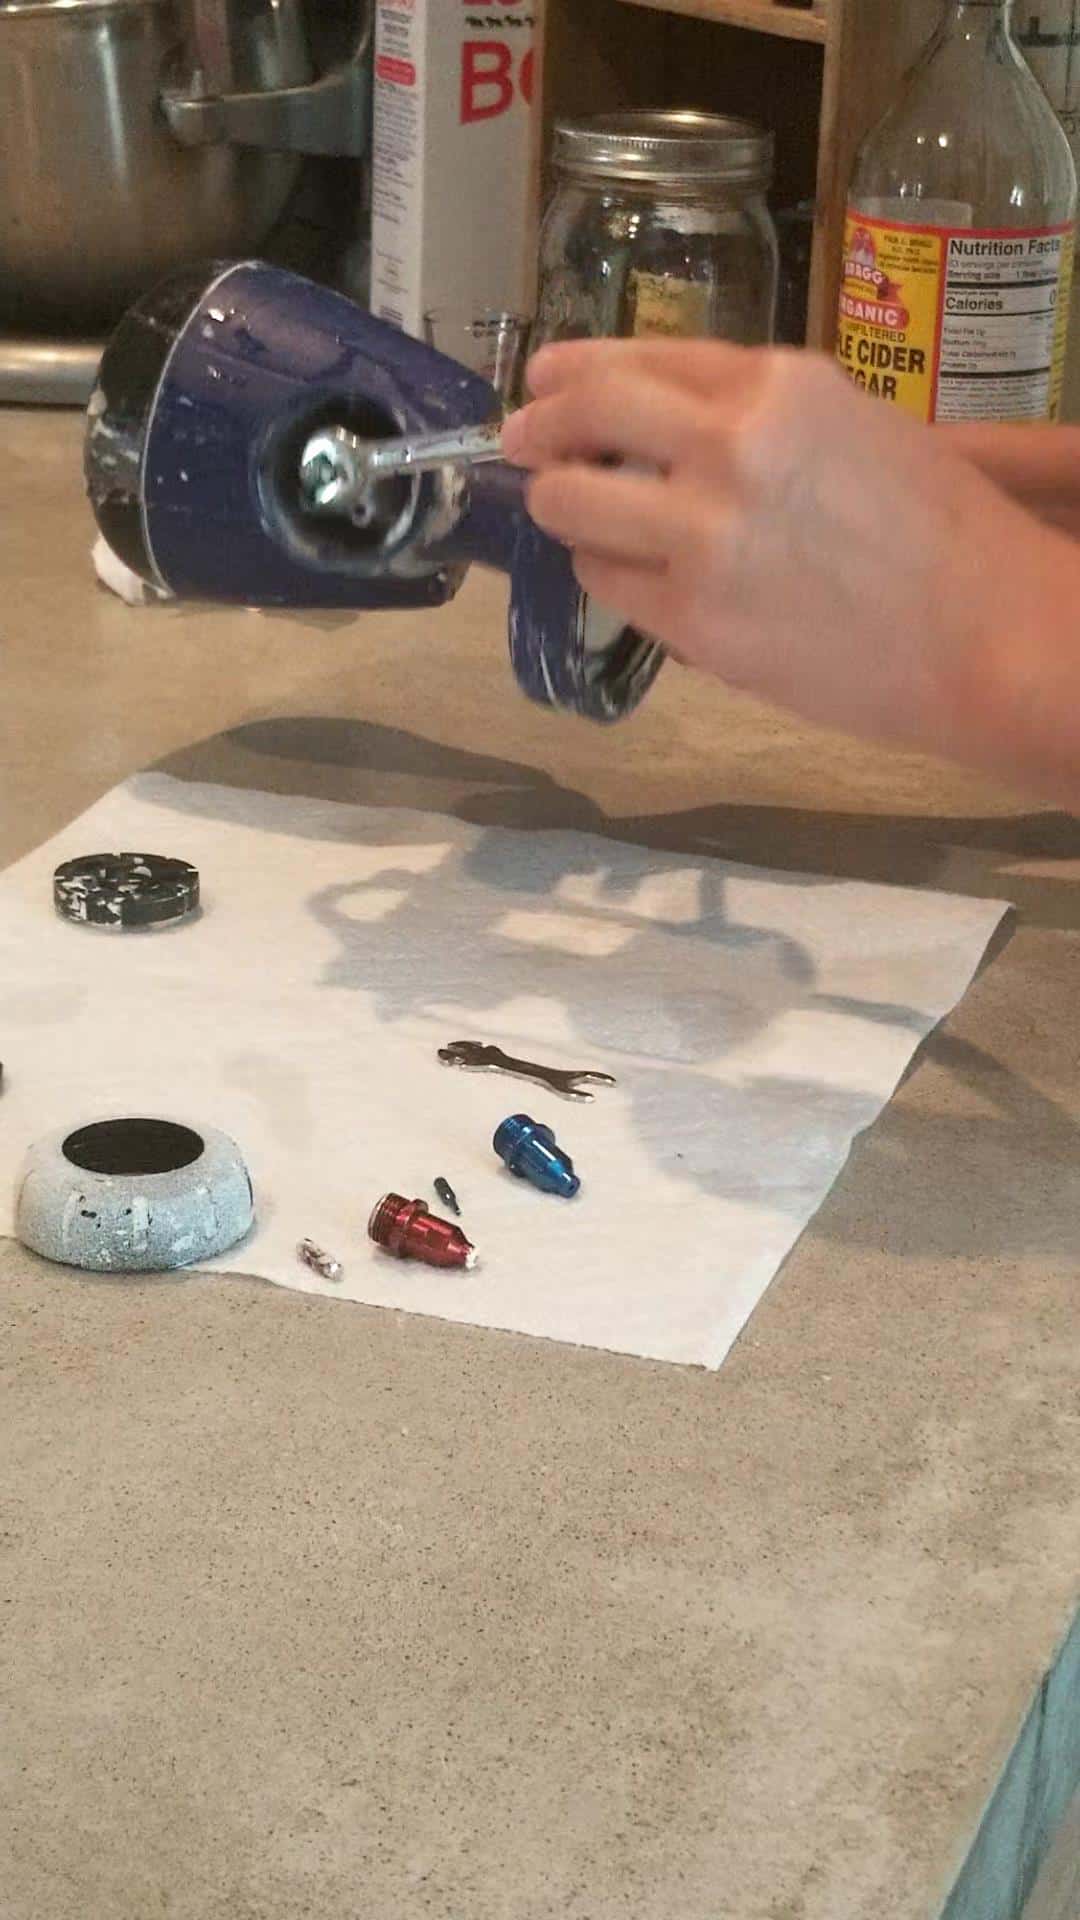
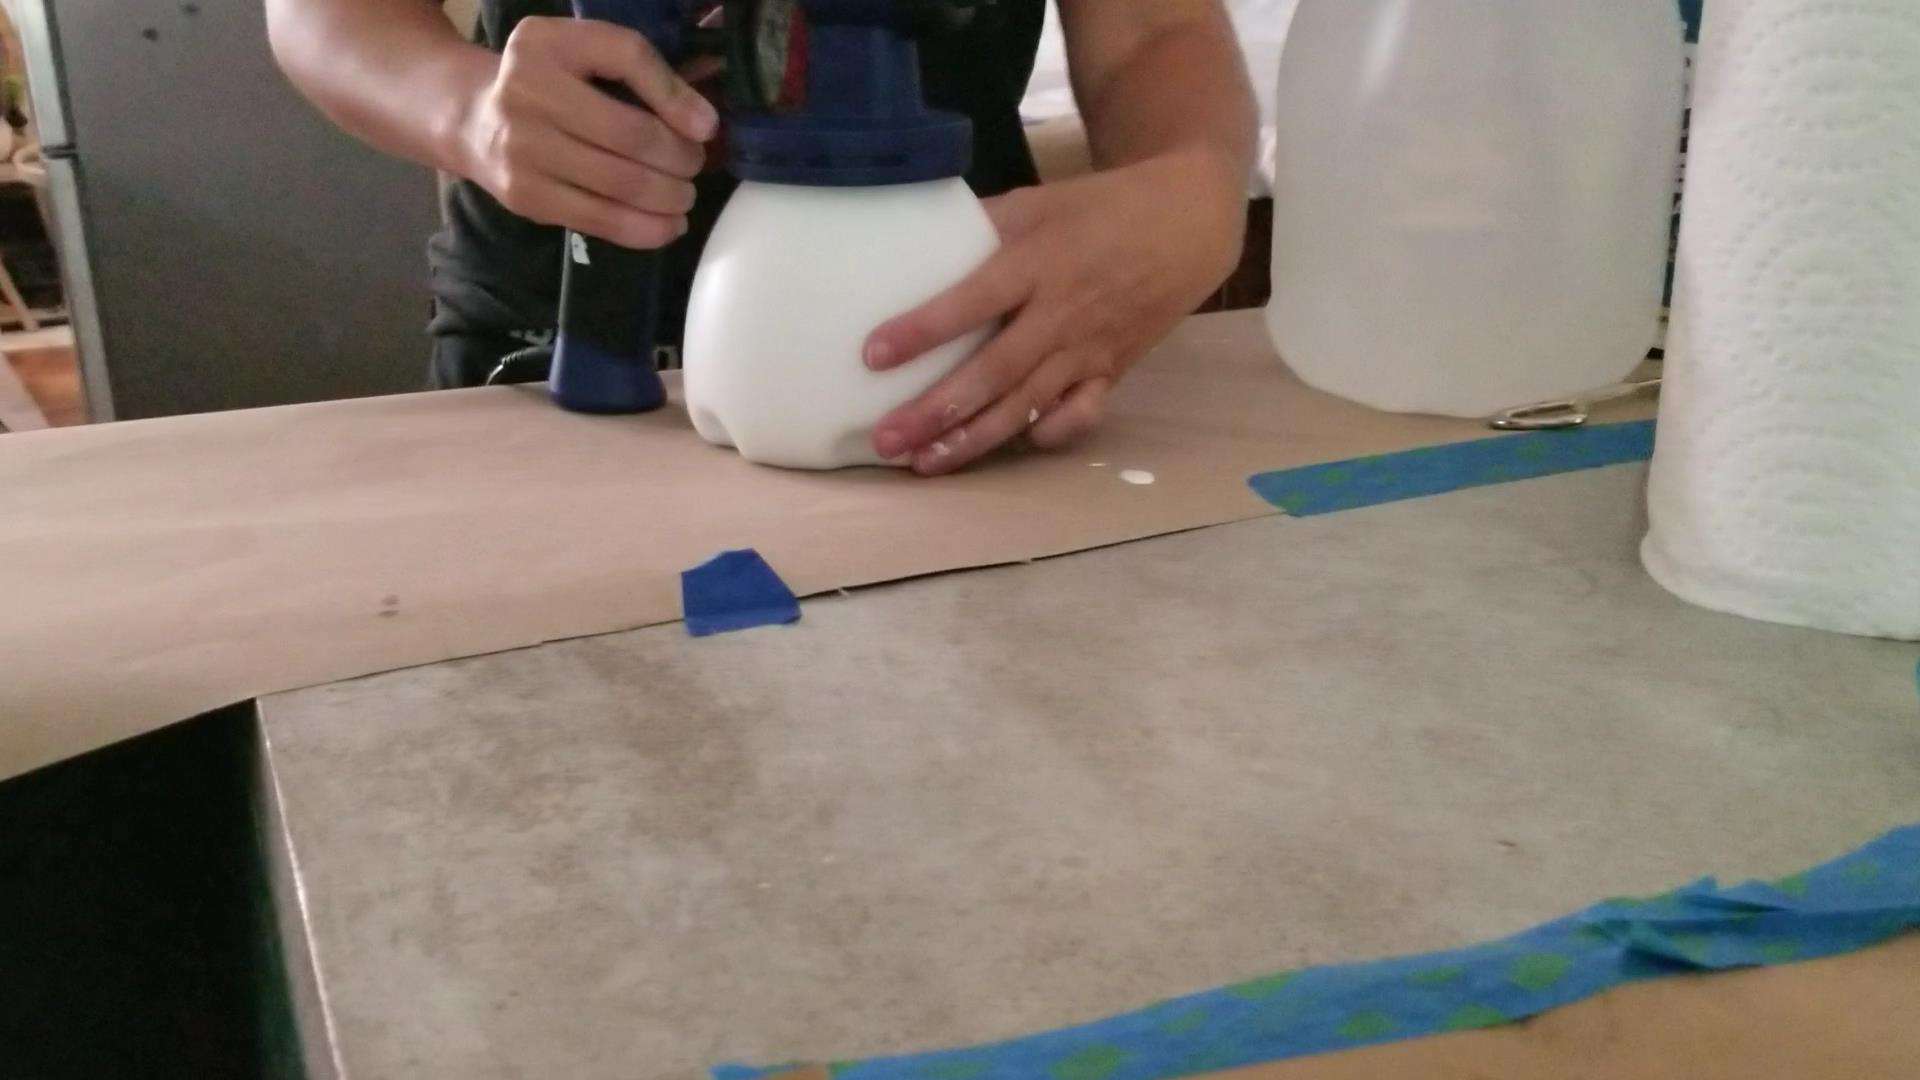
Once you feel it is thin enough, screw the container on and get spraying!
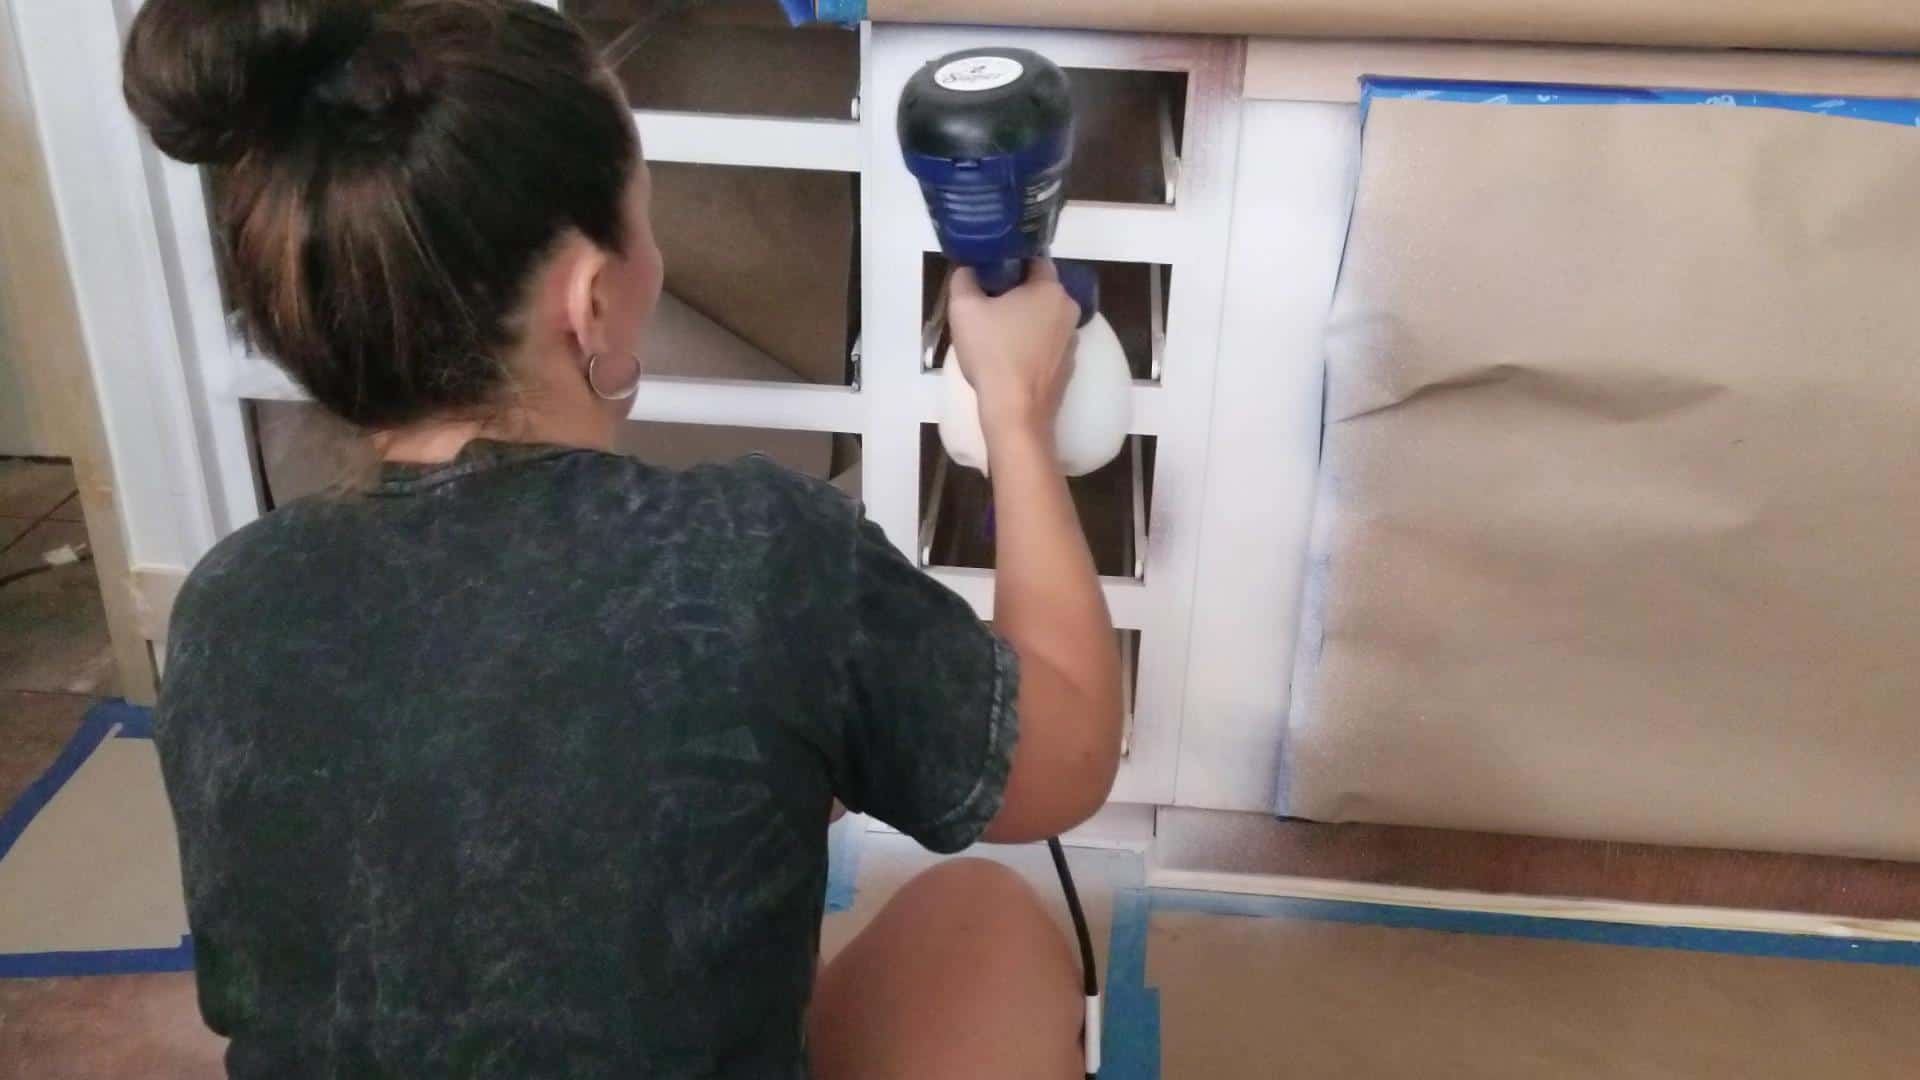
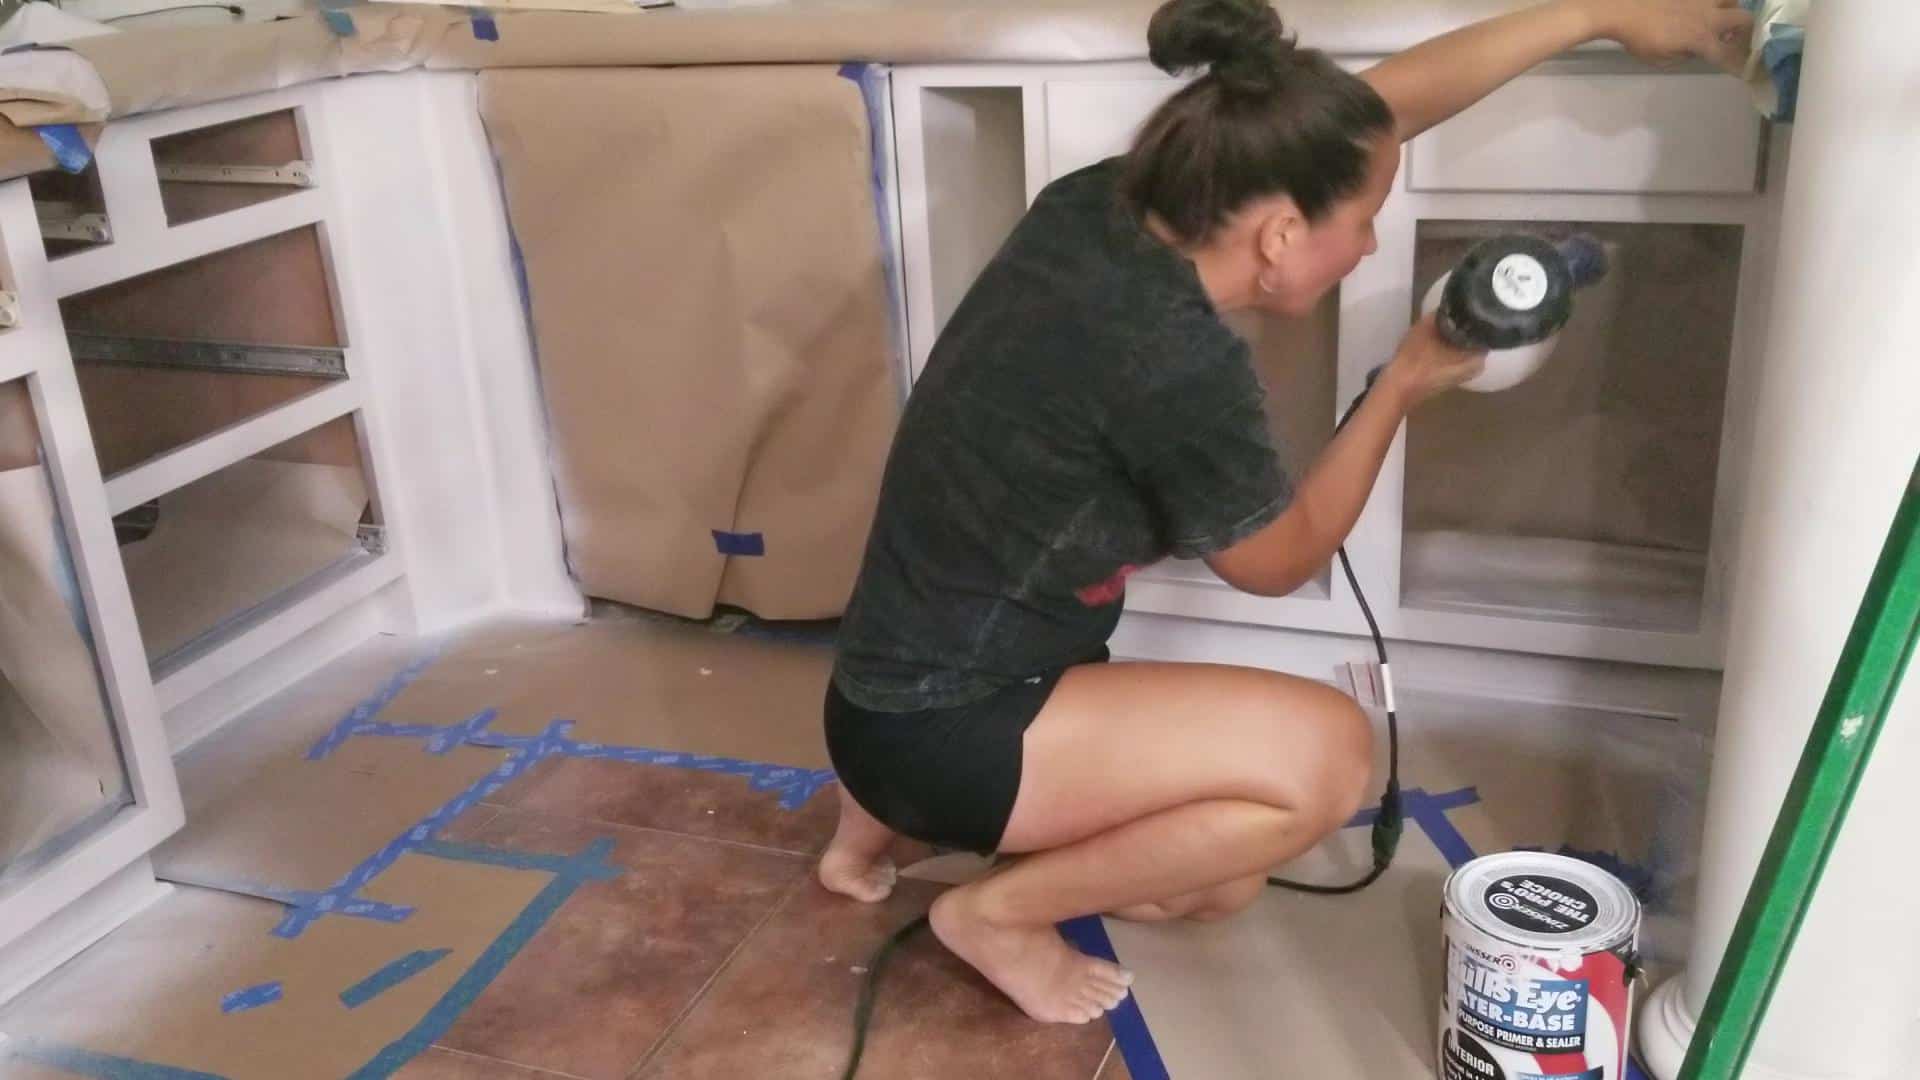
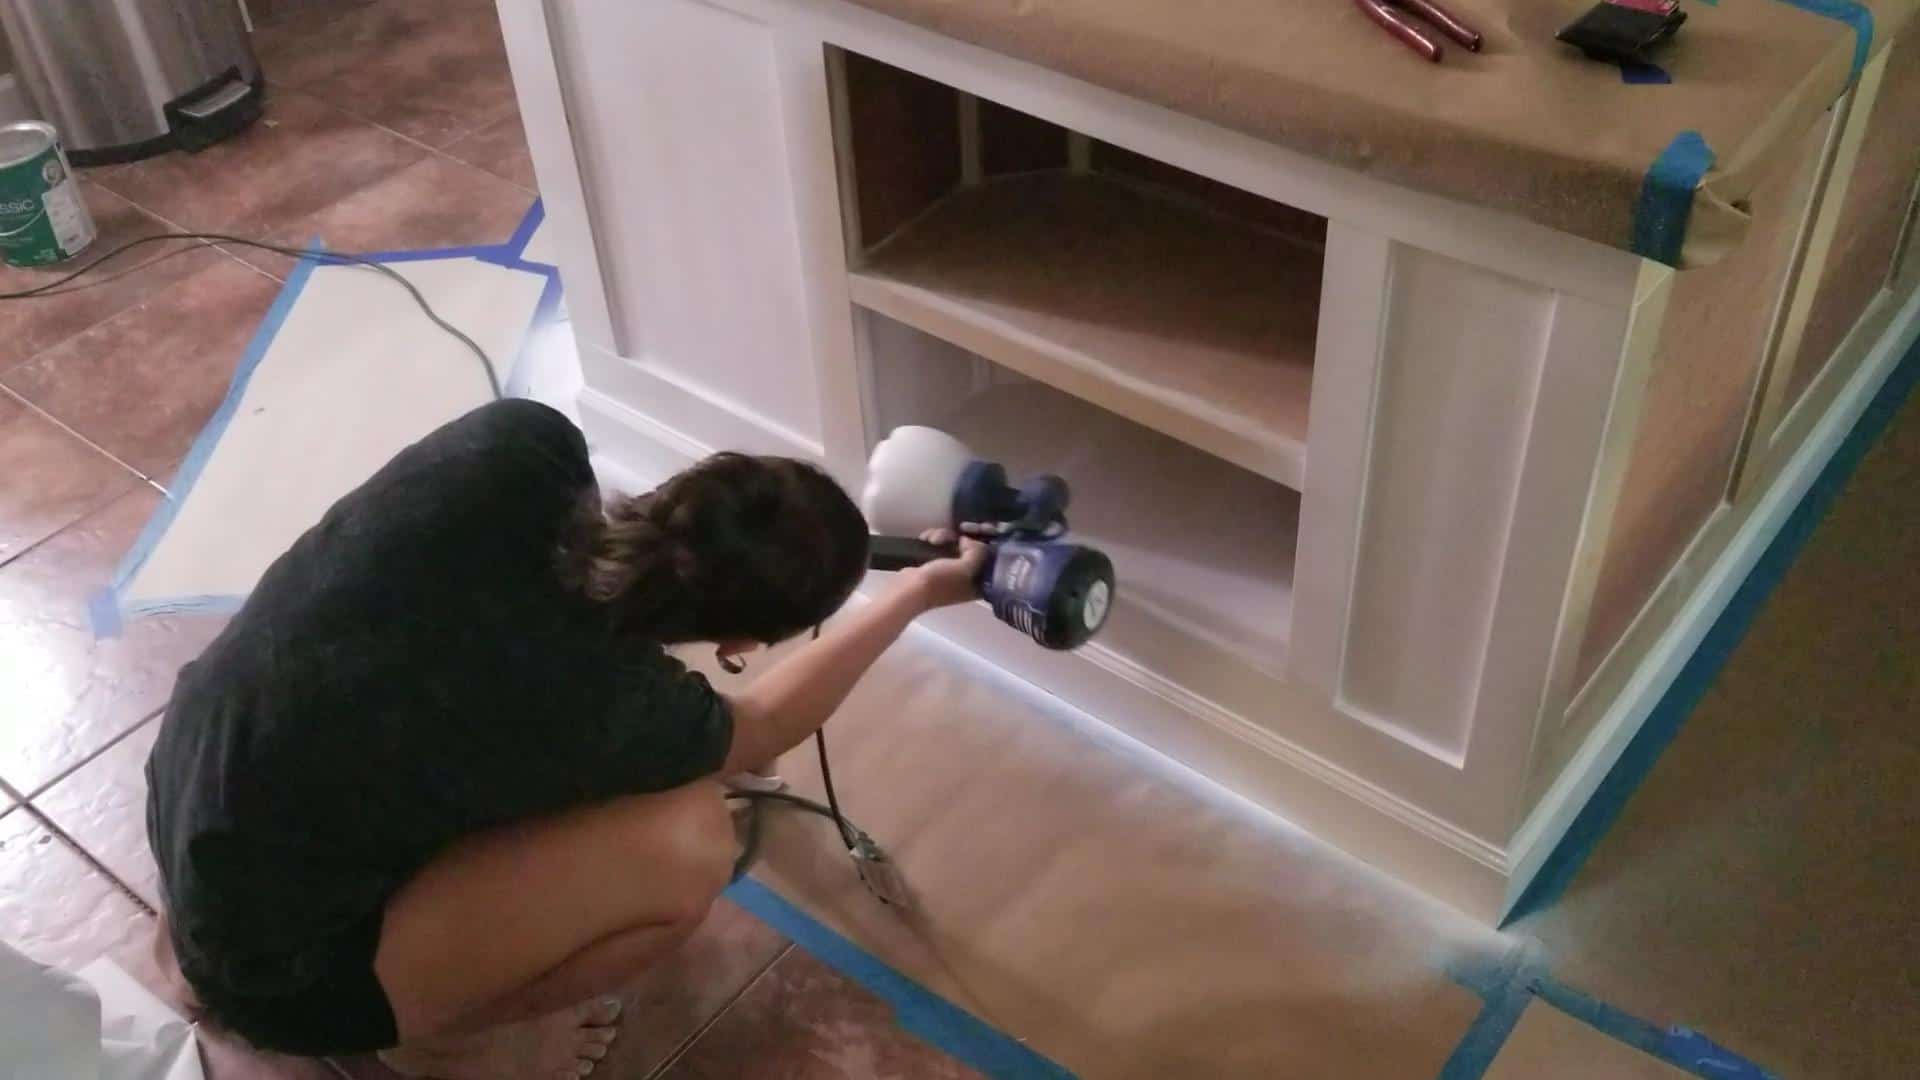
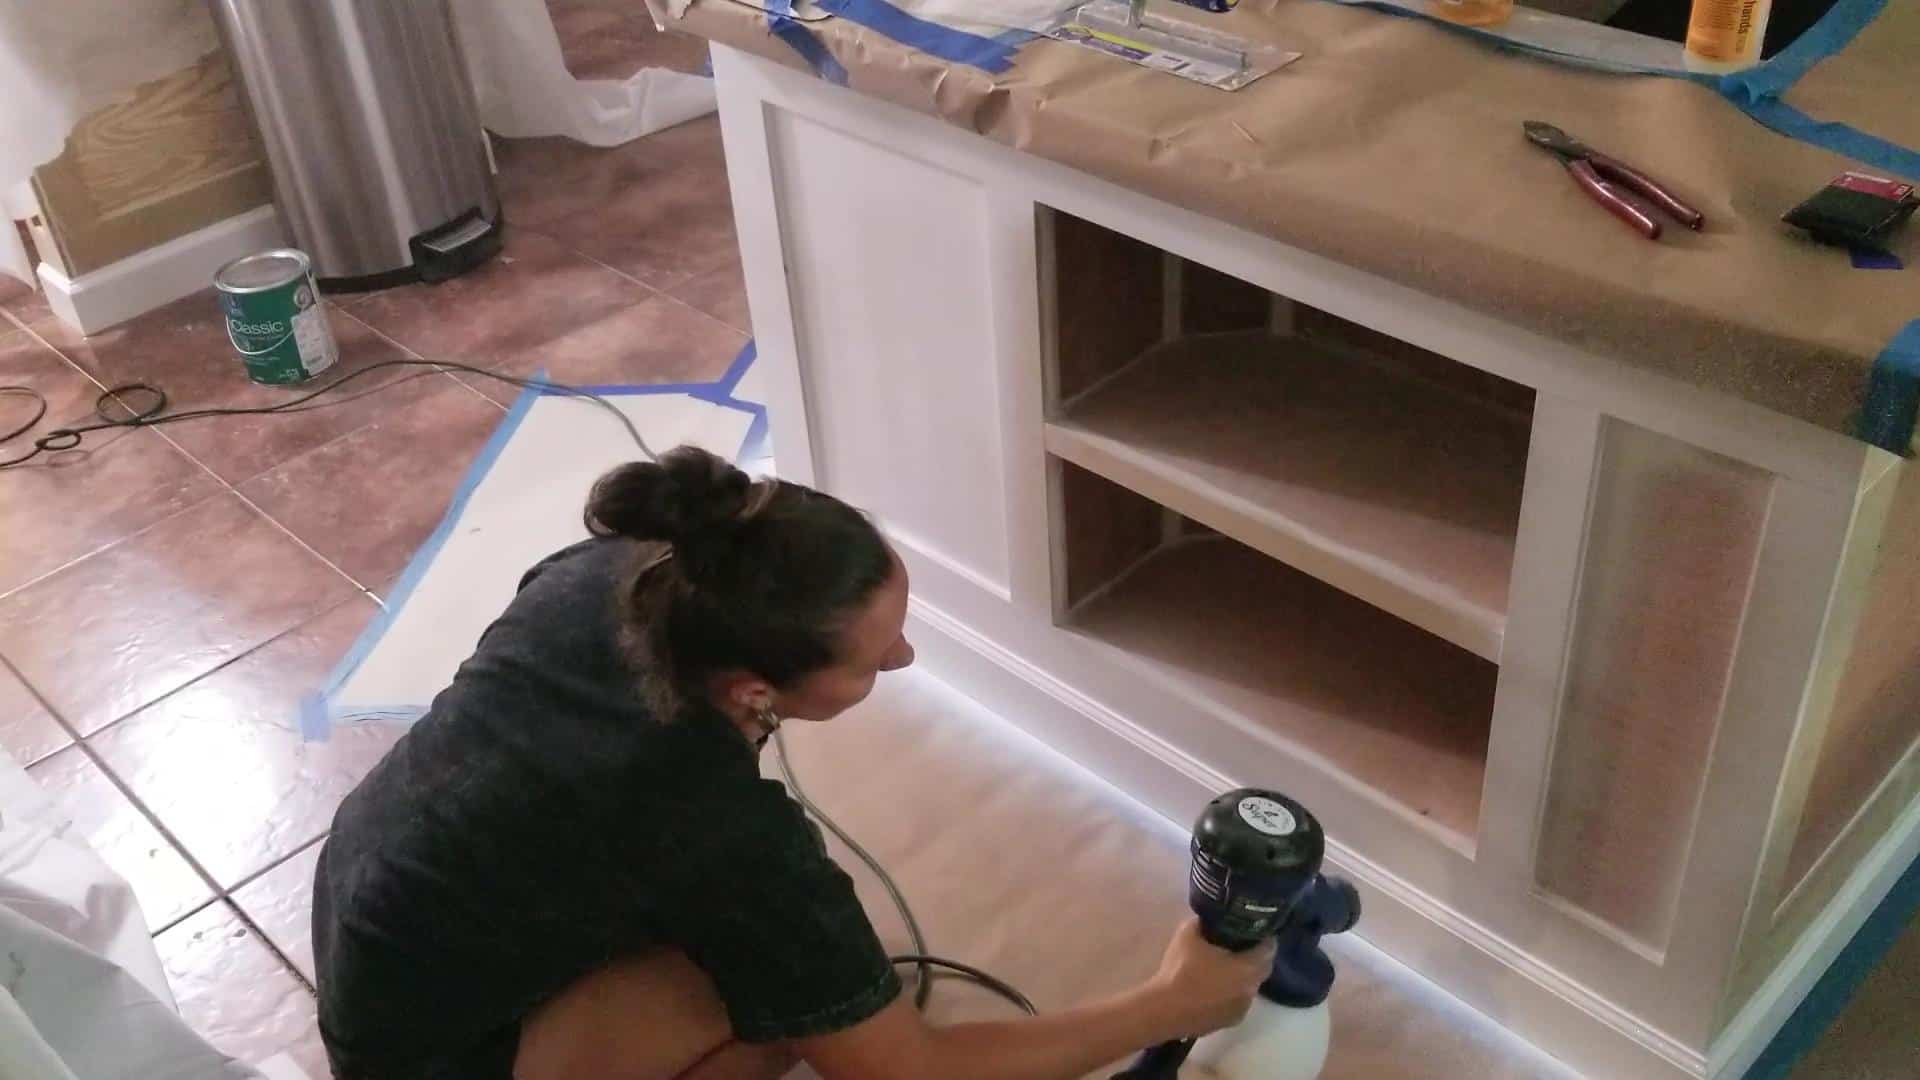
Painting Kitchen Cabinets
I sprayed the whole kitchen of cabinets with two coats of primer, followed by two coats of paint, letting them dry 4 hours in between coats per the instructions of the paint!
There’s really not any more to it than that honestly! Make sure that you get up under your paper that you have taped and slow and steady wins the race, you don’t want runs so a nice slow steady pace works great! It’s actually a really quick process compared to brush painting!

Trouble Shooting Your Paint Sprayer
One of the complaints I have seen about this paint sprayer (and others like it) is people saying that it splatters, or spits paint. When this happens, it looks like a bunch of tiny droplets was spit out of the sprayer! Well, there is one heck of an easy fix for this…you just need to thin the paint a little more!! DO NOT throw out your sprayer… or return it, or think ugly thoughts about it, just open it up and add a little more water!😜
Even after using it a ton, I still have times that I think I have it thinned, start spraying, and realize it needs a little more thinning! In the video, you will see that at this point! Lol!
If it starts splattering after using it for a while, you are running out of paint! Add more paint and it should solve your problem, the same as when it starts spotty painting or missing spots, it is struggling to get paint into the straw and it just needs a refill! This is shown at this point in the video!
If it has a decent amount of paint still in it and it starts sputtering, you may have leaned it in the opposite direction of the straw. You can change the direction of the straw if your painting position has changed or just rotate the paint sprayer back to the direction of the straw! Hope that makes sense.
One other thing that has happened to me is I get the whole sprayer set up and plug it in to start spraying but it only blows air, no paint. This usually only happens when I didn’t clean it really well when I put it up and there is dried paint somewhere blocking something! I just break it back down and clean it again focusing on the nozzle area, fixes it every time!
The last thing, while you are using the sprayer if it seems to be spraying very little paint even though it is full of paint, there is usually a build-up on the spray tip and you just take that off and use your fingernail to make sure to clean the tip, it will be back to spraying correctly again!
That pretty much sums up any issues I have ever had with my paint sprayers!
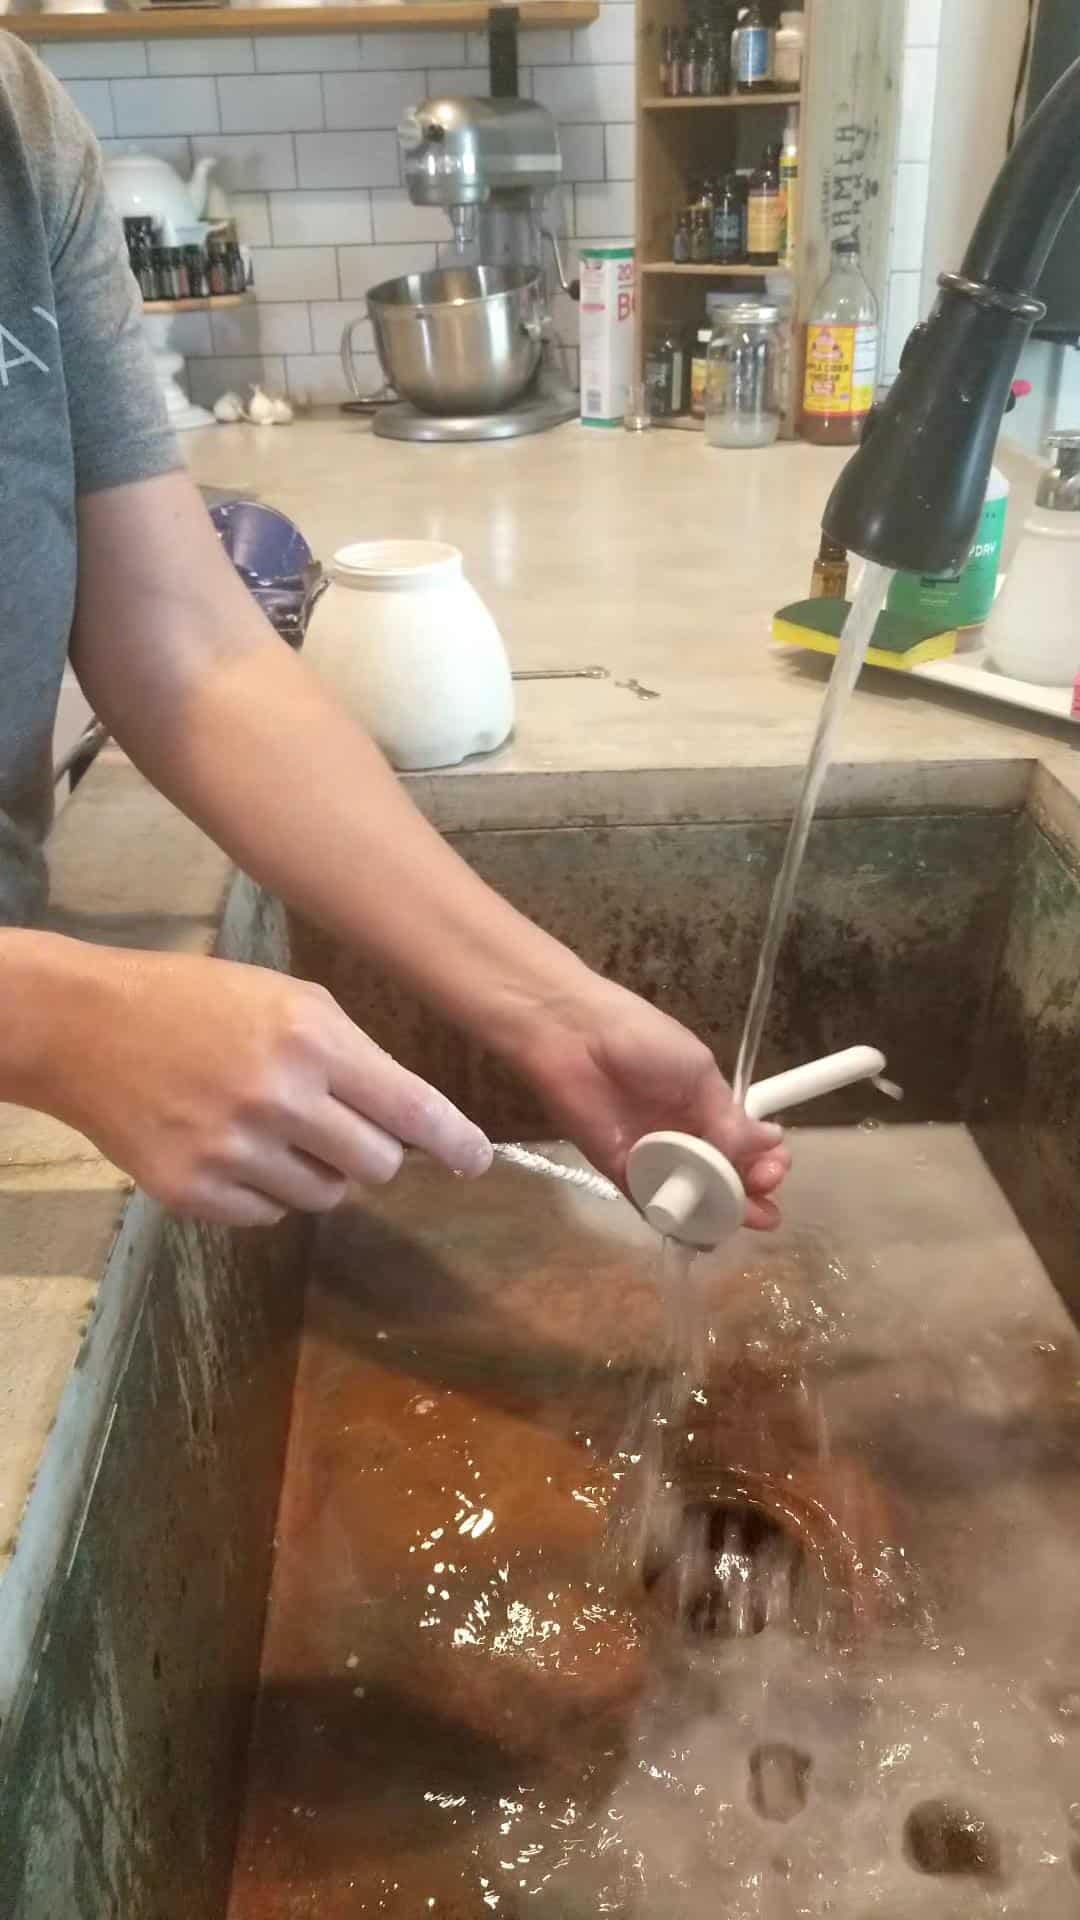
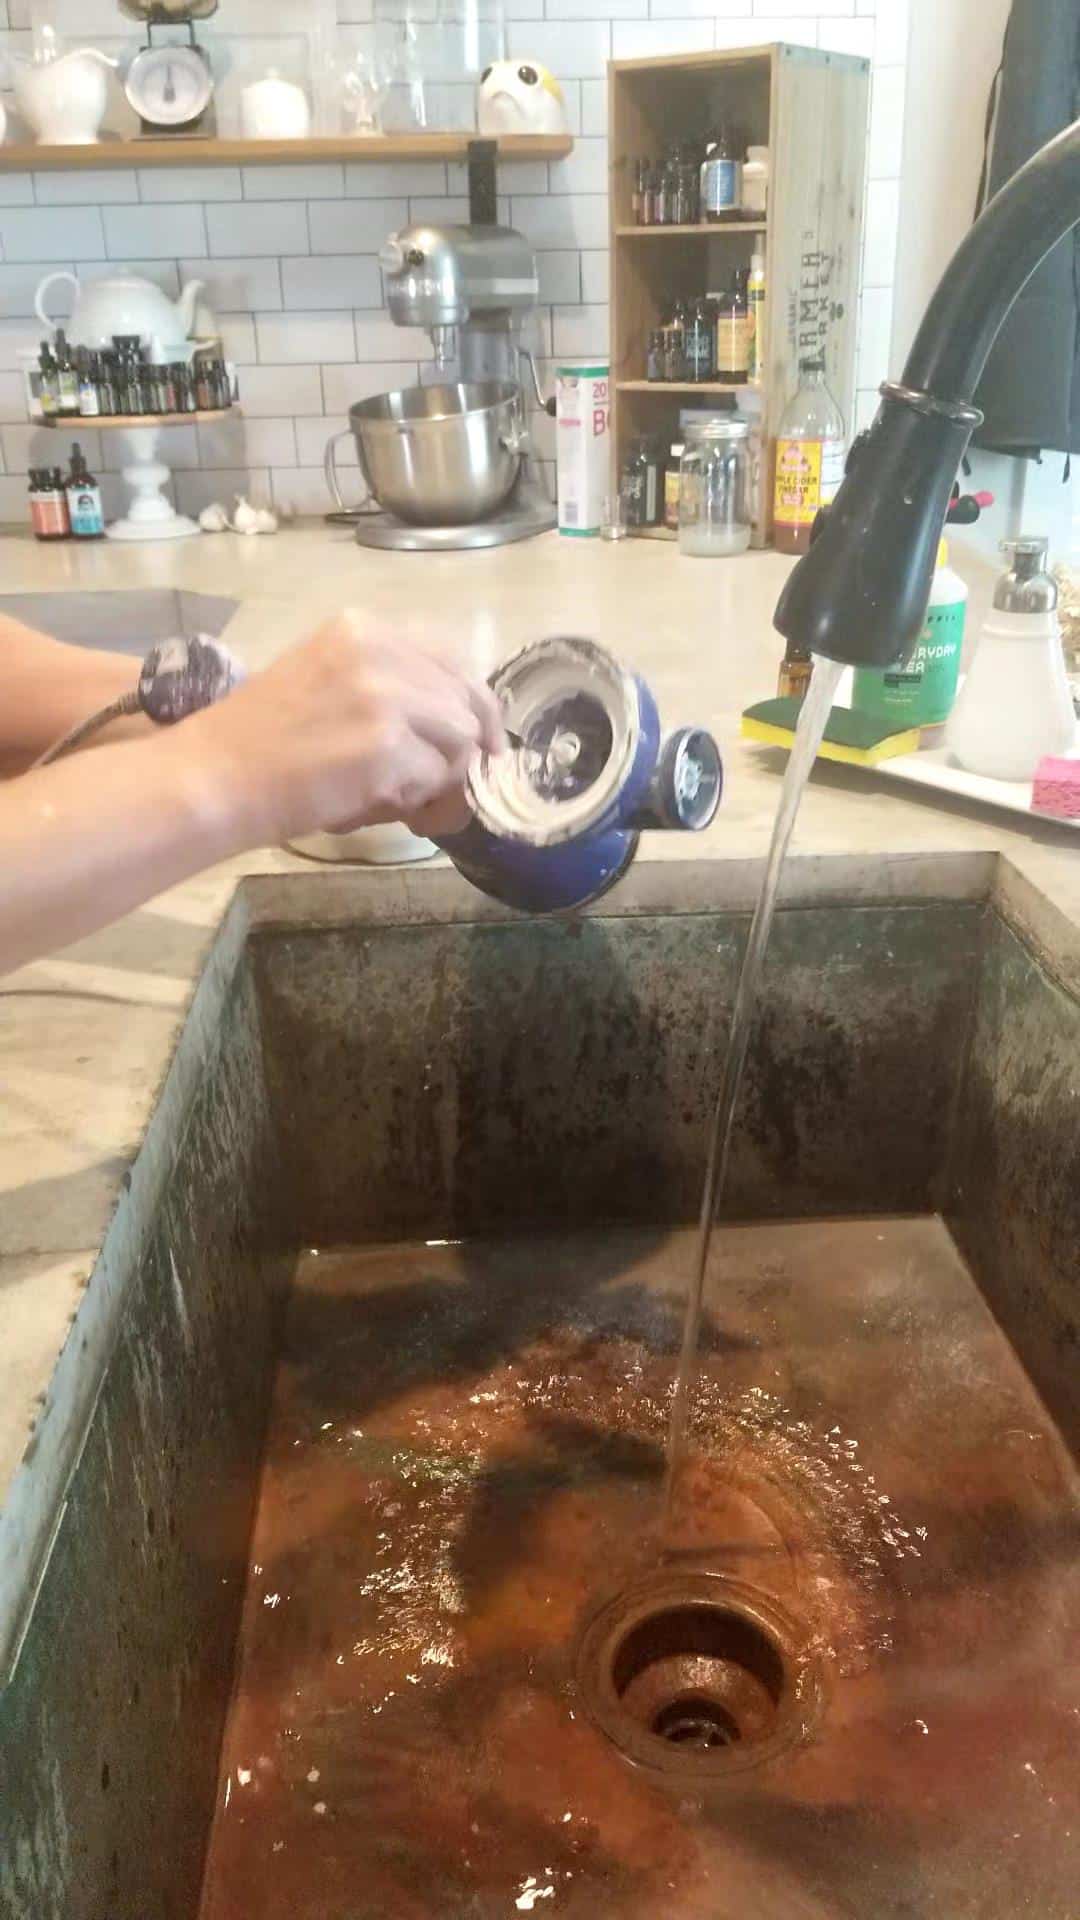
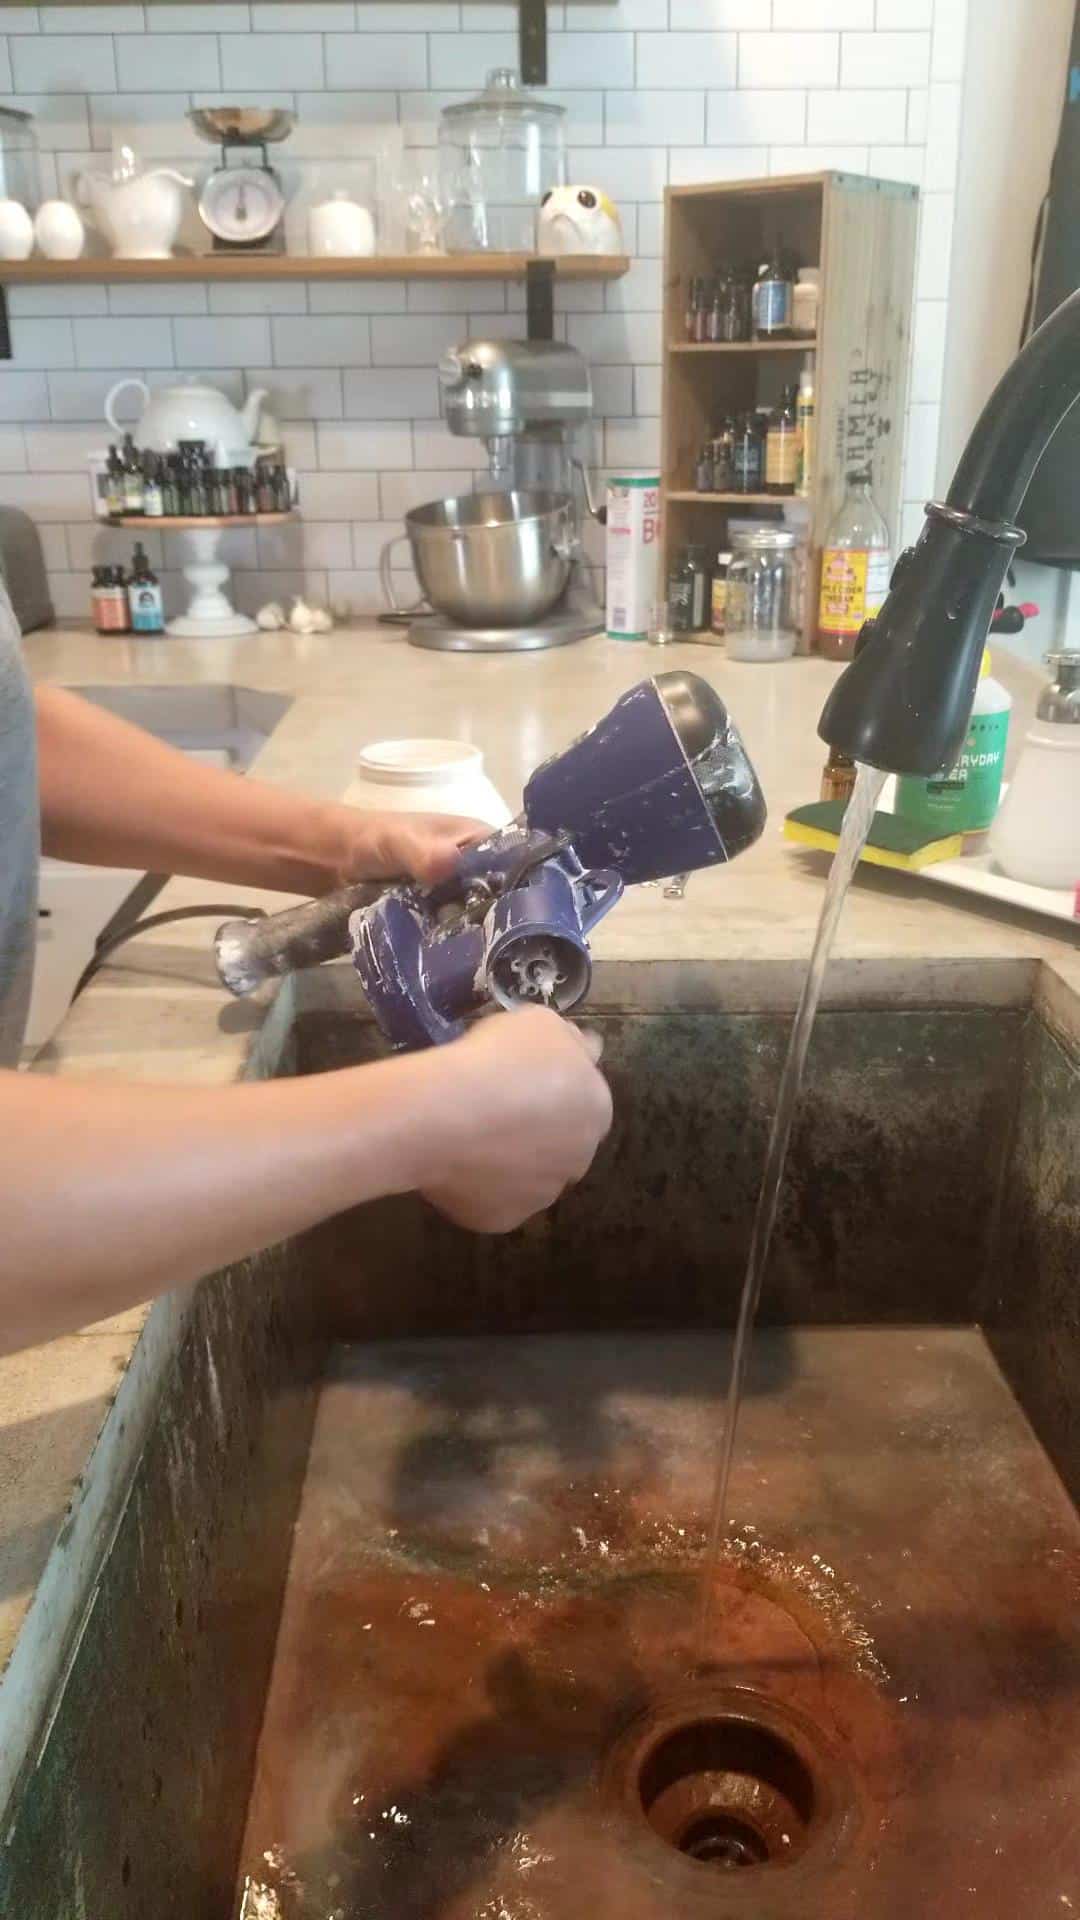
Last but not least, make sure and clean your sprayer every time you use it to keep it in tip-top shape!
It’s pretty simple to clean, you basically reverse the steps you used to put it together and clean all the parts! It comes with a stiff wire brush that makes cleaning a breeze!
Alright, now you know how to set up the paint sprayer, fix any troubles with it, how to clean it, and you even saw how easy it is to paint using a paint sprayer…now all you need to do is go paint your cabinets! What are you waiting for?
Frequently Asked Question About Painting Kitchen Cabinets
How much does it cost to paint your kitchen cabinets?
The answer varies a little from kitchen to kitchen, but let’s just say the average size kitchen you are looking at around a total of around 300 bucks! That is using Sherwin Williams paint (I added it into the cost at full price but you can easily catch it on sale and save some serious money off this cost), primer, buying the sprayer I used (if you already own it, or you want to hand paint, you are looking at 200 bucks instead), sandpaper, caulk, wood filler, and stripper!
Can I just paint over my kitchen cabinets?
Honestly, I have seen some tutorials out there that claim you can, and I am sure some people have. In my experience, the paint does not last. I did this on my desk makeover on the one black edge across the countertop and the paint started peeling immediately! It sucks when all your hard work is immediately ruined, so I say you should ALWAYS sand your cabinets before painting! The extra work and time are WORTH it to have a finished product that you love and can enjoy for years to come as opposed to needing to redo something a month later! My kitchen cabinets and desk cabinets are still completely chip-free, they still look new and don’t have any homemade appearance!
What kind of paint should you use on kitchen cabinets?
The paint I used here in this tutorial is water-based acrylic-alkyd enamel paint. Pro Classic from Sherwin Williams is my favorite paint for cabinets! I have used other less expensive paints and the one thing I say that differs between this and others is its ability to self level. I know a lot of paints claim this, but I see it with this paint. If you are using a paint brush especially, this is important so you don’t see brush strokes! I would advise against ever painting your cabinets with a paint and primer in one.
Is painting kitchen cabinets worth it?
Absolutely! The cost of new cabinets in my kitchen would have been right over 2200 dollars. I am talking the cheap stock cabinets that you grab at Home Depot, nothing special! Since I didn’t pay but around 200 dollars, I mean a 10th of the cost of new cabinets makes it completely worth it to me!
Hope you enjoyed this post! If you did, I would LOVE for you to share it with friends and family!
[social_warfare]

Want to save this post on painting your kitchen cabinets for later so you can reference it whenever you need it? PIN IT!


If the cabinets are new, just want a different color, how much sanding would you recommend?
Hey Beth! There are a few things to take into consideration on this. First, what are the cabinets made of? If they are solid wood, I would go through the whole process of stripping, sanding, and using a good primer. If they are made of a veneer/laminate material, I would sand them lightly with an orbital sander to get rid of any shiny finish, and make sure to use a good bonding primer! Ultimately, you can do very little and get great results, the only problem is the results may not last very long! I feel like it’s worth the little extra prep work to make sure you don’t waste your time and have them start peeling or scratching! Hope that helps answer your question! Feel free to ask if you have any others! Thanks for stopping by! Have a good one!
Cara