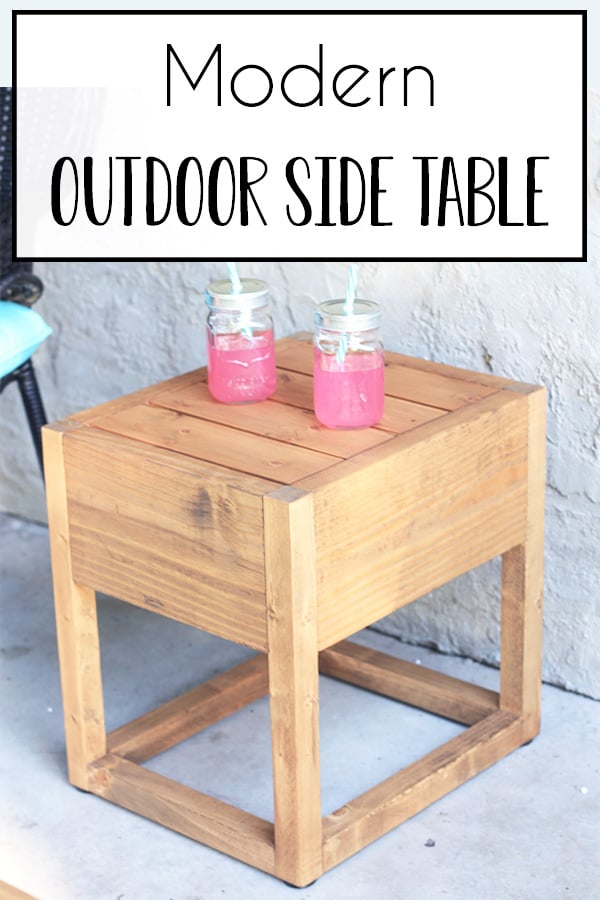
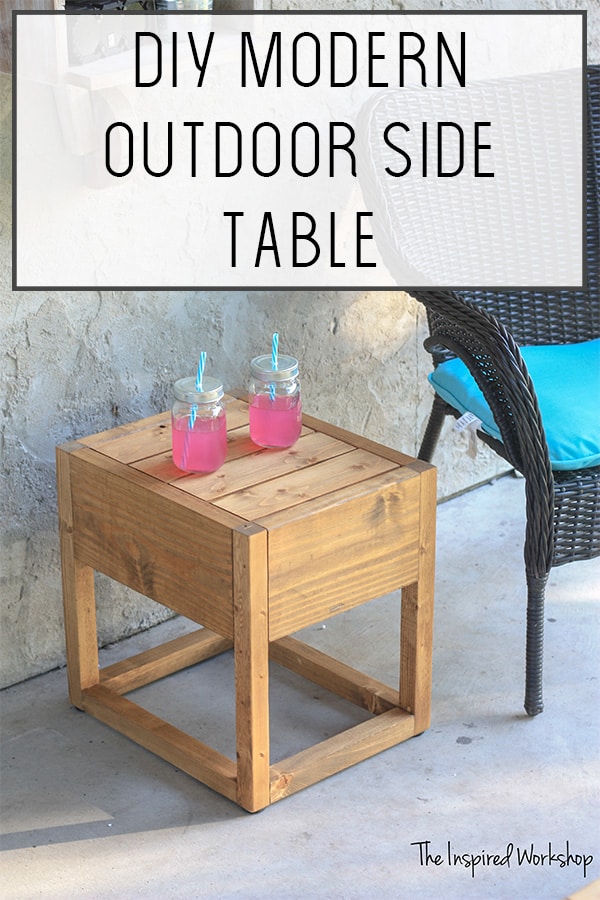
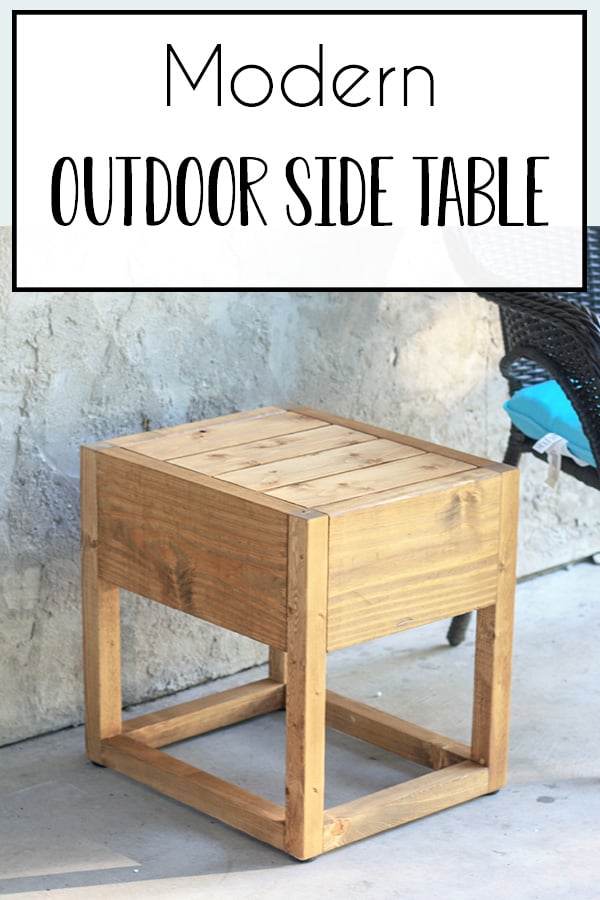
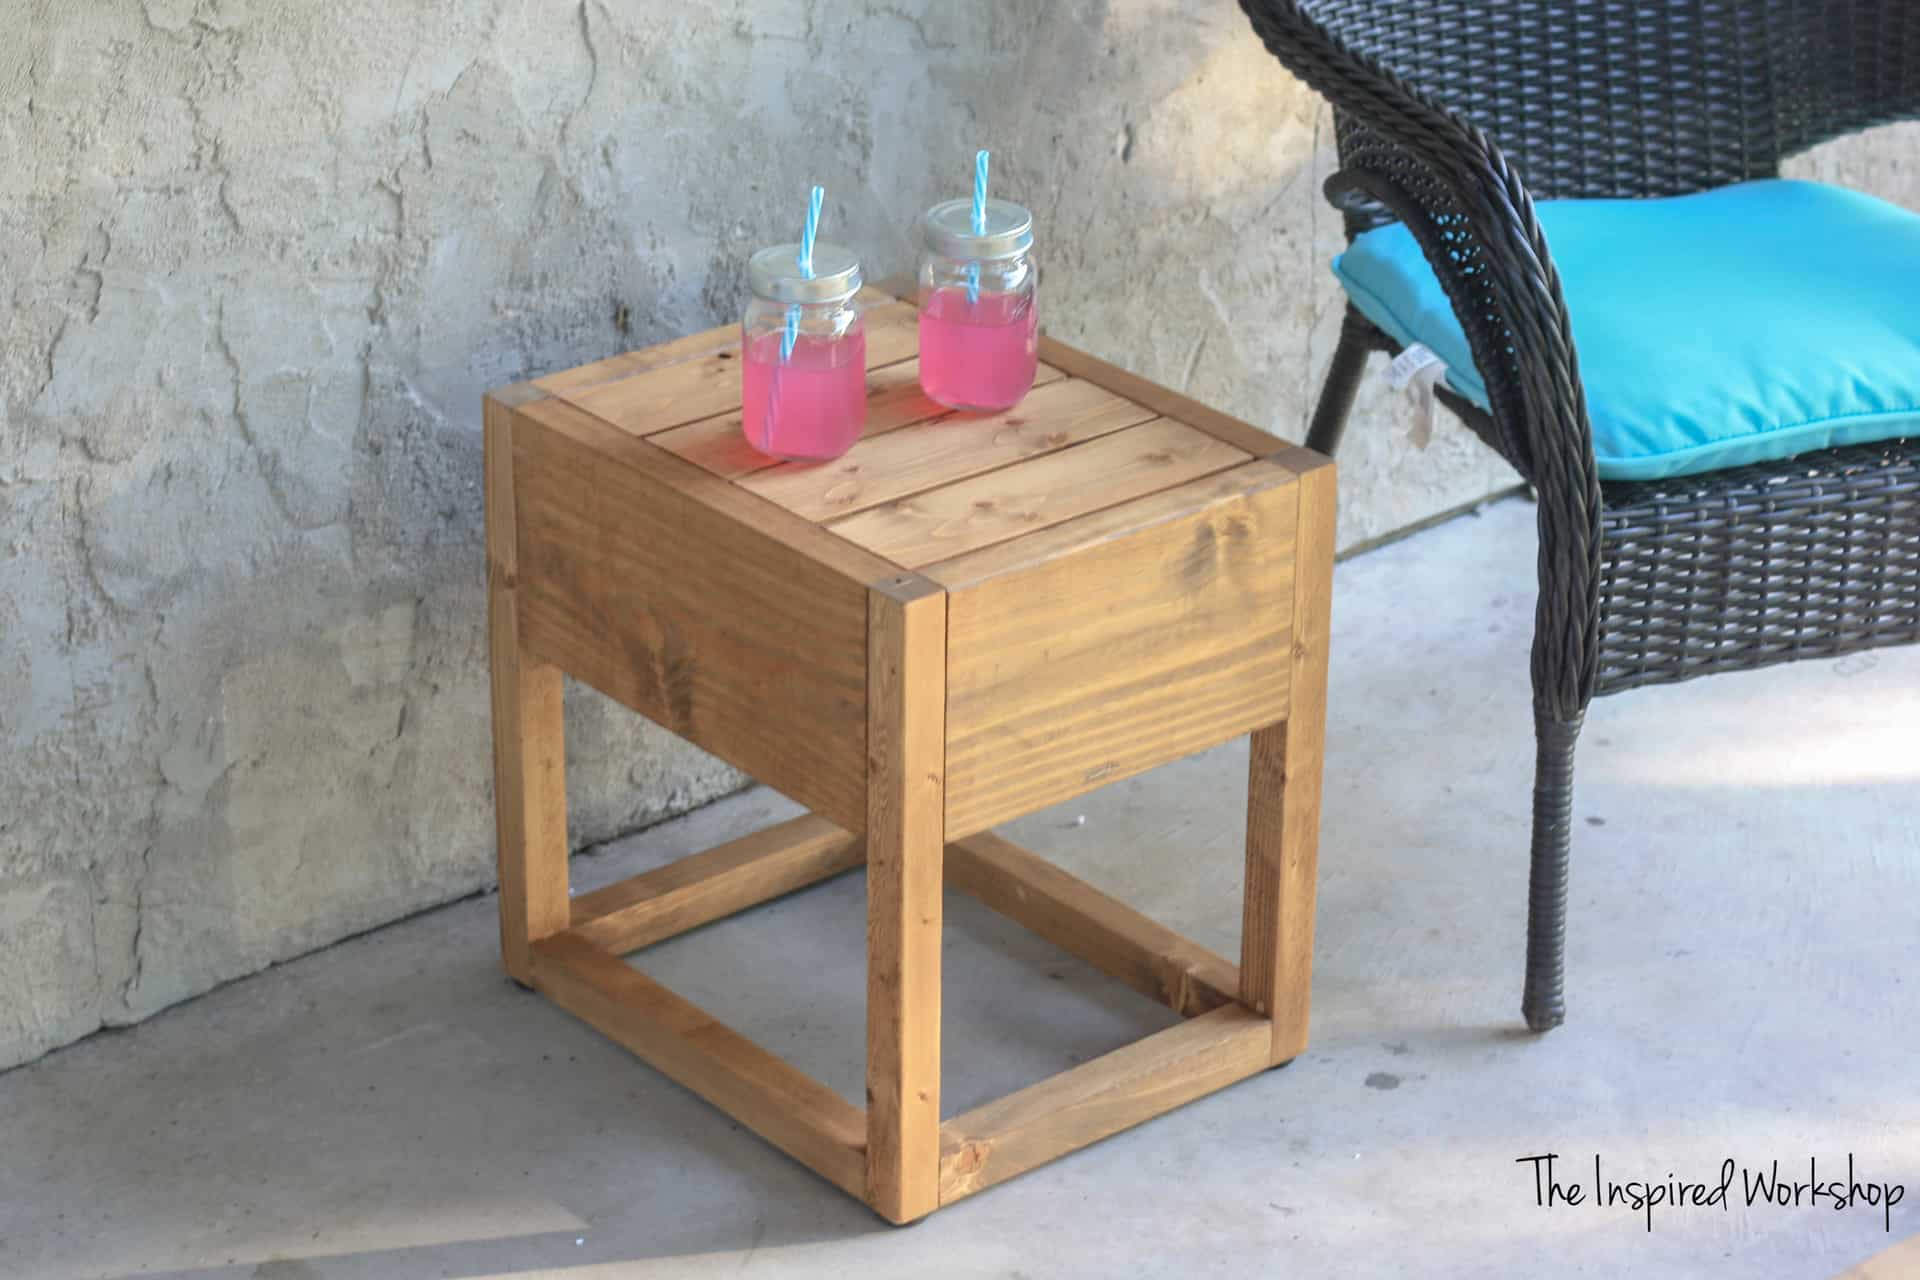
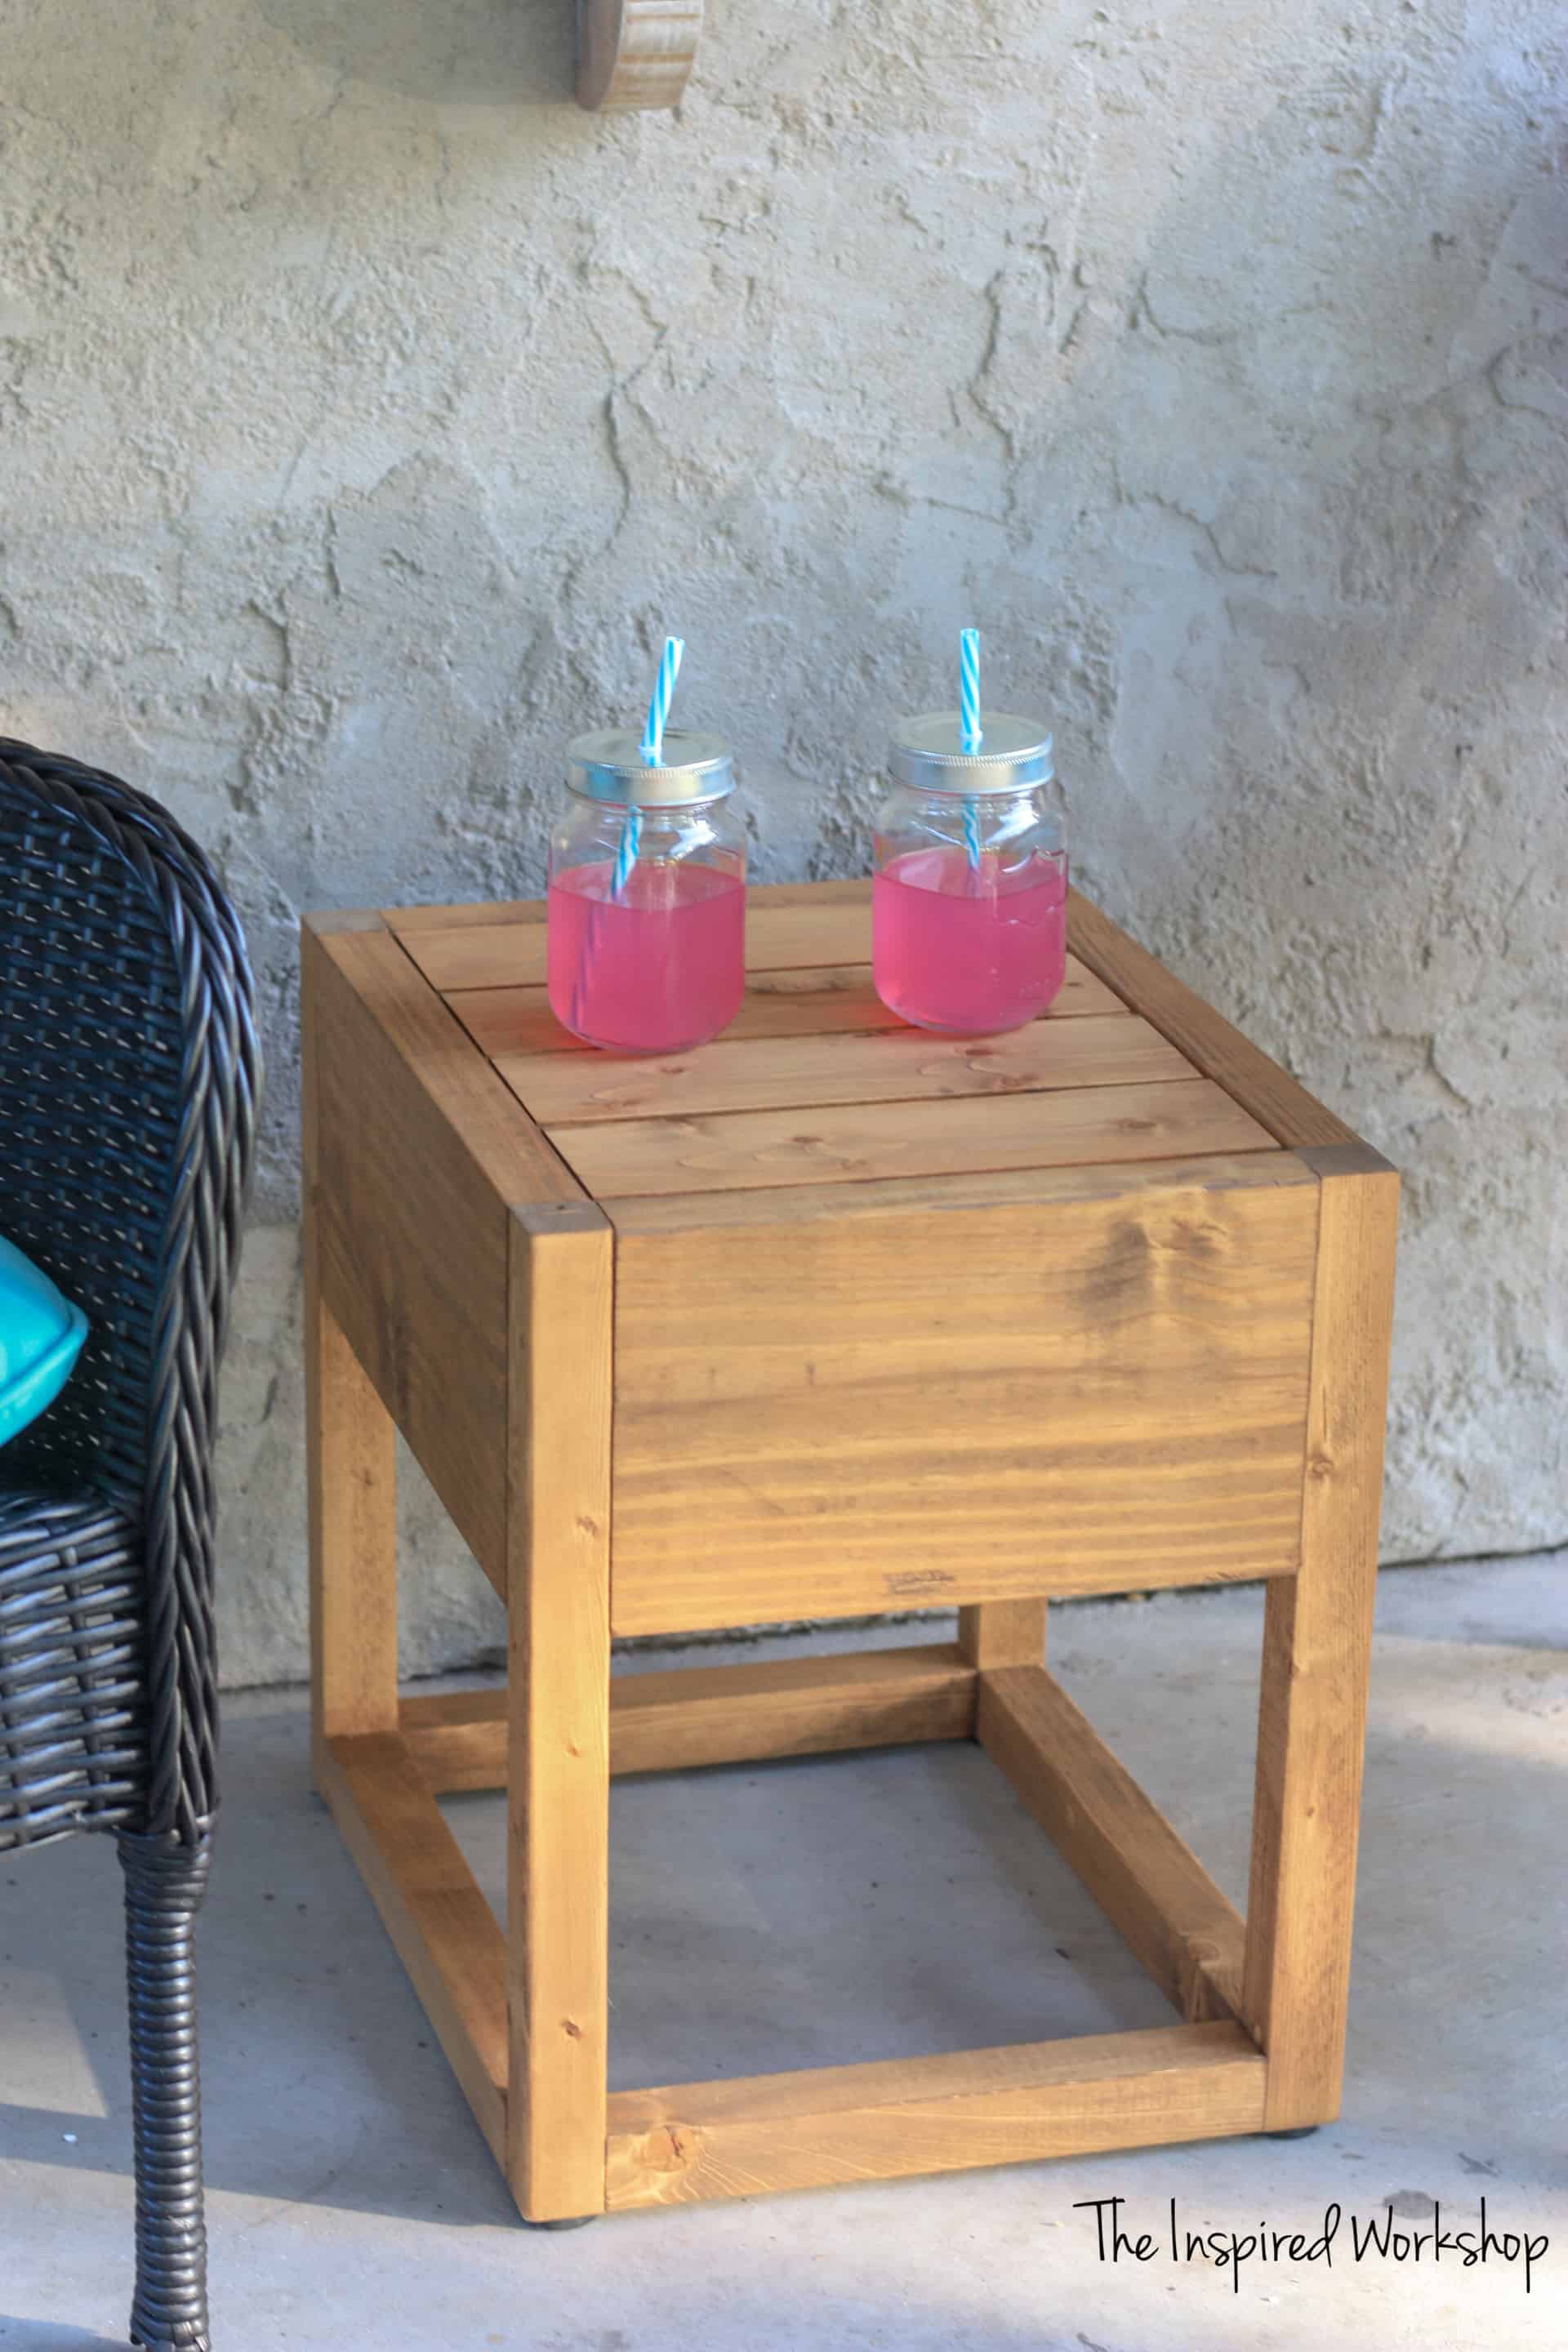
DIY Modern Outdoor Side Table
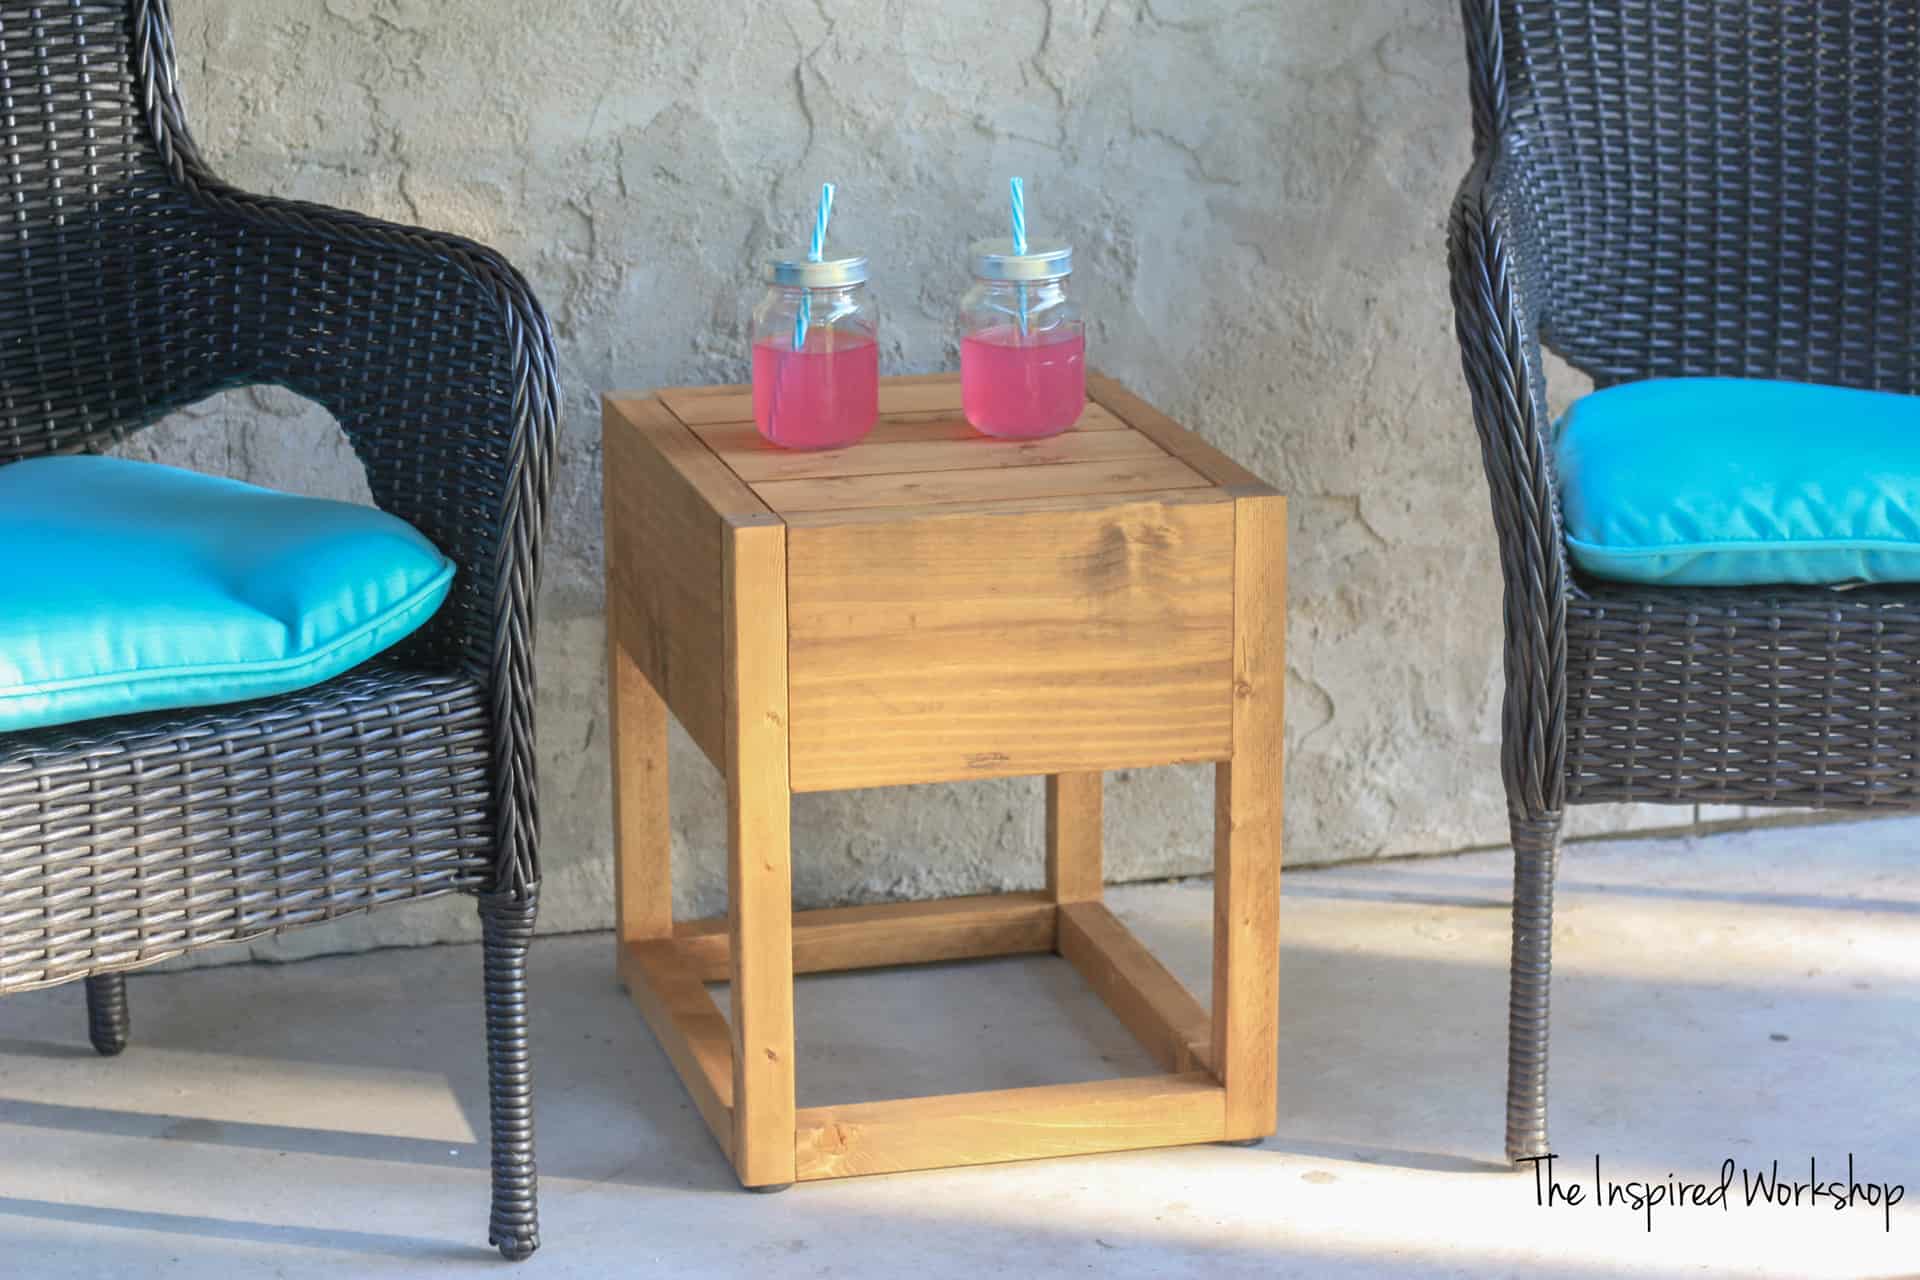
Outdoor furniture can be so expensive but yet it is a key component of being able to utilize an outdoor space, so what do you do when your budget is small and you need outdoor furniture? DIY baby! Build yourself this DIY outdoor side table for a few bucks and start enjoying your porch or patio, no need to wait until you can afford fancy furniture!
We have had the most beautiful weather here the last week or so and it had me outside trying to spruce everything up! Even though it’s going to take a heck of a lot more than one week of gorgeous weather to get the outside of our home looking even remotely presentable, I threw together a few pieces of outdoor furniture…and added about 10 other pieces to my to-do list! Lol! How does that always seem to happen to me, I’m really not sure! Lol!
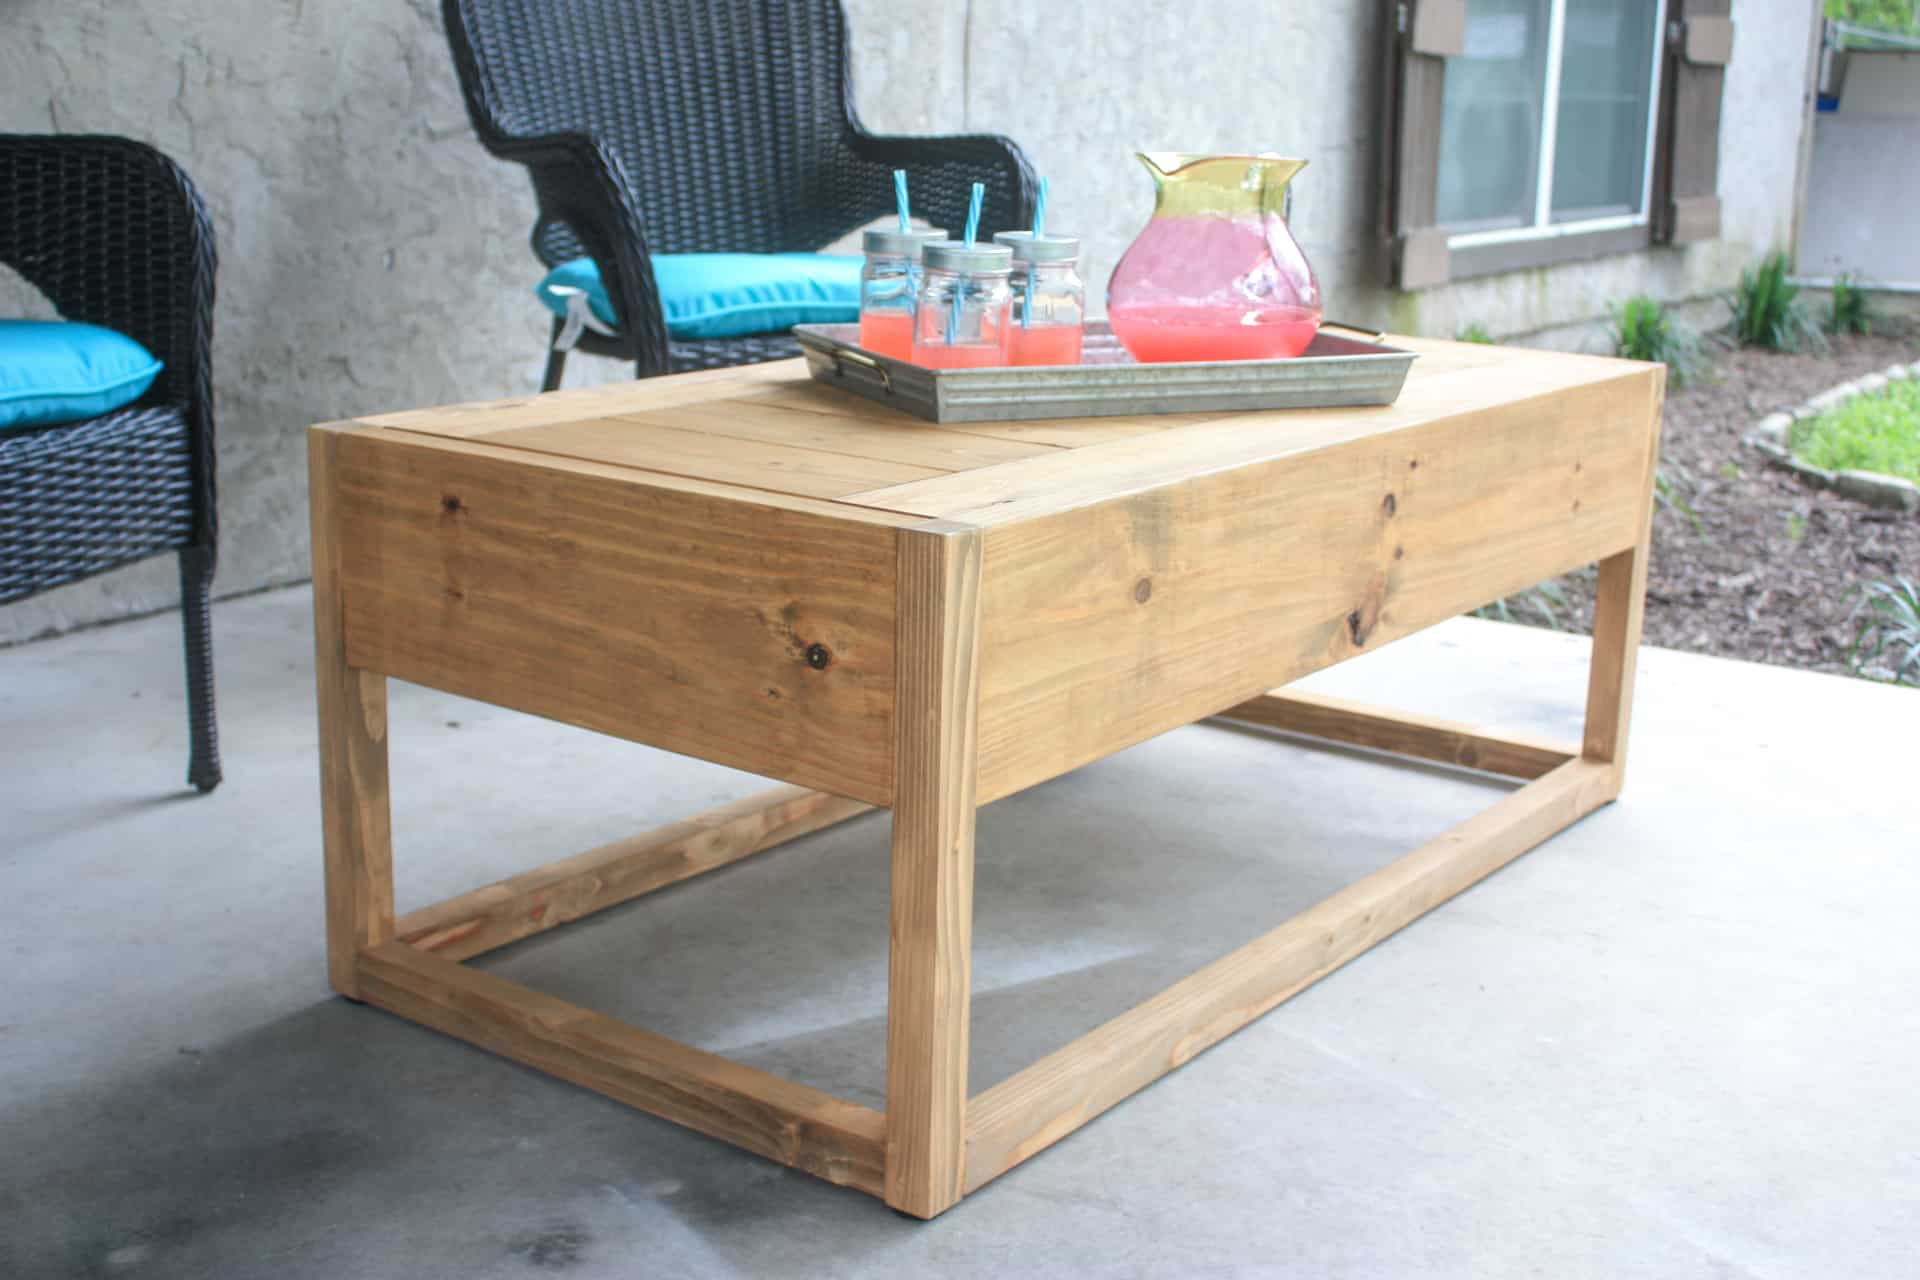
Check out this modern coffee table that I built recently that inspired the modern side table! The free plans will be available later this week on Handmade-haven.com and it’s got a pretty cool secret…it is also a sandbox! Yep, entertain the kids while sipping your coffee or wine, depending on what time of day it is! Lol!
Back to this cute little side table though, it is small enough to place pretty much anywhere, but just big enough to hold a couple drinks and a book or such that you want to enjoy outside! It’s even cute enough to build and place inside as well!
I have built so many pieces of inexpensive outdoor furniture so if you are looking for more outdoor pieces, there are plans for a concrete dining table with concrete top benches, a round concrete pedestal table, and some patio chairs!
Gathering Supplies to Build a DIY Outdoor Side Table
So you want to build this DIY outdoor side table? Here are the printable plans!

*NOTE: Links below may be Affiliate links! Affiliate links pay me a small commission at no extra cost to you should you make a purchase after clicking one! I always appreciate your shopping my links to help me keep bringing free furniture plans to you!
Materials for DIY Side Table:
- 1 – 2x8x8 (I used the scraps left over from building the coffee table)
- 2 – 2x2x8 (Again, I was able to use the scraps and only bought 1 2×2)
- 1 – 1x4x8
- scrap piece of 1×2 @ 30″ or you can use leftover of your 1×4…won’t hurt anything!
- Kreg Jig
- 2 1/2″ pocket hole screws
- wood glue
- brad nailer
- 1 1/4″ brad nails
- saw
- 4 pk of 1 1/2″ screw-in rubber feet – Home Depot’s website doesn’t currently show them for some reason, but if you go down the hardware aisle, they are hanging with the felt pads for furniture.
- Right angle drill attachment
- Thompson water seal (teak) – much cheaper at Lowe’s than at link, I just wanted to show you the can so you know what you are looking for!
Cut List for DIY Side Table:
- 2 – 2×8 @ 15″
- 2 – 2×8 @ 12″
- 4 – 2×2 @ 18″
- 2 – 2×2 @ 15″
- 2 – 2×2 @ 12″
- 2 – 1×2 (or other scrap material) @ 14 1/2″
- 4 – 1×4 @ 12″
Building the Modern Outdoor Side Table
Step 1
Cut the legs and the two longer side rails. You will attach them with wood glue and pocket holes drilled at 1 1/2″ deep (since your wood is 1 1/2″ thick) and you will use 2 1/2″ screws.
Step 2
Attach the 2×2 @ 15″ to the bottom of the legs. You will use 1 1/2″ pocket holes and 2 1/2″ screws again, along with wood glue to attach! I placed the pocket holes on the underside of the boards so they were not visible and wouldn’t have to be filled in!
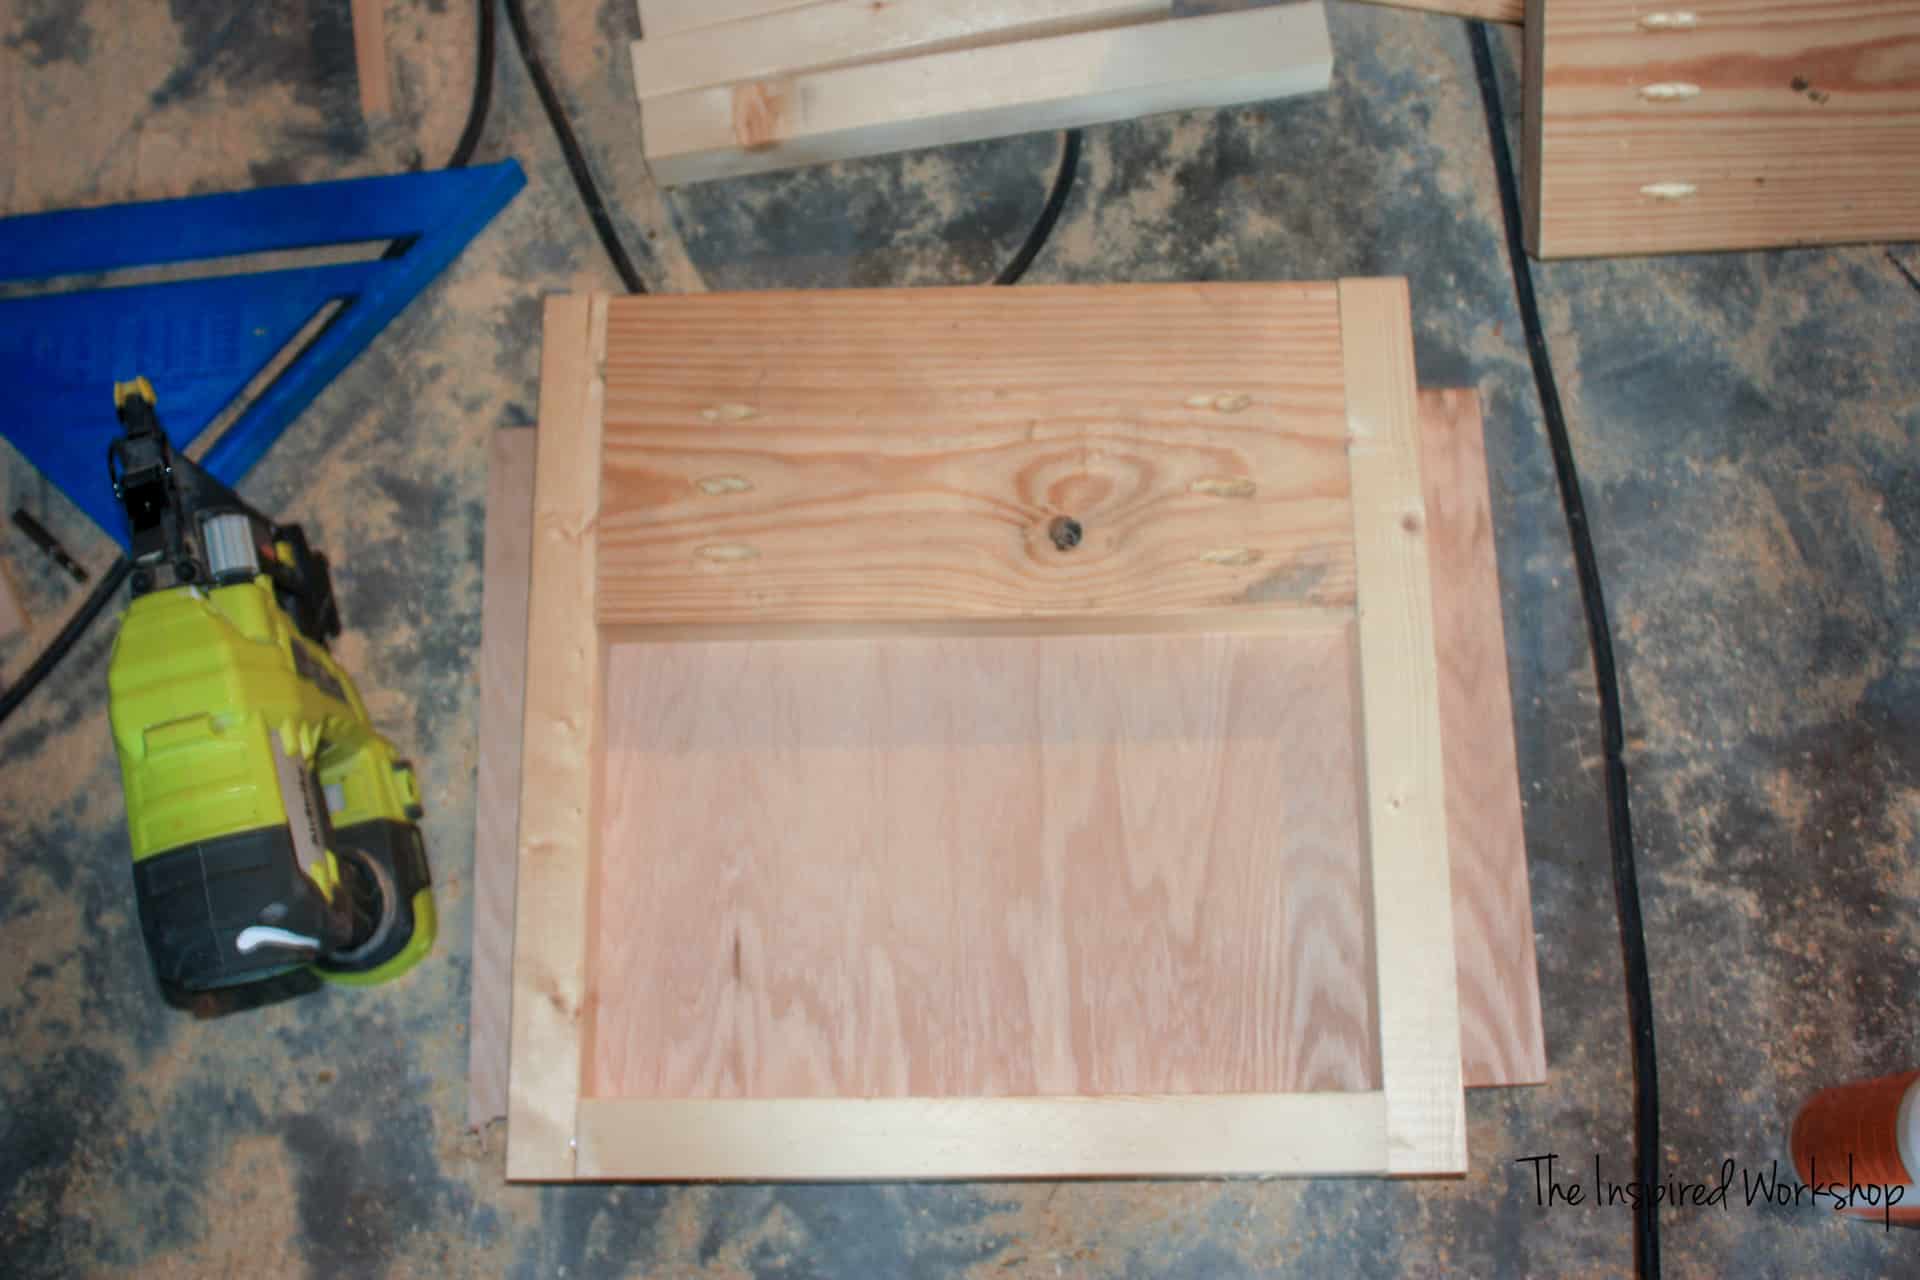
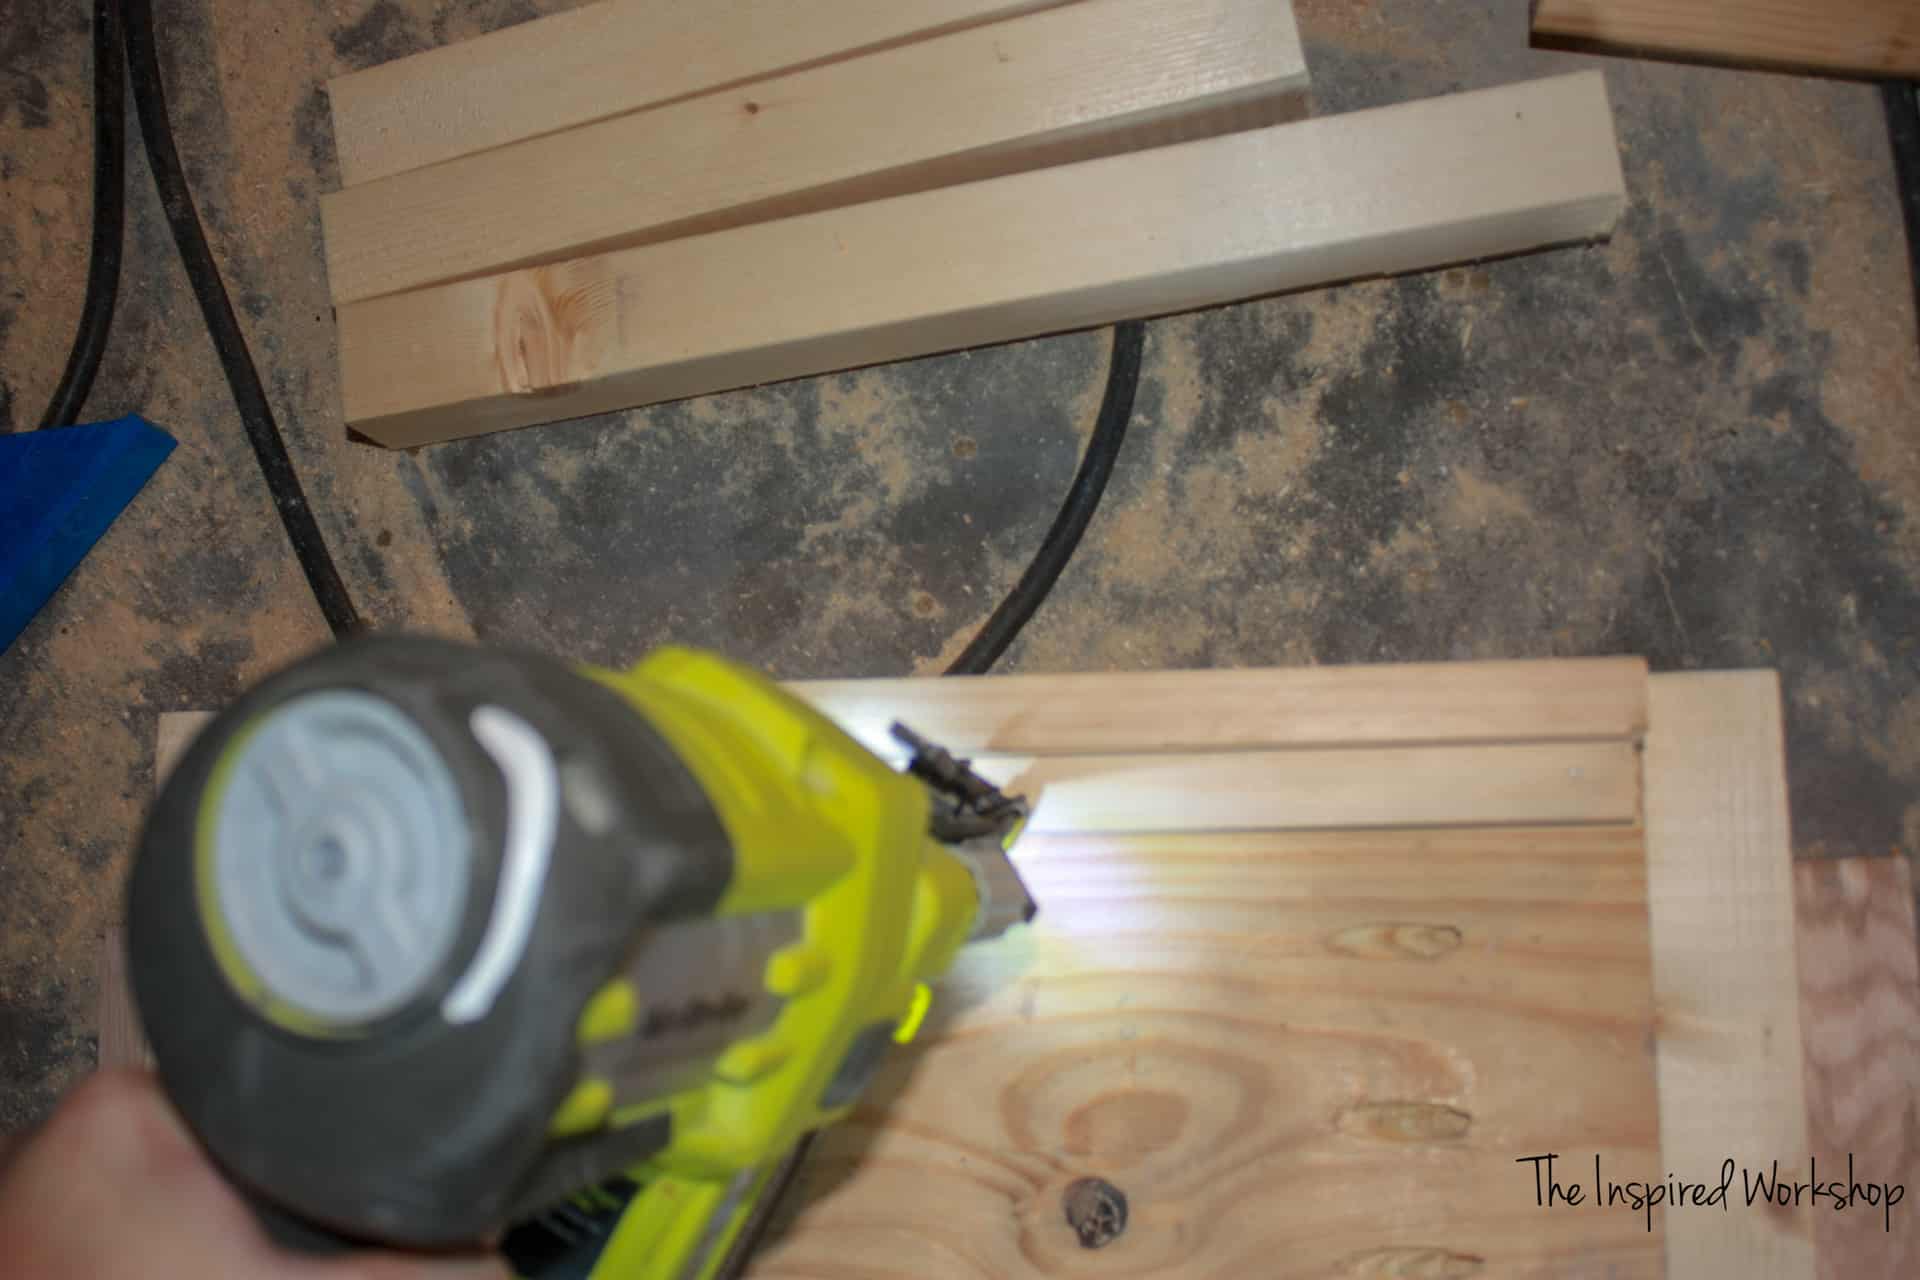
Step 3
Attach the 1×2 (or another scrap piece of wood) to the 2×8 with glue and brad nails 3/4″ down from the top of the 2×8. This will create a ledge for you to brad nail your top boards to later on in the tutorial since it is tough to fit our drill in that small of a space! I used a 1×2 turned on its side as a guide to brad nail the board in place.
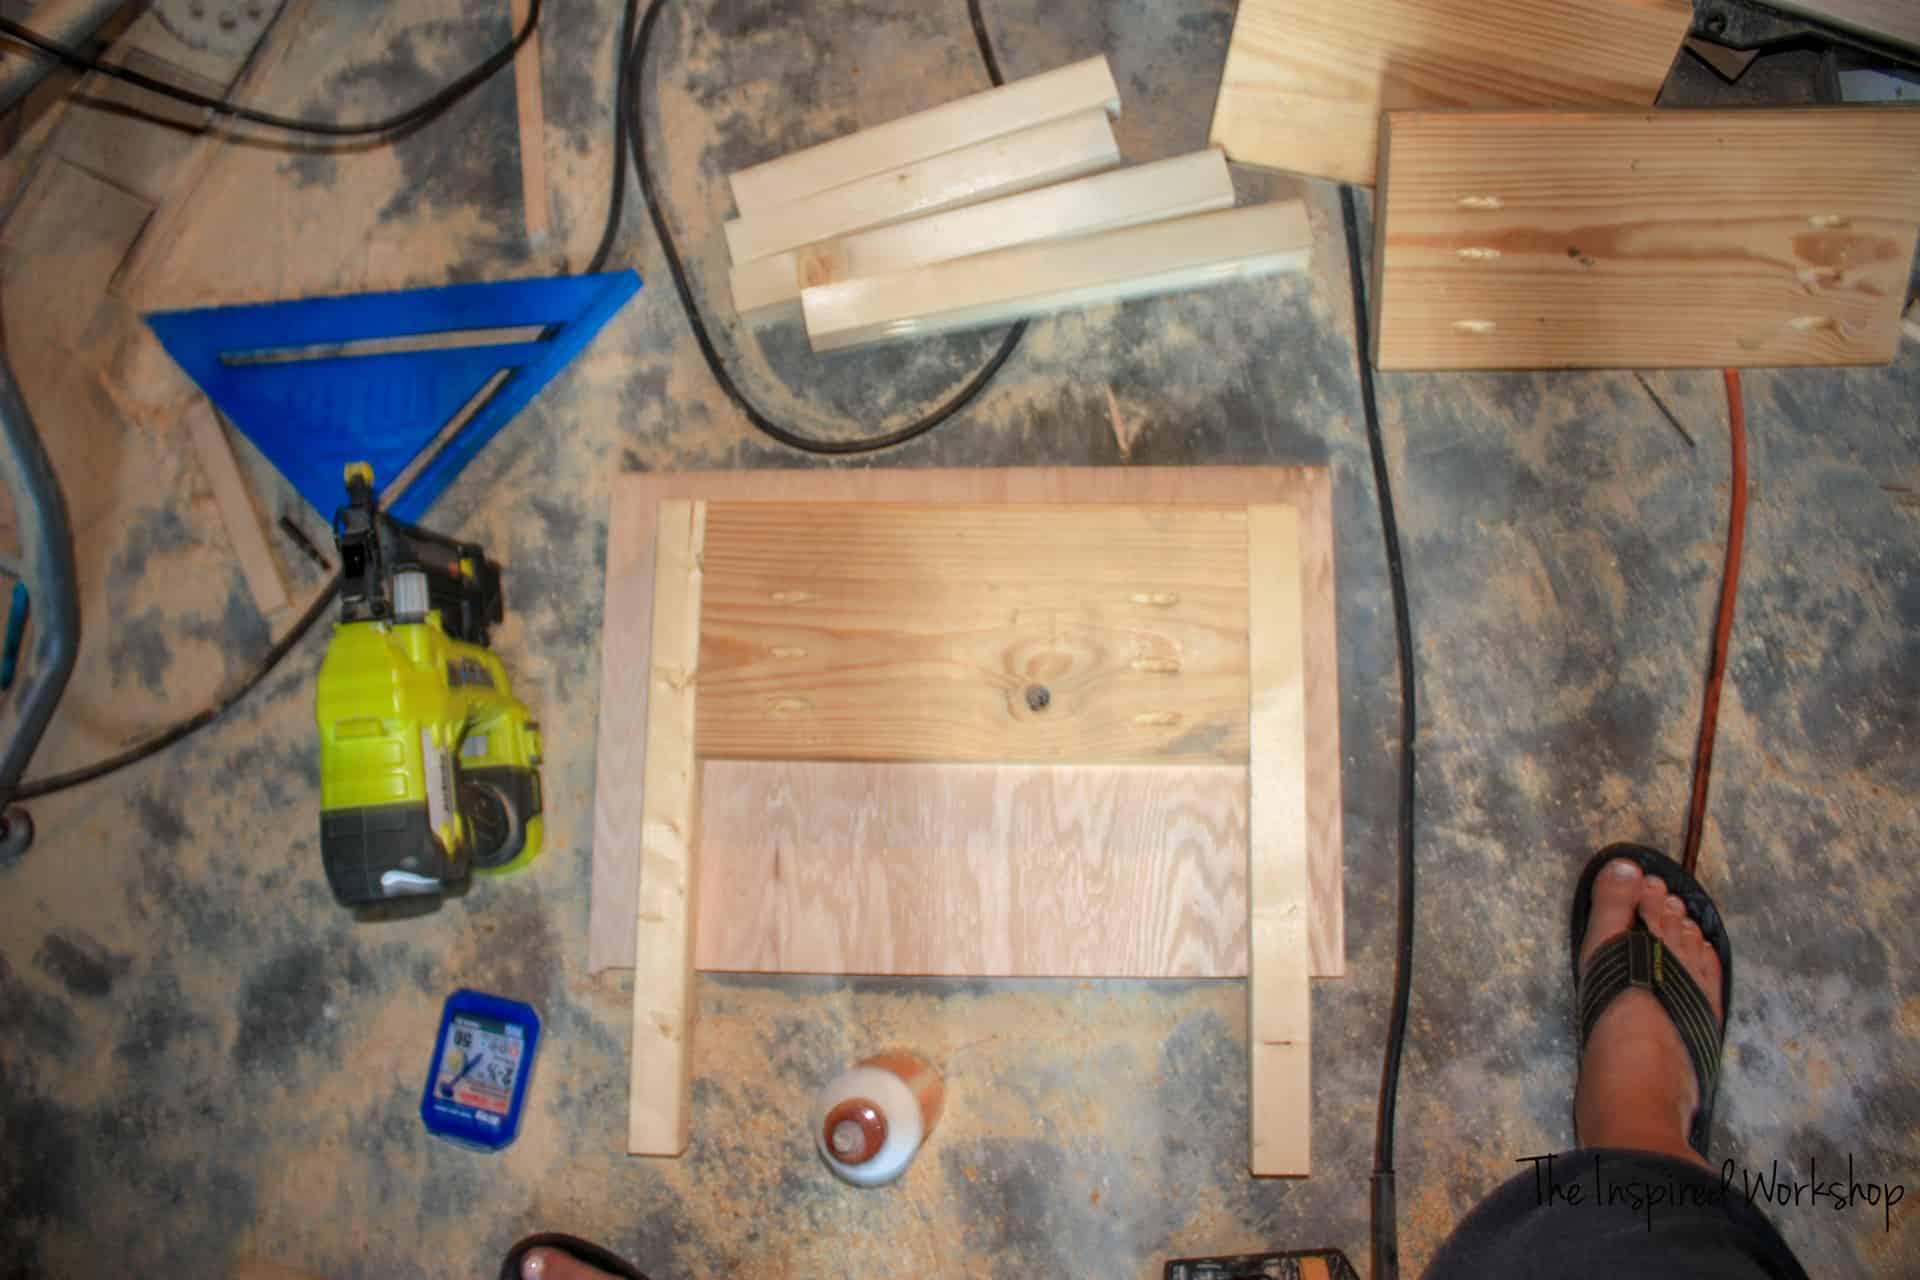
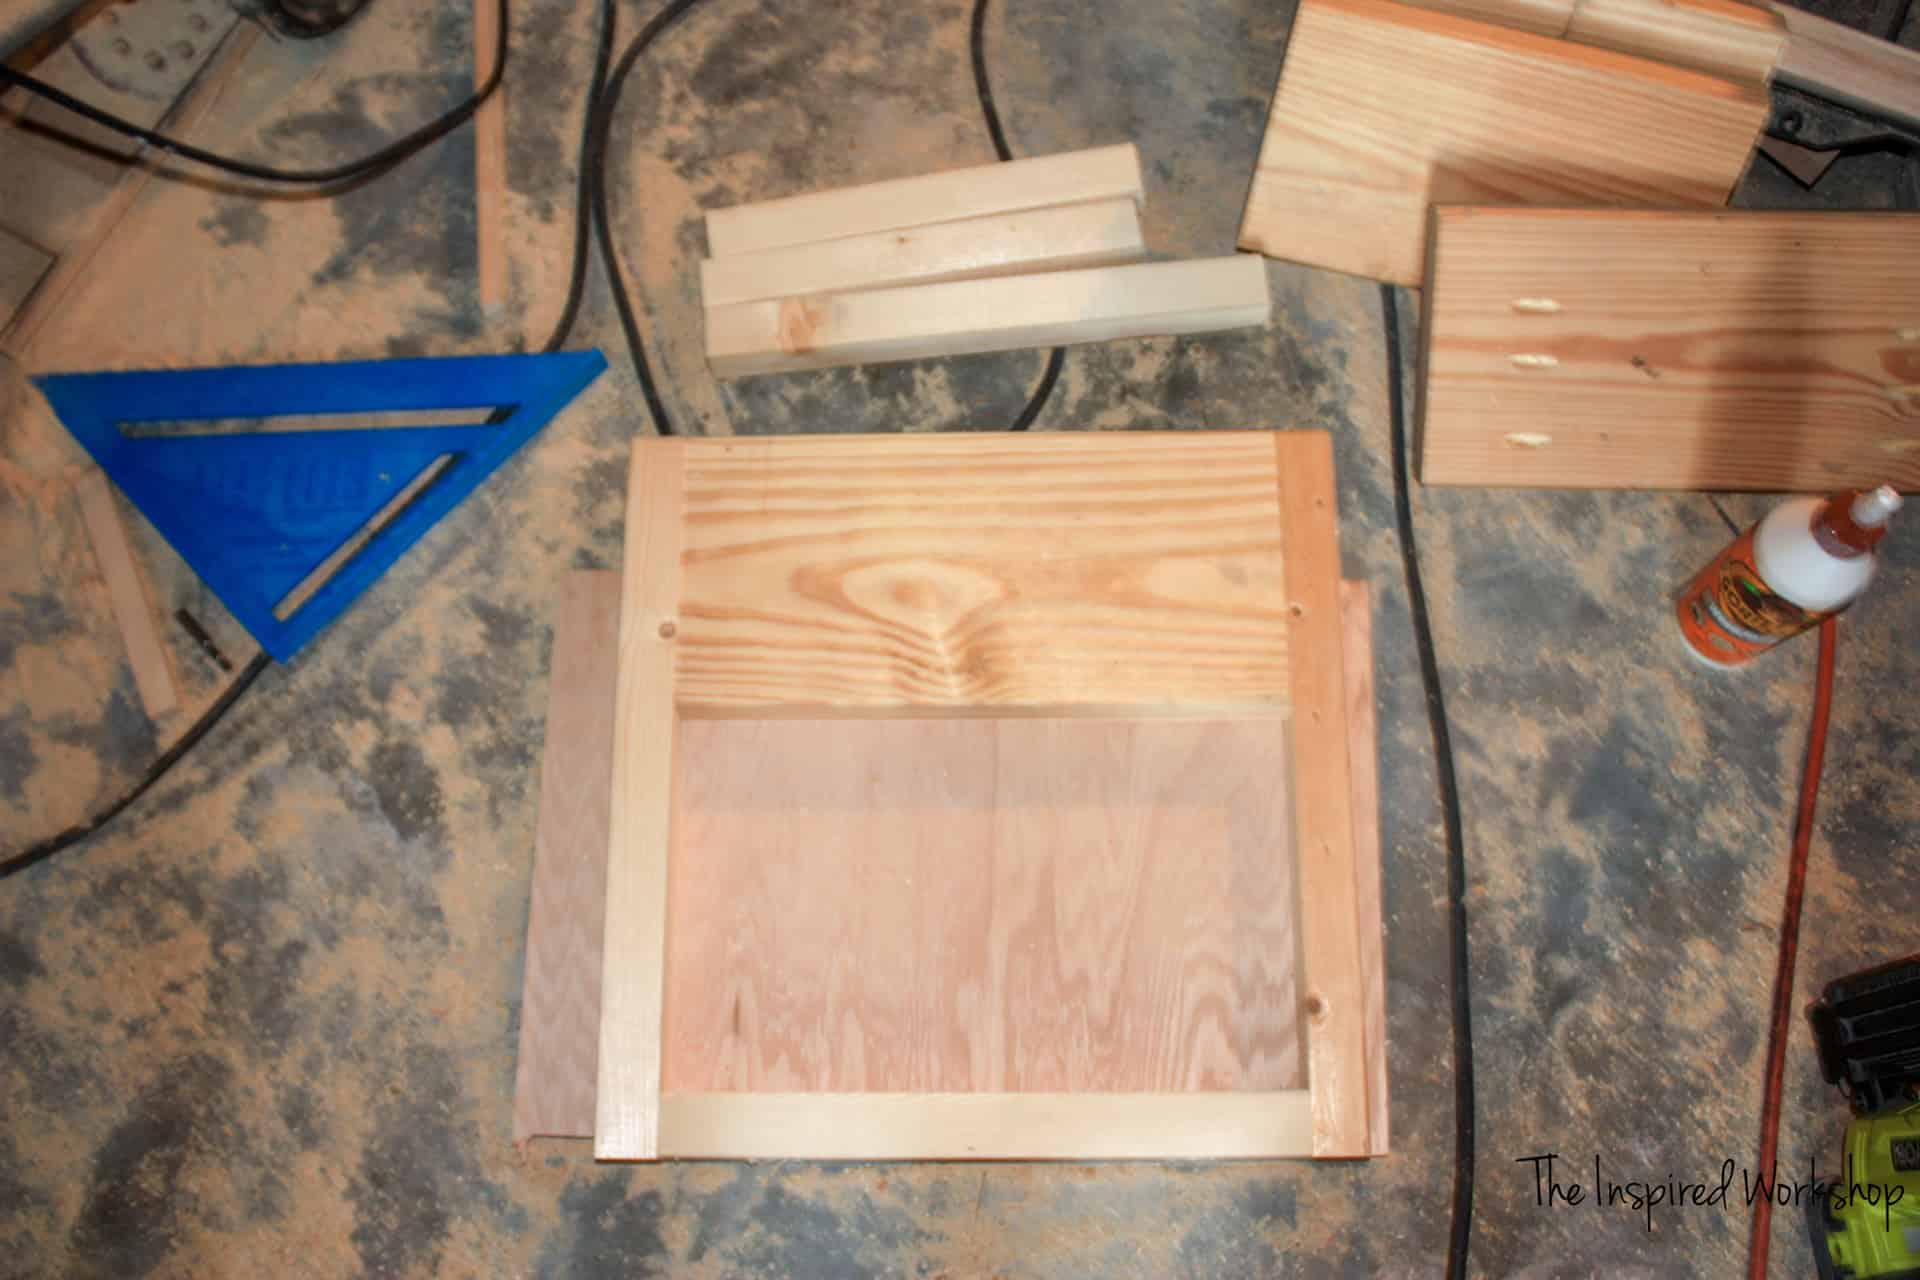
Step 4
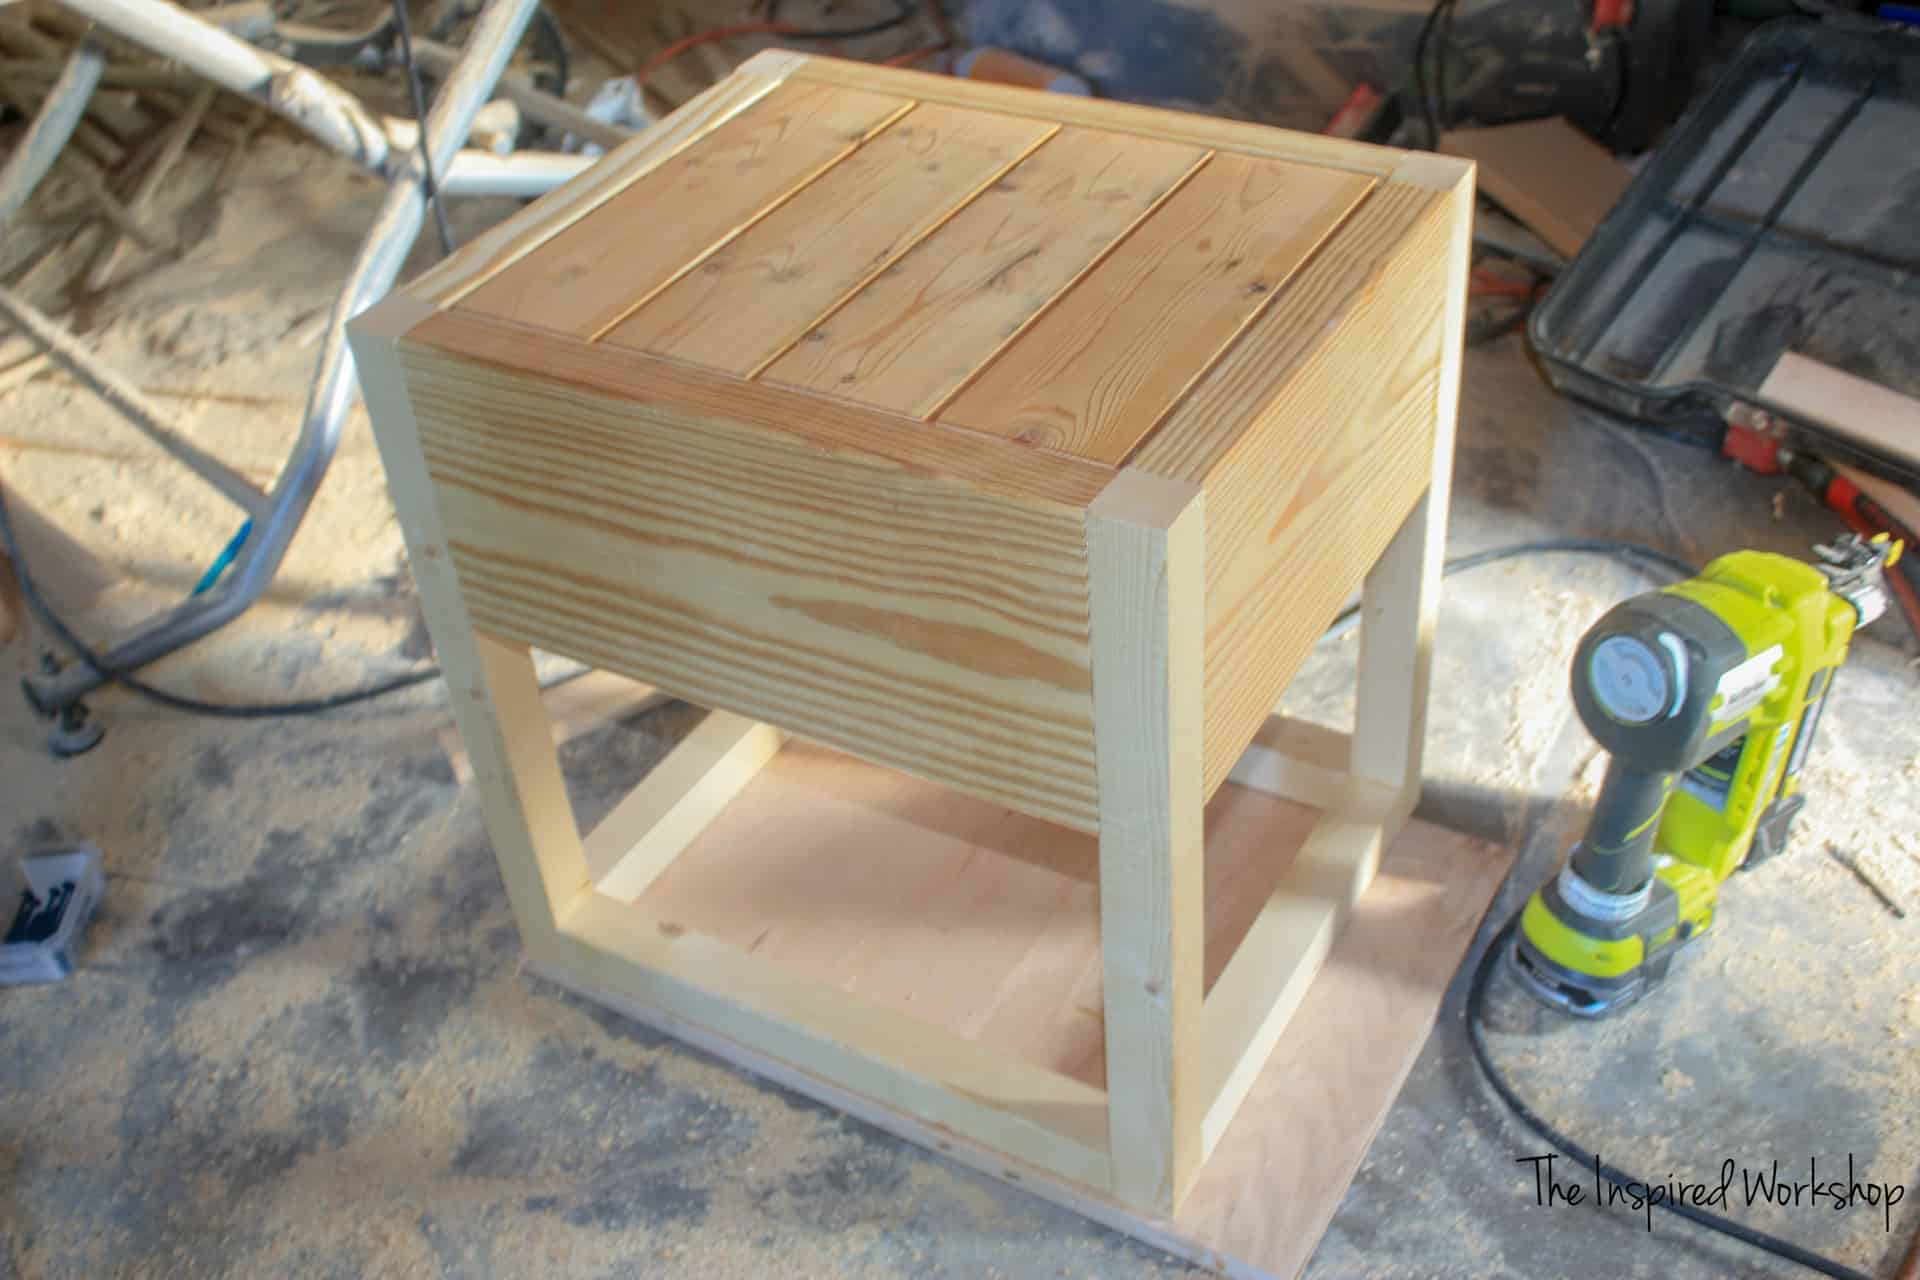
Build a second side just like the one you just built! Here is the front view of one of the sides.
Step 5
Now connect the two sides you just built together! You will still use the same pocket holes and screws…and don’t forget the glue!
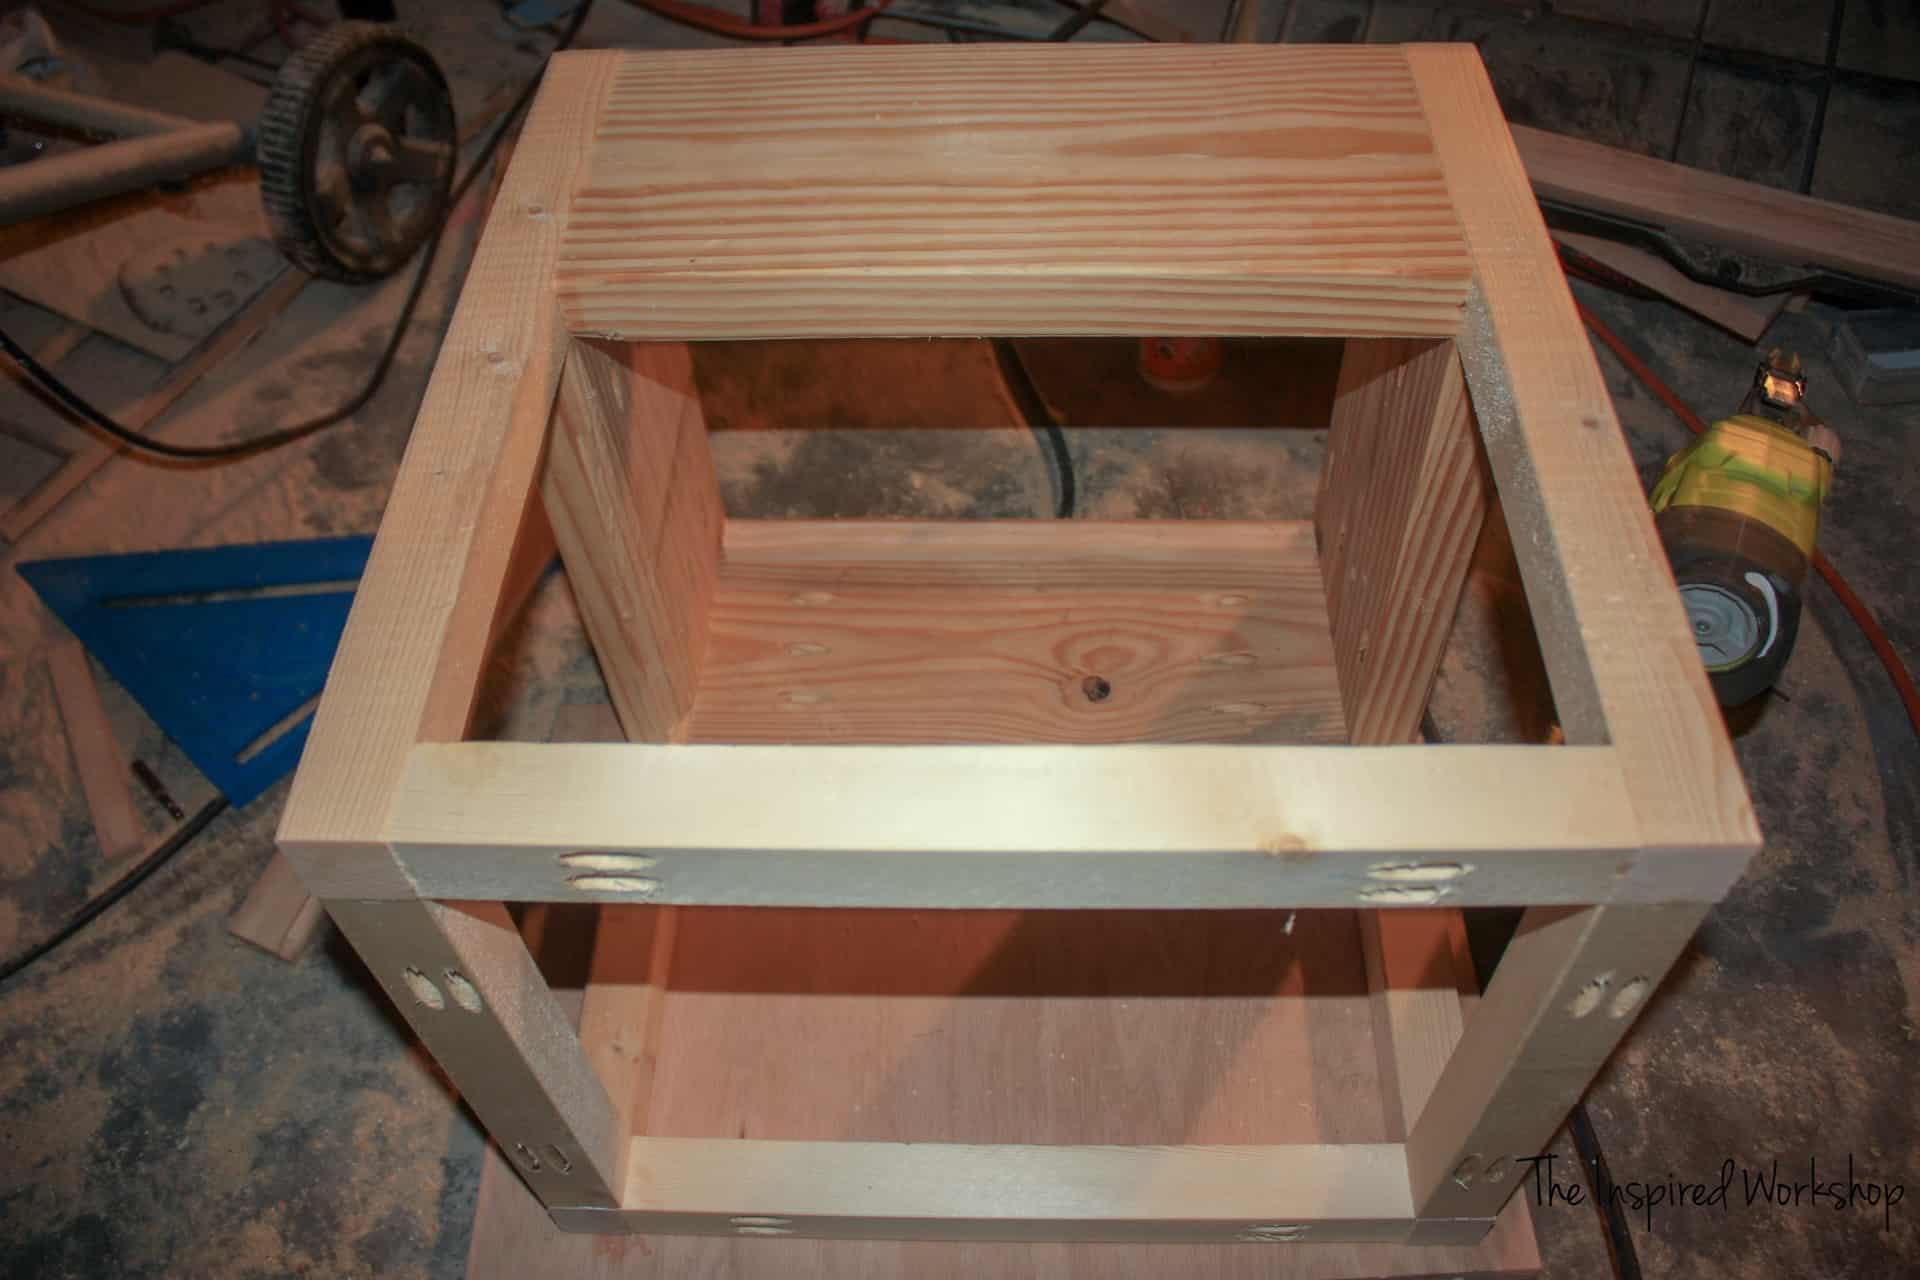
Here is a great view of the pocket holes on the bottom!
Also, I couldn’t have screwed the screws in on those boards without the help of the dandiest tool I’ve used in a while! You MUST grab yourself a DeWalt right-angle drill attachment! It is so easy to use, it is so much smaller in size than any others I have seen…and it is probably the most inexpensive thing DeWalt makes! Lol! It only cost 15 bucks! You can grab one the next time you are at the hardware store or at the link above!

Step 6
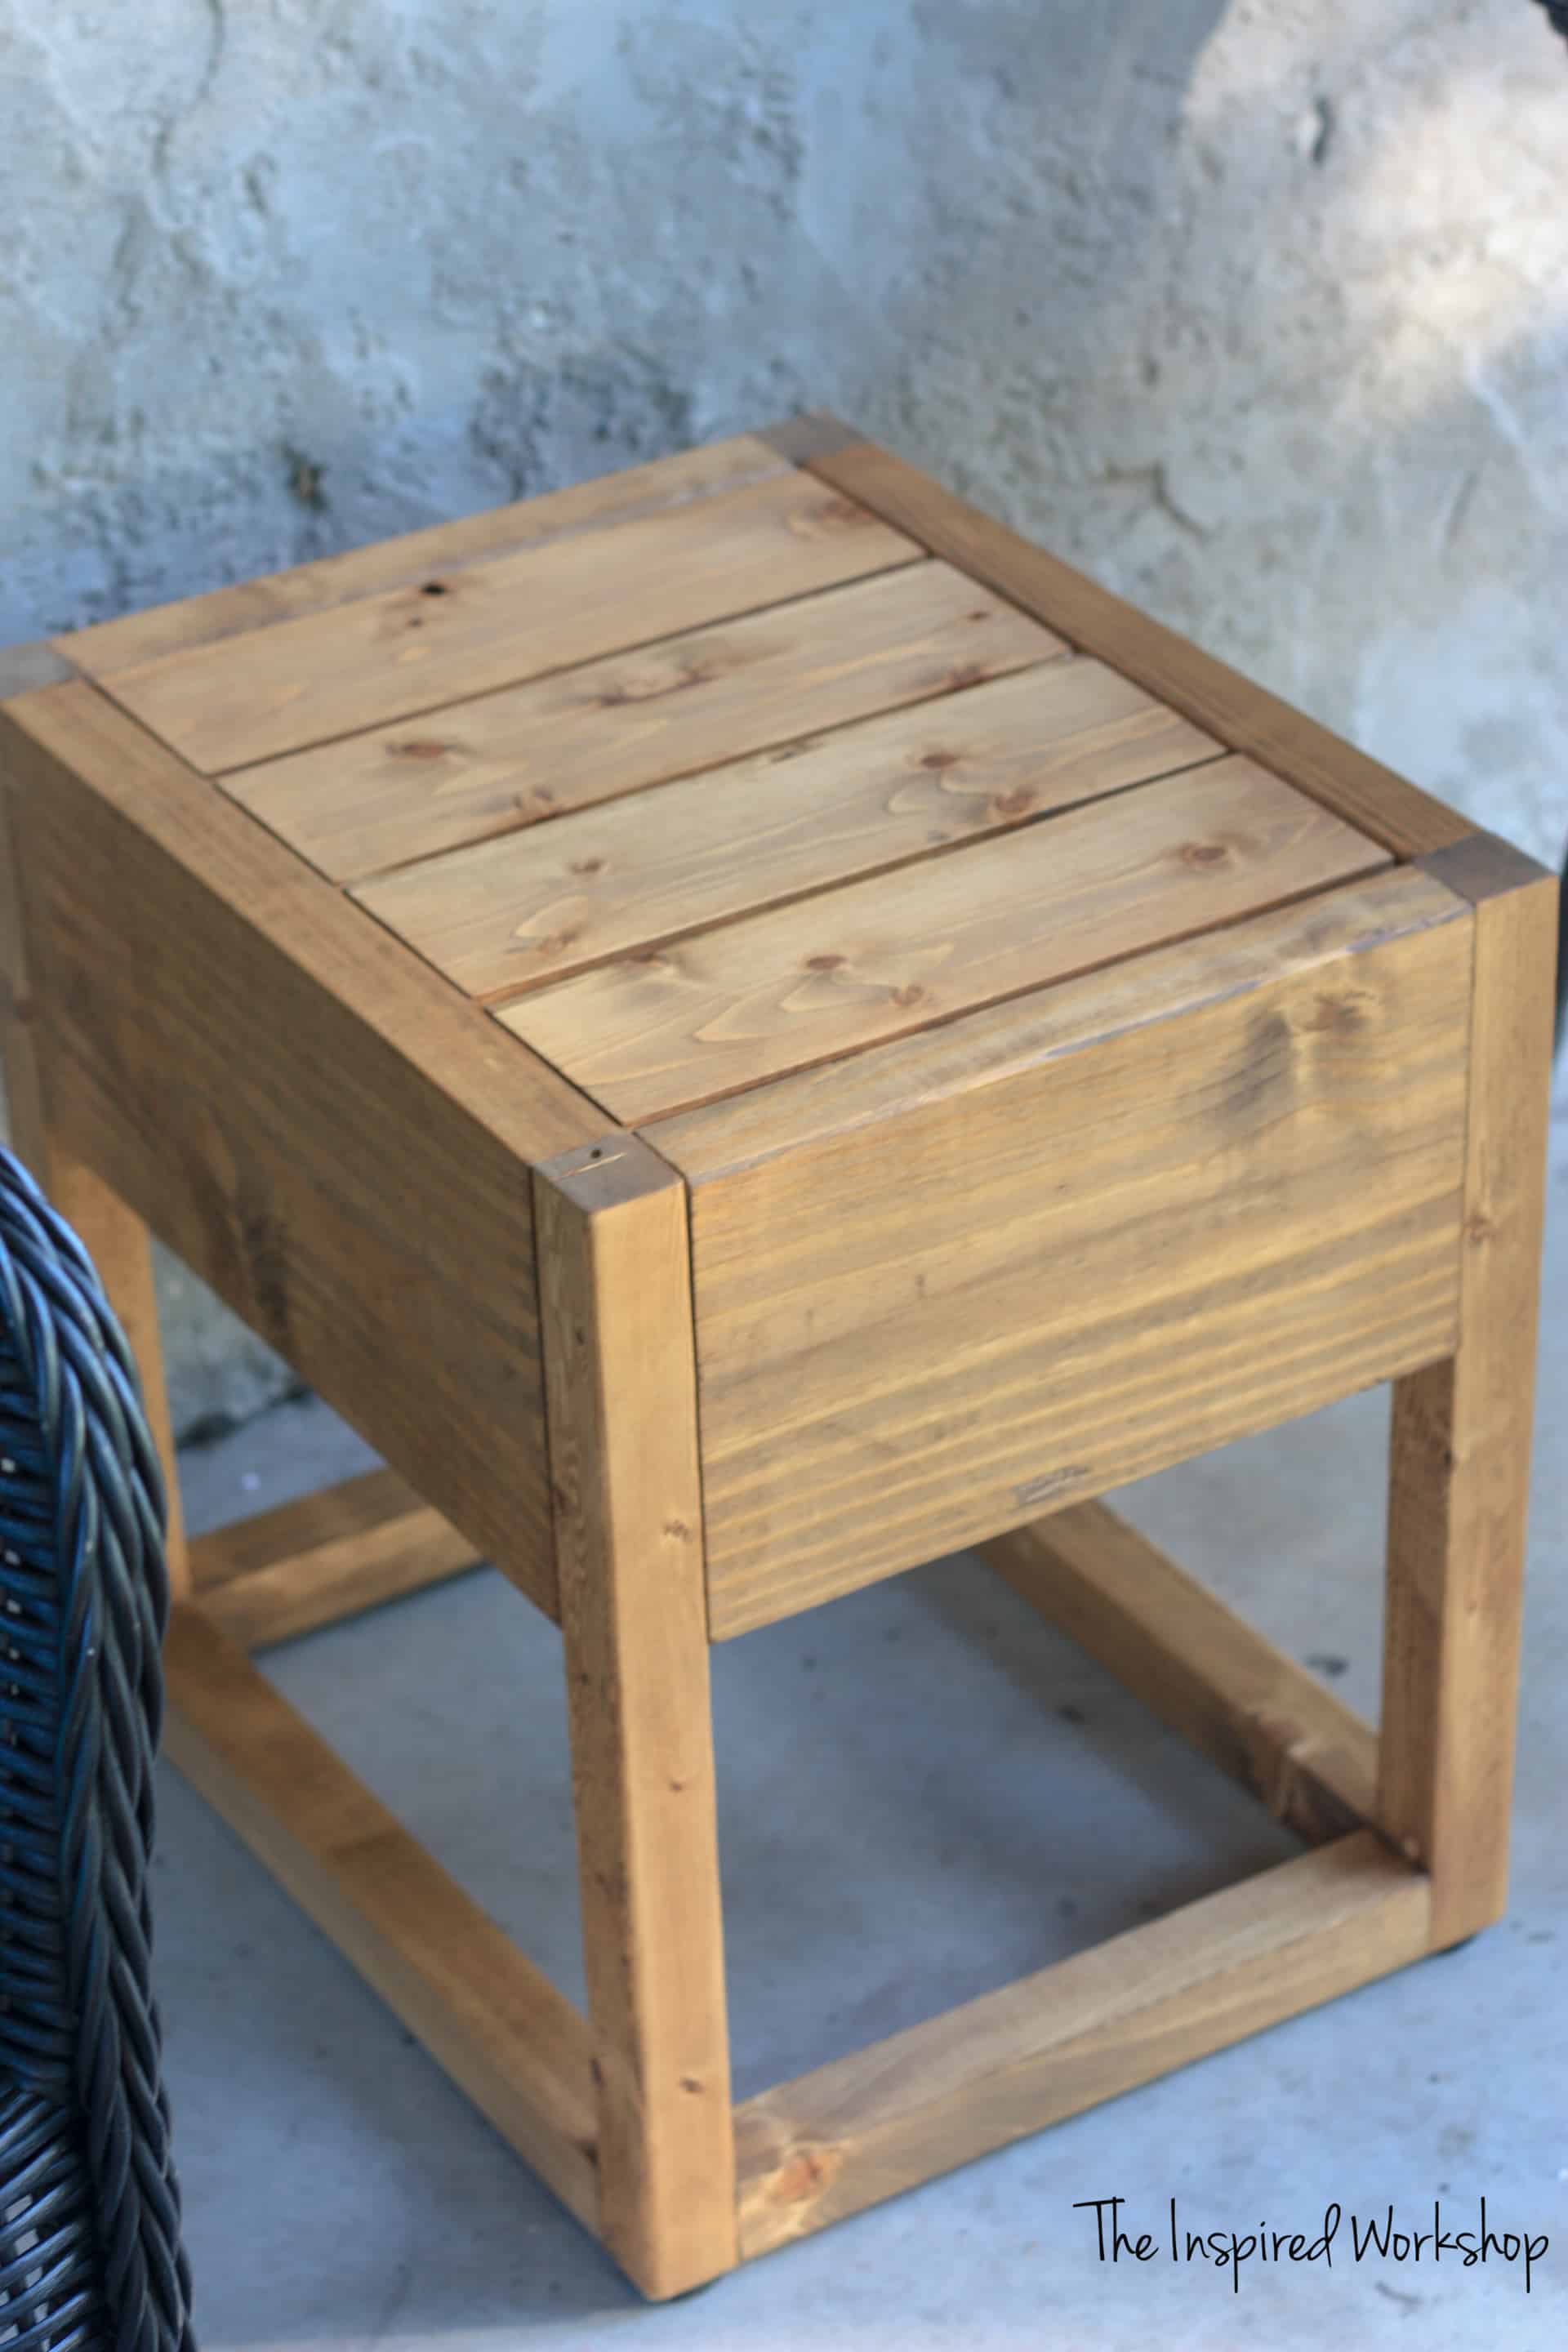
Stand it up and glue the top 1x4s down. I just used glue and then set a heavy board and weights on top to ‘clamp’ it overnight. Then I didn’t have to fill any holes with wood filler! Yay! The boards are roughly spaced at 3/16″ apart, but there is a leftover 1/16″ but you won’t be able to tell where you put it!
Step 7
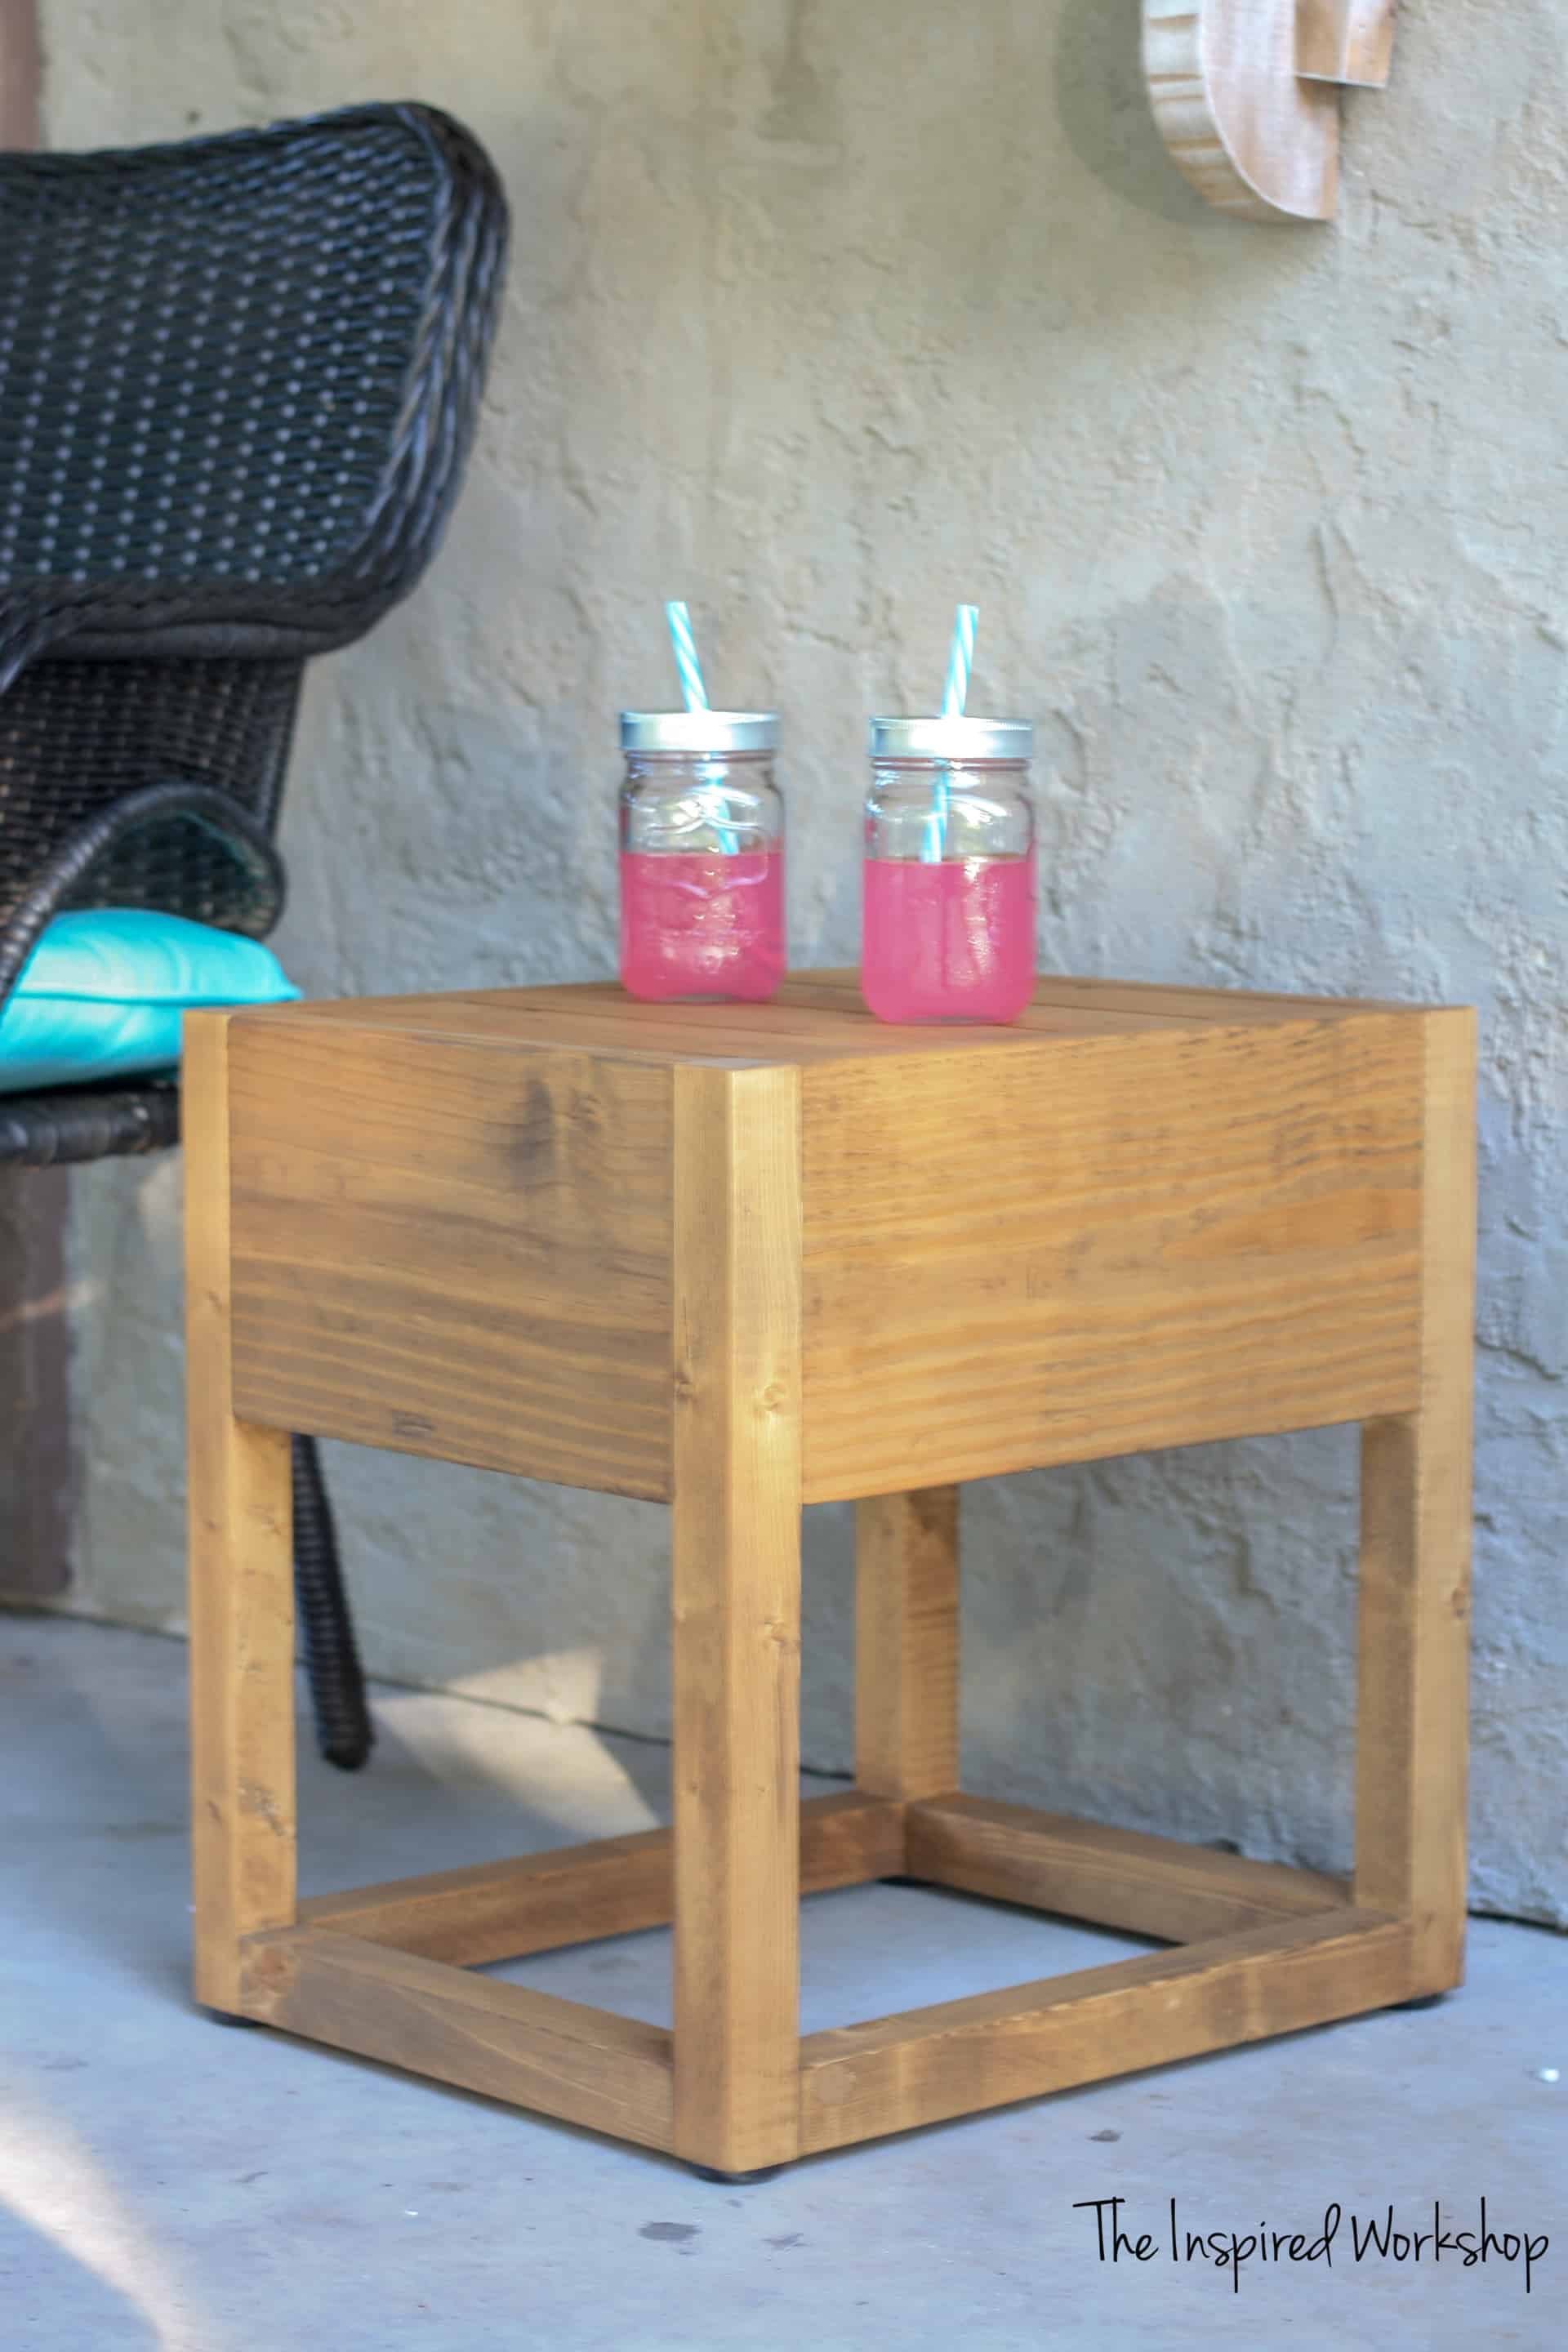
Sand and finish it however you would like! I added the rubber feet to the bottom before staining it! I, of course, forgot to get a picture! Ugh! Anyway, I used Thompson Waterseal in Teak to stain mine!
And that’s it! Your table is complete!
Hope you are having great weather where you are to enjoy the beautiful outdoors! What are some projects you plan on doing this spring? Let me know below!

Want to save this DIY outdoor side table for later? I would LOVE for you to pin it!