Fall Grapevine Wreath
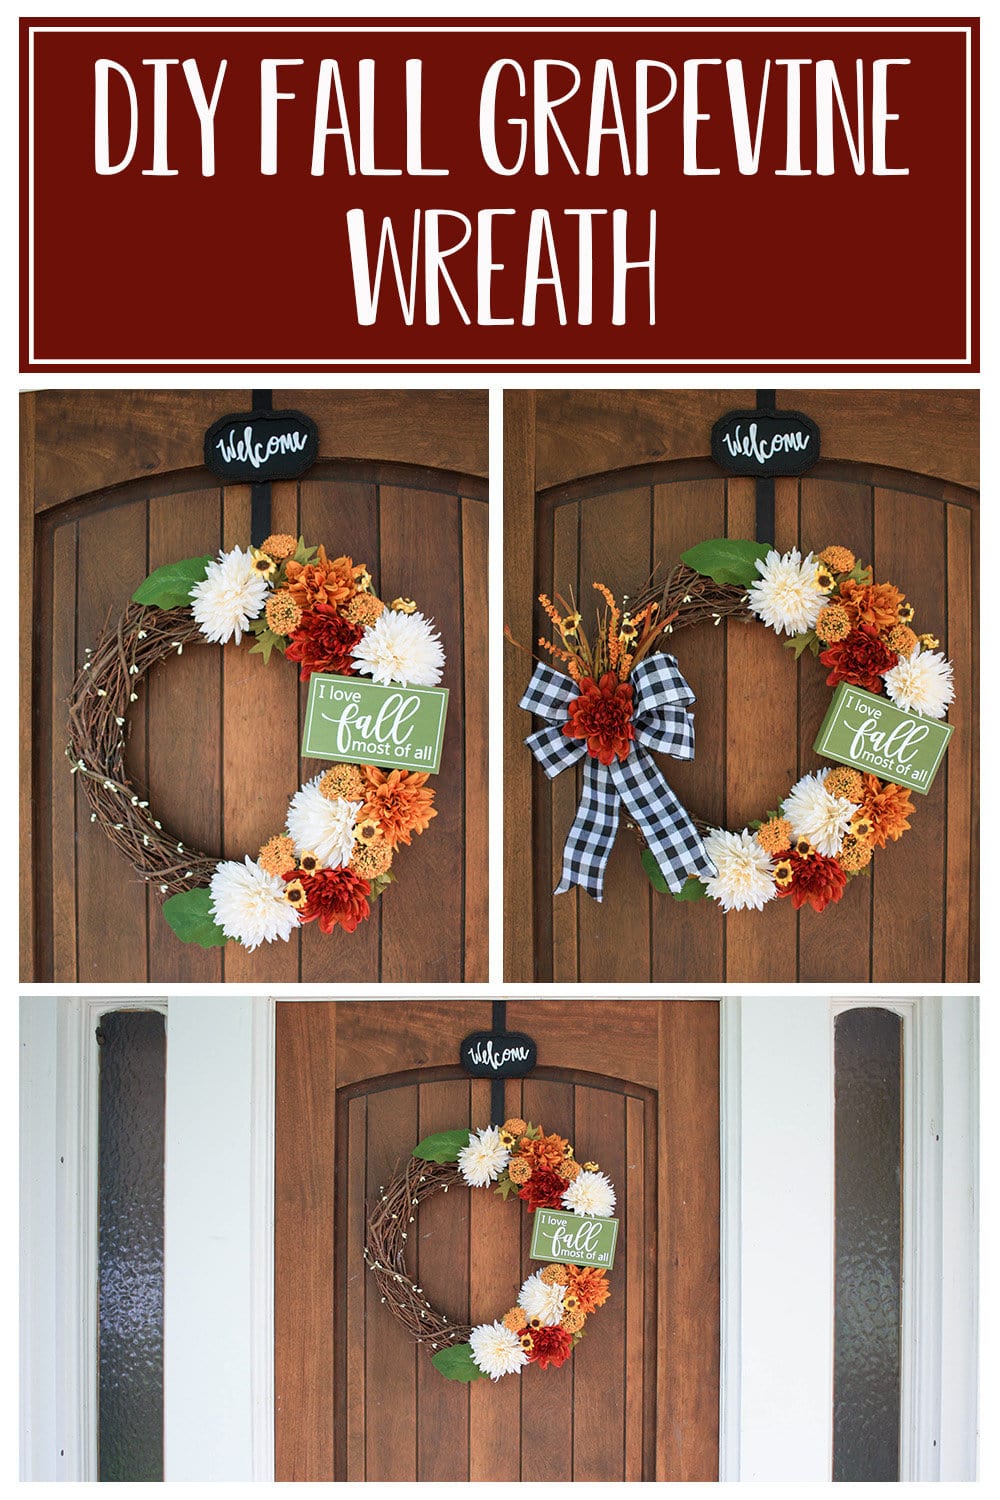
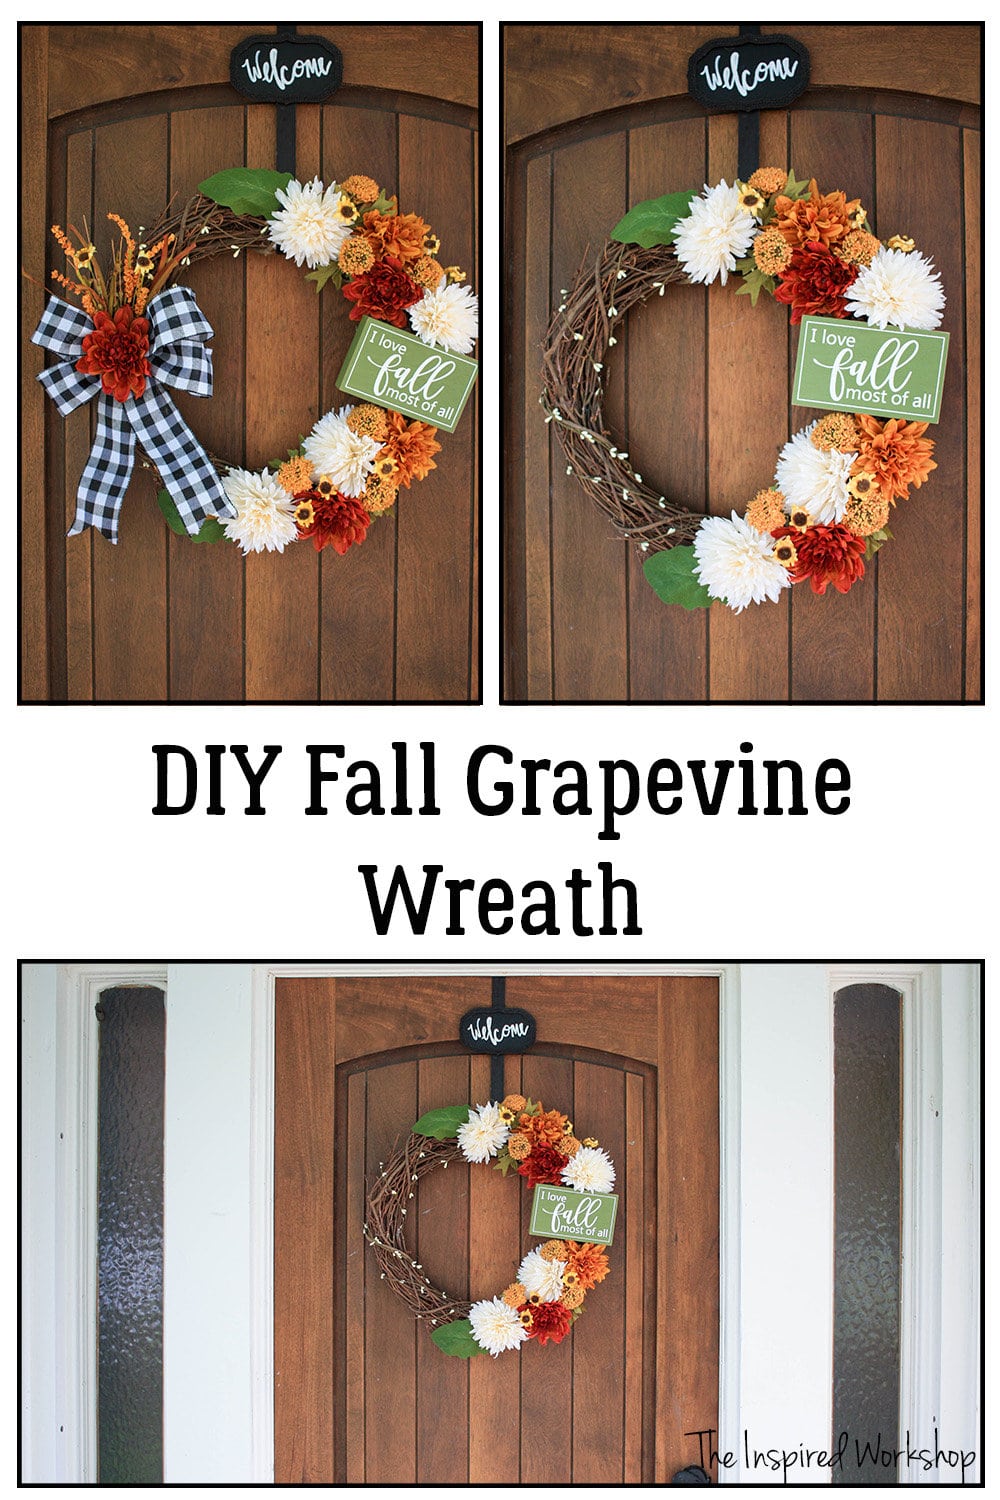
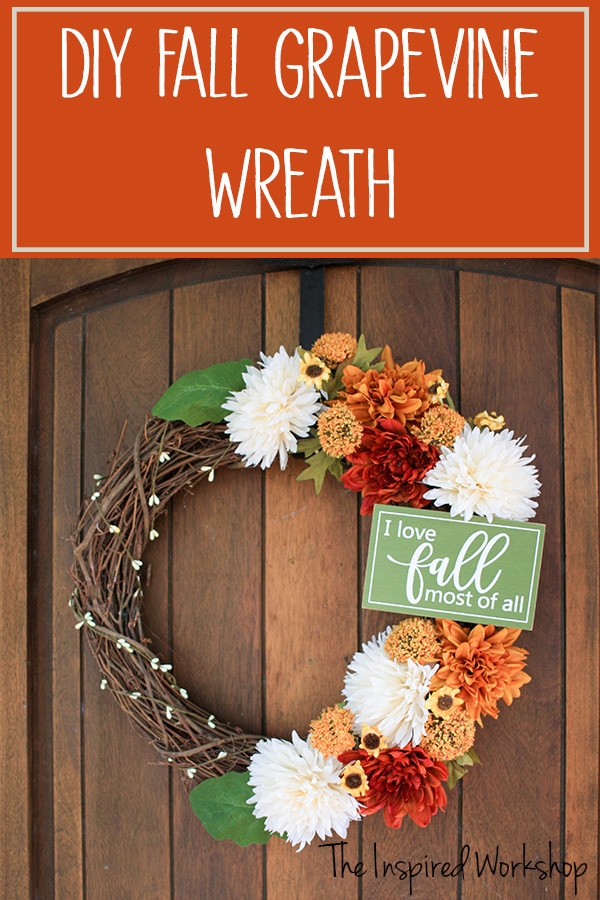
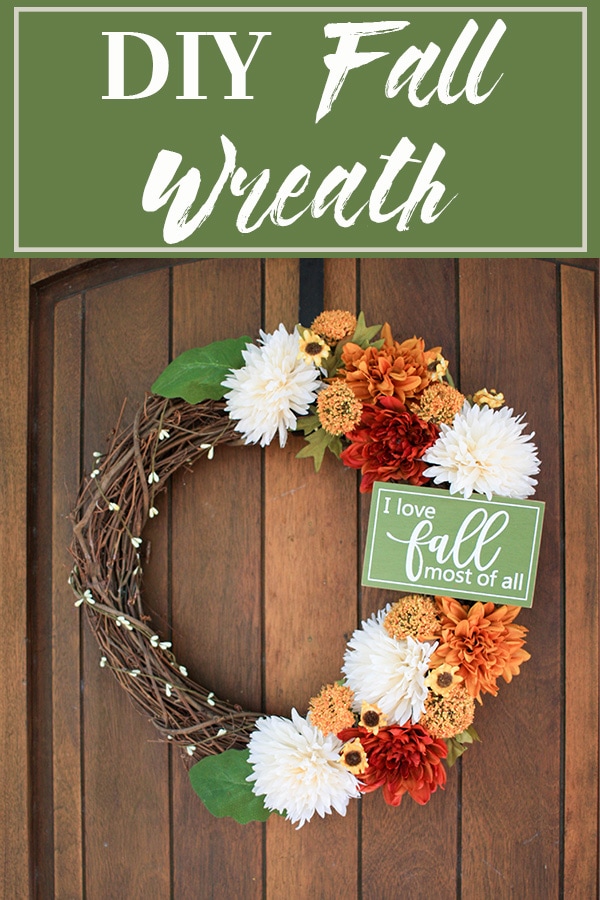
Grapevine wreaths will always be classic traditional wreaths, and what better time to use a grapevine wreath than for fall? This fall grapevine wreath is covered in chrysanthemums, milk thistle, daisies, and a small fall sign, which is perfect to adorn your front door this fall!
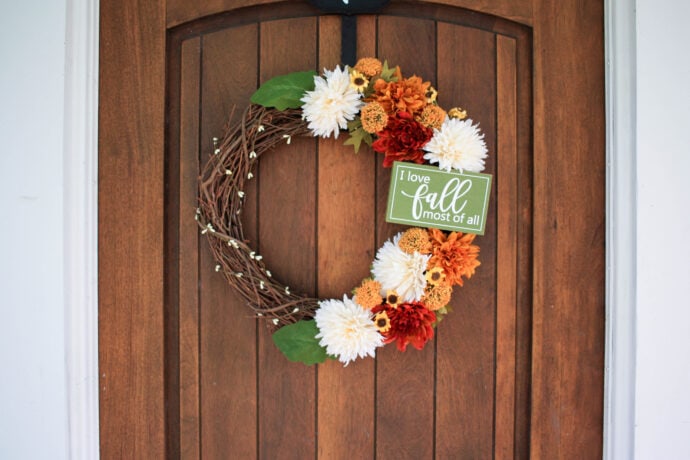
This summer has been a tough one, a couple of awful things happened this summer that I can’t even bring myself to talk about yet, but needless to say, this is the first year that I am aching for fall to get here before summer is even over! I cannot believe I have my fall wreath on my front door before my kiddos have gone back to school! That is definitely a first for me!
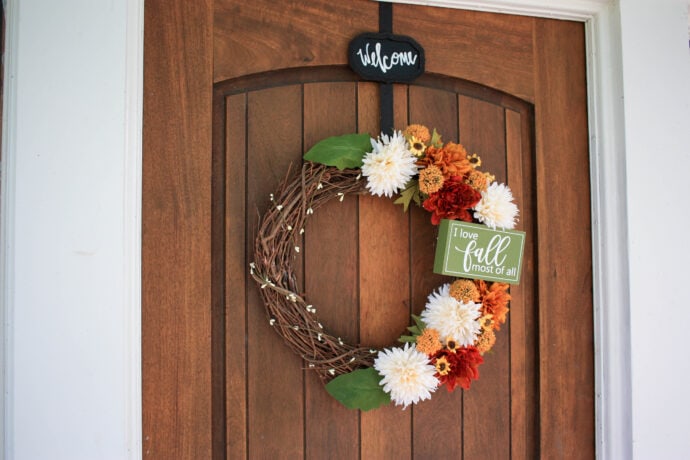
I love the mixture of the fall flowers and the small fall sign! Can you believe it, I actually made a fall wreath with fall colors! Lol! Remember when I went into Hobby Lobby to get bright fall-colored flowers and came out with the makings of this Neutral Fall Wreath? 🤭 Well, I am proud I finally made a fall grapevine wreath that uses all the fall colors!
I went back and forth on this wreath and added a bow, and took it off! Lol! You could add the bow if you like more balance in your wreath!
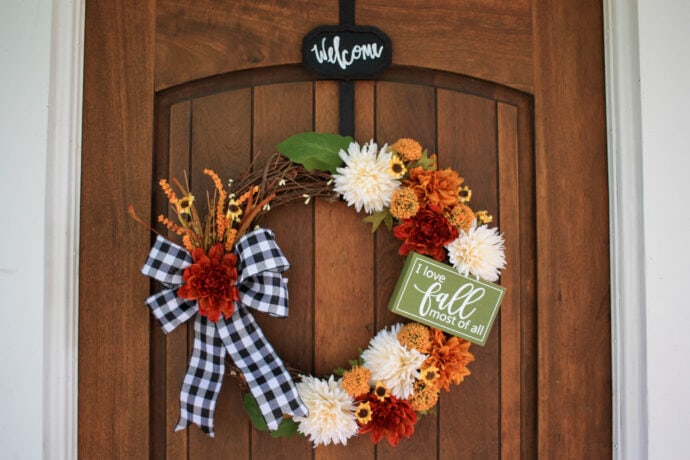
I love it both ways and ended up making the bow easy to add or remove depending on how I am feeling that day! Lol!
Interested in some other cute fall decor projects? Check out these epoxy pumpkin chargers to make your table something special for Thanksgiving, or this adorable DIY industrial wheelbarrow to decorate the porch this fall!
Gathering Supplies to Make a Fall Grapevine Wreath
Most all the supplies to make the fall grapevine wreath are from Walmart and Hobby Lobby! You can usually find fall florals in almost every store, even Dollar Tree so don’t let that keep you from making yourself a fall wreath if you want one, they do not have to cost a lot to be pretty! The total cost of this fall grapevine wreath is about 30 bucks! I could have easily saved myself around 6 bucks just to have gotten the flowers all from Walmart!
Materials for the Fall Wreath:
**NOTE: Amazon links below are affiliate links, affiliate links are links that pay me a small commission, at no extra cost to you, should you make a purchase after clicking a link! The Hobby Lobby and Walmart links are just to help you find the same products I used, but I make no money if you shop from them!
- grapevine wreath form – the only place I can find the grapevine wreath online is at Wal-Mart – it is cheaper in-store at Hobby Lobby but for some reason, they don’t show them online! They are only 5 bucks!
- mums – one bunch of white mums, individual rust mums, and yellow mums
- Milk thistle bunch
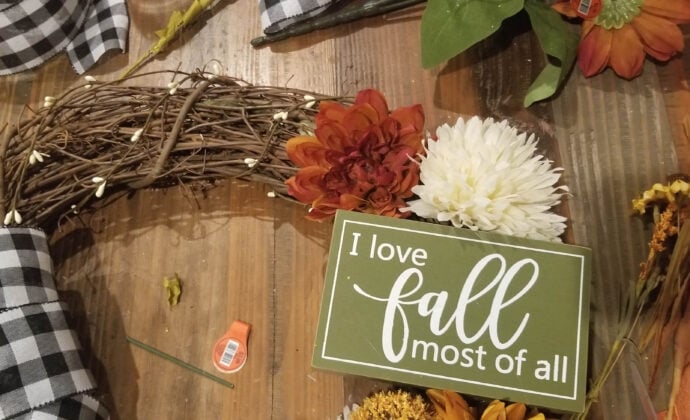
- small fall sign
- black and white buffalo check ribbon
- small sprigs
- hot glue gun
- wire cutters
Making the Fall Grapevine Wreath
Start by gathering all the supplies you need and the fall florals you want to include in your wreath!
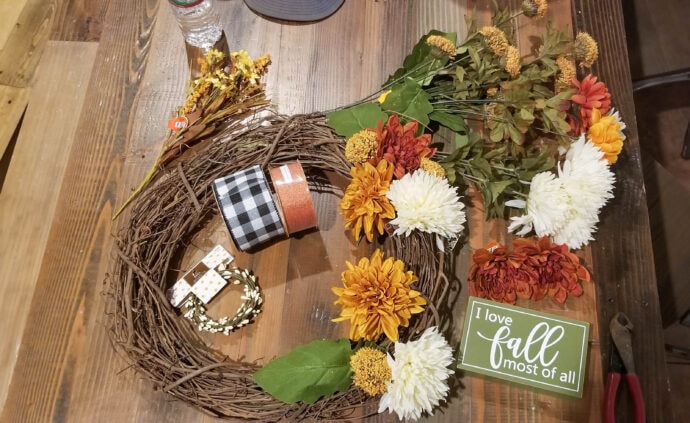
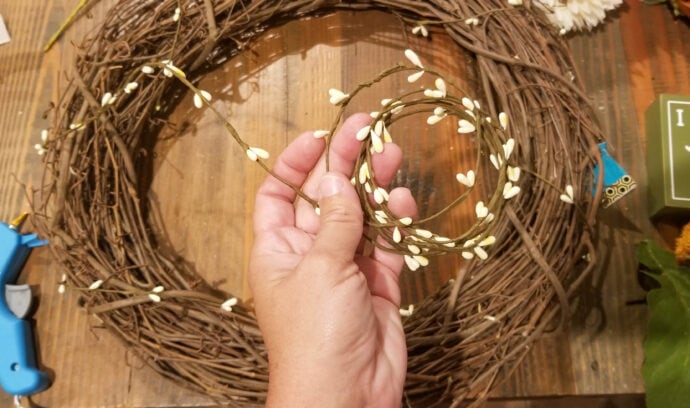
I started with the small garland you see on the left inside of the grapevine wreath form, it has white-ish colored beads on it! I wrapped this garland around the wreath form just to give it a little something extra, you can leave this off if you want, especially if you do put a bow, you don’t really see it!
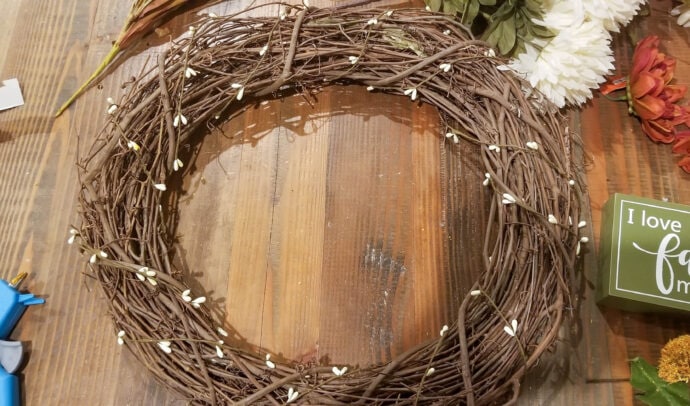
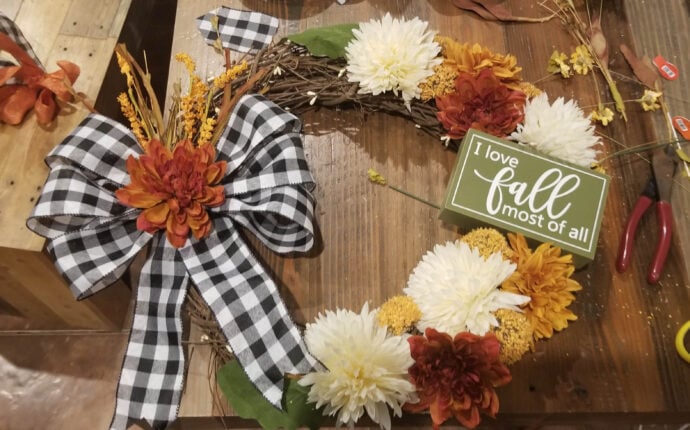
So this wreath morphed from one layout to another, one bow to another, and then no bow at all! Lol! So if you like the bow and want to add a bow to your wreath, this is how I made mine but again you can make one however you want!
I glued the tails down first, it is just a ribbon folded over itself and glued.
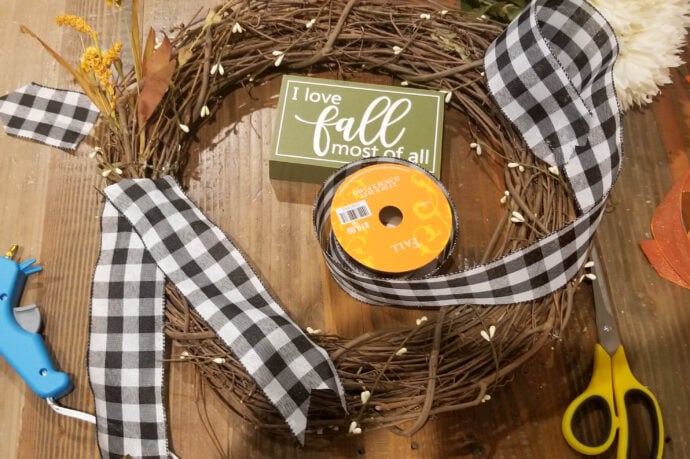
Then roll the ribbon back and forth until you have however many pieces you want on your bow.
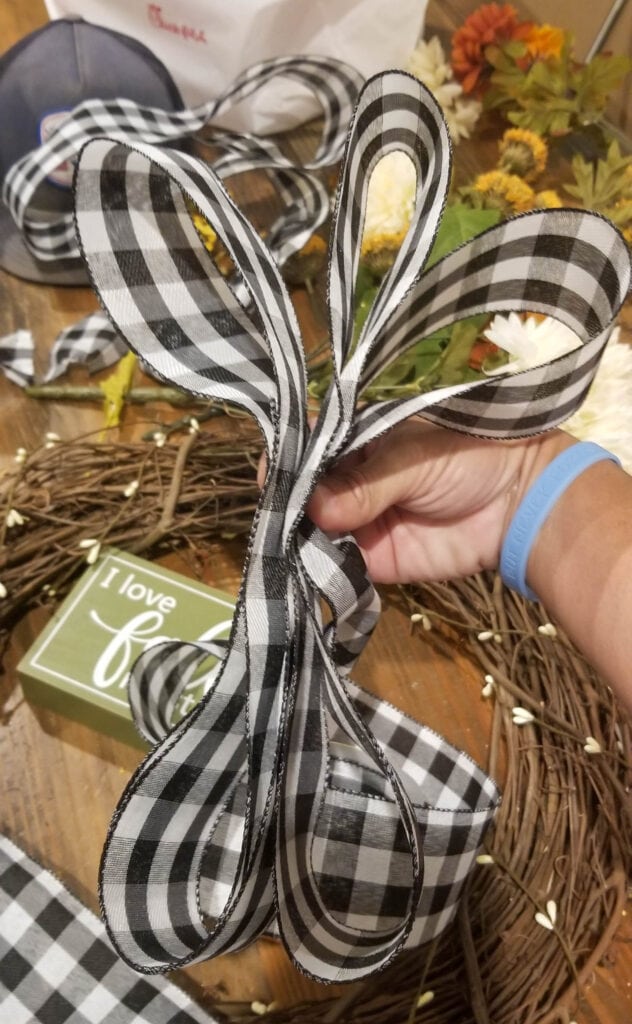
Tie the loops of the bow with a small piece of ribbon and hot glue it on the back of the bow. Now seeing the bow like this, I like it more without the flower in the center even though at the time I did not! It’s funny how that happens sometimes!
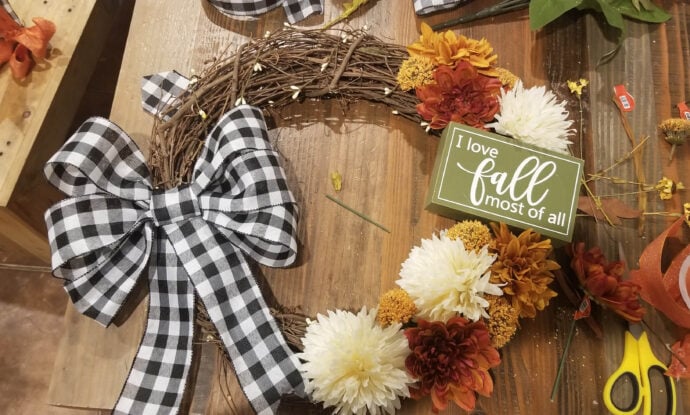
I got a little ahead of myself there though in the photo above, I was trying out layouts for the flowers before I glued anything!
Now I glued the sign into place! I just used hot glue on the back of the sign where it was going to touch the wreath, and then once I set it onto the wreath, I added a little more hot glue around it to make sure it doesn’t fall off!
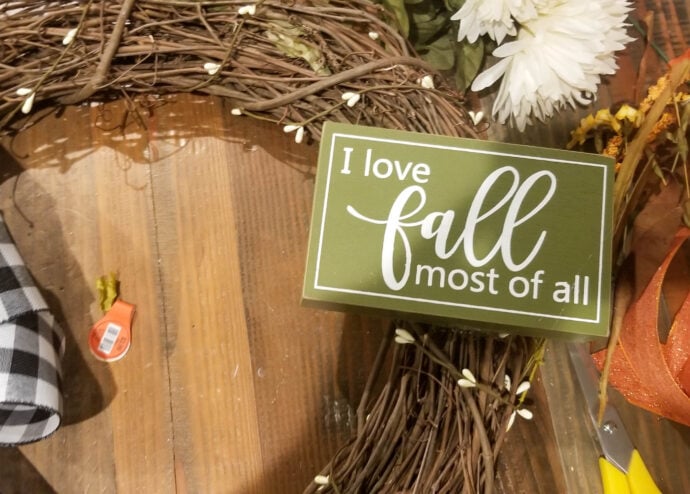
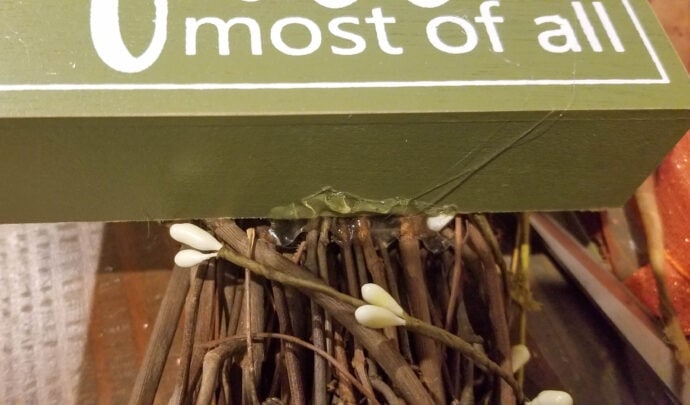
Now you can add all the flowers around the sign to make your fall grapevine wreath perfect for your front door!
Cut the flowers down to size or off of the floral bunch!
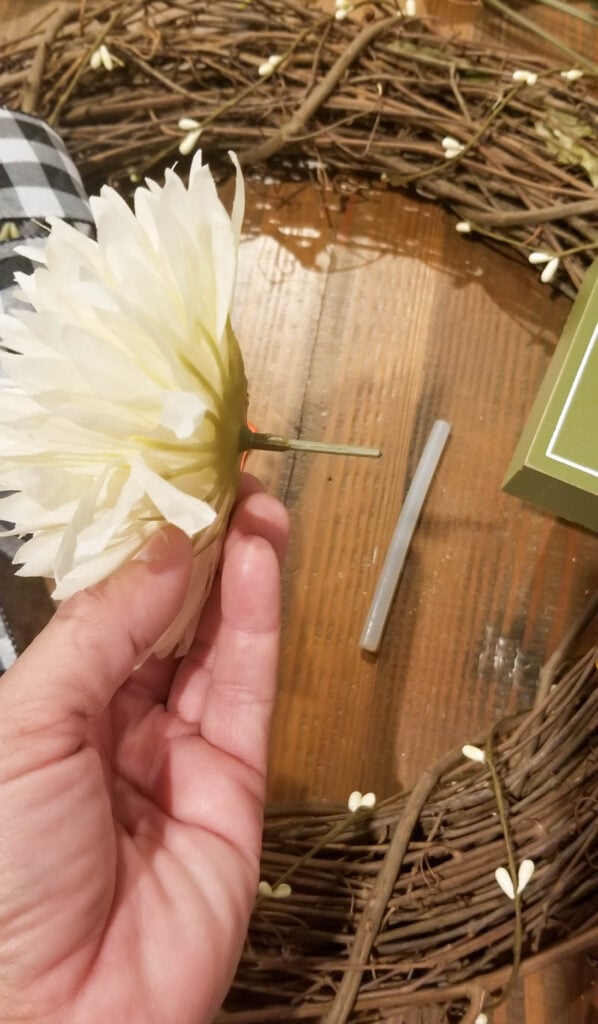
I really just added them as I felt they looked good!
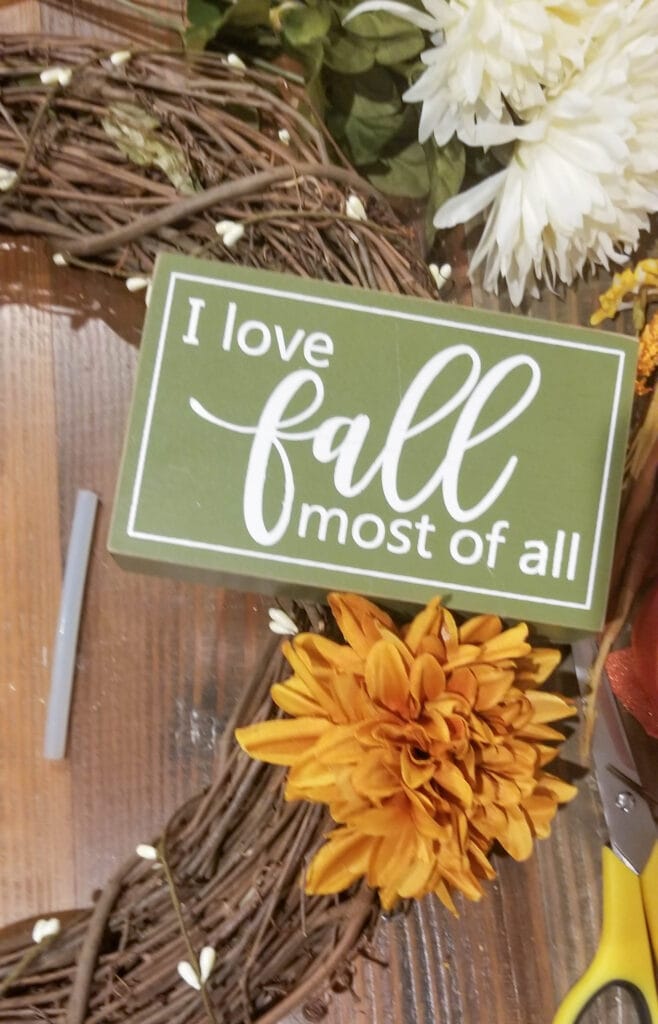
I stuck the flowers in the grapevine wreath before I glued them to see kinda where I wanted them, and also to make sure that I liked them before gluing them into place because I like to use a ton of glue when placing them so they don’t fall off! Once I had played around with the flowers, I added ample hot glue and stuck them in the wreath!
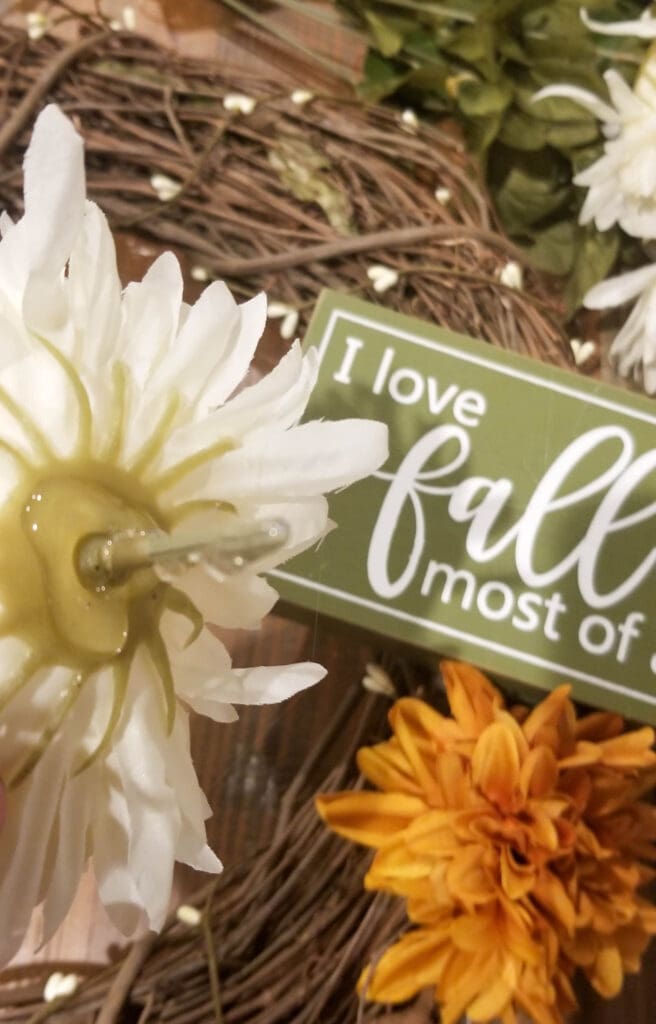
Add all the mums, milk thistle tops, daisies, and greenery that you want!
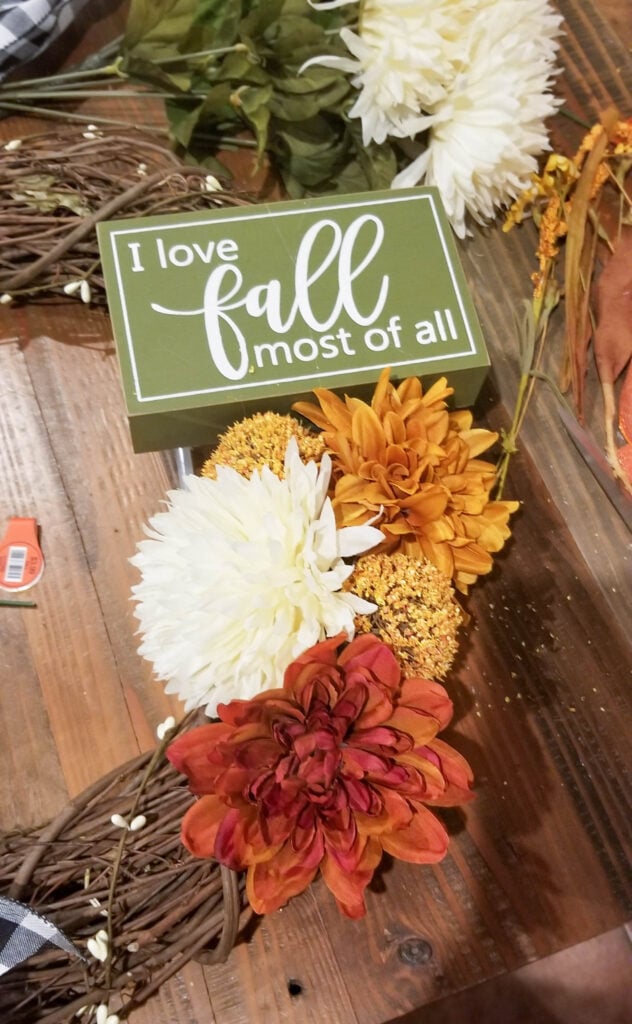
I lifted the milk thistle heads and glued them higher up as opposed to letting them sink as in the above photo!
Keep adding the flowers!
After I had all the large flowers I wanted along the side of the wreath, I added the large leaves of the milk thistle bunch to give it a finished edge!
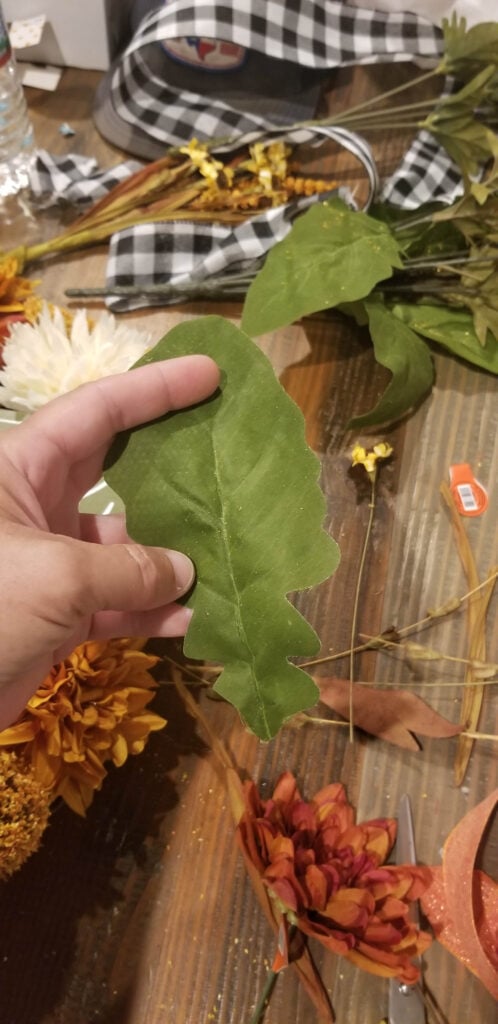
And then I added the smaller green leaves of the milk thistle bush just to cover the grapevine wreath a little more where the milk thistle heads were!
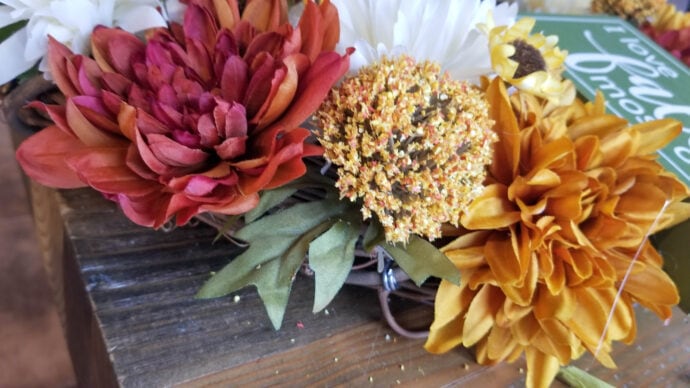
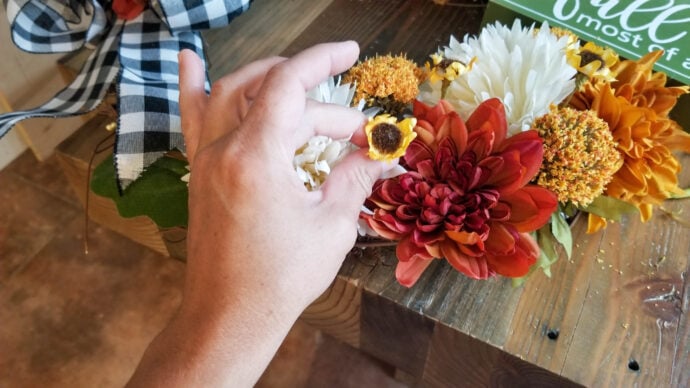
And I added the little daises as filler to give it a little added flair! Make sure and cover the stem with hot glue so that you don’t have to push the small flower all the way down!
That’s pretty much it! If you want the little sprigs above the bow, I just hot glued them behind it! If you want the flower in the center of the bow, I just cut the mum stem all the way off like so…
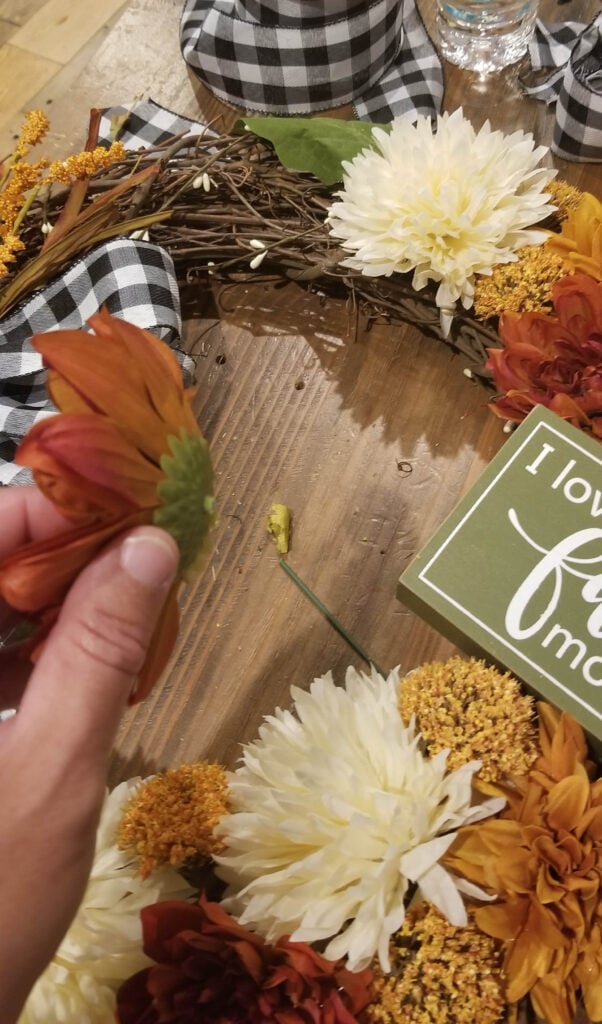
And hot glue it into place!
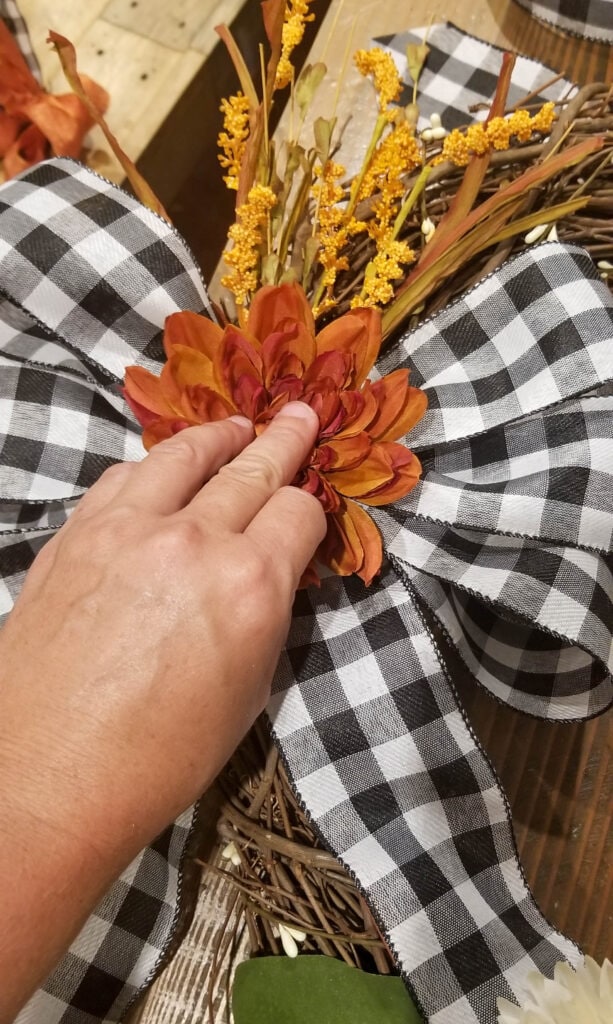
After reviewing all the photos, I think I am going to add the bow back but without the flower in the middle!

How are you going to make your fall grapevine wreath? Tell me below!

Want to save this DIY fall wreath for later? PIN it!
Related Posts
