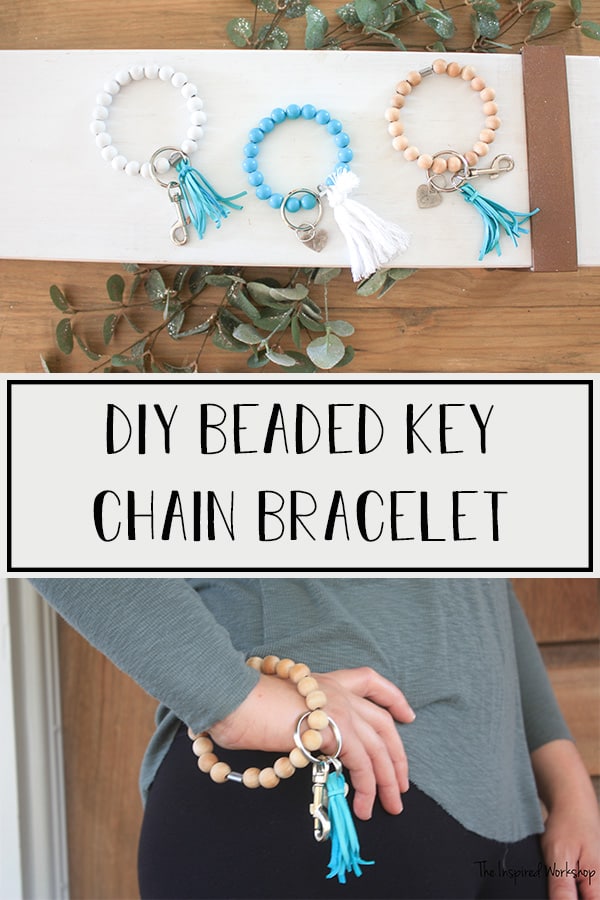
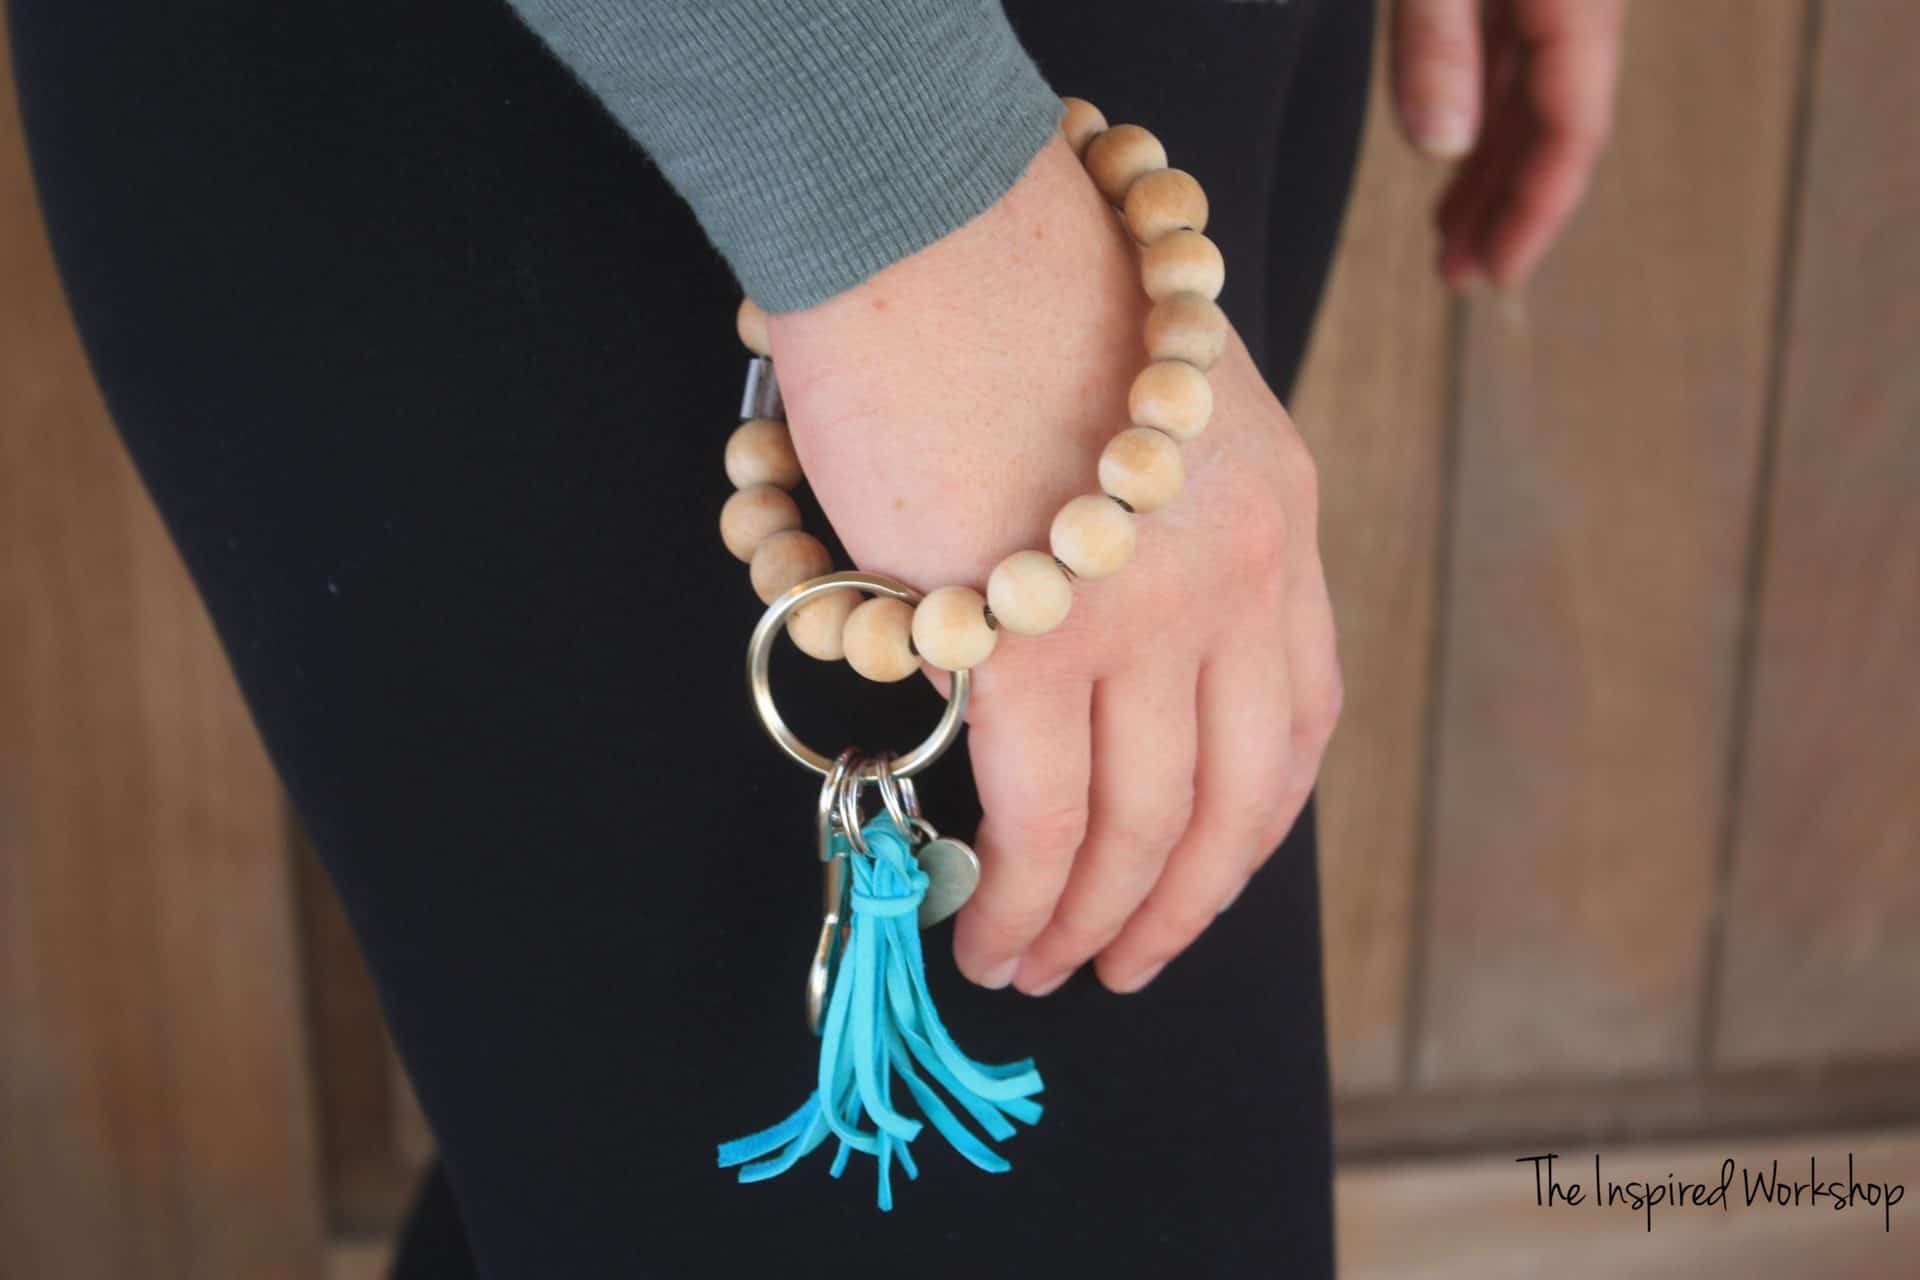
DIY Keychain Bracelet
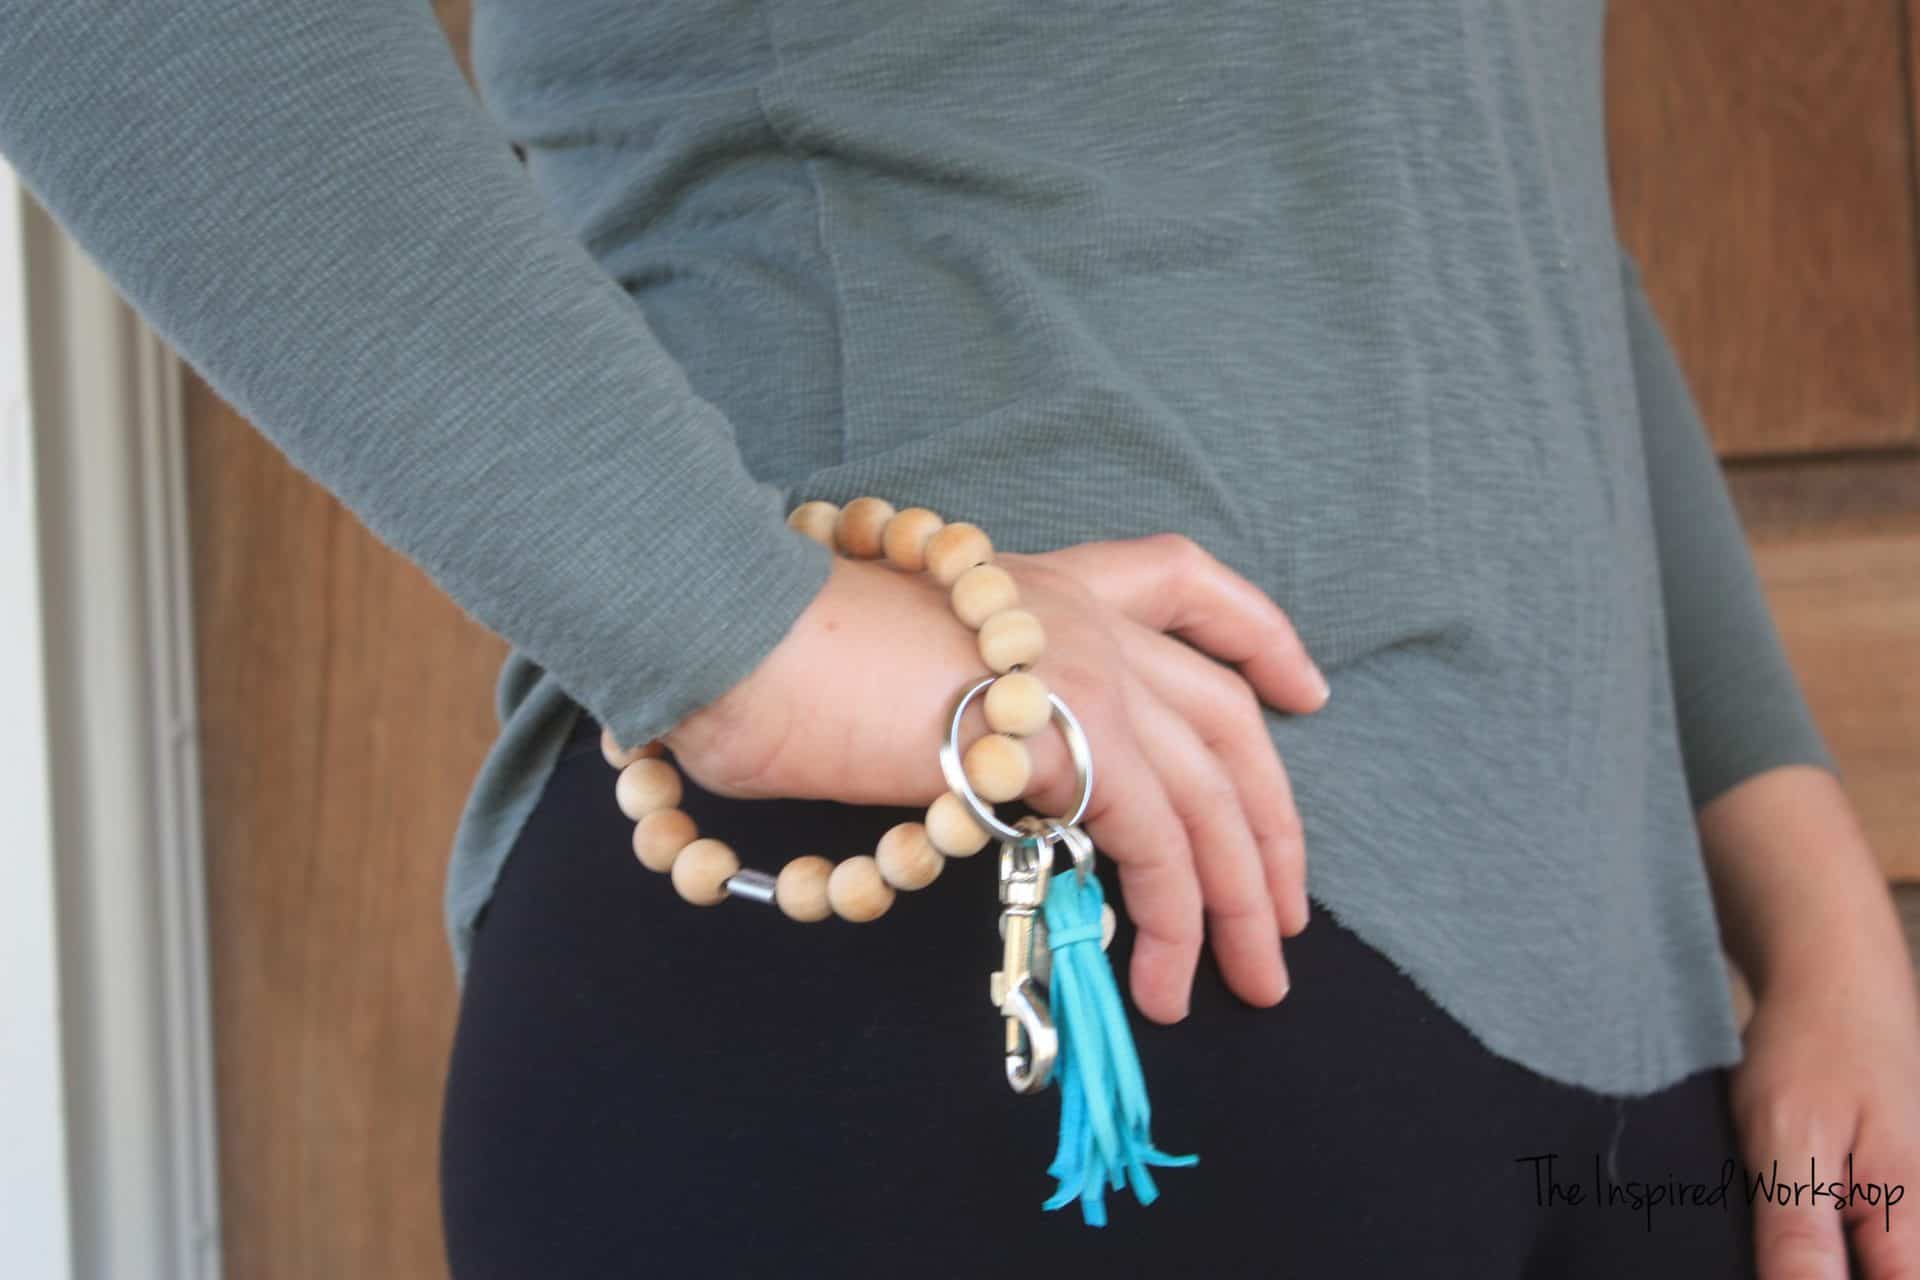
DIY keychain bracelets are so popular right now and for good reason! Keychain bracelets allow you to keep your keyfob handy on your wrist instead of losing it down in your purse or diaper bag! There are so many ways you can customize them to fit you or anyone on your gift list! Make DIY keychain bracelets as stocking stuffers for everyone on your list!
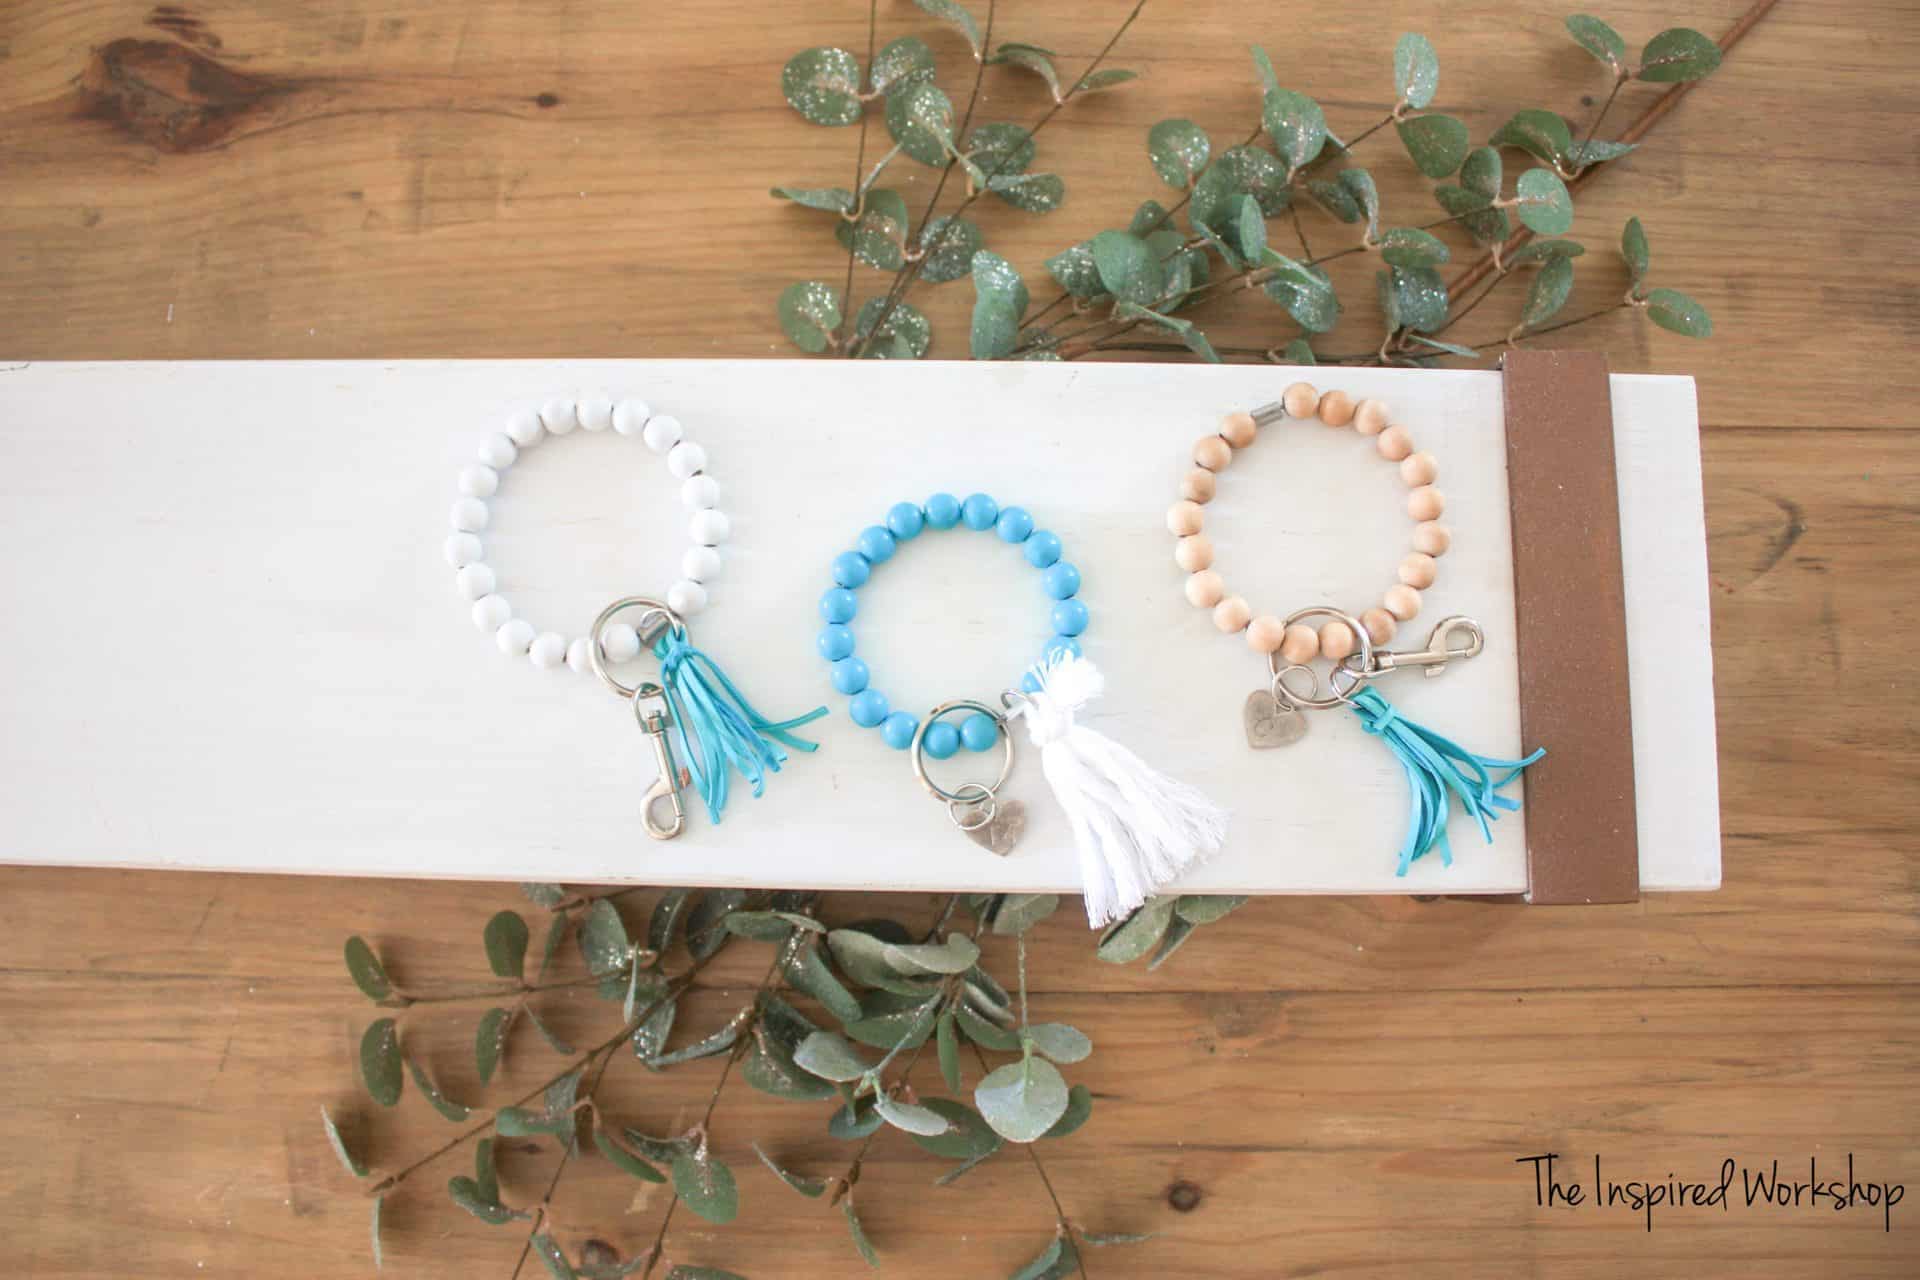
I love the versatility and the cost! In one boutique they were selling the solid ring keychain bracelets for 25 dollars, I could make 5 or more for that cost! Lol! And of course, I love that this option has wood… since you know, it’s dear to my DIY heart!☺
Not to mention, this is an easy enough tutorial to make 5 in an hour! Seriously! The hardest part is crimping the ferrules but if you have someone who can crimp it when you get the ends in, it is about 10 minutes from start to finish on each one! Boom! Christmas Miracle! Lol!
Well, we don’t have a lot of time before the big day is here, so we better get started making DIY keychain bracelets for everyone!😅
Don’t have time to make this now? Make sure and PIN IT for later!
Gathering Supplies to Make DIY Keychain Bracelets
Amazon links below are AFFILIATE LINKS! Affiliate links allow me to make a small percentage off of your purchase at no extra cost to you! No purchase, I make no money, which is perfectly fine! I would link to the products with or without an Amazon affiliation because it helps you create what I created in the tutorial! I do appreciate any time you purchase from my links because it does help this little ole blog of mine pay for itself!🤗
Materials for keychain bracelets:
- 1/2″ wood beads – Way better deal on Amazon than I got at Hobby Lobby!
- 8″ of 1/16″ wire rope – sold by the foot at Home Depot
- ferrules – used as a crimp bead
- key ring and/or clip – Dang it Amazon does it again, they have an awesome deal on a set!
- 16mm small key ring -for making tassels – or you can buy premade tassels
- leather cord (if you want to make a tassel) – The pack I linked from Amazon is amazing, I bought mine at Hobby Lobby, but Amazon it CHEAPER!
- small metal heart (if you want to personalize) – Again, I bought mine at Hobby Lobby but wish I would have checked Amazon FIRST! Lol!
- Metal Stamps – I only have letters, but MAN OH MAN Amazon has a ton of options here too!
- wire cutters
- Pliers (to crimp the ferrules) This pair actually has wire cutters as well…not sure how great they are but thought that was pretty cool.
Okay, I learned my lesson, check Amazon first! I am pretty sure you could make 20 of them for what I made 5 for! Lol!
This is so crazy that I don’t have a cut list of some sort to add…I don’t even know how to type out a tutorial that doesn’t have a cut list! Lol! Who am I right now making a craft like this!😆
Alright, the video below will walk you through the process but I also have a step-by-step tutorial down below! ** The video will be late on this project as well because of an audio technical difficulty! Ugh! Sorry, I’ll get it up as soon as I can!🙄
Making the DIY Keychain Bracelet
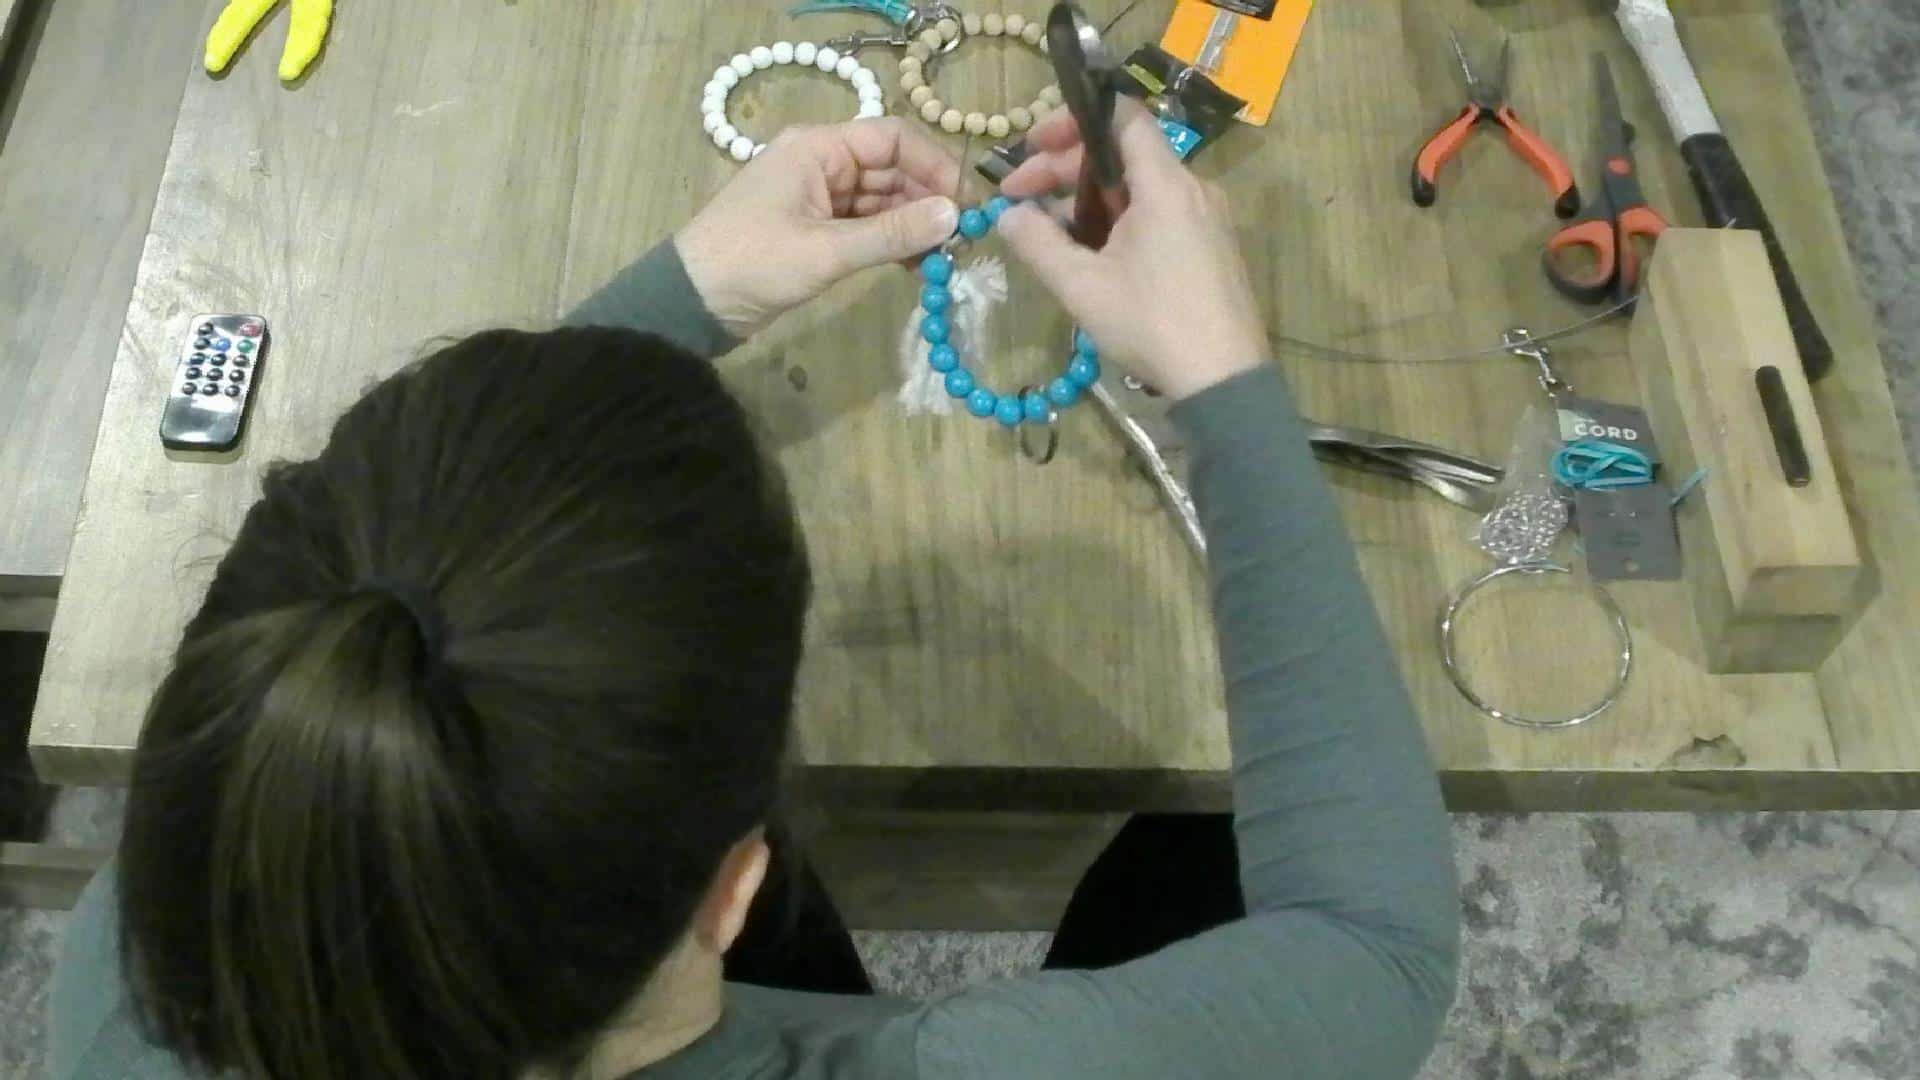
Stringing the Beads for the keychain bracelet
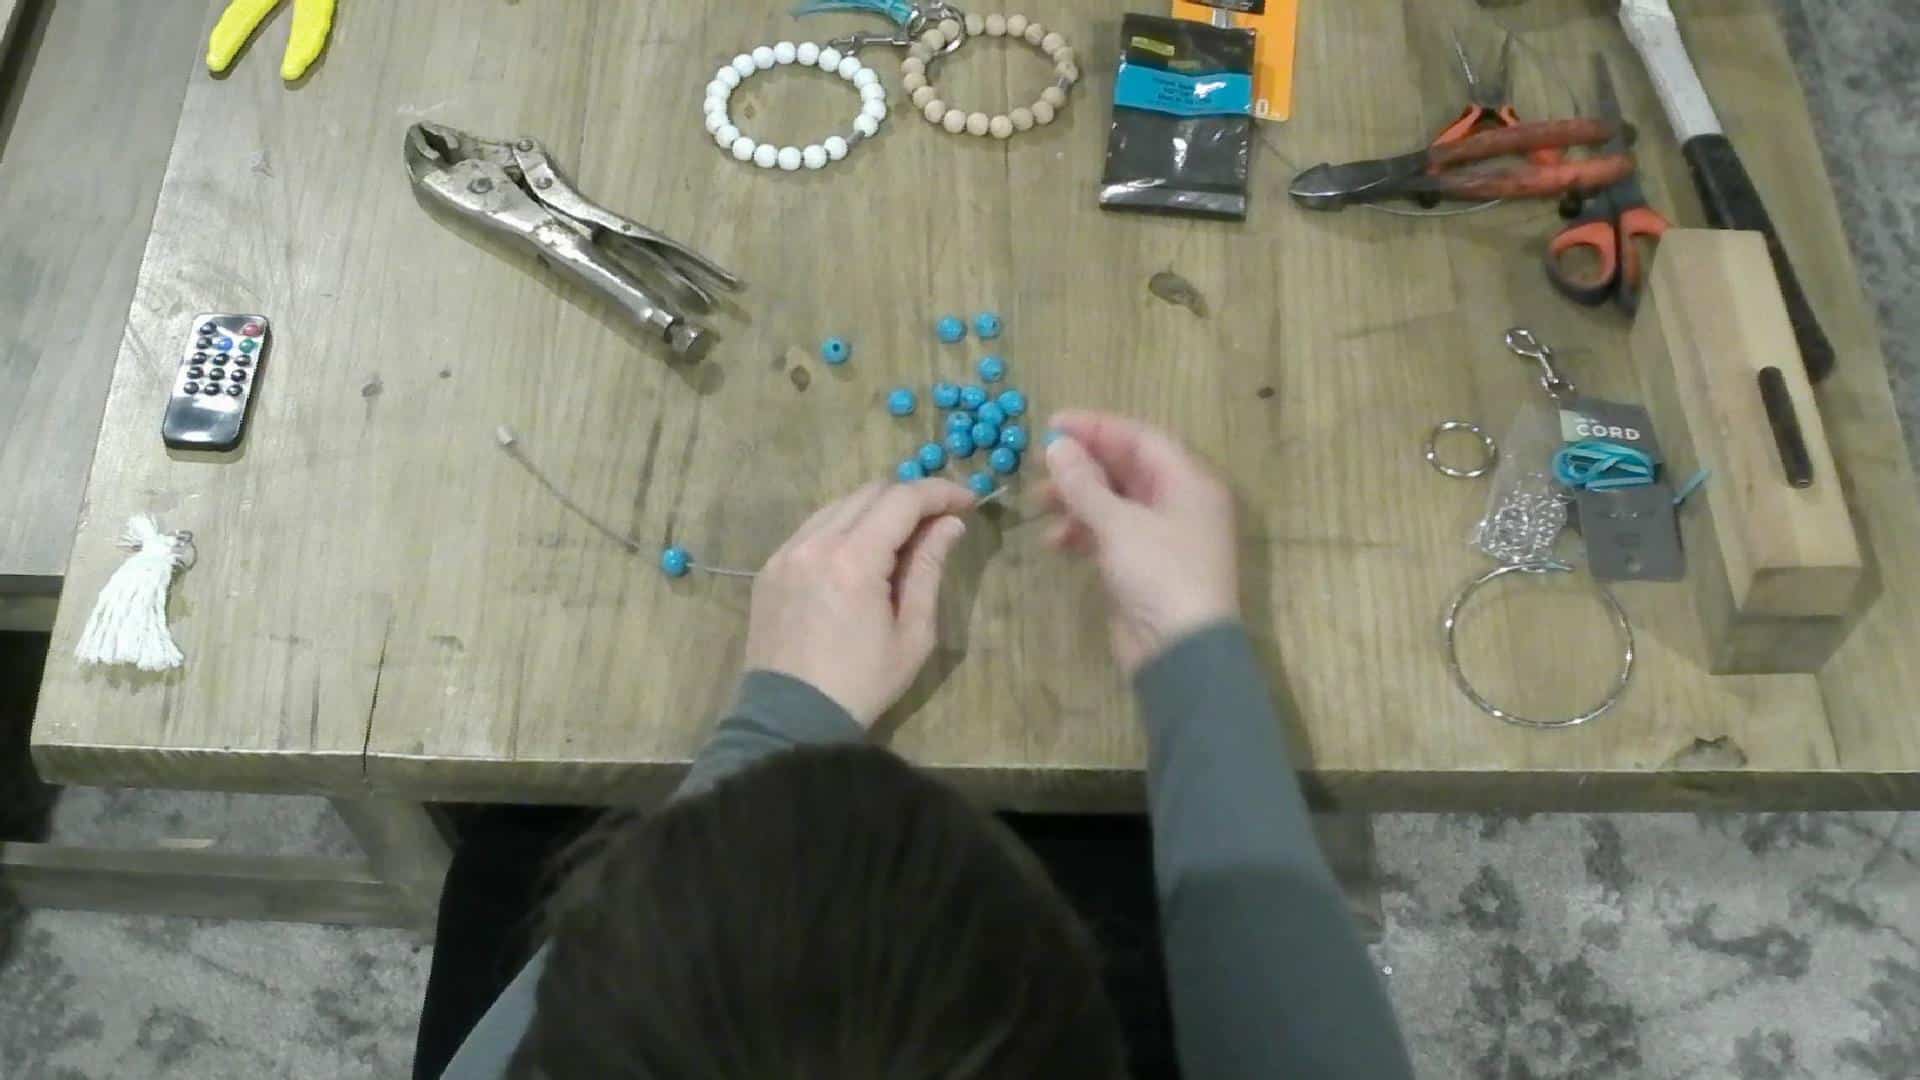
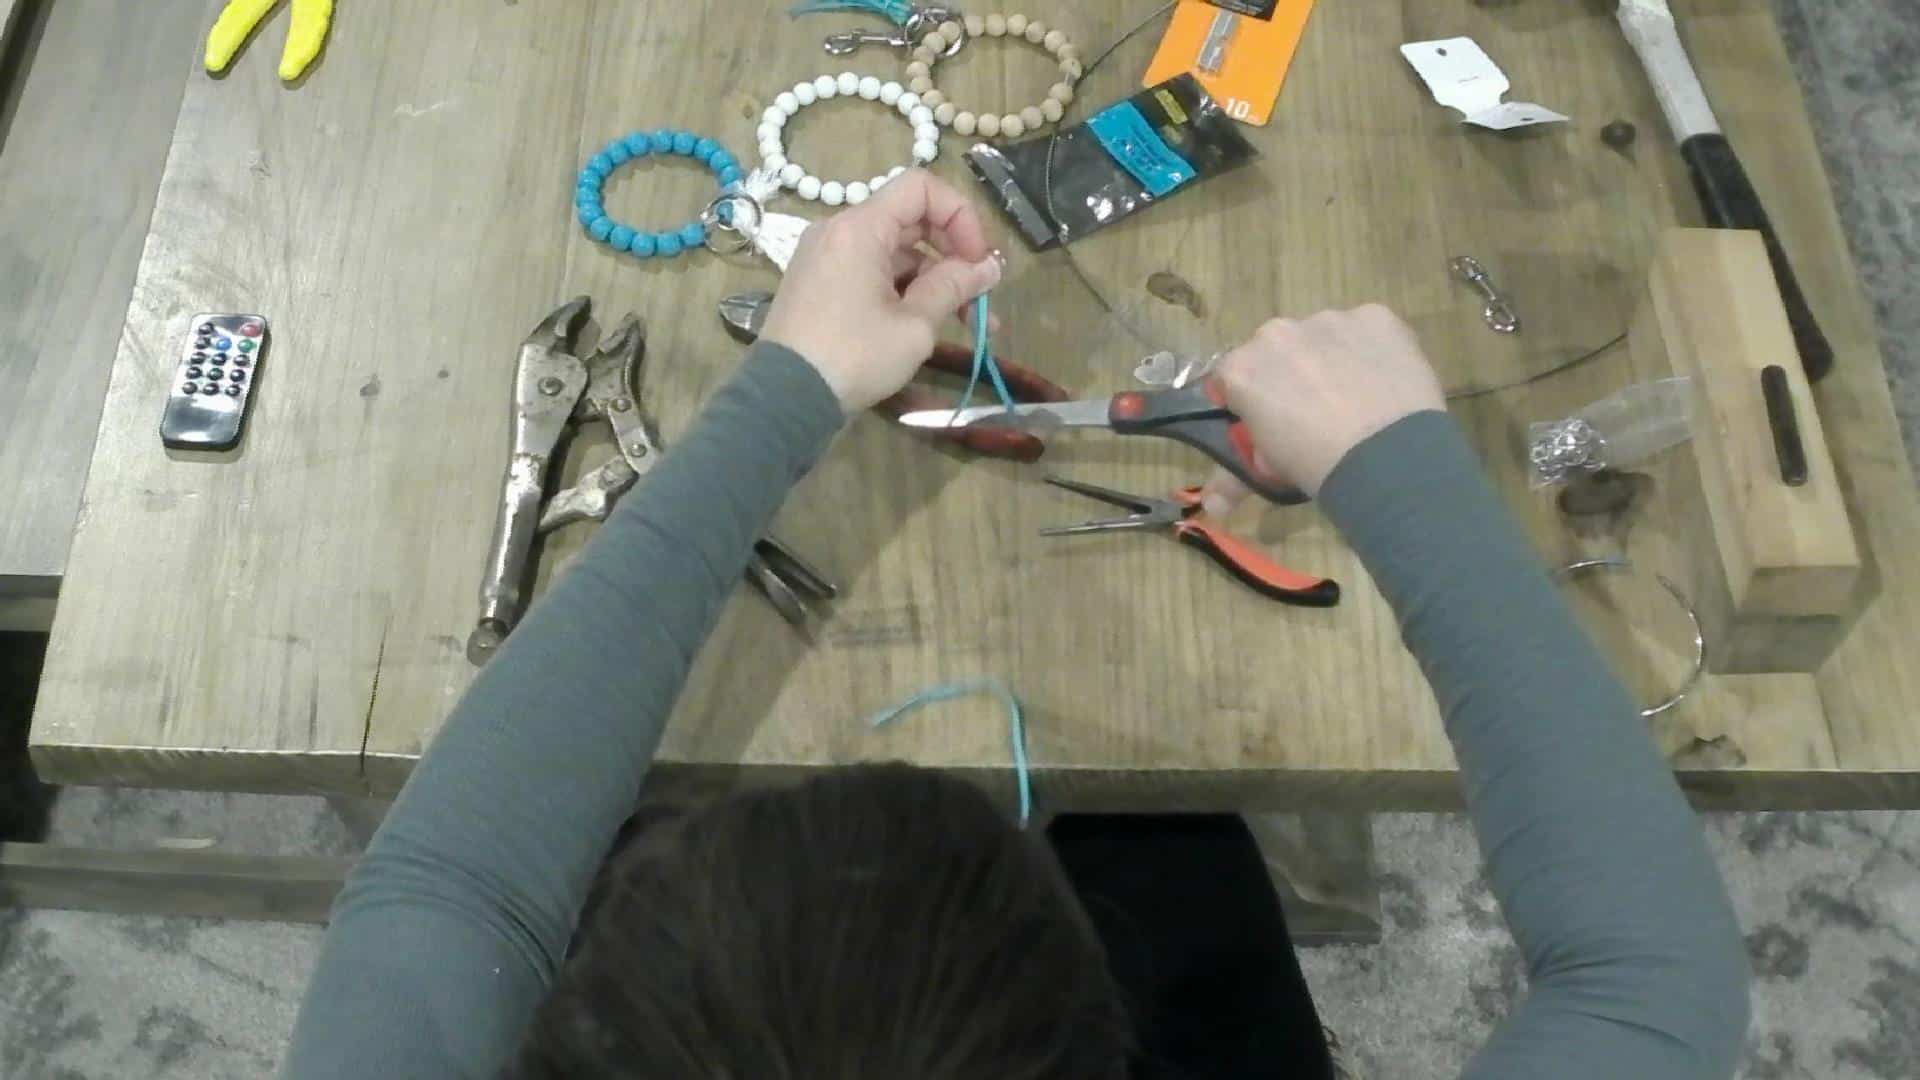
After gathering all your supplies, you will start by cutting the wire down to size, I roughly wrapped it around my arm and make sure it slides EASILY over my hand.
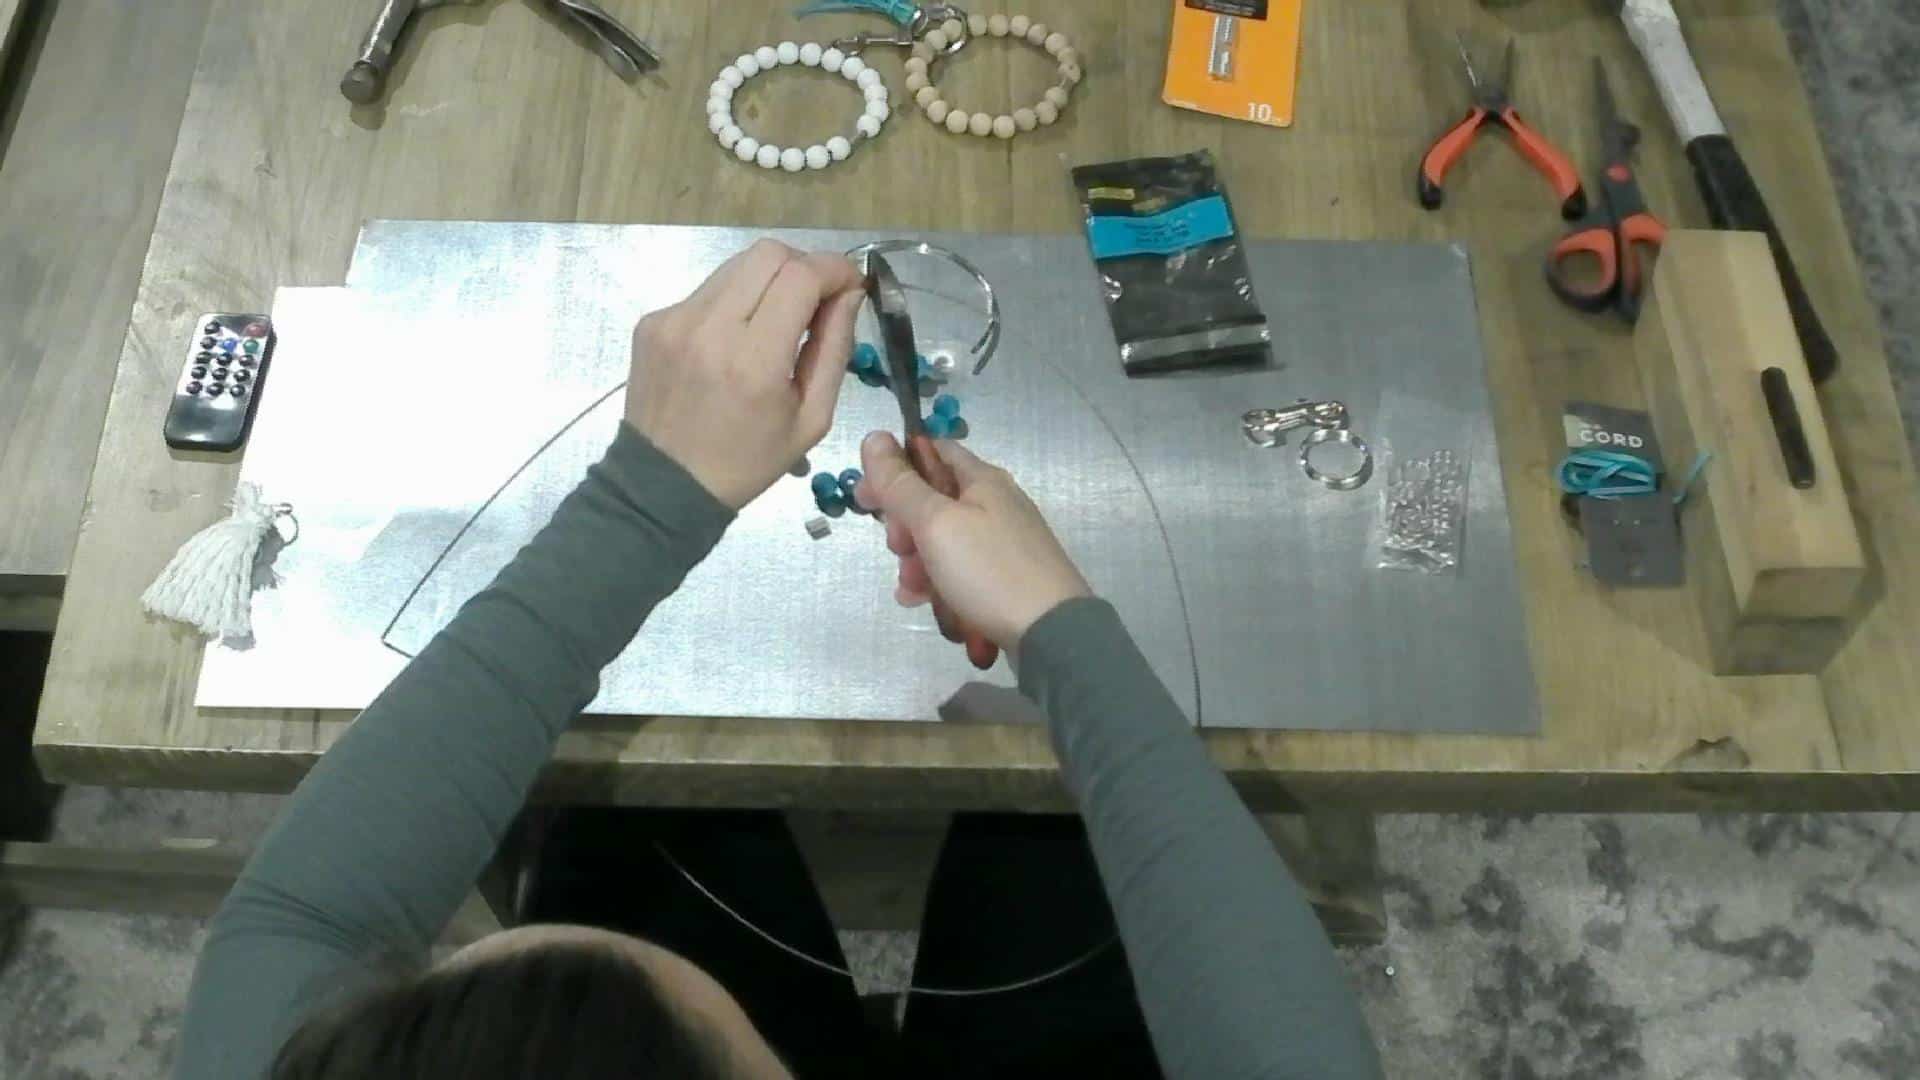
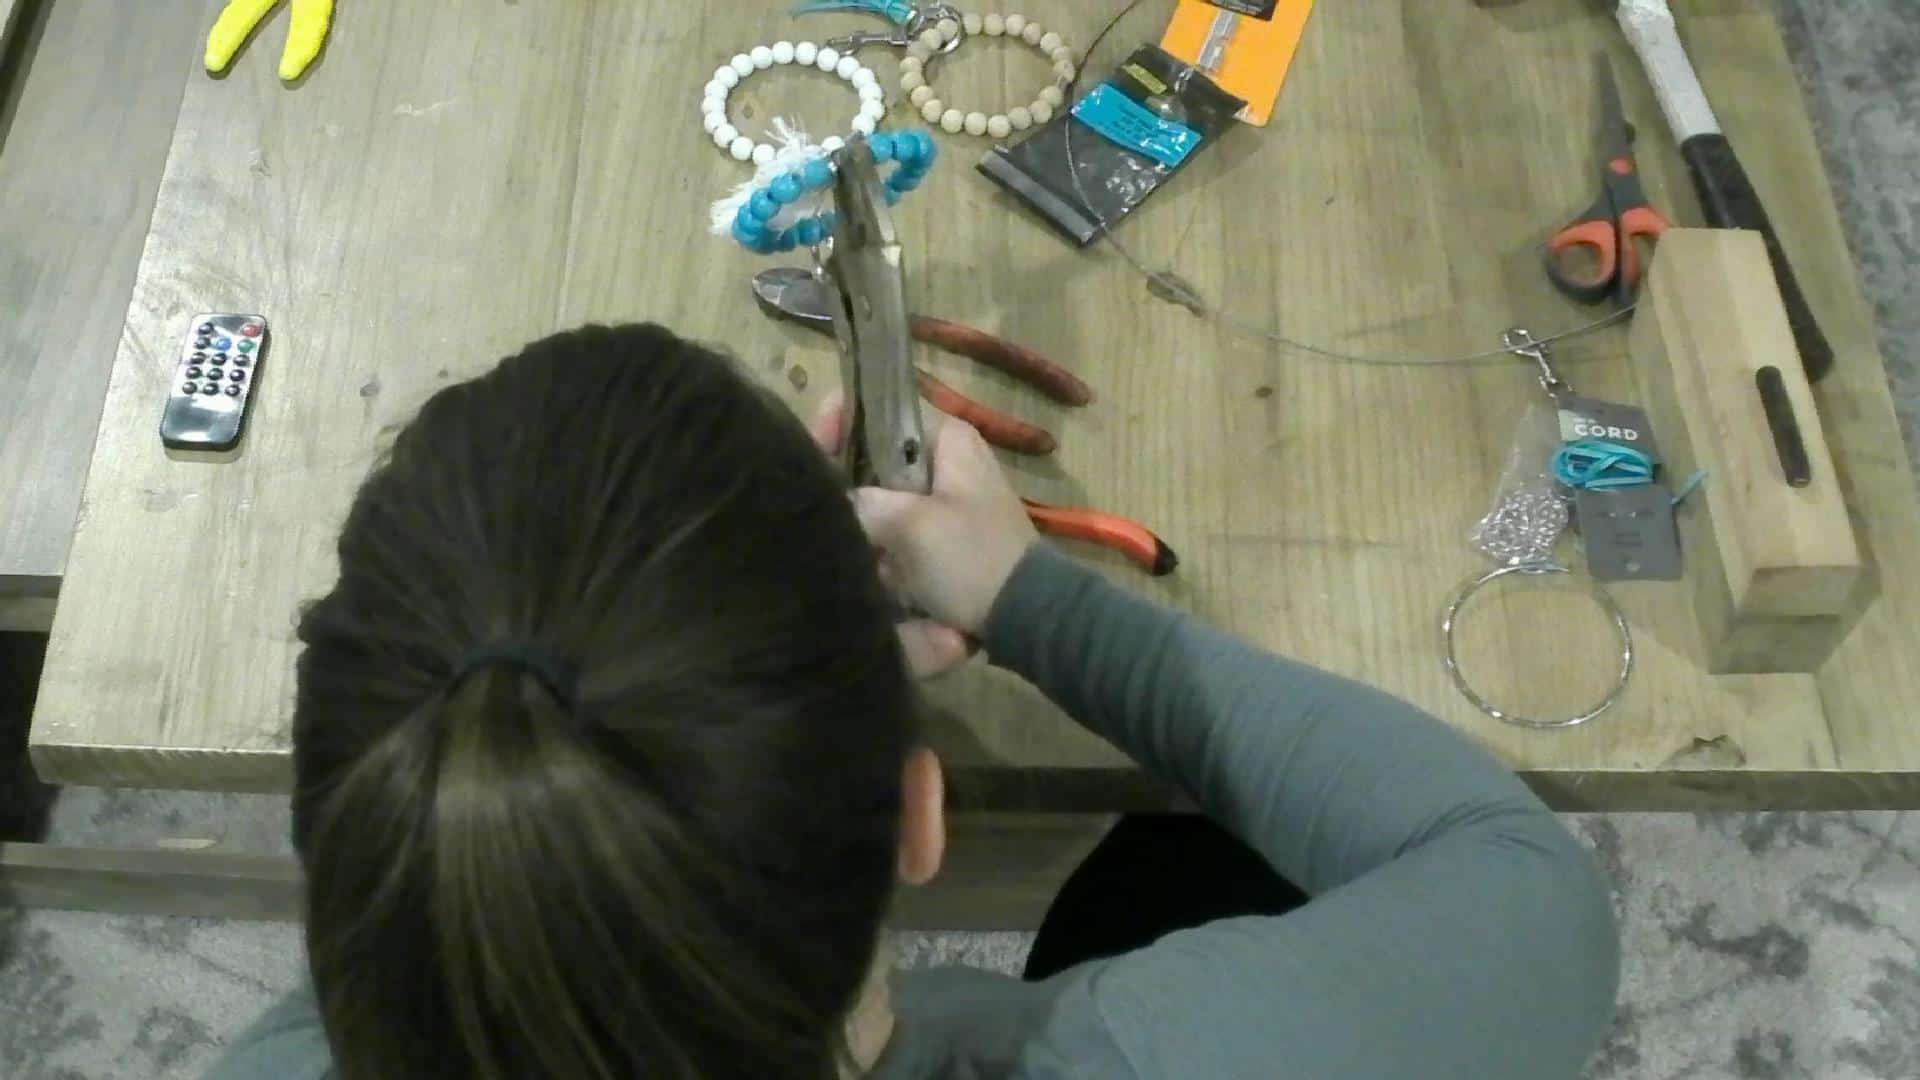
I then crimp one end of the wire through one side of the ferrule. Make sure not to crimp the other side at all (there are two slots in the ferrule), only crimp the side that the wire is through. Also, make sure to keep the wire on one side, I wasted a couple of ferrules because I wasn’t paying attention to that! 😬
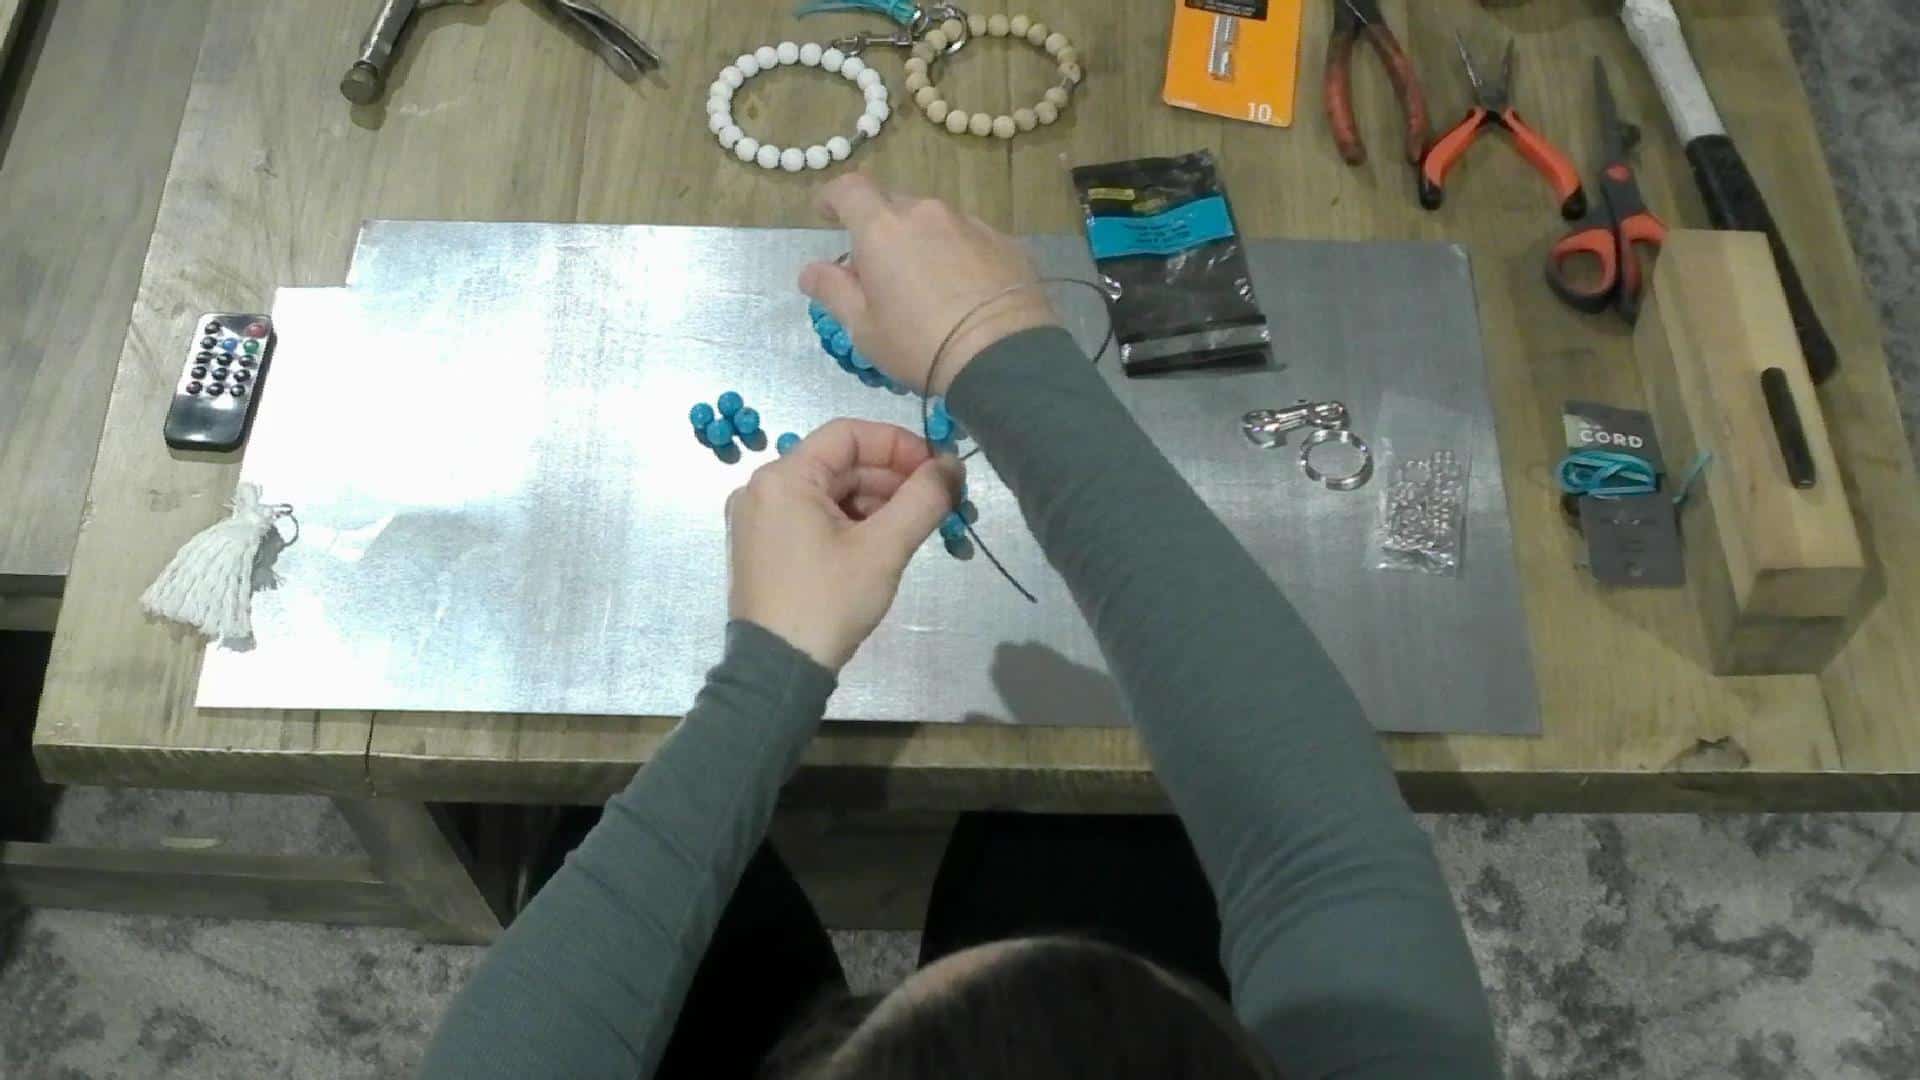
If you want colored beads, paint them before stringing them so you get them fully painted. Or if you want to paint the ferrule and the beads you can wait until after you bead them, but don’t add the keyrings, add them after painting! It will be more difficult, but you can do it!
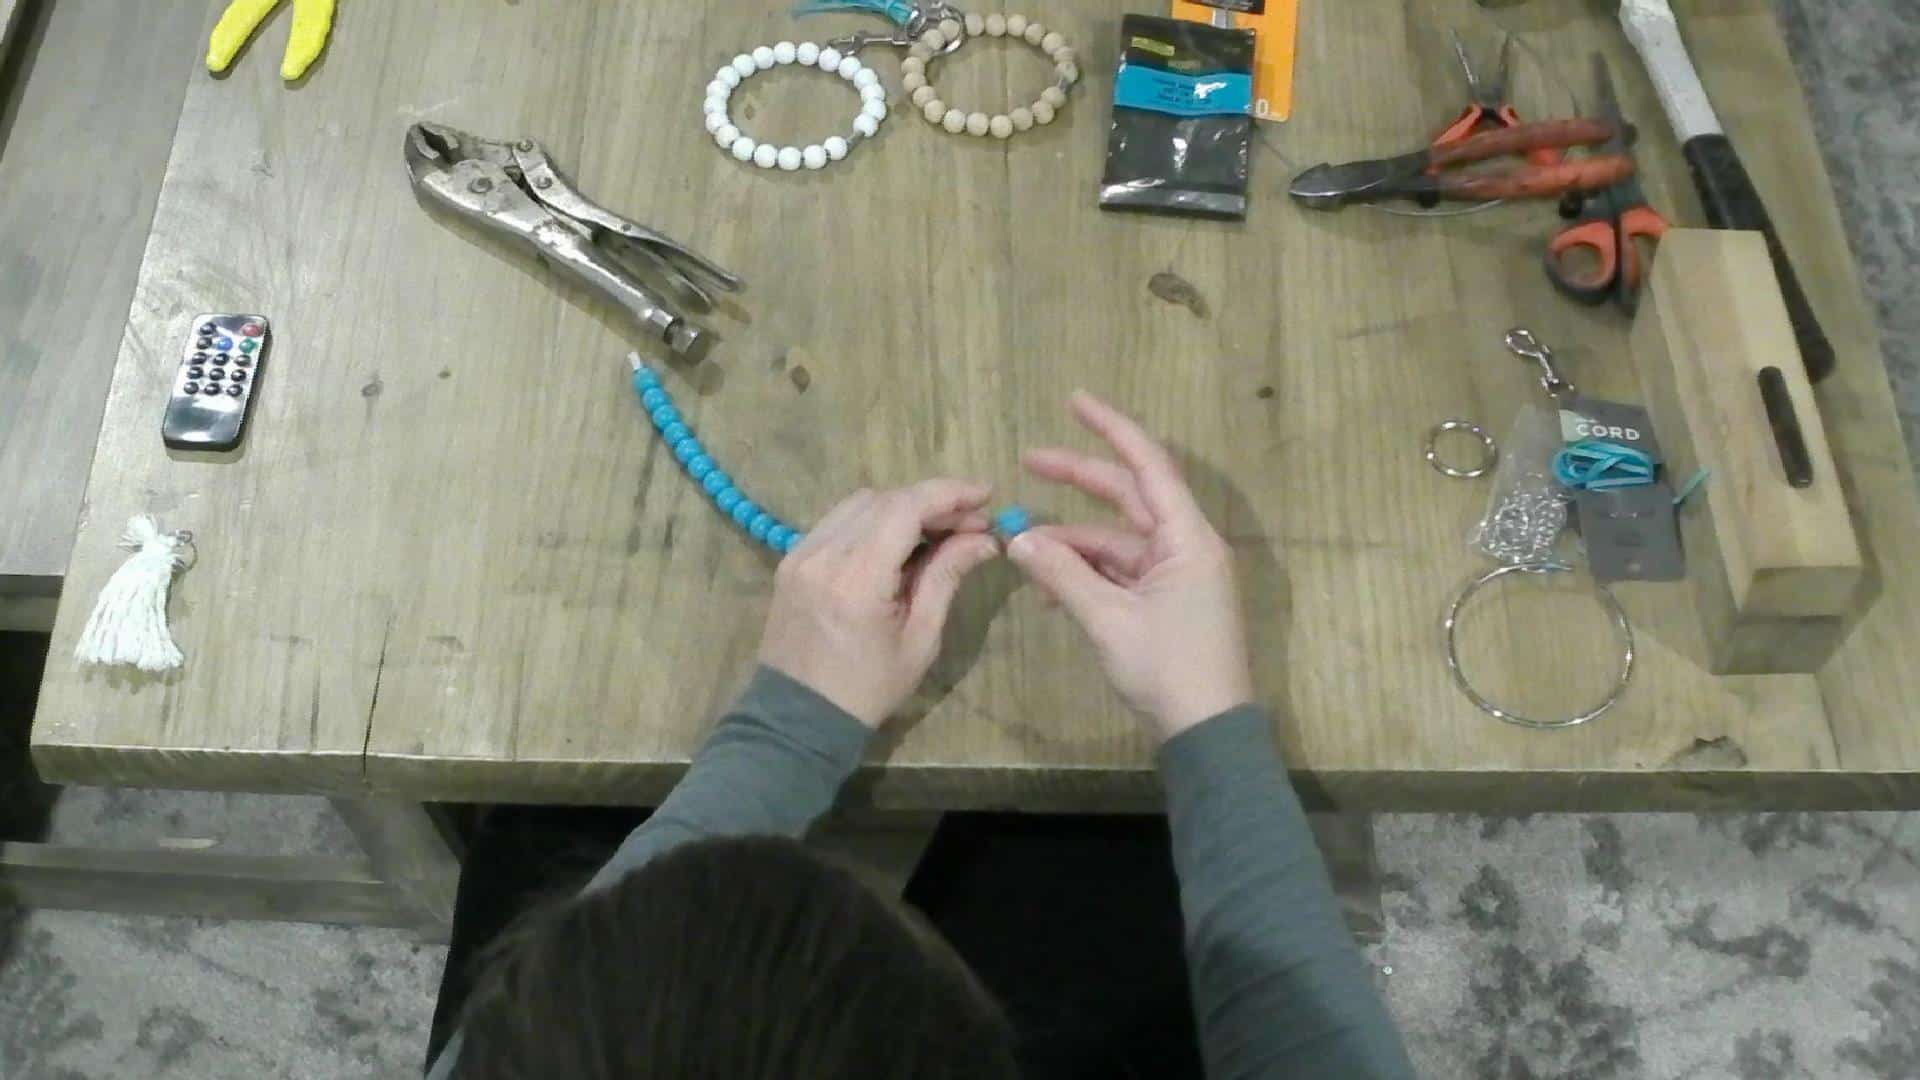
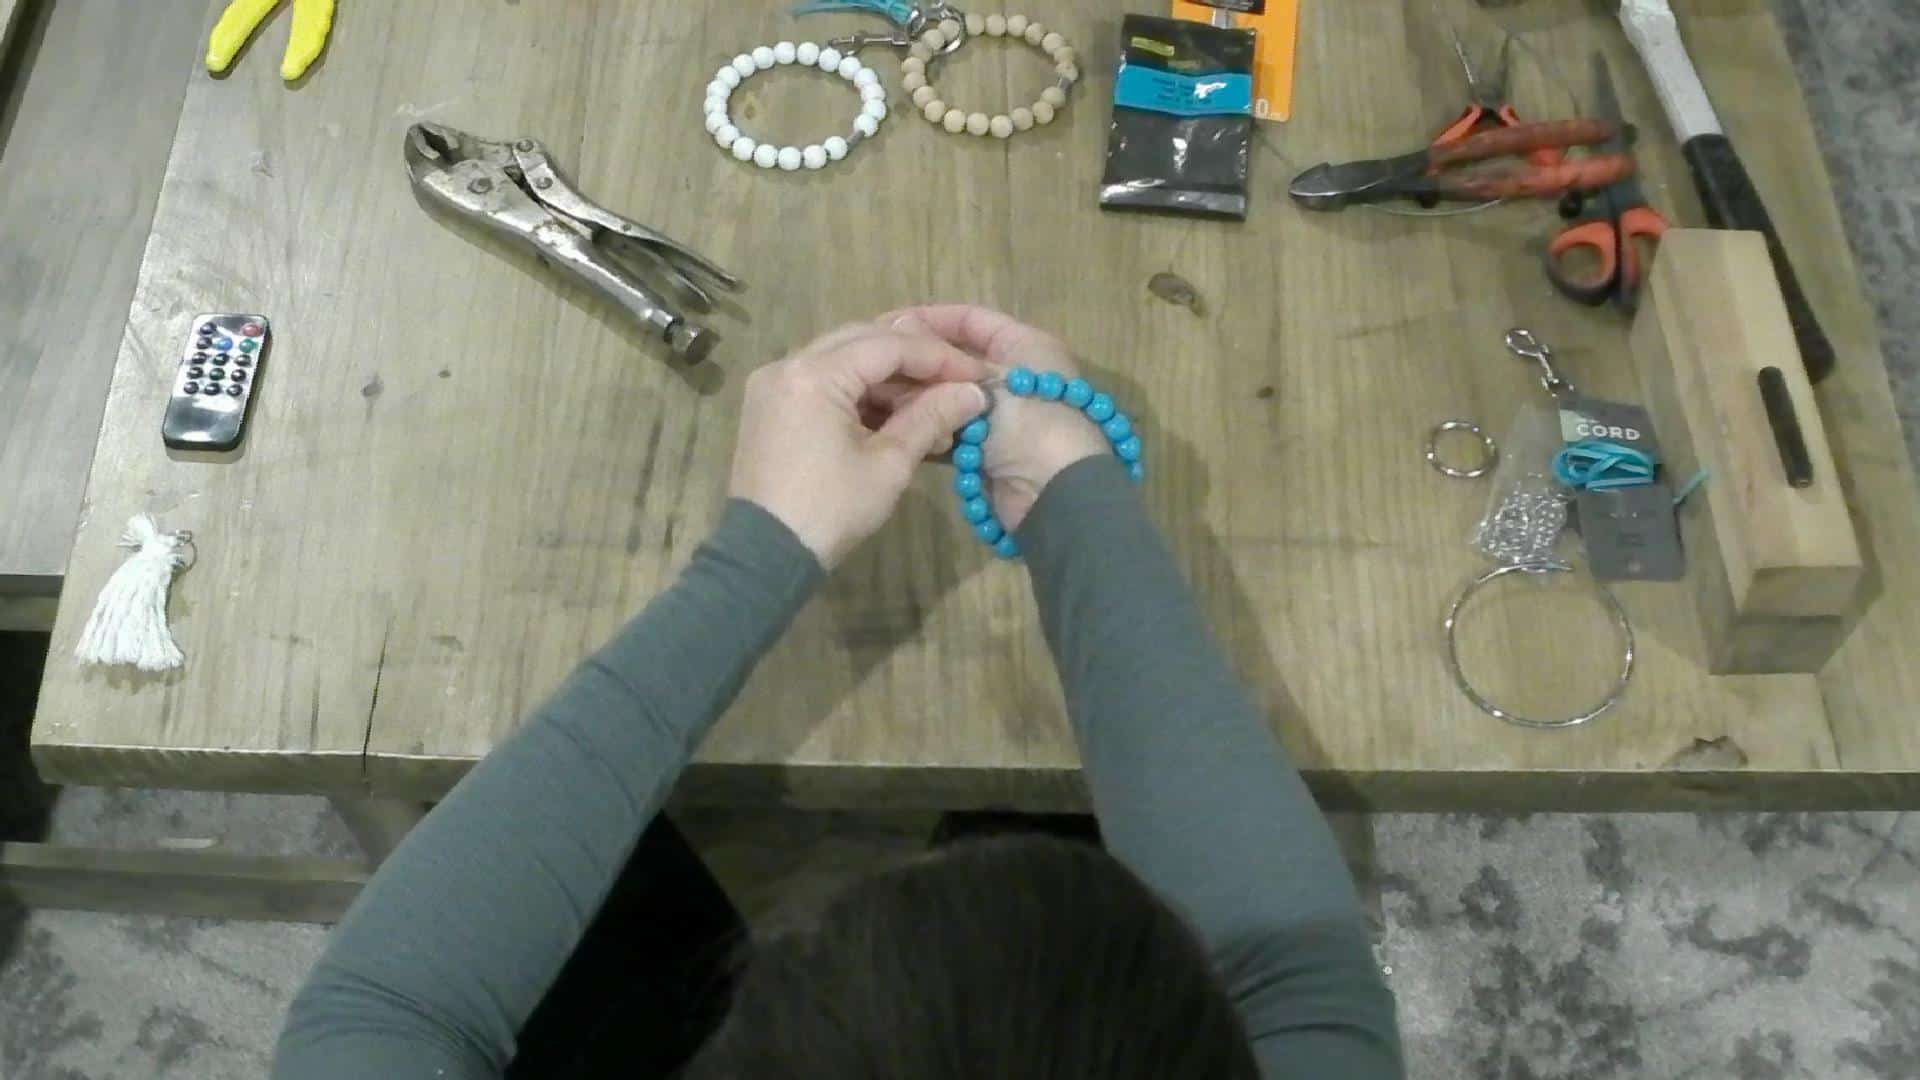
String your beads onto the wire, make sure it’s a big enough size to slide over your hand with the beads on. Typically, mine are about 19 beads. Also, if you are making it as a gift, think about the person’s hand size that you are gifting it. I know that my sister’s hand and wrist are way tinier than mine, so I made one tight to slide over my hand so that it will hopefully fit hers!
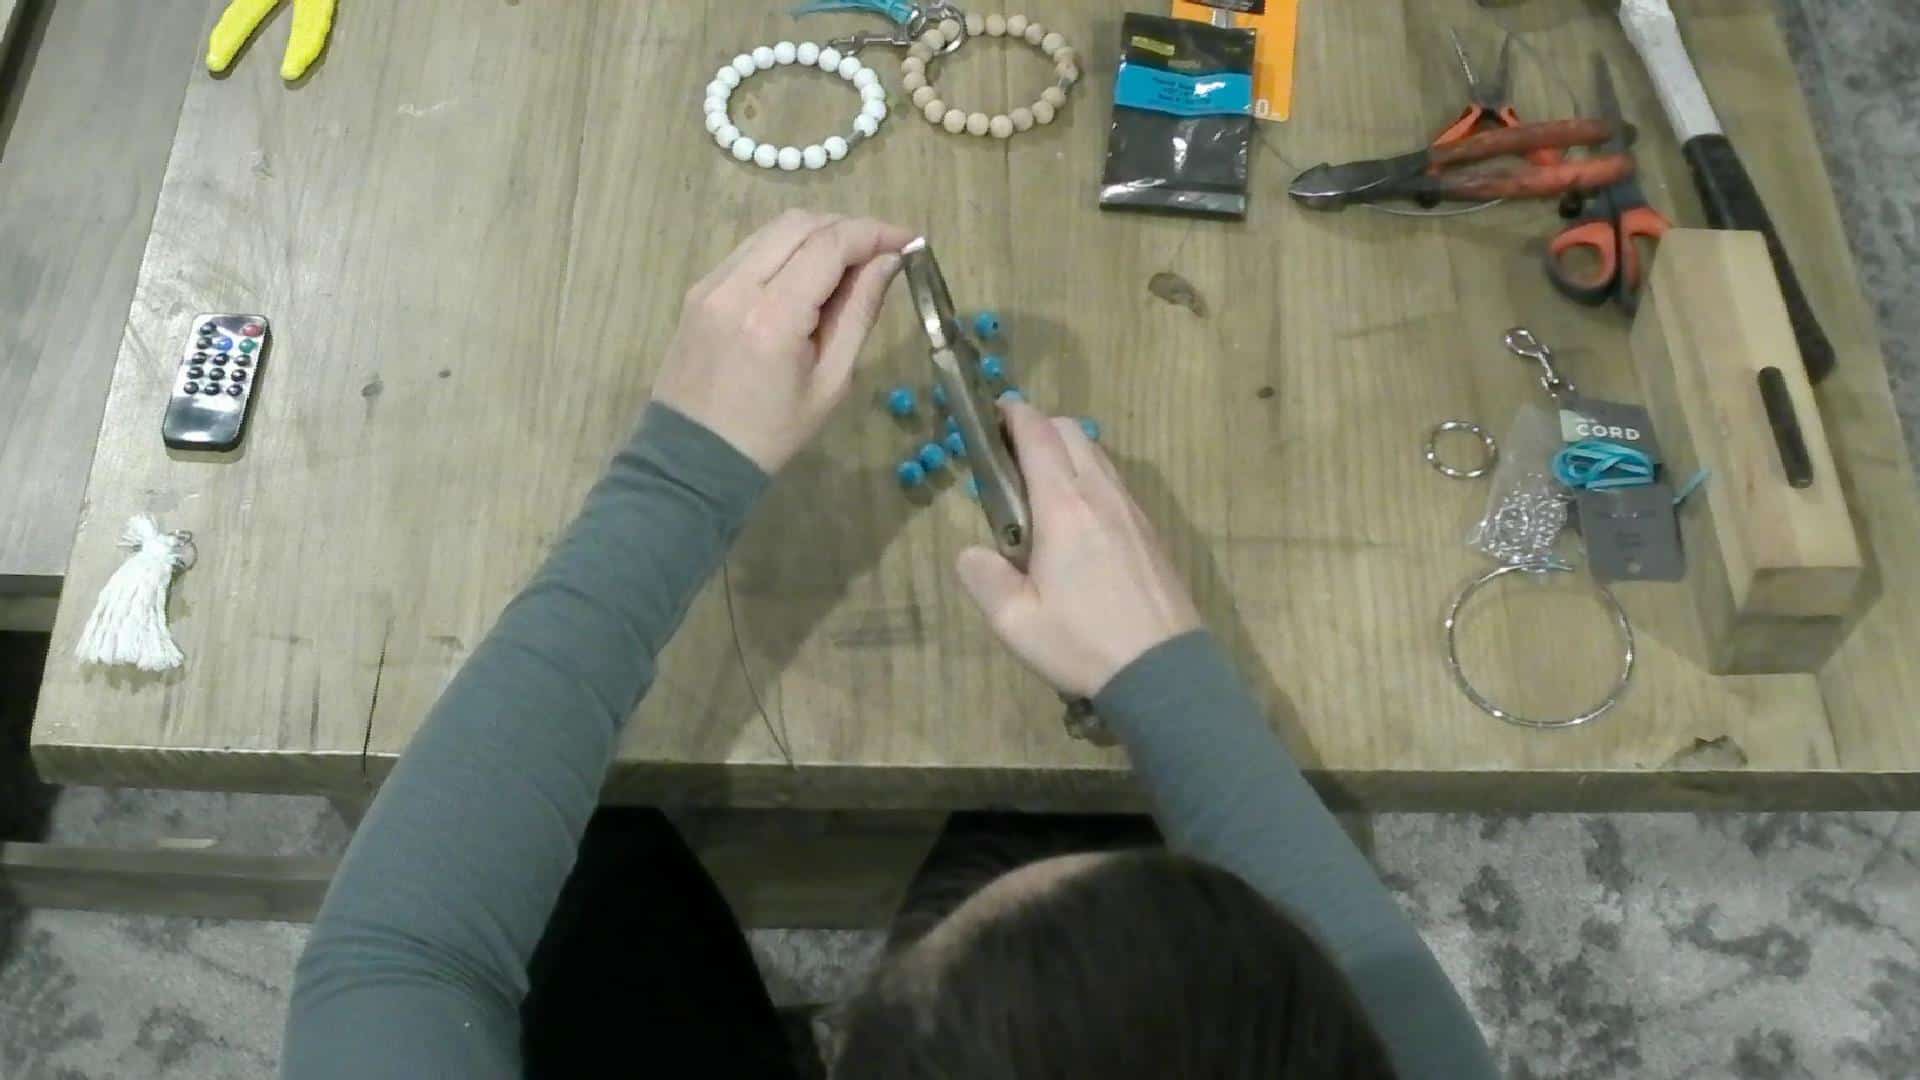
After you have it the size you need, cut the wire down to where it will fit perfectly into the ferrule. This way you don’t have to cut it once it is crimped. Now, if you have super sharp wire cutters that can cut it coming out of the ferrule, then, by all means, leave it longer than the ferrule, it will make it easier to get the wire inside the ferrule. But my wire cutters were crap and so I could not do it like that! Lol!
Before placing the wire inside the ferrule though, it is MUCH easier to add your tassel and keyring.
Making the Tassel for the keychain bracelet
Using a small key ring, run a piece of leather cord or cotton rope, whatever you want to make your tassel out of, through the keyring and see what length you prefer, I just eyeballed it and it was about 2 inches long, so I cut 5-6 pieces at 4 inches (since it was one solid piece draped over the keyring, 2 inches on each side = 4 inches).
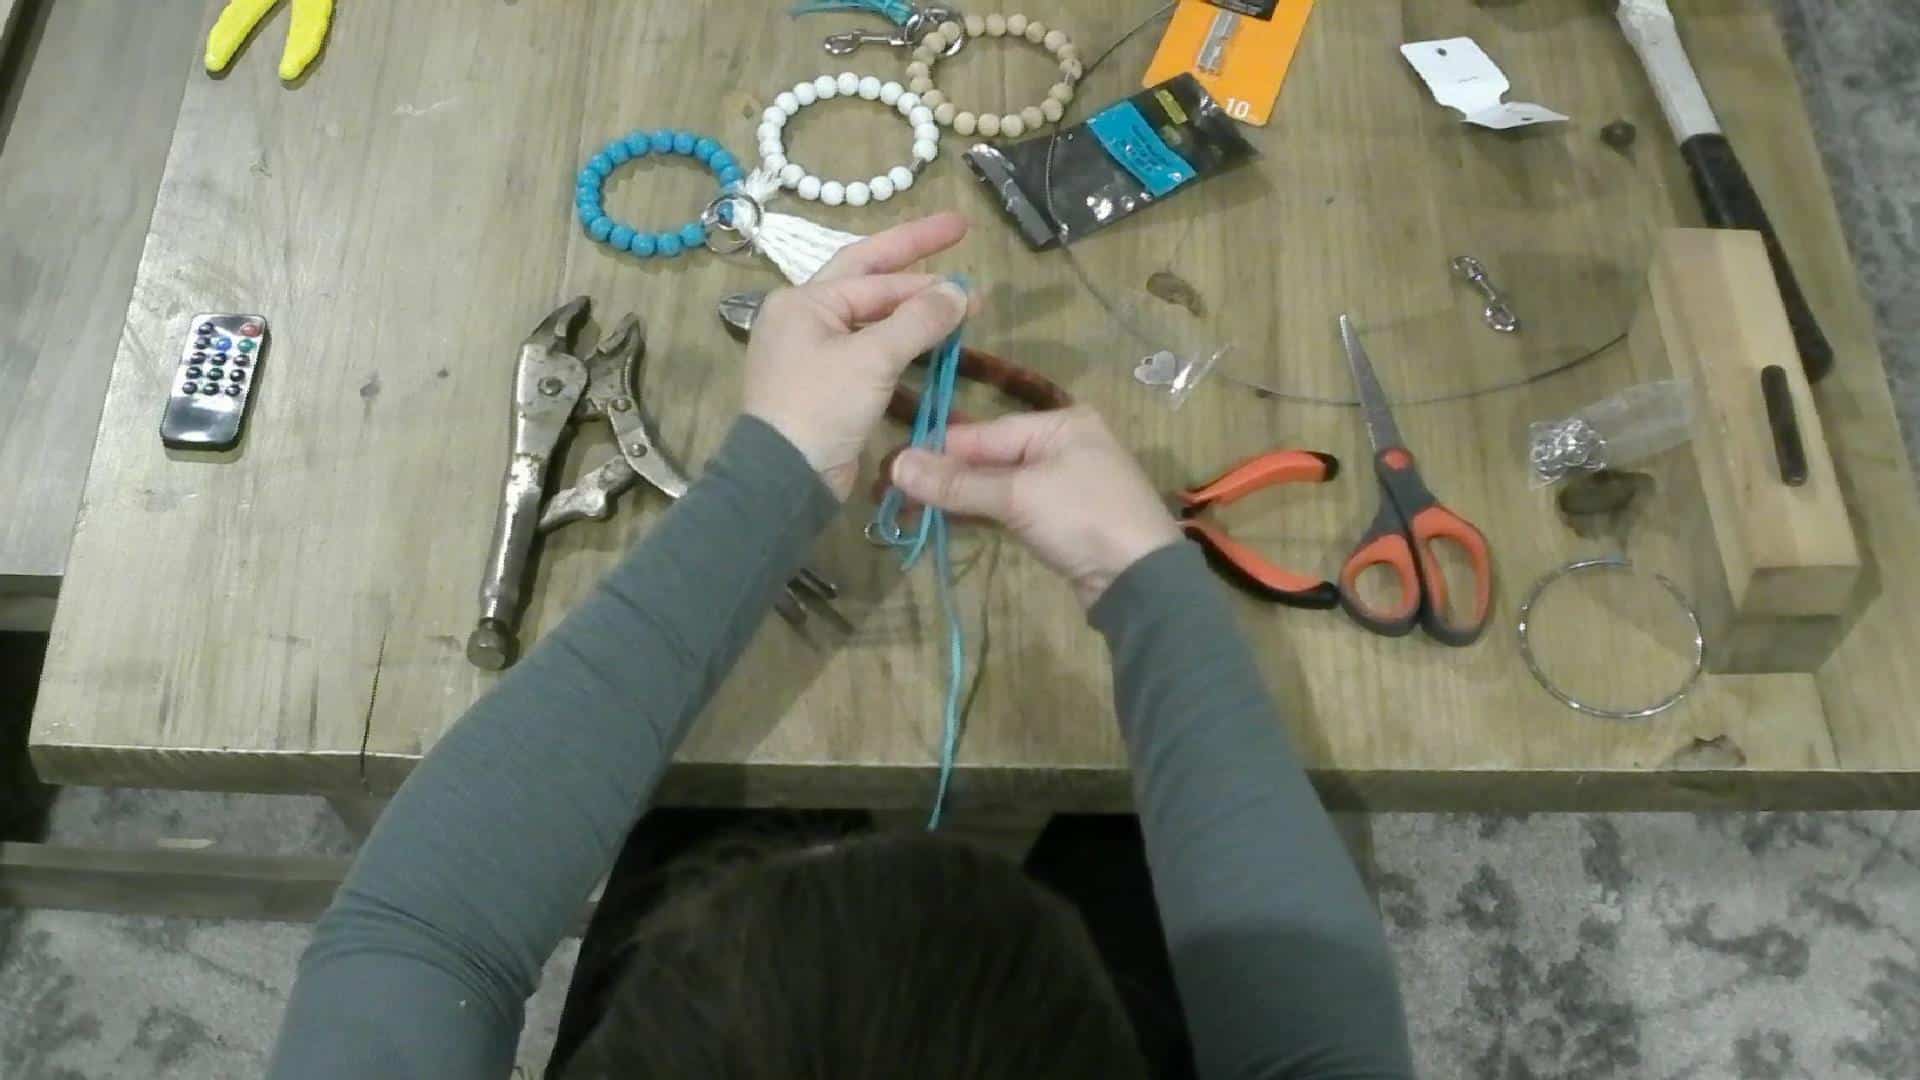
Take all the pieces you cut, drape them through the keyring, and even them out on both sides. Then cut one more piece of cord an inch longer than you cut your other pieces, so I cut mine around 5 inches.
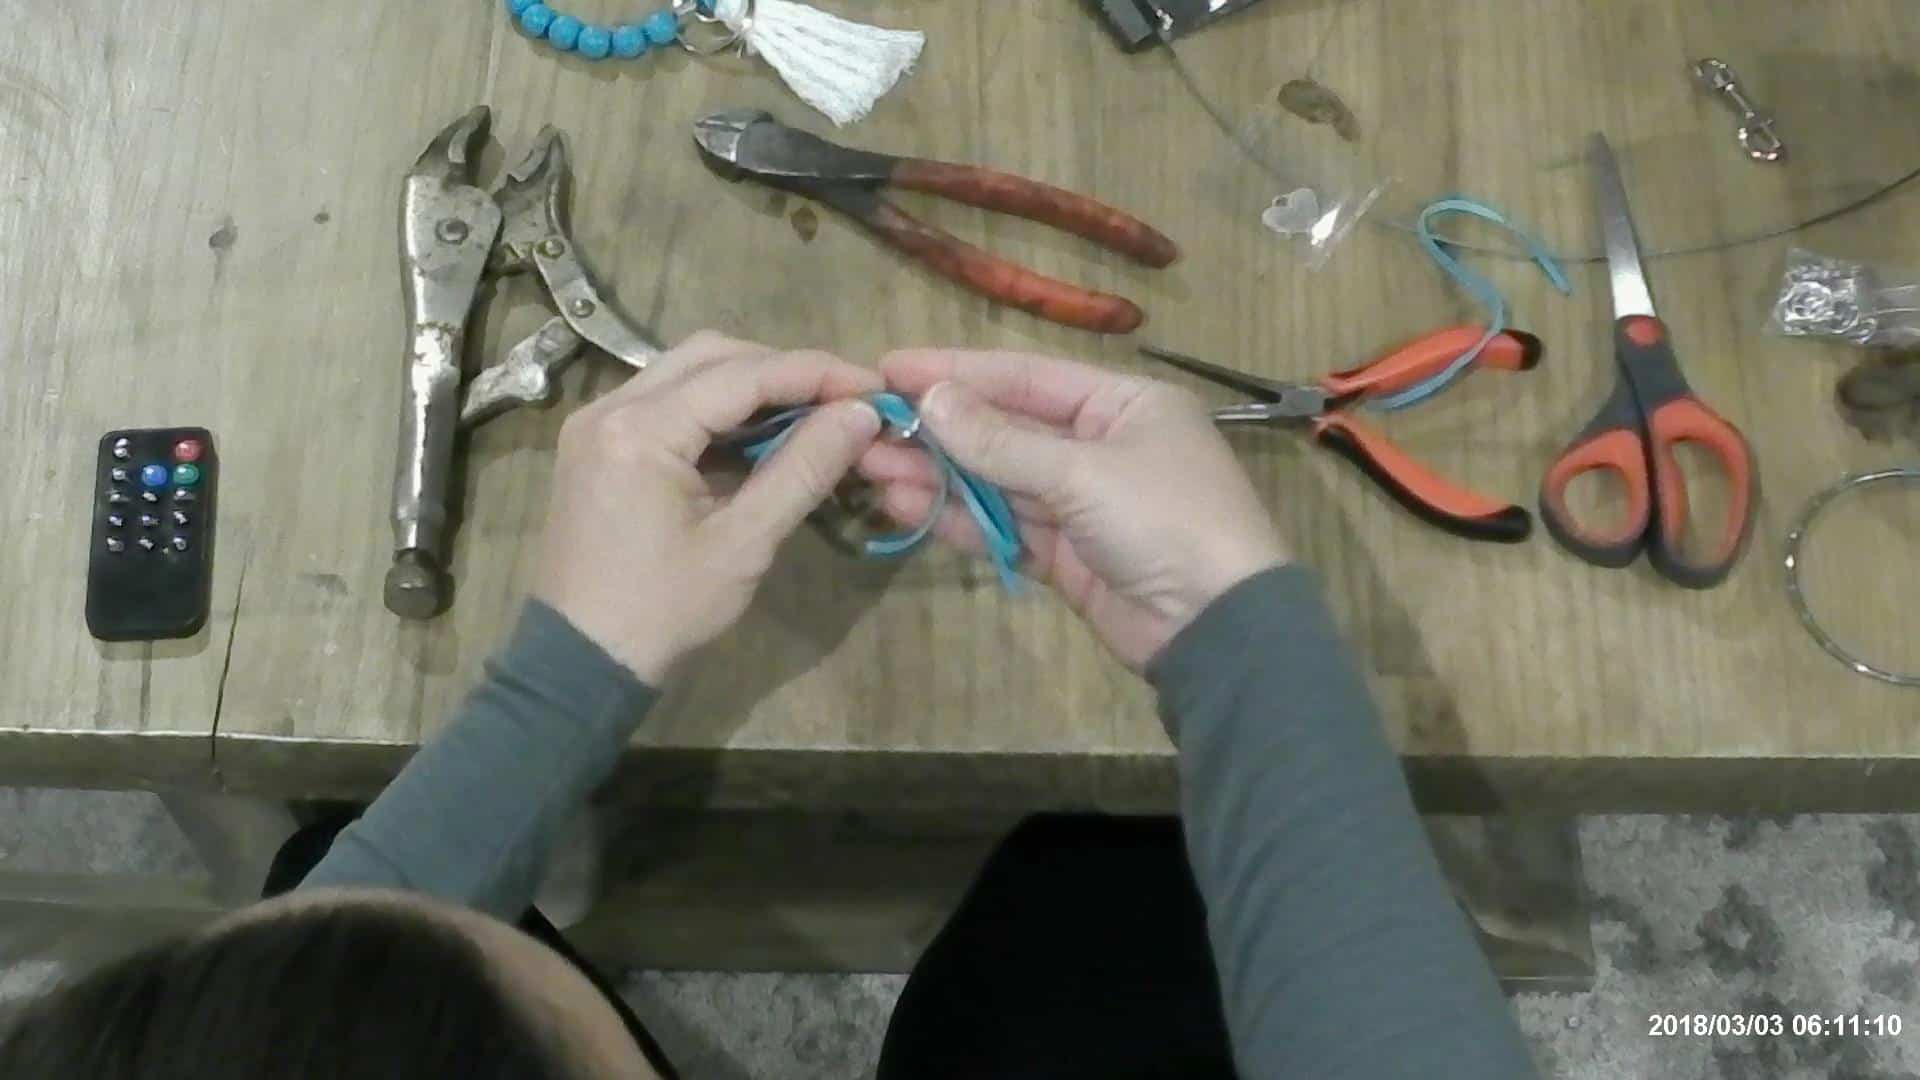
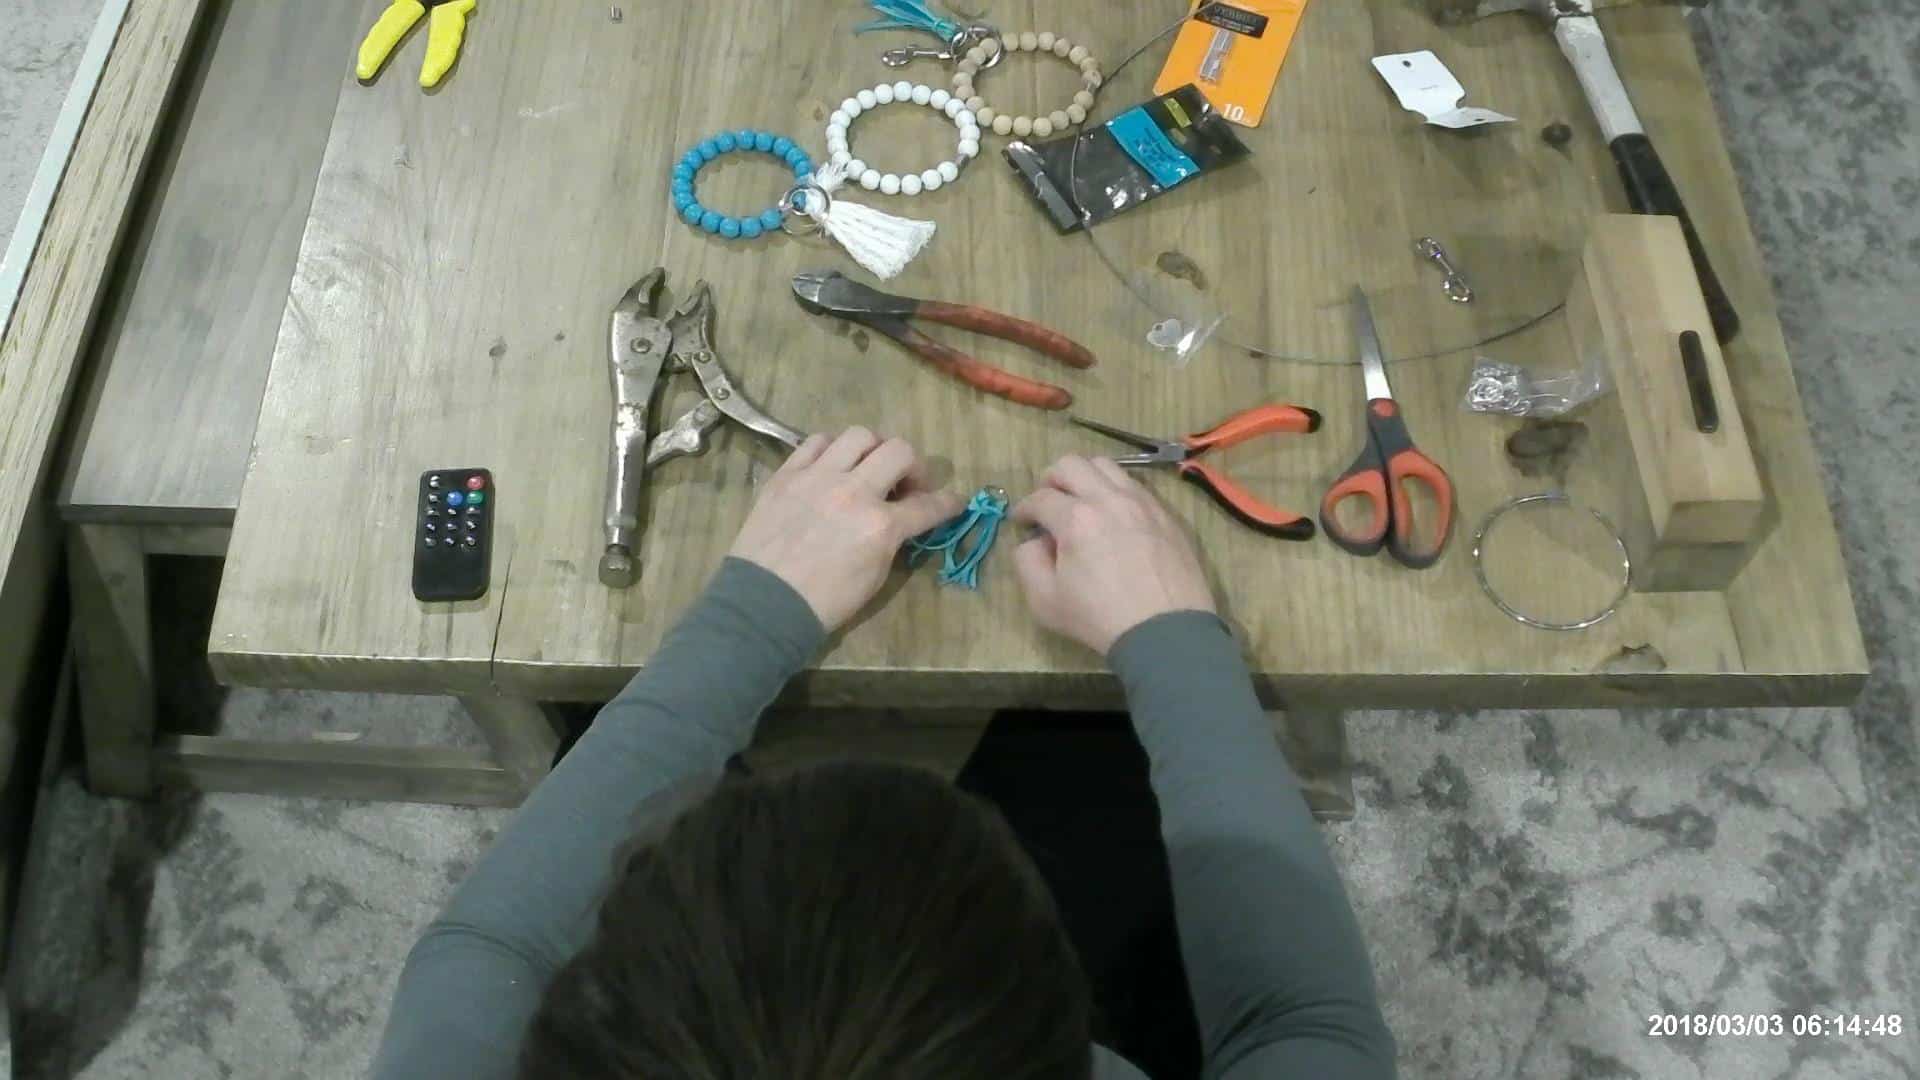
Tie that piece around all the other cords and let the pieces drape as part of the tassel, or cut them off and let them stick out on the ends, however you like it!
Finishing the Key Chain Bracelet
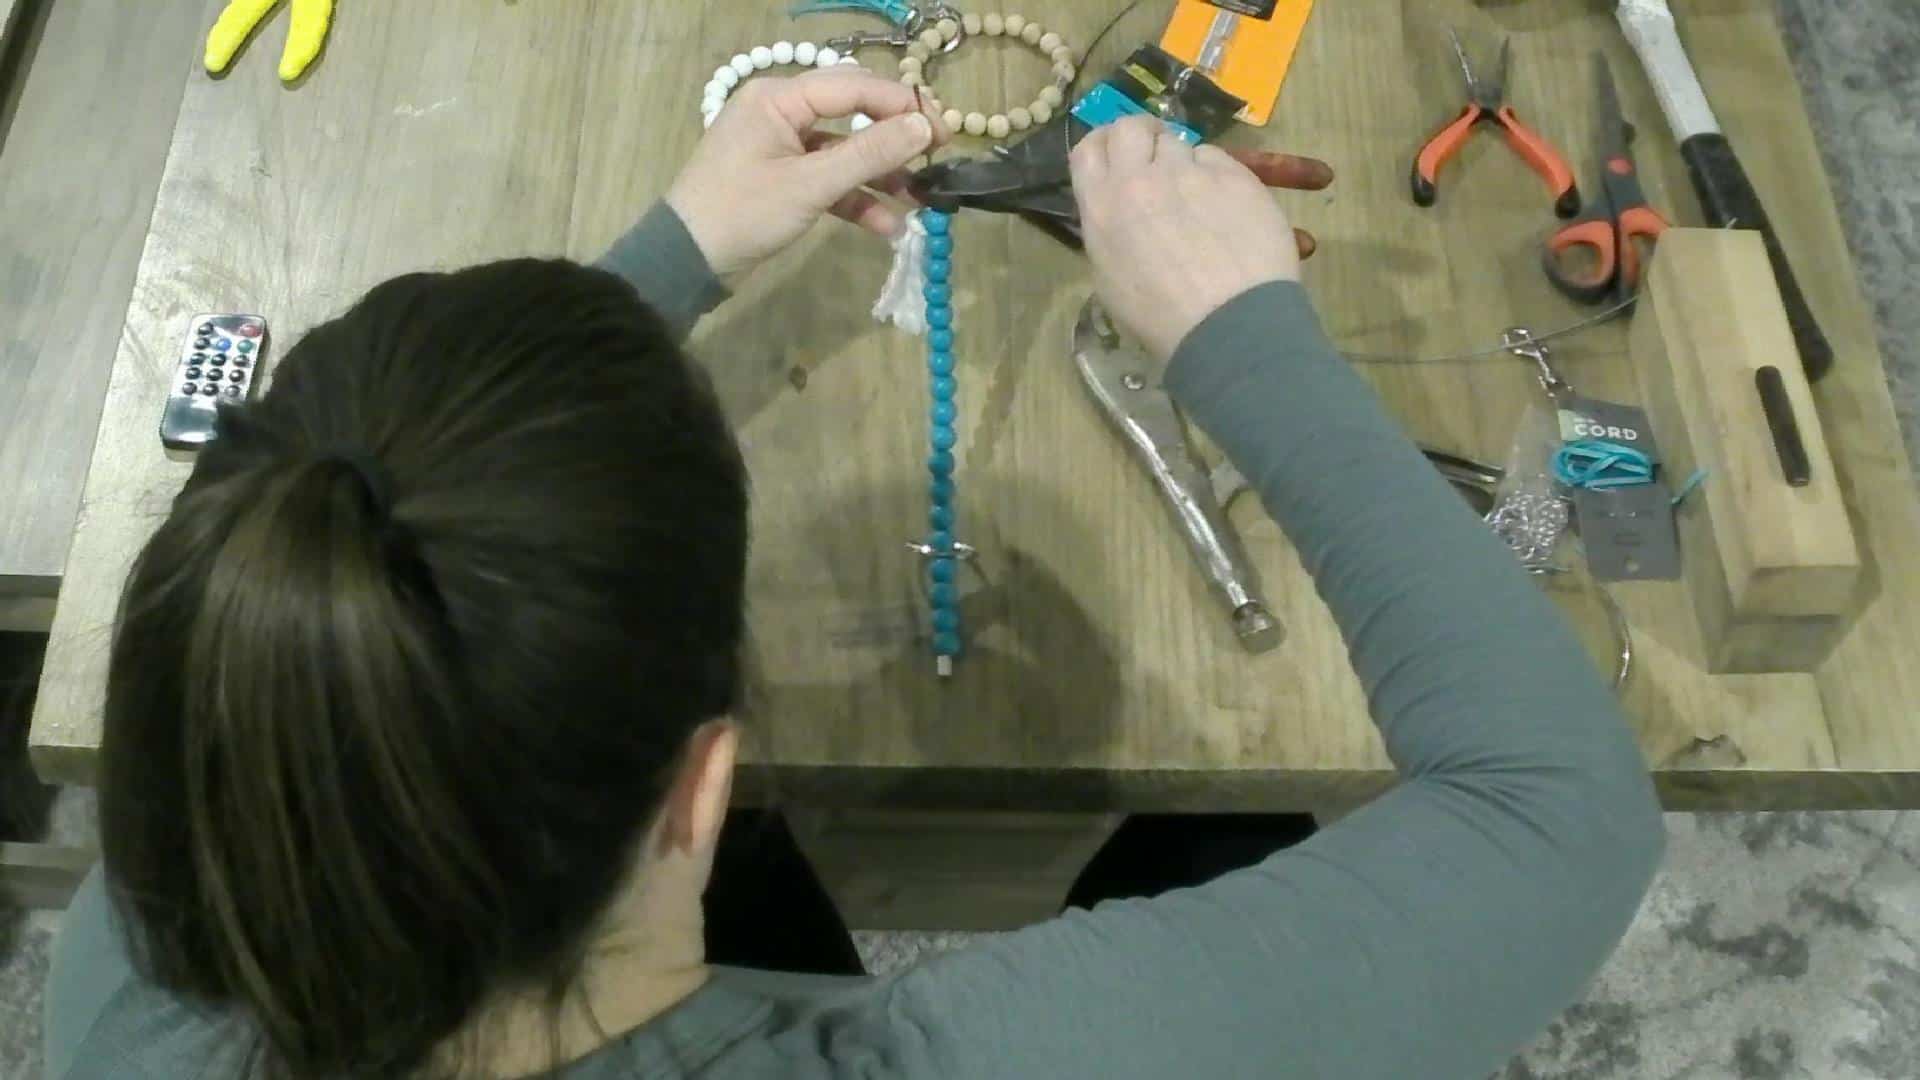
Now, place the tassel on the wire and your large keyring on the wire as well, stick the free end through the ferrule and crimp that baby. I crimped it twice just to be SURE that it wasn’t going to pop out on them when they wear it! You can look and make sure that the holes are crimped from the side.
Add the clip onto the large keyring if you want to add one.
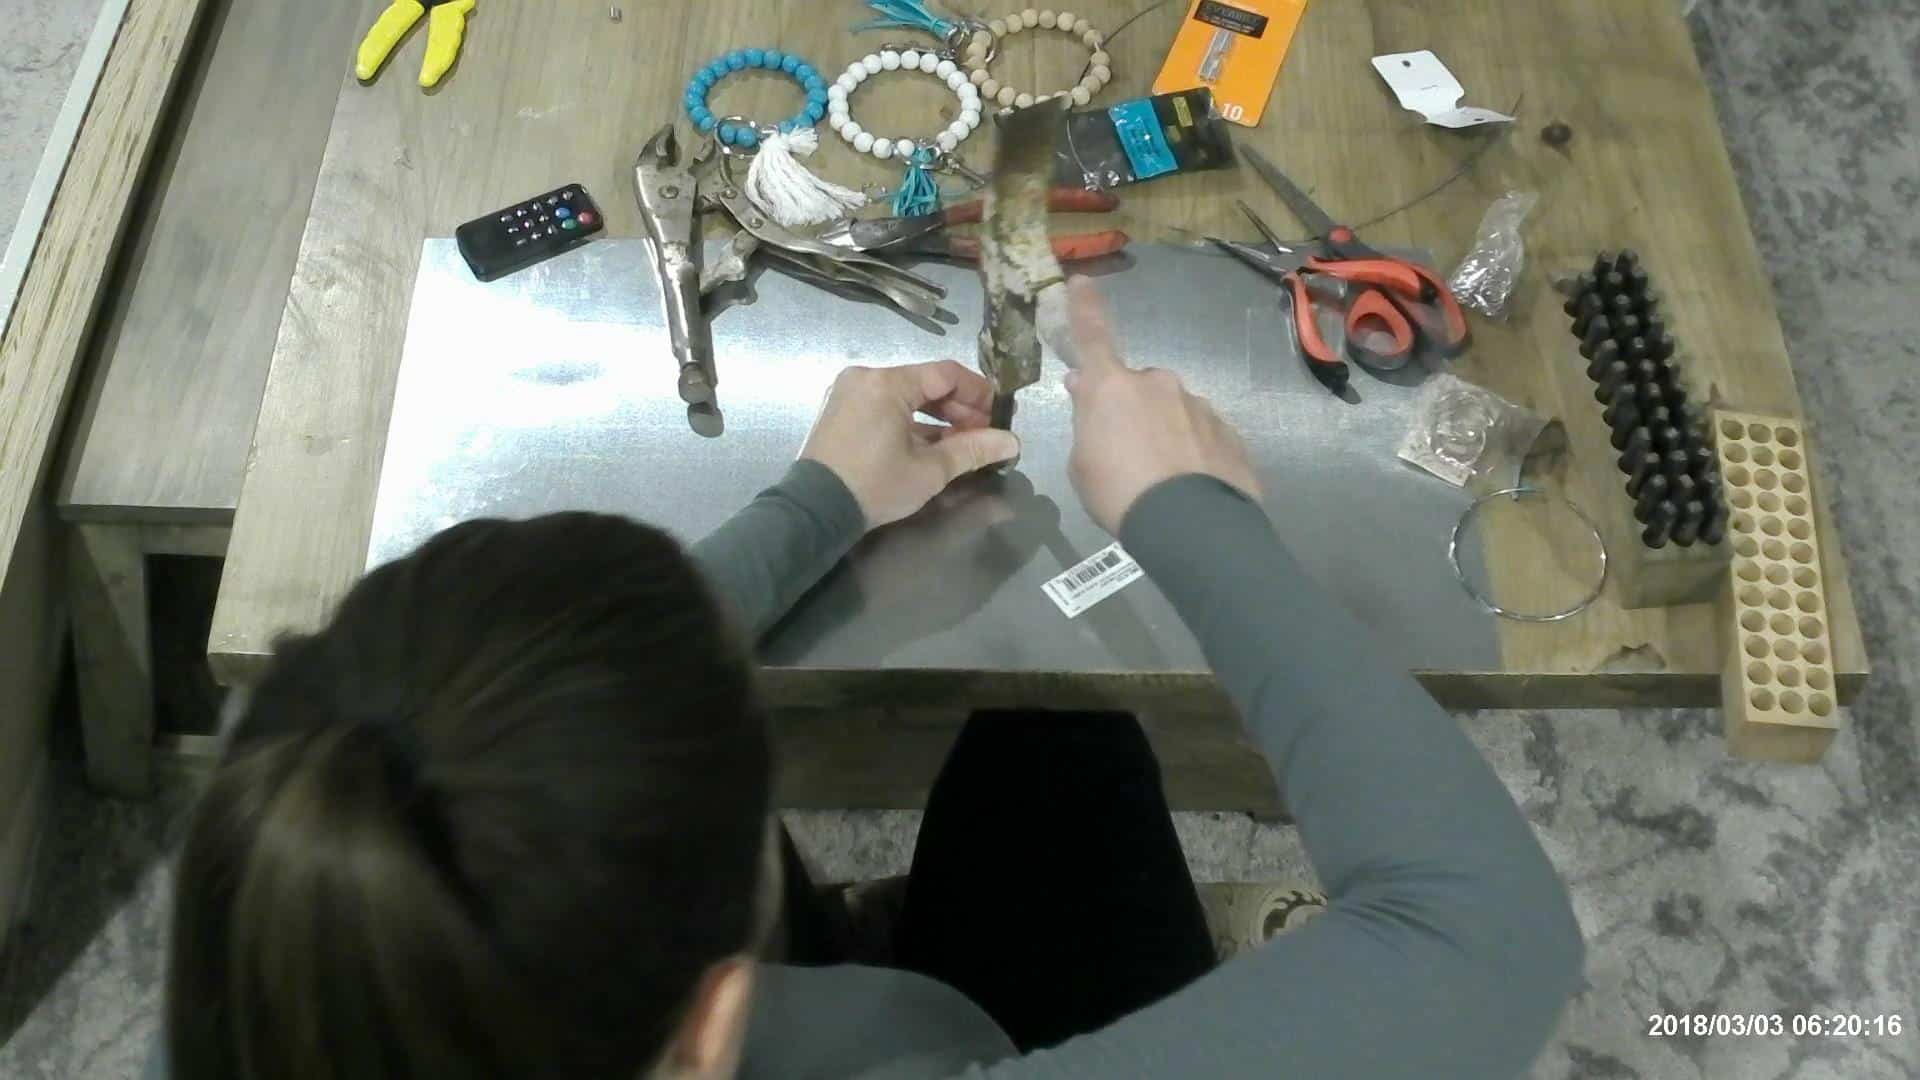
Personalizing the DIY Key Chain Bracelet
If you want to hand stamp a metal tag as I did, this is also as easy as it gets! Place your tag on something metal to help keep the tag from bending with the stamp. My sheet metal was not thick enough, so it did slightly bend my heart, but I just hit it once and it was back flat.
Pick an initial or whatever your little heart desires and hit the stamp with a hammer! That’s seriously ALL IT TAKES!😵
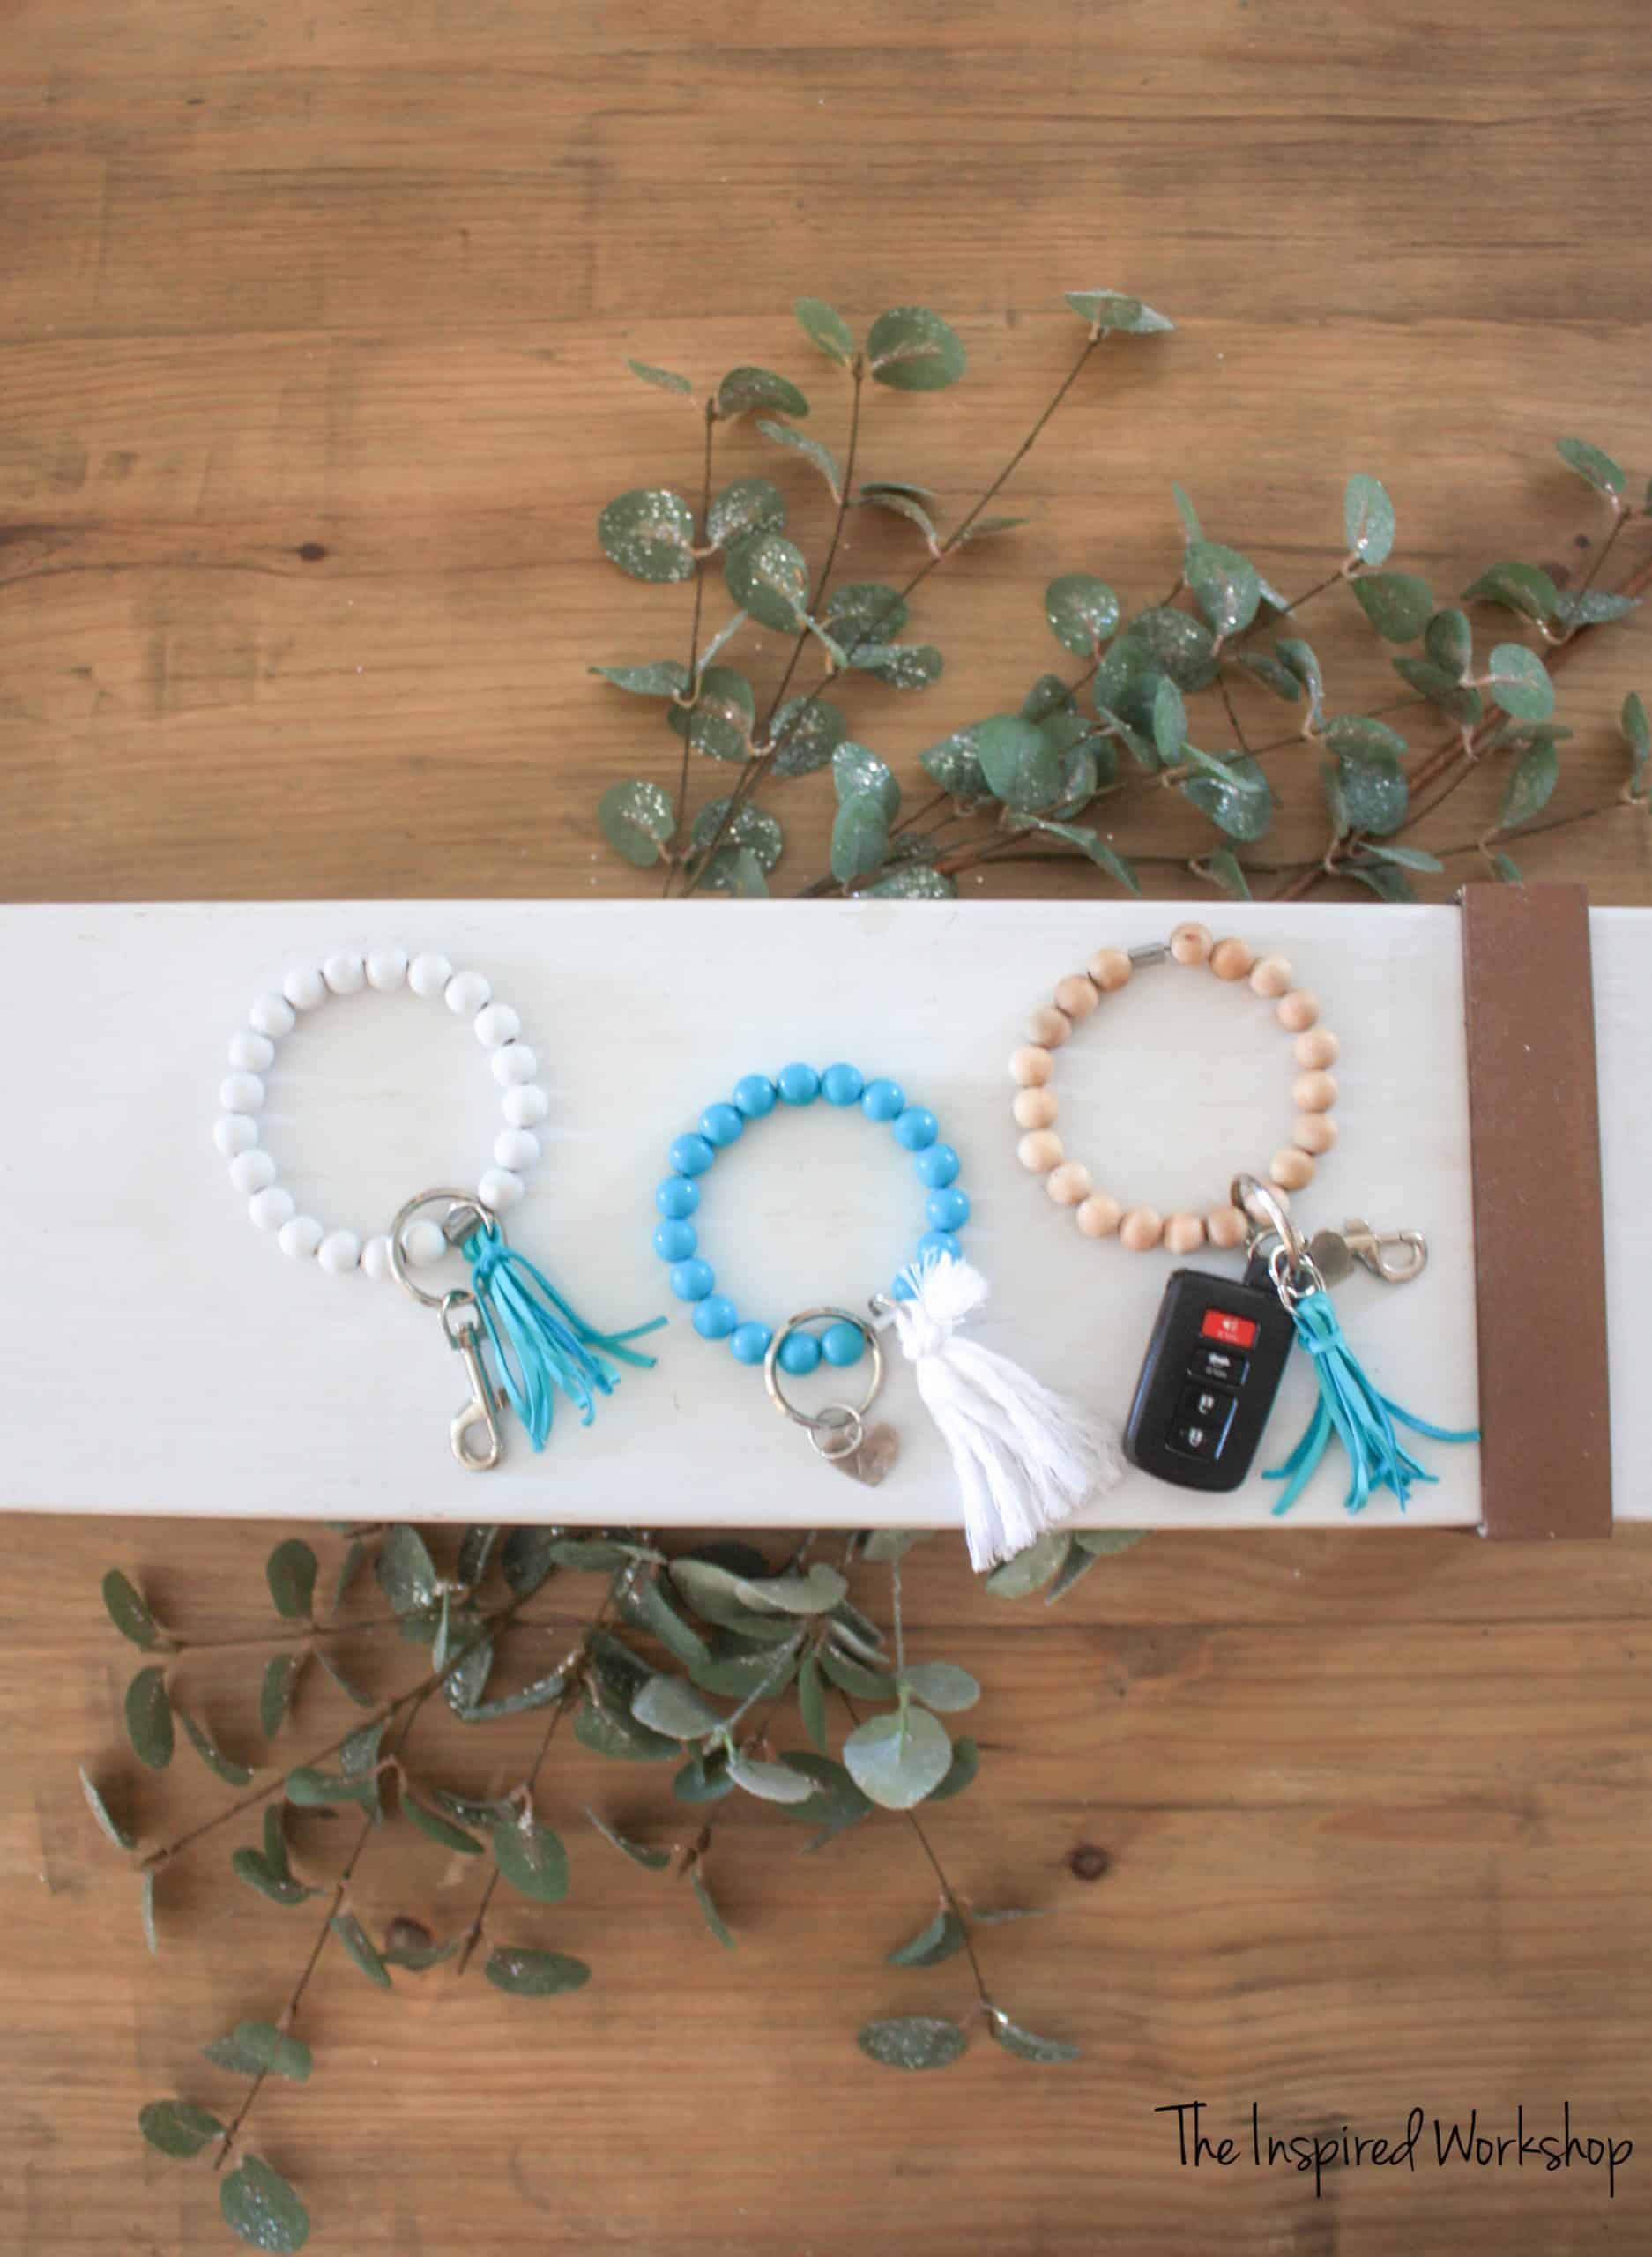
Now put the heart on its own little keyring, or slide it onto the big keyring and you have a super cute, personalized gift to give…or keep for yourself! I kept one…no shame in my game! 😜
I think this is such a cute gift idea, I would LOVE to receive this from someone and I can’t wait to gift them as well! 😍 I plan on adding them into gift baskets for several people on my list, including teachers and family!
Need other DIY gift ideas? Everyone with a fireplace can use DIY Firewood Holder! Or how about the wine lover in your life, we have a few options for them such as this DIY Wine Dispenser, DIY Wine Dispenser, or DIY Wine Caddy! How about the game lovers? Build them a DIY Dartboard Cabinet or DIY Ring Toss Game. And last but not least there is bound to be an old-school music lover on your list that you can make a DIY Record Storage Case!
Make sure and come back every day before Christmas as well because I will be adding new Christmas decor and gift ideas EVERY SINGLE DAY!
Think your friends and family may like this idea? I would LOVE for you to share it with them!
[social_warfare]


Do you use coated wire for these ?