Spring Wreath with Hydrangeas
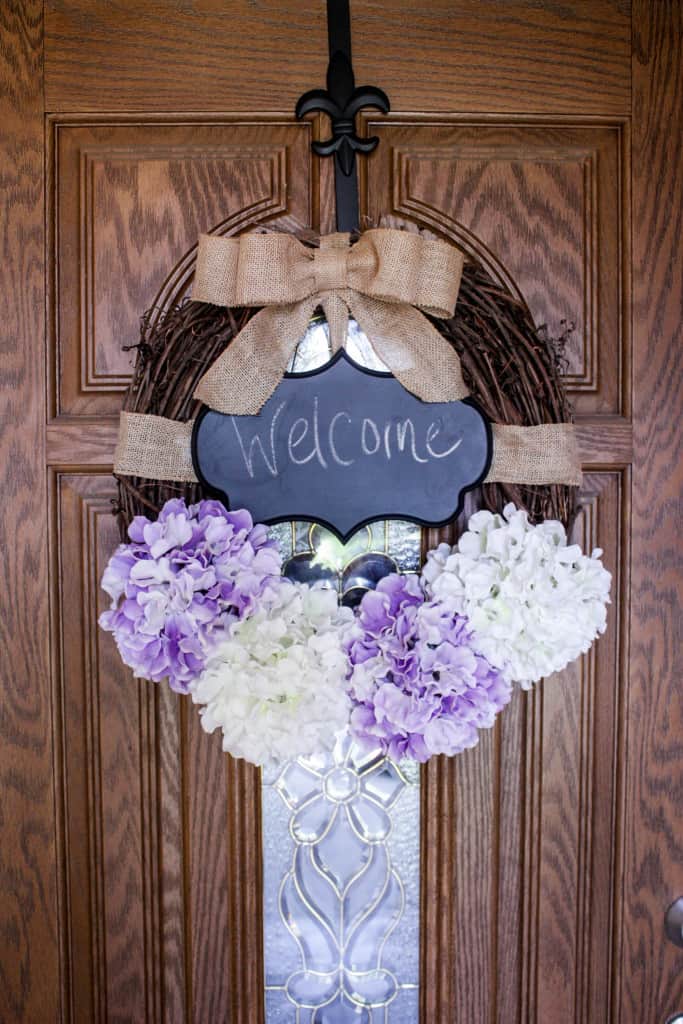
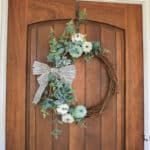
Spring is here and the flowers are blooming! Make your front door share the excitement for spring with a beautiful spring wreath with hydrangeas! Turn a grapevine wreath into a spring masterpiece with a little burlap ribbon, a chalkboard, and some hydrangeas!
After having spent a lot of time indoors recently since having had some major rain and storms, I was able to tackle some of the more crafty projects I have been needing to get done!! So I may be a little late on getting a new spring wreath on my door, but at least I managed to get it up before it is officially summer! Lol! I happen to LOVE hydrangeas, chalkboards, and burlap…so naturally, I needed to make a spring wreath that included all of my favorite things!
Try not to stare at how dirty it is around my door!! Looks like that will be how I will be spending the next few hours…cleaning around my door!🙈
If you like wreaths, you may also enjoy this spring wreath, this neutral fall wreath, this fall grapevine wreath, or this Winter/Christmas wreath!
Gathering Supplies to Make a Spring Wreath
I had such a hard time deciding what I wanted my spring wreath to look like, but I knew if it included hydrangeas, chalkboards, and burlap I would love it, and sure enough, I certainly do!! I also love that it only cost me $16.00 because all I had to buy were the flowers and grapevine wreath!! Now if you purchase everything new it will cost 30.00 because the chalkboard is 10 bucks on sale at Hobby Lobby, but you can always go with a cheaper version…I saw one in there the other day in the same shape just on a thinner MDF that was only 5.00 regular price!!
Now I’m sure you have seen 16,438 tutorials on wreath making so I will just give you a basic walk-through here and try not to bore you!! Lol!!
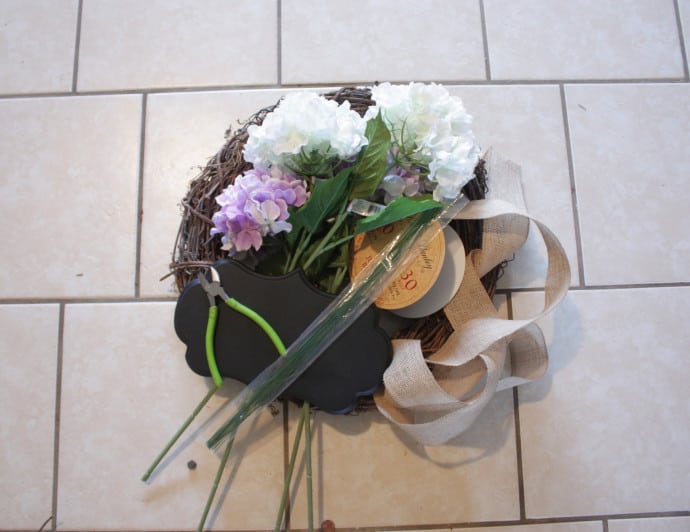
Materials for the Spring Wreath:
- 18″ grapevine wreath
- 2 1/2″ burlap wired ribbon
- 4 large flowers
- small chalkboard
- hot glue gun
- floral wire
- scissors
Making the Spring Wreath with Hydrangeas
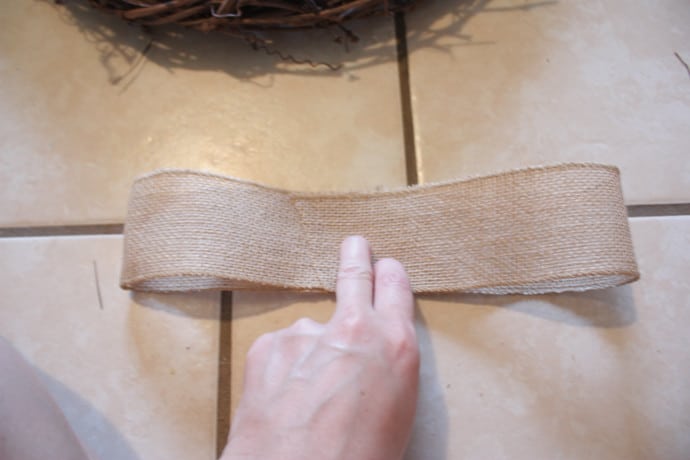
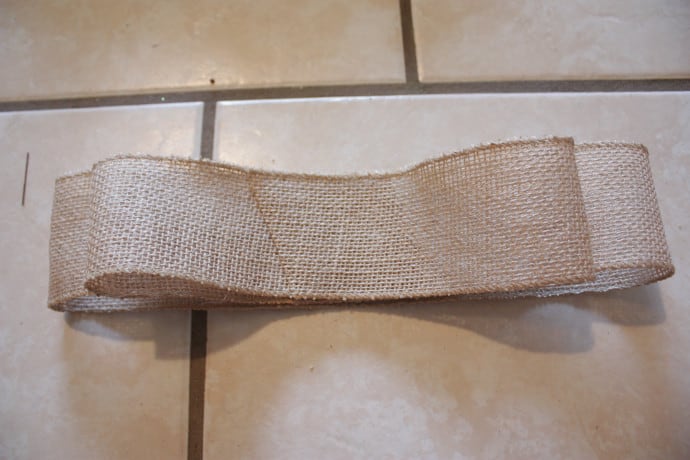
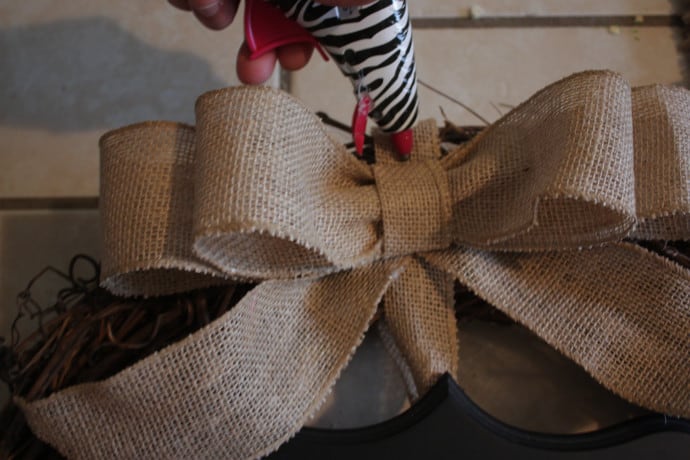
I’ll start by showing you how I make my super easy faux bow!! Yes, that little cutie on top of my wreath is not tied at all, she is all hot glue! First I just take a piece of ribbon about 25 inches long or so and overlap the ends.
Next, I take a slightly smaller piece of ribbon…maybe 22 inches or so and overlap the ends the same way…and place it on top of the larger one.
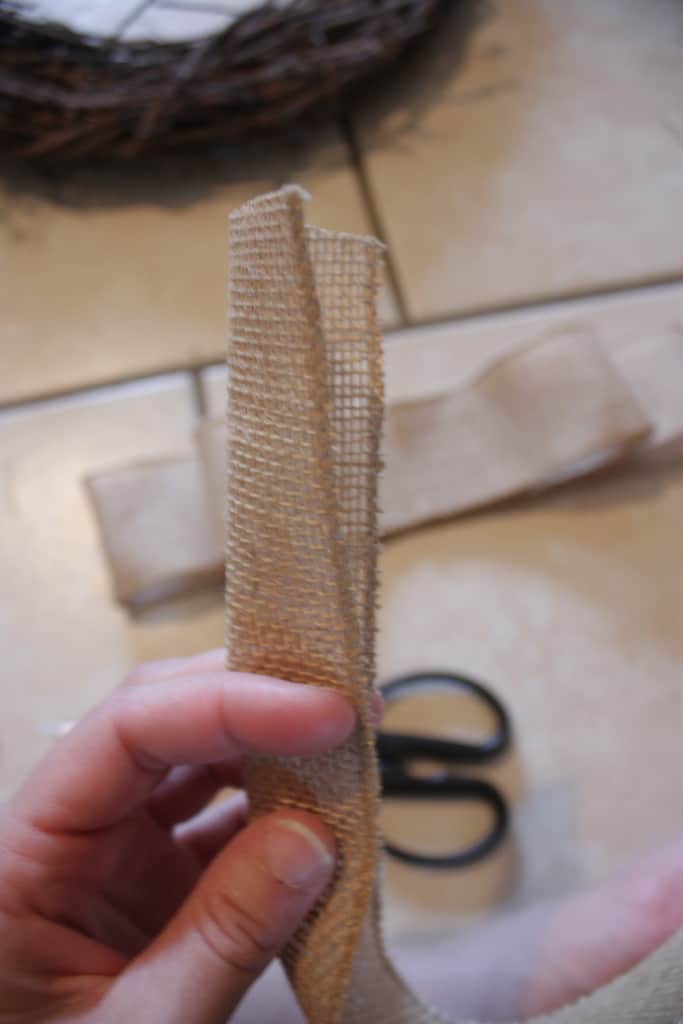
Now, we need to make the middle wrap to hold the bow together! I first cut a small piece of ribbon and fold it in half…
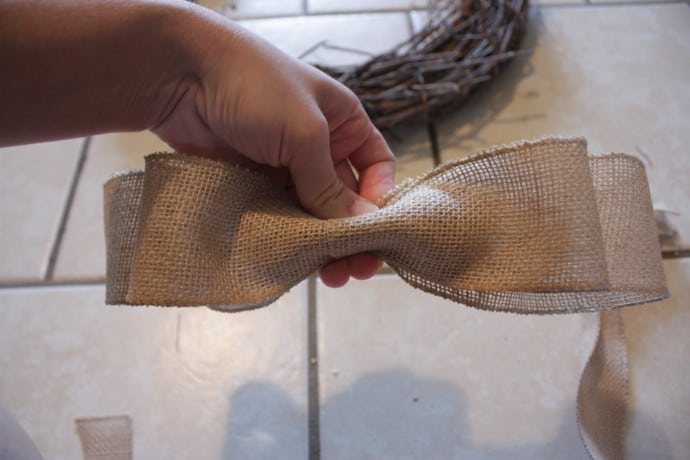
Then I just scrunch my two pieces of ribbon up the way I want them to look after being ‘faux tied’!! Lol!! Is that even a thing? I may have just made that up but that’s alright!! Hehe!!
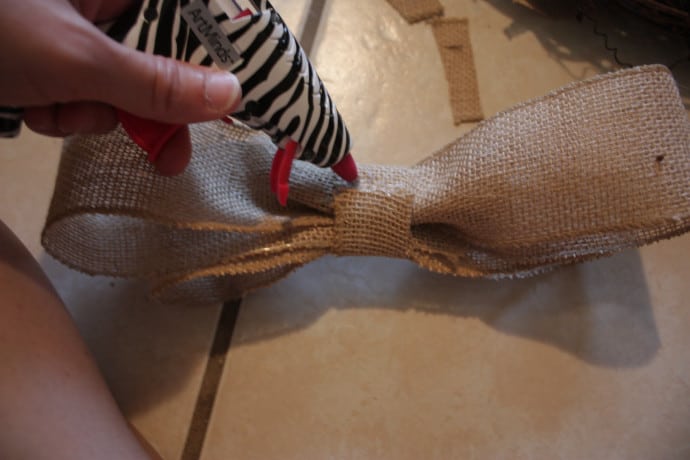
Now just wrap the piece of ribbon we folded in half a minute ago around this piece and hot glue it in the back!
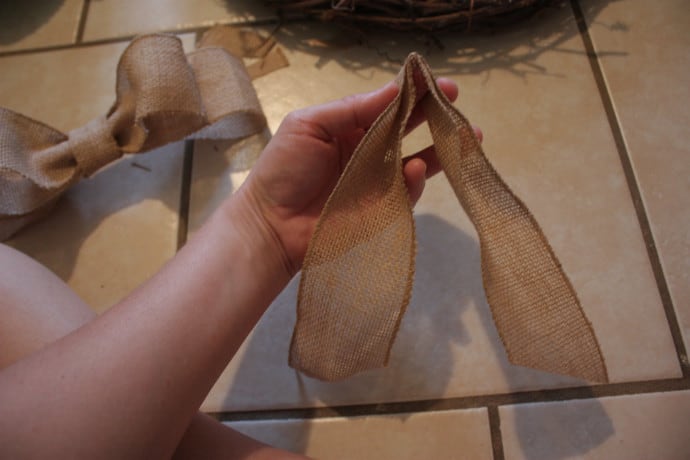
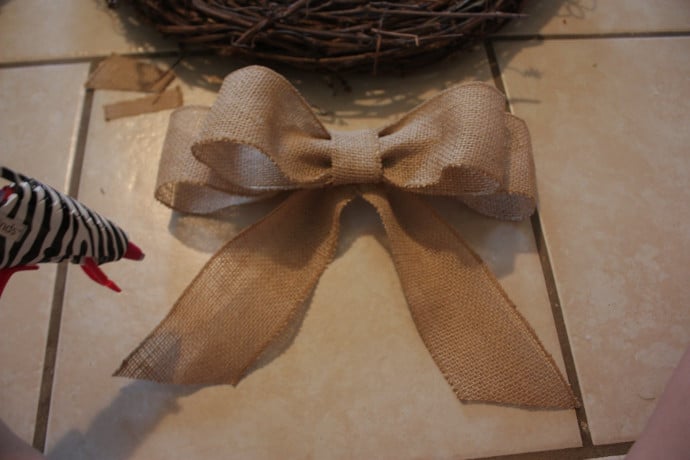
Last, our bow needs some tails, or else it would be obvious that it is fake! We are going to fake it til we make it baby!🤣 I just cut a larger piece and fold it as shown below I sometimes trim a little off if I cut it too long…it doesn’t have to be perfect!!
Yep, you guessed it, now we just hot glue this last piece onto the bow and VIOLA!! So darn easy and looks like a million bucks!!
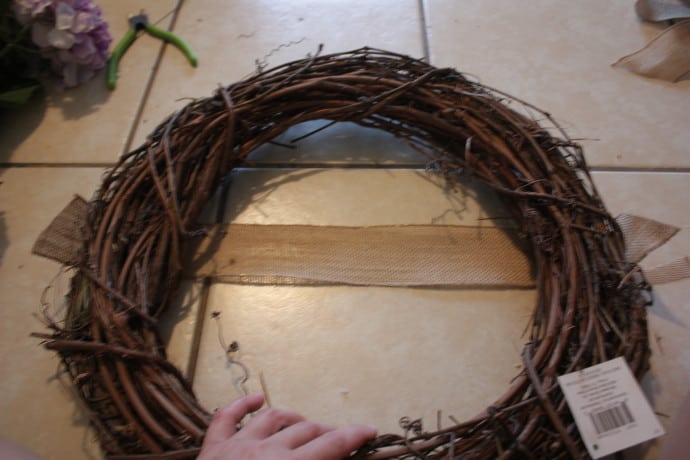
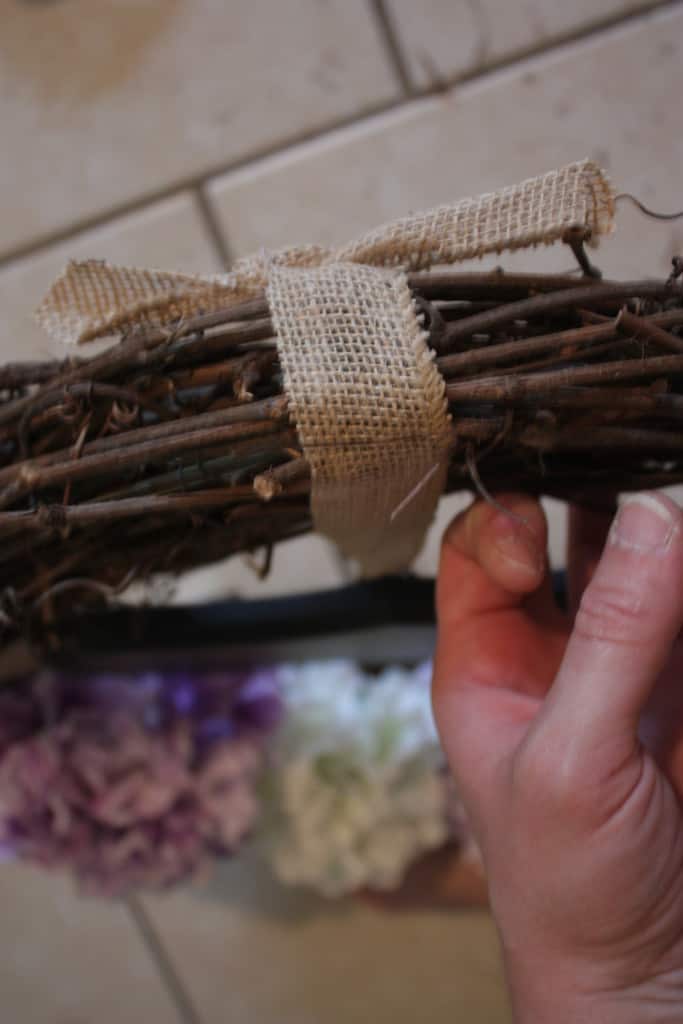
Alright, that was the hardest part of the wreath!! Next, I just added a piece of the burlap ribbon across the middle of the wreath and hot glued it on the back side of the wreath!
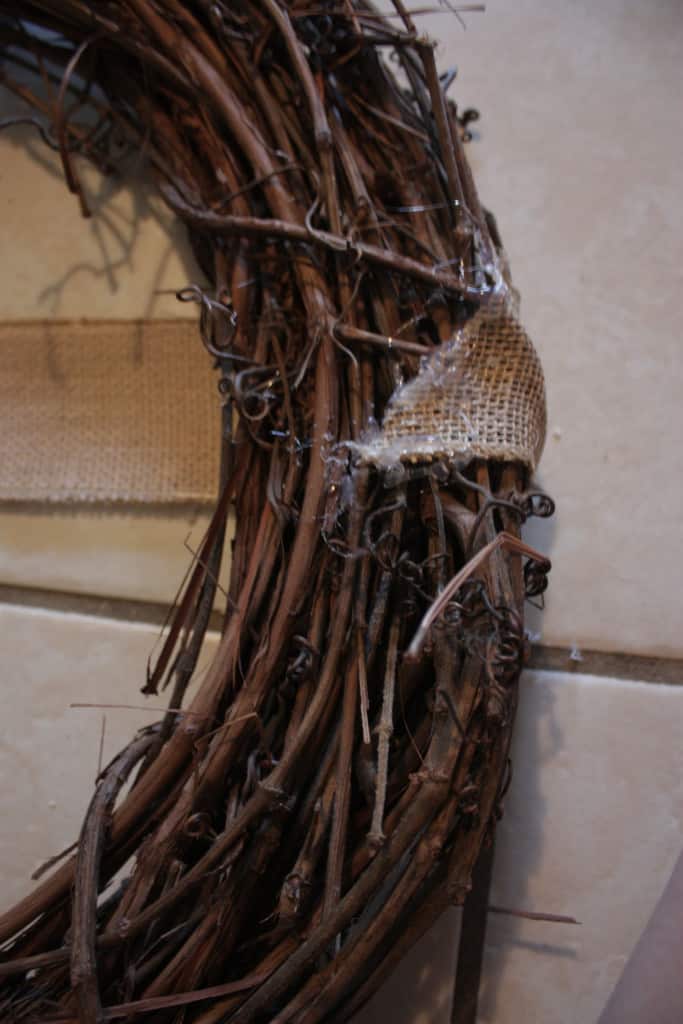
Now, I bought this huge 30 ft. roll of ribbon at Hobby Lobby on sale for 5 bucks but I have used it for soooo many projects that I ran out in the middle of this wreath.
Luckily I was able to make it work by just hot gluing this small piece onto the back but if I had more ribbon I would have cut a long piece and tied it behind the chalkboard still gluing on the back to keep it from sliding but either way, it works because you can’t tell from the front that it stops right at the back!! Thank goodness!! Lol!!
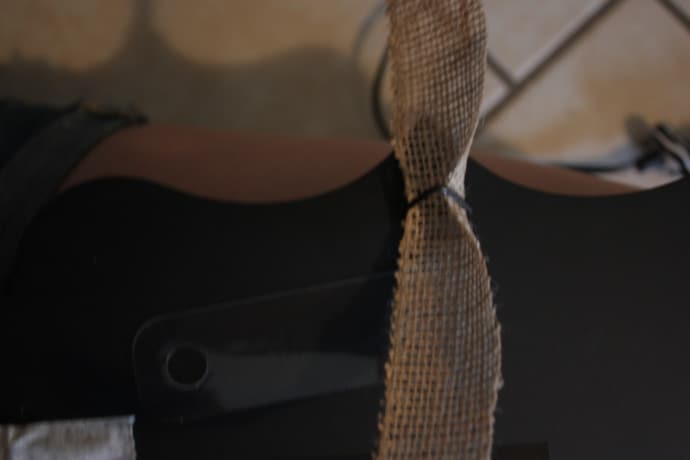
Next, I cut a small piece, and then cut that piece in half, length-wise, and tied my chalkboard onto the wreath using its hanger.
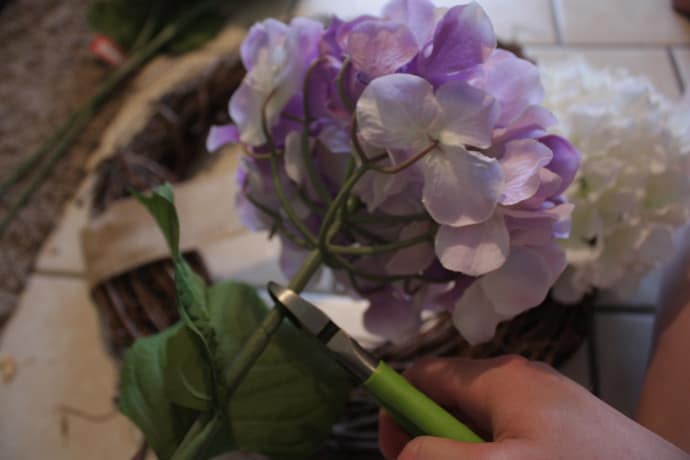
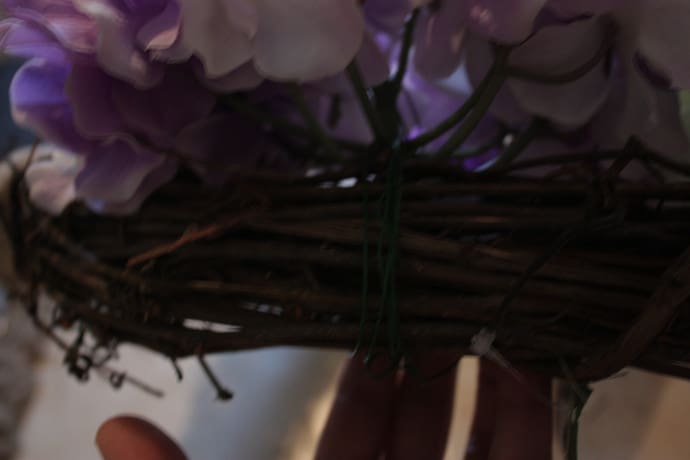
After the chalkboard is attached we can add our flowers!! I just cut their stem off and use floral wire to attach them to the wreath!
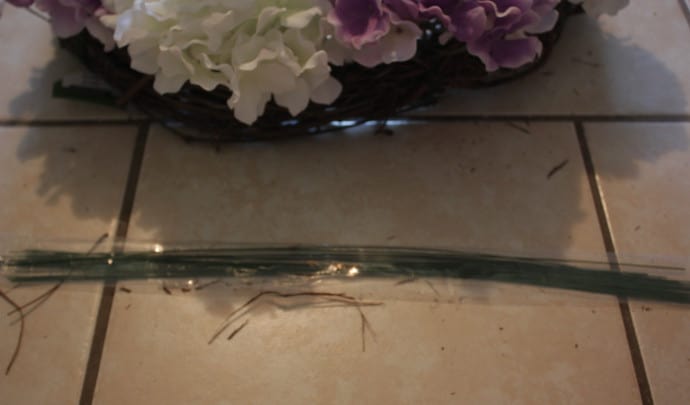
I just stuck the floral wire through the flower and around the wreath, twisted the wire at the back and folded it over! I used three wires or so on each flower!!
I did a little pulling and tugging to adjust the flowers, and then it was time to place the bow with just a little hot glue!
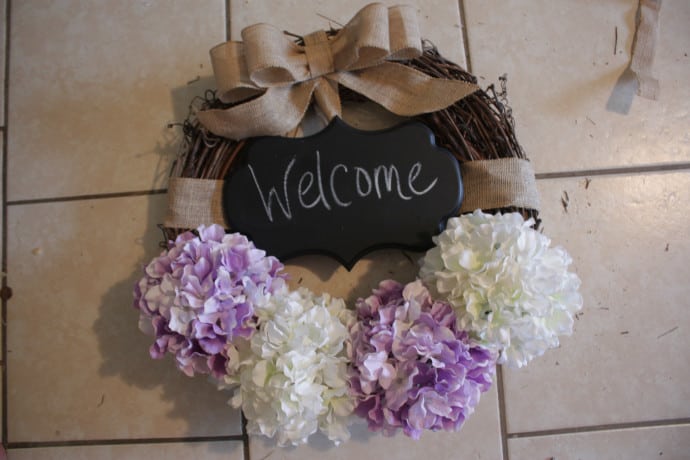
Now it’s DONE!! Wasn’t that so easy? And it looks AMAZING!!
Don’t mind my mess around the wreath…grapevine gets a little messy, but it’s nothing the vacuum can’t handle!
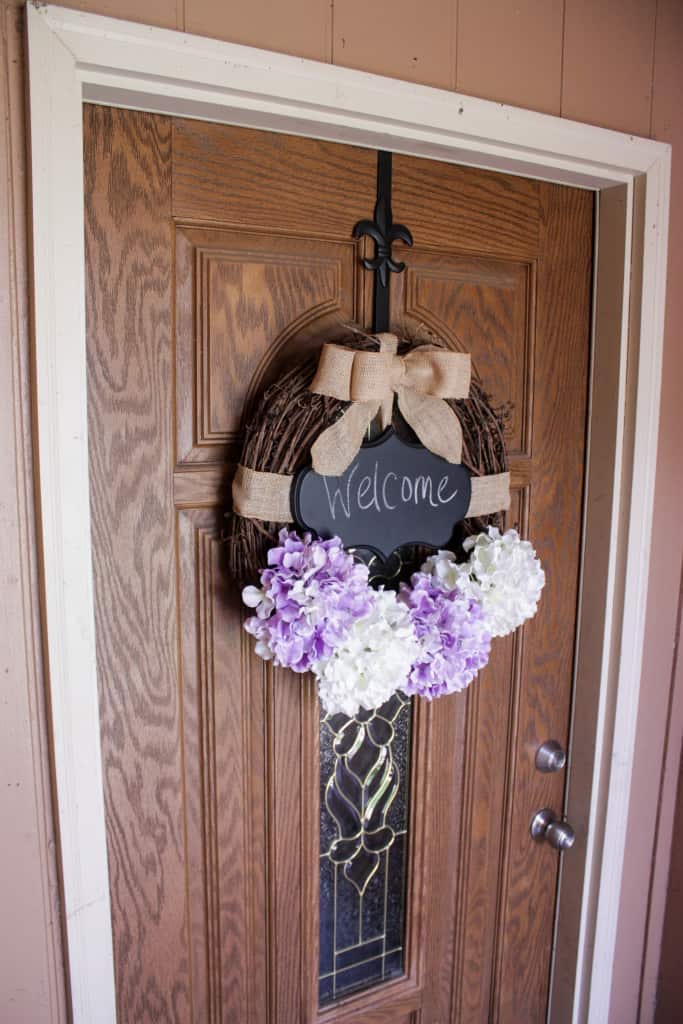
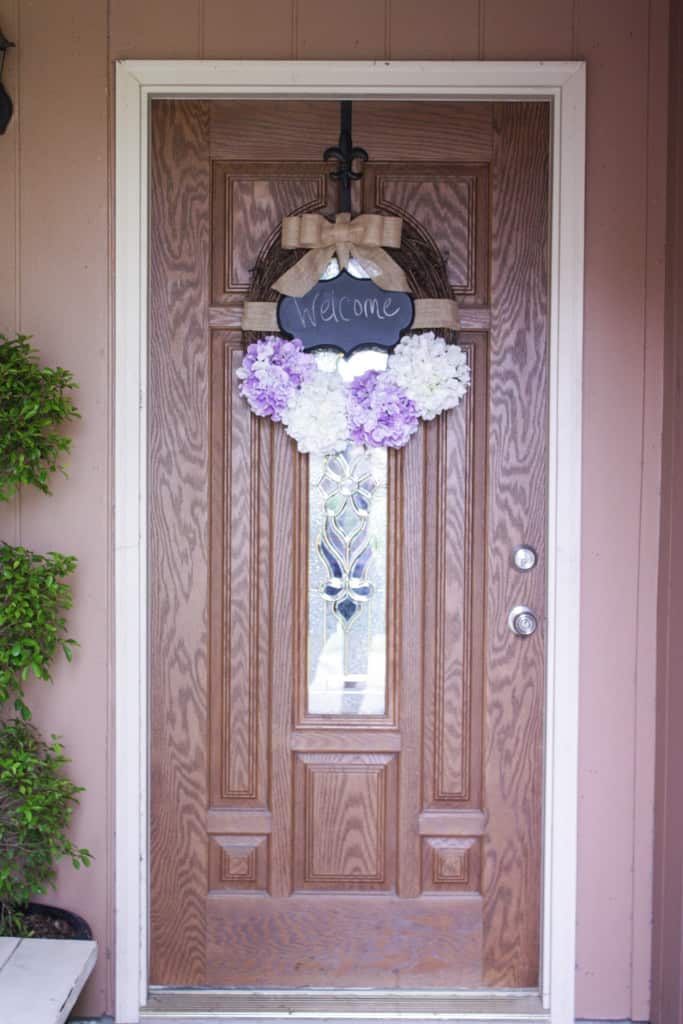
Now just to hang it out on my door!!
I am not sure when I hit the wreath while taking pictures but apparently I did! Lol, the bow is down on the right side in the last picture!! And, I should admit that since taking these pictures…I have killed that topiary!! Lol!! It was so alive and ready for a nice trim and the next thing I knew, a week later, it was BROWN! I am horrible with plants! Hopefully, no one will even notice since I have this beautiful wreath hanging on the door!! Lmbo!!!
Remember, whatever you BUILD or CRAFT, I hope you LOVE every minute of it!!





Is there anything you are not good at, I love this wreath 🙂
Lol!! Many things Jeannie…we don’t have enough time to list them all!! Hahaha!! Thank you so much!!