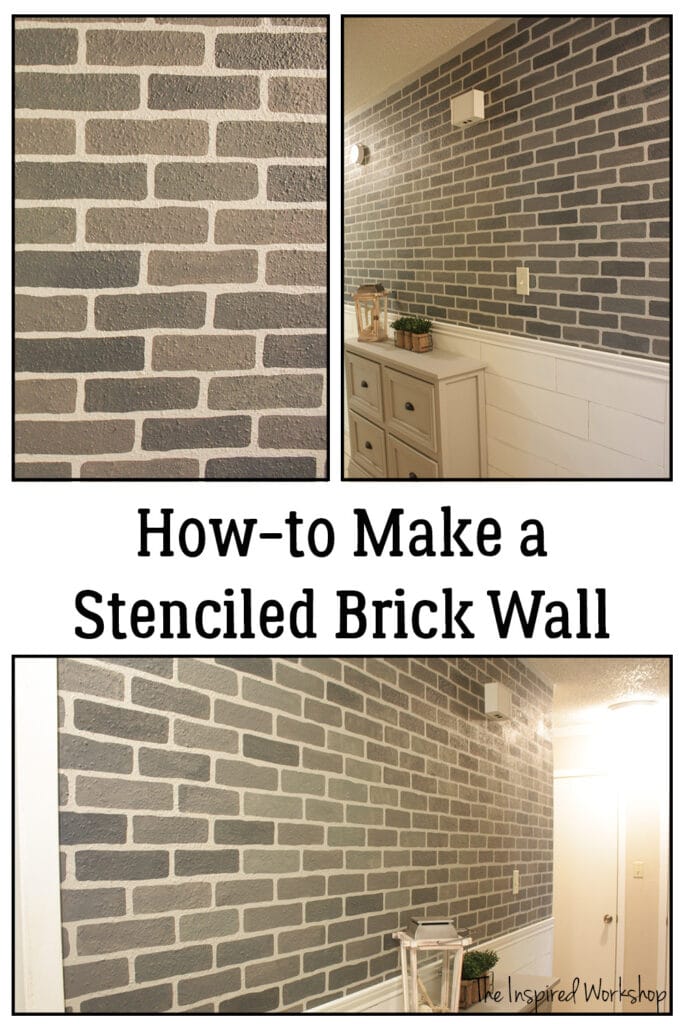
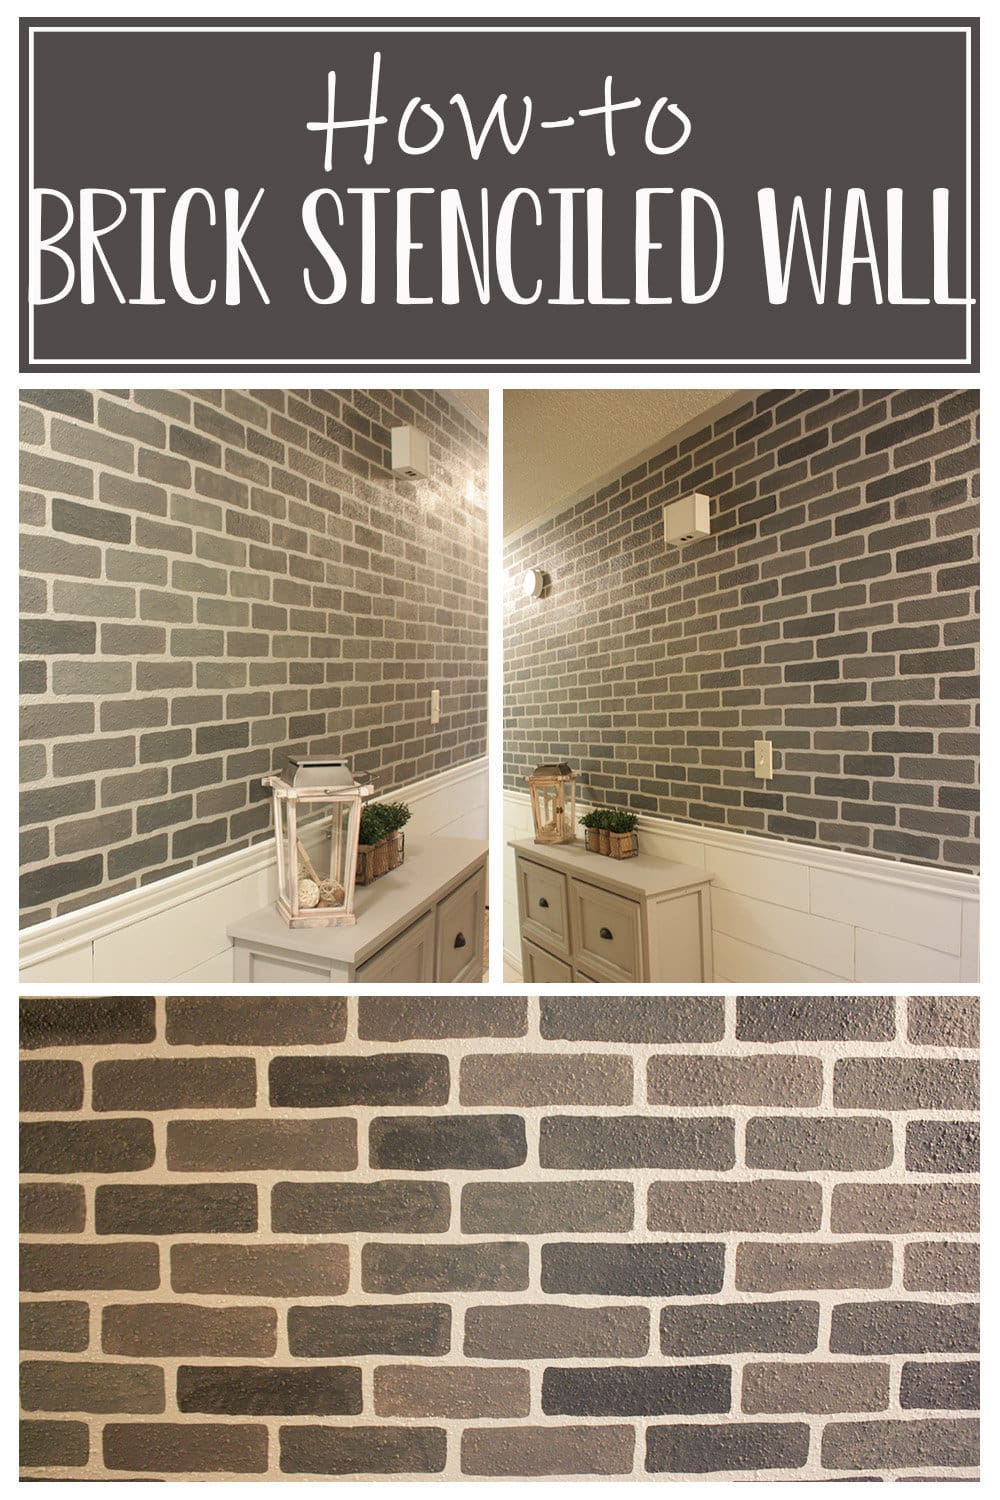
Brick Stenciled Wall
Accent walls and statement walls are all the rage right now! Plain painted walls seem boring sometimes but committing to anything long-term can be hard! Stenciled walls are the answer if you are unsure about creating an accent wall, they are even renter friendly! Easily make a wall that wows with a brick stenciled wall!
I was asked by Cutting Edge Stencils to use their stencil and then share with you all how I felt about it!! After spending two days just trying to choose a stencil to review because they have SO MANY amazing stencils…I went with the Bricks All-Over stencil! I have always wanted a brick wall in my home but being a renter, this was the simplest way to get one!

**I received the stencil free in exchange for this review! All opinions are my own!😉
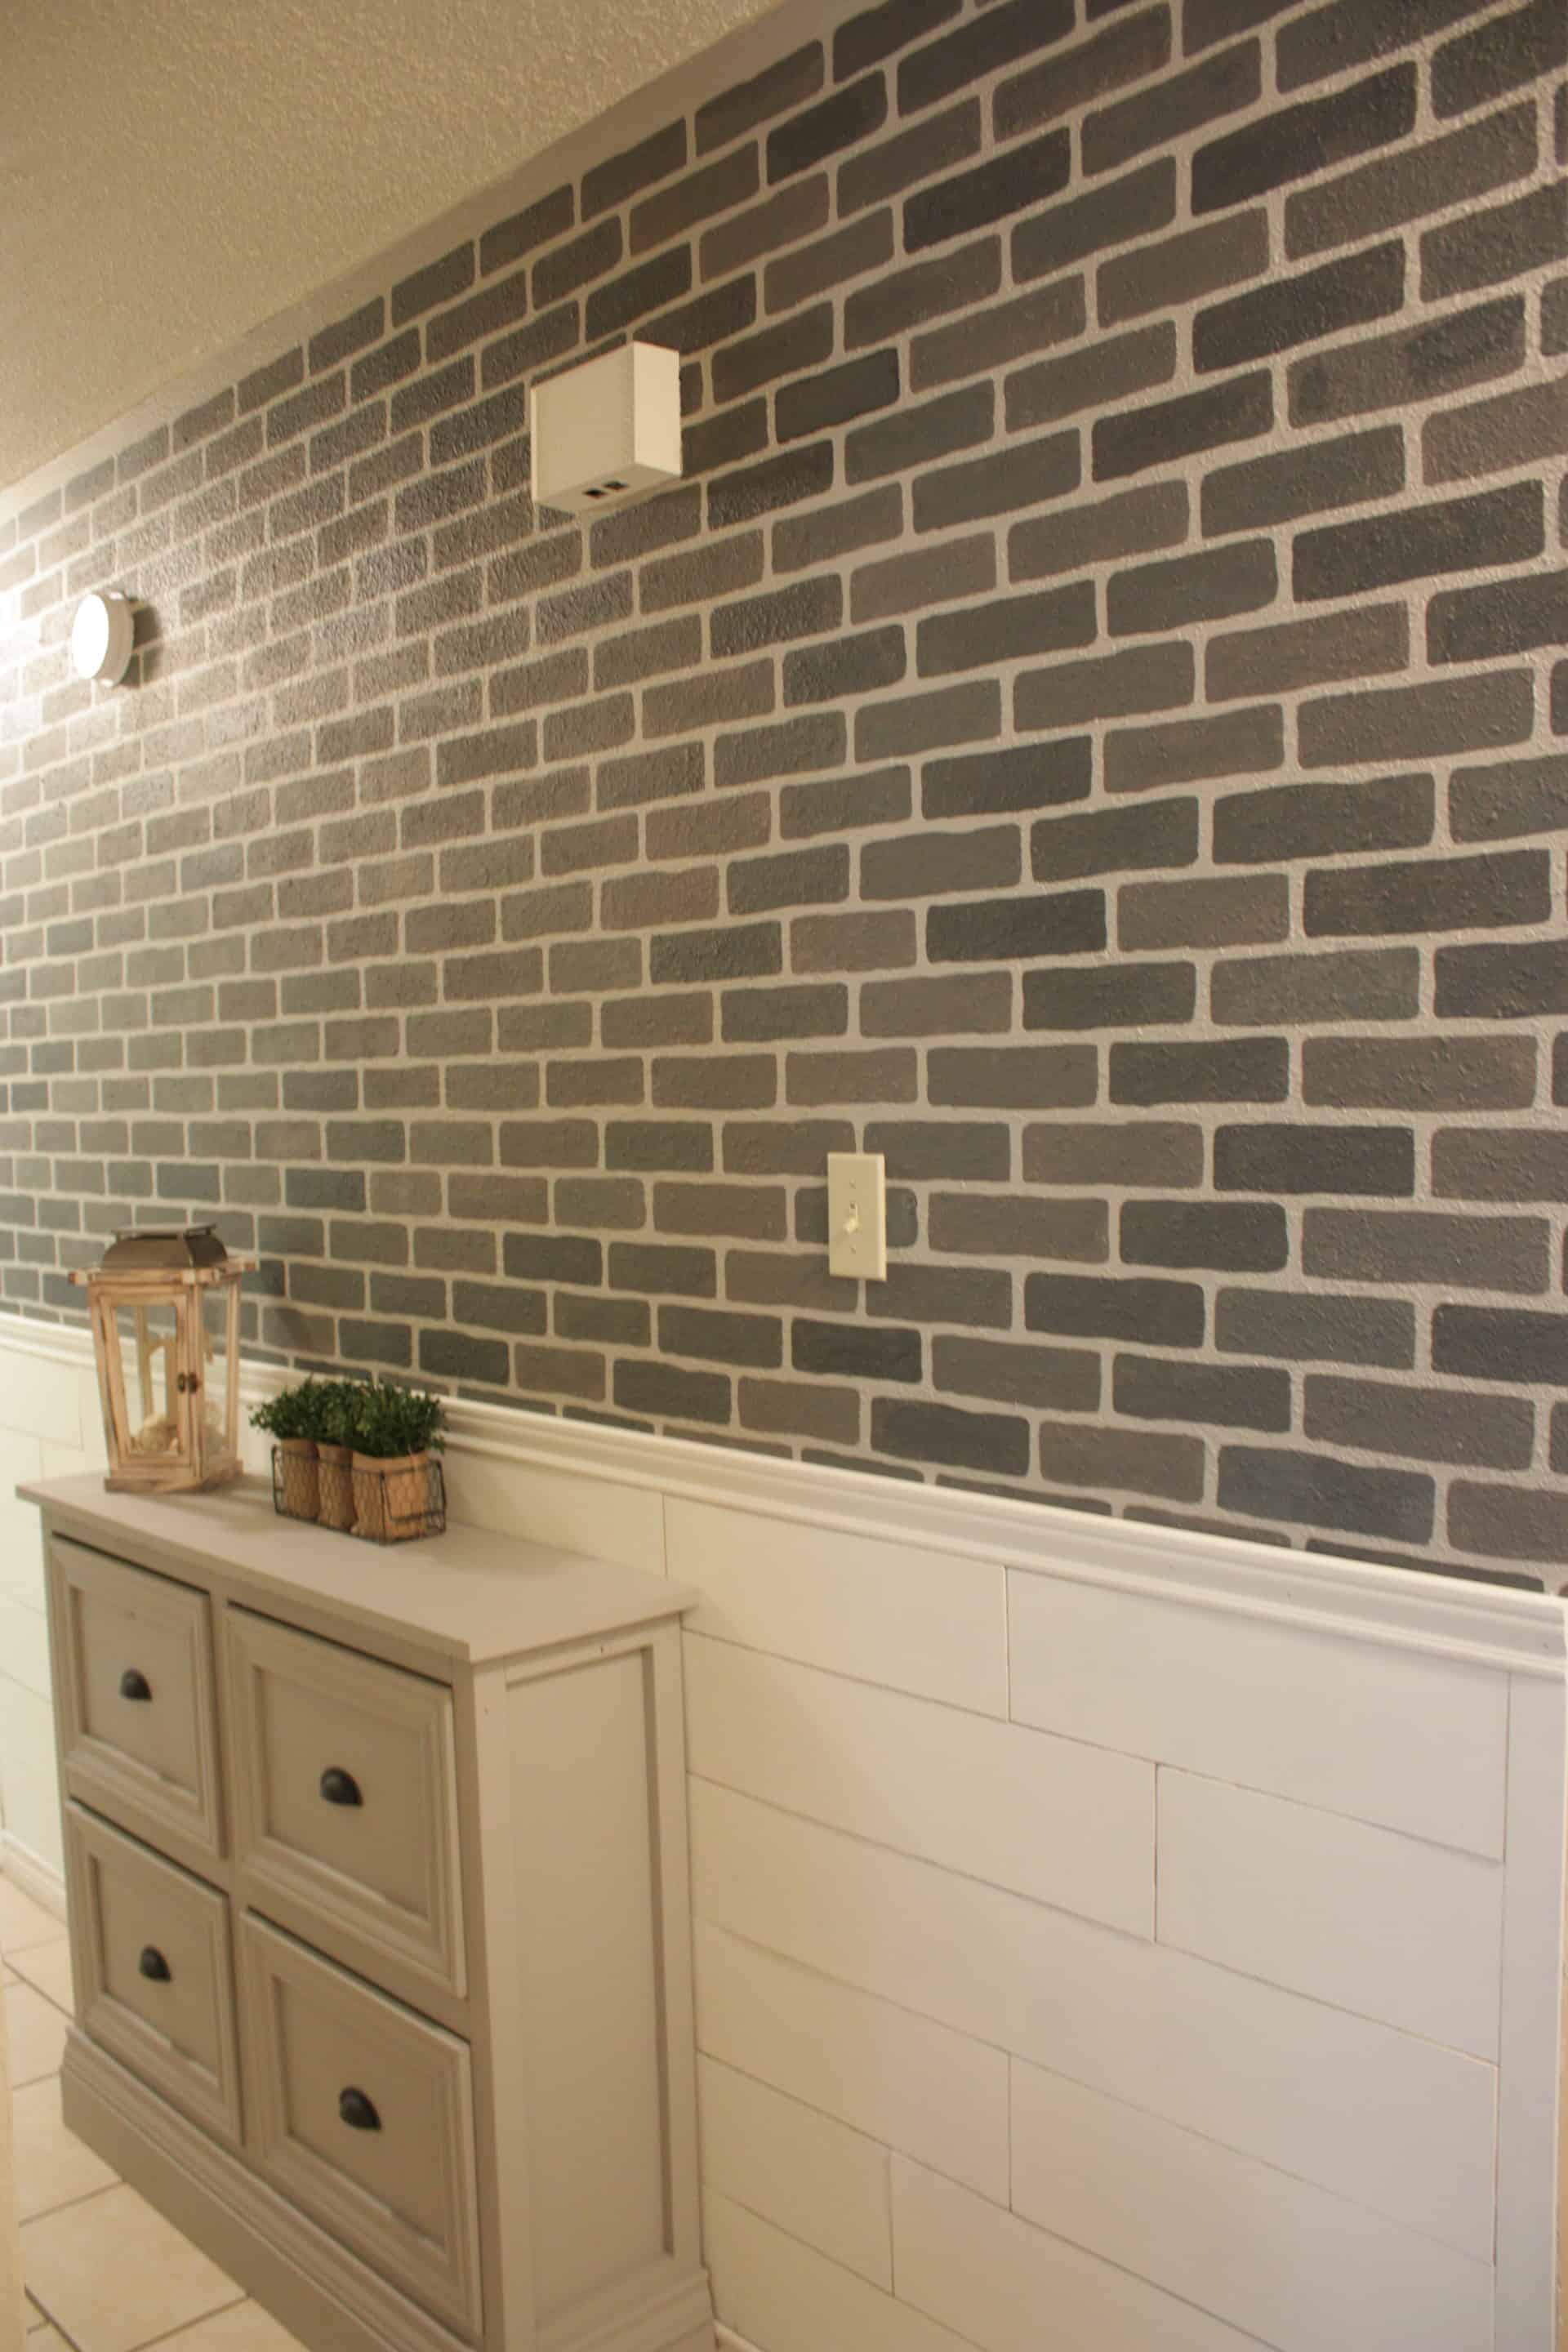
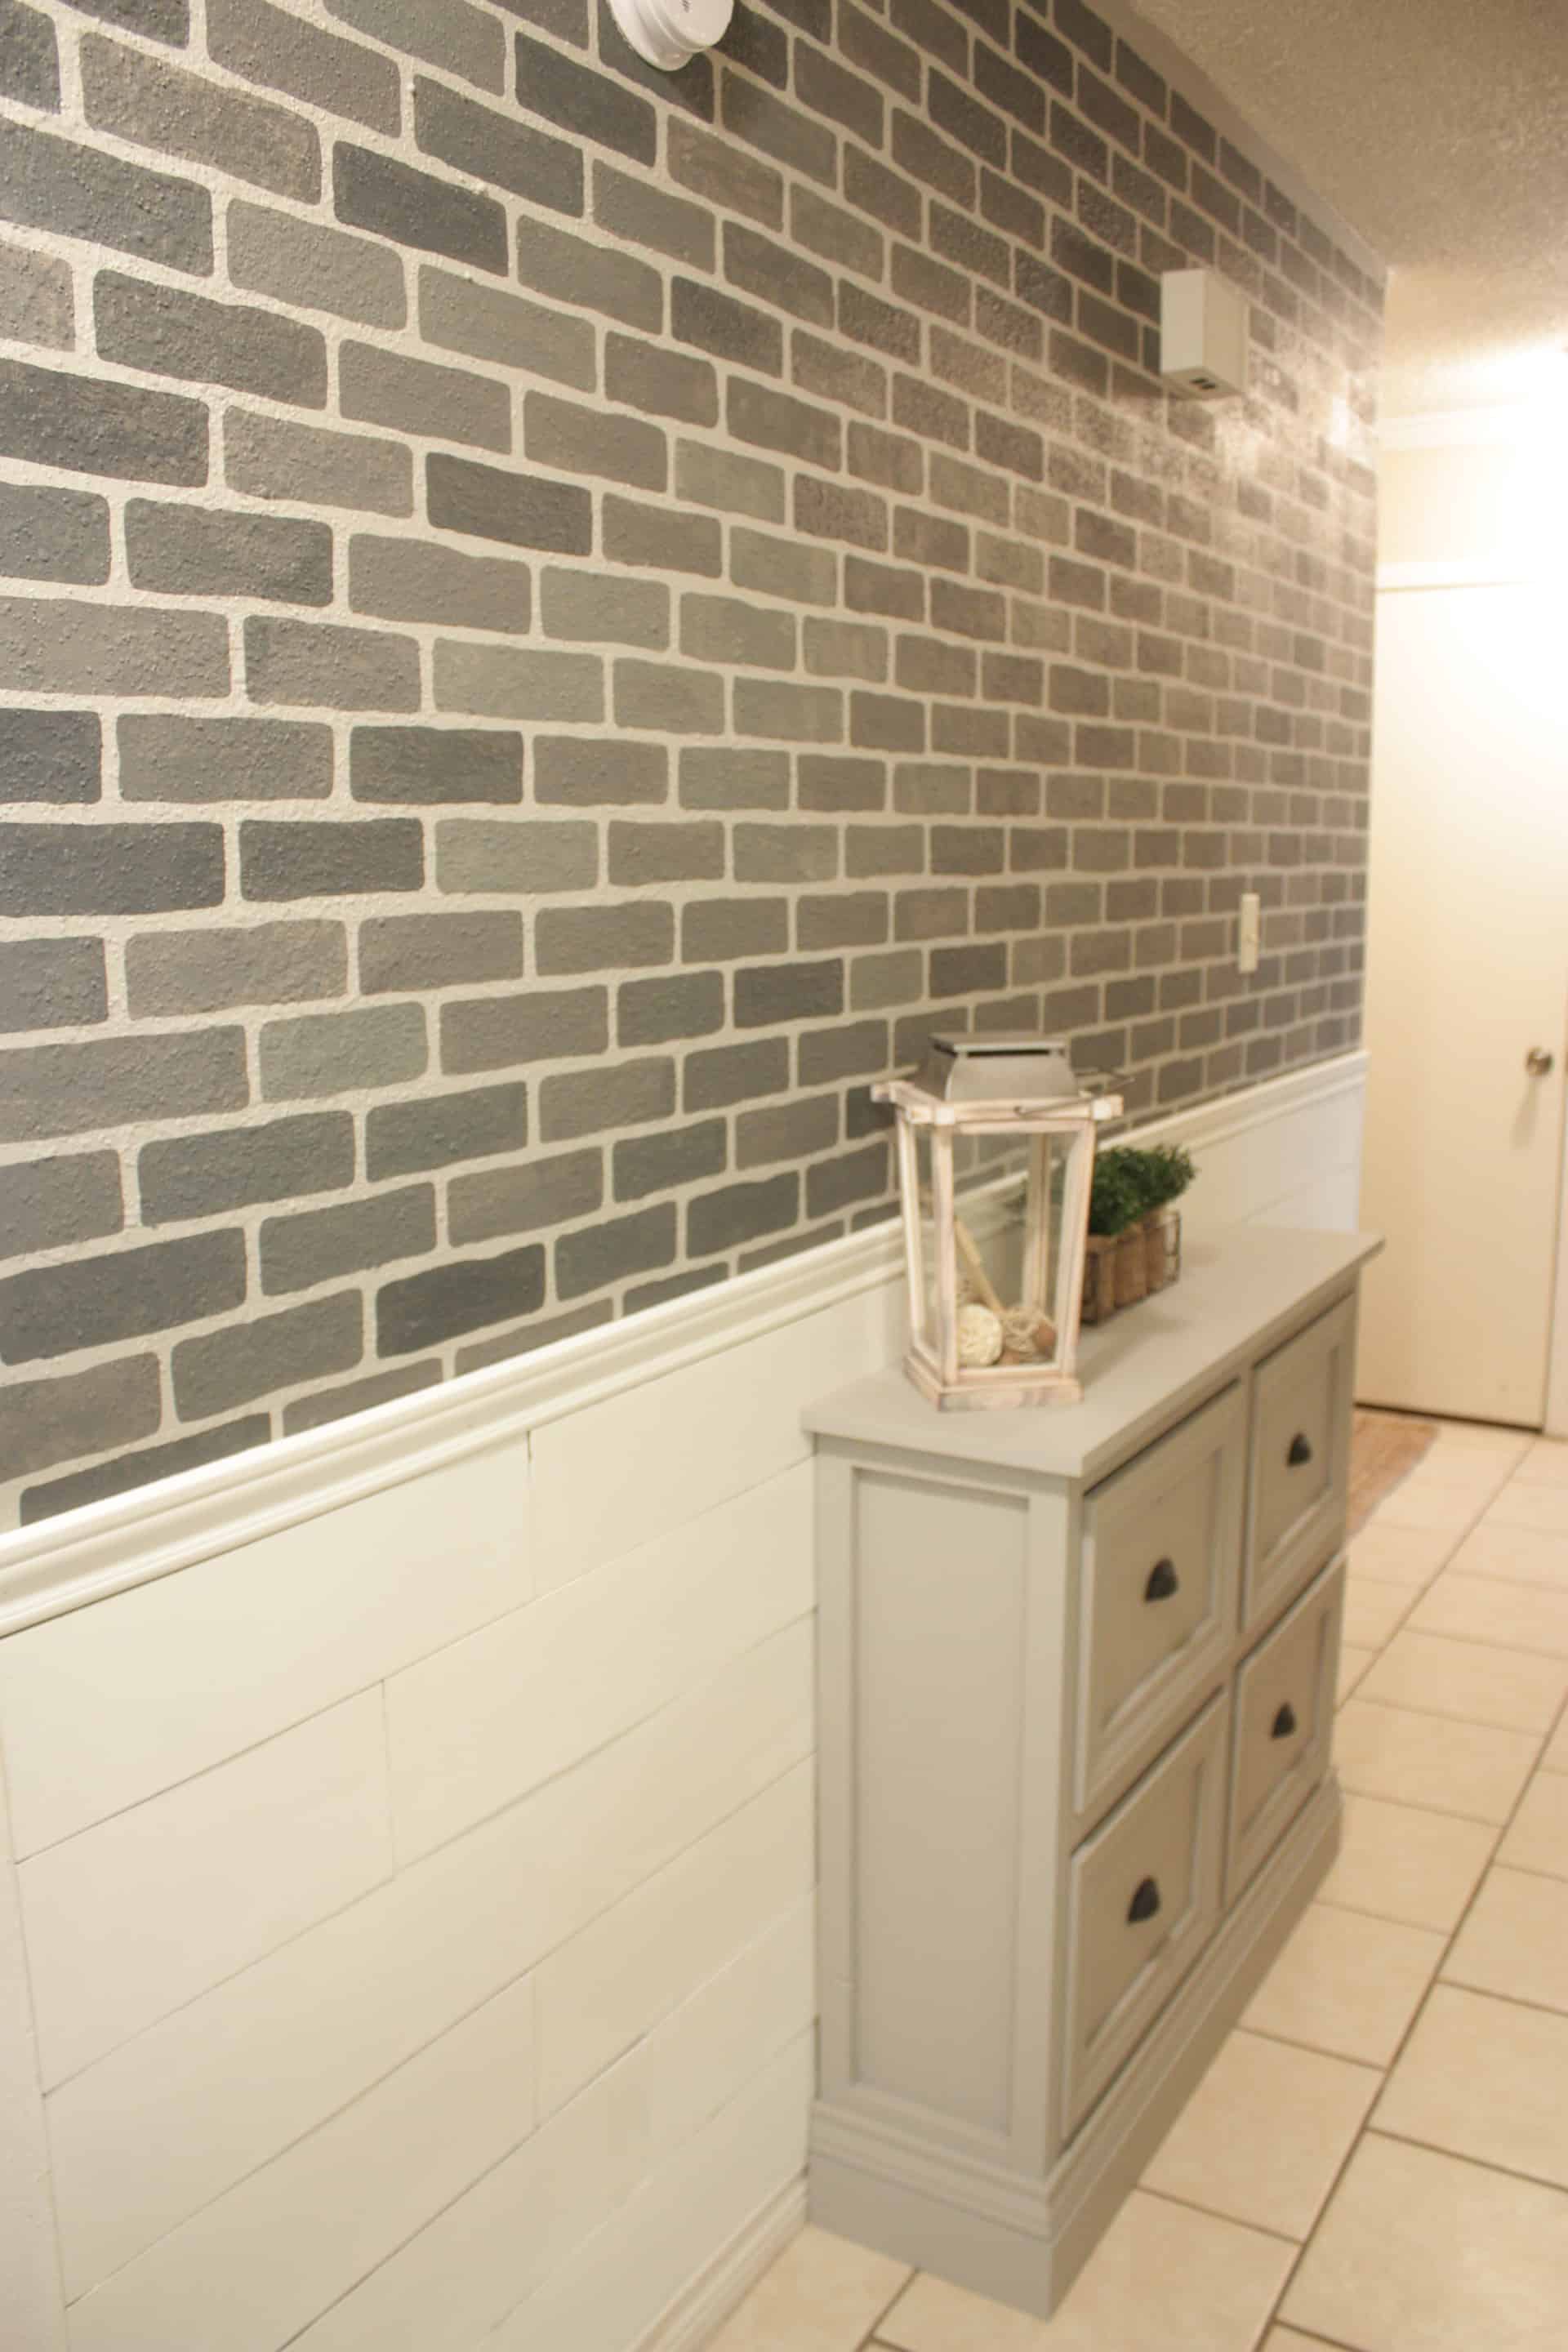
I could not be happier with the way the brick stenciled wall turned out, I now want stenciled bricks EVERYWHERE!! 🤣 I chose this hallway wall, and after taking my first few pictures of the stencil hanging on the wall, I realized how hard it is to photograph this narrow space…silly me…so please excuse the long side pictures!
Just a side note, I did not paint all the way to the ceiling on the stenciled wall because this house has old popcorn ceilings that want to fall on you at the slightest touch. I’m not sure if they contain asbestos and I wasn’t risking pulling any down with painter’s tape! I will probably just put up some inexpensive crown molding so it doesn’t look funny!! Lol!! If this were my home I would have removed those popcorn ceilings before I ever moved in.

So this process took me a little longer than I originally thought it would but making the decision to paint the bricks different shades of gray really prolonged the process!! In the end, I think it was worth it!!

If you enjoy accent walls, I show you how to tile a kitchen wall in this post, or if you really want to do a lot of painting, you can check out how to paint your kitchen cabinets!
Gathering Supplies to Paint a Stenciled Wall
Materials for Stenciled Wall:
NOTE: Amazon links below are affiliate links! Affiliate links pay me a small commission (at no extra cost to you) should you make a purchase after clicking a link! Shopping at my links is always appreciated so I can keep the plans and tutorials coming for free!😉
- Stencil
- Painter’s tape
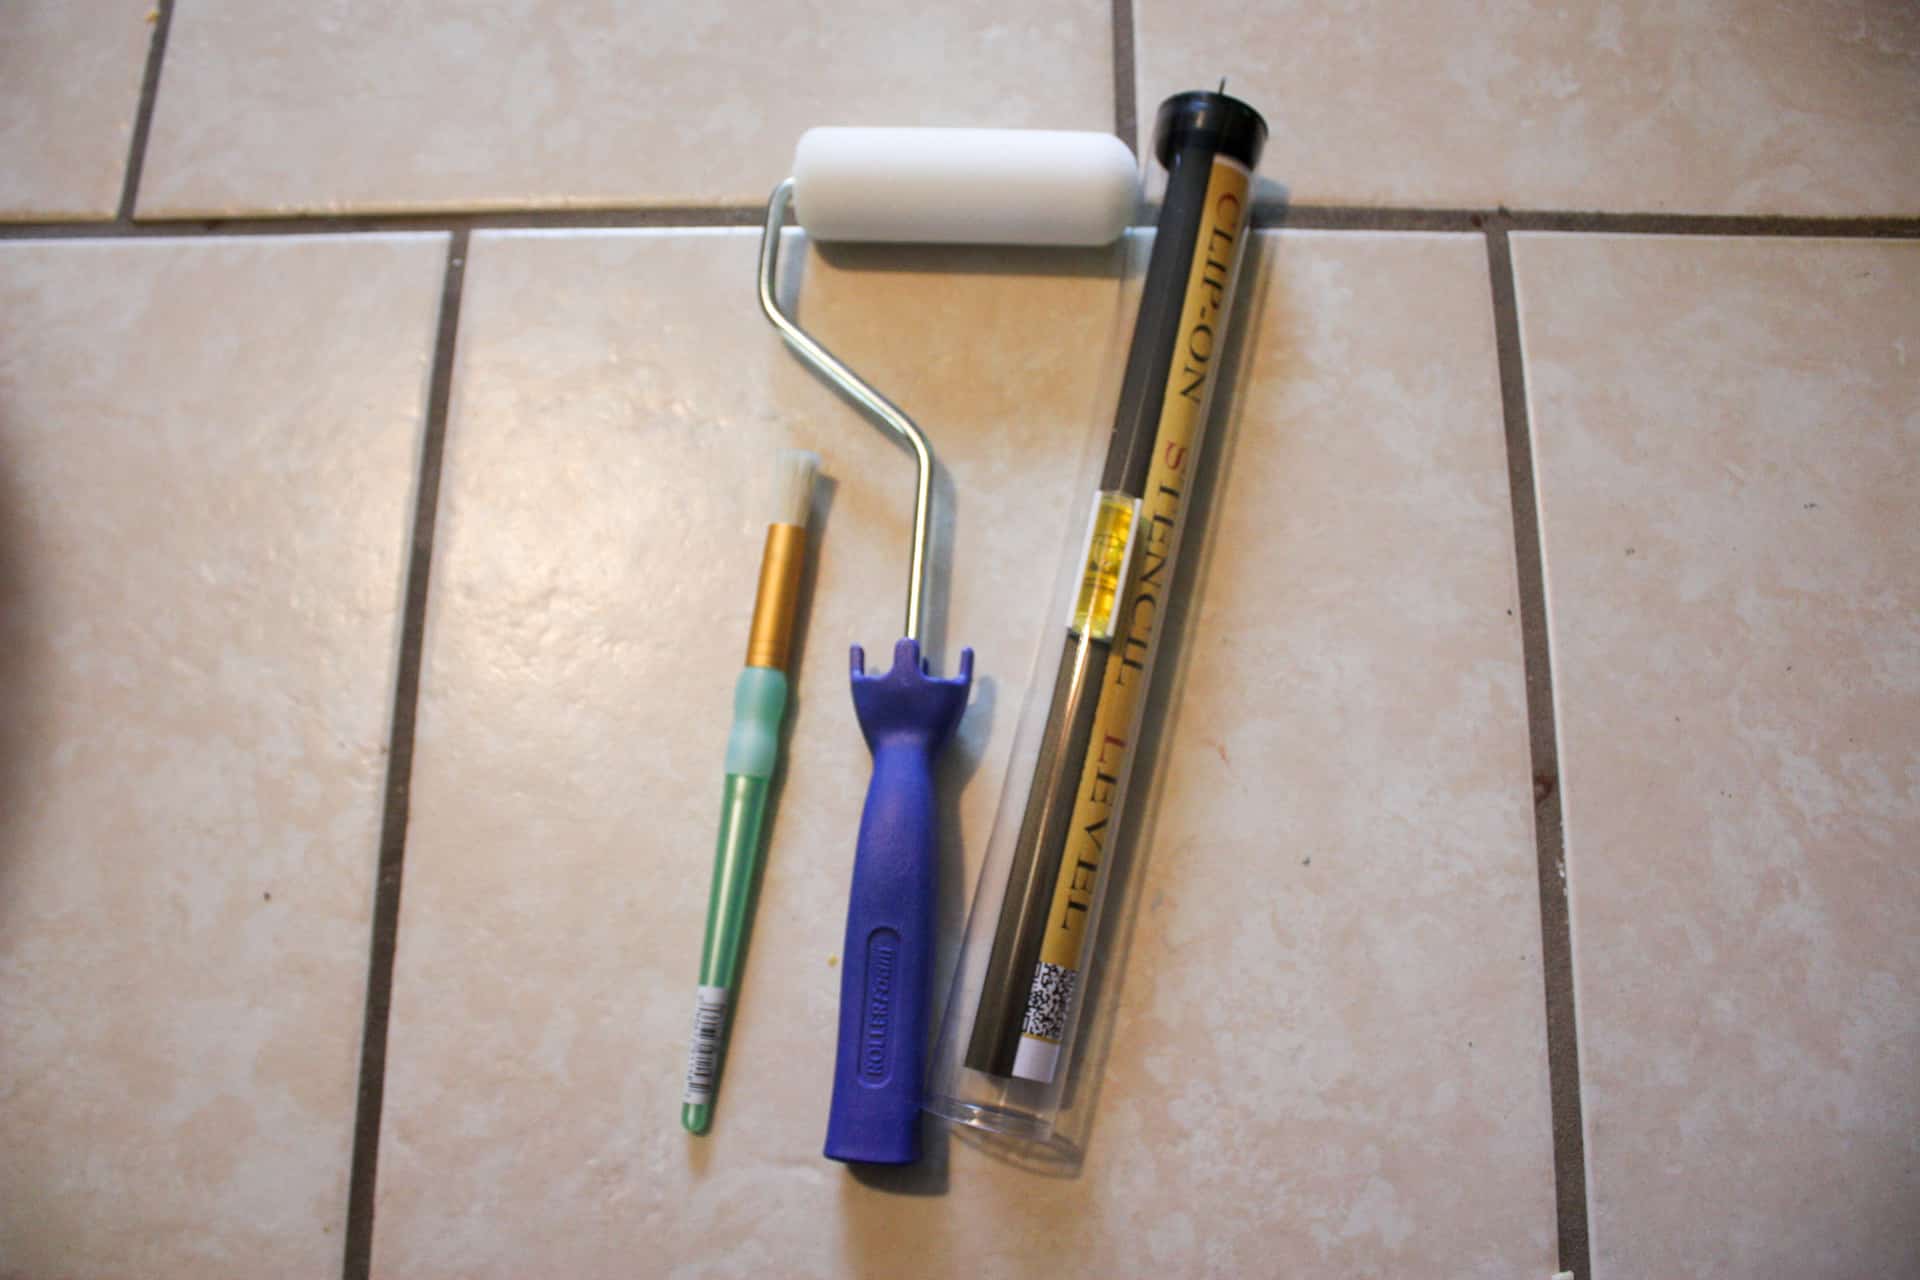
- foam roller – if using one color, if using multiple colors you will need paint brushes
- stencil level
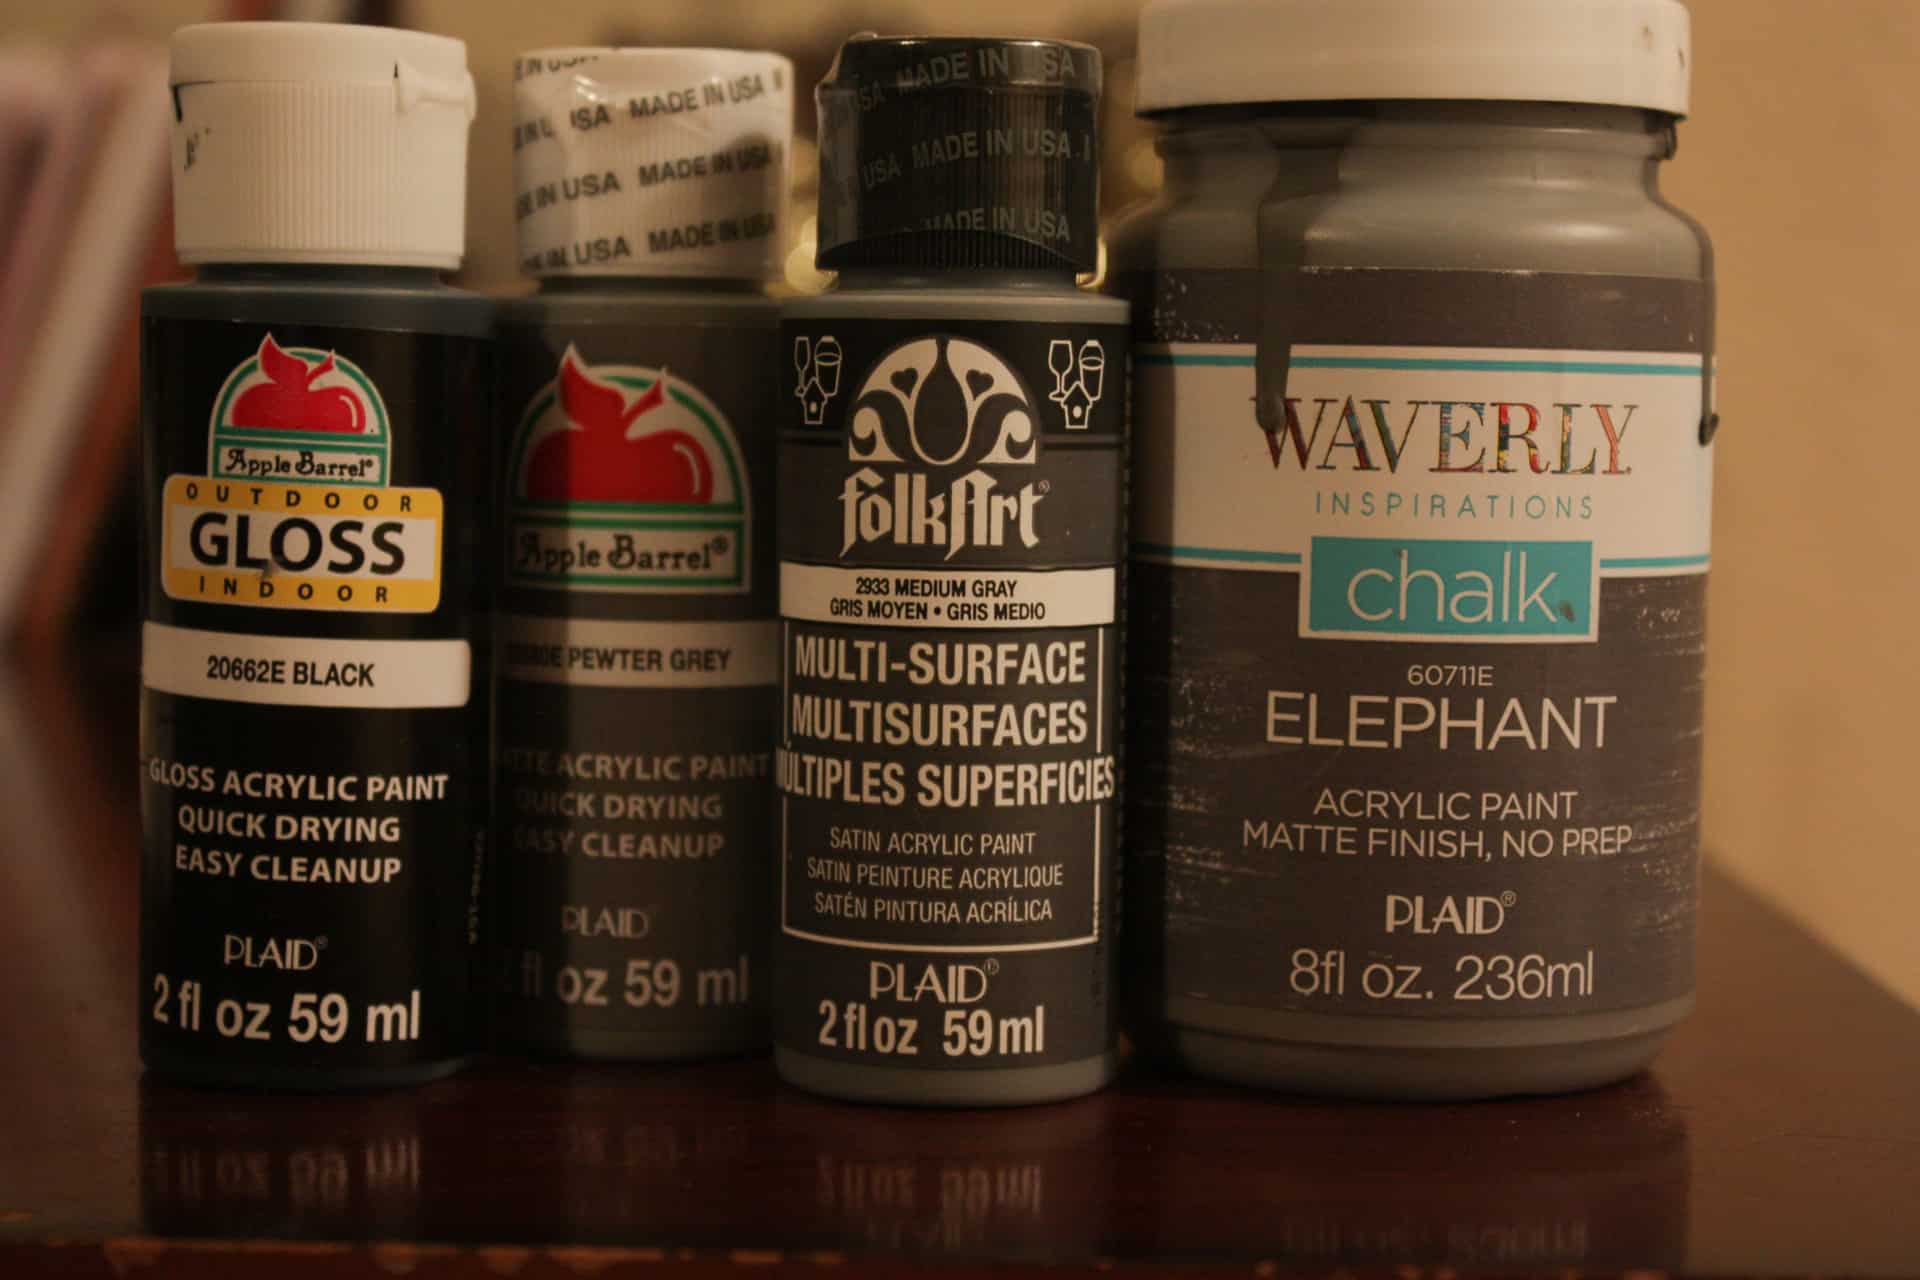
- paint – I used acrylic paints in Pewter gray, black, elephant gray, and medium gray and for my grout I painted the wall Wood Smoke by Glidden
- PATIENCE 🤭
Painting the Brick Stenciled Wall
So, to get started on the stenciled wall, I received my stencil in the mail, and along with the stencil, received this HANDY DANDY little stencil level, roller, and stencil brush for the paint!
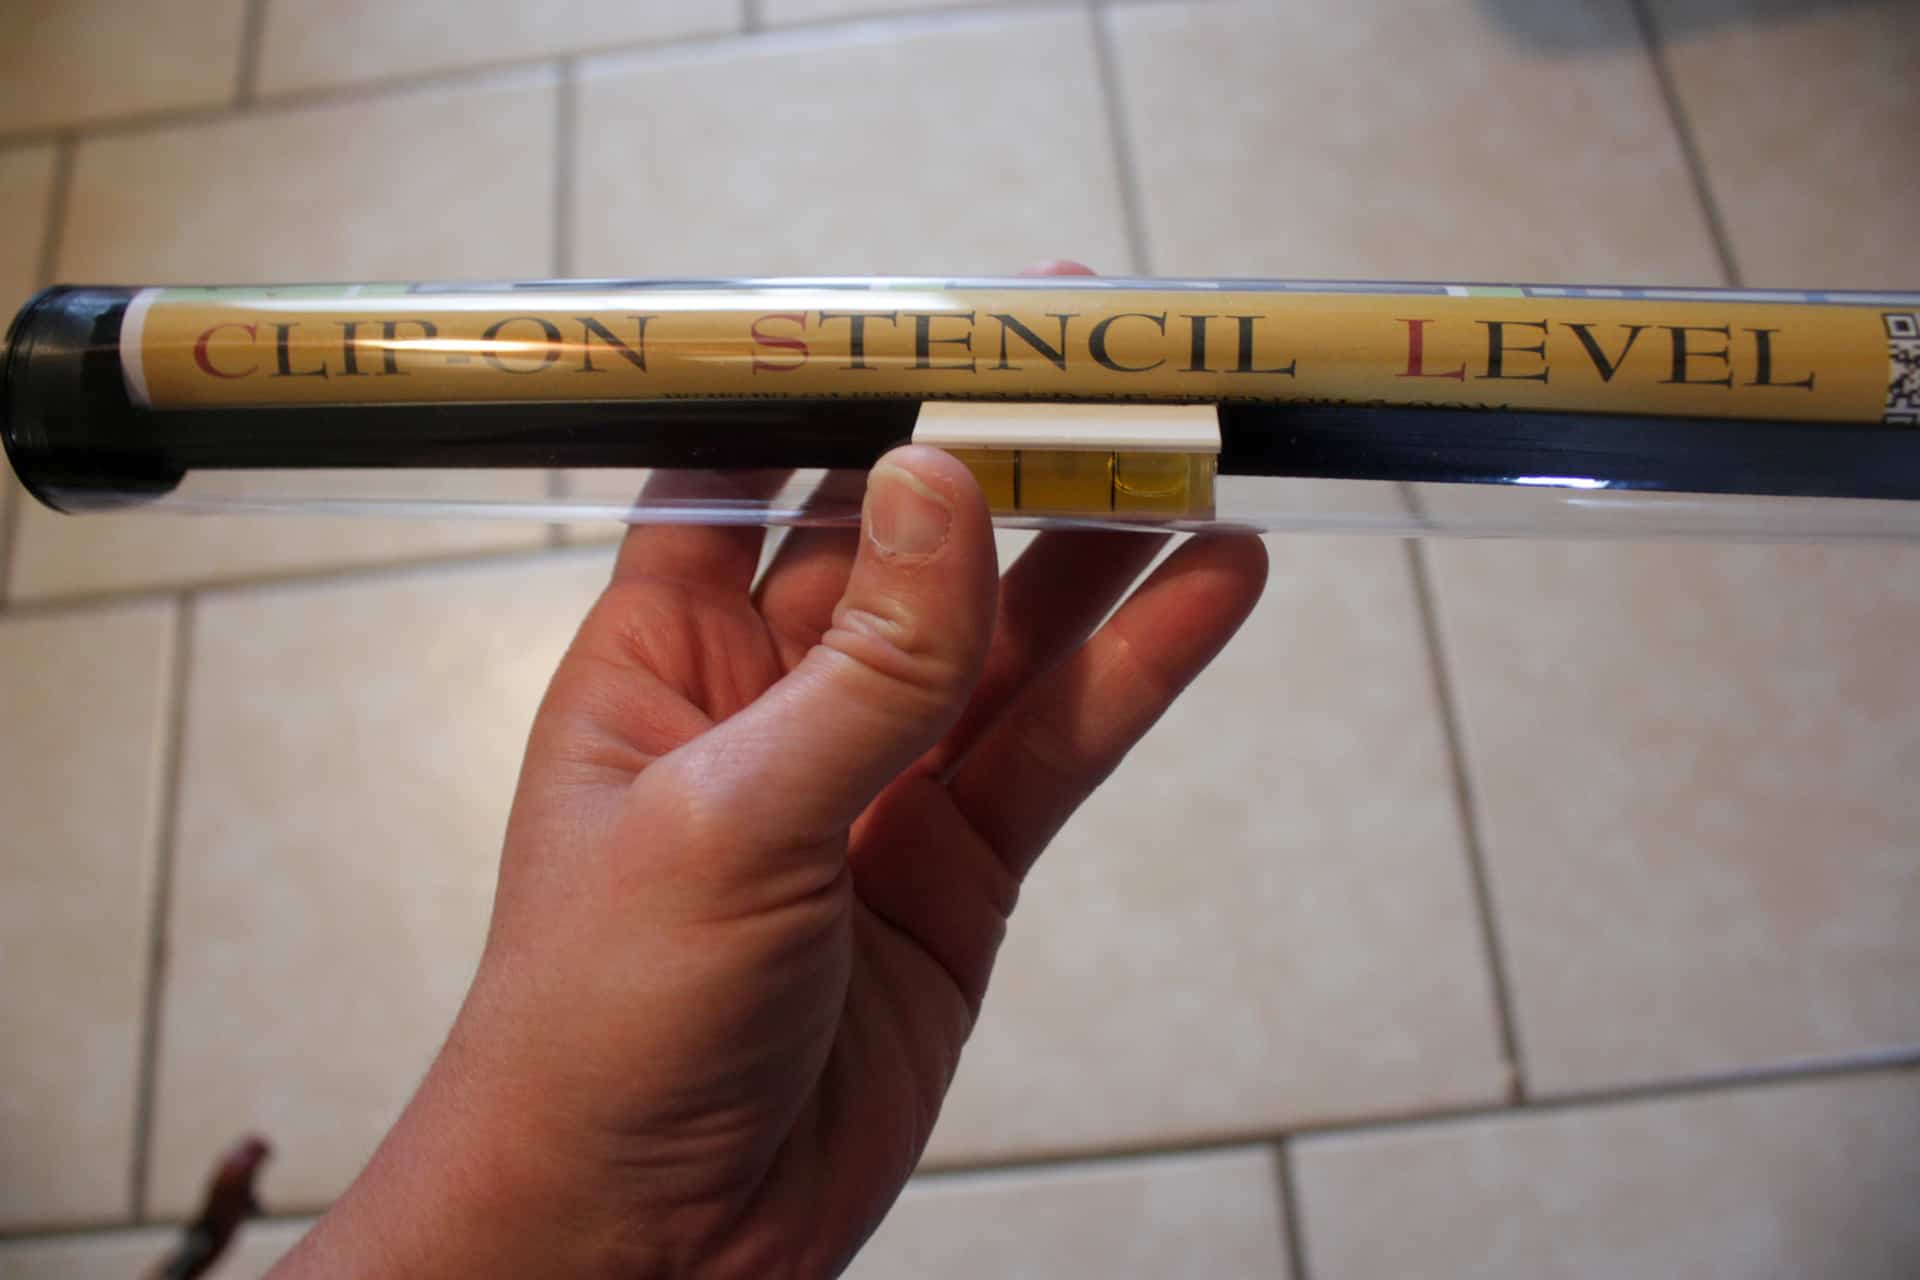
I watched the video that Cutting Edge Stencils has on their site that shows step by step instructions on how to use their stencils…it is a great video, showing how less paint is really more…I have a problem grasping this concept and realized why all of my other stenciling projects have failed! The stencil level though is on another level – pun intended! 😜
Just to note, the stencil level does not come with your stencil purchase, you must purchase it separately but I wouldn’t stencil a wall without it!! It made the process of moving the stencil SO MUCH easier!! So many times, I would think I had the stencil lined up perfect and then look at my level and I was off! Oy! So my brick wall would have gone downhill had I not had that little level!! They also include with each stencil a smaller stencil for up by the ceiling and in tight areas! Life saver…all I’m going to say!!
So I went and bought paint at Wal-Mart, I am a late-night project junkie and I don’t have a Home Depot or Lowe’s within less than an hour drive…three gray paints later I was ready to begin!! Woohoo!!
I started with my lightest gray to be the ‘grout’…well it looked blue…very very blue…so I tested the other two paints I had purchased and they were blue in my lighting as well!! Even though I picked them off of a gray card that was more to the green/olive side…they looked blue in my dark hallway!! Ugh!!
So I went to my garage where I had three different grays that looked blue in natural light that I had purchased previously to paint a piece of furniture. I ended up using one called Wood Smoke by Glidden as my ‘grout’. Let’s try that again, I am NOW ready to get started!😏 I will be painting the surrounding walls this color as well…but I’ll save that for another day!!

The first mistake…picking a wall with a smoke detector and doorbell chime…neither one was flat when I removed the covers, so painting OVER them was rough!!
Since I chose to make the bricks of my stenciled wall different shades of gray because no bricks are all one color if you look at real bricks you will see they are multiple colors and shades. Well, that meant that I could not use the roller…OMG…I had to paint all the bricks with a small stencil brush! I had decided early on I would only paint half the wall and plank the bottom, I just so happen to have also always wanted a planked wall in my home! Planks and bricks make a lovely combo!
I used 3 different acrylic paints for my ‘bricks’. I did add black to the pewter gray to get the darkest gray you see on the wall, but I used all of them without the black added as well!
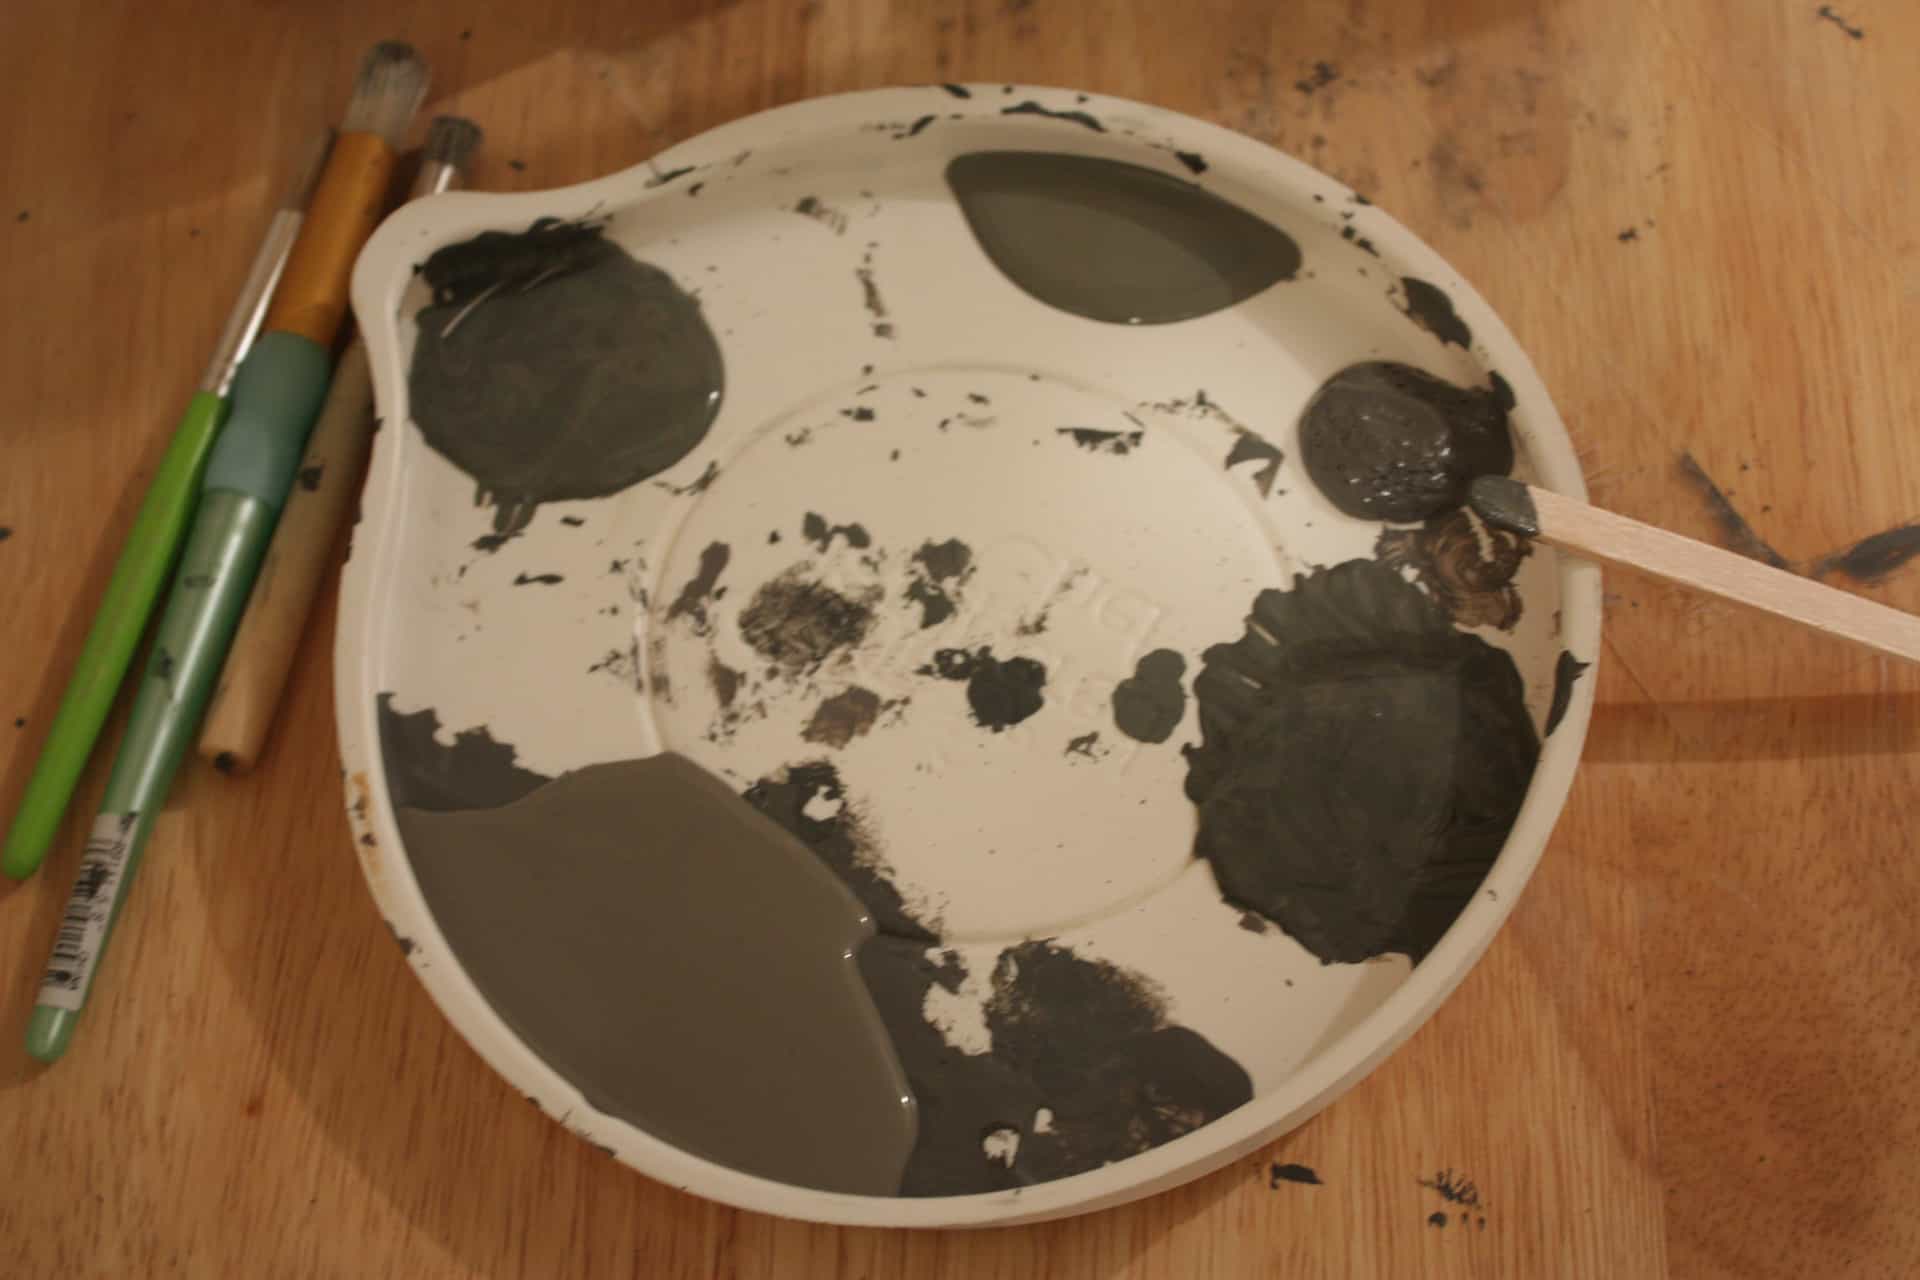
Yep…I made such a mess!! Lol!!
So I started painting the bricks and after the first stencil set was done I was beyond excited…but I was also scared because it took me quite some time to get that one set painted. Oh boy!!!
So I painted six or seven sets and then started on my planked wall to take a break from painting! While working on that in the garage I decided I really needed a narrow table of some sort in the middle of my hallway wall, so I threw together this shoe cabinet! Lol! I cannot stay on task if you hadn’t noticed!! 🙈 Here is a progress shot of the painting!

The paint in the bottom right corner is my test swatches… those are not from the stencil! Ha!

This single stencil came in really handy as well…between this one and the two brick overlapping stencil they send you…you are set and can tackle any small area!! Saved me a ton of time…yeah would have taken me at least two hours more trying to use the large stencil in such a small area!!
So my painting took a total of about 8-10 hours. I broke it up into 2-3 hour segments over a couple of days because I would become crazy staring at bricks for that long!! LOL!! This is by far longer than it would have taken if I just would have used one color of paint because rolling it on is smooth and simple. Just to test it out, I rolled the stencil once with a solid paint color, and then went back and painted over the bricks with my multi-colored paints, the roller was phenomenal time-wise compared to hand brushing each one!!
Although the roller was faster, this particular stencil was still a little tricky because the brick openings are so big compared to the small pieces of plastic (grout) to hold it together, it didn’t want to lay very flat if my painter’s tape was not PERFECT. It was really tough to keep large gaps from forming in between the stencil and the wall, I just held the plastic tight around each brick as I rolled the stencil.
I would say if you are a beginner like myself, pick a stencil that has smaller openings, and then as you gain experience this stencil would probably be a cinch! Here are a few more pictures of my beautiful art!! 😉

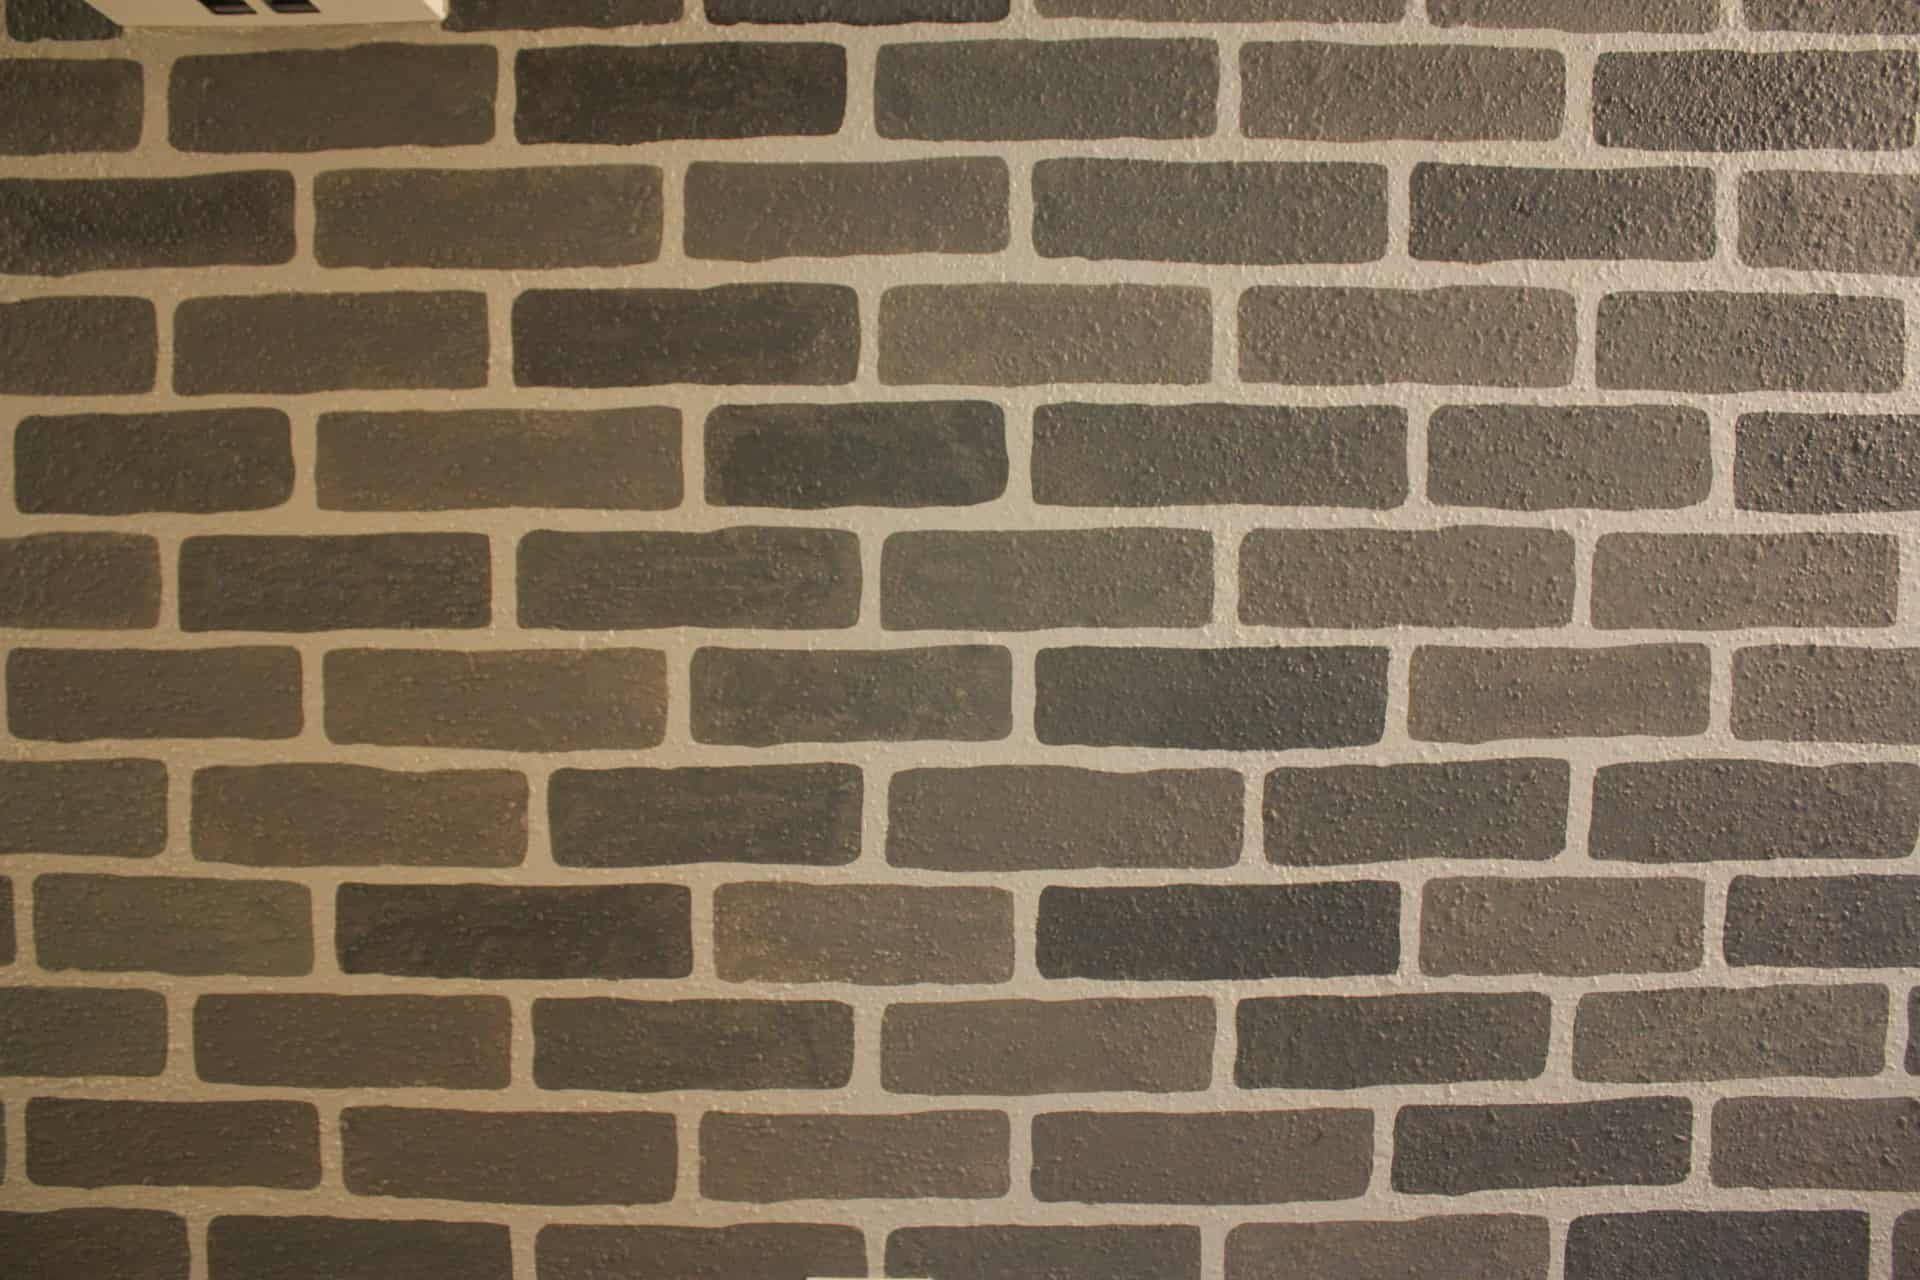
Squeal, I am in LOVE with the wall now!! I will not lie, there was a night that I just wanted to paint the wall back to a solid color and be done, but I am so GLAD I never did. That was not the stencil’s fault either, painting over the smoke detector, doorbell chime, and around the door frame were the times I wanted to pull my hair out. If I would have chosen a flat wall without an obstruction it would have been a piece of cake!
So make sure and look for a wall that is free from any type of bothersome protruding aspects and you should have a great time stenciling!! I don’t plan on stenciling any other walls soon because we are renting our house…well…I may need to stencil just one or two more! In my own home, I will probably stencil EVERY wall!! 😅
The great thing is this stencil is not limited to the walls, I want to use it on the sidewalk…how awesome would that be? A cobblestone sidewalk!! The ideas are endless when it comes to stencils so no matter what, I consider them a worthy décor investment!!
Don’t forget to check out CuttingEdgeStencils.com! I hope you have a wonderful week!! Maybe try out some stenciling in your home!! I would love to see and hear how it goes if anyone gives it a shot!! Whatever you build, craft, or paint…I just hope you LOVE every minute of it!!

Want to save this Brick Stenciled Wall for later? PIN it!

When are you coming to phoenix to help me with my wall 🙂
Maybe when it cools down!! Lol!!! I would LOVE to come paint with you…just be aware…I paint at a turtle’s pace!! Hahaha!!