Faux Shiplap Welcome Sign and Organizer
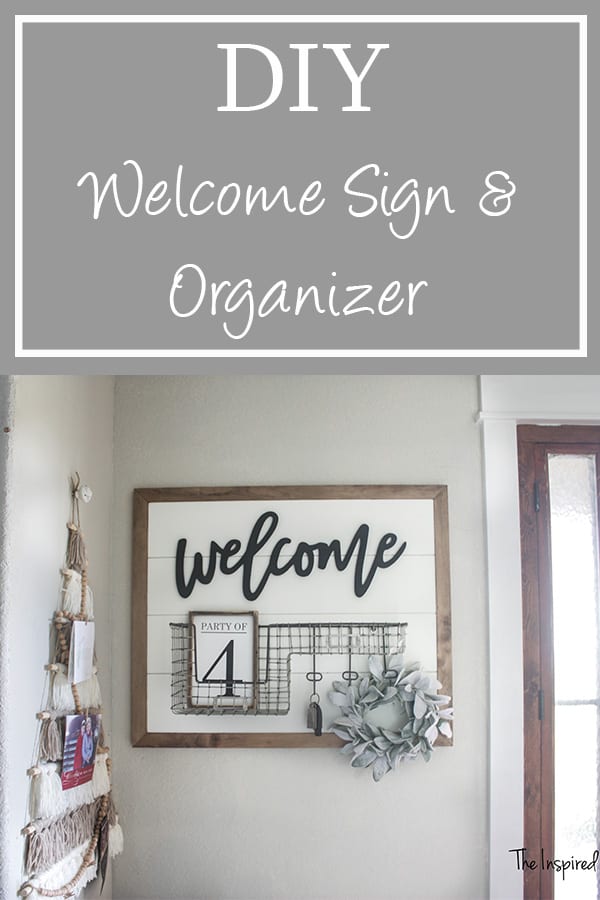
Hey everyone! With all this Marie Kondo organizational craziness going around…Lol…I thought I should create a designated key drop spot with room for a couple of other important items, but not enough room that everything gets dumped there! Solution: this DIY Shiplap welcome sign and organizer!
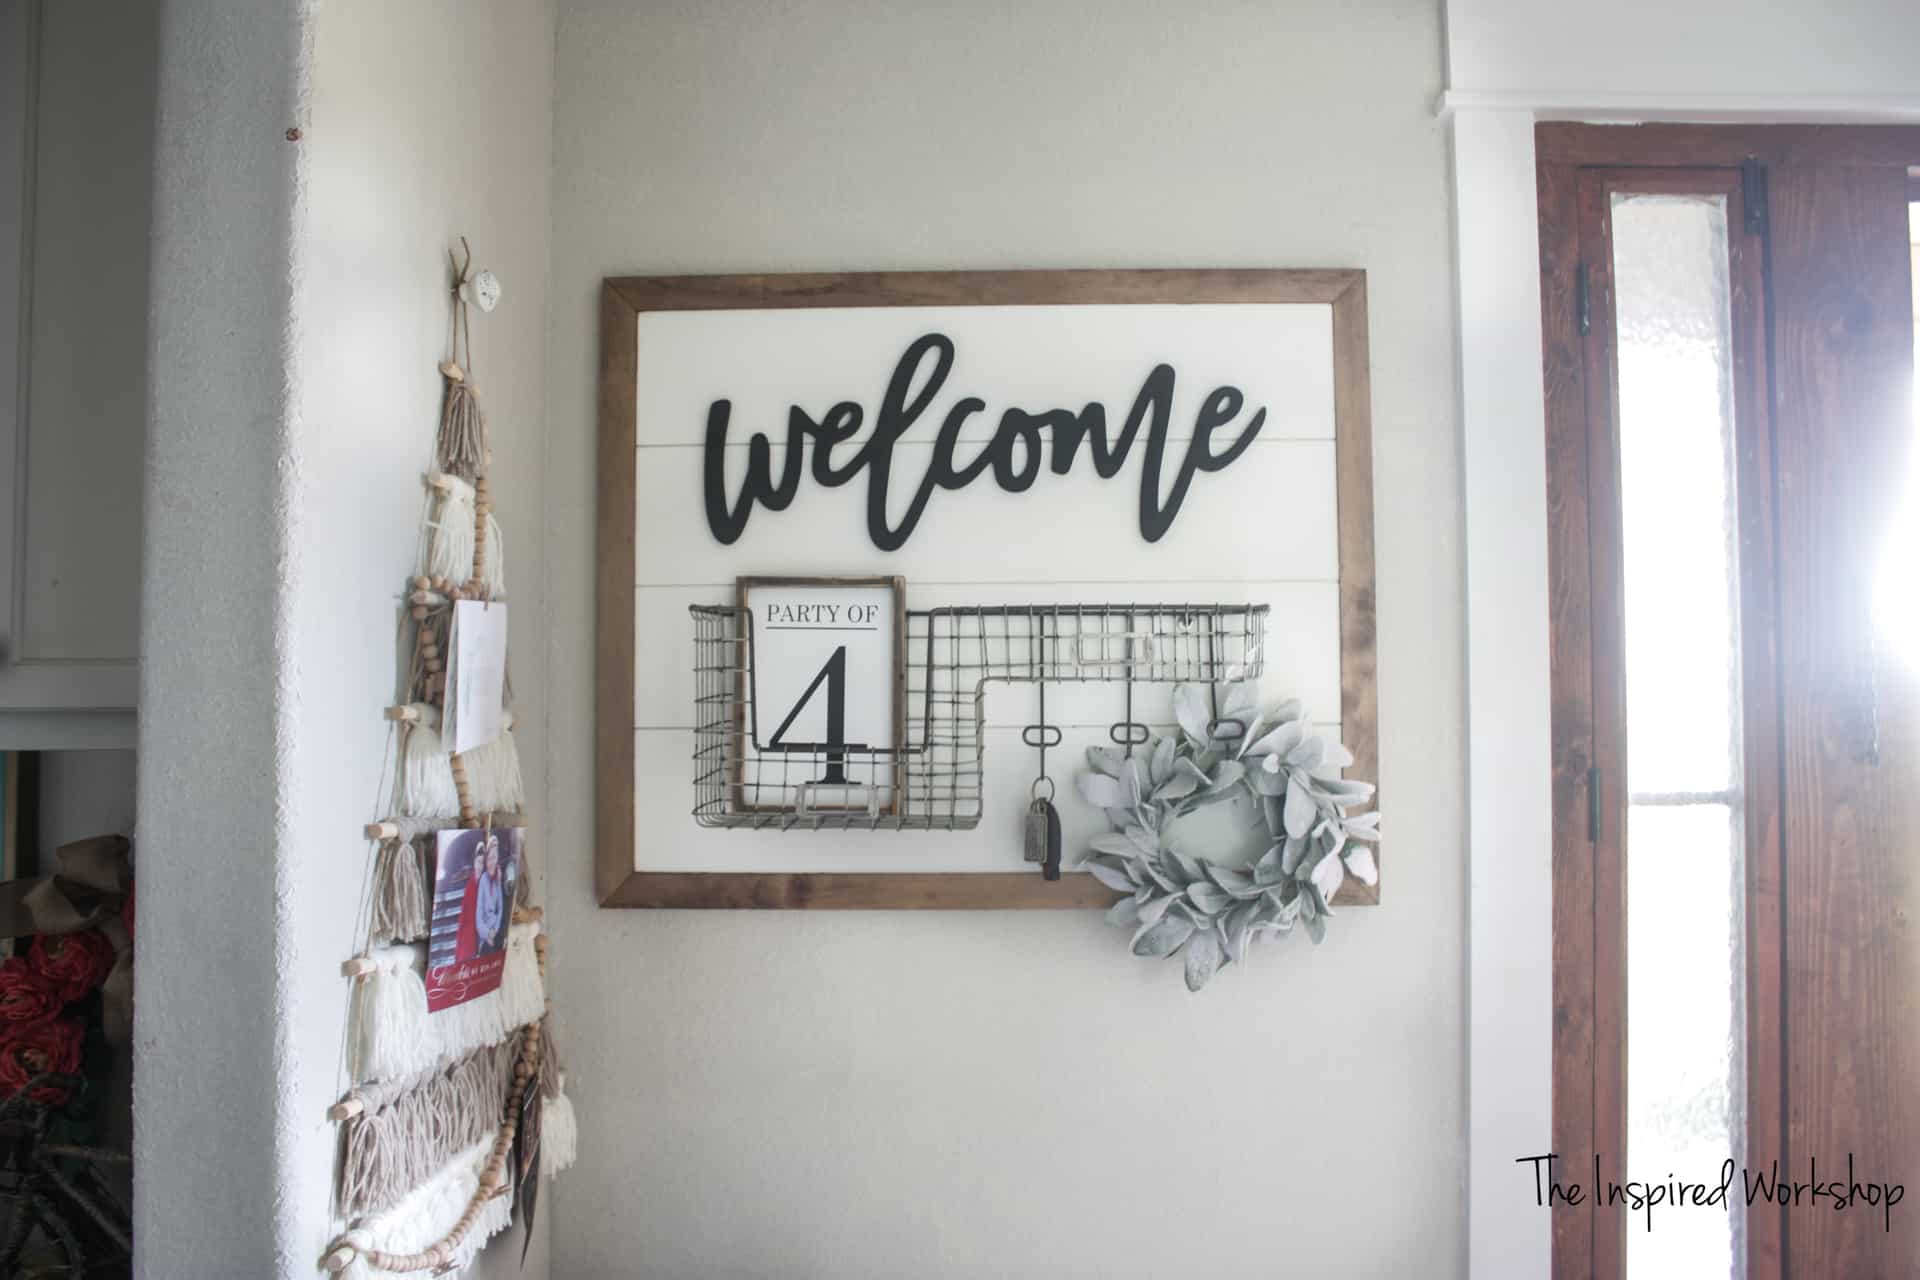
Do you have a spot like that in your house, where everyone just seems to empty their pockets but never pick anything up from? 😅 We sure do, and it happens to be the entryway table that you see AS SOON AS you walk in the door! 🙄 I’m hoping though that this cute shiplap welcome sign and organizer will keep us from using the entryway table as a drop spot! Keys will go on the hooks and important stuff in the basket!🤩
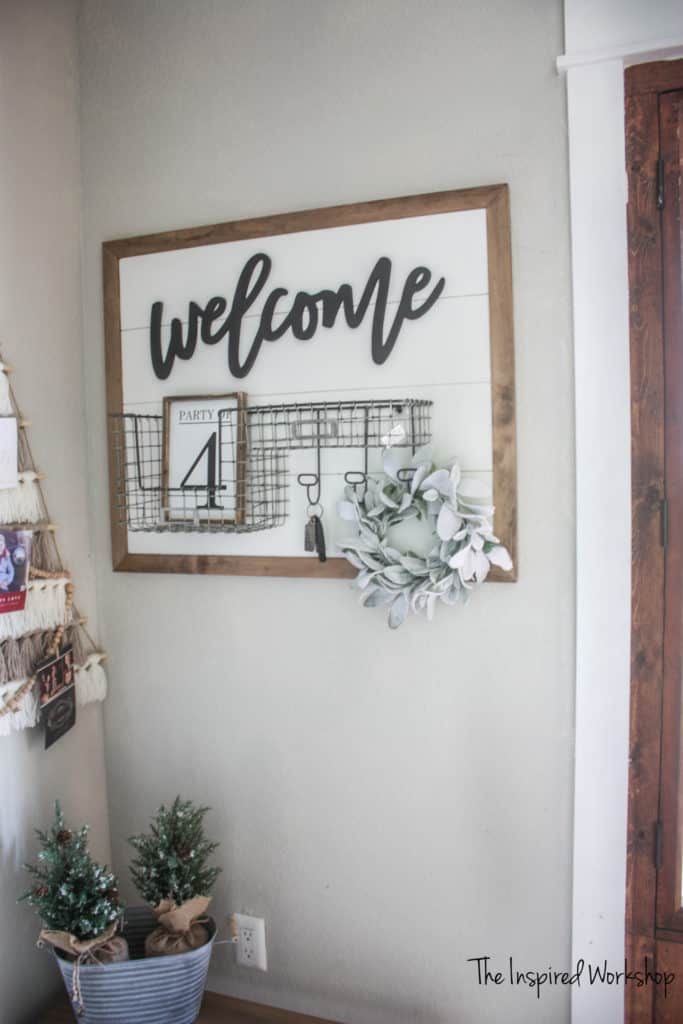
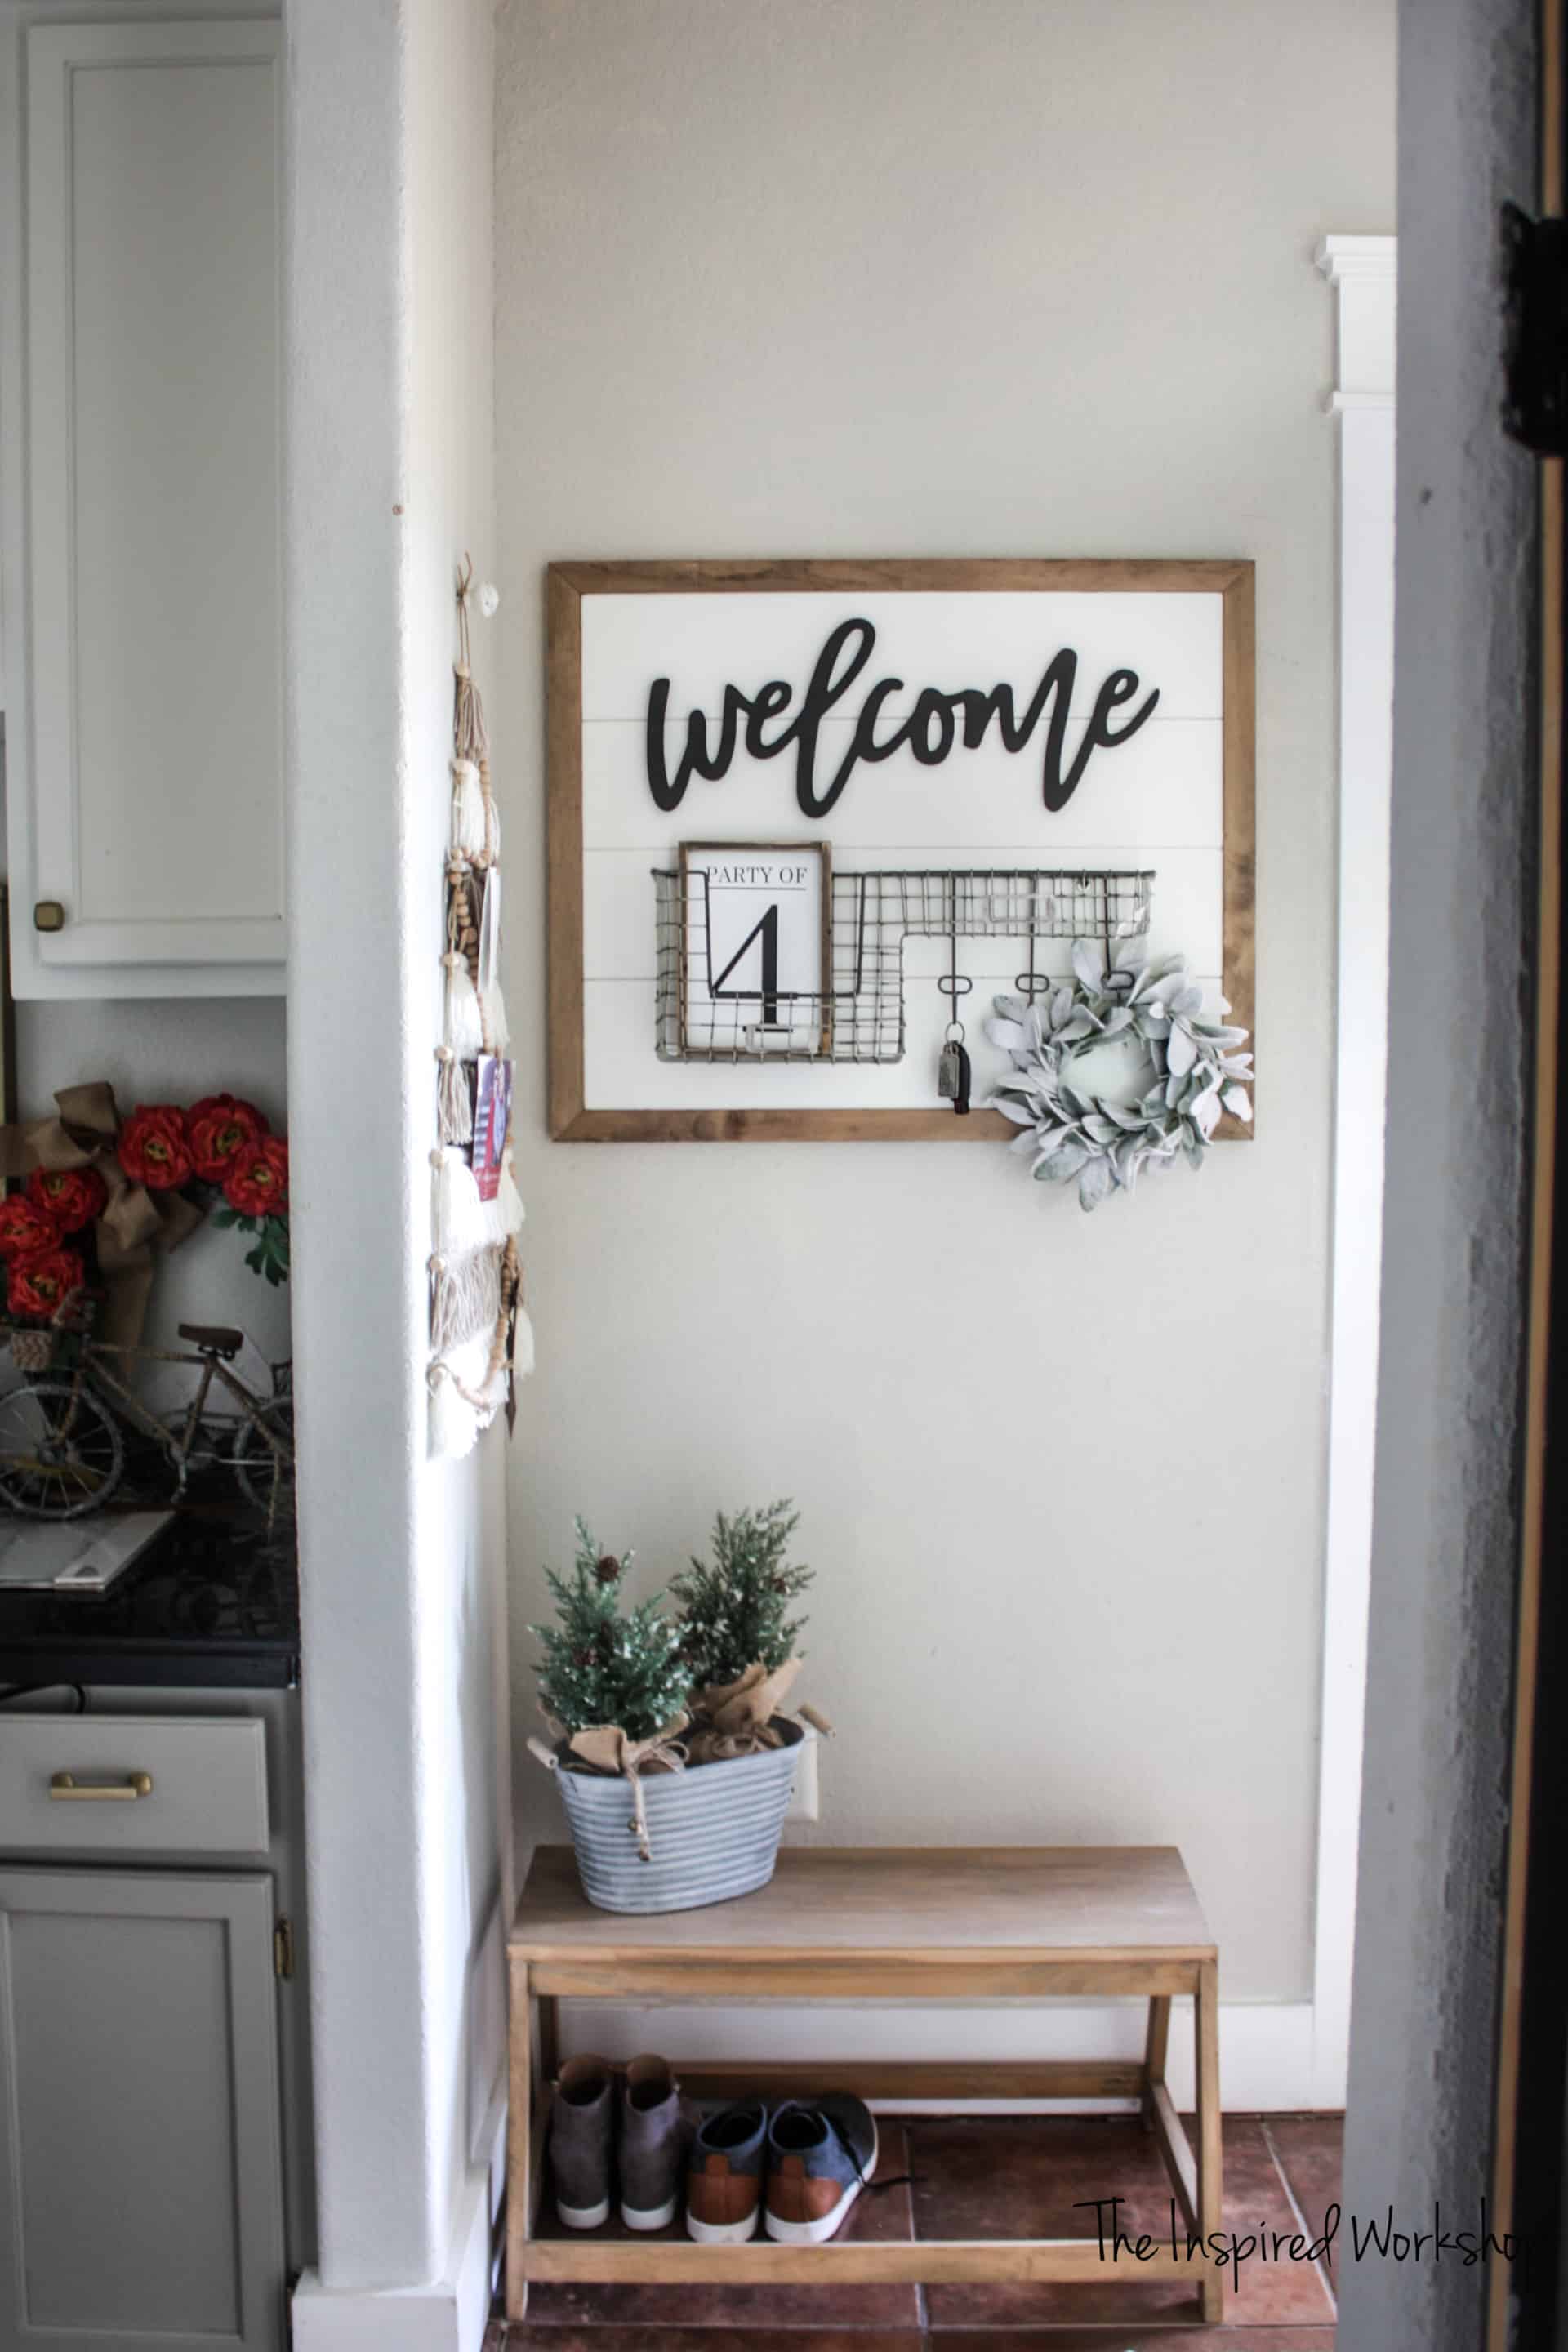
It was a fun afternoon project that I didn’t have to cuss during, not even once! 😆 That means it’s a project for anyone and everyone! No matter your skill level or tool arsenal you should easily be able to recreate this! I mean I didn’t even scroll the welcome…I bought it at Hobby Lobby! I could have scrolled it, but it probably wouldn’t look that good and for 6 bucks, I really couldn’t justify cutting it myself! Lol! And the basket, obviously purchased at Hobby Lobby as well!
I’m just going to jump right in and explain this simple little build that way you can get started as well, I mean I know you probably have a whole closet full of clothes that need to be folded into a tent! 😉 I’m not making fun either…I really have cleaned out my clothes and thanked them, donated the ones that didn’t bring me joy…and then folded the keepers into tents…no shame here! 🤣It has helped me get rid of a TON of stuff!
Know someone who would enjoy this post as much as you? I would love for you to share it with them!!
Gathering Supplies to make the Shiplap Welcome Sign
***NOTE: Amazon links below are AFFILIATE LINKS! What does that mean? Well, if you click an Amazon link below (other links are not affiliate links) and make a purchase after clicking that link, I make a small percentage of that purchase at no extra cost to you! You do not even have to purchase the item you clicked on, if you find something else to purchase after clicking the link, I still get a percentage! I ALWAYS appreciate when you shop through my links as it helps keep the posts coming and the plans free!
Materials to make the welcome sign and organizer:
- 1 -1/2″ 2×4 project panel at Home Depot
- 1 – 1x2x10
- welcome word sign
- wall basket of your choice – I got mine at Hobby Lobby, but they don’t sell it anymore! Booo! It is 22″ long and so linked 22″ wire wall baskets on Amazon, I would find a basket I like, and add hooks that I like below it! You can always check your local Hobby Lobby, I find they take stuff off of their website that they still sell in store!
- wood glue
- screws
- kreg jig
- miter saw
- table saw or circular saw
Once you have gathered your supplies, I cut down my 2×4 sheet, although you could keep it that large if you like! I cut mine down to 29 3/4″ because that is as large as my wall could handle with the added 3″ of the frame!
I then used the table saw to cut lines into the plywood but not all the way through the plywood. If you are using a table saw or circular saw, you will adjust the blade to where it is only cutting 1/8″ deep.
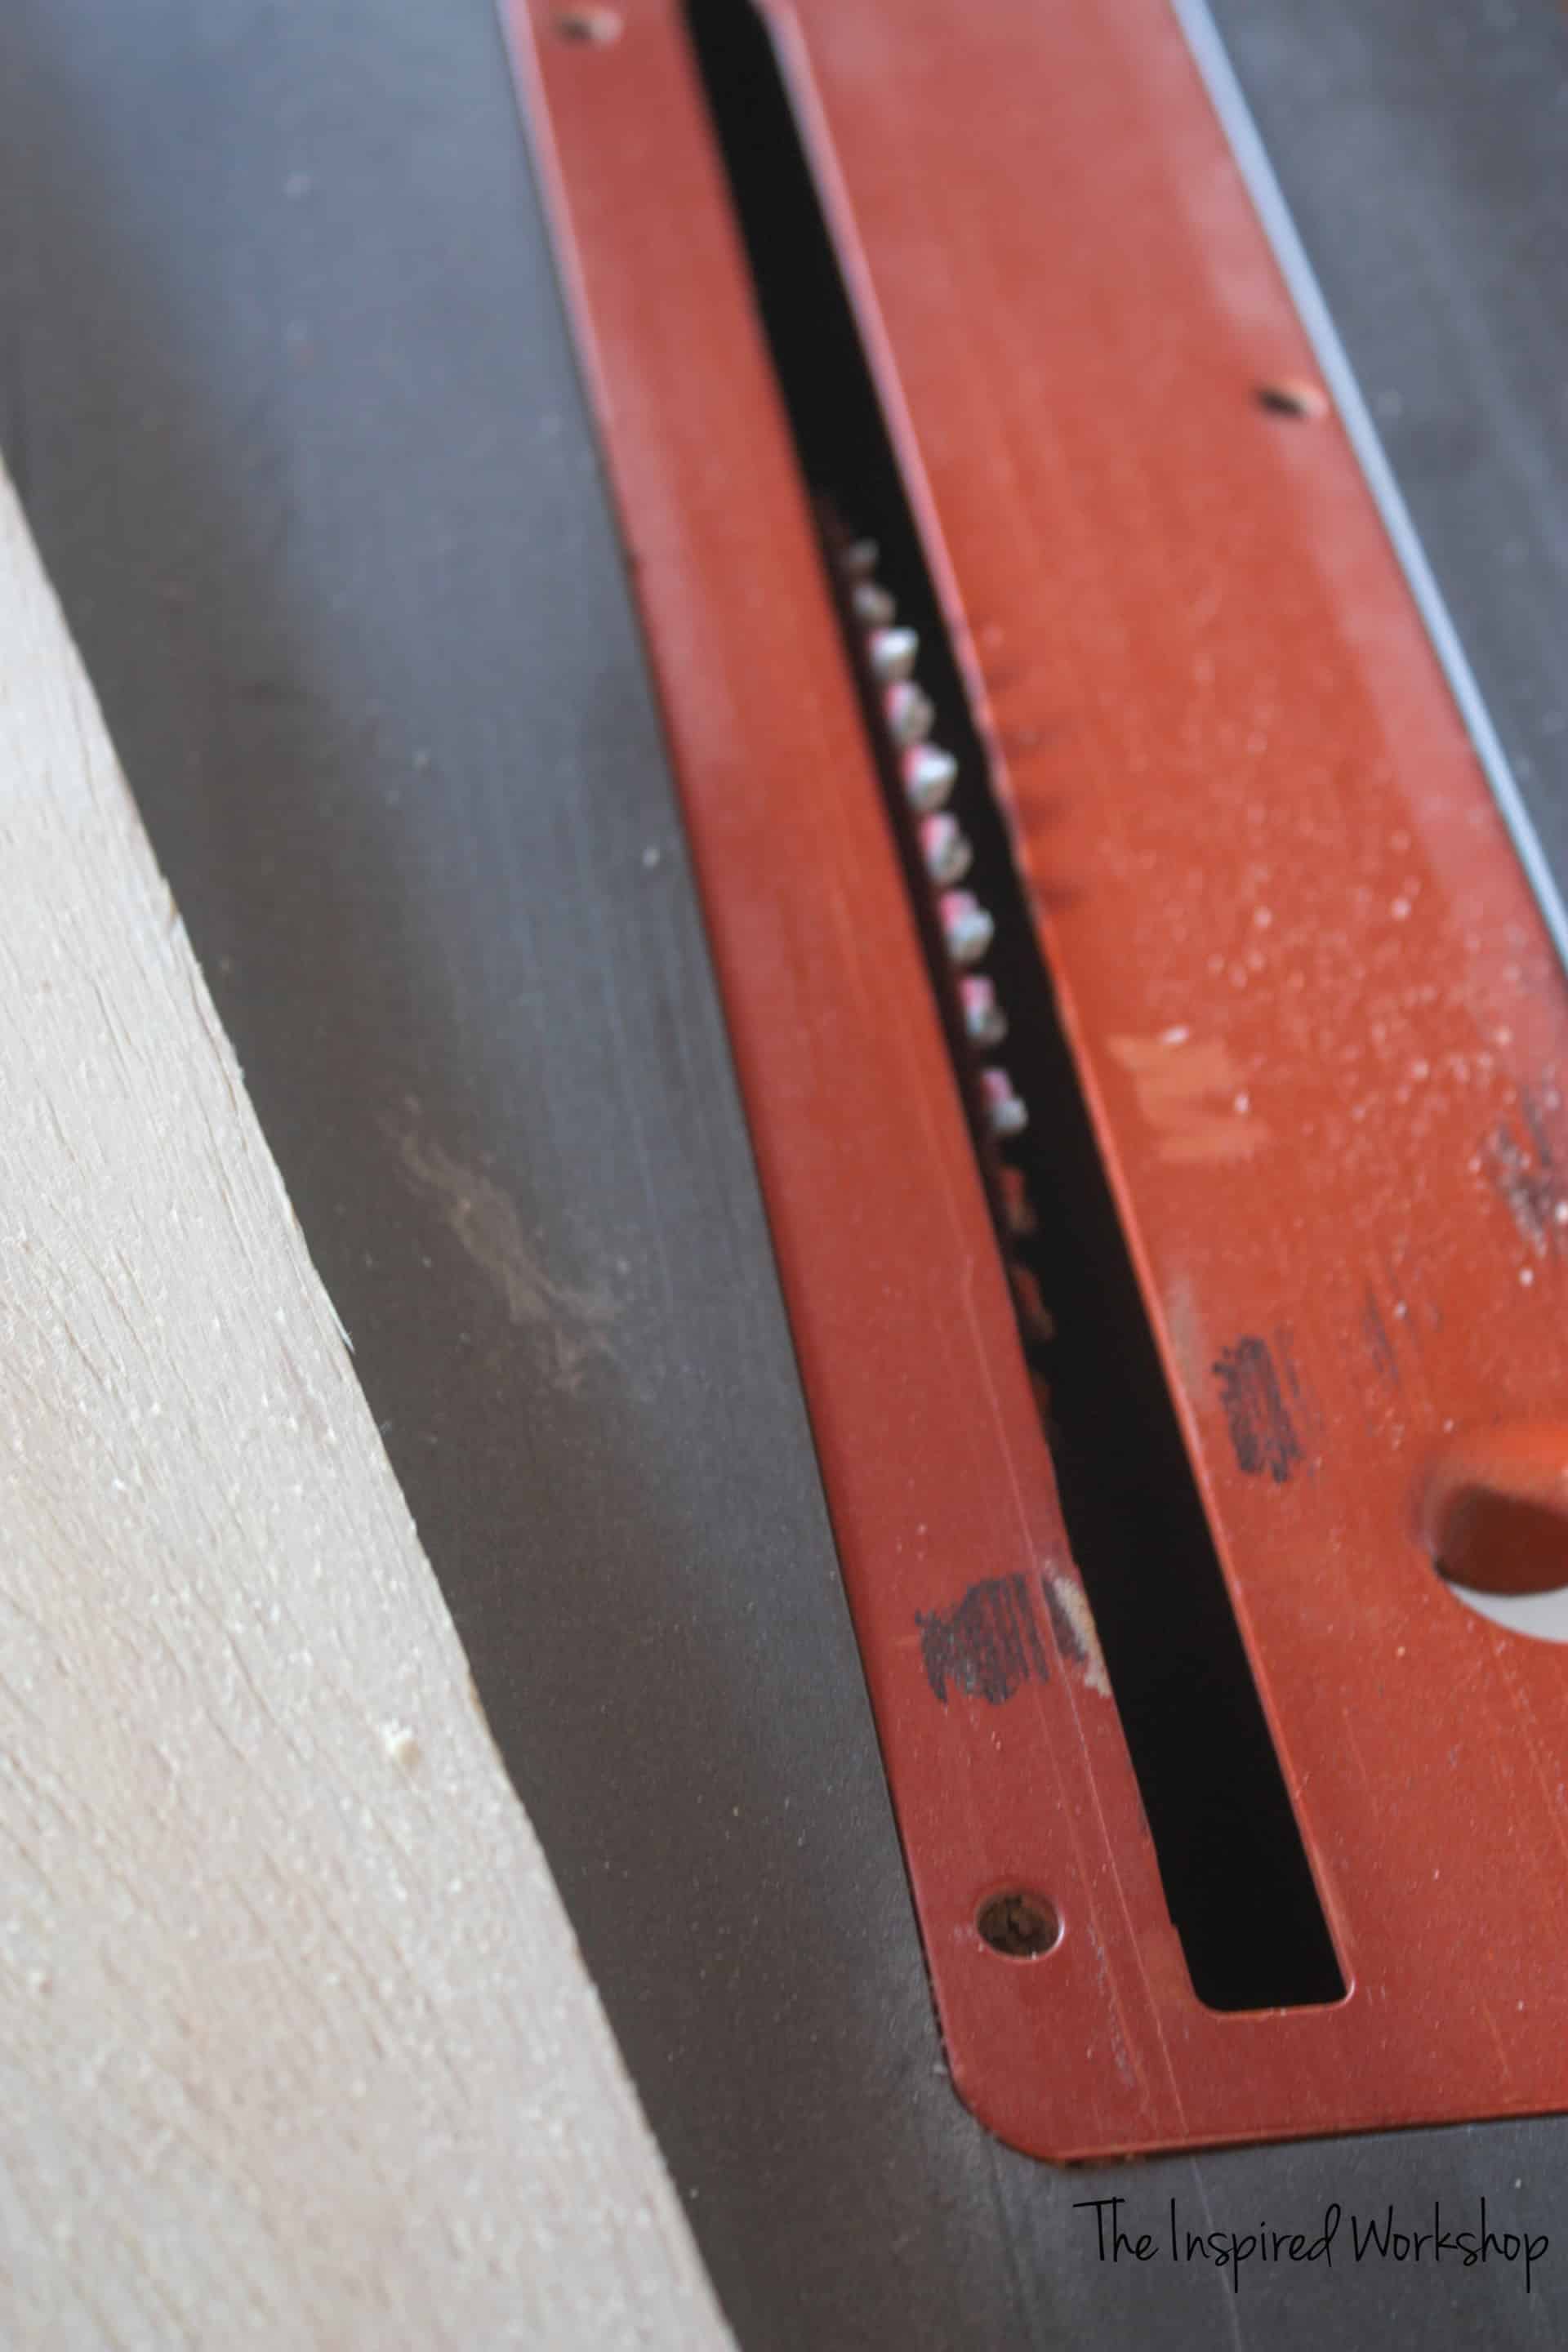
The camera focused more on my board than the blade but you can kind of see how low the blade is!
I ran it through every 5 3/4″ or so to create the faux shiplap look.
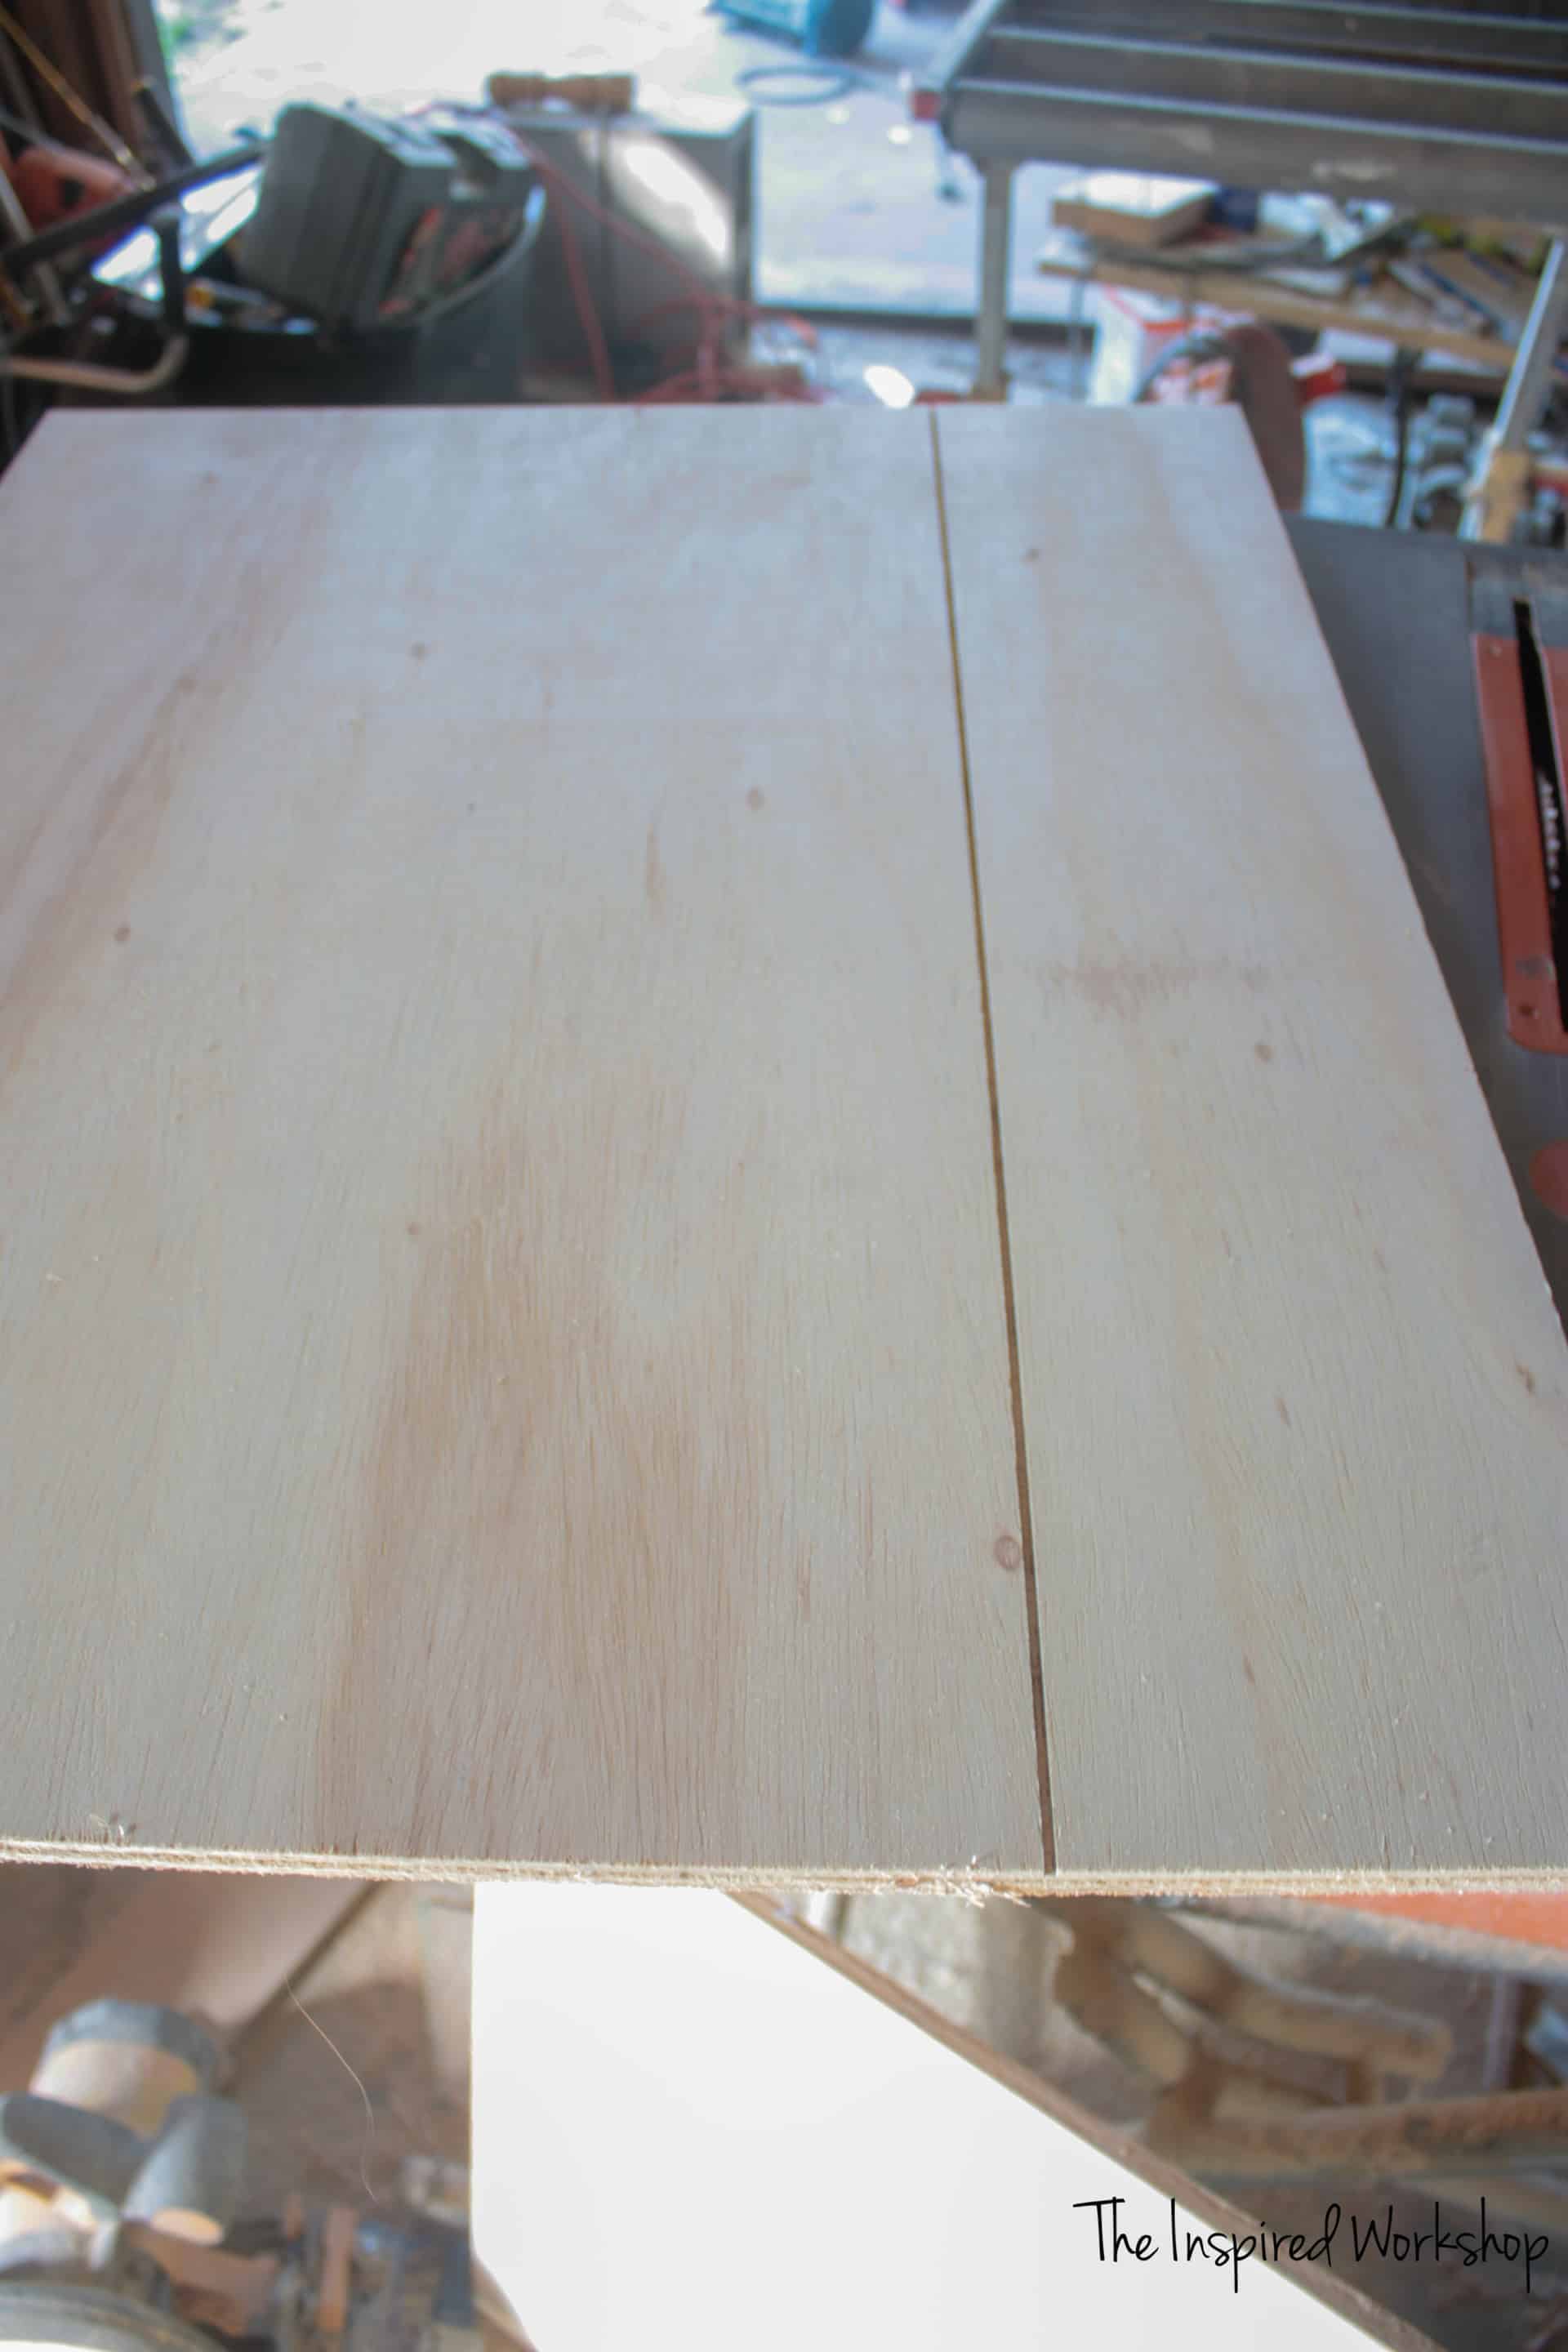
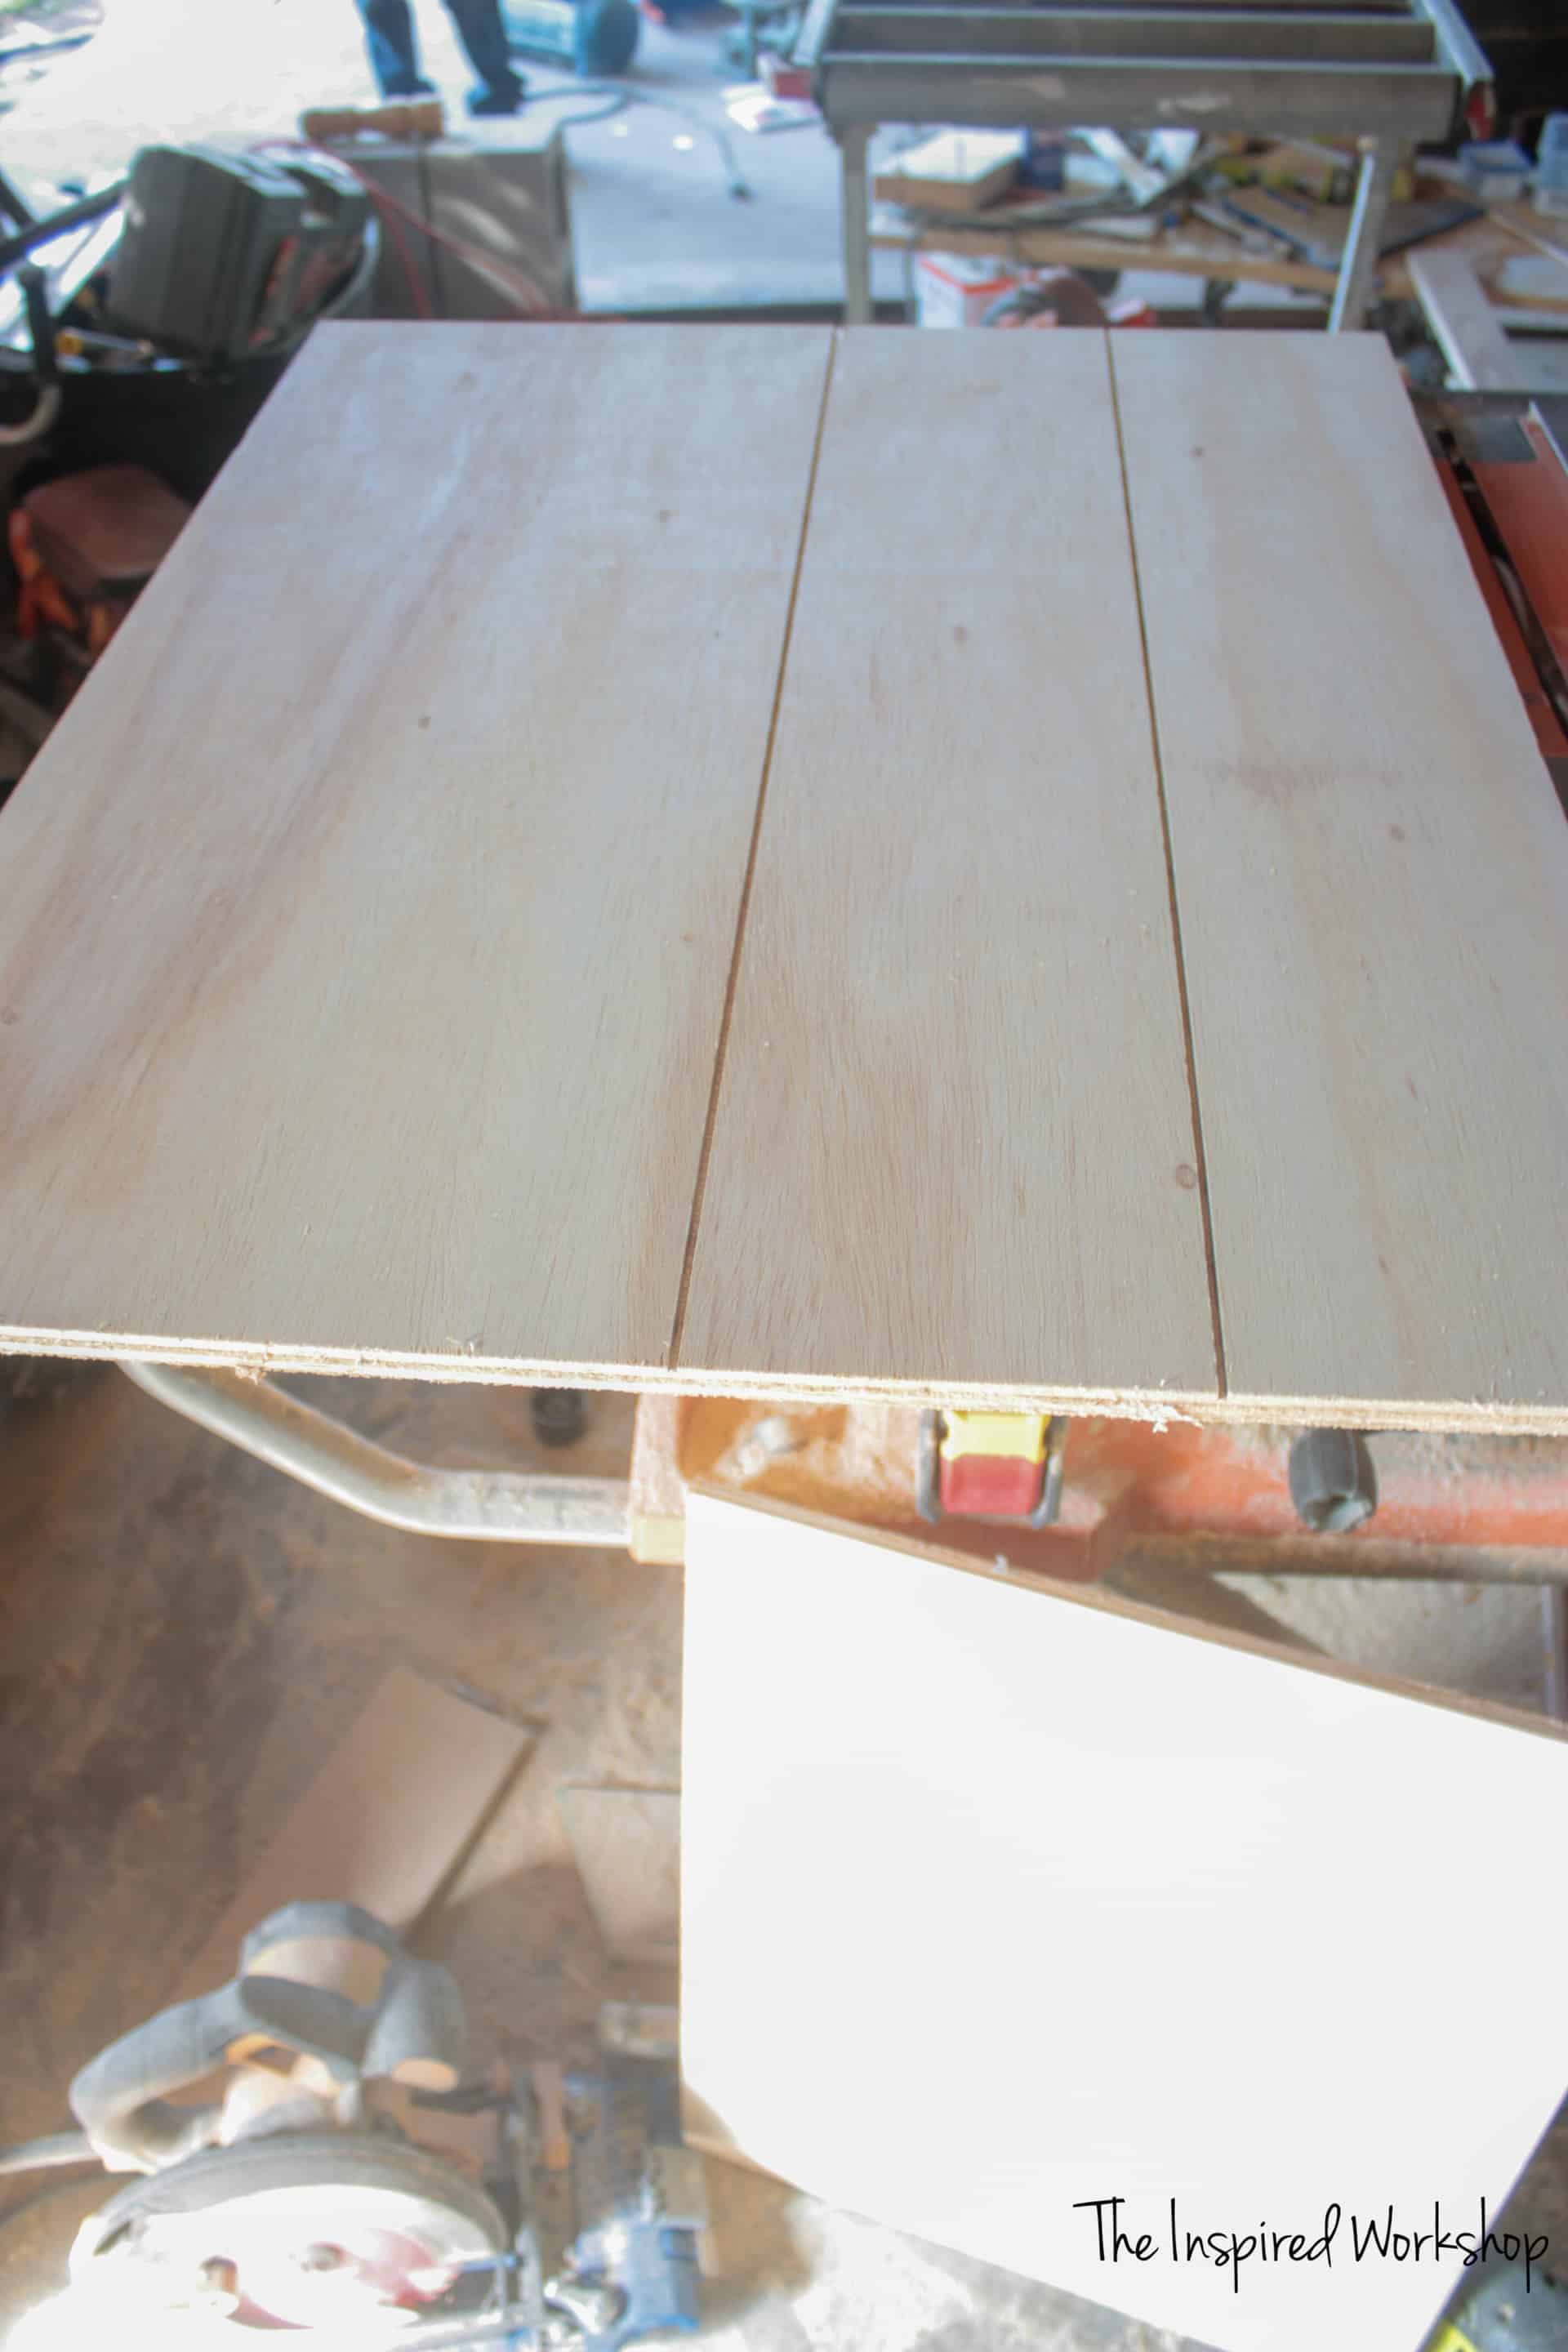
Using the Kreg Jig drill holes along the back edges of the plywood on all sides. They will be drilled at 1/2″ depth and you will need 1″ screws to attach later.
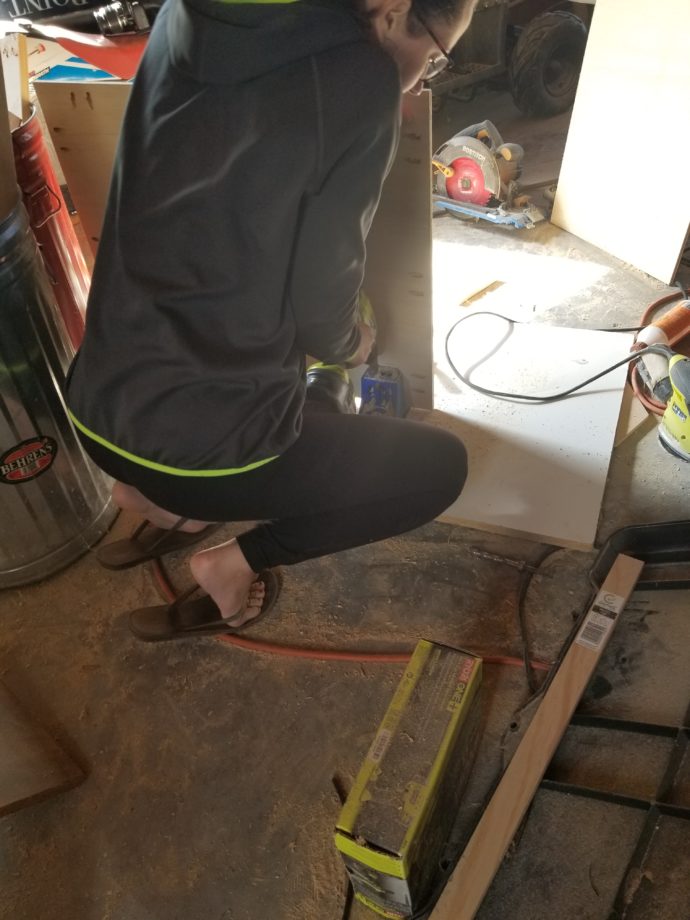
Now setting your miter saw to 45 degrees off square, you can cut your frame. If you prefer, you could just do straight cuts and create the frame as well! Totally up to you! Tight miters sure do look good though! 🤩 Measure the sides and cut accordingly! I painted the plywood white and stained my frame boards before attaching them! So once I flipped it over, it was ready for decorations!
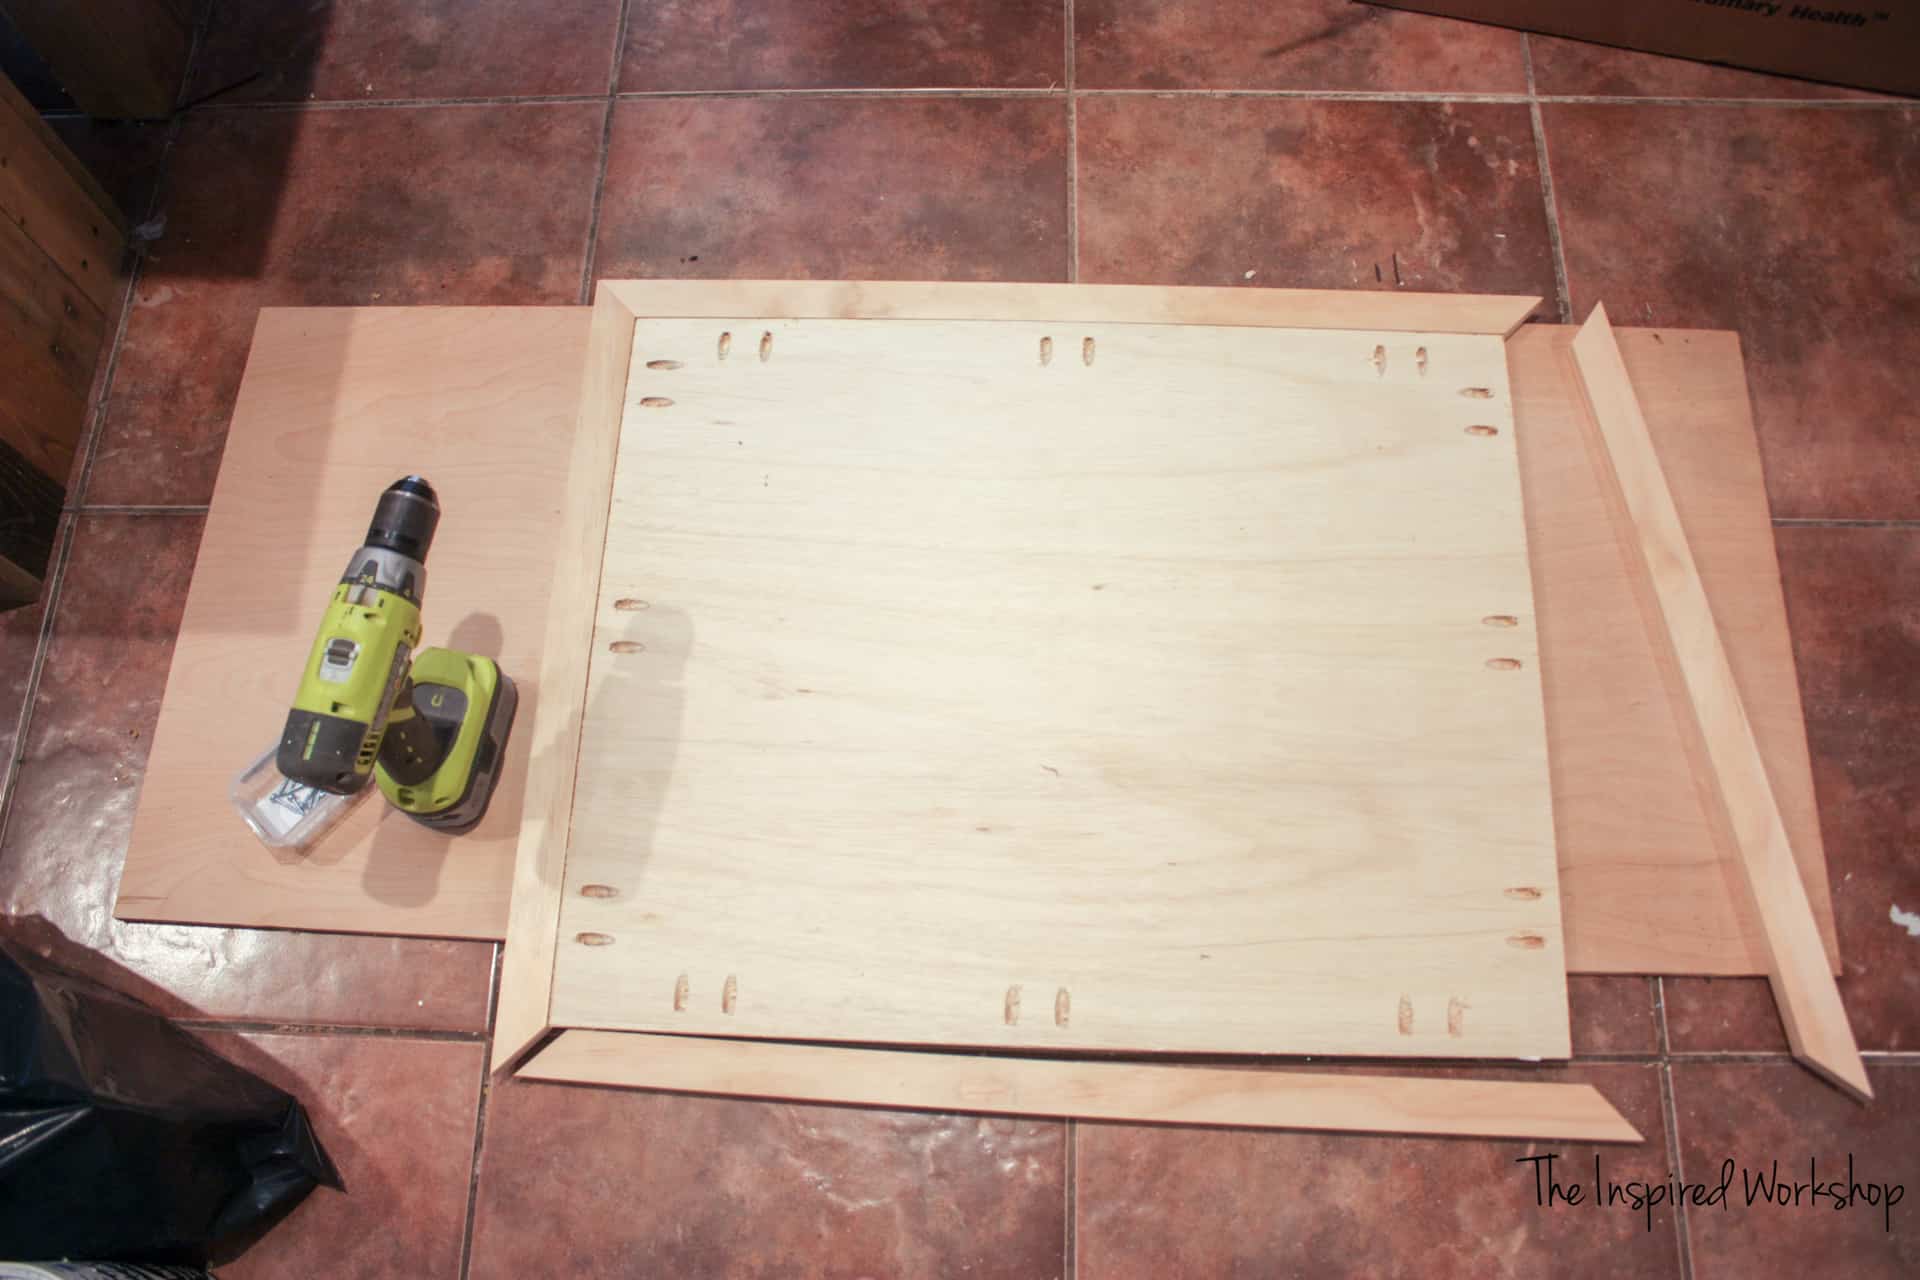
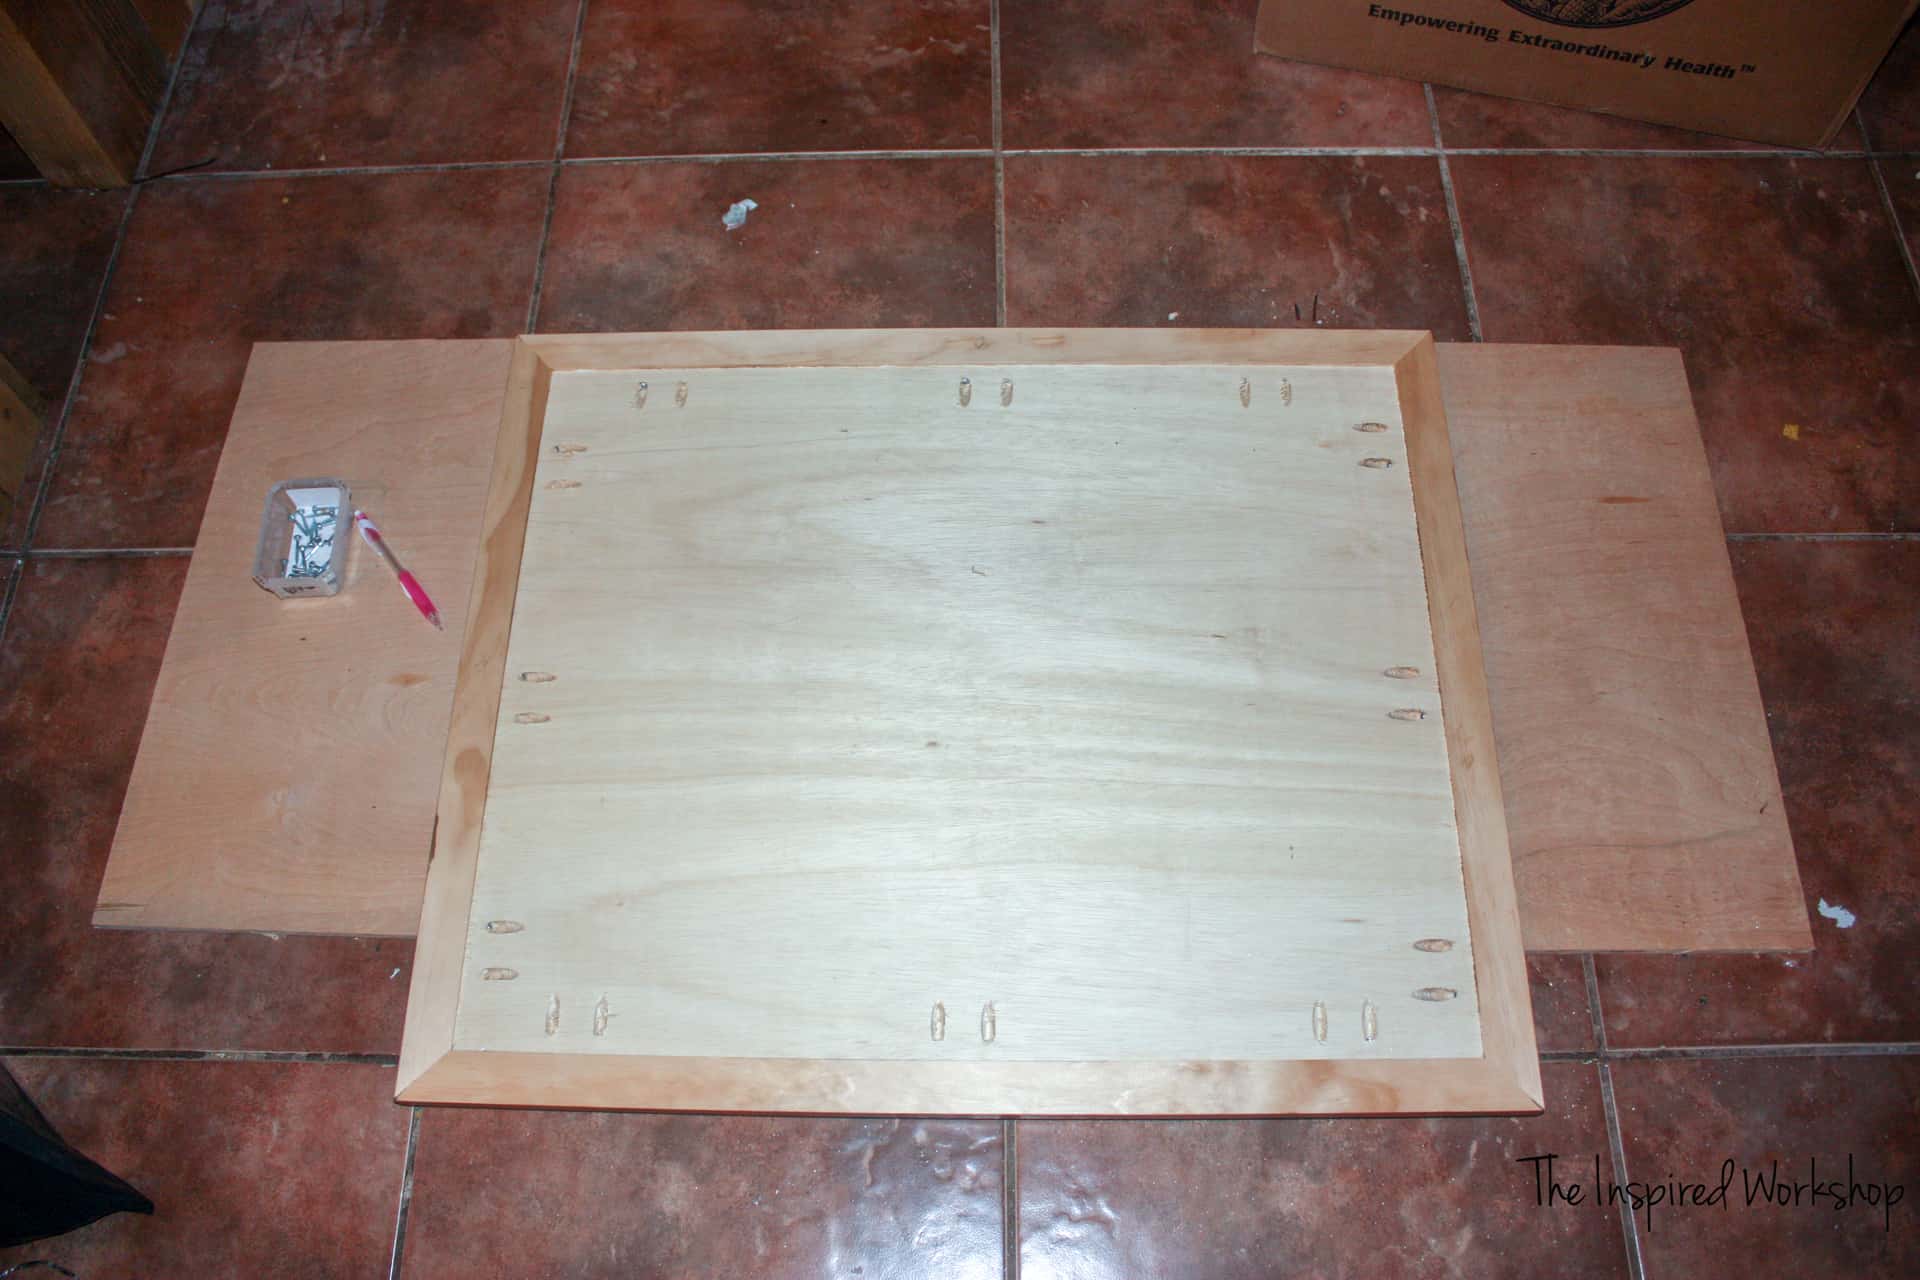
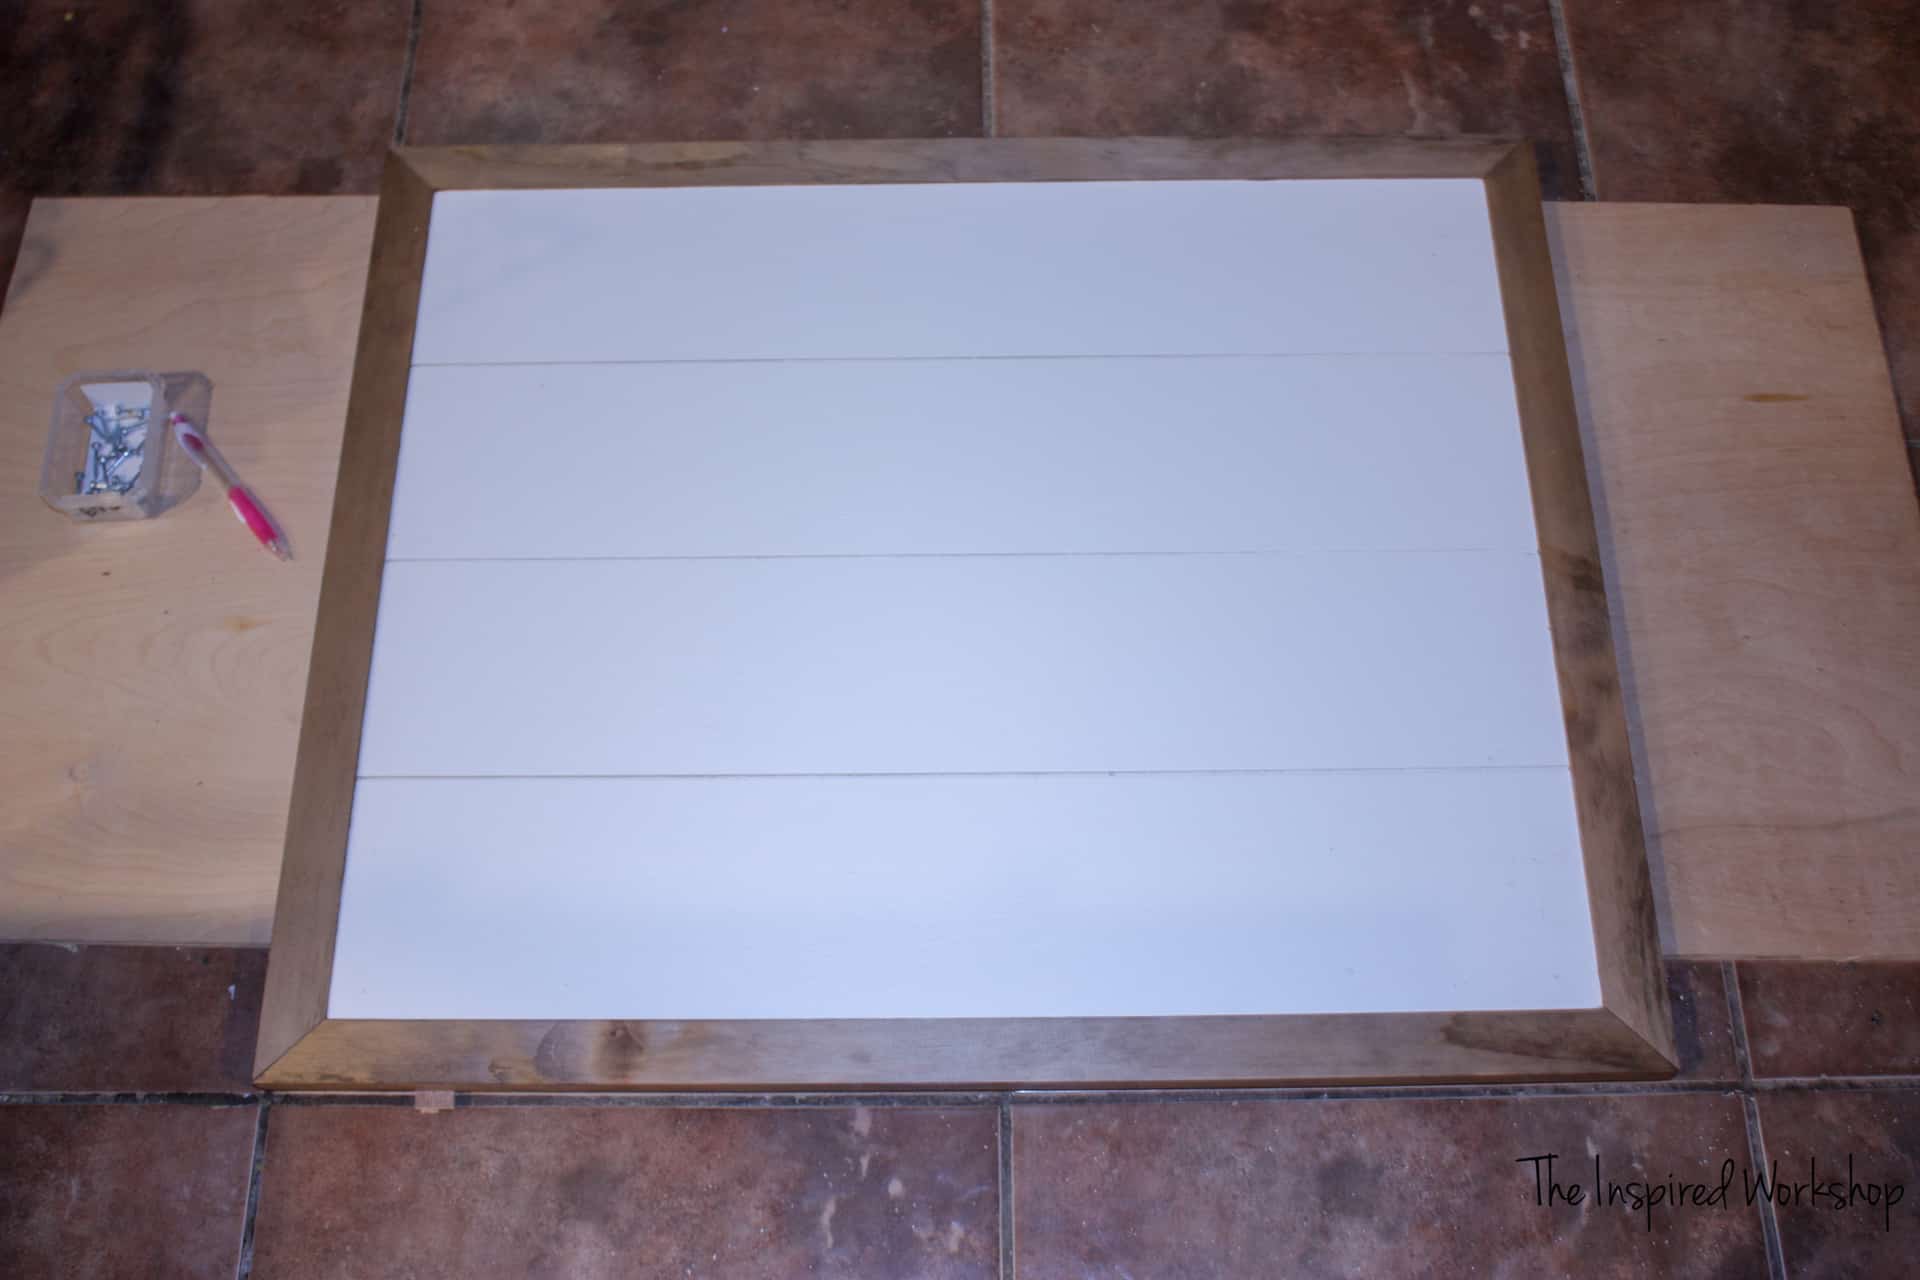
Now add your decor to the front! I spray-painted the welcome sign as it was white when I bought it and just super glued it on! I placed two screws to hang the basket on as it had screw holes already!
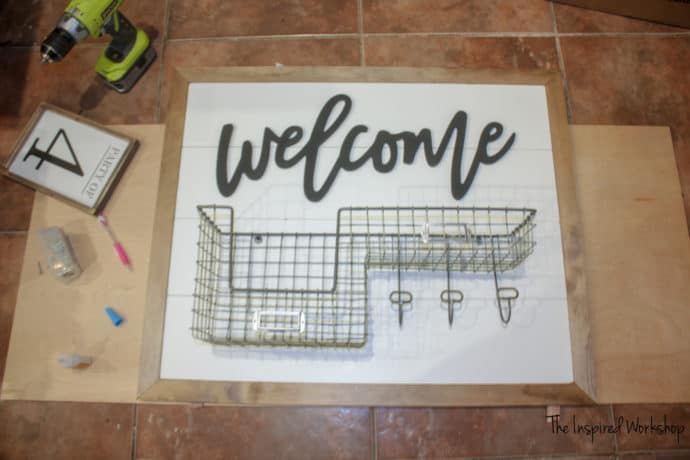
Easy peasy! Now you can have a tidied entryway too! Well, we will see how it works! 😏
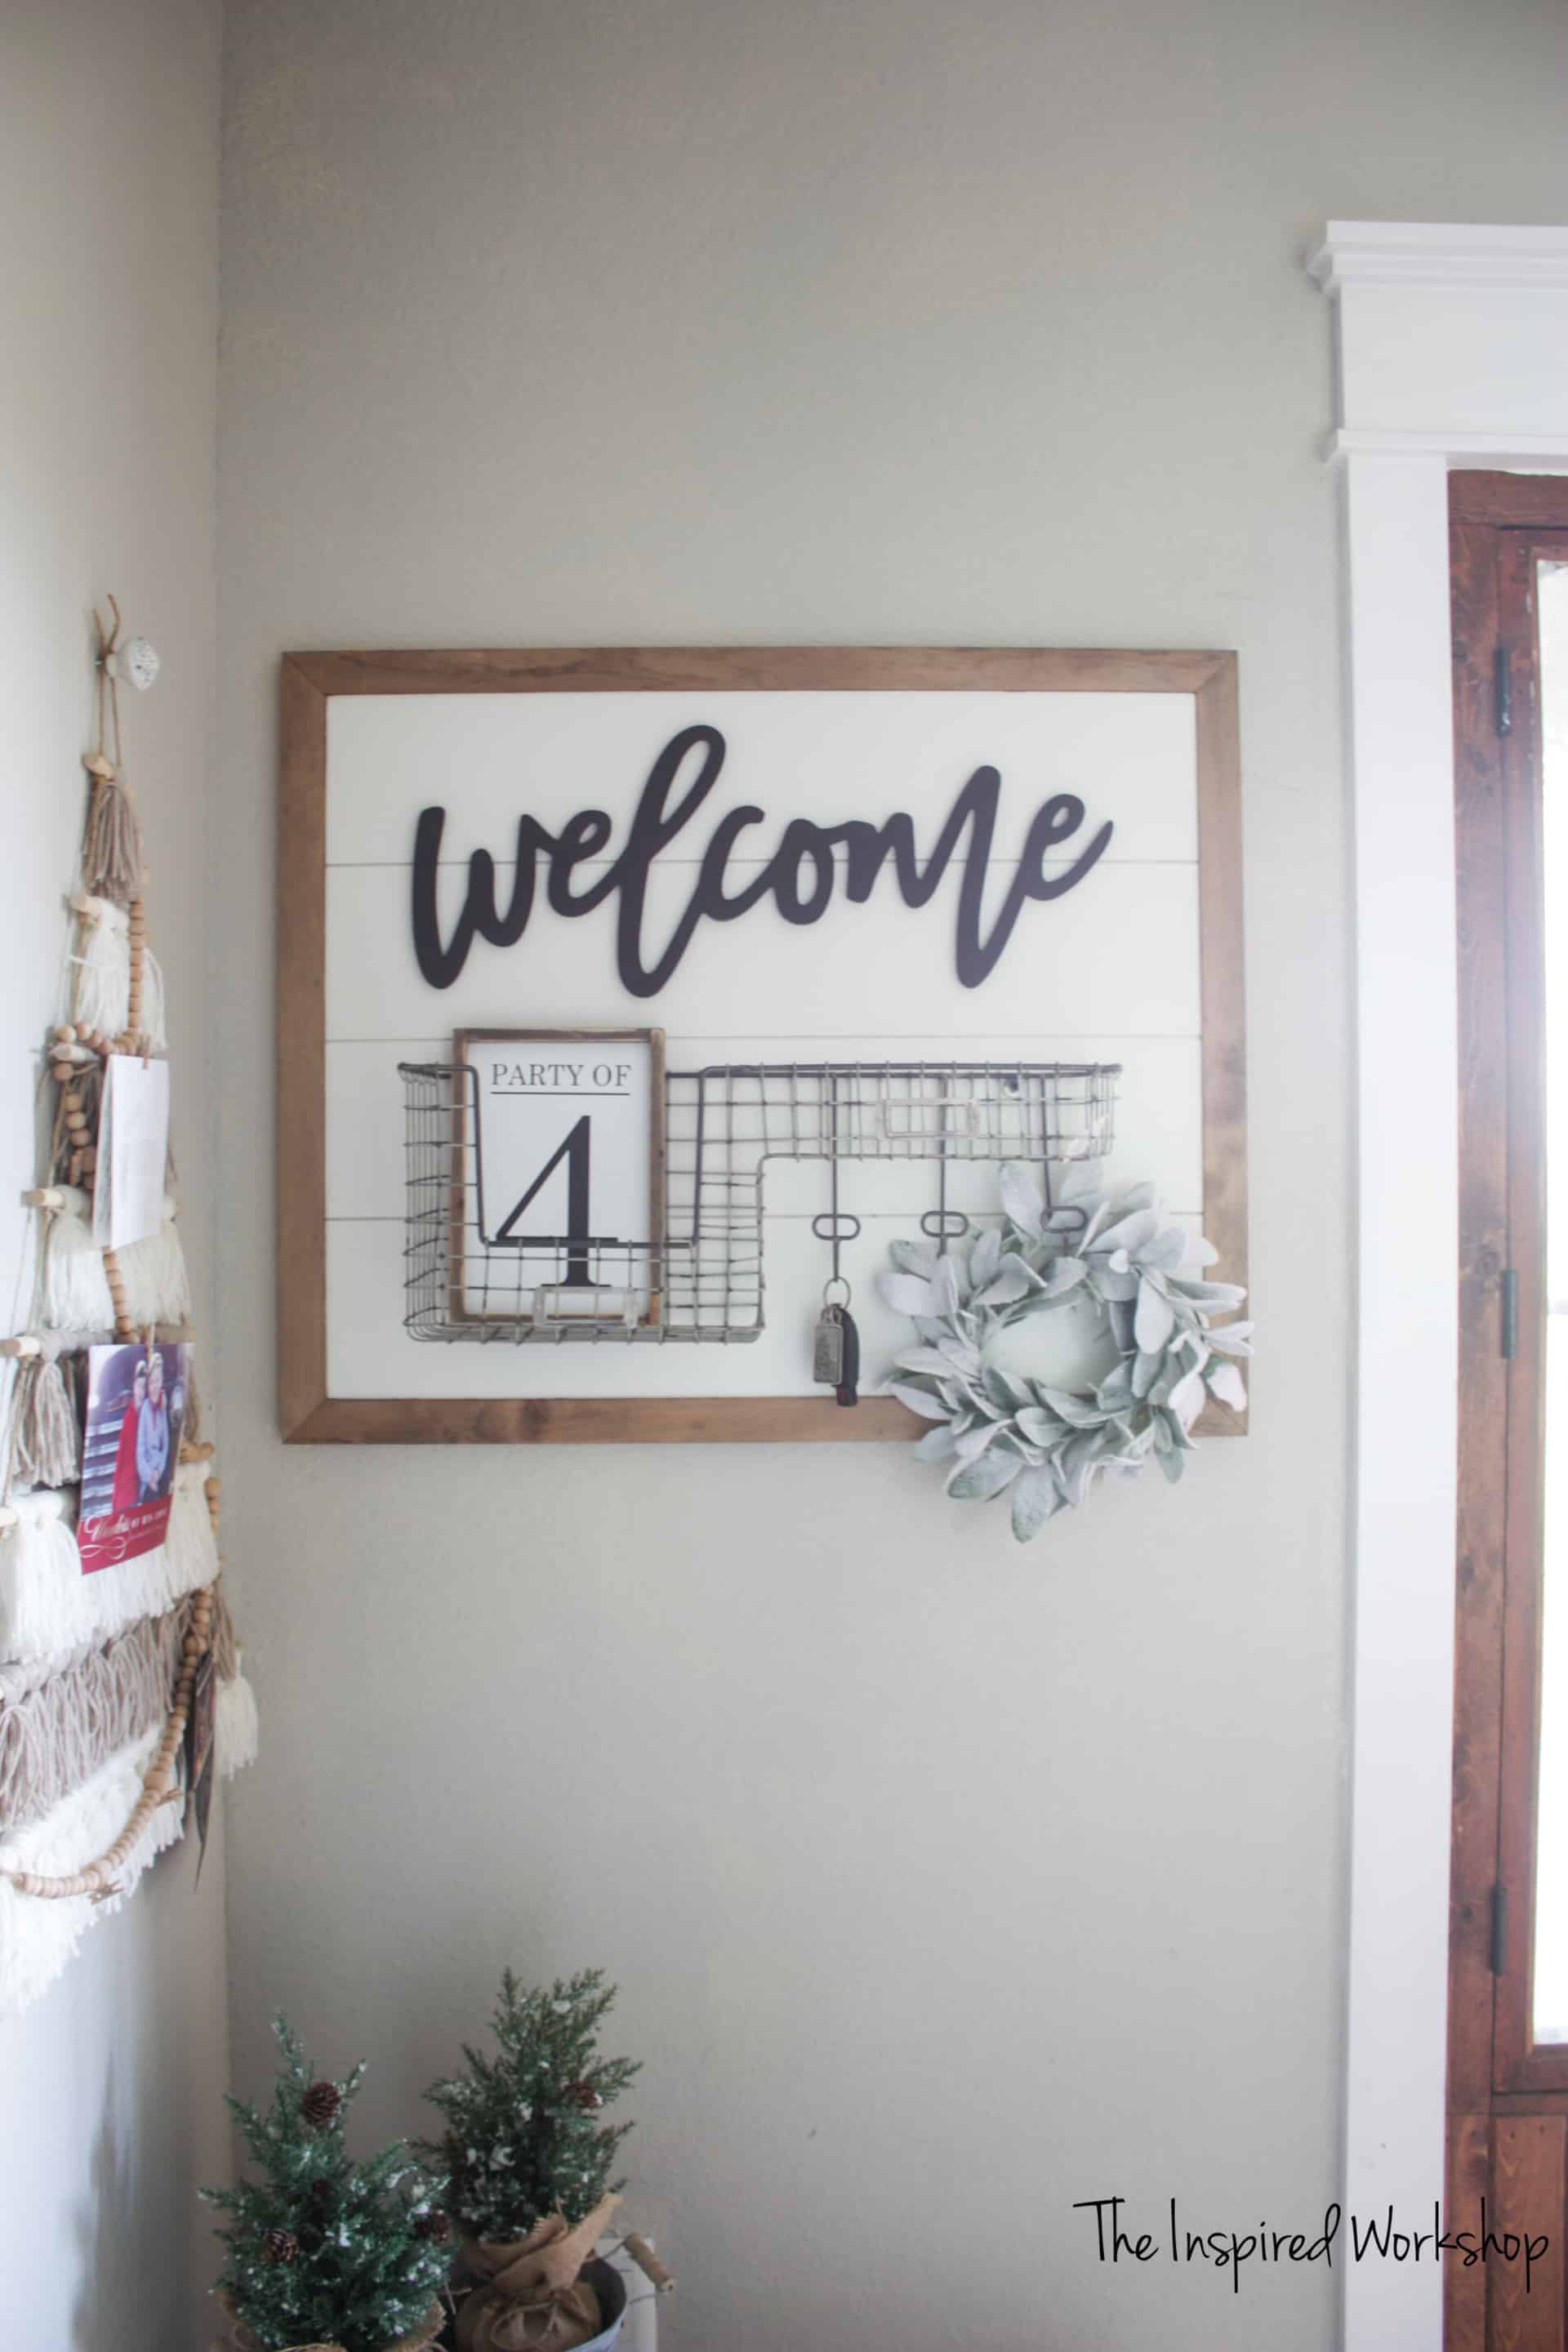
Here’s to getting my life organized in the new year! LOL! Hope you get organized too if that is something you are looking to do!
Want to see more awesome projects that can help you organize? Check out these posts!
DIY Wall Hanging Storage Baskets
If you ever create something from one of my plans, I would LOVE to see it! Make sure and tag me on social media or email me photos! Make sure and include your username though so I can tag you if you allow me to share!
Have a wonderful day and as always, Happy Building!

Want to save this post for later? PIN IT!
Related Posts
