DIY Large Modern Dining Bench
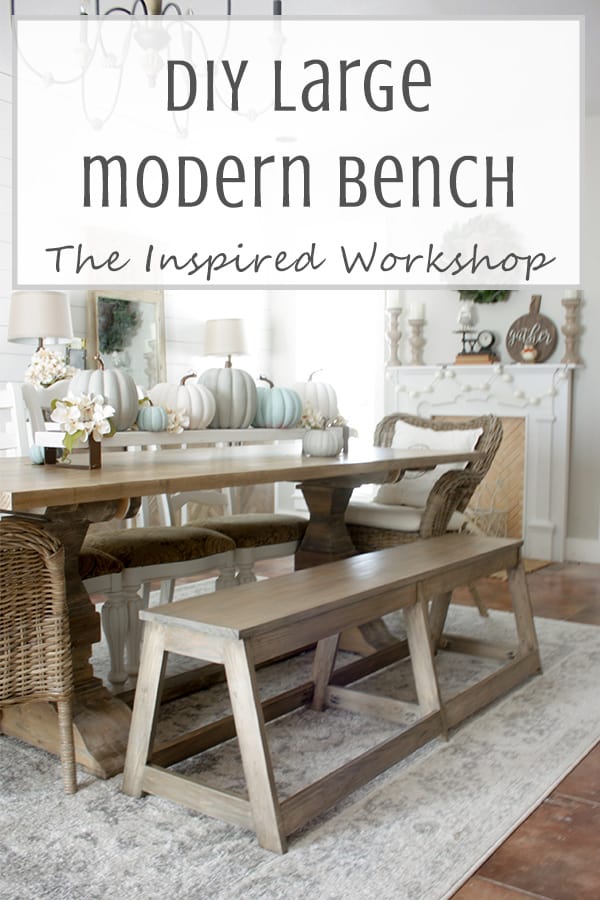
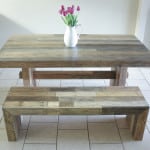
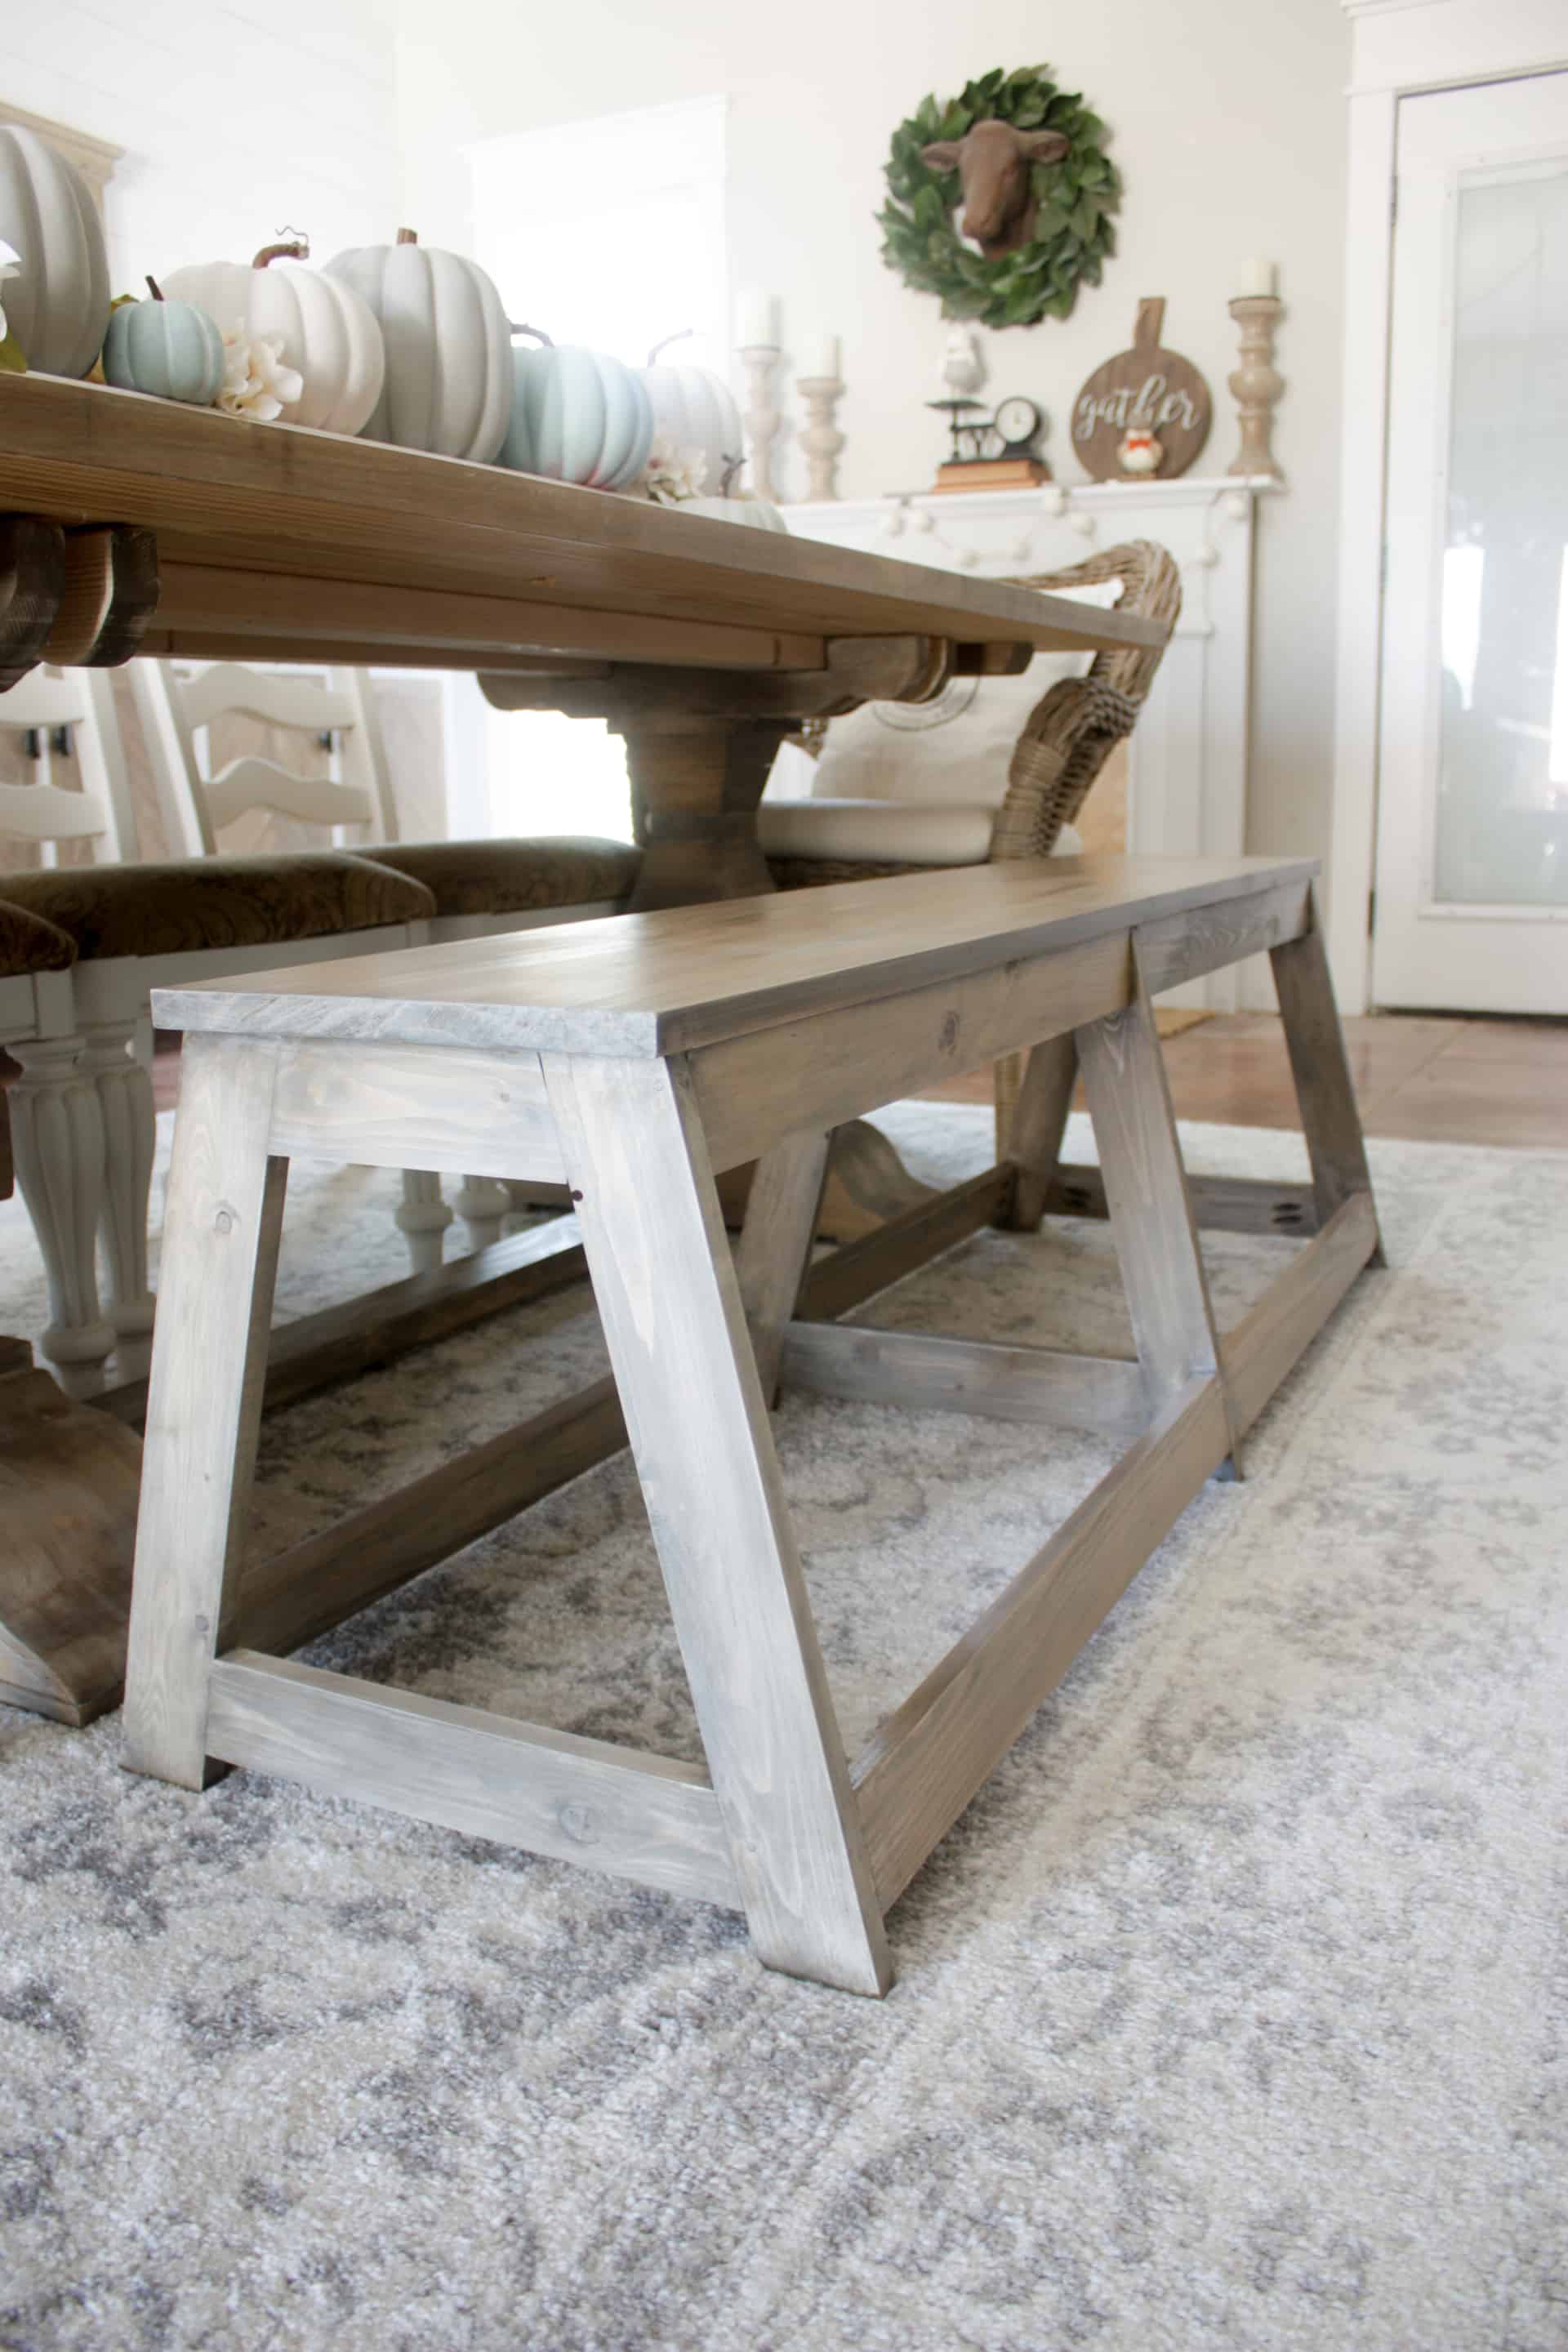
The modern lines of this DIY large dining bench are the perfect addition to almost any dining table! Adding a dining bench to your table adds a welcoming and cozy feel to your dining room! Build a large dining bench for an inexpensive way to update your dining room or outdoor dining space!
I hope you had a wonderful time with your family/friends this past holiday! I ate way more than I needed, but it was delicious! We managed to survive our first Thanksgiving without my grandma, which was beyond strange because she still cooked the entire meal up until a couple of years ago! She was AMAZING in the kitchen! I did NOT get that talent from her that’s for sure! Lol!
Anyway, I apologize that the post for this didn’t go up BEFORE Thanksgiving but we all managed to get sick! That’s also why my kitchen reveal hasn’t been posted! Keep an eye out for that soon though…I can’t wait to photograph it!
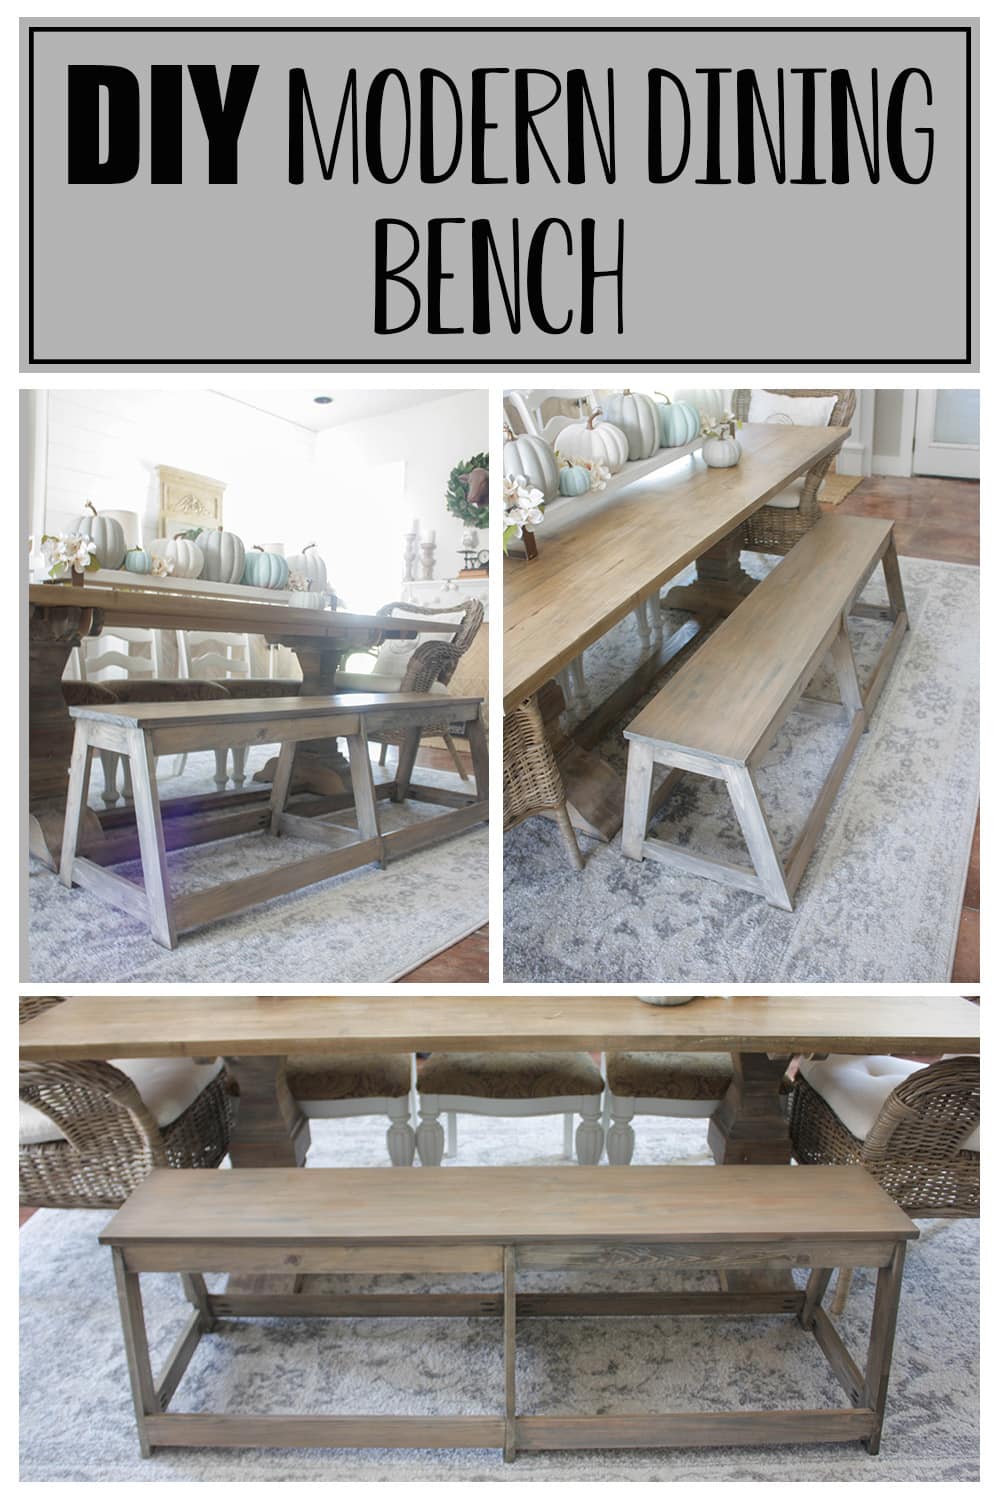
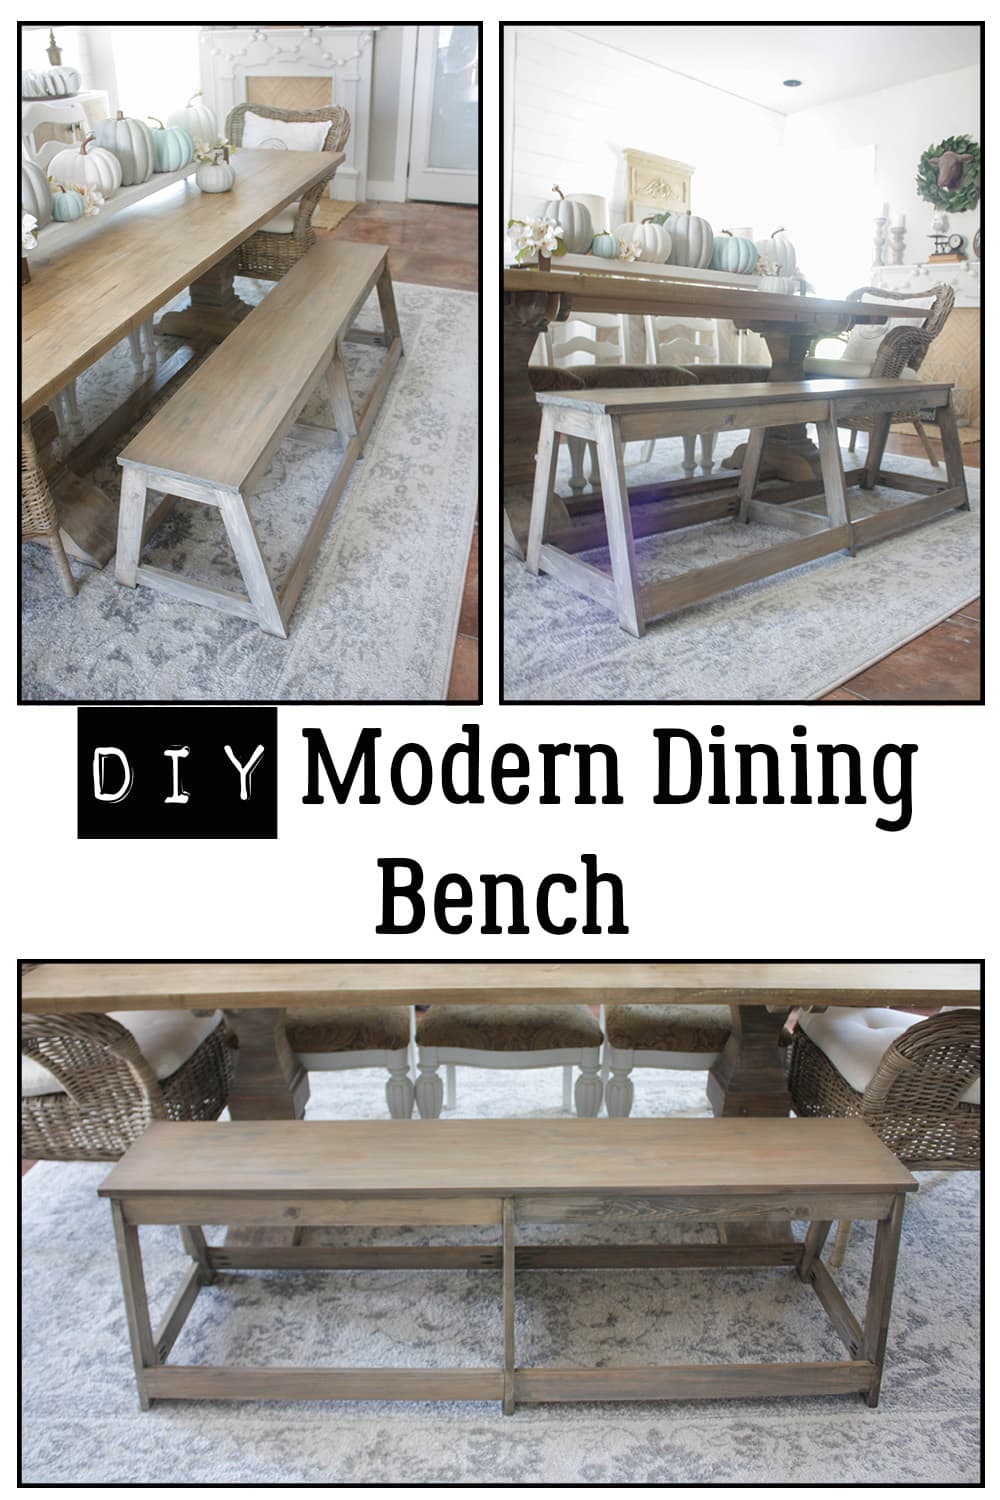
I threw this bench together the other day after posting the small modern bench, I just couldn’t help myself, I had to build the larger version! And it worked perfectly at my dining table since I still haven’t built the bench that matches my Restoration Hardware knockoff table! Lol! I will still build the matching bench more than likely but for now, this works perfect and only took me a couple of hours from start to finish! It’s worth every minute spent building it too! If only ALL my projects could go that quickly! Lol!
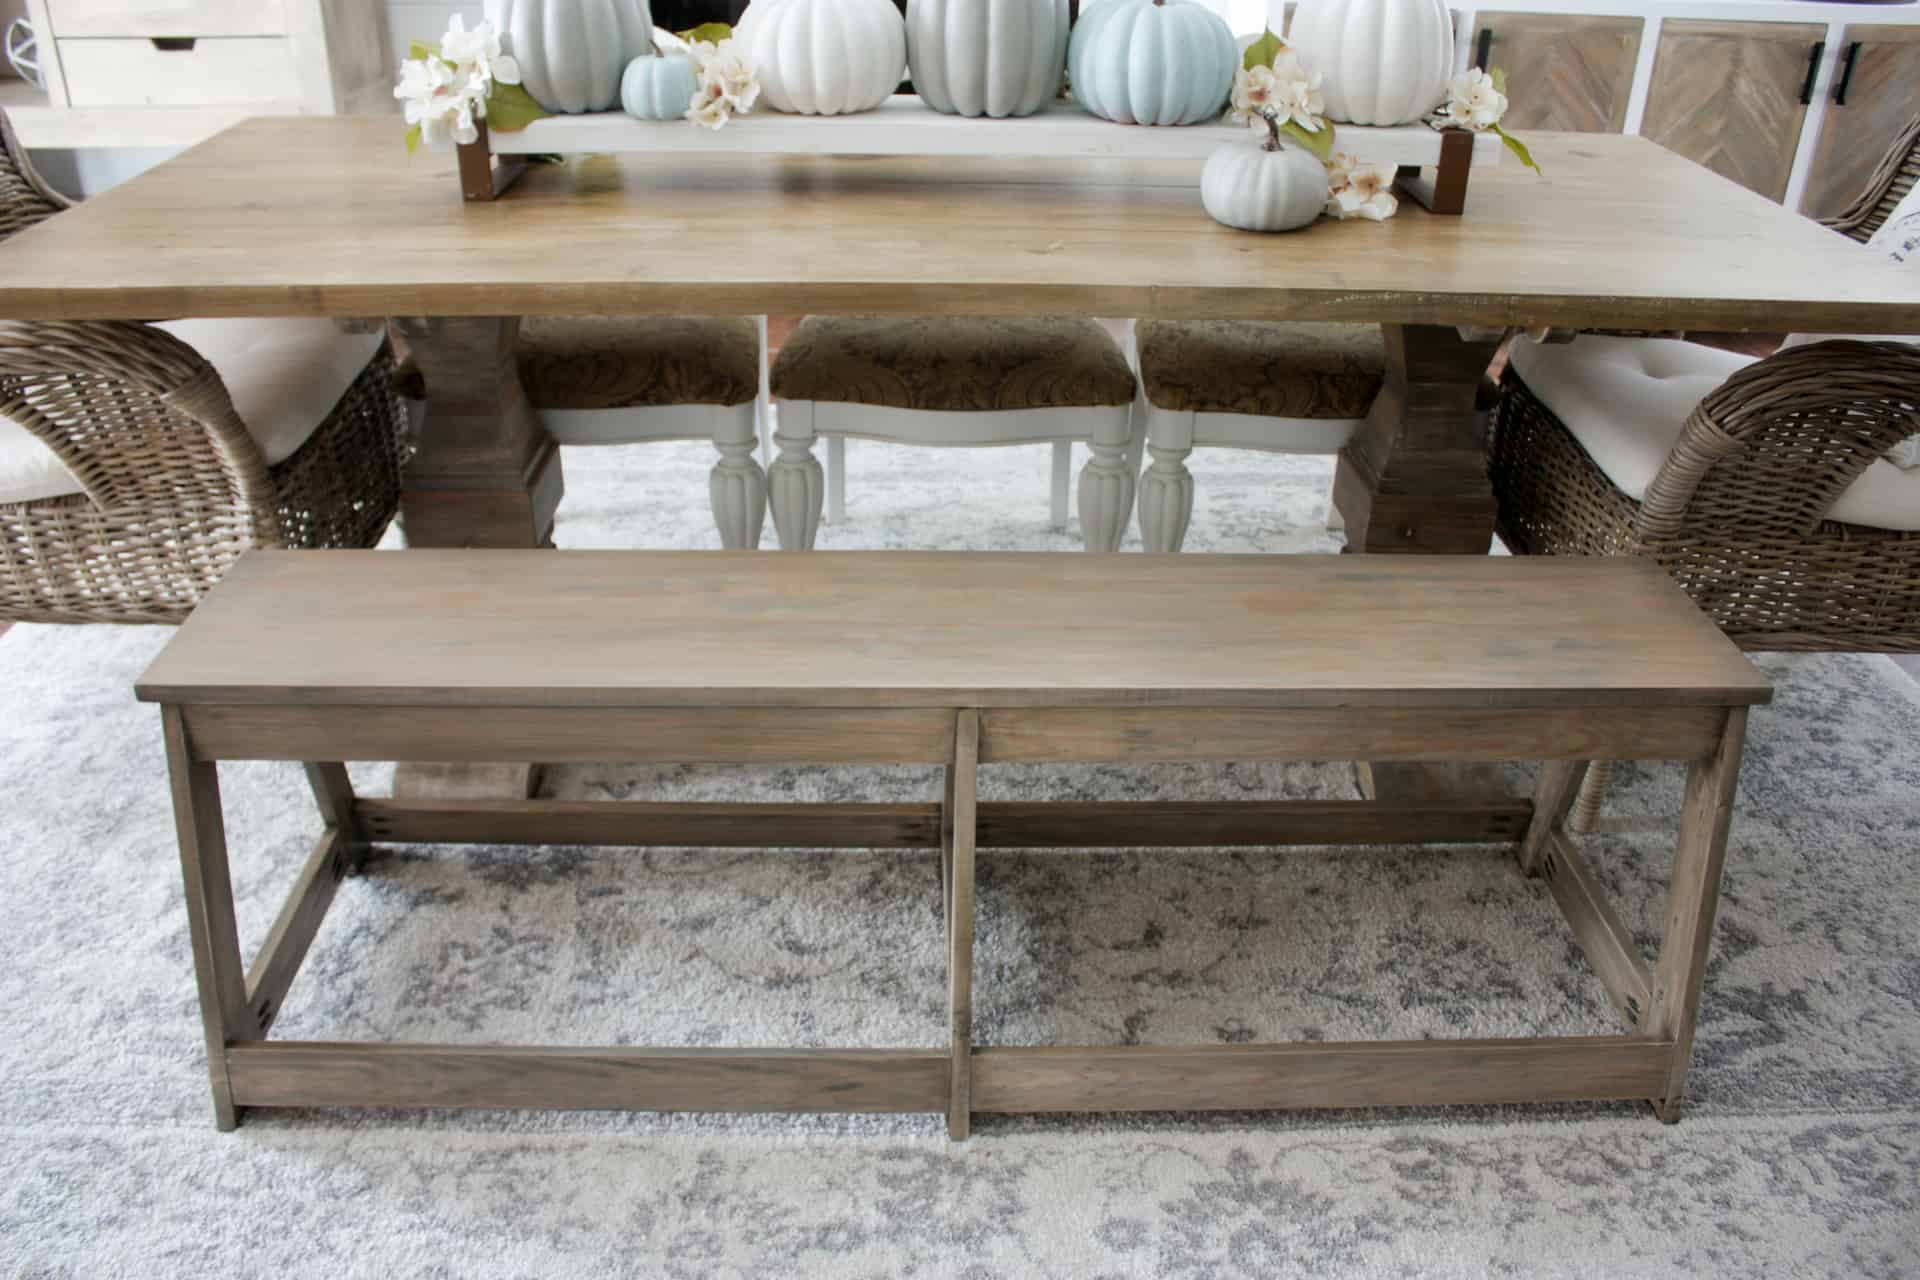
It’s not curved…that’s just my little old crop sensor camera for ya! 🙄
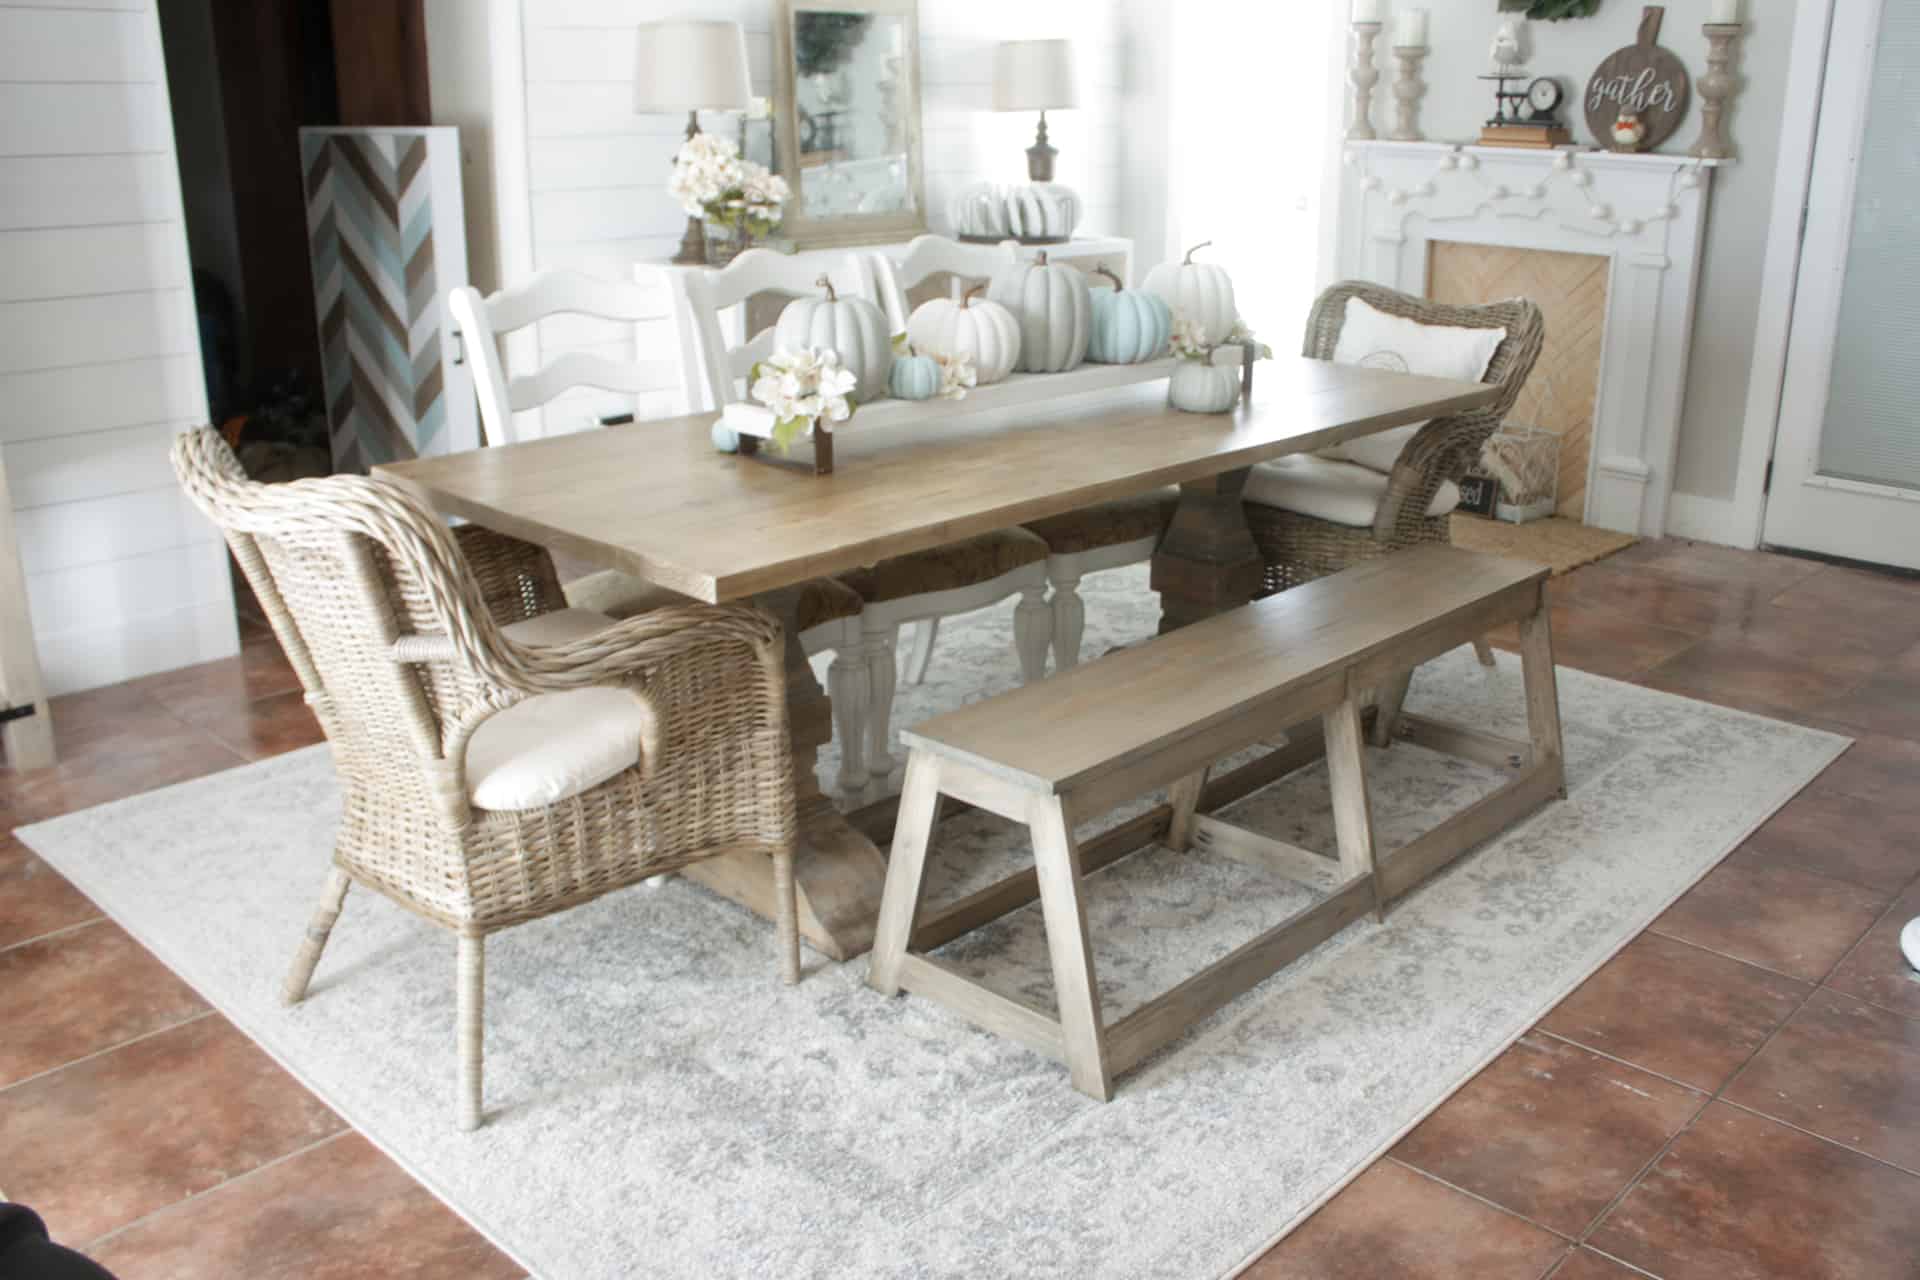
Alright, let’s get building! Get the free plans by clicking below and the tutorial will follow as usual!
Gathering Supplies to Build the DIY Dining Bench
This bench is so easy to build and has few supplies needed which helps keep the cost really low! You can build yourself one for only 45 bucks…this is 2022 crazy ridiculous lumber prices…when lumber is reasonable you can make it even cheaper!

Materials for the DIY dining bench
Cut list for the DIY dining bench
- 1 – 1x12x6′
- 3 – 1x3x8′
- 1 – 1x3x10′
- wood glue
- drill
- kreg jig
- miter saw
- 1 1/4″ screws
- 1 – 1×12 @ 60″
- 8 – 1×3 @ 28 1/8″
- 6 – 1×3 @ 18″ mitered at 13 degrees off square, ends parallel (Leg piece)
- 3 – 1×3 @ 5 7/8″ (shortest side) mitered at 13 degrees off square, ends not parallel (leg piece)
- 3 – 1×3 @ 12 1/4″ (shortest side) mitered at 13 degrees off square, ends not parallel (leg piece)
Building the DIY Dining Bench
This build is EXACTLY like the Small Modern Bench, only larger! I used 1x3s instead of 1x2s on this build since it was a larger bench! You pretty much just build an extra leg and adjust a couple of measurements… and viola, you have the large modern dining bench!
But I’ll show you the steps again just to be sure you get it right!😉
Step 1
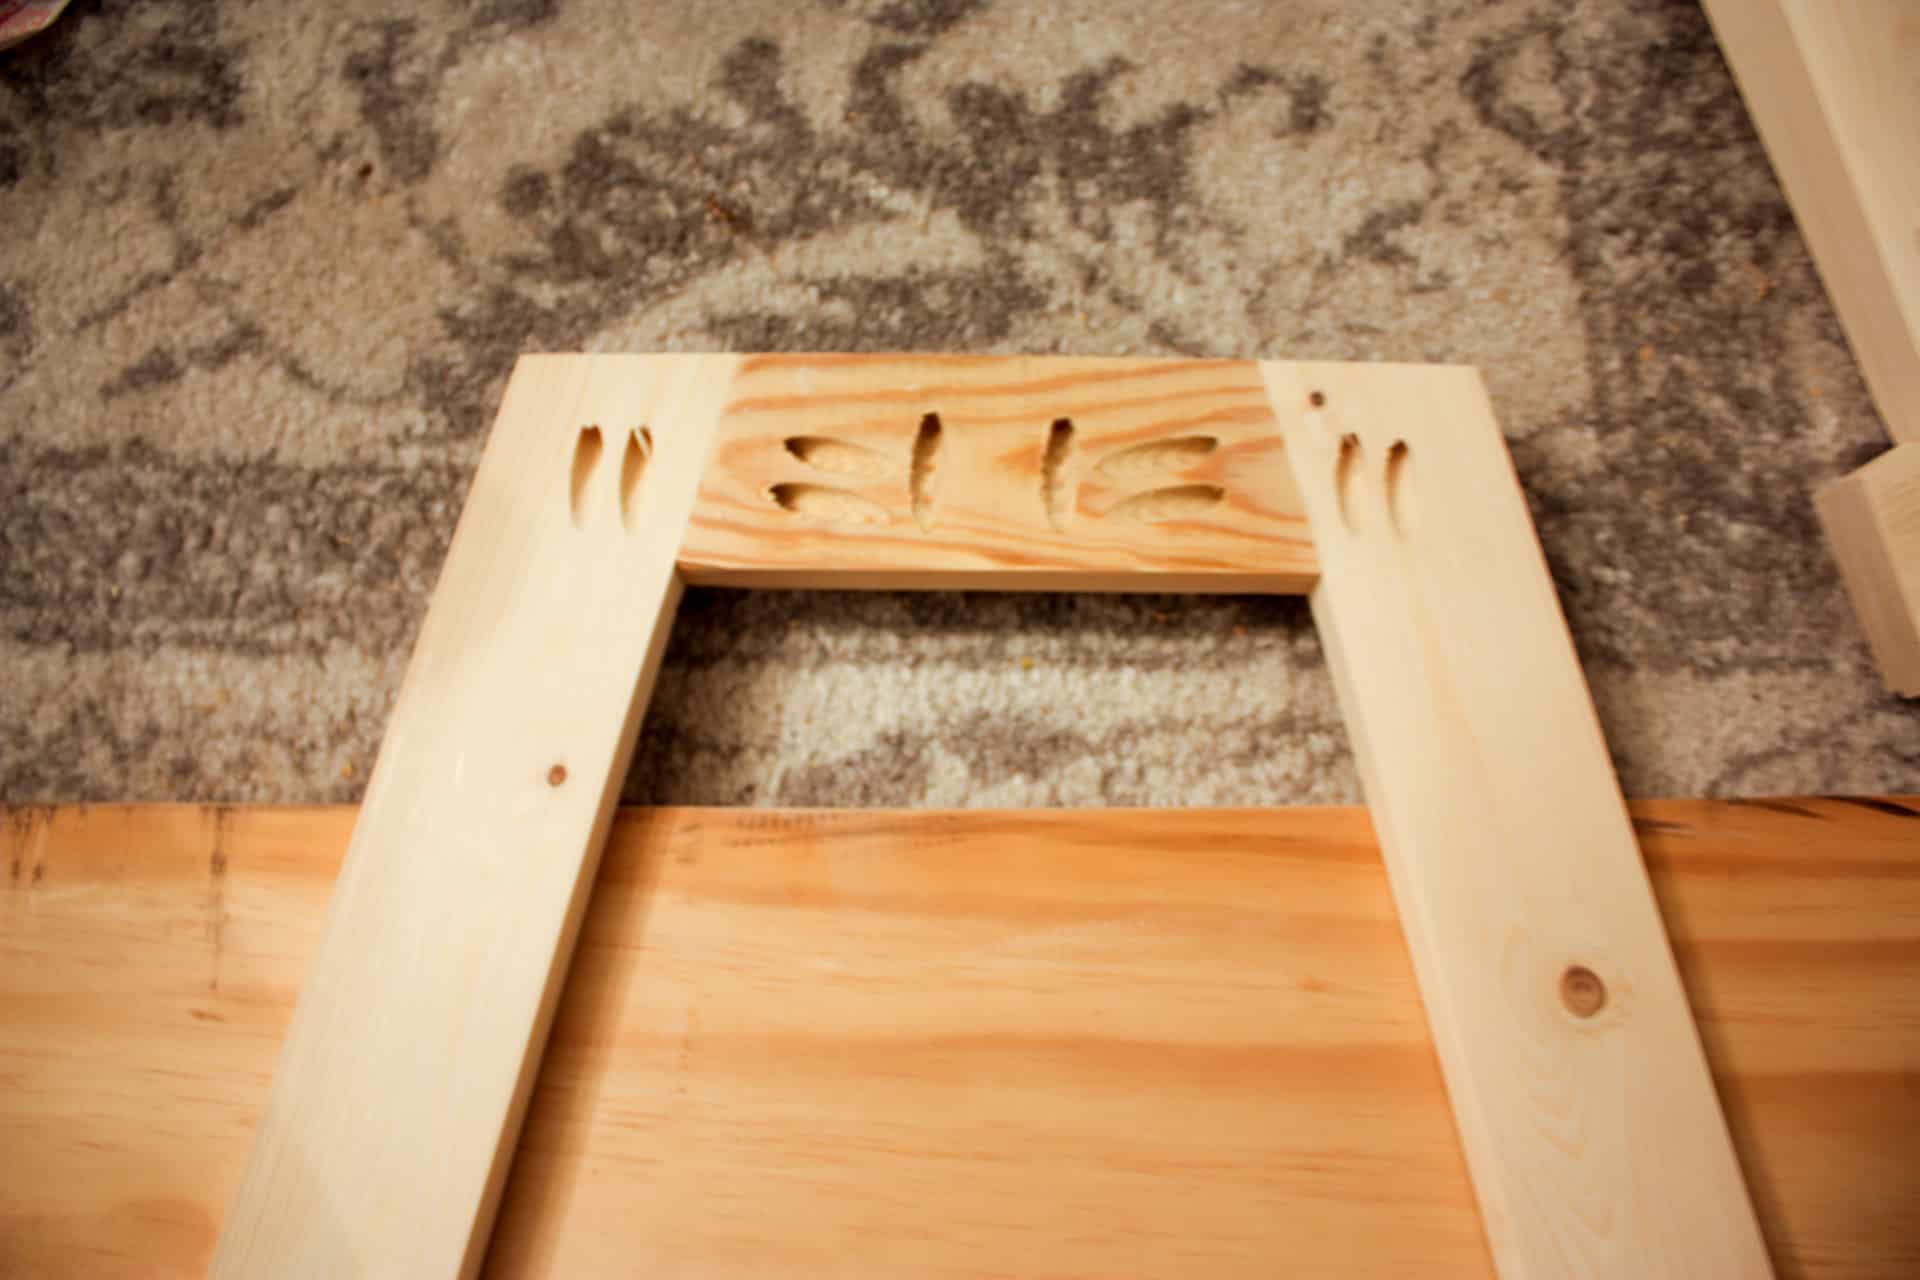
Build the legs! Cut all your pieces making sure they are all the exact same length so your bench doesn’t rock! Drill pocket holes at a depth of 3/4″. Drill them in the places shown in the pictures below, making sure to note which way they are drilled. They will be attached in later steps with 1 1/4″ screws and wood glue to the 1×12 (top of the bench).
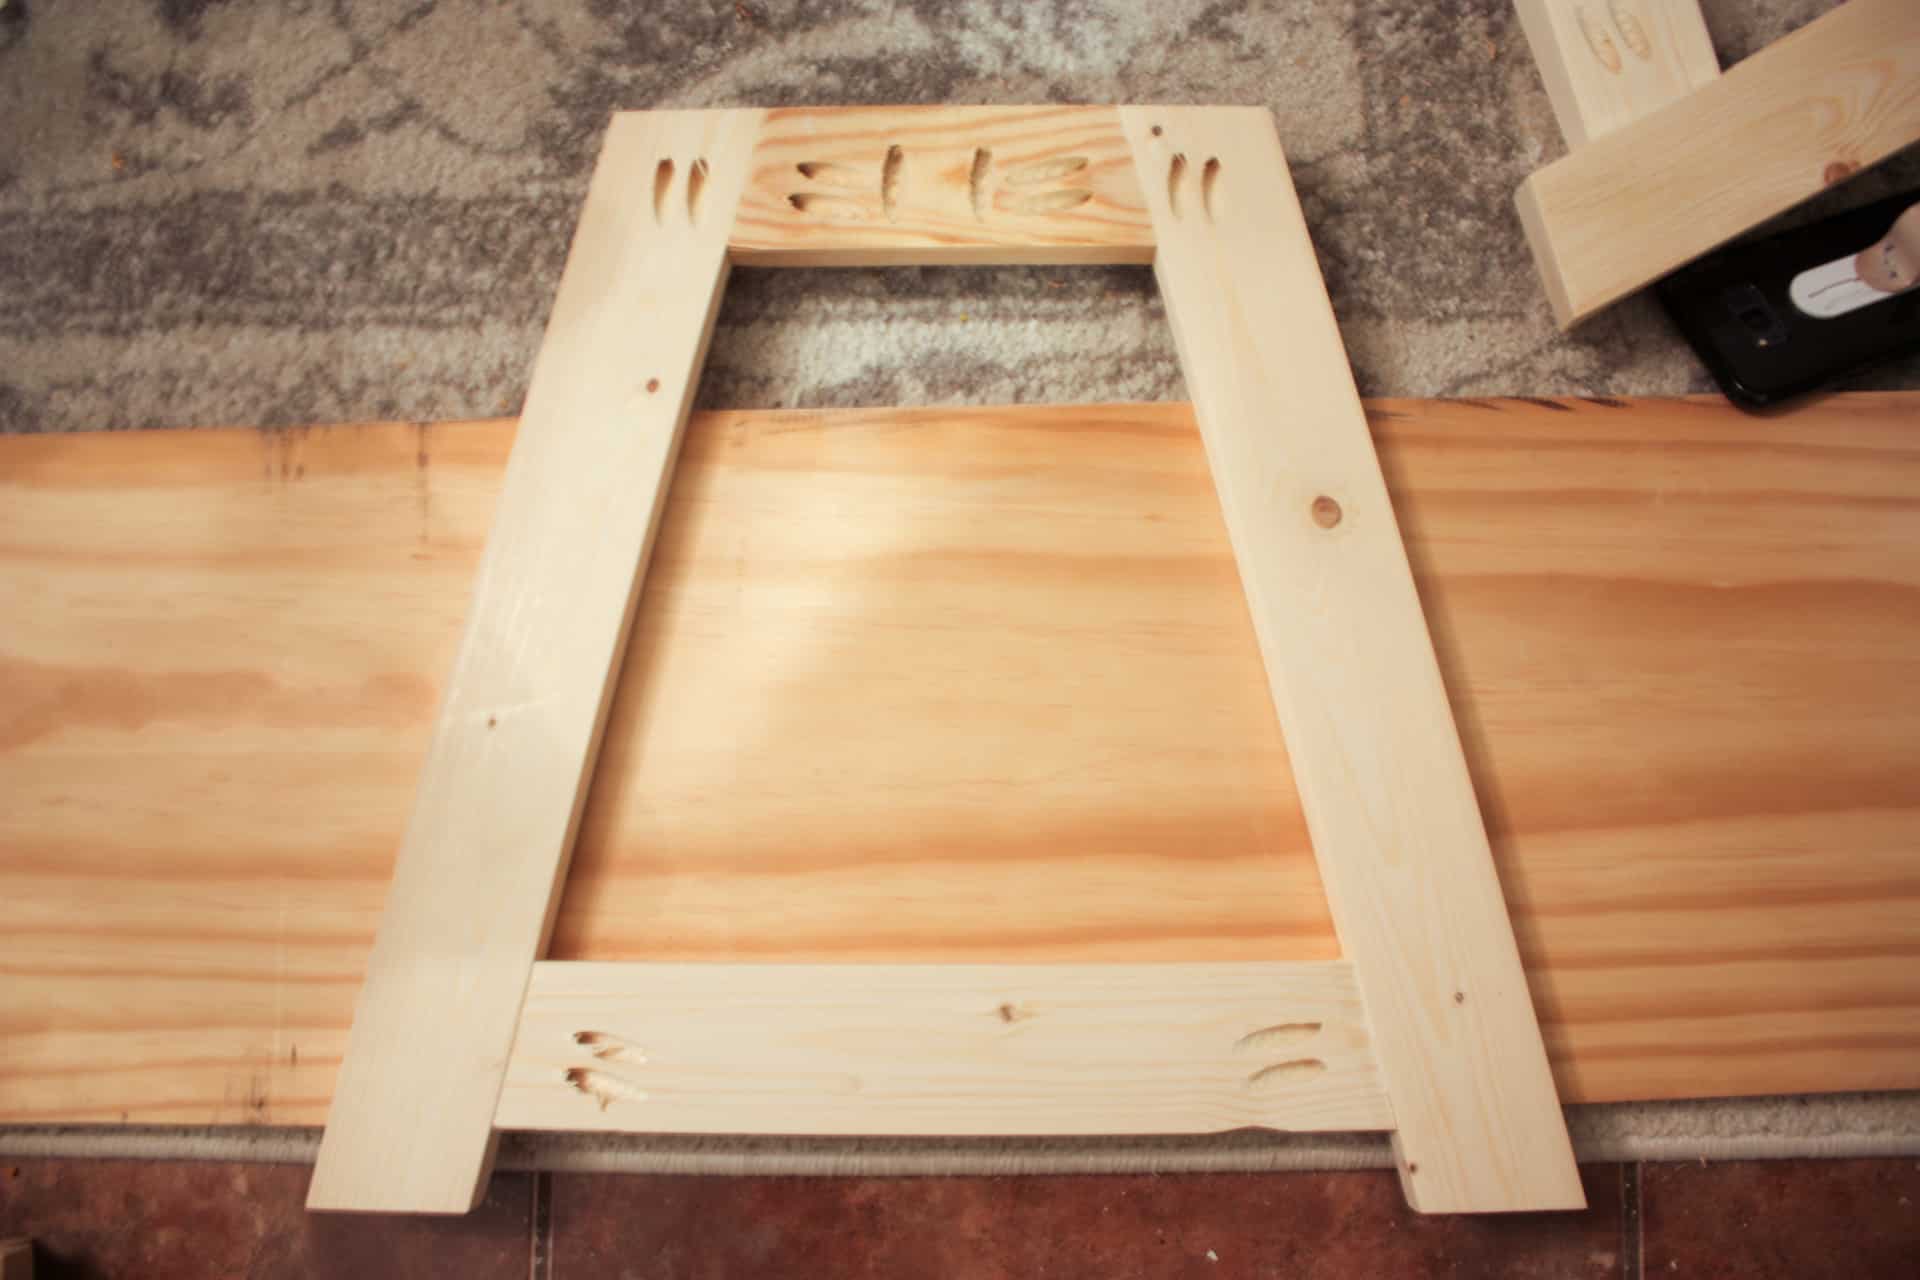
Repeat step one three times to make your three legs for the dining bench!
Step 2
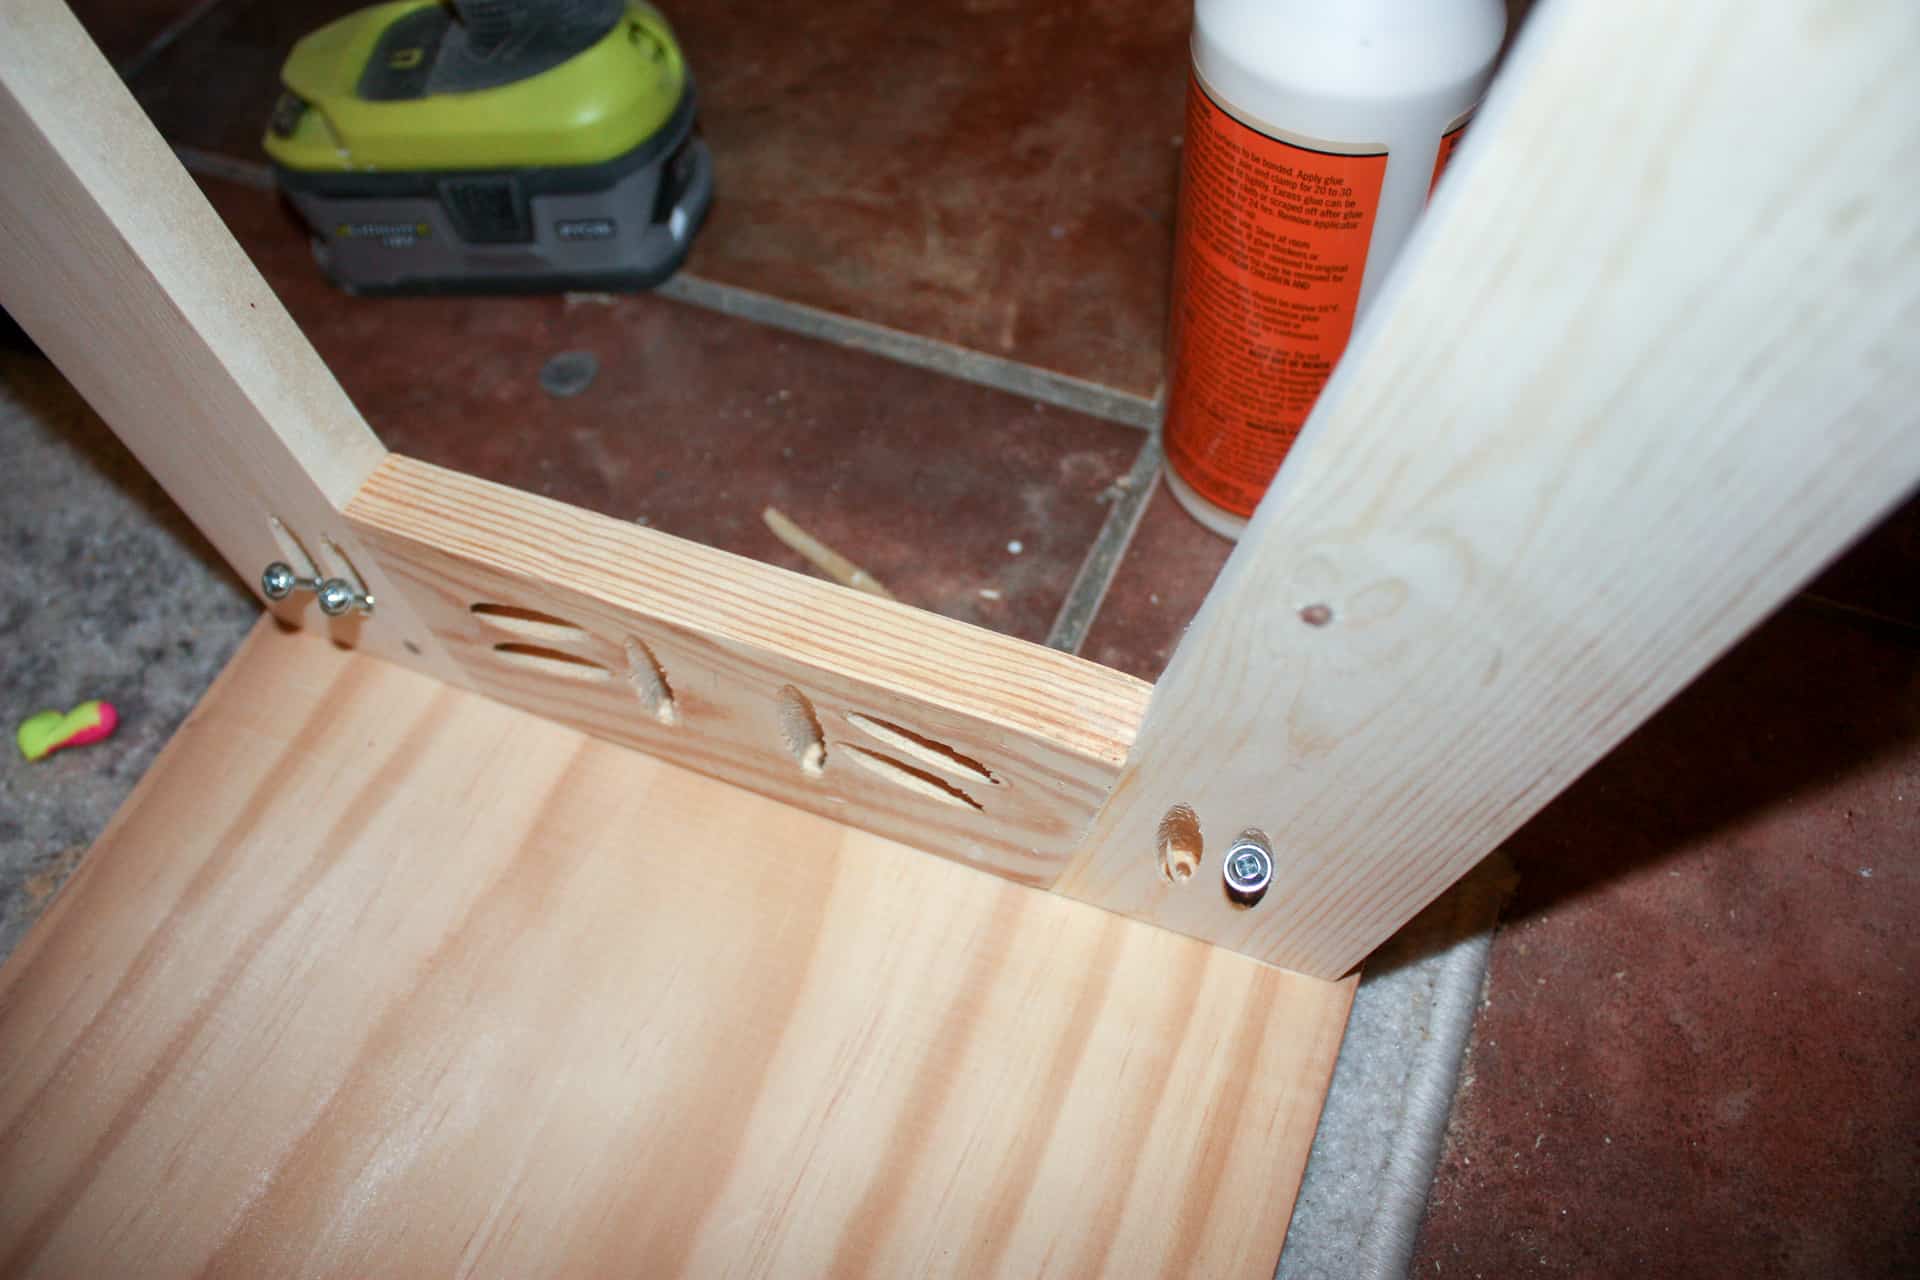
Attach the first leg. On this large dining bench, I inset the legs by 3/4″. I just used a scrap piece of 1×3 as a guide to keep the two sides exactly the same! Use plenty of glue when attaching!
Step 3
Add the two top stretchers from here. They will be pocket holed into the legs and into the underside of the bench! Again, the pocket holes are still drilled at a depth of 3/4″ and 1 1/4″ screws with ample glue to attach! I lined the stretchers up with the edge of the leg, so there is a slight overhang along the top edge of the bench. You can see this slight overhang in the second picture below…and at the bottom of the photo.
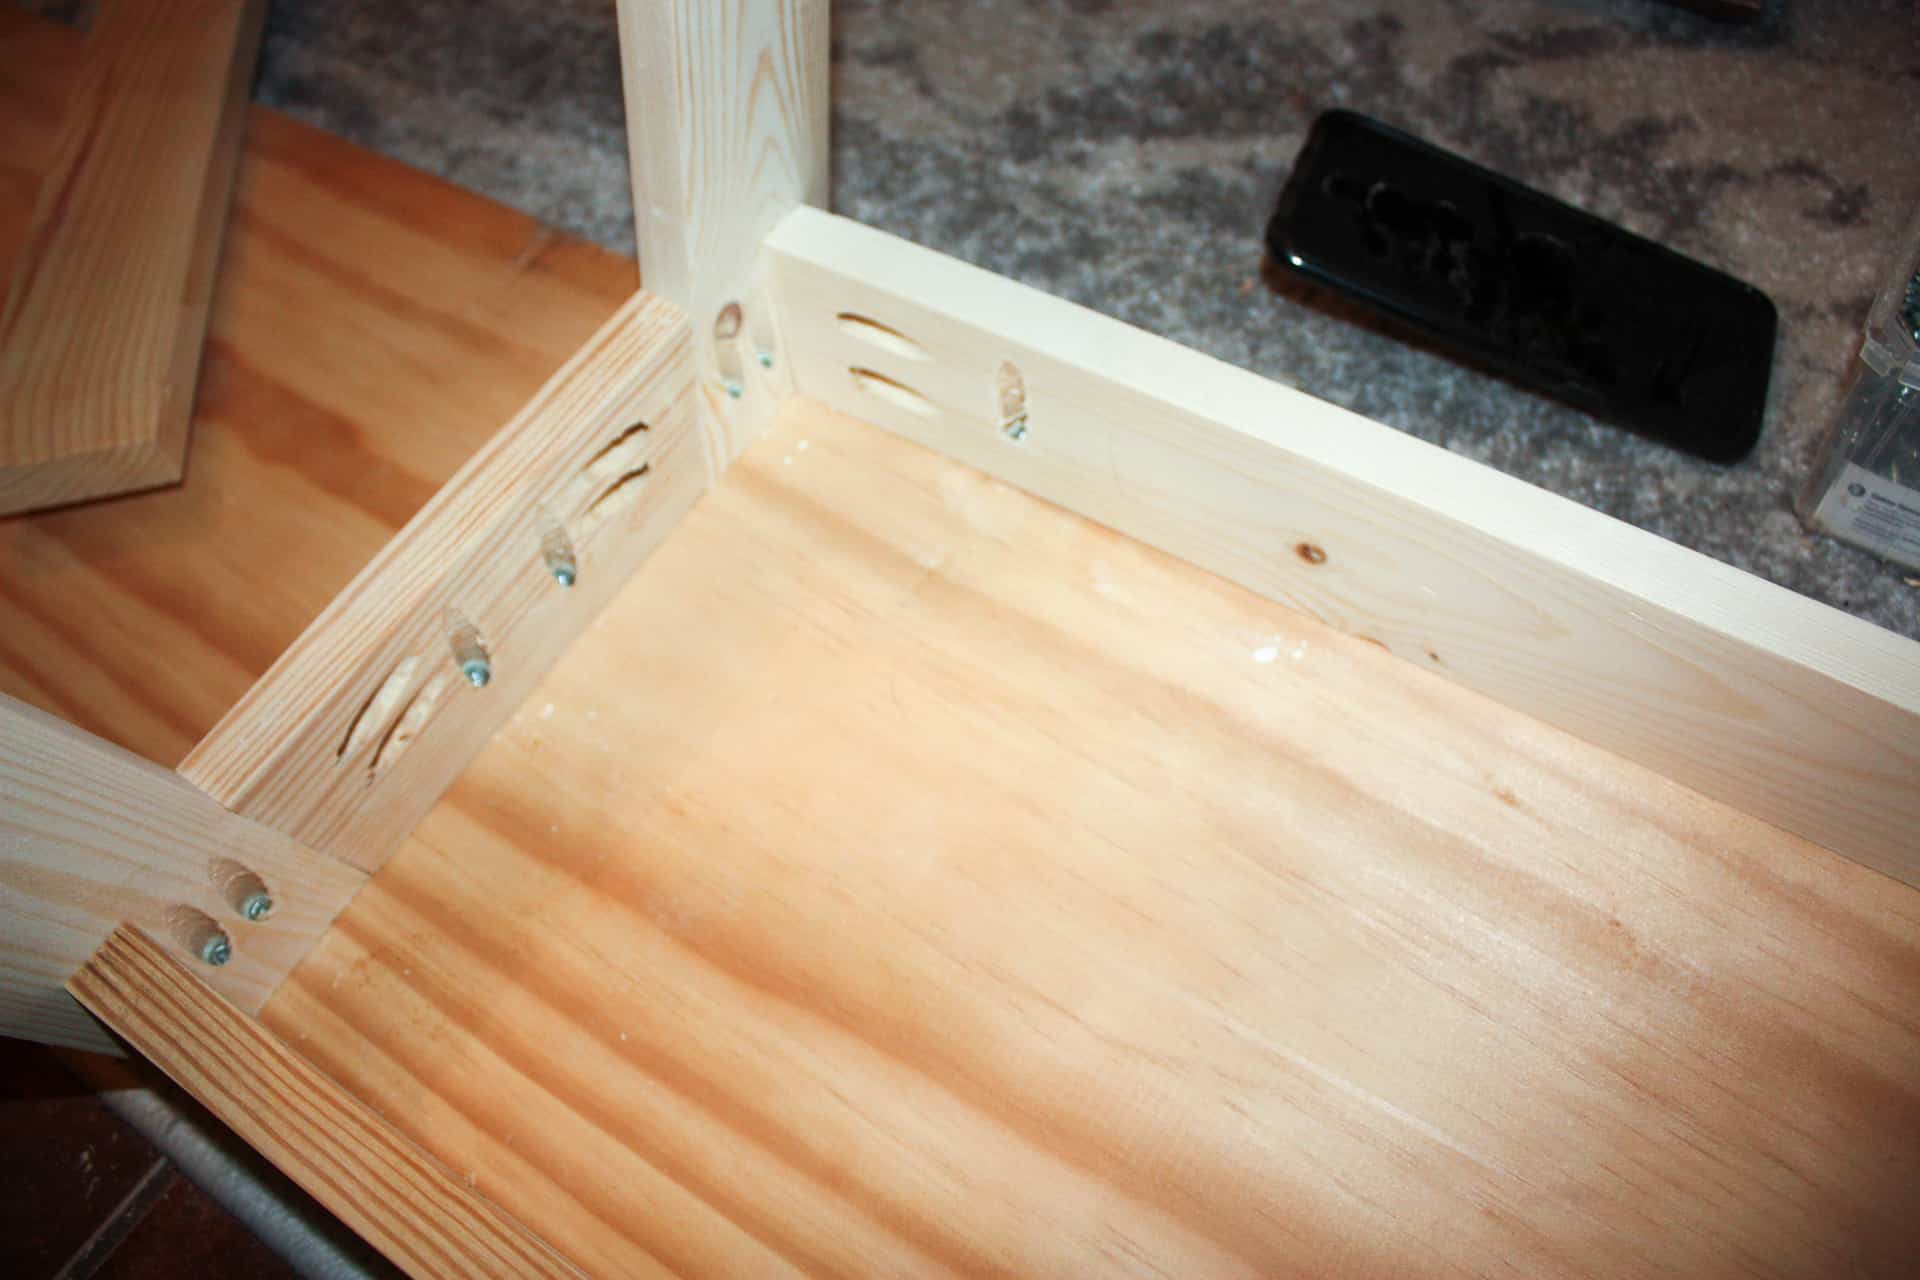
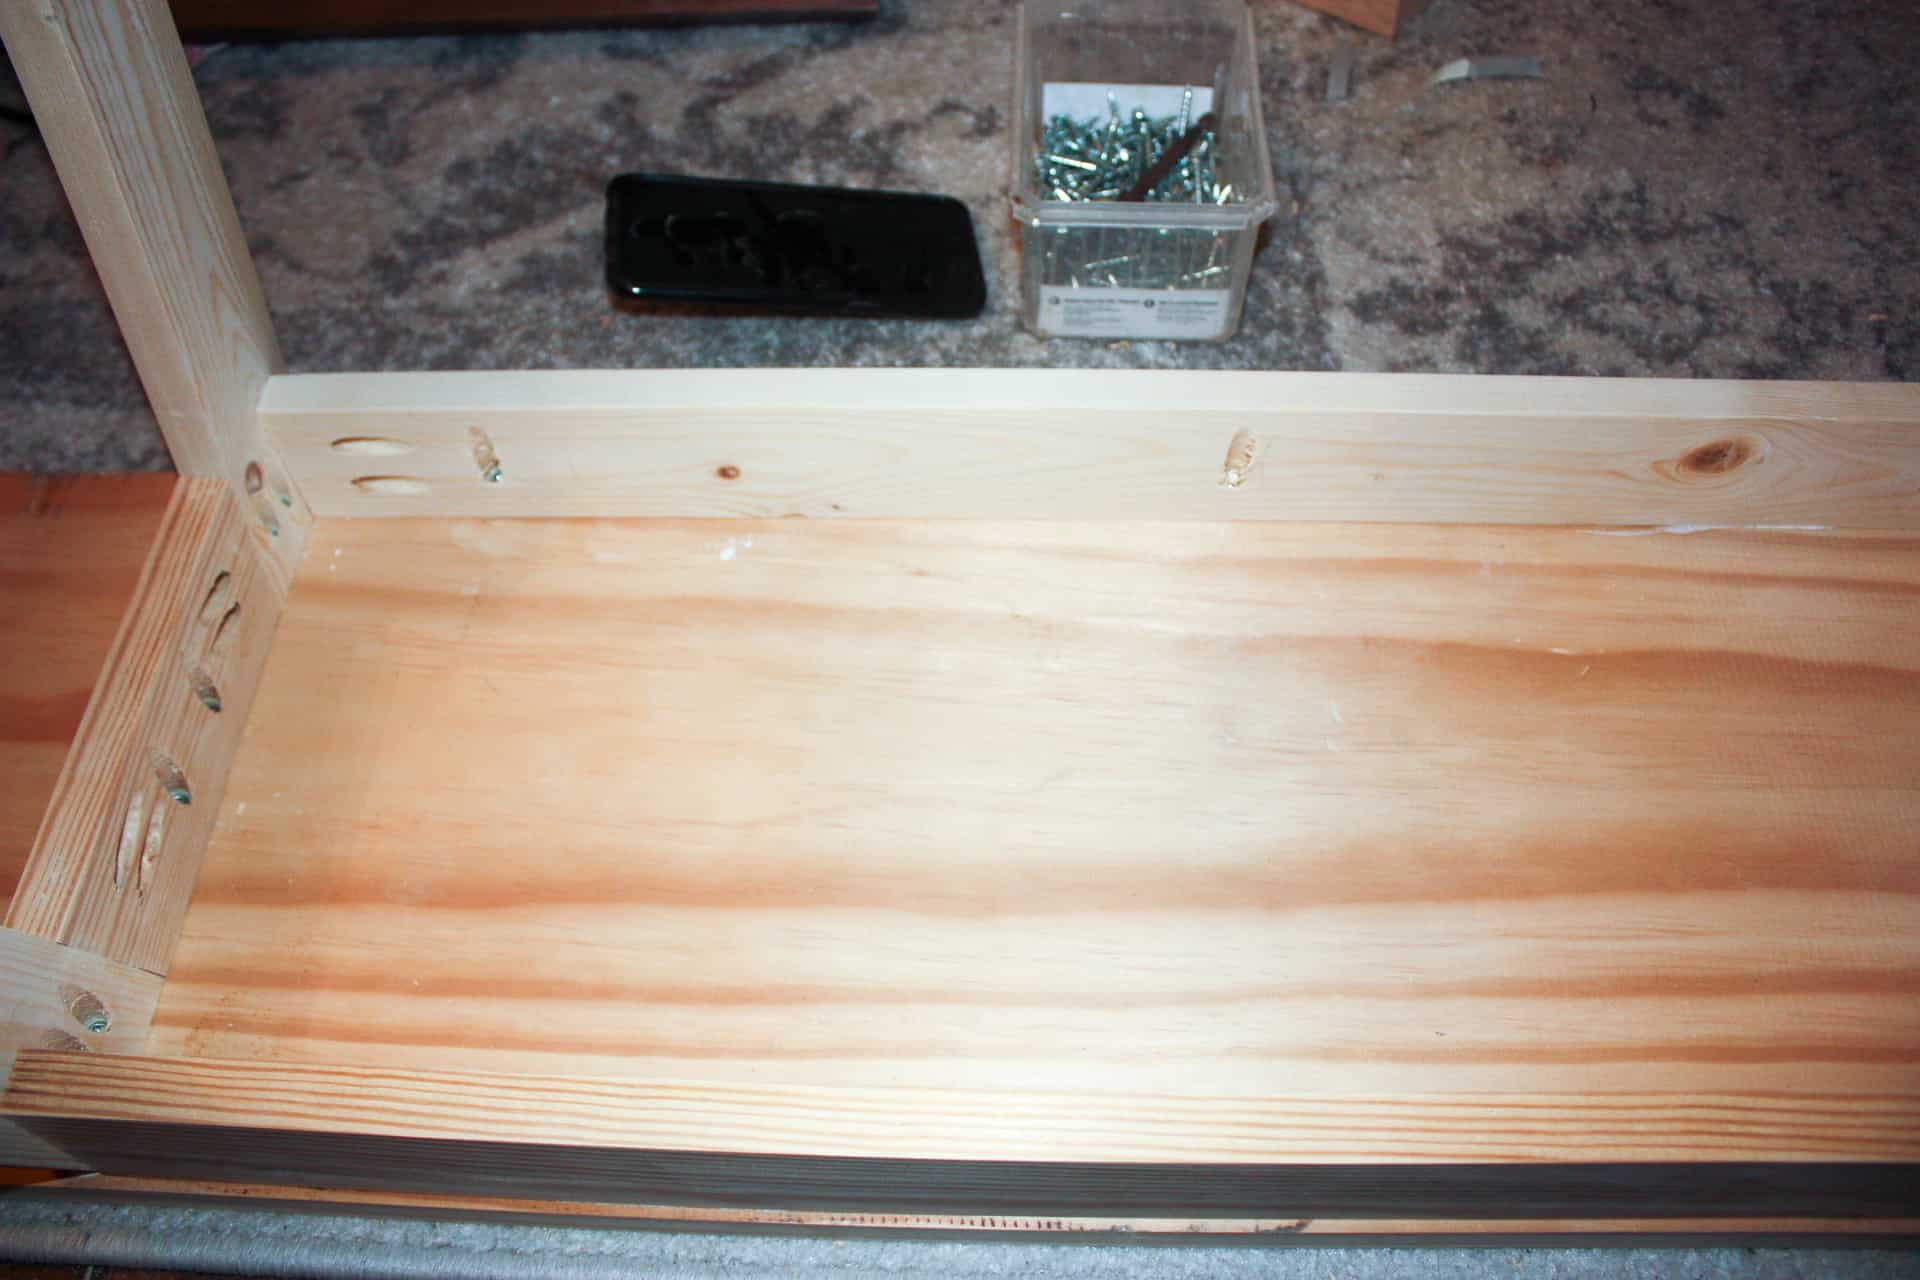
Notice how the pocket holes in the above pics are into the legs and down into the benchtop!
Step 4
Attach the middle leg, and work your way across the bench! And if your cuts were right on, you should have a hangover of exactly 3/4″ on the opposite side after attaching the last leg!
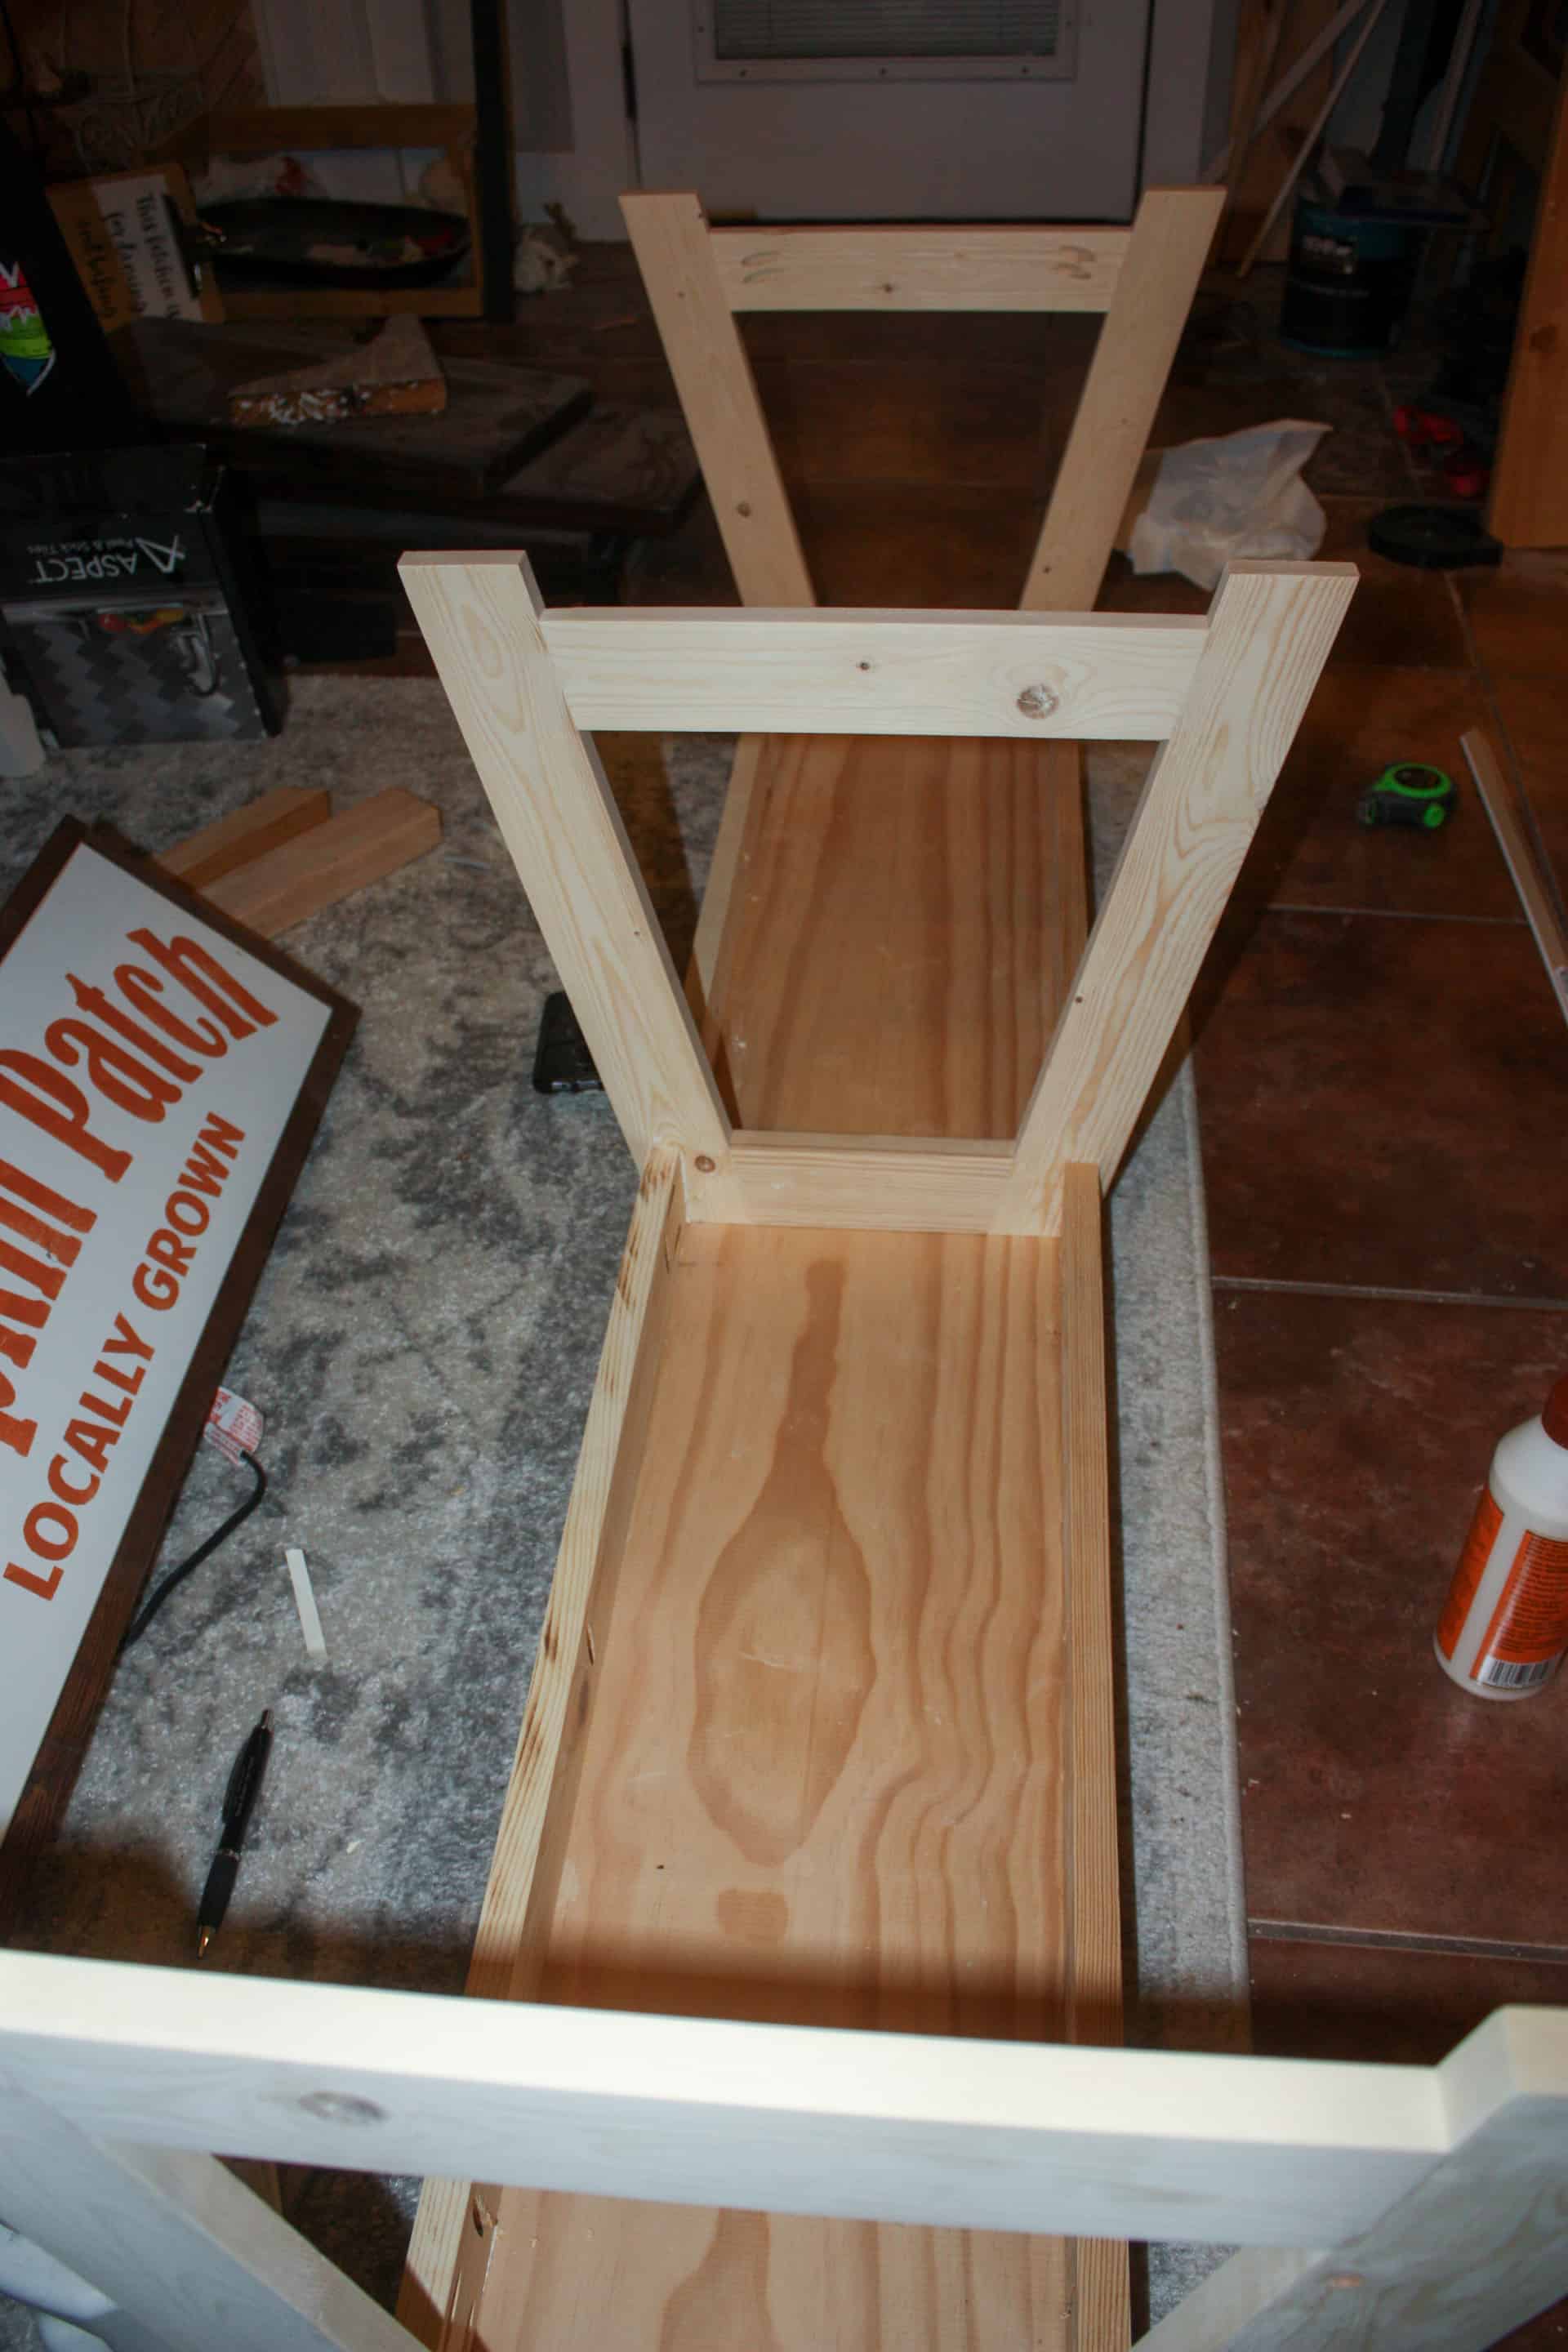
Don’t mind the mess! We were cleaning out closets, and there were still some leftover kitchen goodies laying around from the reno, it’s a pretty big mess around here! Lol!
Step 5
Add the bottom stretchers! They are only pocket holed into the legs! I lined them up flush with the edge of the leg. Again, make sure and use a frivolous amount of glue!
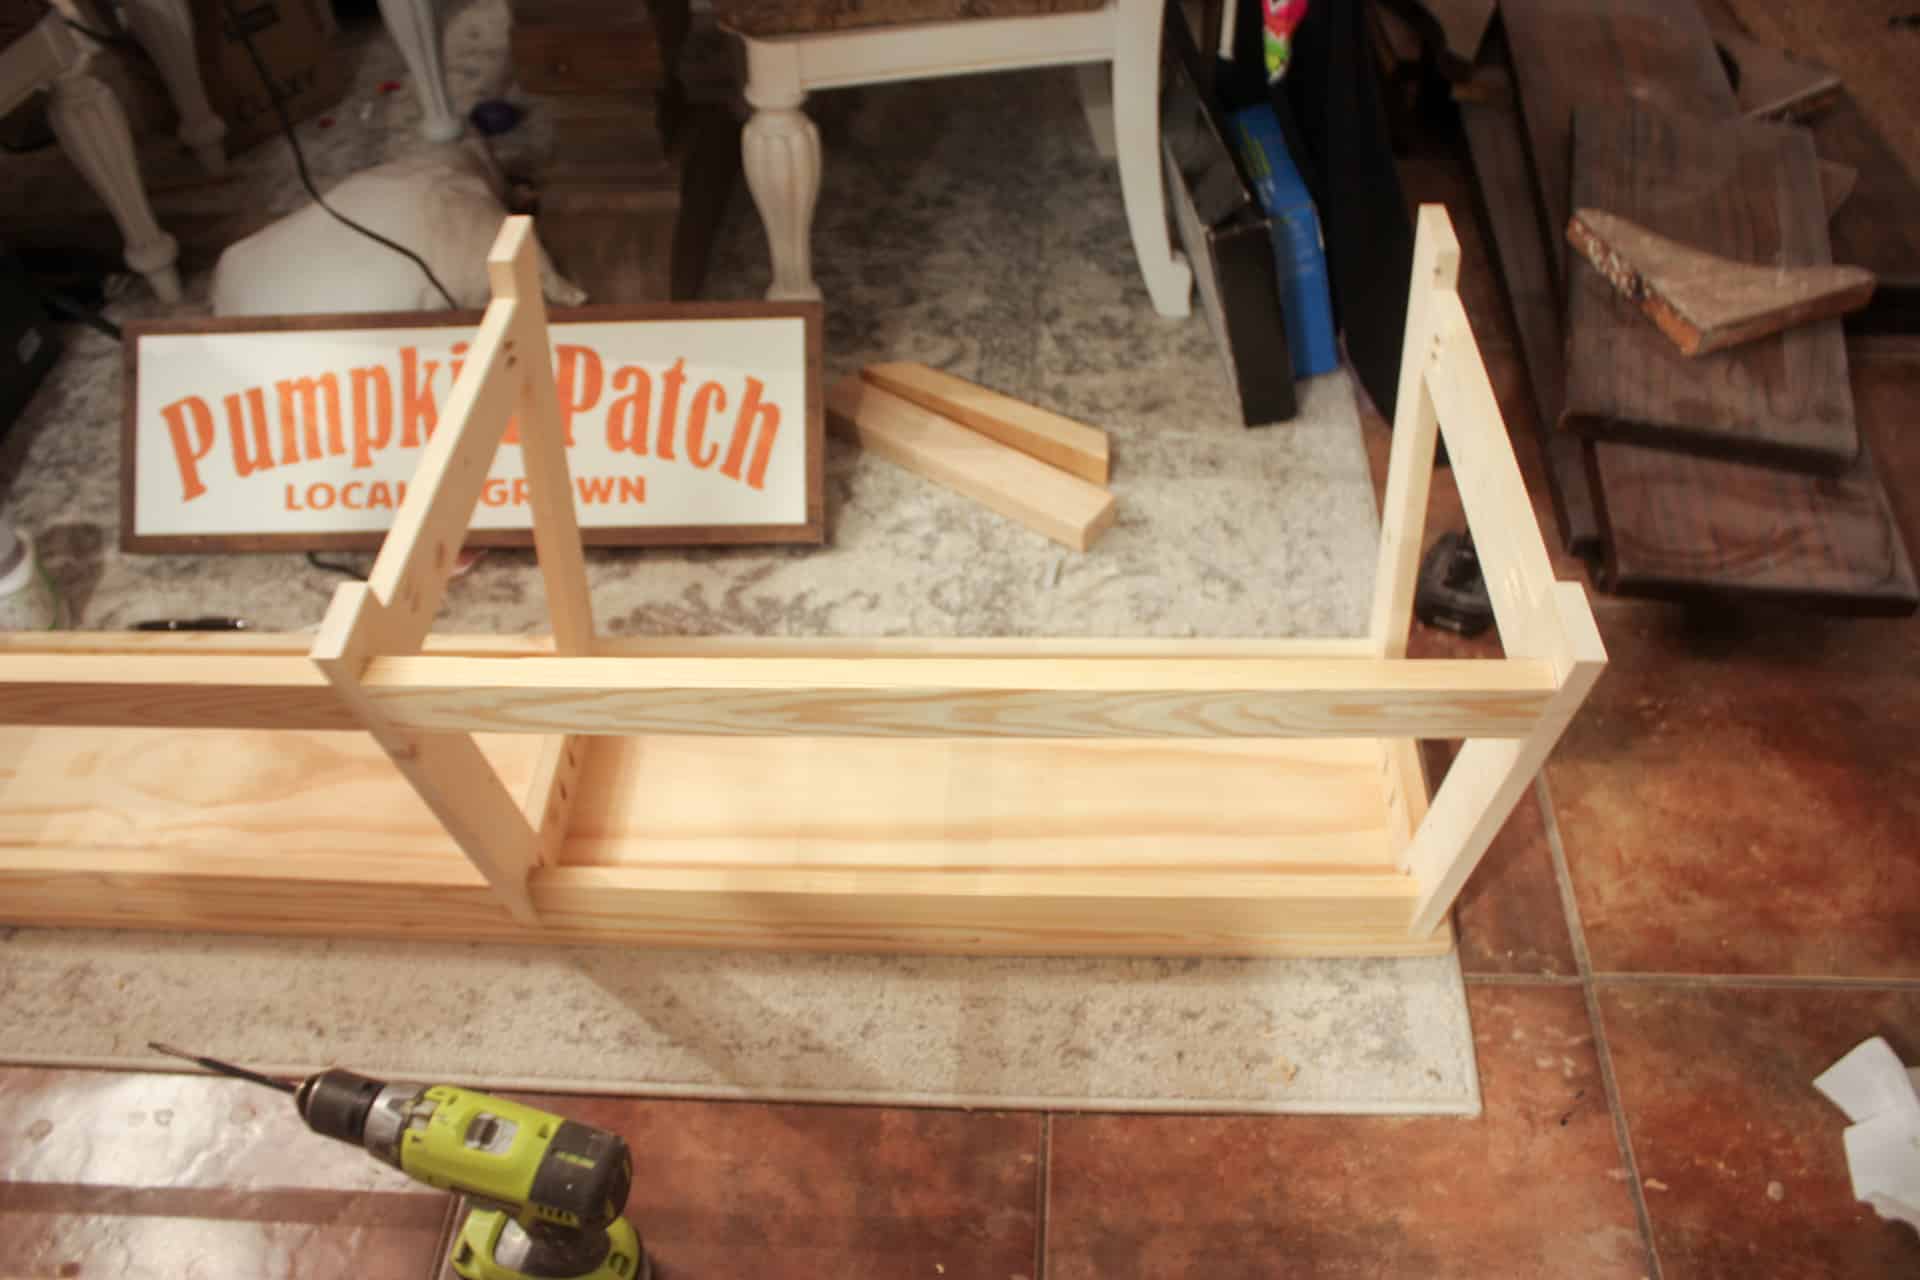
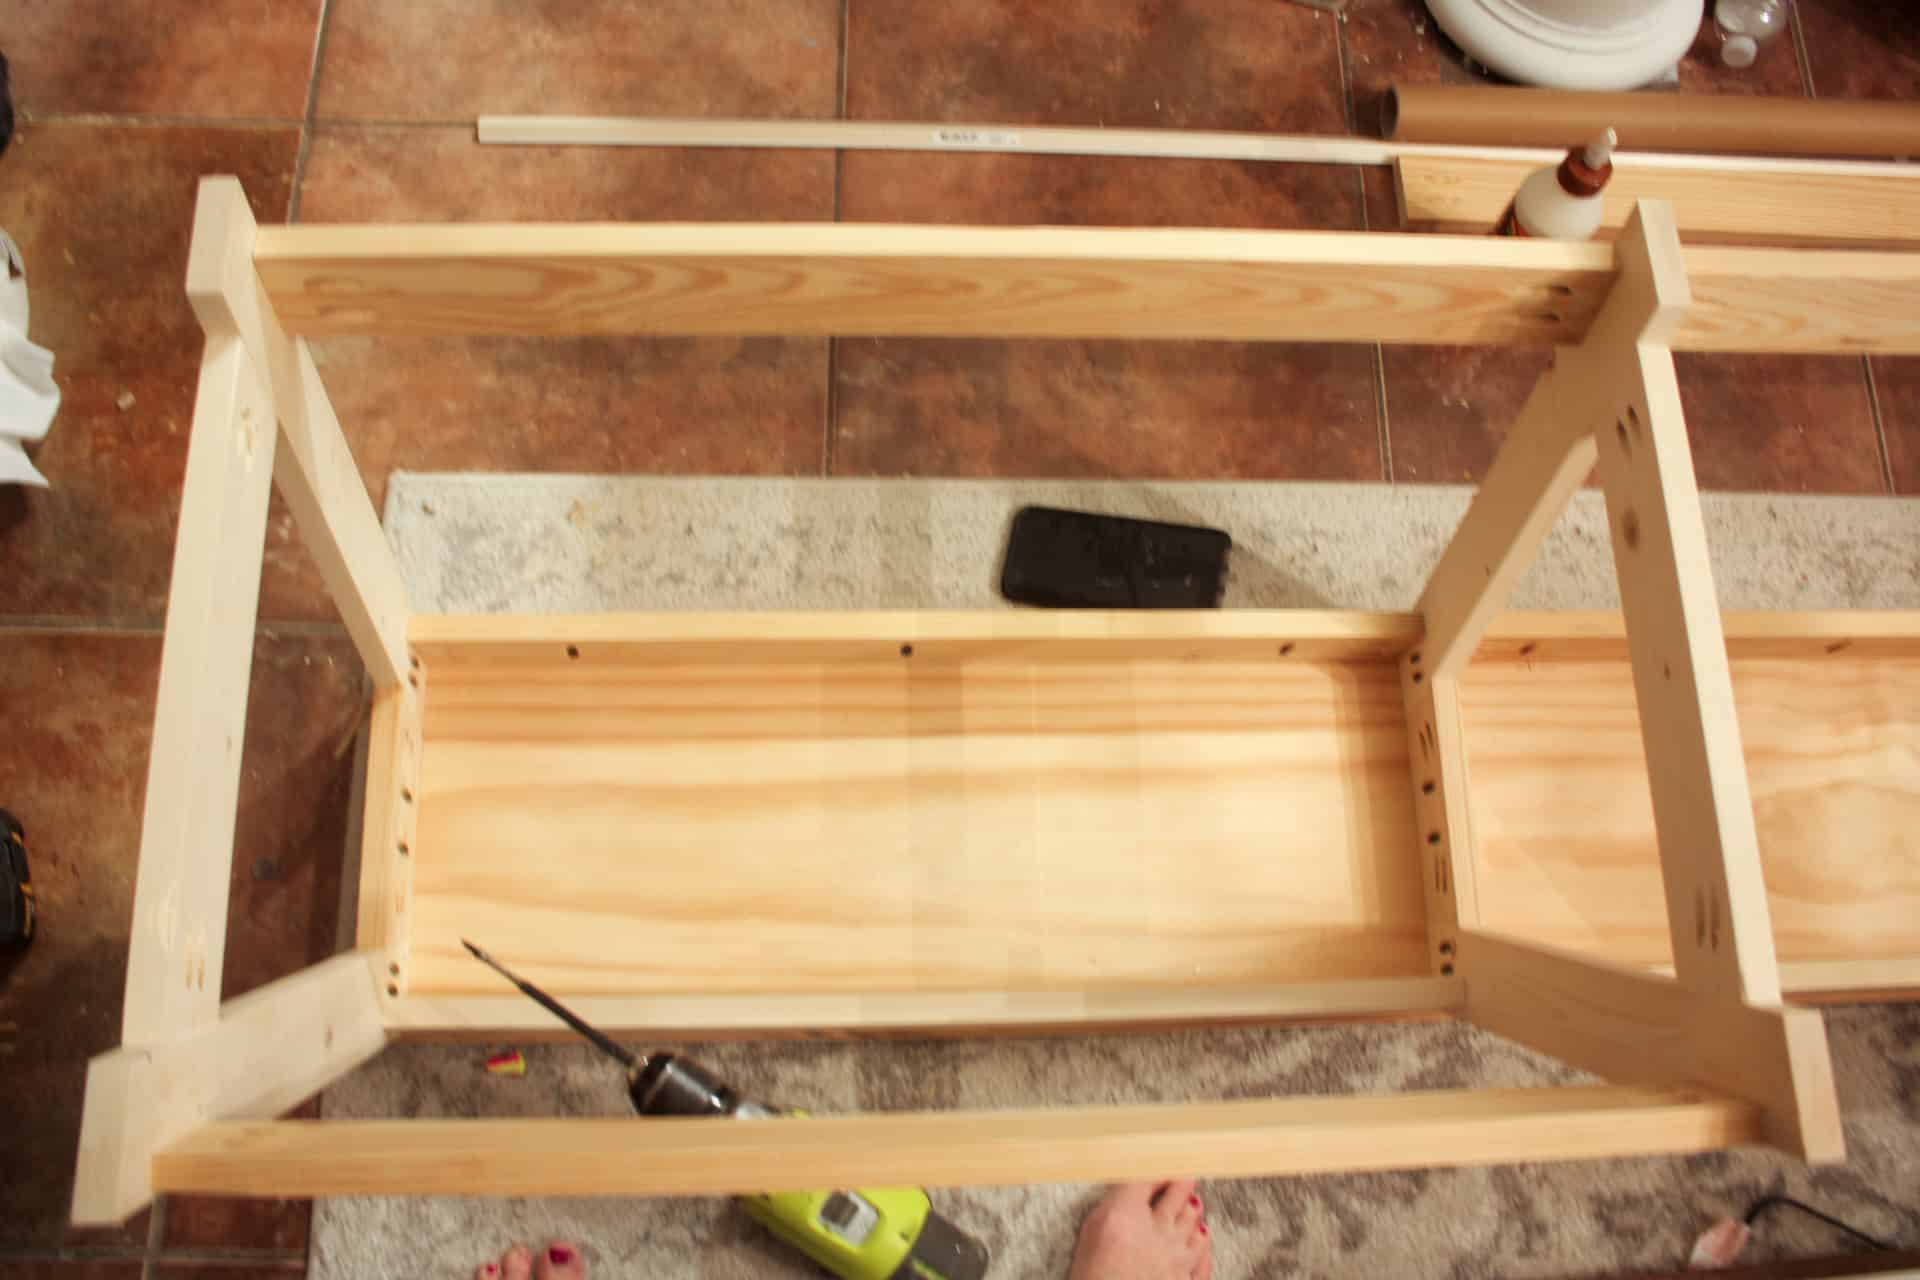
It’s so cute! And ALREADY DONE! Yeah, a bench that will easily hold three adults…done that quick! Sand it, stain it, paint it…do whatever you want!
I used the same stain method on this bench as I did my table! First-round, Antique white by Rustoleum. Second, I layered Weathered Oak by Minwax. Third, I added classic gray by Minwax, and last I swiped some Jacobean on there to give it the most subtle warming! And you will want to seal it with some poly of course so it’s easy to wipe down! I used Triple thick matte poly by Rustoleum!
I couldn’t be happier with how it turned out! Plus, did I mention how cute they are as a photo prop? Check out how I used my small one recently as a photo prop to get a cute cousin pic for my mom for Christmas!

So adorable, right?! What are you waiting for, go get your supplies and start building yourself a large dining bench or go grab the plans for the small modern bench!
Happy Building!

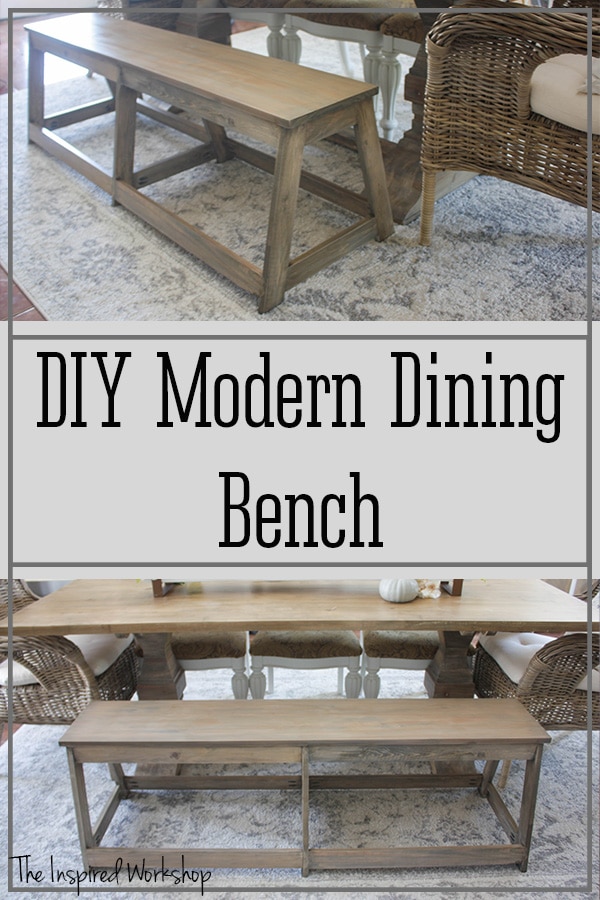
Want to Save this DIY Dining Bench for later? Pin It!
Related Posts
