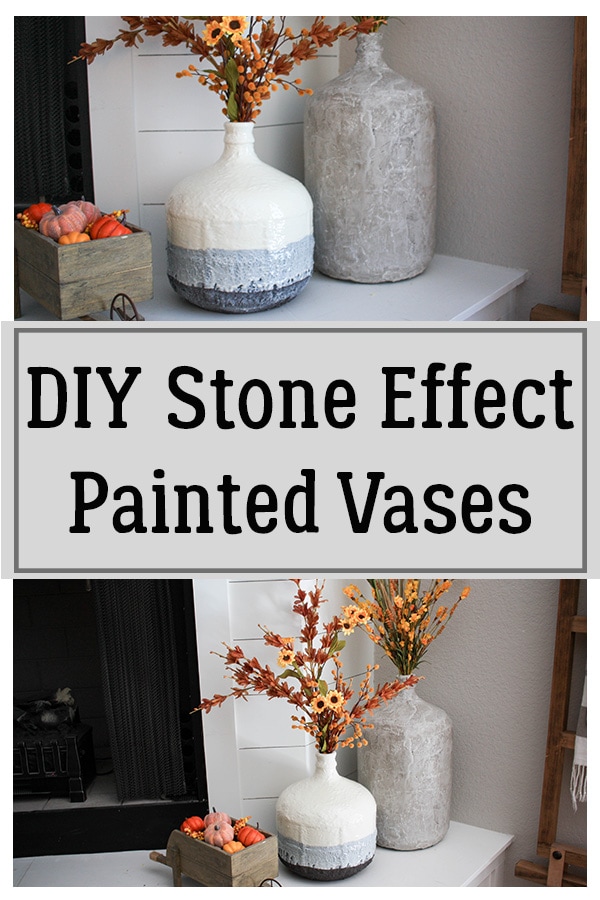
DIY Stone Effect Painted Vases
Large stone vases are ever so popular right now but they can come with a pretty stark price tag! Making your own can save you tons and allow a little customization! Using old glass vases that you have lying around, or that can be inexpensively purchased at thrift stores you can DIY some stone effect painted vases that will update your decor and look beautiful around your home!
I am not a fan of glass vases, apparently, at some time (like during my uber farmhouse phase) I was…lol, but not anymore! You know though that I am also not a fan of throwing out a bunch of stuff and purchasing all brand new, there are so many other things I could spend that money on if I just recycle the old ones I already have! So, I thought I would turn my old glass into beautiful new pottery, this would save money and make my decor feel updated!
On the smaller vase, I used the ever-so-famous baking soda in the paint trick to make the stone effect with the paint, and then used epoxy poured over the top to make it look almost like ceramic glaze! I love the way it turned out even though I had no idea what I was going for when I started! Lol!
On the larger vase, I used the joint compound method to create the stone effect! I ended up loving both of them and will share both methods so you can make your own!
I used the joint compound to cover this succulent table centerpiece I made a while back and it had me hooked wanting to cover everything in joint compound! 😅
Gathering Supplies to Make DIY Stone Effect Painted Vases
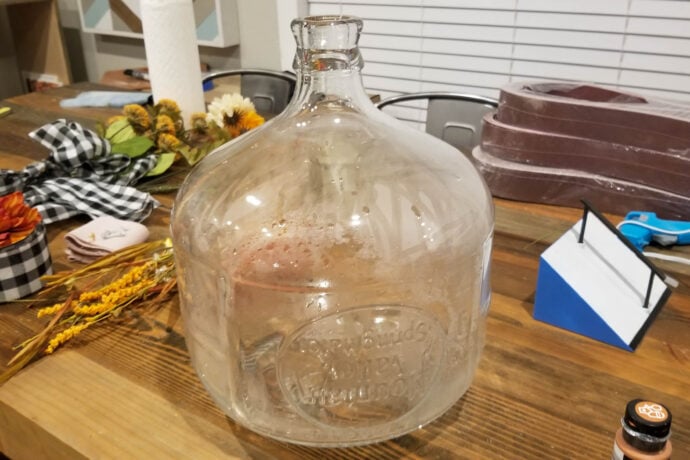
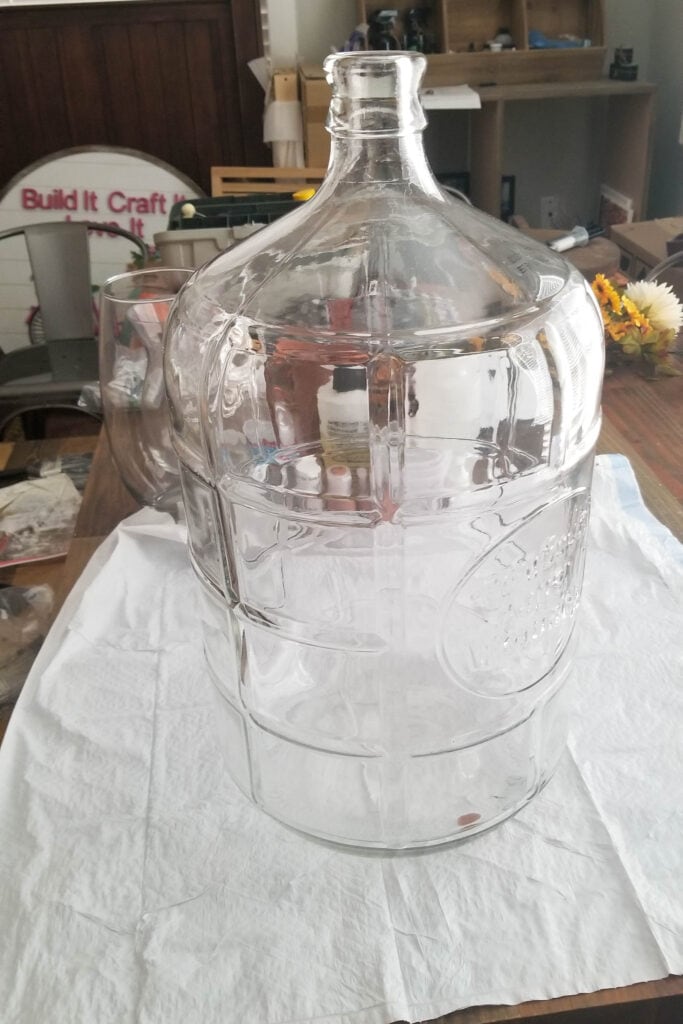
The two vases that I used are the 2 1/2″ gallon water jug and the 5 gallon water jug, these are water jugs that I couldn’t get my deposit back on because I didn’t have my receipt at Natural Grocer’s, first of all, who the heck keeps a grocery receipt? And I think that would be really important for the cashier to tell me as I made the purchase that I must have my receipt to get my deposit back. I mean if I have the jug, I clearly paid a deposit or else they wouldn’t have let me leave with it! 🤷♀️🤔
Anyway, rant over because thanks to them not letting me trade them in, I now have these beautiful stone effect vases that I LOVE! And four more jugs to create masterpieces out of! Lol!🤪
Materials Needed for Stone Effect Vase:
Amazon links are affiliate links! Affiliate links are links that pay me a small commission (at no extra cost to you) should you make a purchase after clicking them! I always appreciate you shopping at my links!
- An old vase that you want to make over – can be glass, stone, plaster, or resin as long as you don’t like it the way it is! Mine were Mountain Valley Spring Water Jugs which are able to be purchased at Natural Grocer’s or through their water delivery service if they deliver in your area. It is only a 20 dollar deposit for a jug, but it’s also 20 dollars for the 5 gallons of water or 15 dollars for the 2 1/2 gallons…but it is my favorite water to drink!
- paint of your choice
- baking soda – this is a pack of three, you do not need three of them, it was just a really great price for 3!
- craft epoxy
- opaque white epoxy tint
- joint compound
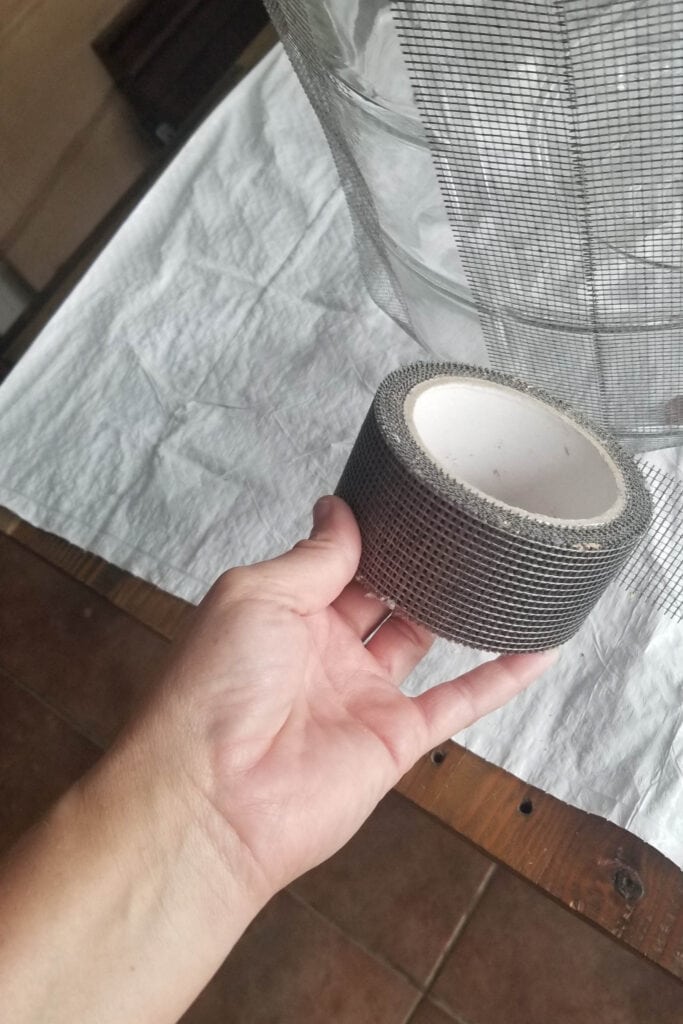
- fiberglass mesh tape
Painting the Vase with a Stone Effect
I started out with the smaller 2 1/2 gallon jug and used the baking soda method to create the stone effect!
First things first, you have to mix up some stone effect paint with the paint color of your choice and a little baking soda. I went really heavy on the baking soda simply because my glass jug had a sort of rippled grid on it that I wanted to hide. You do not have to go as heavy with the baking soda if this is not the case for you!
Mixing the Paint for Stone Effect
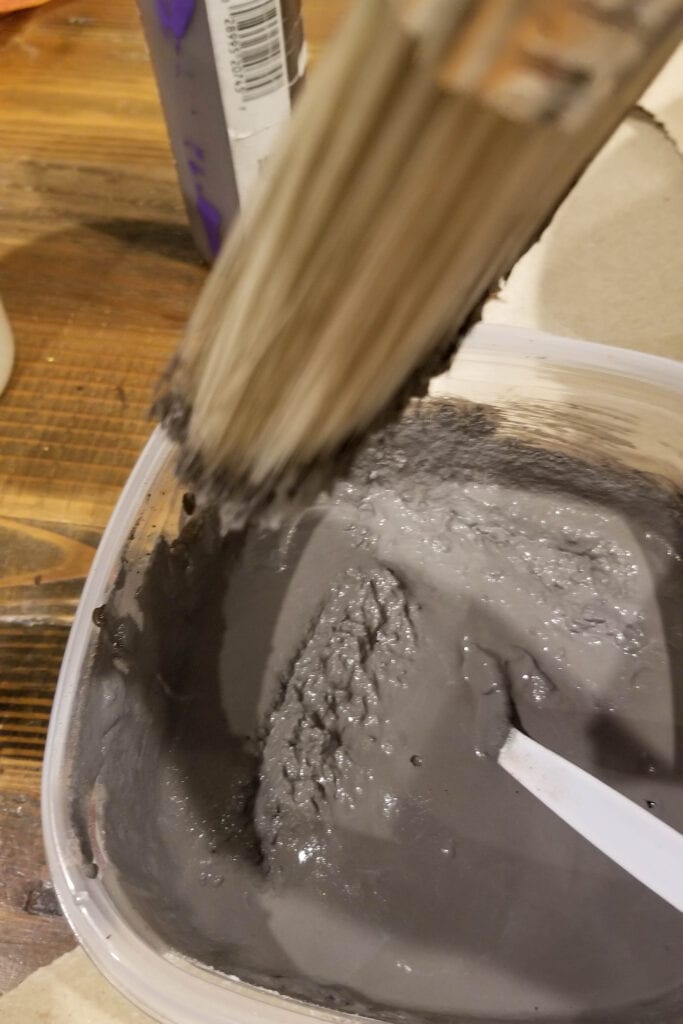
I mixed my paint at about a 2:1 mixture, 2 parts paint to one part baking soda! You can start slowly though and add baking soda until you like the consistency. Test paint a little on the vase until you like it, just remember it will be layered to get the stone effect!
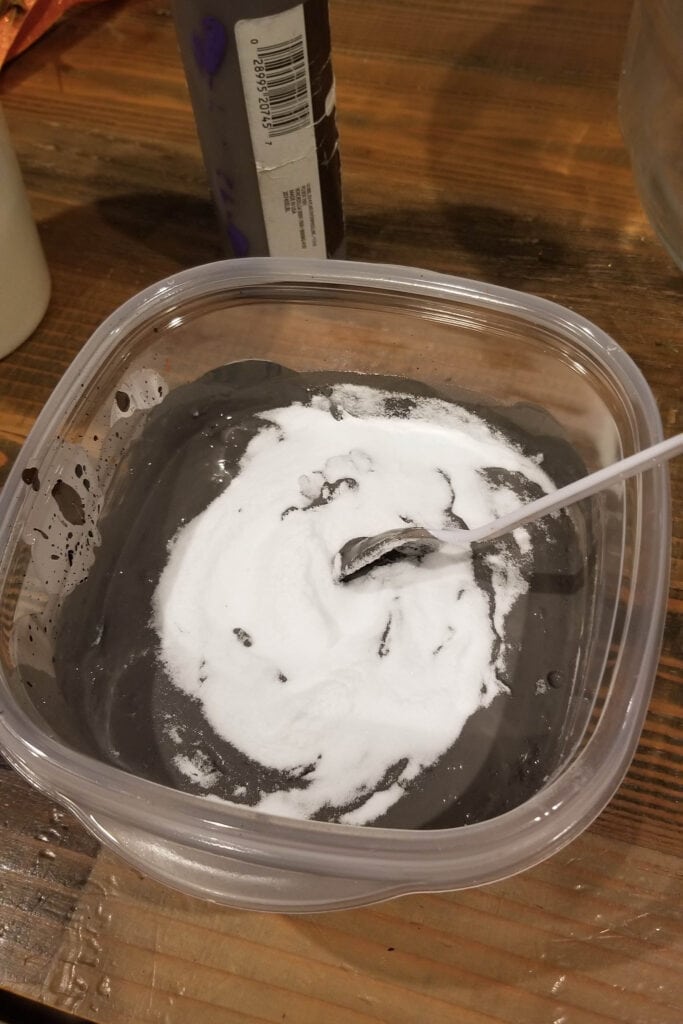
I mixed black acrylic paint, white acrylic paint, and some sienna brown together to get this gray paint that I used! To show you how thick the baking soda paint is, here is a picture to show how it’s not really liquidy, it’s pretty darn thick.
Painting the Vase
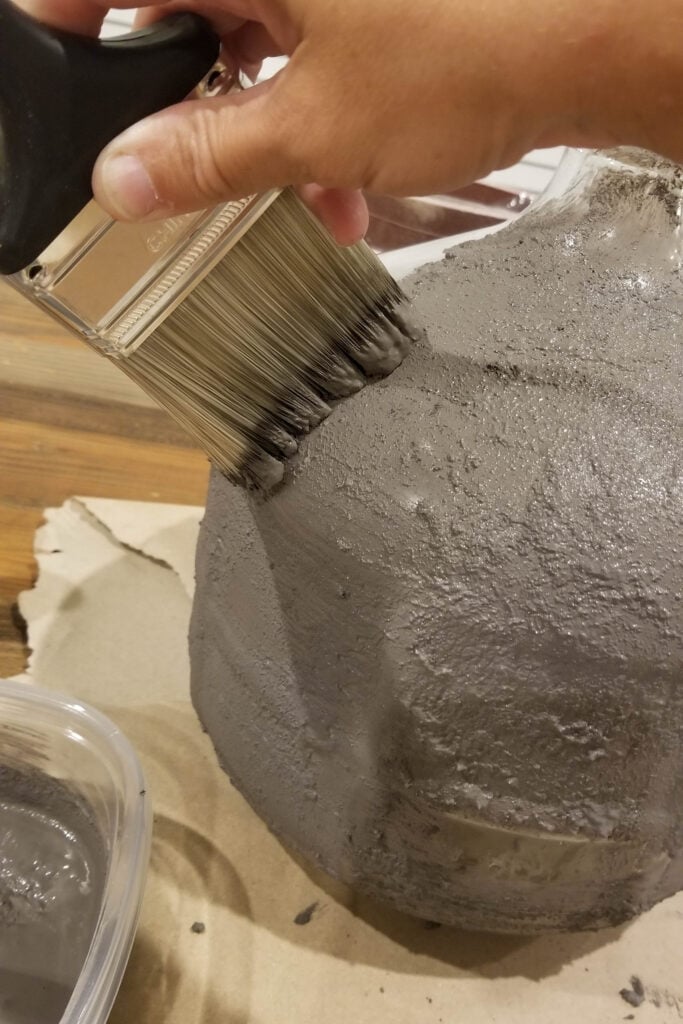
After your paint is mixed you paint it onto the vase, you can do this in a myriad of ways. I started out trying to paint it on, but if you put as much baking soda in the paint as I did, you will need to dab it on and then smooth any areas you don’t like! If that makes sense because the painting motion moves all the baking soda and really leaves nothing behind!
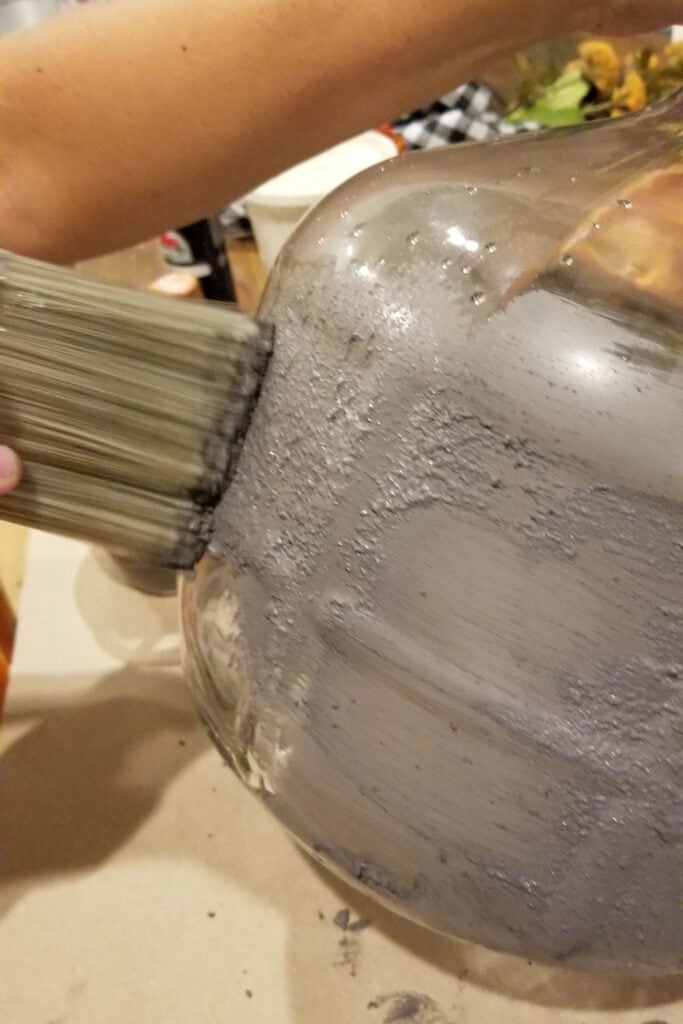
Above you can see how where I drug the brush in paint strokes, and then where I started dabbing the paintbrush instead!
Pouring Epoxy on the Vase
I painted it with two coats of gray, letting it completely dry between coats, and then adding epoxy tinted with white paint. The epoxy was really see-through and I wasn’t a fan of the look since I was kind of going for a ceramic glaze look.
I tried painting it on at first as well to keep the epoxy from running, had I used a craft epoxy instead of tabletop epoxy, it probably wouldn’t have run as much! I was just using what I had on hand though! I also tried to tape off the bottom half so that I could keep the drips off the vase, but that didn’t work very well! Lol!
Painting it on didn’t work all that well either, so I poured it!
The result was not what I intended! LOL!
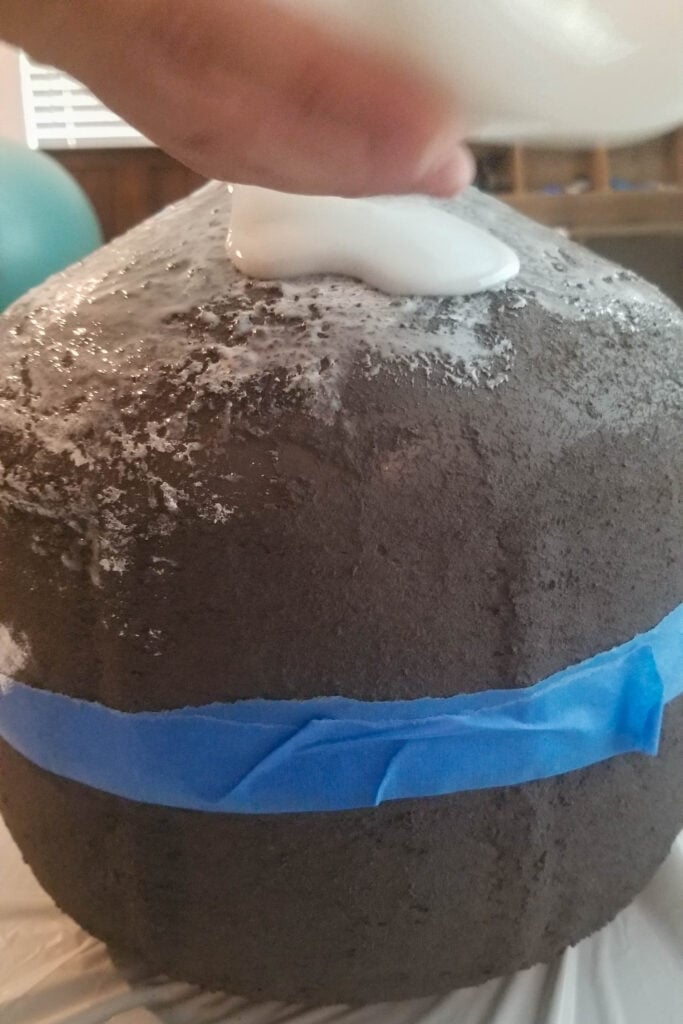
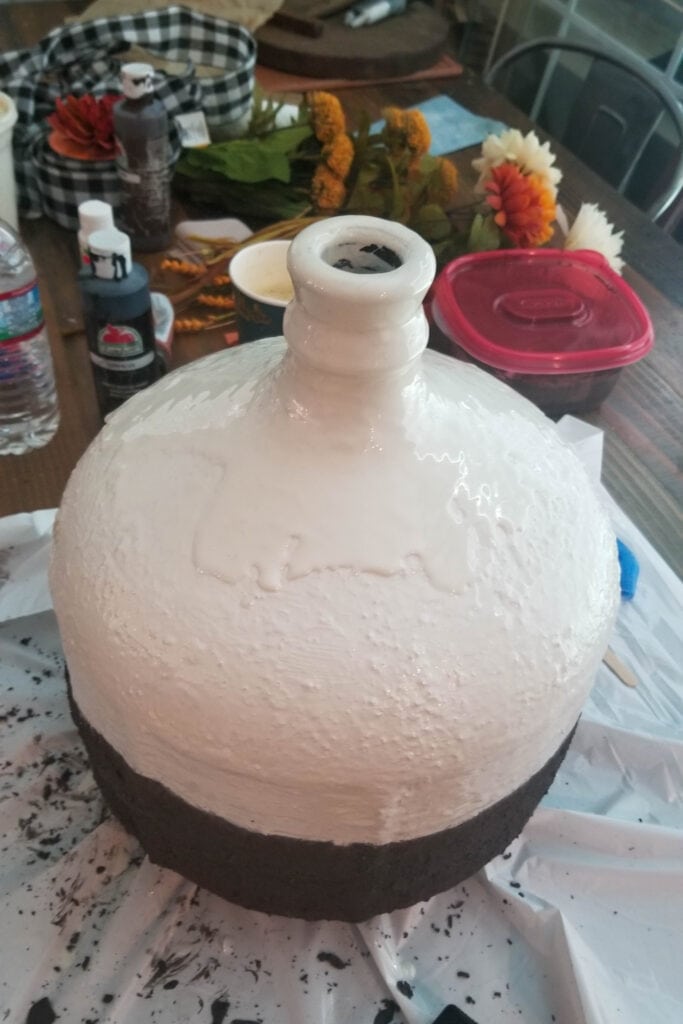
When this failed, I went back to the drawing board sort of and decided that maybe if I painted the top part white, then poured the white epoxy over it, I would get the opaque white ceramic look I was going for! And I did like the look way more!
Obviously, I would like to save you the hassle and say, paint the top part white from the very beginning! Lol! I also would not use any baking soda in the white paint of the top part either, that will keep it from needing three coats of epoxy as mine did! I kept having to pour more to cover the bumps that would stick out of it, they were obvious since they were gray!
I also had to repaint the bottom of the jug gray so you couldn’t tell where the epoxy was from the previous pour, so I basically got the vase back to the original place before I ever used the epoxy! And then poured the epoxy again!
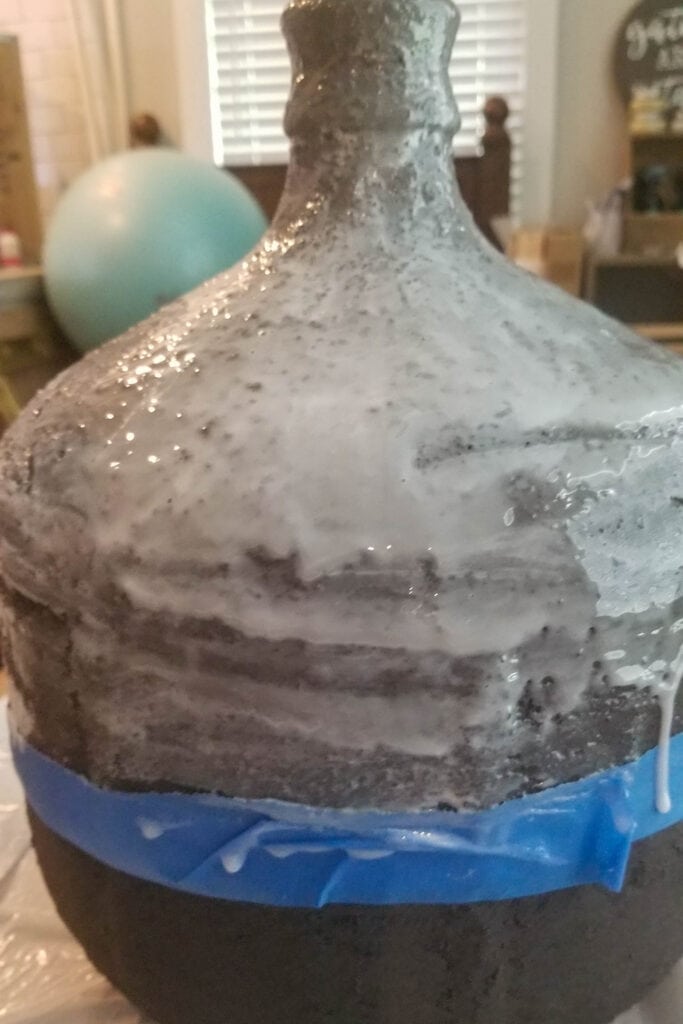
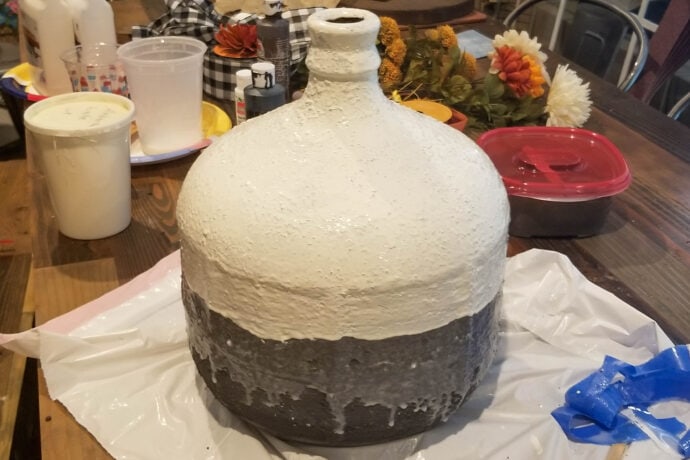
After the first coat of epoxy.
After the second coat of epoxy!
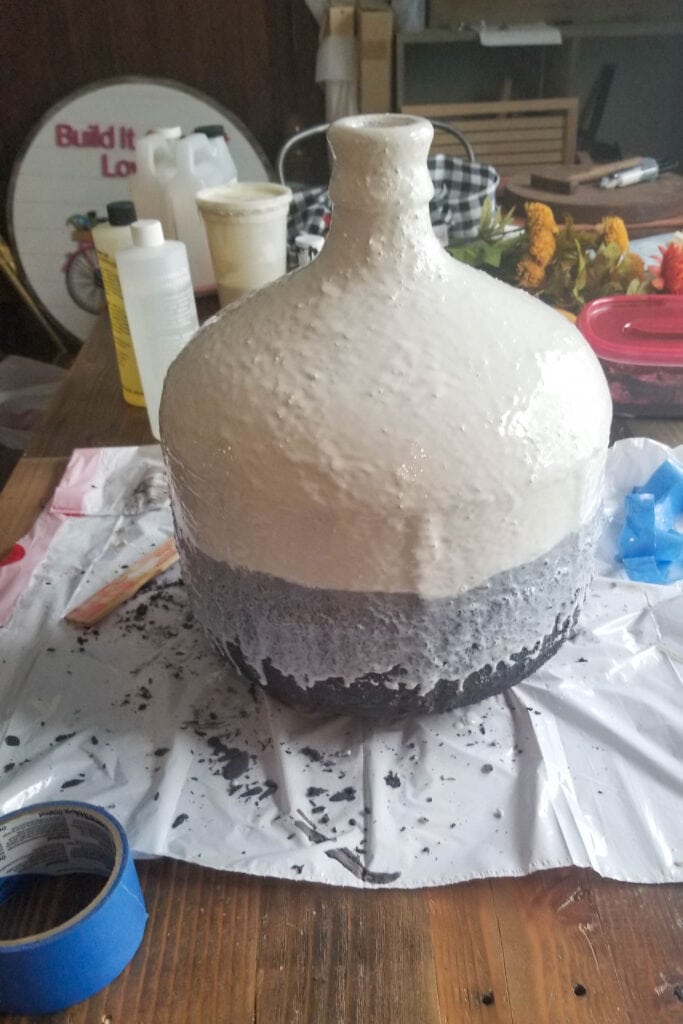
I tried to limit where the epoxy would run, but again, epoxy has a mind of its own and runs where it wants! Lol! I sat wiping the epoxy to keep it from running past the white, but as it evaded my napkin, I ended up liking the two shades of white on it so I stopped messing with it and decided I would figure out how to fix the drips when it dried!
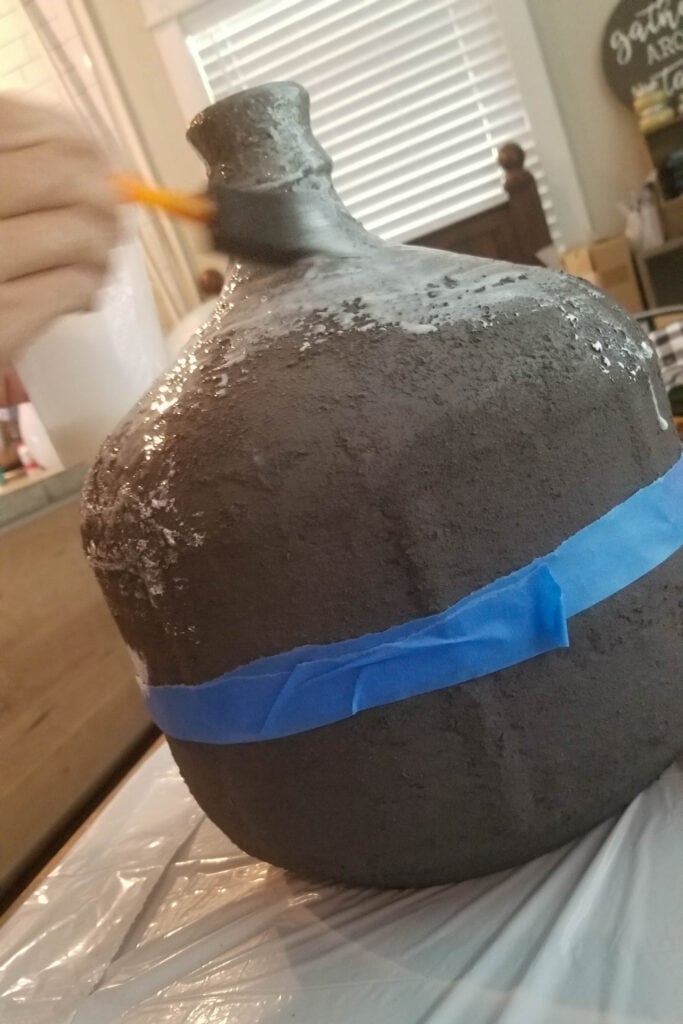
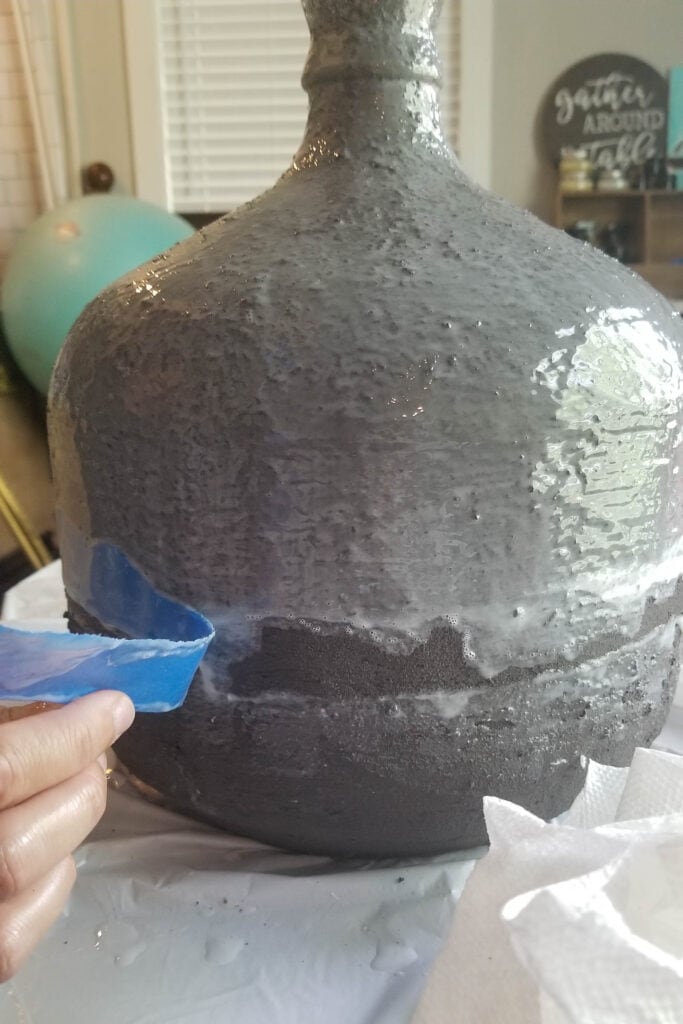
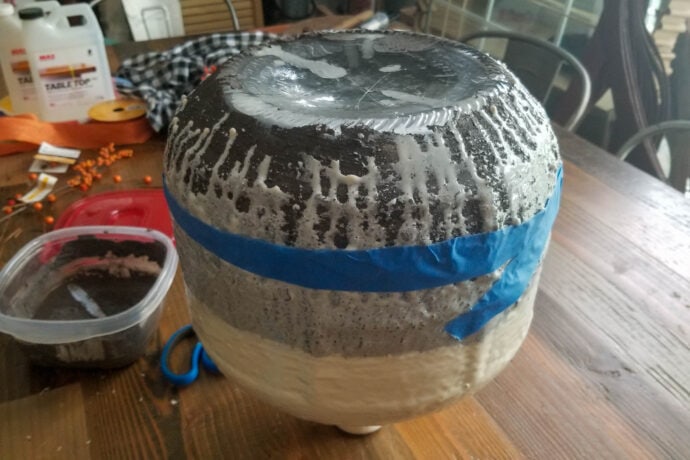
Once it dried I flipped it over, added painter’s tape where I thought it would look best to end the epoxy, and then repainted a little gray to make a more definitive line between the two!
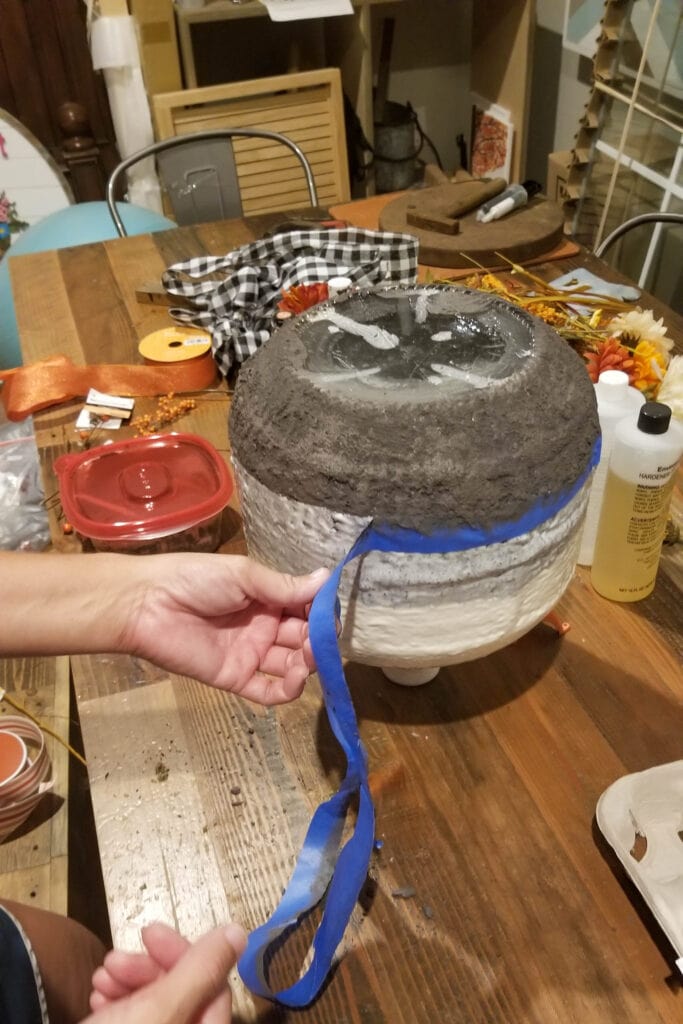
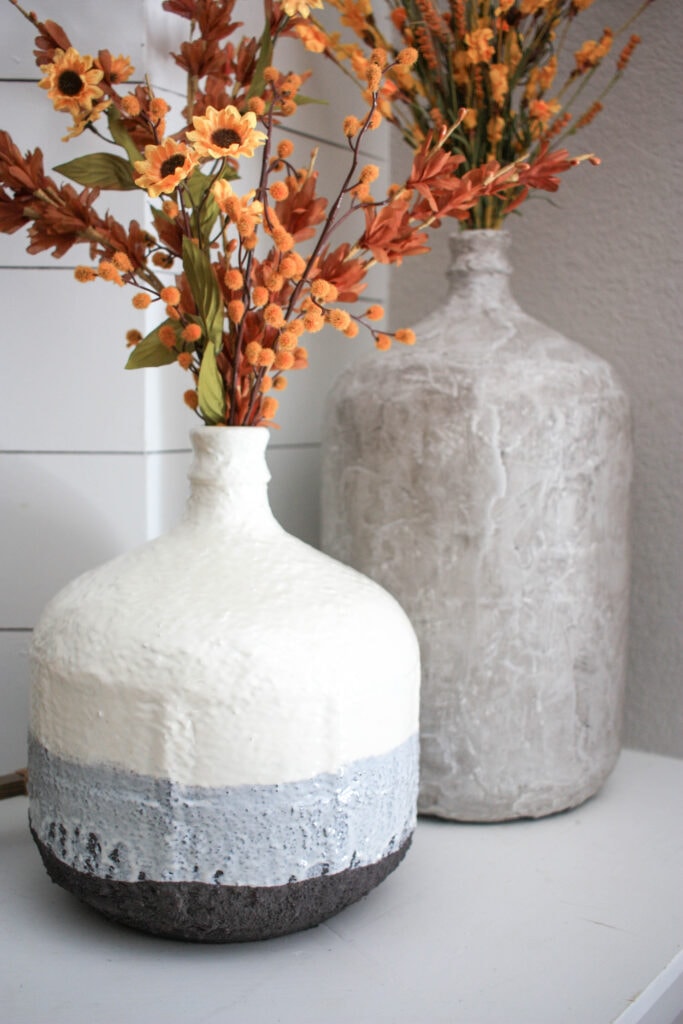
Let the paint dry and then fill that vase with your favorite flowers or greenery! You just saved yourself $280 by transforming an old glass jug into a faux stone effect vase instead of purchasing one from Pottery Barn or other retailers! I will take that to the bank any day of the week!
Using Joint Compound for the Stone Effect
So I didn’t want both jugs to be identical, I wanted to have an array of stone vases so I used two different methods to accomplish the overall look I wanted! This is the joint compound method for a completely different, but just as gorgeous way of creating a fake stone effect!
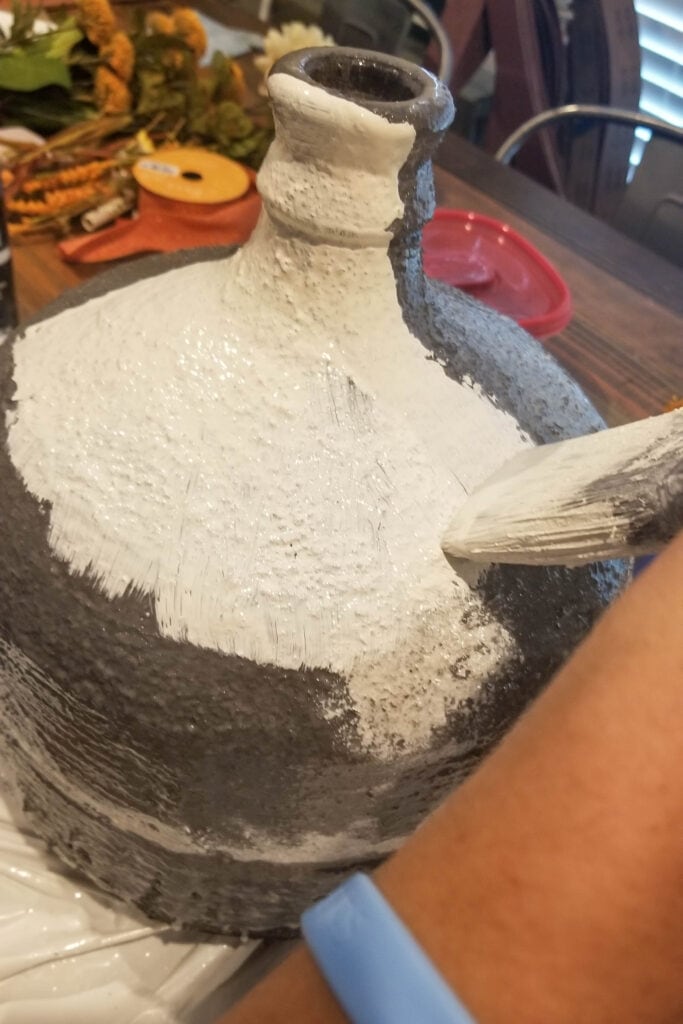
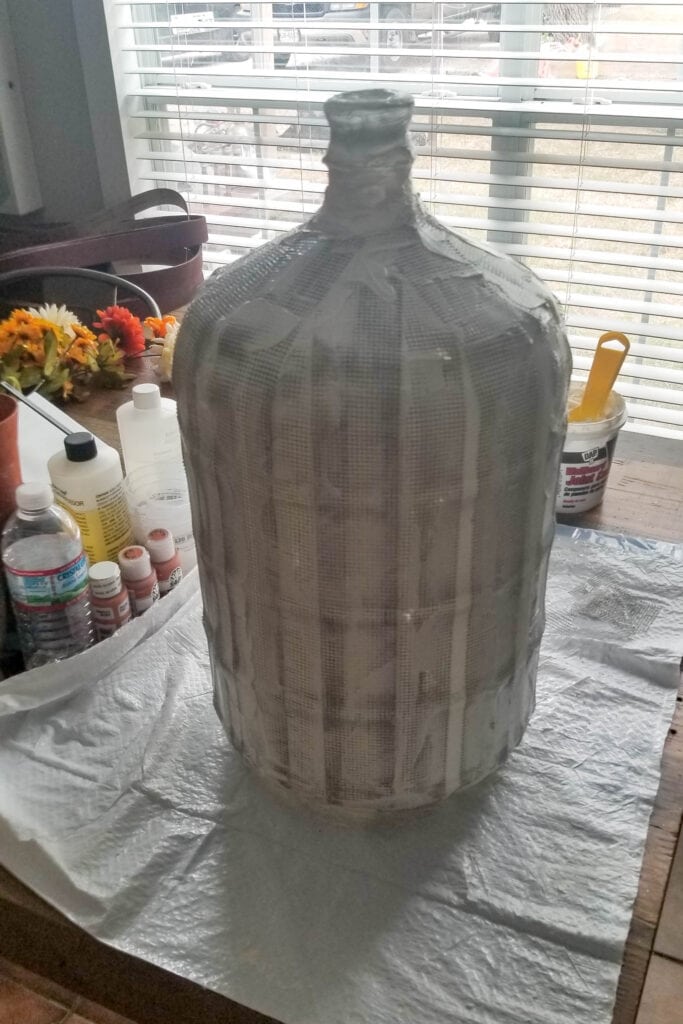
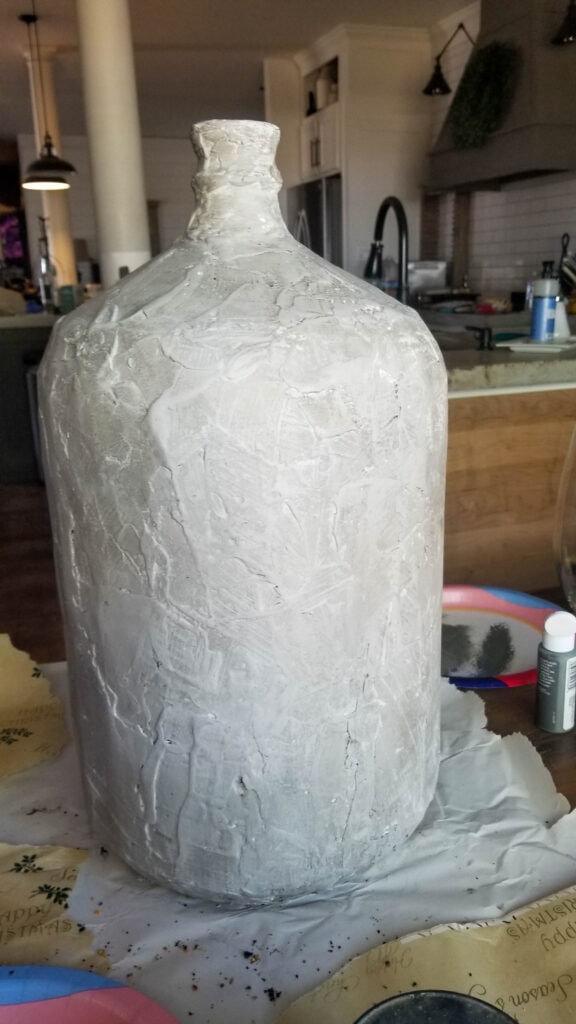
Using the joint compound method is as easy and fun as it sounds! It is a little messy but I am totally okay with getting my hands dirty! Lol! You will want to add self-adhesive fiberglass tape to the jug, granted I found out, it works way better to add a little joint compound and then stick the tape into that as the tape wasn’t sticking to the jug!
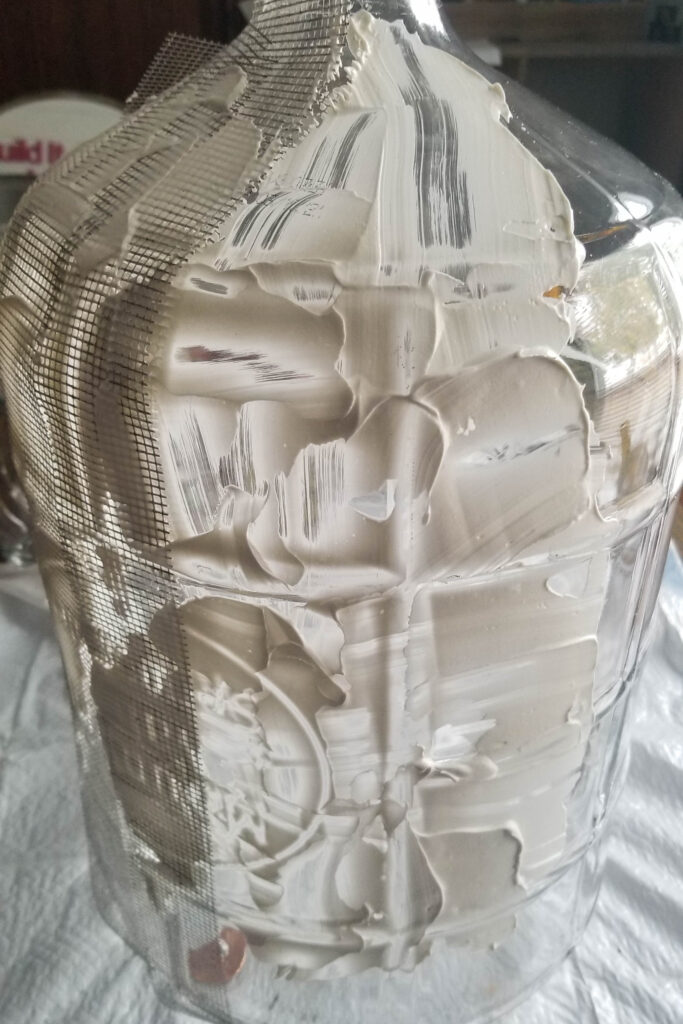
This doesn’t have to be pretty or have any real method to it. Just get the tape stuck in the joint compound and then go over the tape again, on top this time. Let it dry before adding another coat!
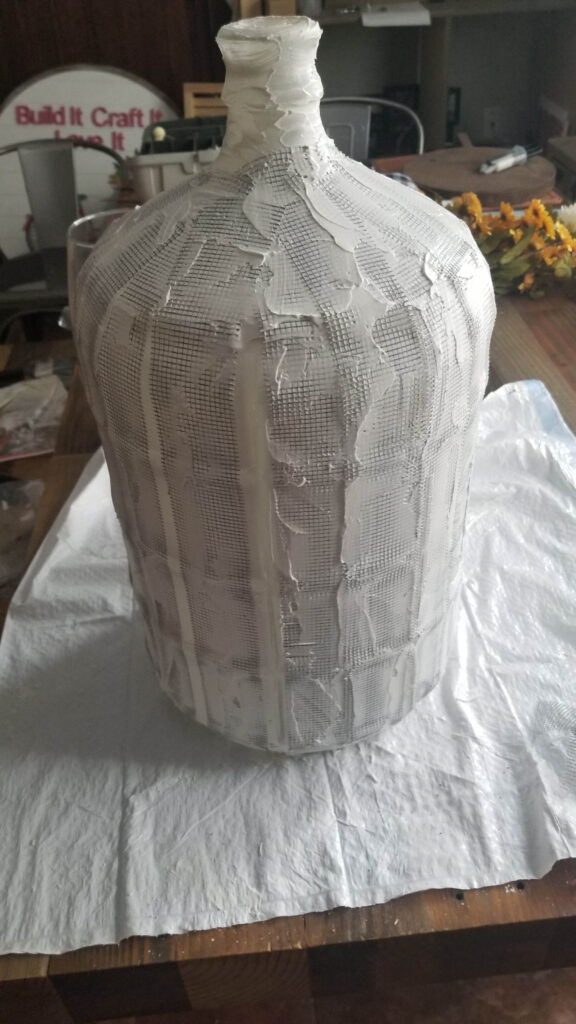
After the second coat.
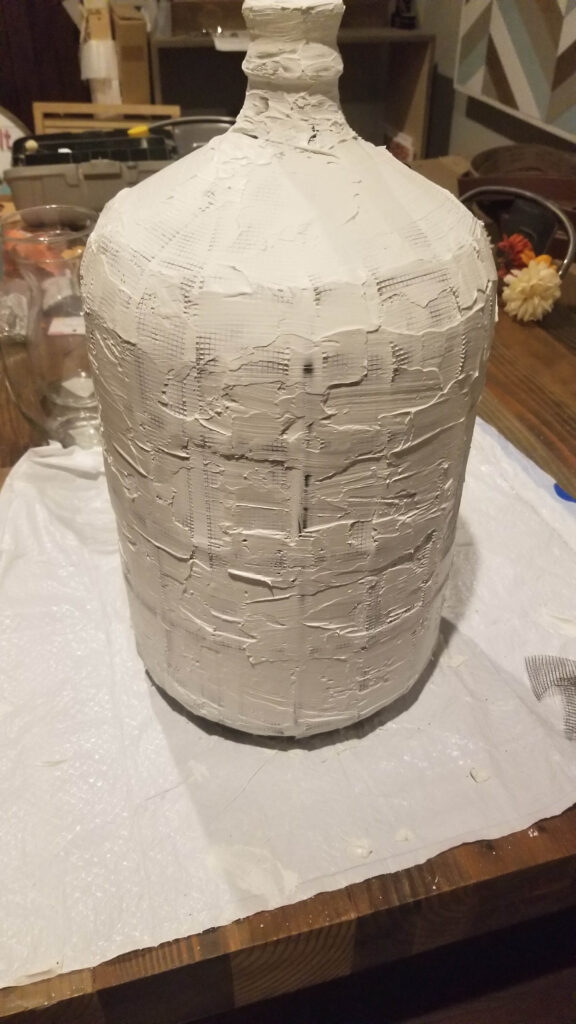
And a third coat…I had to buy more joint compound and all they had at my Home Depot was gray so that is why it is now gray instead of white, it dries white though!
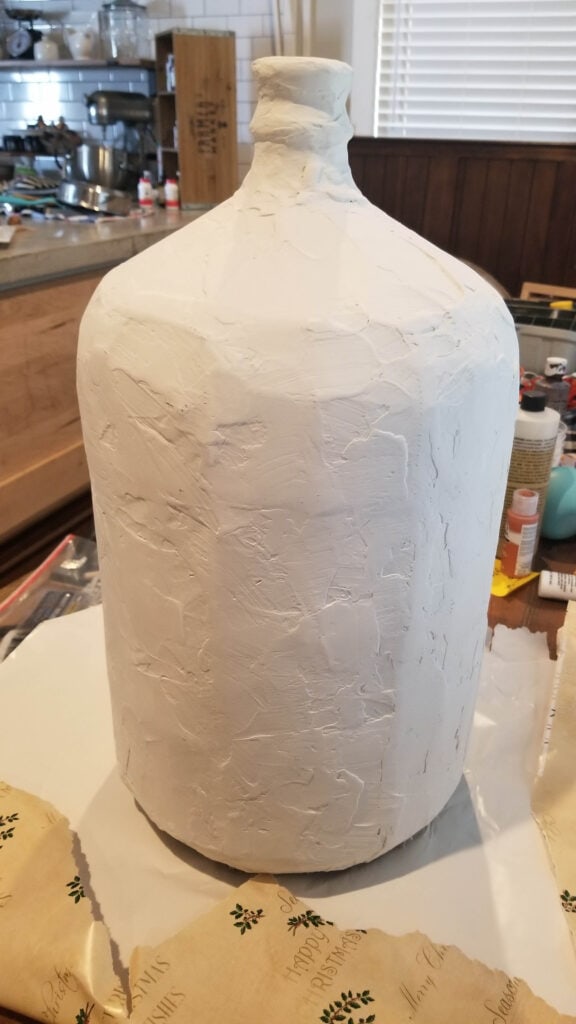
And one last coat!
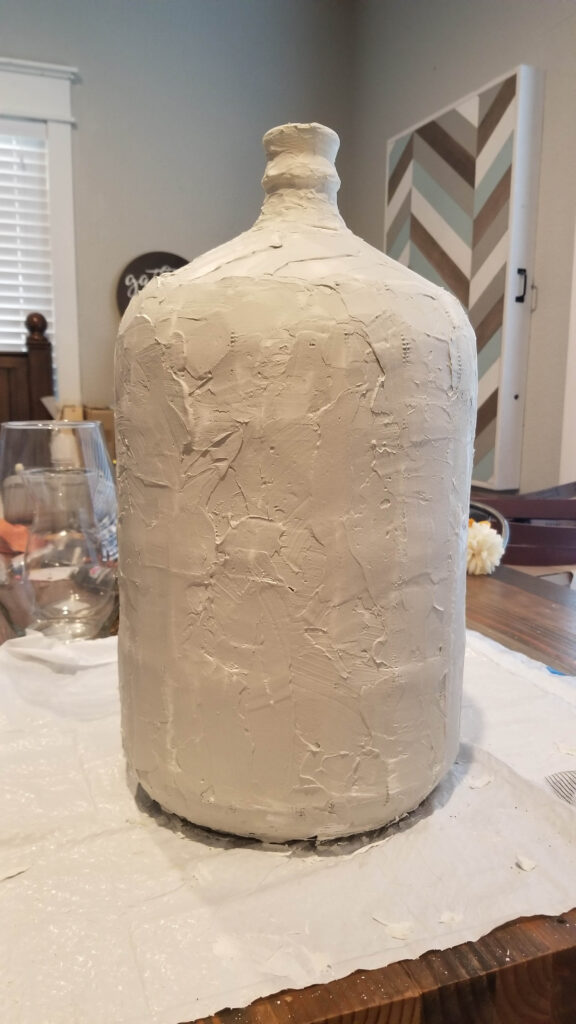
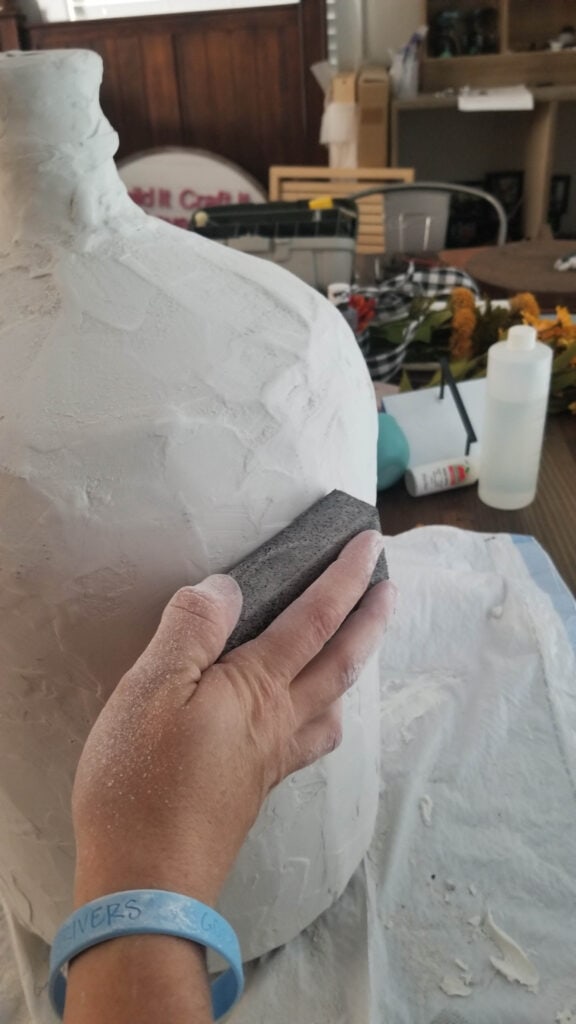
Time to sand the joint compound down a little, or you can leave it as is, up to you!
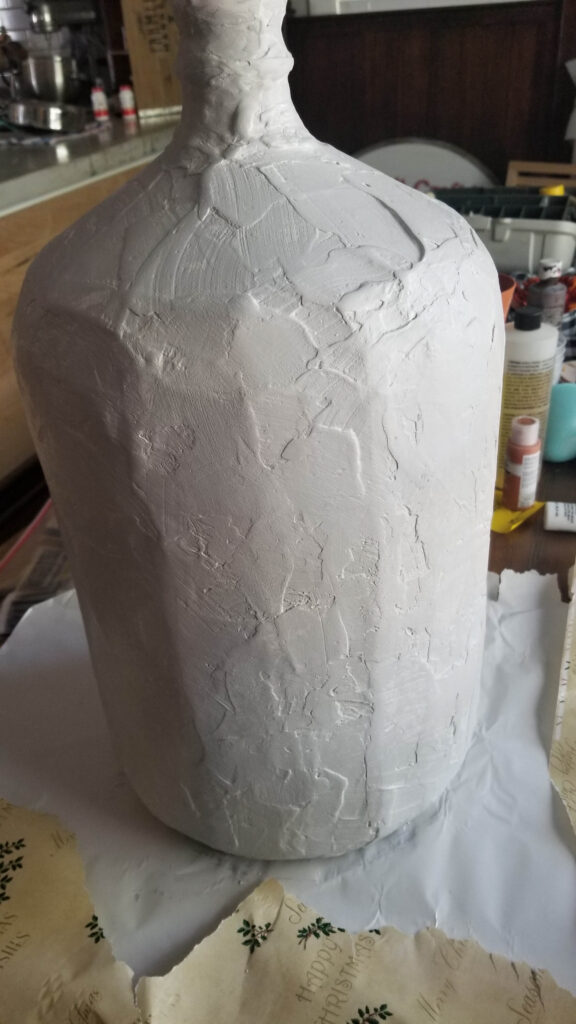
Now I painted mine! You can leave it white if you’d prefer! The color I used was SW Knitting Needles to paint the majority of the vase, making sure to leave some white showing through!
Once I had it painted, I added this antique glaze to warm it up and give the flat gray a little depth!
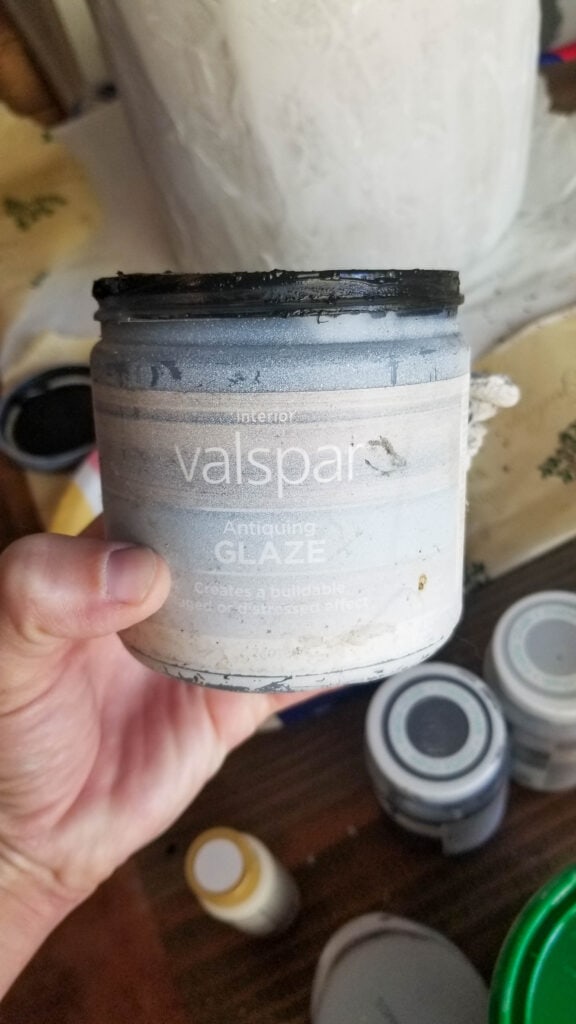
Don’t mind that the jar has been sprayed with paint many many times! Lol!
Anyway, I used a slightly damp napkin to spread and wipe the glaze! I just swirled the glaze and rubbed it in well until I got it as dark as I wanted it! It is hard to tell I even added it in this picture, but you can tell in the final shots!
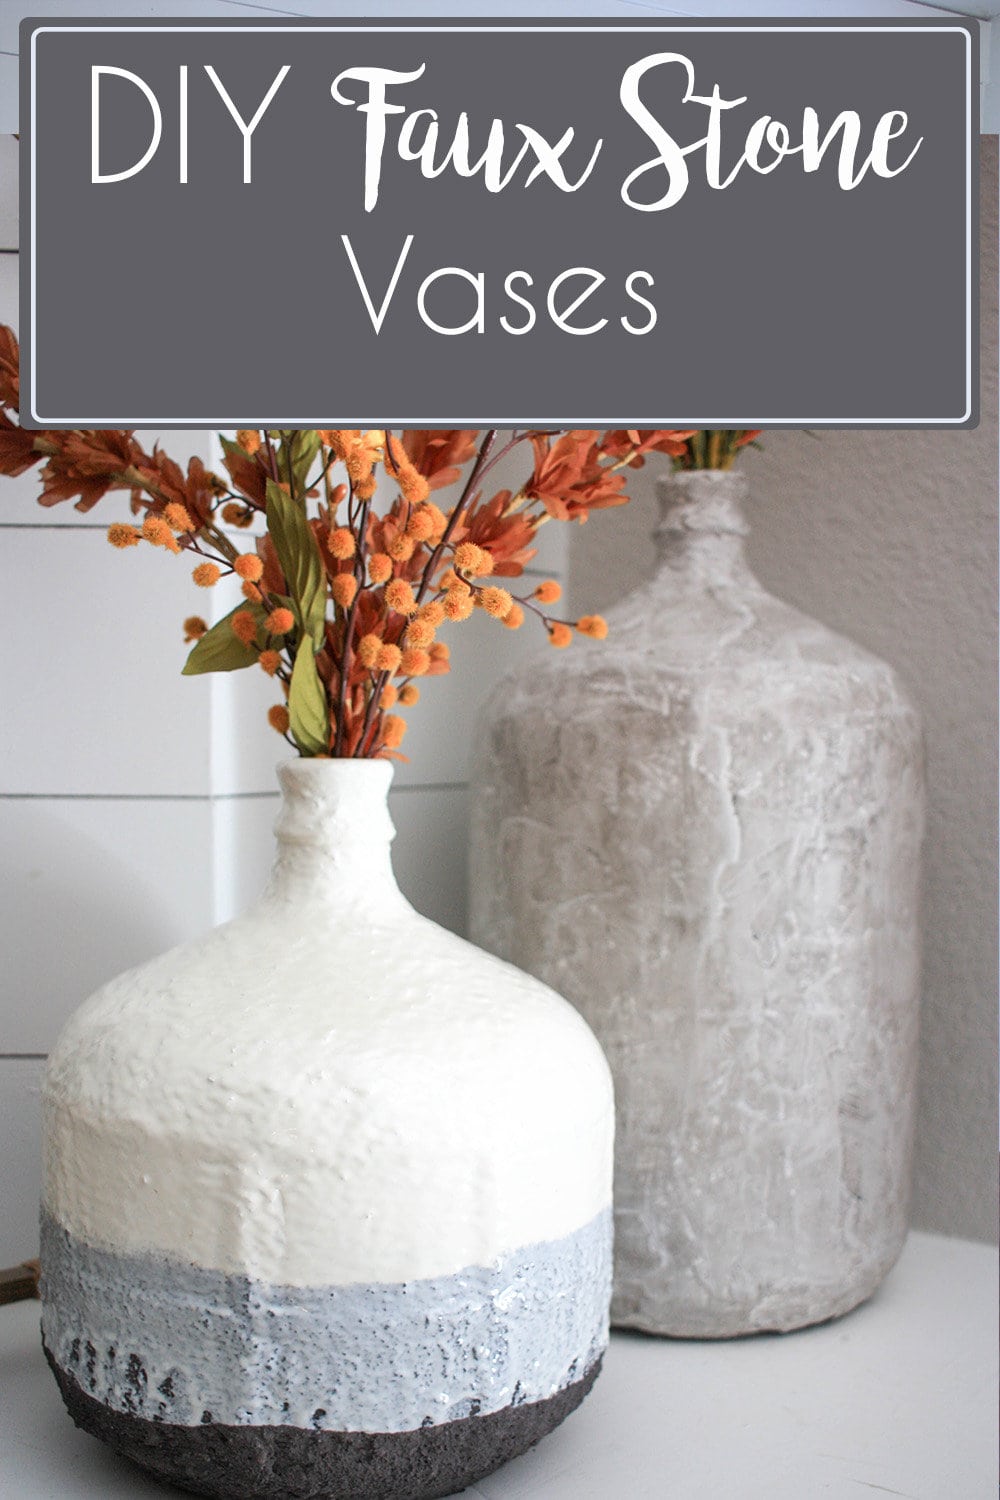
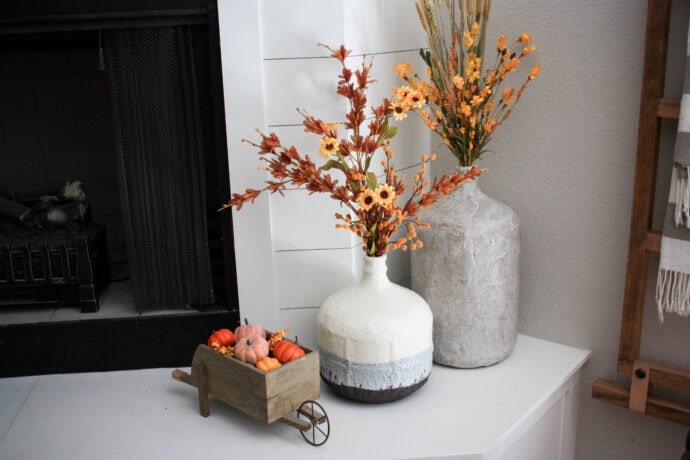
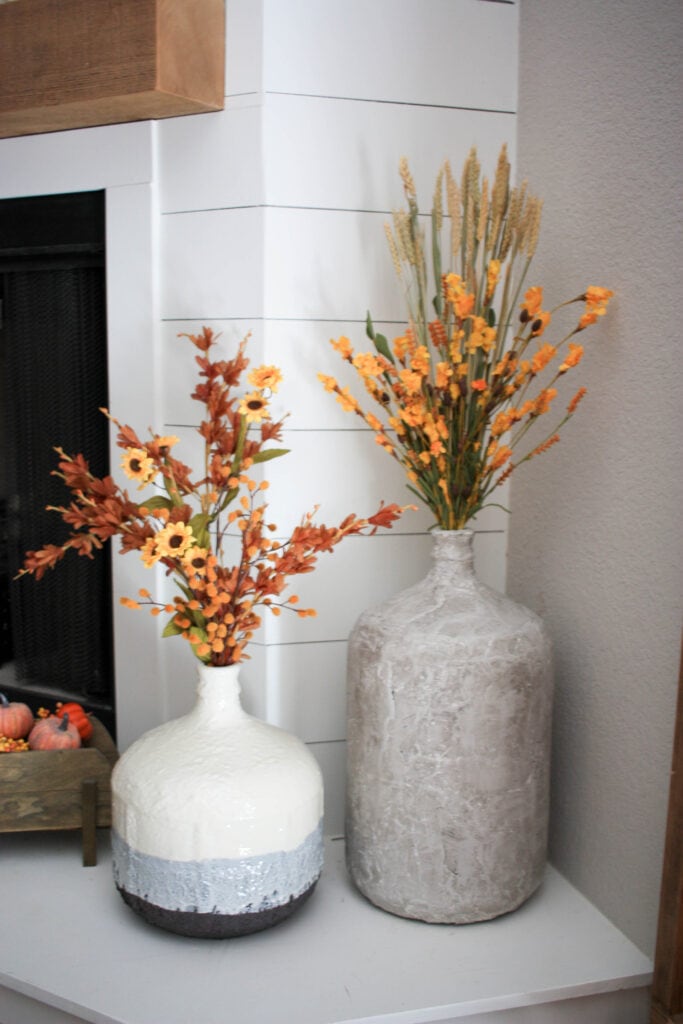
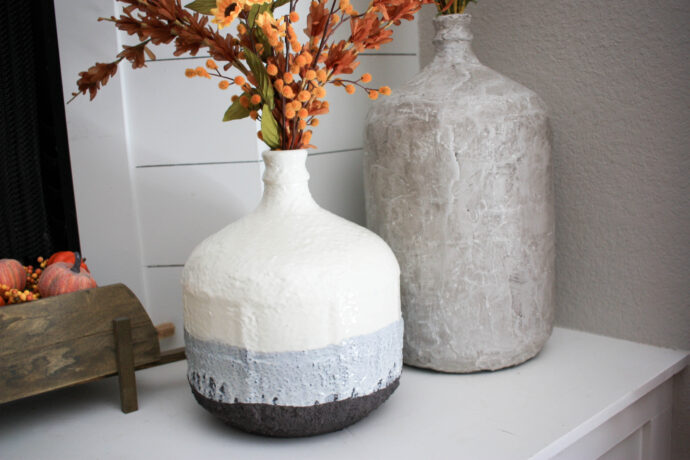
And now, style the faux stone vases with the flowers of your choice! I used my fall florals right now but I can’t wait to style these for every holiday!
Aren’t they both so uniquely beautiful?!
What do you think? Are you going to make yourself some beautiful stone effect painted vases this weekend?
Happy Making!

Want to save these DIY stone effect vases for later? Pin it!