DIY Window Pane Replacement

A broken window can be a real inconvenience and having the window glass replaced can cost a lot, especially on a double-pane window! The great thing is, it doesn’t have to! If you are willing to DIY your window pane replacement, you can save hundreds and it will only take an hour or two!
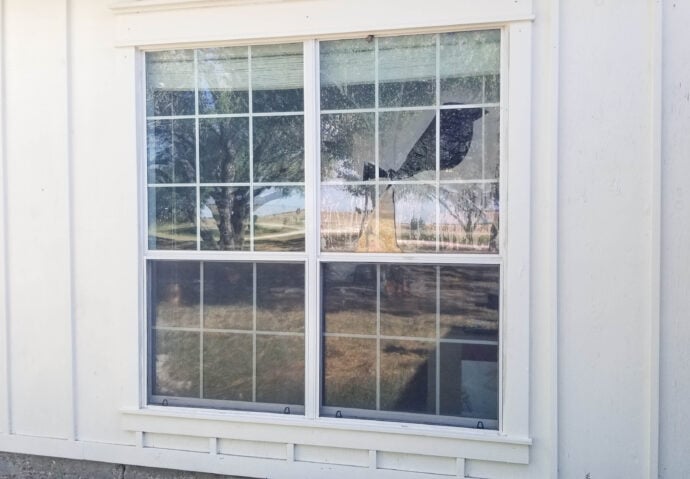
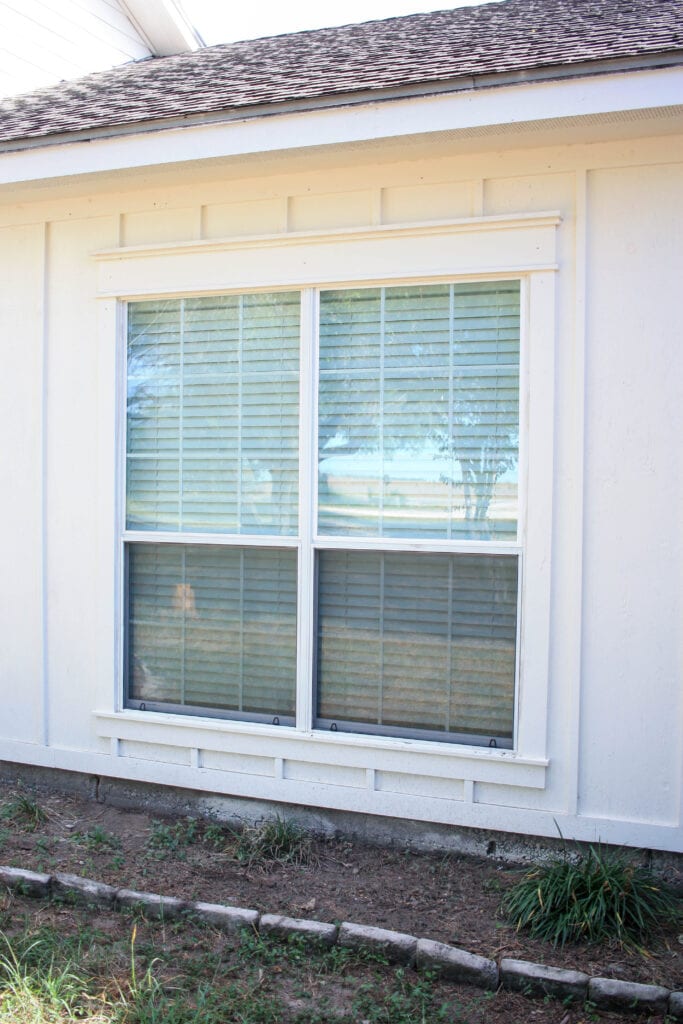
Funny story about this window here, we have replaced this window TWICE in the five years we have lived in this house, and when it was broken AGAIN, it didn’t break through both panes and so we let it sit for a while. We dreaded replacing the whole window since we had recently added the board and batten and frame to the windows! I thought there has to be a way to replace simply the window glass, right?! When you have a brick home there is no way they are going to go through all the work of replacing the window when the glass is all that is broken!
Well, one of my goats rubbed on the window and the glazing bead popped off in a spot, as I was looking at it to place it back, I realized the window glass edge was right there, it would have to be easily replaced…if only I could find the glass for a decent price!
Sure enough, when I contacted the hardware store that the windows were purchased from, McCoy’s, they were able to special order the top double-pane window glass for me! It took a couple of weeks to come in though, that was the only real issue, if the window had been broken through both panes, I am not sure I would have been able to wait that long with it being the dead of summer!
Although considering that I could not find a window glass replacement specialist in our area anyway, I guess I would have had to wait! Lol!
Gathering Supplies for DIY Window Pane Replacement
I was able to completely fix this broken window glass for 75 bucks, that was for the double pane window, glass bedding silicone, and suction cups! The next window I have to replace will be even cheaper since I have the suction cups and the silicone! The glass for the window pane replacement was only 48 bucks with tax and it came with the Can you believe it?
We spent $200 bucks on the other windows and had to spend an entire day removing and installing the new window, and that was with us installing it, the only quote I could manage was from a glass company out of Corpus that doesn’t service our area, and the quote, if I was in their area, would be $800-1200 bucks! No thank you! The window glass replacement alone would be $600-800 they said.
Materials for Window Pane Replacement
- window glass from your window manufacturer – our windows are made by Atrium and they have amazing customer service but I went through the store to special order the glass so I didn’t have to pay shipping! Quotes for ordering the glass from someone other than the manufacturer were insanely expensive – always check with the manufacturer even if you don’t know which store they were purchased from!
- glazing bead (I didn’t even have to ask about ordering this, this was included in the 48 bucks for the window glass, they just added it onto the order. If you see it missing from your order, make sure and ask about it!)
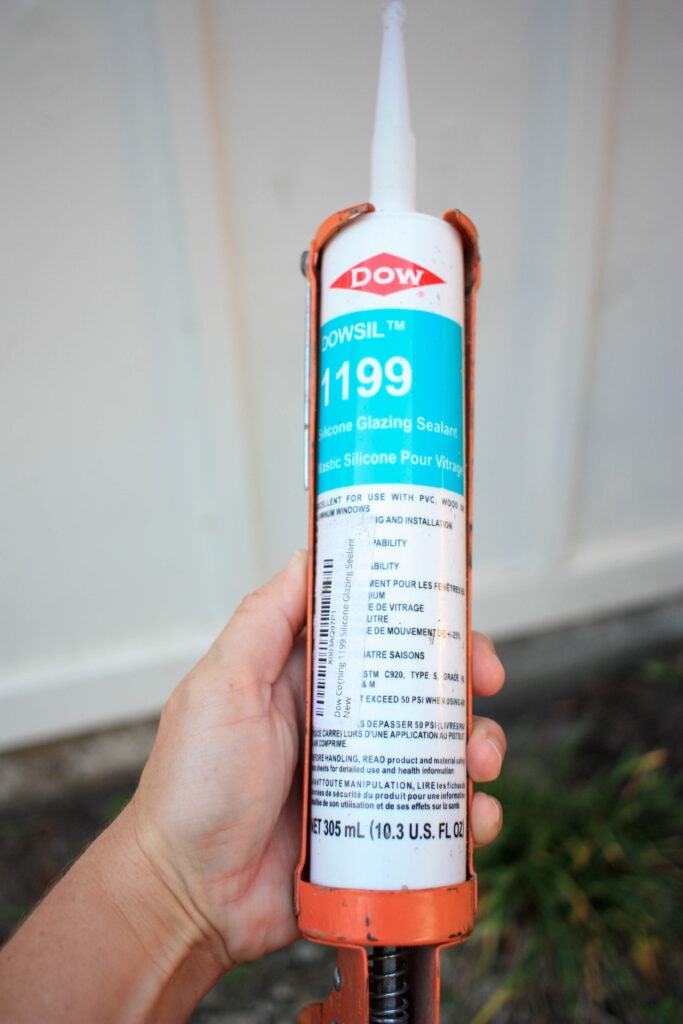
- Silicone – one that specifically states it is for glass bedding for windows, I could not find this in any local hardware store like Home Depot or Lowe’s!
- suction cups
- gloves – I just used regular ‘ol mechanics gloves that have thick padding on the palm, it is best to use cut-resistant gloves though when working with glass!
- safety glasses
- scraper or window zipper
Replacing the Window Pane
So, with this how-to replace window glass post, I thought I would videotape the whole process since I am horrible at making videos on furniture builds because they can take me days…this was only going to take an hour or so!
Well, I set my video camera up, and then noticed a wasp nest above the window, and in taking care of the wasp nest, apparently, I knocked the camera over and recorded the ground the whole time! 🤣🙈 So, all I have to work with is the couple of pictures my son took while we were working!
And I thought I would just not make the post since I don’t have the best step-by-step photos but at the same time, I couldn’t find a post anywhere about replacing the glass in an aluminum window and since this is a pretty popular window, I really want to show how easy it is to save money and replace the glass yourself!
So the pictures are not going to be the best but I am desperately trying to add a video to all my posts, it has just been unsuccessful to this point! Lol! Check out these posts if you want to see my awesome video skills, Concrete Countertops, and Barn Door Hardware!
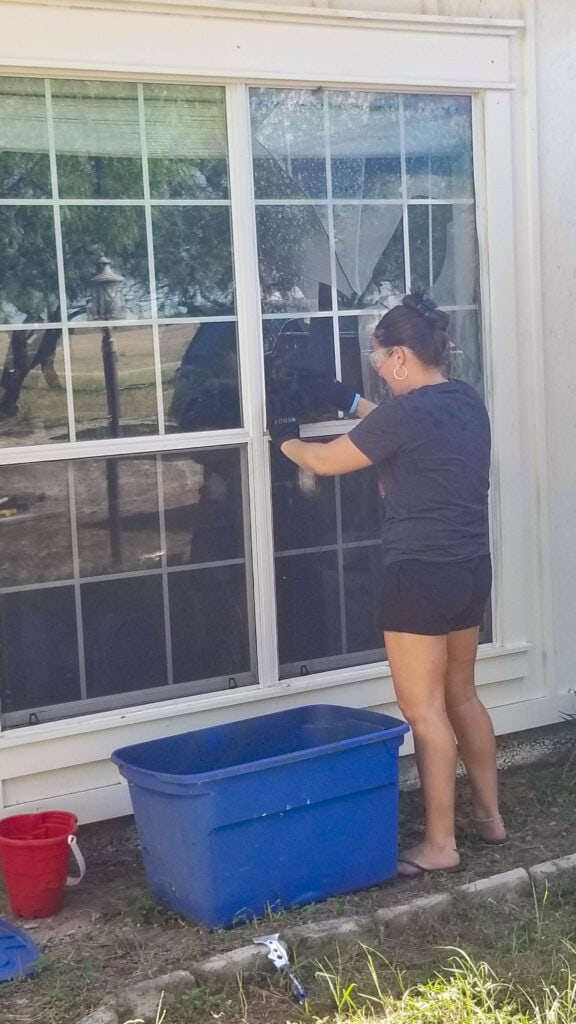
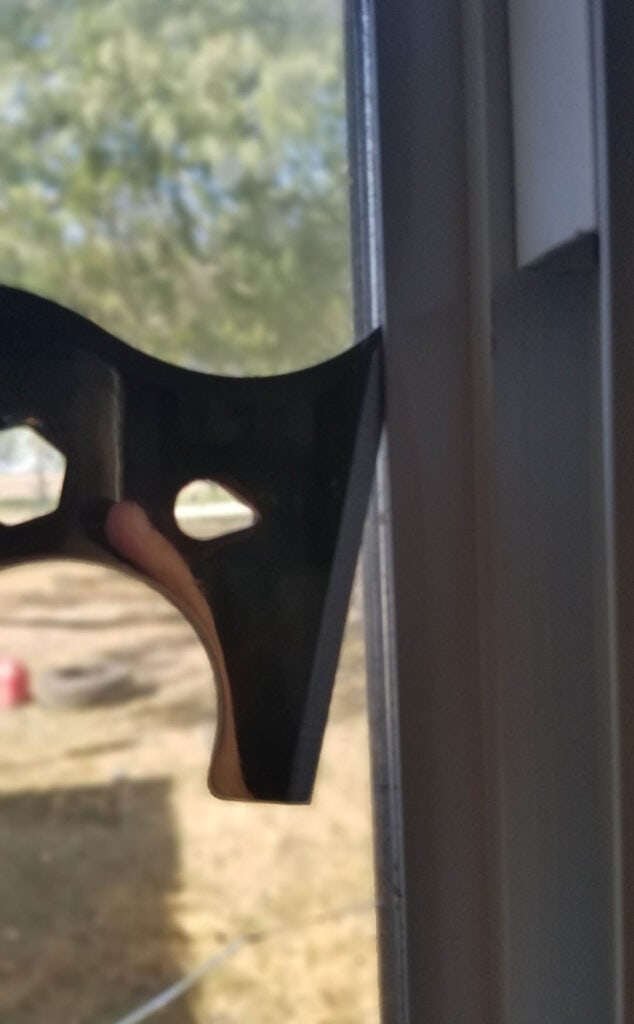
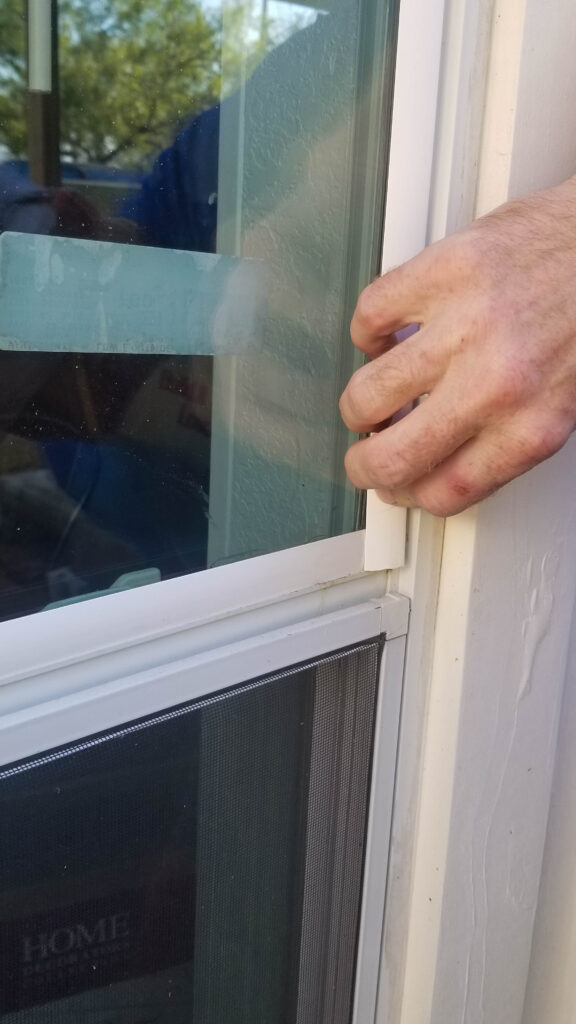
Removing the Glazing Bead
The first thing we did is remove the glazing bead! The glazing bead is a small piece of vinyl that covers the edge of the window glass and it actually looks as if it is a part of the aluminum of the window, but it isn’t and pries off pretty easily!
Using the scraper, just slide it up underneath the glazing bead and pry! Start with the sides as they overlap the top and bottom!

This window being broken bothered me every time I drove up to our house! Lol! Do you see how nasty the window looked after rain and debris getting inside the two panes?
Most of the glazing beads came right off, but there were a couple of areas that were stuck really well! I used the broken chunks of glass to pry them off!
Don’t mind my clenched butt cheeks, I was working hard to get that piece of glass out! 😂🙈
If you look at the above photo, the glass is pushing the glazing bead, where it was really stuck good, we would work the glass back and forth to get the bead to release!
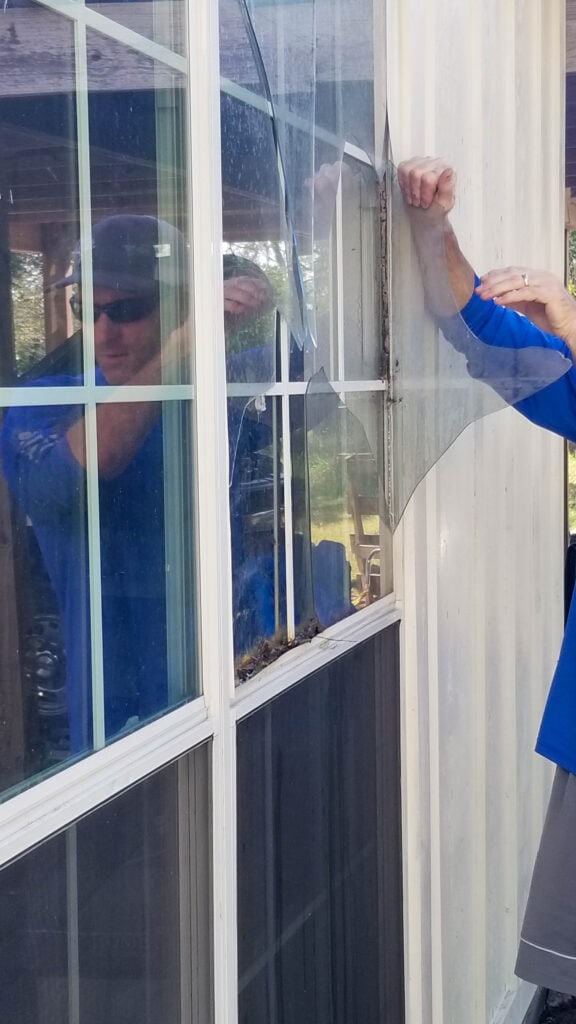
Remove Broken Window Glass
Once you have all the glazing beads removed, the broken glass can easily be removed! Very carefully remove the broken shards of glass. I placed them in a tub so I could easily take them to our dump! Make sure and wear gloves during this part…my hubby in the above photo had just walked outside and decided to hold this piece while I was grabbing something…do not handle the glass without gloves!
The interior pane of glass was not broken, but it still has to be removed since the double-pane window will be completely replaced. I wish I would have taken a picture of the new window glass because these newer windows have gas in between the panes and so no matter what both panes have to be replaced when one is broken! Make sure and tape off the unbroken glass with painter’s tape or duct tape to keep it from falling in on you while trying to remove it! (I taped it after it started breaking on me! LOL!)
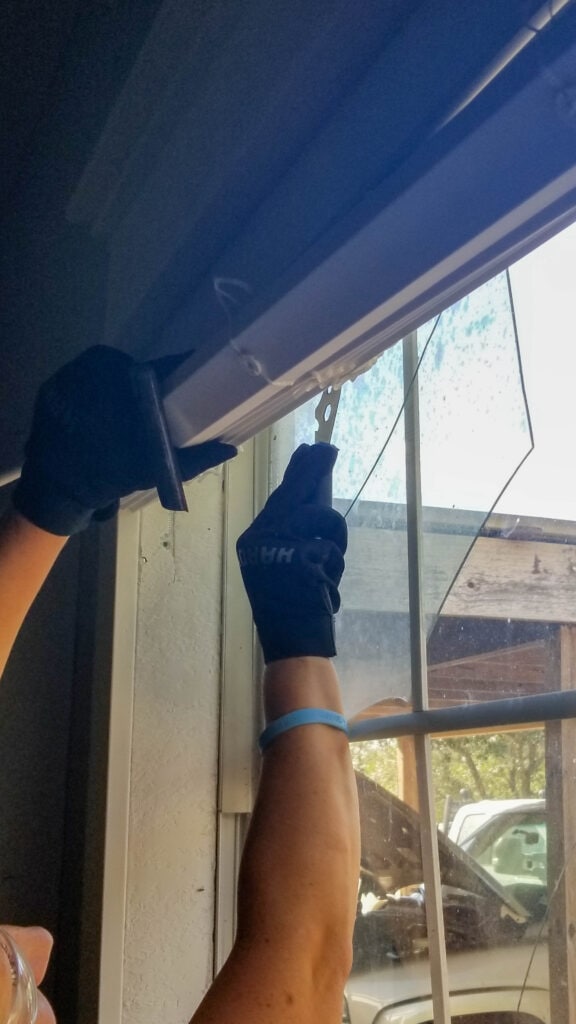
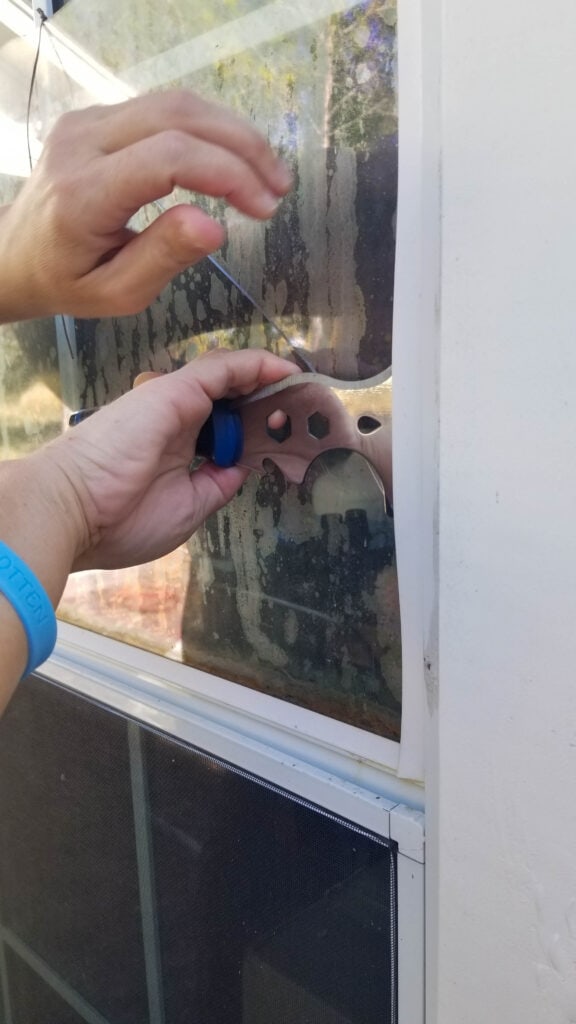
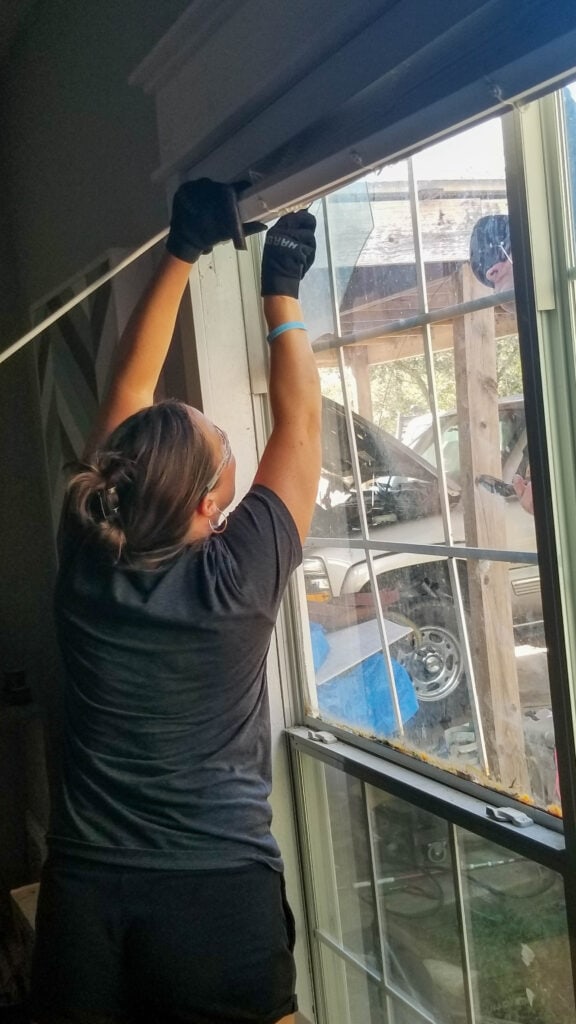
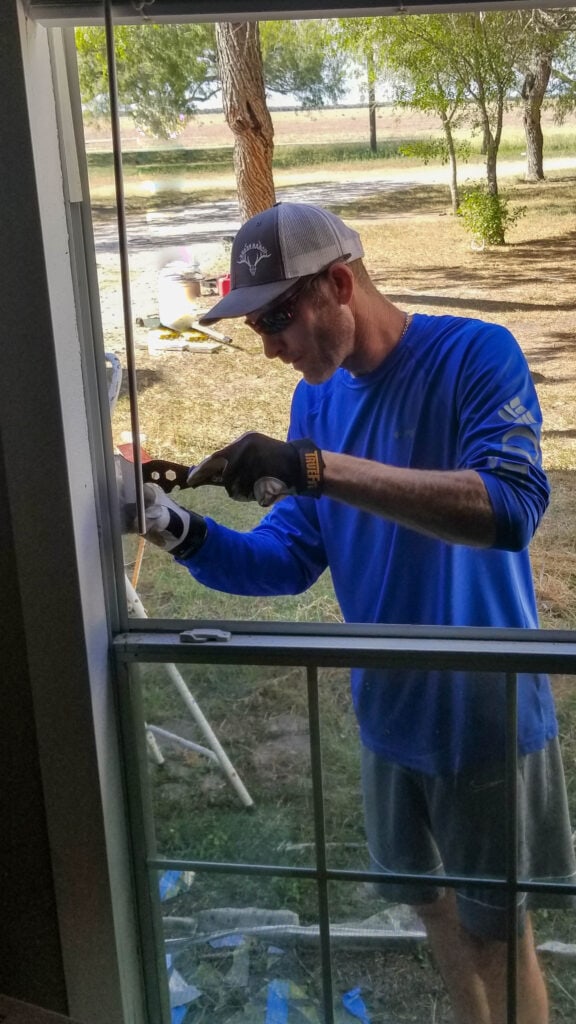
Since the interior window glass wasn’t broken, the glass bedding had to be cut through. The way the window is installed, as you will see later, is by placing a bead of silicone (made for securing window glass) around the aluminum frame to the inside of the home. Then the glass is set into the silicone and it dries pretty quickly offering an airtight seal and excellent hold. You have to cut through this silicone to get the interior pane of the window out. Using the scraper, run it along the whole interior as I am doing in the photo above!
Oh my gosh, I just realized the blinds keep you from being able to see what I am even doing here! OY! I have this up-close shot, but it also really doesn’t help all that much!
Once you can slide the scraper or glass zipper around the entire window, you can remove that window glass, we broke ours into quite a few pieces on accident when doing this! Lol! But it was out!
Clean the Window Frame for New Glass
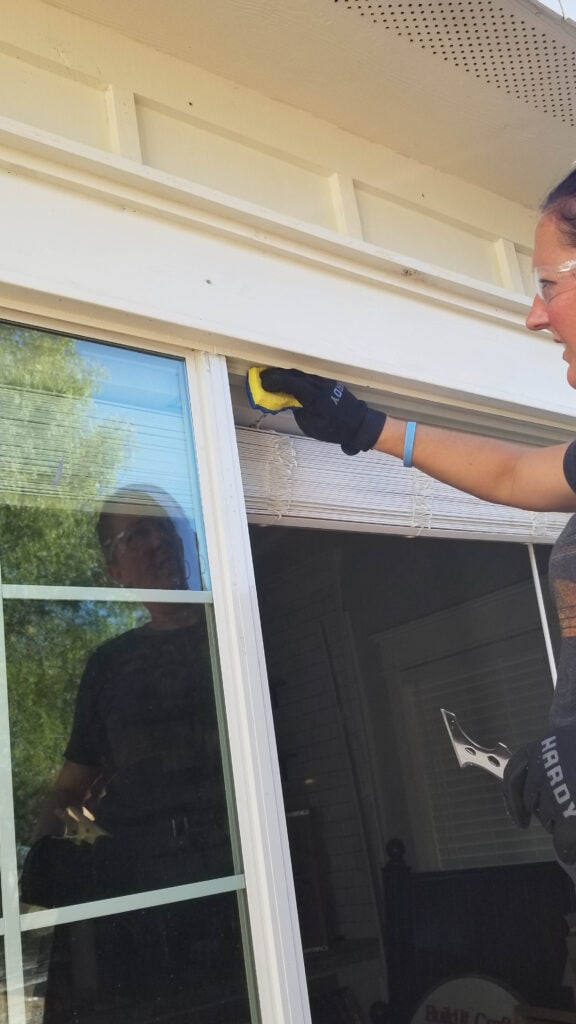
You will need to clean all the old silicone out of the window, making for a fresh surface for the best adhesion for the new glass bedding! We used the scraper to scrap as much away as possible and then I scrubbed it with a sponge. I didn’t try it, but supposedly heating the edge of your scraper will help it lift right up!
Once you have removed the silicone, wipe it down with isopropyl alcohol.
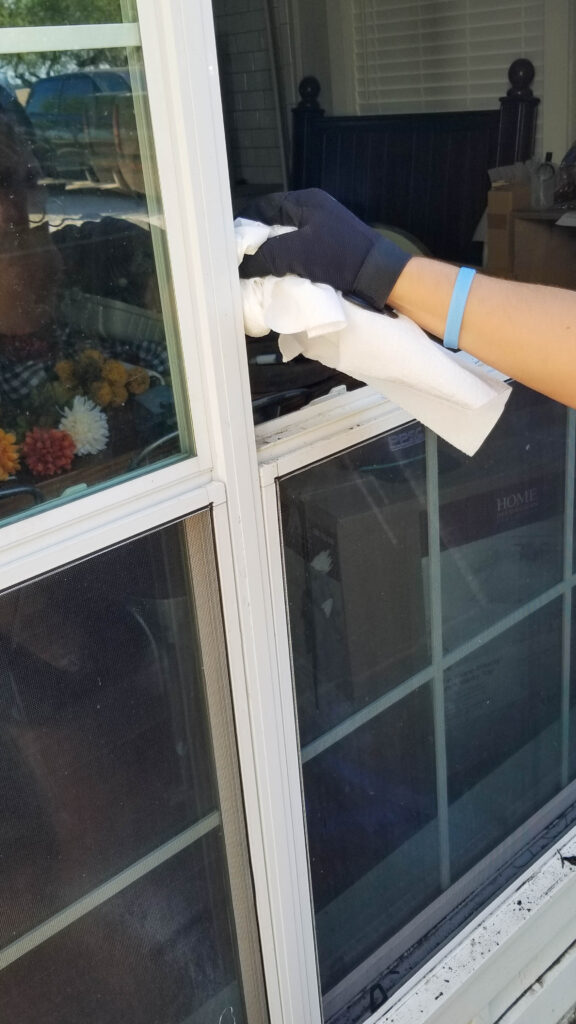
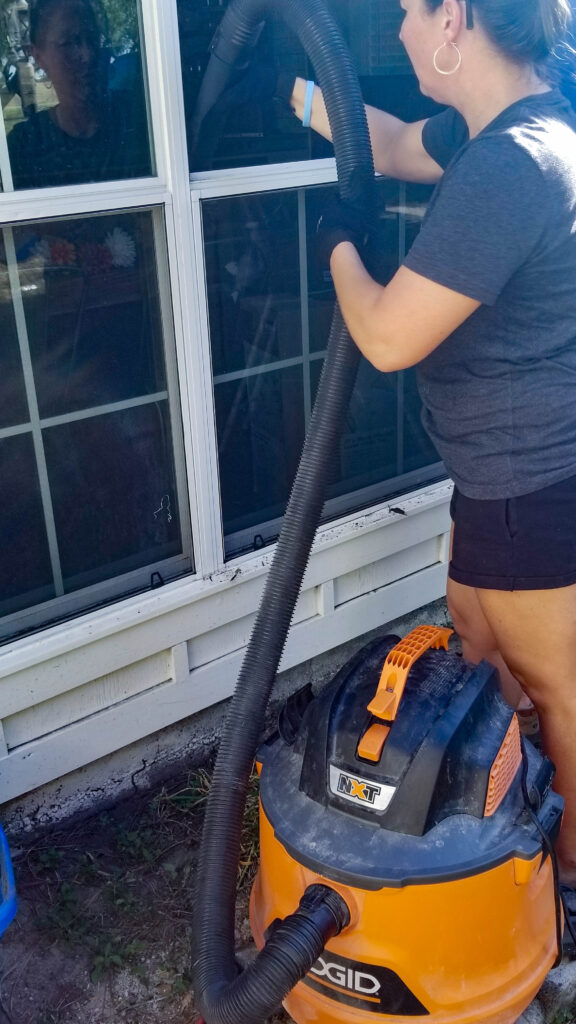
And then vacuum everything clean to prep for the new window glass replacement!
Adding the Silicone Glass Bedding
I don’t have a picture of this step, but it’s pretty easy to add a bead of silicone all the way around the lip that the glass came out of. You apply it the same as you would a bead of caulk!
Replace Window Glass
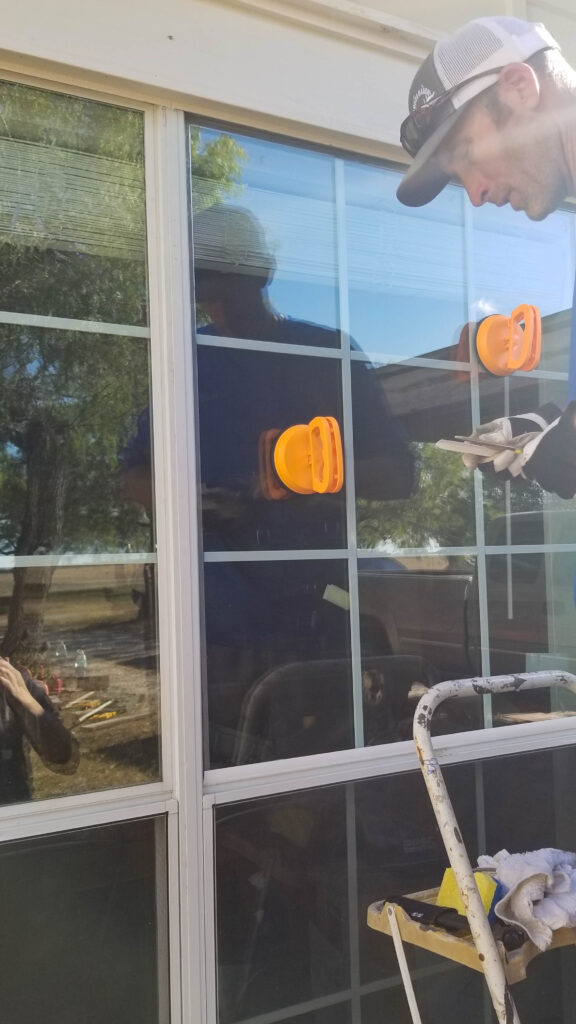
Using the suction cups, lift the glass into place and smash it against the silicone you placed! This creates an airtight seal and is moveable only for a few minutes before it sets! Get the window glass lined up and in place!
One strip of glazing bead is already on in this photo, but I didn’t get any pics since it was all hands on deck as the window was going in place!🤦♀️
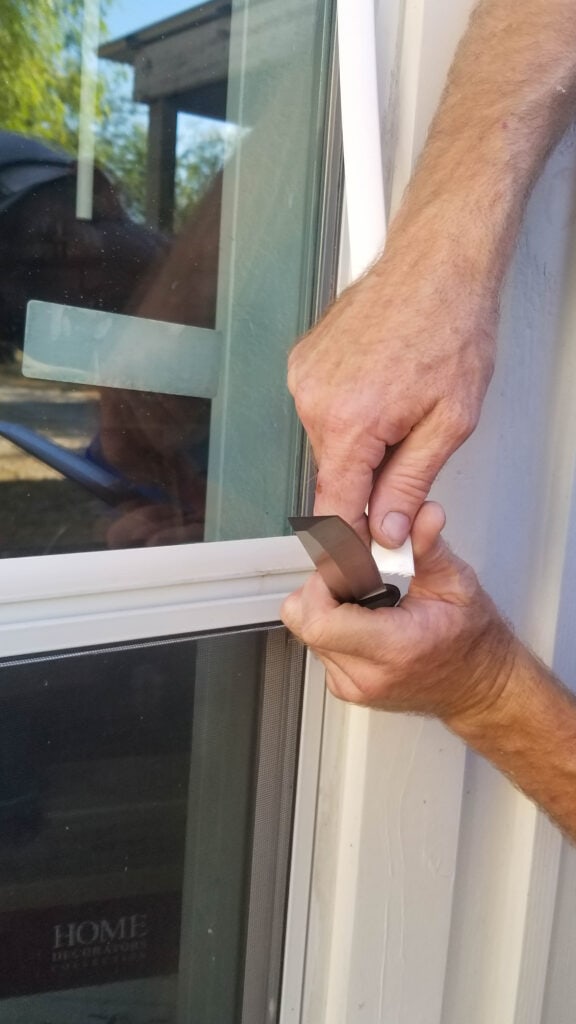
Add Glazing Bead
Now you will add the vinyl glazing bead. Start with the top and bottom, cutting this to size is easiest with tough scissors! We tried a knife at first but the scissors were quicker and easier!
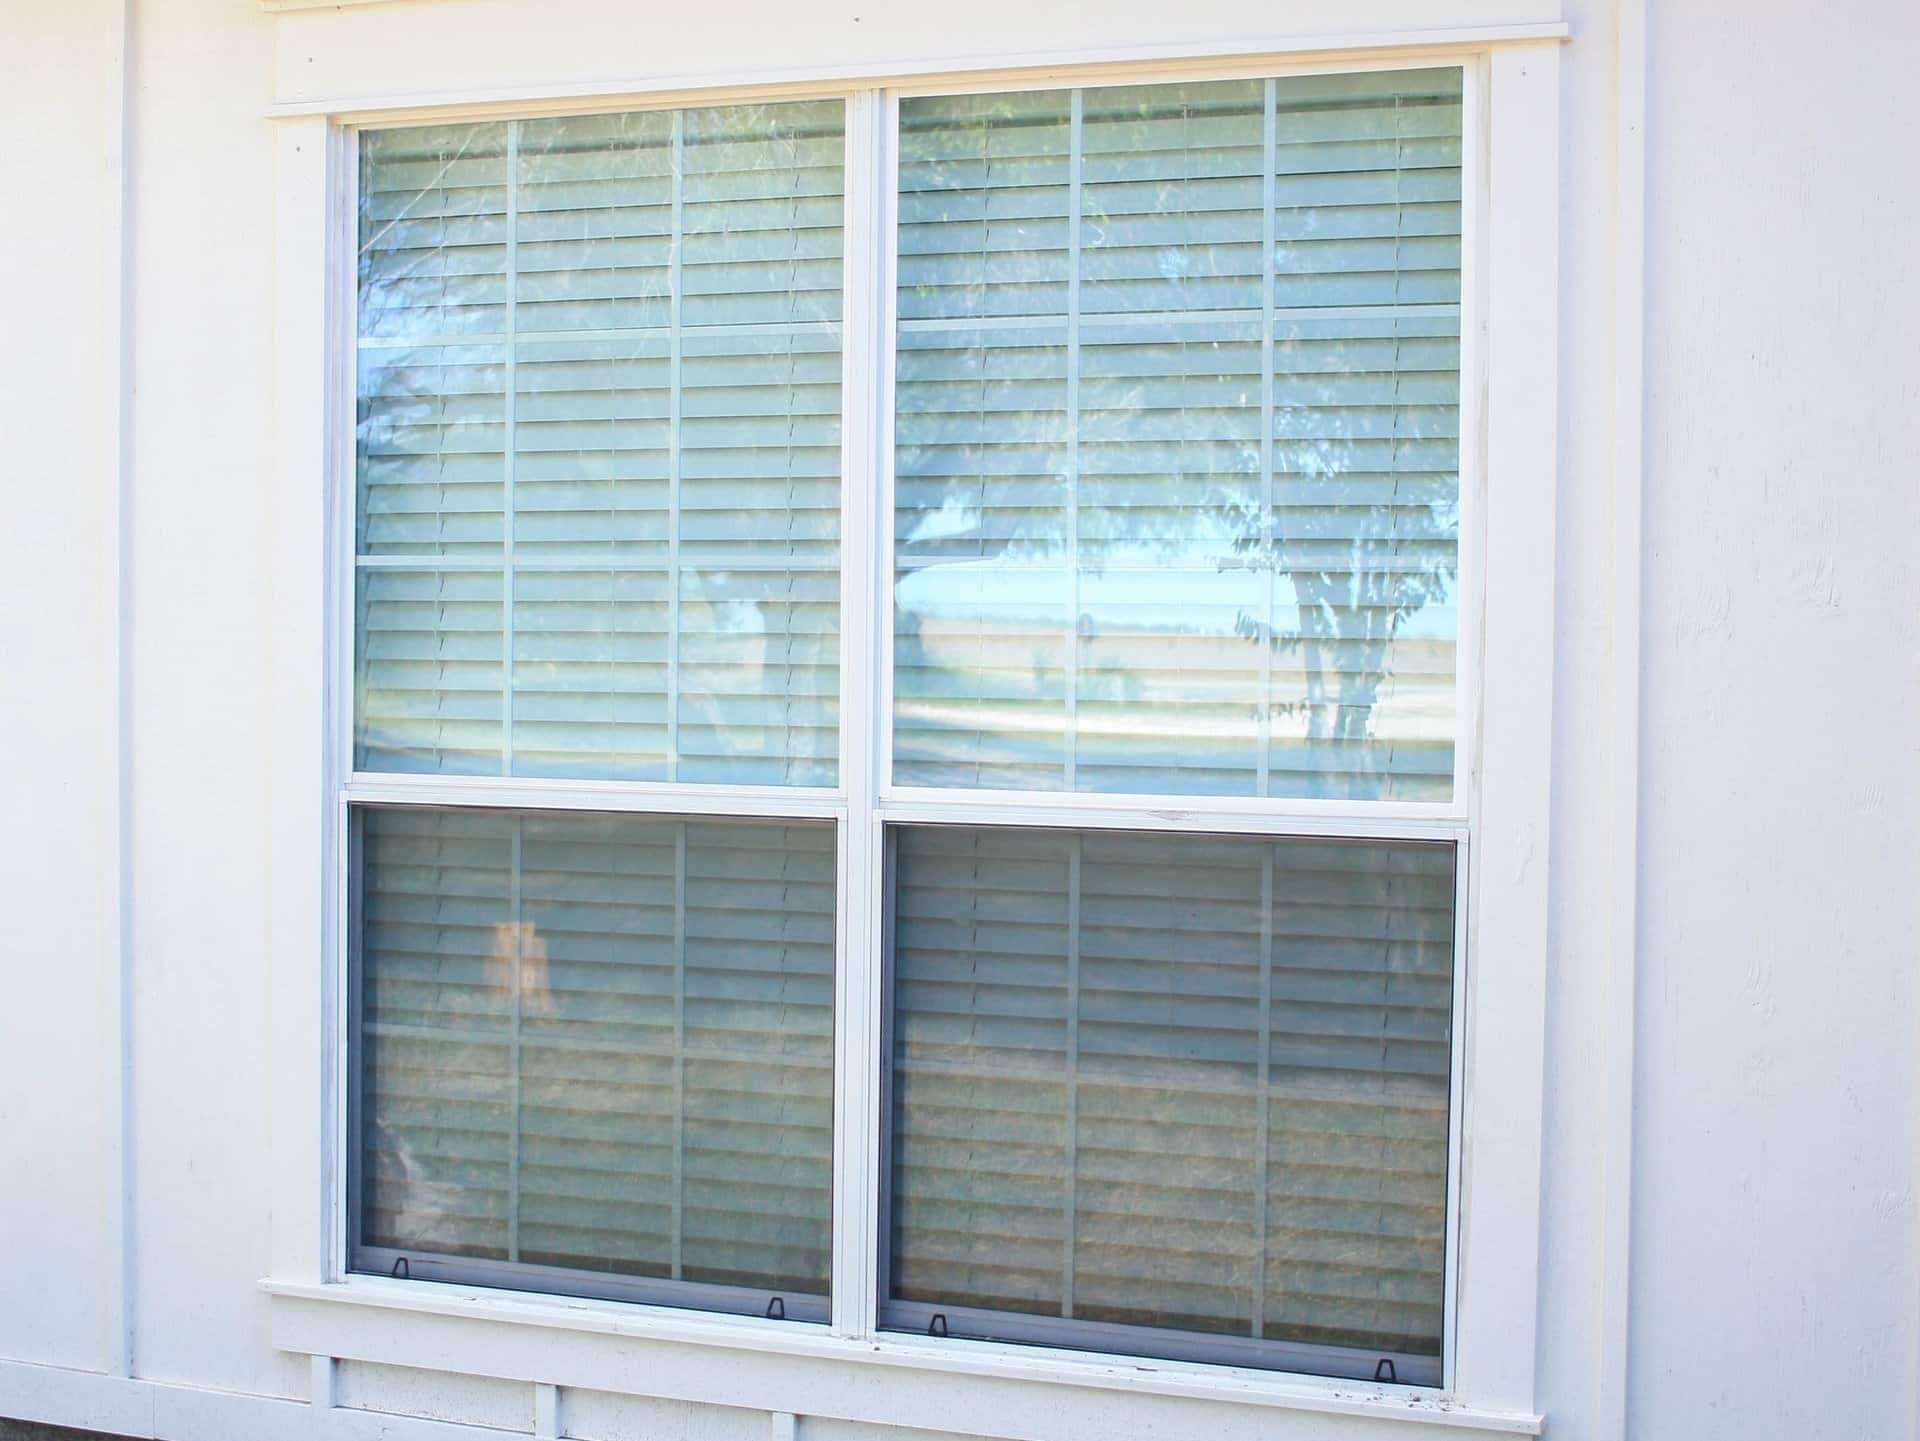
Step back and take a look at your brand-new window!

OMG! You have no idea how great this feels when I drive up and don’t have to see that ugly broken window!
A simple, easy, inexpensive project that makes me smile!
Have you tackled any easy home improvement projects that make you feel so awesome even though they were so simple? Let me know in the comments below!

Want to save this DIY window pane replacement post for a day when you need it? PIN it!