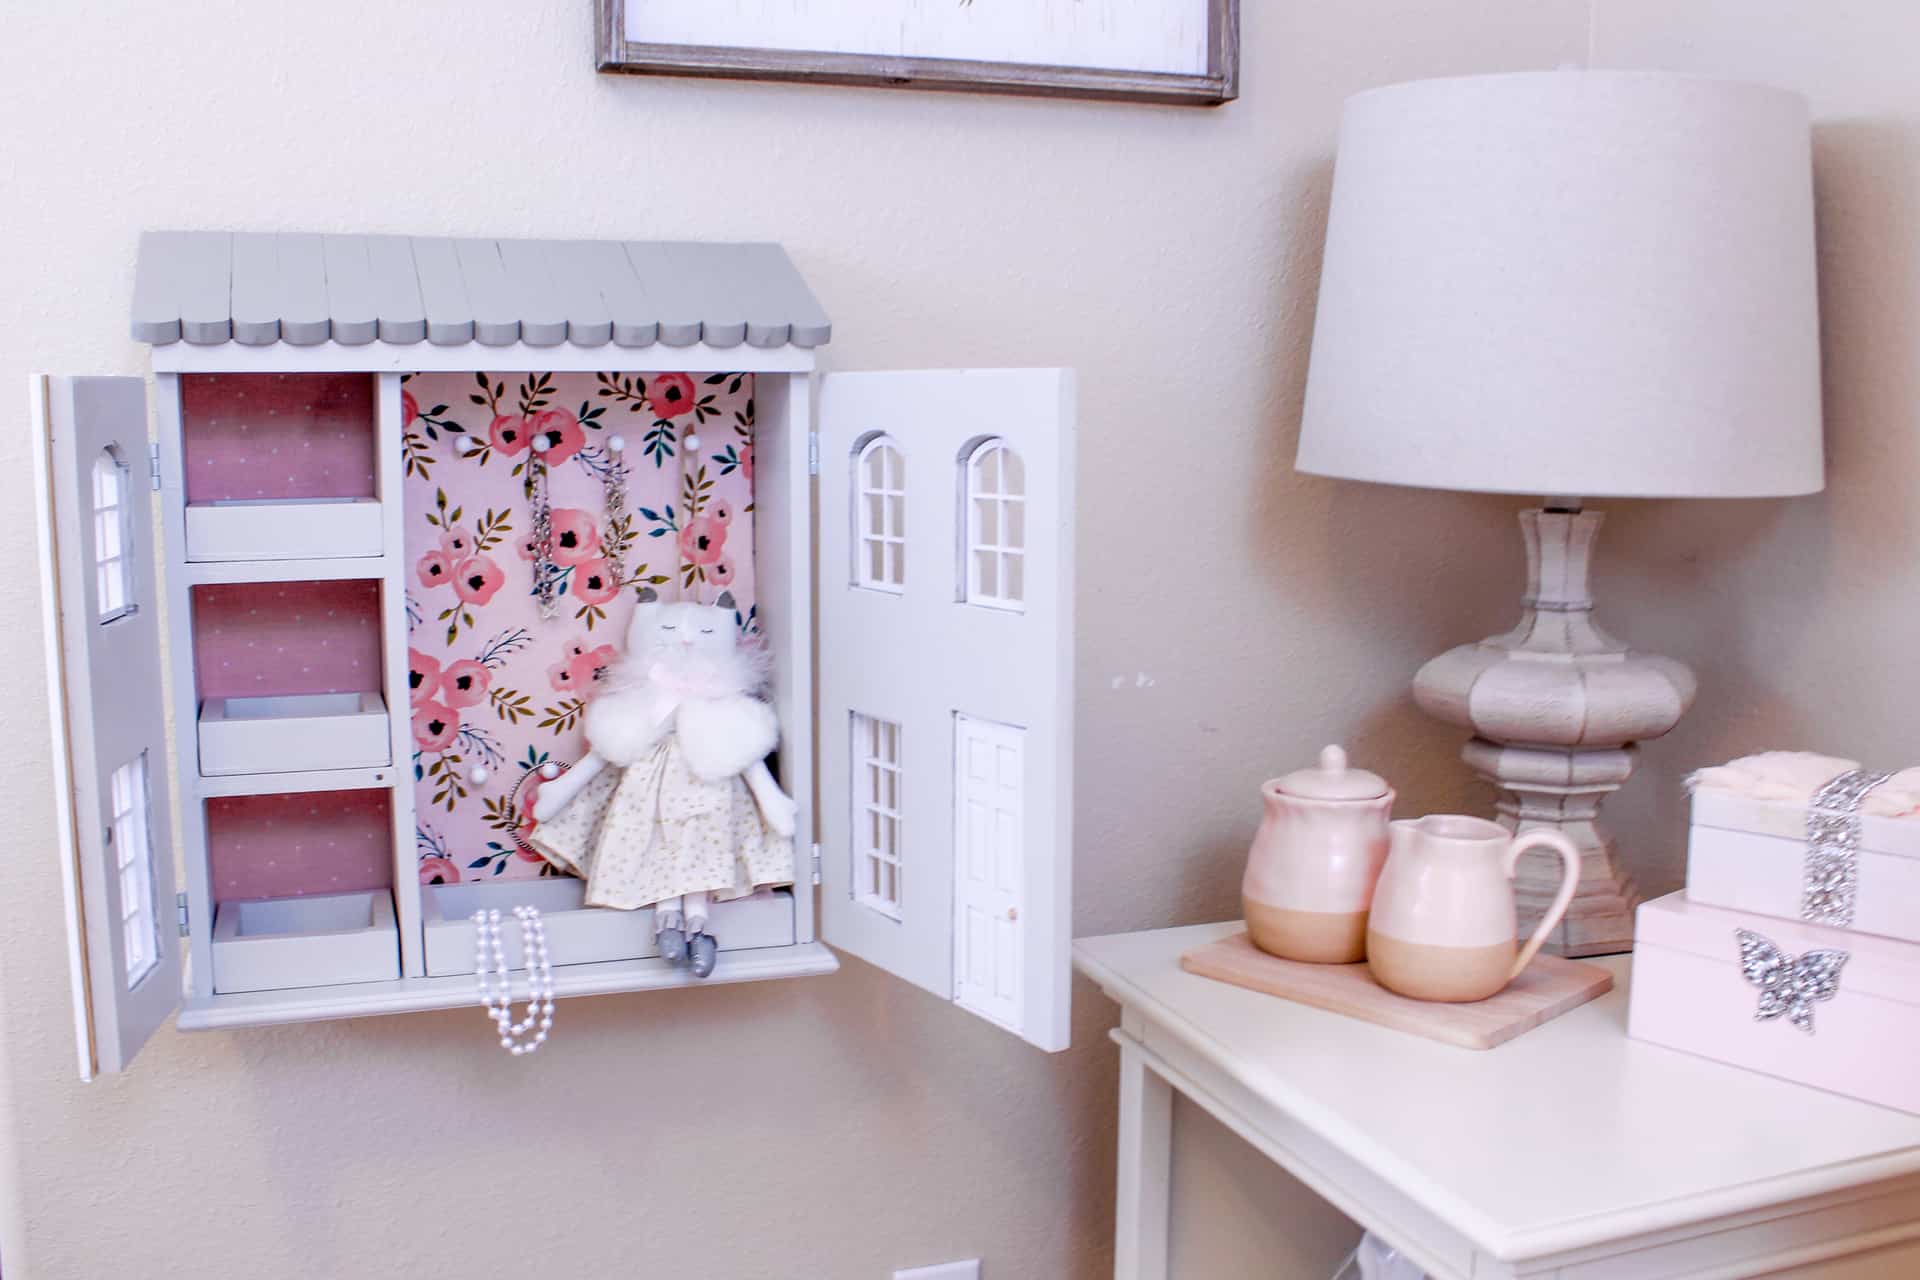
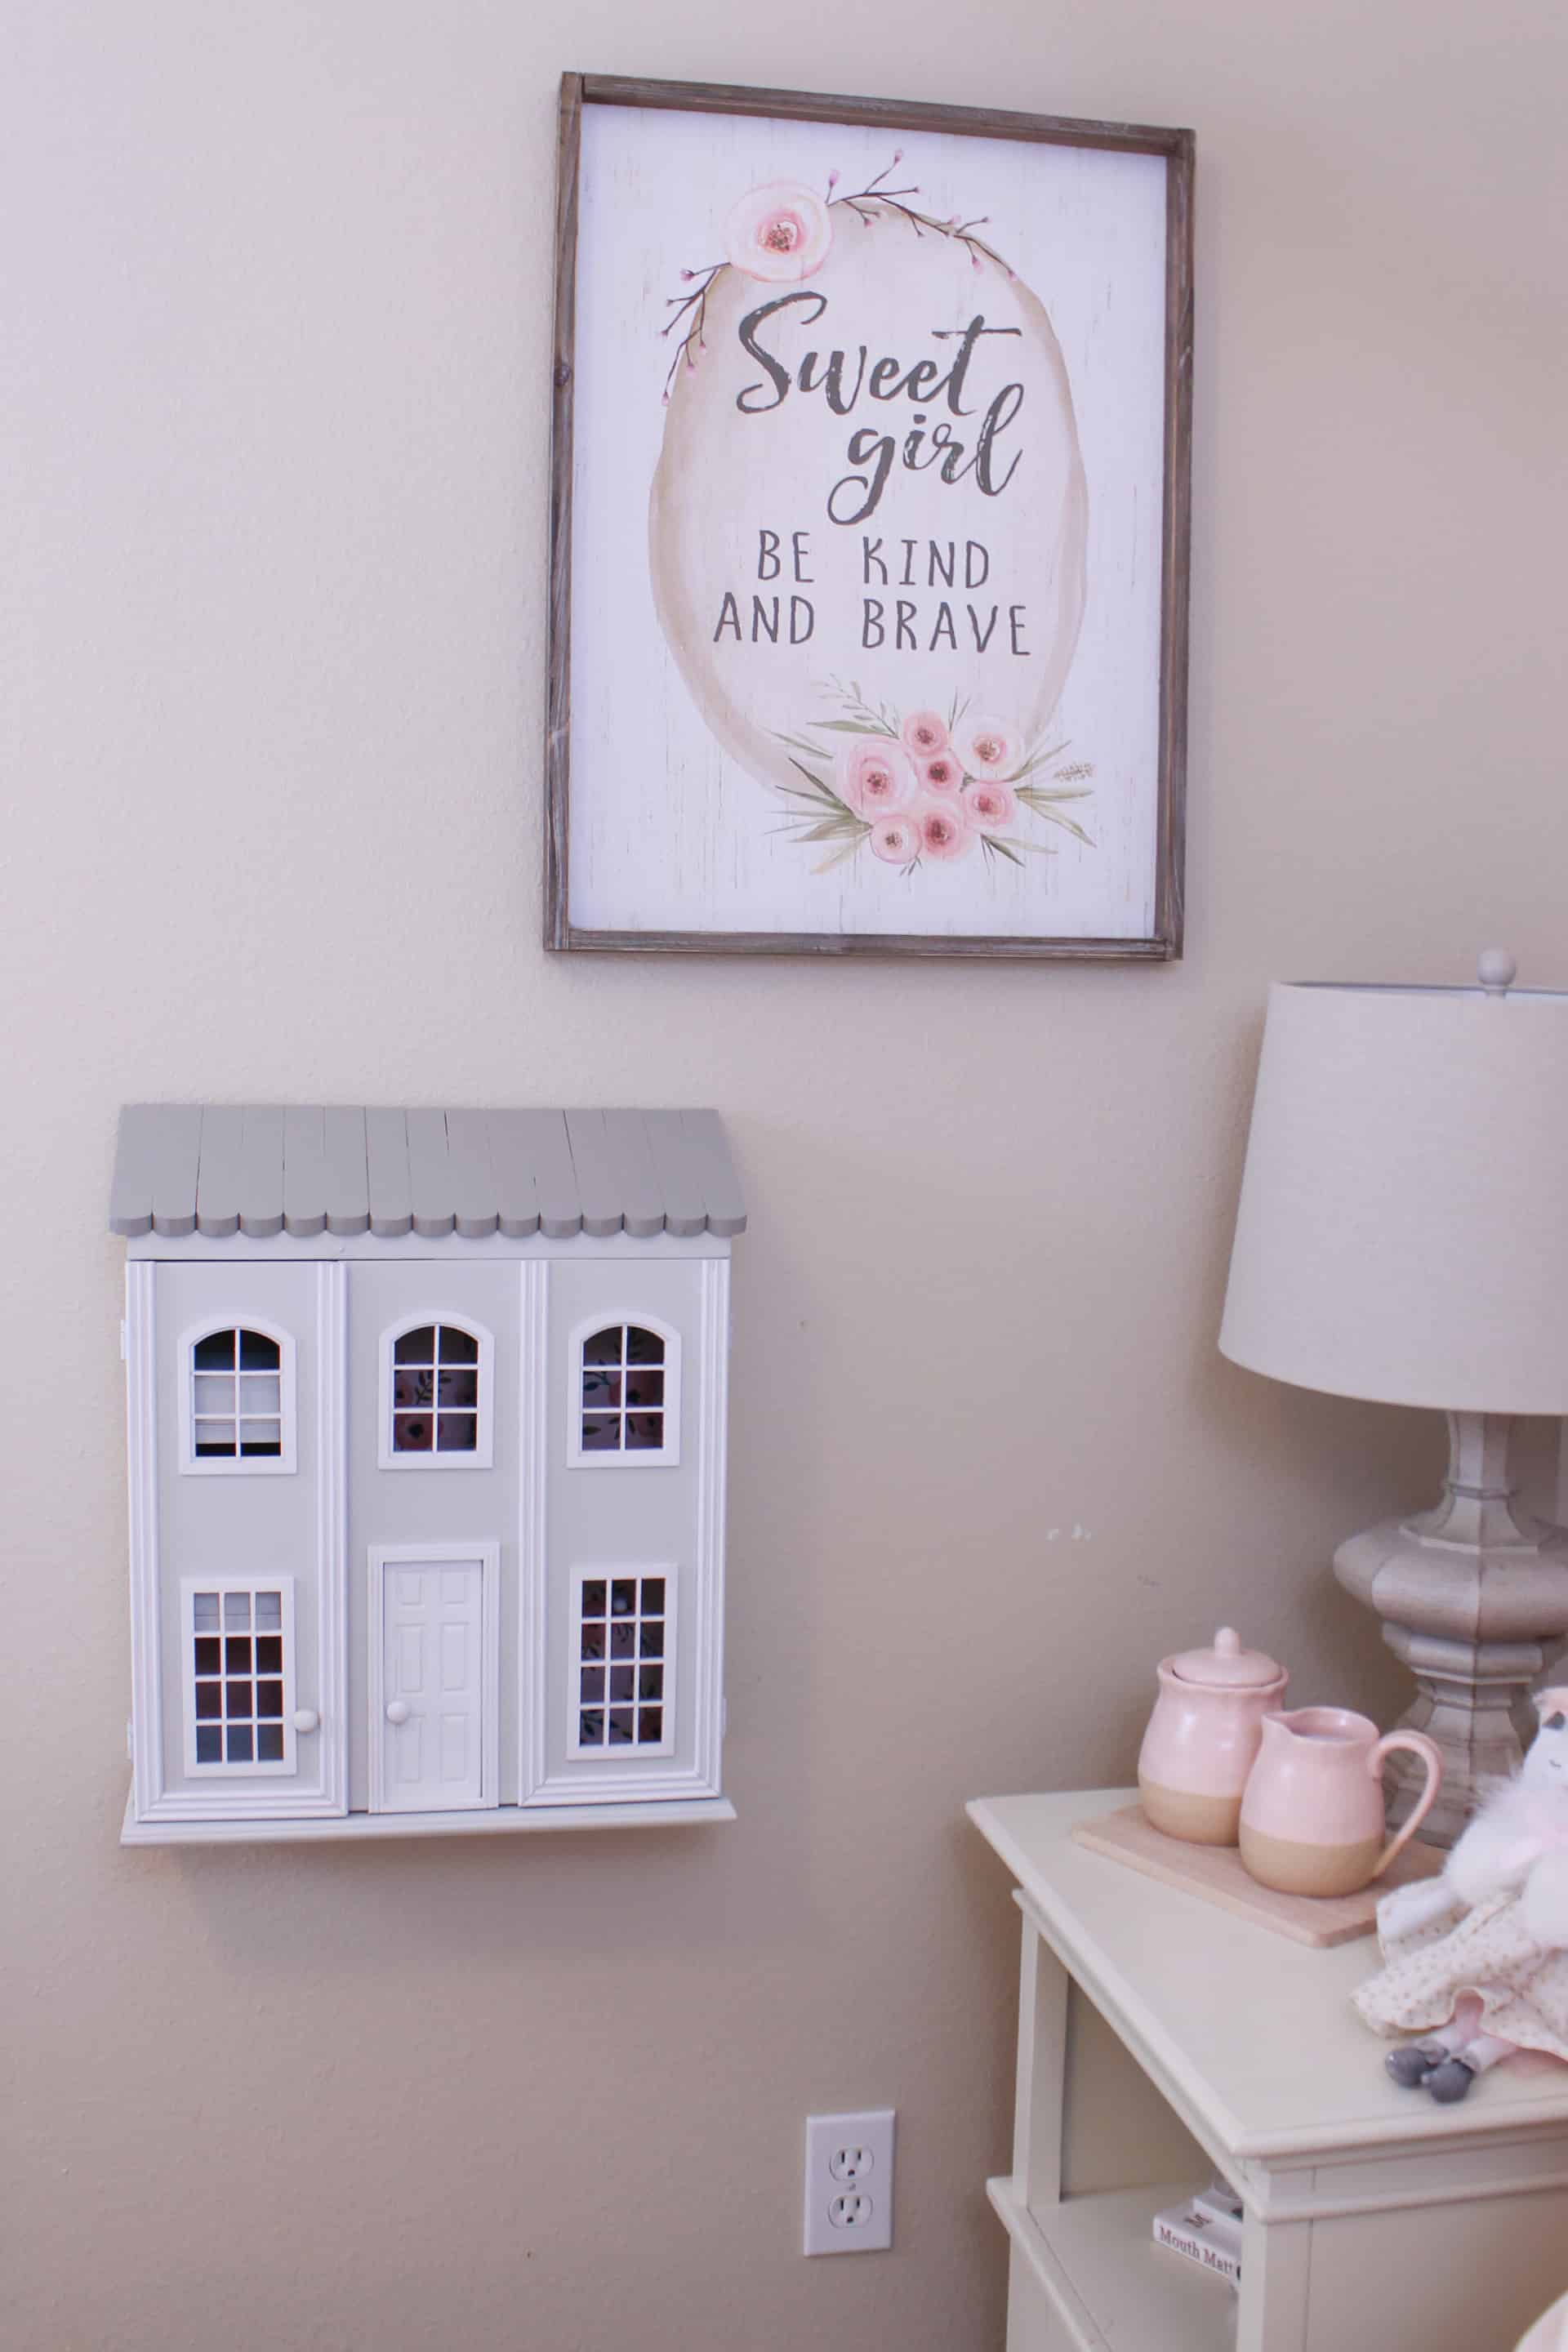
DIY Dollhouse Jewelry Wall Cabinet
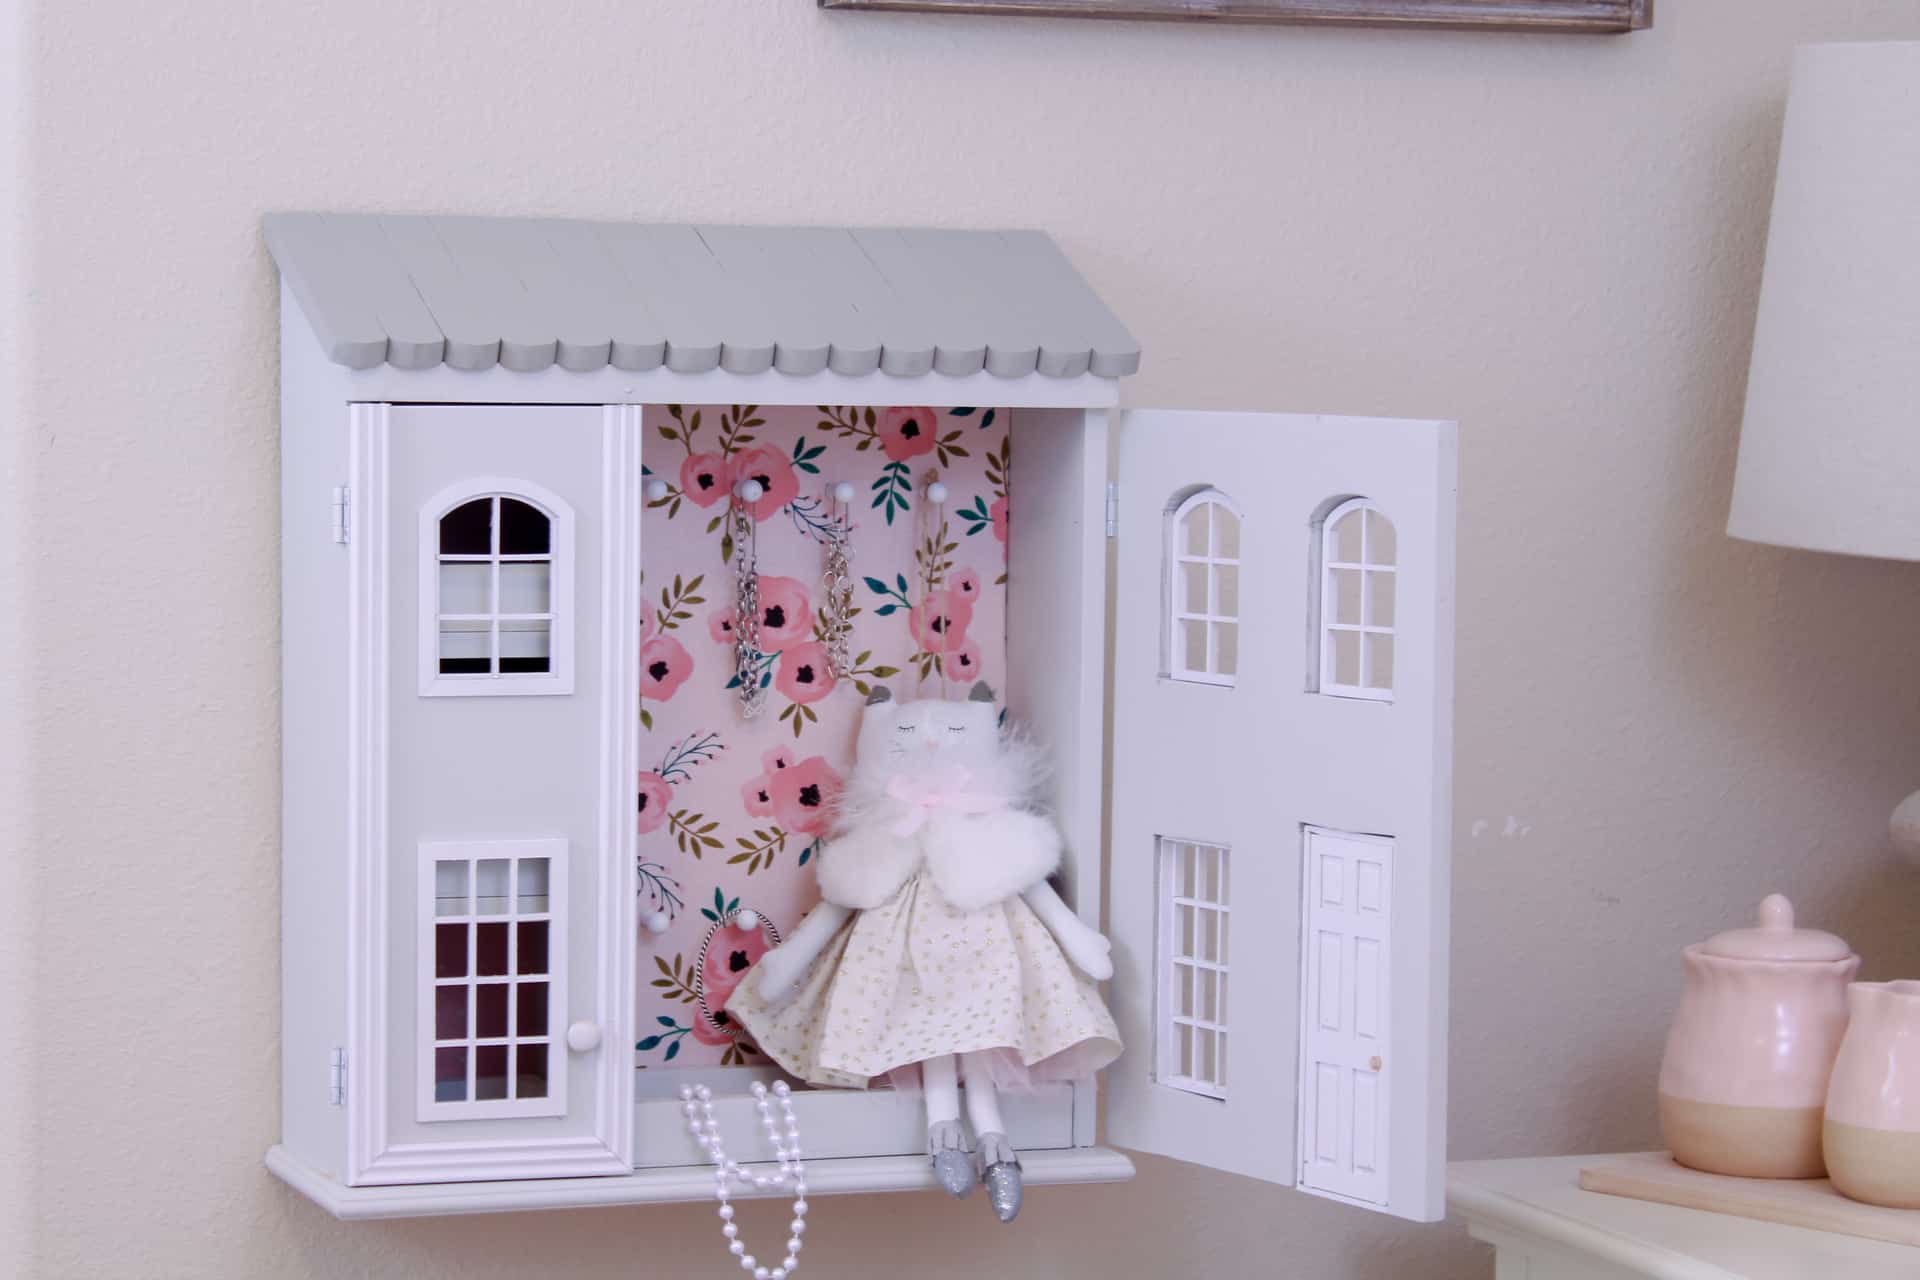
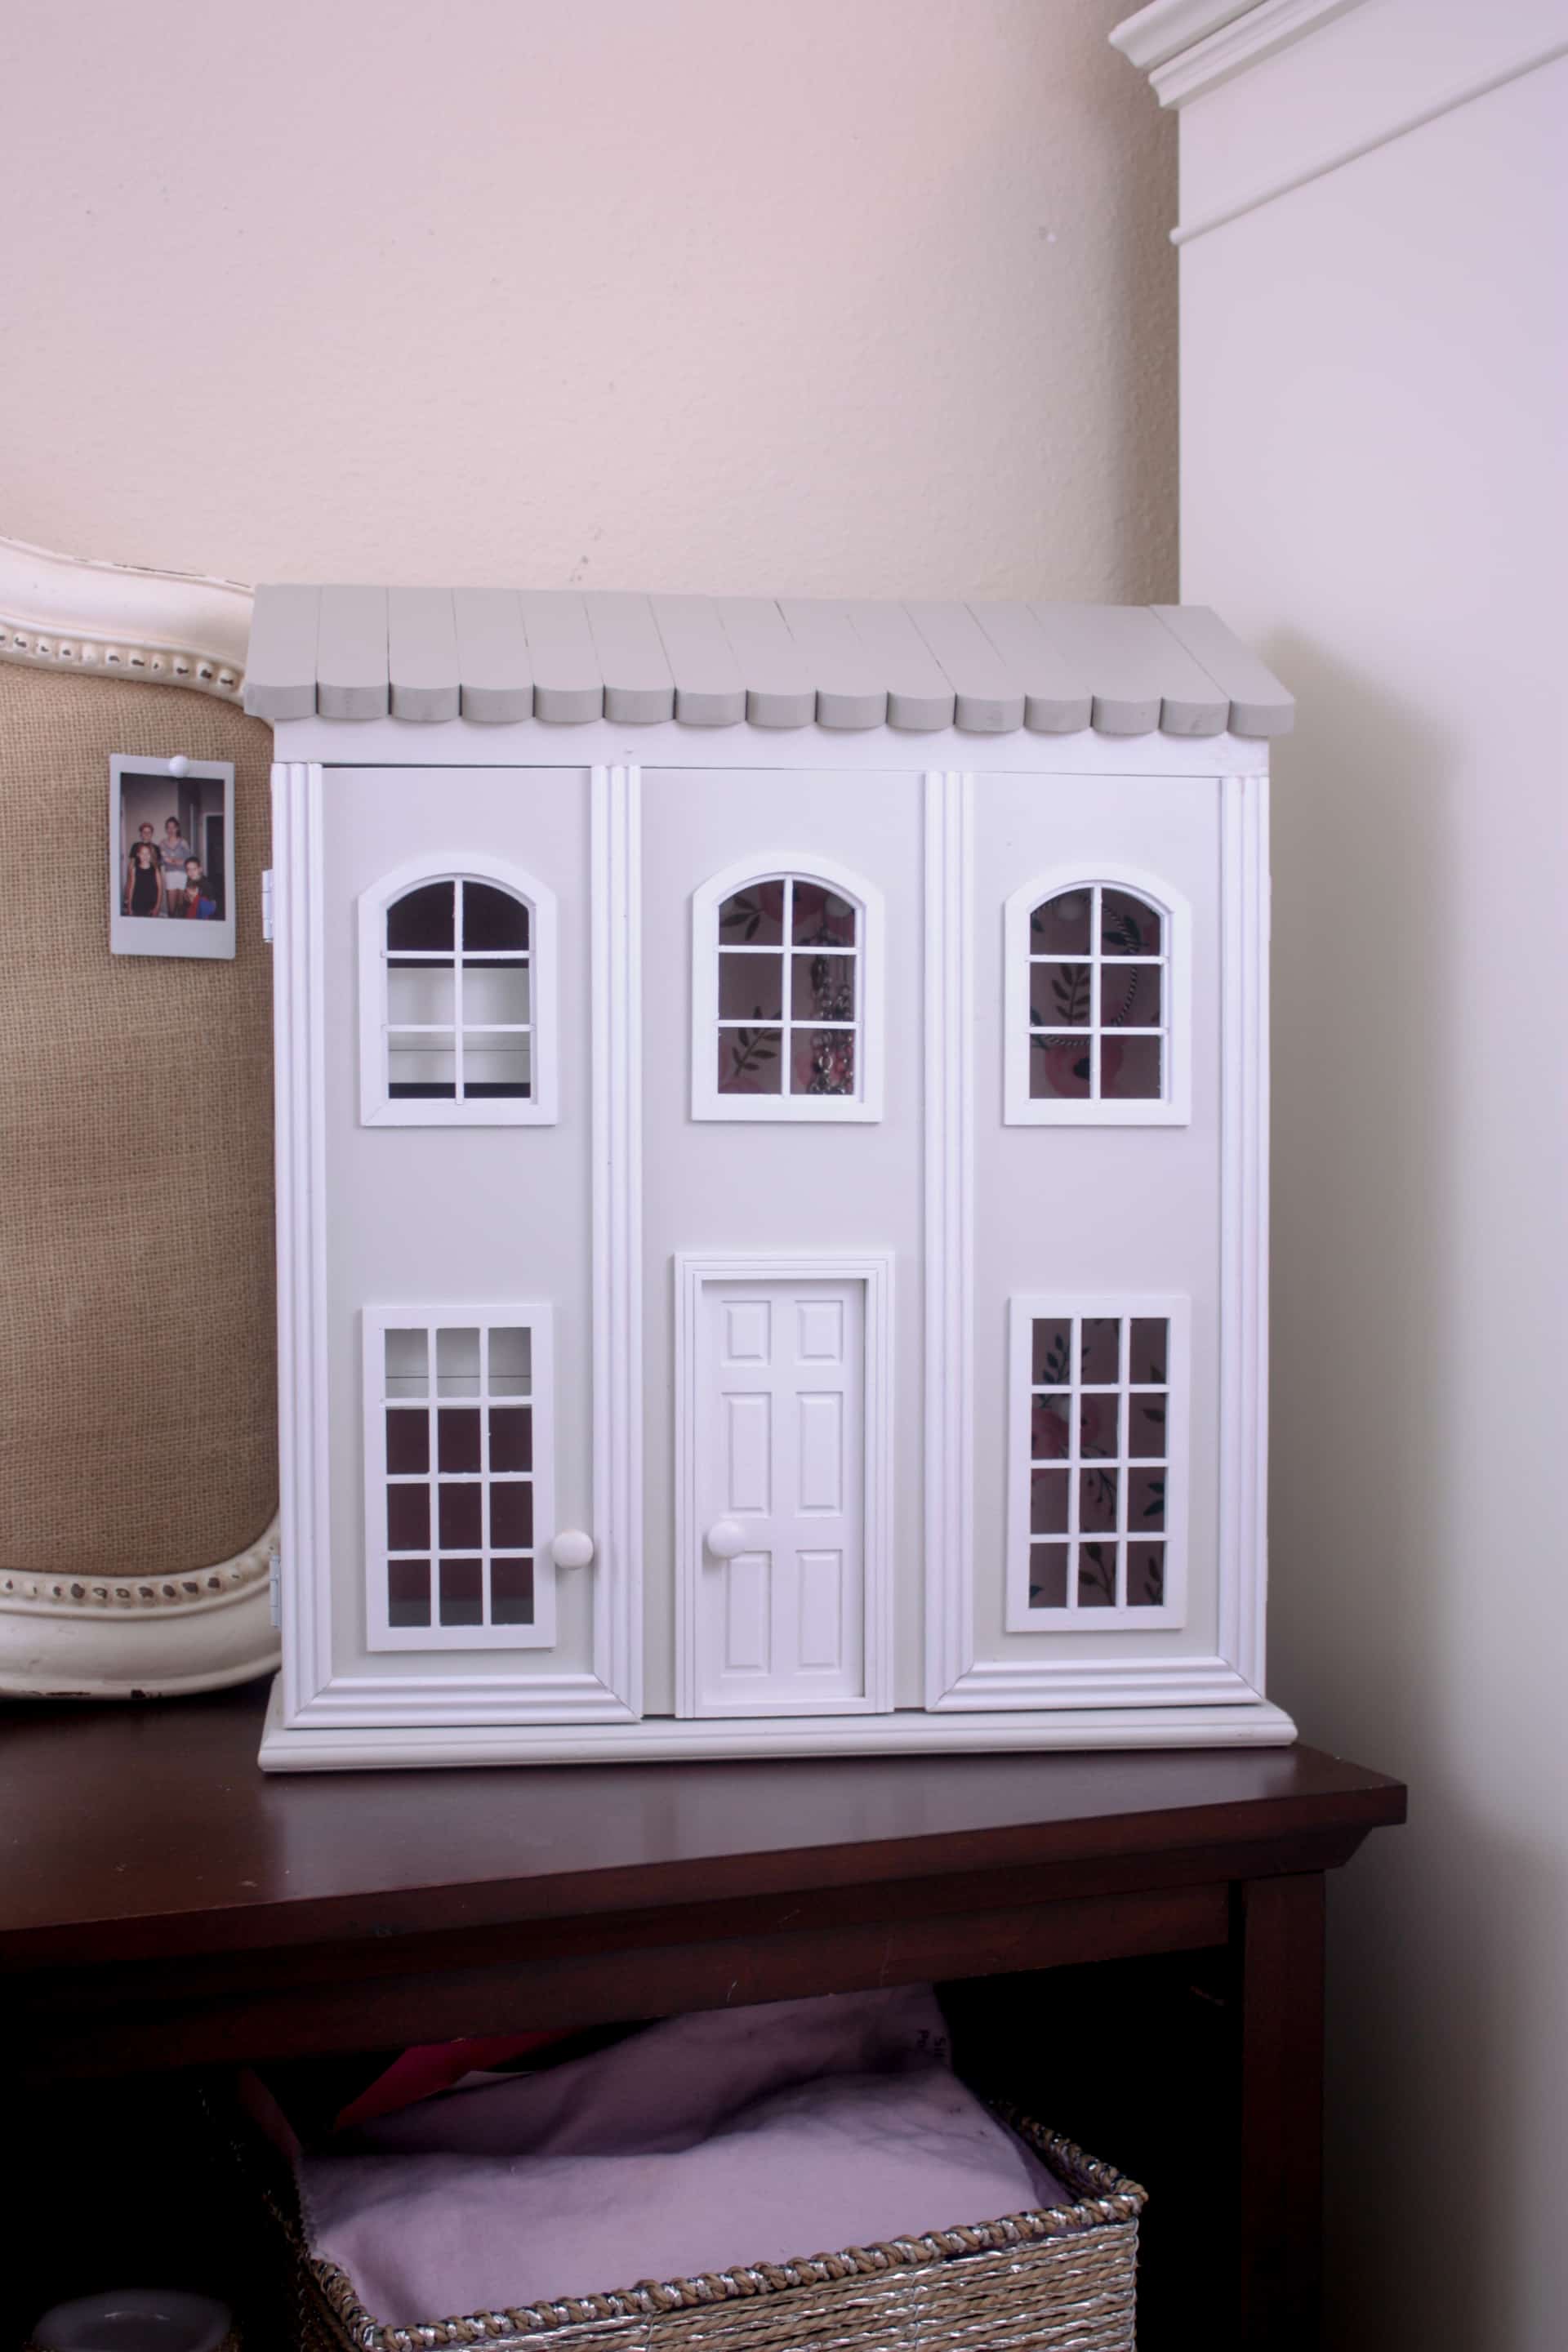
This absolutely adorable dollhouse jewelry wall cabinet is the perfect DIY gift idea for any little girl on your list! Easy to build in a day, get it wrapped and under the tree in anticipation of a huge smile when your daughter or niece opens this on Christmas morning! Such a fun way to store jewelry and this jewelry cabinet doubles as a dollhouse to play with!
This post is sponsored by Build Something and Kreg!
So this is my FIRST post as The Inspired Workshop! It’s so strange since it was Build It Craft It Love It for four years!! But change can be good at times…right?! That’s what I try to make my non-change-loving self believe! LoL! Anyway, I am so excited to be posting the plans for the cutest little dollhouse jewelry cabinet that you can DIY as a Christmas gift or Birthday gift for any little girl on your list! And I have partnered with Kreg for their #madewithkreg Holiday Campaign to show you how you can use their amazing array of tools to do it!
Doesn’t this make you want to be 5 again!! Ahhh! It sure does for me! Luckily my niece will get to enjoy this dollhouse jewelry wall cabinet! I love that it can be hung on the wall or set on a table, dresser, or nightstand! So stinking cute! Plus, I may have tried to steal the little cat when I left!
Click here to be taken to the FREE plans at BUILDSOMETHING.COM!
I cannot get over this cuteness! Now I cannot take credit and act like I just dreamed up this dollhouse jewelry wall cabinet on my own, I saw one just like this at Pottery Barn Kids, I just wasn’t liking the $189 price tag (plus shipping and taxes) when I had a bunch of scrap 1/2″ plywood lying around my garage just begging for a project to be built with it! Lol!
I purchased the window and doors pre-made at Hobby Lobby! Add in a few extra trim items and boom, that’s so much cheaper than 189 bucks!
The materials and cut lists are offered at Buildsomething.com!
I want to show here how I was able to use a few of Kreg’s tools that you may not realize are so helpful, especially if you don’t have a table saw, or you have one but can’t really use it because it is so impossible to get the blade square. The full tutorial for the dollhouse jewelry wall cabinet is here, but the plans are at Build Something!
If you are looking for other great DIY gift ideas for other people on your list, here are a few I think you may like! This DIY record storage case for anyone who enjoys music on vinyl, this DIY wine dispenser for the wine lover in your life, this Dart Board Cabinet for the one who enjoys games, or this ring toss game!
Building the Dollhouse Jewelry Wall Cabinet
I used Kreg’s new and improved RipCut to rip me a couple of 4″ ‘boards’ from the sheet of plywood! The new and improved RipCut has a handle that the previous one didn’t and I must say…for someone who DOES NOT like to just upgrade stuff, if it’s not broken, I am not replacing it! Lol! But this handle makes it So. Much. Better. No joke, no lie, it is so easy to keep it from sliding around with the handle!
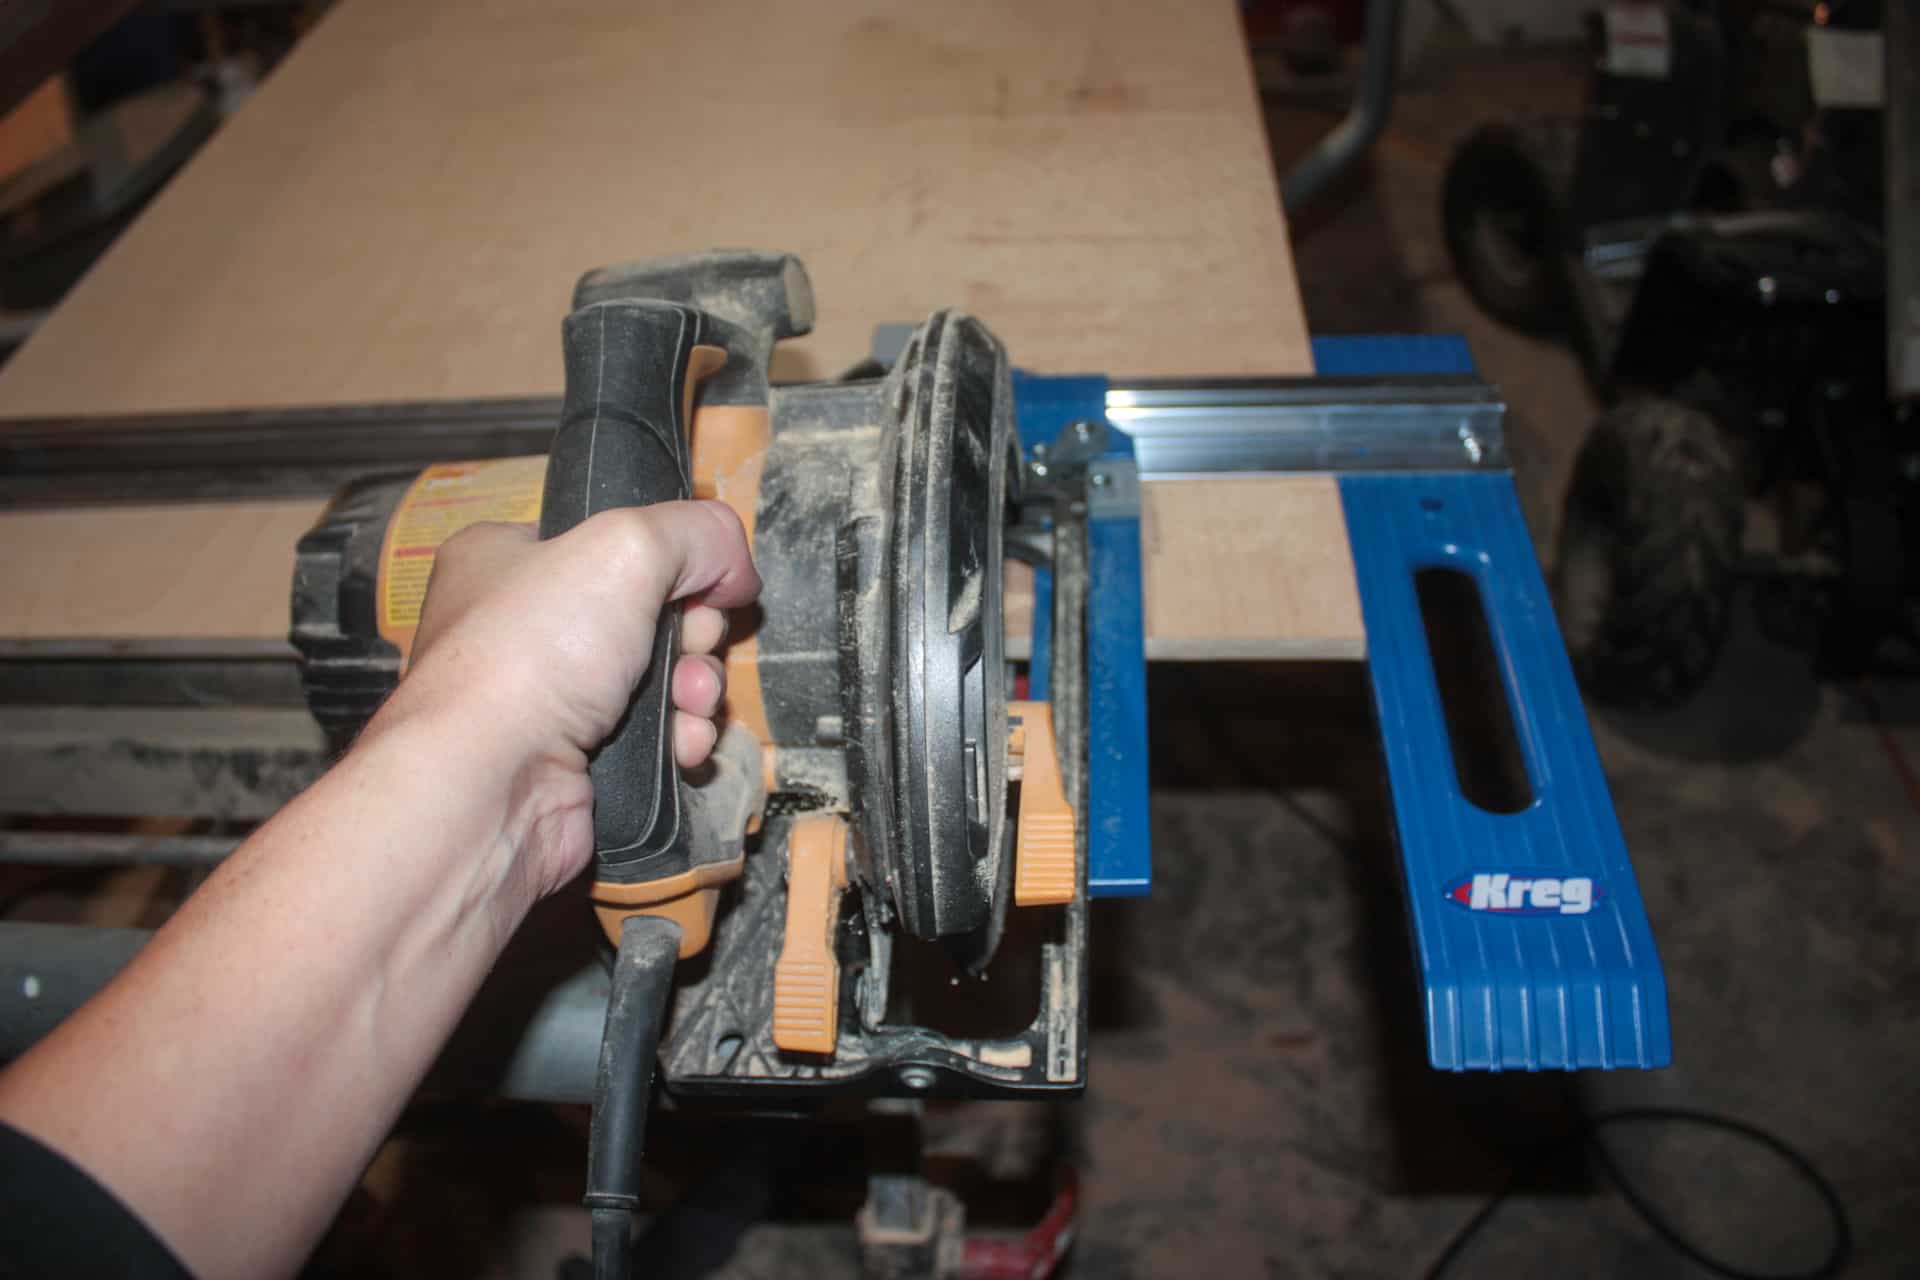
I’m not left-handed, but I didn’t have anyone to take the picture while I was cutting, so this was the best I could do! Lol! But check out that handle…something so simple can make something work so much smoother!
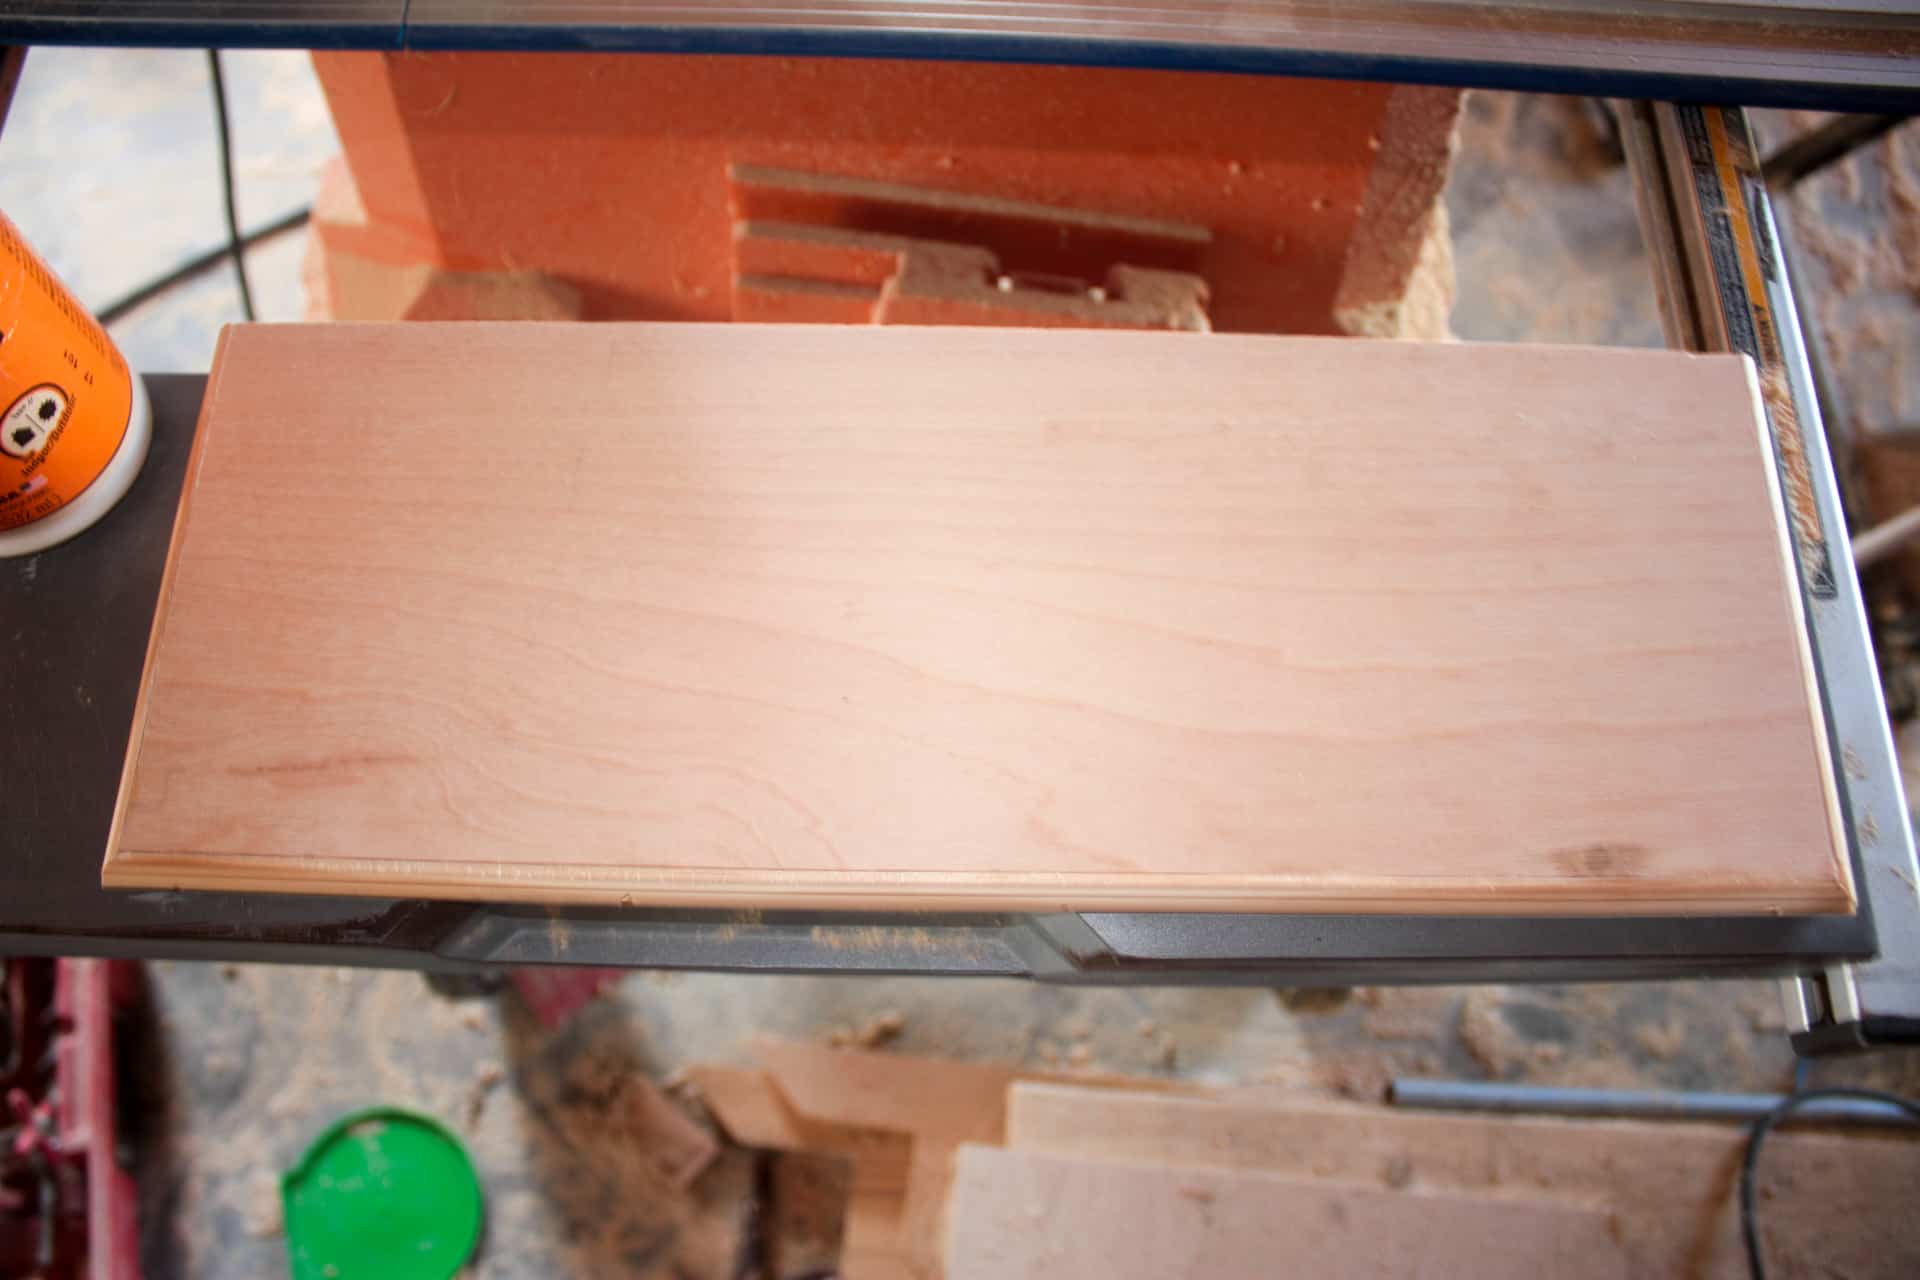
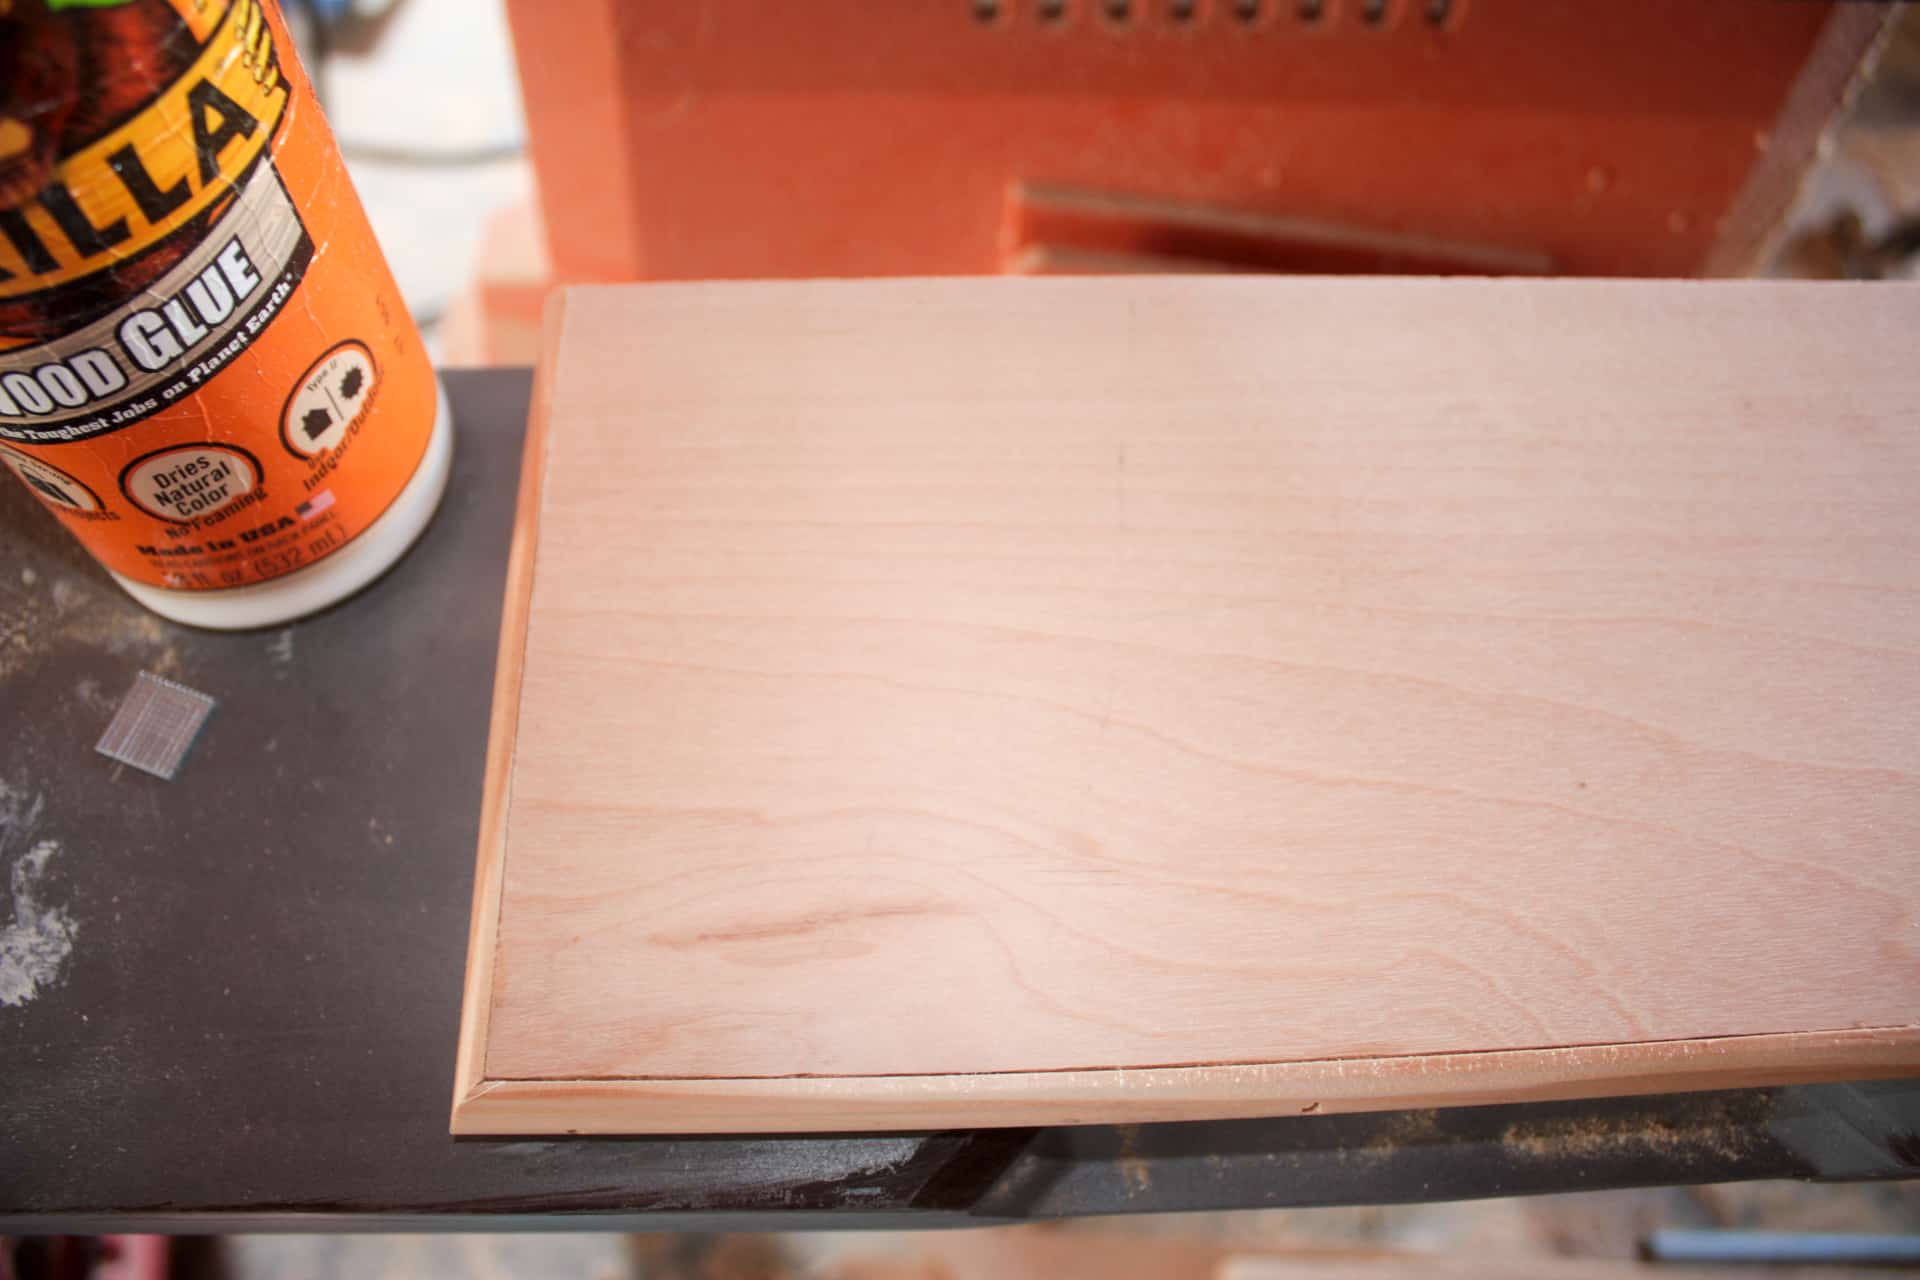
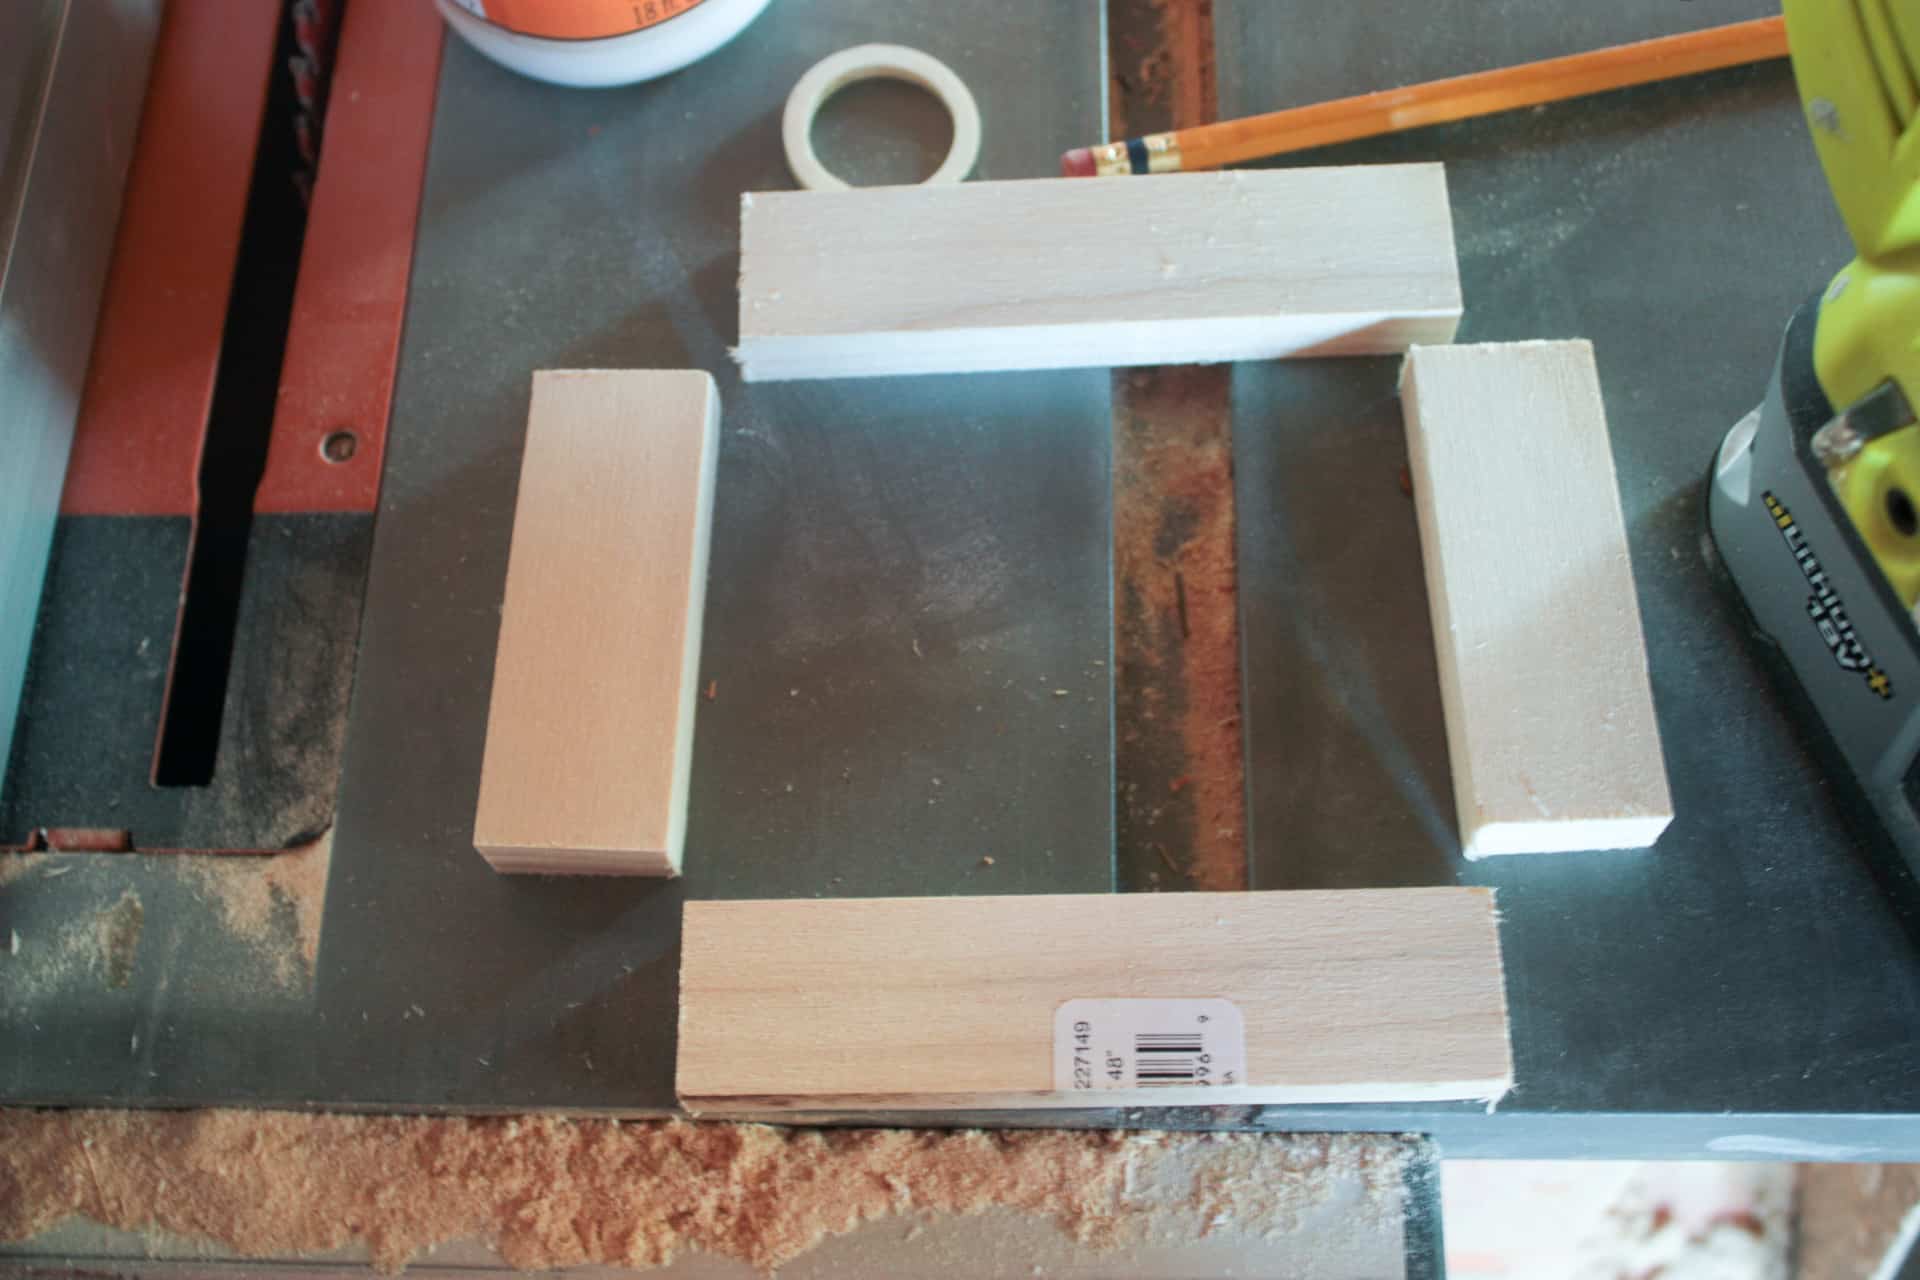
Out of these ‘boards’ I cut the side walls and middle divider! I also ripped a 5 1/2″ piece for the bottom and added very small molding around the edges! You can find the one I used at Home Depot but I couldn’t find it on their website…it is in their section of better trim boards (wood crown molding and rope molding), and it is 1/4″ x 1/2″ x 96″. Hope that helps you find it!
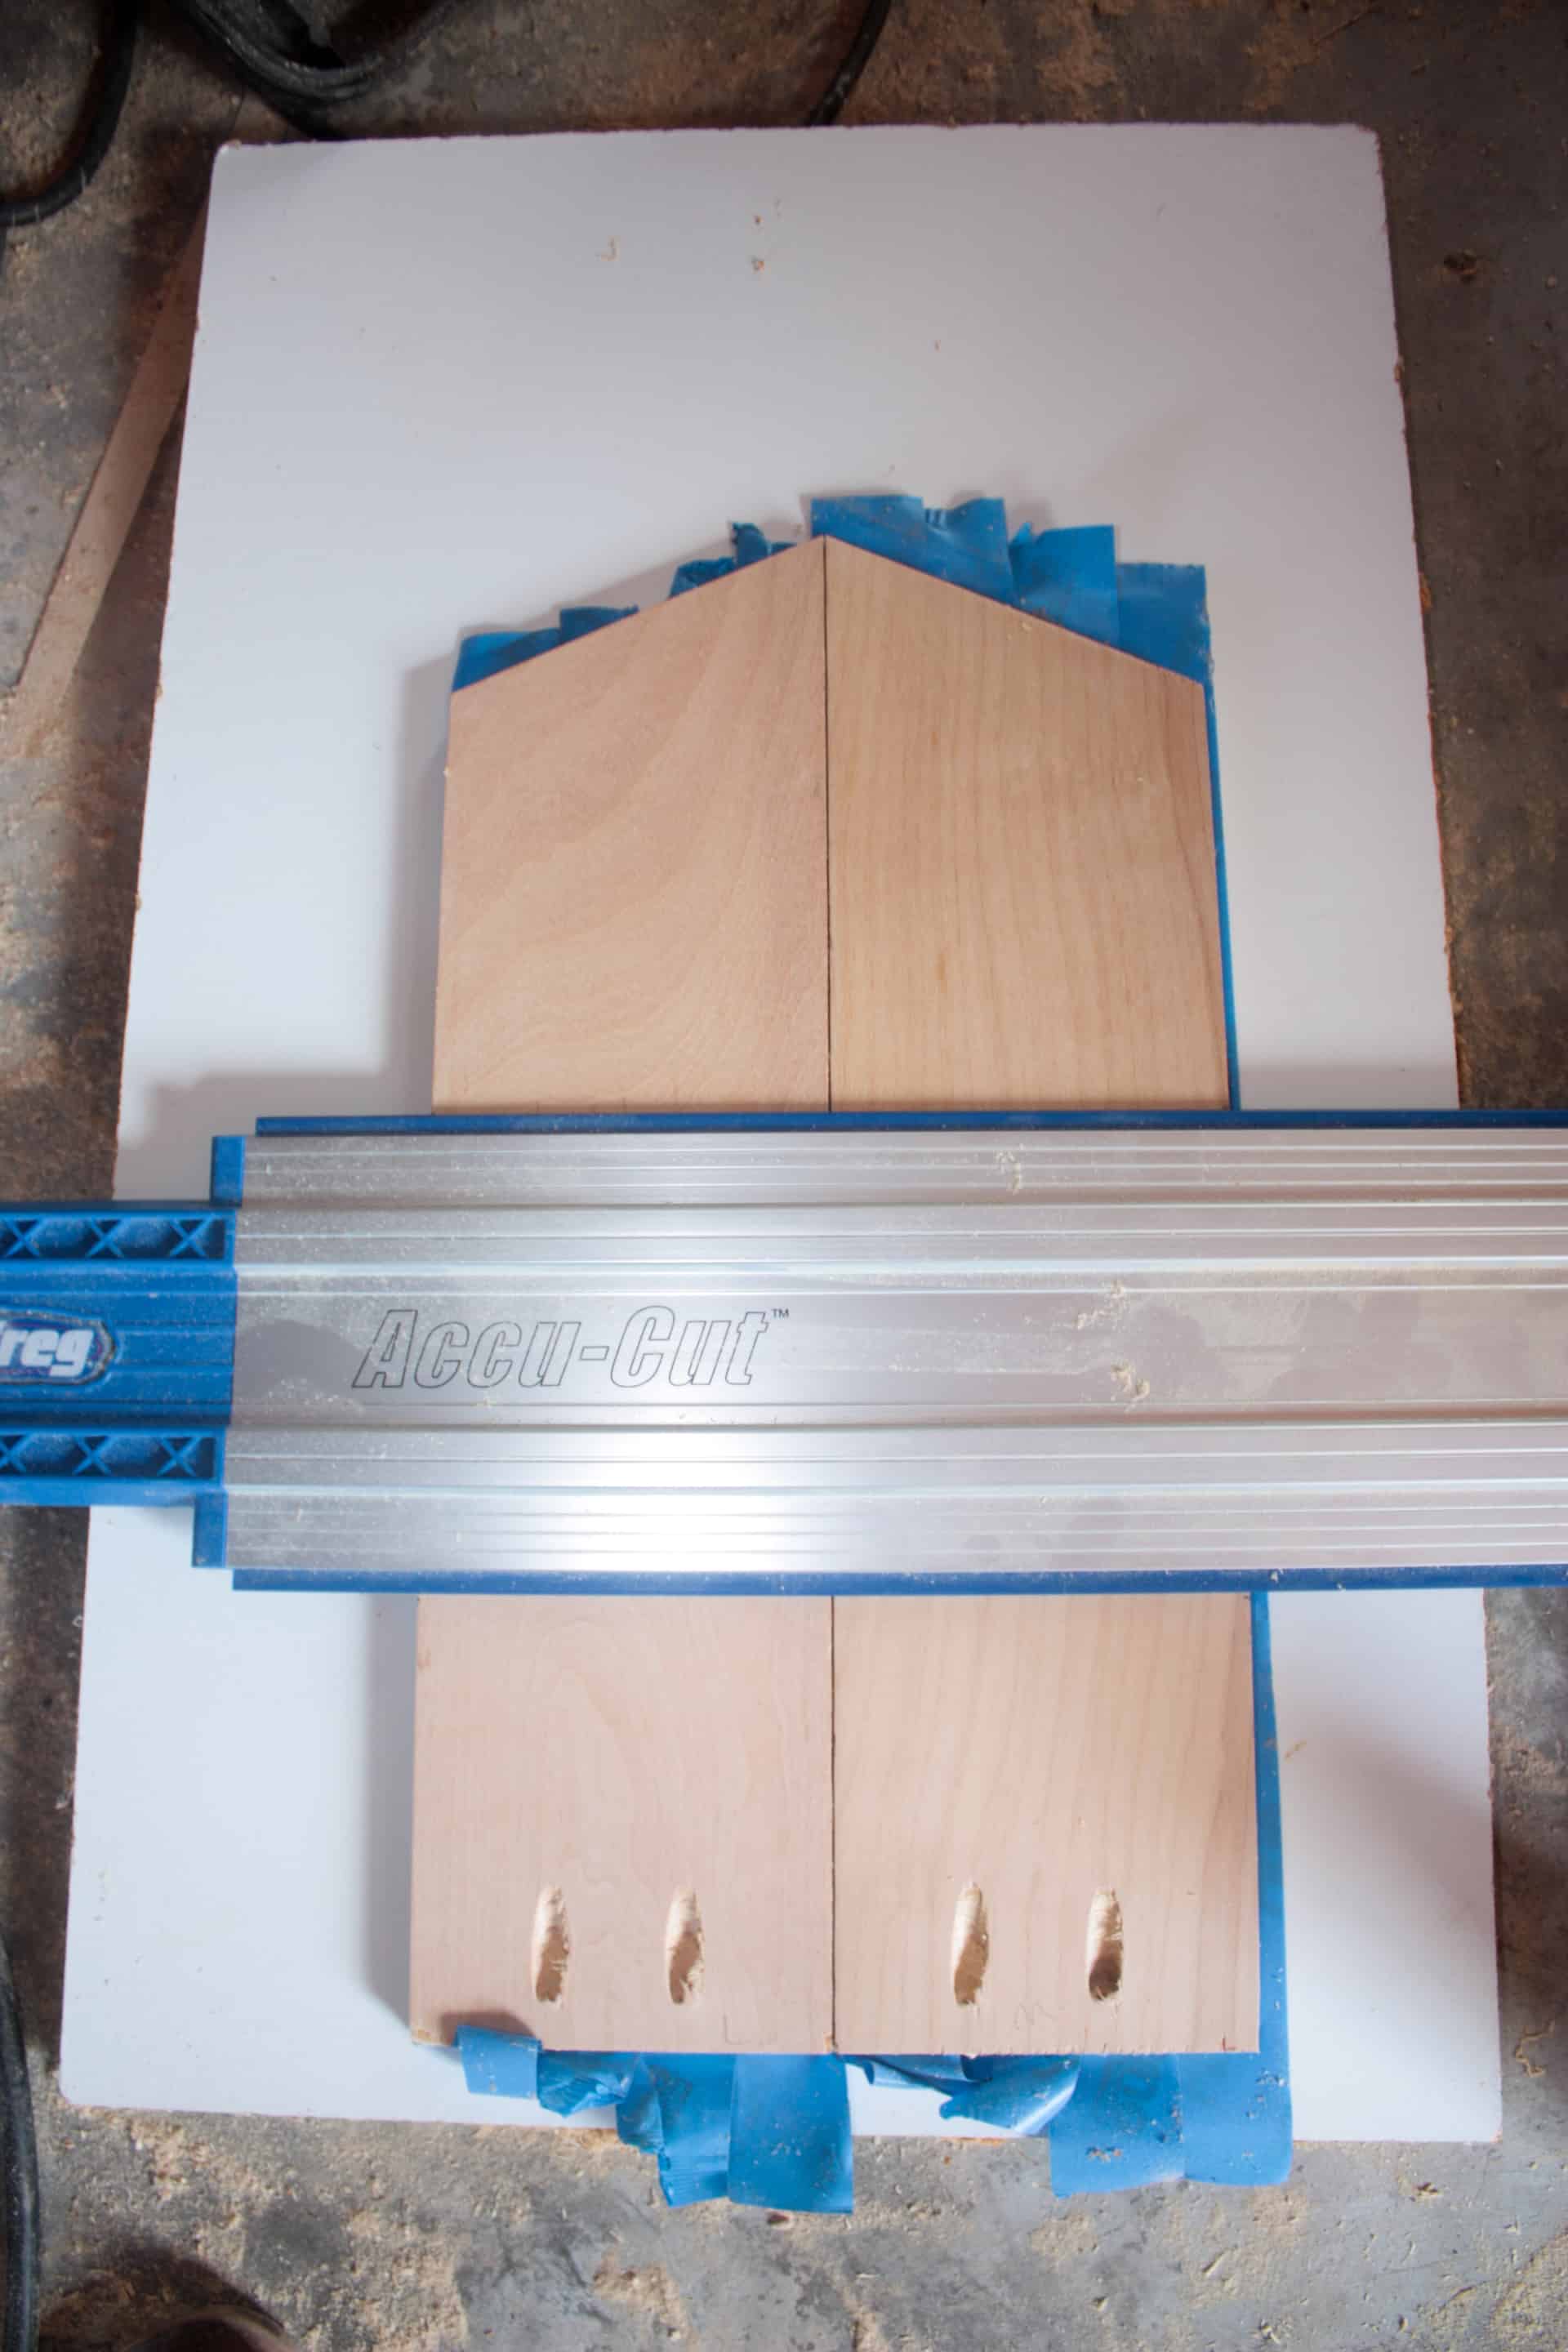
I tried something new on this jewelry wall cabinet and cut dados to hold the shelves inside the jewelry wall cabient and I was able to use the Kreg Accu-cut to do it!
They are small pieces, and I needed them to be lined up perfectly or my shelves would sit crooked in their slots! I used Lizzy’s trick from @thehouseoftimber on Instagram! Go follow her immediately if you enjoy watching people BLOW YOUR MIND with a scroll saw!! She made my logo recently and her work in person is every bit EVEN better than it looks online! Anyway, so to keep your small pieces lined up, place painter’s tape along the back of the pieces. Then using spray adhesive, glue them onto a scrap board!
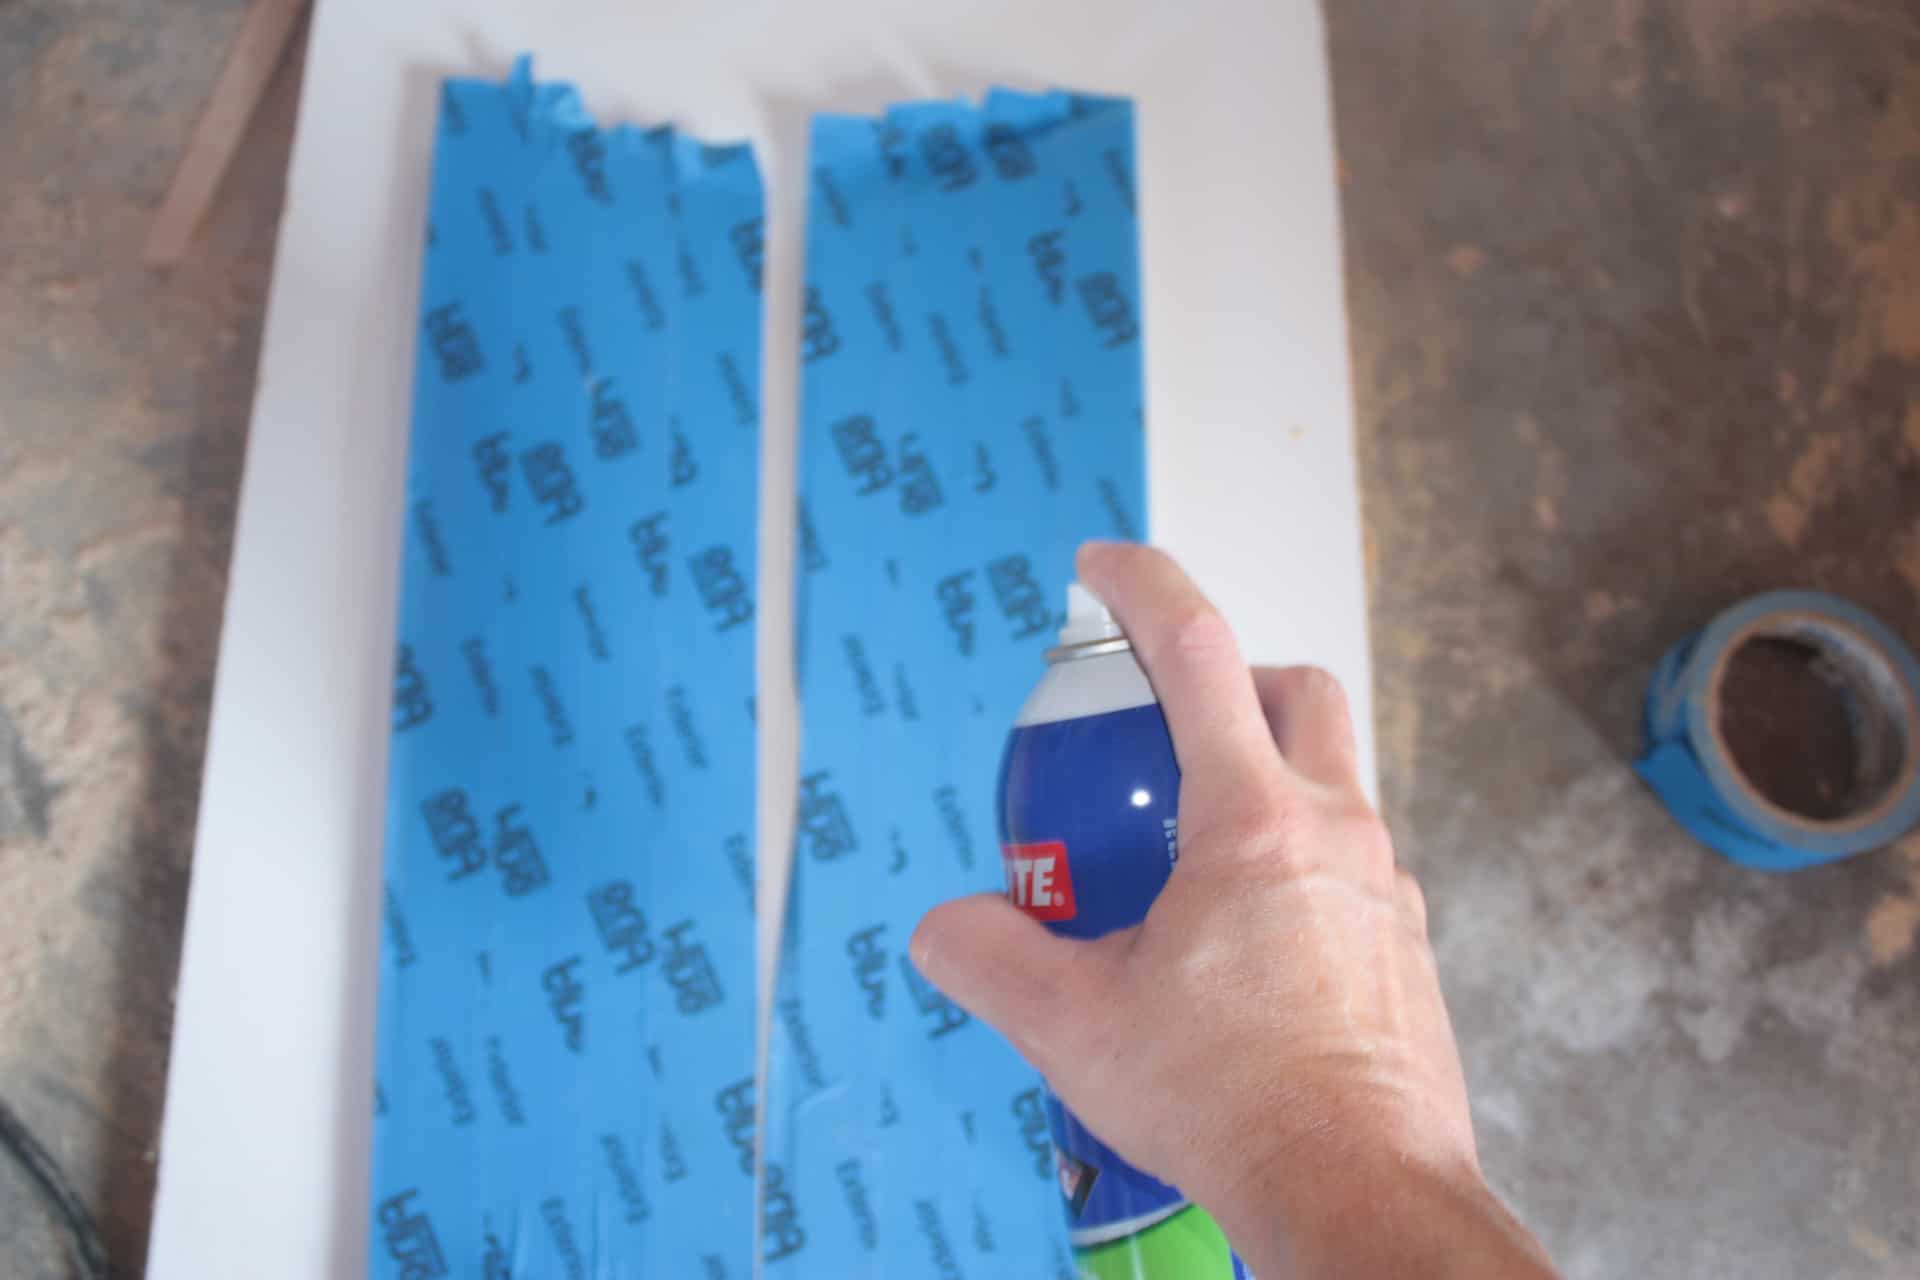
This is the back above, covered with painter’s tape and I sprayed the adhesive here. Flip them over and hold them down for a few seconds! I used Loctite General Purpose spray adhesive which you can find at Walmart, Amazon or any craft type store!
The pics are a little blurry since I am taking them one handed! Lol!
Now you can set your Accu-cut where you need it. I marked 4 3/4″ up from the bottom, and then the plywood is a 1/2″ so I made another mark a 1/2″ up from the 4 3/4″ mark (find all the specifics in the post at BuildSomething.com) as that is where my dado will stop!
Set your saw on the track and make the cuts, moving the Accu-cut over an 1/8″ or so each time until you get to your other mark! The dado should then be 1/2″ wide!
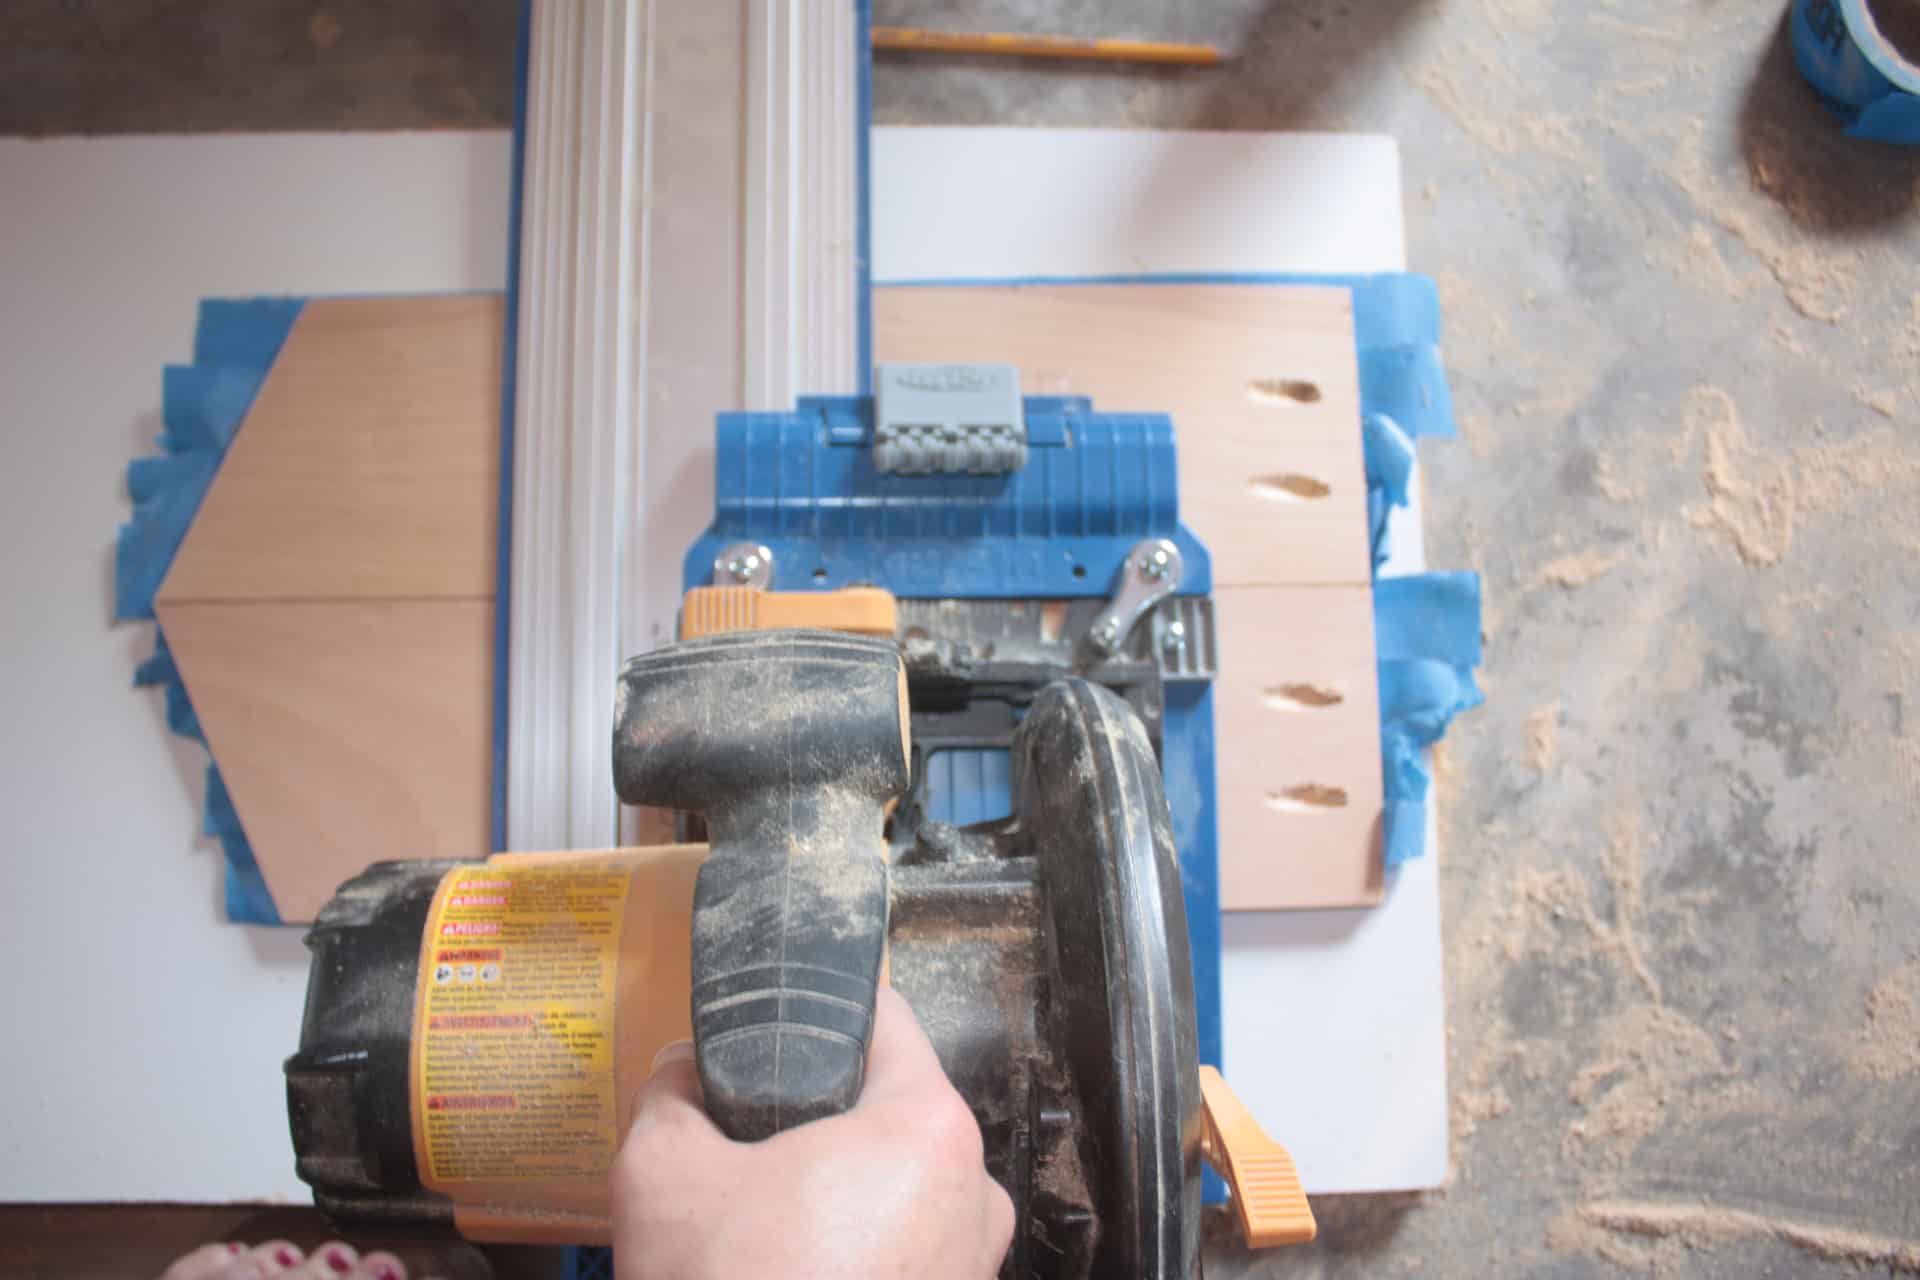
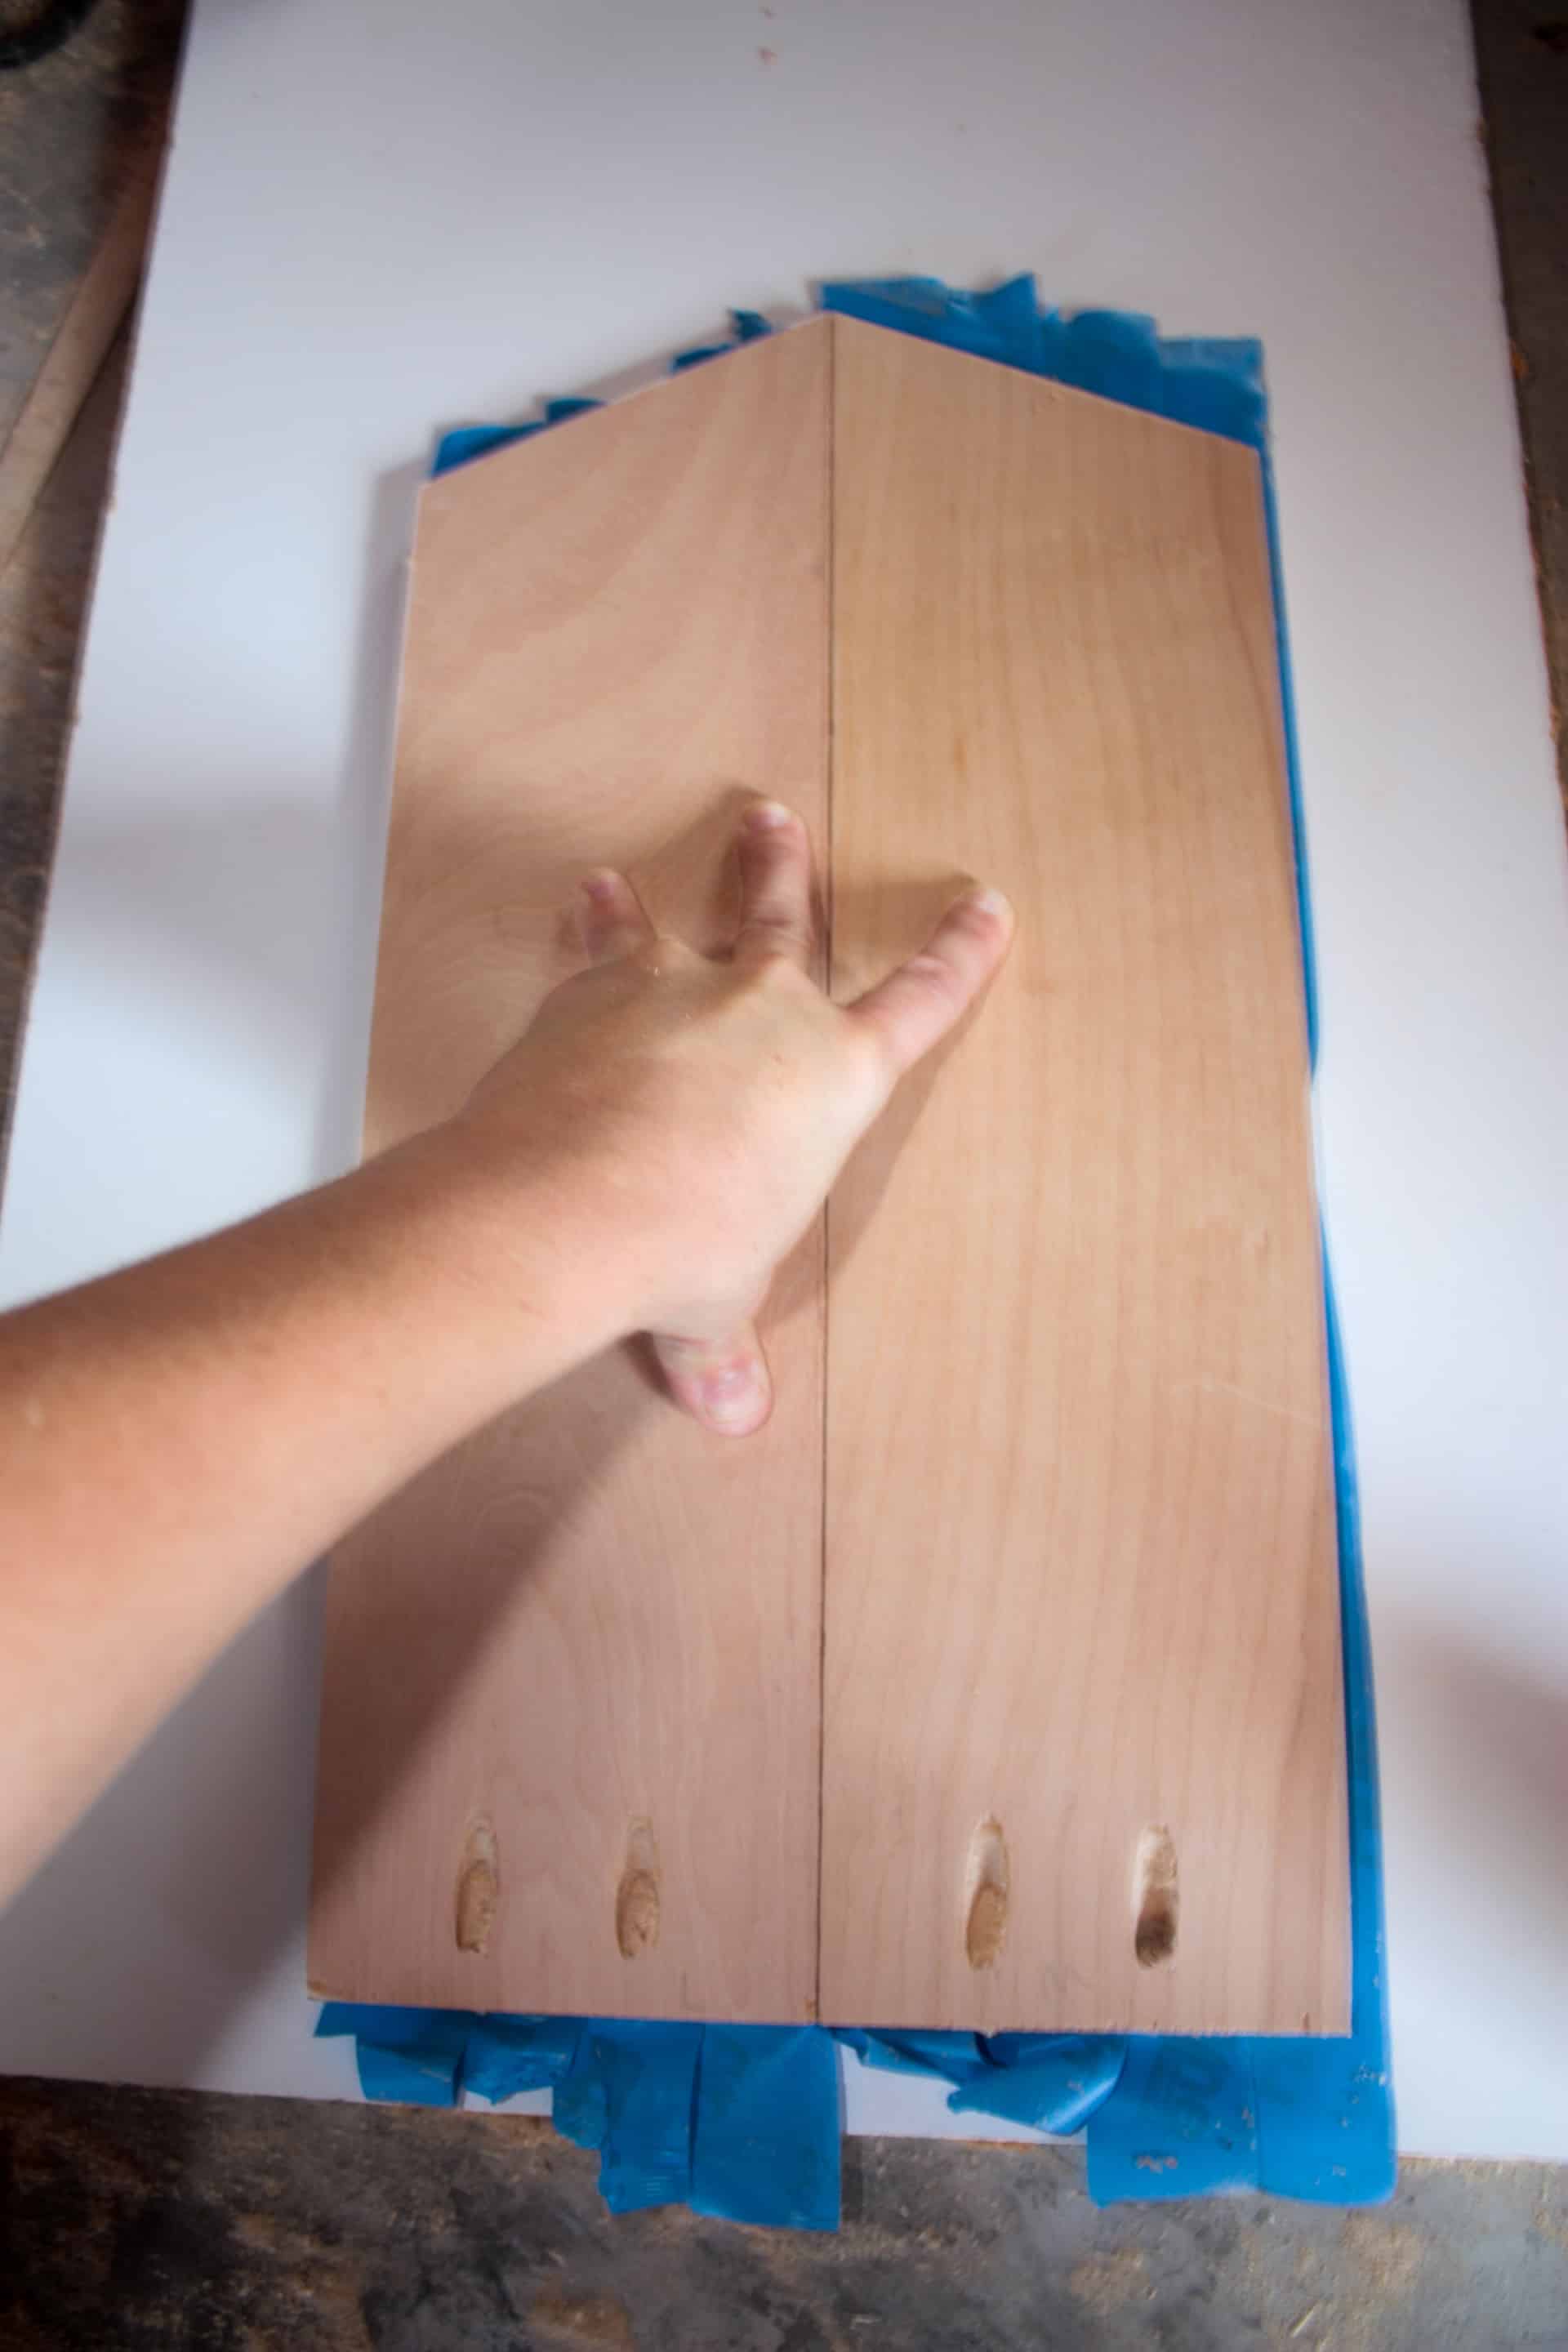
Once you get them cut, peel the painter’s tape off and your wood it good as new without any sticky!
They are not perfect dados on my first try but I didn’t expect them to be! Lol! And just ignore the MESS behind the photo! I started cleaning my garage and yeah never did quite finish!
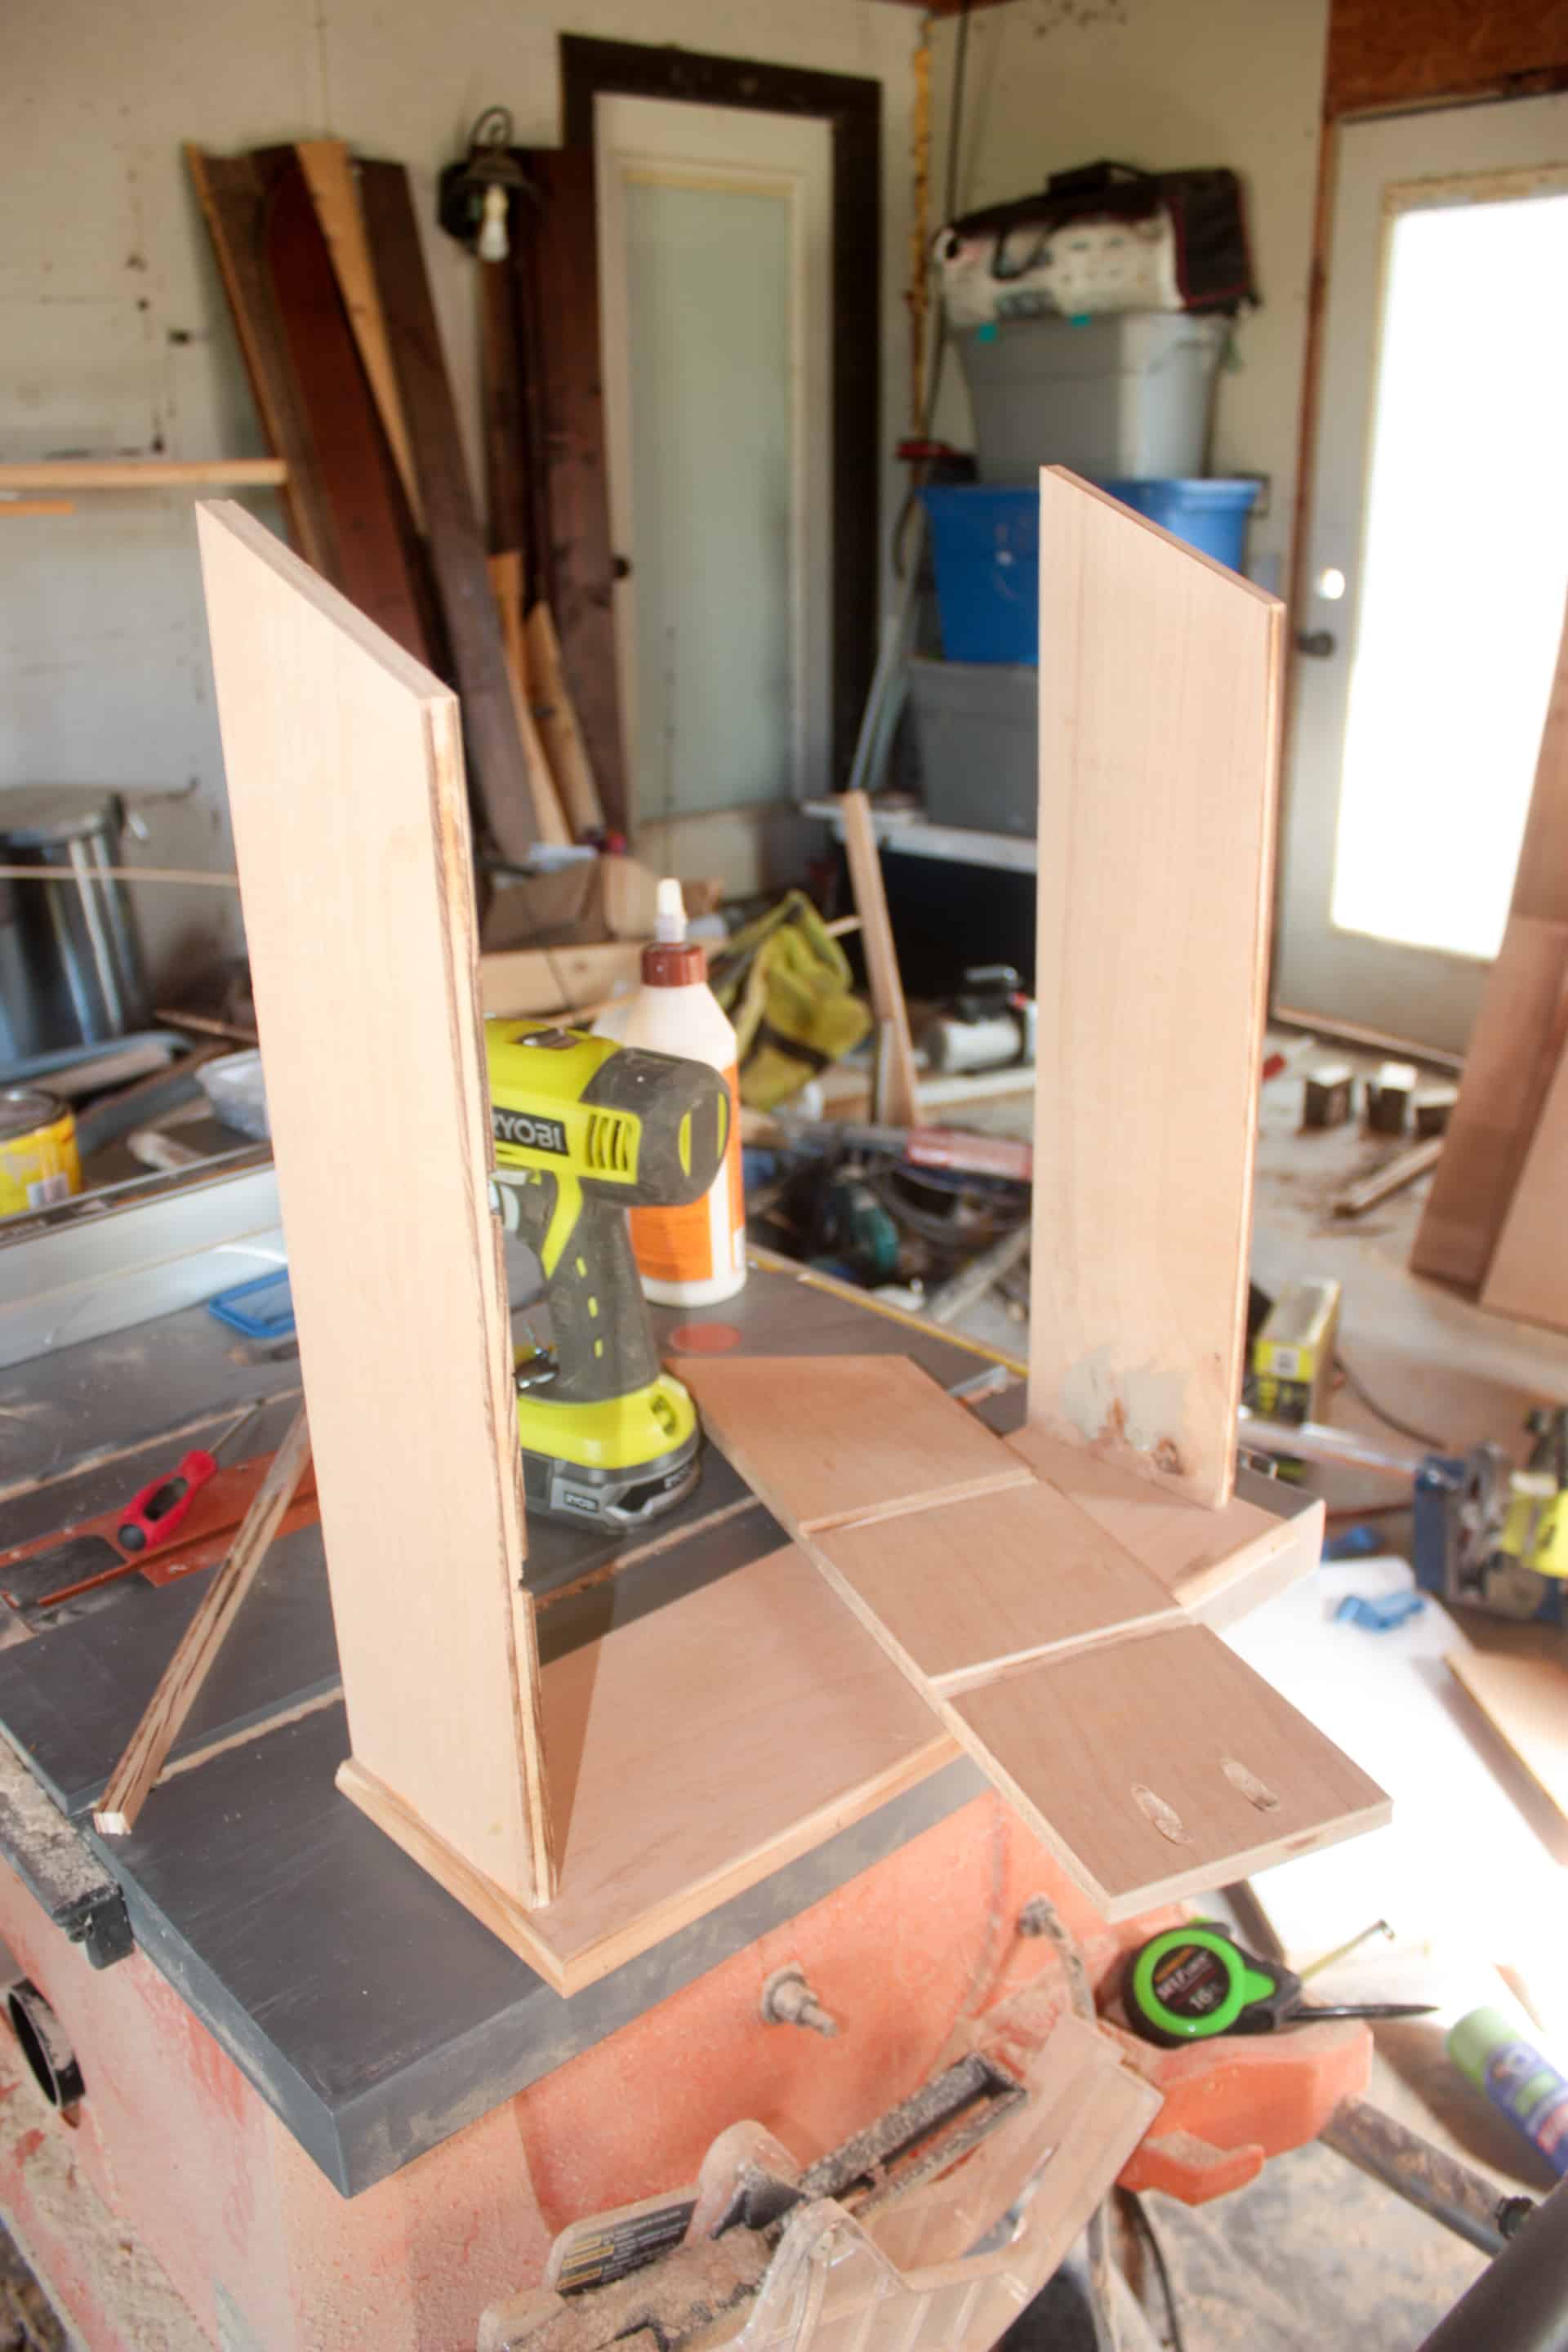
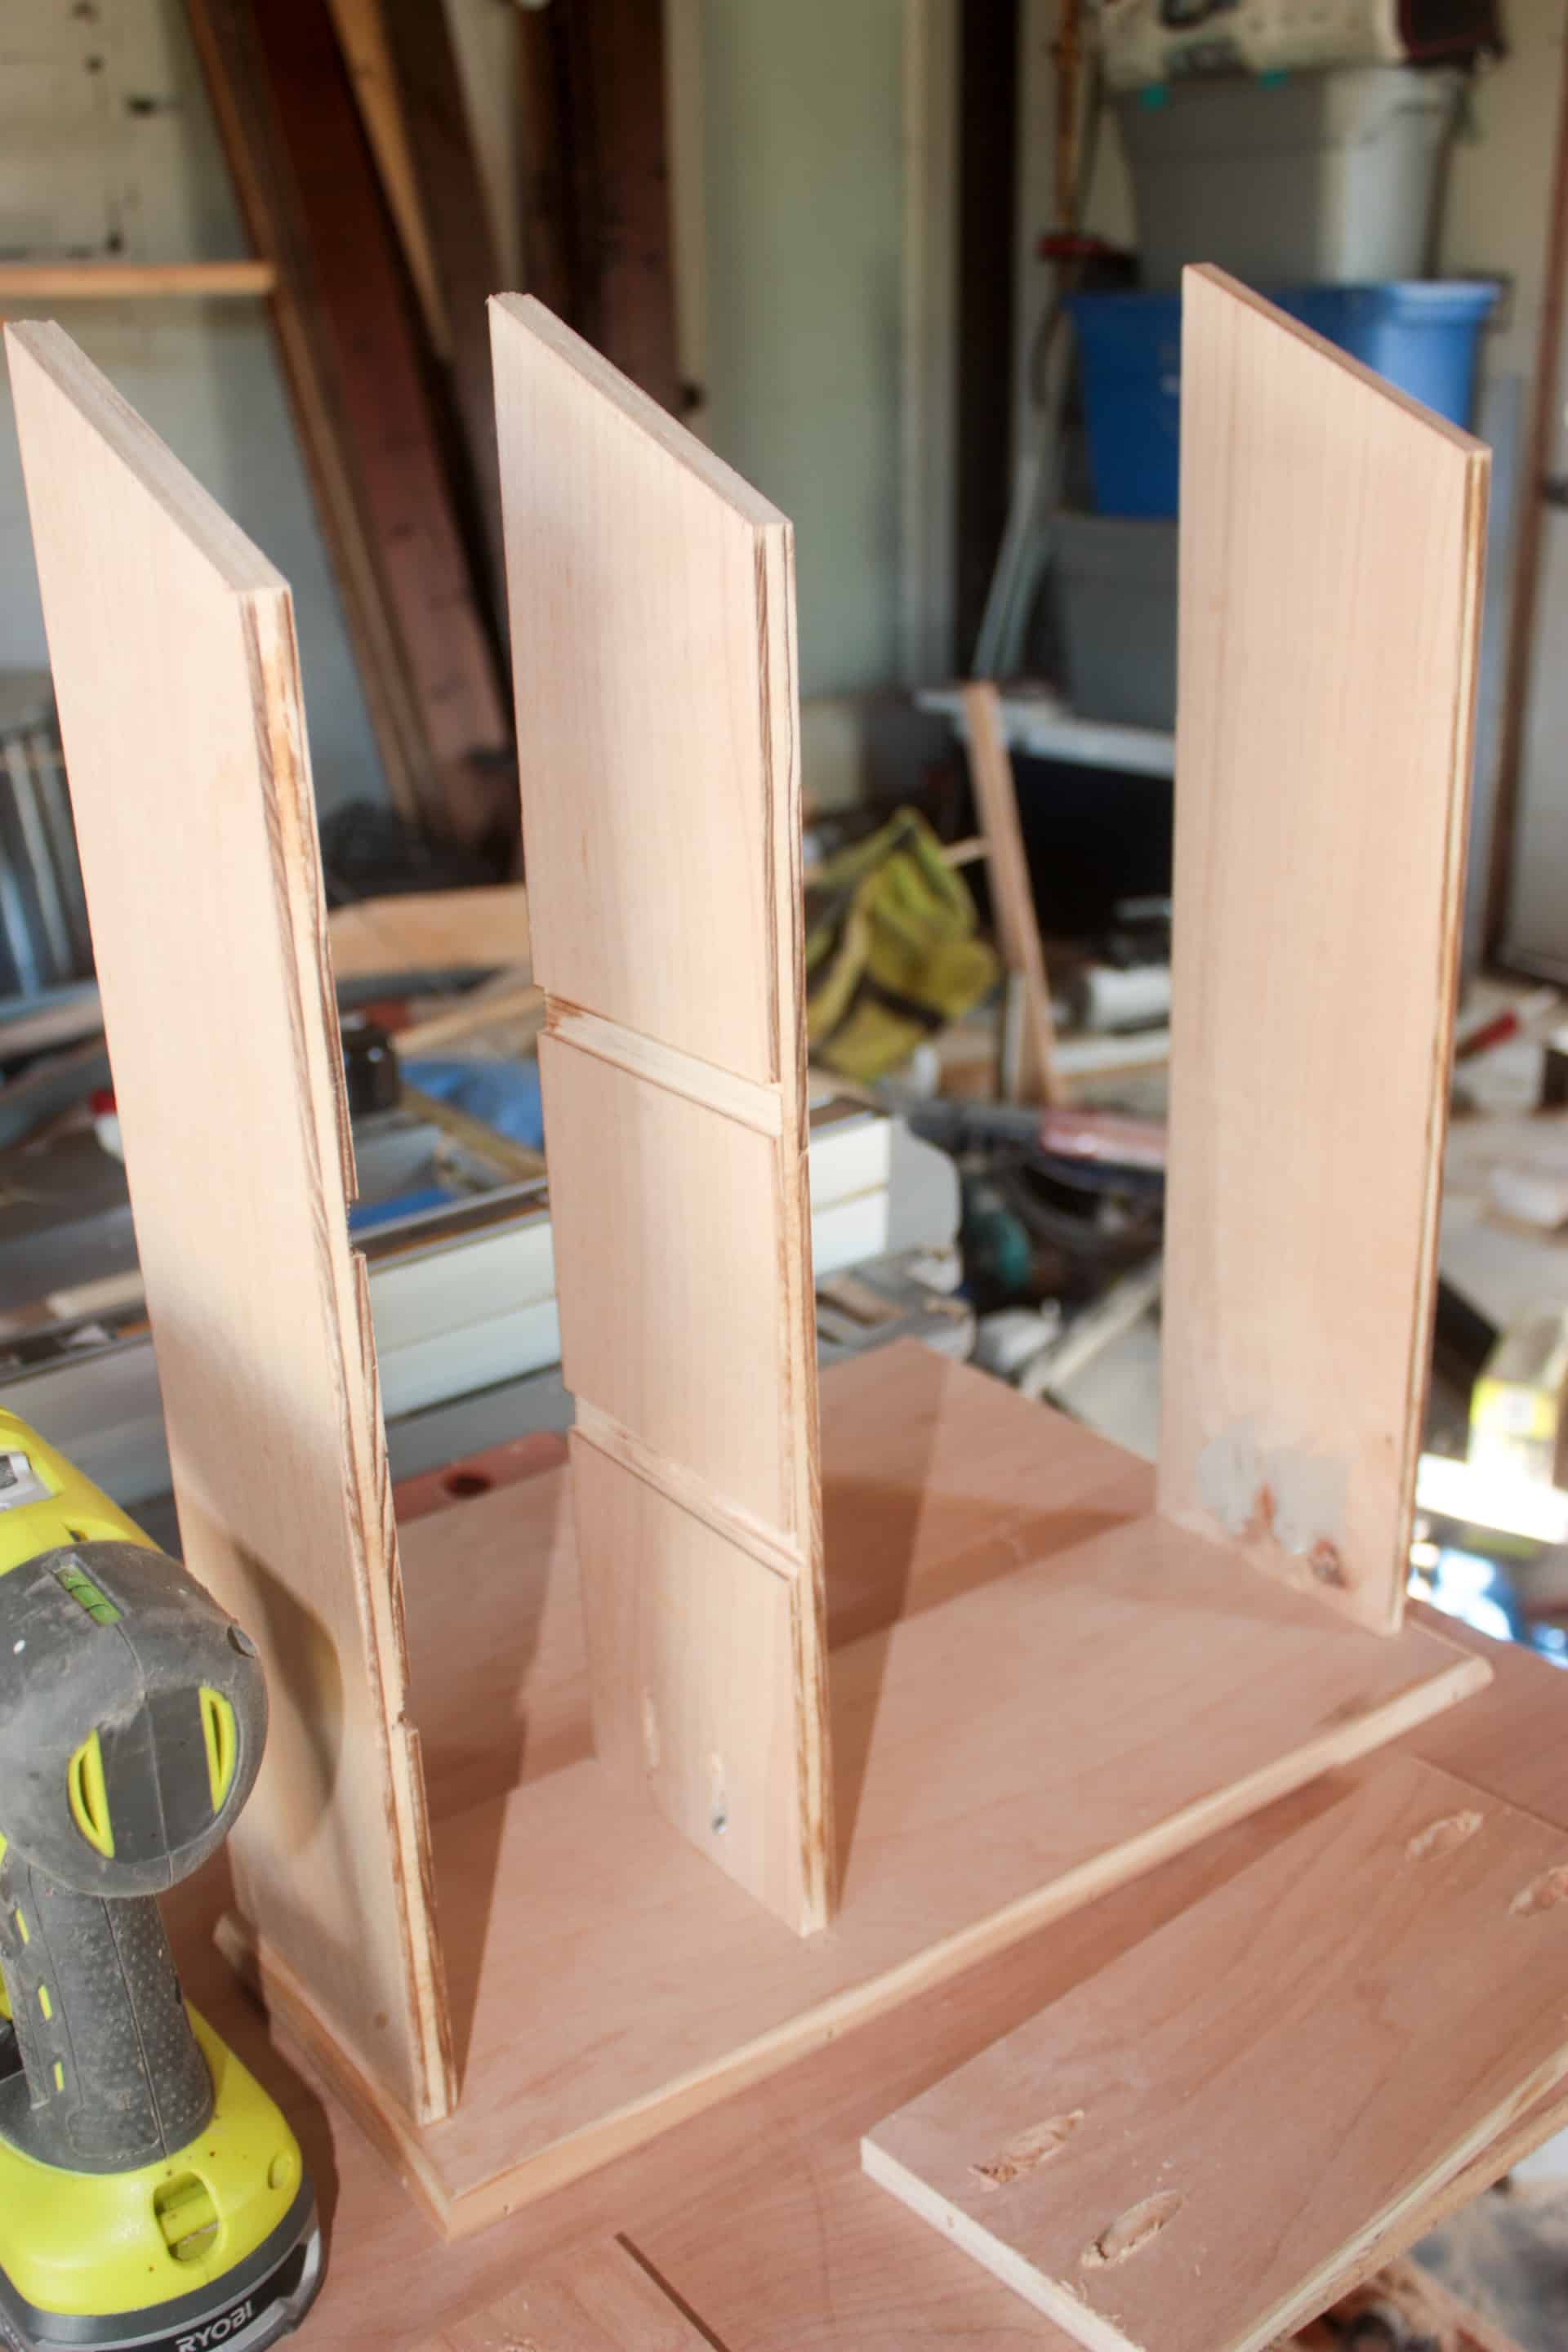
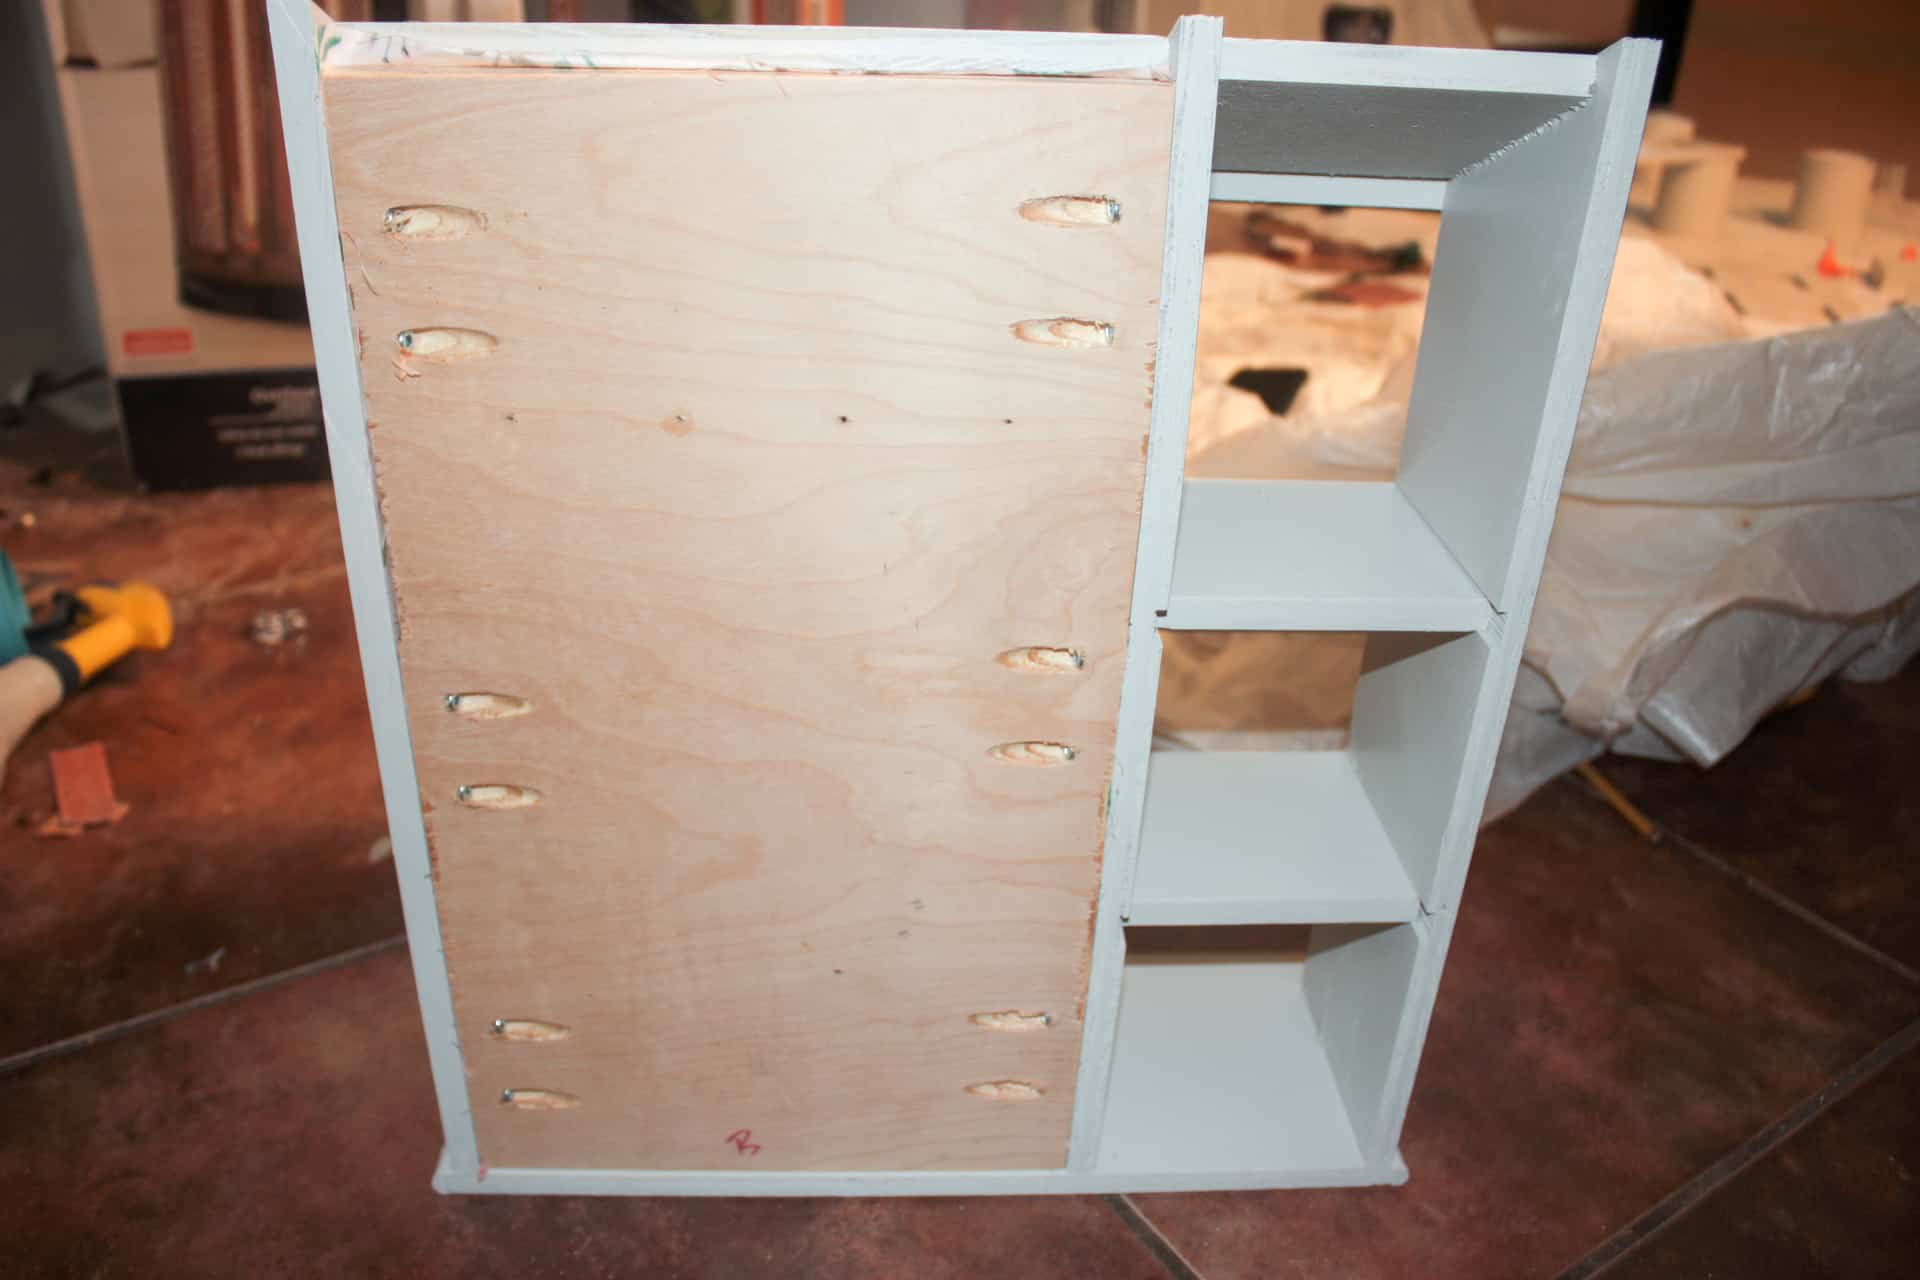
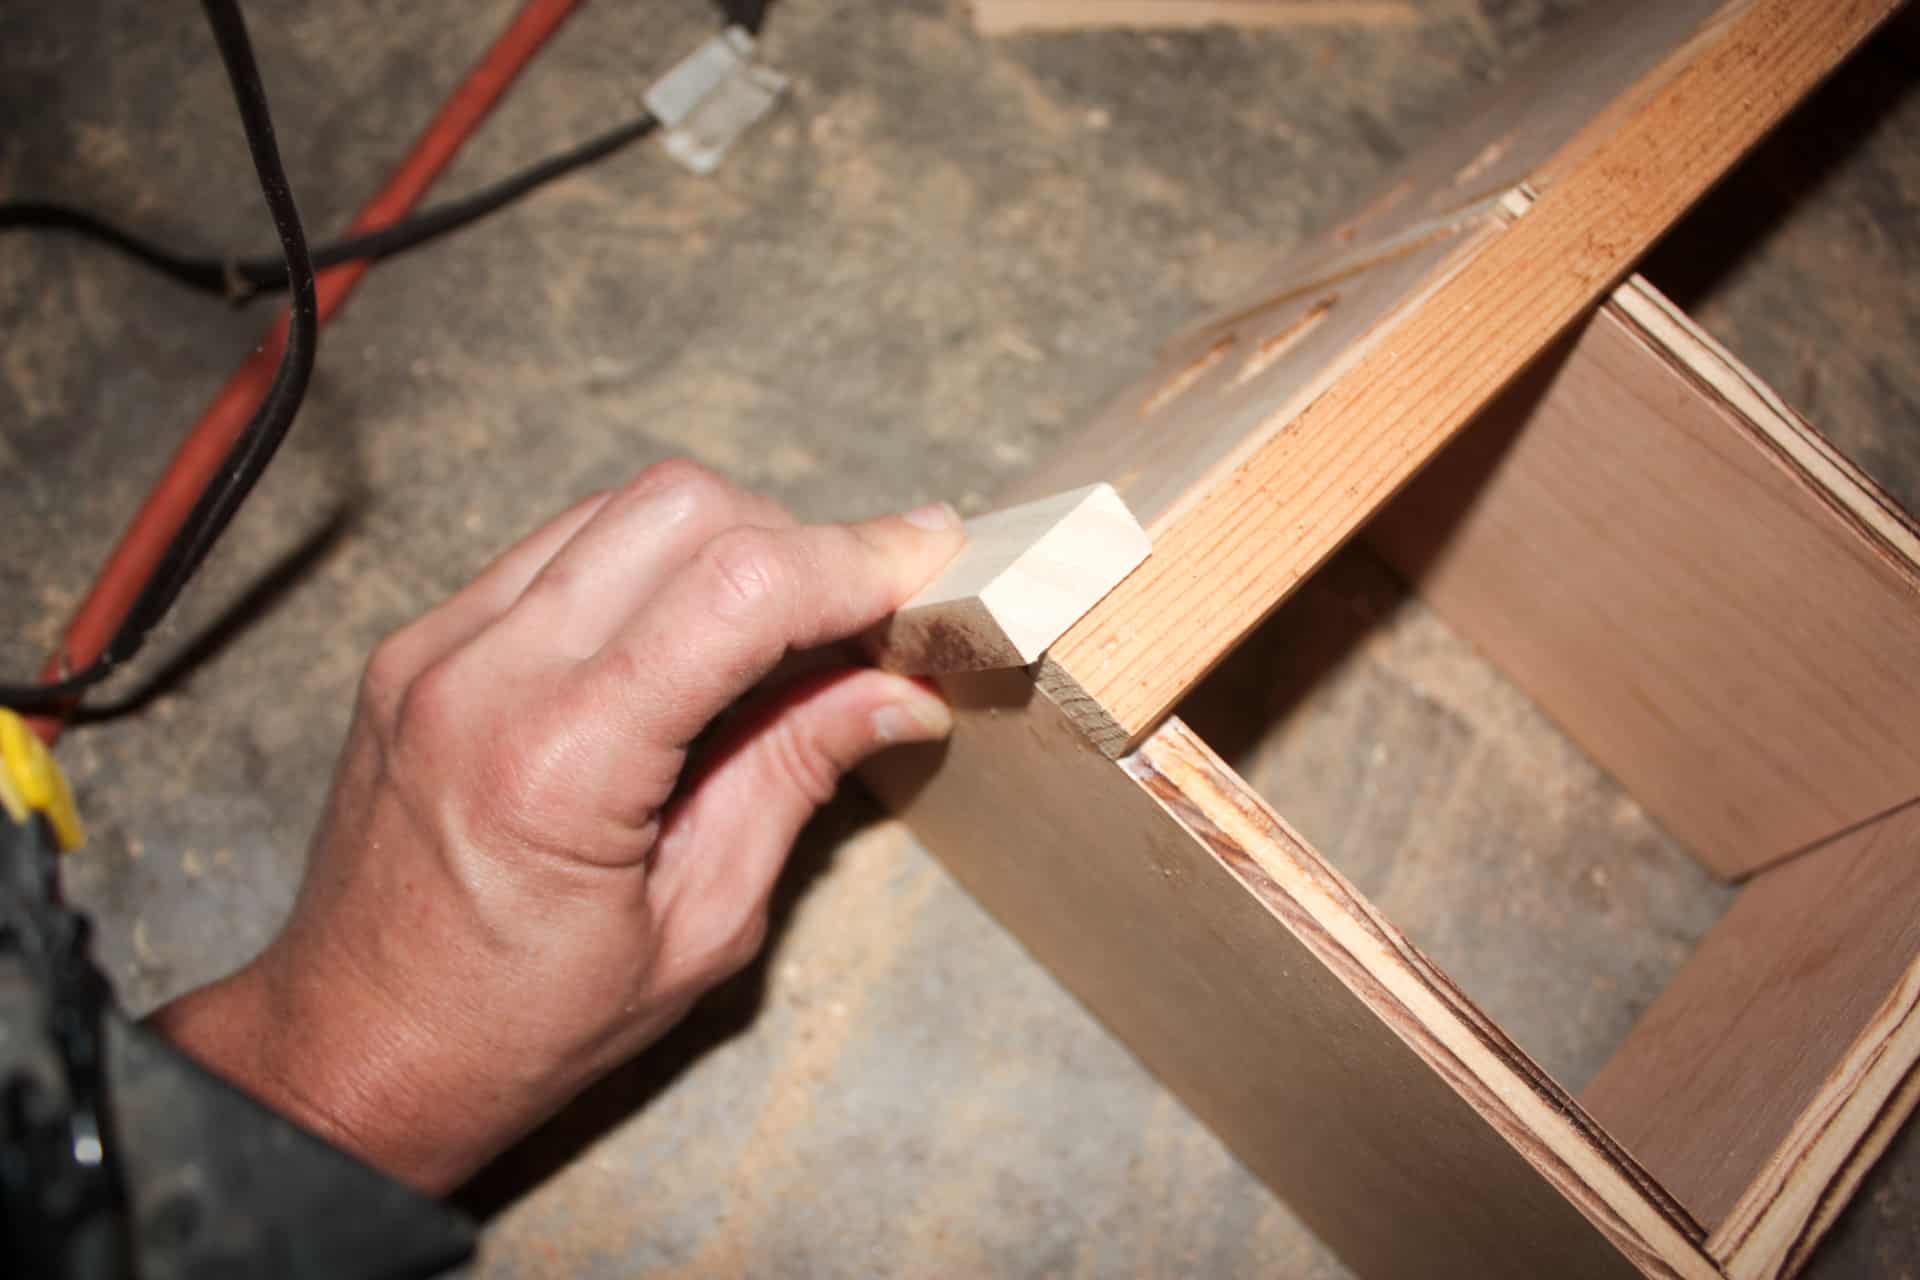
After pocket-holing the sides and middle divider, I cut and pocket-holed the roof supports!
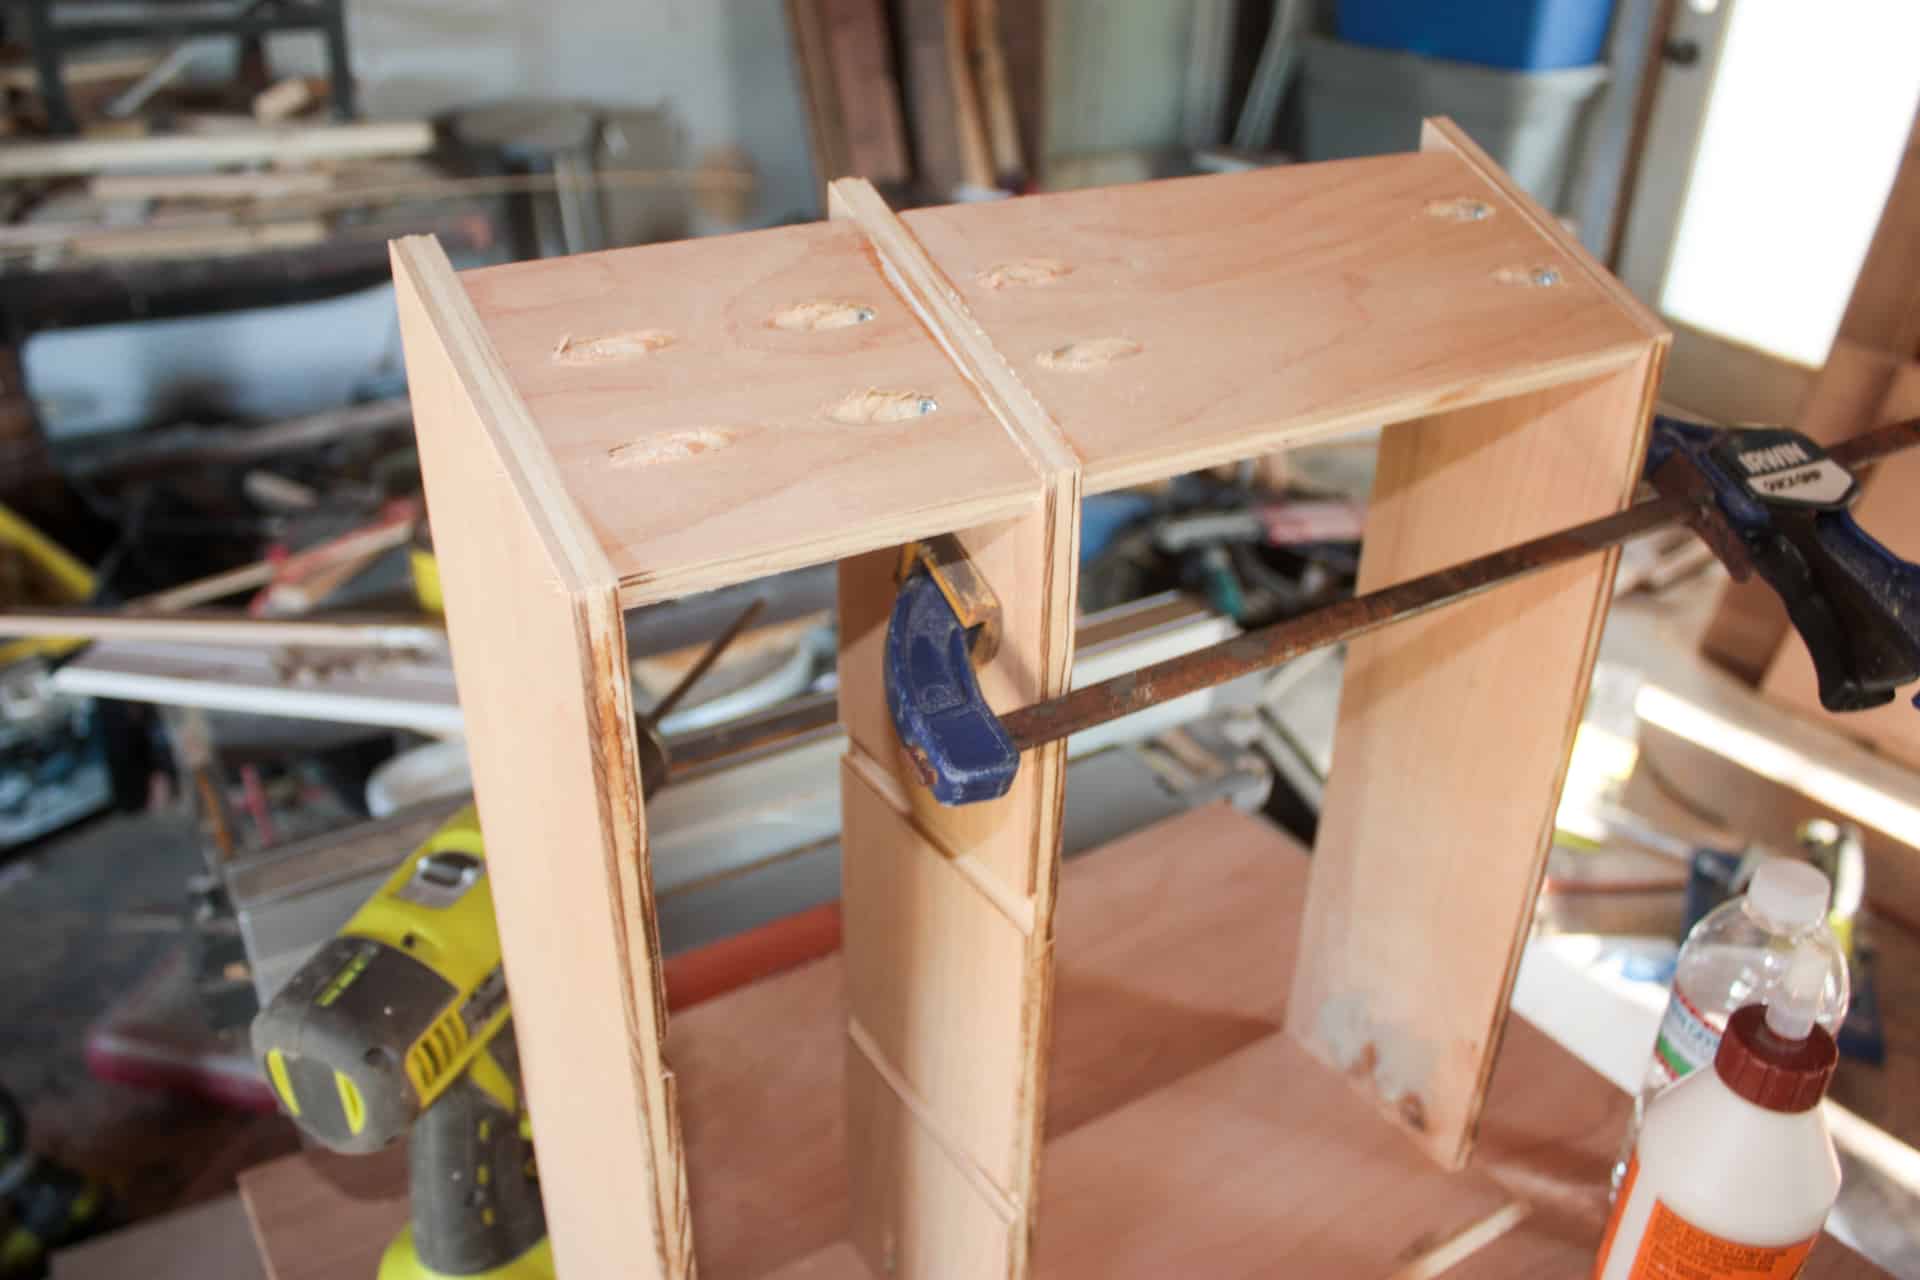
Next, I was able to cut and fit the shelves into their dados! This was an exciting moment for me!
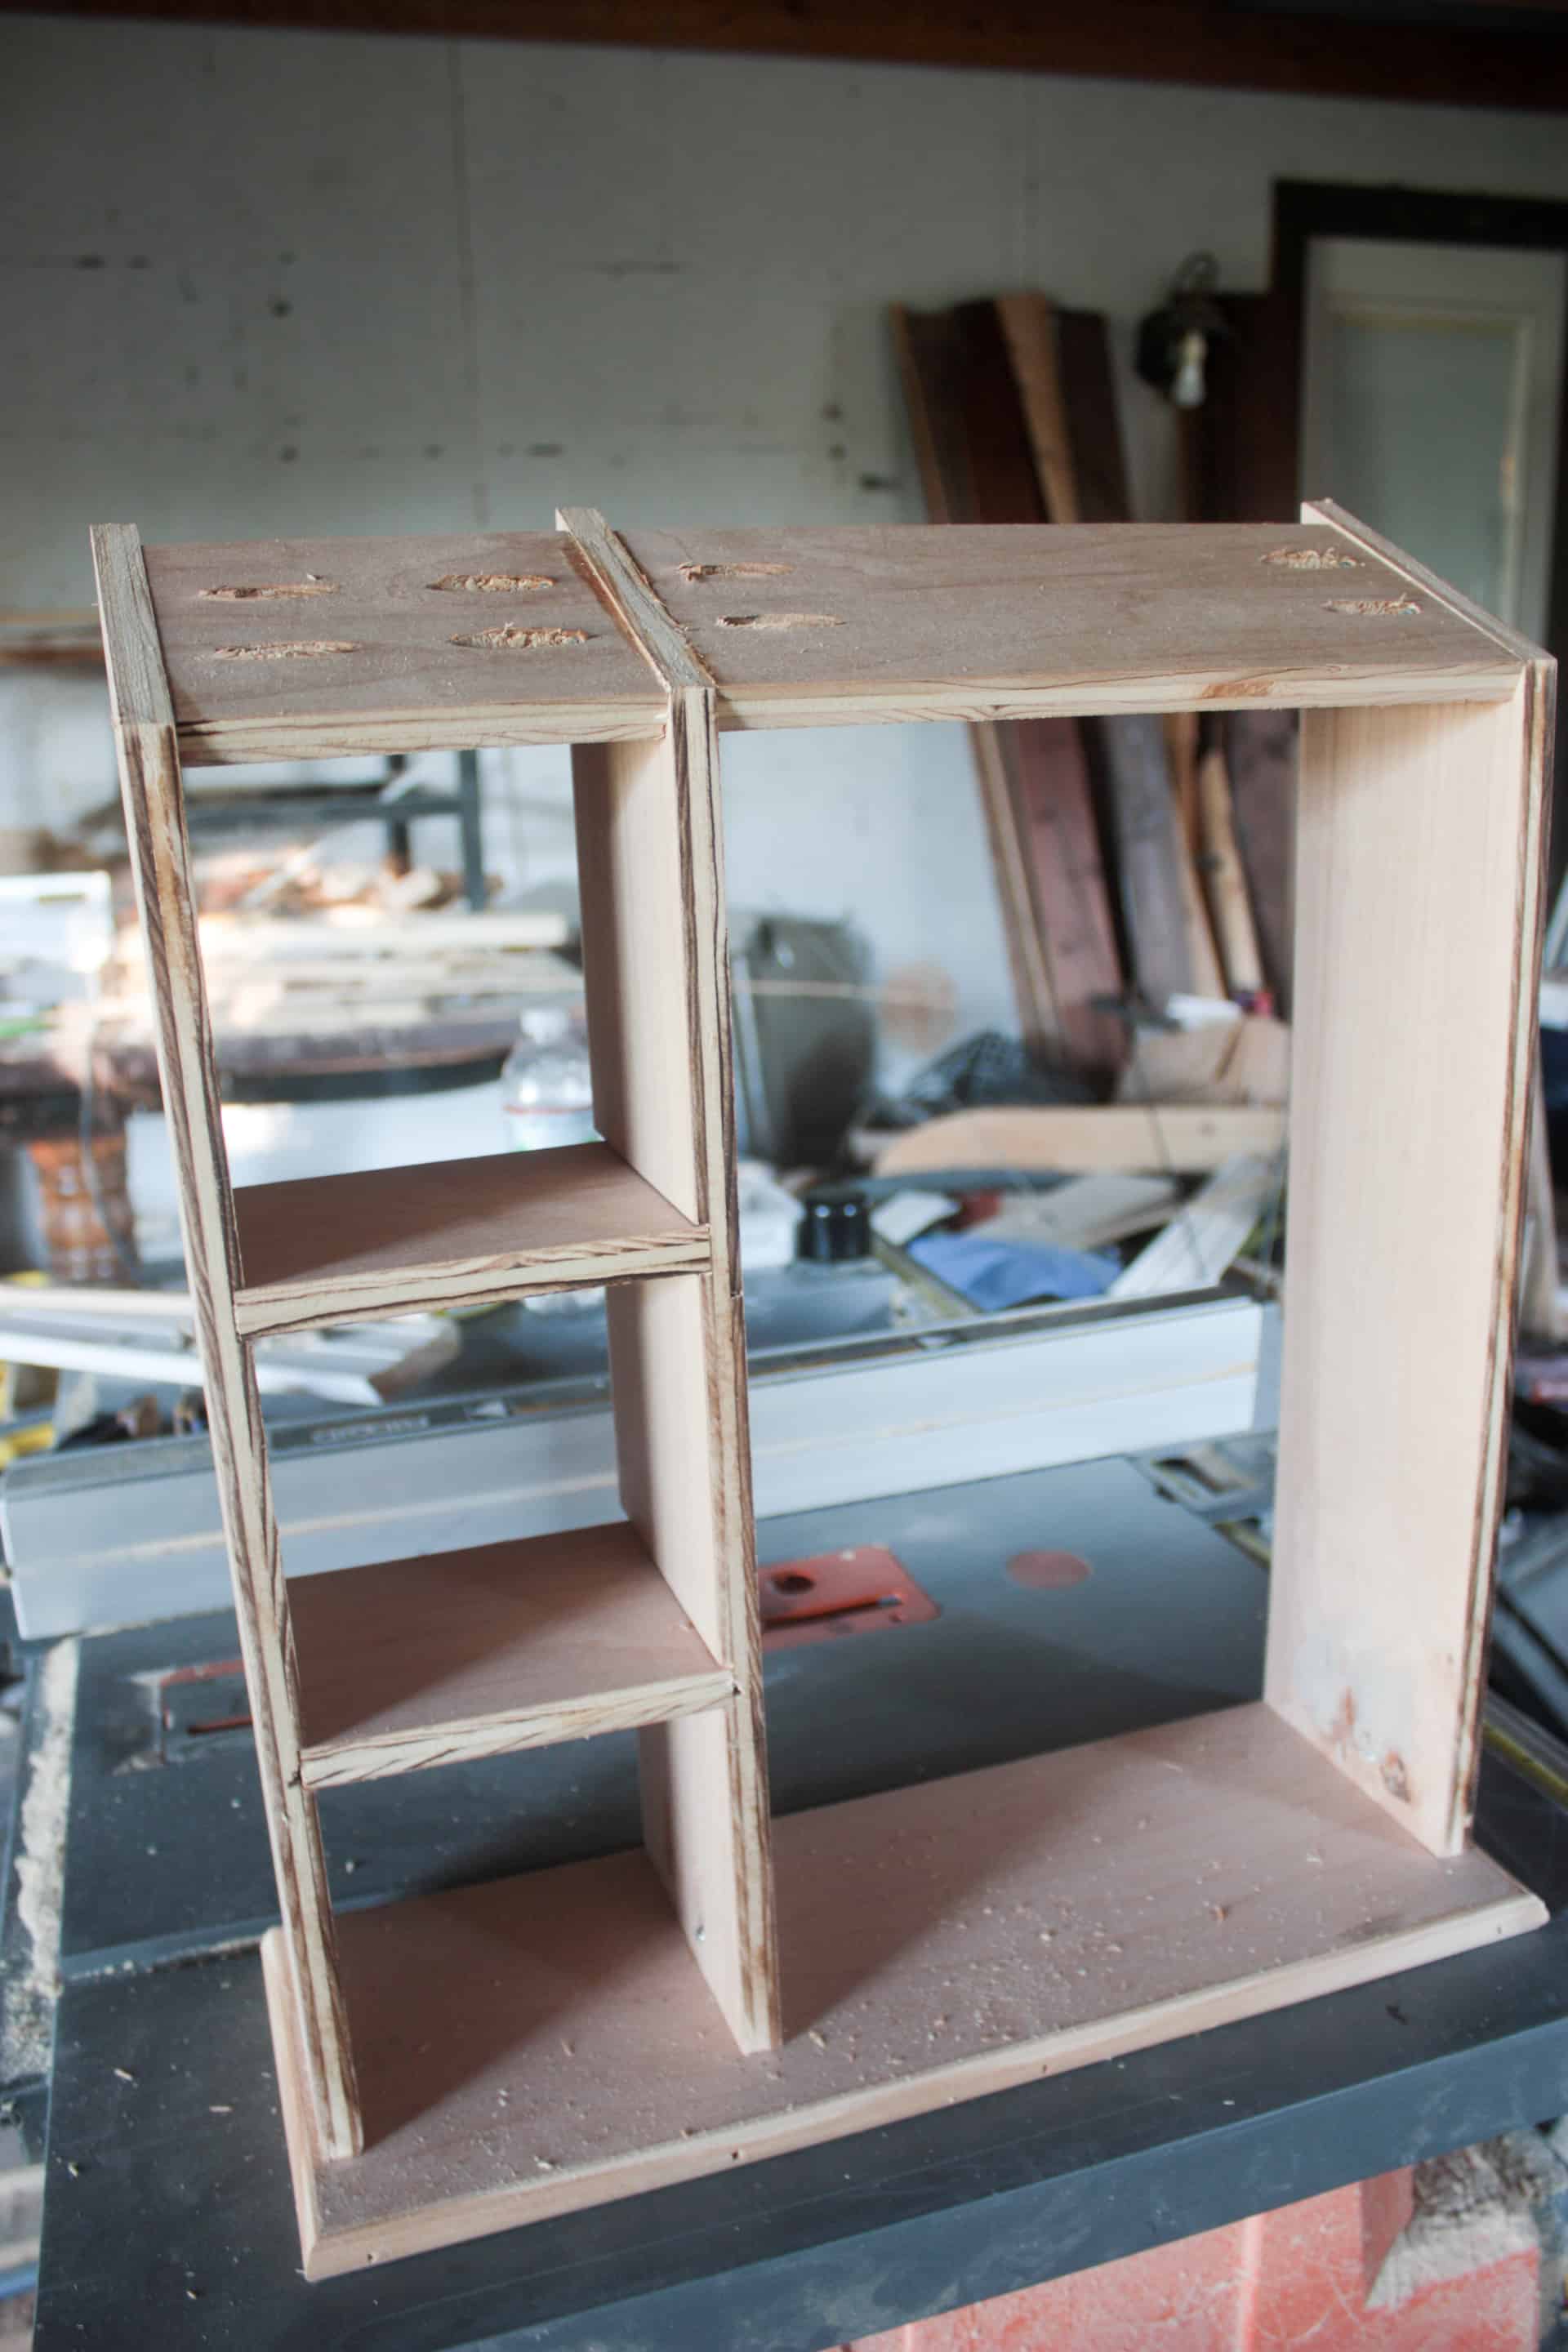
You can tell on the bottom shelf, that I leaned my saw and cut a little too deep on one swipe…whoopsy daisy! So, don’t do that to your jewelry wall cabinet, okay?😜
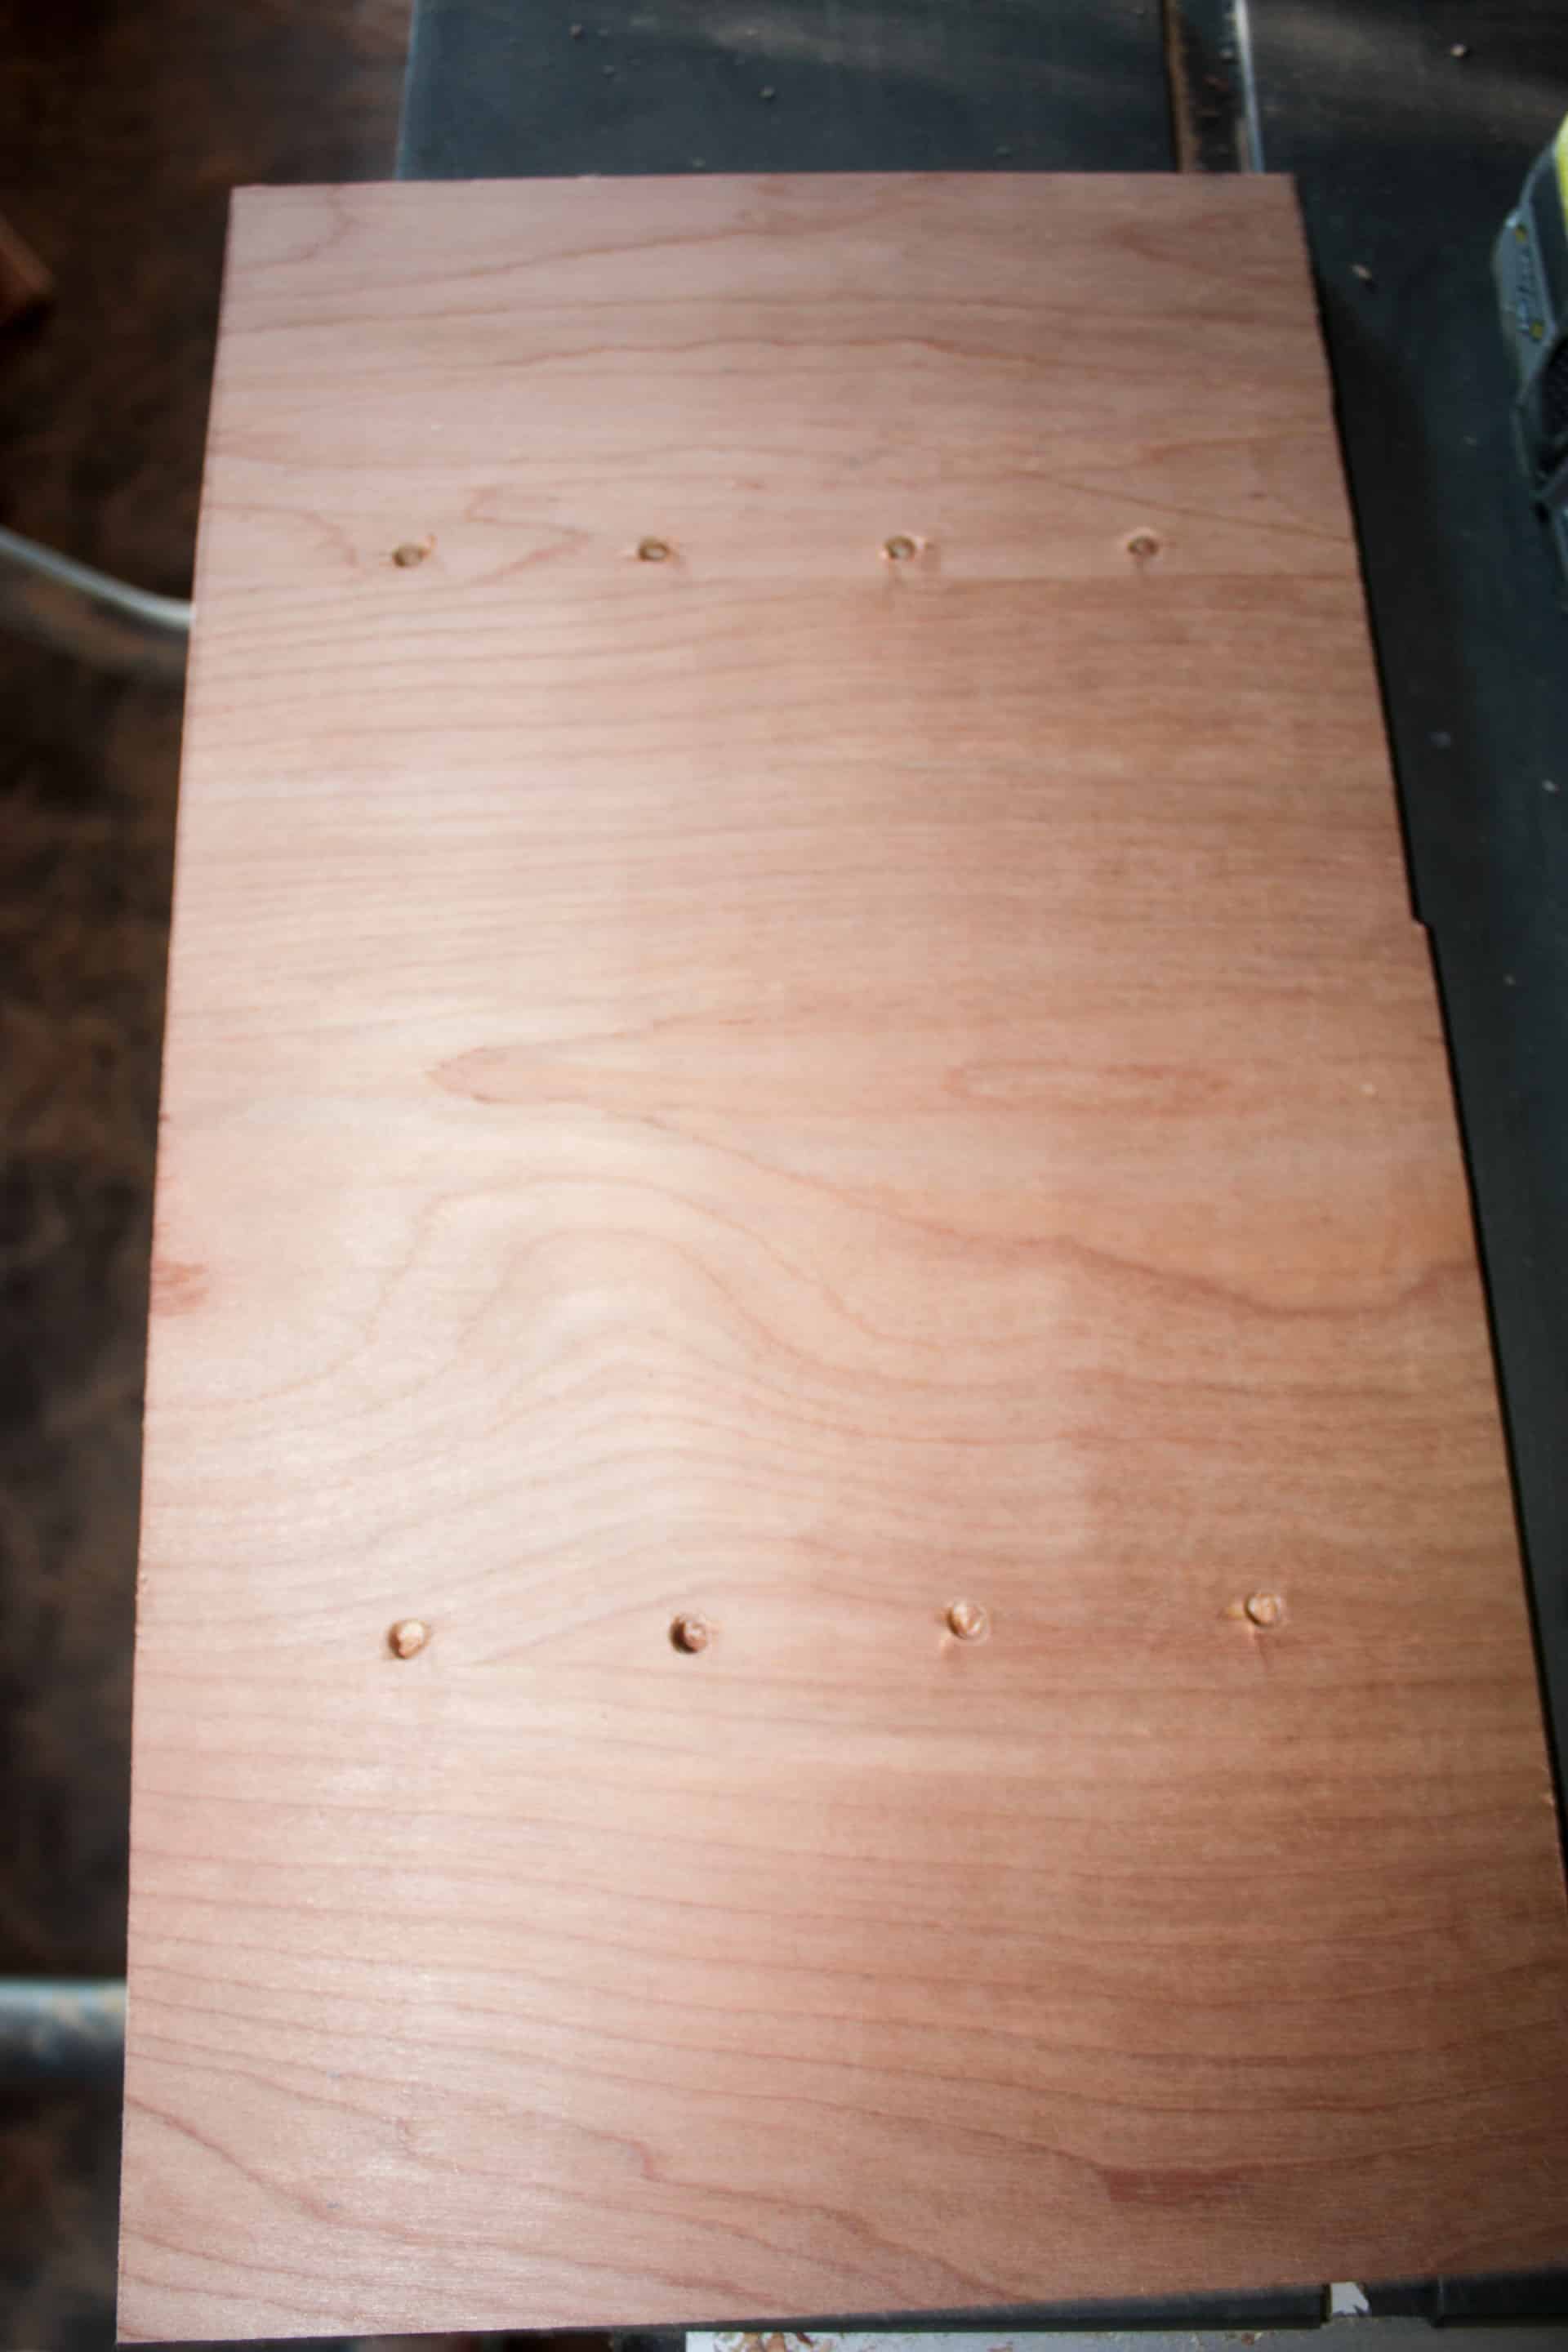
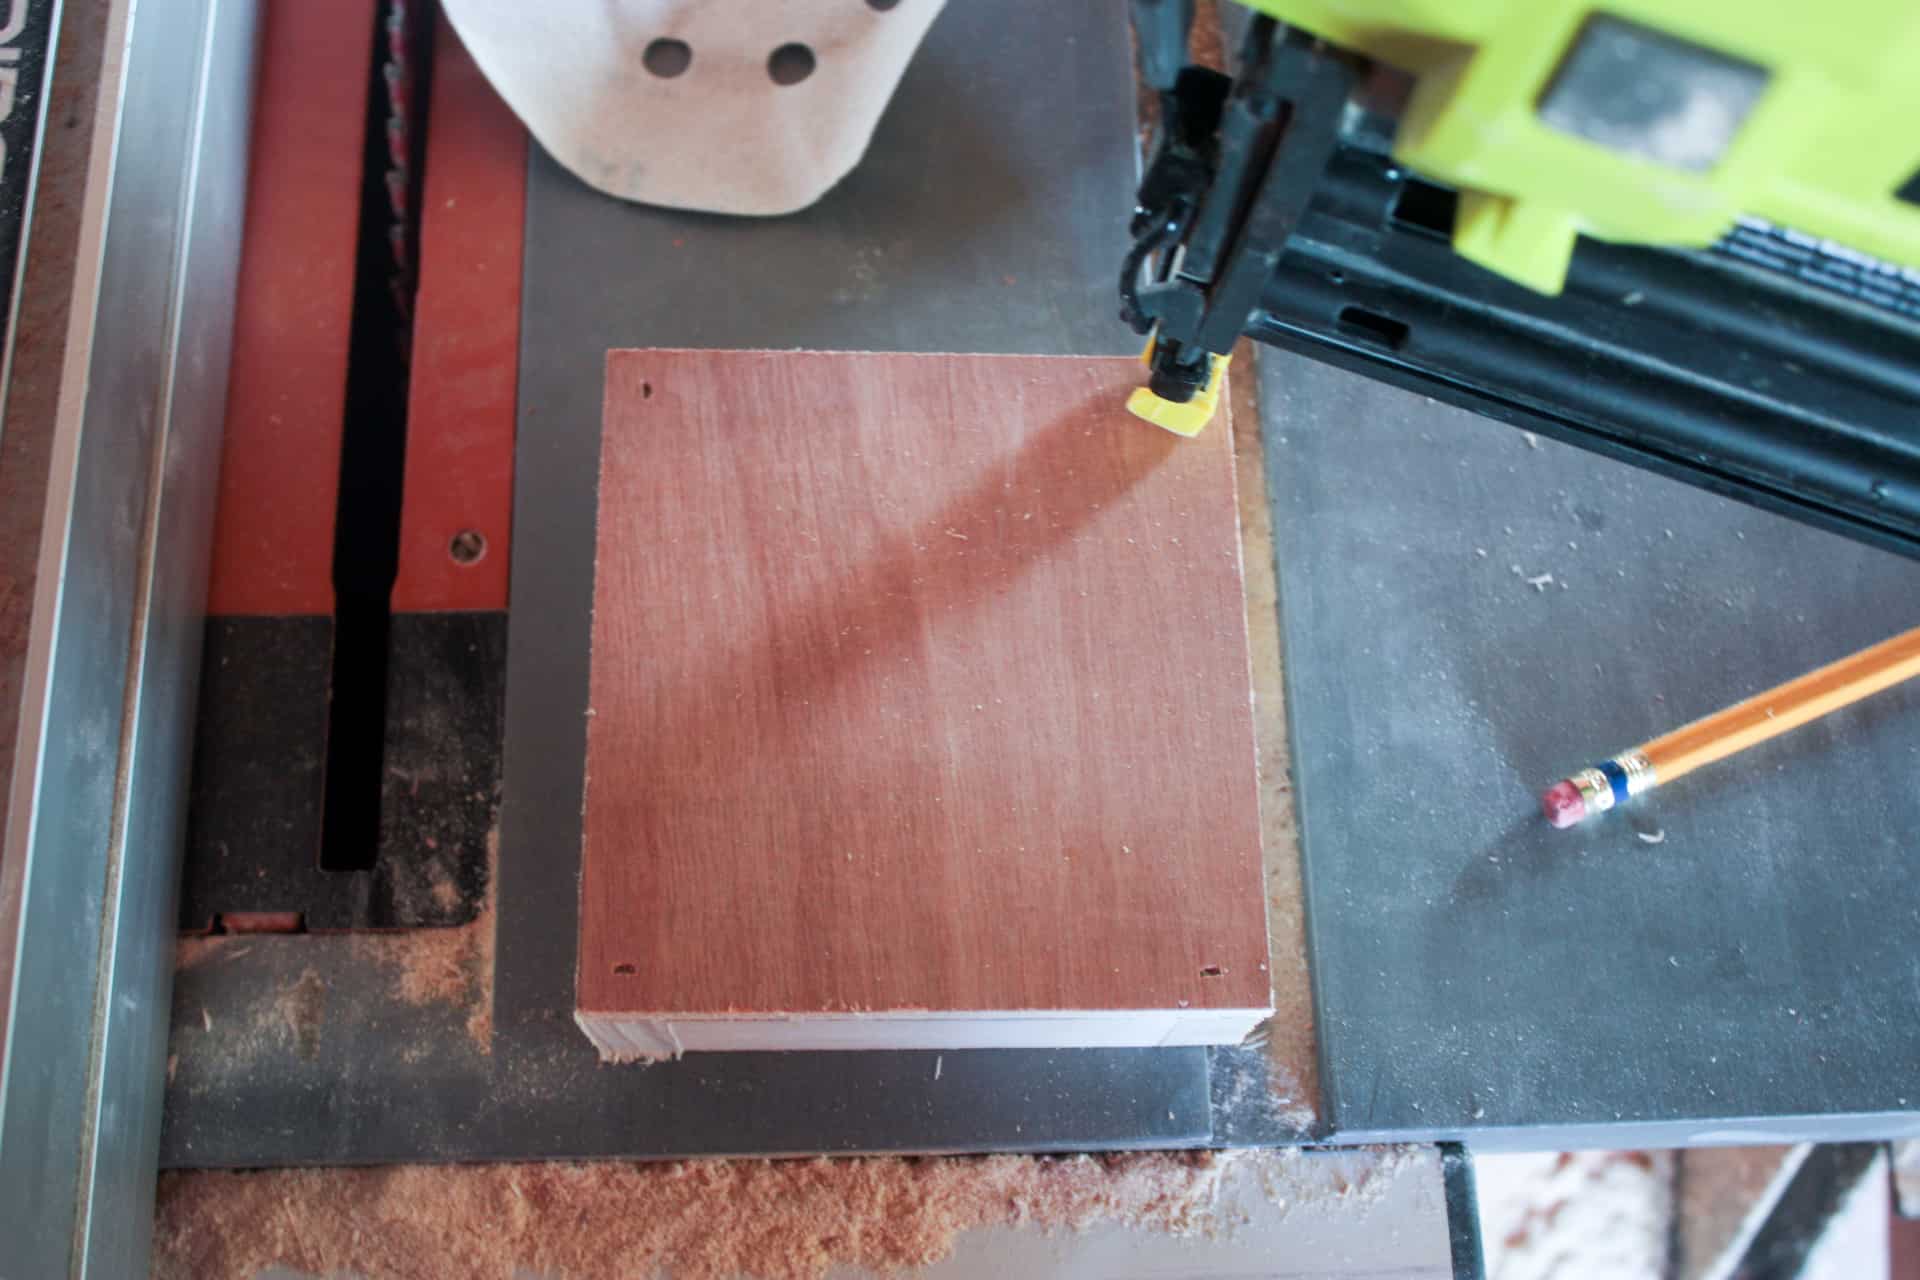
Next, I cut the backs out, and on the large side, I drilled the holes where the necklace pegs will go so that when I cover it with fabric I will not have to drill through it! I don’t know if you have ever tried to drill through the fabric but it just wads up on your bit! Lol! So if you drill them beforehand, you can just cut the fabric where the hole is…I’ll show you below!
Don’t mind the bad cut there…that would be my handy work when trying to rip it on the miter saw… a bad idea when it’s over 16″! Lucky for me, I’m covering it with fabric, or else I would be having to cut another piece!
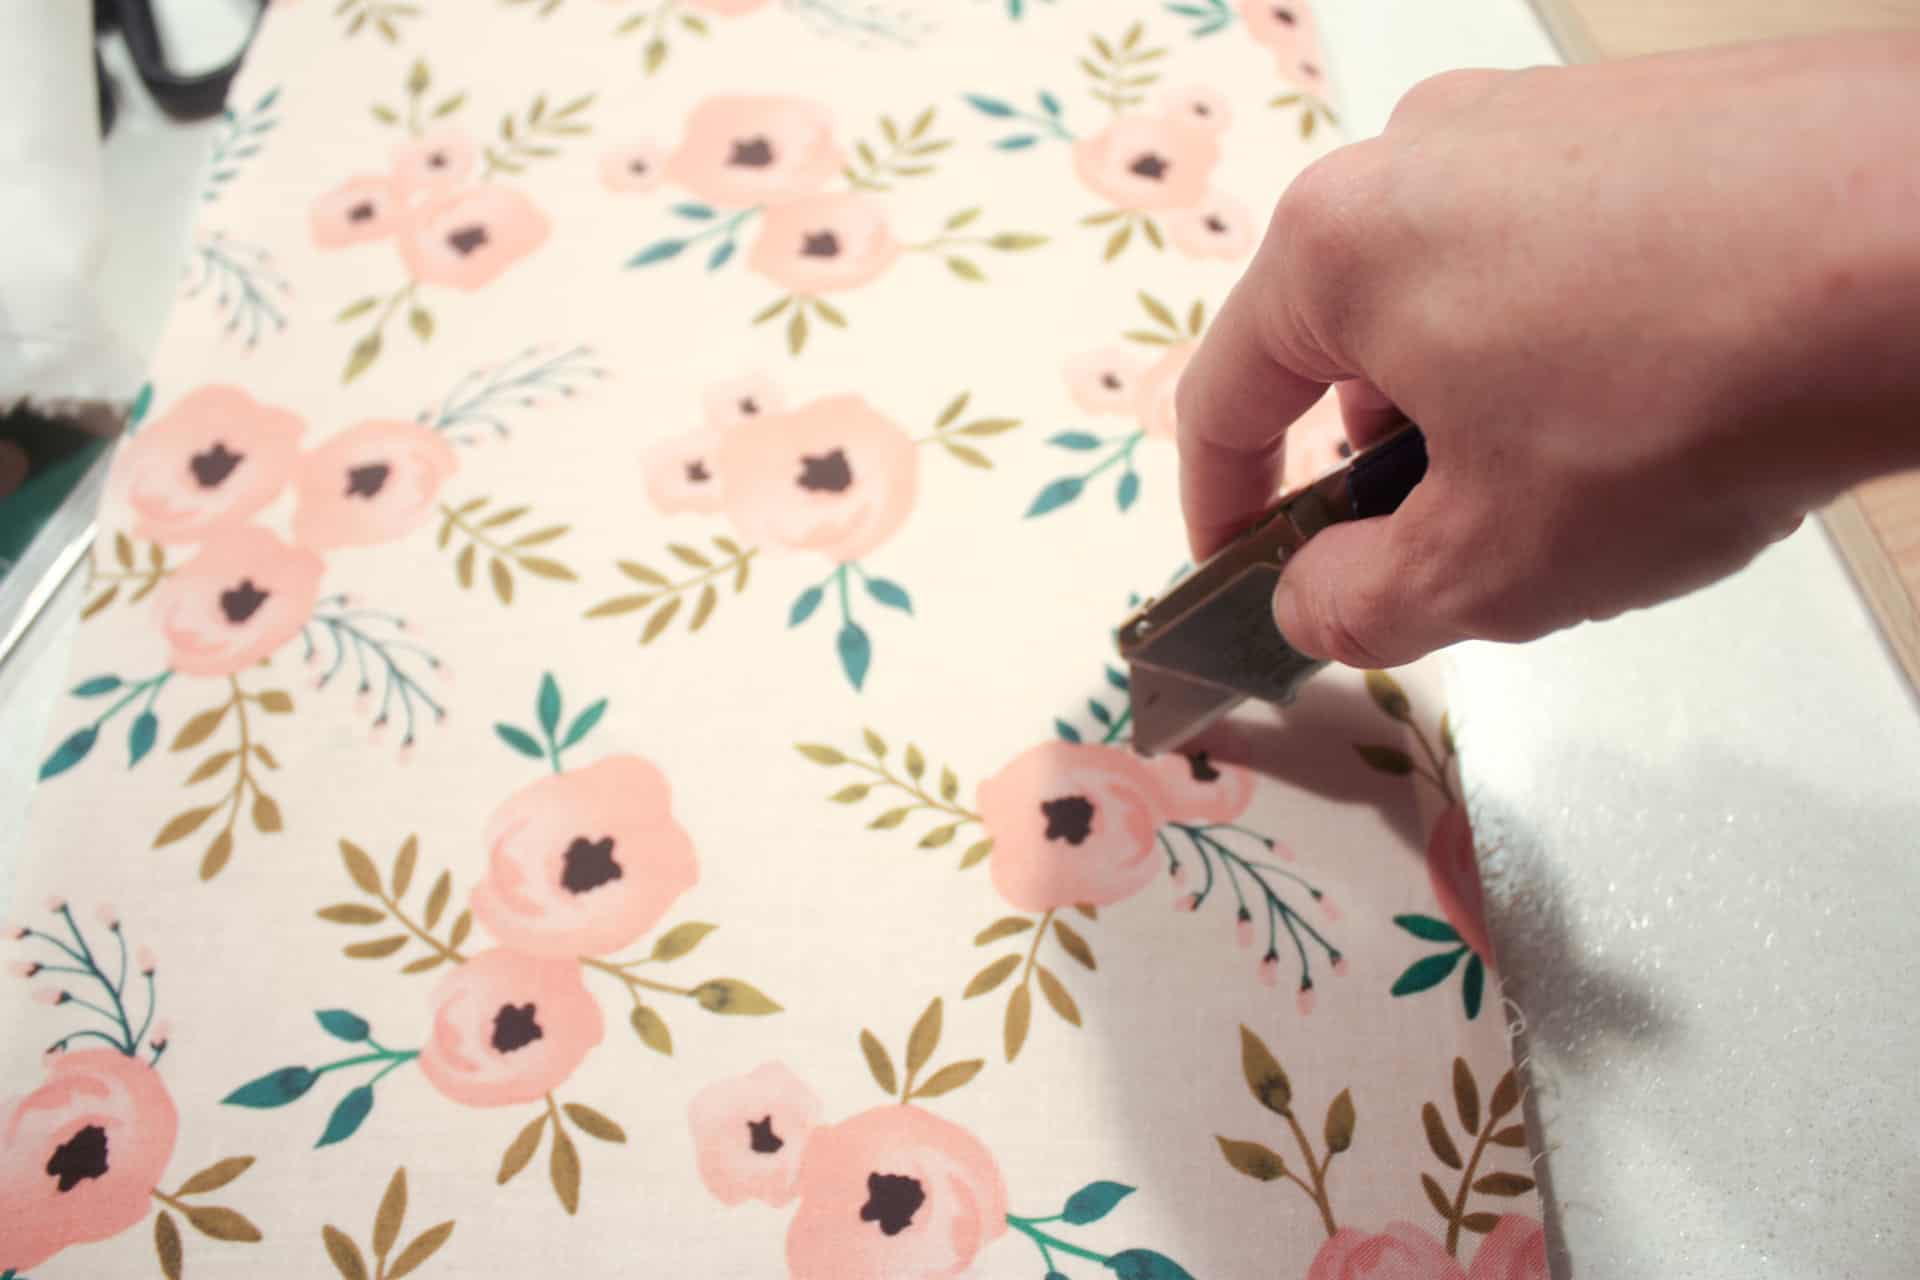
I used the same Loctite spray adhesive to adhere the fabric to the back of the jewelry wall cabinet as I did earlier to stick the boards down while I cut them! Just spray the fabric and the wood…but not too much because it will seep through the fabric and stain it…ask me how I know! Attach the fabric and smooth it out over the wood. After it has sat for a few hours, use a razor blade and make small X slits in each hole so the peg can fit in its hole! Glue them in with super glue or wood glue!
I did not attach the fabric-covered wood to the dollhouse until after everything was painted so that I didn’t have to worry about getting paint on it!
I also threw together those little boxes to sit on the shelves of the jewelry wall cabinet that can easily be removed when looking for something! Super easy and simple! Glue and brad nails get the job done!
Brad nail the boards together, flip it over, and brad nail the bottom on!
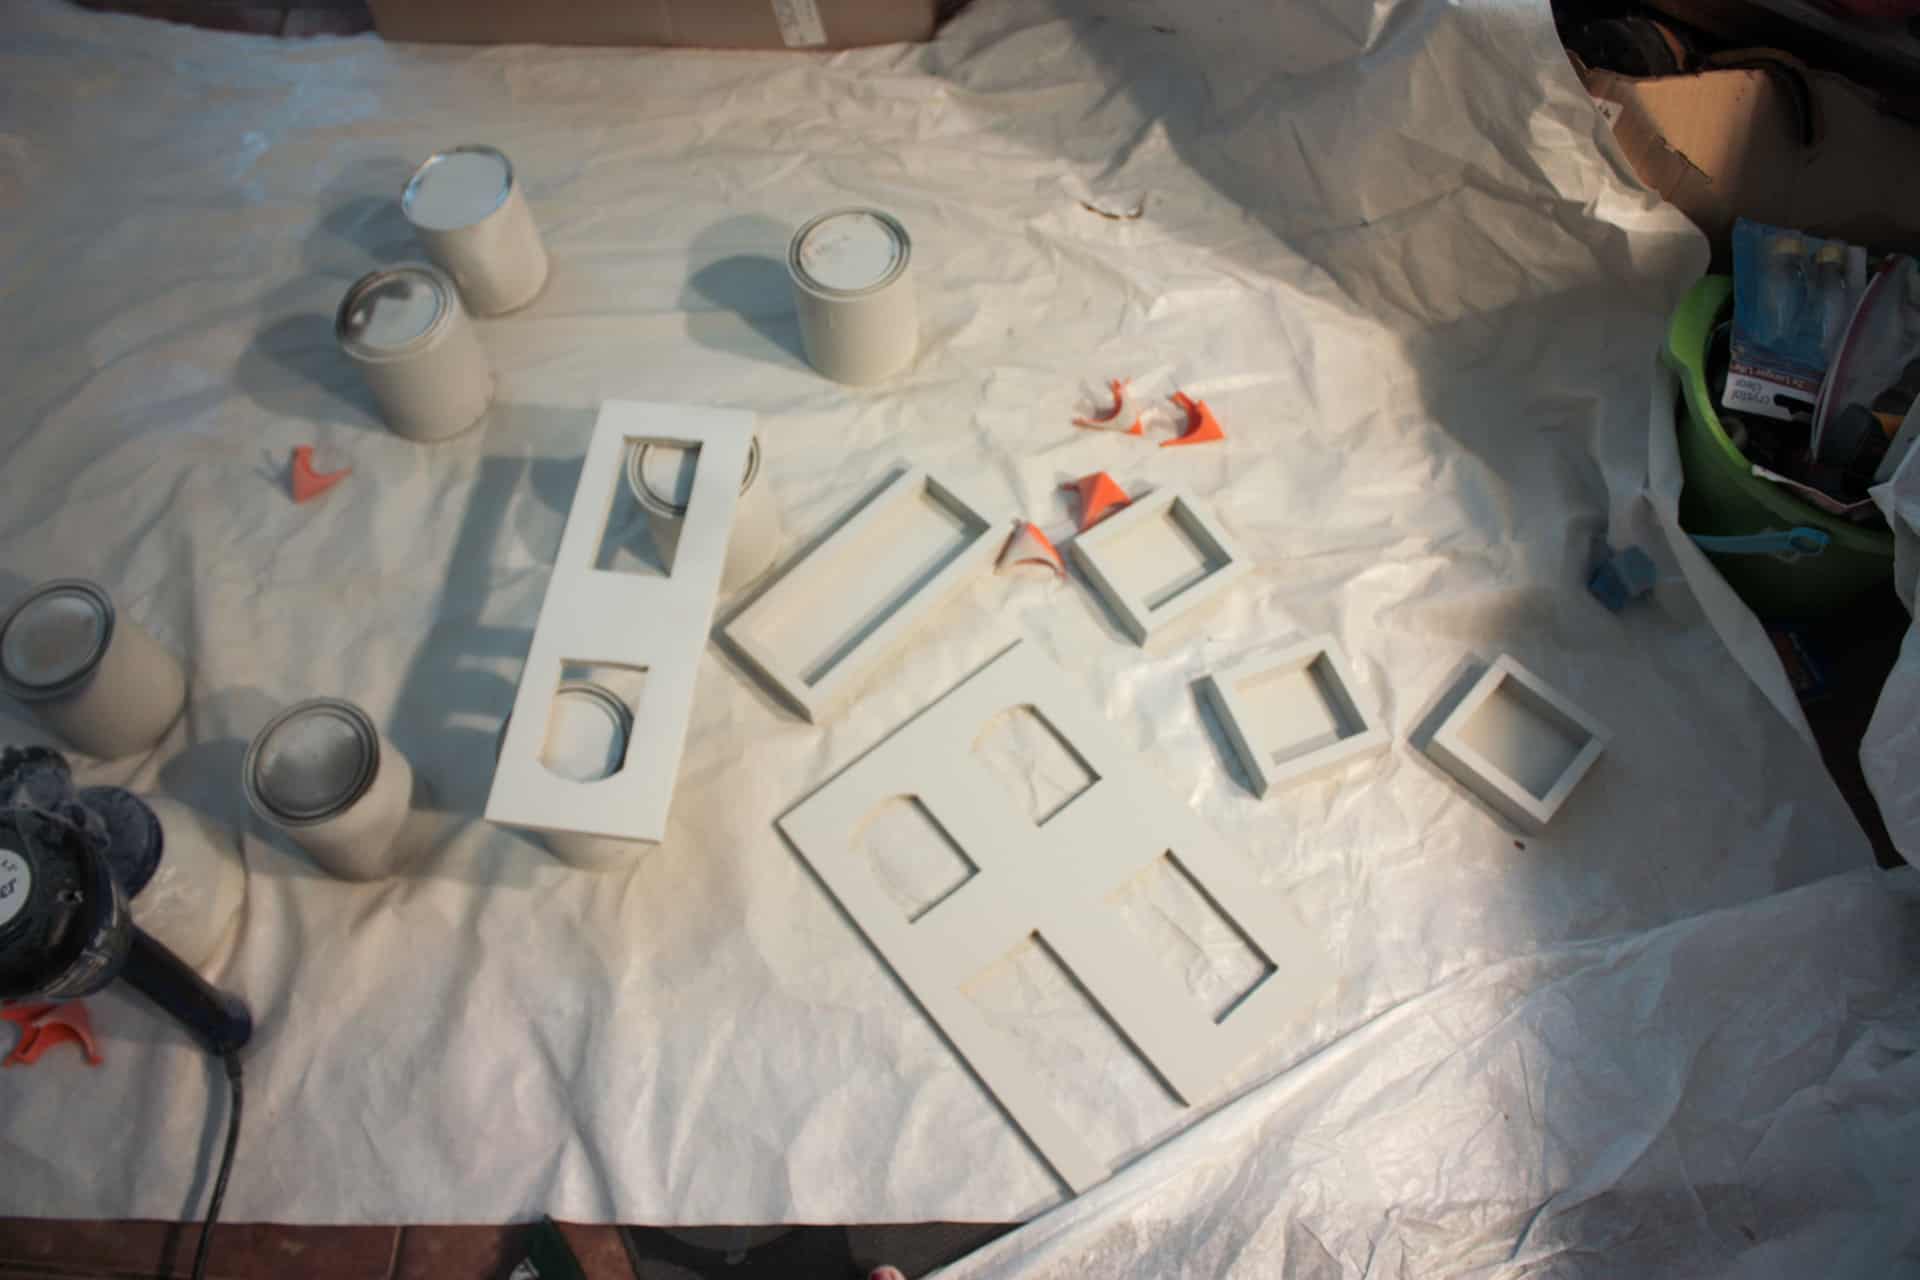
I sprayed all the individual parts of the jewelry wall cabinet with my paint sprayer! I would have spent hours trying to get into all the nooks and crannies of this thing! But with a 5 minute spray down, it was so much easier! I sprayed it all separately and then put the doors and such on! Here is the best darn sprayer in the west (affiliate link)! Lol! They are not paying me to say that or anything, I just think you should know because it is definitely a time saver on ALL my projects! Get yourself one if you haven’t…just wrap it and put your name on it under the tree!
By the way, in case you are wondering…I painted the dollhouse Repose Gray by Sherwin Williams, and the trim is Pure White by Sherwin Williams as well!
Once the paint was dry, I attached the back panels to the jewelry wall cabinet!
Now I can’t forget about the roof of the dollhouse jewelry wall cabinet!
I cut the roof boards all the same length and then beveled them on one end so they will lay flush against the wall! They are beveled at 24 degrees off square the same as the sides were mitered! I set up a stop block on my saw so they would all be the same length!
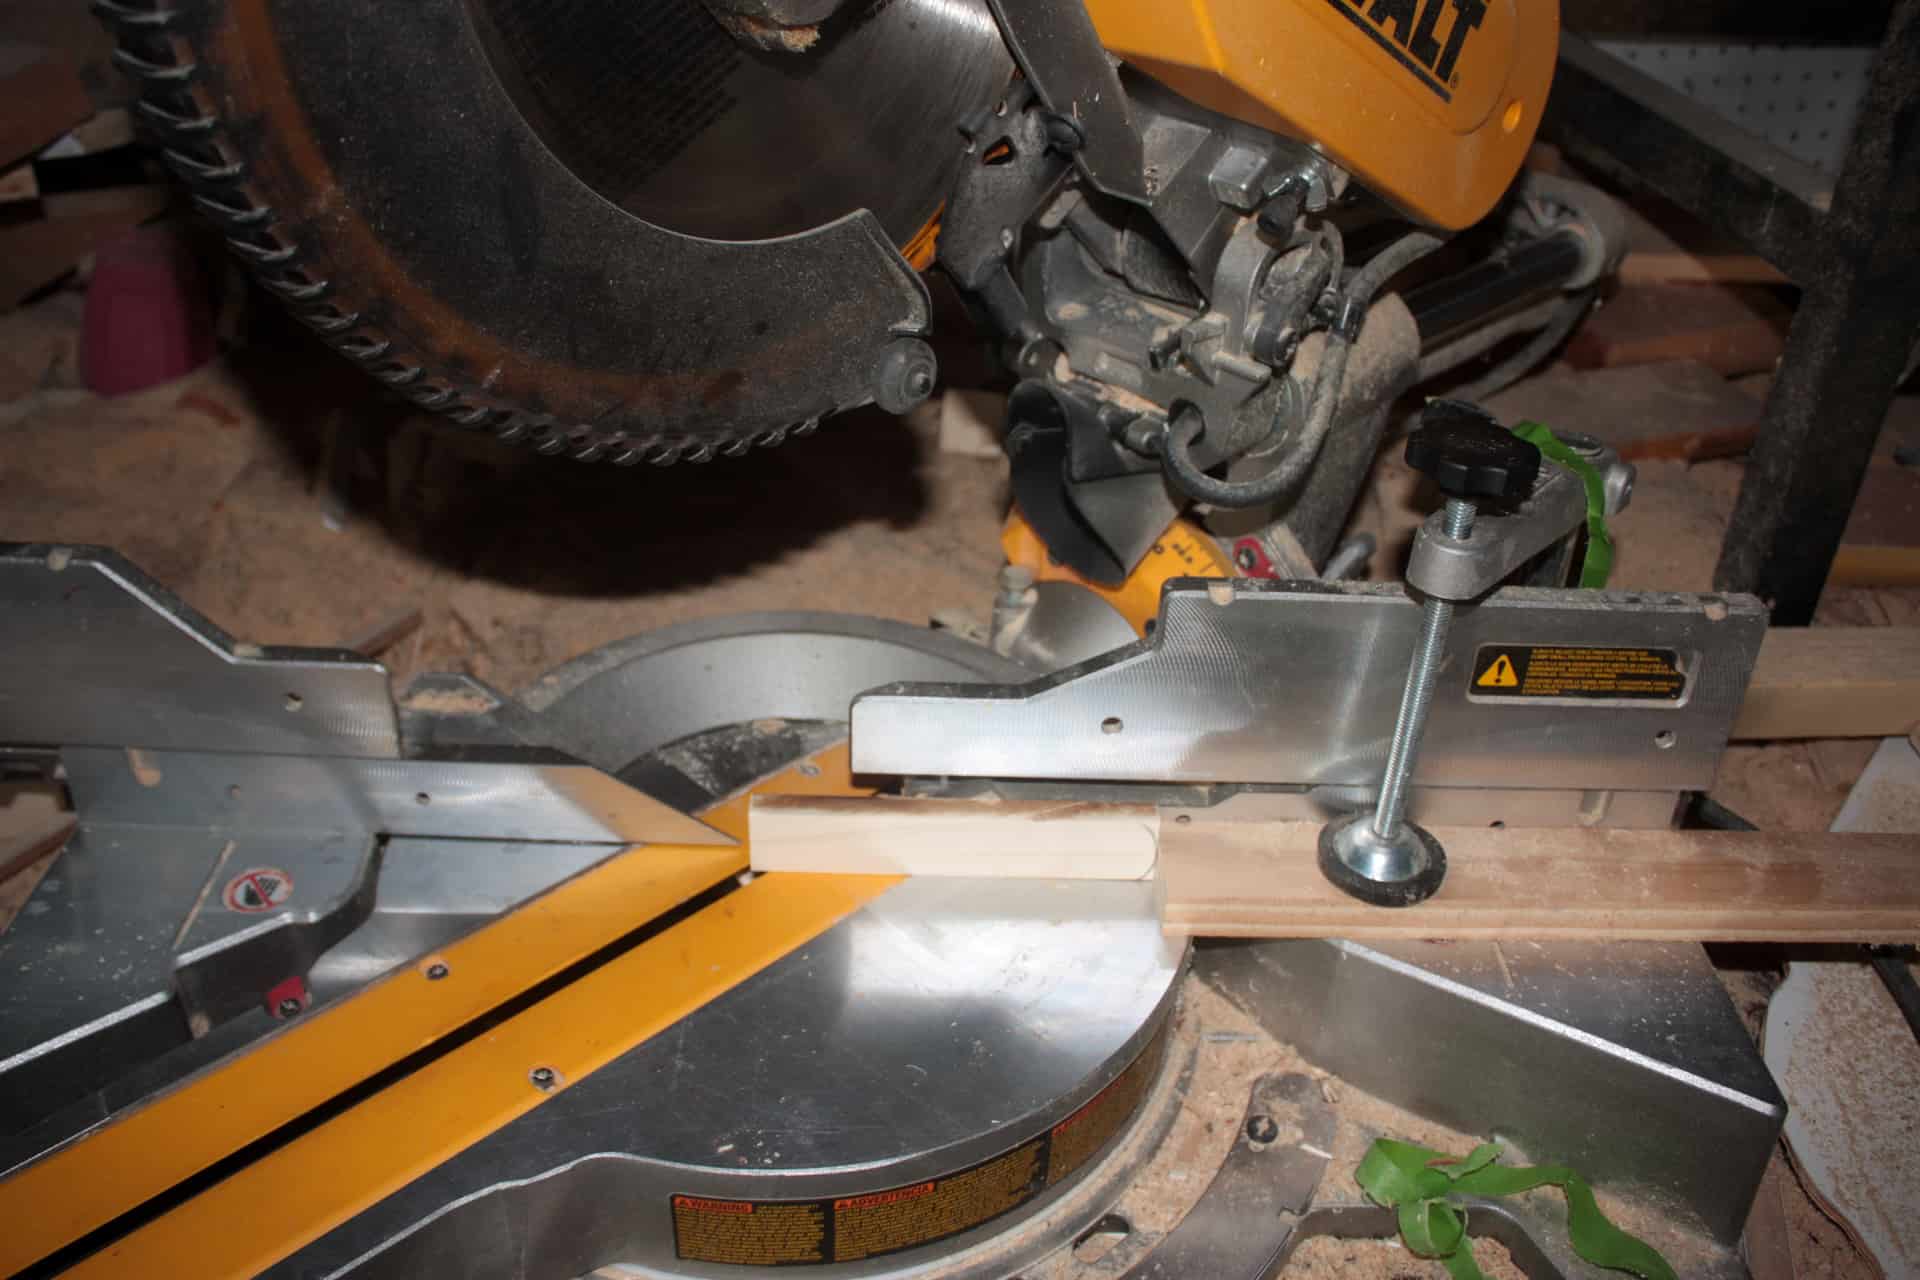
You can also do as I did in the pic and miter them on their side if you don’t have a bevel option on your saw! I do but chose to do it this way!
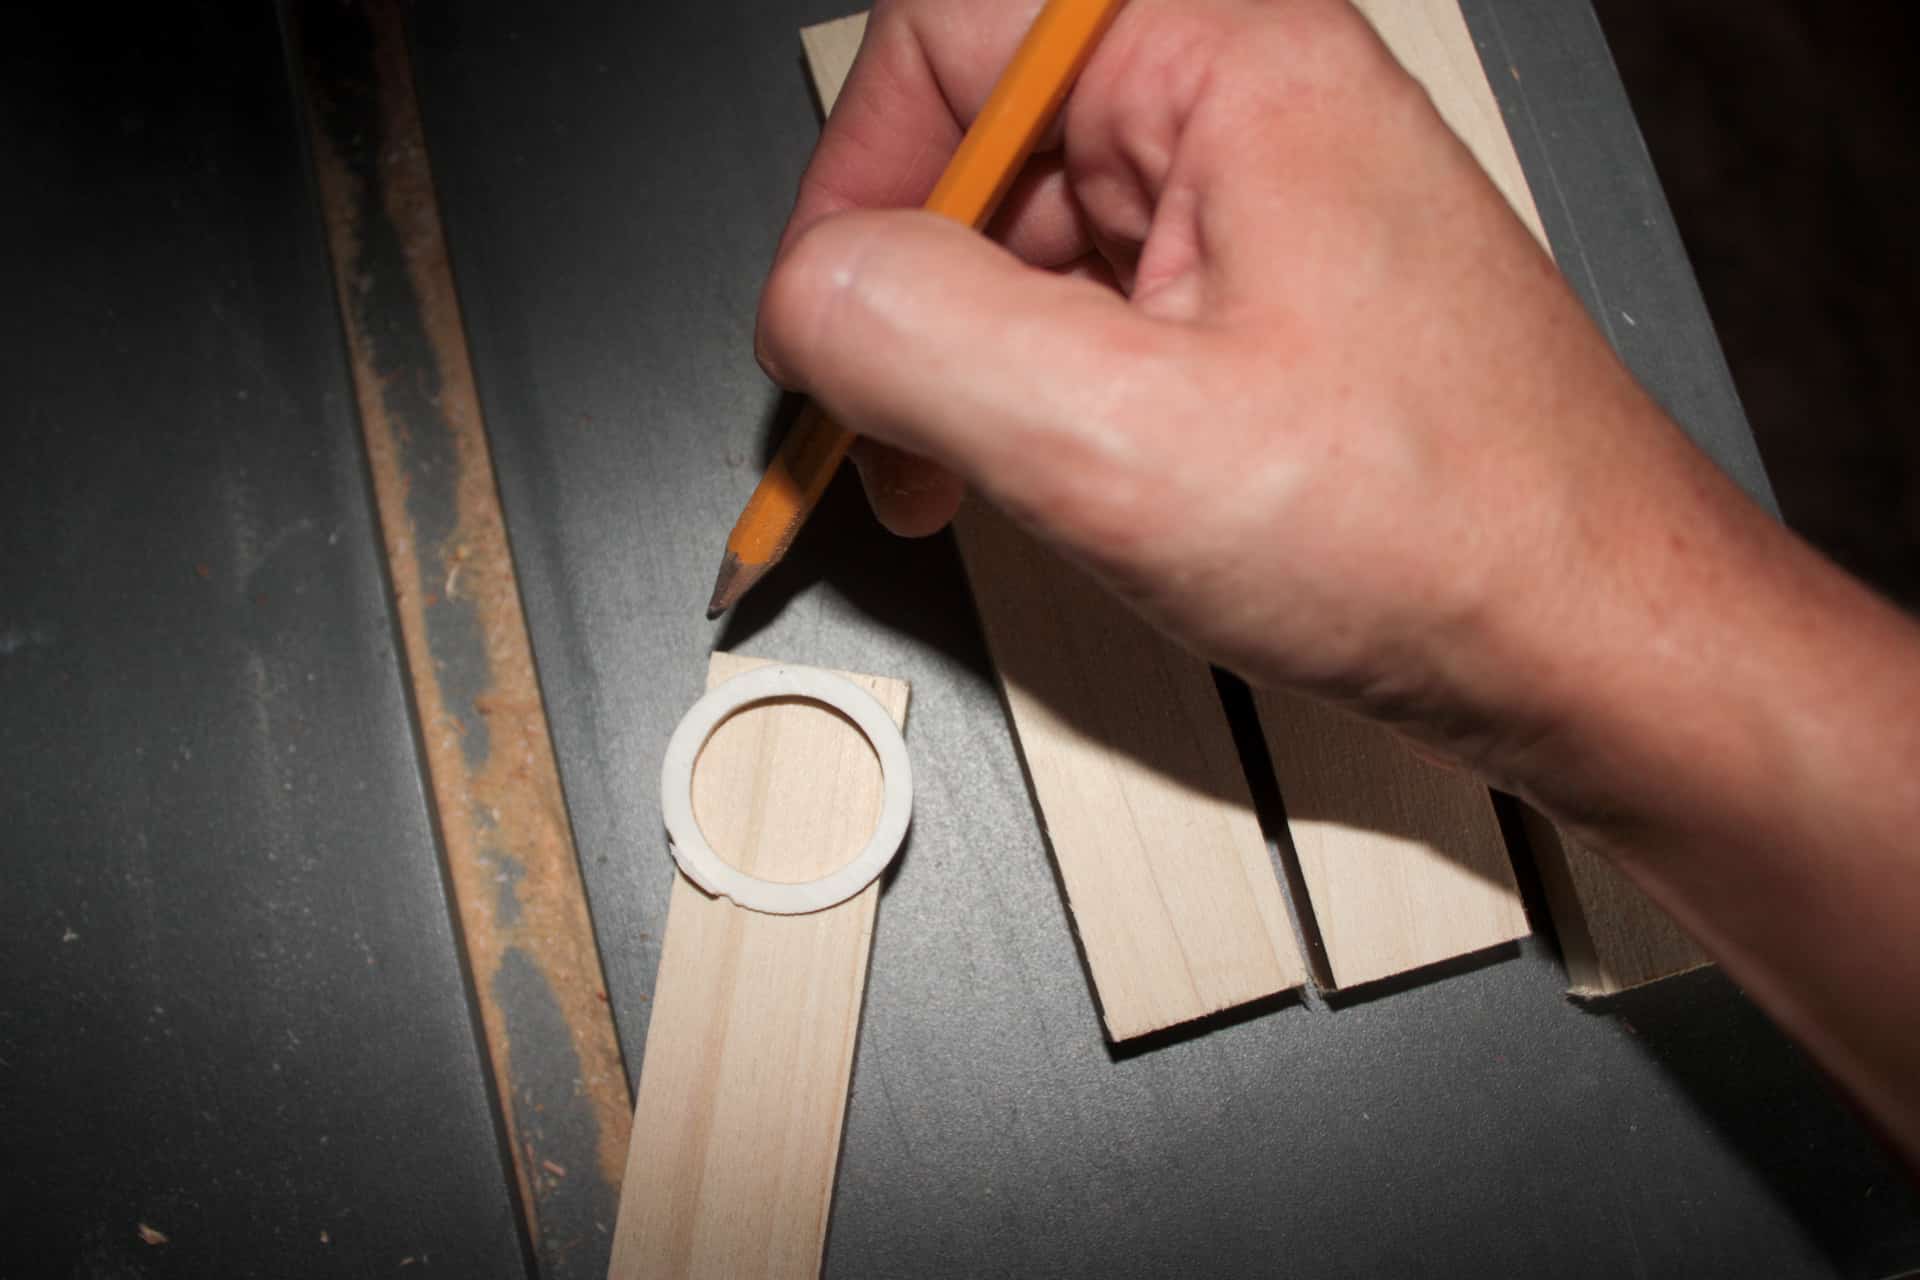
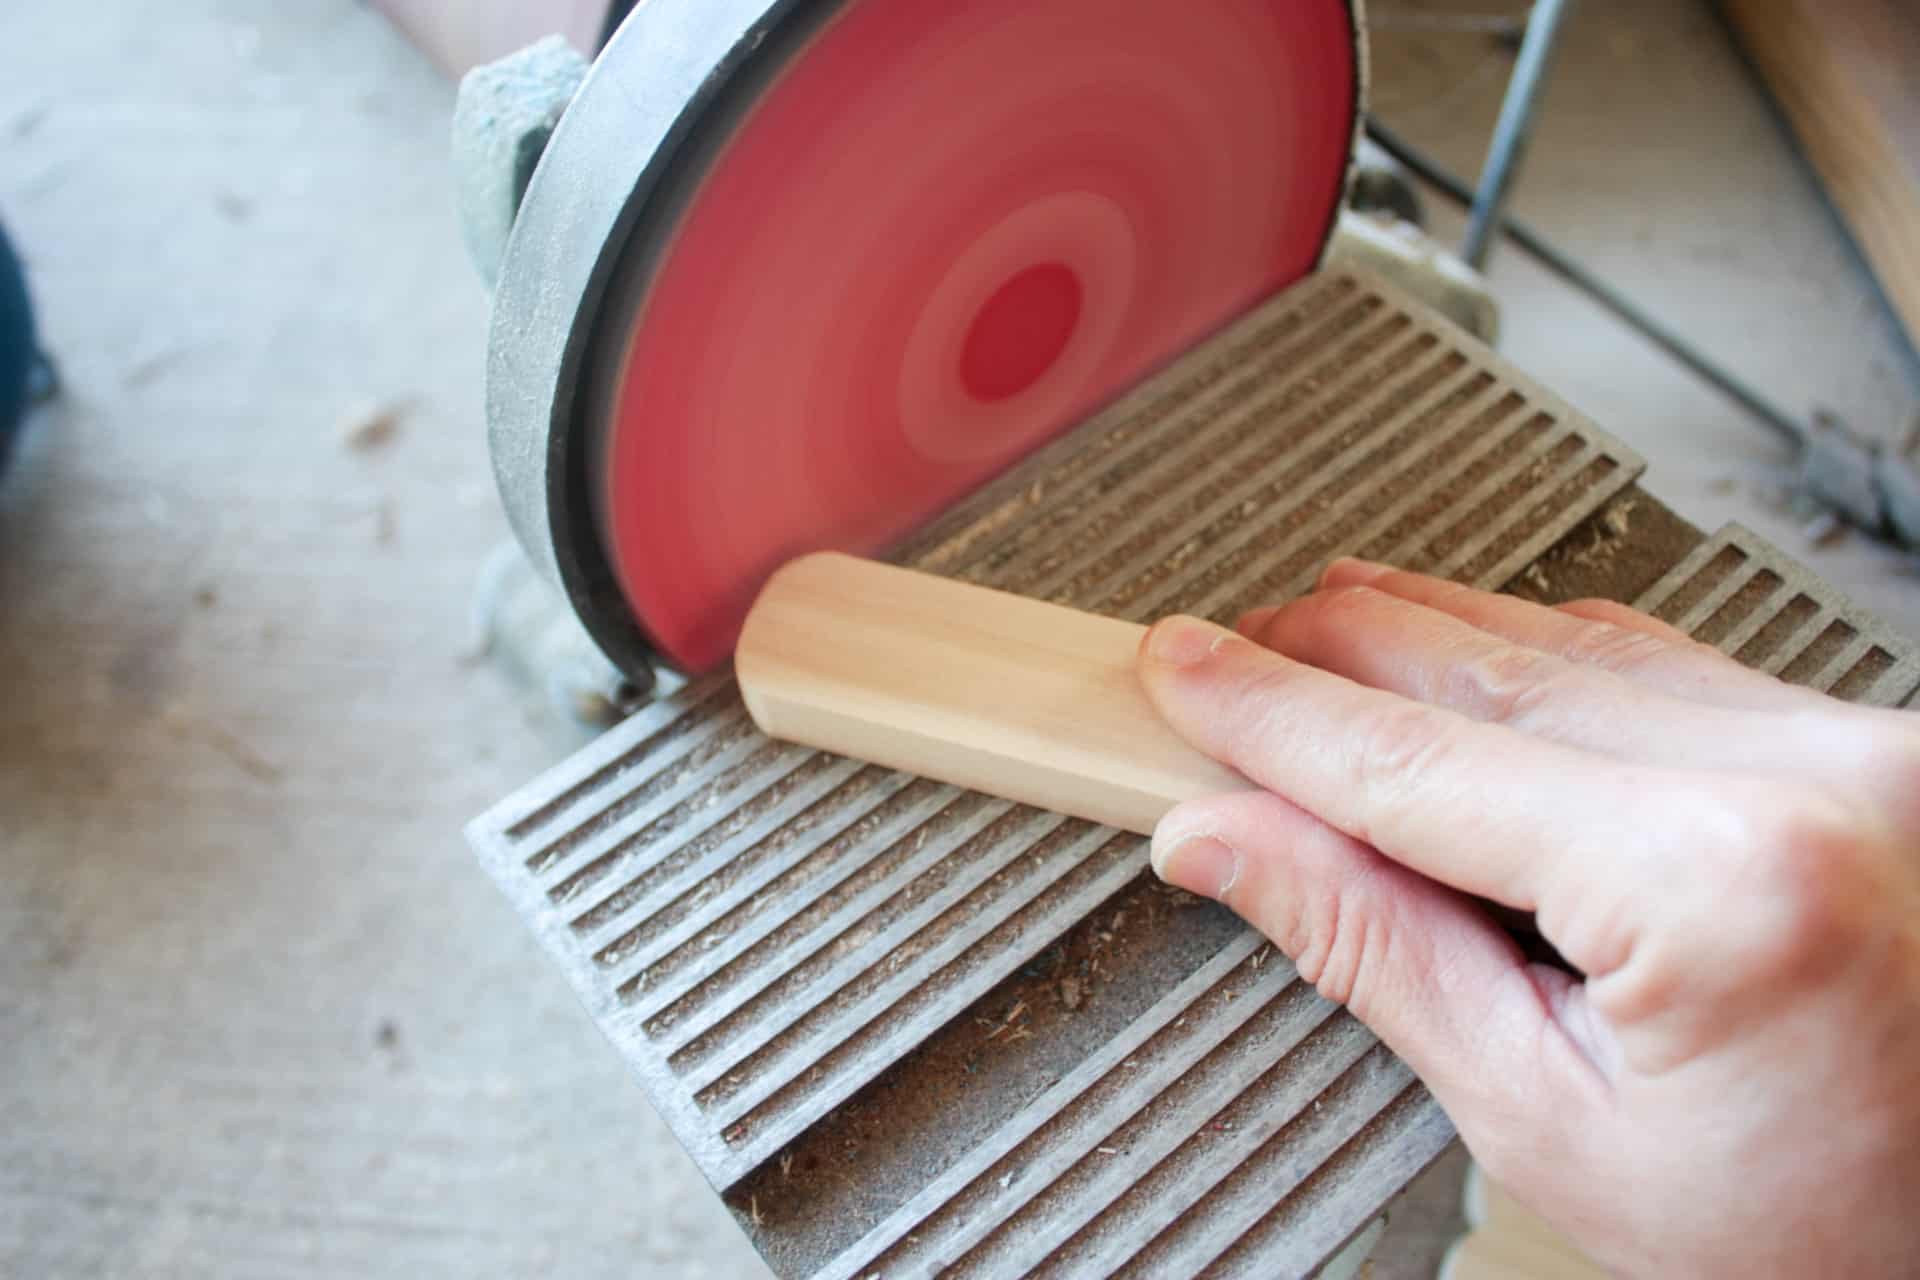
Once they were all cut, I used a small piece of pvc pipe to create a round guide to round the corners.
Then I used this old sander of mine that was from Harbor Freight and left out in the rain and weather but somehow manages to work just fine! Lol!
I hand painted the roof boards of the dollhouse jewelry wall cabinet for two reasons…first, because the paint sprayer kept blowing them away…they were too lite weight to stand up to the force of air coming from that thing, and second the house was already painted so I couldn’t attach them and then spray them because I would have to do too much covering of everything! Lol! So I hand-painted them, attached them, and then had to fill tiny nail holes and paint again!
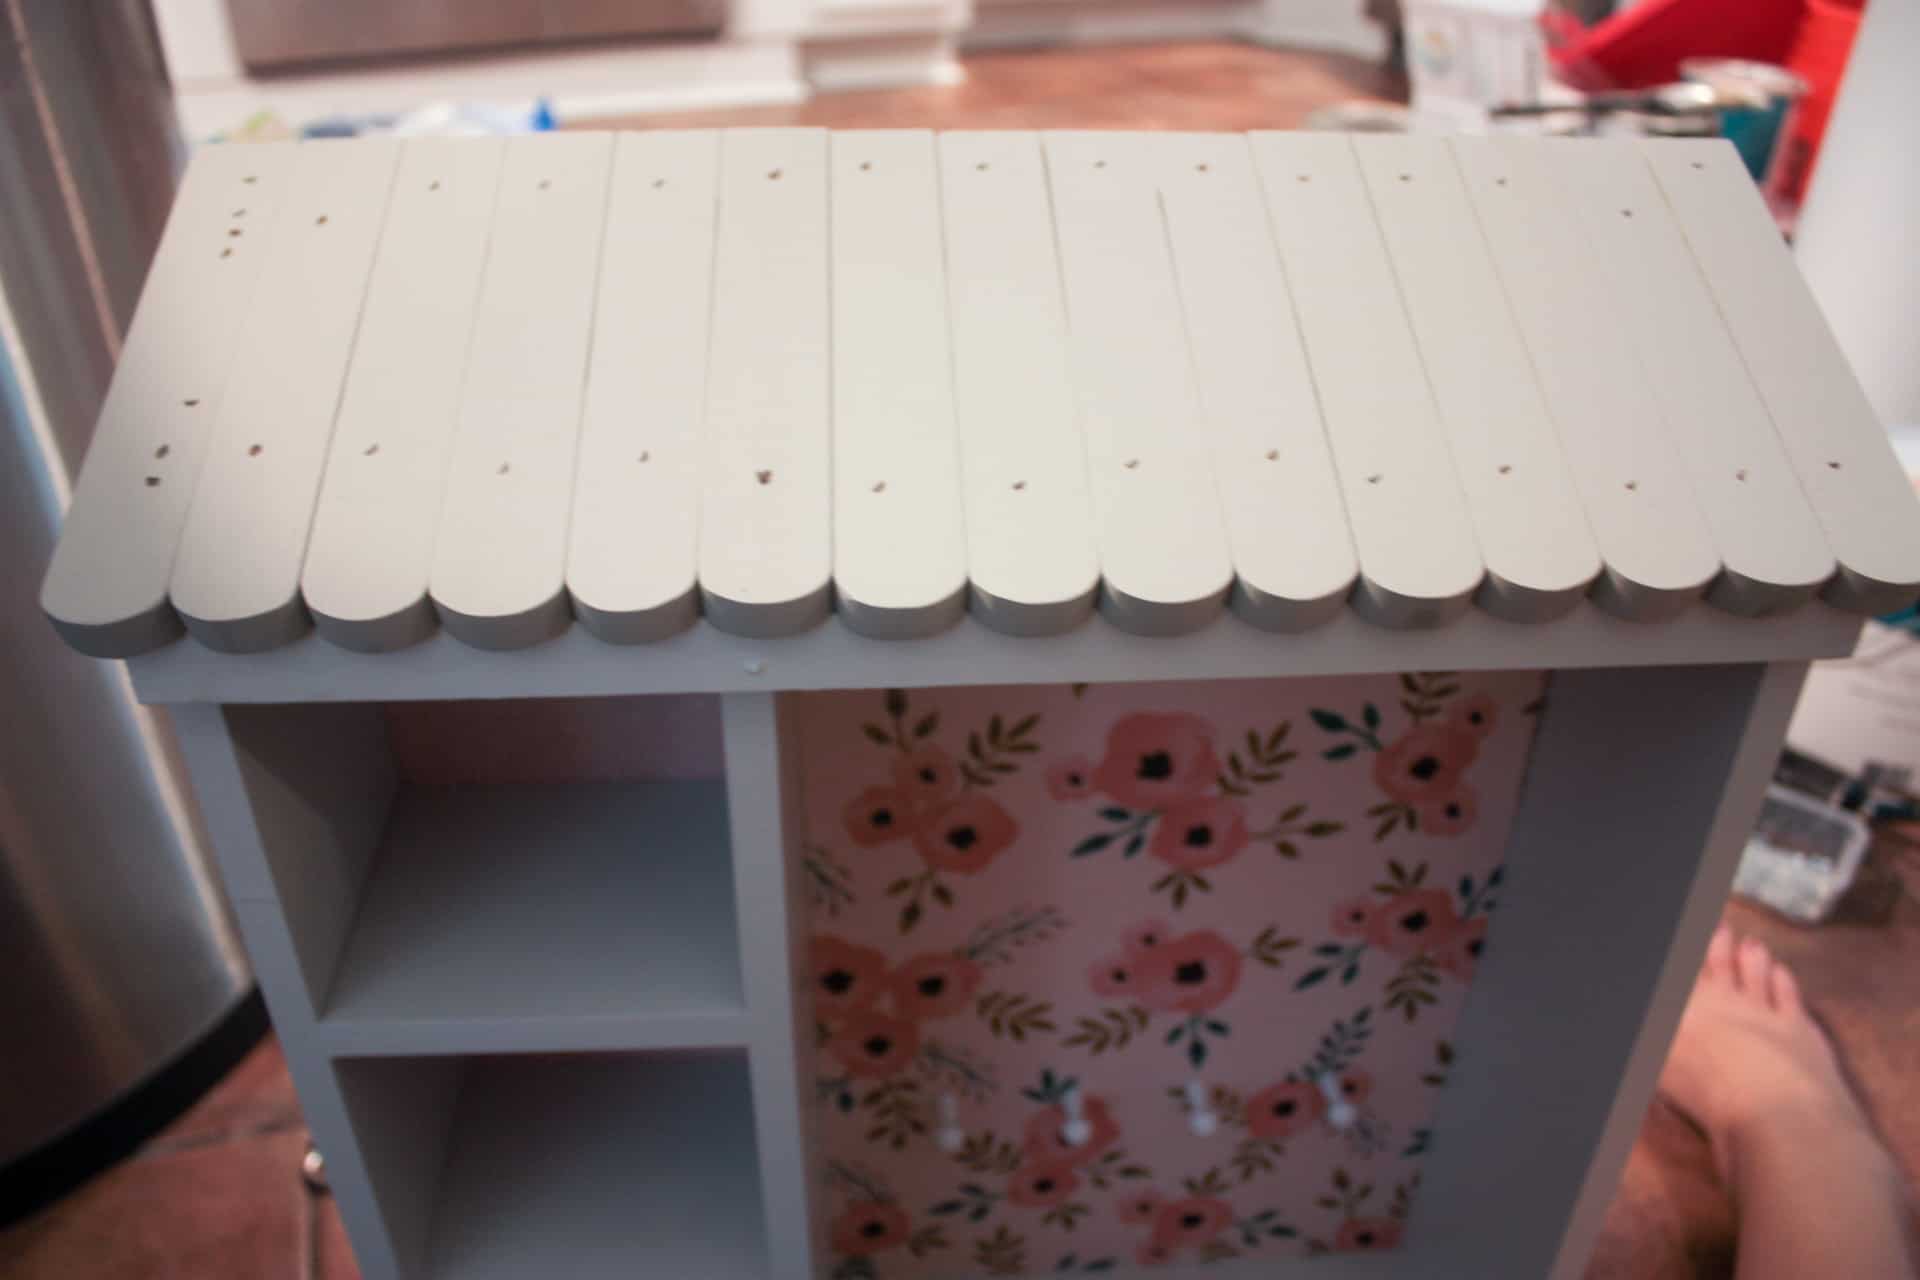
I painted the roof boards Dorian Gray by Sherwin Williams!
After cutting out the main shape of the doors, I traced all the windows and the door onto them and cut them out with my jigsaw…it would have been better to use the scroll saw, but it had a broken blade and I couldn’t find my new blades (a common problem when your workshop is a total mess)! Anyway, so I cut the doors and windows out and luckily all the cuts are hidden by the windows and molding but still I hate to see the imperfections when it is open!
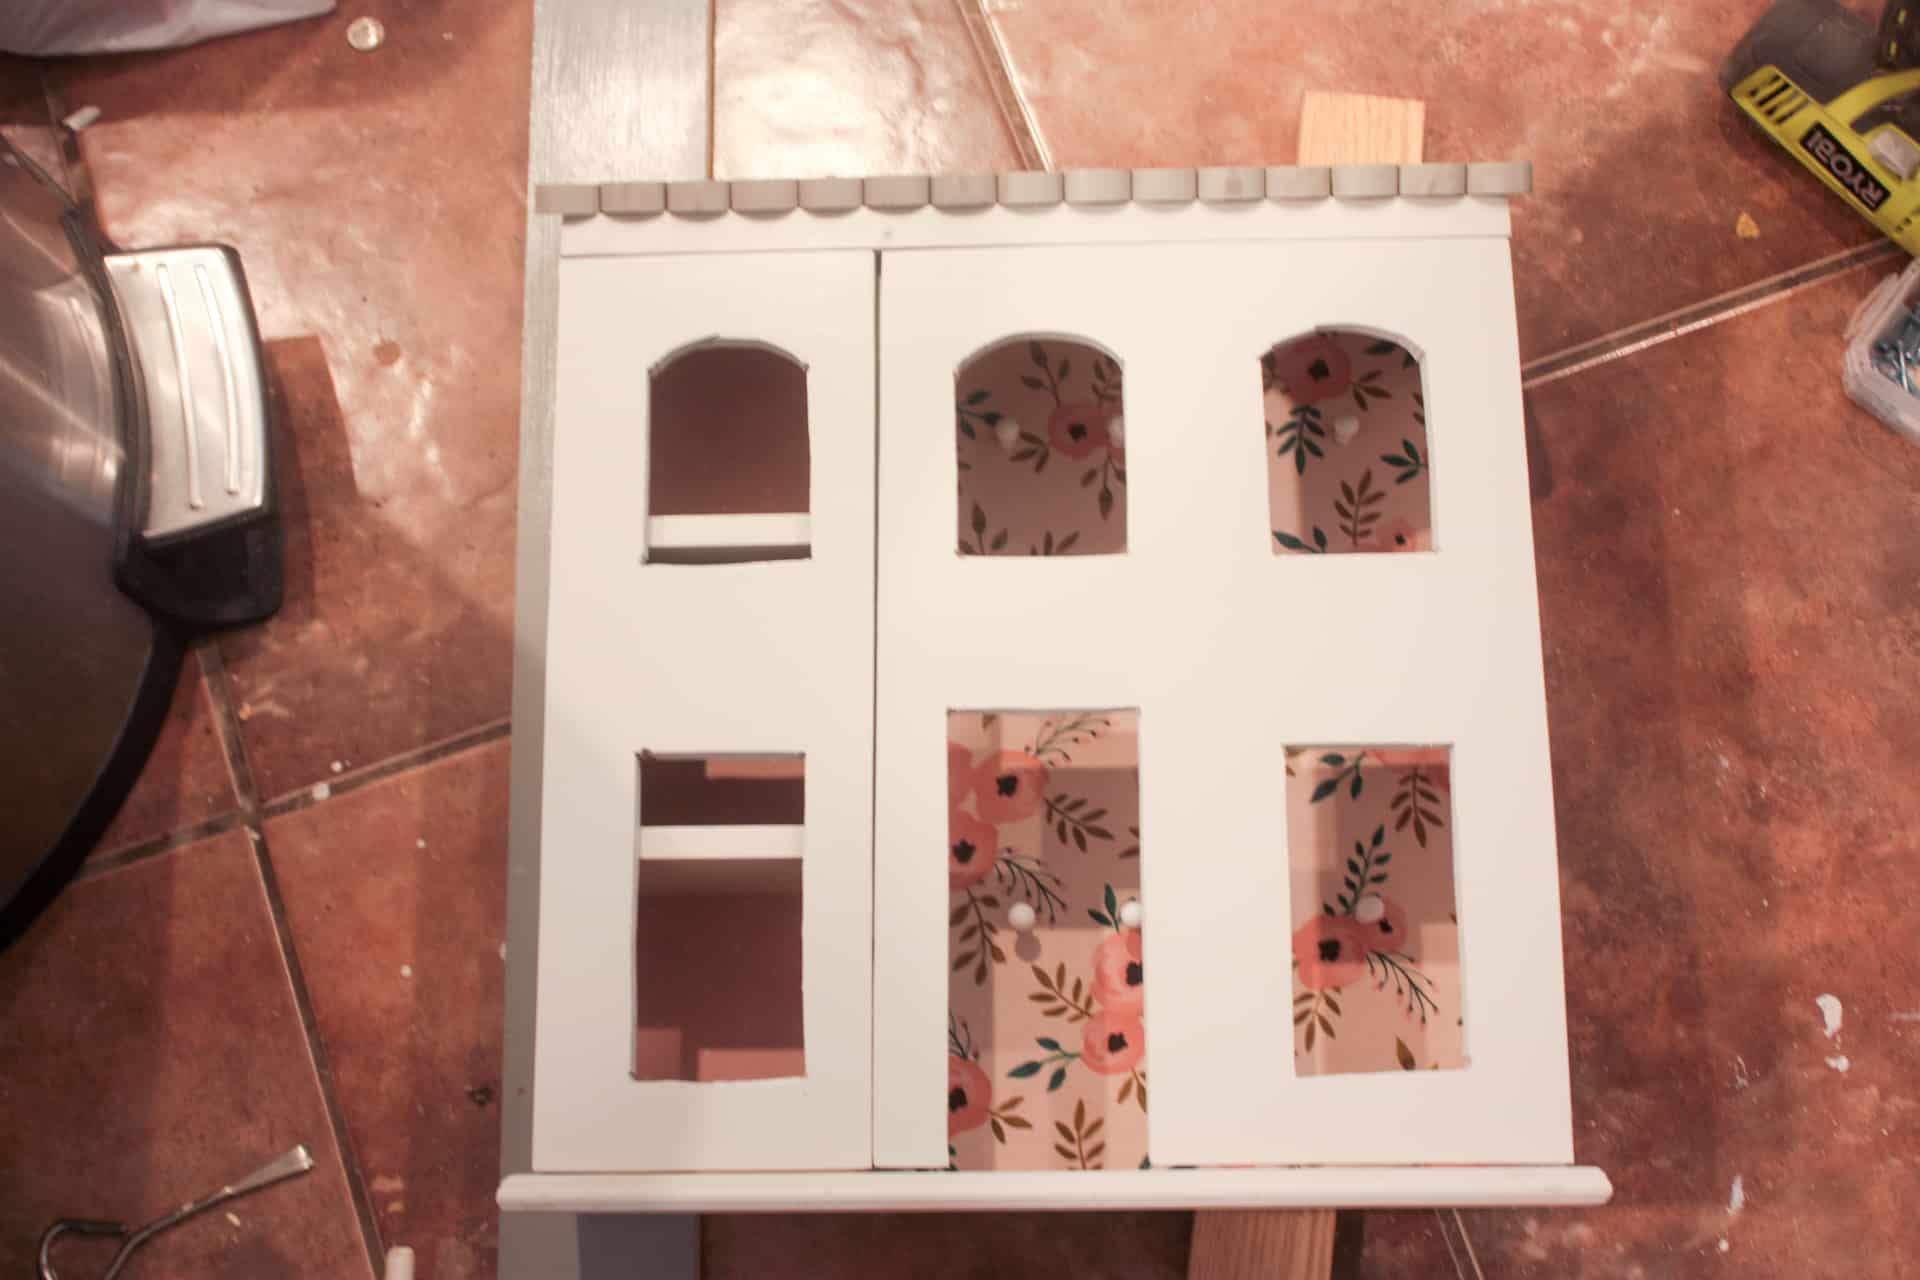
See the ugly…then we cover it all up! Lol!
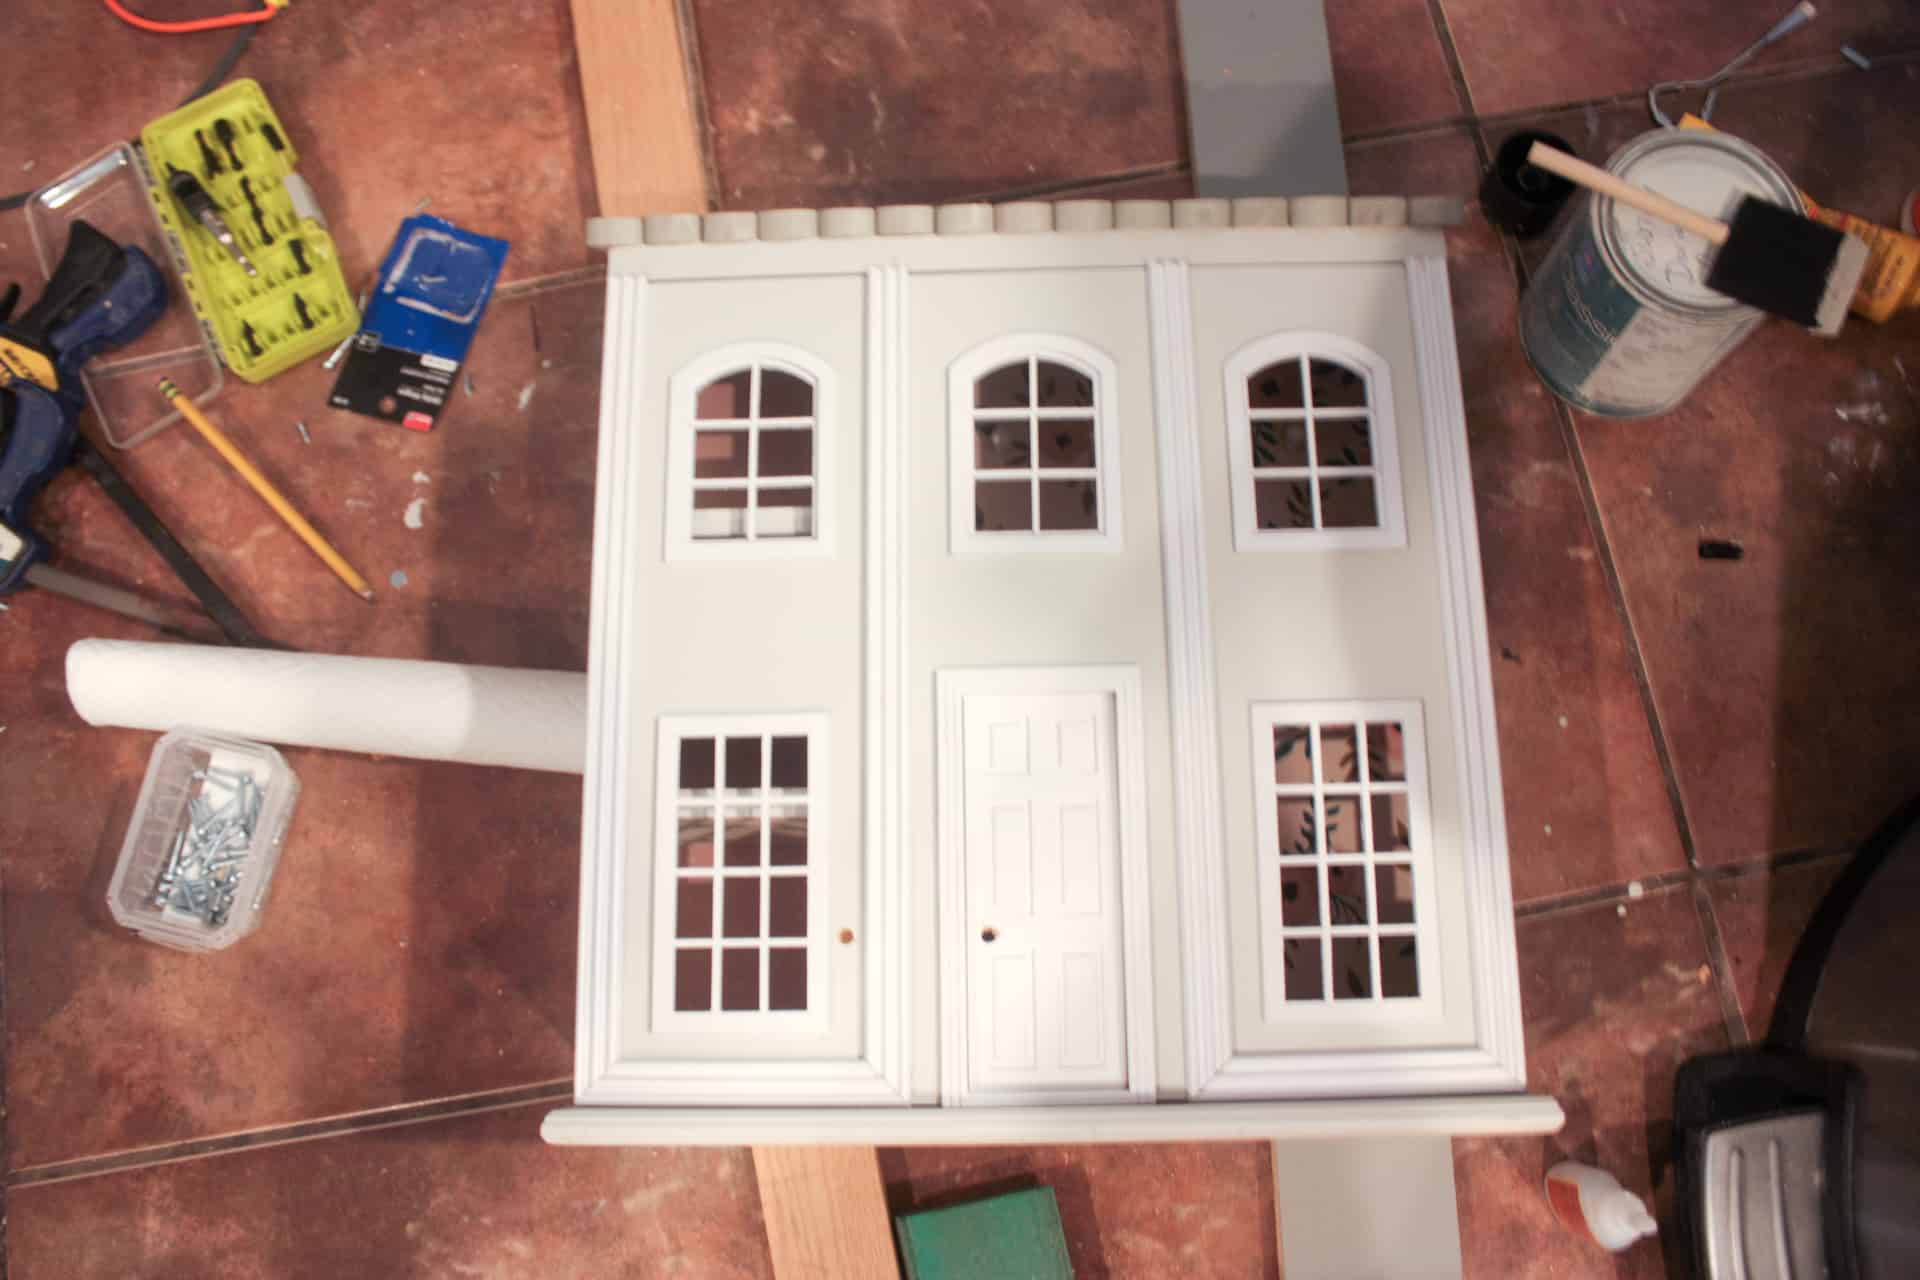
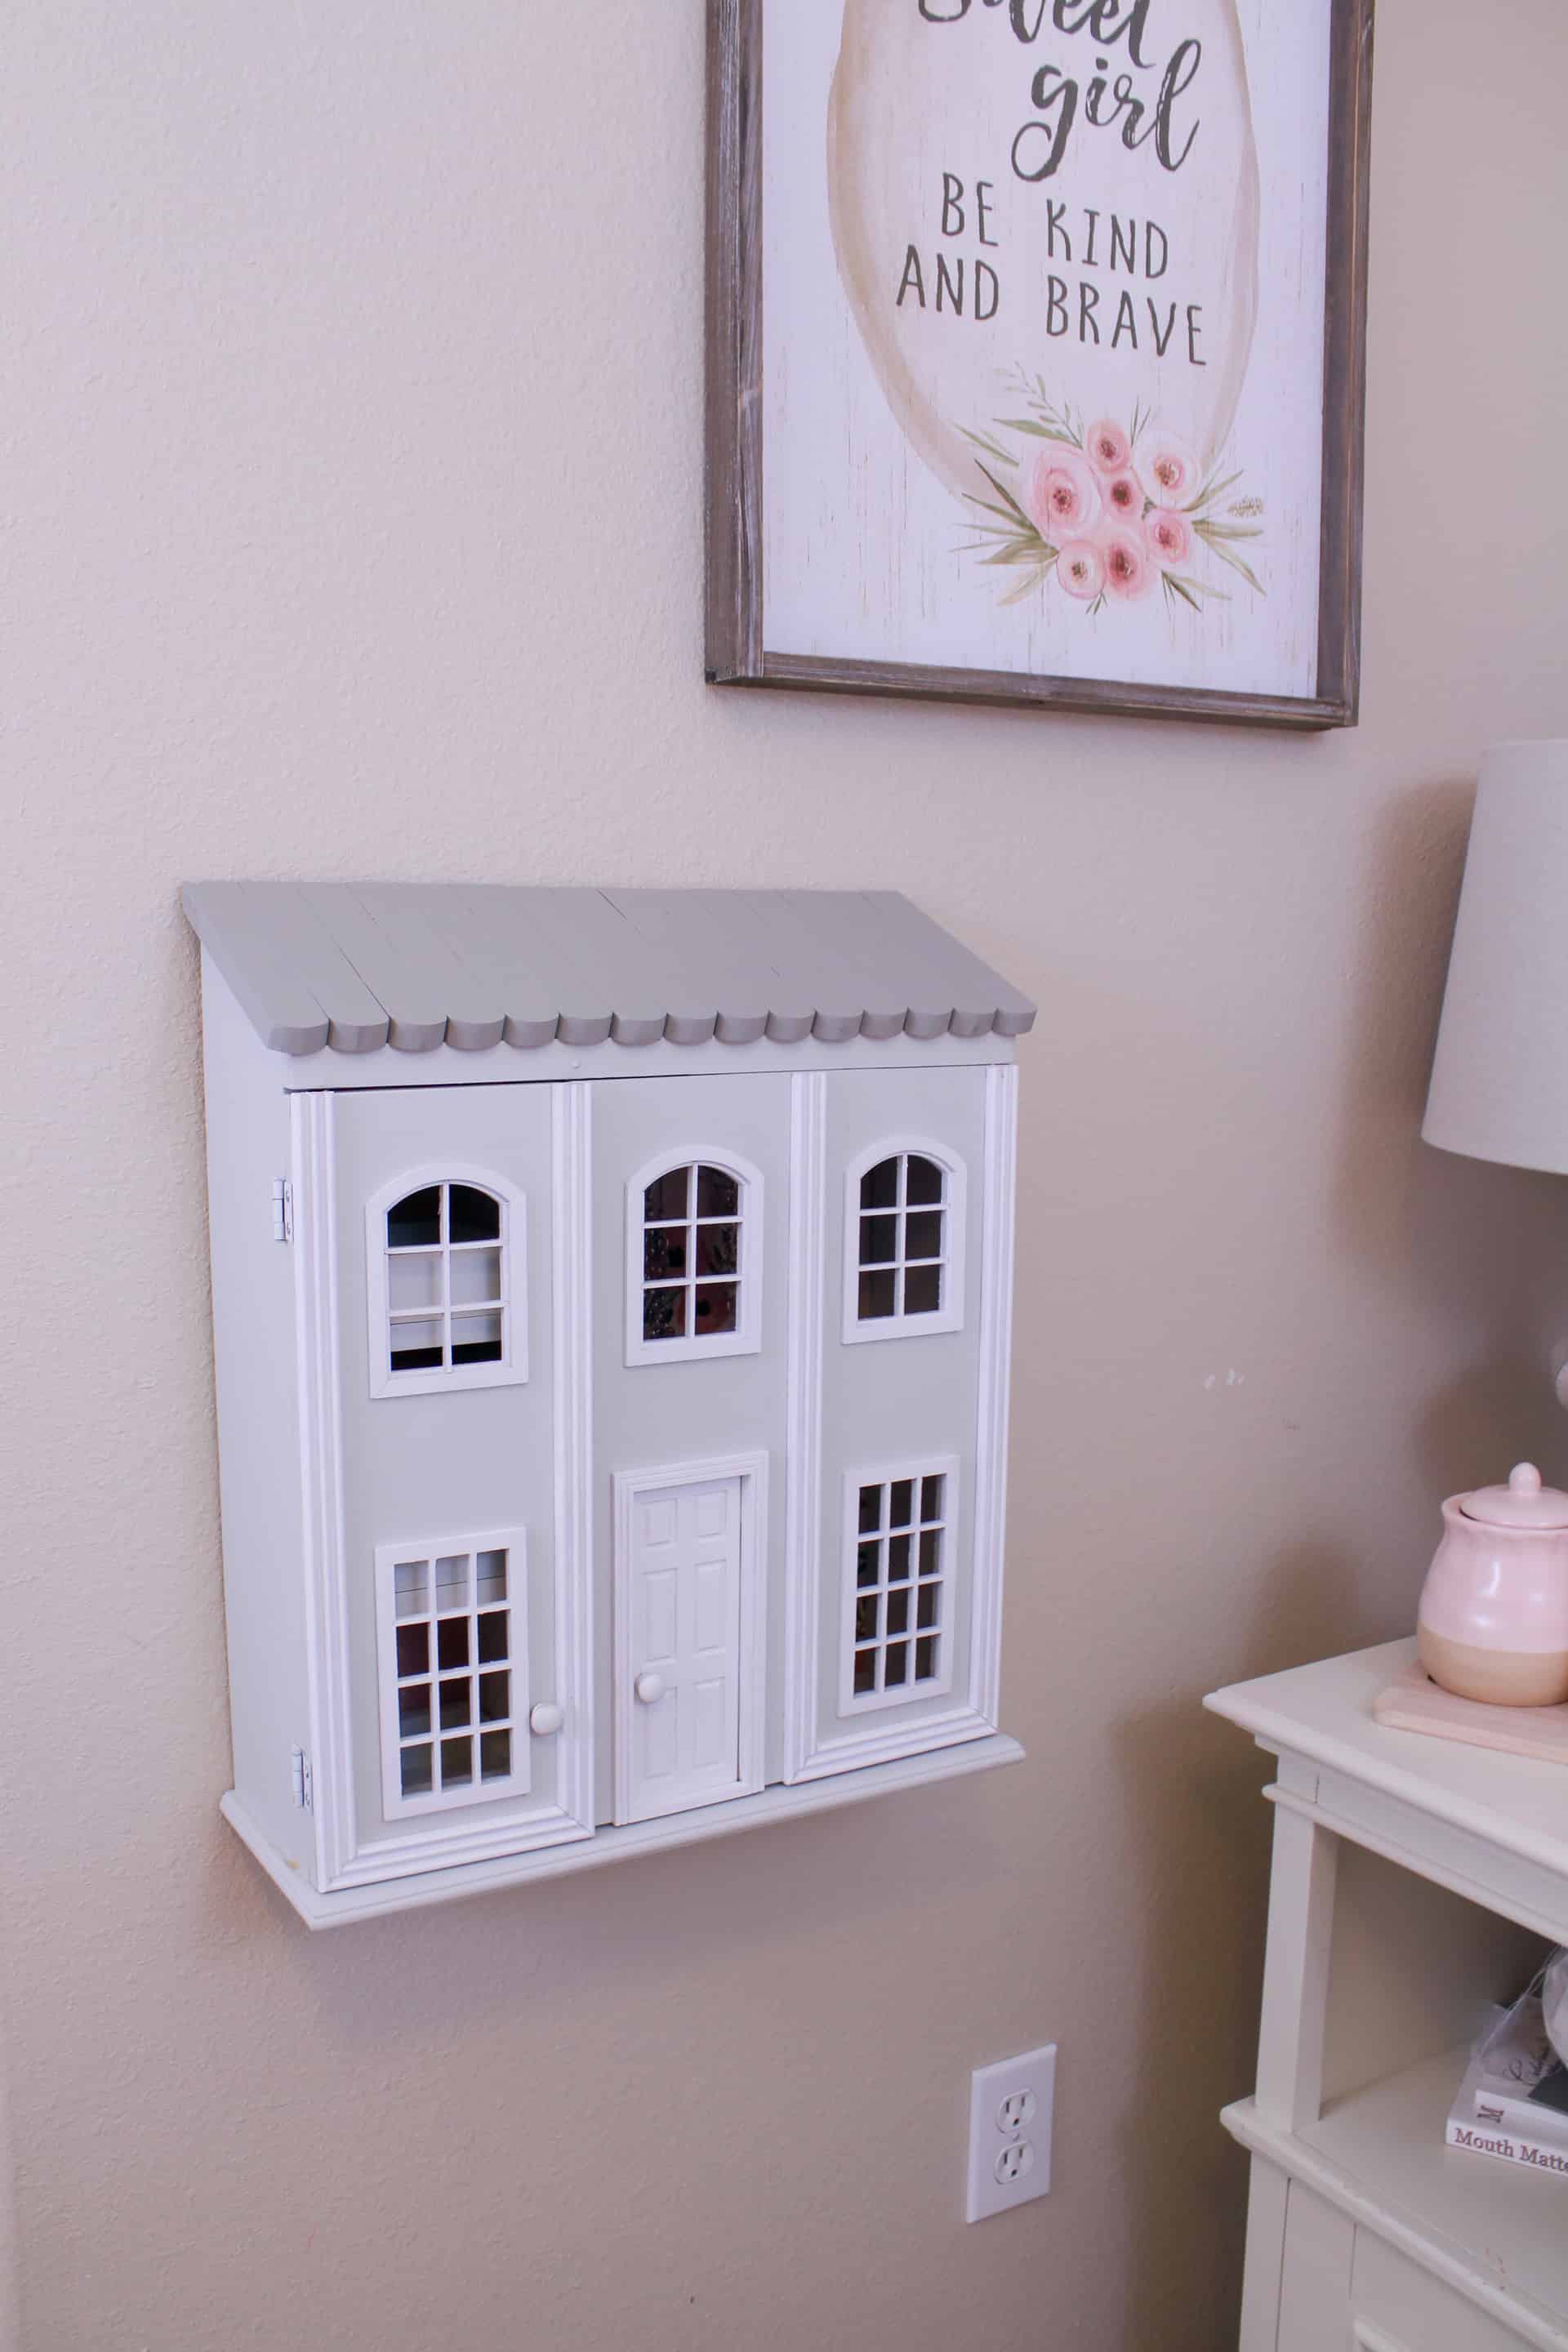
Watch out! Now, look how cute the dollhouse jewelry wall cabinet is!
I drilled the hole in the door and the left side near the window for the knobs to be glued. Here are the knobs I used, the windows and the necklace pegs! They are all from Hobby Lobby! If you don’t have a Hobby Lobby near you, I think you should be able to order them online! I found links to the same items, different brands on Amazon if you would like to purchase from them instead! They are affiliate links!
- Necklace Pegs
- Door knobs
- windows rectangle – I couldn’t find the arched windows on Amazon! Sorry! And just so you know, 2 of the rectangle windows will not fit on the doors! You would have to adjust the measurements and make it quite a bit taller. I did find these small square windows that you could make work!
- Door
Last I just used 1″ utility hinges to attach the doors to the dollhouse! I laid them flat on the outside to keep from raising the doors up! I don’t have a really great picture of this but you can kinda see below!
I hope you build an adorable DIY Dollhouse Jewelry Wall Cabinet for a lucky little lady in your life as well! Get the full plans over at BUILDSOMETHING.COM Happy Building!!
