DIY Framed Chalkboard Wall
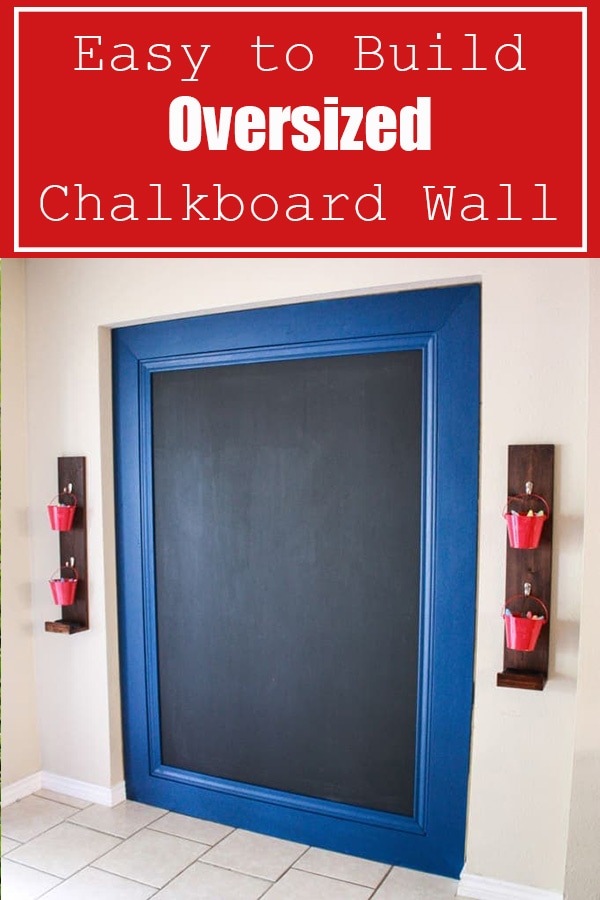
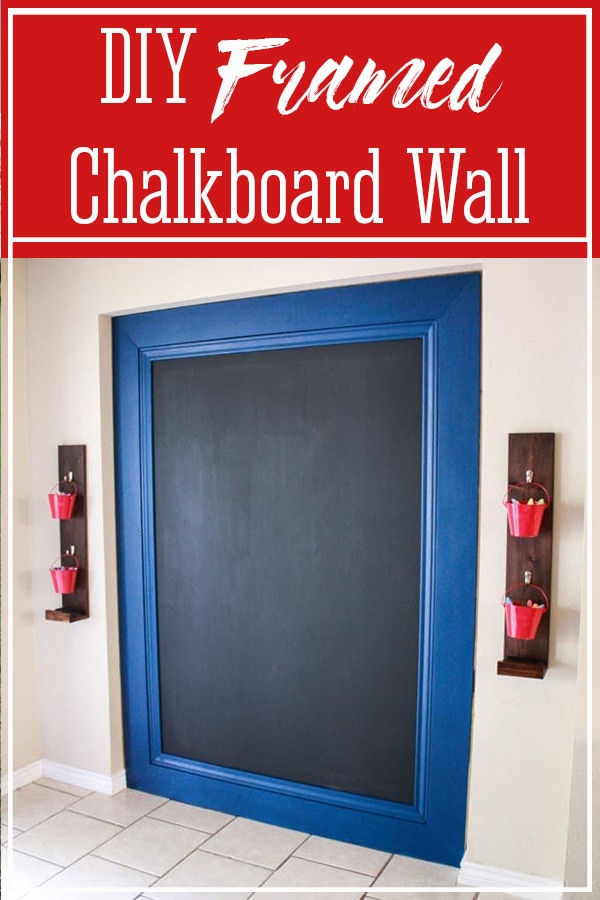
This DIY framed chalkboard wall is a larger than life chalkboard that kids will love drawing giant pictures on! You can customize this chalkboard wall to fit your space and use colors that match your home! Surprise your kiddos with a fun oversized chalkboard for a special occasion or just because!
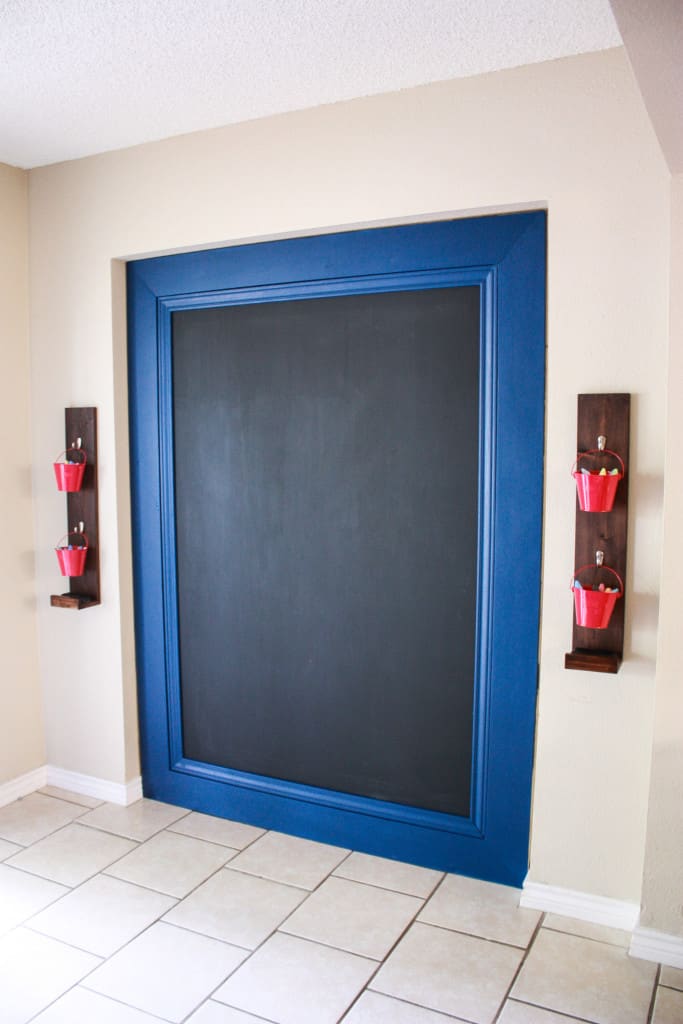
Okay, so there are two great DIYs in this photo…the framed chalkboard and the chalk and eraser holders. Aren’t they so cute?! I love everything about this little area for my boys to create and draw!
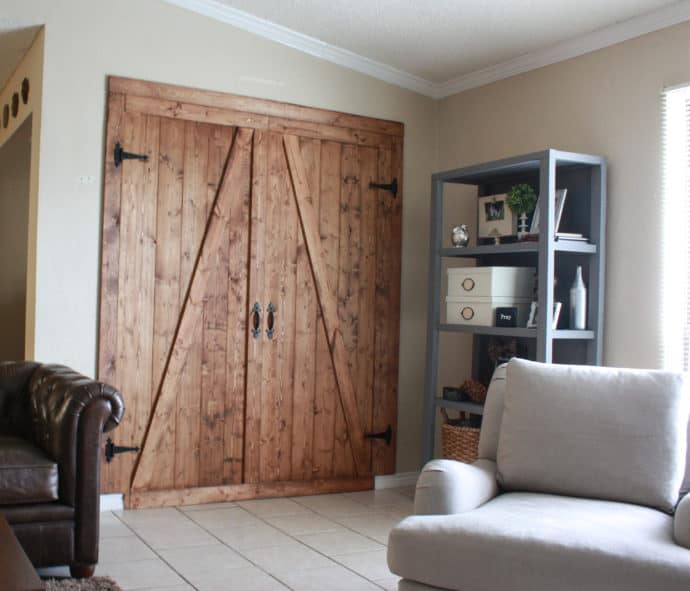
I recently shared this barn door room divider and this DIY framed chalkboard wall is on the backside of it! It is pretty cool, the front is a faux barn door, and the back is this framed chalkboard wall! This masterpiece closed in an awkward opening we had in the living room and made it so much better!
Front
Back
You don’t have to have a large wall opening or build a faux barn door on the front of the chalkboard wall, you can easily just add the plywood to an existing wall and frame it out just the same! I just wanted to show the option just in case you have an awkward space to fill!
Gathering Supplies for the DIY Framed Chalkboard
You can really make this framed chalkboard whatever size you want if you are not having to make it into an opening as I did! My framed chalkboard came out to roughly 60″x 80″.
Material List for DIY Framed Chalkboard:
NOTE: Amazon links below are affiliate links! Affiliate links are links that pay me a small commission (at no extra cost to you) should you make a purchase after clicking a link on my site! I always appreciate you shopping at my links since it helps me keep bringing you free plans for awesome furniture and more!
- 1 sheet 1/4″ in plywood
- 4- 1x6x8
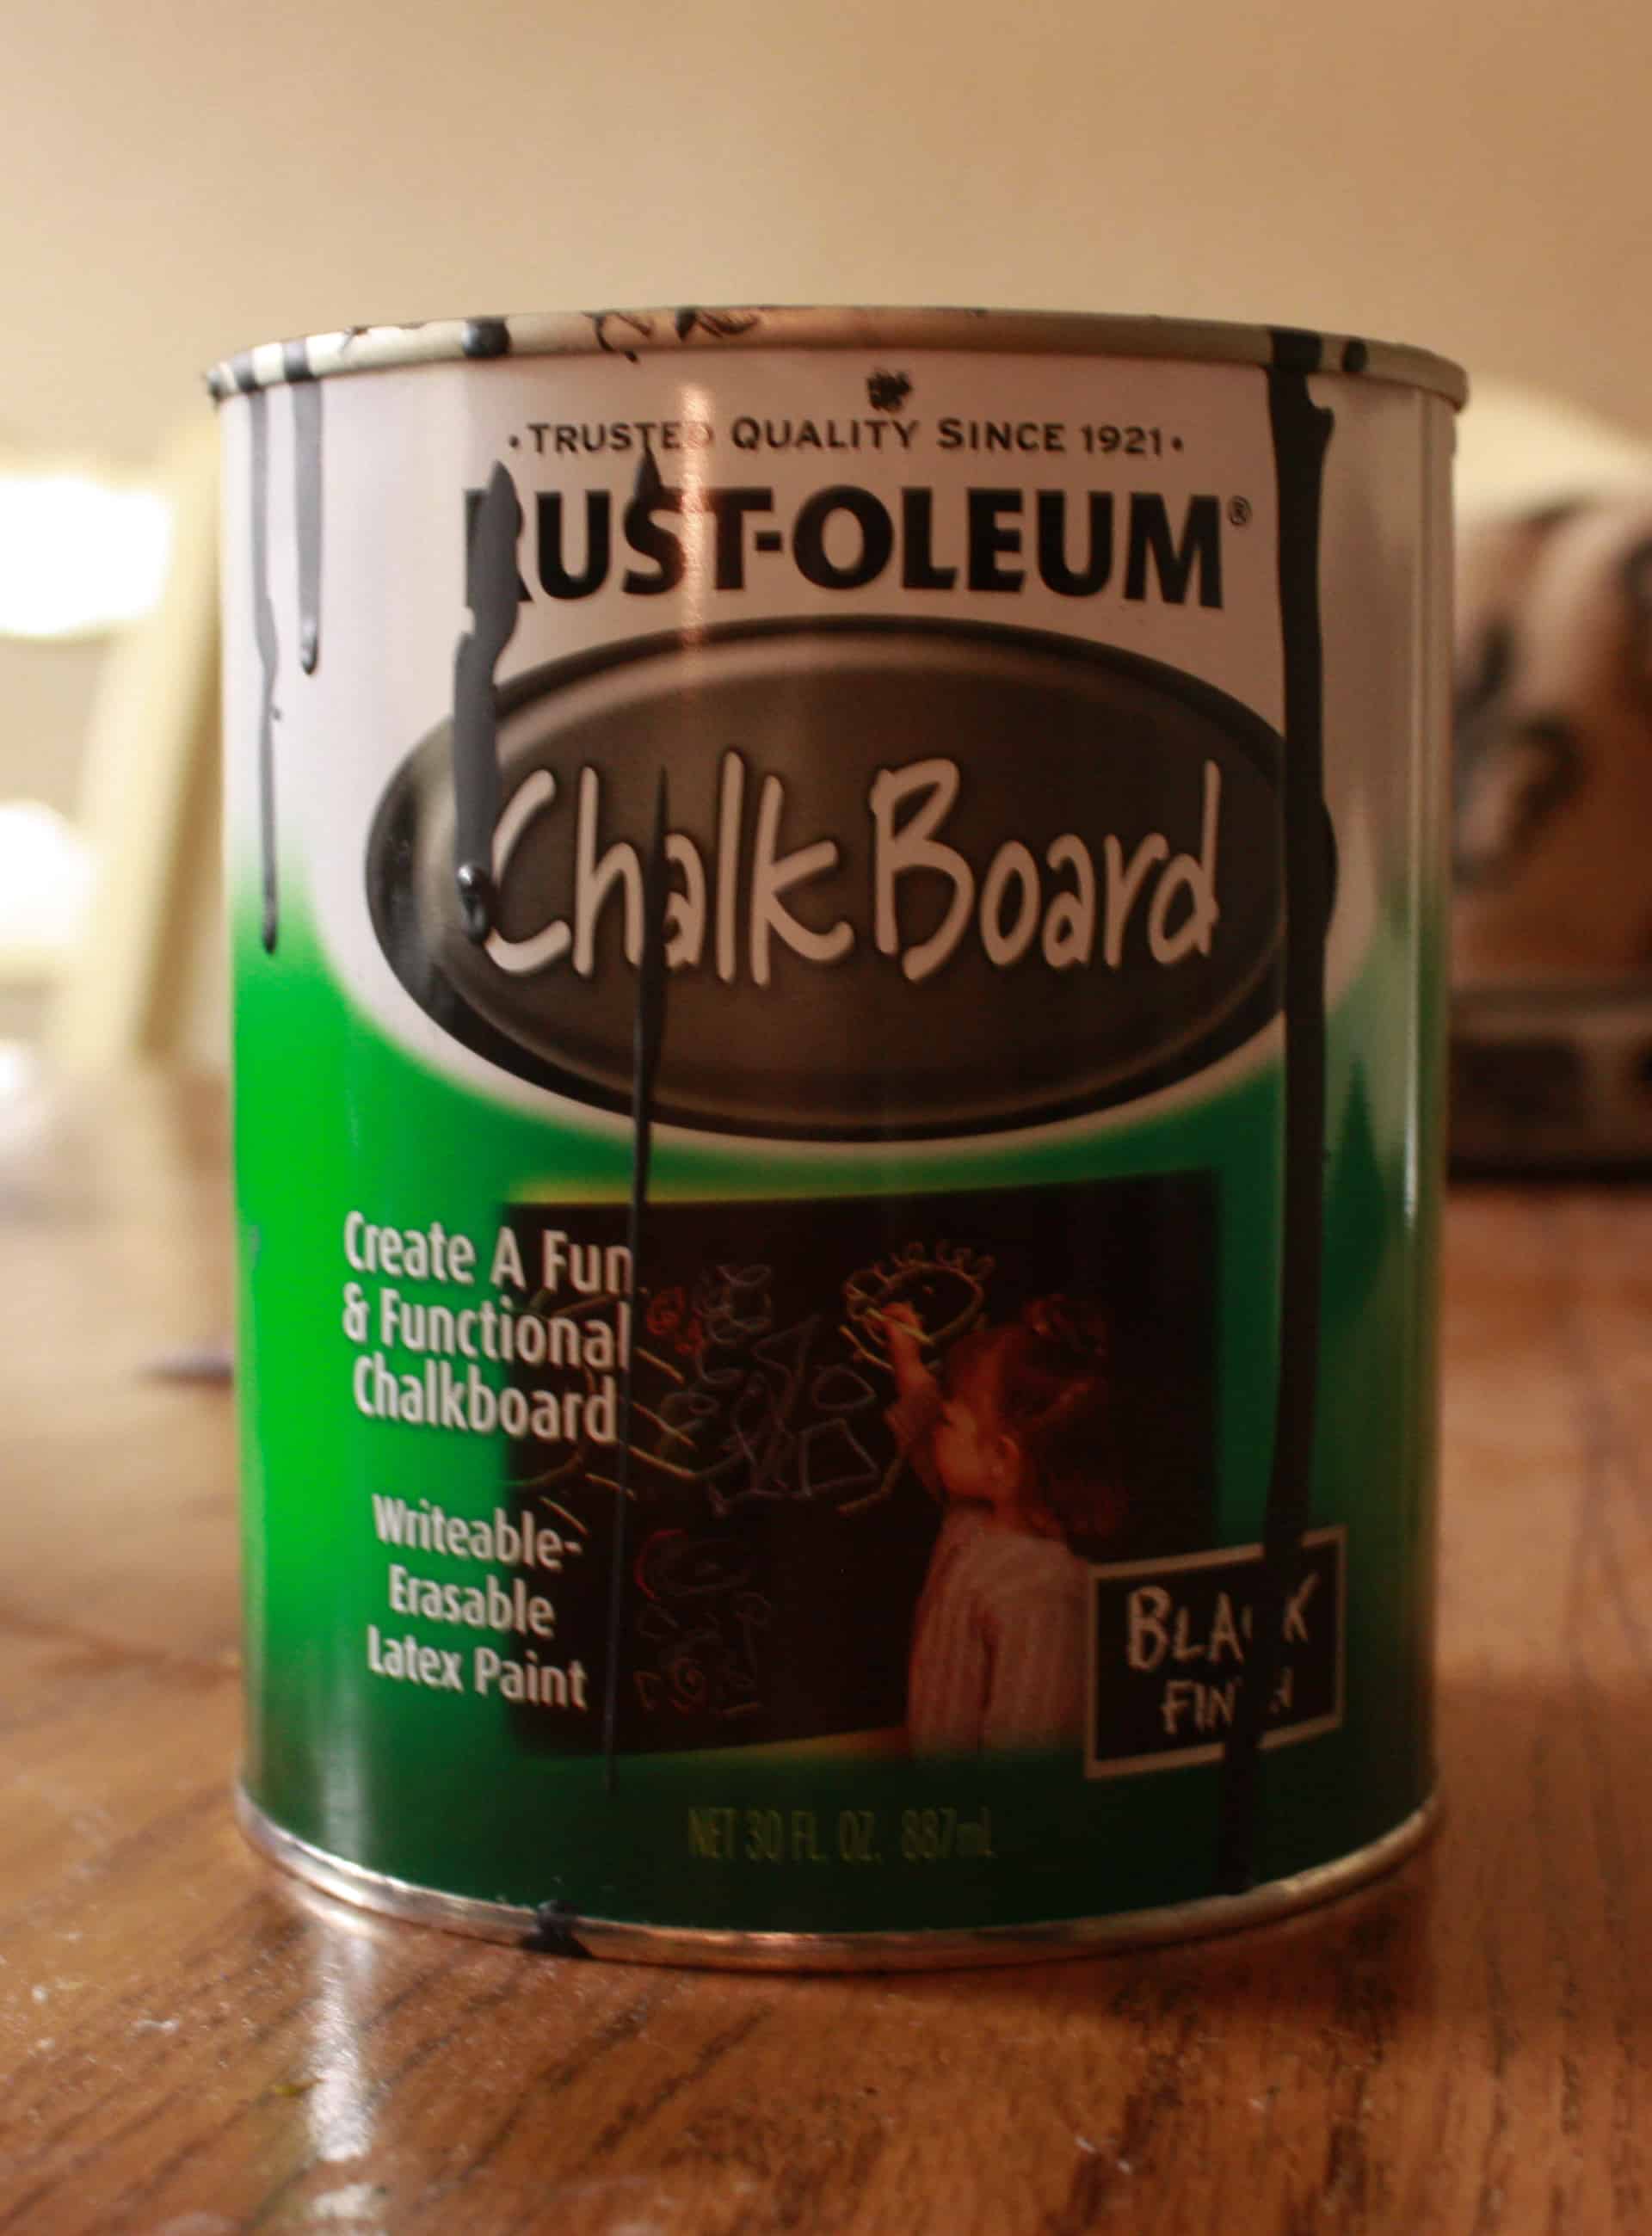
- 4 – 8ft strips of base molding scrap pieces of 1/4″ plywood chalkboard paint in a color of your choice
- 1 1/4″ brads and brad gun or finishing nails and hammer
- 3/4″ screws
- wood glue
Cut List for DIY Framed Chalkboard:
I really can’t give a cut list as your cut list will be based on the space and size you want your chalkboard to be but I am still sharing in case you wanted to build the same size chalkboard on a regular wall!
- 2 – 1×6 @ 80″ ends mitered at 45 degrees off square, ends not parallel
- 2 – 1×6 @ 60″ ends mitered at 45 degrees off square, ends not parallel
- 2 – 1×3 molding @
- 2 – 1×3 molding @
- 1/4″ plywood @ 4’w x 57″h
Building the DIY Framed Chalkboard Wall
Let me show you what I was working with after I made the barn door on the front, here is the back:
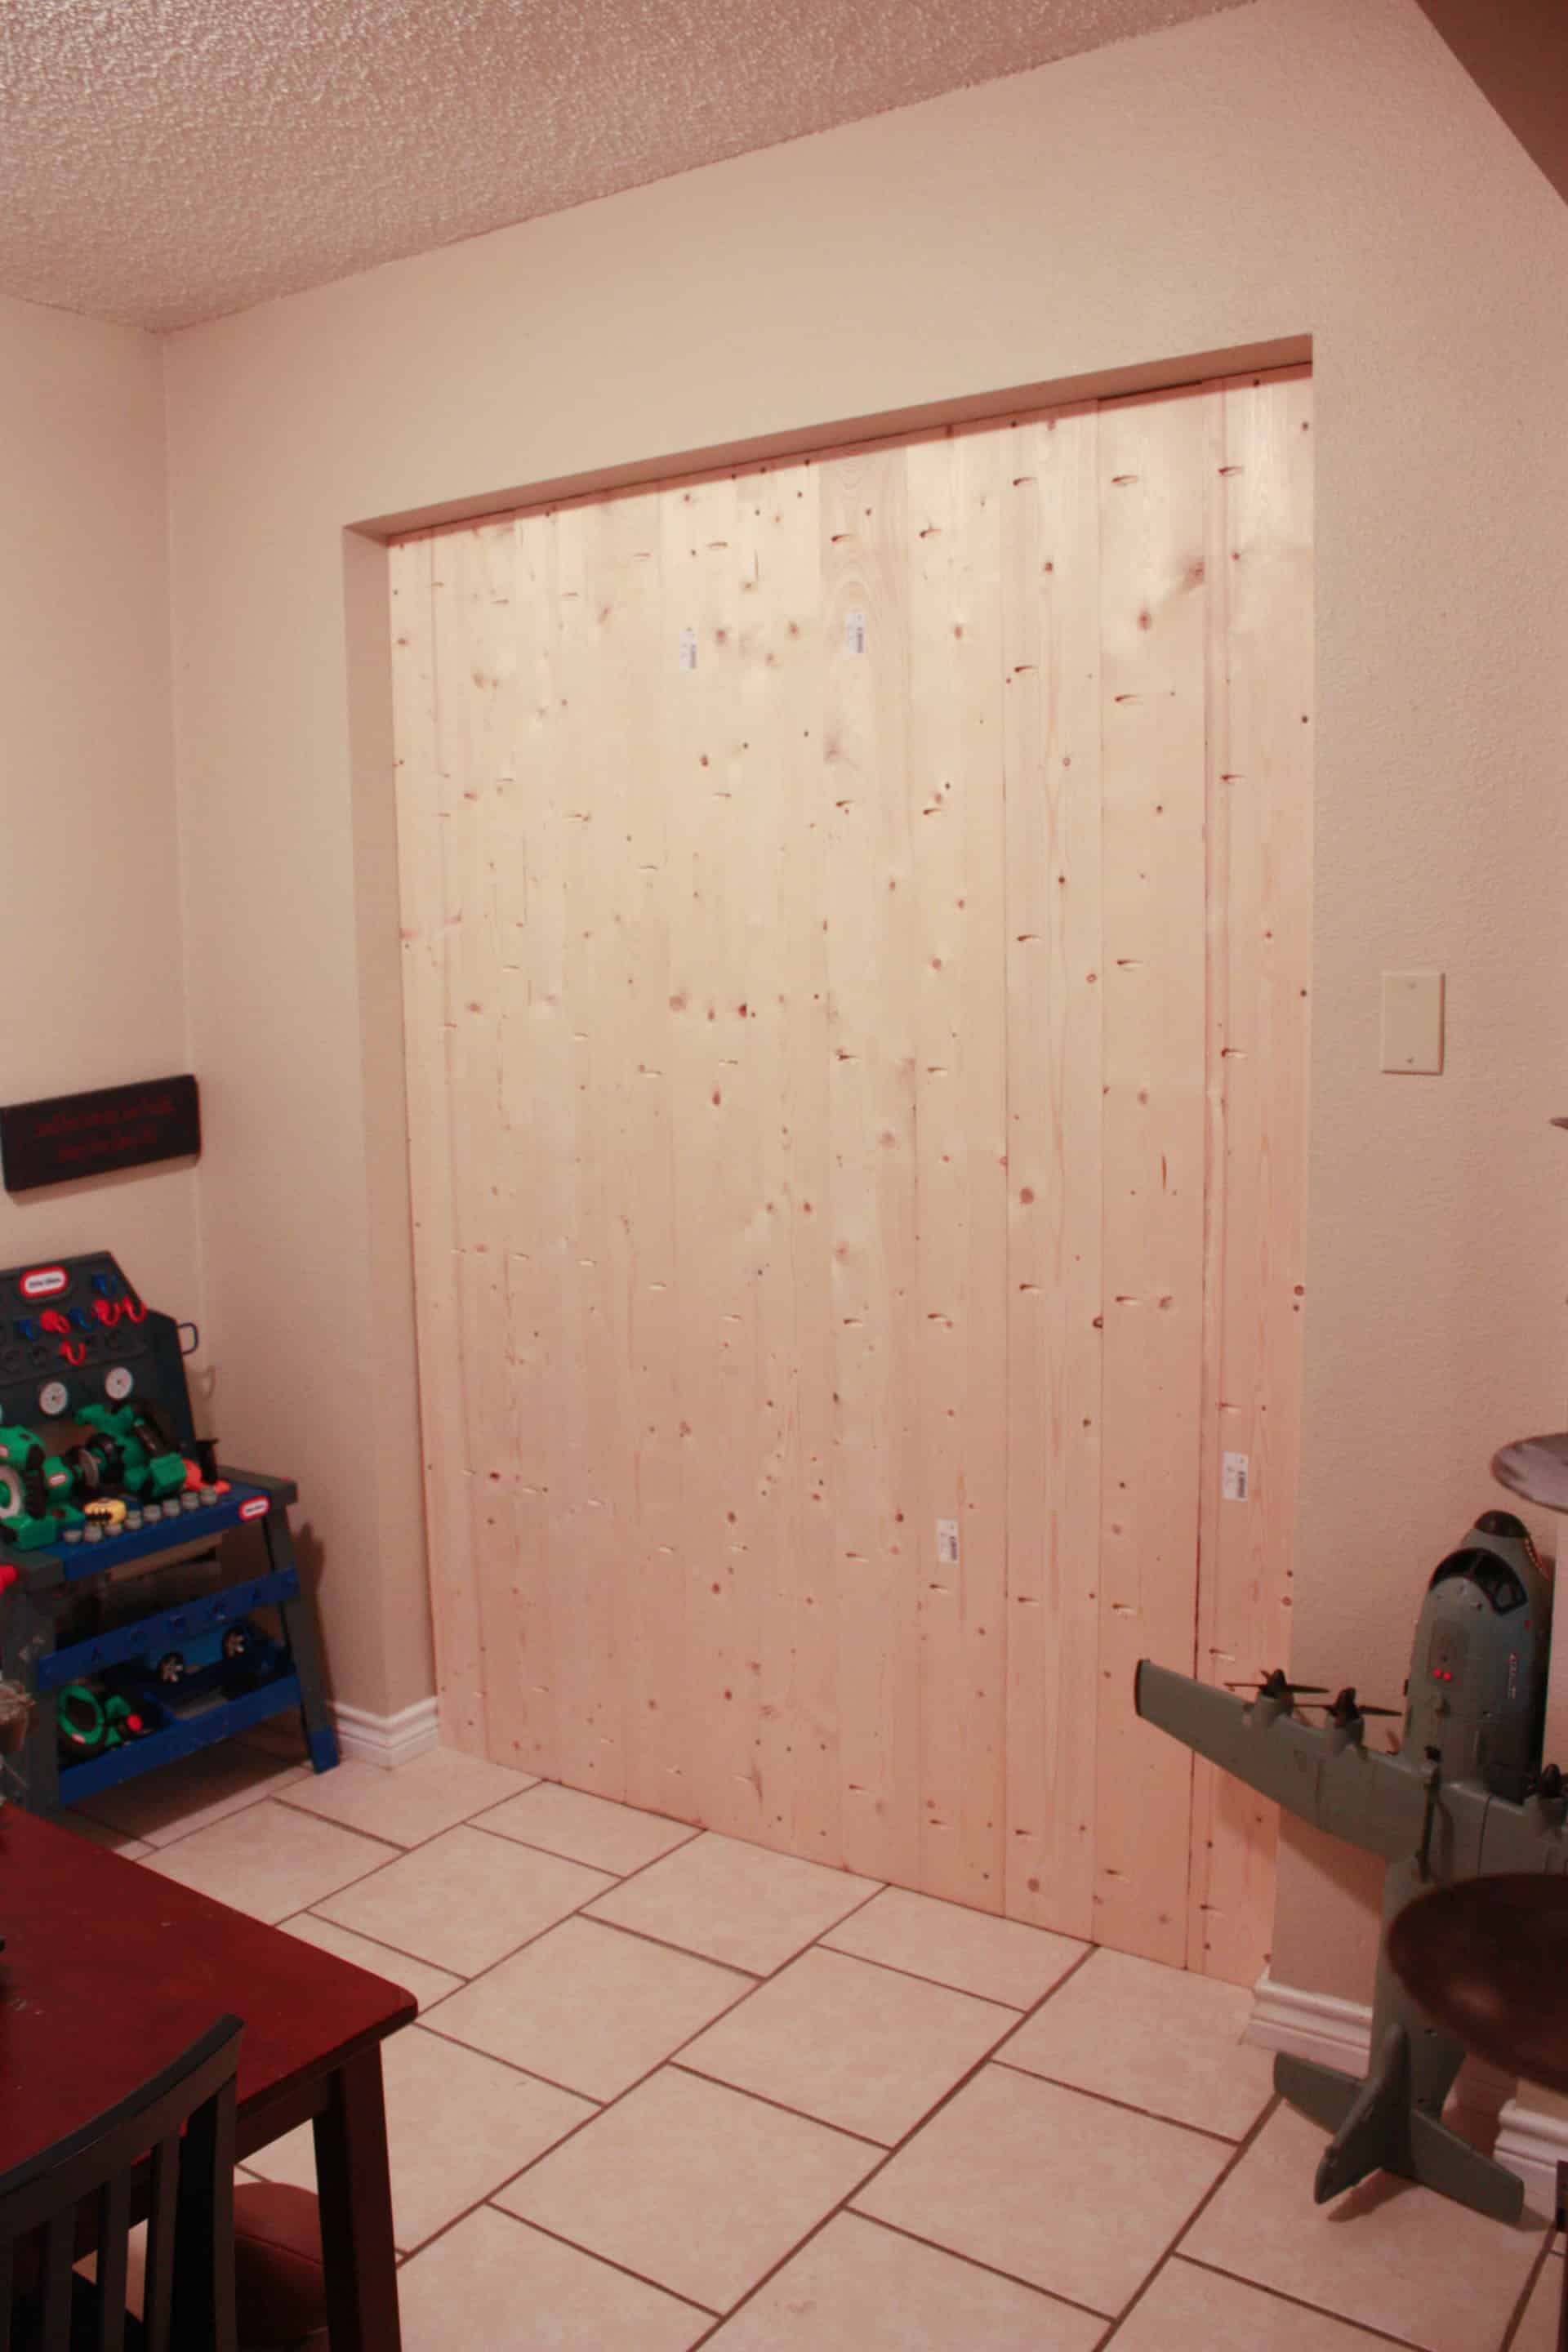
Now, I knew right away when planning this door that a chalkboard would be the perfect solution to the backside since this is my kids’ art/play/homework area! Originally I thought I was just going to fill in all the pocket holes and then use chalkboard paint to paint the whole back of the door…but after seeing ALL those pocket holes, I figured I would never get a smooth surface and it would take me FOREVER! Lol! So I decided on taking a sheet of 1/4″ plywood and screwing it to the back.
I did not want to have to use two sheets of plywood so I settled for a larger frame but slightly smaller chalkboard so I could just use one sheet! I used PureBond Plywood on this project because not only is it sanded so perfectly smooth but as you know…if it’s going in my home…I would rather not have toxic junk filling up our air!! Lol! PureBond Plywood is made using a soy-based adhesive as opposed to urea-formaldehyde and so there is no off-gassing!
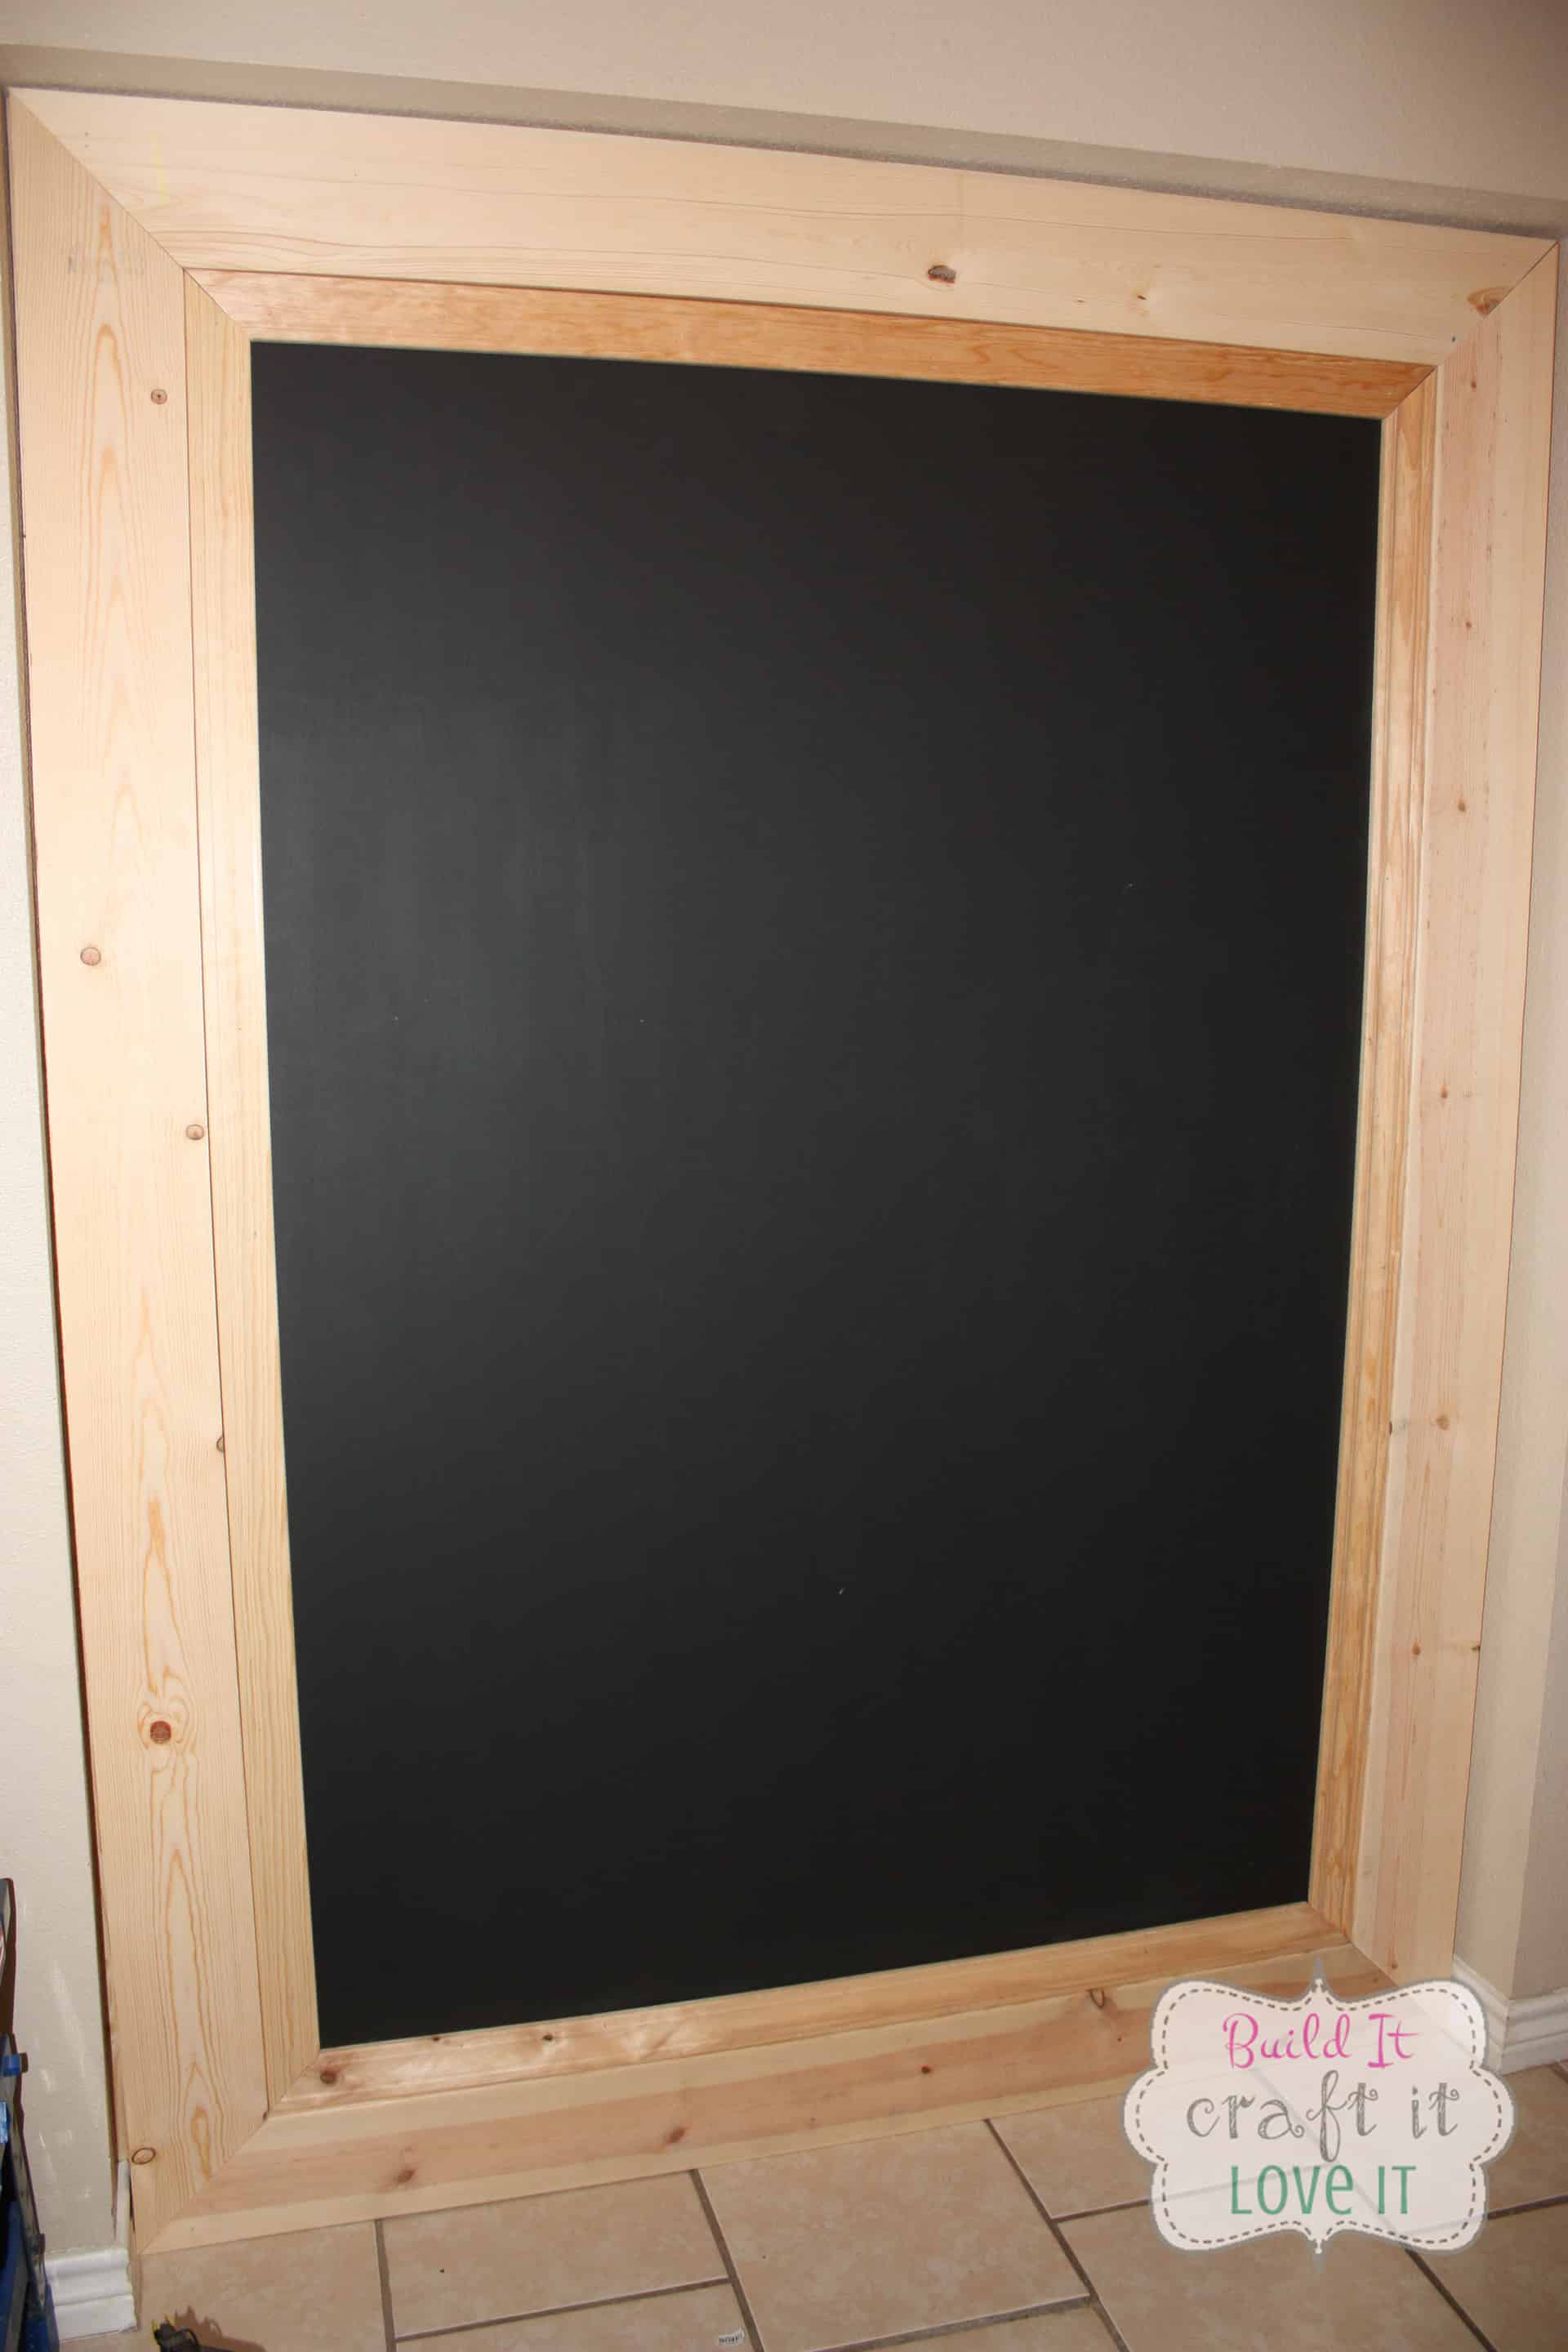
Back to the framed chalkboard wall though, I started by cutting my 1/4″ plywood to size, since I was only using one sheet, I needed to cut the length of the plywood but I was leaving it at four feet wide! I just used my circular saw to cut the bottom off at around 68″! If you want you can use the full sheet and make it 8ft long…my opening just wouldn’t allow it, so I cut mine down to the 68″.
Using wood glue and 3/4″ screws I screwed the plywood into place!

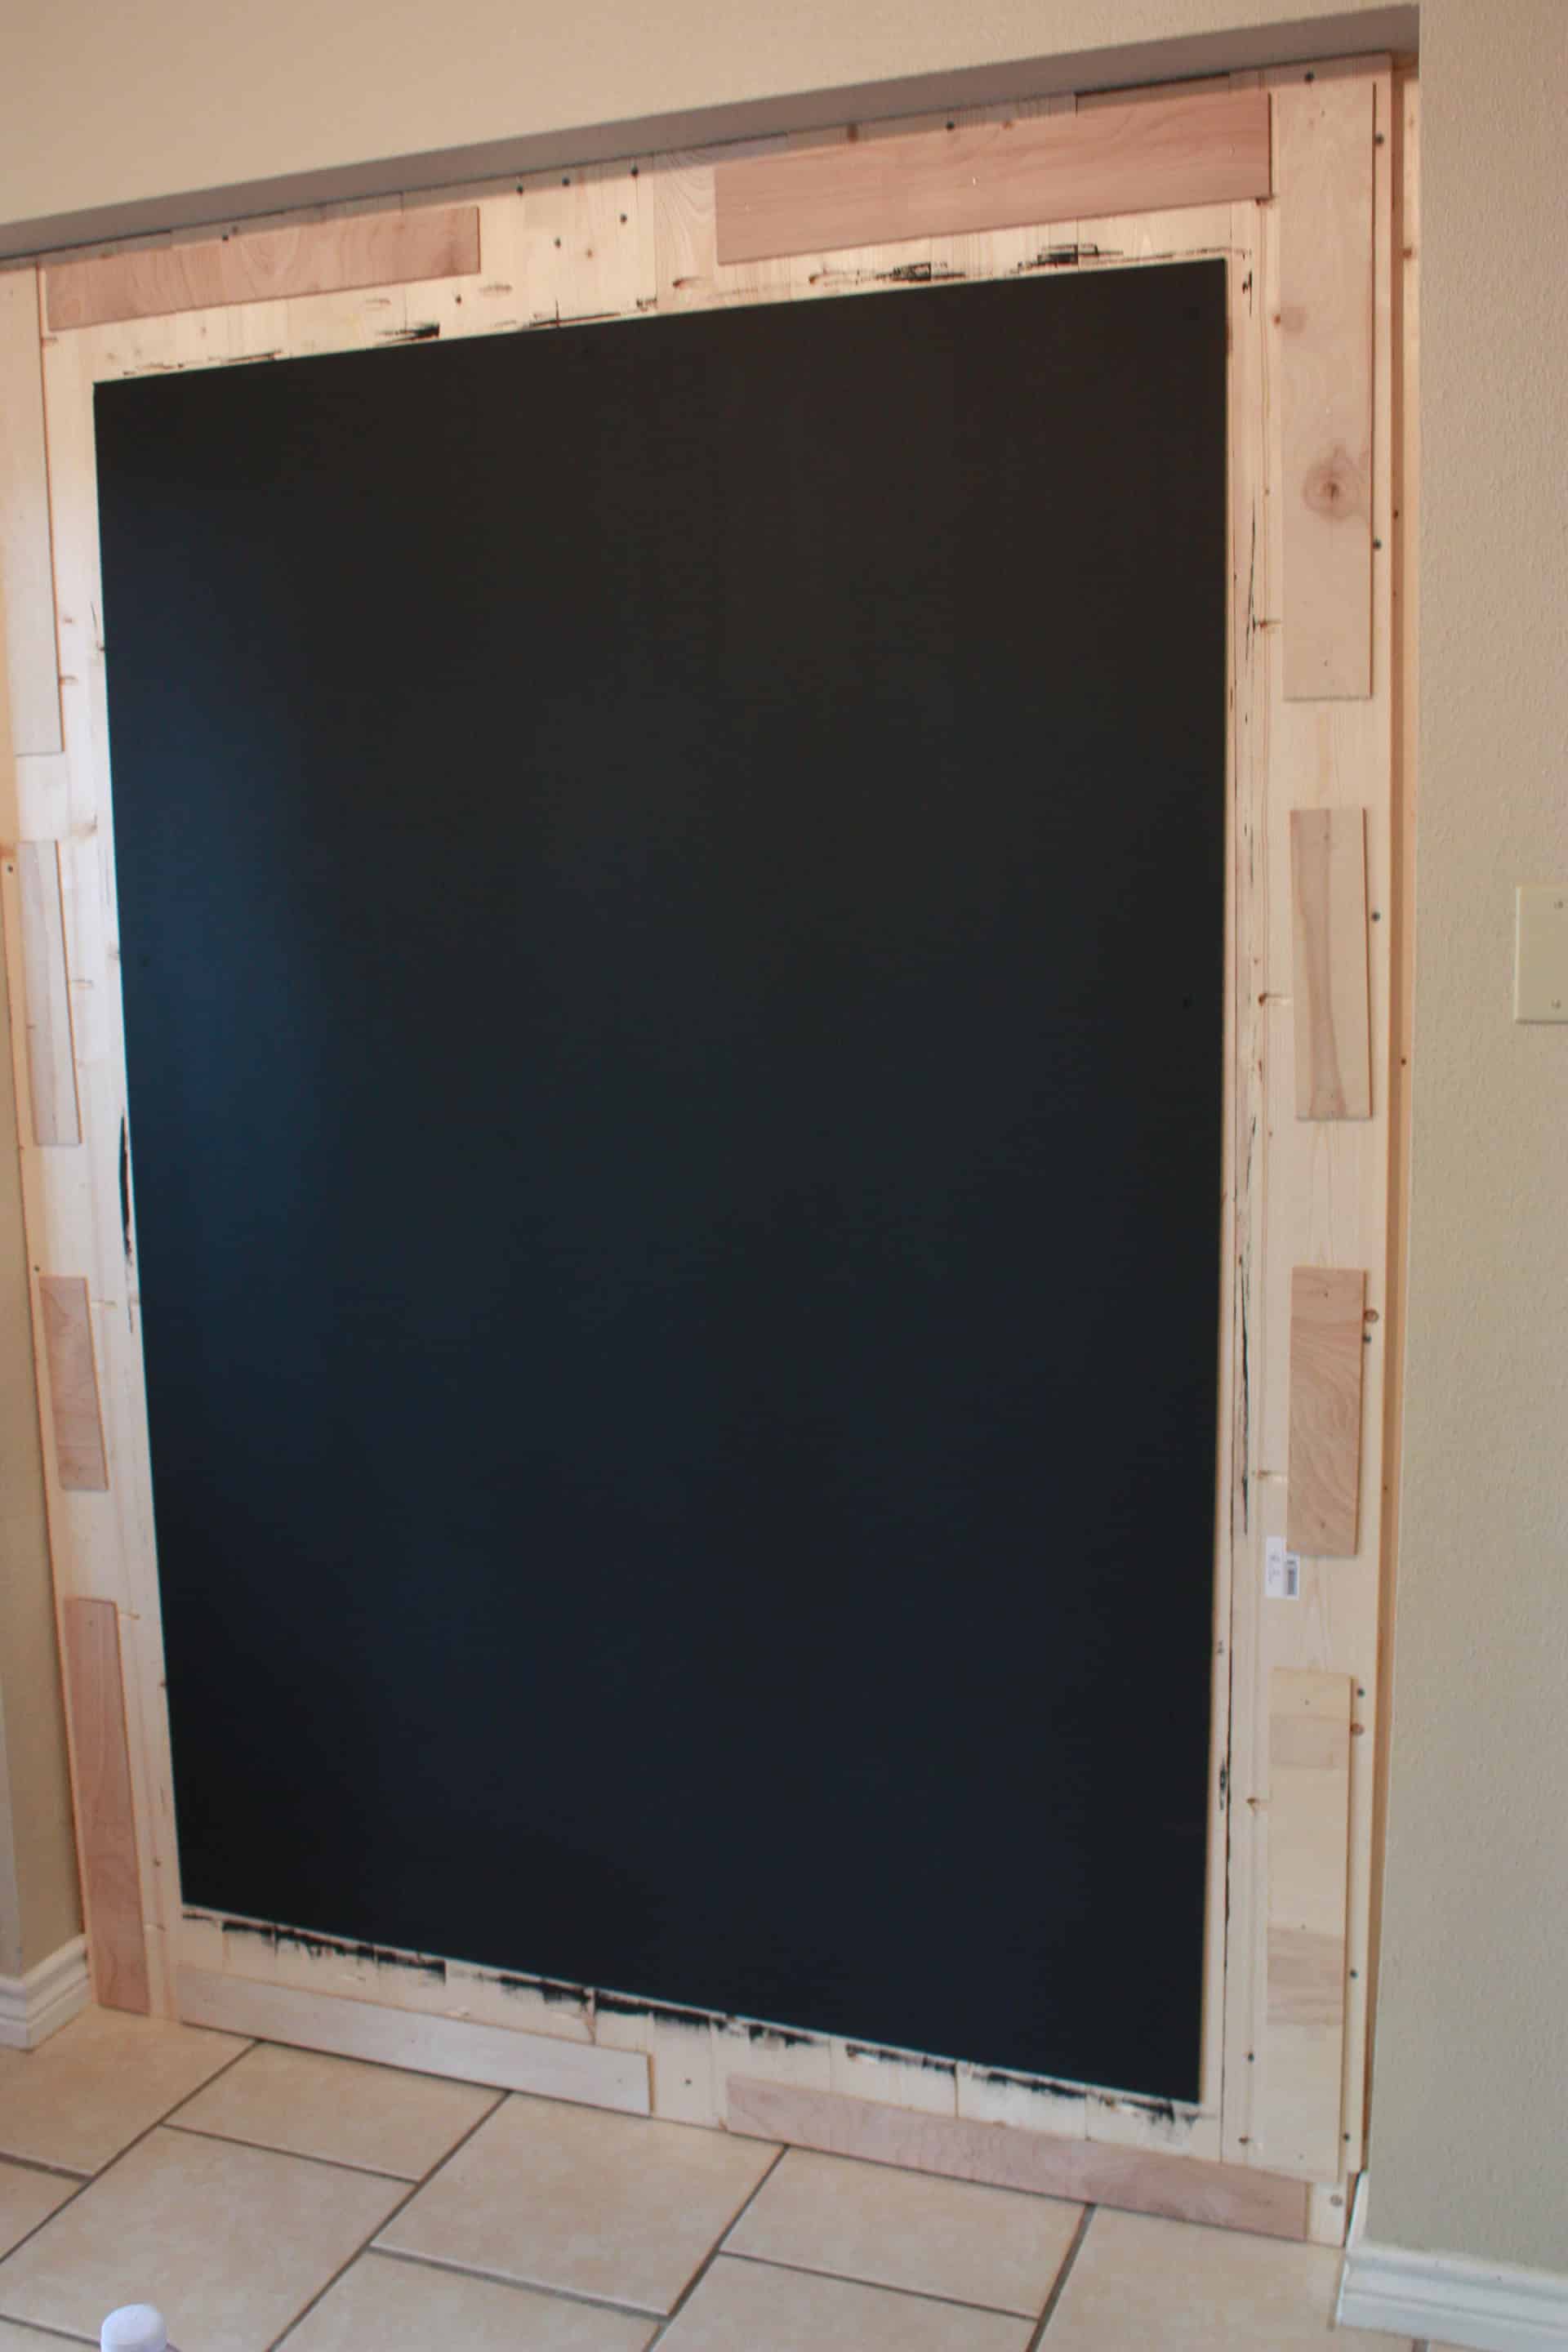
Here’s the best photo I have, I don’t have a photo before I painted the plywood, but at least you can get the idea of where and how I placed the plywood! Then I painted it with chalkboard paint AFTER I hung the plywood and filled in the screw holes with a little wood filler!
The plywood didn’t fully fill the space as you can see in the photo above, but in order to have the 1x6s sit flush, I had to add little scraps of 1/4″ plywood every so often to keep the board from shifting or leaning outward. I am not sure if that makes sense, but keep following!
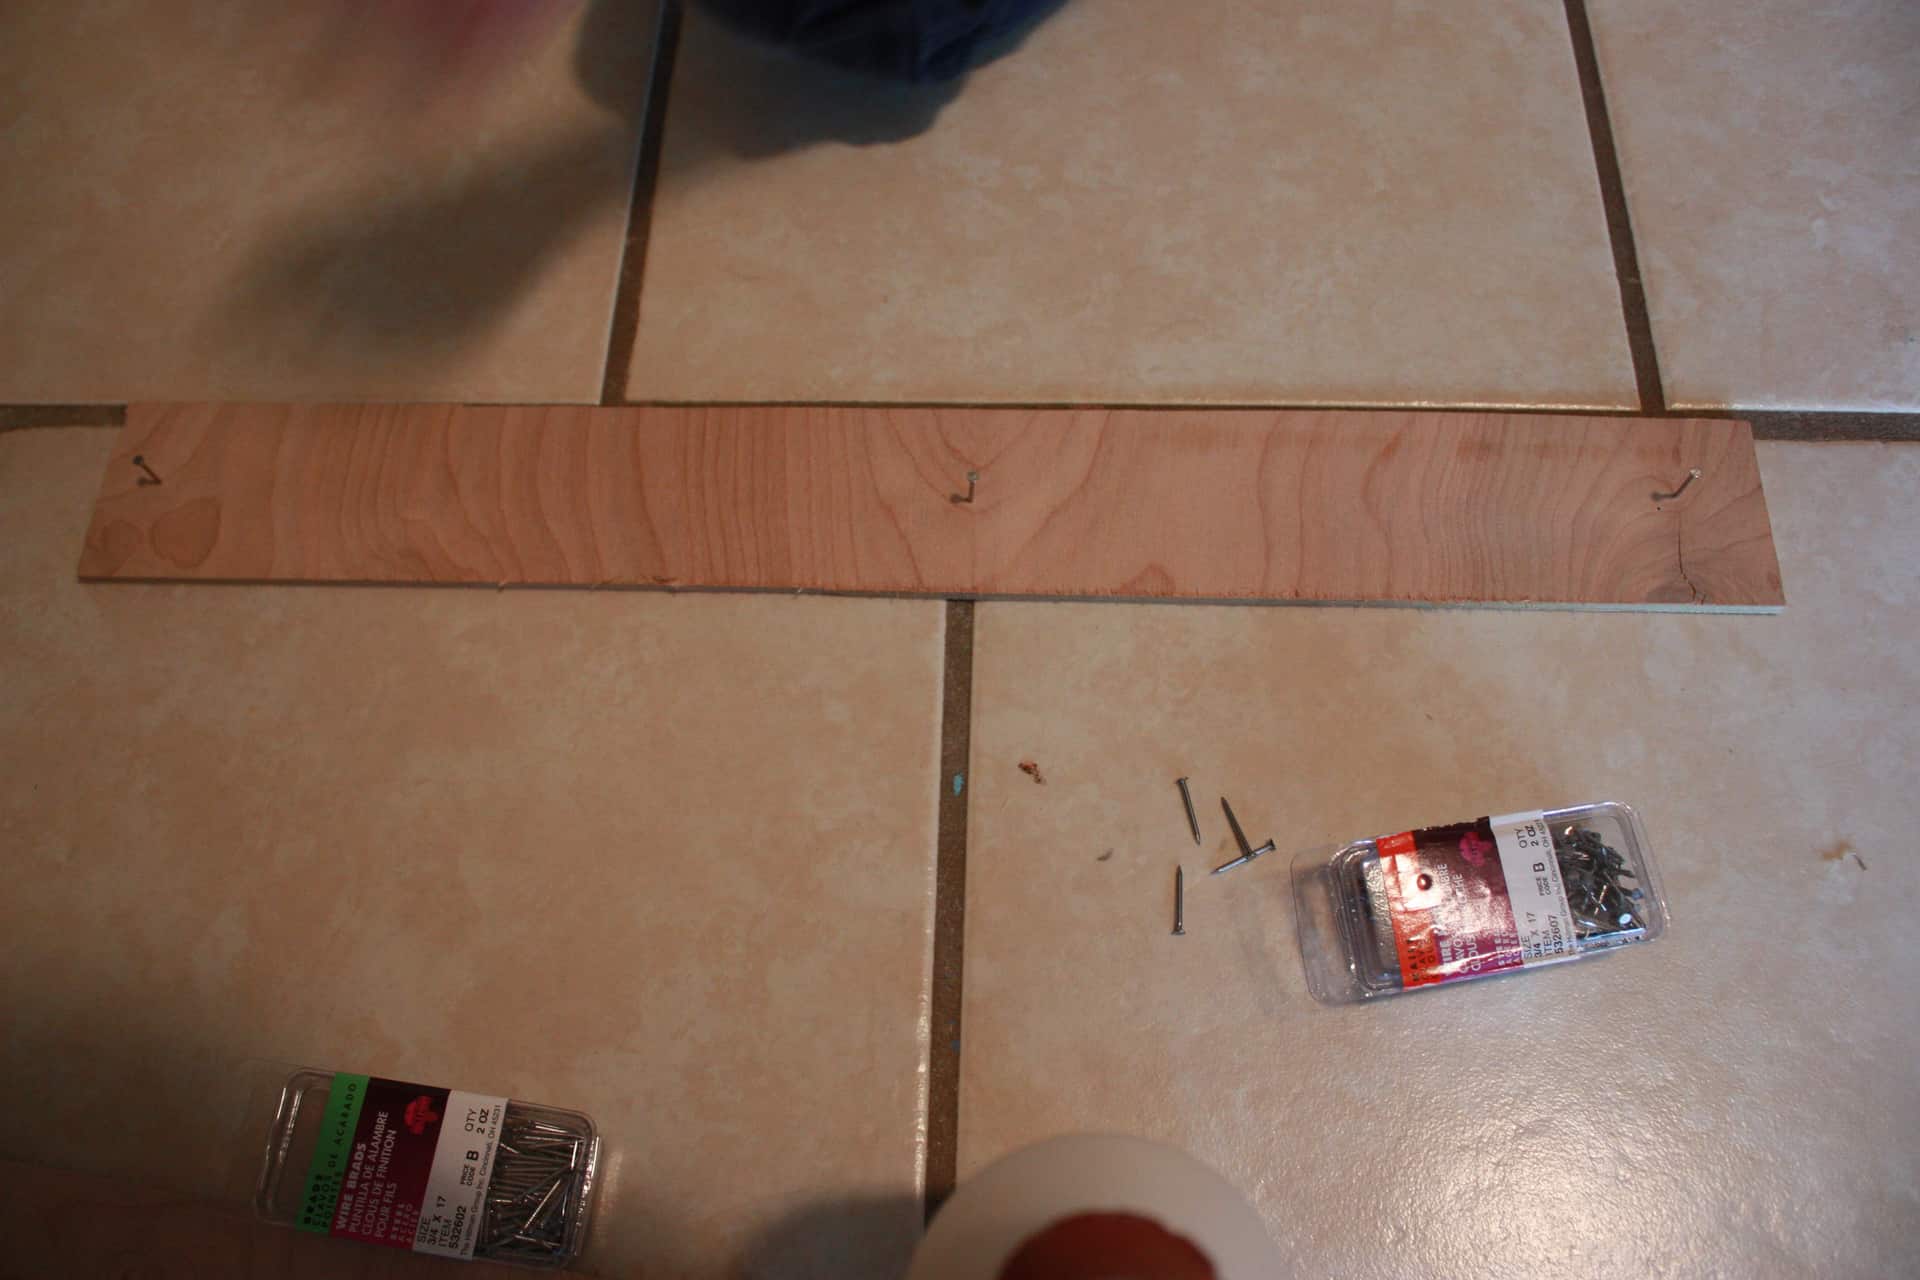
We first laid our little 1/4″ plywood strips down and started our nails into the board (I didn’t have anything smaller than 1 1/4″ brad nails and the hardware stores here in town didn’t carry anything smaller either so we had to make do with the ole hammer and nails…lol!) You can use 3/4″ brad nails! Or if you want to use a hammer and nails, by all means, go ahead!
Add some wood glue!

And then my little handy helper nailed them up for me!

After all that work, it looked a little crazy, but it served the purpose and got rid of some scraps of mine! If you are placing this on a flat wall, you can just frame out the 1/4″ plywood, you do not have to do any of this scrap plywood stuff!
Now you will cut the frame boards for the chalkboard. Set your miter saw to 45 degrees off square and make your cuts!
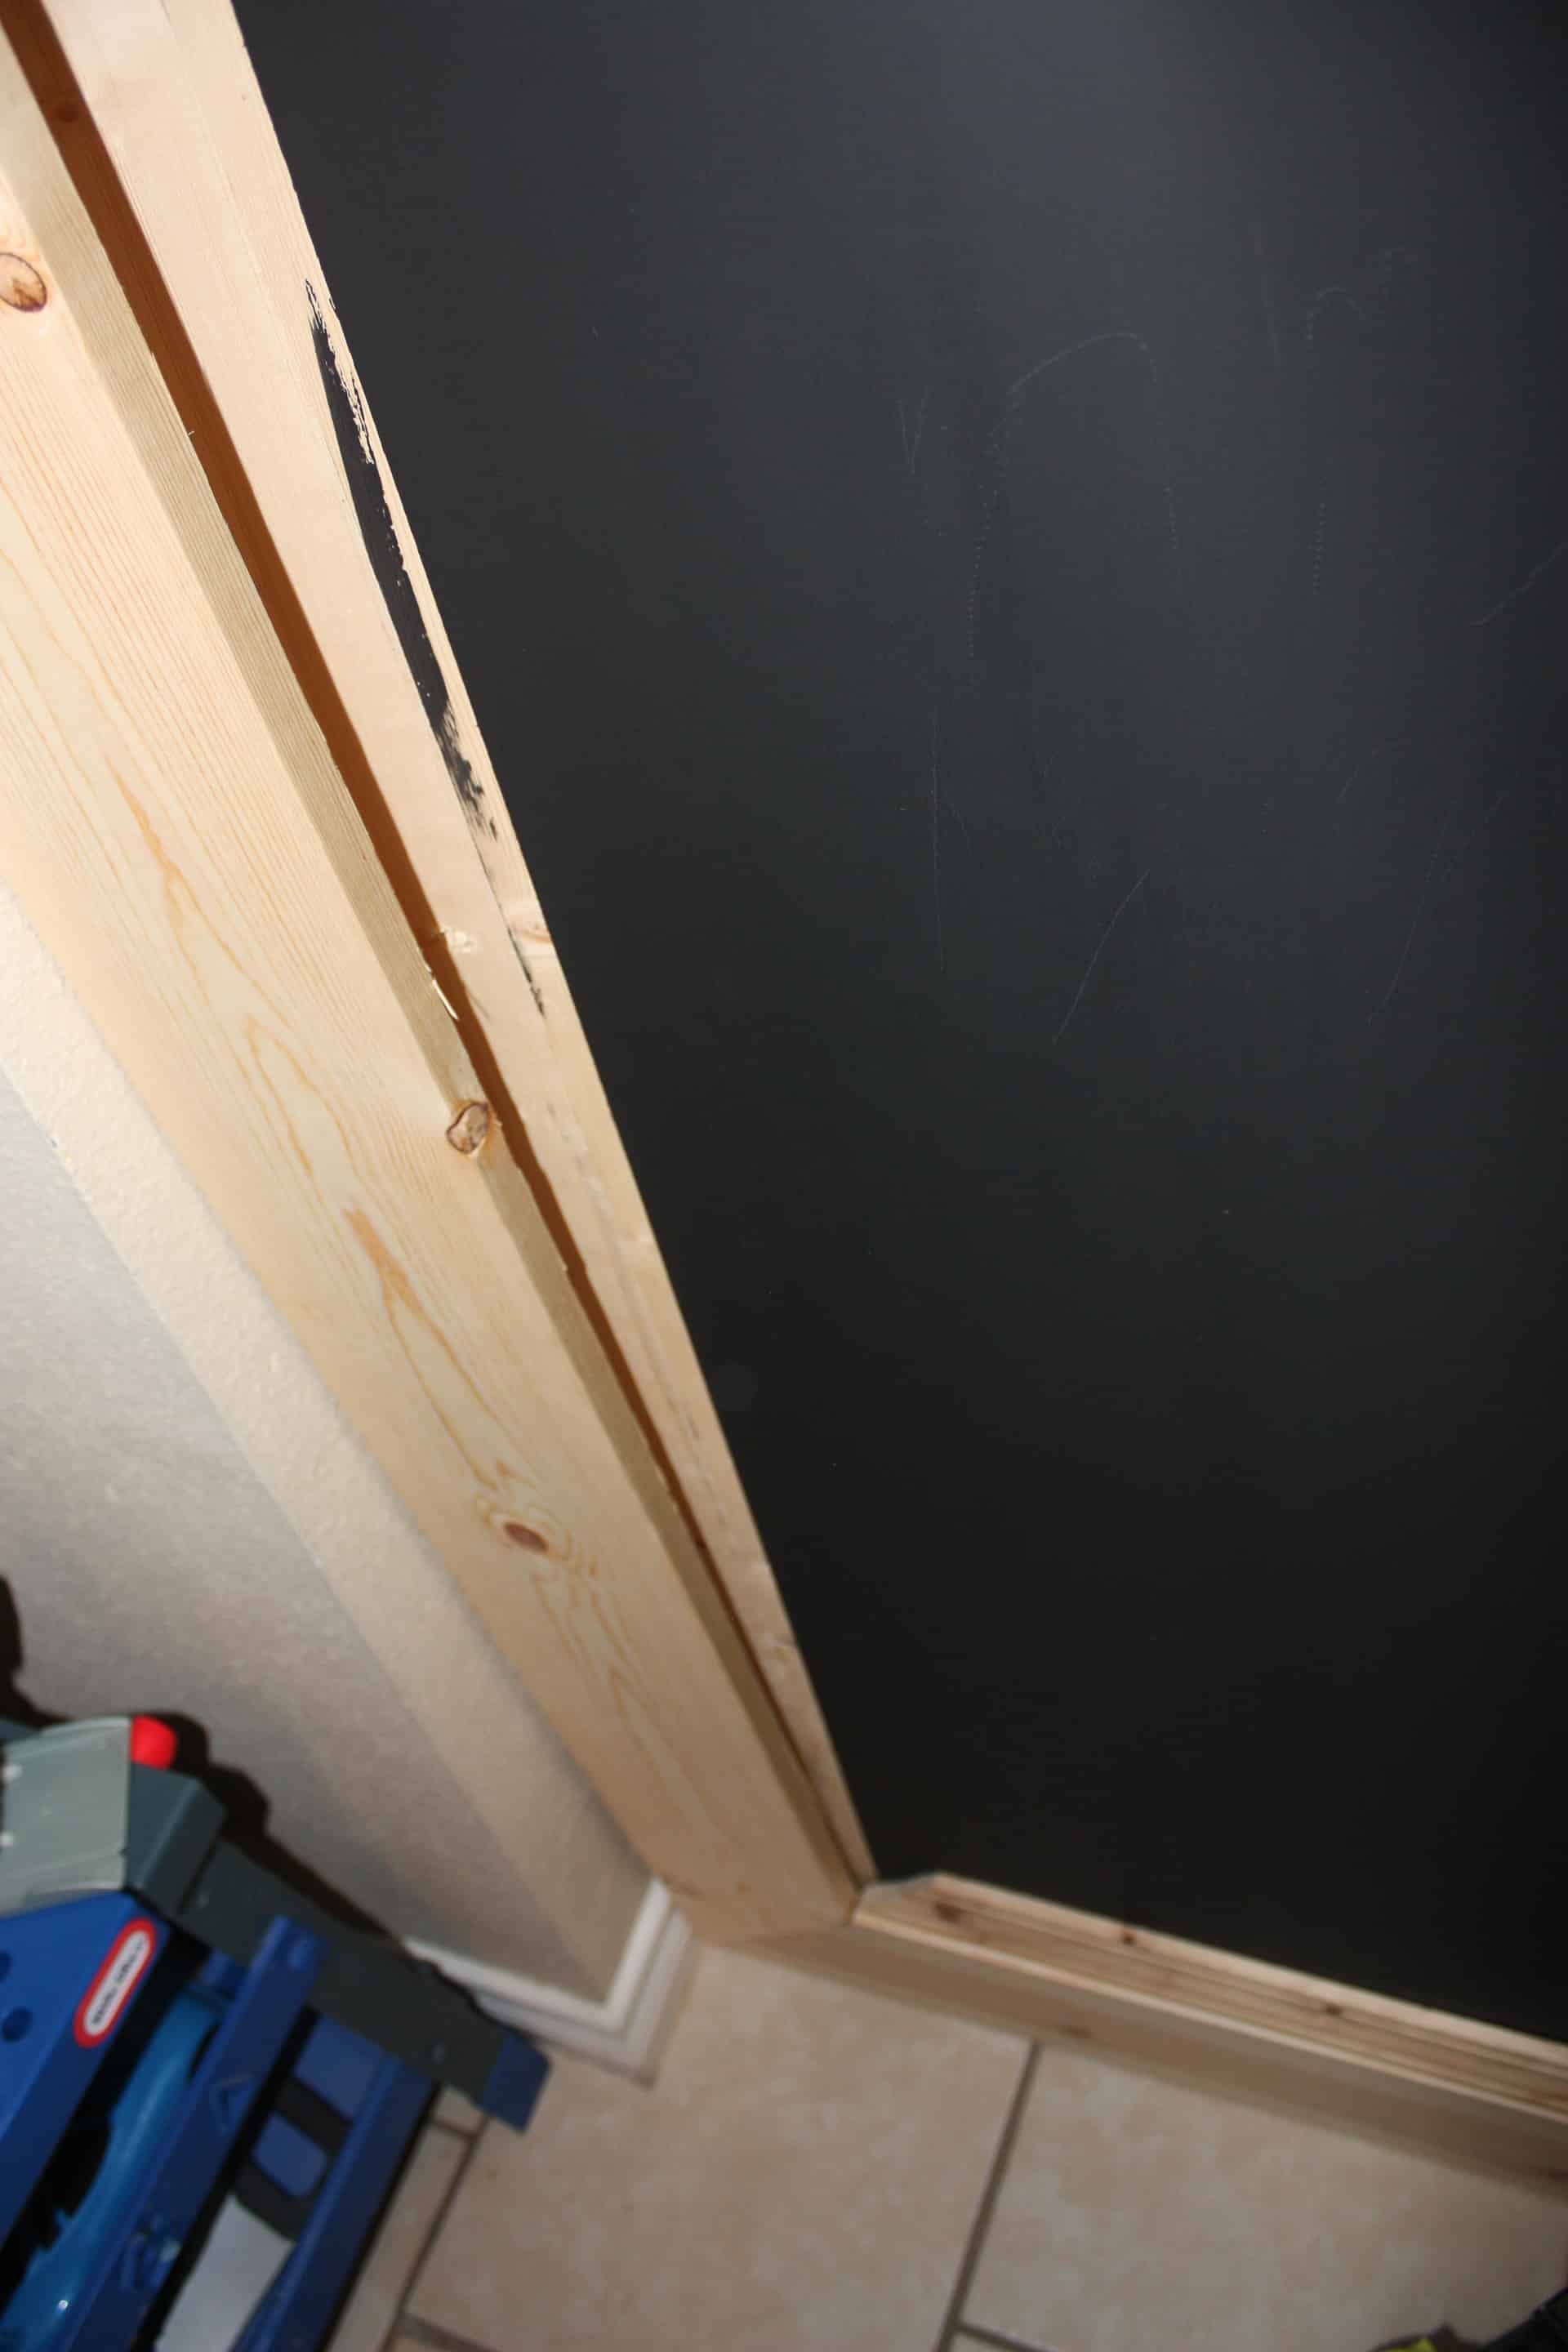
So here goes! I measured the bottom one first because I was not working with a square space to begin with…I do not know who built this opening…but they did a horrific job I tell ya! It is WAY off! So I was working at a disadvantage but I was okay with the fact that it wasn’t going to look perfectly square! Now when you are making a mitered square the ends of your board will NOT be parallel!! As shown below. The longest end of the board should match the measurement for your opening.

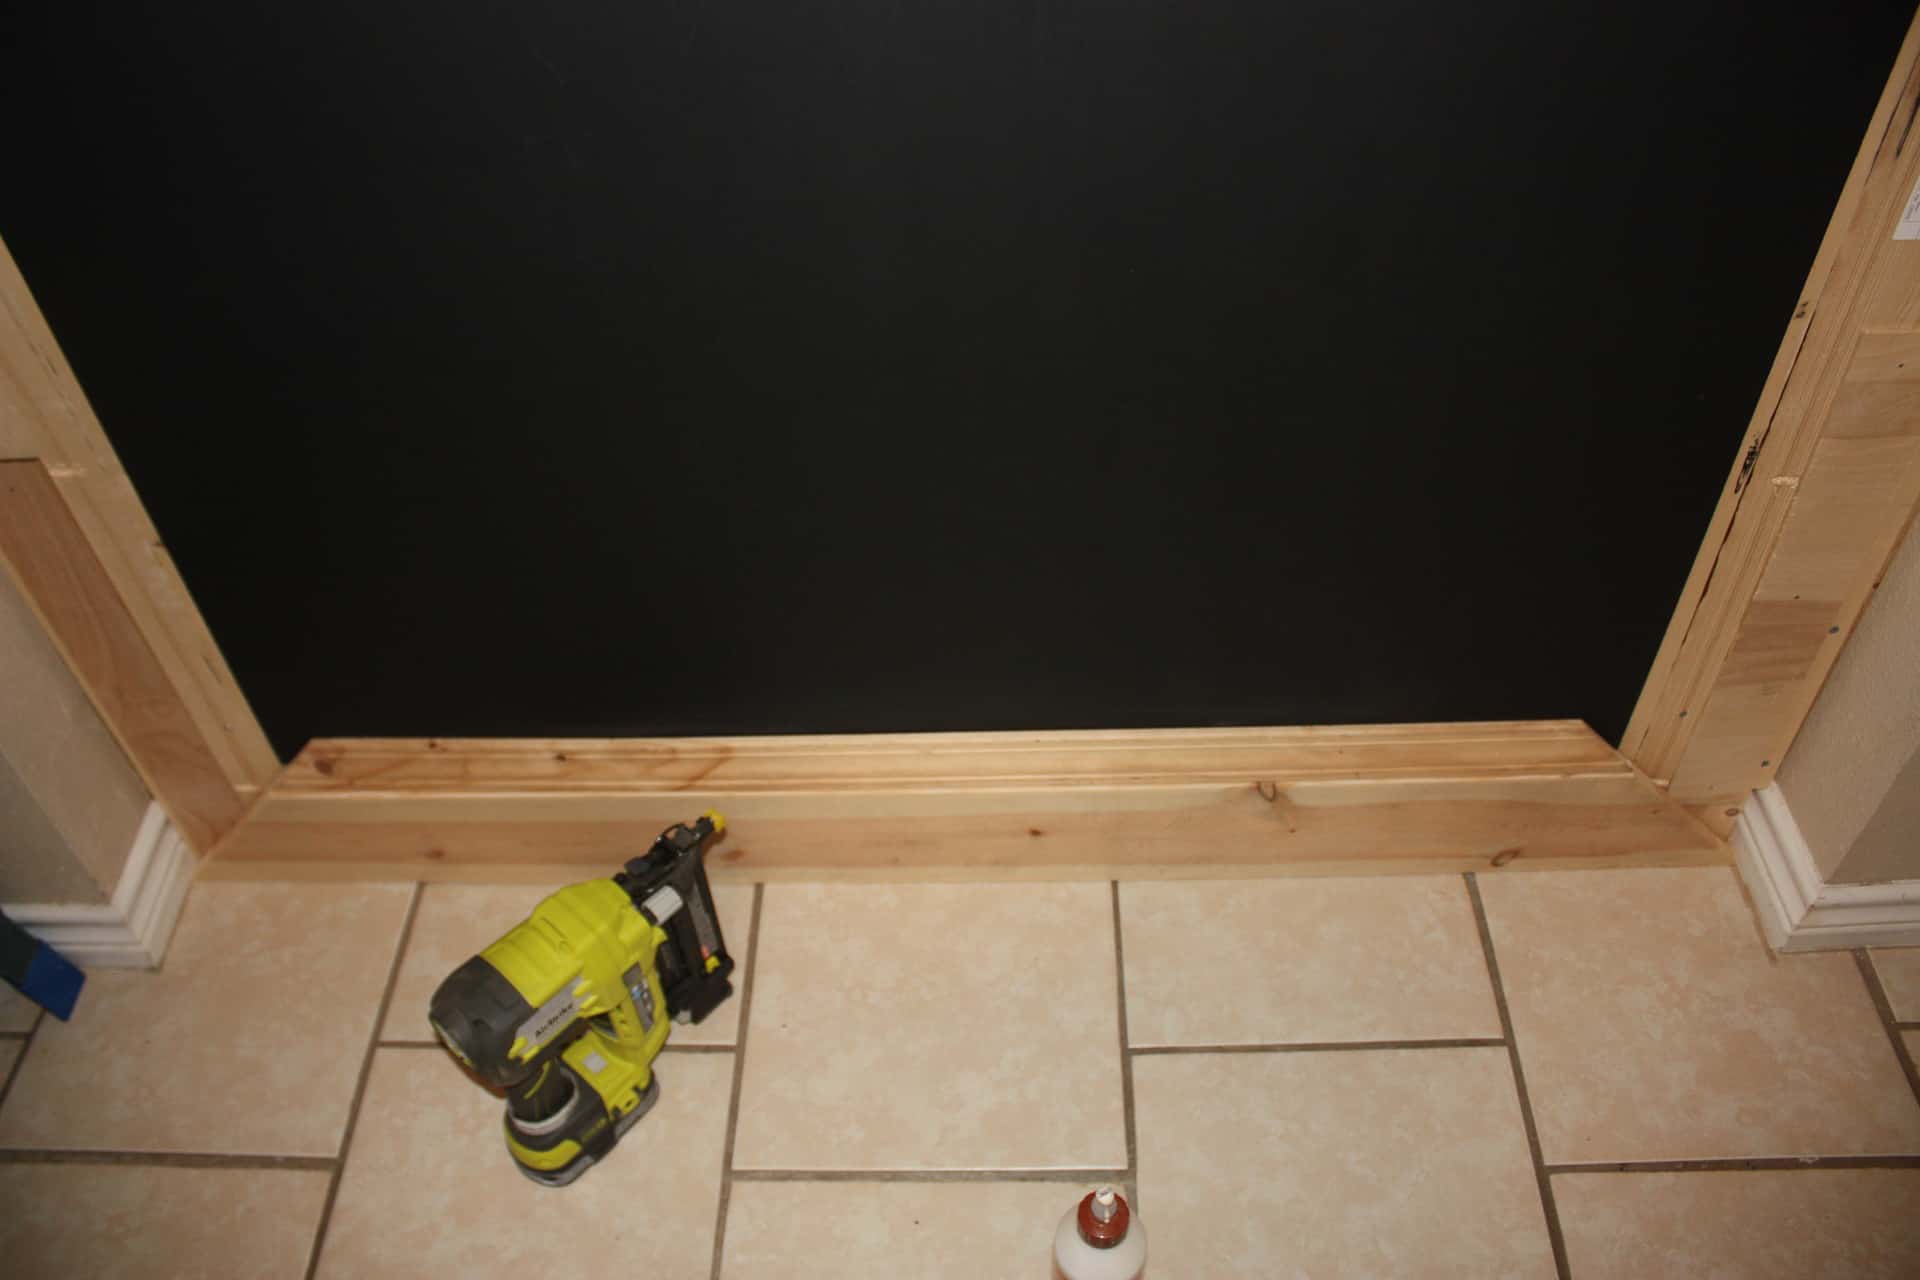
I went ahead and cut my molding at this time for the bottom section only because it was easier for me to line it up with my board that I had already cut to size! Note how the ends look, not parallel, this will mean you will either have to rotate your saws miter platform to the opposite side, or you will have to flip your board over and turn it around, my saw is capable of cutting either side miter but I didn’t risk changing it once I had it on 45 degrees!! Lol!
I sanded each board before I stapled it as well so that I would not have to have the sanding mess inside. I did have to fill in the brad nail holes after, but I just hand sanded the little spots so there wasn’t too much of a mess!
Next, you just add your glue and get your brad gun…I bought this Ryobi cordless brad gun mainly because I had to assemble this project inside my house and our compressor cord couldn’t reach…good excuse right…I know!😏
We are getting there…one brad nail at a time! Lol! To do the sides, as I said earlier…I gave up on measuring and just mitered the one end, brought it in, and held it in place like so.
Sorry, bad picture, but I am placing the mitered end to fit with the board we already stapled and now I just drew a line at the top of the board where I needed the longest point of my miter to be like so.
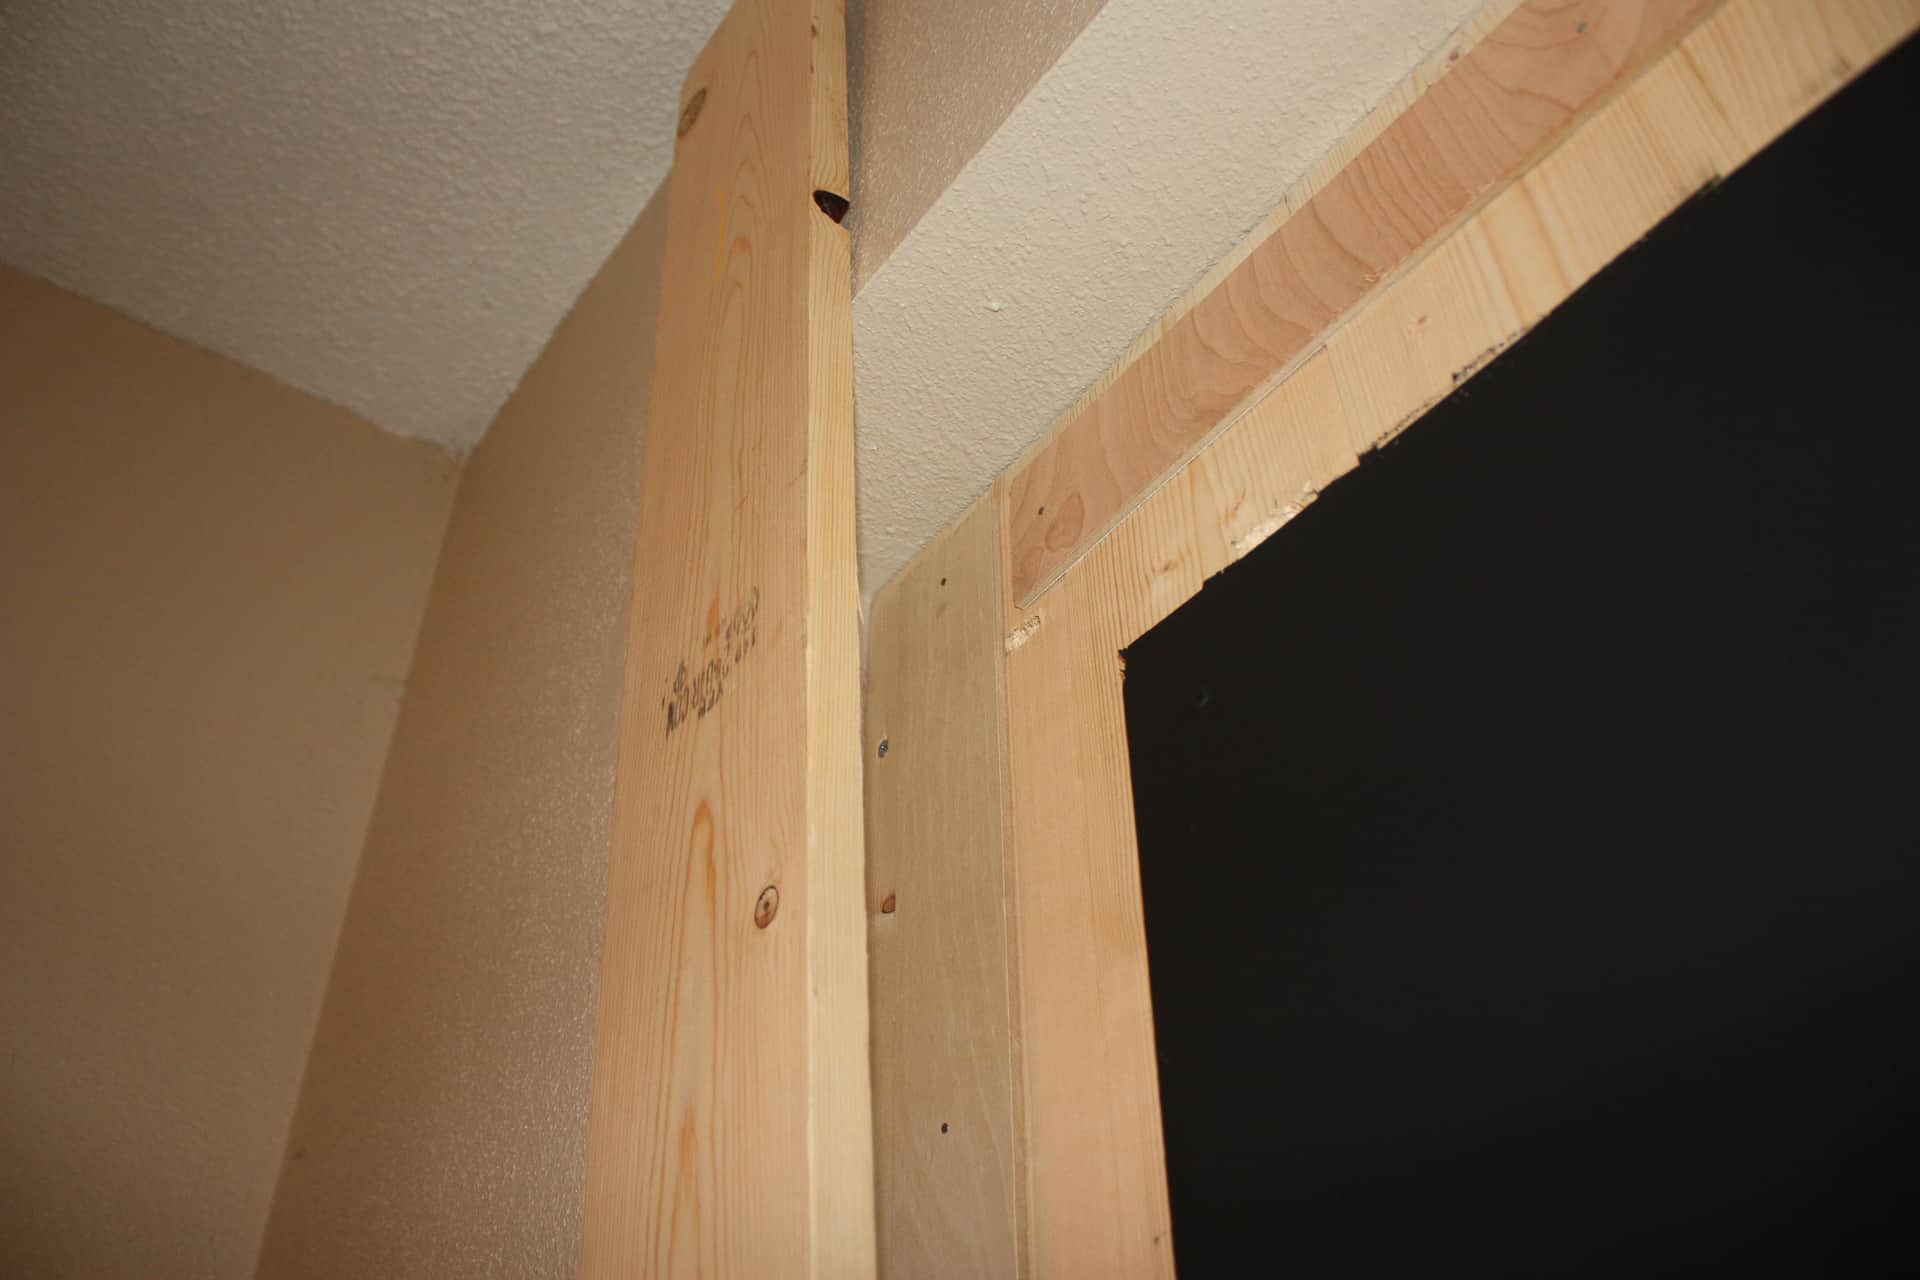
Marked it, went out, and cut it! I would bring the board inside after making a cut and check it to size, once I had it the perfect size, I took it back out, sanded it, brought it back in, and glued and stapled it right on up there! Yeah man, we are getting this done!
I continued this process until I had the 1×6 frame complete.
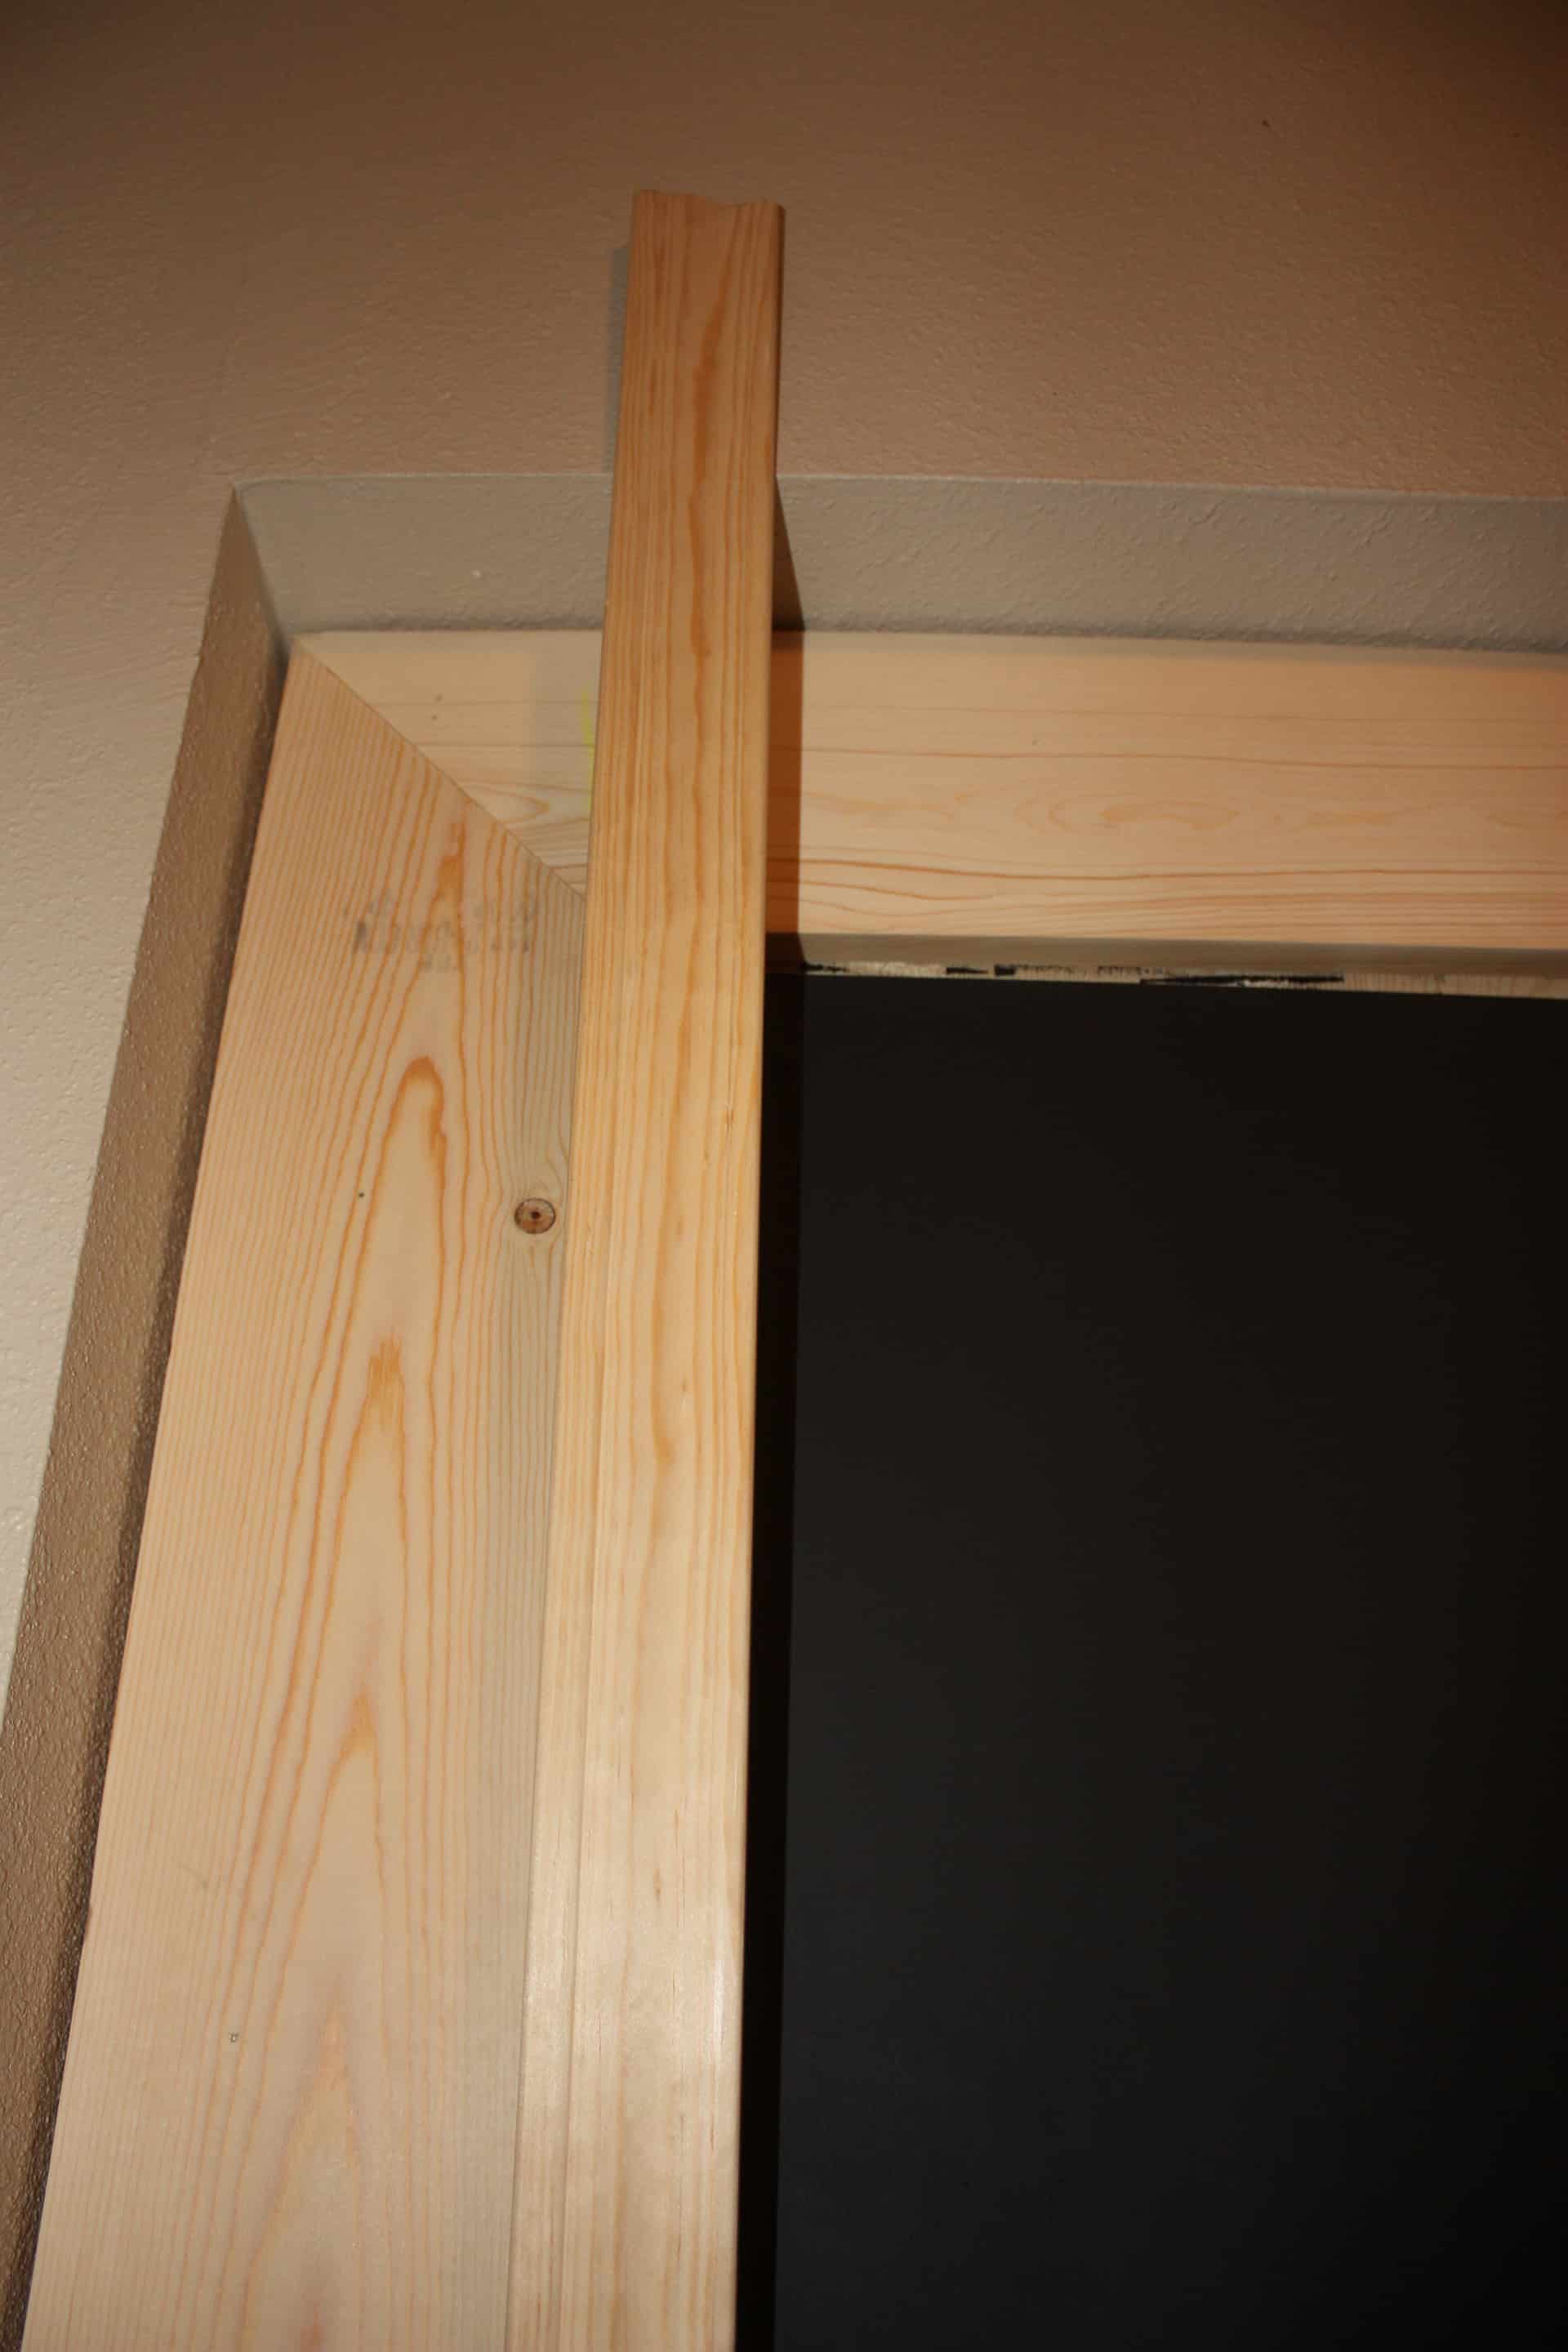
Now I continued the same process with the molding, mitered one end brought it inside, set the mitered end with the bottom mitered end, and mark it at the top like so.

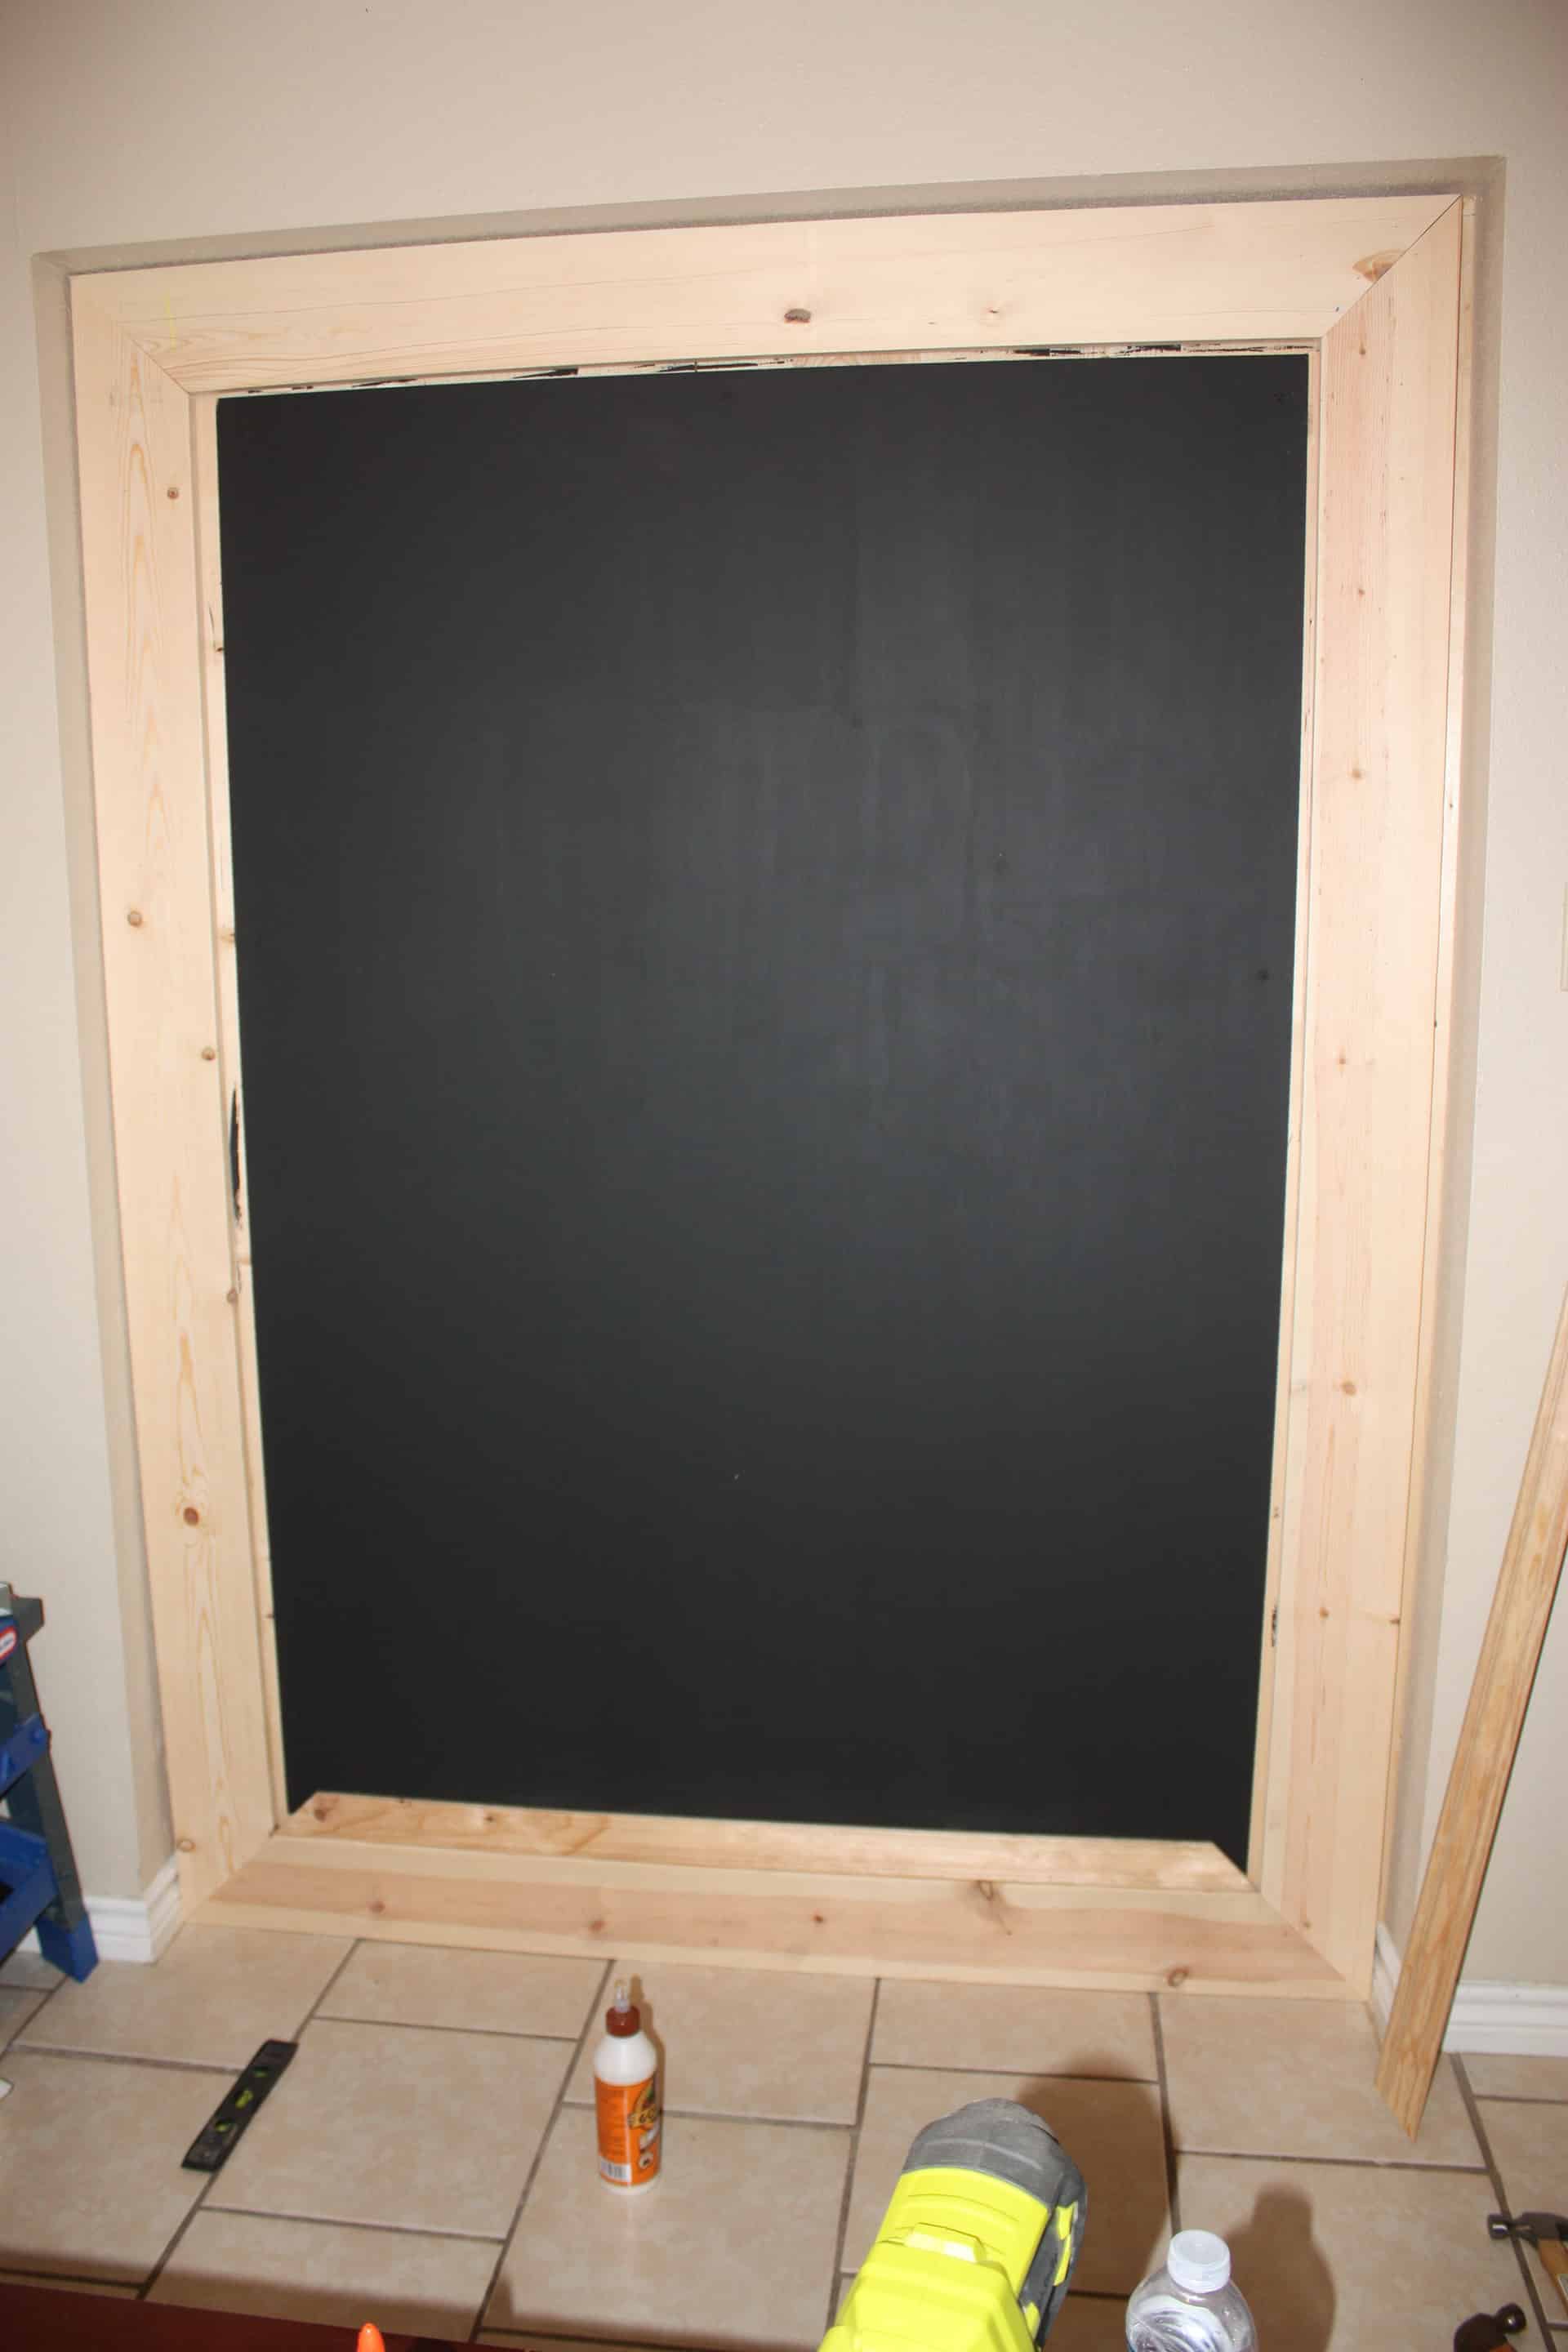
Then you just put glue on the boards and staple away! Now you have a completed framed chalkboard that just needs a little paint!
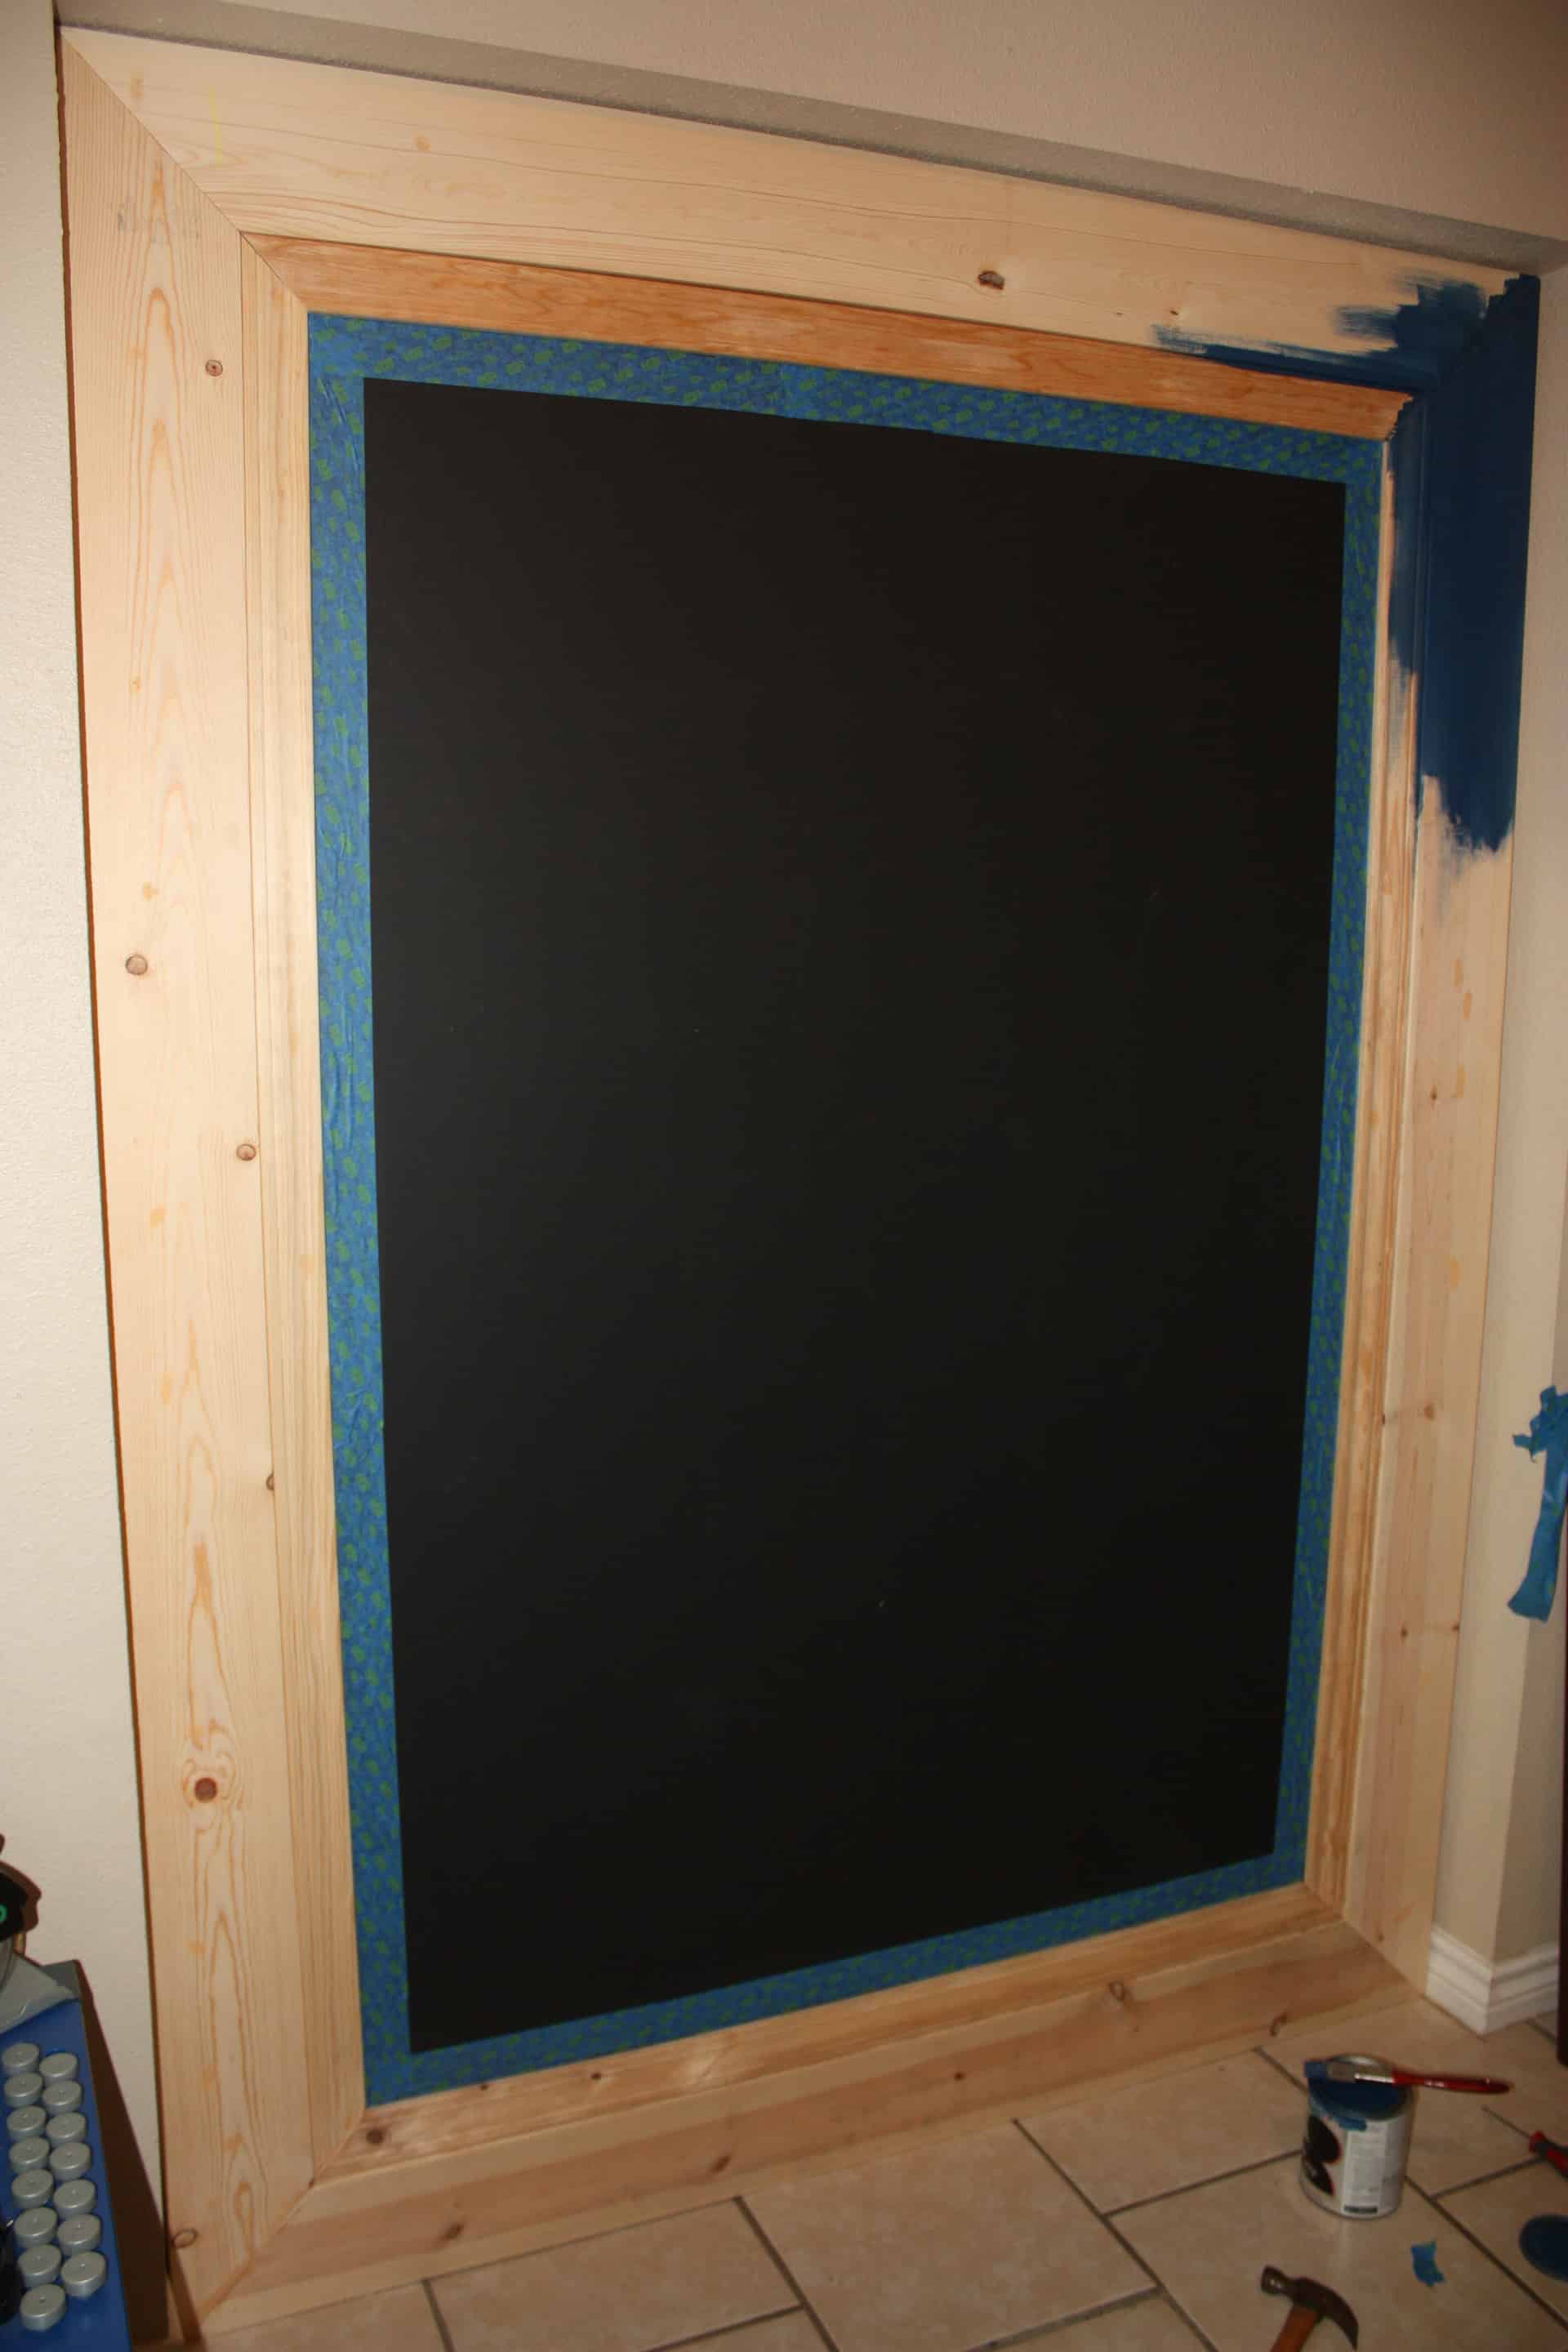
I filled in all the brad nail holes with regular wood filler, waited for it to dry, and then hand sanded them! I then used painter’s tape to tape off the chalkboard and along the sides of the walls!
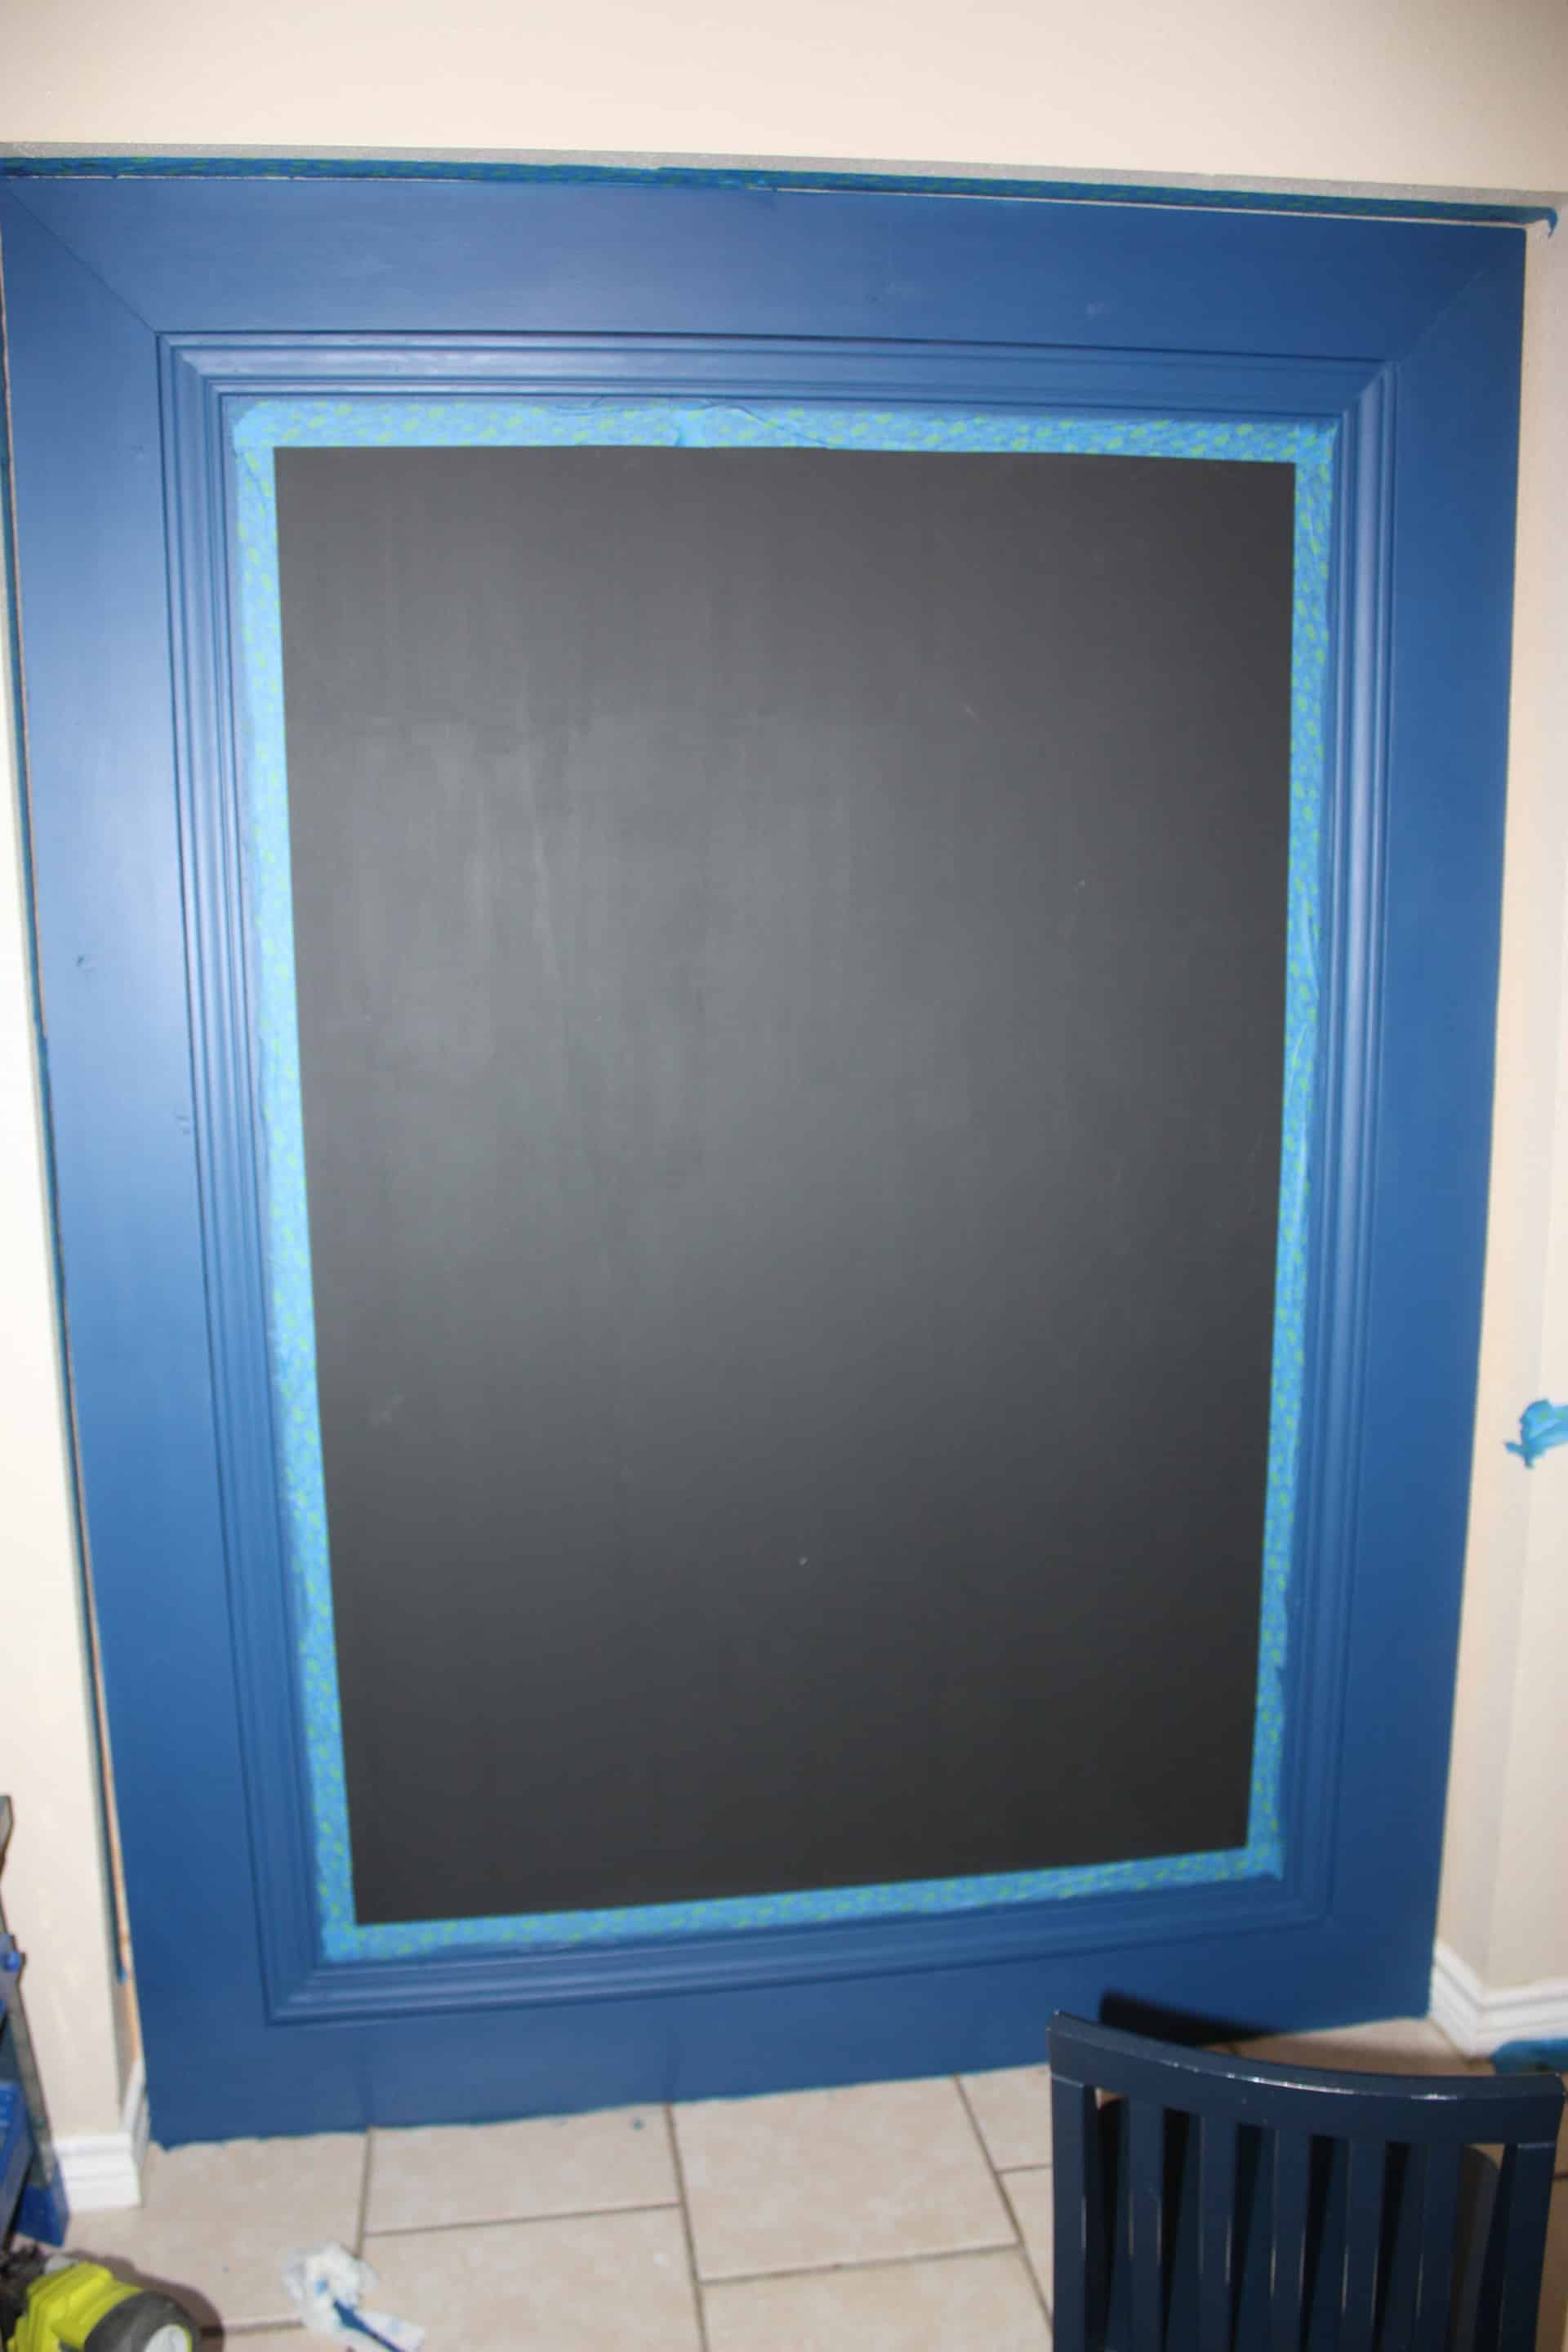
After getting it all painted it’s ready to go!!
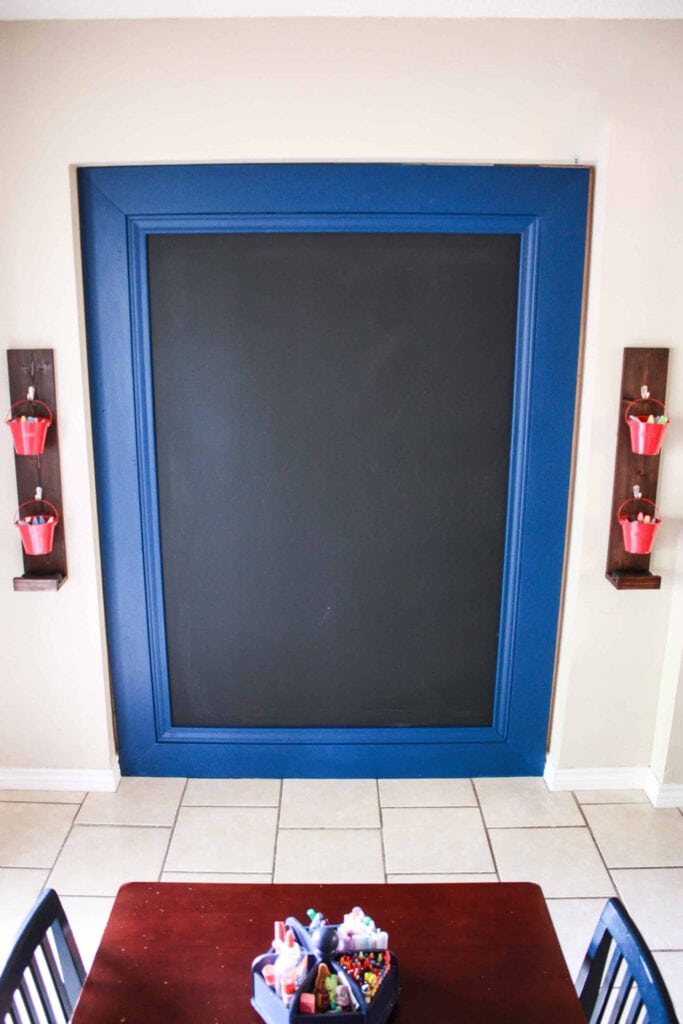
Take off the tape, make some cute little chalk/eraser holders, and bata-bing bata-boom!
Oh, I love it!! My boys love it too!! An afternoon of work with my little handyman and what a great space it turned out to be!
Follow me on Instagram and Pinterest to see all my latest projects! Or subscribe to receive my emails and have new post notices delivered straight into your inbox!!
Feel free to ask questions or comment below about the DIY framed chalkboard!

Want to save this DIY framed chalkboard wall for later? PIN it!
One Comment