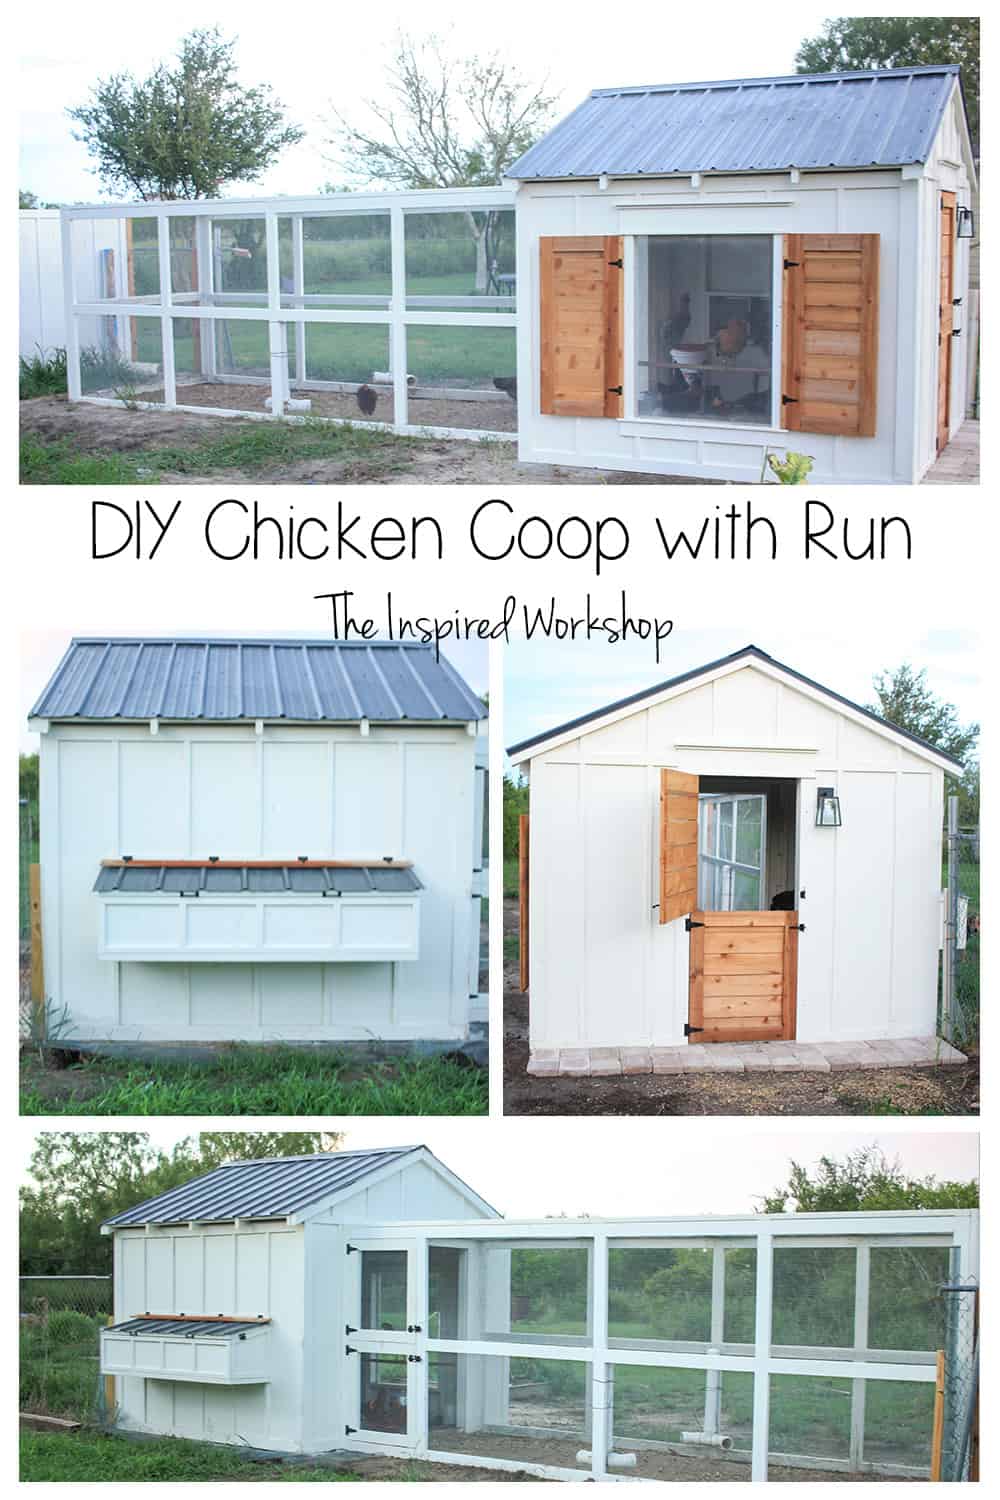
DIY Chicken Coop Run
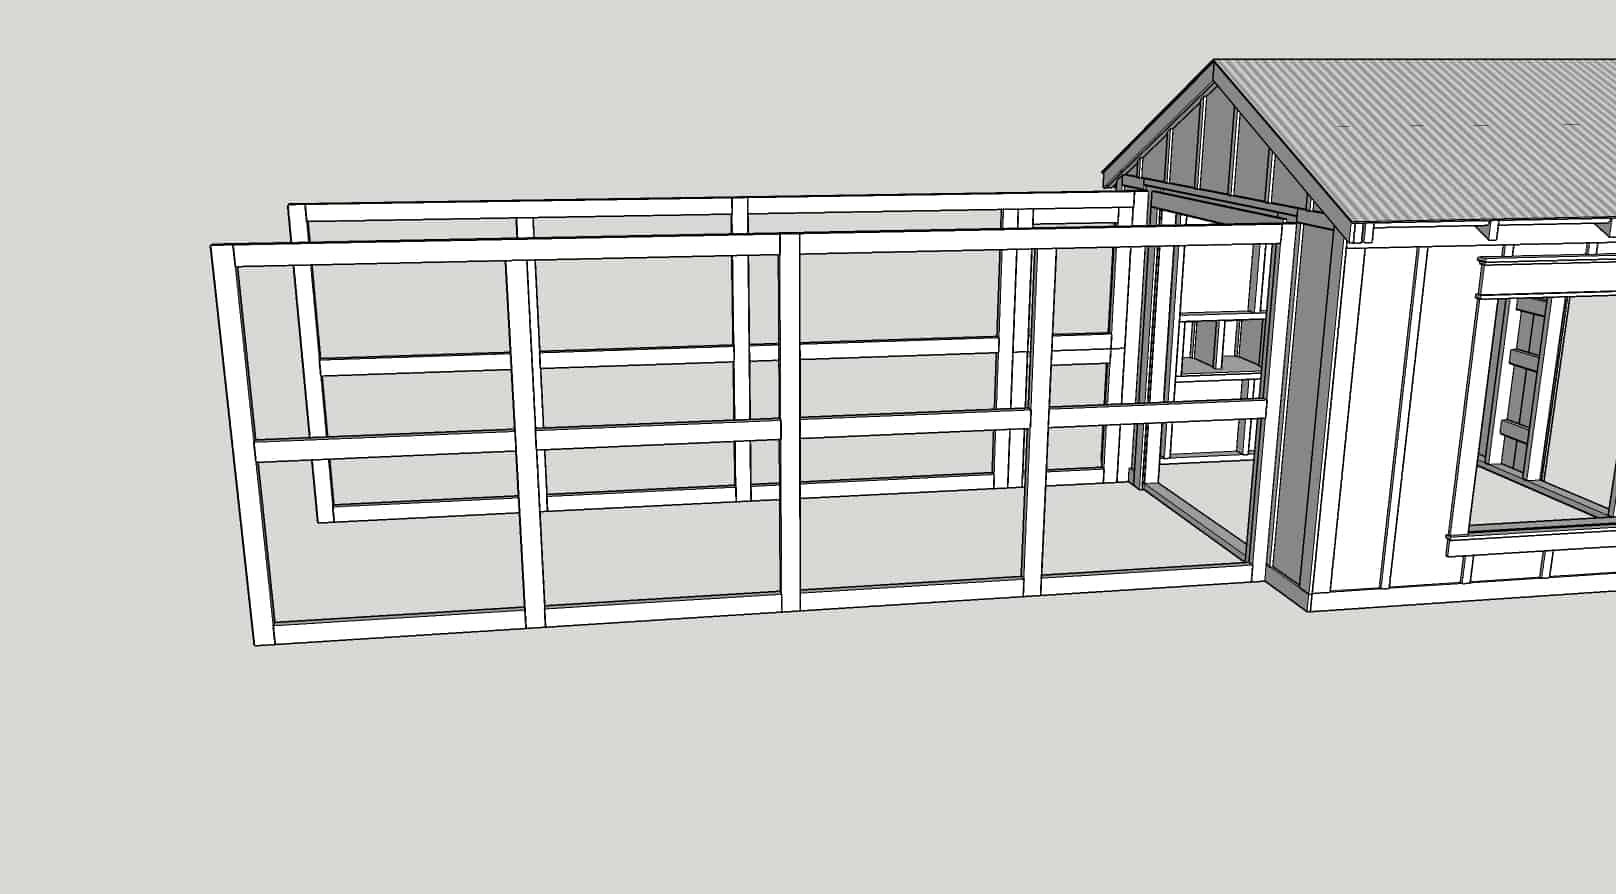
I am going to be honest, I didn’t take the best photos while building the DIY chicken coop run! But luckily Sketchup makes for cleaner pictures anyway! Lol! Our summer vacation hinged on us getting the chickens in their coop, and so we were RACING to the finish, which led to not taking the time to get the best photos! So, I apologize!
The run is a really simple construction, but moving the long pieces once they are built is not easy unless you have help. Make sure to call in reinforcements for this one part of the building of the chicken coop if nowhere else!
Download the plans for the DIY CHICKEN COOP RUN. If you need the main chicken coop plans, get them here: DIY PLANS FOR CHICKEN COOP
Materials for the DIY Chicken Coop Run
**Amazon links in this post are AFFILIATE LINKS! That means if you click a link below and it takes you to Amazon, and you make a purchase, I make a small percentage of that purchase at NO extra cost to you! I appreciate it when you all support my little ole blog in small ways like that! Other links besides Amazon are just there to help you find the items I used on the project!😉
- 18 – 2x4x8
- 11 – 2x4x12 (or if you don’t have the means to transport 12 foot boards, like me, you will need an additional 22 – 2x4x8s for a grand total of 40!)
- 1/2″ or 1/4″ Hardware cloth (same hardware cloth listed in the chicken coop plans post)
- 2 sets of 3″ t-hinges
- 2 gate latches
- Kreg Jig
- drill
- miter saw
- 2 1/2″ Kreg screws
- 3 1/8″ wood deck screws
- 1 1/4″ wafer head screws
- wood glue
Cut List for the DIY Chicken Coop Run
Door wall
- 2 – 2×4 @ 90 3/4″ top rails
- 2 – 2×4 @ 59 1/4″ middle and bottom rails by the door
- 4 – 2×4 @ 33 3/8″ door
- 4 – 2×4 @ 20 3/4″ door
- 4 – 2×4 @ 43 5/8″ middle and bottom rails
- 3 – 2×4 @ 70 1/2″ vertical stiles
- 2 – 2×4 @ 67″ vertical stiles
- (optional 2×4 @ 28″ see building the door wall of the run)
Back Side Wall
- 2 – 2×4 @ 90 3/4″ top rails
- 3 – 2×4 @ 70 1/2″ vertical stiles
- 2 – 2×4 @ 67″ vertical stiles
- 8 2×4 @ 43 5/8″ middle and bottom rails
End Wall
- 1 – 2×4 @ 72″ top rail
- 2 – 2×4 @ 68 1/2″ side stiles
- 2 – 2×4 @ 65″ middle and bottom rails
Roof
- 5 – 2×4 @ 72″
- 12 – 2×4 @ 43 5/8″
Building the DIY Chicken Coop Run
The building of the run is pretty dang simple, again moving it is the hardest part! Lol!
In the Sketchup pics, I used the letters ph to show you where to drill the pocket holes! Since we are working with 2x4s which are 1 1/2″ thick (actual measurement) all the pocket holes will be drilled at 1 1/2″ deep and will use 2 1/2″ screws to attach. I did use wood glue on the run boards as well!
Building the Door Wall of the Run

I ended up adding a 2×4 @ 28″ across the door opening simply because I was worried about it not being stable enough across there, but ultimately I don’t think it will matter, now that it is in place…just adjust for this board on the door measurements if you do add it as I did! (Door Measurements of 4 – 2×4 @ 33 3/8″ will become 4 – 2×4 @ 31 5/8″)
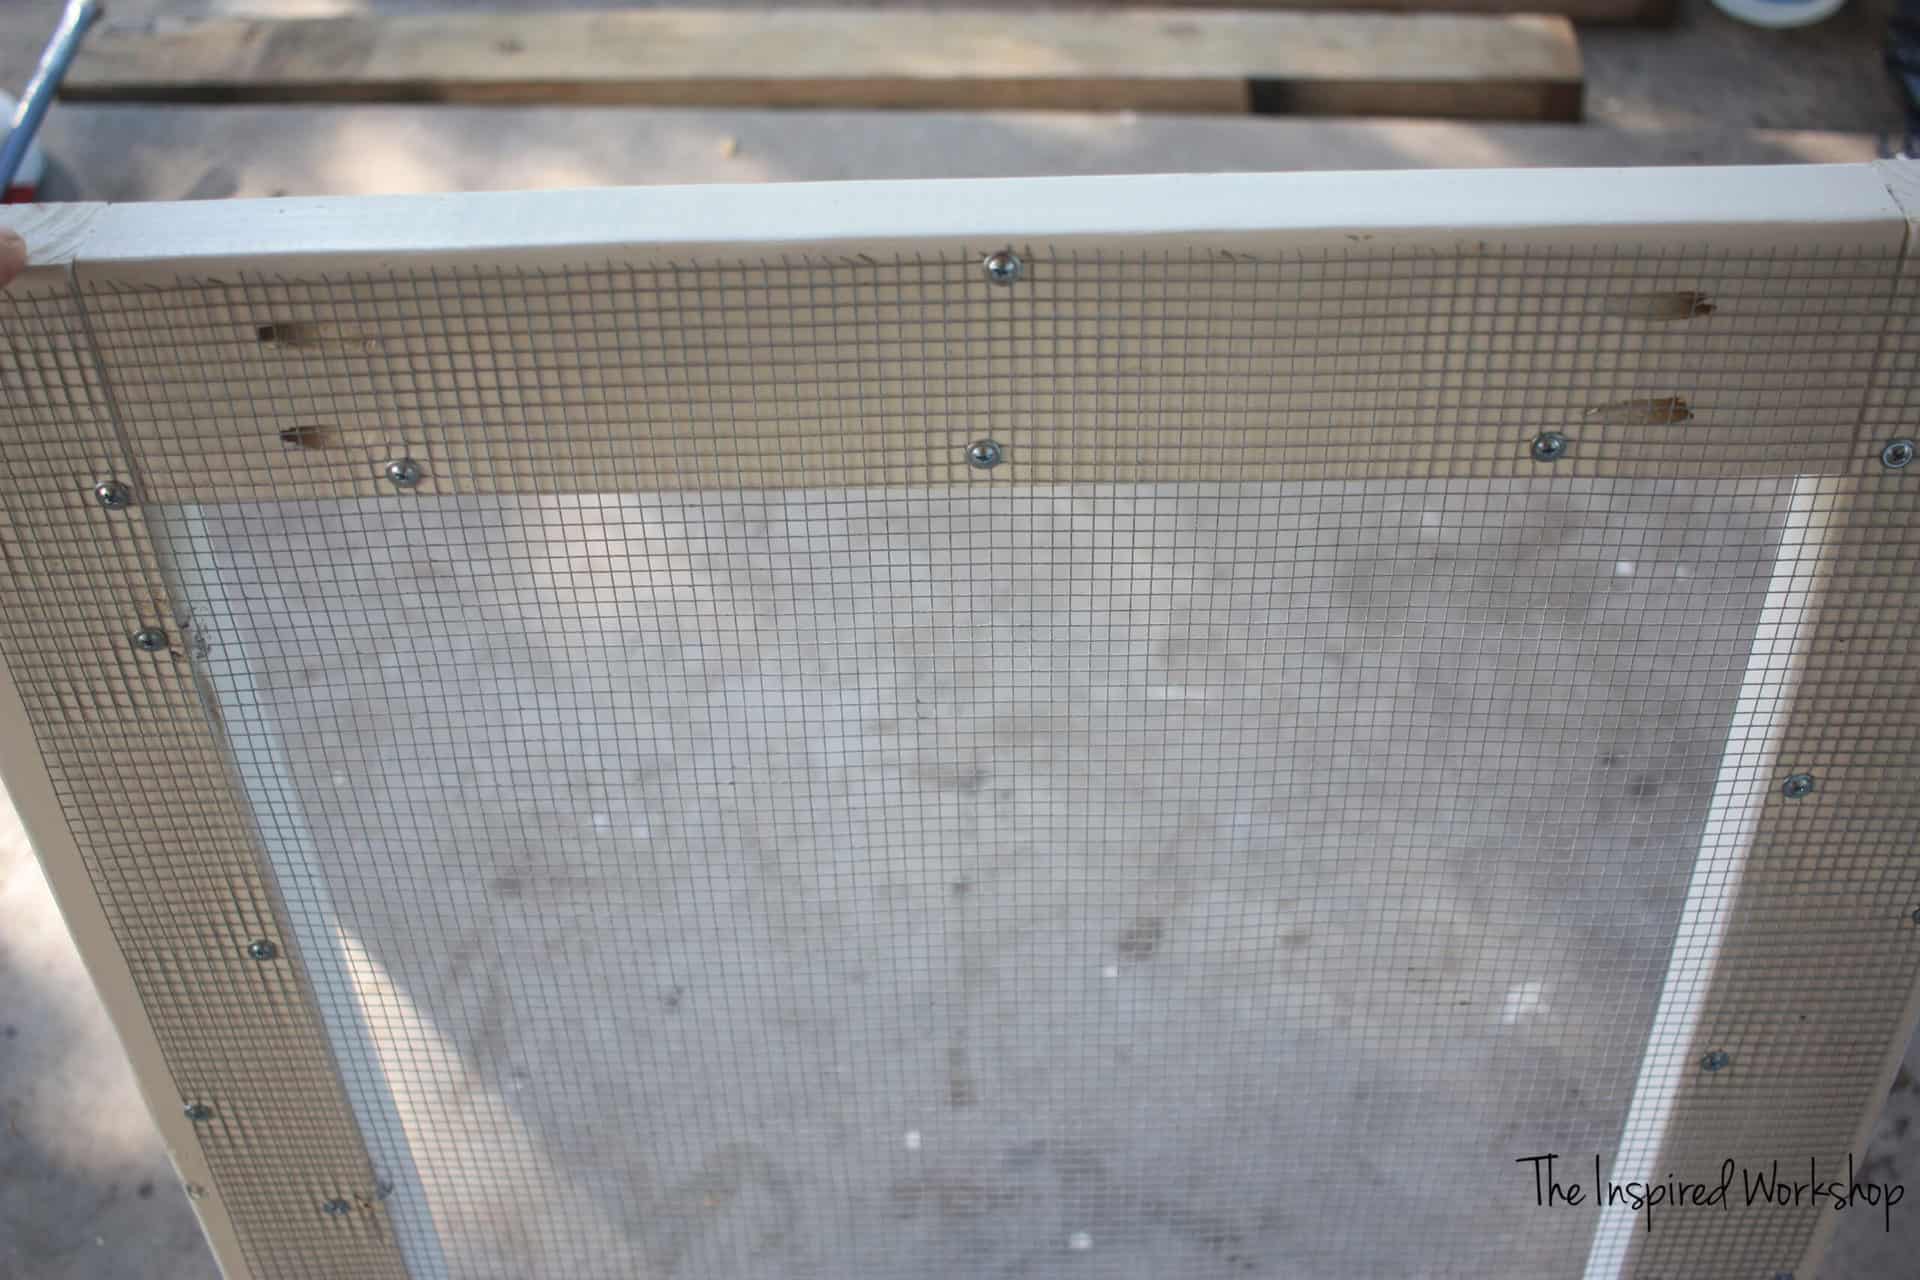
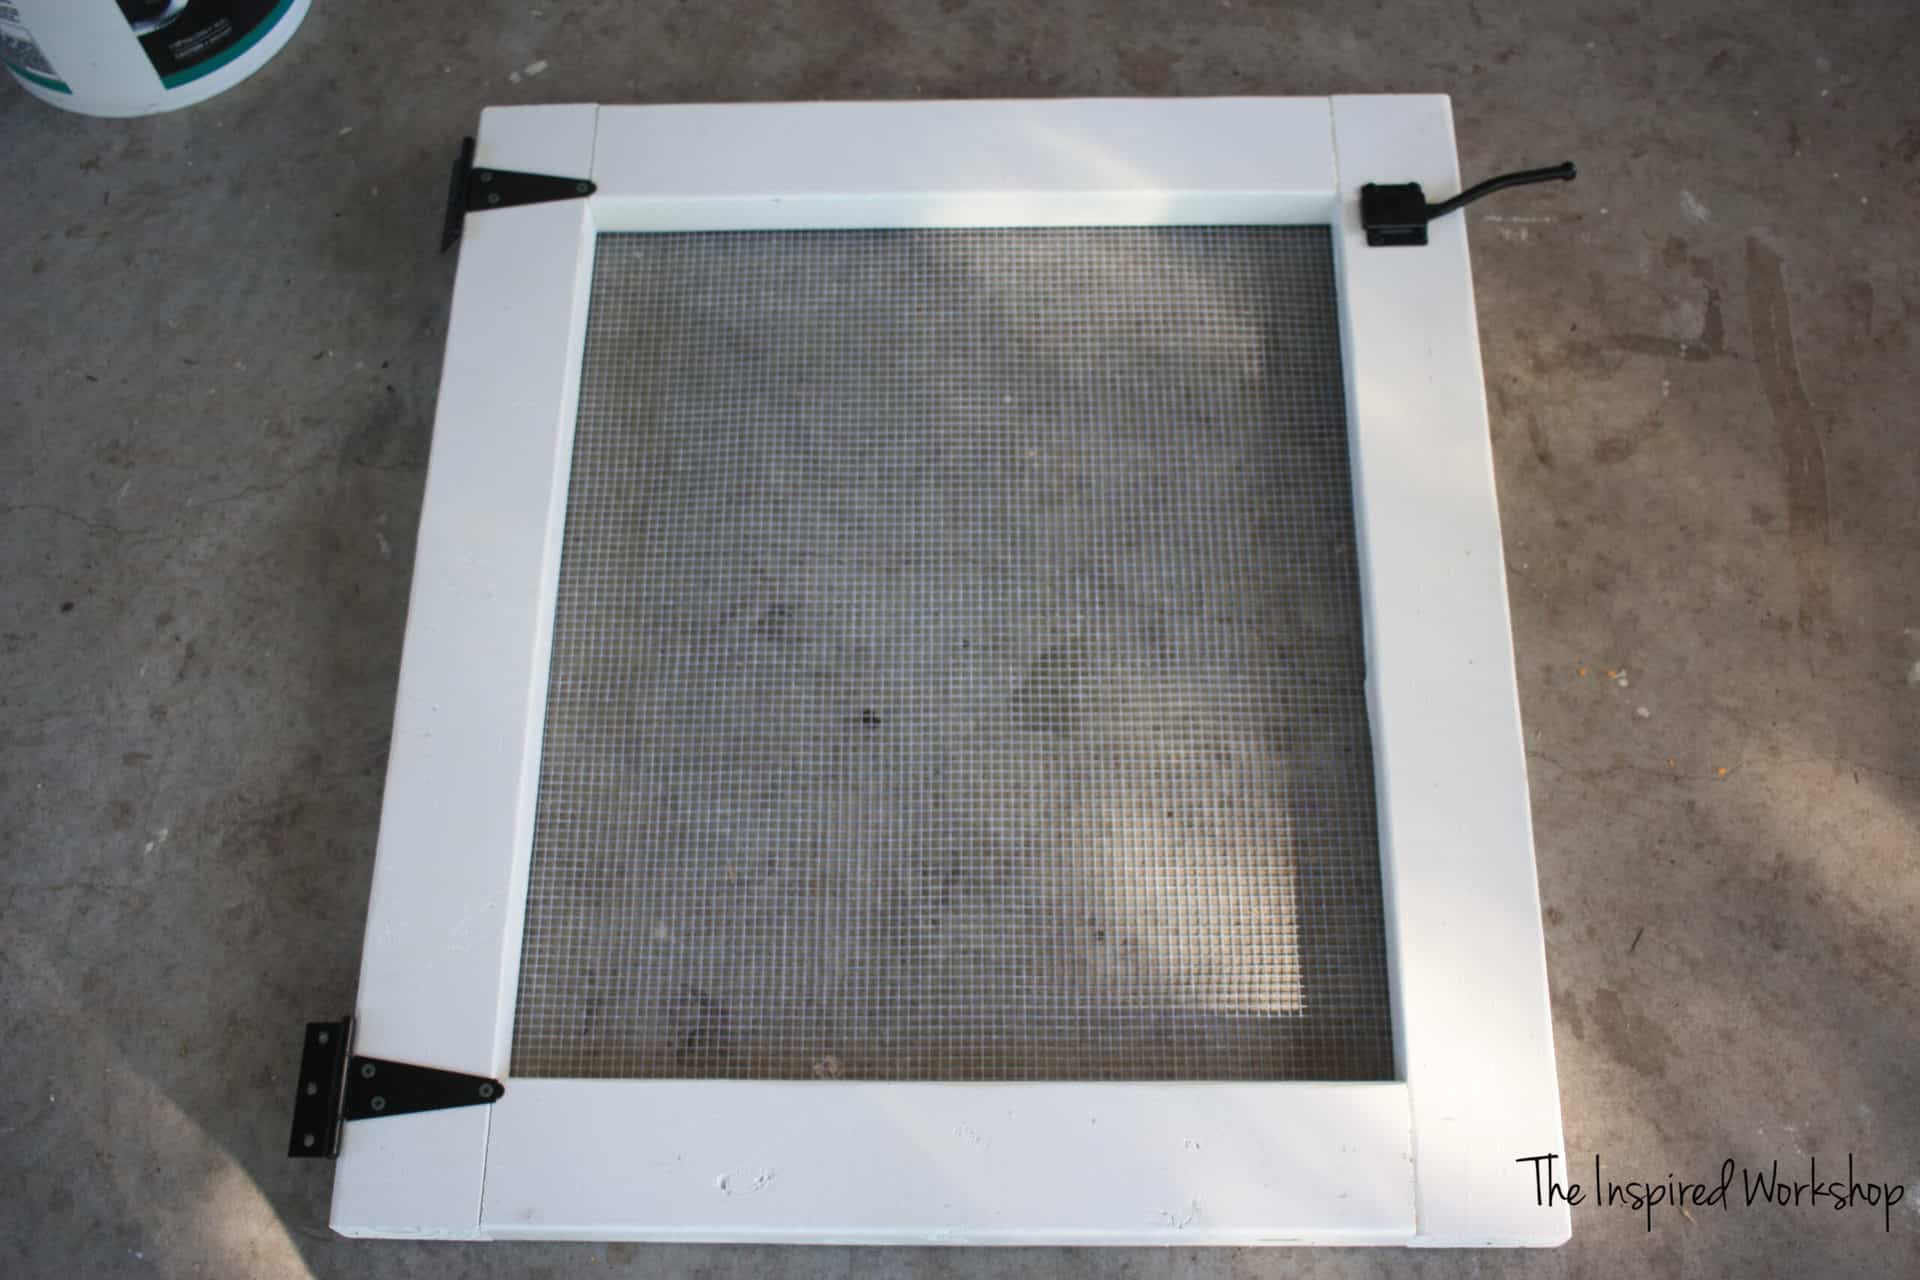
I painted the walls before attaching them to the coop and I attached the hardware cloth as well. It was by far easier than trying to do it once they were attached…speaking from experience because we were waiting on another roll of hardware cloth to come in and went ahead and attached the roof and walls without some of the hardware cloth…we regretted it!😆 Lol!
I used wafer head screws to attach the hardware cloth, catching corners. This photo is of one of the doors, but it shows the screws! We used a ton on the run but it holds it by far better and is easier to attach than using that dang electric stapler!😅
Here are the only few pictures I managed to take while painting the run wall!


Building the Double Door for the Run
You will build two small doors that are the same, we did this so we can close off the run to our larger animals but the chickens can fly over the top door if they need! You can make one large door if you’d rather, that’s the GREAT thing about DIY, you can make it exactly what you want!😉
Build 2 of the pictured door below. Again, if you place the 2×4 at the bottom of the door opening make sure to accommodate for that in your door building!

Building the Back Wall of the Run
Almost the same as the Door wall, but changes made to exclude the door area. You could always build two of the same door walls and place a door on this side as well, but there is already the main door to the coop that isn’t far away so I didn’t feel it was necessary!

Pocket hole placement.

Building the End Wall of the Run
The smallest wall of the run!


Pocket hole placement.Building the Roof of the Run

Once all the walls and roof are built attach them to the coop, one by one! Make sure they are level before attaching! Also, make sure they are straight (not leaning)…I’m drawing a blank on how you would say that…perpendicular to the ground?! Lol!🤔😂
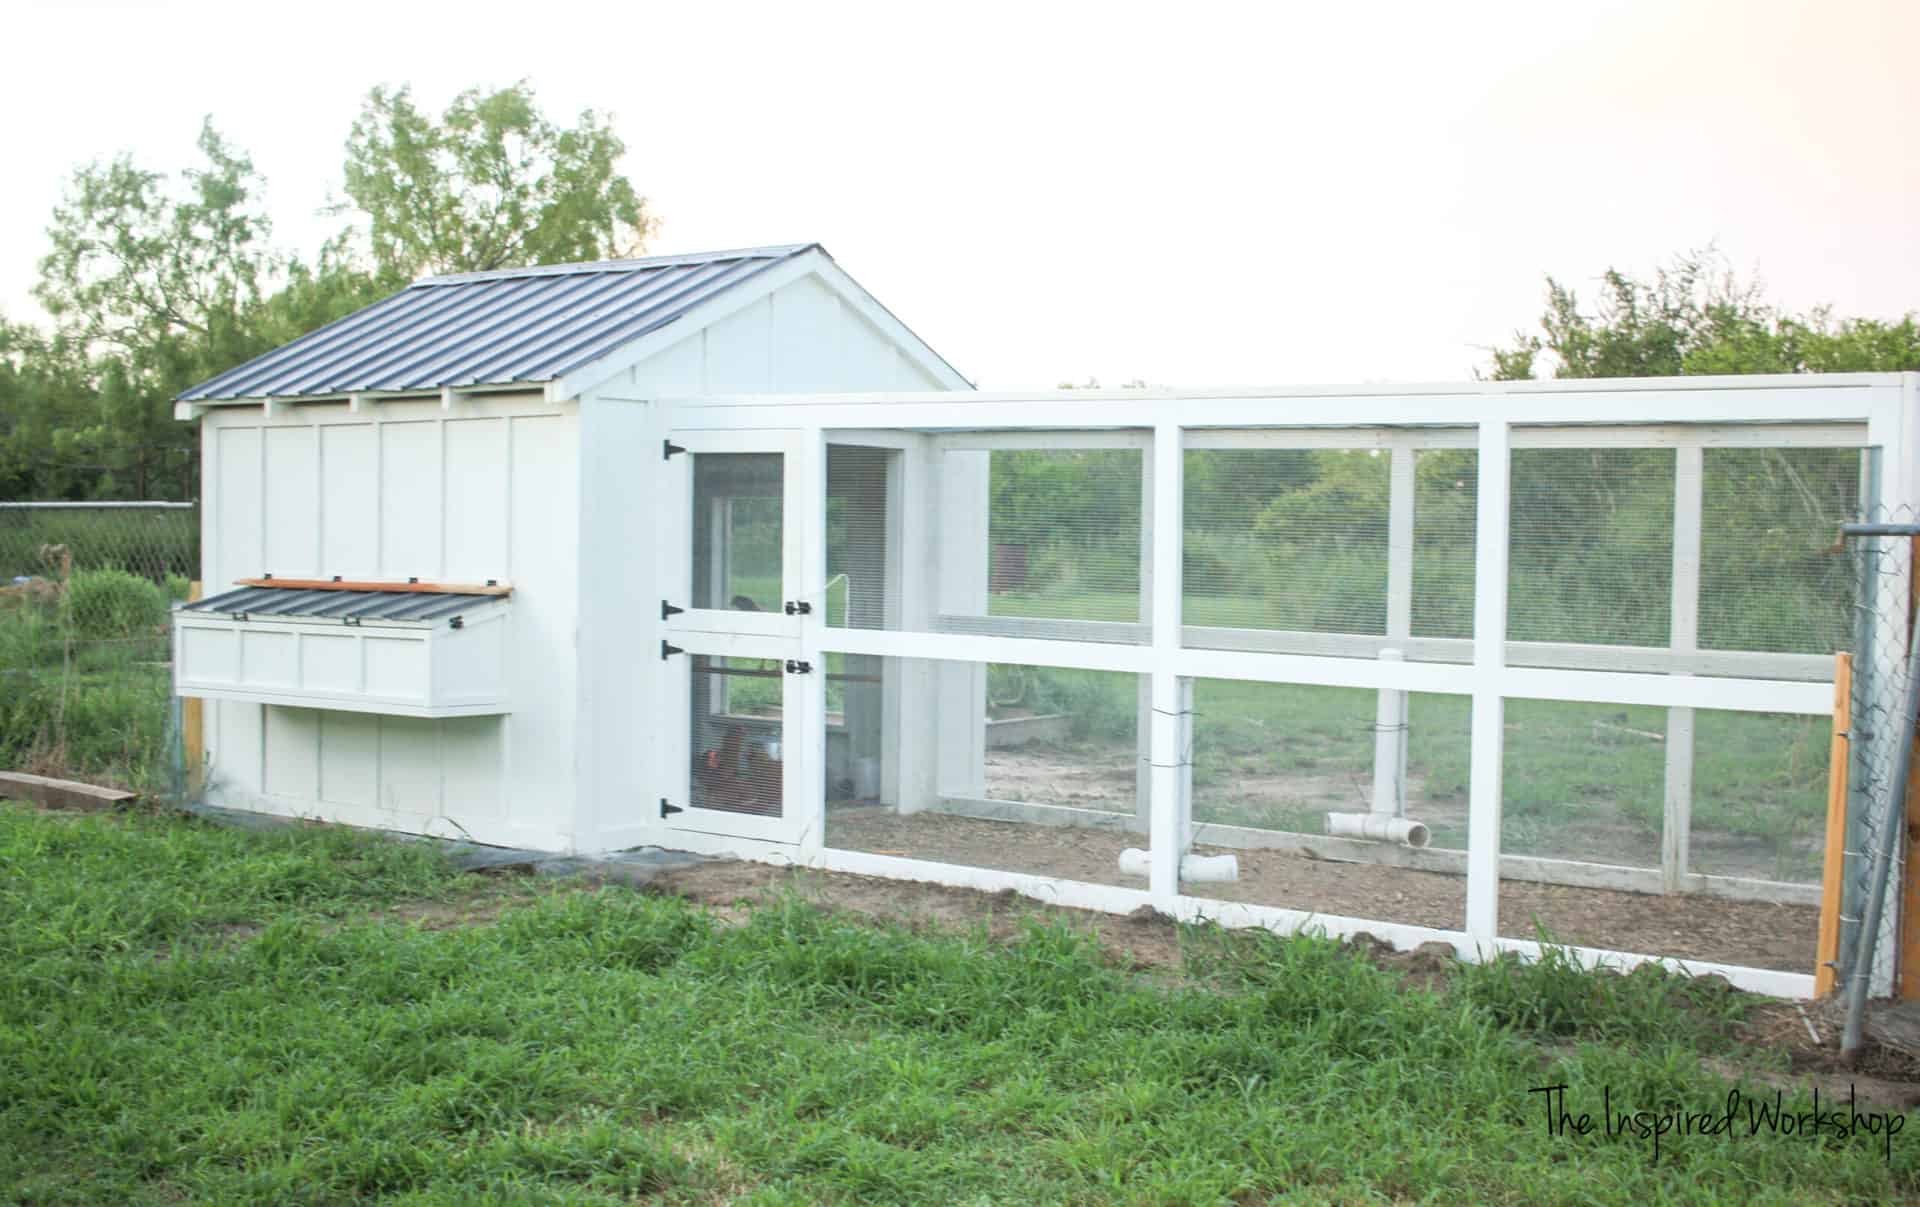
I attached the run walls from the inside of the coop using the pocket holed boards we placed when building the frame, and then using angle brackets as well on the outside of the coop where it meets the coop! You can see the brackets on the left run wall in the photo below!
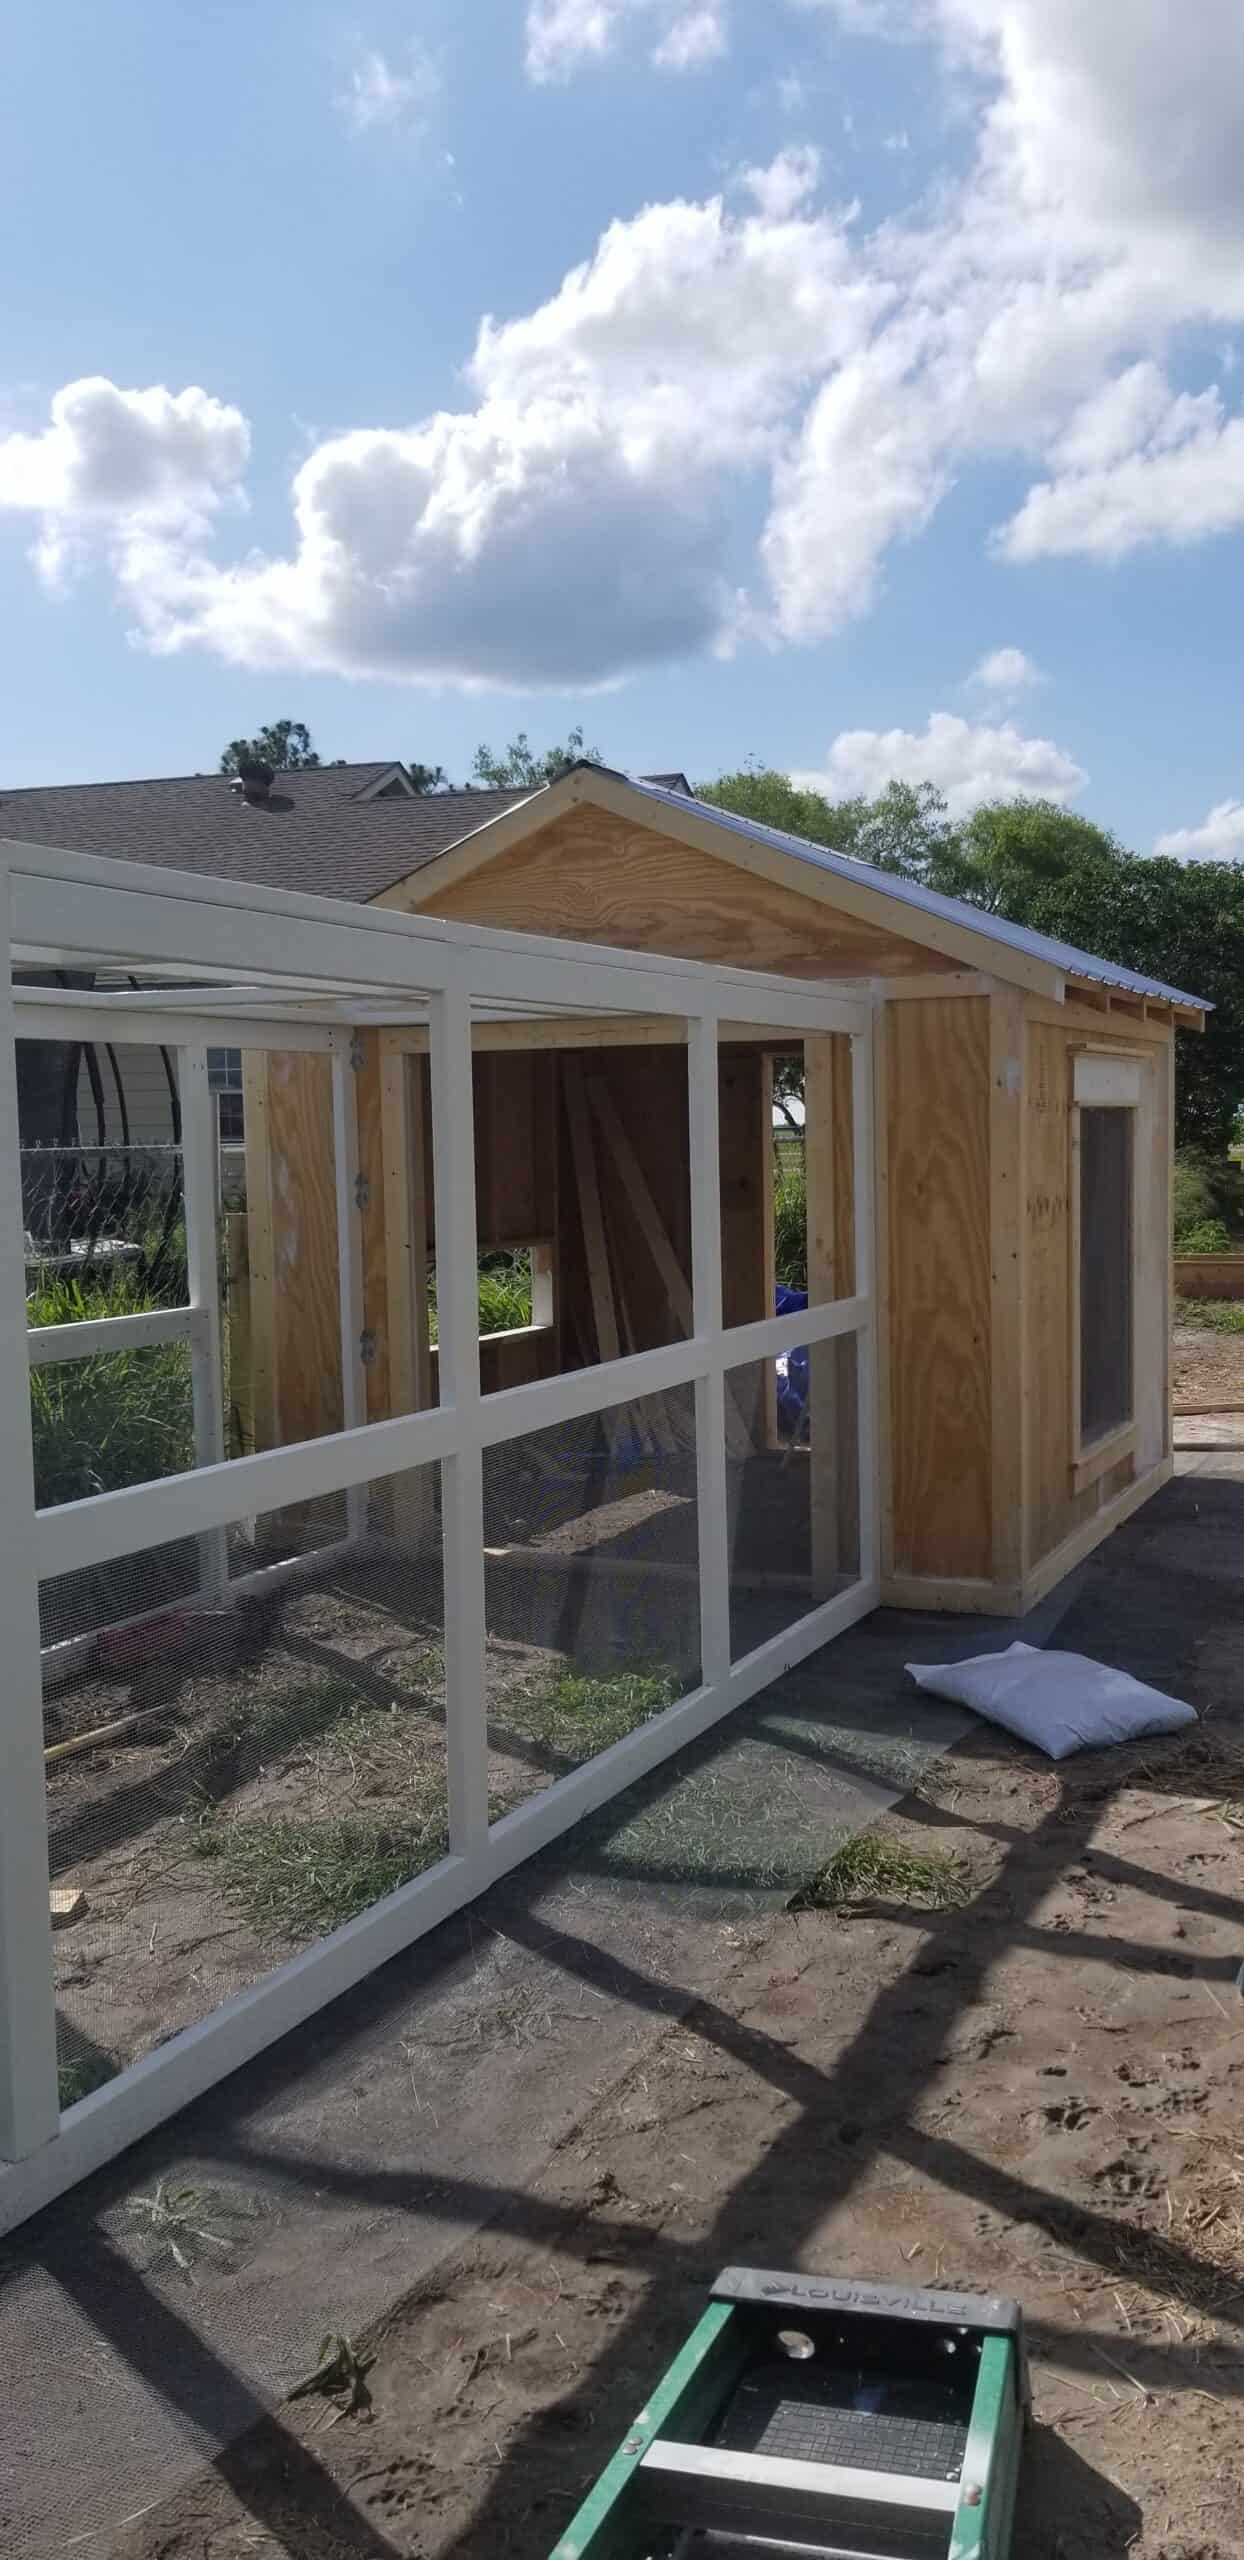

Notice in the photo below, the end wall sticks up 1 1/2″ above the other walls, this is to accommodate the roof! Screw straight through the end boards into the run walls to attach with 3 1/8″ screws.

Add the roof! Screw down through the roof boards into the walls with 3 1/8″ screws.

And it’s DONE! Run is on and chickens can get some sunshine!


Thank you for stopping by! Have a good one!

Check out the other parts of this chicken coop here!
DIY Nesting Boxes for Chicken Coop
DIY Double Door for Chicken Coop
Wanna save this chicken coop for later? PIN it!