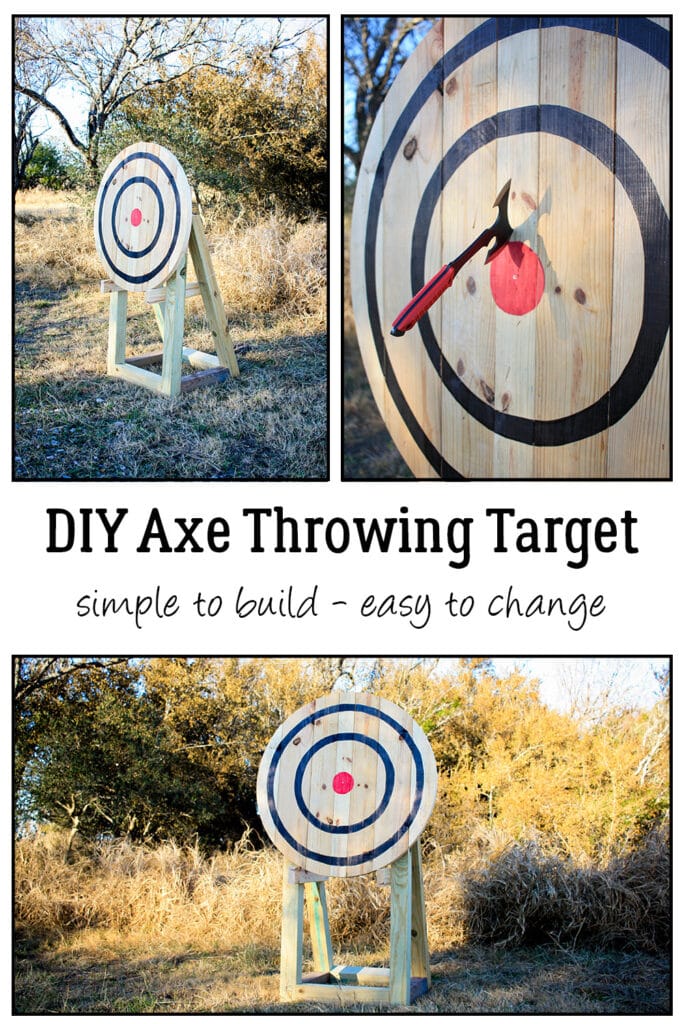
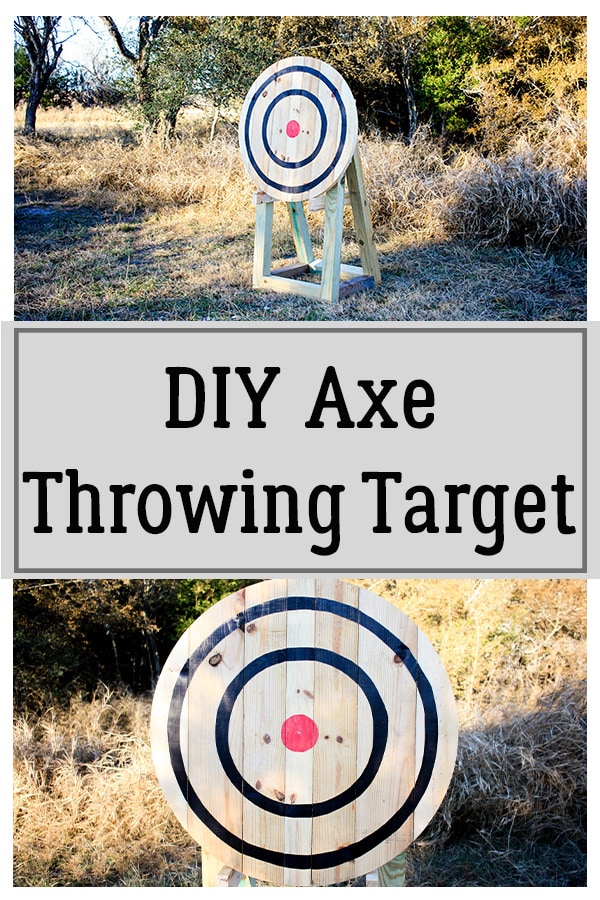
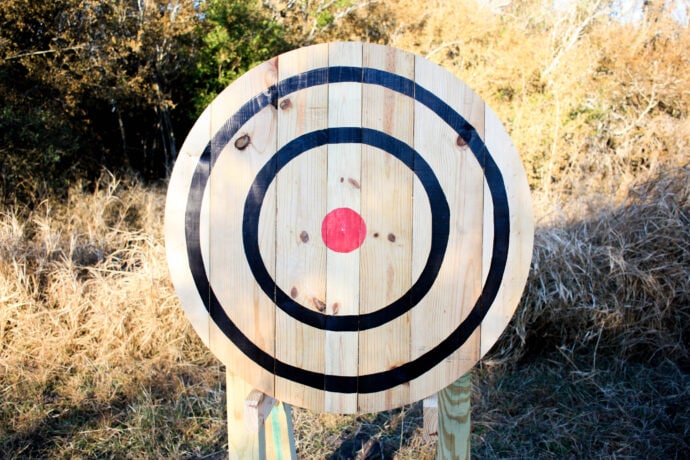
DIY Axe Throwing Target
Axe throwing has gained popularity recently as more and more places are popping up to give more people the chance to try it out! Once you have tried axe throwing most people agree it is a ton of fun! Don’t let the fun only happen when you pay to play, build yourself or your family a DIY axe throwing target to have axe throwing fun anytime you want in the comfort of your own yard!
I will tell you axe throwing lives up to all the hype! We all have had a blast throwing axes! I wasn’t sure if it would be something we actually enjoyed, but now I am ready to build an axe throwing course with multiple targets and stuff! Everyone has a really great time and it is the perfect thing to keep teen boys occupied!

I built this axe throwing target for my youngest son because he is always the hardest to shop for, he doesn’t really want for much! Lol! He does love swords and medieval weapons and has always enjoyed whacking our trees with his swords, he also loves throwing knives!
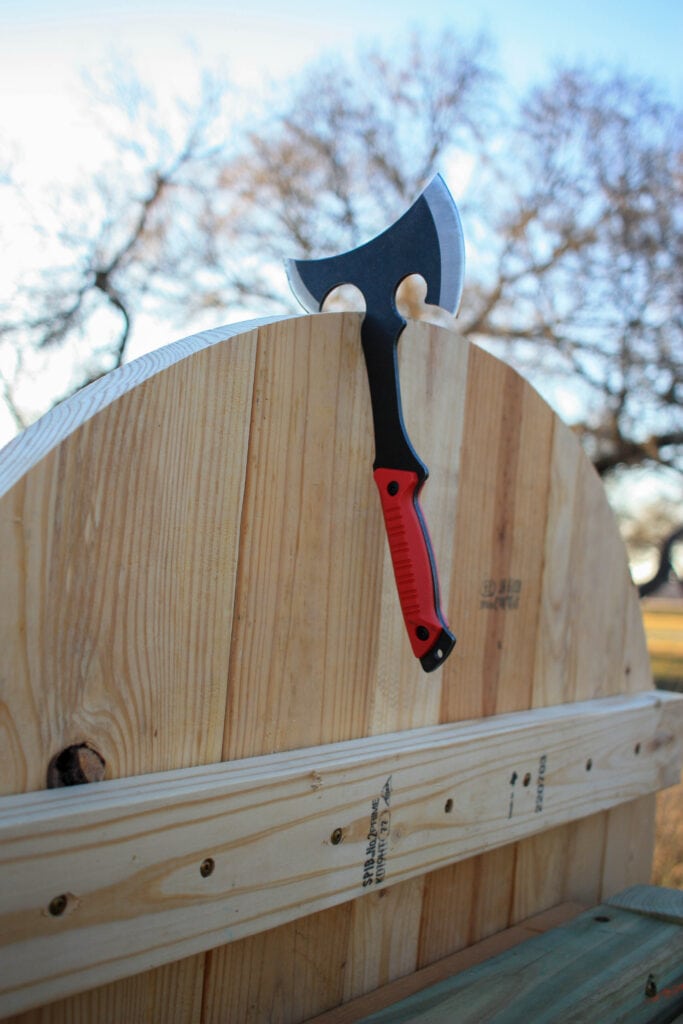
As I contemplated gift ideas, when this axe throwing target came to mind, I immediately knew it would be the perfect gift! I purchased these inexpensive throwing axes on Amazon (affiliate link) to go with it and we also couldn’t be happier with the throwing axes I purchased! They are amazing and they have 5 stars! They are beginner axes and so that works great for us! Lol! It also comes with three throwing knives!
If you need something a little safer for the younger kids, you should check out this DIY Ring Toss Game or these beautiful DIY cornhole boards!
Do you want to build a target for yourself, or as a great gift for someone else? Keep reading and I’ll show you how!
Gathering Supplies for the DIY Axe Throwing Target
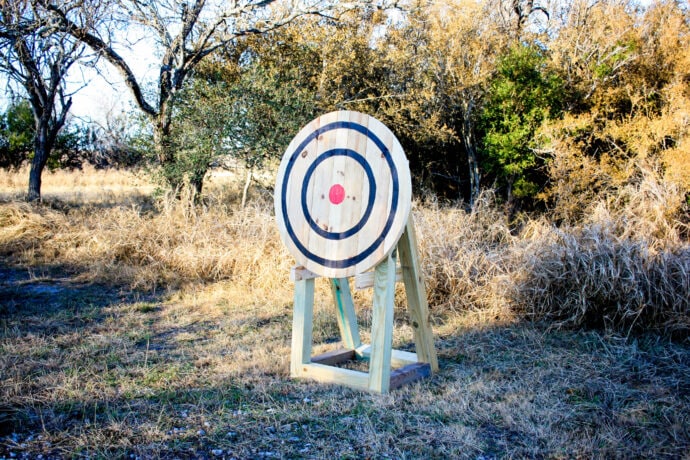
It really doesn’t take a ton of wood to build this target! And luckily with lumber prices coming down, you can build a target for around 65 bucks! That’s not bad because you may not be able to tell from the pictures but this is a BEAST of a target and the great thing is, the way I built it, you can easily change out the target but reuse the stand! So once this target is toast from all the axe throwing, you can spend 25 bucks and have a brand new target!
Materials for the axe throwing target:
**NOTE: Amazon links below are affiliate links! Affiliate links are links that pay me a small commission (at no extra cost to you) should you make a purchase after clicking one of them! You don’t have to buy the exact item from the link, any purchase after clicking a link counts and is ALWAYS appreciated!
- 4 – 4x4x8
- 1 – 2x8x8
- 2 – 2x6x8
- 2 – 2x4x8
- 2 1/2″ screws
- 3 1/8″ screws
- 2 – 5 1/8″ screws
- wood glue
- kreg jig
- paint for target rings – I used paint markers
- circle jig – If you want a circle target, this circle jig is the BEST to make it so quick and easy to cut circles up to 48″ – If you want a square target, you do not need this!
- 48″ clamps – clamps have gone up a lot since I purchased mine, these I linked are the cheapest I could find, 2 will work for this build! Clamps are the kind of thing you can always borrow from a neighbor or friend, but once you make the investment, they will last forever!
Cut List for the Axe Target
- 2 – 4×4 @ 48″ both ends mitered @ 5 degrees off square, ends parallel
- 2 – 4×4 @ 50 1/8″ both ends mitered @ 19.6 degrees off square, ends parallel
- 4 – 4×4 @ 20″
- 2 – 4×4 @ 20 1/4″ one end mitered @ 19.6 degrees off square, other end mitered @ 5 degrees off square, ends not parallel
- 2 – 2×8 @ 40″
- 4 – 2×6 @ 40″
- 1 – 2×4 @ 40″
- 2 – 2×4 @ 35″
- 1 – 2×4 @ 22″
- 2 – 2×4 @ 21″ mitered on one end @ 19.6 degrees off square, other end mitered at 5 degrees off square, ends not parallel
Building the DIY Axe Throwing Target
This target is easy enough for anyone to build! Don’t let the large size keep you from tackling this build! Follow the steps and you will have it built before you know it!
Gluing Up the Target Boards
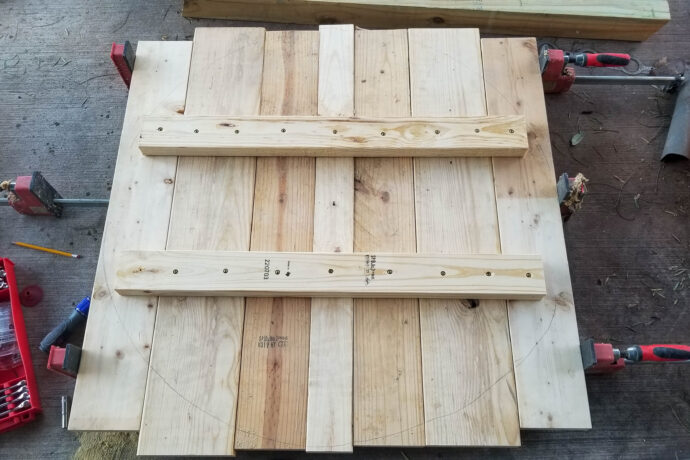
First things first, plank together the boards to make the actual target. You will just use wood glue and the clamps to hold it together until the wood dries!
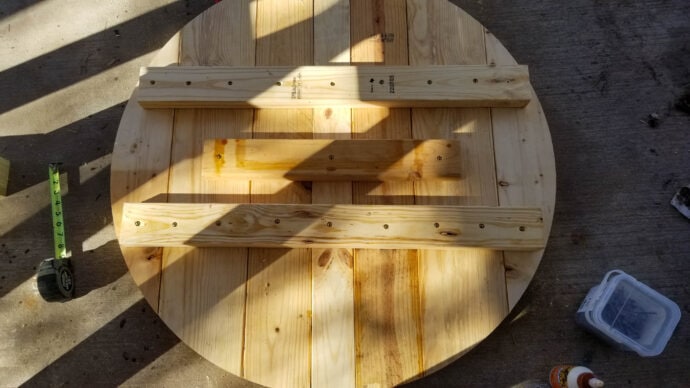
I had mine ready for wood glue when I realized I didn’t have any wood glue! Lol! So I ended up adding 2x4s across the back to hold them all together and in hindsight, it worked great but the wood glue would have saved me from having to use one of the 2x4s! You can use both 2x4s if you would like, they are both listed in the cut list but if you glue and clamp them, it is not necessary!
The great thing about making a target that is going to be beaten with axes and chopped to bits is that it in NO WAY needs to be perfect! LOL! It is made to be destroyed!😜
Once the boards are planked together, flip the whole thing over, and find the center of the middle 2×4. You will screw the base of the circle jig here. If you are making a square, you will skip all this, just plank your boards together!
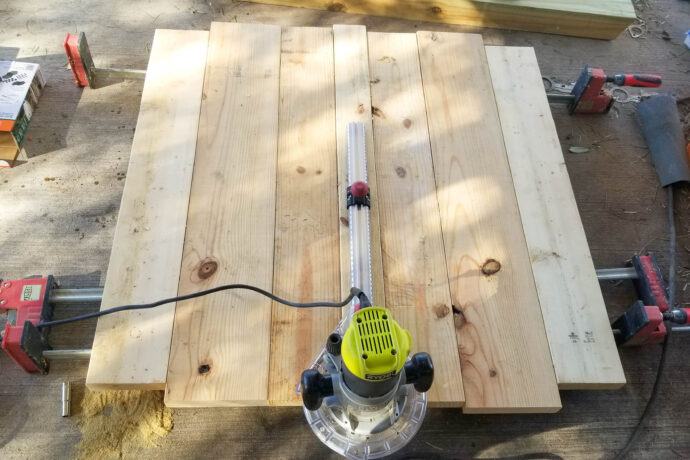
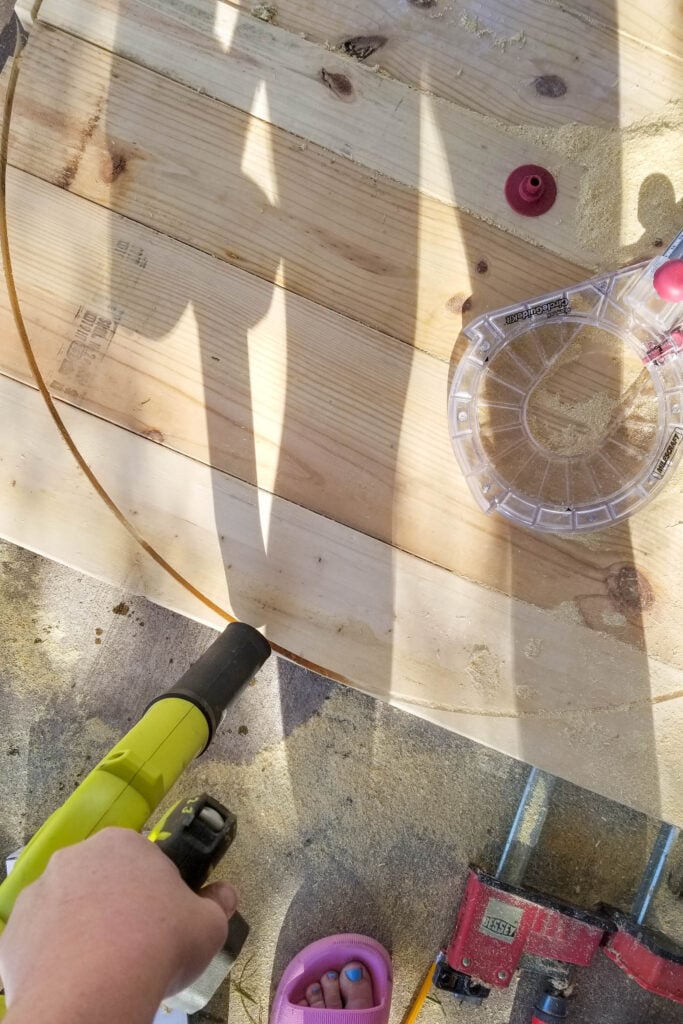
I did not get a pic of it in the center apparently! Oy! But here the circle jig is in place and ready to cut!
Make sure and only take about 1/4″-1/2″ each time, you can make as many rounds as you need but you can easily burn up your router trying to cut it in one swipe!
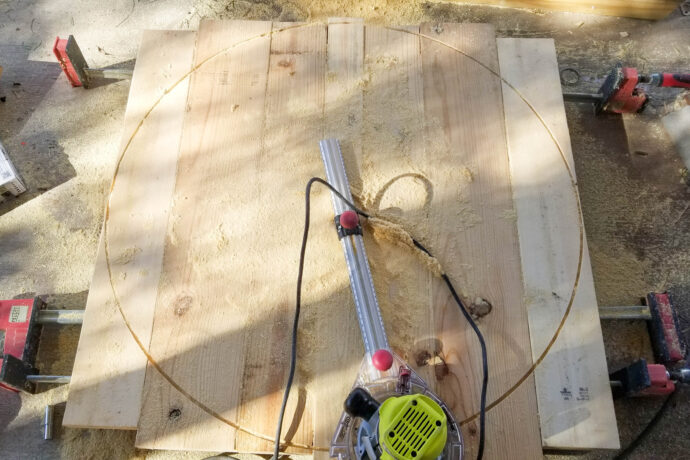
I had to stop and clean out the groove that I was cutting to make sure it didn’t gum up the router bit!
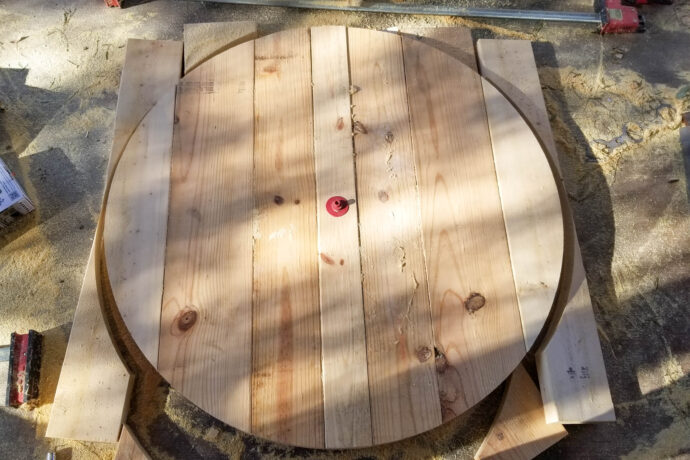
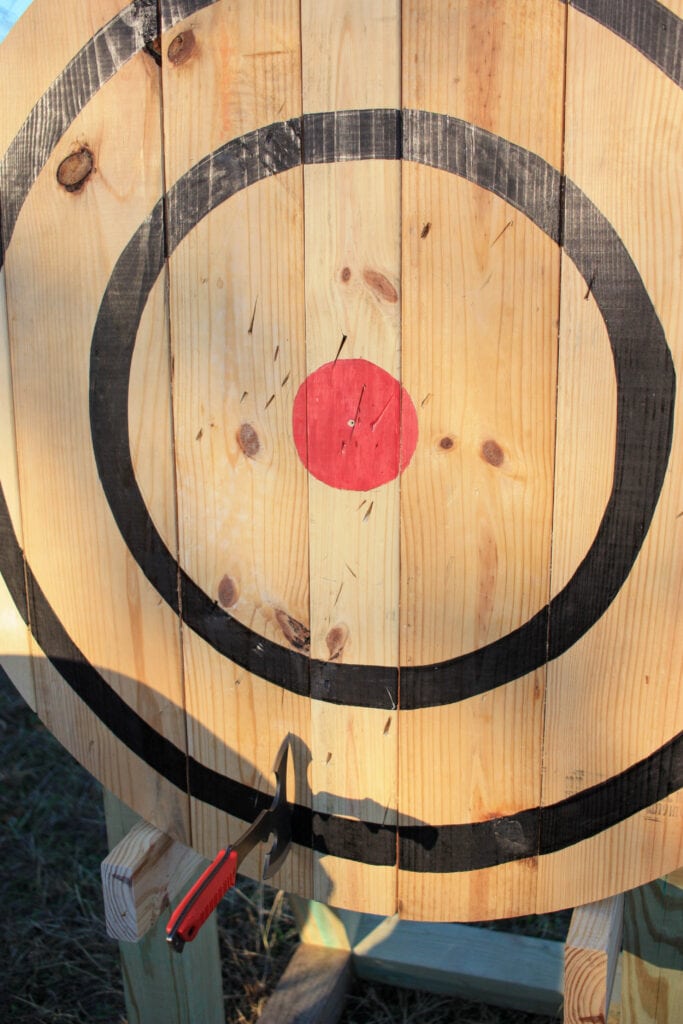
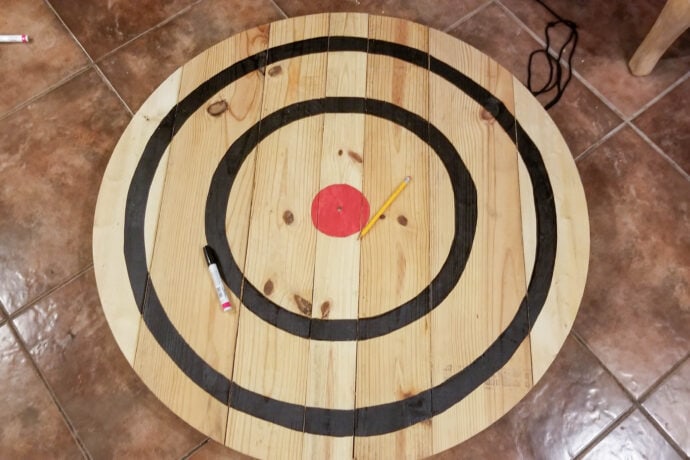
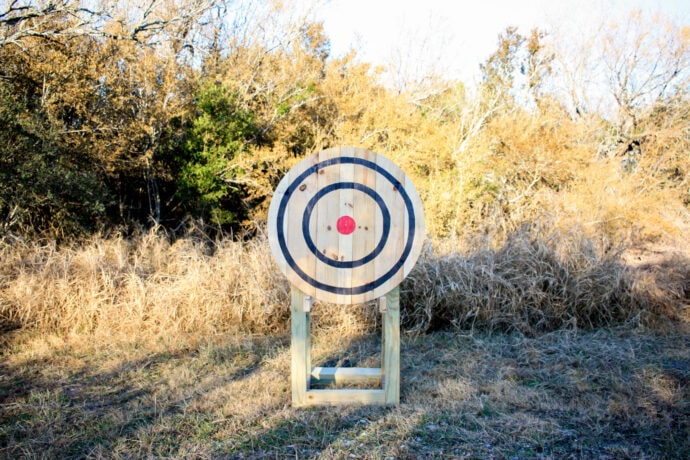
After cutting the complete circle, I brought it inside to paint the axe throwing target circles! I did not make this to competition specs, I just made it for fun, maybe in the future I will make us a competition one, but for now, I didn’t want the headache of meeting all the stipulations! If you are interested in making sure your target meets the competition regulations, and you want to learn all the rules, you can find them here a the WATL website (world axe throwing league)!
Using a pencil, I tried to do the string circle trick, but man, I managed to make a real mess! Lol! But again, just for fun, no one cared that they weren’t perfect!
You will also need to add one more 2×4 @ 21″ to the back of the circle axe target which will be used to attach the target to the base later!
Building the Base of the Target
Cut all your boards down to size, the 20″ boards will have pocket holes drilled in them! Drill your pocket holes at a depth of 1 1/2″ and use wood glue and 3 1/8″ screws to attach! You can use 2 1/2″ if that is what you have on hand but since you are screwing into 4x4s, you can use longer screws!
Y’all, I going to be real honest for a second, GRK screws (affiliate link) are where it is at I do not buy any other brand if I don’t have to! Ever since I built my chicken coop and found these screws, they are my absolute FAVORITE! I am not paid to say this either, I just love them that much and they are so amazing! Lol! They do NOT strip out, that is an imperative feature to have when you are like me and can never hold the drill at the right angle as your screw! 🤣
Anywho, back to building the axe throwing target base!
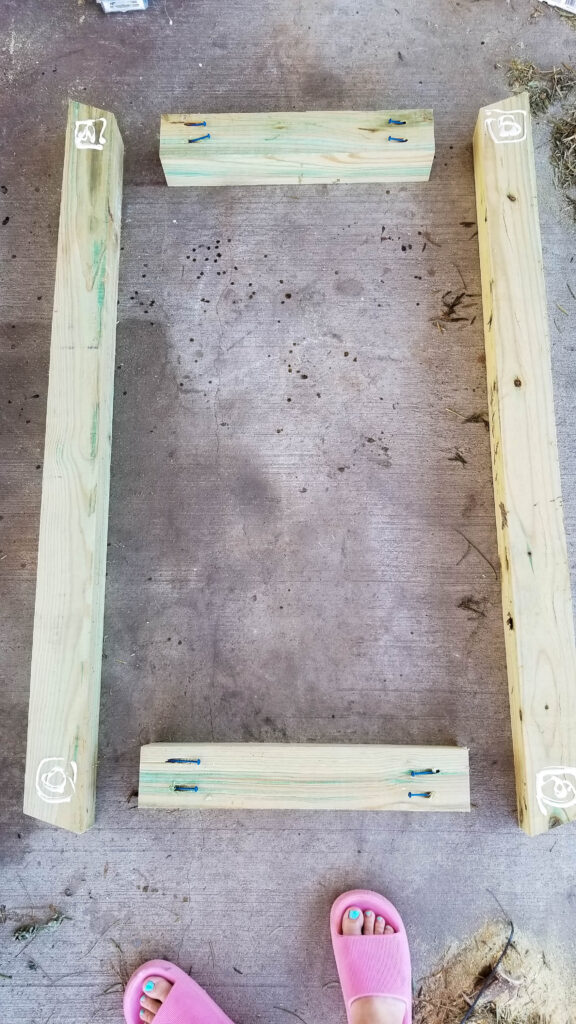
Once your boards are cut and pocket holes drilled, attach the boards together to make the back leg!
Using the 4x4s @ 50 1/8″ and two 4x4s @ 20″, use wood glue to attach them and build the back leg! I usually line all the boards up as I am going to attach them, then roll the side boards over to put the glue on them!
Roll them back over once you have the glue in place and screw them together!
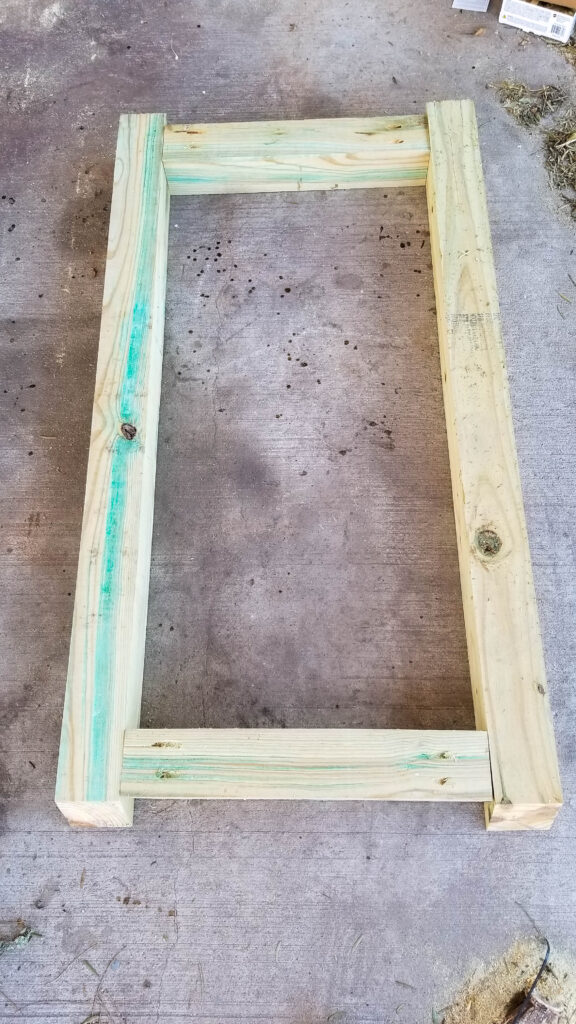
Side view of the back leg!
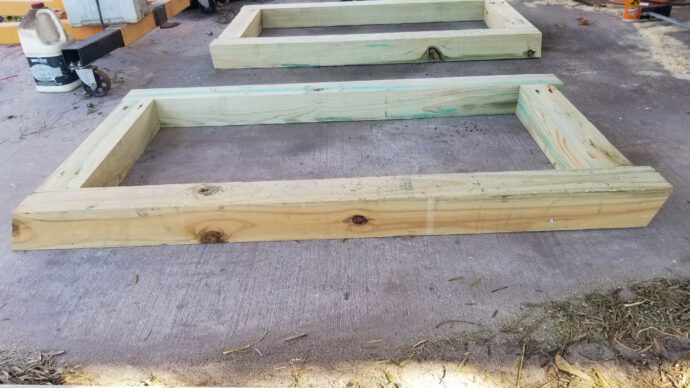
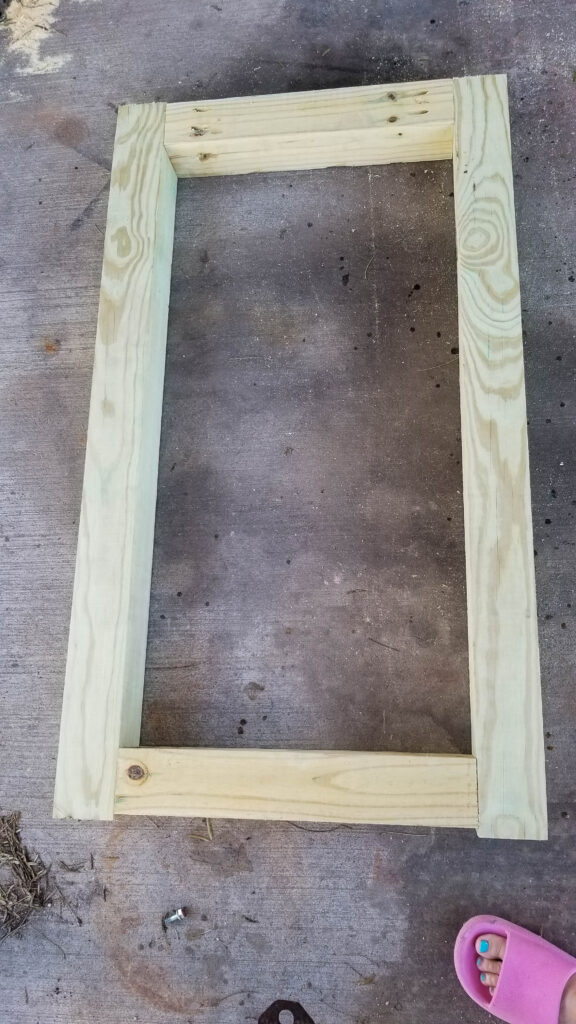
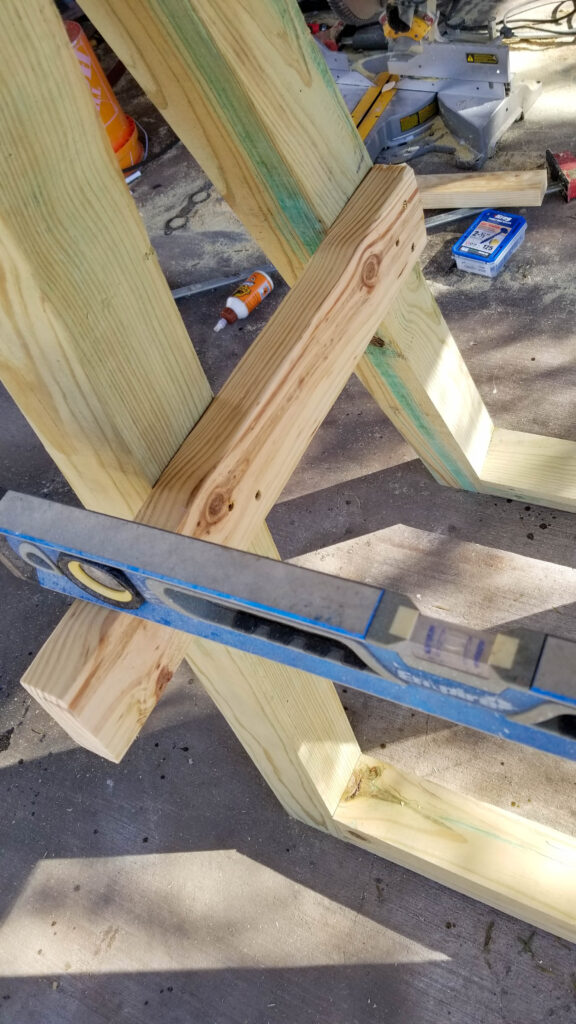
Next, take the 48″ boards cut @ 5 degrees off square along with two 20″ boards to make the front leg of the target base! The top 4×4 @ 20″ can have pocket holes facing either way, the bottom 4×4 needs them to face the back so they don’t show when the stand is built, the top ones will be covered by the target!
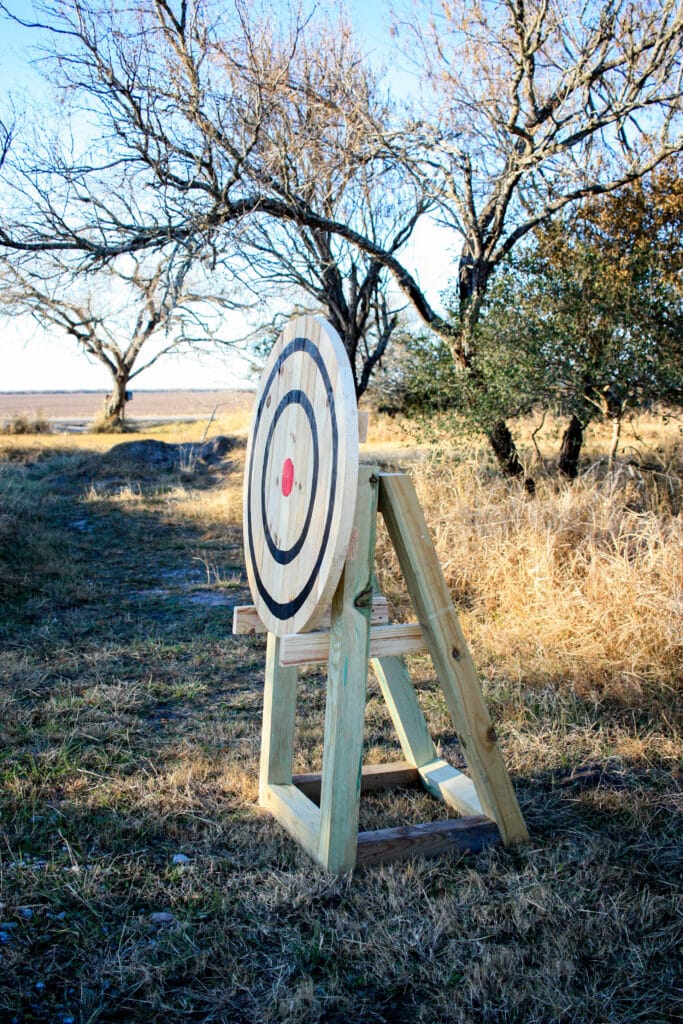
Once the front and back legs are built, you can assemble to base! My original plan was to use hinges and chains to make it collapsable for storage but I completely forgot to pick them up while I was at Home Depot, and in hindsight, it would have been too flimsy anyway! Being forgetful actually ended up helping me out, that is a first! Lol!
I cut the bottom boards they are the 4x4s @ 20 1/4″ with the mitered ends, I did not pocket hole these boards, I just shot screws at an angle since I did not want to try to flip it over and hold them in place and pocket hole them! Lol! I use two four screws on each end and on the inside as well!
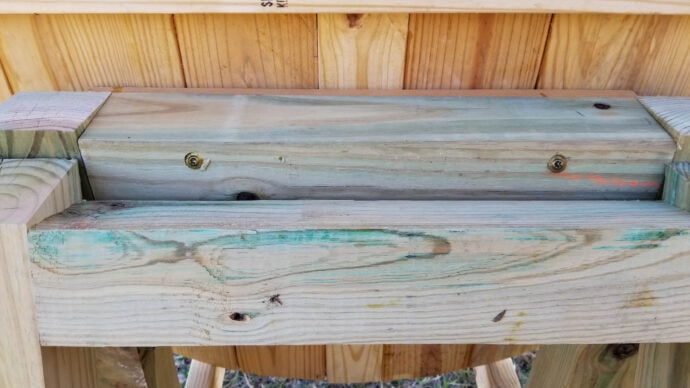
The middle boards are placed 20″ down from the top of the front leg! Screw them straight into the 4x4s with 3 1/8″ screws! The target will sit on these arms! They should be flush to the back 4×4, and stick out 4″ in the front! Make sure the two of them are level!
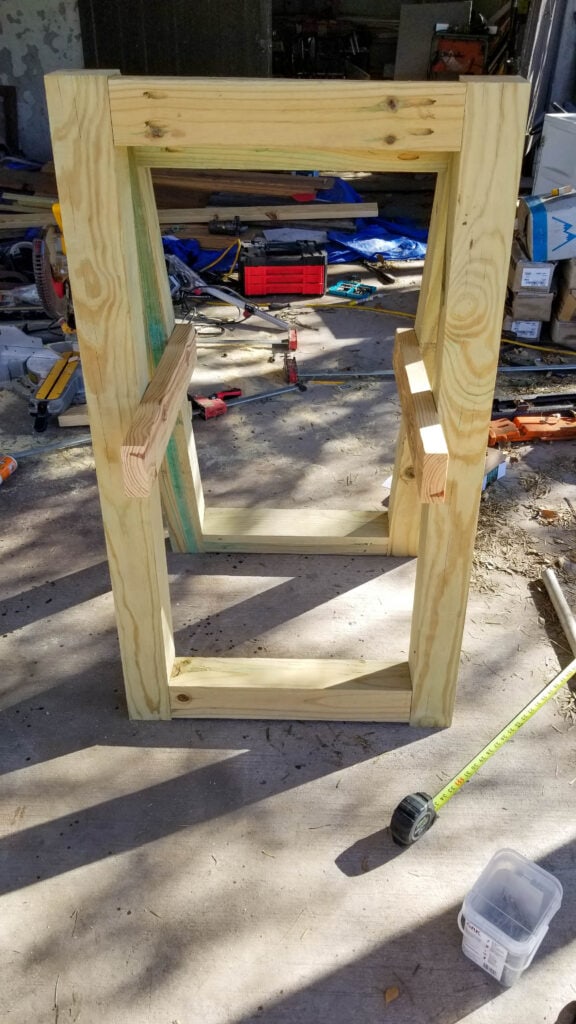
Your 4x4s will be in place along the bottom, don’t mind that mine aren’t in the above photo!
Attaching the Axe Target to the Base
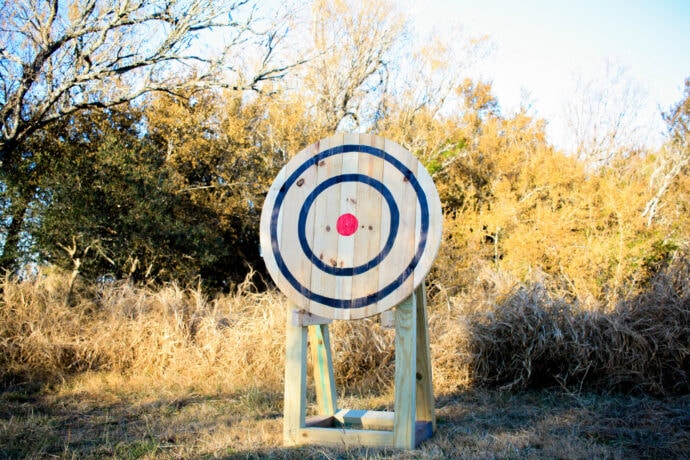
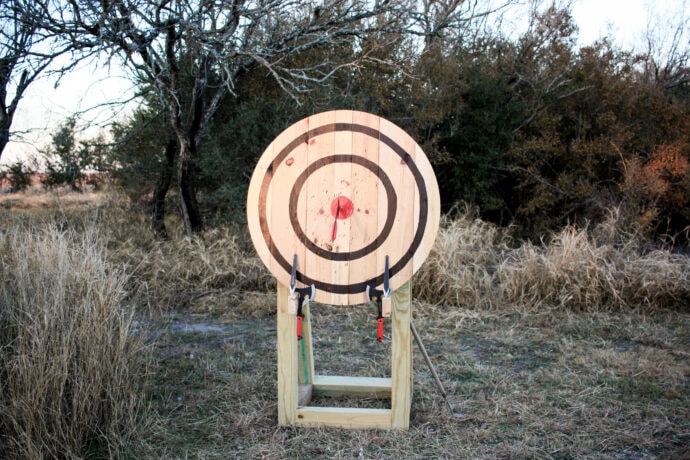
Now that your base is built you can find the perfect spot in your yard and set the base, then attach your axe throwing target to the base!
I used these 5 1/8″ grk screws through the 4×4 and into the 2×4 on the back of the target to make sure it doesn’t fall off of the arms!
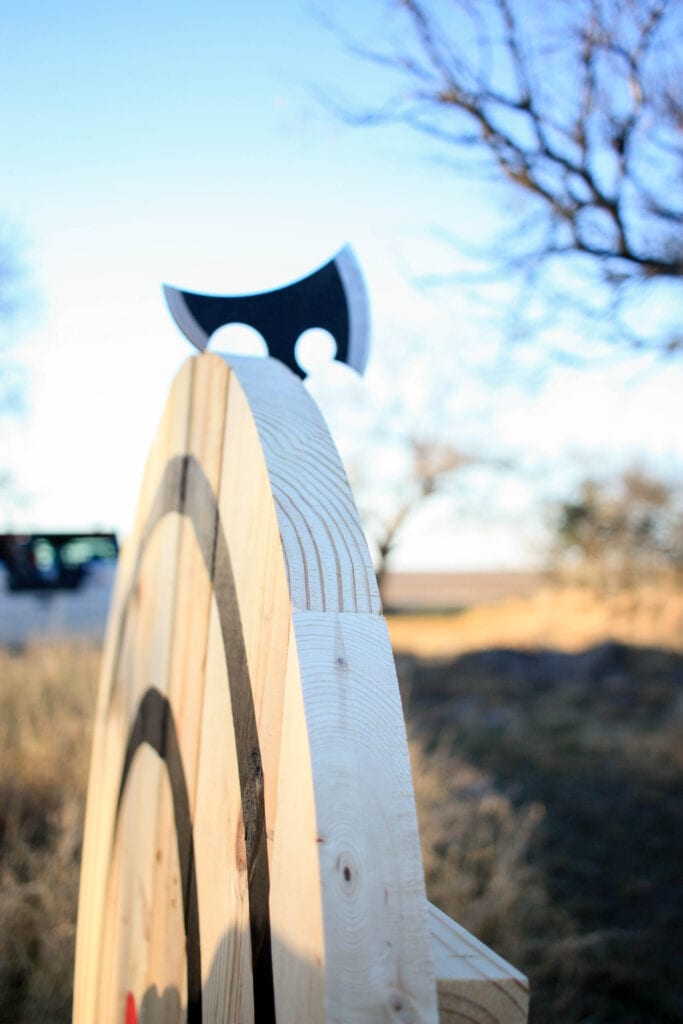
And guess what?! Your target is ready to be destroyed with axes and knives and literally anything you can throw at it! 🤭
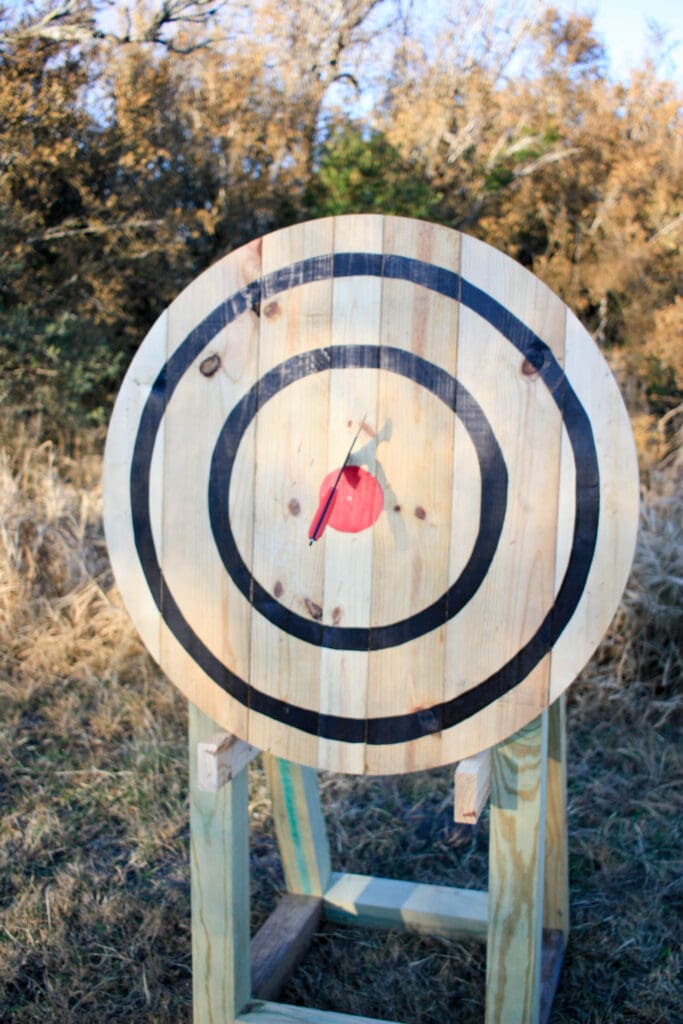
Check out this trick shot I somehow managed! 😂 I threw the axe at the front of the target, and somehow it went up and over and legit stuck in the back?!🤷♀️
We had a ton of fun throwing axes, and my kids are excited to add this to activities they can do with their friends while sitting around the campfire outside!
Are there any fun activities you and your family enjoy doing together? Let me know in the comments below! Thank you so much for stopping by!

Want to save this DIY Axe Throwing Target for later? Pin it!