Fabric Covered Cork Bulletin Board

Make yourself the cutest little drop zone this year to start the school year off right and have the perfect place to leave messages for each other with this fabric covered cork bulletin board! This bulletin board is easy to build but so adorable to look at! Customize the fabric and hooks to make it match your home perfectly and start communicating by writing again!
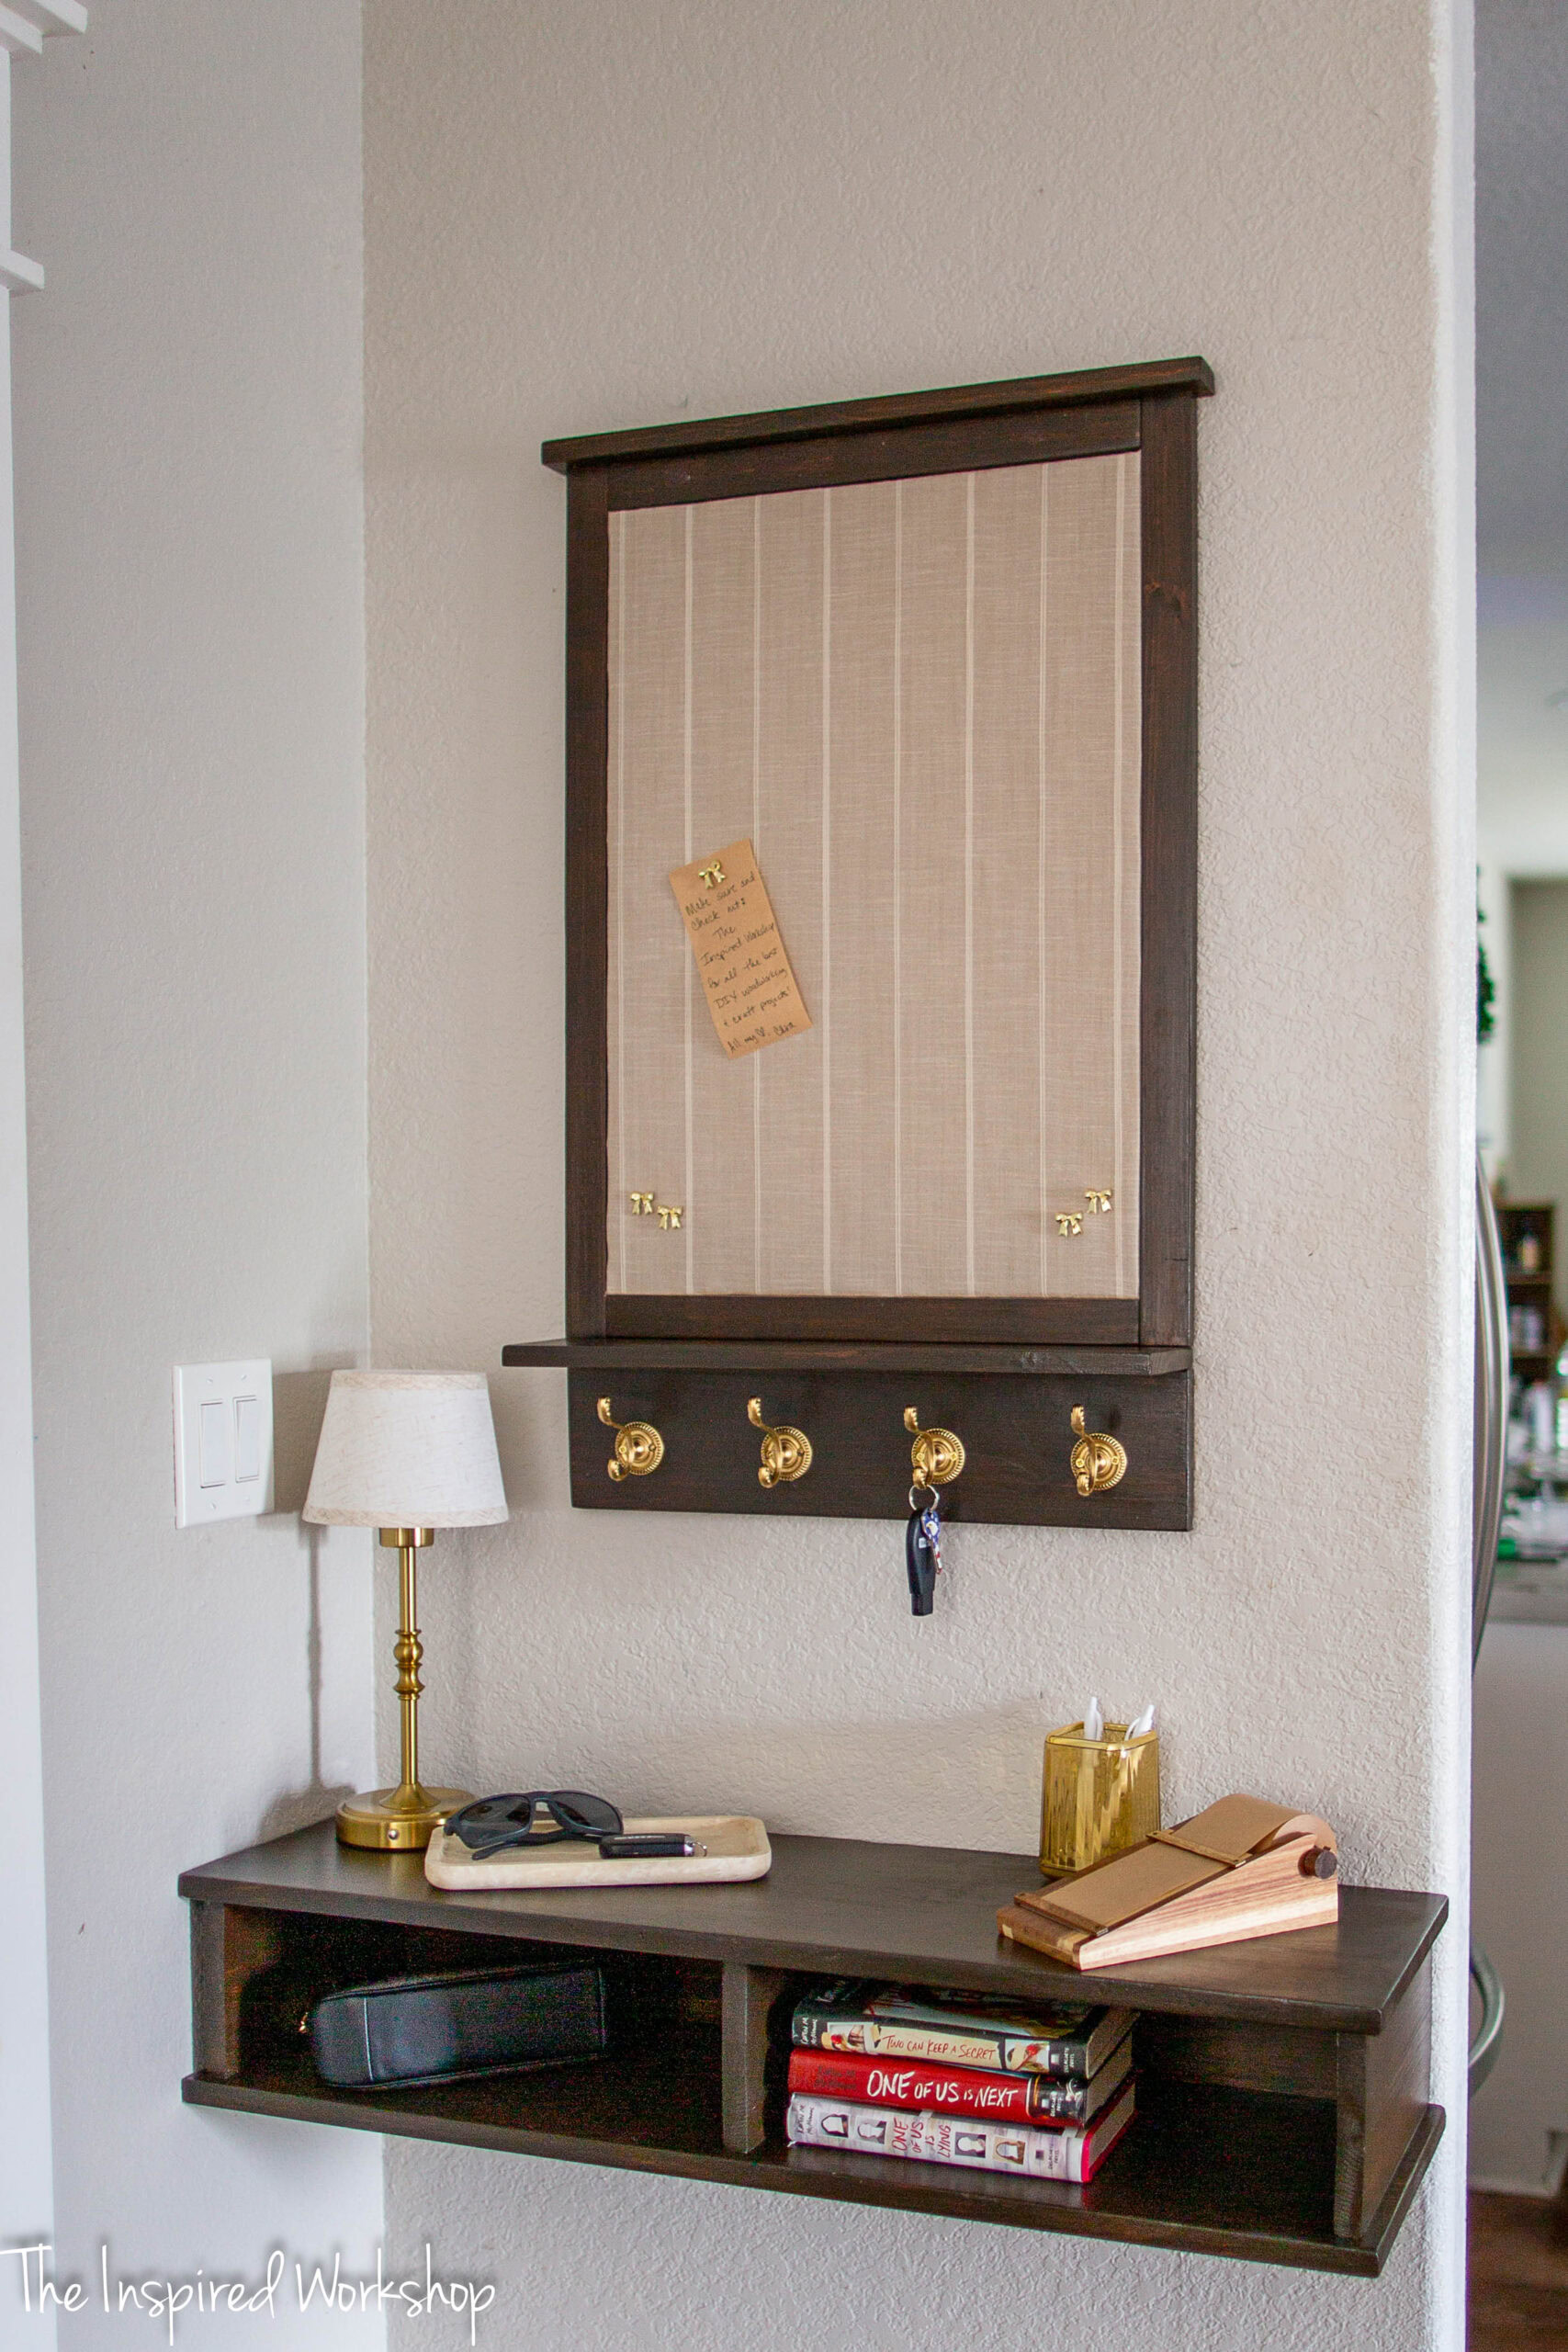
This little cork bulletin board is the perfect addition to the shelf we built with HobbyScool, for the Back-to-Creativity Summit, to create a space where the family can keep in touch with cute little notes, hang calendars, or leave important papers for someone else to grab as they walk out the door. This board is so quick and easy to throw together you can do both projects (the shelf and the message board) before the weekend is over!
If you want the plans for the shelf you can grab them here: Printable Plans! The virtual summit has come to an end but if you would like lifetime access to all the videos and resources provided you can sign up for the VIP access until the 25th of August and have them forever!
Alright, let’s build this little cutie!
Grabbing Supplies to Build the Bulletin Board
There are only a few supplies needed to build this board! The hooks and fabric are from Hobby Lobby, but you can personalize it with hooks you love and fabric that matches your home!
Overall, if you have to purchase all the materials, it looks to be right around $50 to build this bulletin board. This may seem a little steep for such a simple piece, but at the same time, I found one like this at Marshall’s after I built this one, for $99 dollars, and I created this message board to resemble one I saw at Pottery Barn for $300! So that makes it seem like a pretty good deal! Lol! Plus you can easily save money if you have scrap wood lying around (which I did)!
***NOTE: Links below are AFFILIATE LINKS! Affiliate links are links that pay me a small commission (at no extra cost to you) should you make a purchase after clicking one! I always appreciate you shopping at my links as it helps me continue bringing you awesome projects with free tutorials, so thank you in advance for any purchases! (Hobby Lobby links are not affiliate links.)
Materials:
- 1 – 1x2x10
- 1 – 1x6x4
- 1 – 2×4 piece of 1/2″ plywood
- Kreg Jig
- miter saw
- table saw
- wood glue
- spray adhesive
- cork
- staple gun – you do not need an electric staple gun for the couple of staples you are stapling, you can easily use a manual staple gun!
- 1 – yard of fabric of your choice – I used this fabric from Hobby Lobby
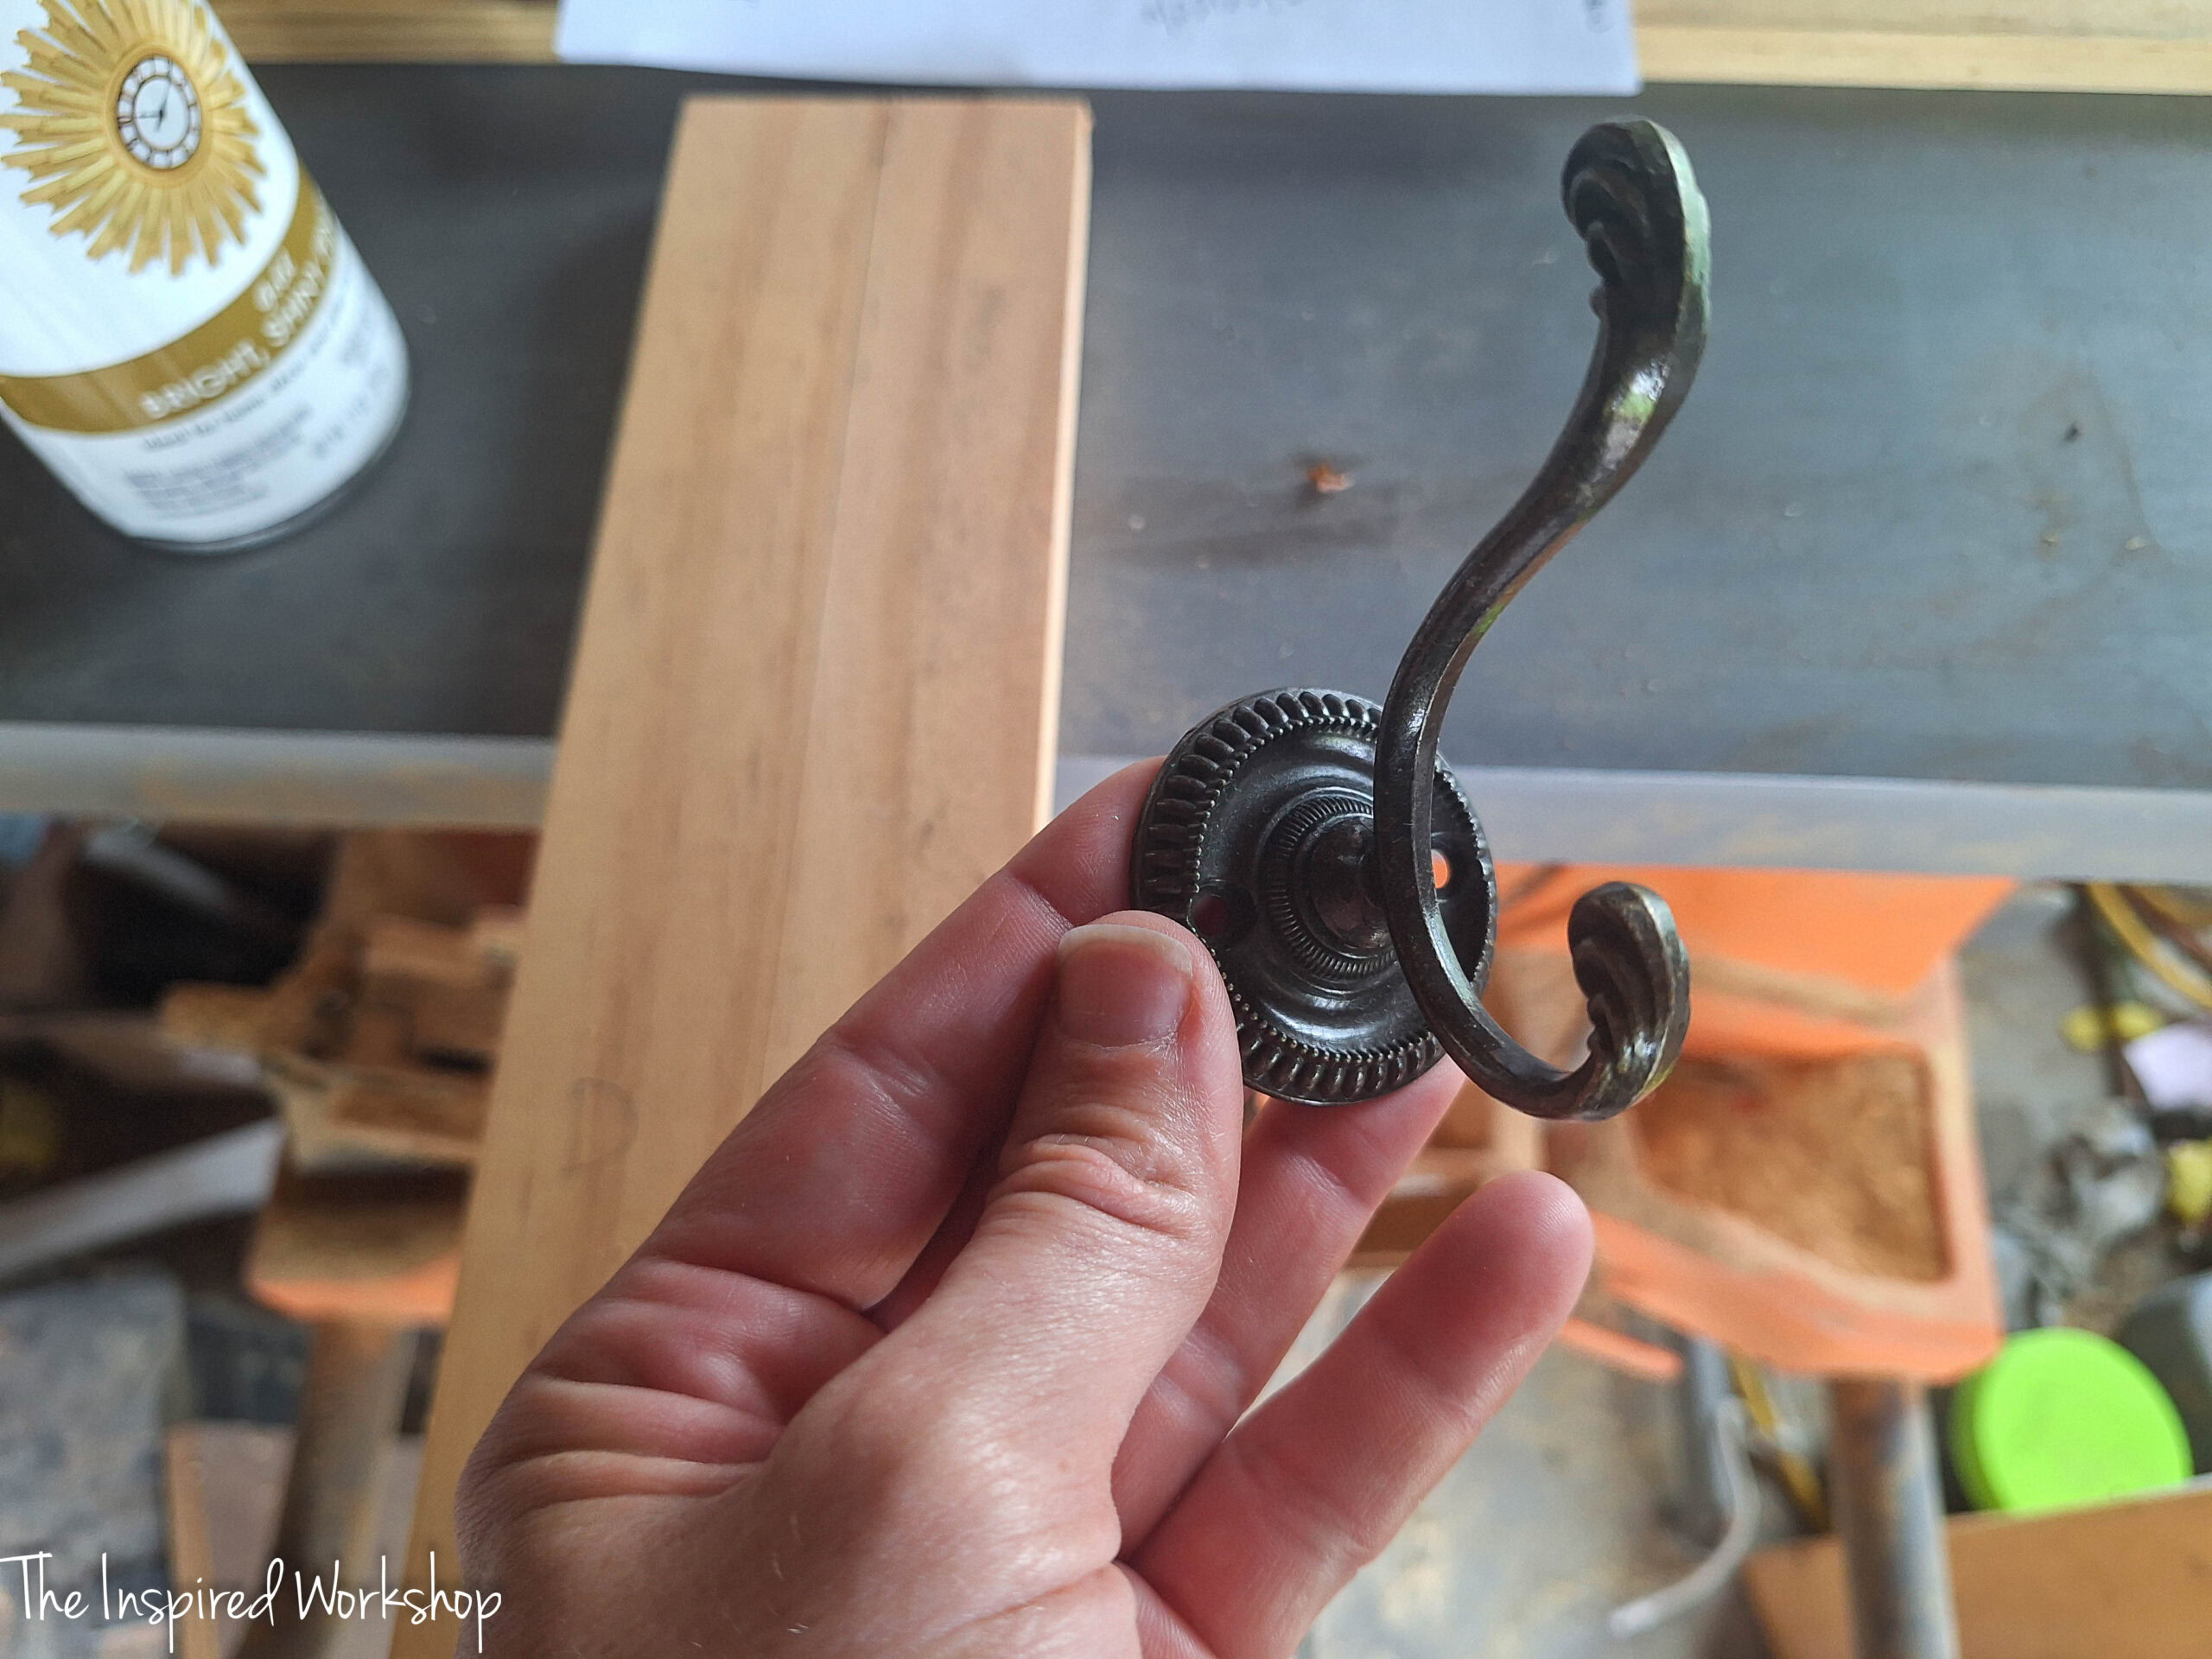
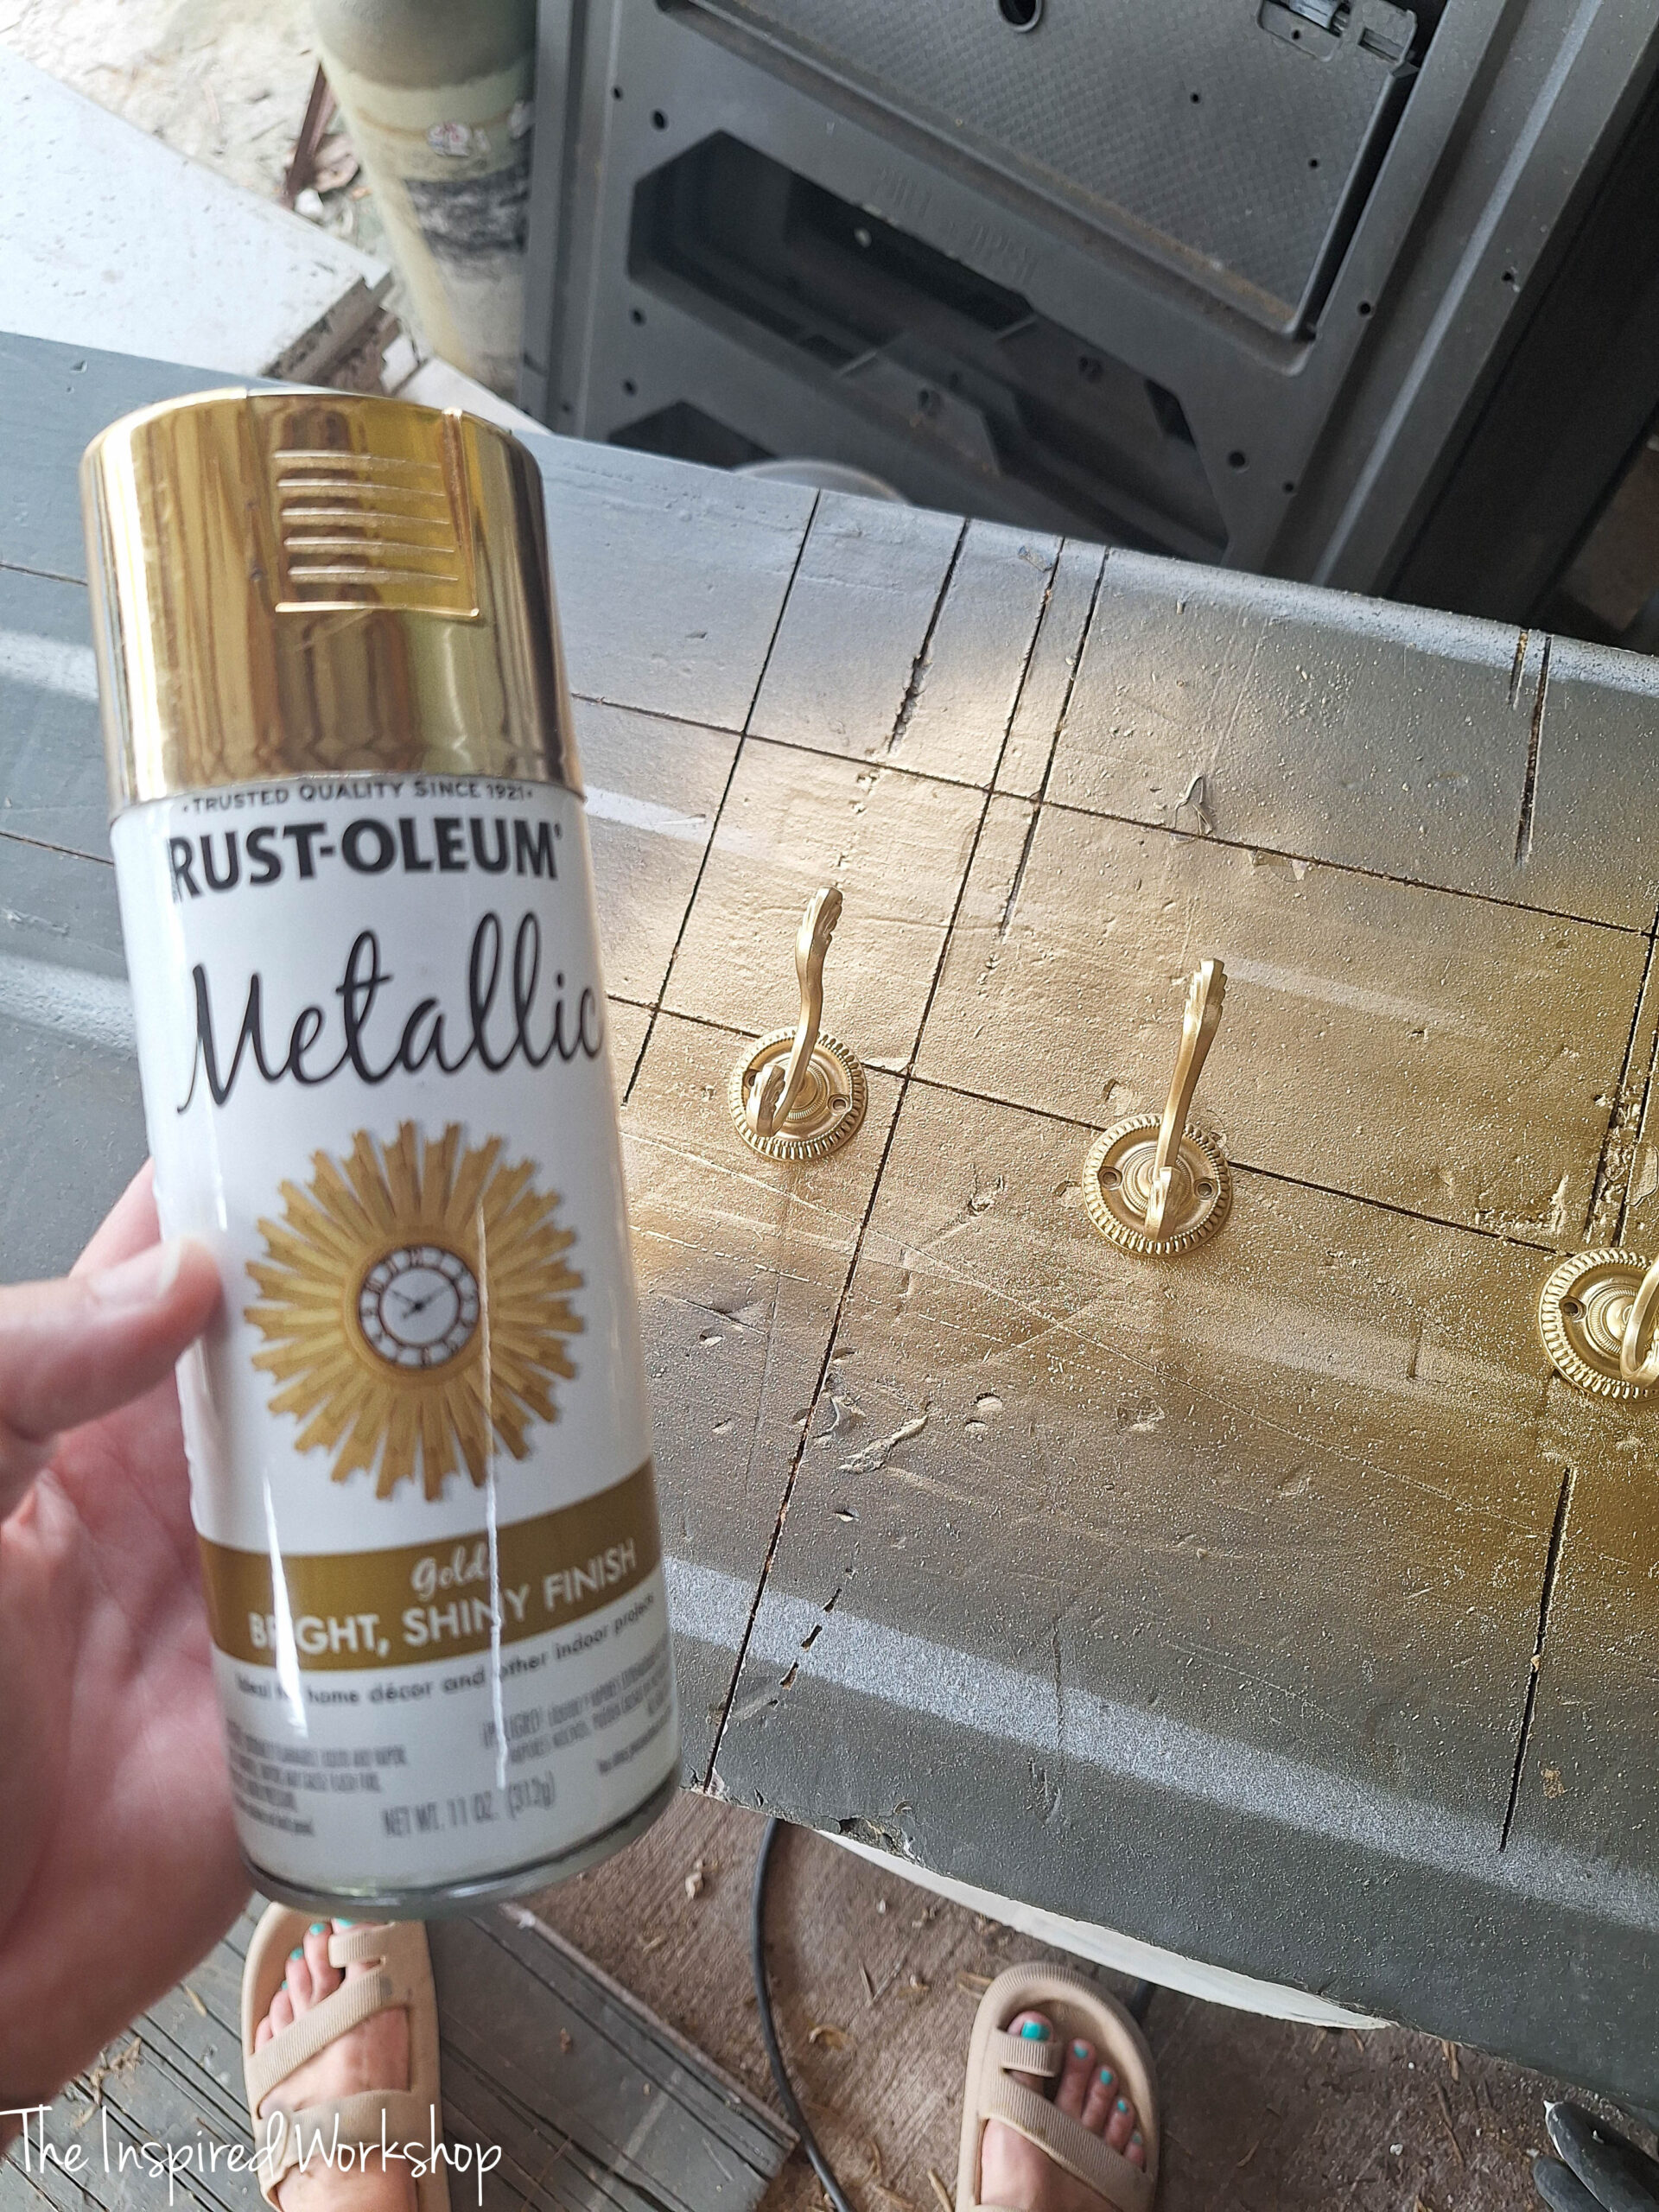
- 4 – hooks of your choice – I used these hooks from Hobby Lobby – I spray painted them with this gold spray paint!
Cut List:
- 2 – 1×2 @ 28″ (side boards)
- 1 – 1×2 @ 21 3/4″ (top board)
- 2 – 1×2 @ 17 3/4″ (horizontal boards of the bulletin area)
- 2 – 1×6 @ 20 3/4″ ripped down to 4 7/8″ (shelf and bottom board with hooks)
Making the Bulletin Board
You can do this a multitude of ways, I did it the easiest way to me! Lol! I made the bulletin board part of the project and then built the frame around it!
To make the cork bulletin board, you will need to cut your 1/2″ plywood down to 17 3/4″ x 25″. Had I have thought about the size before, I would have made it one inch shorter to save materials! You can do this, making it only 24″ tall instead of 25″! You can then make two out of the roll of cork you purchase and the plywood!
Once you have your plywood cut, you can drill pocket holes along the back of it if you would like, I chose not to, I just built the frame around it, it was so tightly held, I didn’t have to spend the time drilling holes! If you want to drill pocket holes, you will drill them at the depth of 1/2″ since that is the width of your plywood, and use 1″ screws to attach.
Now, I used rubber cement to attach my cork to the plywood but it did not work very well, I do love Elmer’s spray adhesive though, and would have used this if I had some on hand and wasn’t in a time crunch! Lol!
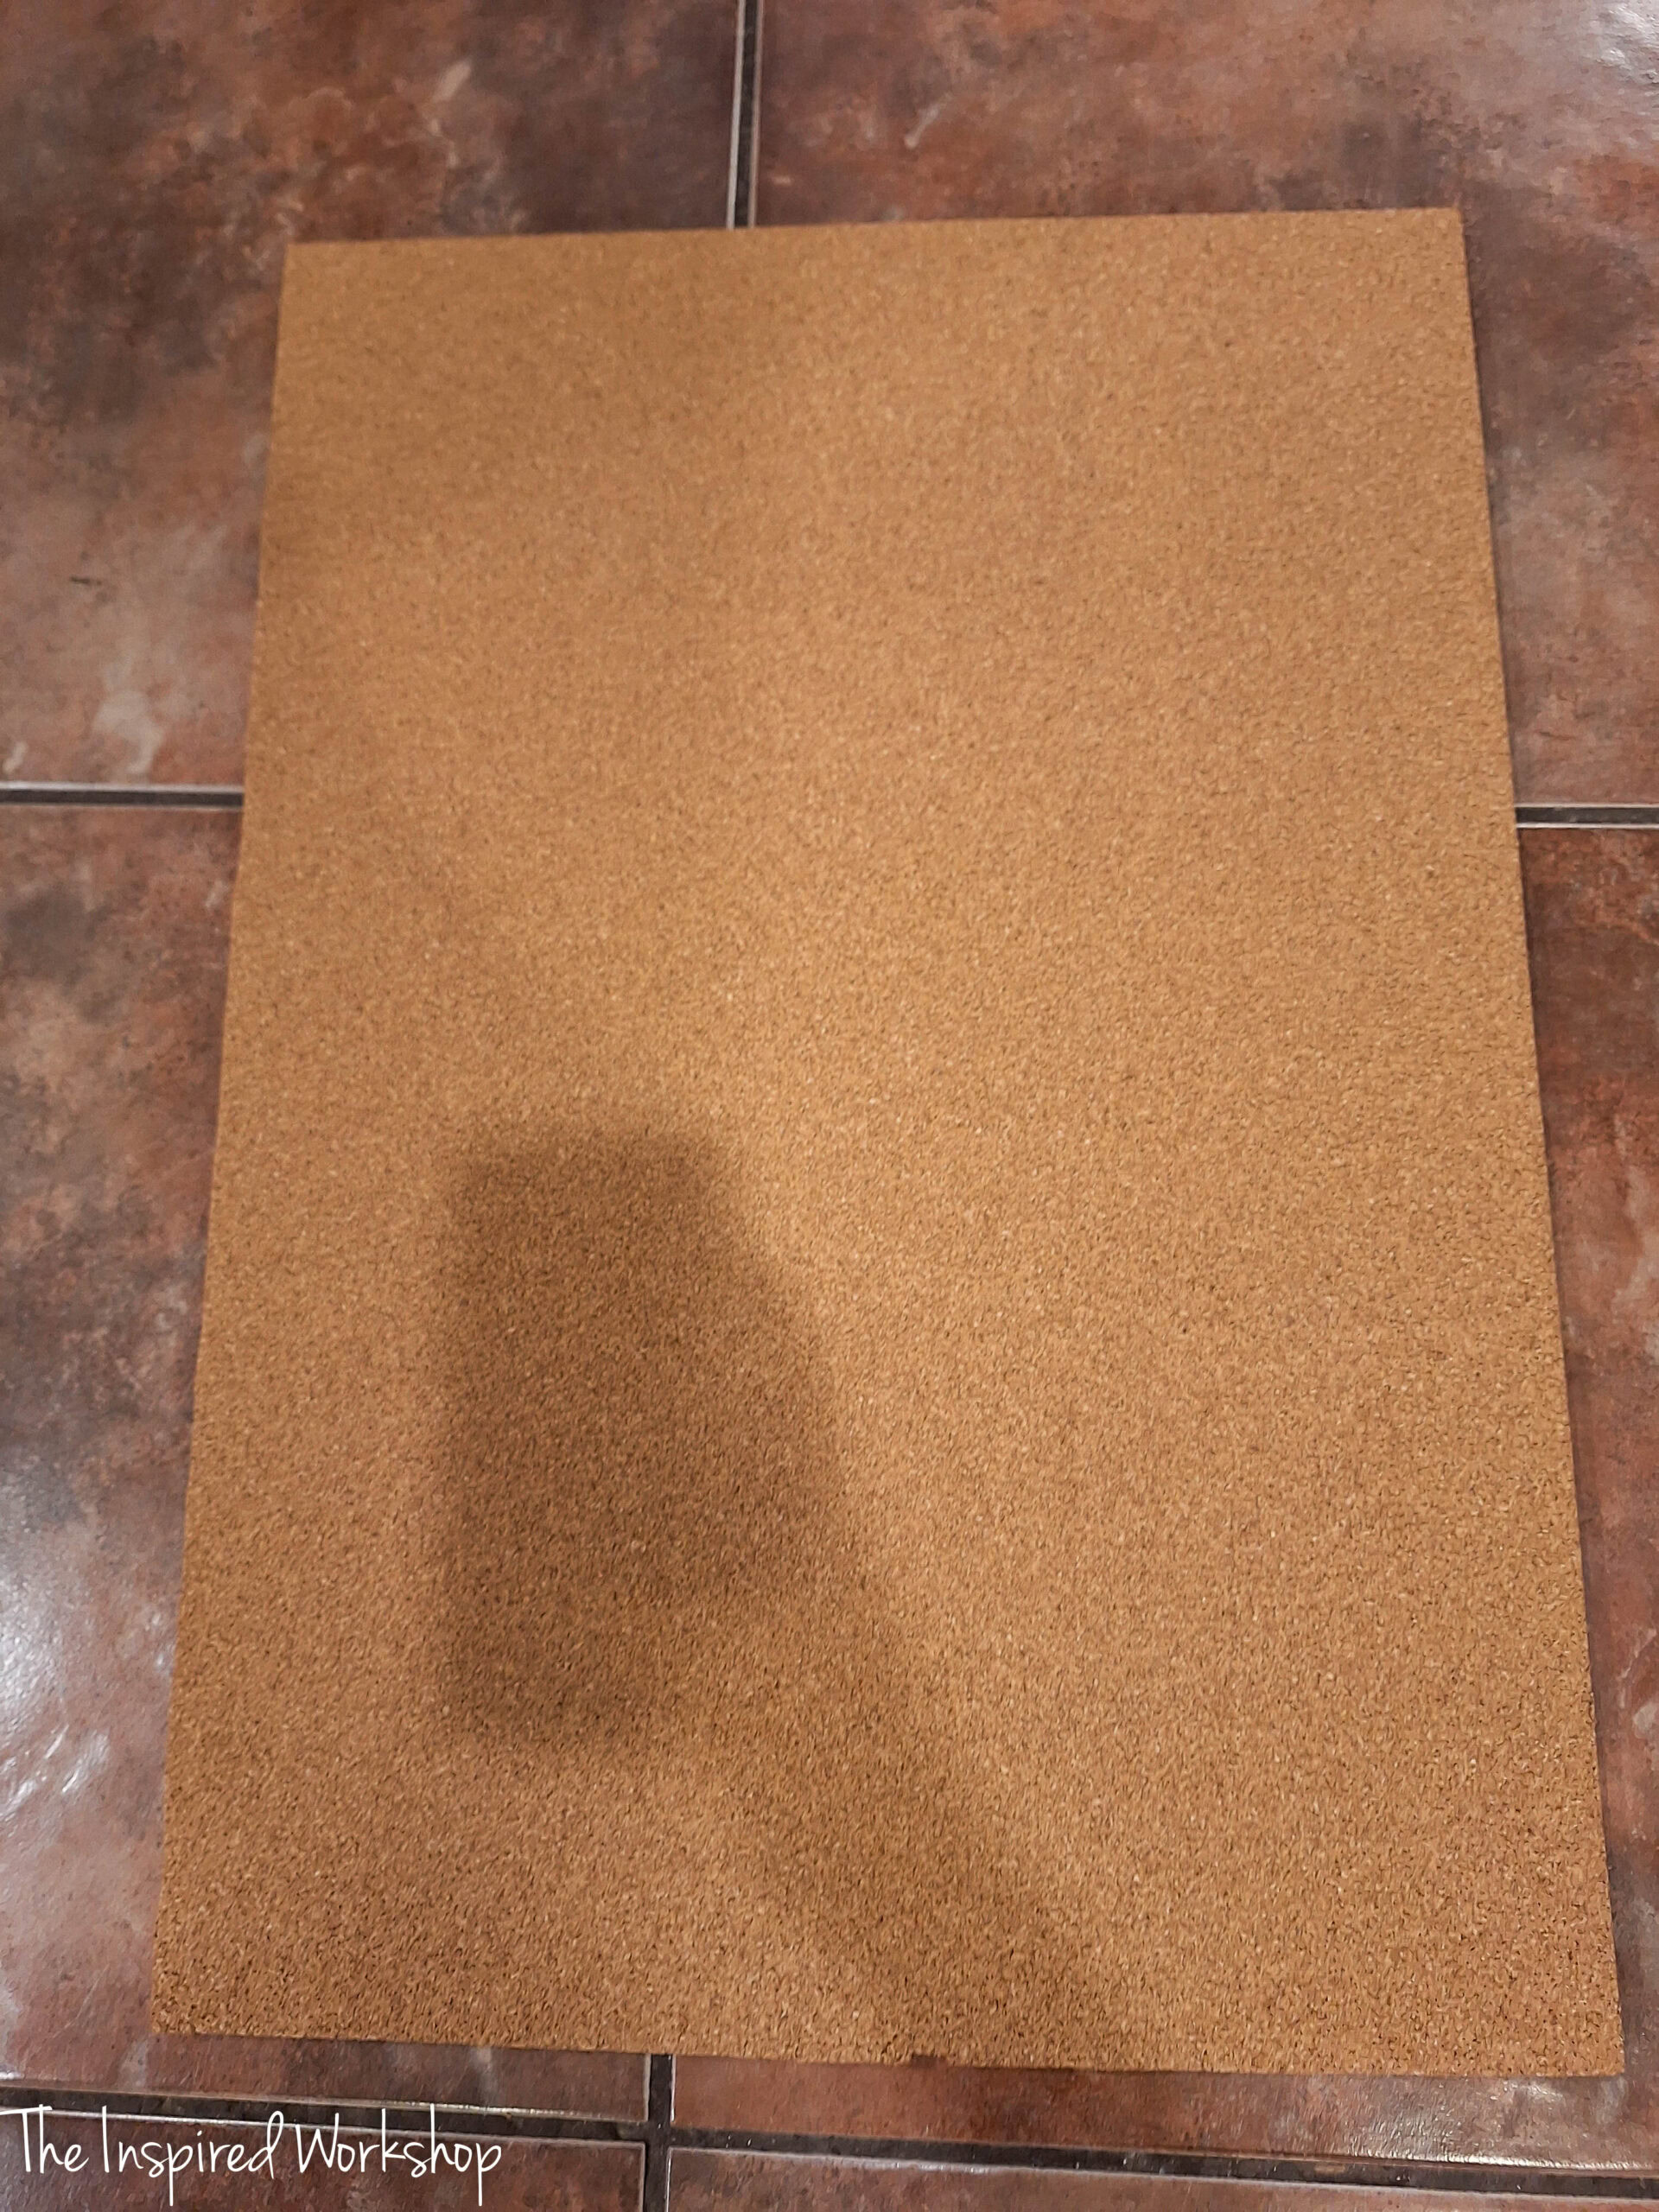
Once you have the cork glued in place, grab your fabric, lay it face down (make sure and iron it as well, if it has wrinkles) then place the plywood cork side down on the fabric. Now you will pull the fabric taut around the back of the plywood and secure it with the staple gun.
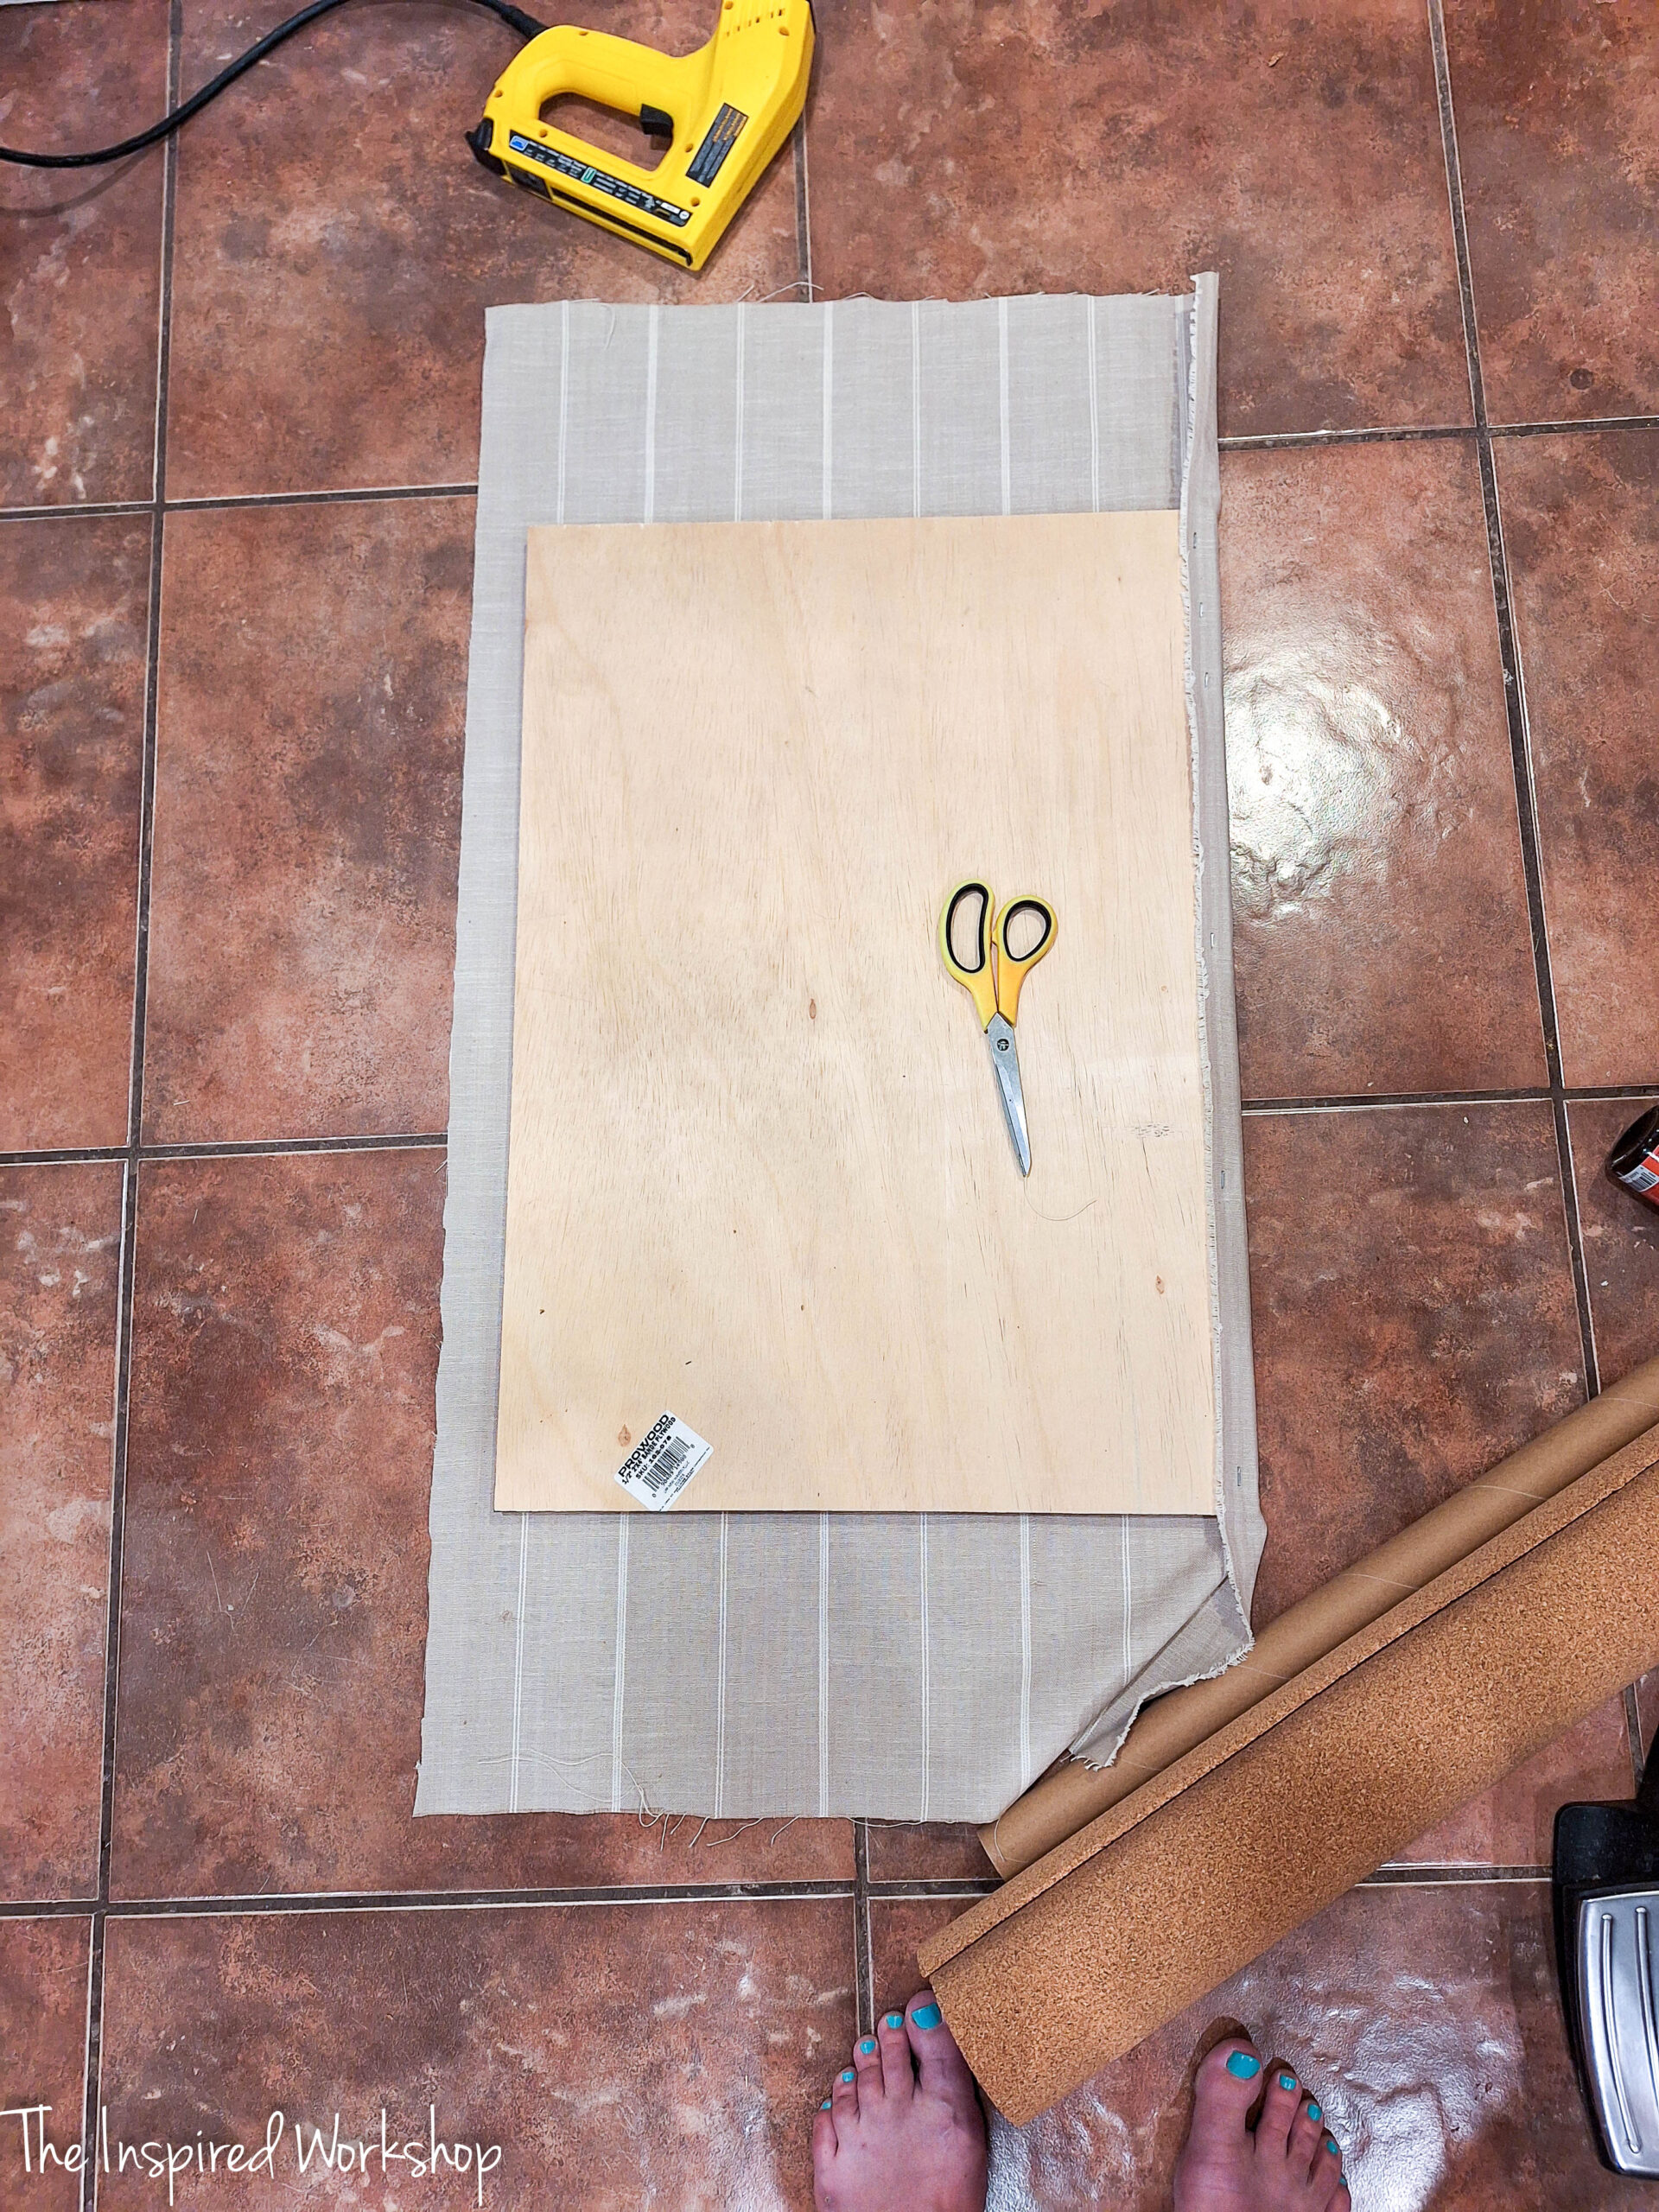
In the pic below, just look at the stapled fabric, not the fact that there are already frame boards around it! Lol!
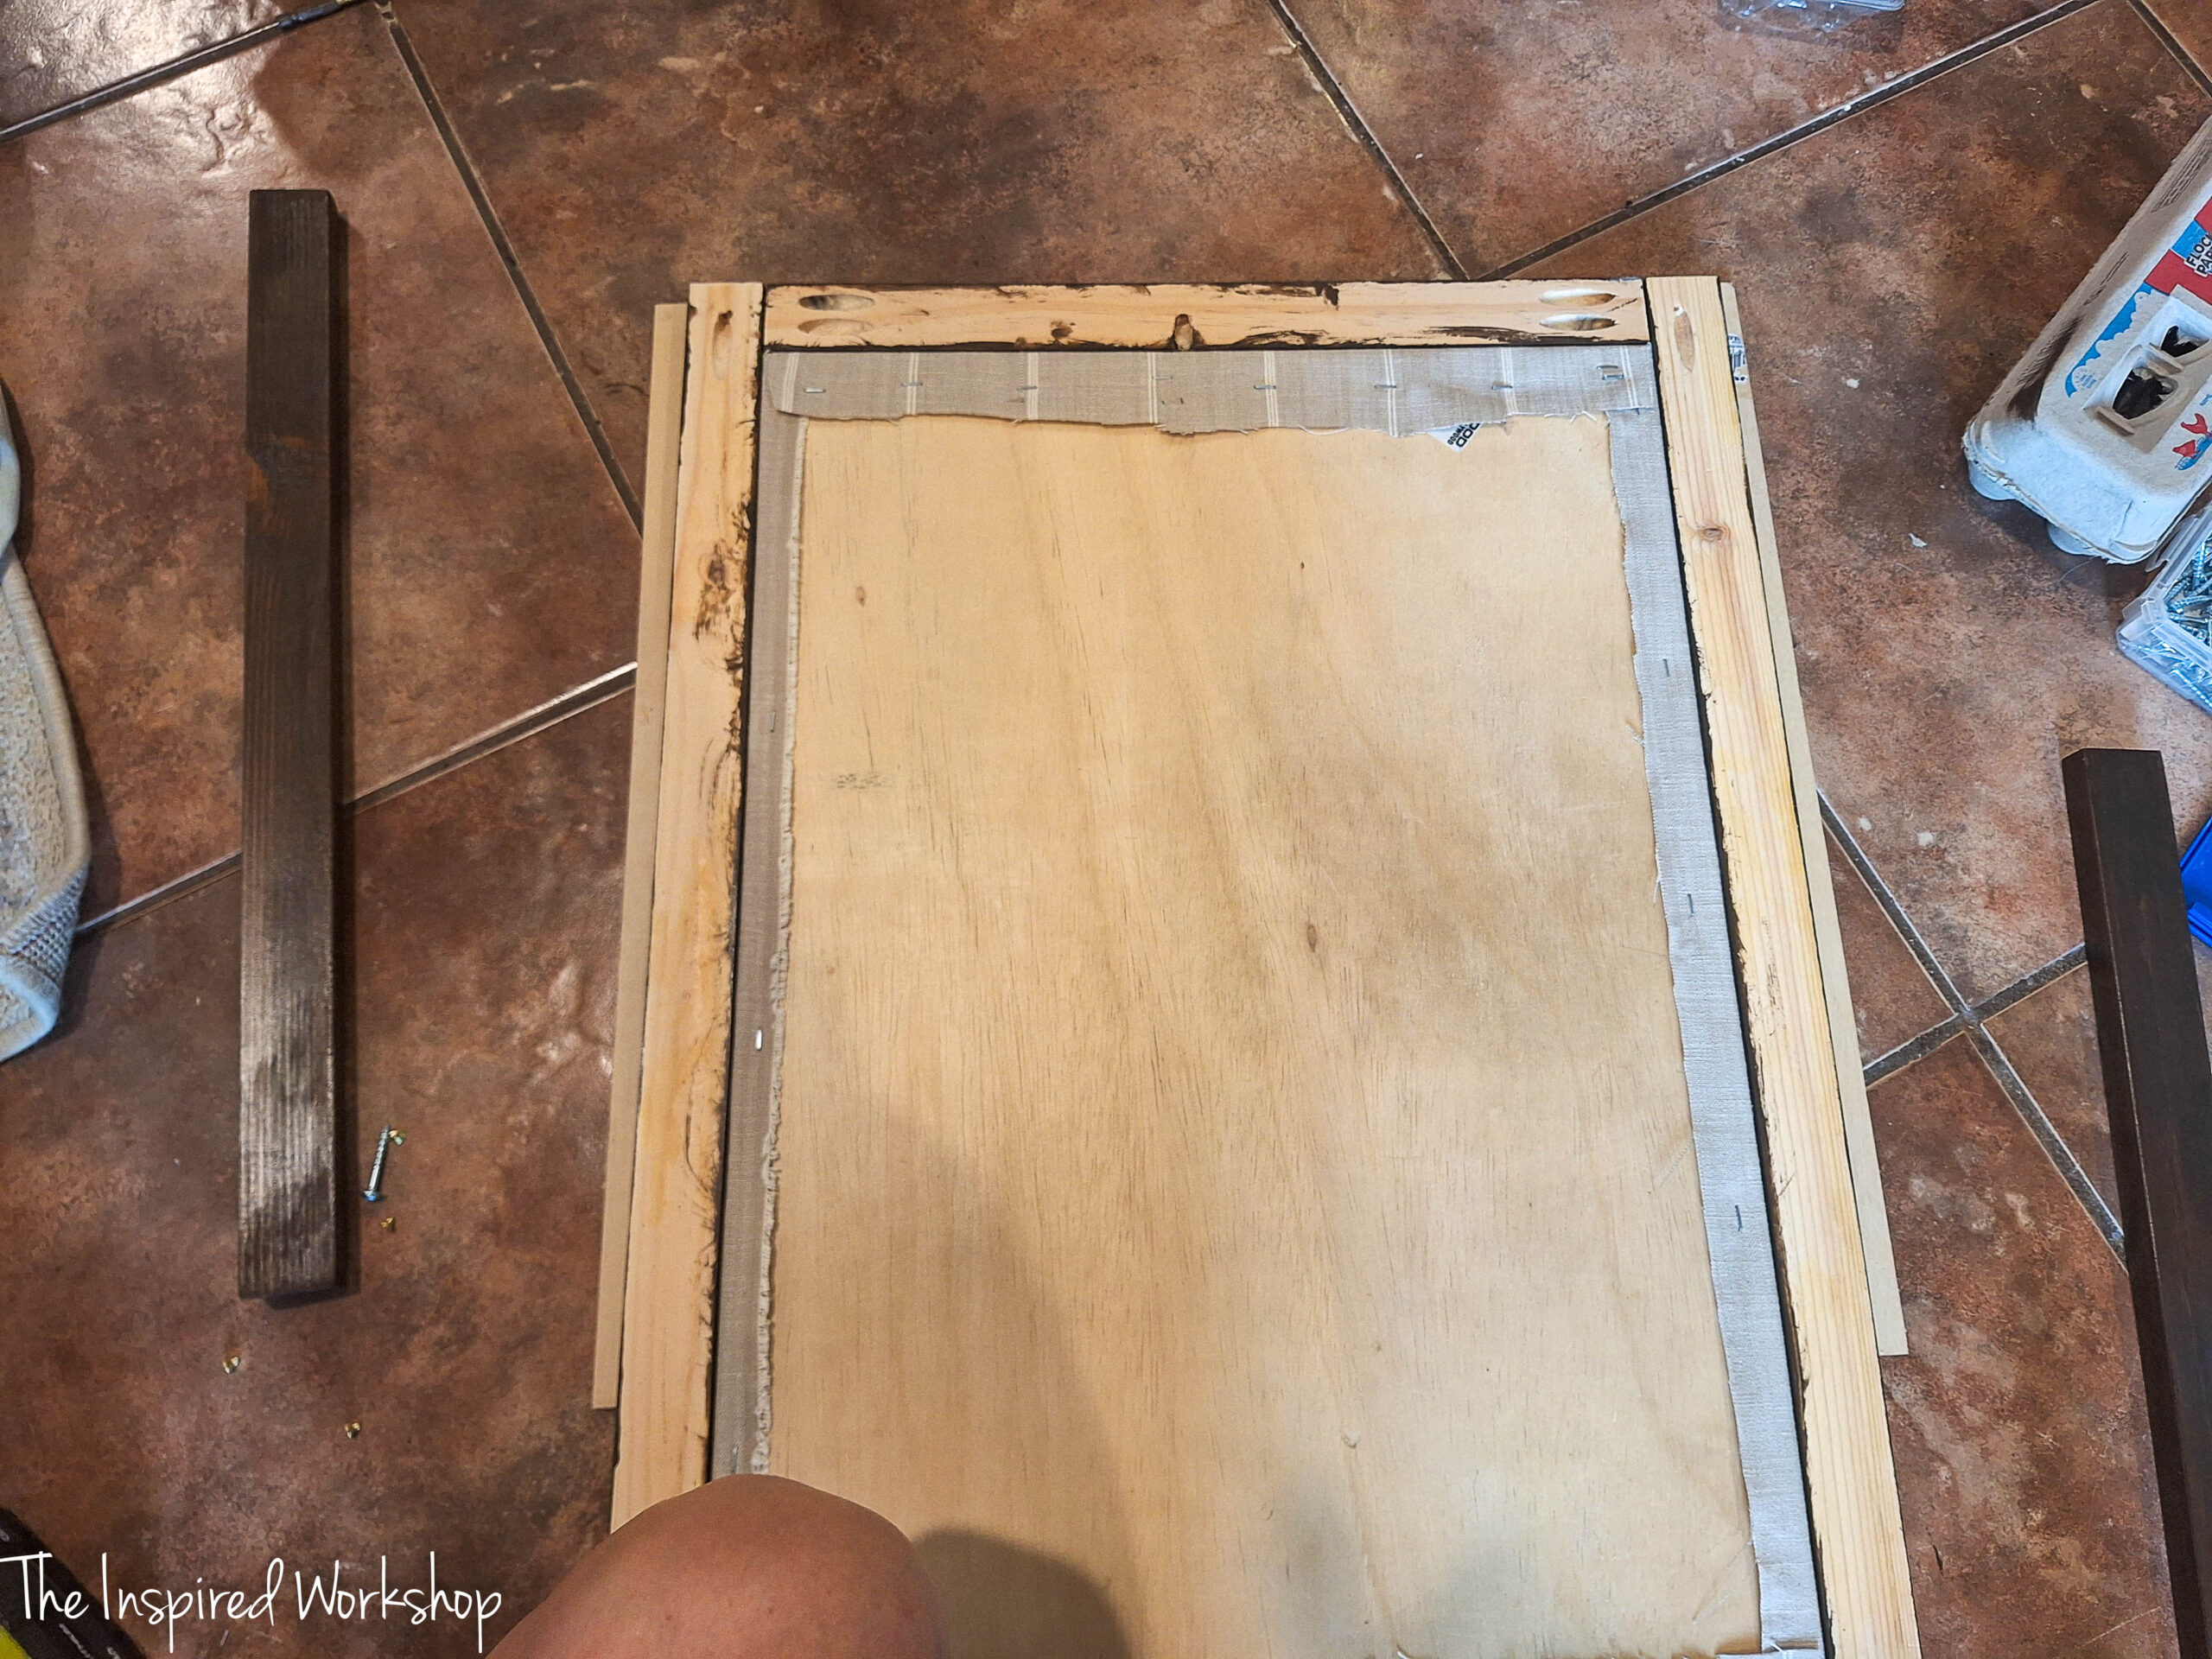
Once you have it stapled, we can add the frame!
Framing the Fabric Bulletin Board
Since the bulletin board is already covered in the fabric, I cut all my boards to size, sanded them, and stained them, before putting them together so I didn’t get any stain on the fabric!
It is pretty simple to put together, I kept the bulletin board in place the whole time, as I mentioned earlier, so that it is kept in place by the frame! It is really tight, I don’t see it going anywhere…but if I did want to change out the fabric in time, I can use a mallet and knock it out! Lol!
So, first things first, I added the direct frame boards which is 2 – 1×2 @ 17 3/4″ for the top and bottom, and then the 2 – 1×2 @ 28″ boards.
The 28″ boards will have pocket holes drilled in both ends even though these won’t be used right now to attach the boards we are attaching, we will need them later! All pocket holes on the frame will be drilled at a depth of 3/4″. The 17 3/4″ boards will have pocket holes drilled into the ends of them to put this frame together right now, and it will have one drilled along the top and bottom to help attach the top board and the shelf later! Use wood glue, along with 1 1/4″ screws to attach.
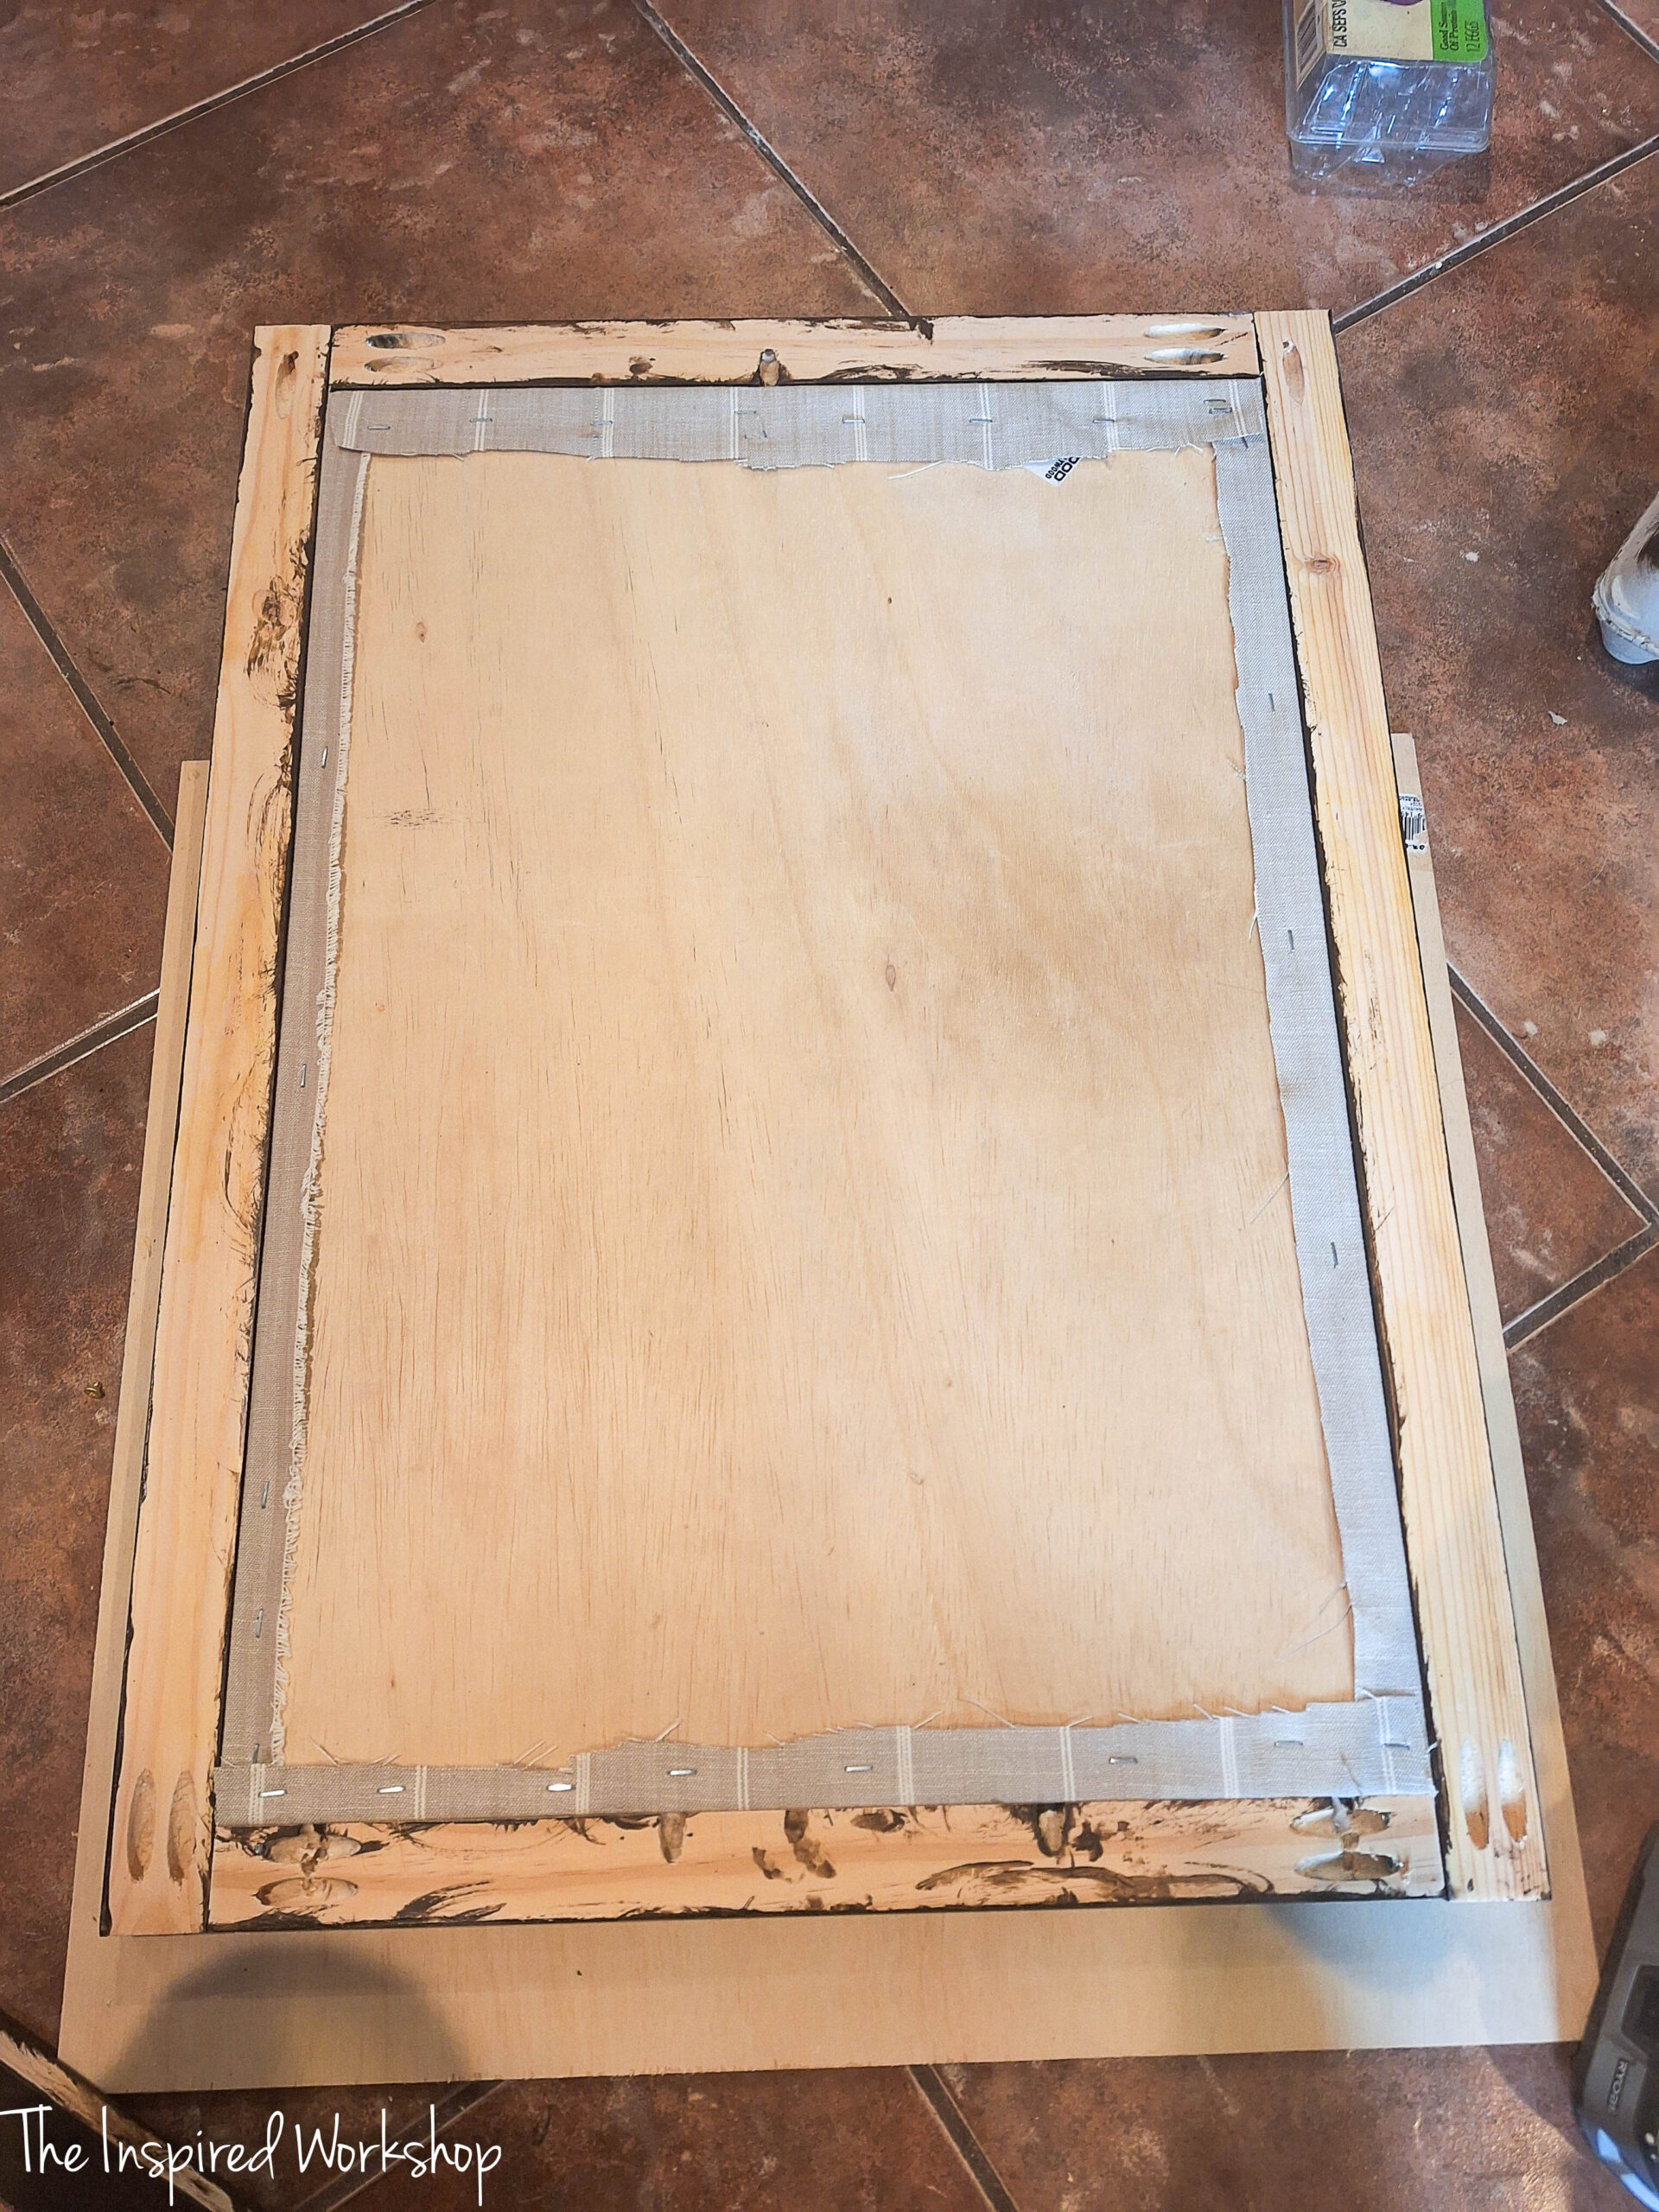
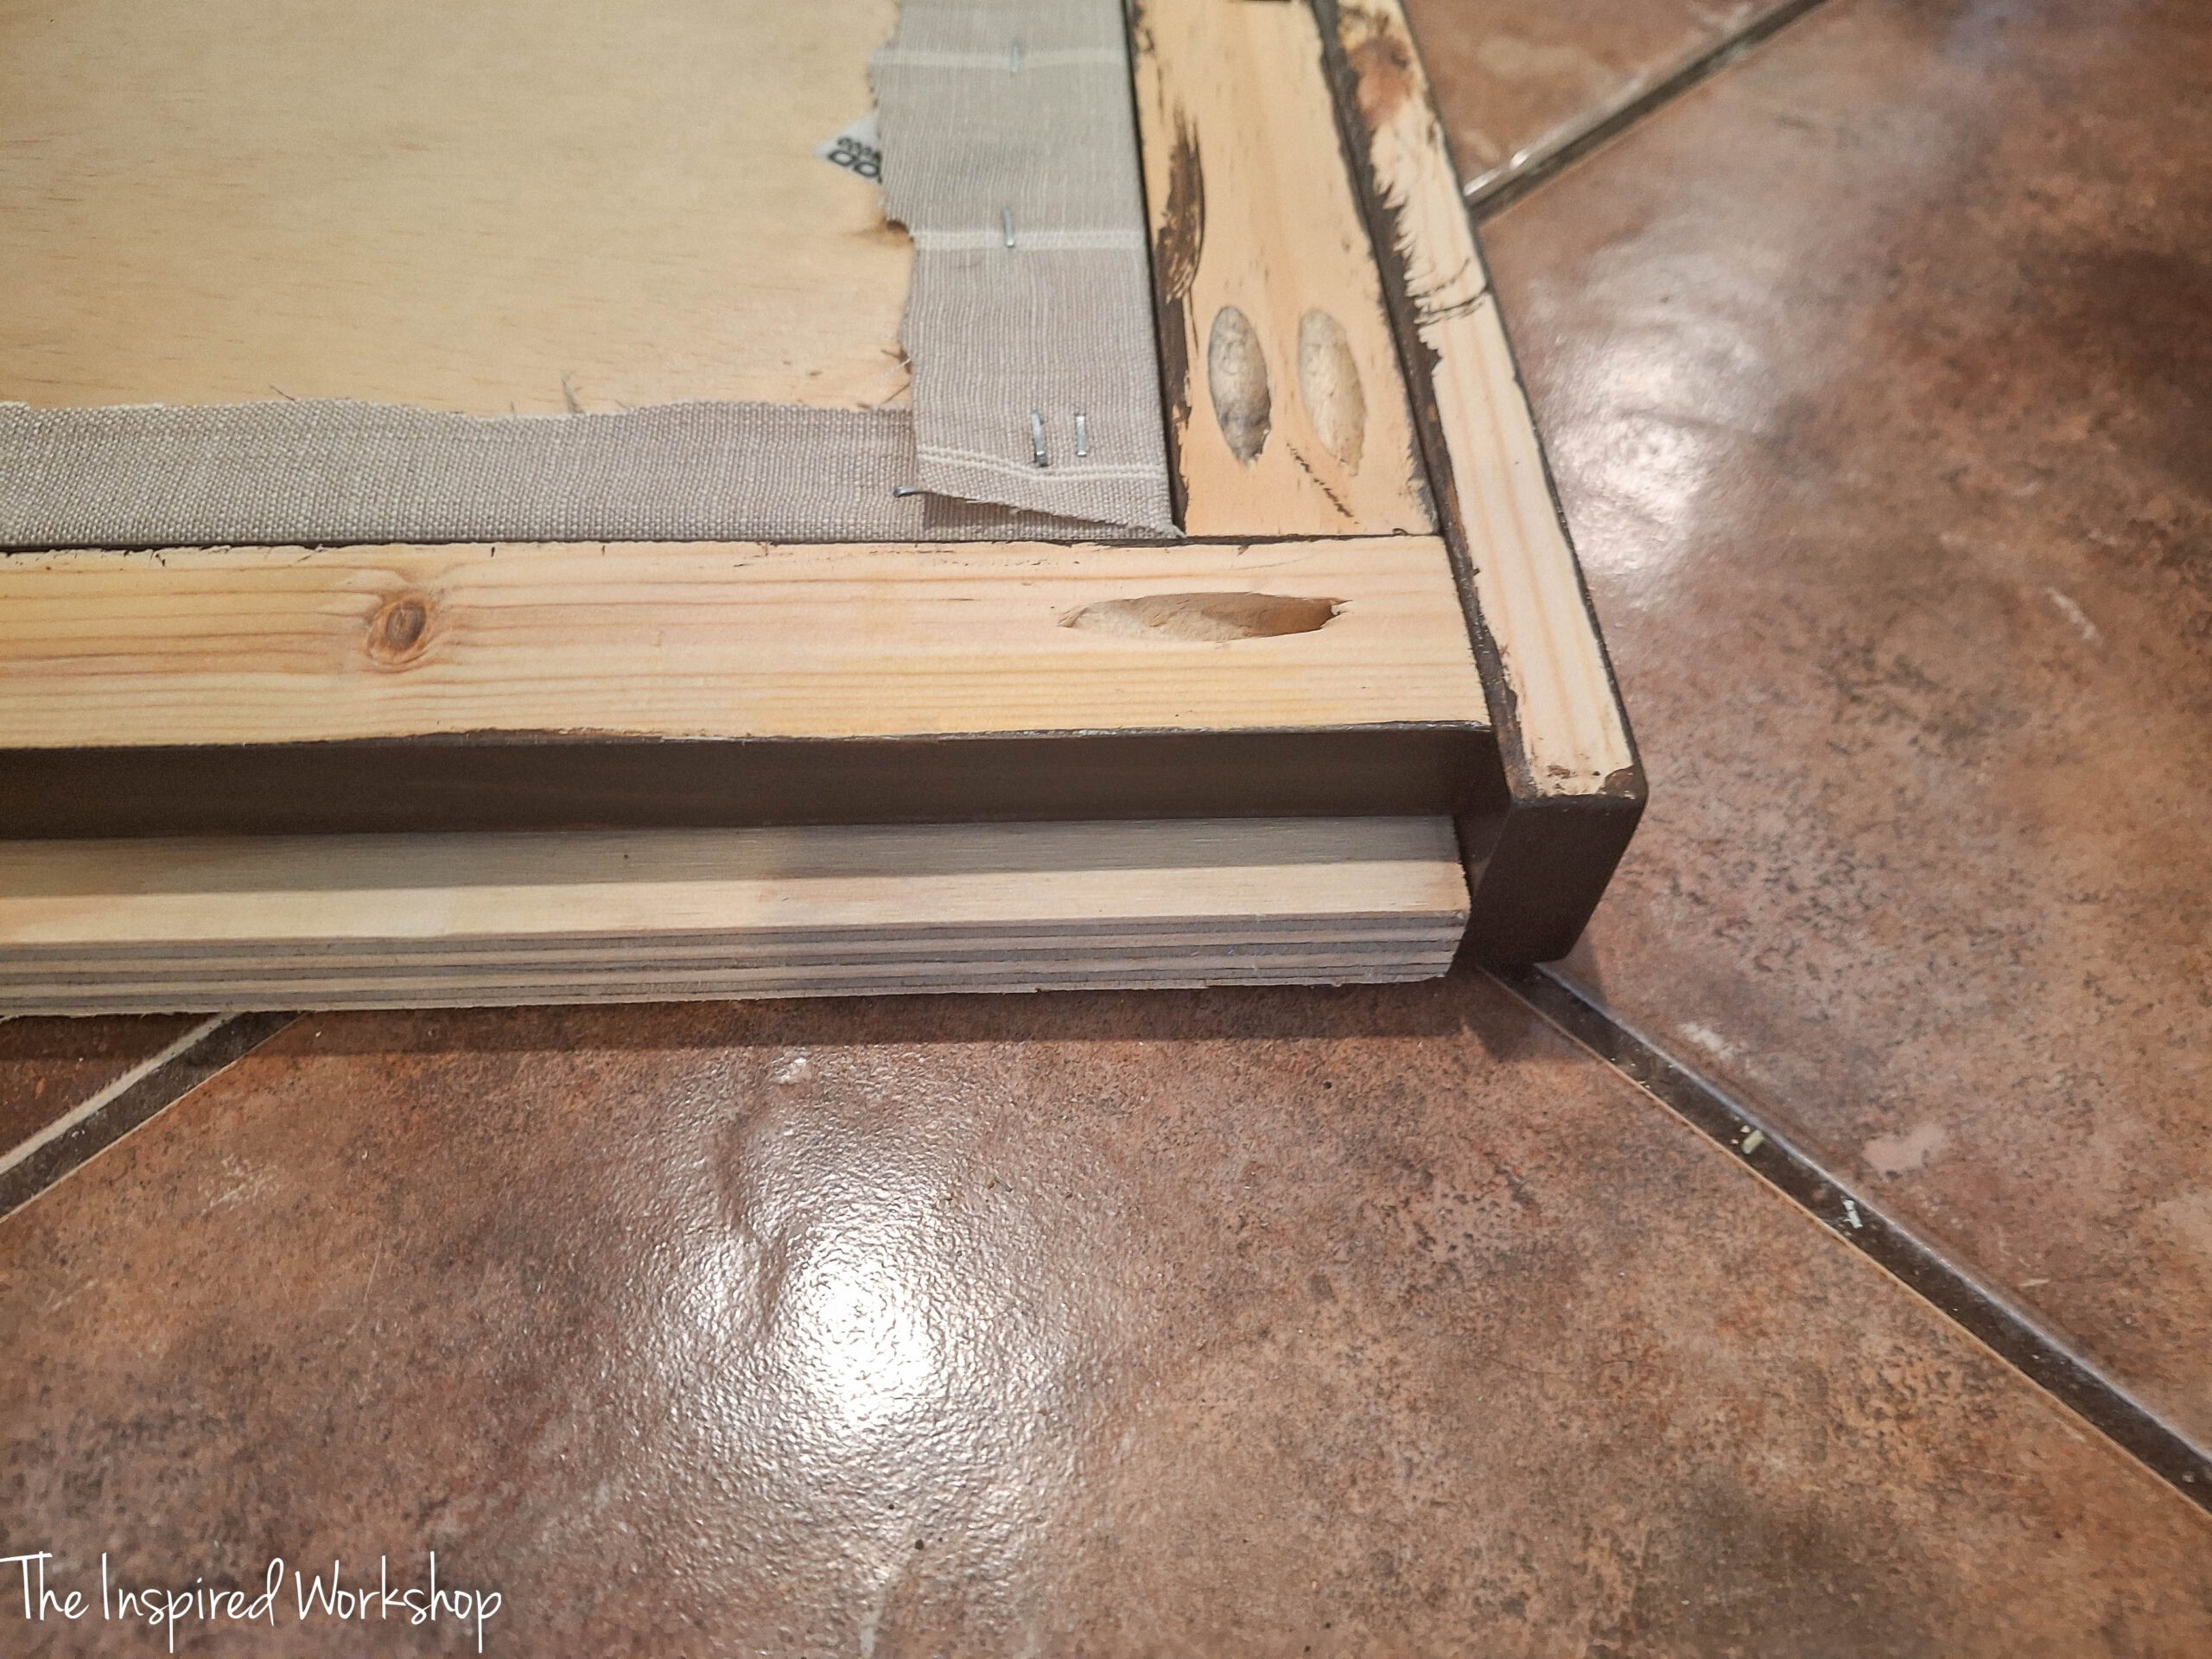
Next, we will attach the top board. I laid the whole bulletin board with frame on top of a piece of 3/4″ plywood and slid it to the end of the plywood to hold our top board (1×2 @ 21 3/4″) in place where the overhang will be to the front. There is a side overhang of 1/2″ on each side.
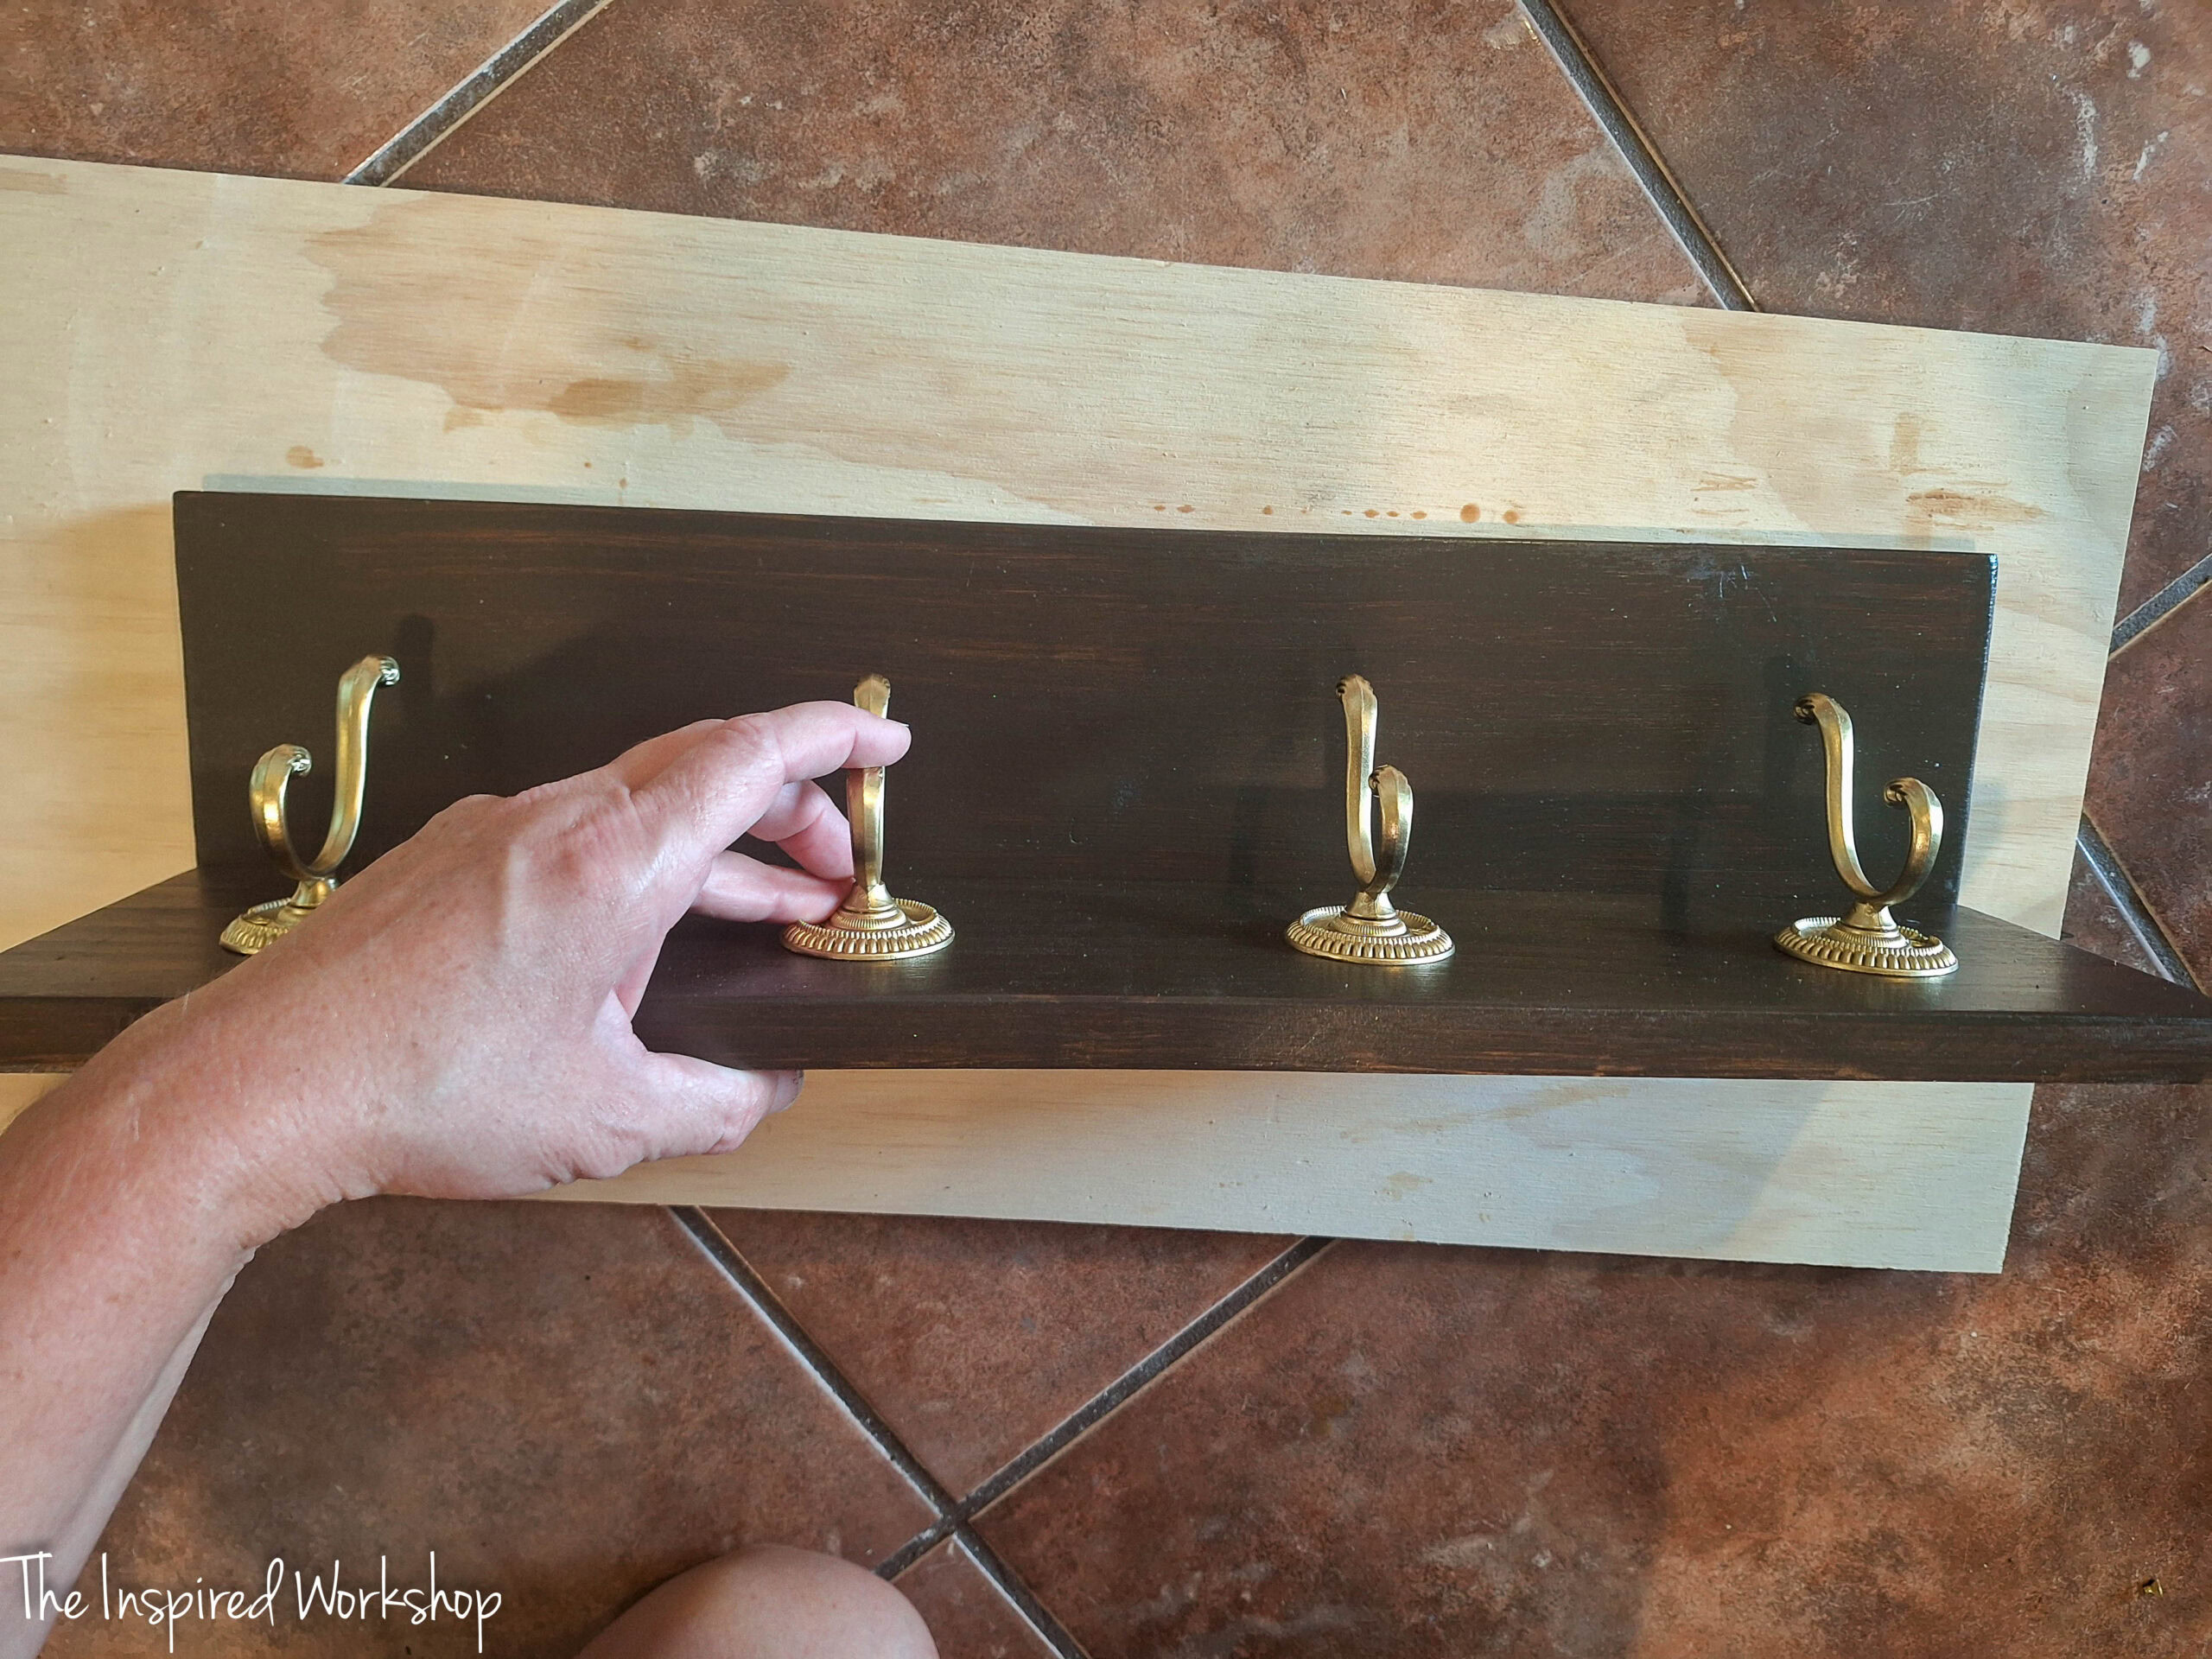
Before attaching the shelf board, I attached the bottom hooks to the bottom board, I spray painted them gold before attaching them as they were kind of black with slight bronze accents.
I used some brass screws I got at my local hardware store and I would not recommend them! Lol! I broke 4 or 5 of them, so the hooks are glued into place with super glue!
Anyway, once they are attached, however you may need to attach them, use pocket holes along the back of the hook board to attach to the shelf.
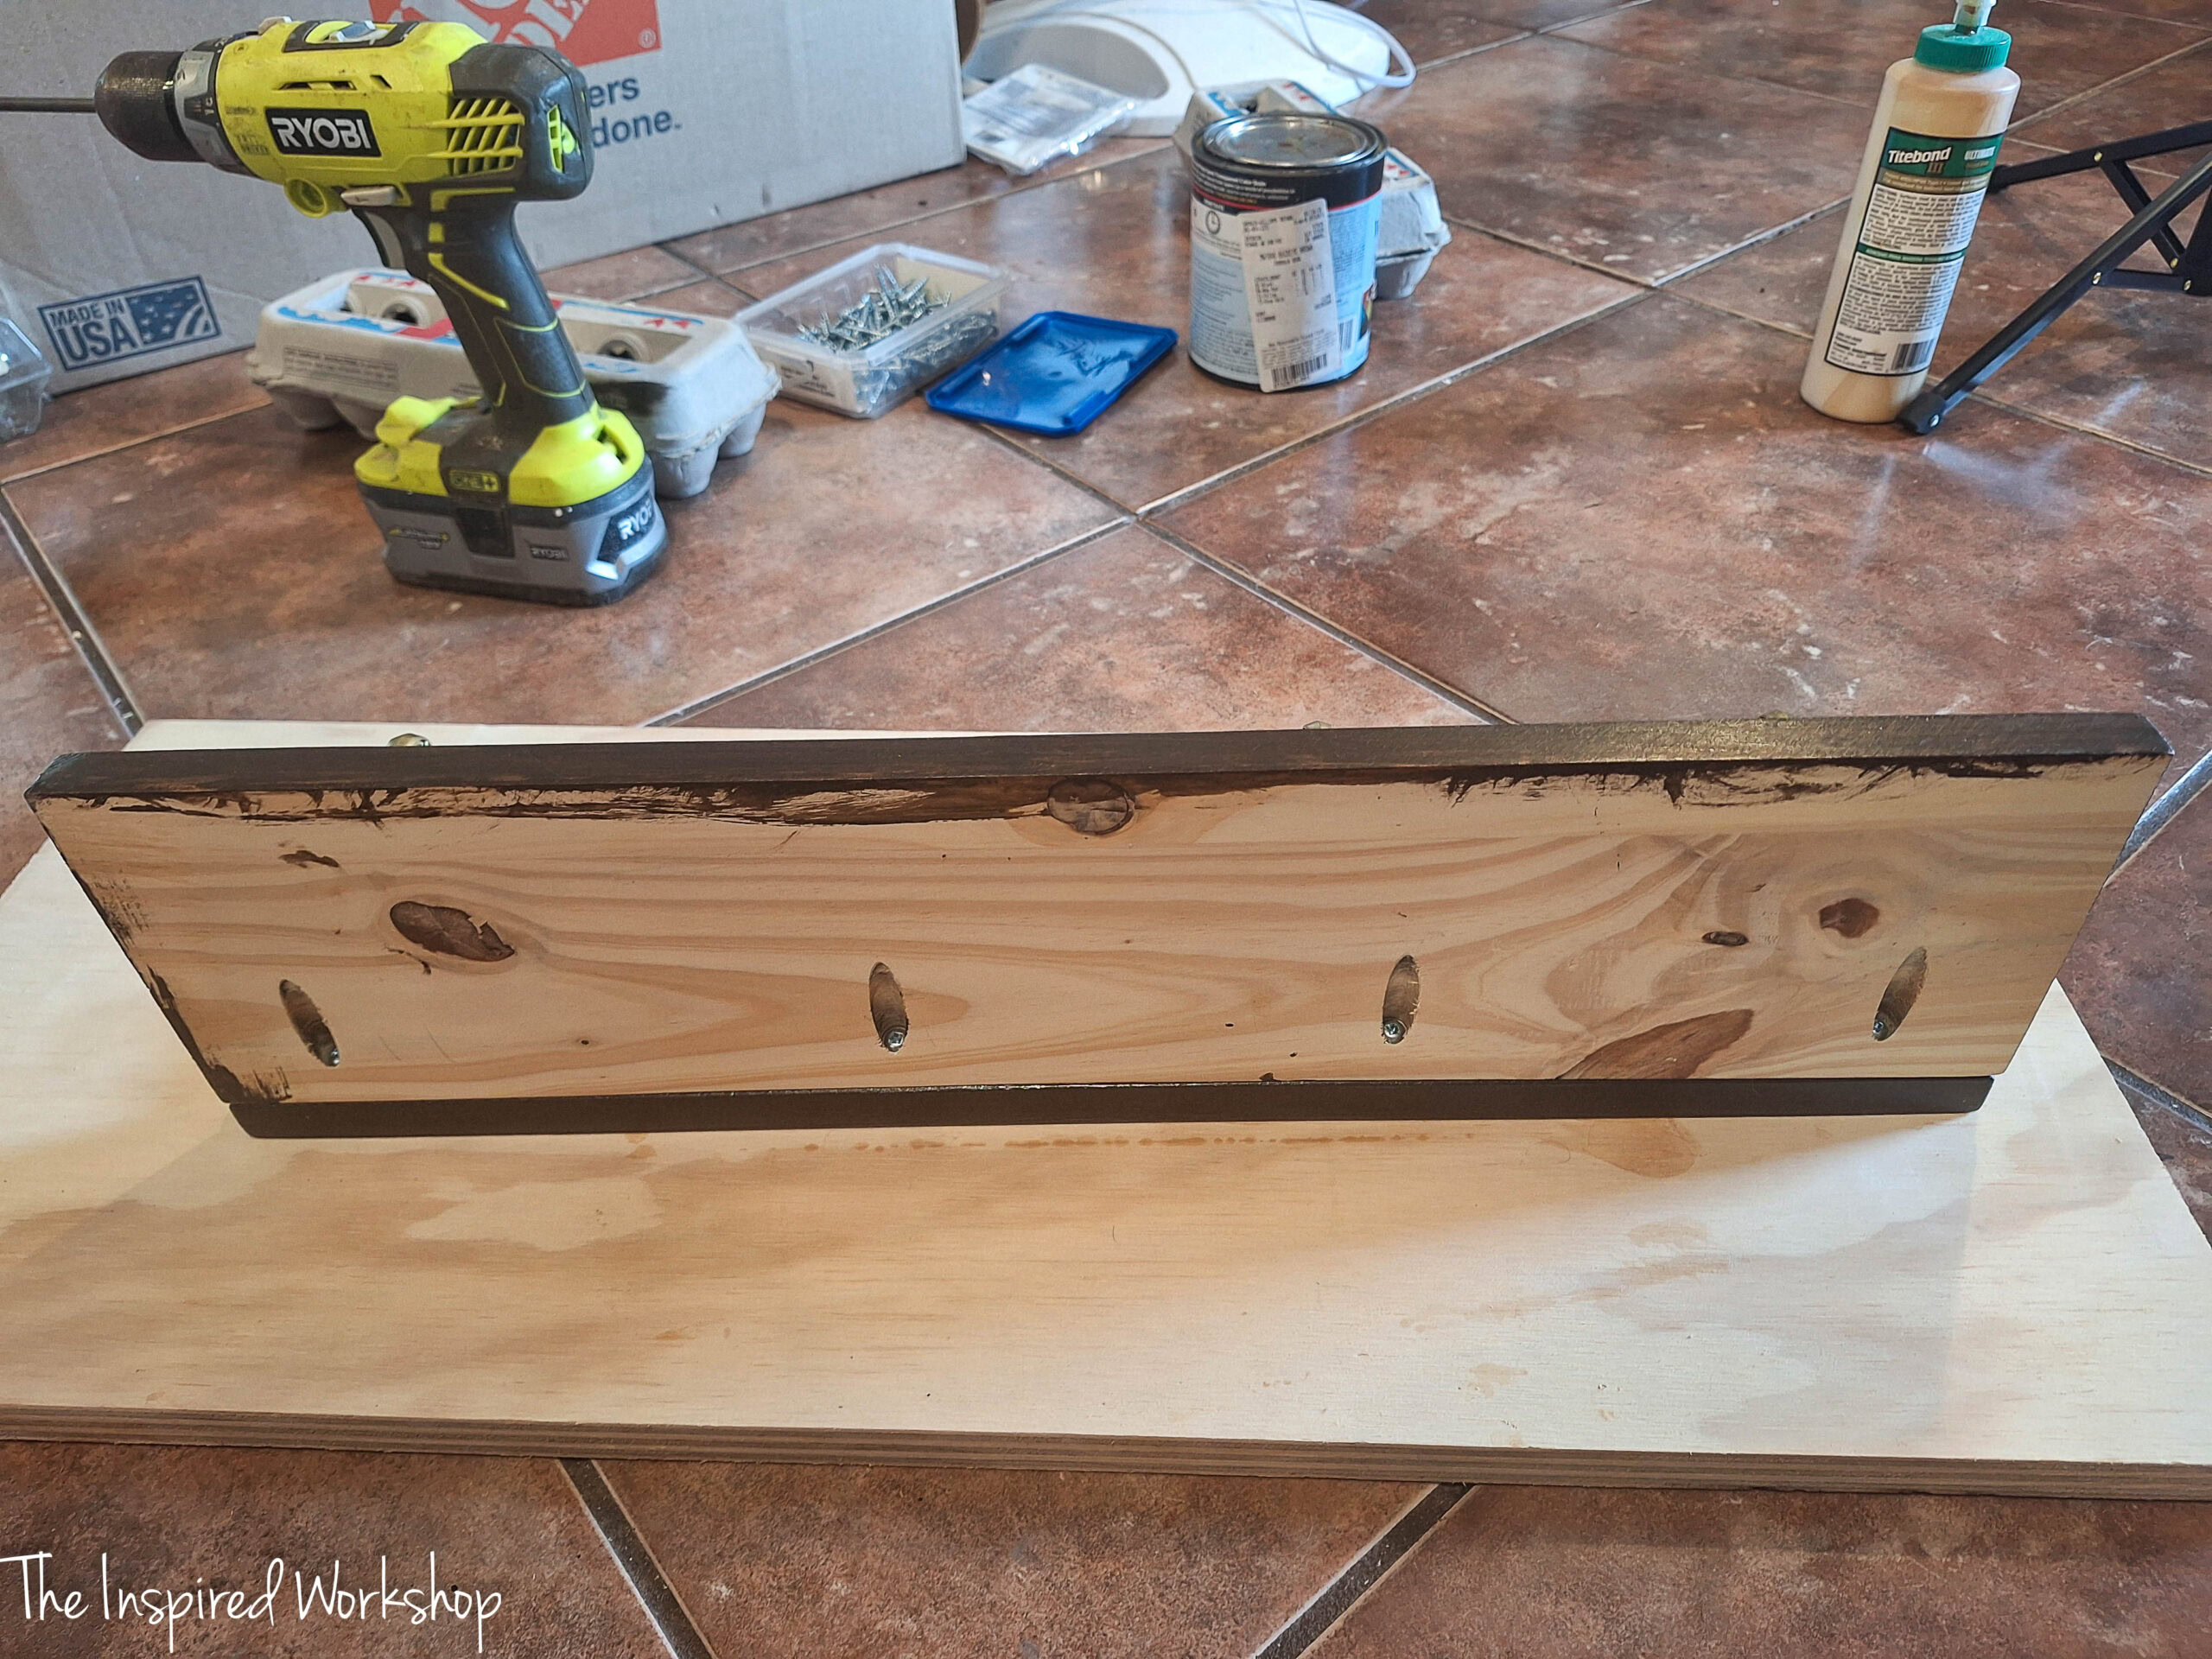
Last thing to do to get this bulletin board built is to attach this shelf and board with hooks to the rest of the frame. You will need to raise the frame up a little bit so you can get the back level and have all the shelf facing the front. I just placed it on my dining room table. Don’t mind the extreme mess on my table, my son was looking for a specific book in a bunch of old boxes and made this mess! Lol!
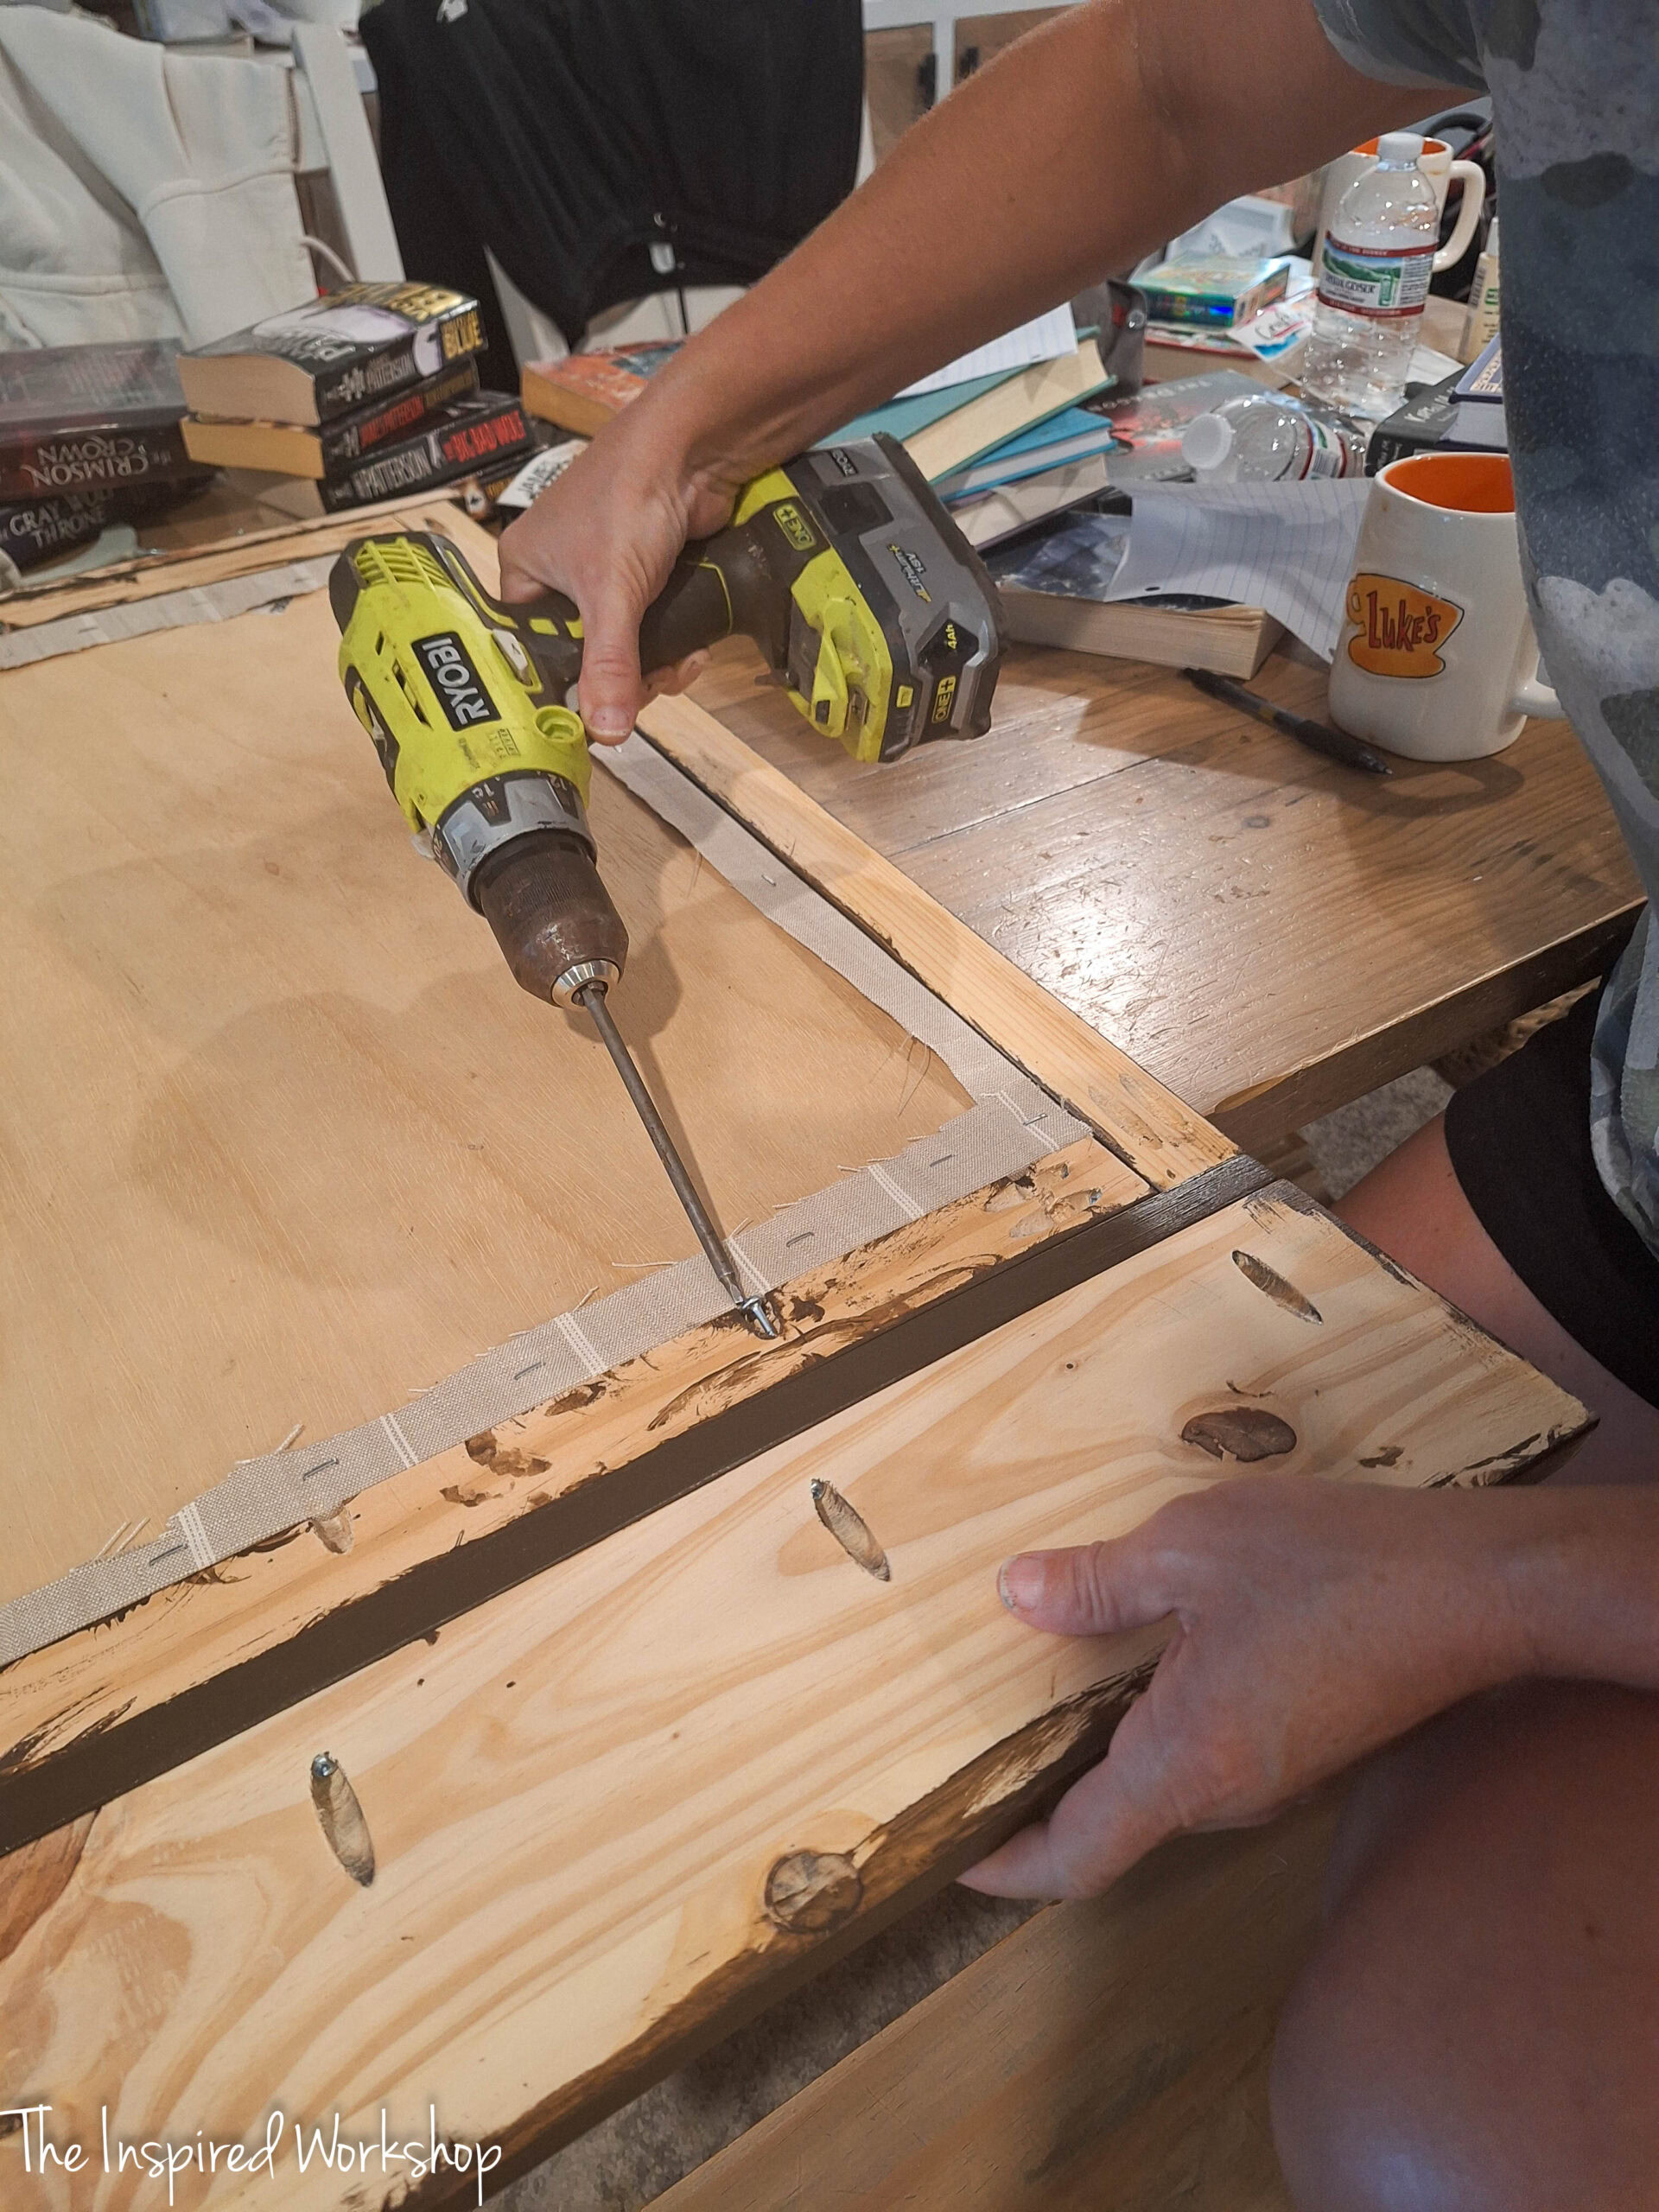
That is it! The bulletin board, message board, or whatever you want to call it, is DONE!
To hang the board, you can screw straight through the front as I did, or use the pocket holes at the top of the 28″ boards to hang it on screws!
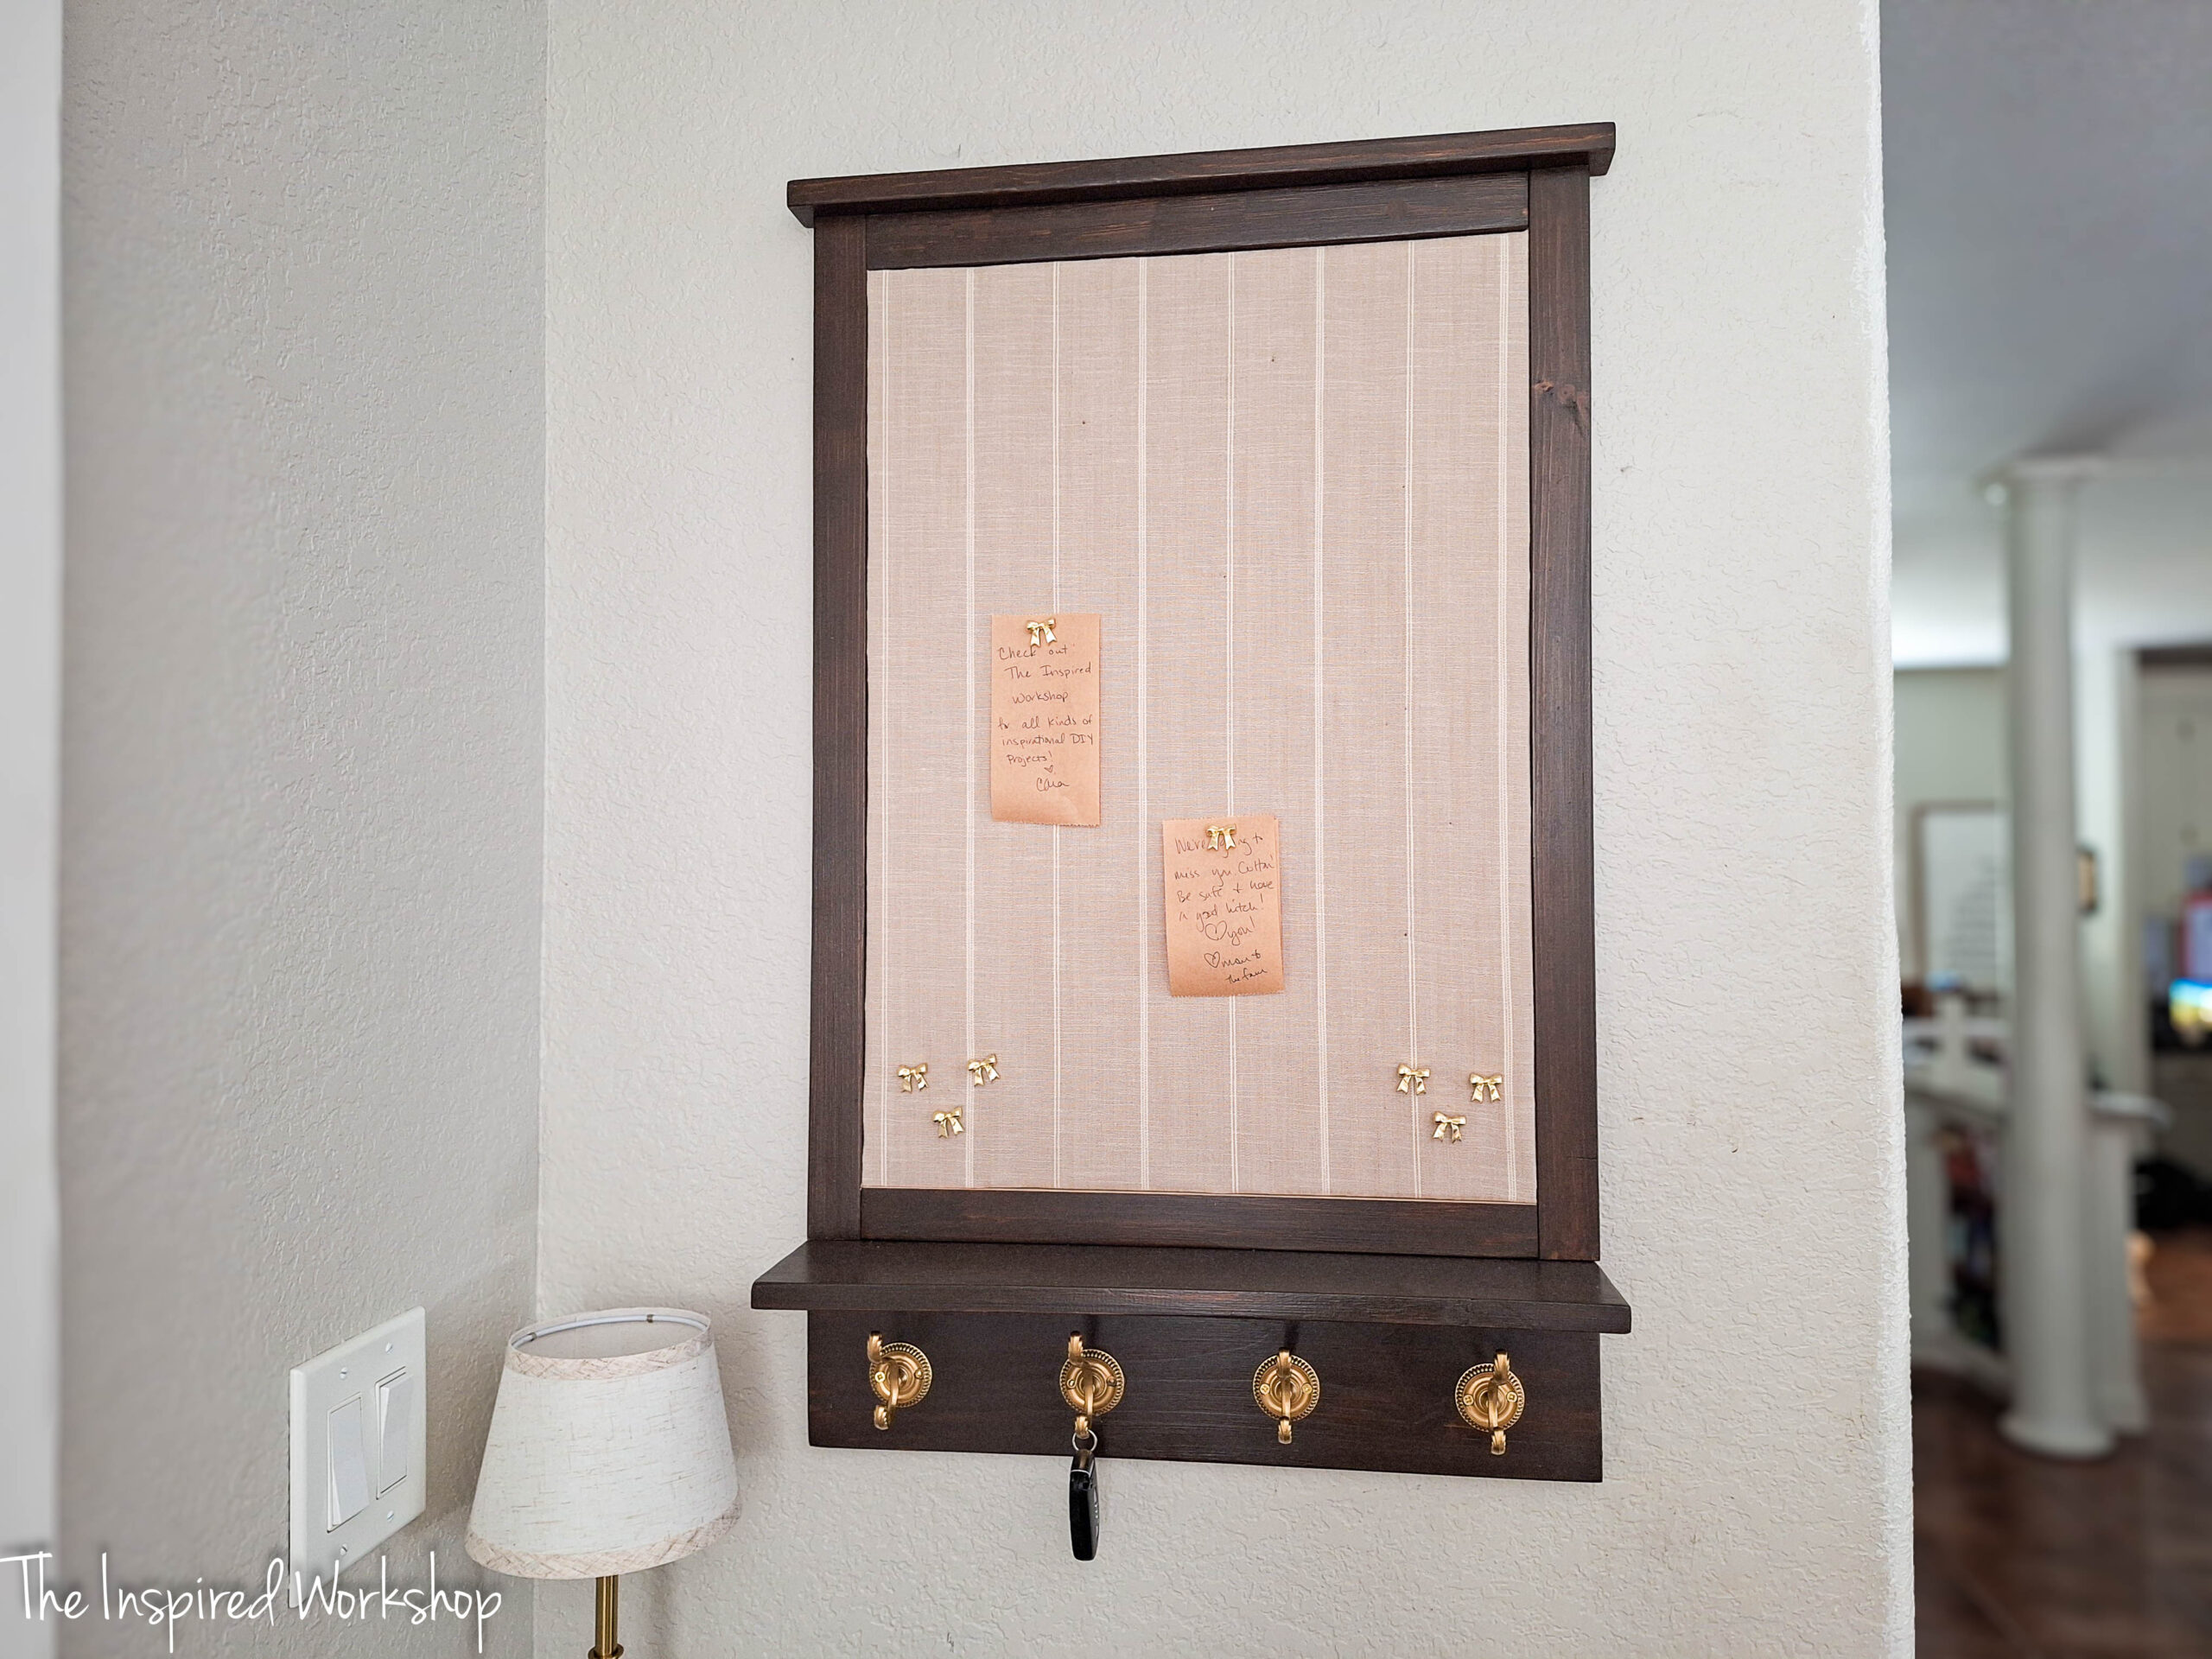
So easy! Then add the shelf below it, and maybe some shoe storage and you have the perfect drop zone for back to school!
Hope you enjoyed this tutorial! Make sure and check out some other projects while you are here!
Happy Building!

Want to save this project for later? PIN IT!!
