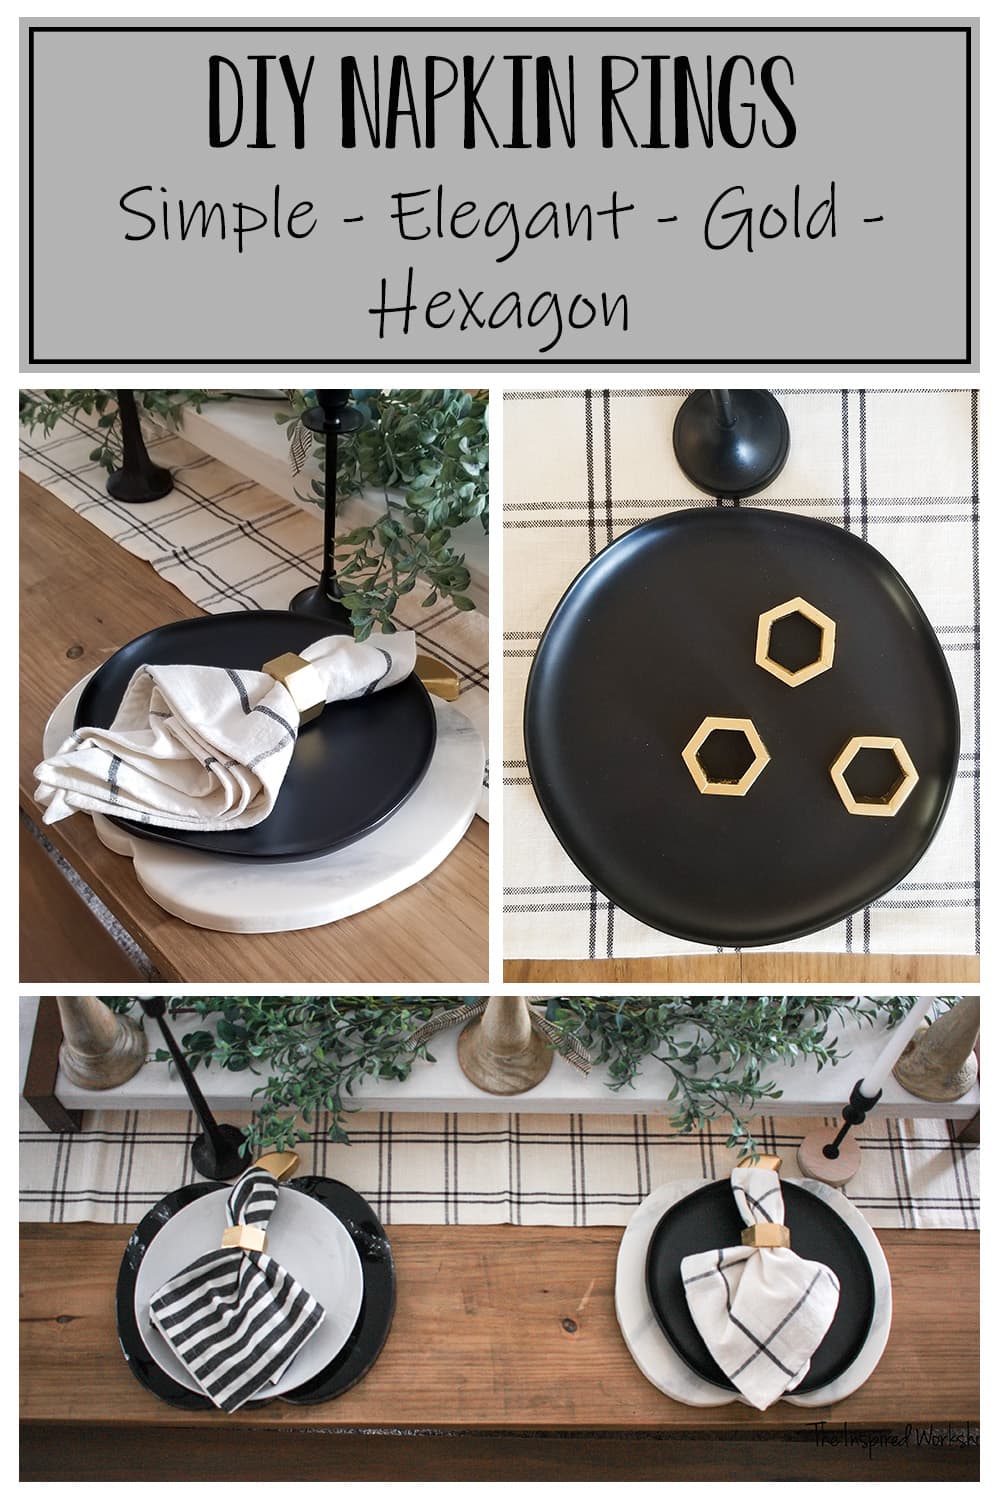
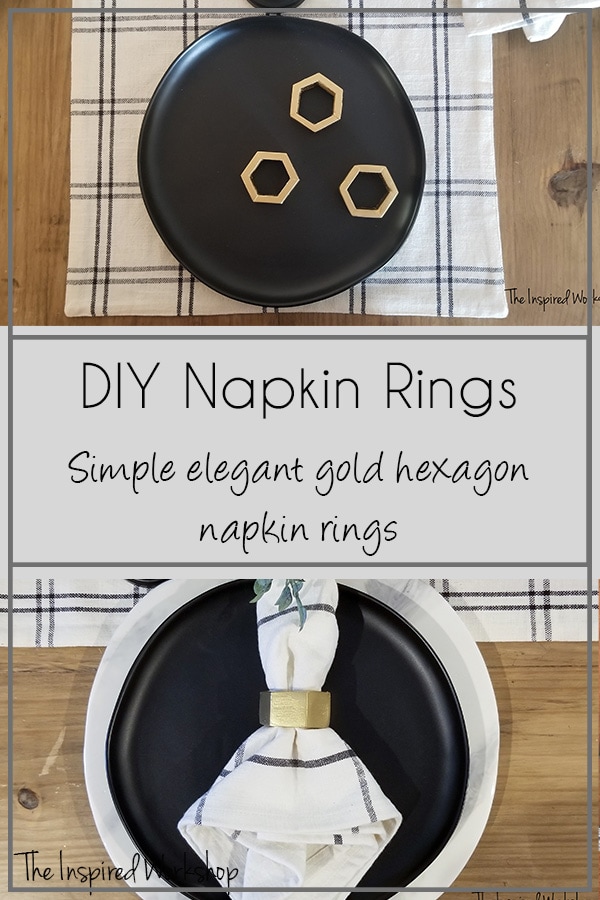
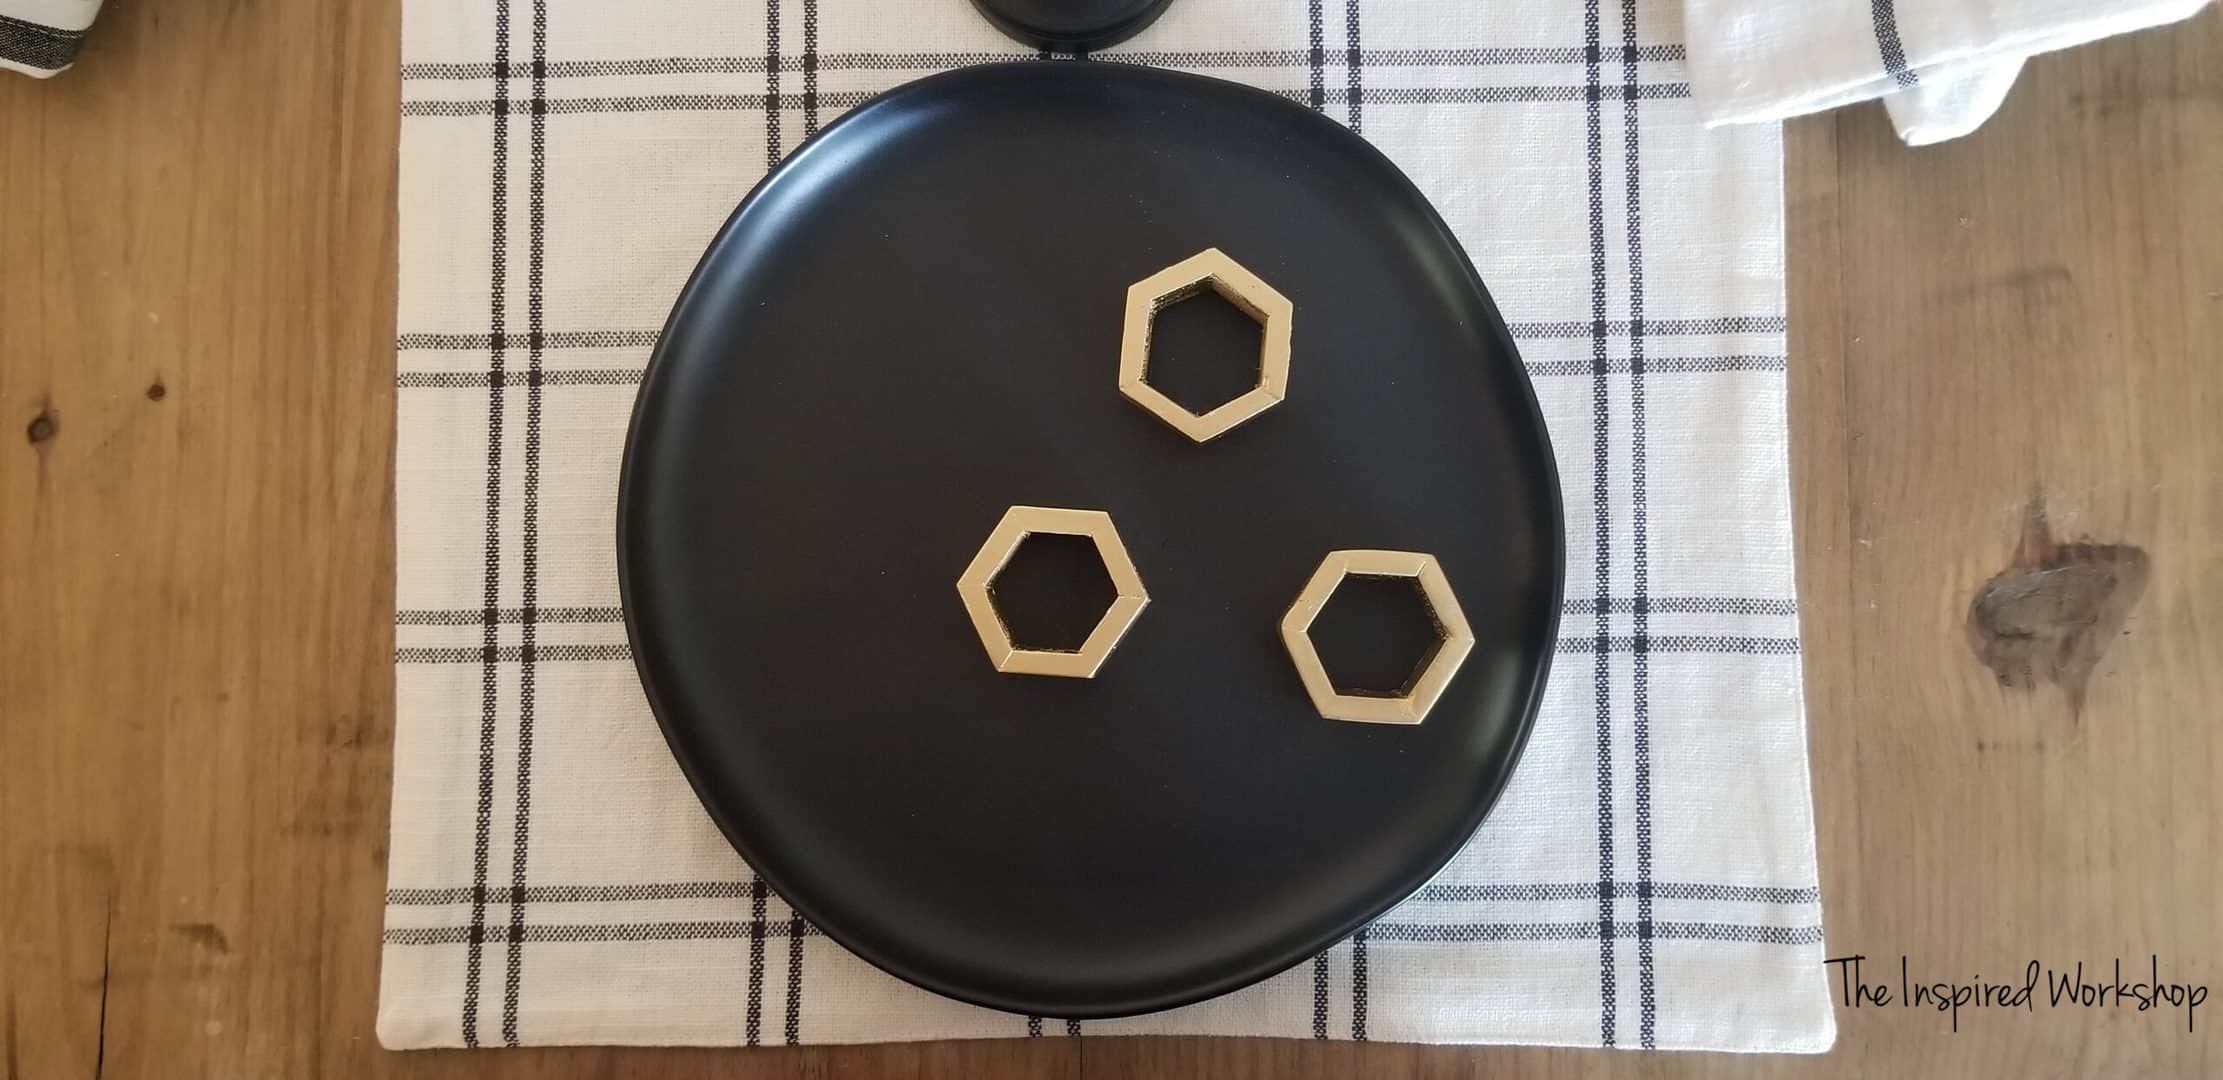
DIY Gold Hexagon Napkin Rings
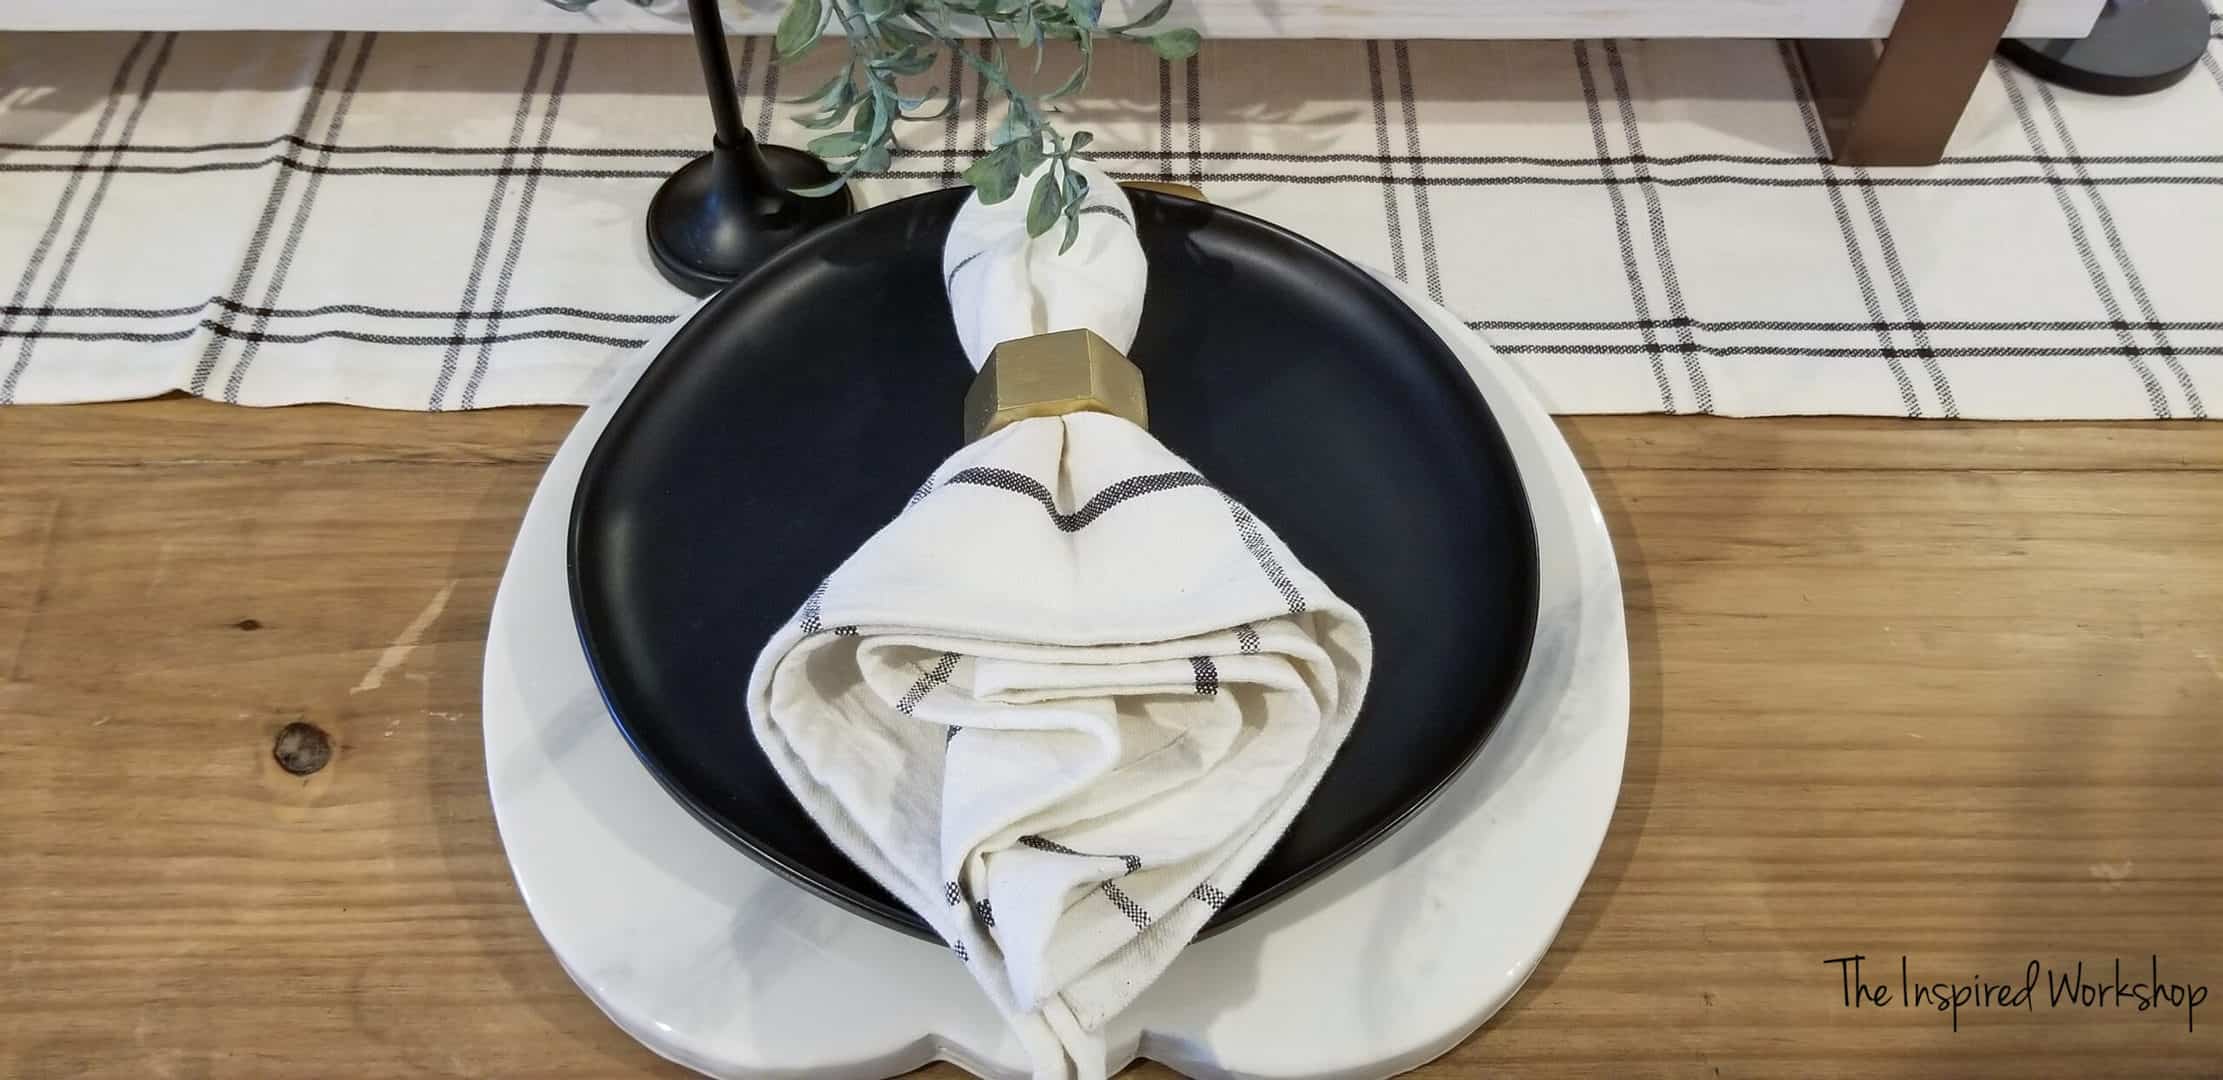
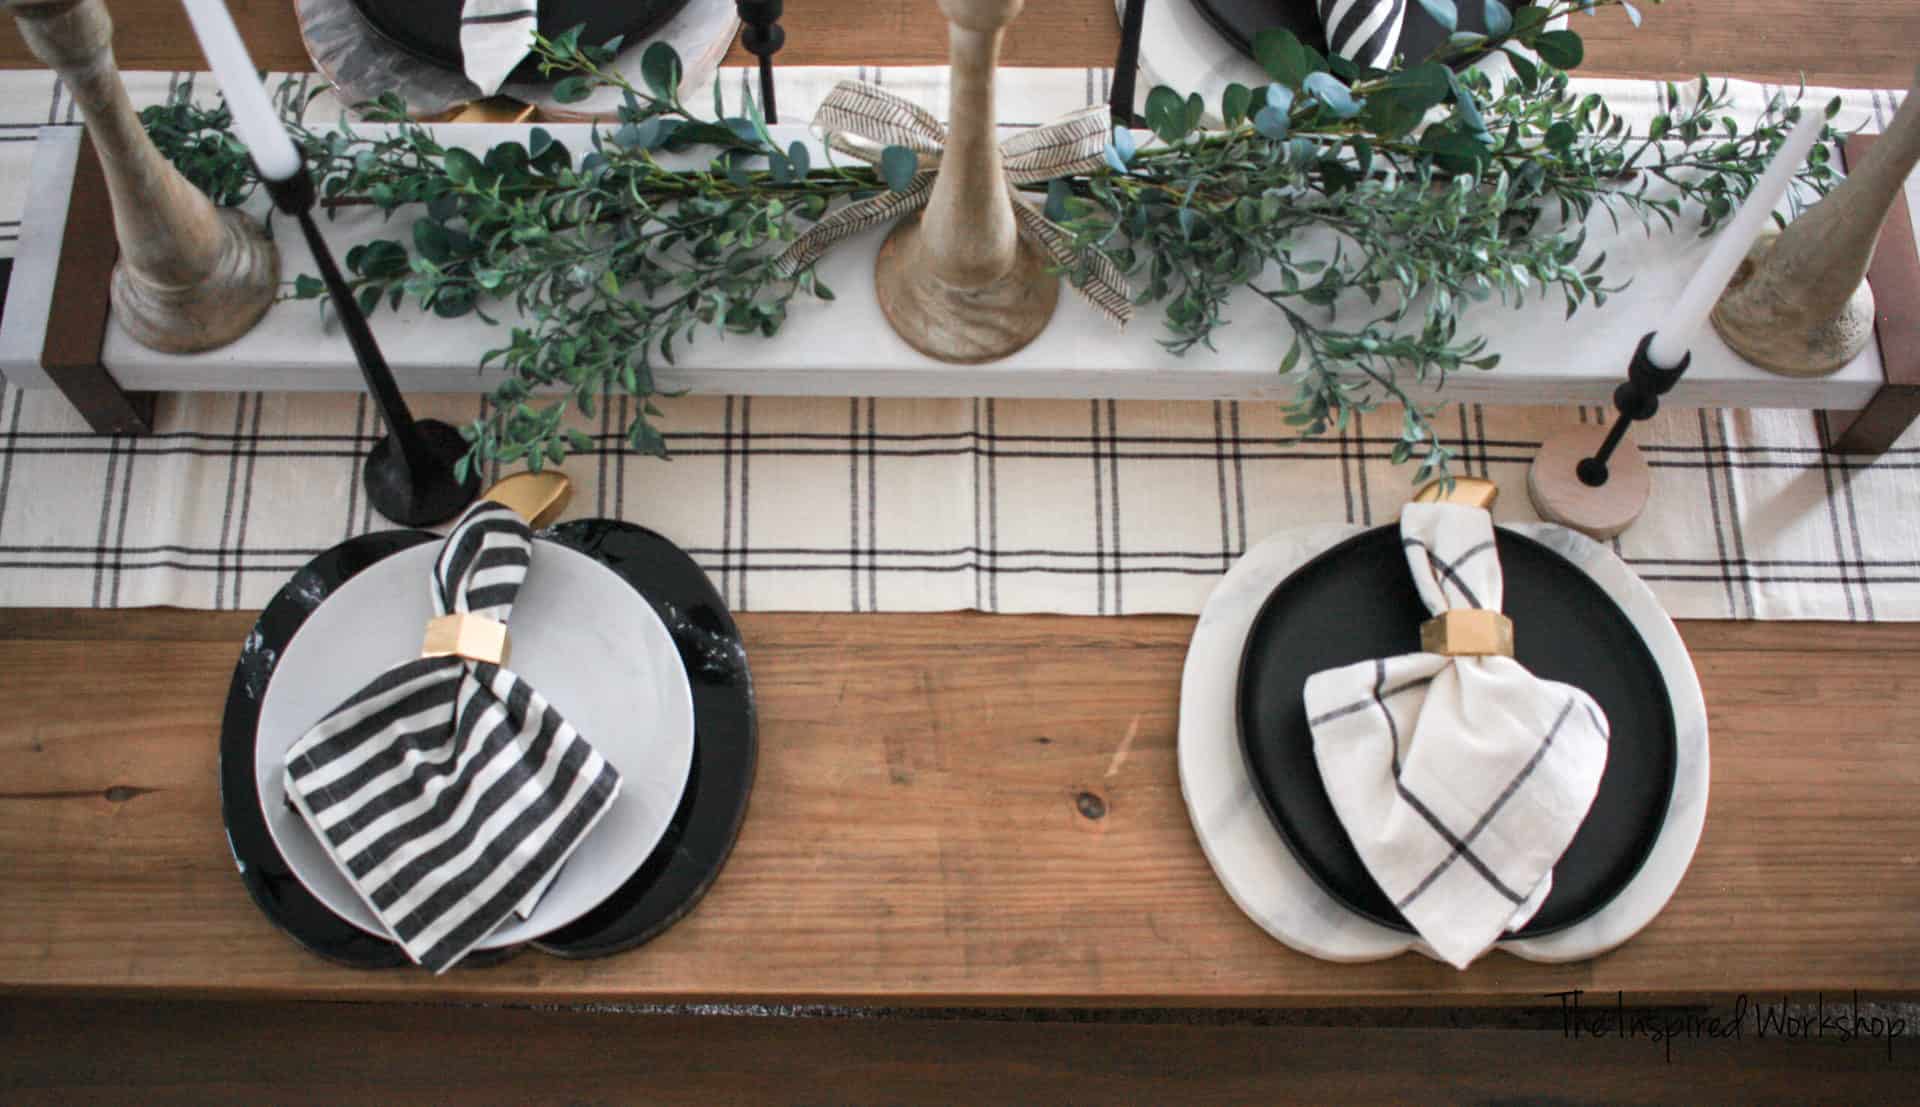
These DIY napkin rings are a simple craft that can be done in only a few minutes but will transform your dinner table into a table ready to host family and friends! The gold paint paired with the hexagon shape makes them perfect for any table whether it is formal and elegant or simple and more natural!
Do you know what’s funny? I’m all into creating table settings this year, and I don’t even host Thanksgiving or Christmas at my house! Lol! I happen to be a sucker for it anyway, even if my family and I are the only ones that see it! 🤓 Plus today’s DIY napkin rings can be used year-round, dressed up or down for a nice dinner or even hot dogs! Lol! That is the way I roll, just add gold and it immediately makes them fancy!😉
The DIY hexagon napkin rings pair really well with my DIY marble epoxy pumpkin chargers, but yet would look great without the table fully set as well or use them with the Christmas chargers I am currently pouring that I can’t wait to show you! EEK!! They would make a great hostess gift if you are heading to a friend’s home or family member for a holiday party!

I also made these really cute epoxy resin coasters that would make a wonderful stocking stuffer or hostess gift!
You can make a full set of napkin rings in about an hour’s time of actual work…a little longer when you count dry times of paint and wood glue! Aren’t those the best DIYs though, the ones that look so good but do not cost a lot or have in-depth, time-consuming steps?! Lol!
You could package them with a little bow and gift tag…boom, a quick gift to throw in a stocking or hand over to a hostess at a holiday party! I mean, I am holding out hope that in a month the holidays will be normal!😅🙄😬
Gathering Supplies to Make DIY Napkin Rings
Anyway, let me show you how to whip them up!
All in all the total cost for a set of six napkin rings is only 12 dollars including the two different can of spray paint which you will have plenty left over for other projects as well!
Materials for the DIY Napkin Rings
**Amazon links below are affiliate links!! An affiliate link is a link that allows me to receive a commission from any purchases that you make for a short time after clicking the link, at no extra cost to you! It is a real win-win for us both to keep my content coming at you for free!**
- 1 – 1/4″ 1″x6′ pine lattice or 1/4″ poplar project board (ripped to 1″)
- miter saw
- filler primer
- gold spray paint
- wood glue
- painter’s tape
- sander
Cut List for the DIY Napkin Rings:
- 6 – pine lattice cut (or poplar project board) @ 1 1/4″ long and beveled on both ends @ 30 degrees off square, ends not parallel (this makes 1 napkin ring so multiply this times however many napkin rings you want to make).
Making the DIY Napkin Rings
If you purchased pine lattice, it should be sized 1″ already, if you grabbed a poplar project board, it will need to be ripped down to 1″ wide.
Once it is ripped to size, you can cut your pieces.
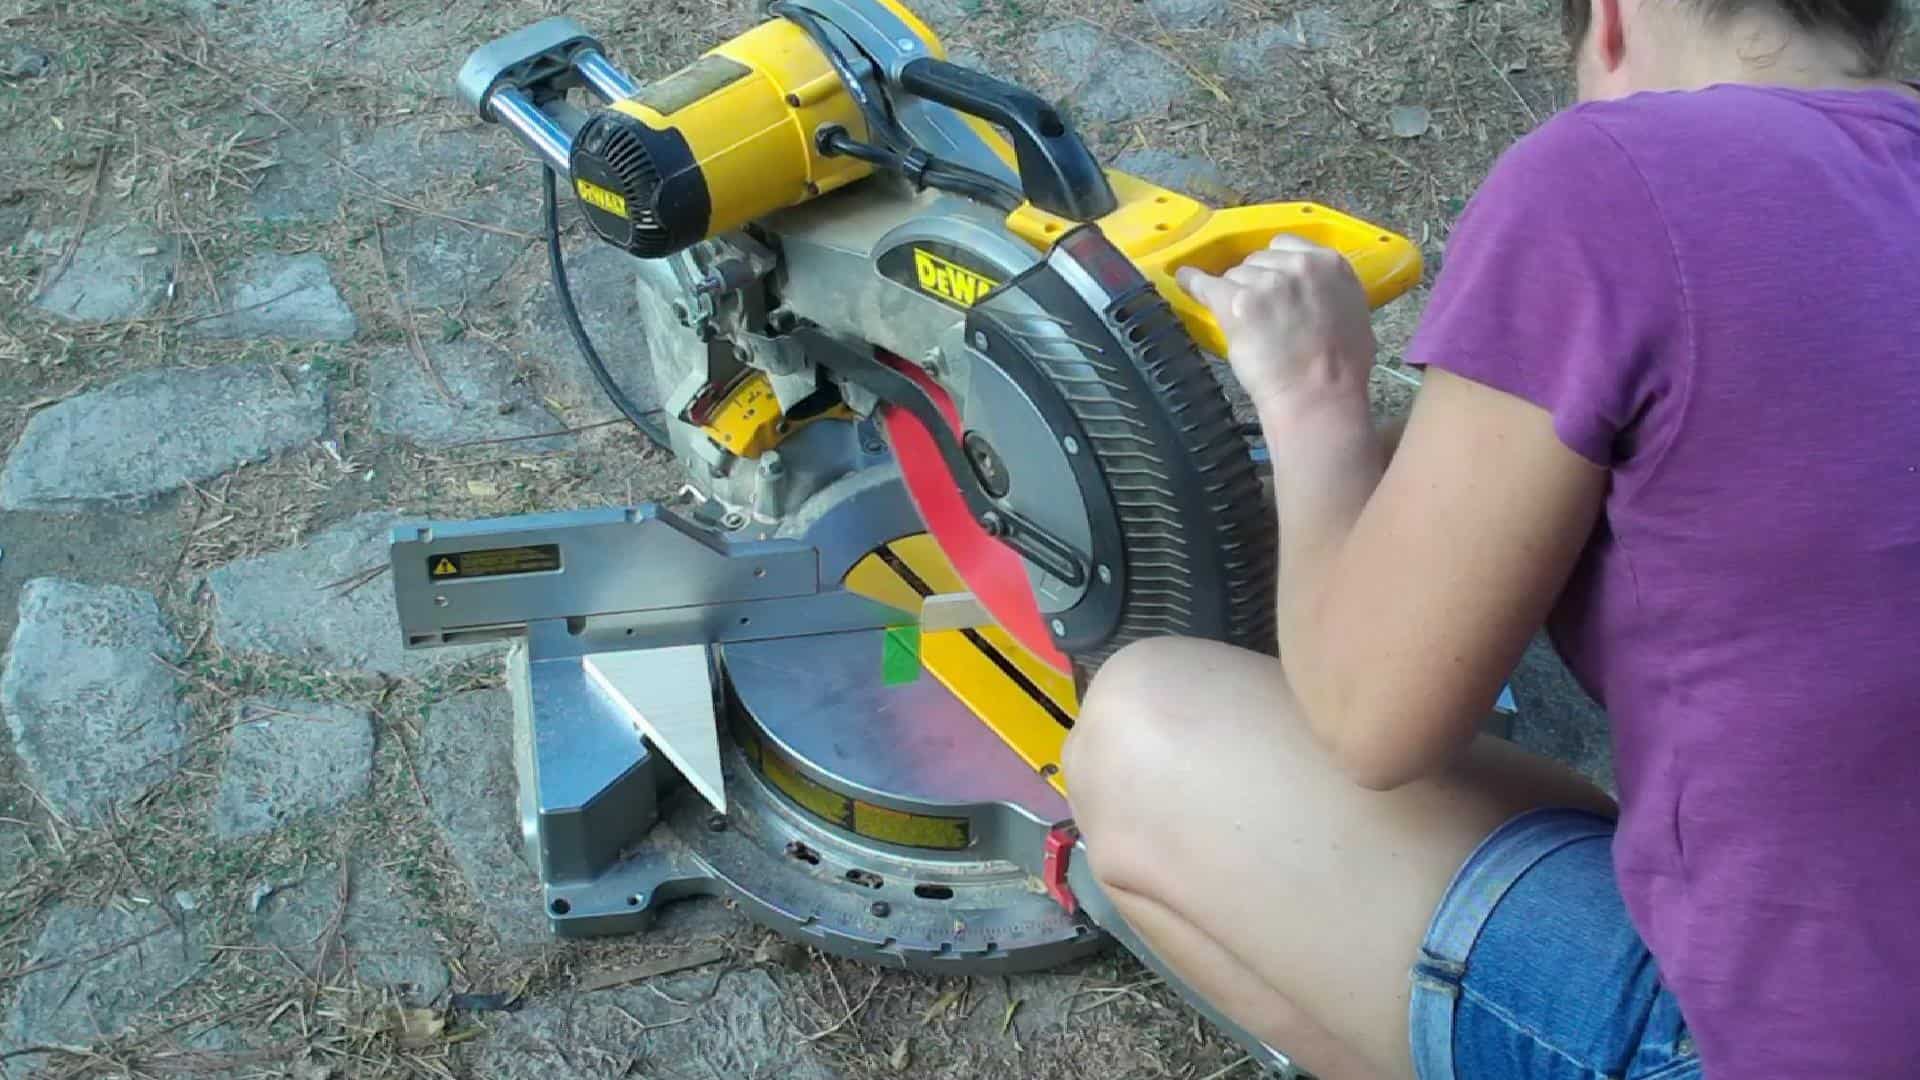
Set the bevel on your miter saw to 30 degrees. If your miter saw doesn’t bevel, or you want to use the miter instead…as I did, you will need to set the miter to 30 degrees and you will cut each piece on its side.
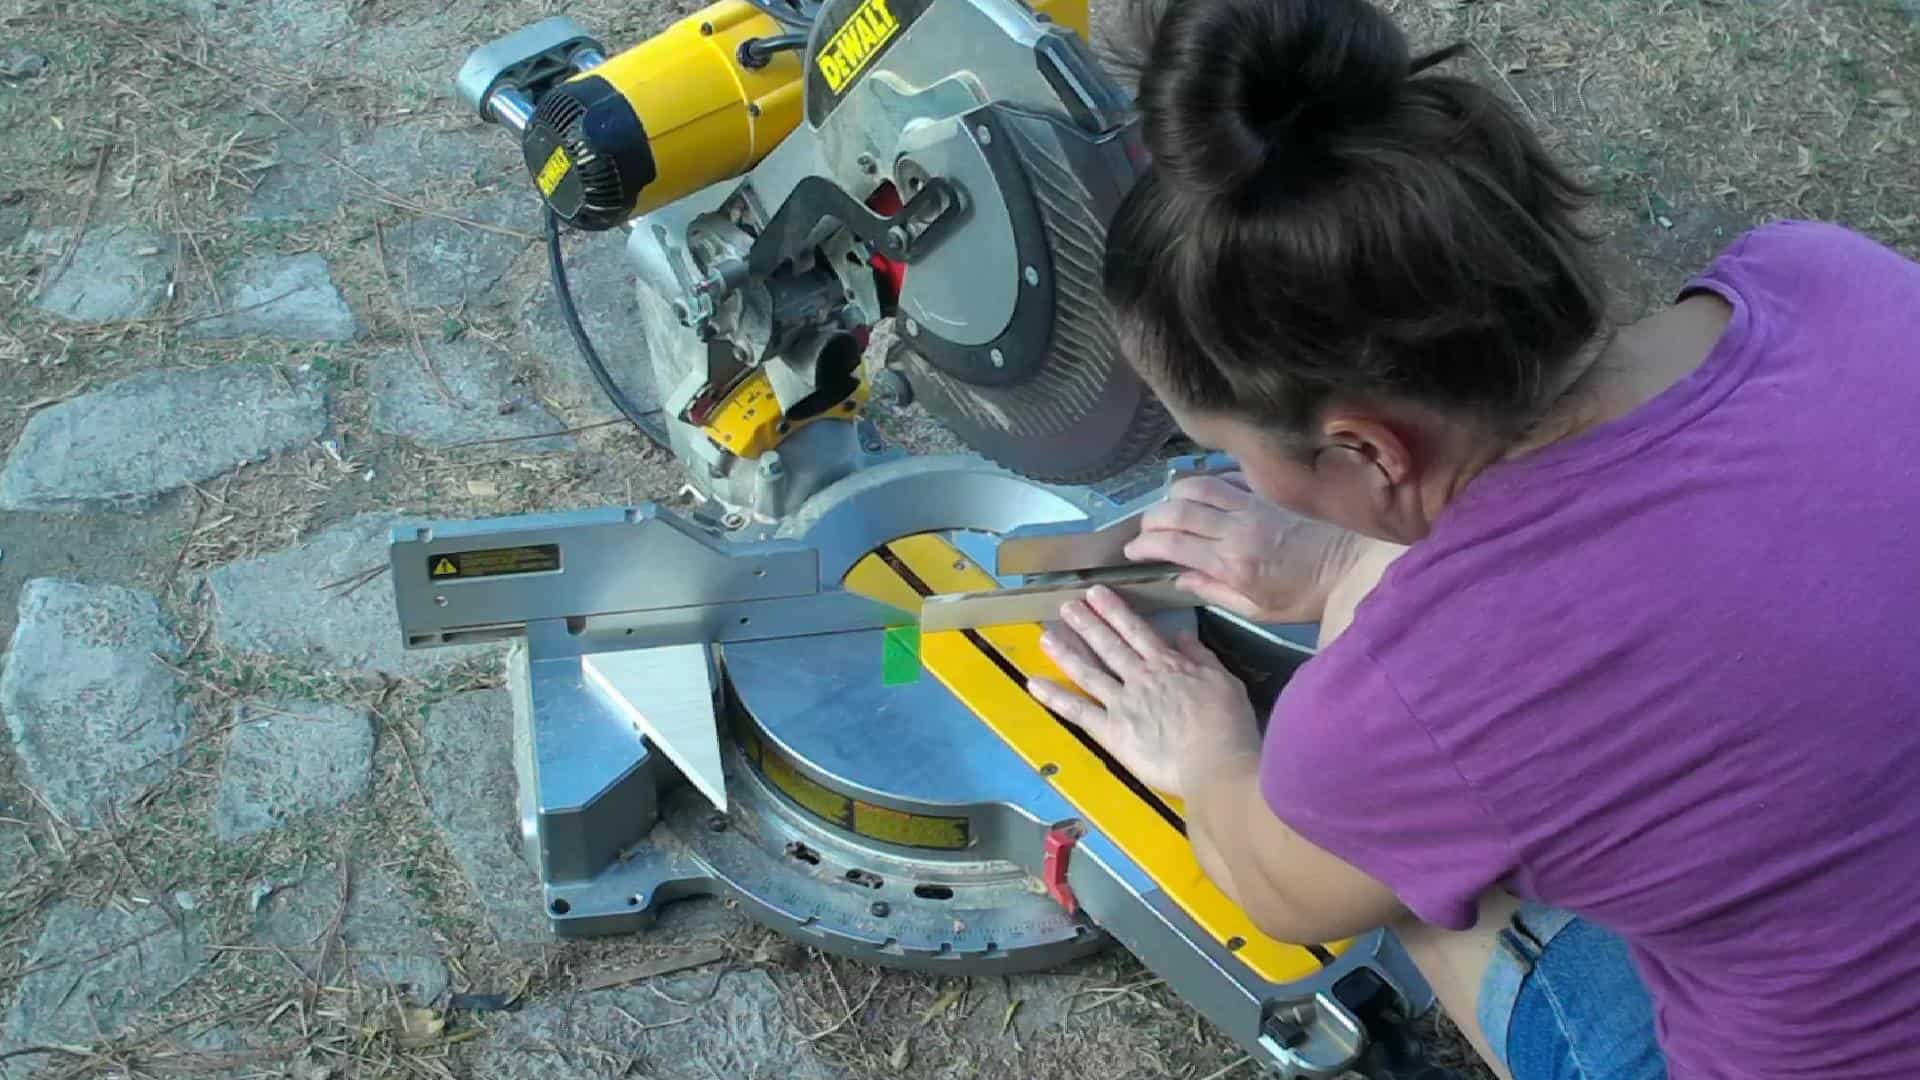
I couldn’t find my clamp for my miter saw, and I don’t think it would have swung this far over even if I could have found it! Lol! So I used a piece of painter’s tape as a guide once I measured out where 1 1/4″ was on the saw.
The painter’s tape gives you a stop block so you don’t have to measure every time you cut one piece…that would take forever to make one napkin ring! And yes, I am well aware that it is not taped square to what I am cutting, but I was only lining up the very top edge.
Once you have the saw set up and tape in place, cut, cut, cut, and cut some more until you have all the pieces you need to complete as many napkin rings as you need for your table!
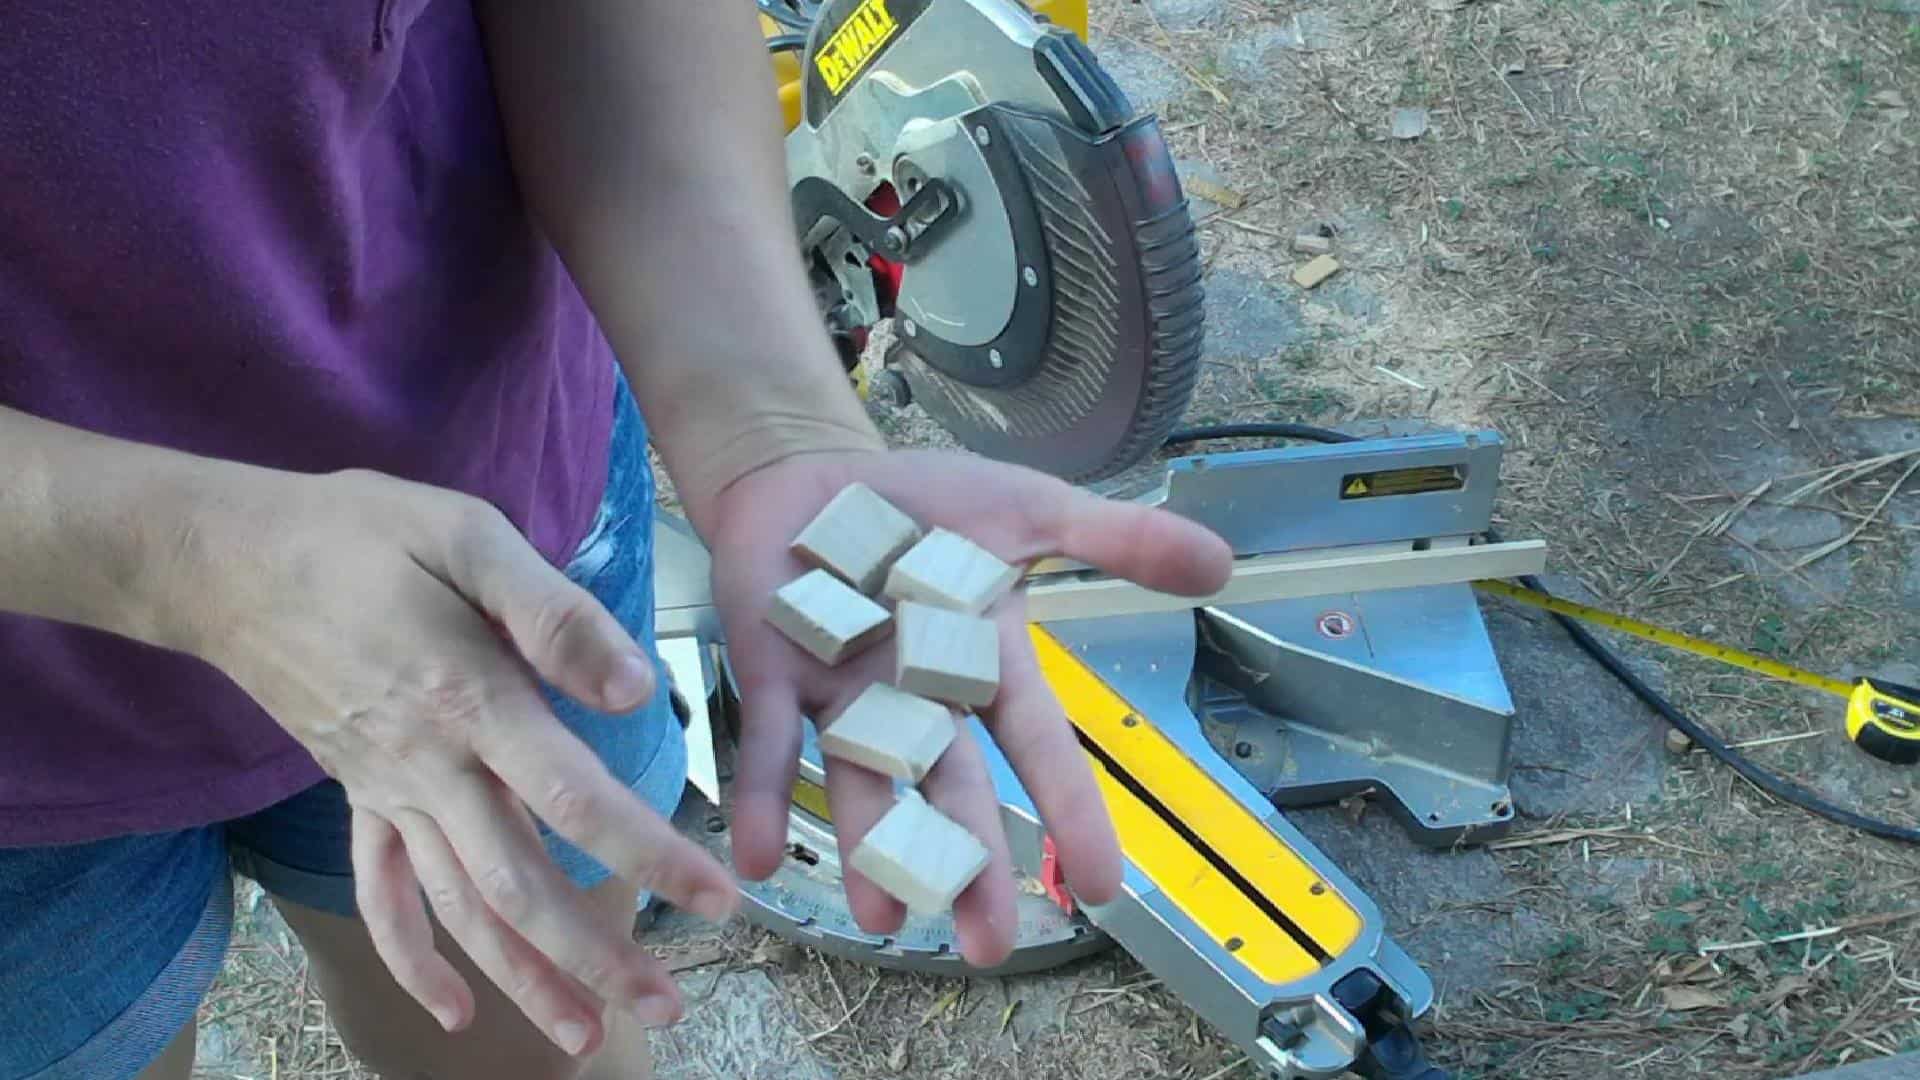
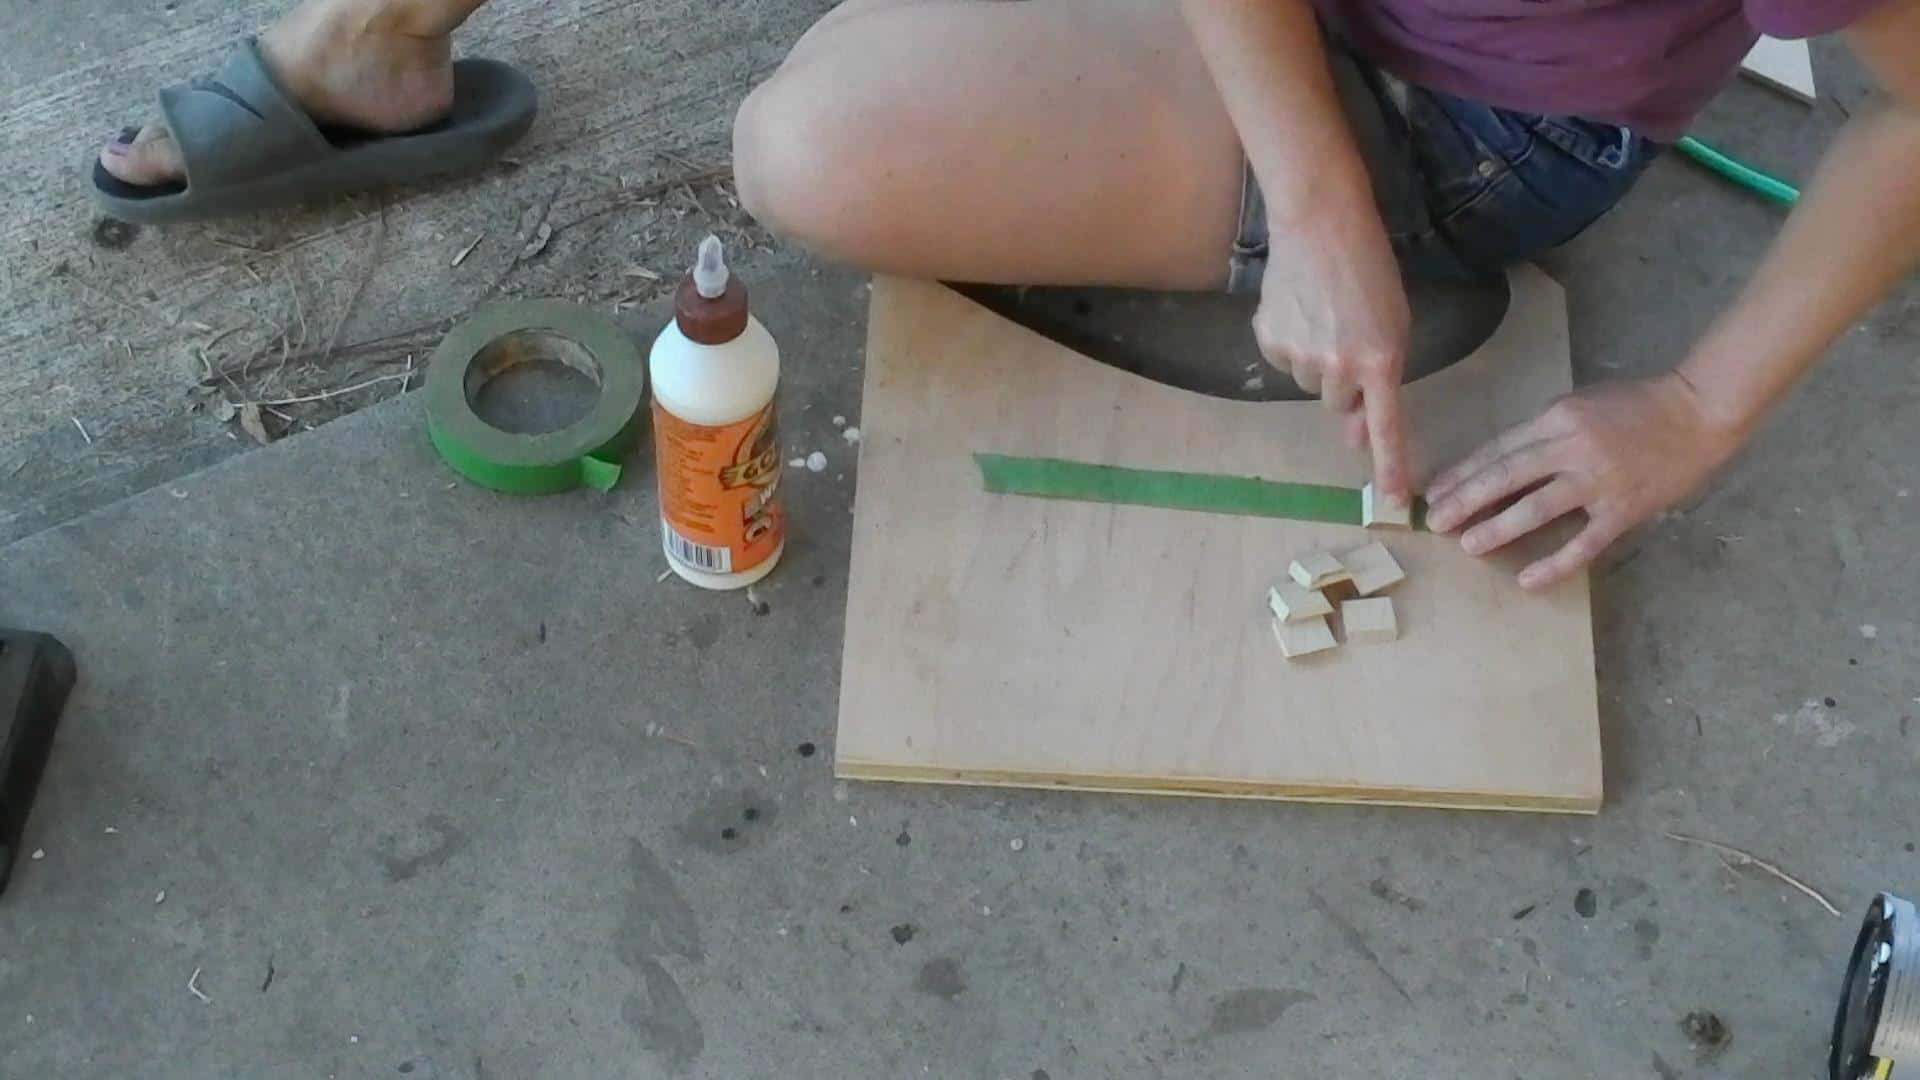
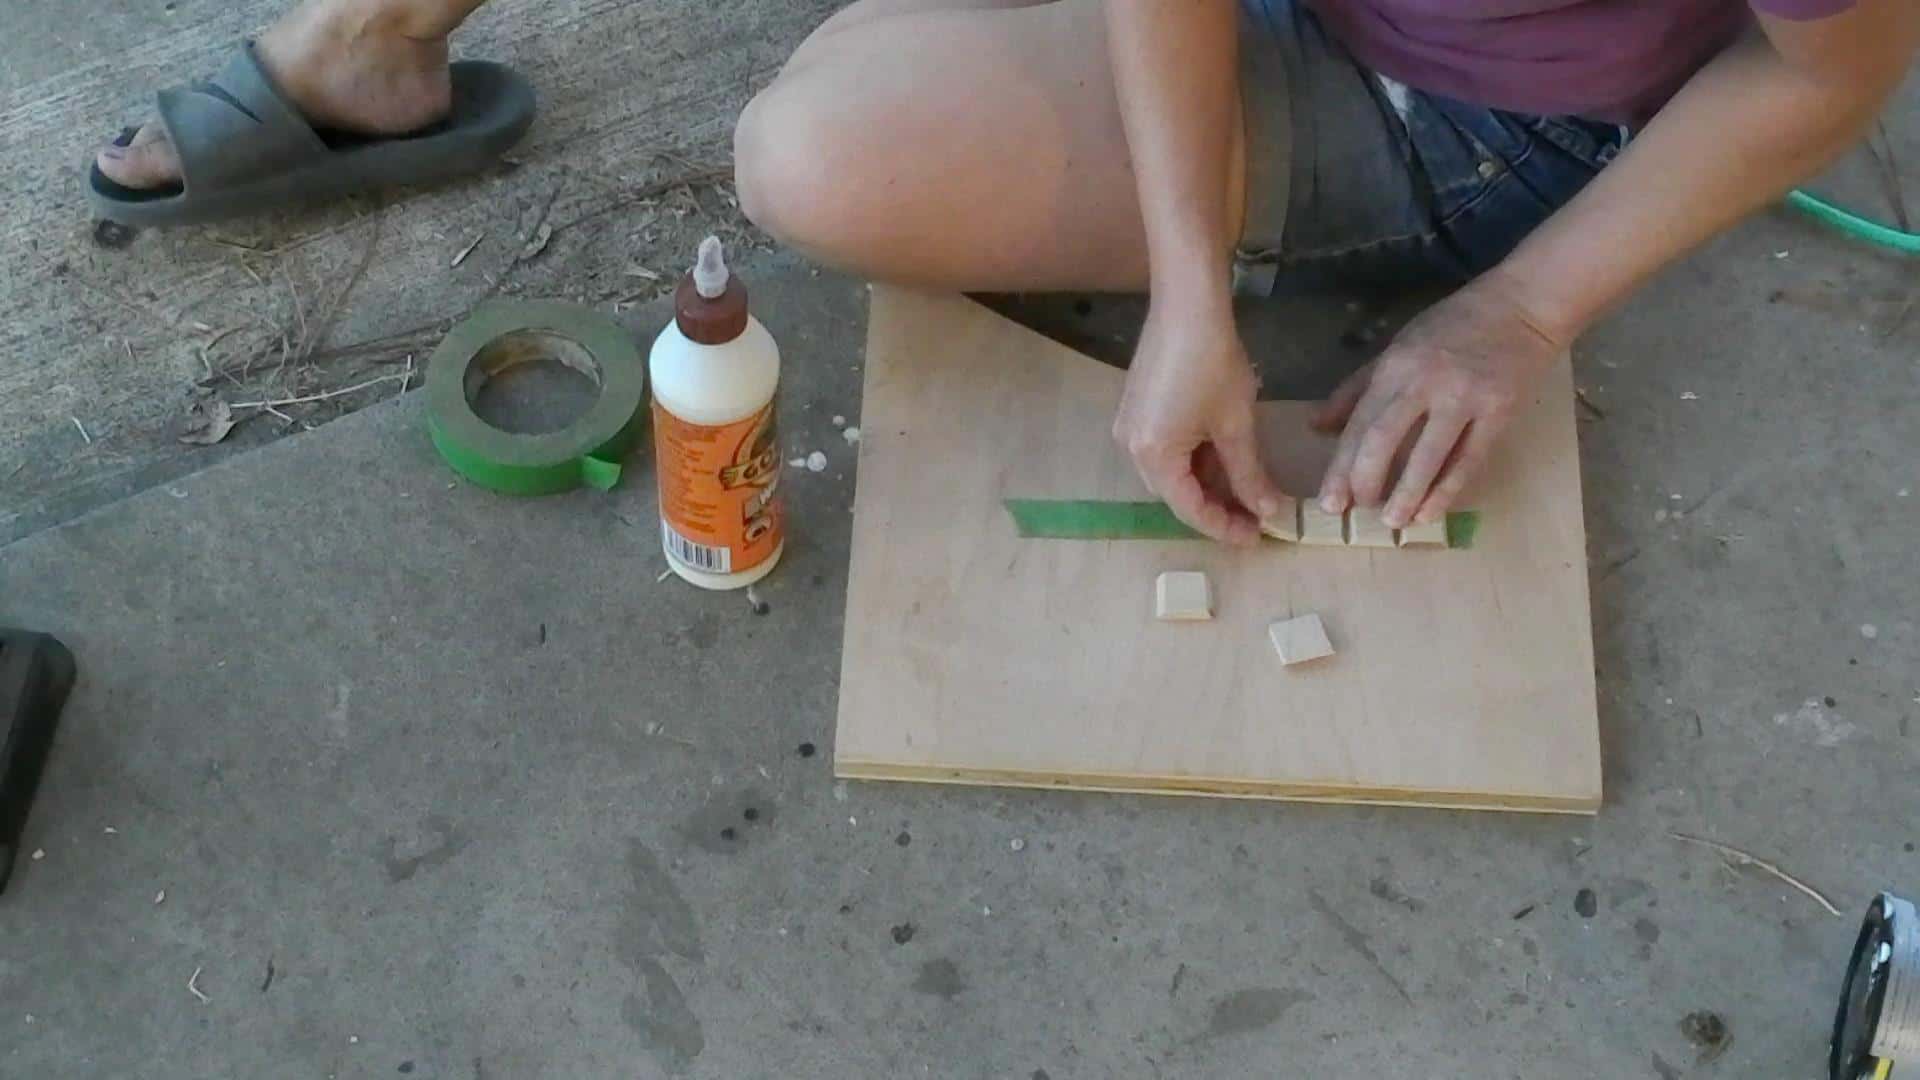
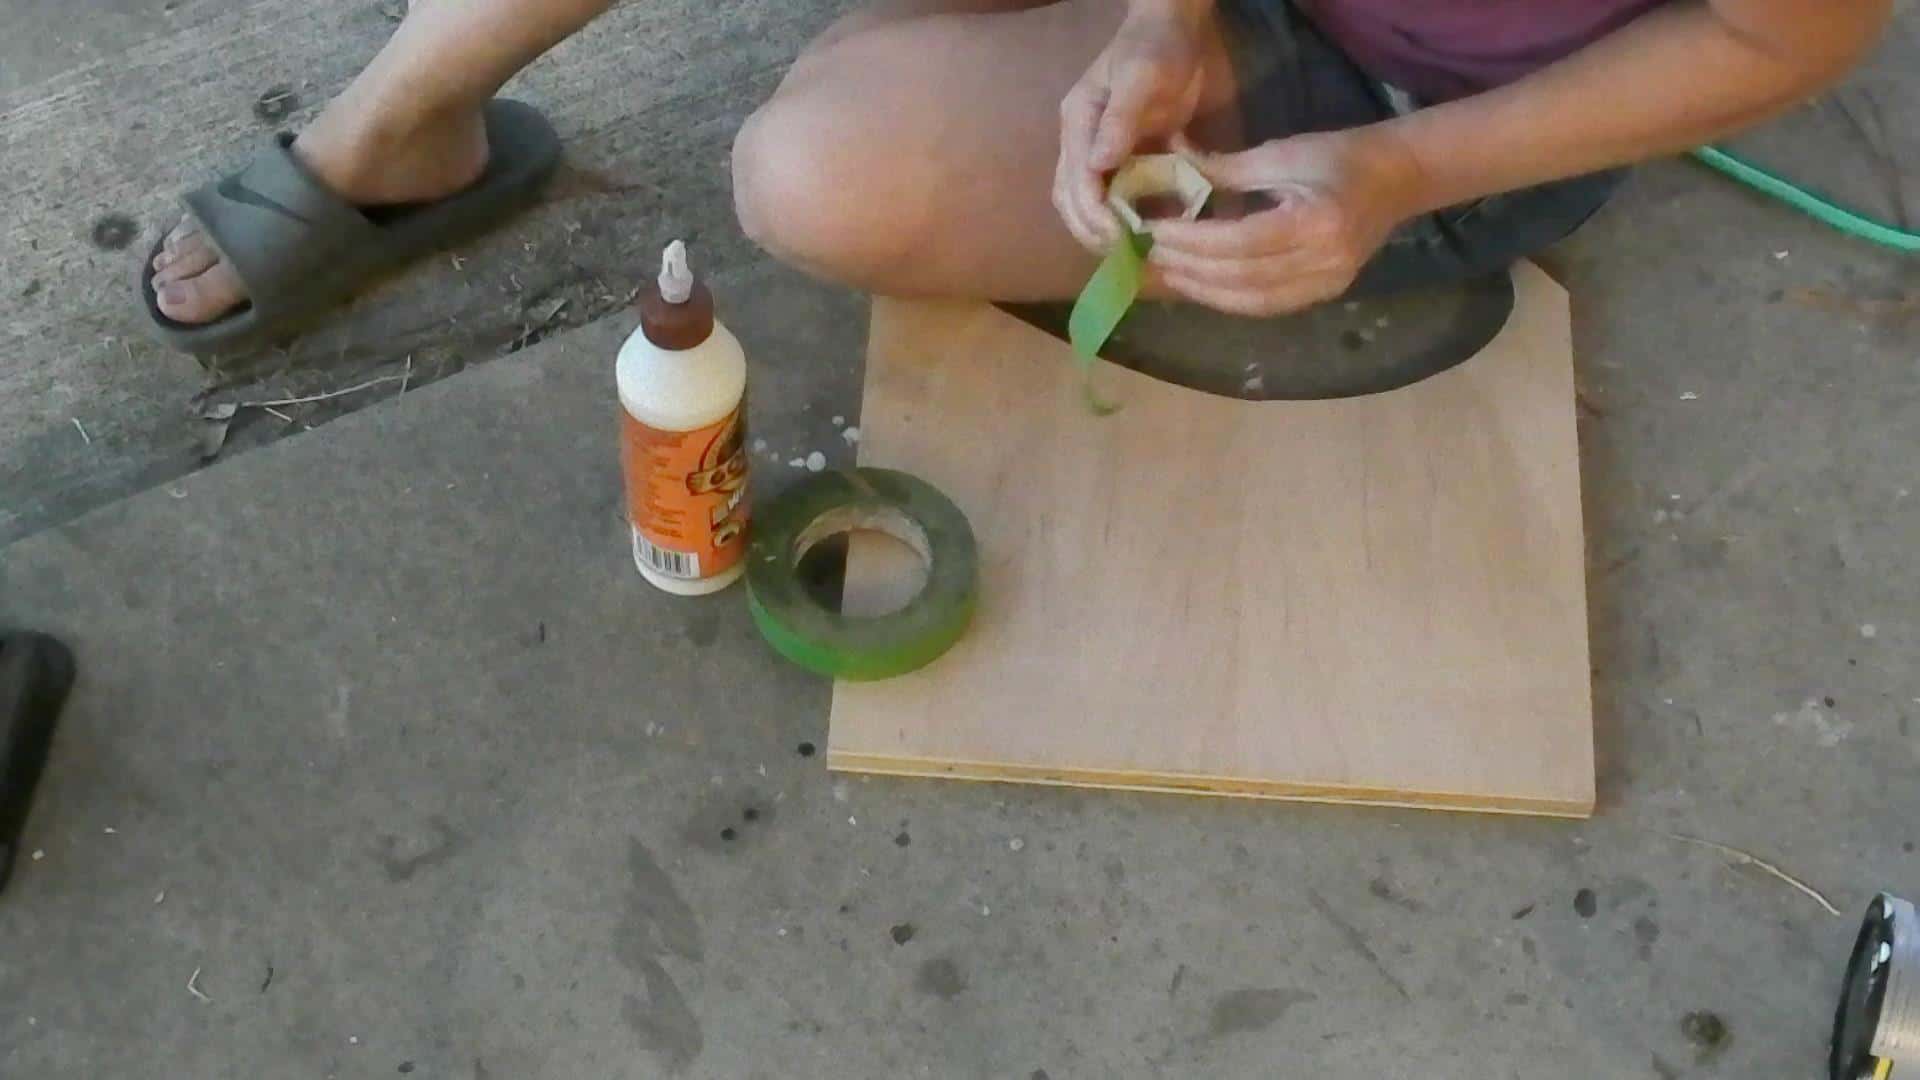
Lay out a piece of painter’s tape and set the piece’s beveled edge to beveled edge on the tape.

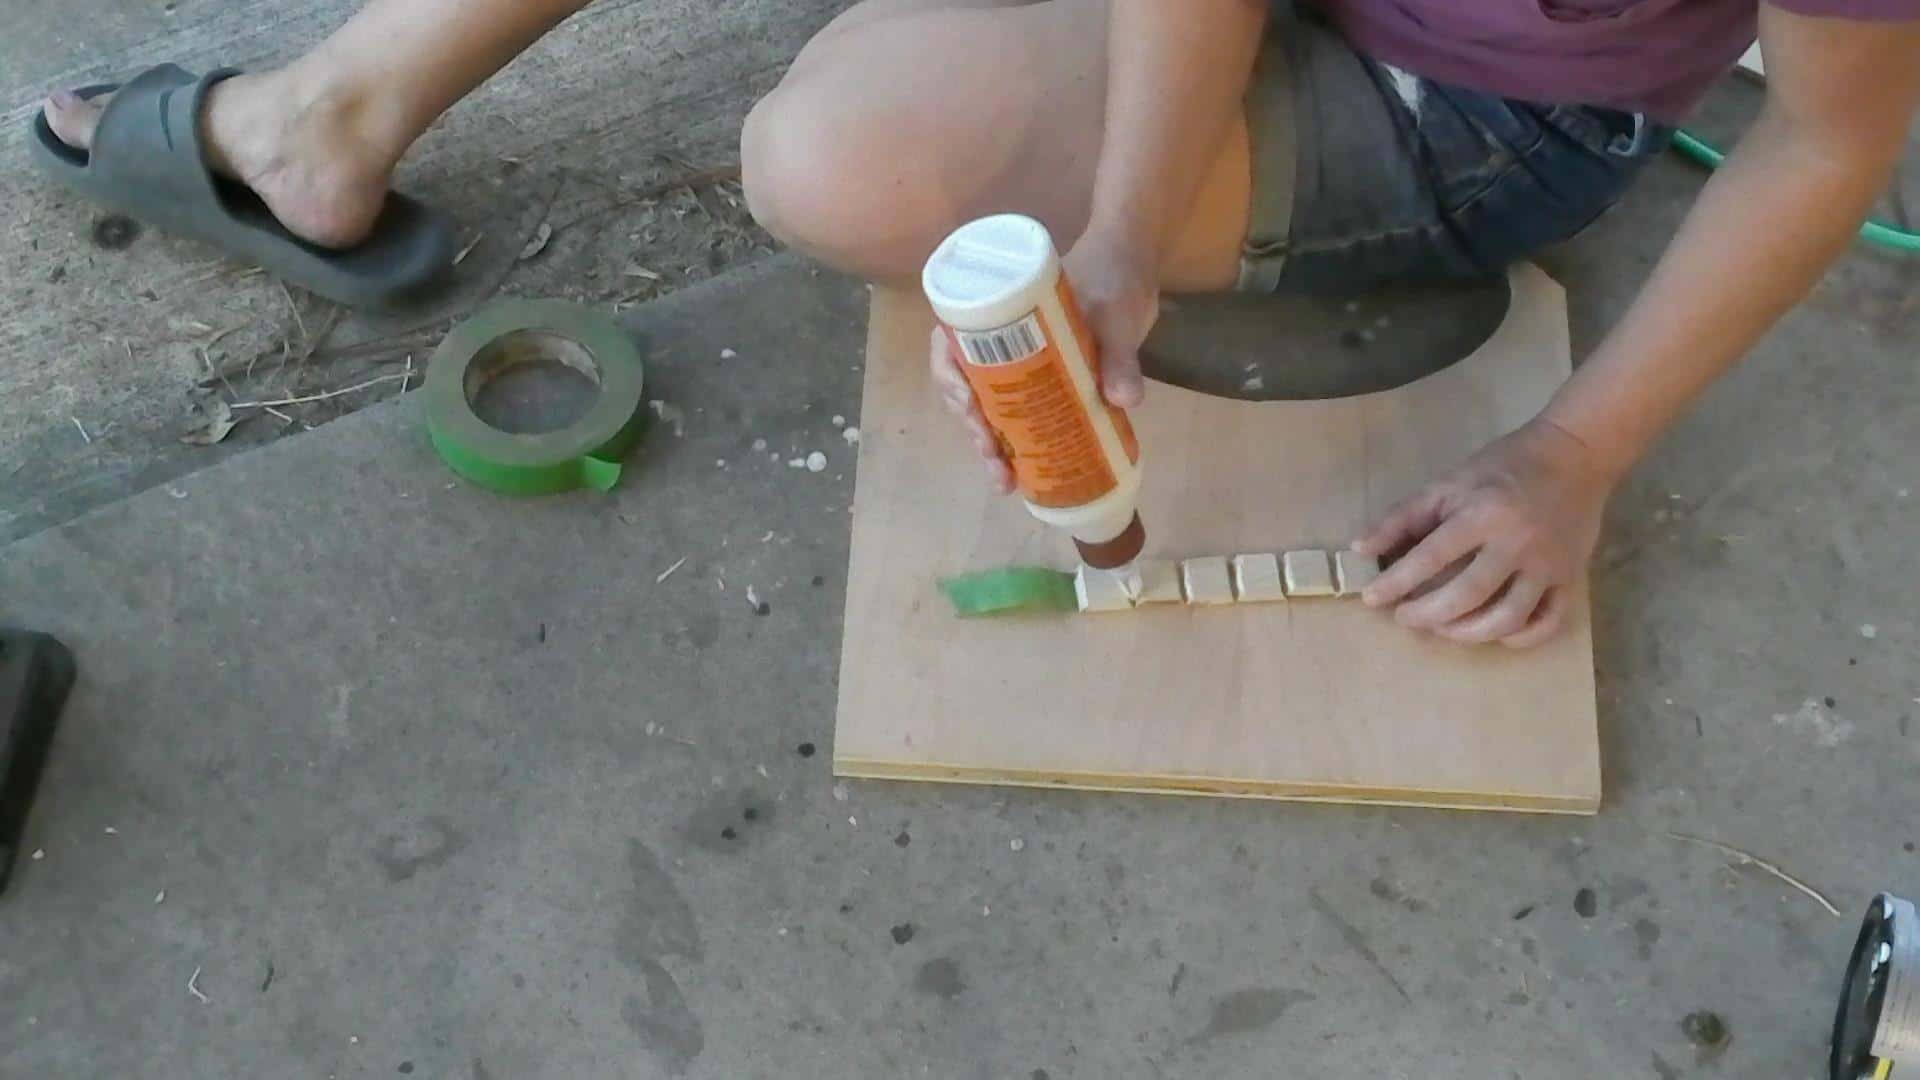
Once you have all six on the tape, add wood glue in between each piece!
Then roll the tape up completing the hexagon! Make sure all the pieces are lined up properly when the tape is around them.
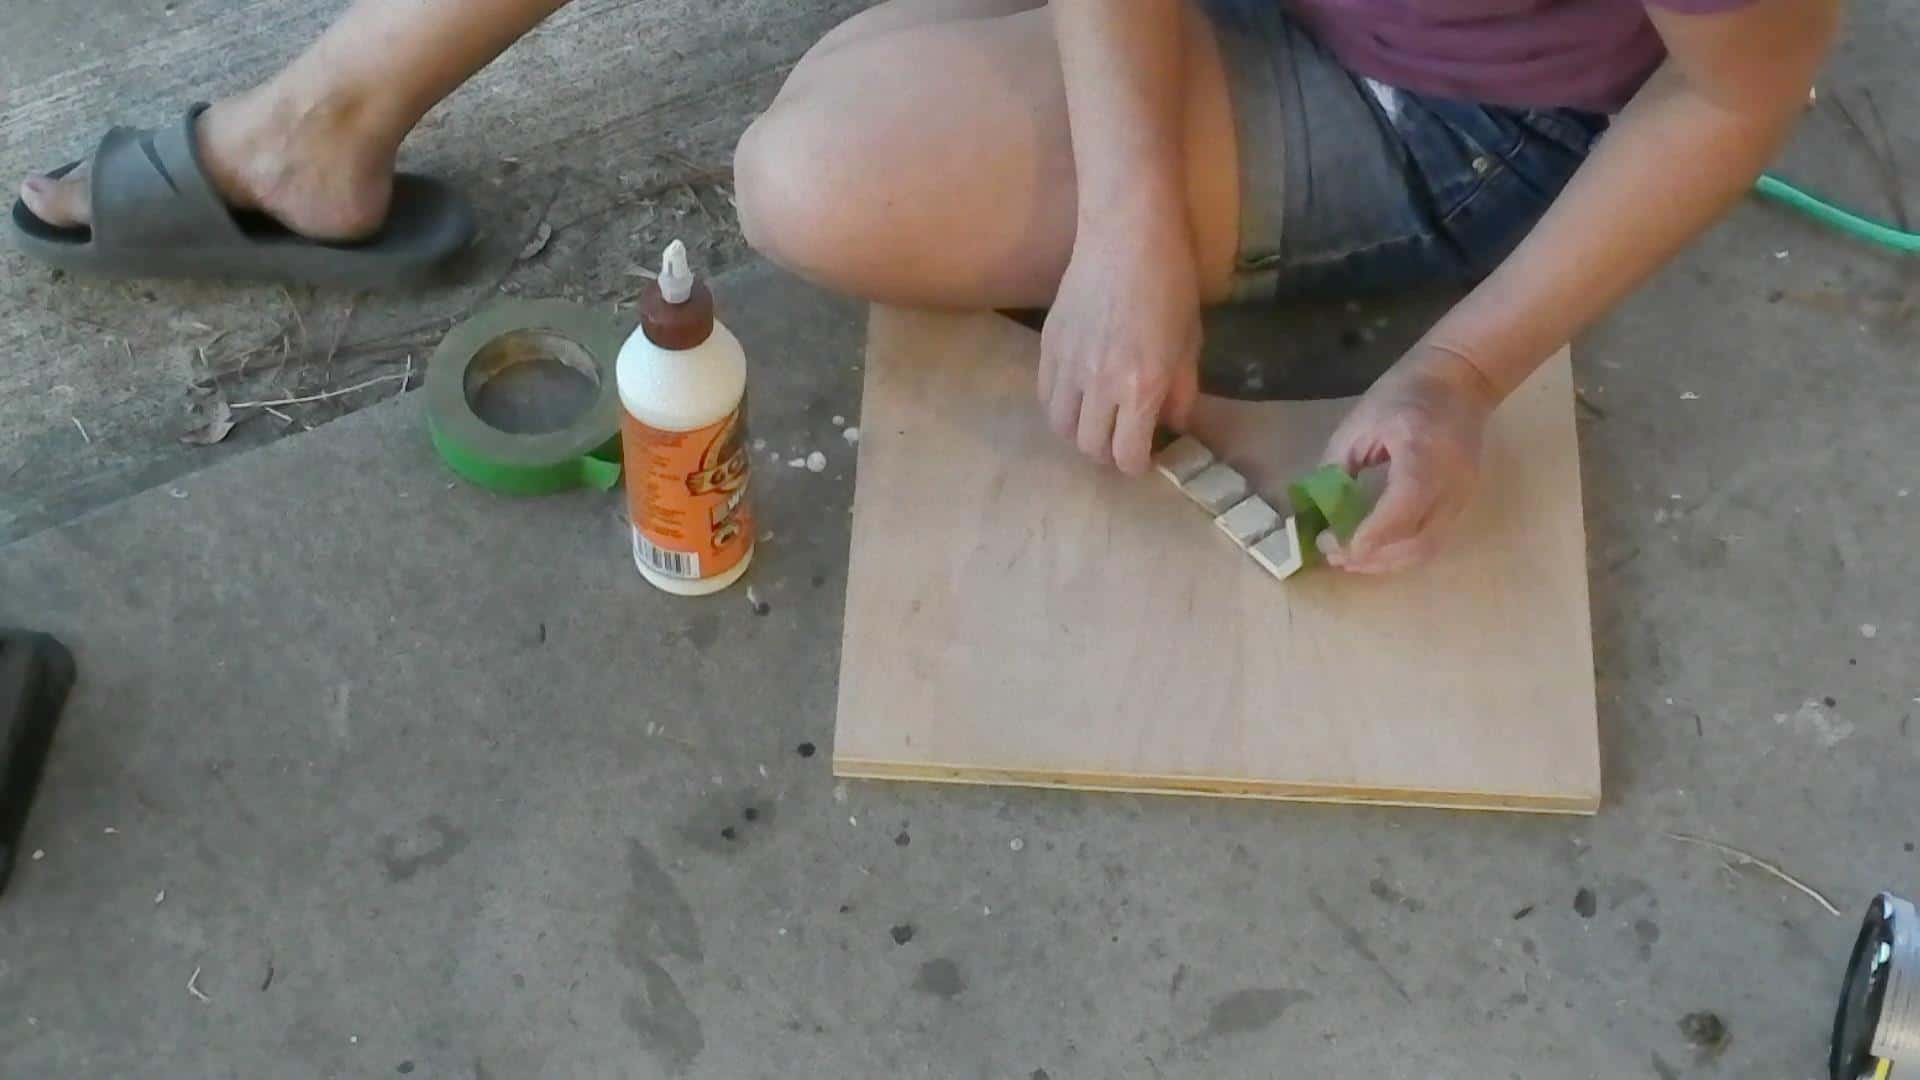
Make sure the tape is tight around the hexagon to make sure the glue is able to set and hold them together! You can even wrap an extra piece of tape around to make sure!
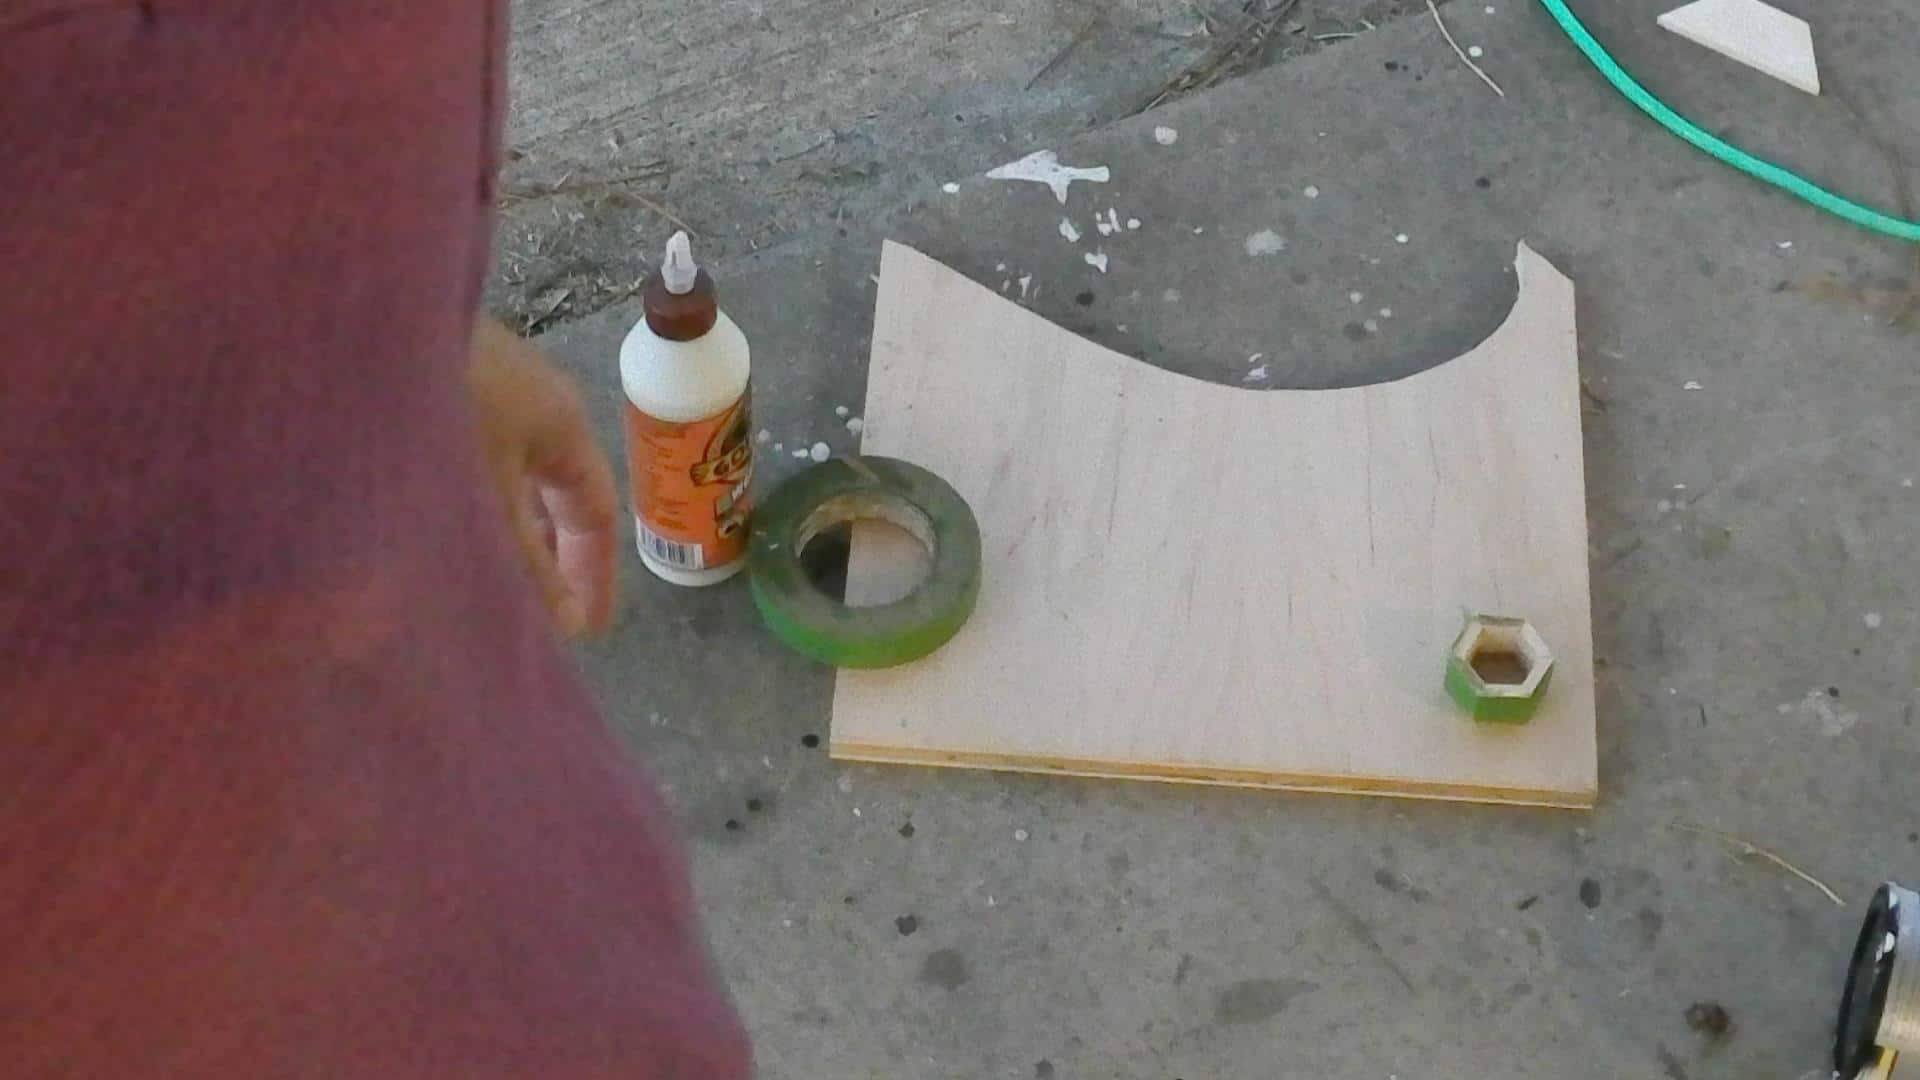
Whip up as many as you need to complete your table settings and then let them sit for a couple of hours and then come back and check on them! This gives the wood glue time to set. If you want to be sure, give it 2 or 3 hours…and then completely forget about them as I did!😂
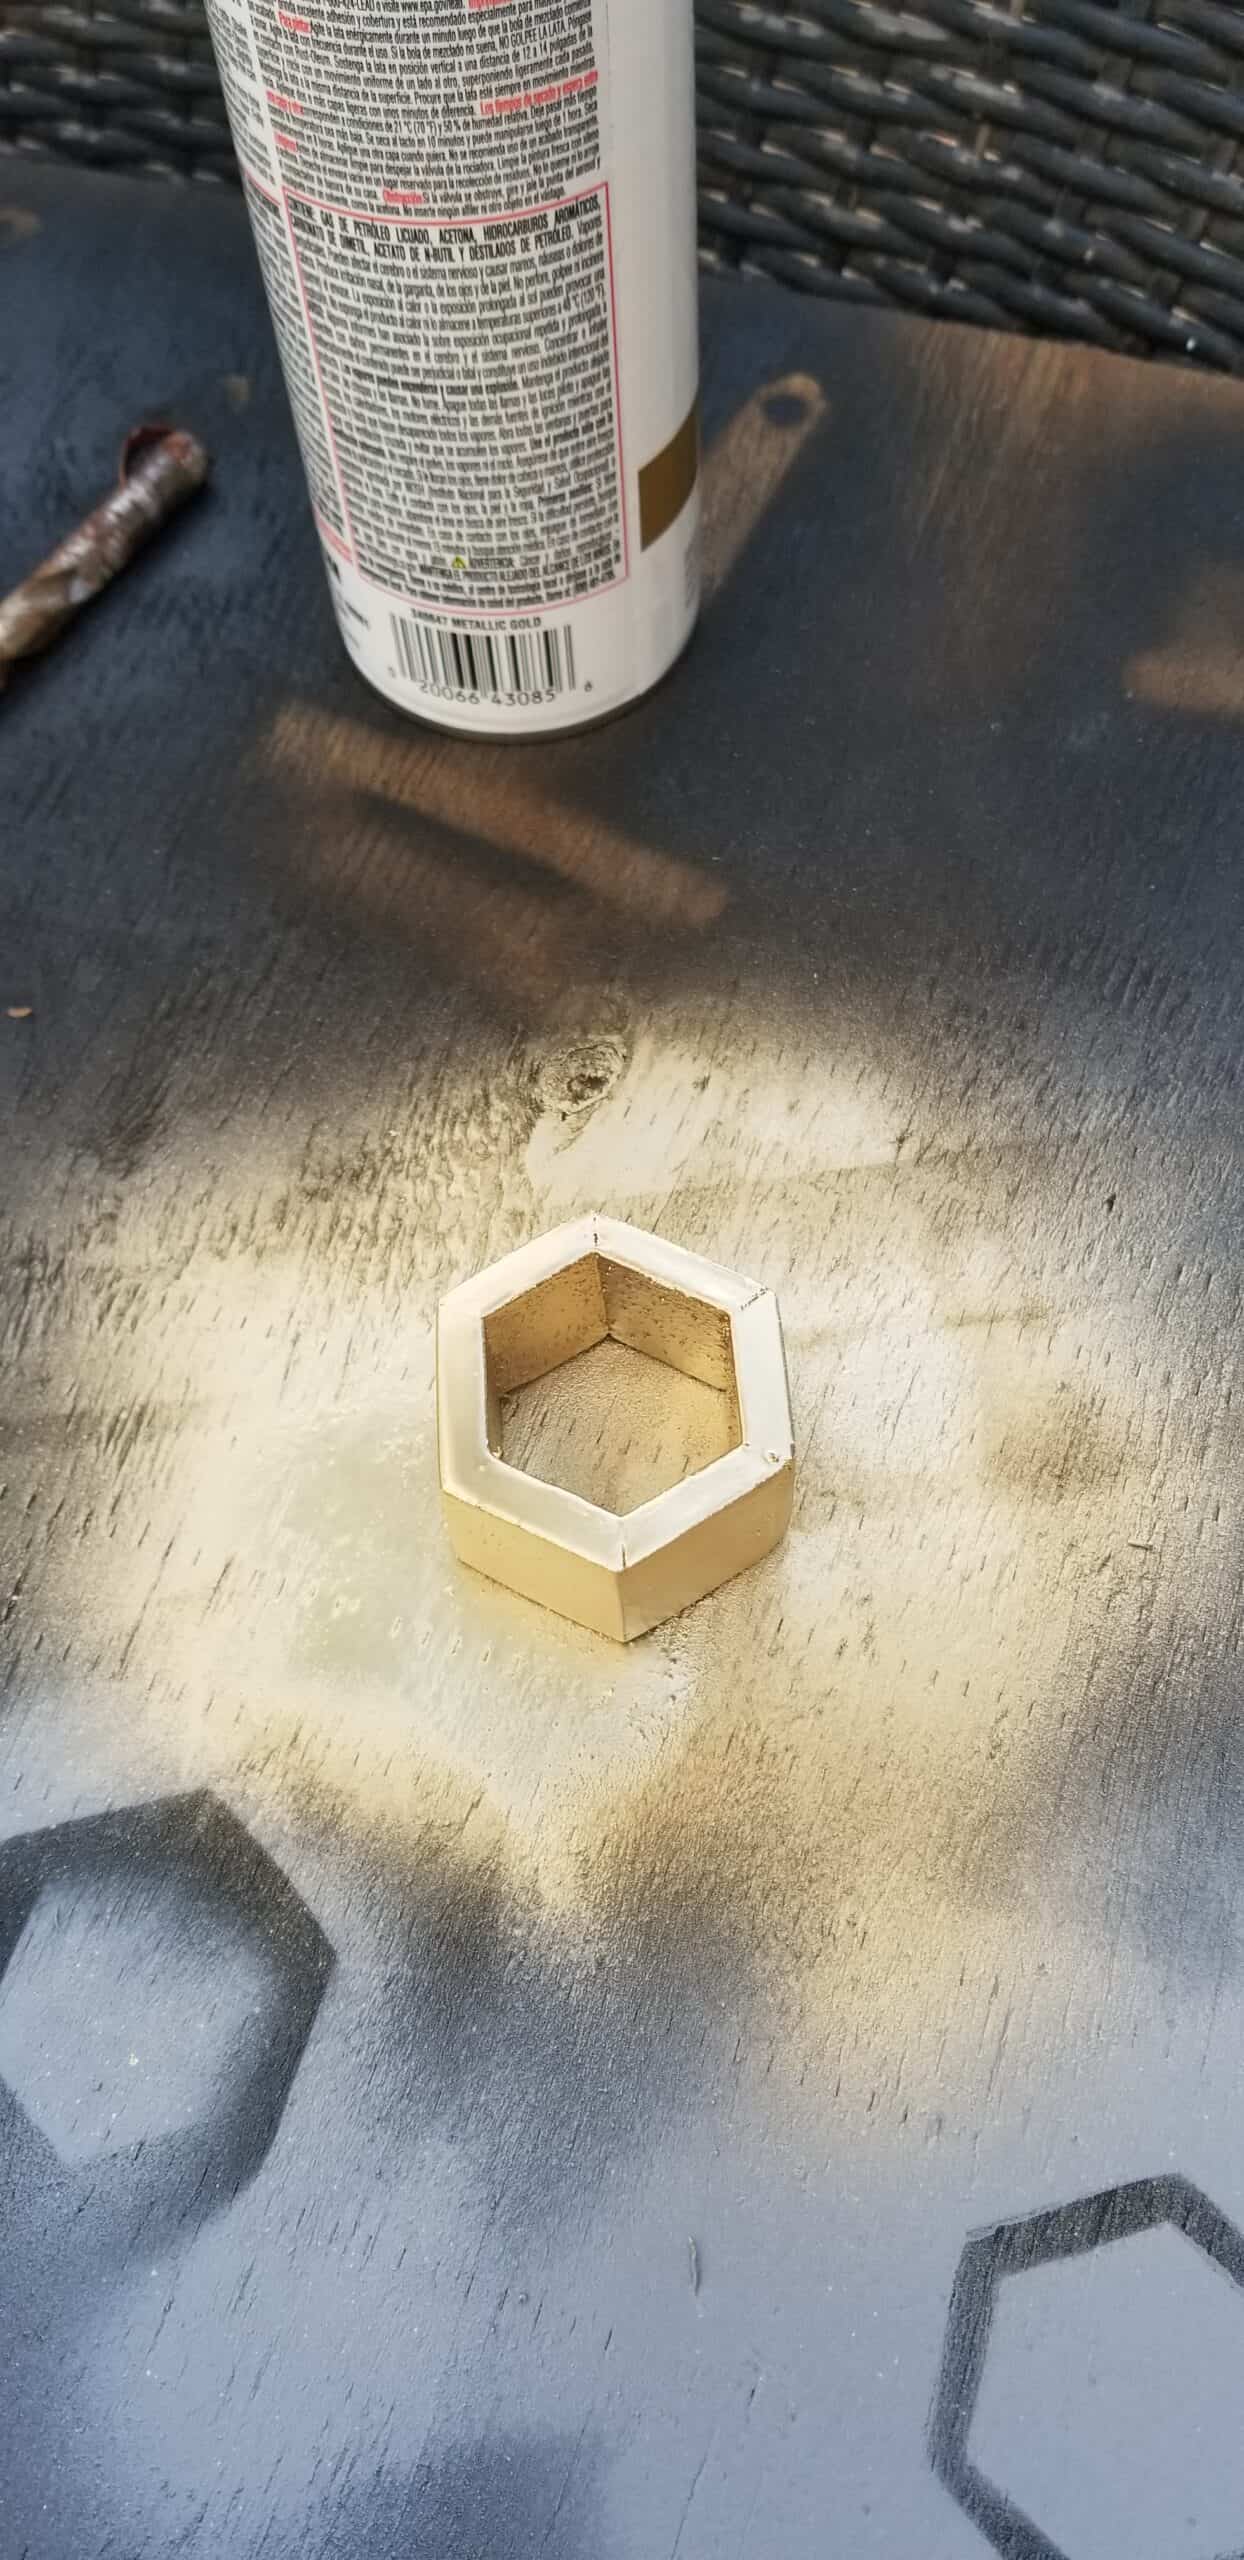
Sand them lightly to get rid of any scraggly pieces from the saw, and spray them with the filler primer. The filler primer is an important part of making them look like they are not made out of wood. It fills in all the pores and gives it a really smooth surface for the paint to adhere to. Use two coats! I learned about this from the AMAZING and INCREDIBLY talented Lizzy @thehouseoftimber! She is the scroll saw QUEEN!😁 Make sure and follow her if you aren’t already…you will NOT be disappointed!!😊
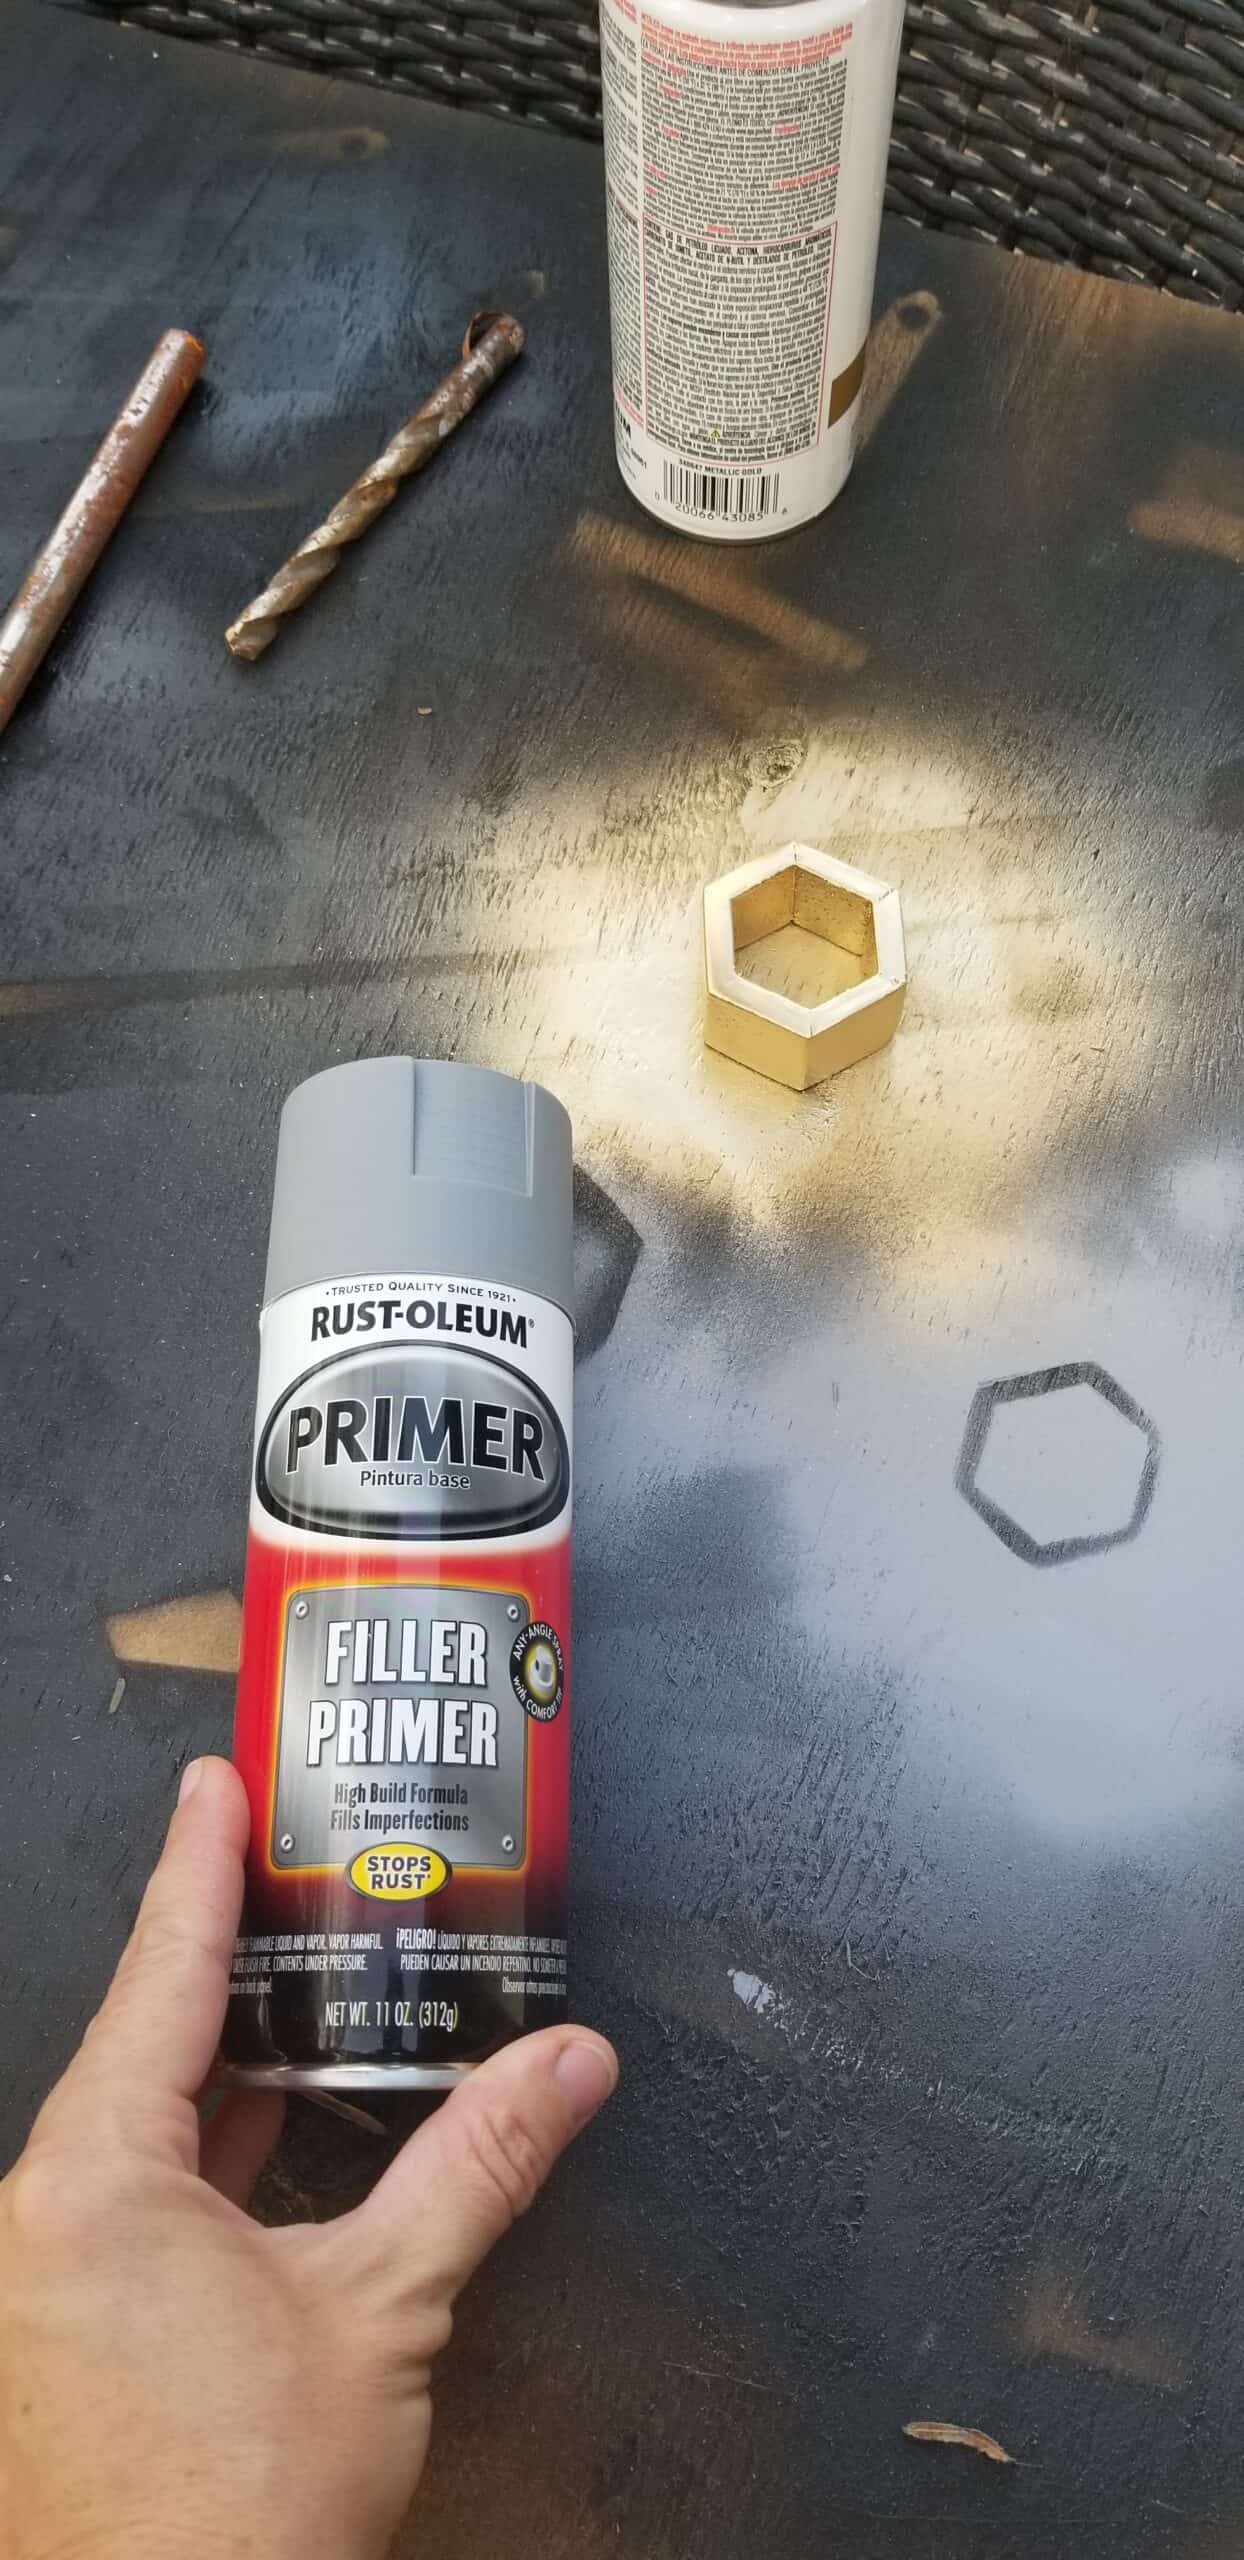
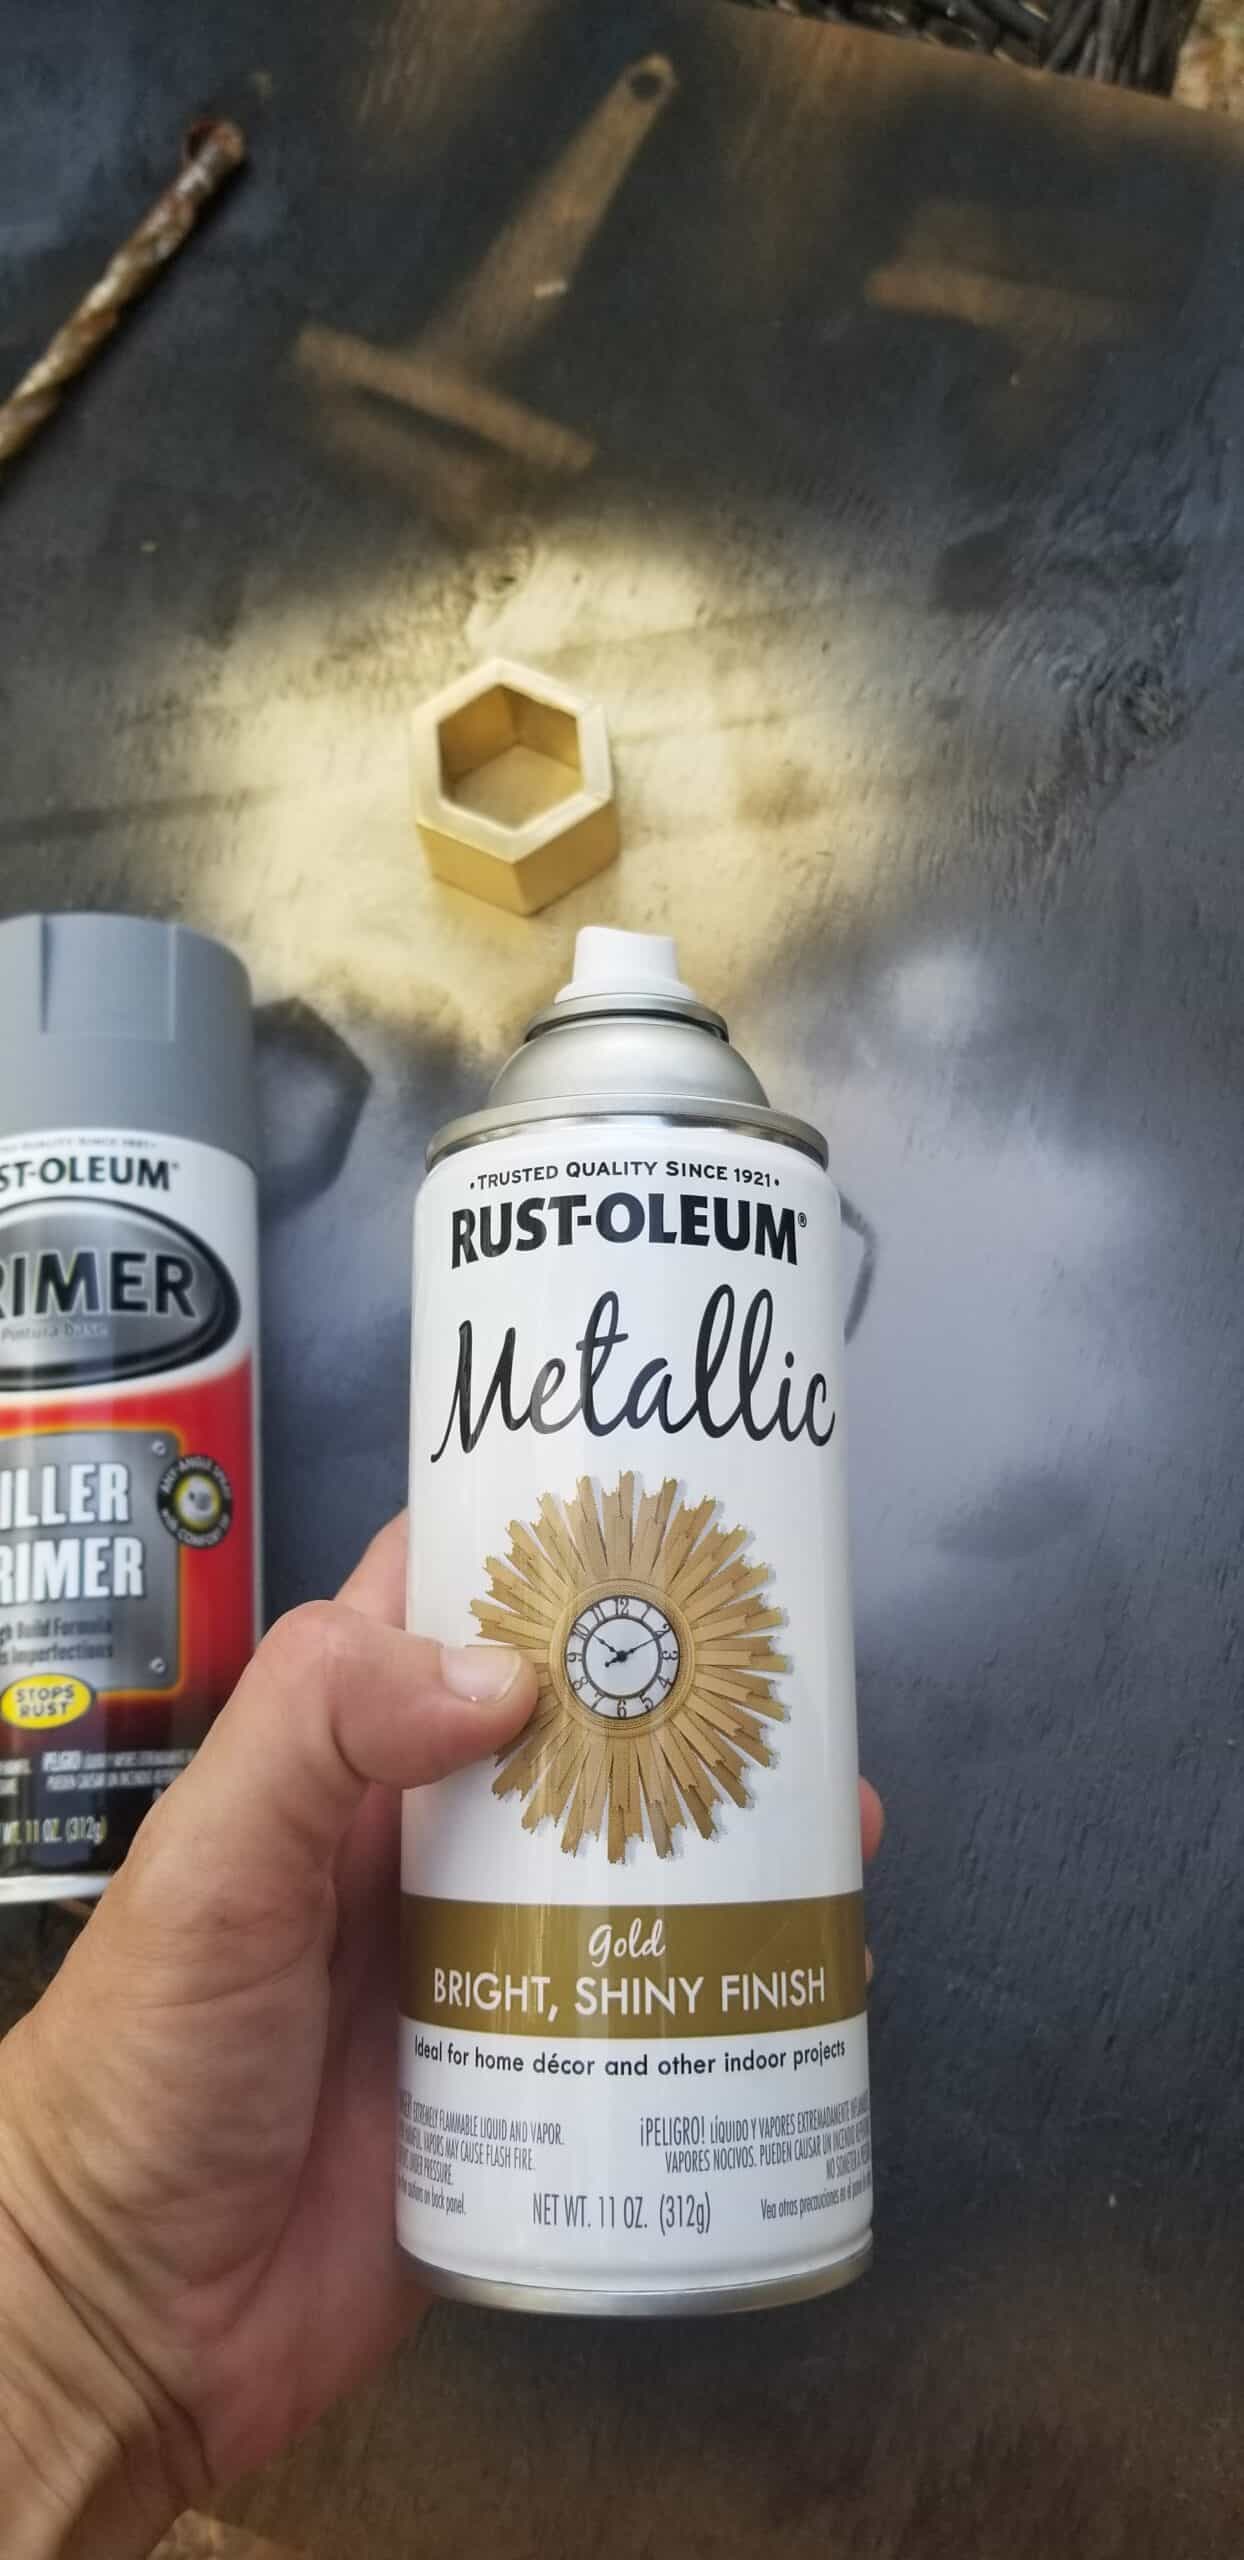
Anyway, sand lightly after the two coats of primer, and then when you spray them with the gold paint they magically look like they are made of metal or plastic, definitely not wood! Lol!
Just a tip, you want to wait until the primer is fully dry before you sand, I messed mine up by rushing to sand them 20 minutes after I sprayed them! OY!! The primer feels dry to the touch really quickly, don’t be fooled as I was! Lol!
Here’s the gold spray paint I used on the napkin rings!
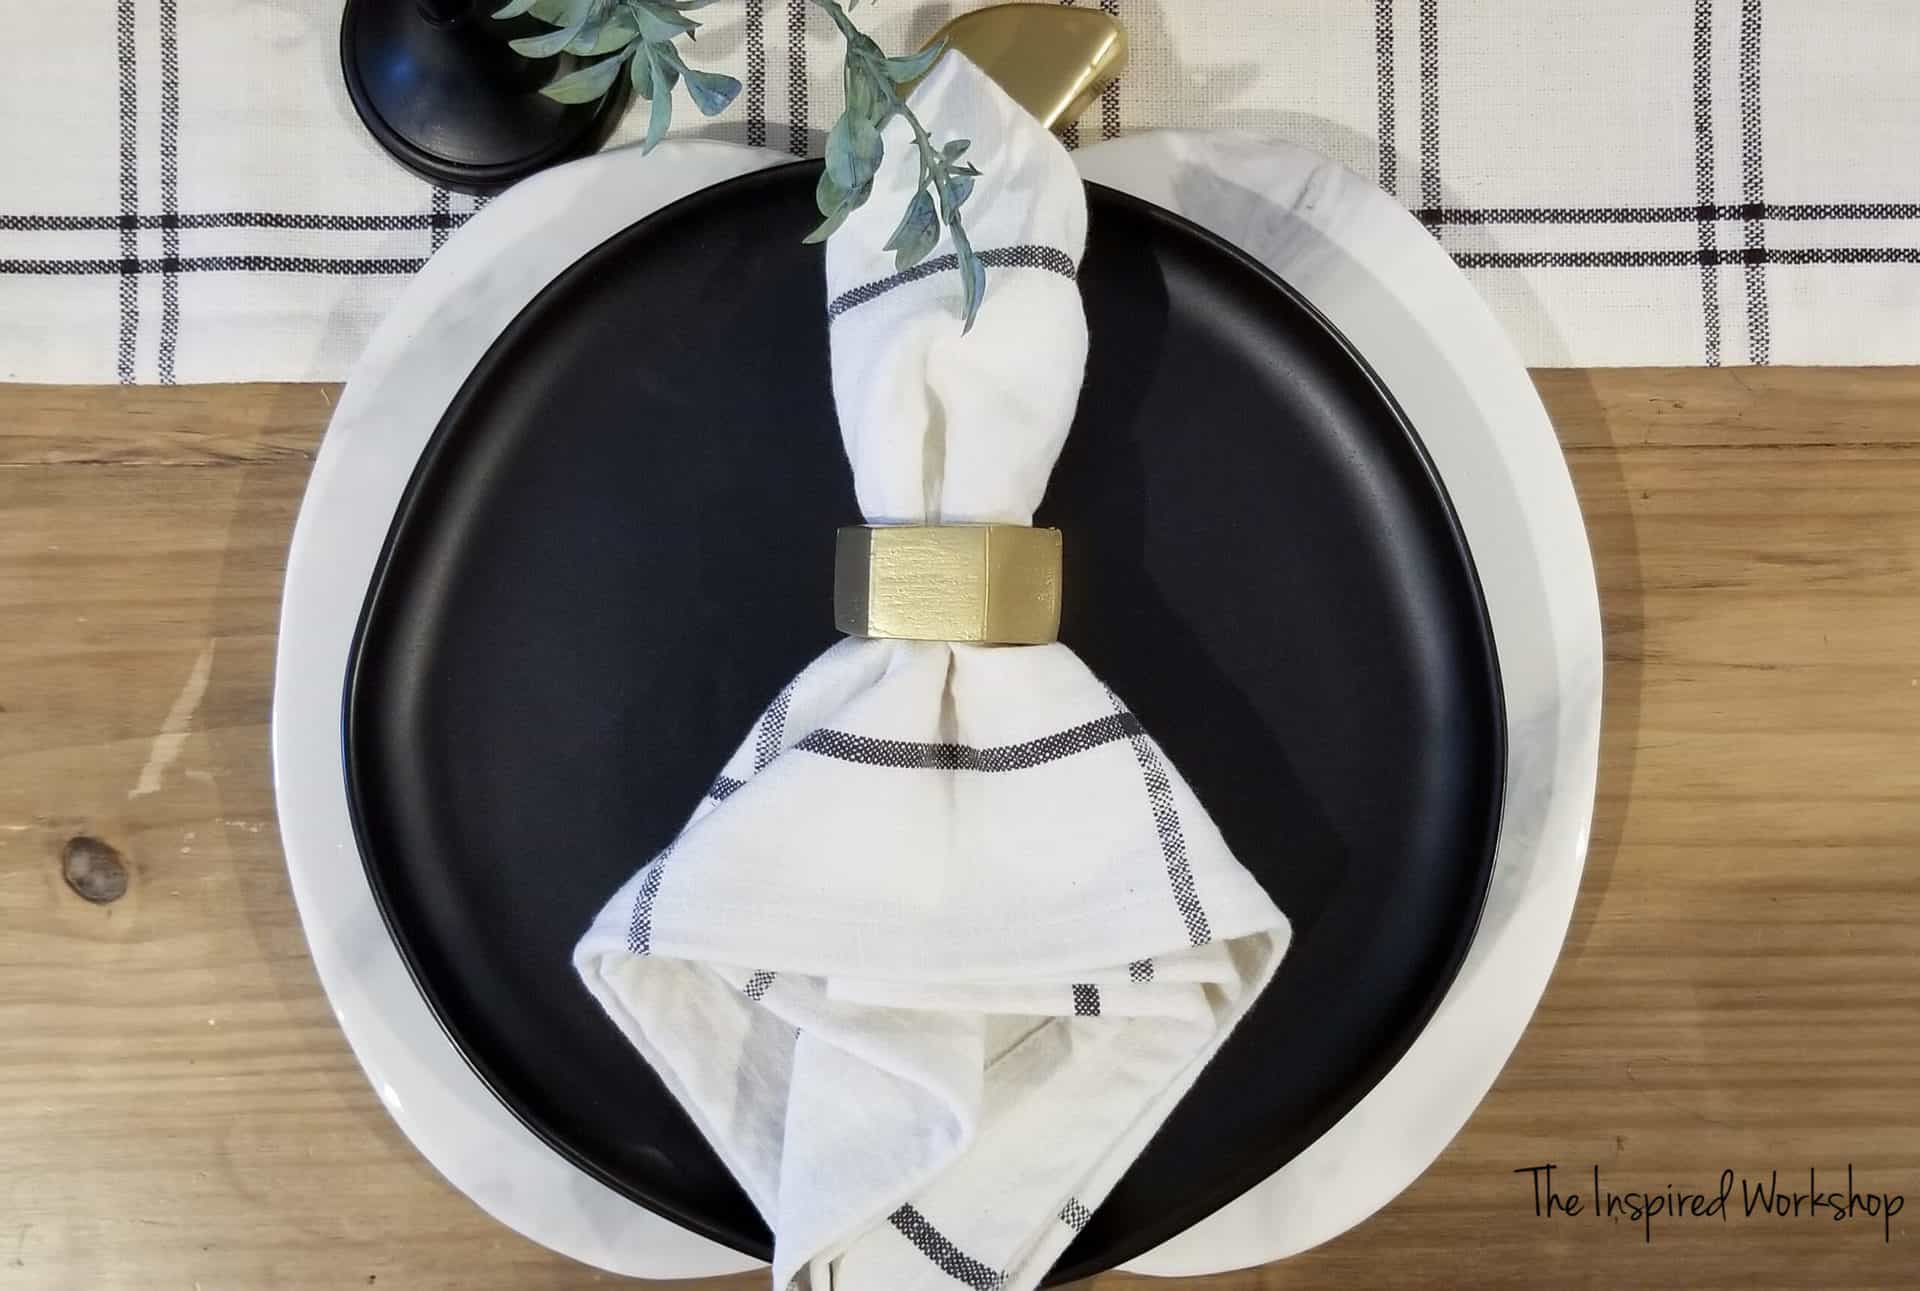
Let them dry and slide them on some beautiful napkins! Another tip, after testing everything on this napkin ring, I sanded using a stationary sander as opposed to trying to use a handheld sander, and it worked WAY better!! Then I just used a tiny bit of wood filler on the miters and they look way better!!
Pretty simple, huh?! I told ya, and TOTALLY worth it!
Have any other ideas on what I could make into a hexagon shape? If you do, don’t tell me I already have too many hexagon projects! 😂😜 I’m kidding! Let me know in the comments below! Have you made these napkin rings? Send me an email with some pictures or tag me on social media, I LOVE seeing y’all’s projects from my tutorials…makes my day!!
[social_warfare]
Hope you all have safe travels if you are headed out of town this week! Thanks for stopping by!

Want to save these DIY Napkin Rings for later? PIN IT!