Linen Cabinet
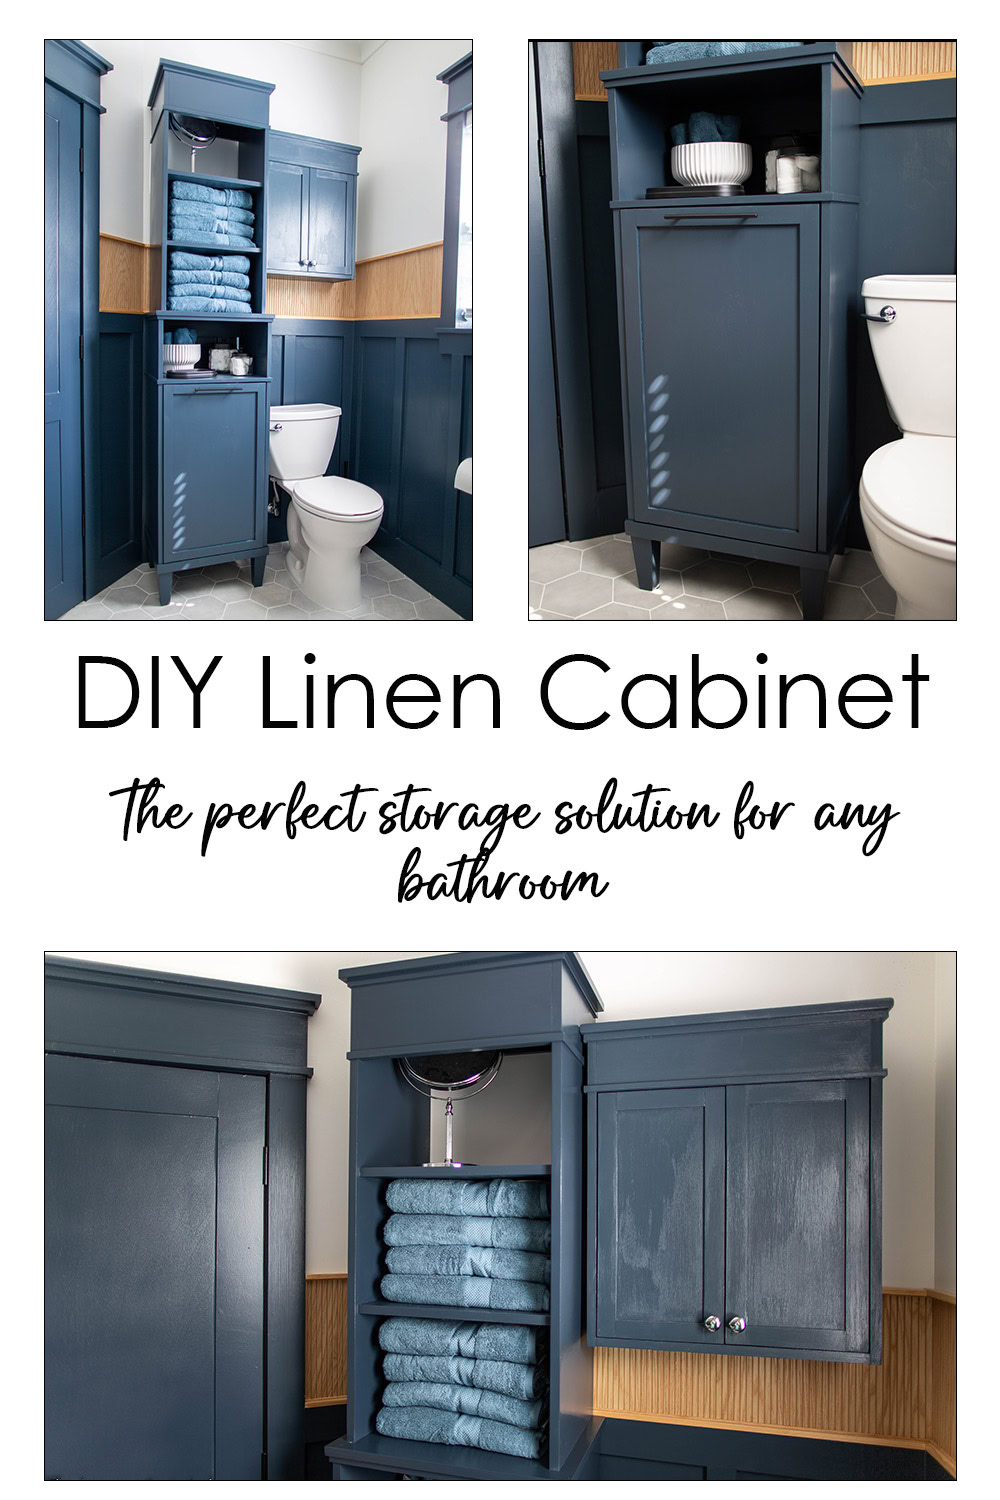
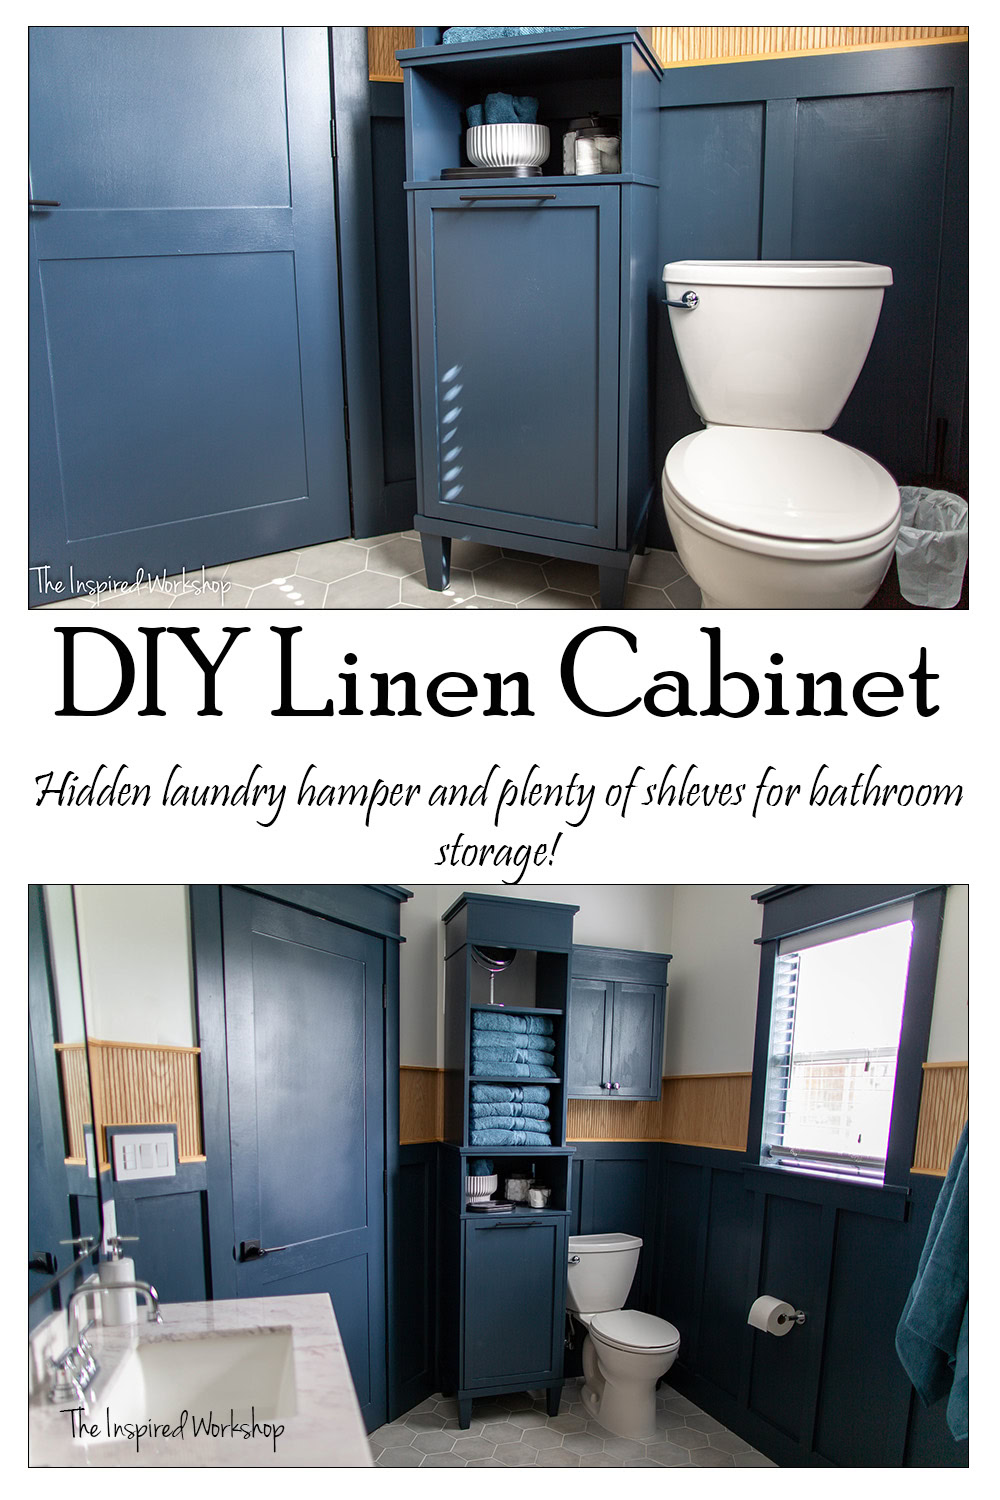
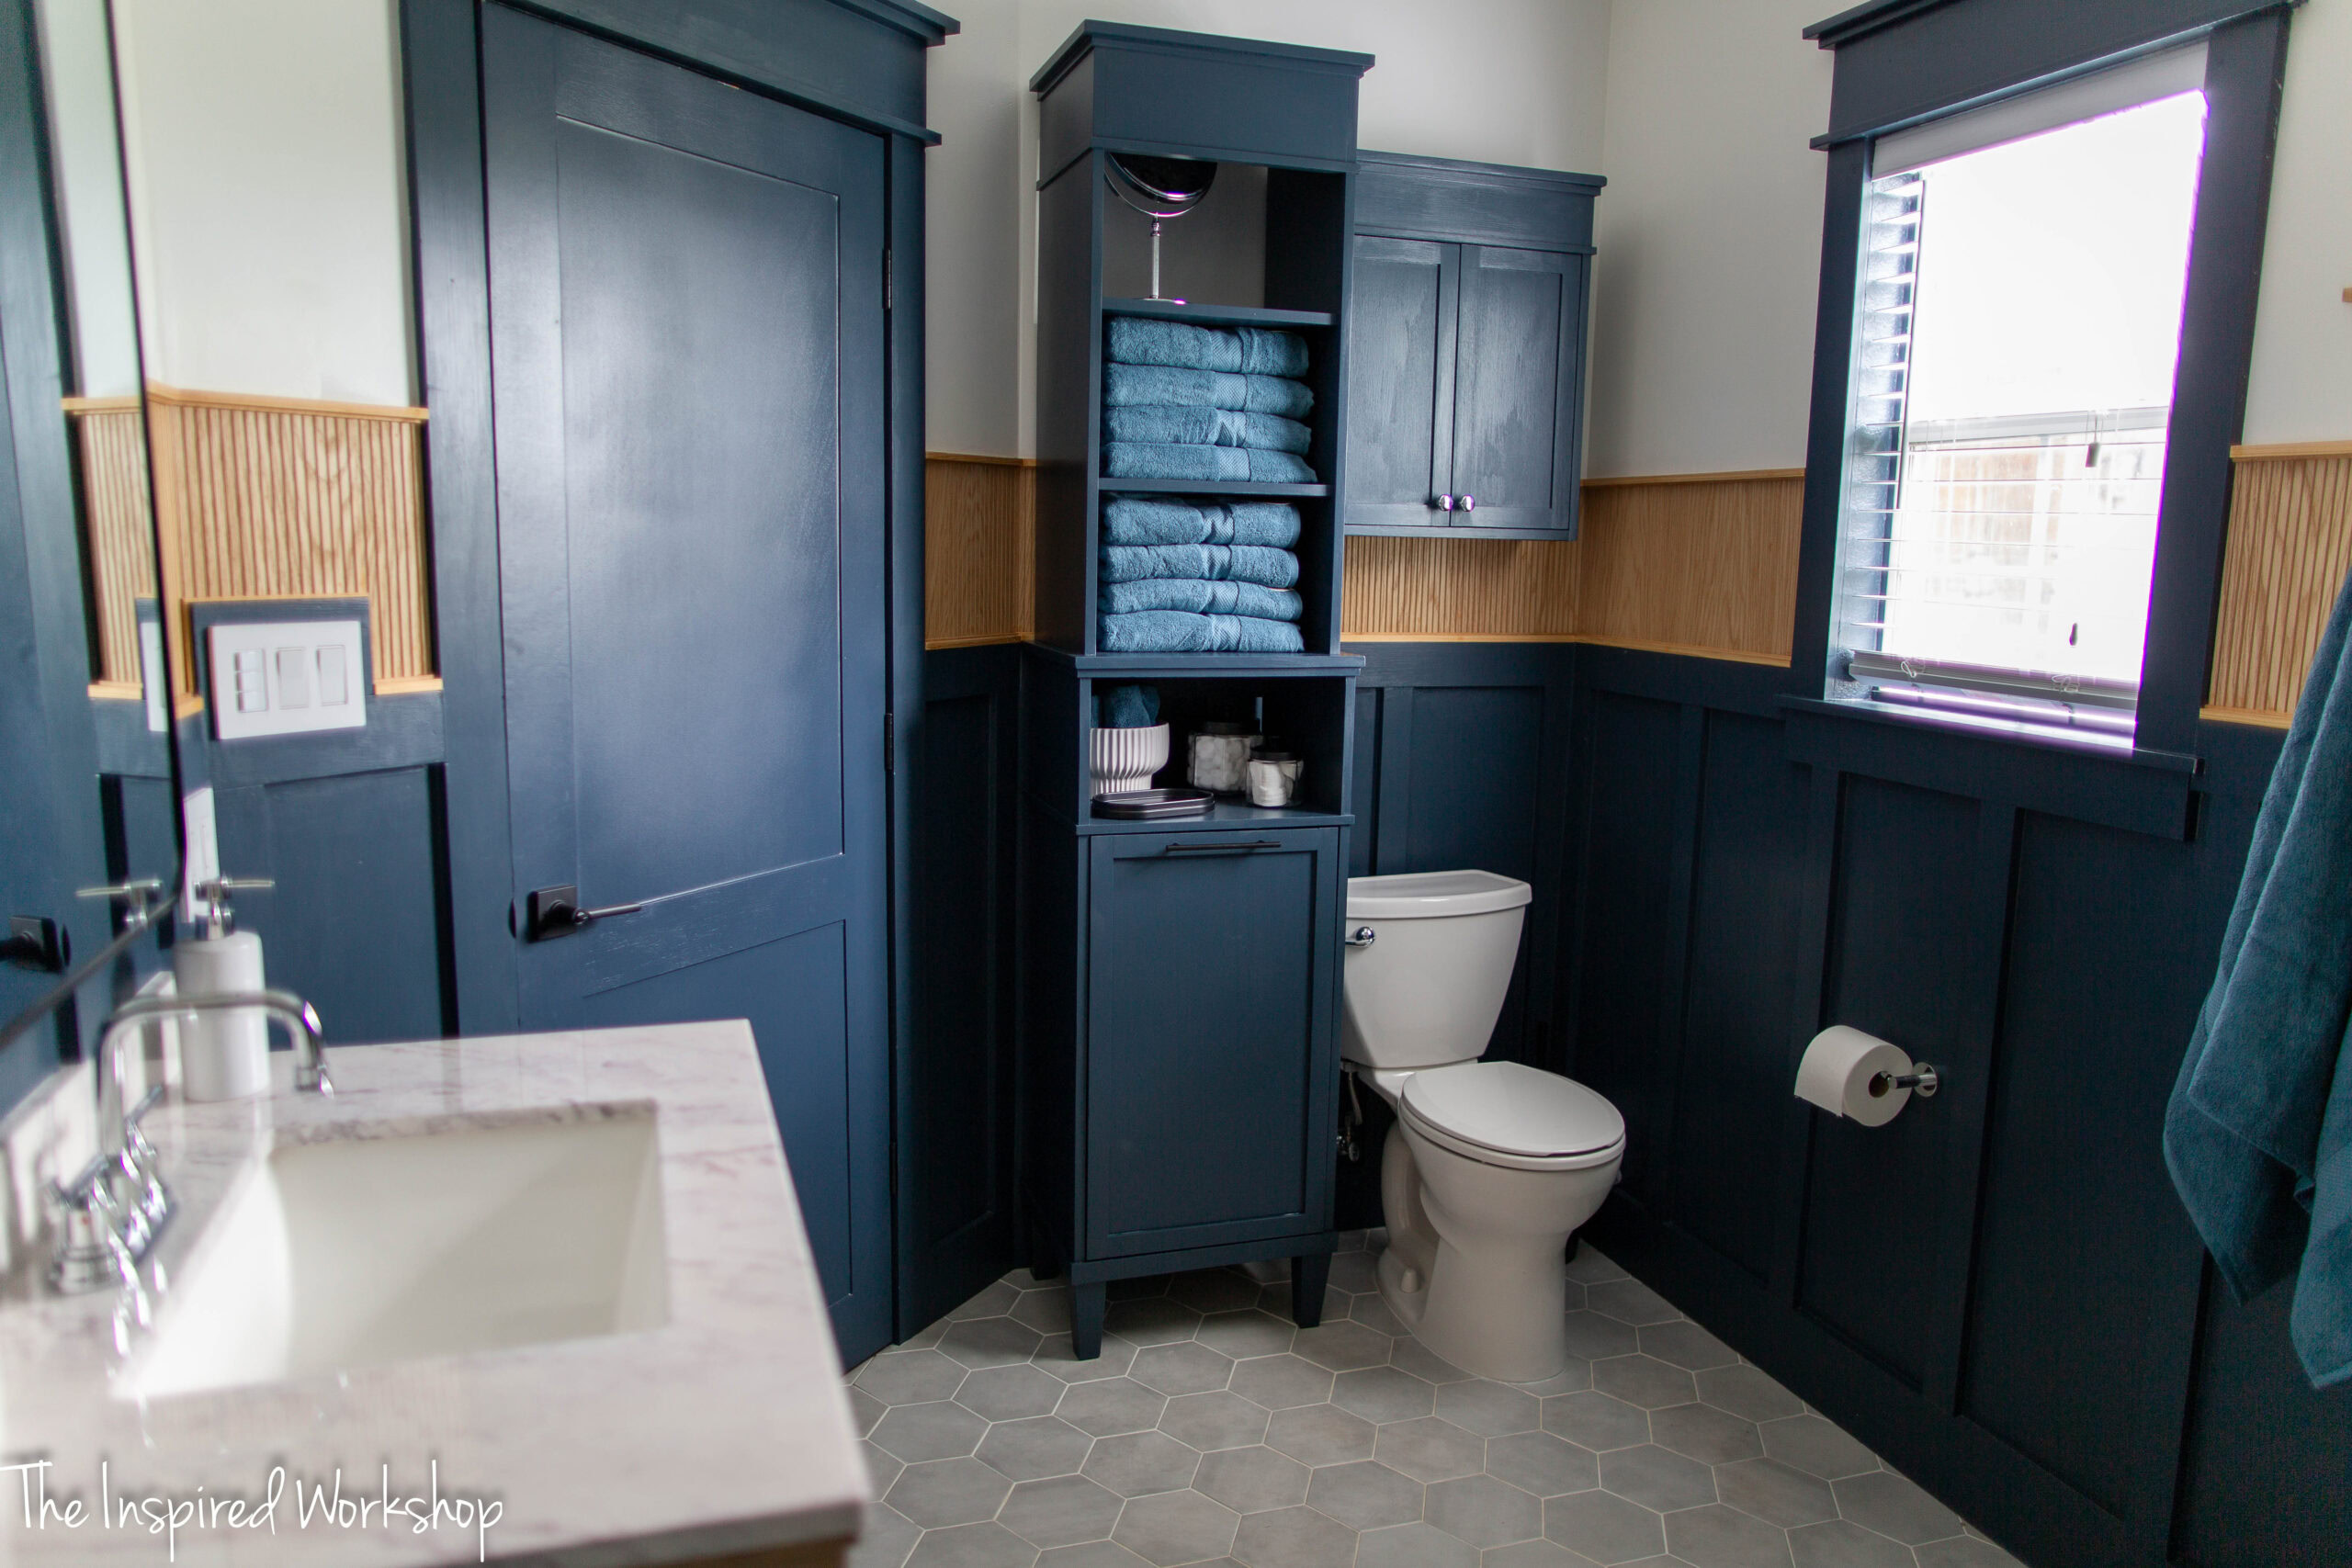
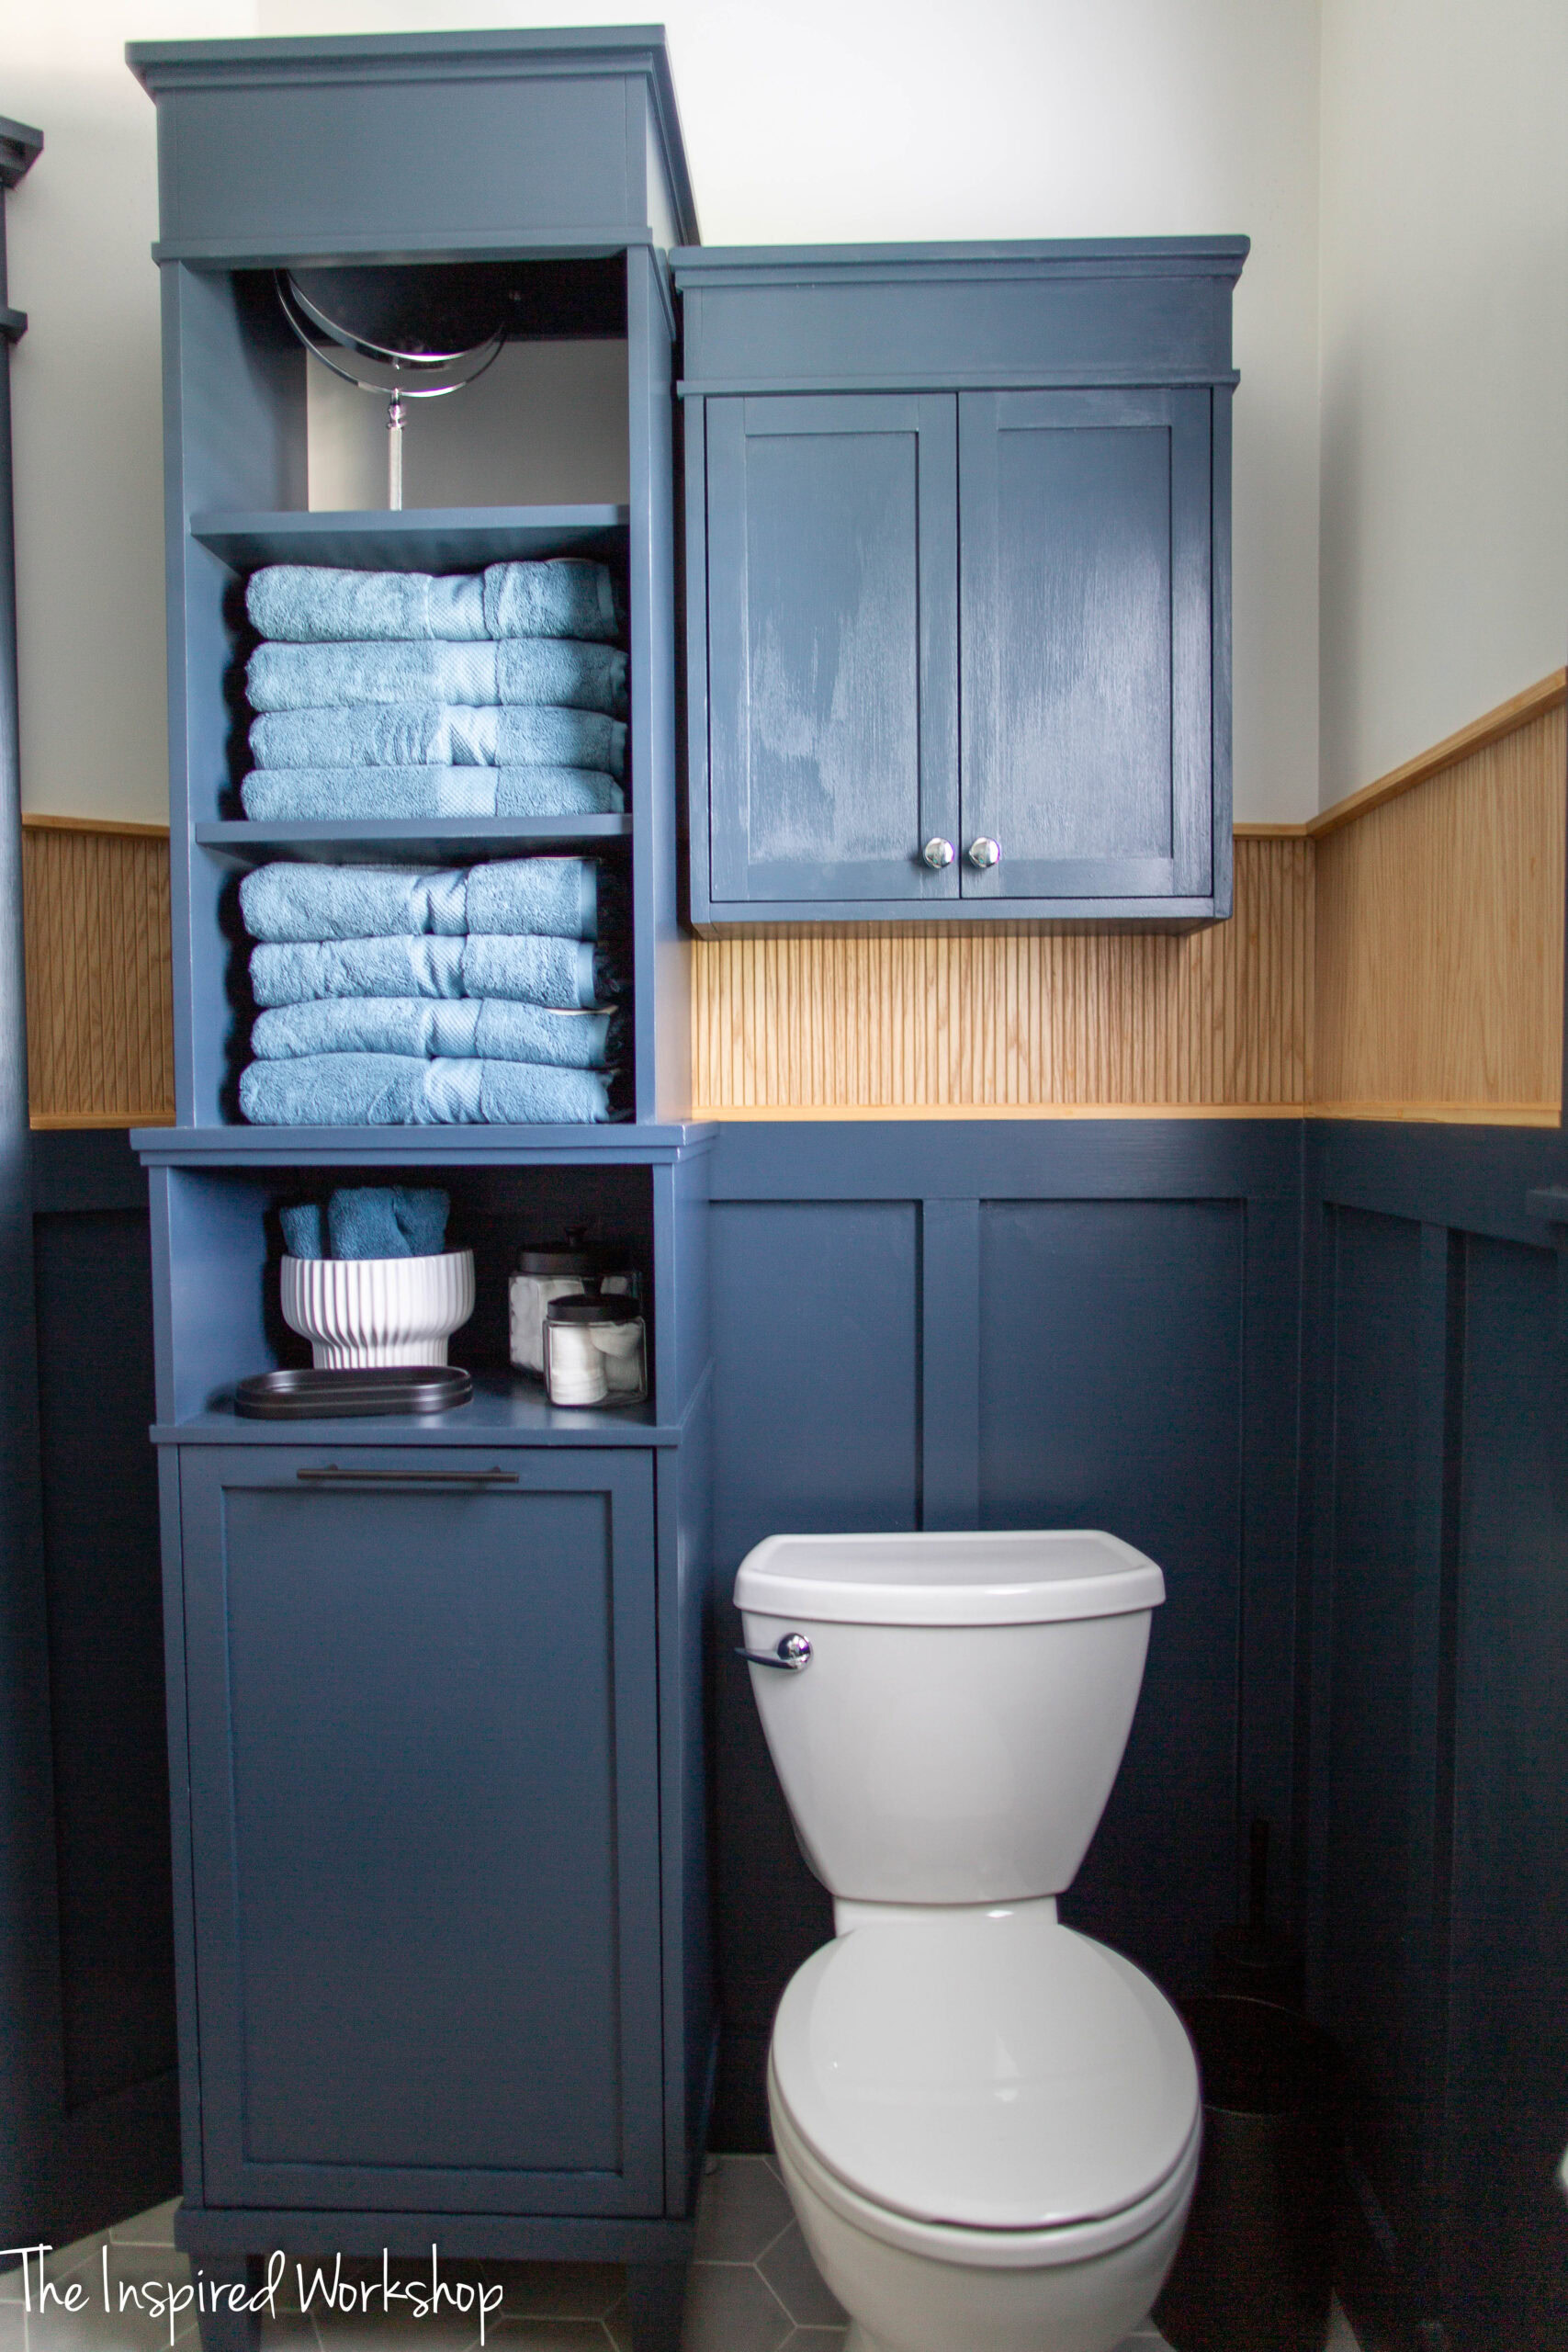
The bathroom remodel wouldn’t be complete without the linen cabinet to house the clean towels and a laundry hamper in the bottom for concealing all the dirty laundry! This linen cabinet is the perfect addition to a bathroom when you do not have enough space for a linen closet but you still need the storage of one.
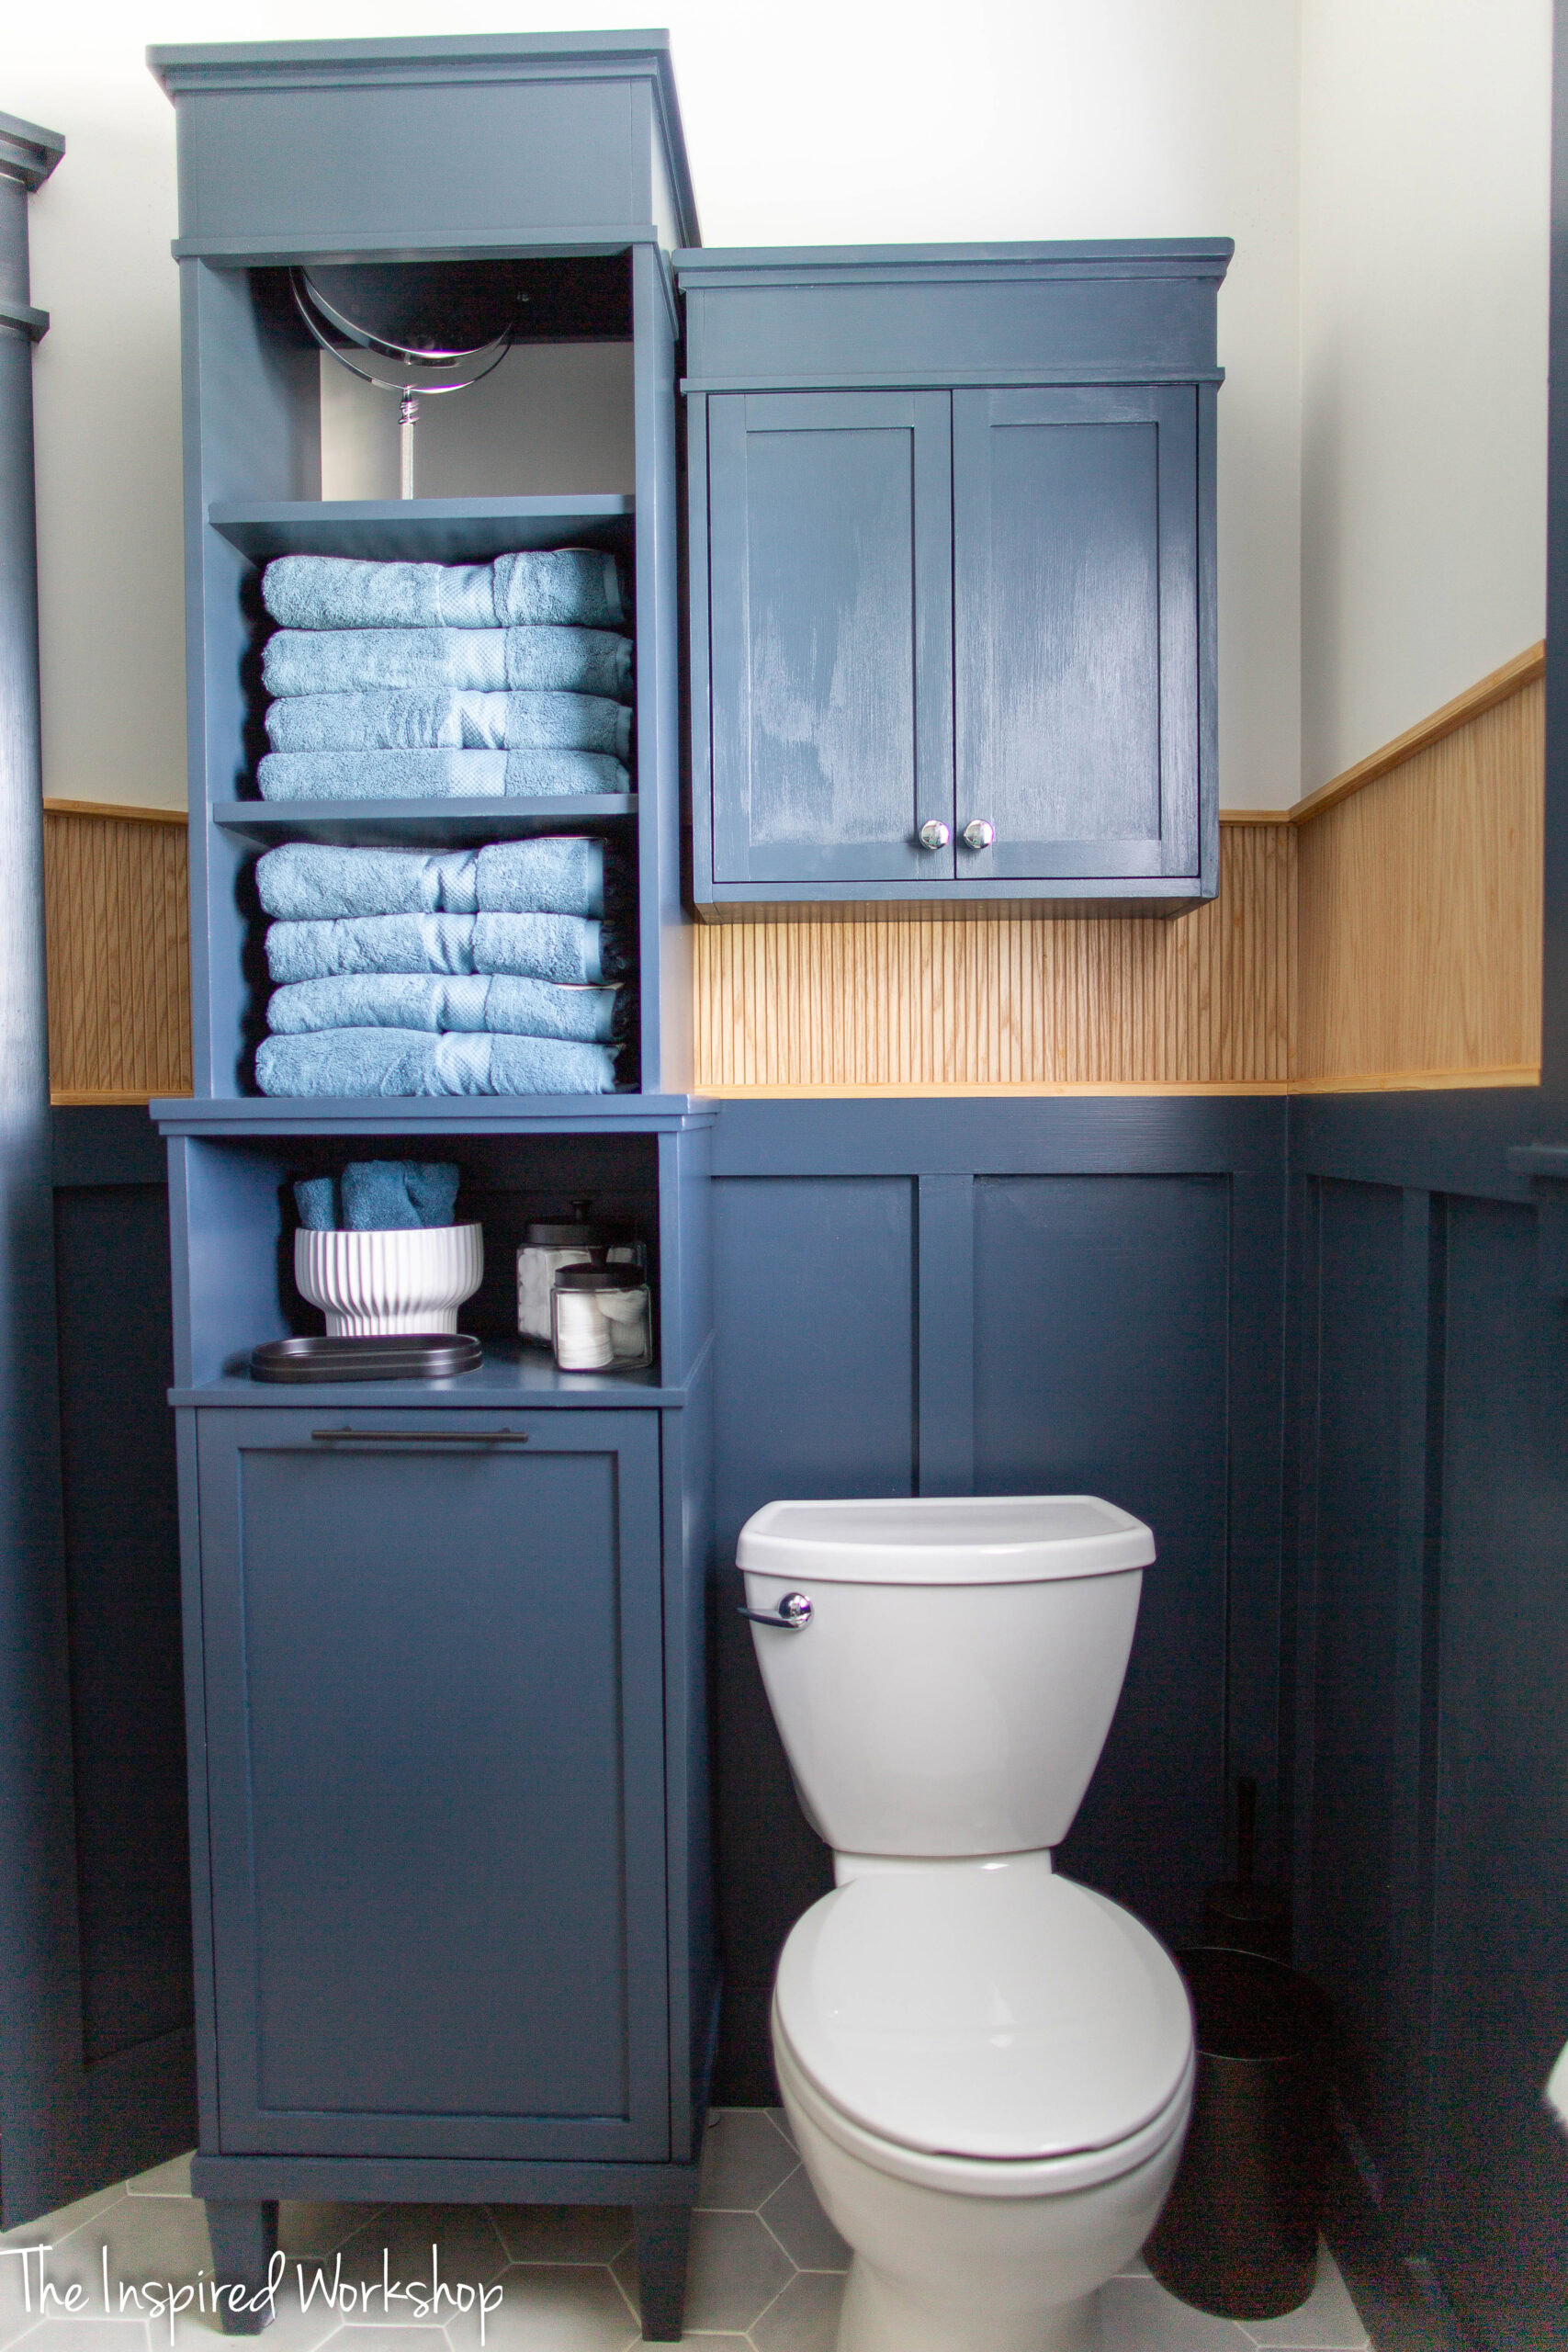
I had to modify my plans several times for this linen cabinet as I had very limited space to utilize! It had to be next to the toilet even though that is not where I wanted it, and then the cabinet over the toilet was taking up some of the tiny space I had available for the linen cabinet!
It was a struggle there for a while, but I did get it figured out, and I could not be happier with the final result since I was thinking I was going to have to scrap the whole idea or try to squeeze it in beside the vanity, which would have been far too cluttered!

This has been a life saver, if you have a bathroom that doesn’t have storage, you know what I am dealing with! Lol! It is awful, especially when there is the square footage that this bathroom has, just not a good place for a closet! This has been a lifesaver for giving a little towel storage although I would still love more, it works really well!
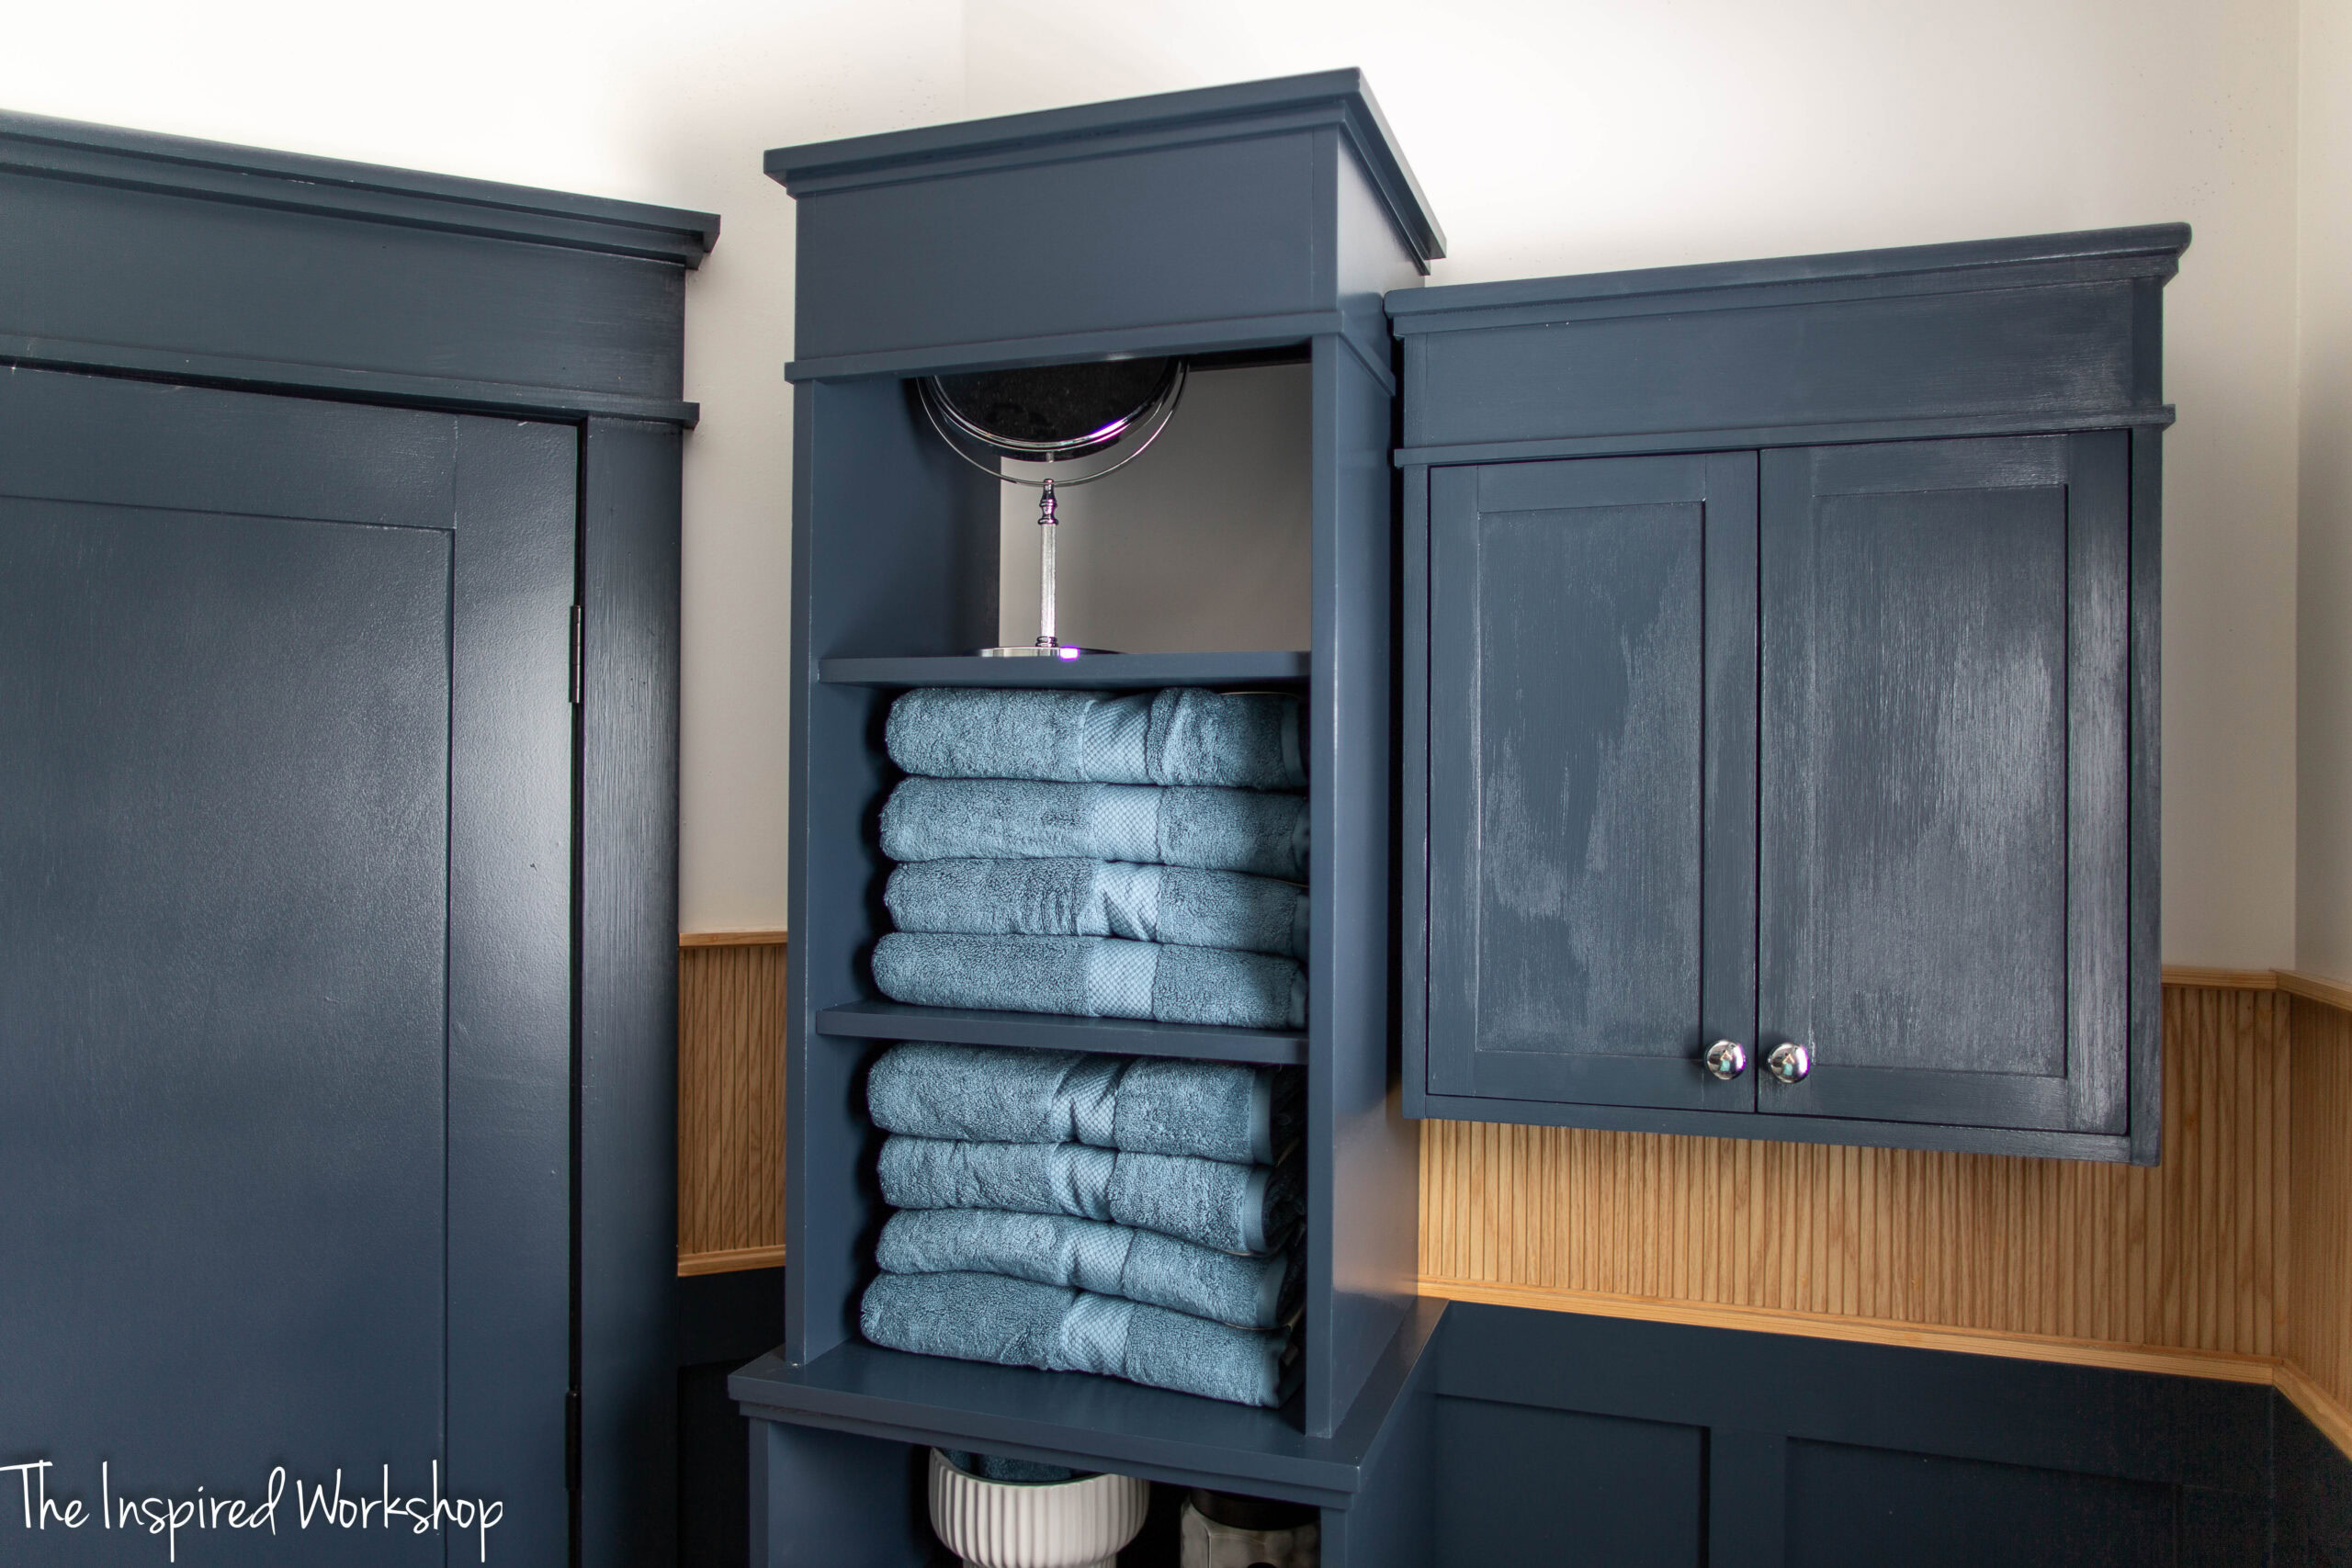
The shelves we use for towels, wash clothes, and skin care essentials such as cotton balls, q-tips, etc!
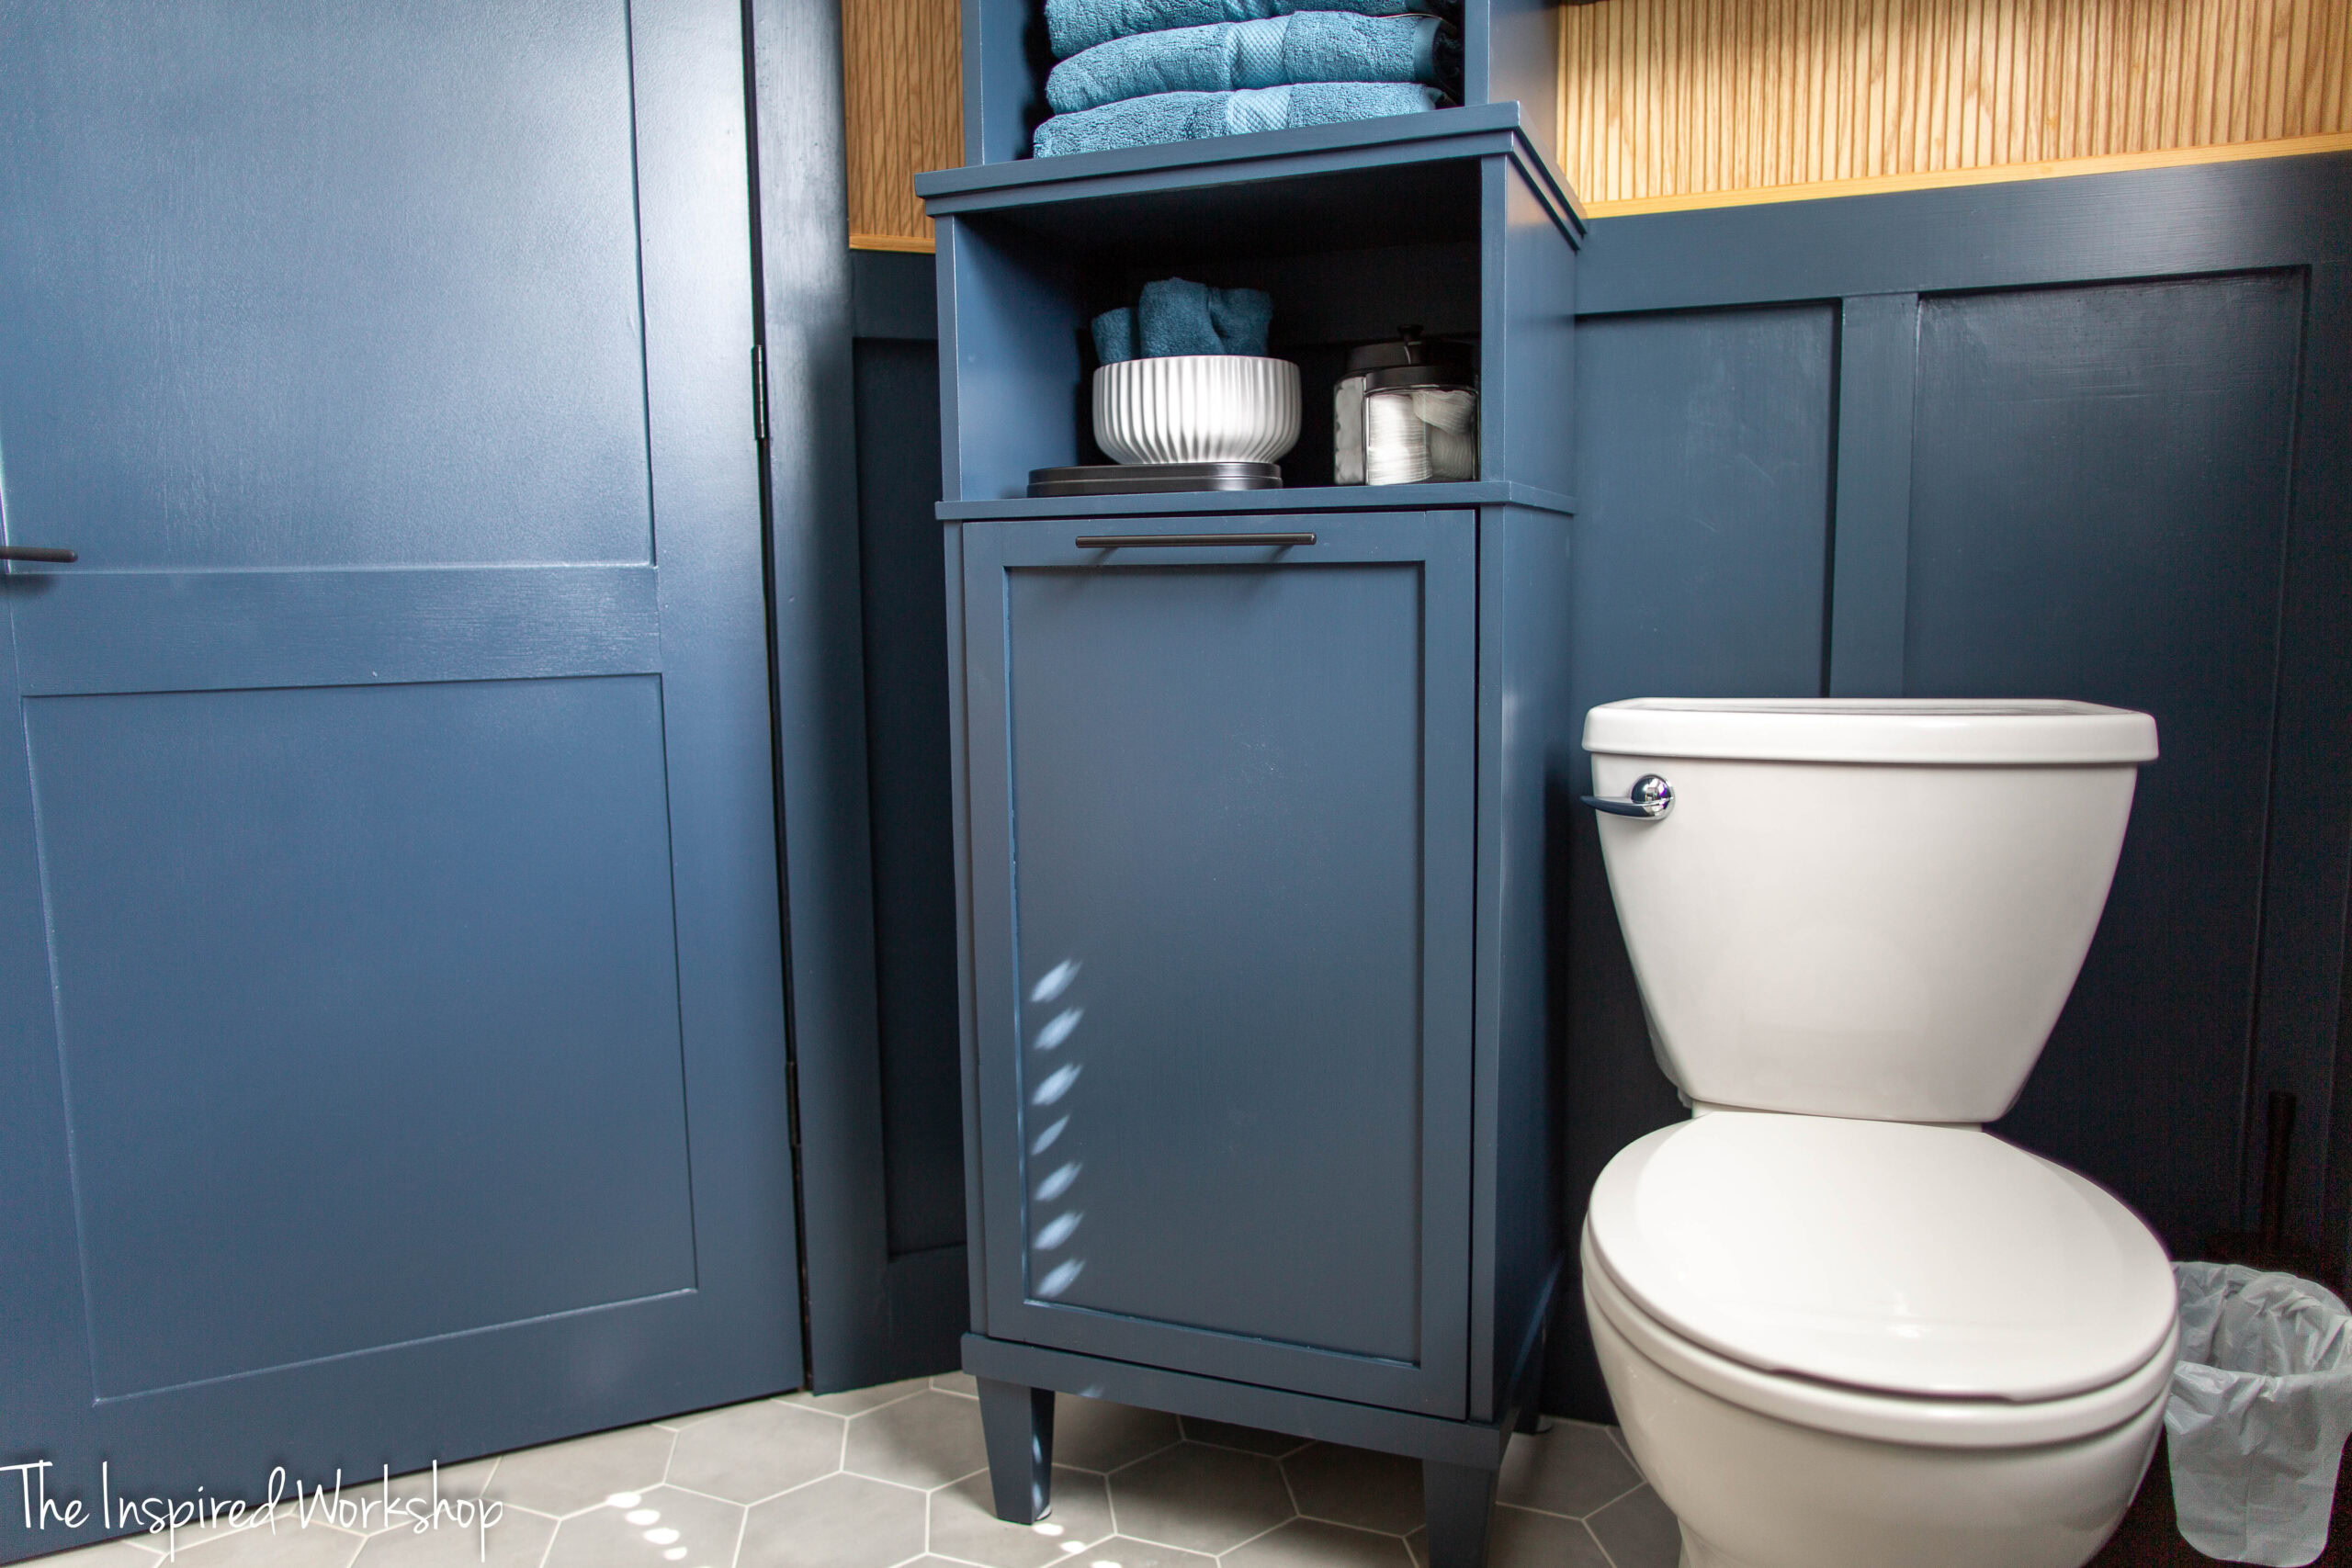
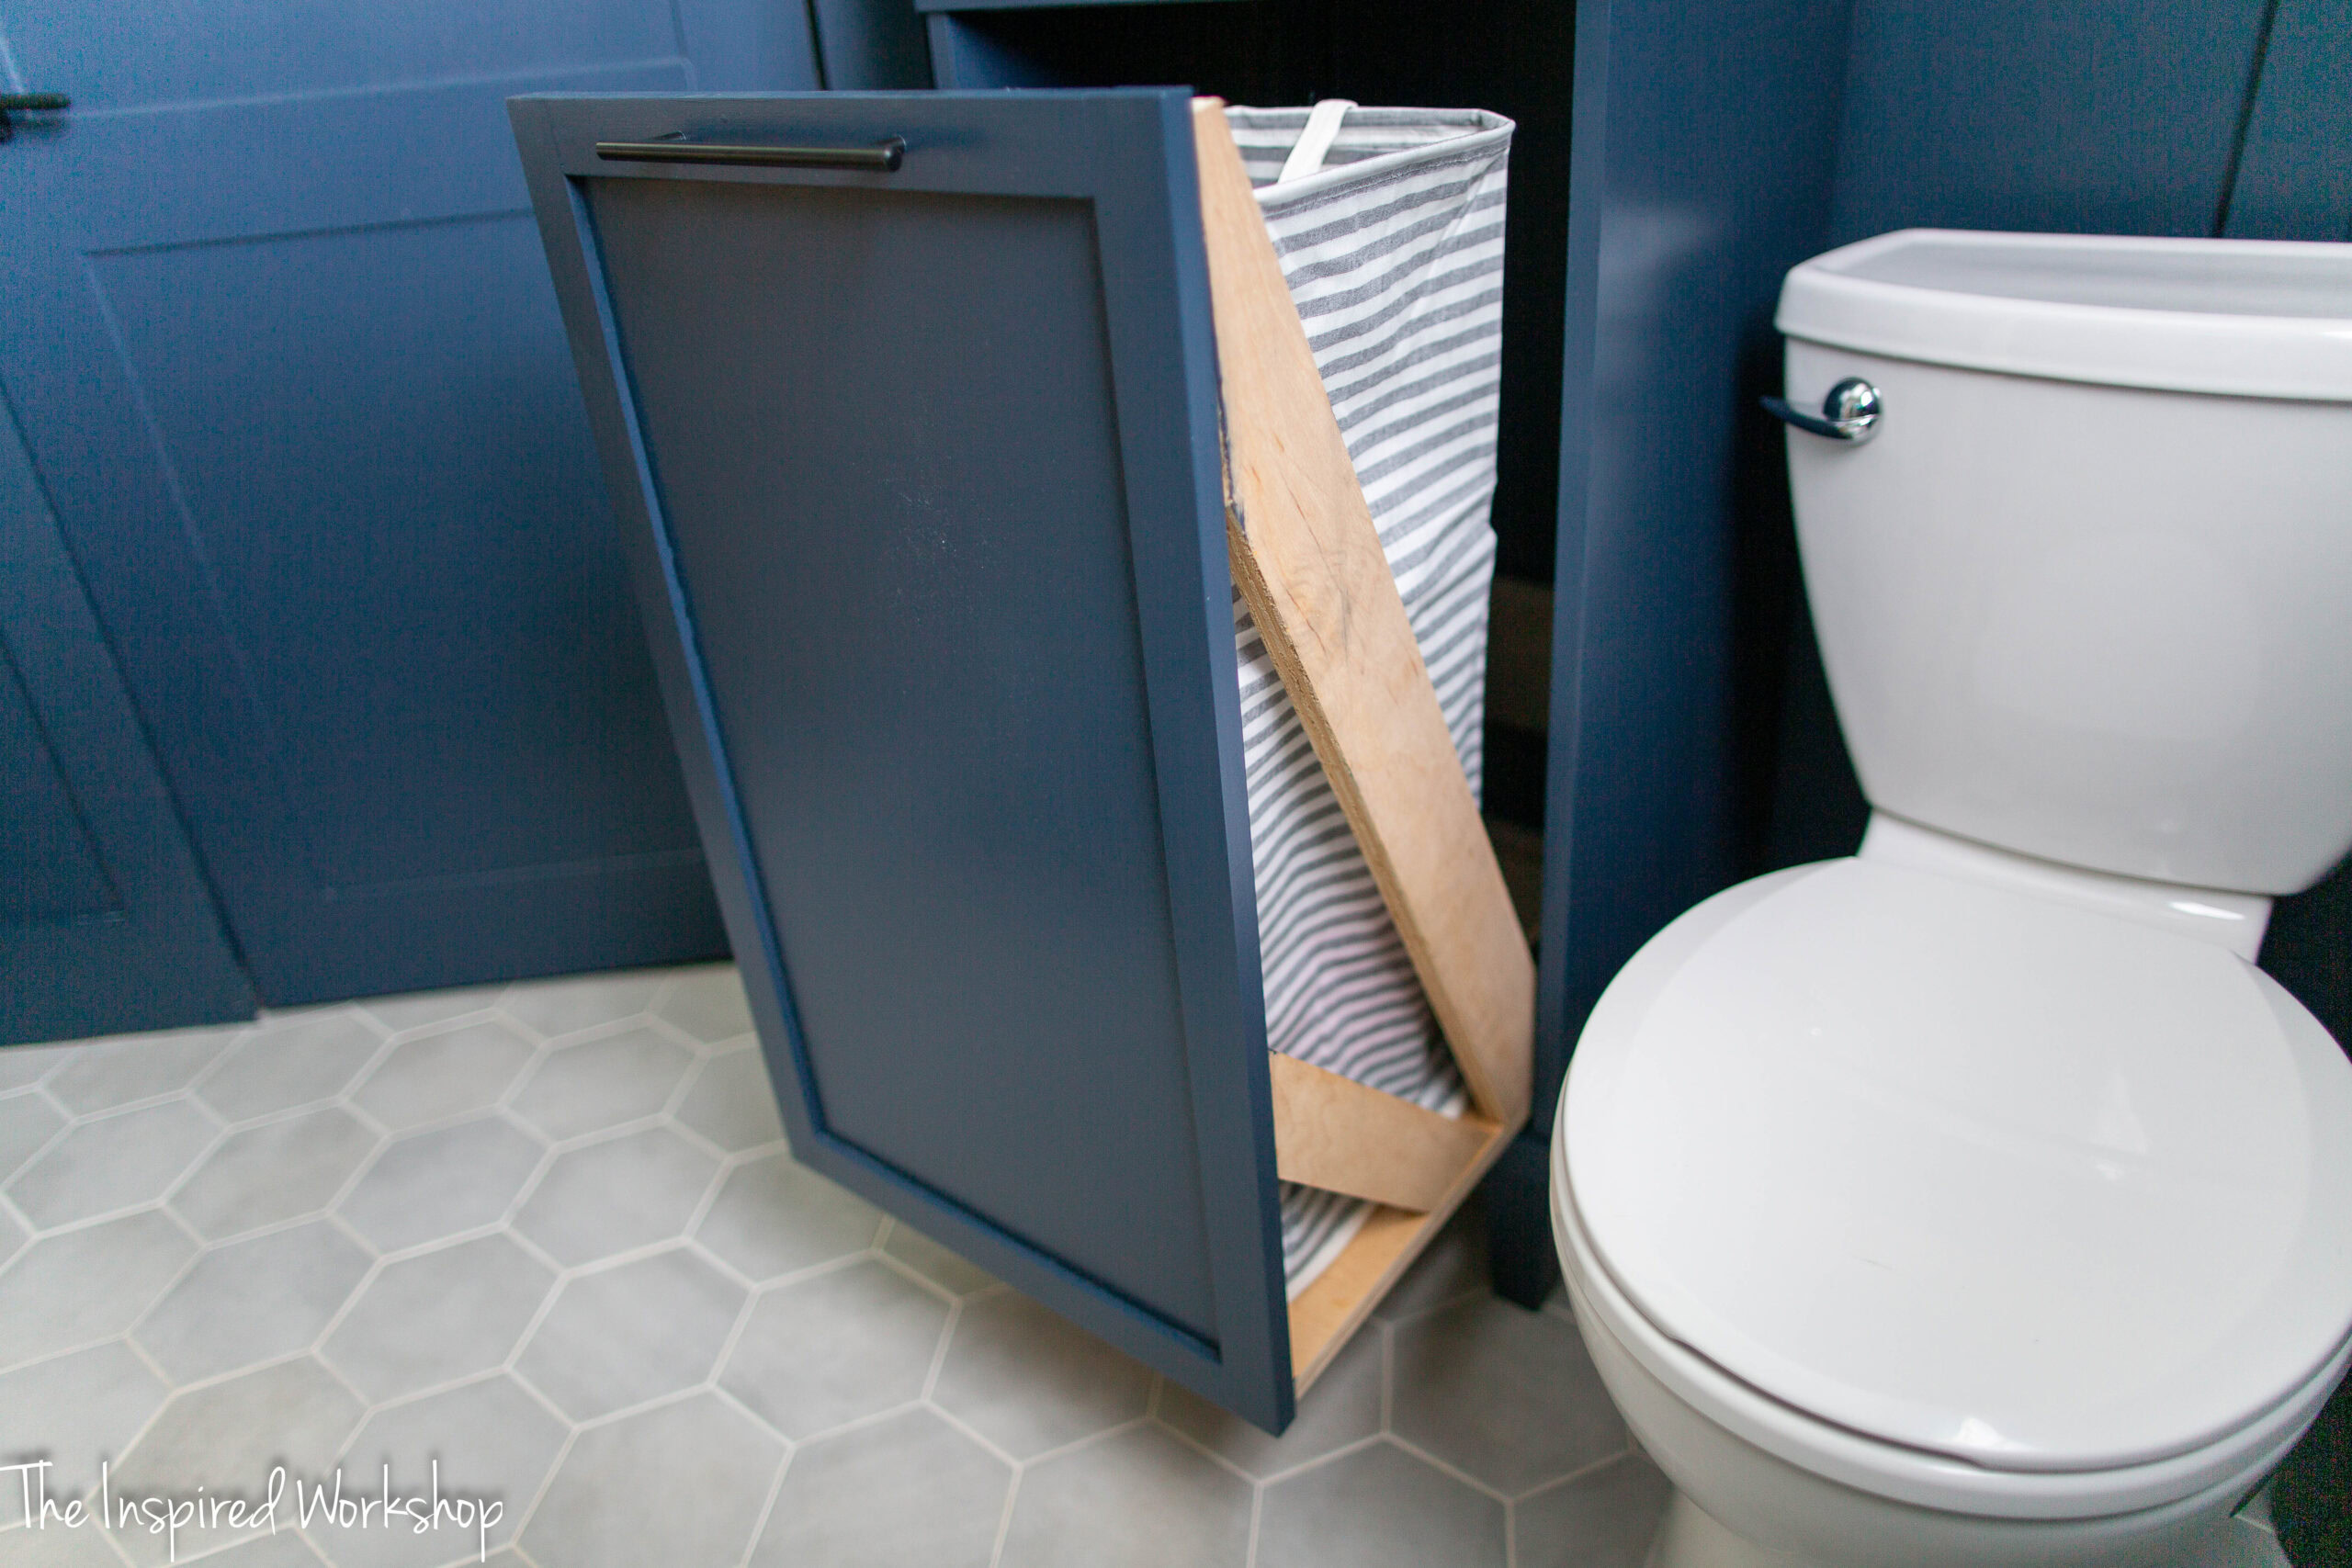
And the bottom is a pull out laundry hamper!
If you want to see the other projects from the bathroom remodel, check them out here: Bathroom Remodel, it is a really good one! I love this bathroom remodel and it was one heck of a labor of love!
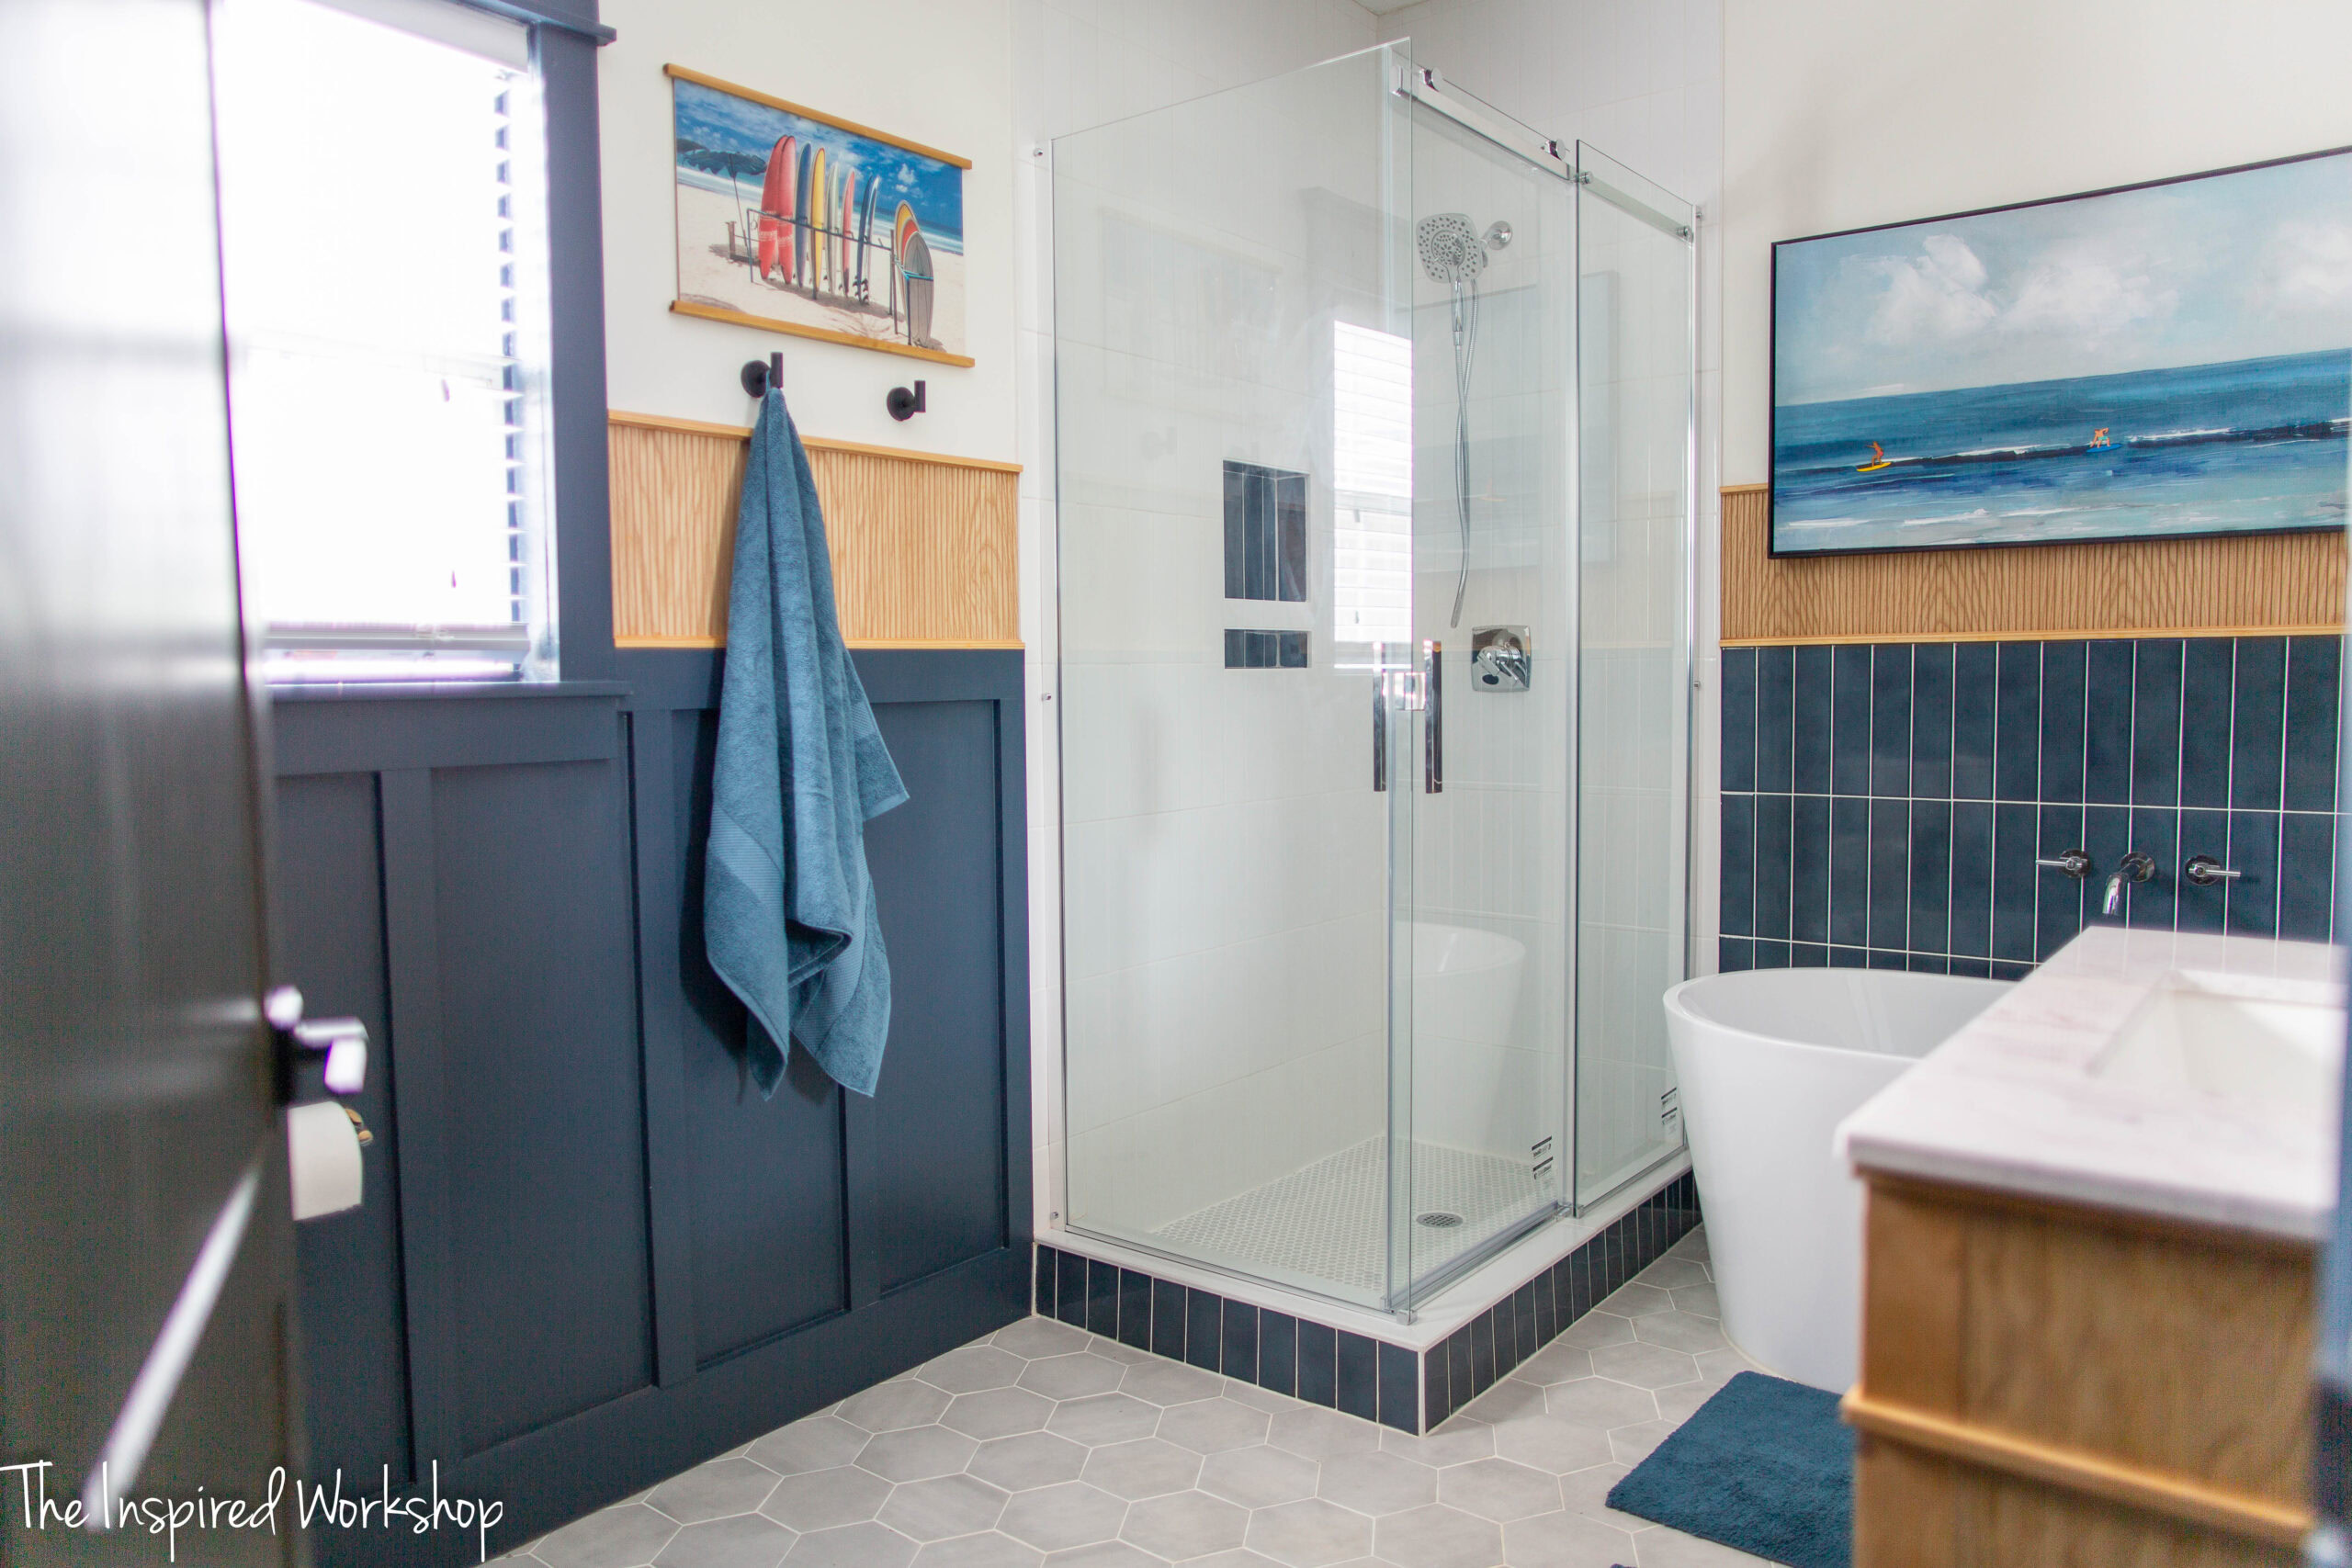
The whole bathroom remodel centers around the beautiful deep navy blue paired with bright white and light wood accents! I think navy blue works really well in here and think it conveys as a more neutral color because you can pair it with almost any color and it look great!
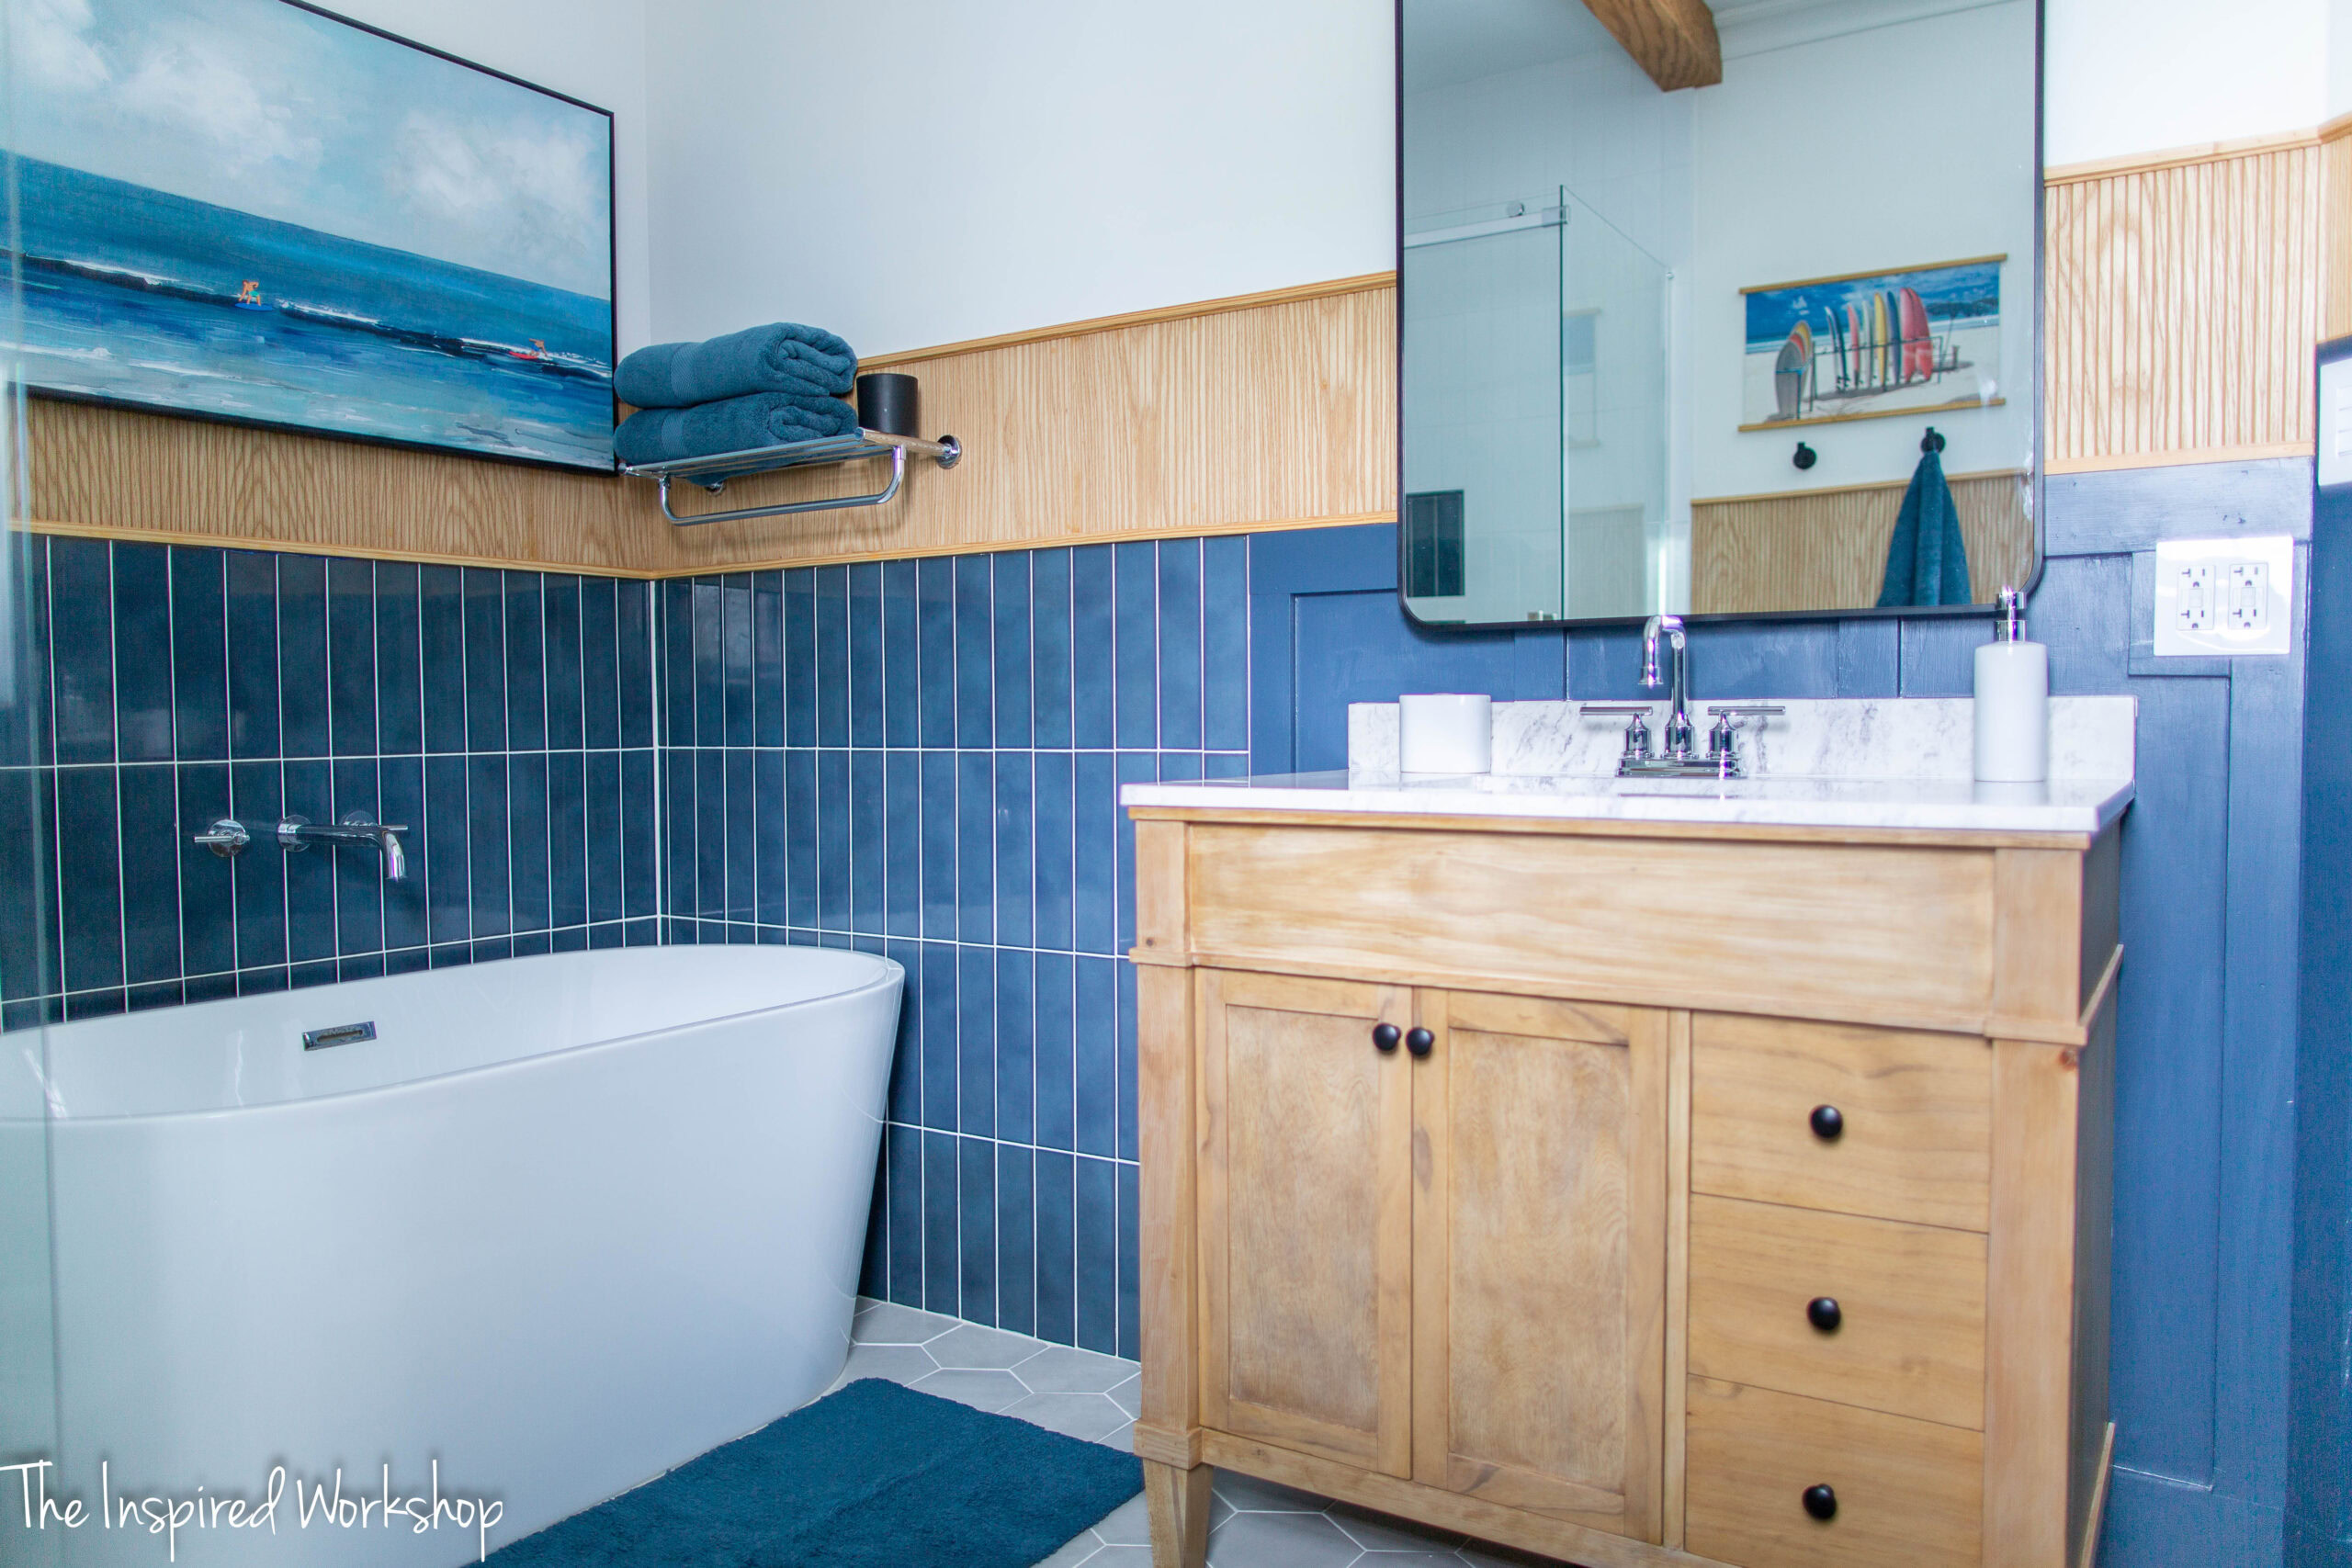
And that is why this navy blue DIY linen cabinet is the perfect addition in here!
Alright, I could go on and on all day long about this bathroom! Lol! You know what is better than talking — building, let’s get building!🥳
Gathering Supplies for the Linen Cabinet
I used almost all scrap wood for this build, so it cost me very little, but even if you have to purchase all the wood new, it will run you somewhere around $150 bucks (that price includes the hamper, feet, and edge banding I used) plus the cost of whatever paint/stain you choose.
Grab the Plans
***NOTE: As an Amazon Associate I earn from qualifying purchases: All links below are AFFILIATE LINKS! Affiliate links allow me to make a small commission, should you make a purchase after clicking a link, at no extra cost to you! I always appreciate you shopping my links since it helps me keep bringing content to you all!
Materials List:
- 1 – 4×8 sheet of 3/4″ plywood
- 1 – 2×4 sheet of 1/4″ plywood
- 1 – 1x2x8
- 1 – 1x8x8
- 1 – 1x4x8
- 1 – 6′ piece of 1/4″ x 1 1/2″ lattice
- 1 – 7′ piece of 1/4″ x 1 1/4″ lattice
- 1 – roll of iron on edge banding
- 1 – set of 4 furniture feet
- paint/stain of your choice – this is painted in Behr Midnight Blue
- hamper – the hamper I used comes in a two pack, it’s plastic lined, and it’s so cheap!
Cut List:
***NOTE: You will notice within the cut list there are 1x4s called for (not to be confused with the 1/4″ trim), this will be ripped from the 1x8x8 in the material’s list! Ripping the 1×8 down makes the most sense instead of purchasing a separate 1×4 since the size of the 1×8 is need for the top of the linen cabinet but the rest of the board would be wasted! You will need a table saw for this!
Bottom:
- 2 – 3/4″ plywood pieces cut @ 15″ x 41″ (sides)
- 1 – 3/4″ piece of plywood cut @ 15 1/2″ x 20″ (top)
- 2 – 3/4″ piece of plywood cut @ 15″ x 17 1/2″ (shelf and bottom)
- 1 – 3/4″ piece of plywood cut @ 14 1/4″ x 17 1/4″ (hamper bottom)
- 2 – 1×2 @ 29″ long pieces (hamper door)
- 2 – 1×2 @ 14 1/4″ short pieces (hamper door)
- 1 – 1/4″ piece of plywood cut @ 14 5/8″ x 26 3/8″ (hamper door center)
- 1 – 1/4″ x 1 1/2″ trim cut @ 19 1/2″ both ends beveled at 45 degrees off square, ends not parallel (bottom front trim)
- 2 – 1/4″ x 1 1/2″ trim cut @ 15 1/4″ one end beveled at 45 degrees off square, one end cut at 90 degrees like normal where it meets the back of the cabinet (bottom side trim)
- 2 – 1/4″ x 1/2″ trim cut @ 19 1/2″ both ends beveled at 45 degrees off square, ends not parallel (middle and top front trim)
- 4 – 1/4″ x 1/2″ trim cut @ 15 1/4″ one end beveled at 45 degrees off square, one end cut normal (middle and top side trim)
- 2 – 1×4 @ 17 1/2″ – the 1×4 is ripped down from the 1×8 in the material’s list, or you can use it as a 1×8, you don’t have to rip it down, or you can purchase a 1x4x8! (top and bottom back supports)
- 2 – 1×4 @ 31 5/16″ mitered on end at 63 degrees off square and one end mitered at 27 degrees off square, ends not parallel (hamper supports)
- 2 – 1×3 @ 11 3/8″ (1×4 ripped down to 2 1/2″ making a 1×3) both ends mitered at 45 degrees off square, ends not parallel (hamper supports)
- 4 – scrap pieces of 3/4″ plywood 2 1/2″ x 2 1/2″ (spacers for the feet)
Top:
- 2 – 3/4″ plywood pieces cut @ 14 1/2″ x 38″ (sides)
- 1 – 3/4″ plywood piece cut @ 18 3/4″ (top)
- 2 – 3/4″ plywood pieces cut @ 16 1/4″ (shelves)
- 2 – 1×8 @ 16 1/4″ the 1×8 is ripped down to 6 1/2″ width (front and back top piece)
- 4 – 1/4″ x 1/2″ trim cut @ 14 3/4″ beveled on one end at 45 degrees off square, one end is normal (top side trim)
- 2 – 1/4″ x 1/2″ trim cut @ 18 1/4″ beveled on both ends at 45 degrees off square, ends not parallel (top front trim)
Building the Base of the Linen Cabinet
The base of the linen cabinet consists of the hamper and a shelf, which is slightly wider than the top. If you want the top to be the same width as the bottom, you can do this (the only reason I didn’t was because there wasn’t enough room with my toilet cabinet) but you will need more plywood! The one sheet of plywood PERFECTLY cuts the pieces needed!
To get started you will need the two pieces that are from the Bottom section labeled “sides” in the cut list along with one labeled “top” and one of the boards labeled “shelf and bottom” for the bottom at this time (we will add the shelf later).
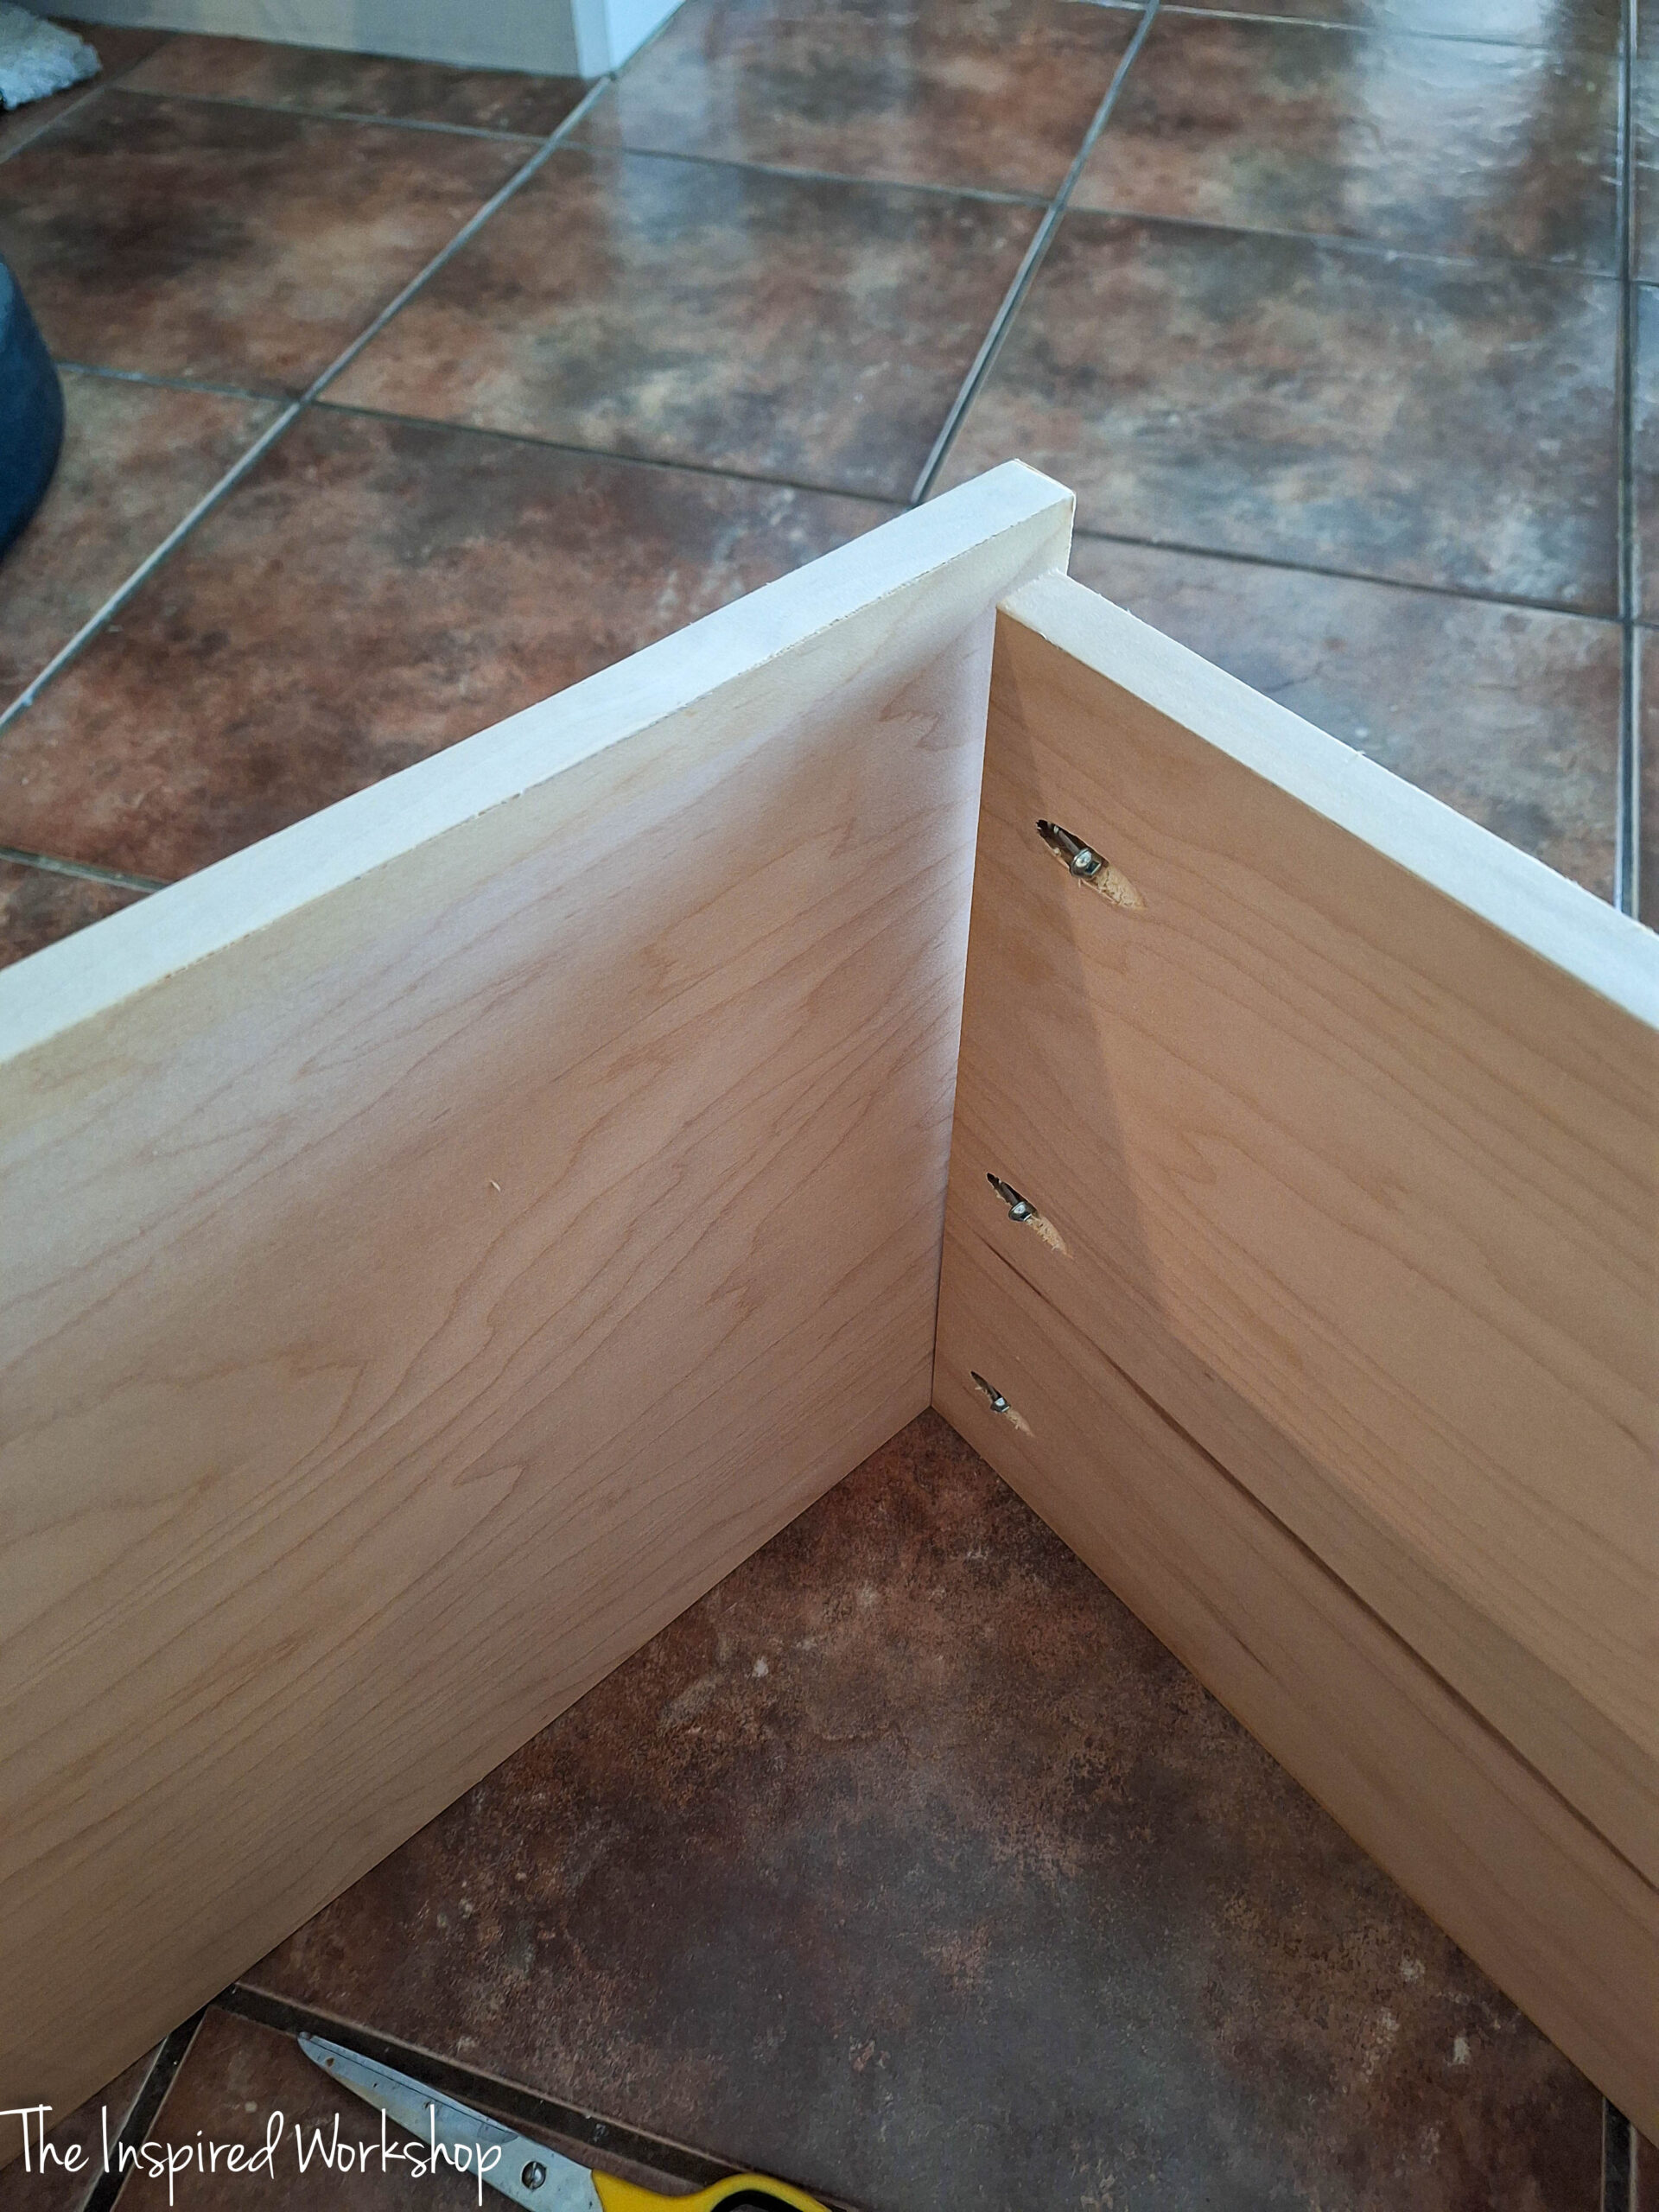
Pocket holes will be drilled on the pieces as shown in the image below on the sides and bottom board. They are drilled at a depth of 3/4″ and you will use 1 1/4″ screws to attach. Use wood glue on all joints before the screws if you want your projects to last!
Pocket holes on the side boards will be drilled along the top edge to connect to the top board, and the bottom board will have pocket holes drilled on the ends to attach to the inside of the side boards.
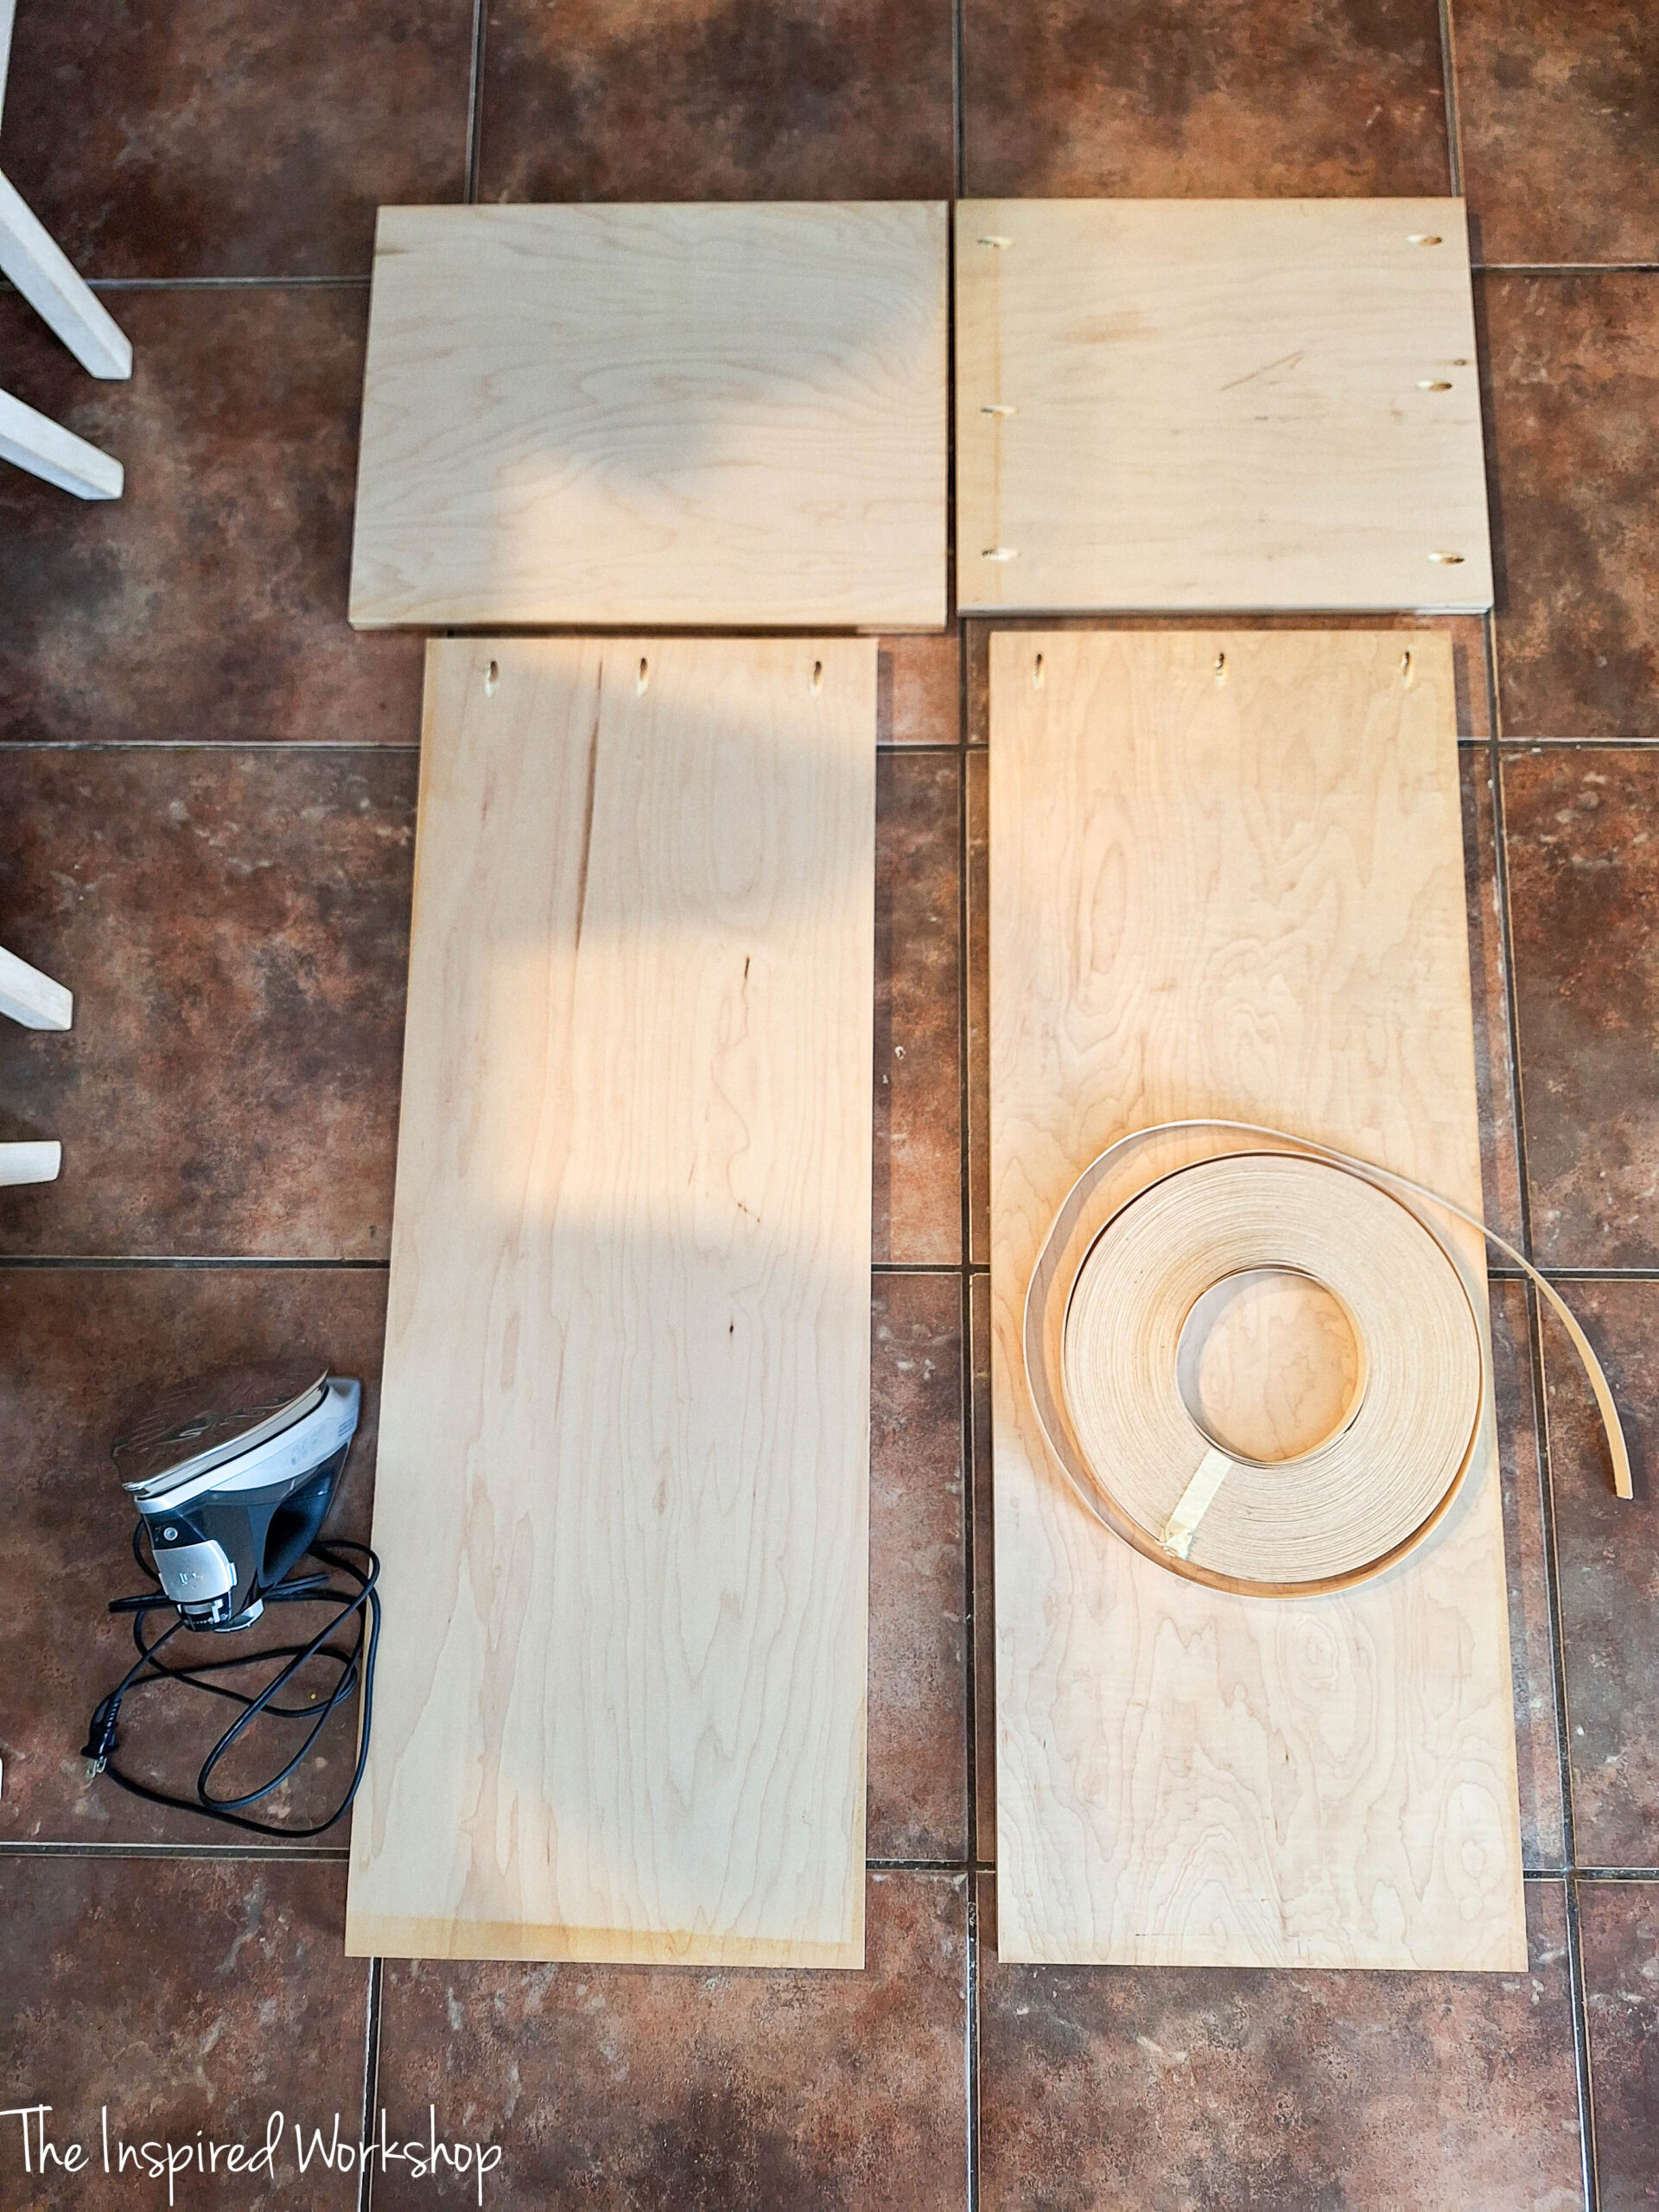
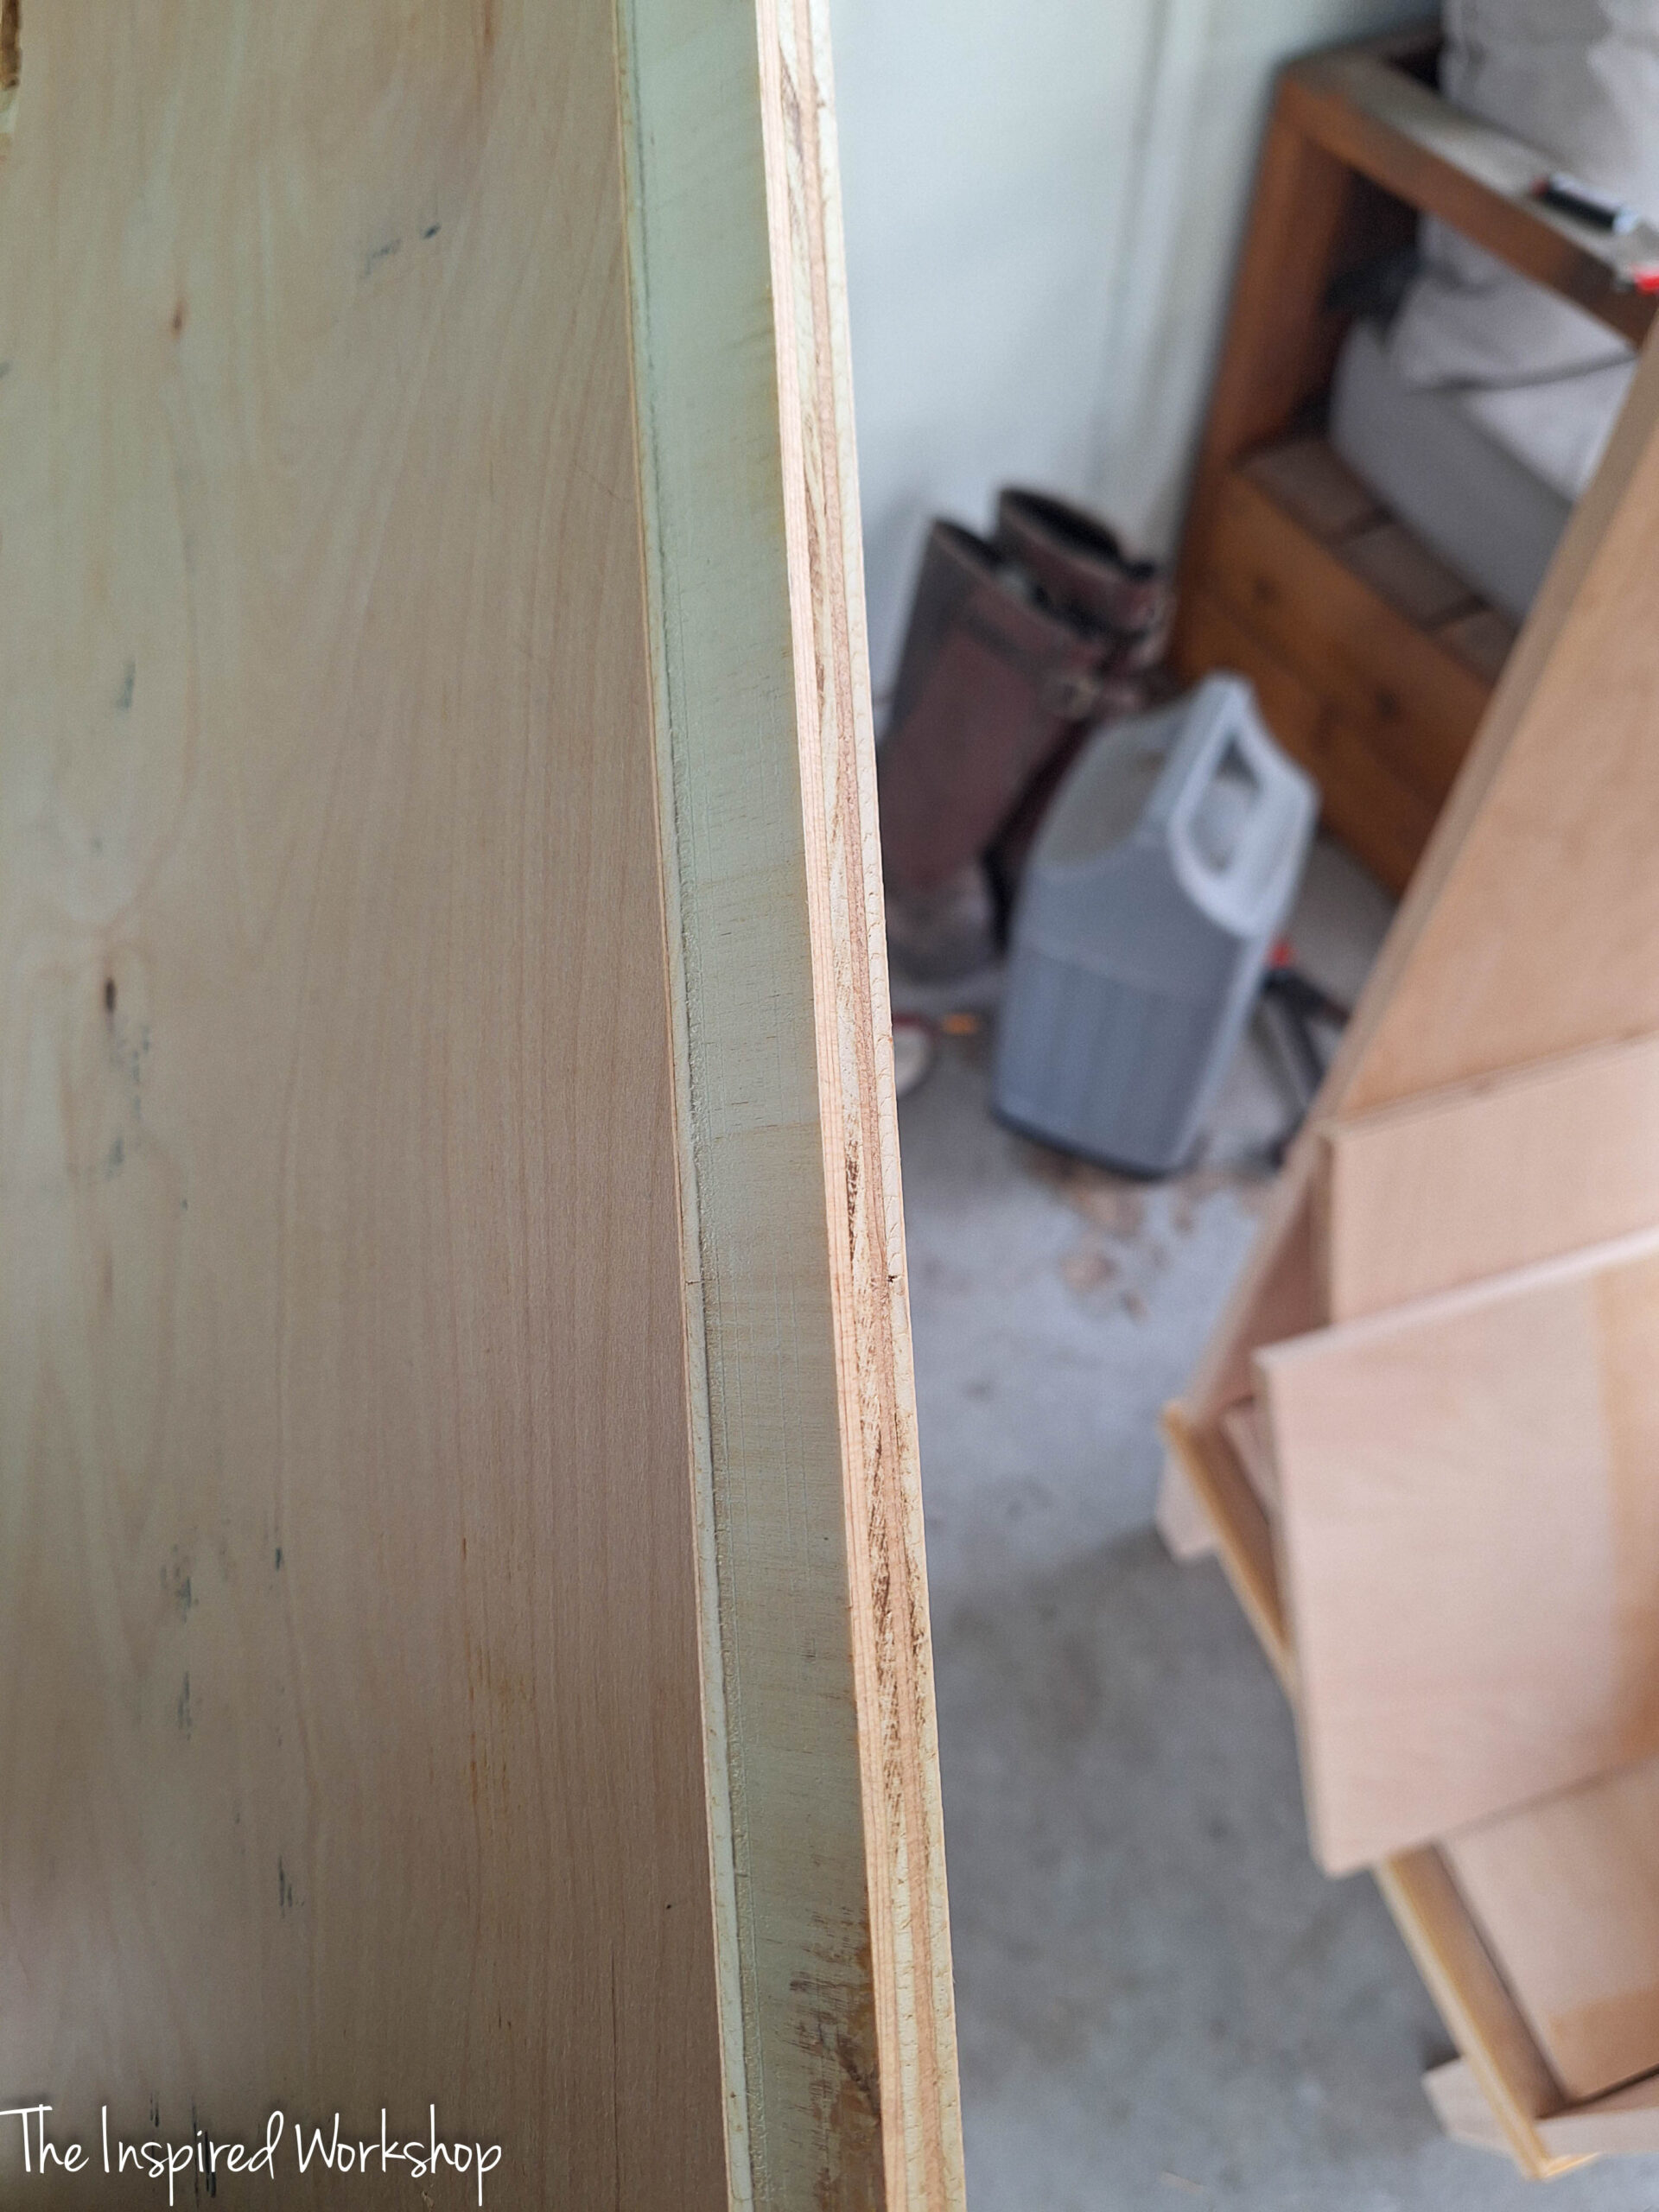
I edge banded all the piece before assembling them because it is much easier to cut the edges this way. I only edge banded the front, you could also use joint compound on these edges if you are sure you are painting the cabinet! I think edge banding is easier and if I changed my mind about painting, it was ready to stain as well!
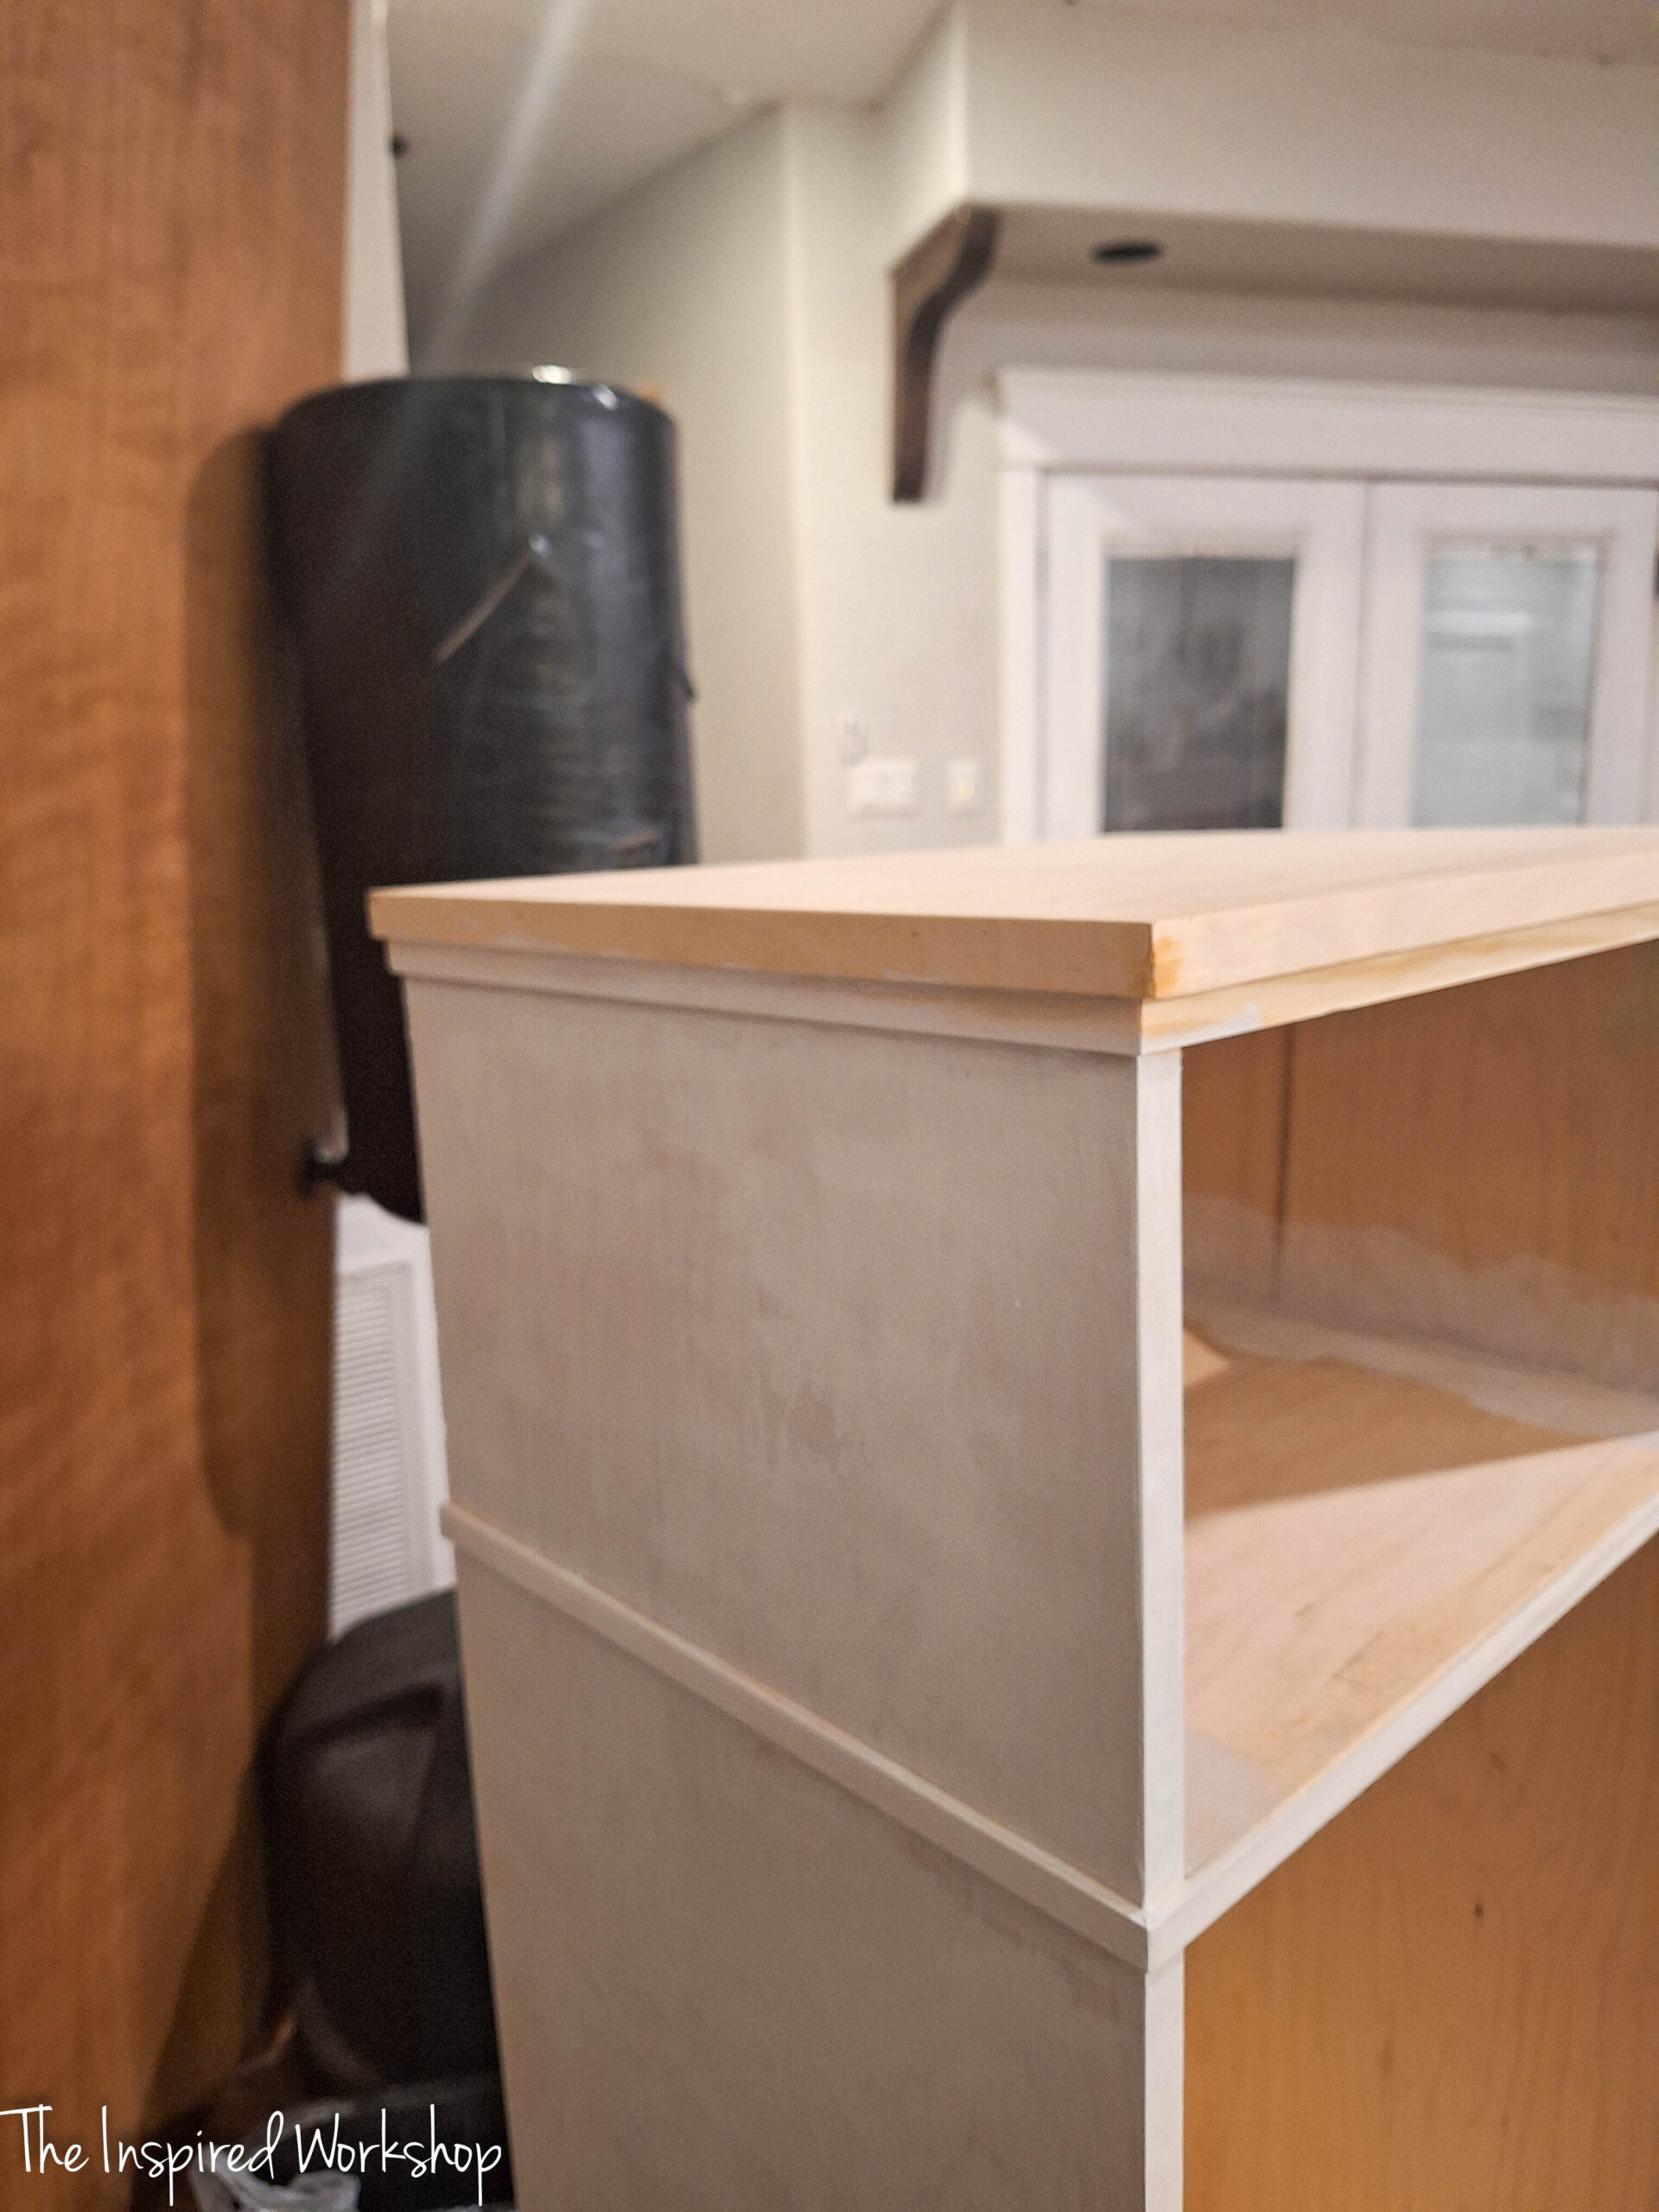
Here is the base being assembled. Notice the pocket holes are on the bottom.
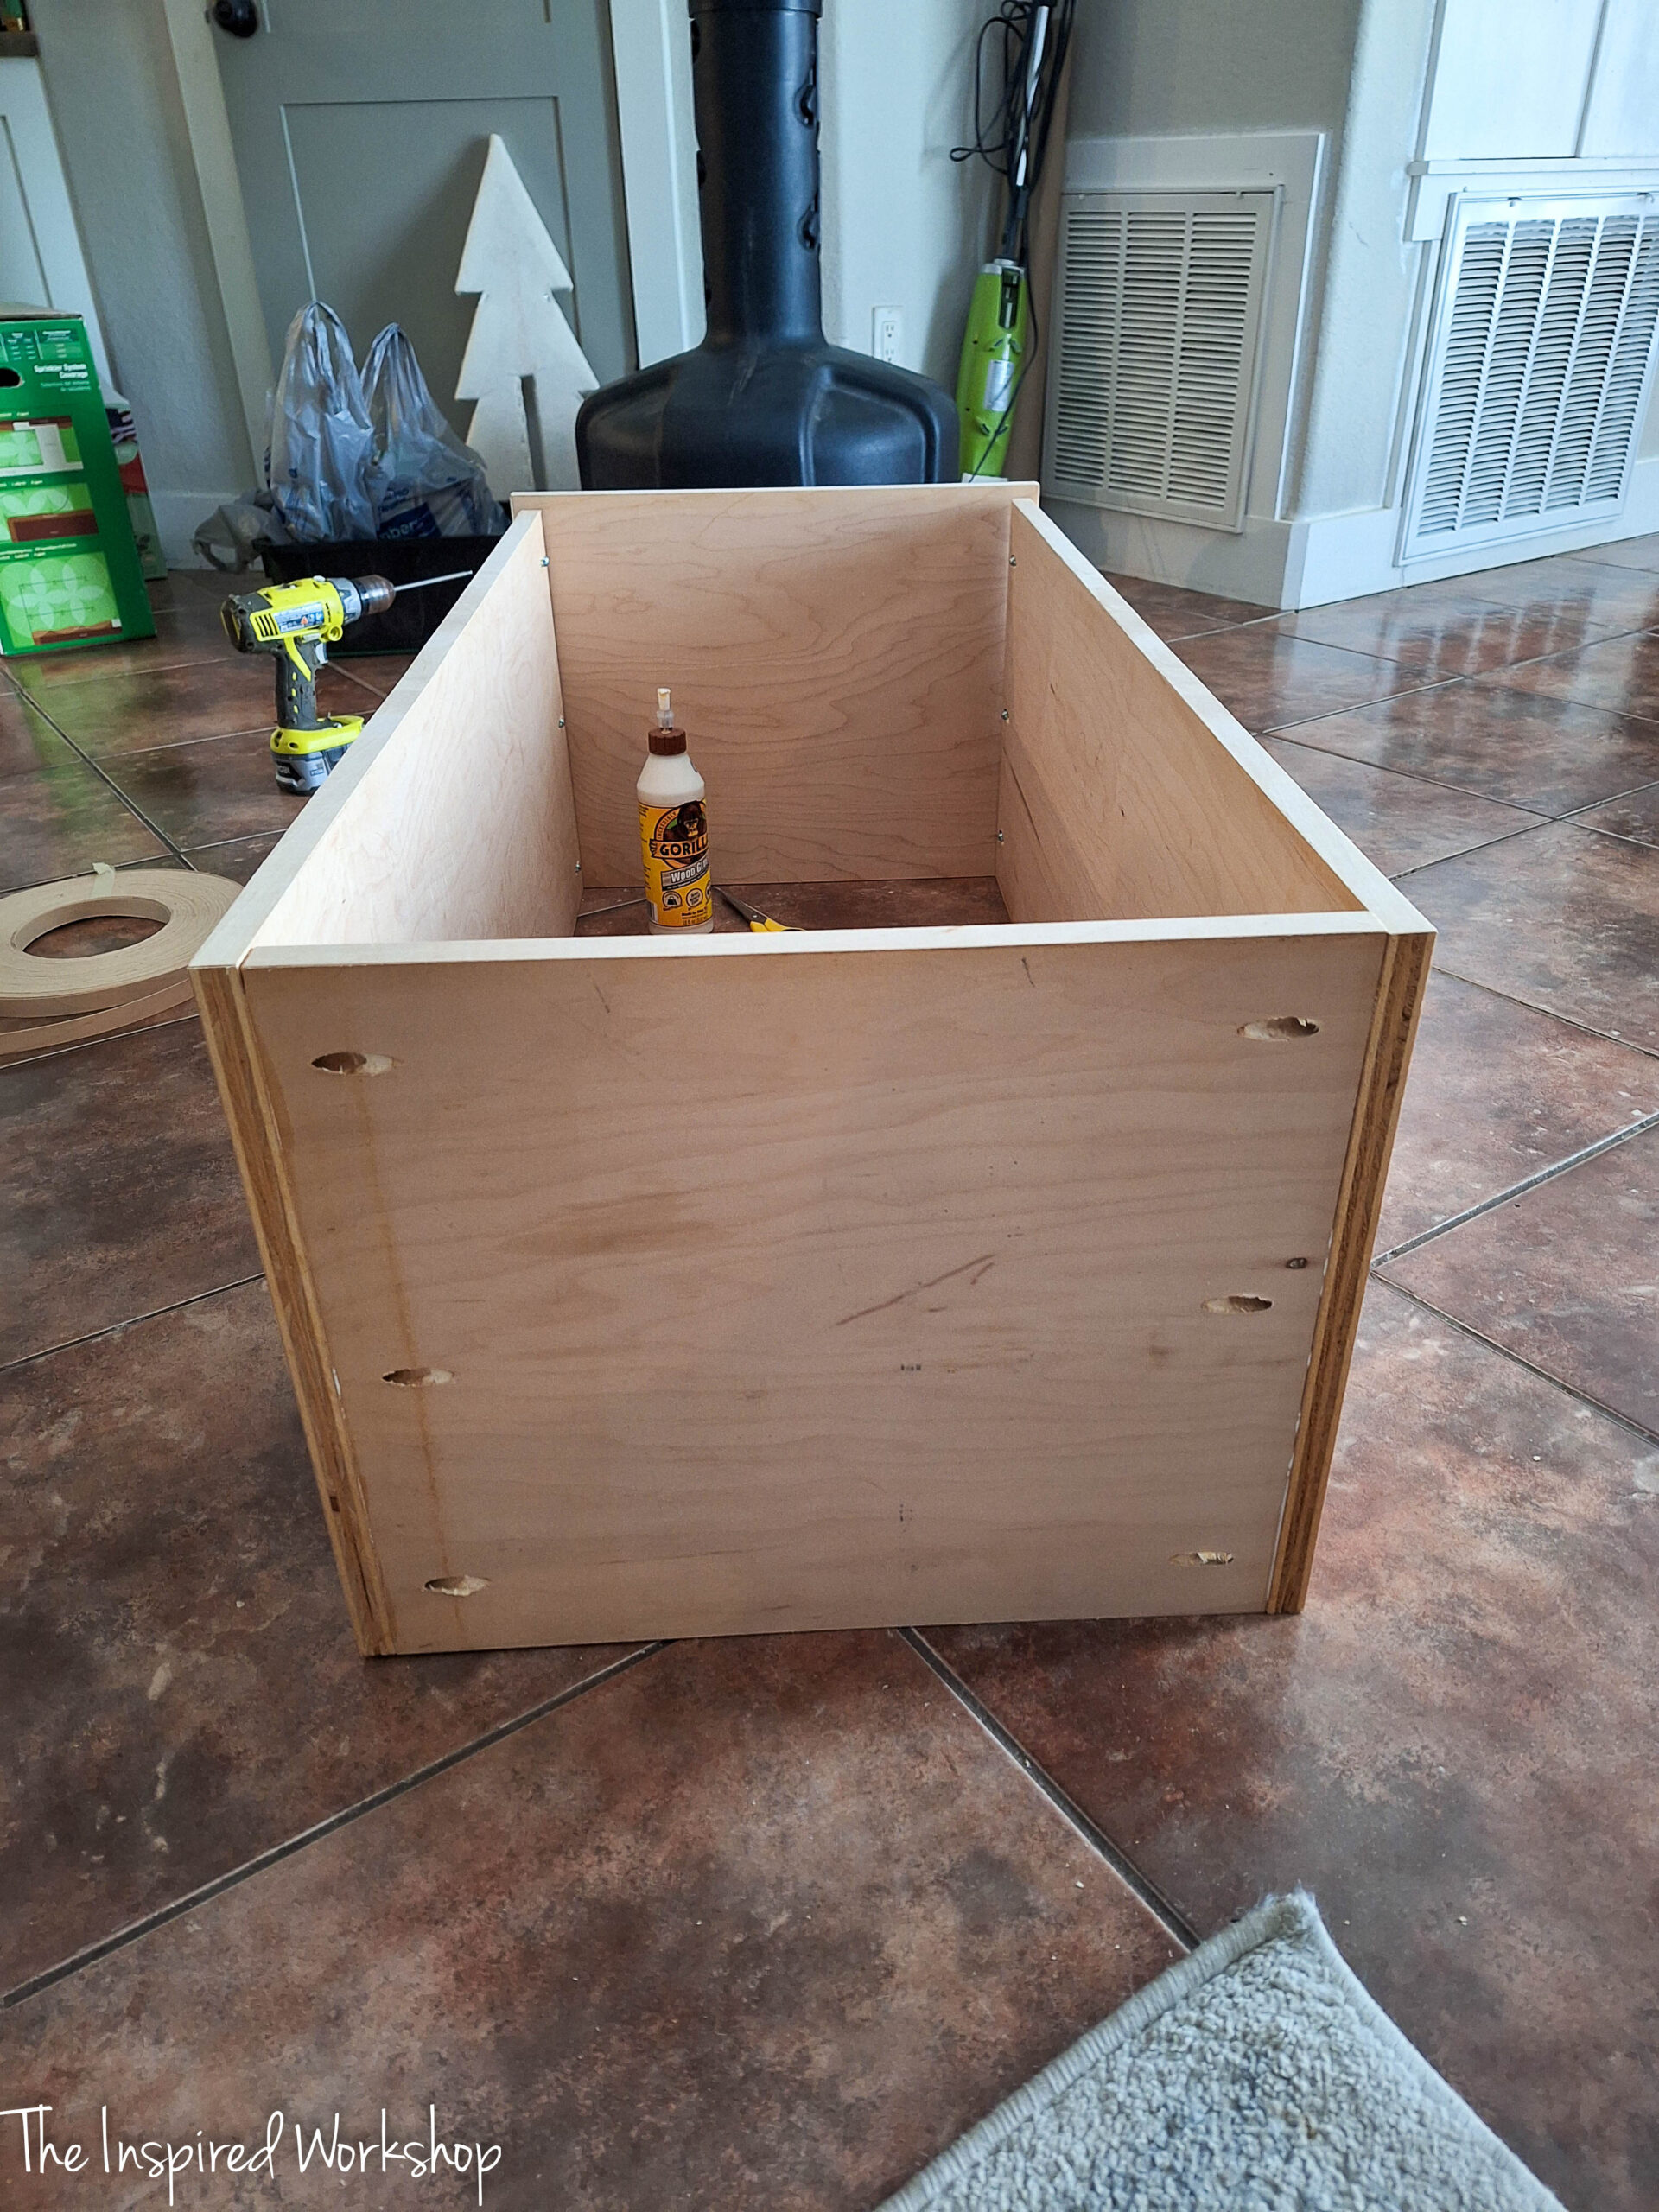
The top is wider that the rest of the boards and the overhang needs to be to the front of the base, the back will be flush with the sides. Make sure the overhang on the sides is even before attaching, should be 1/2″ on each side. Notice the edge banding — looking so good!!! Lol!
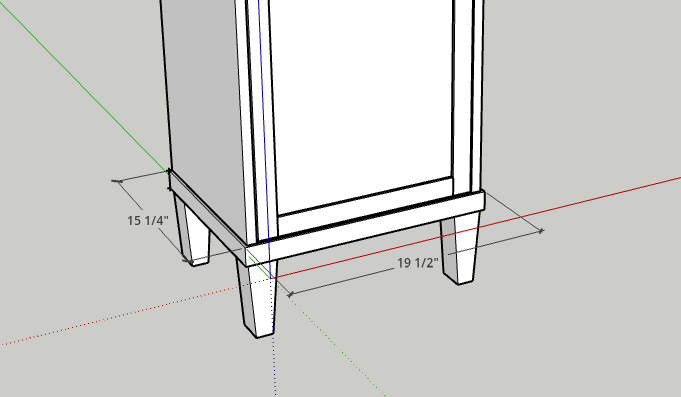
At this time, I added the feet and the spacers for the feet, if you follow the printable plans, they will follow a slightly different order than I took on the actual build. This happens sometimes when the order I actually build it in doesn’t make that much sense because I am making it up as I go along! Lol!
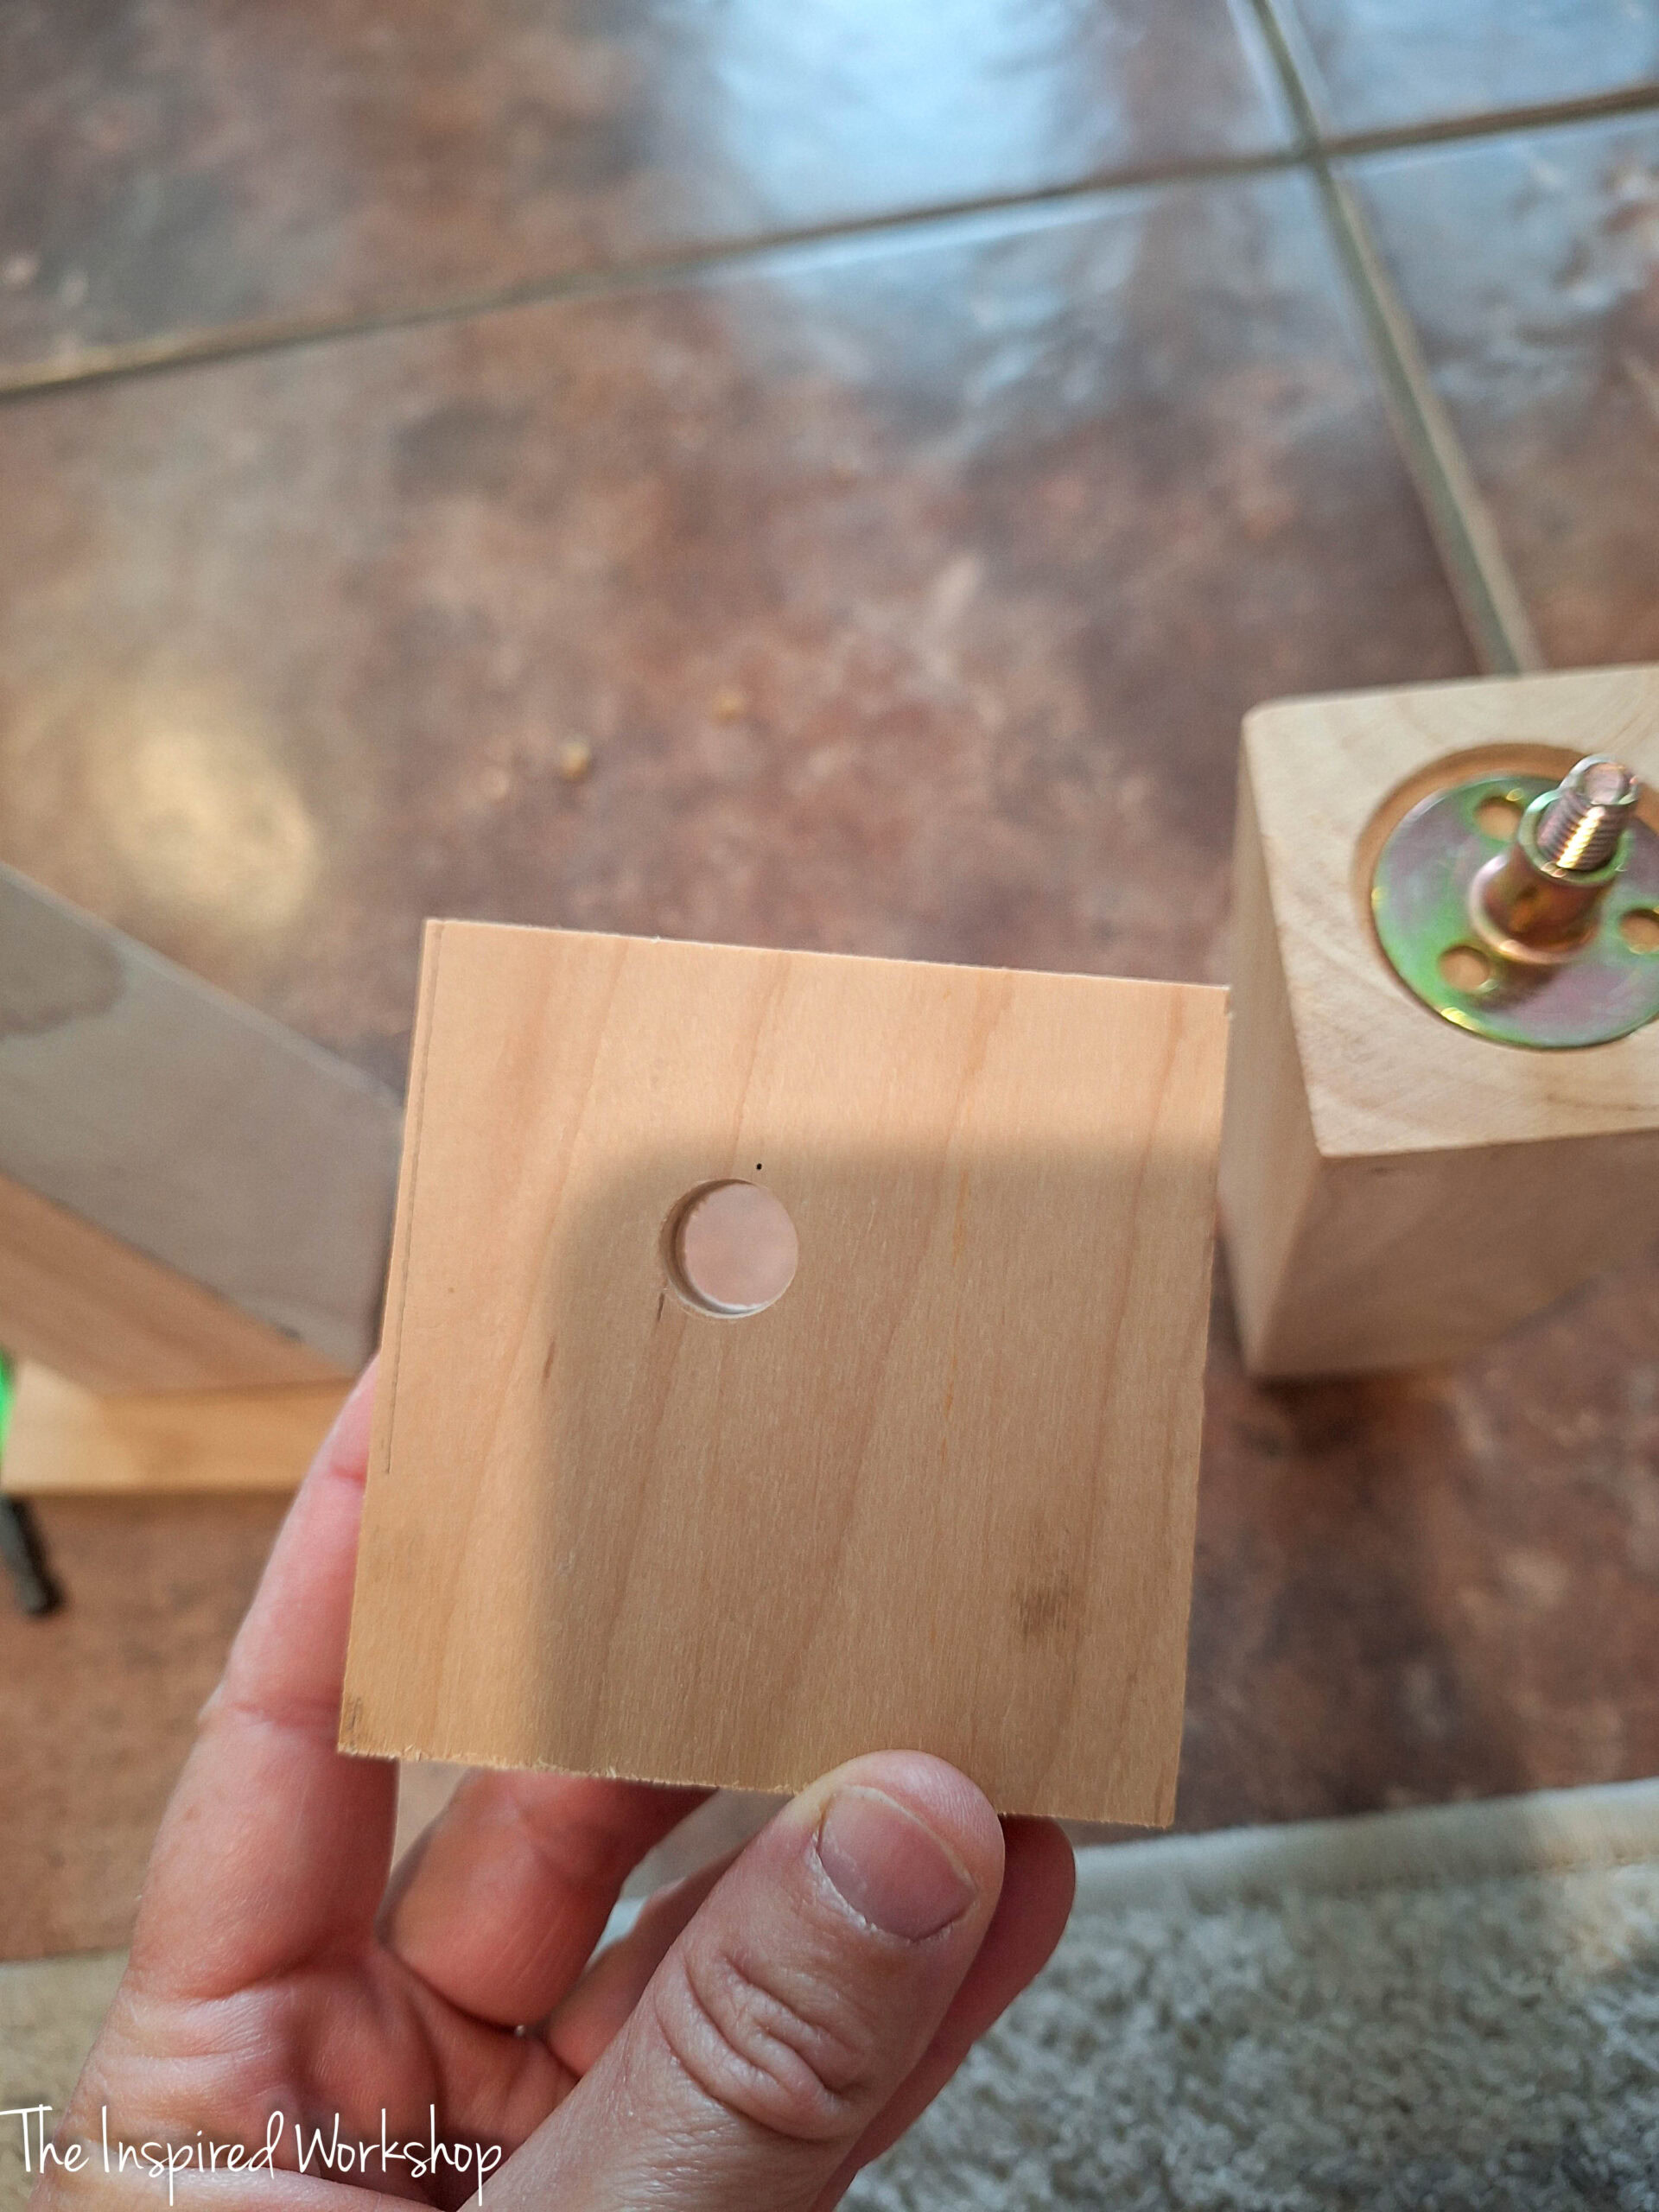
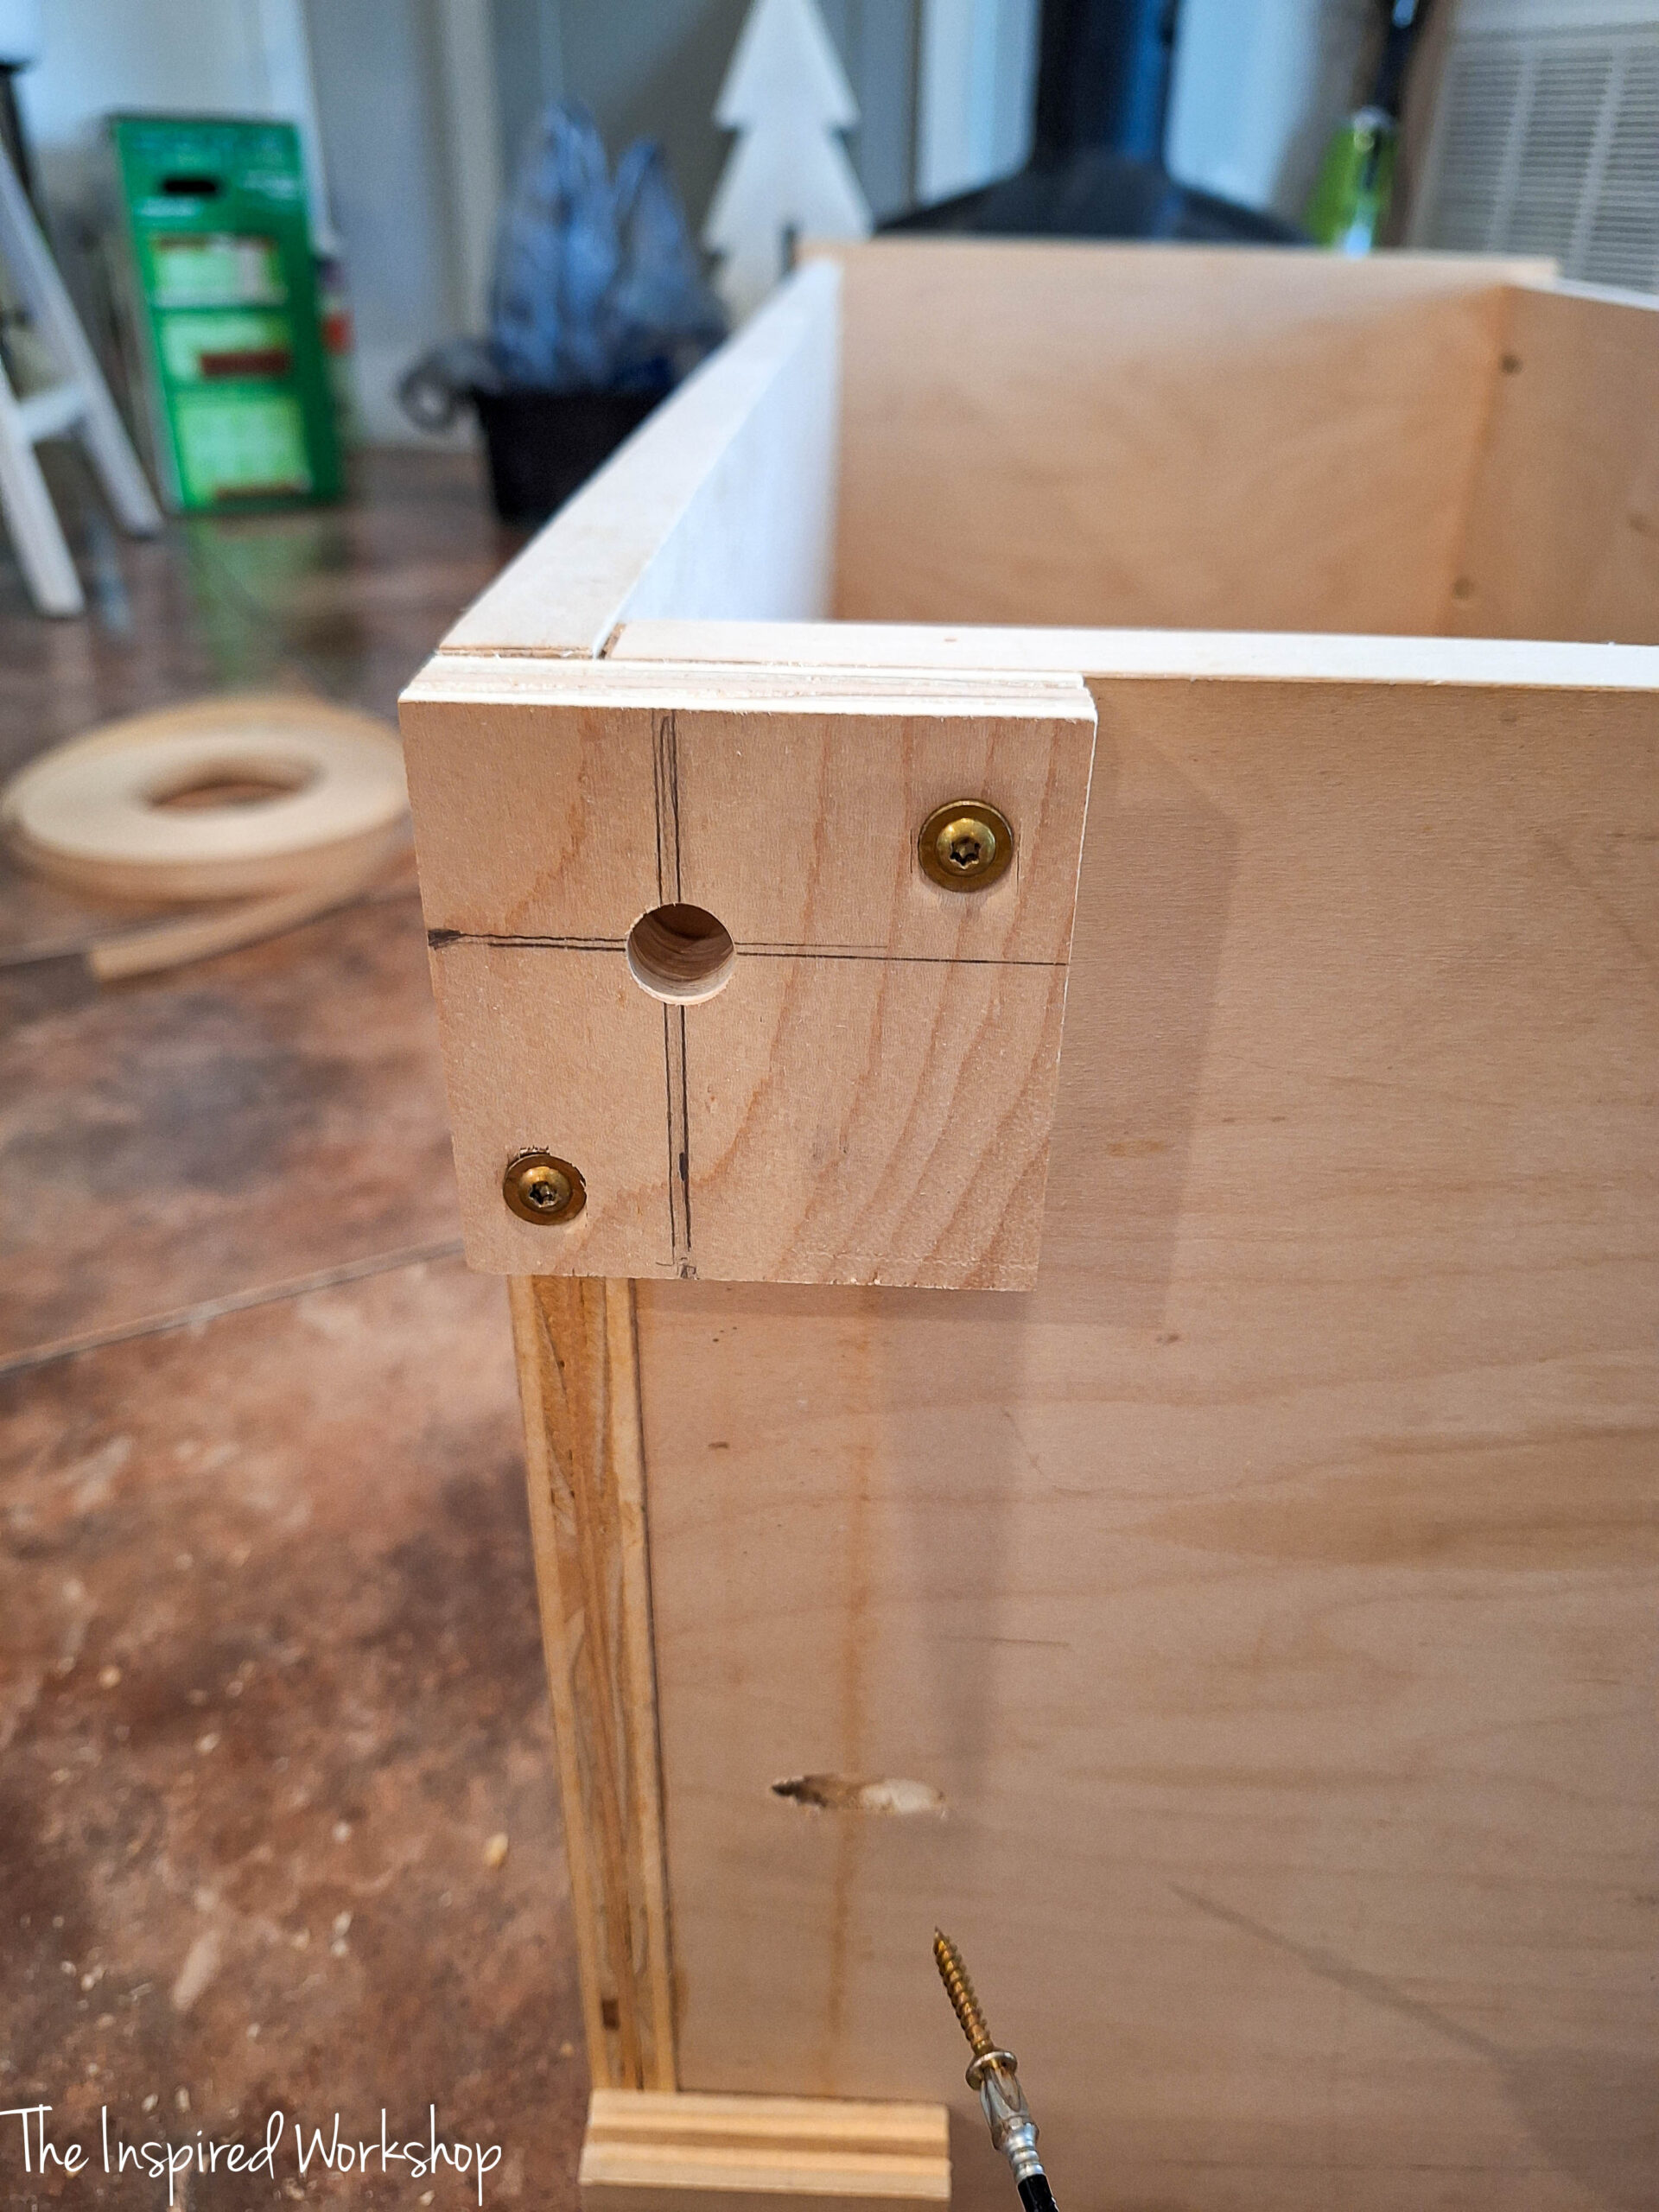
I drilled a hole in the correct spot on one 2 1/2″ x 2 1/2″ piece of plywood and used it to drill all the others, I used a forstner bit to drill it. You do not have to use this bit, you can use a regular drill bit, I think it was a 5/16″ drill bit.
I used 1 1/4″ screws and wood glue through the bottom. Make sure and sink the screw heads so that it doesn’t affect the feet… ask me how I know…my feet wouldn’t sit level and then I realized the screw heads were sticking out ever so slightly. Once I screwed them in a little further, it was fine.
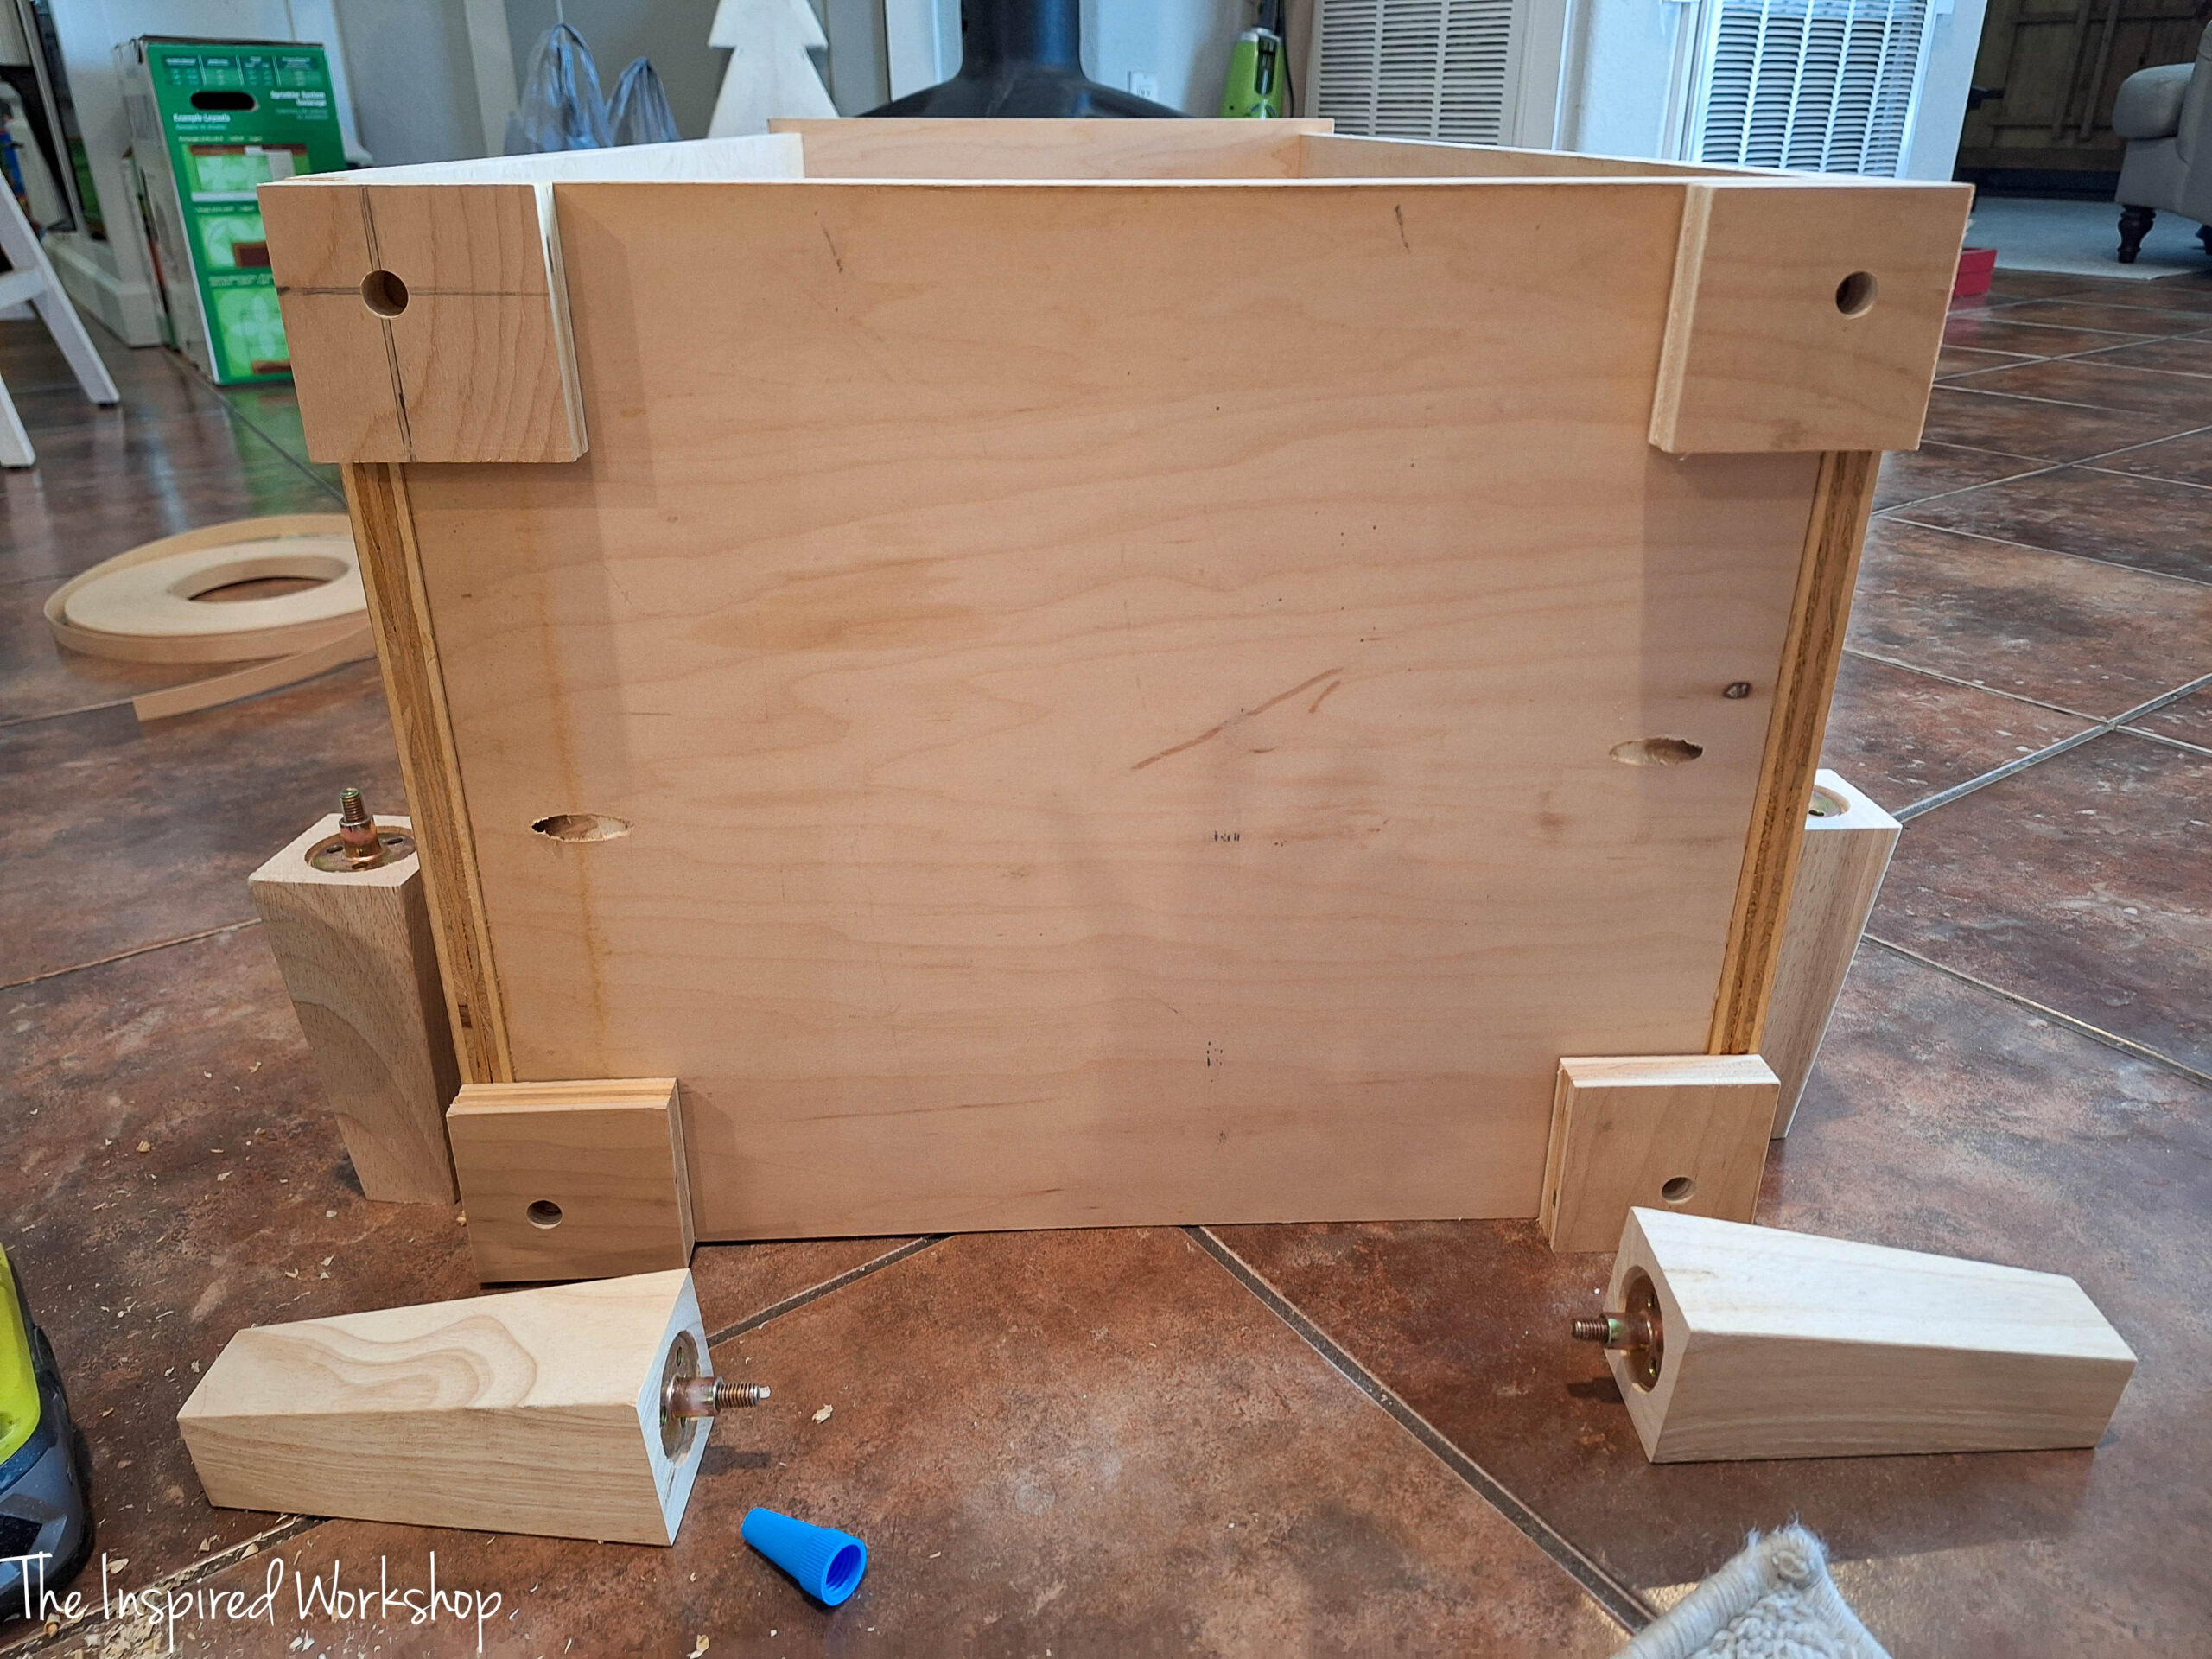
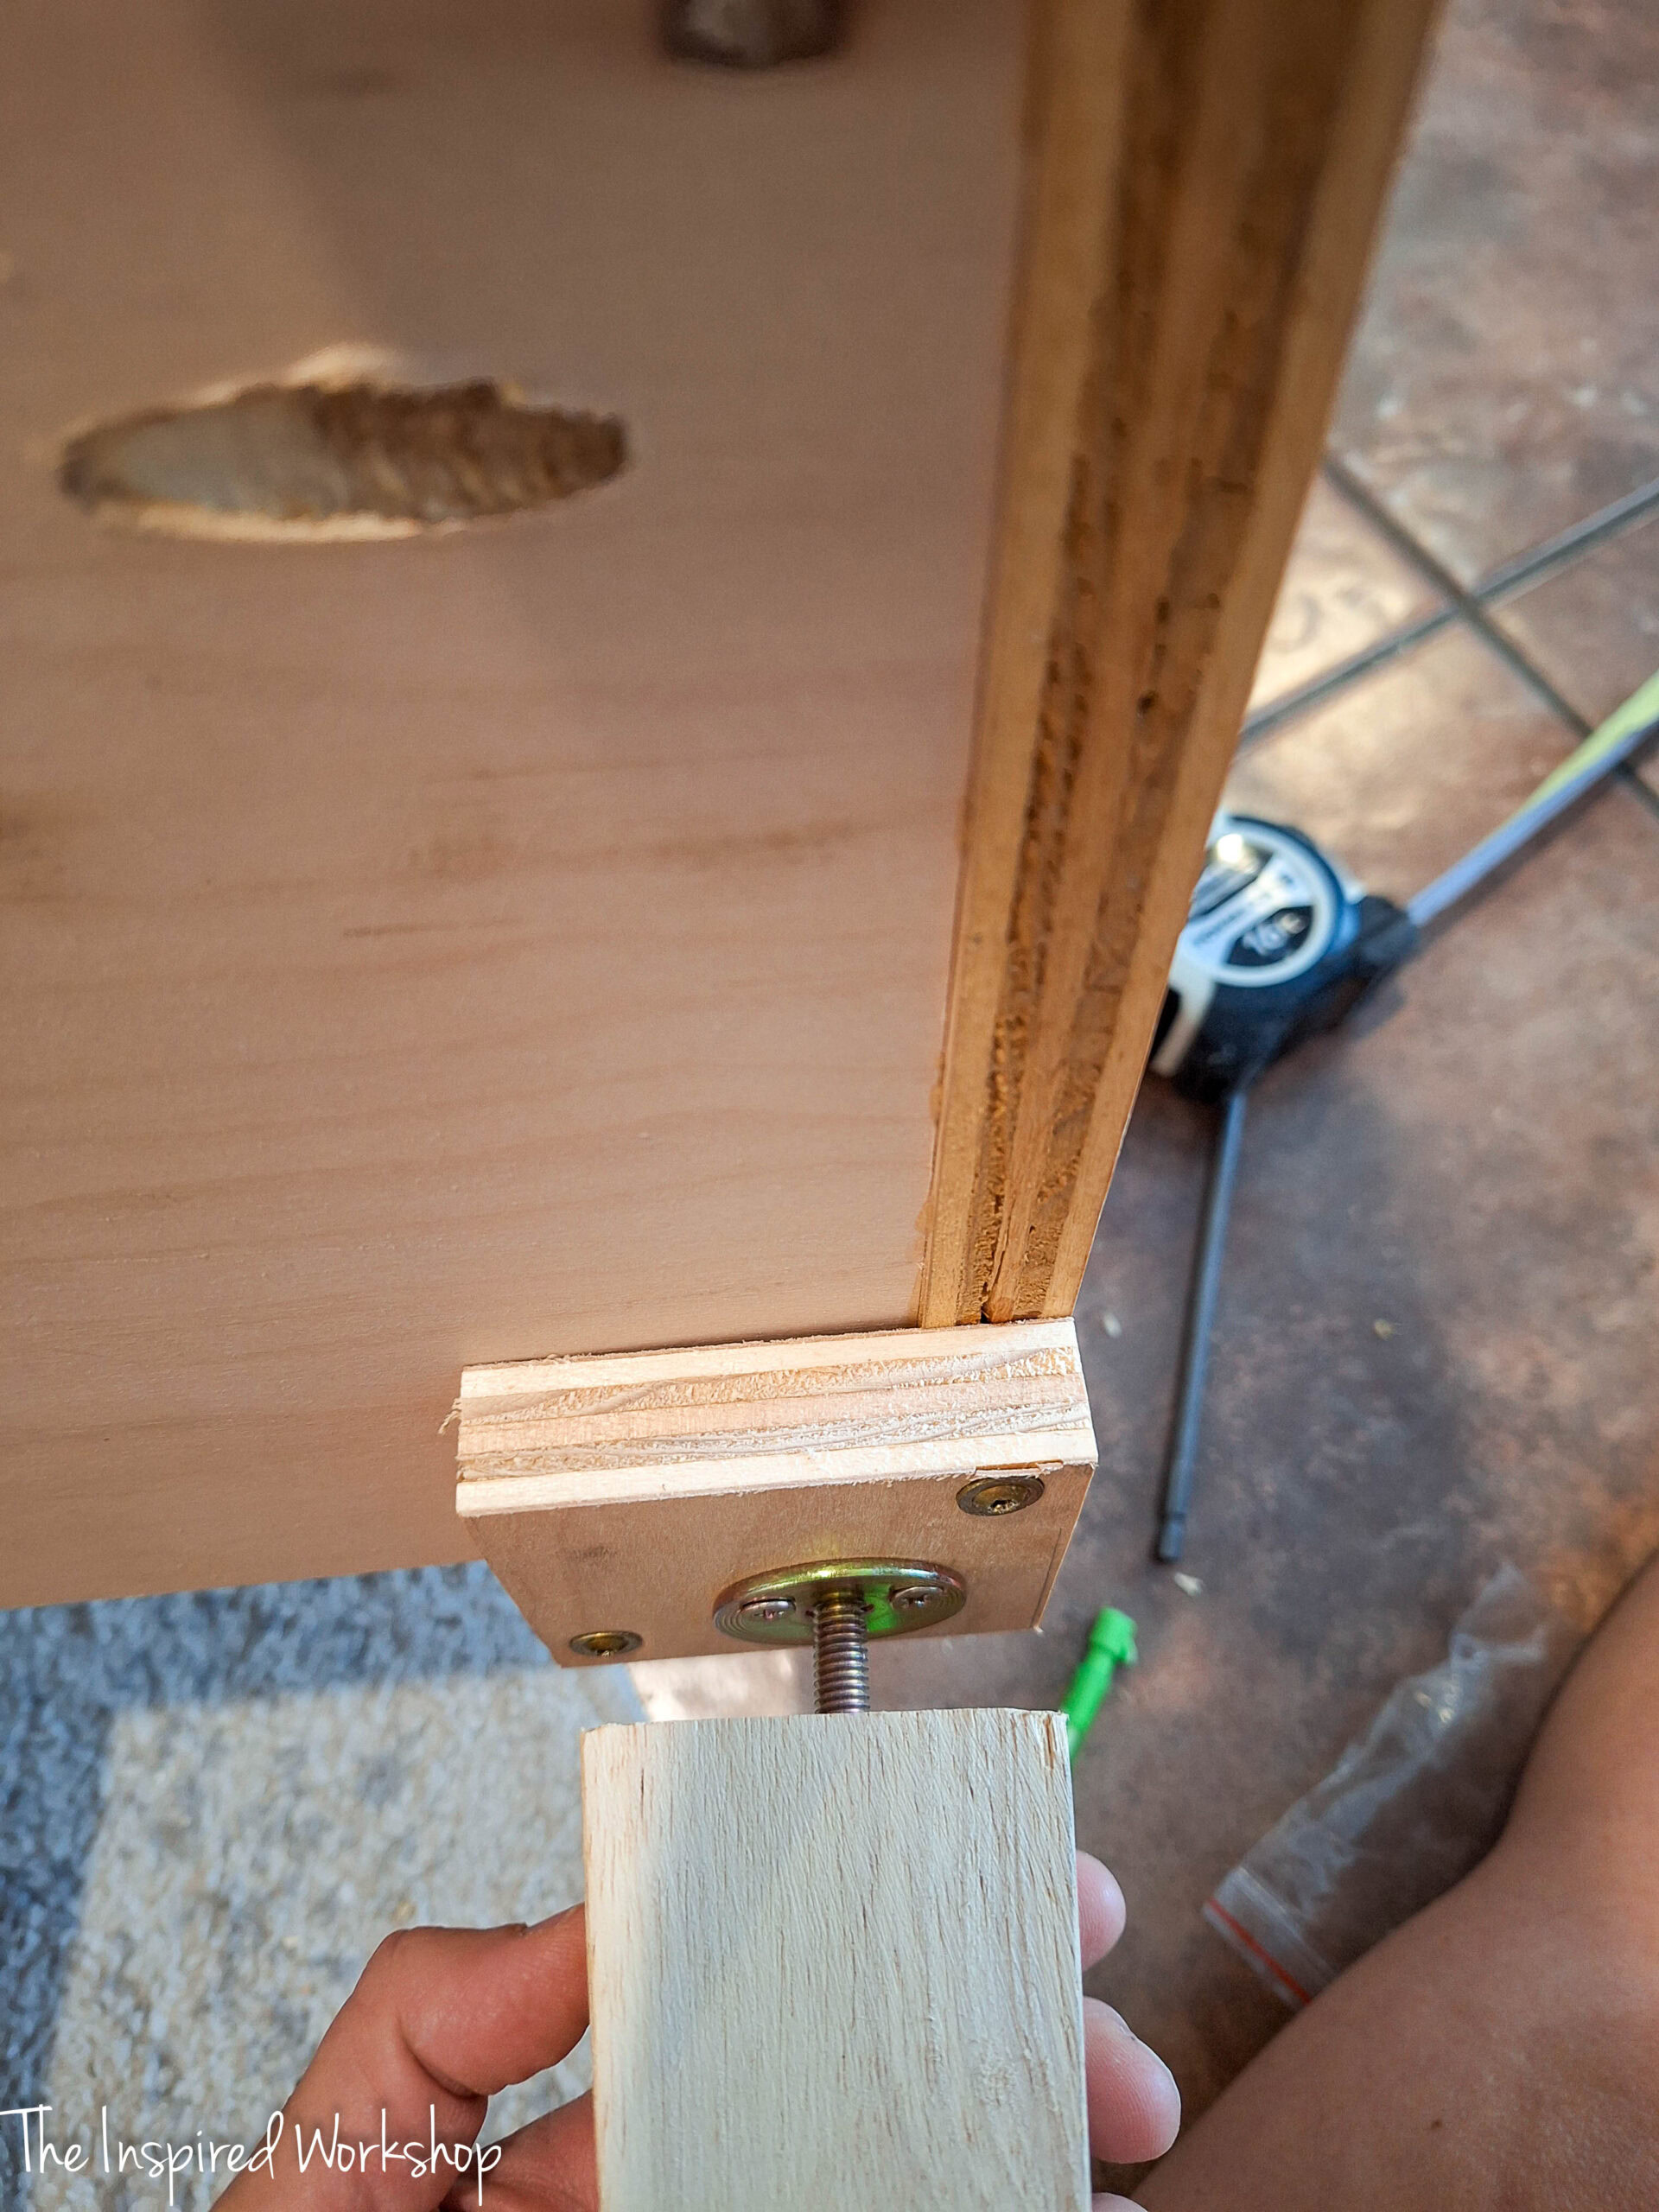
The bolts of the feet are slightly longer than the 3/4″ plywood spacers we used, so we have to drill into the bottom of the cabinet a little.
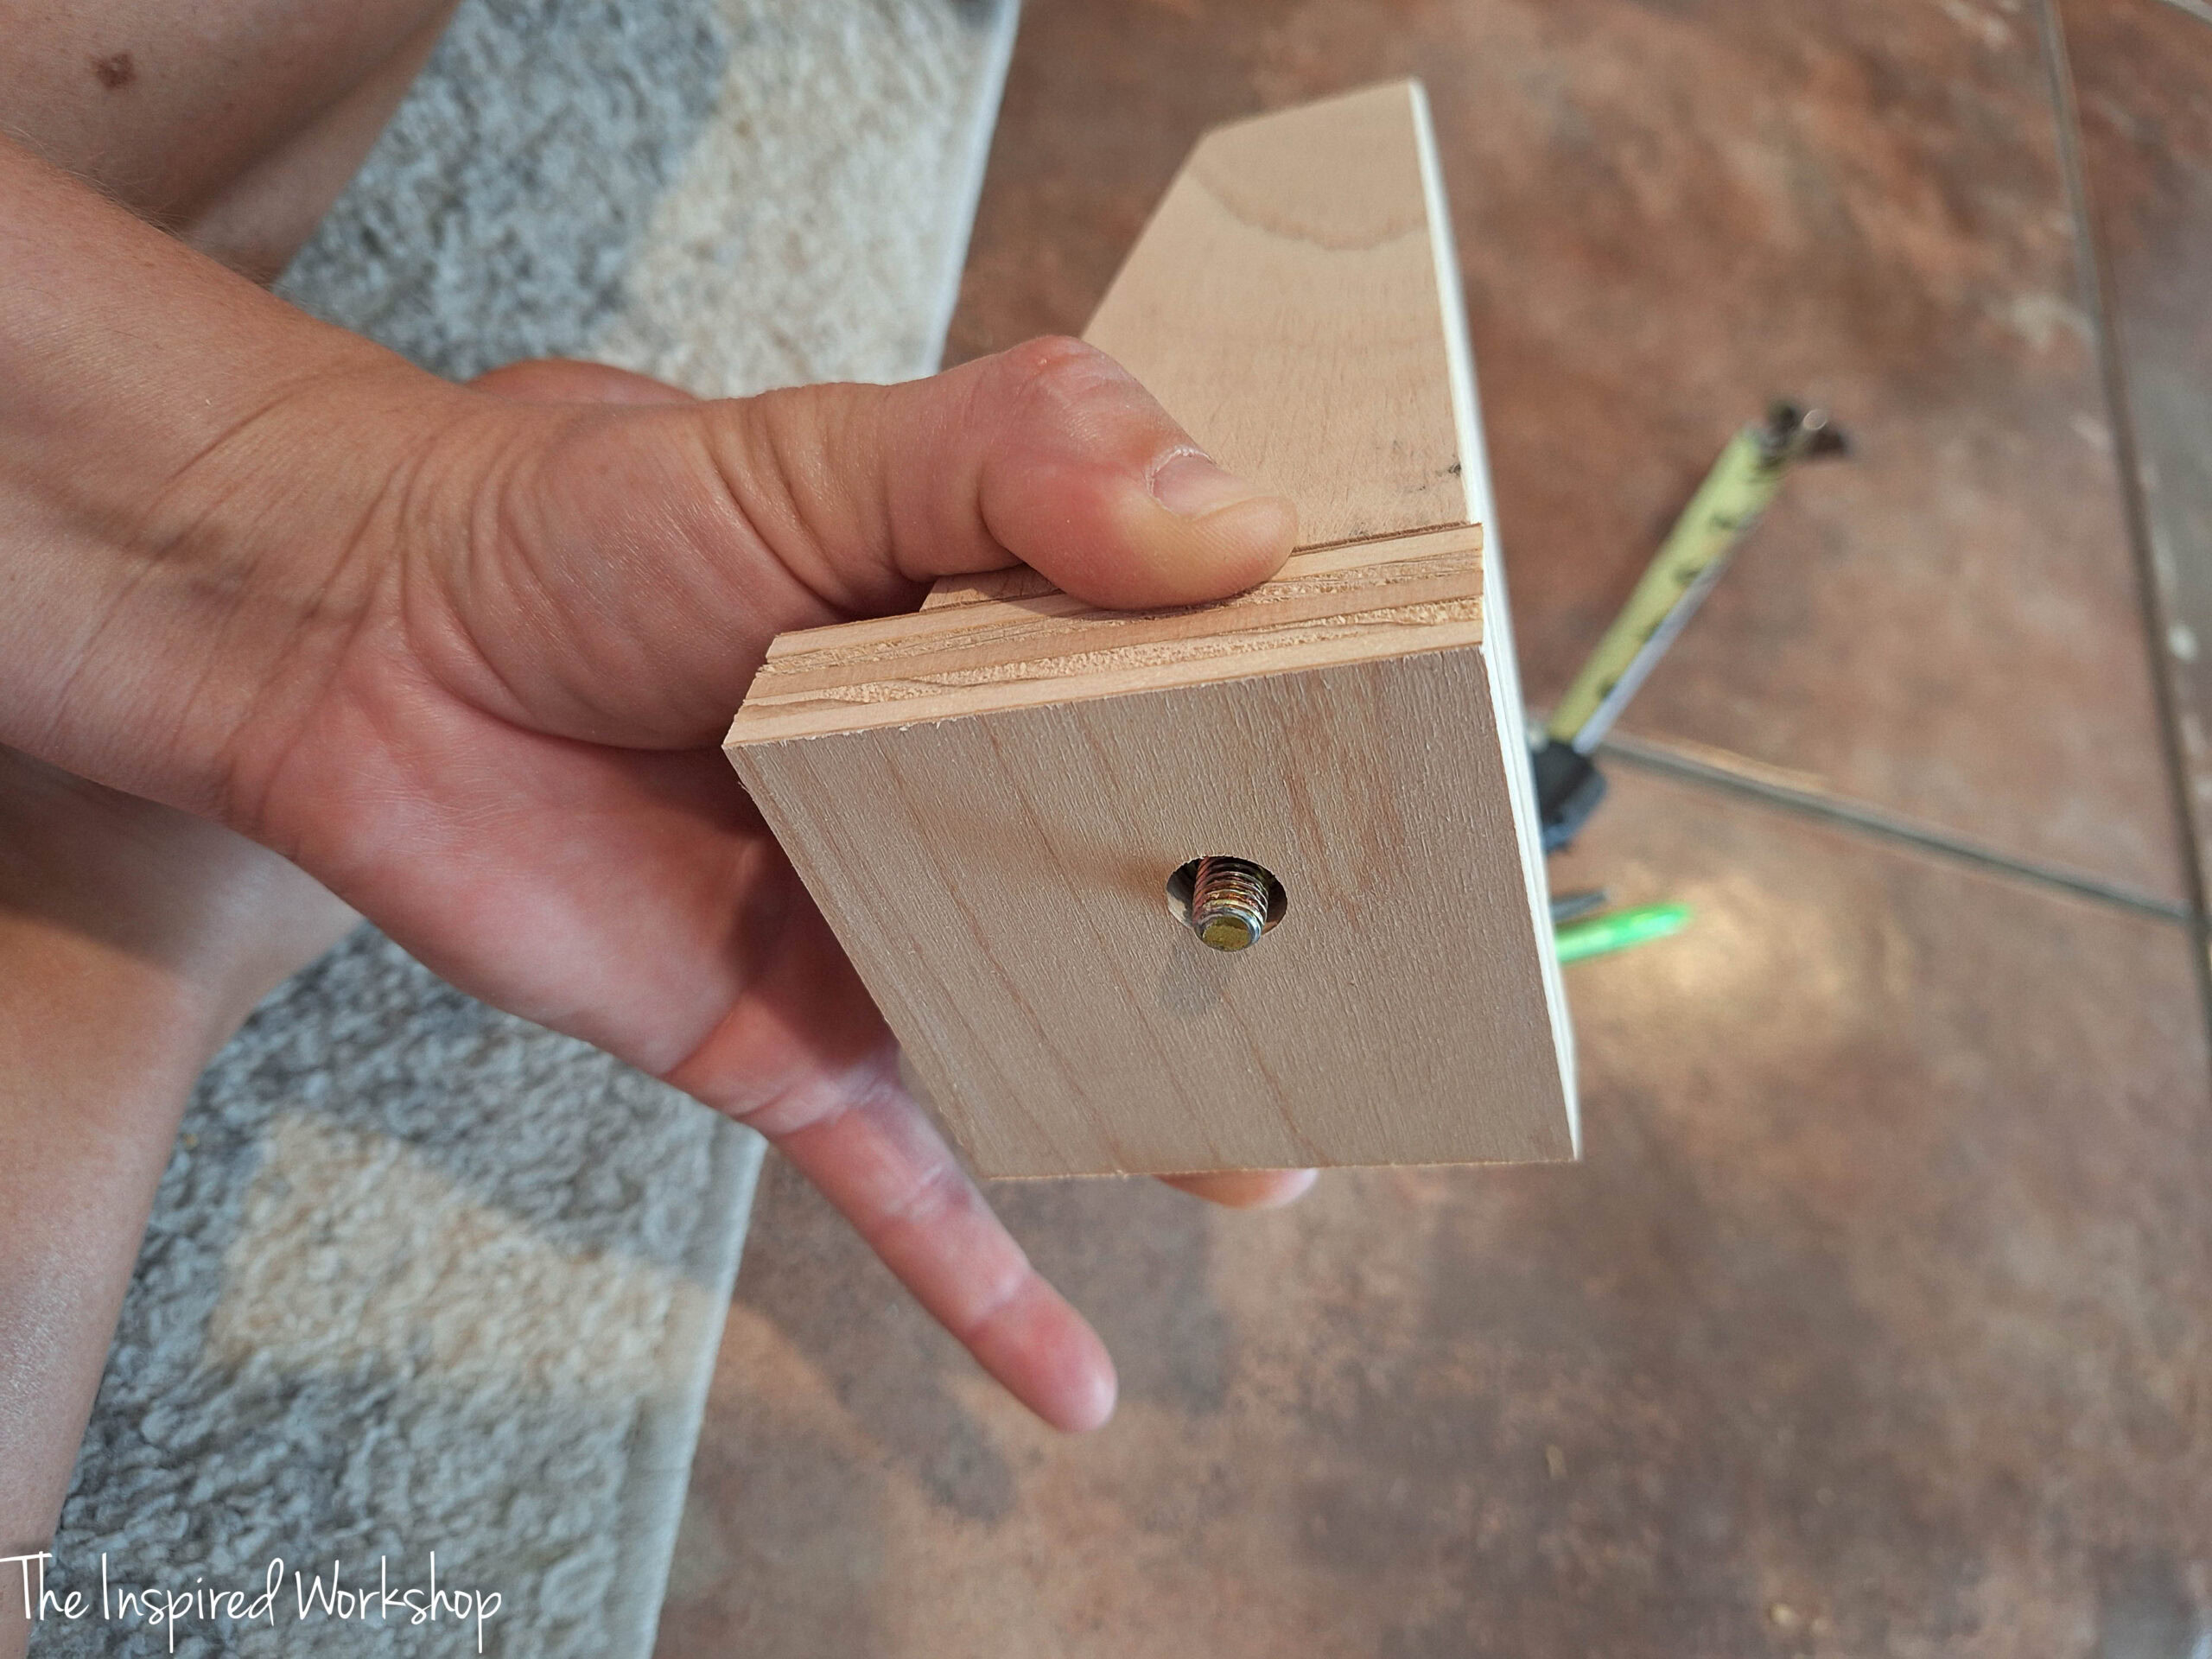
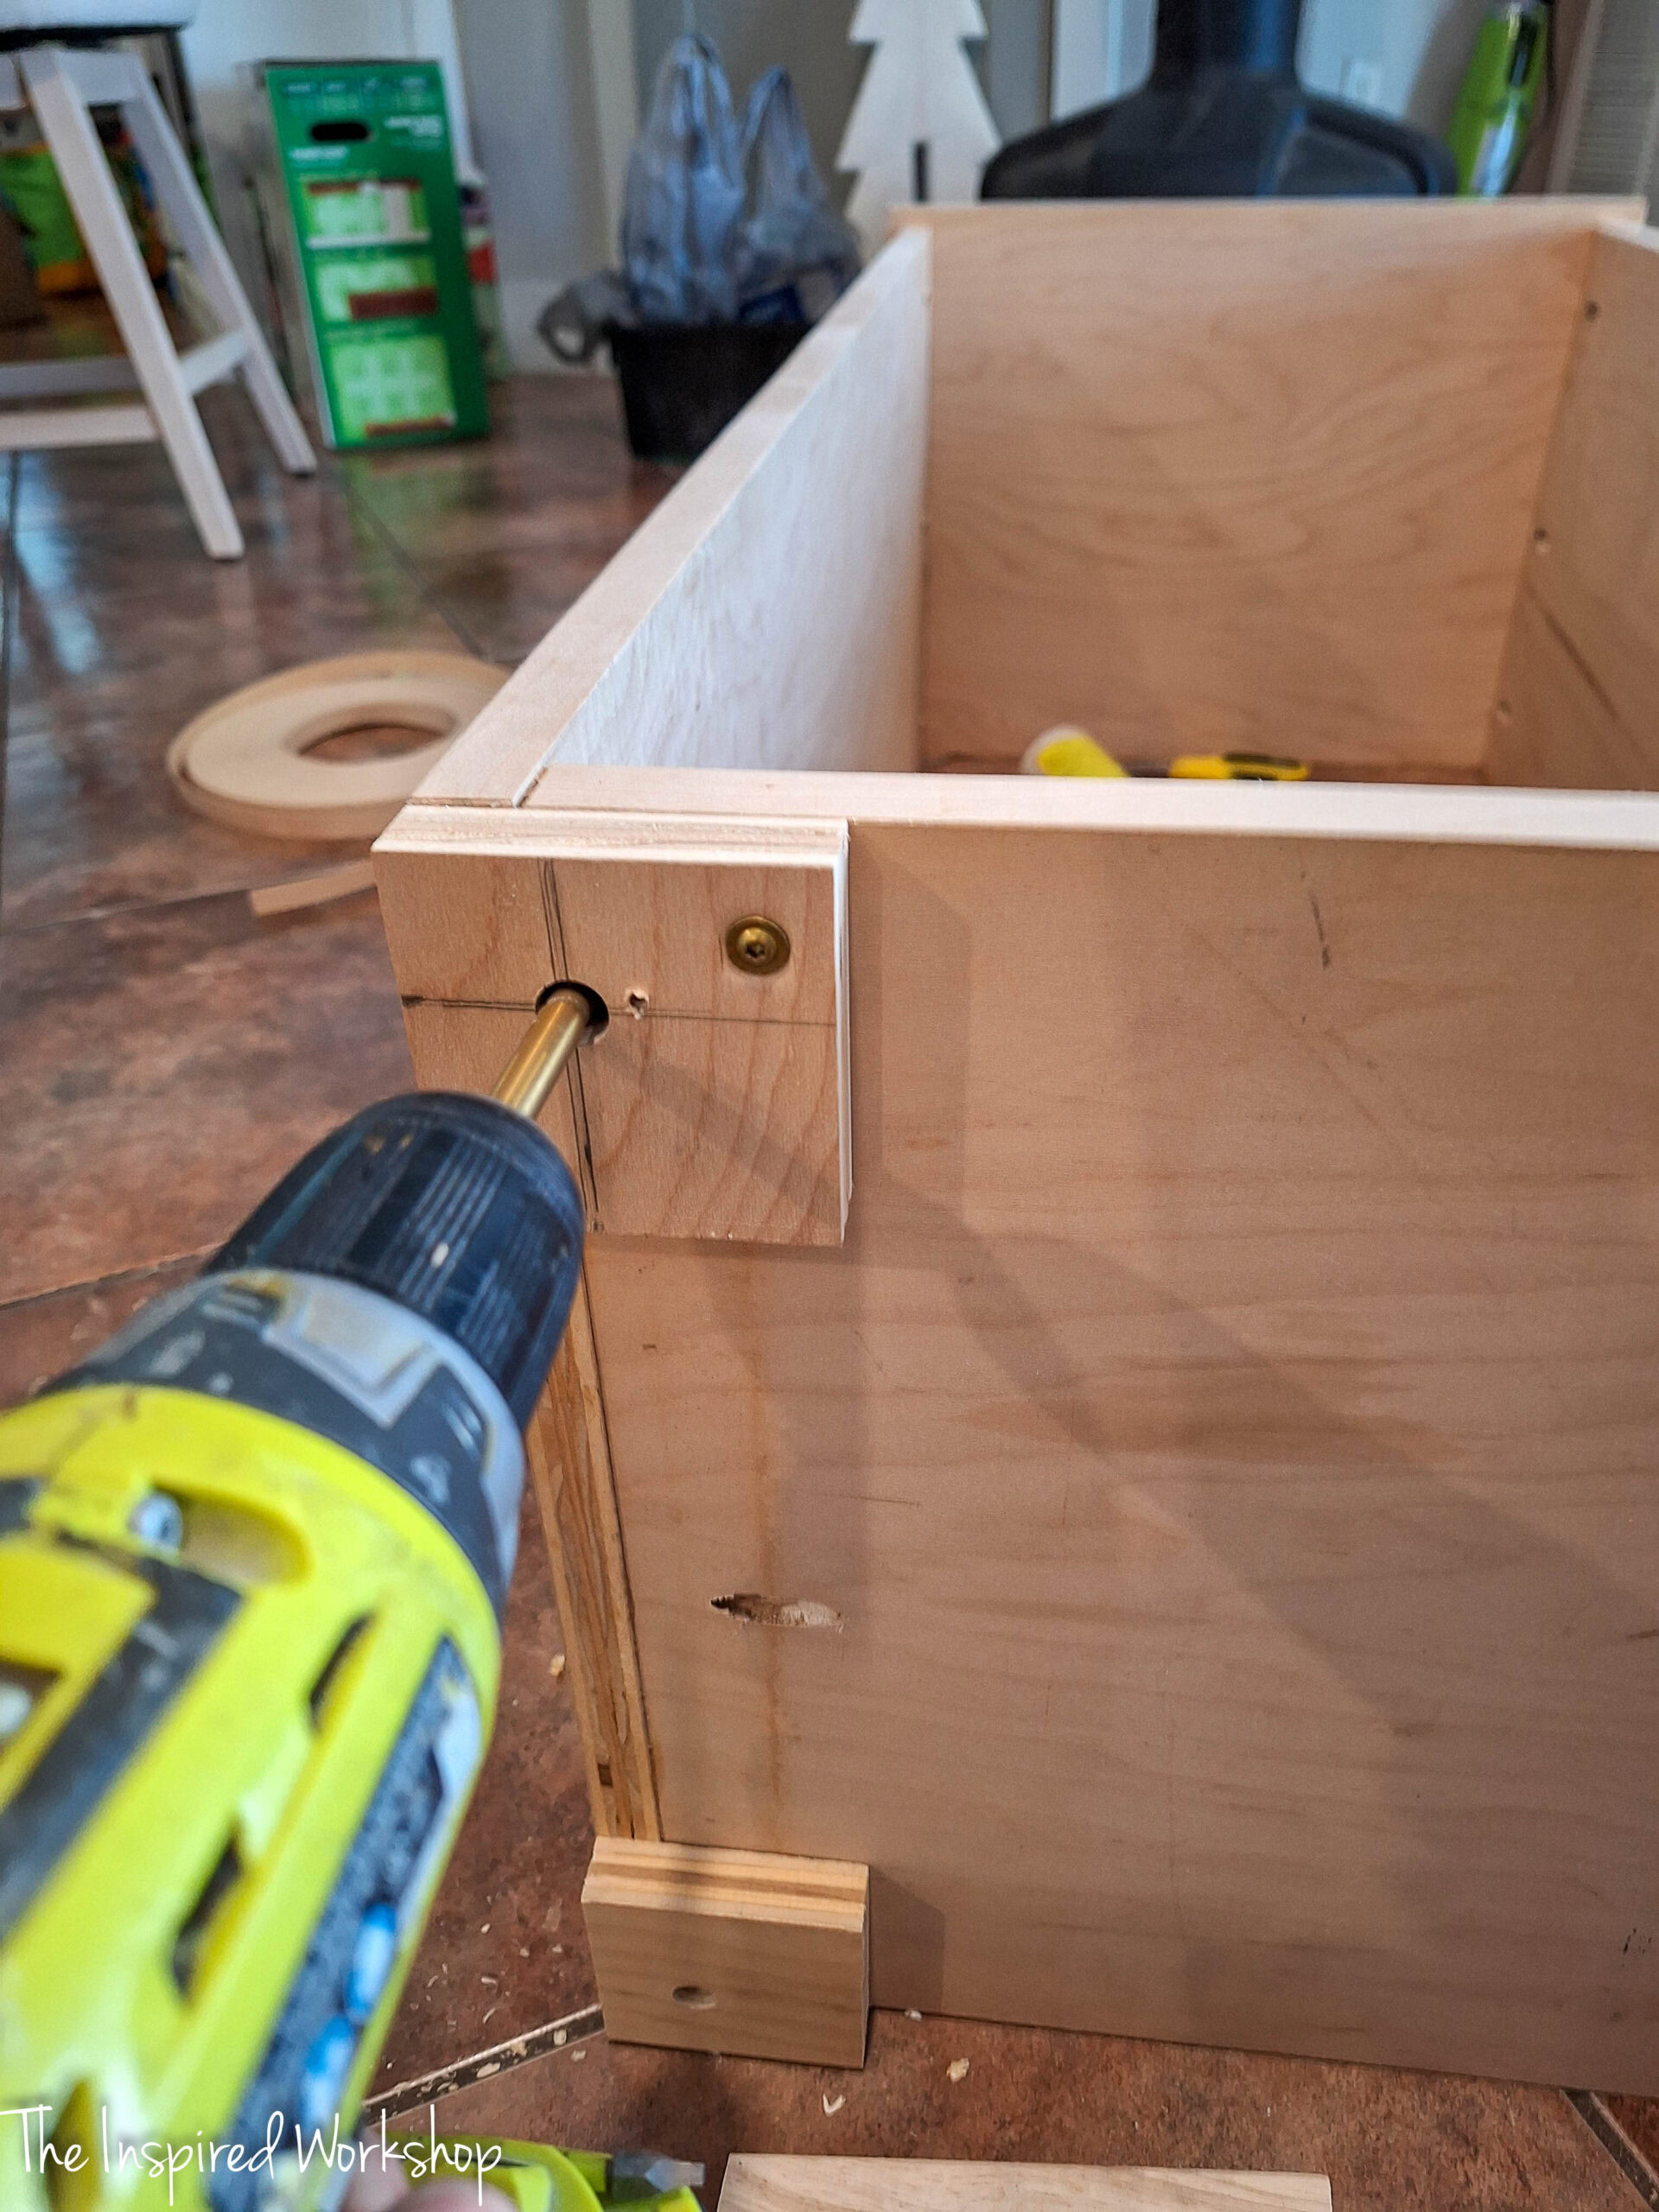
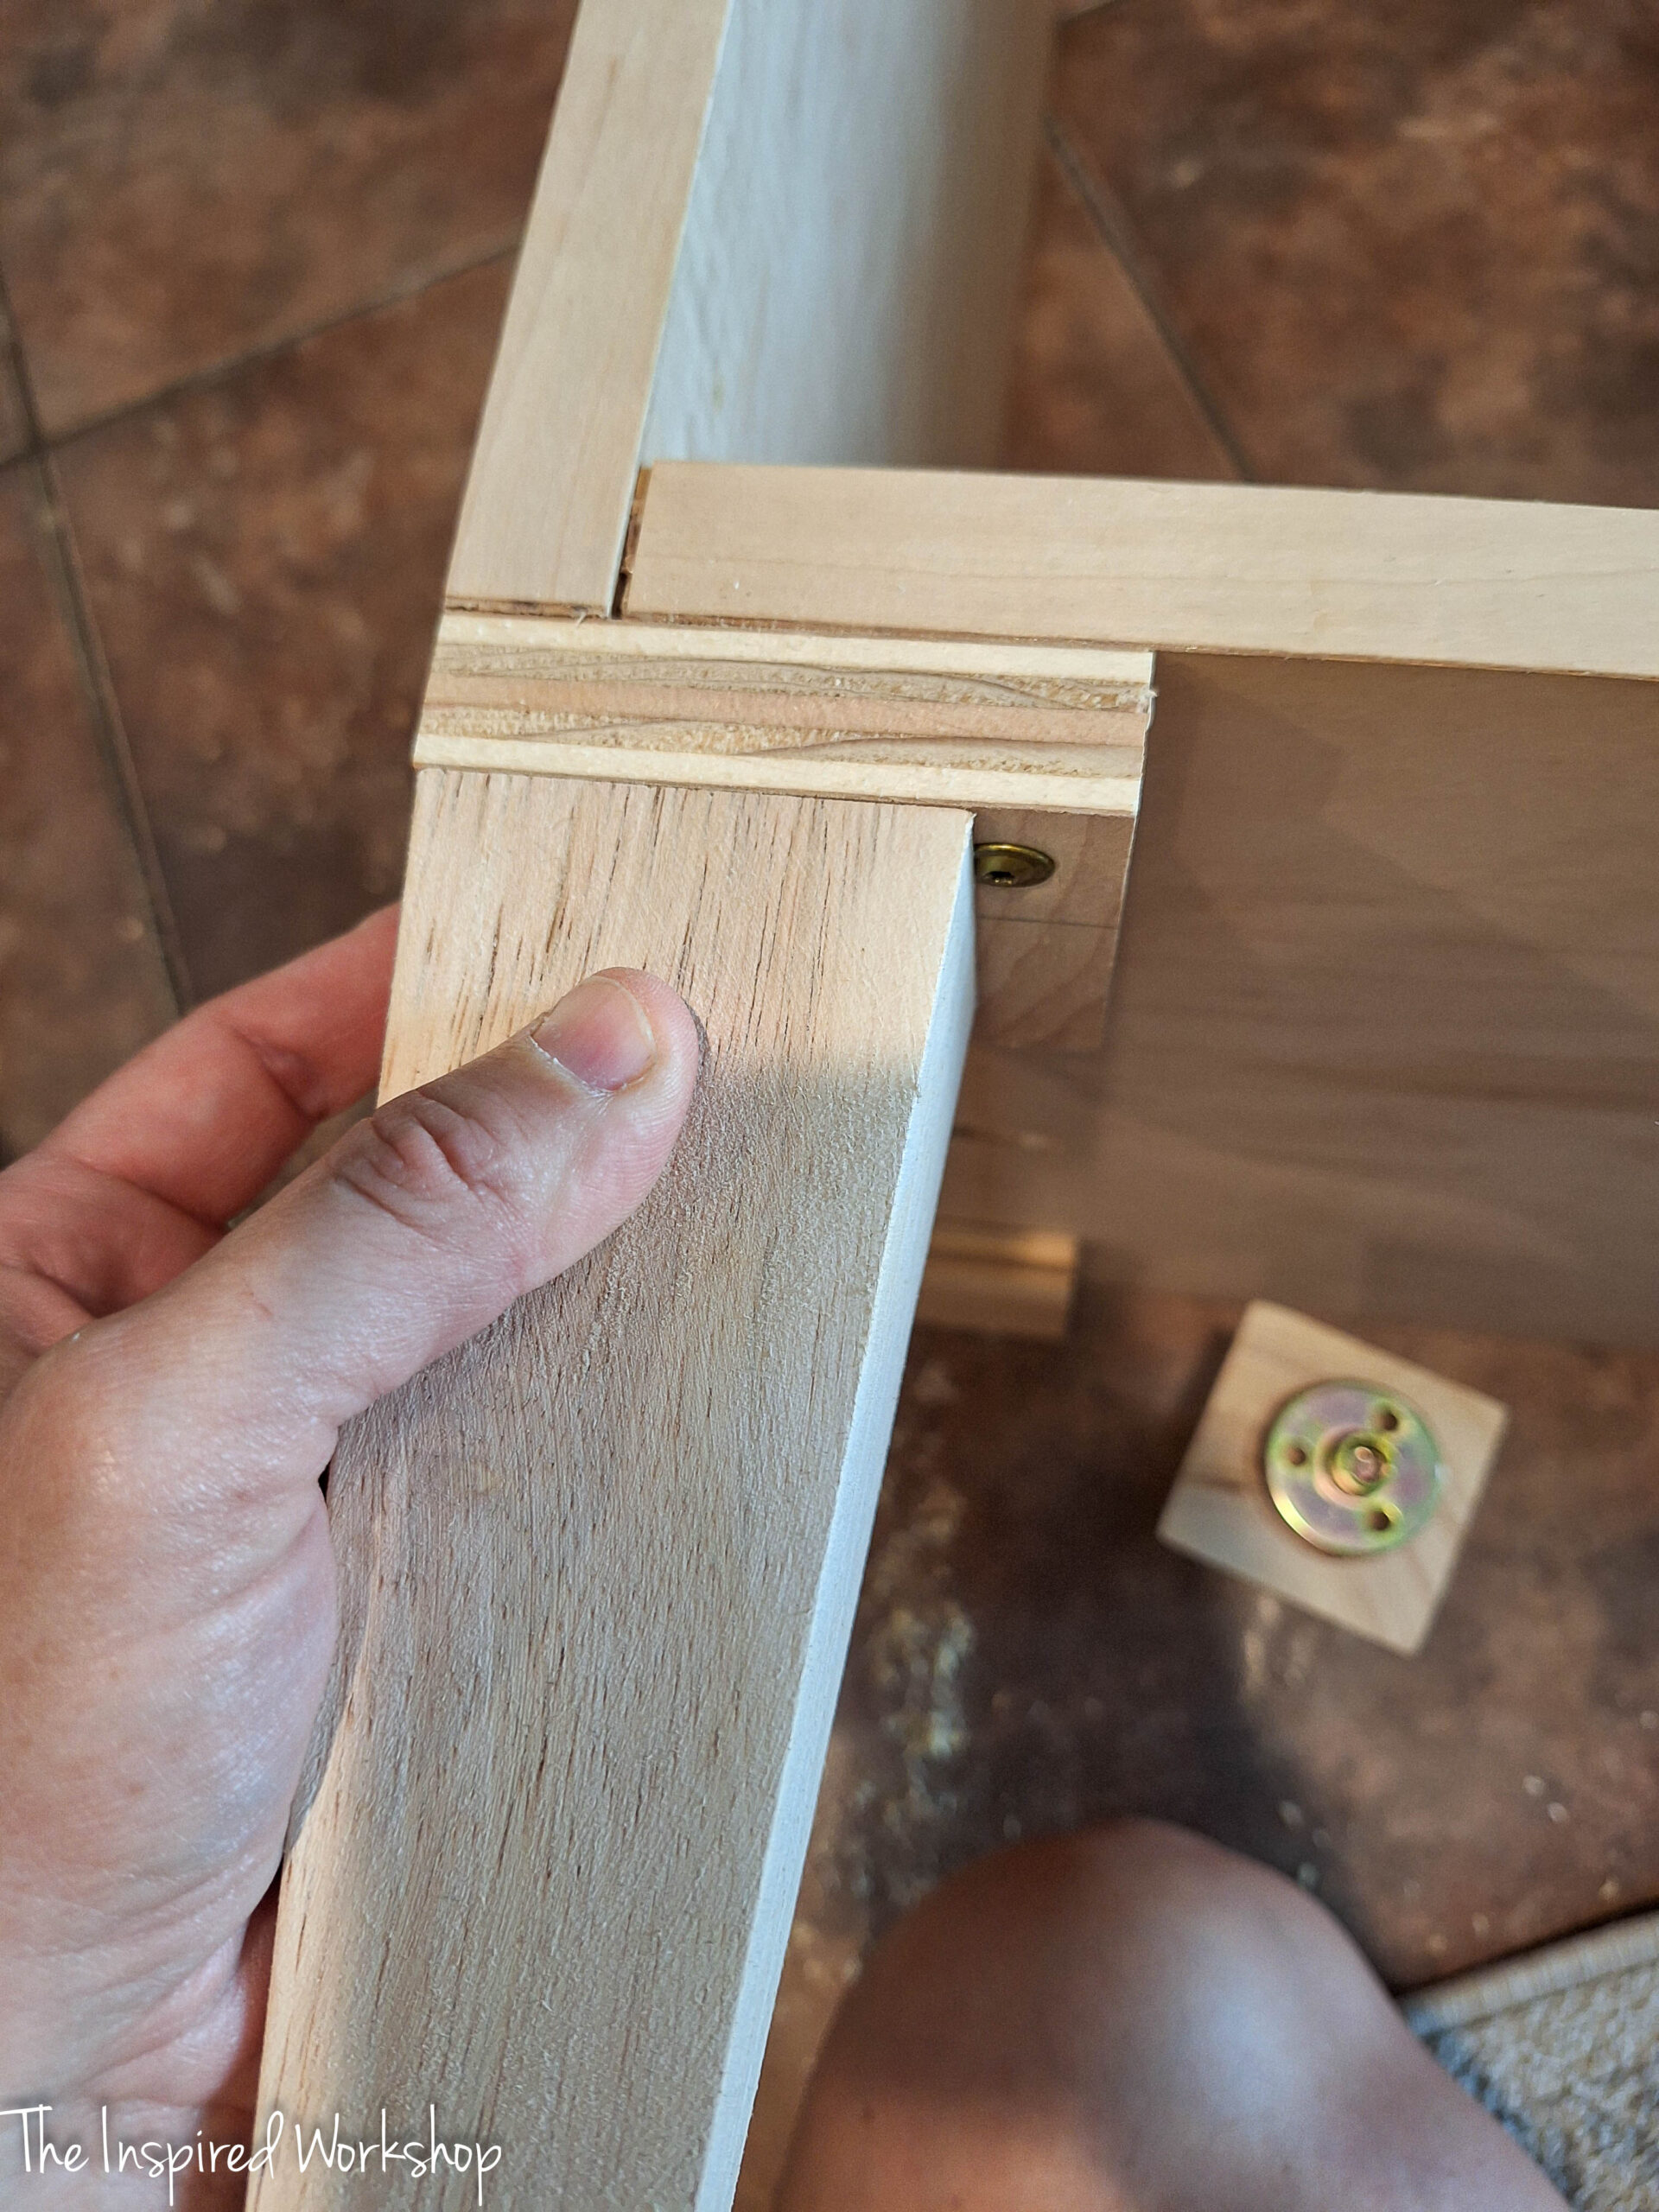
Once the holes are deep enough, you will screw the brass pieces into place (these come with the feet) you will see them in the image below where I am screwing the foot into.
Screw all the feet into place.
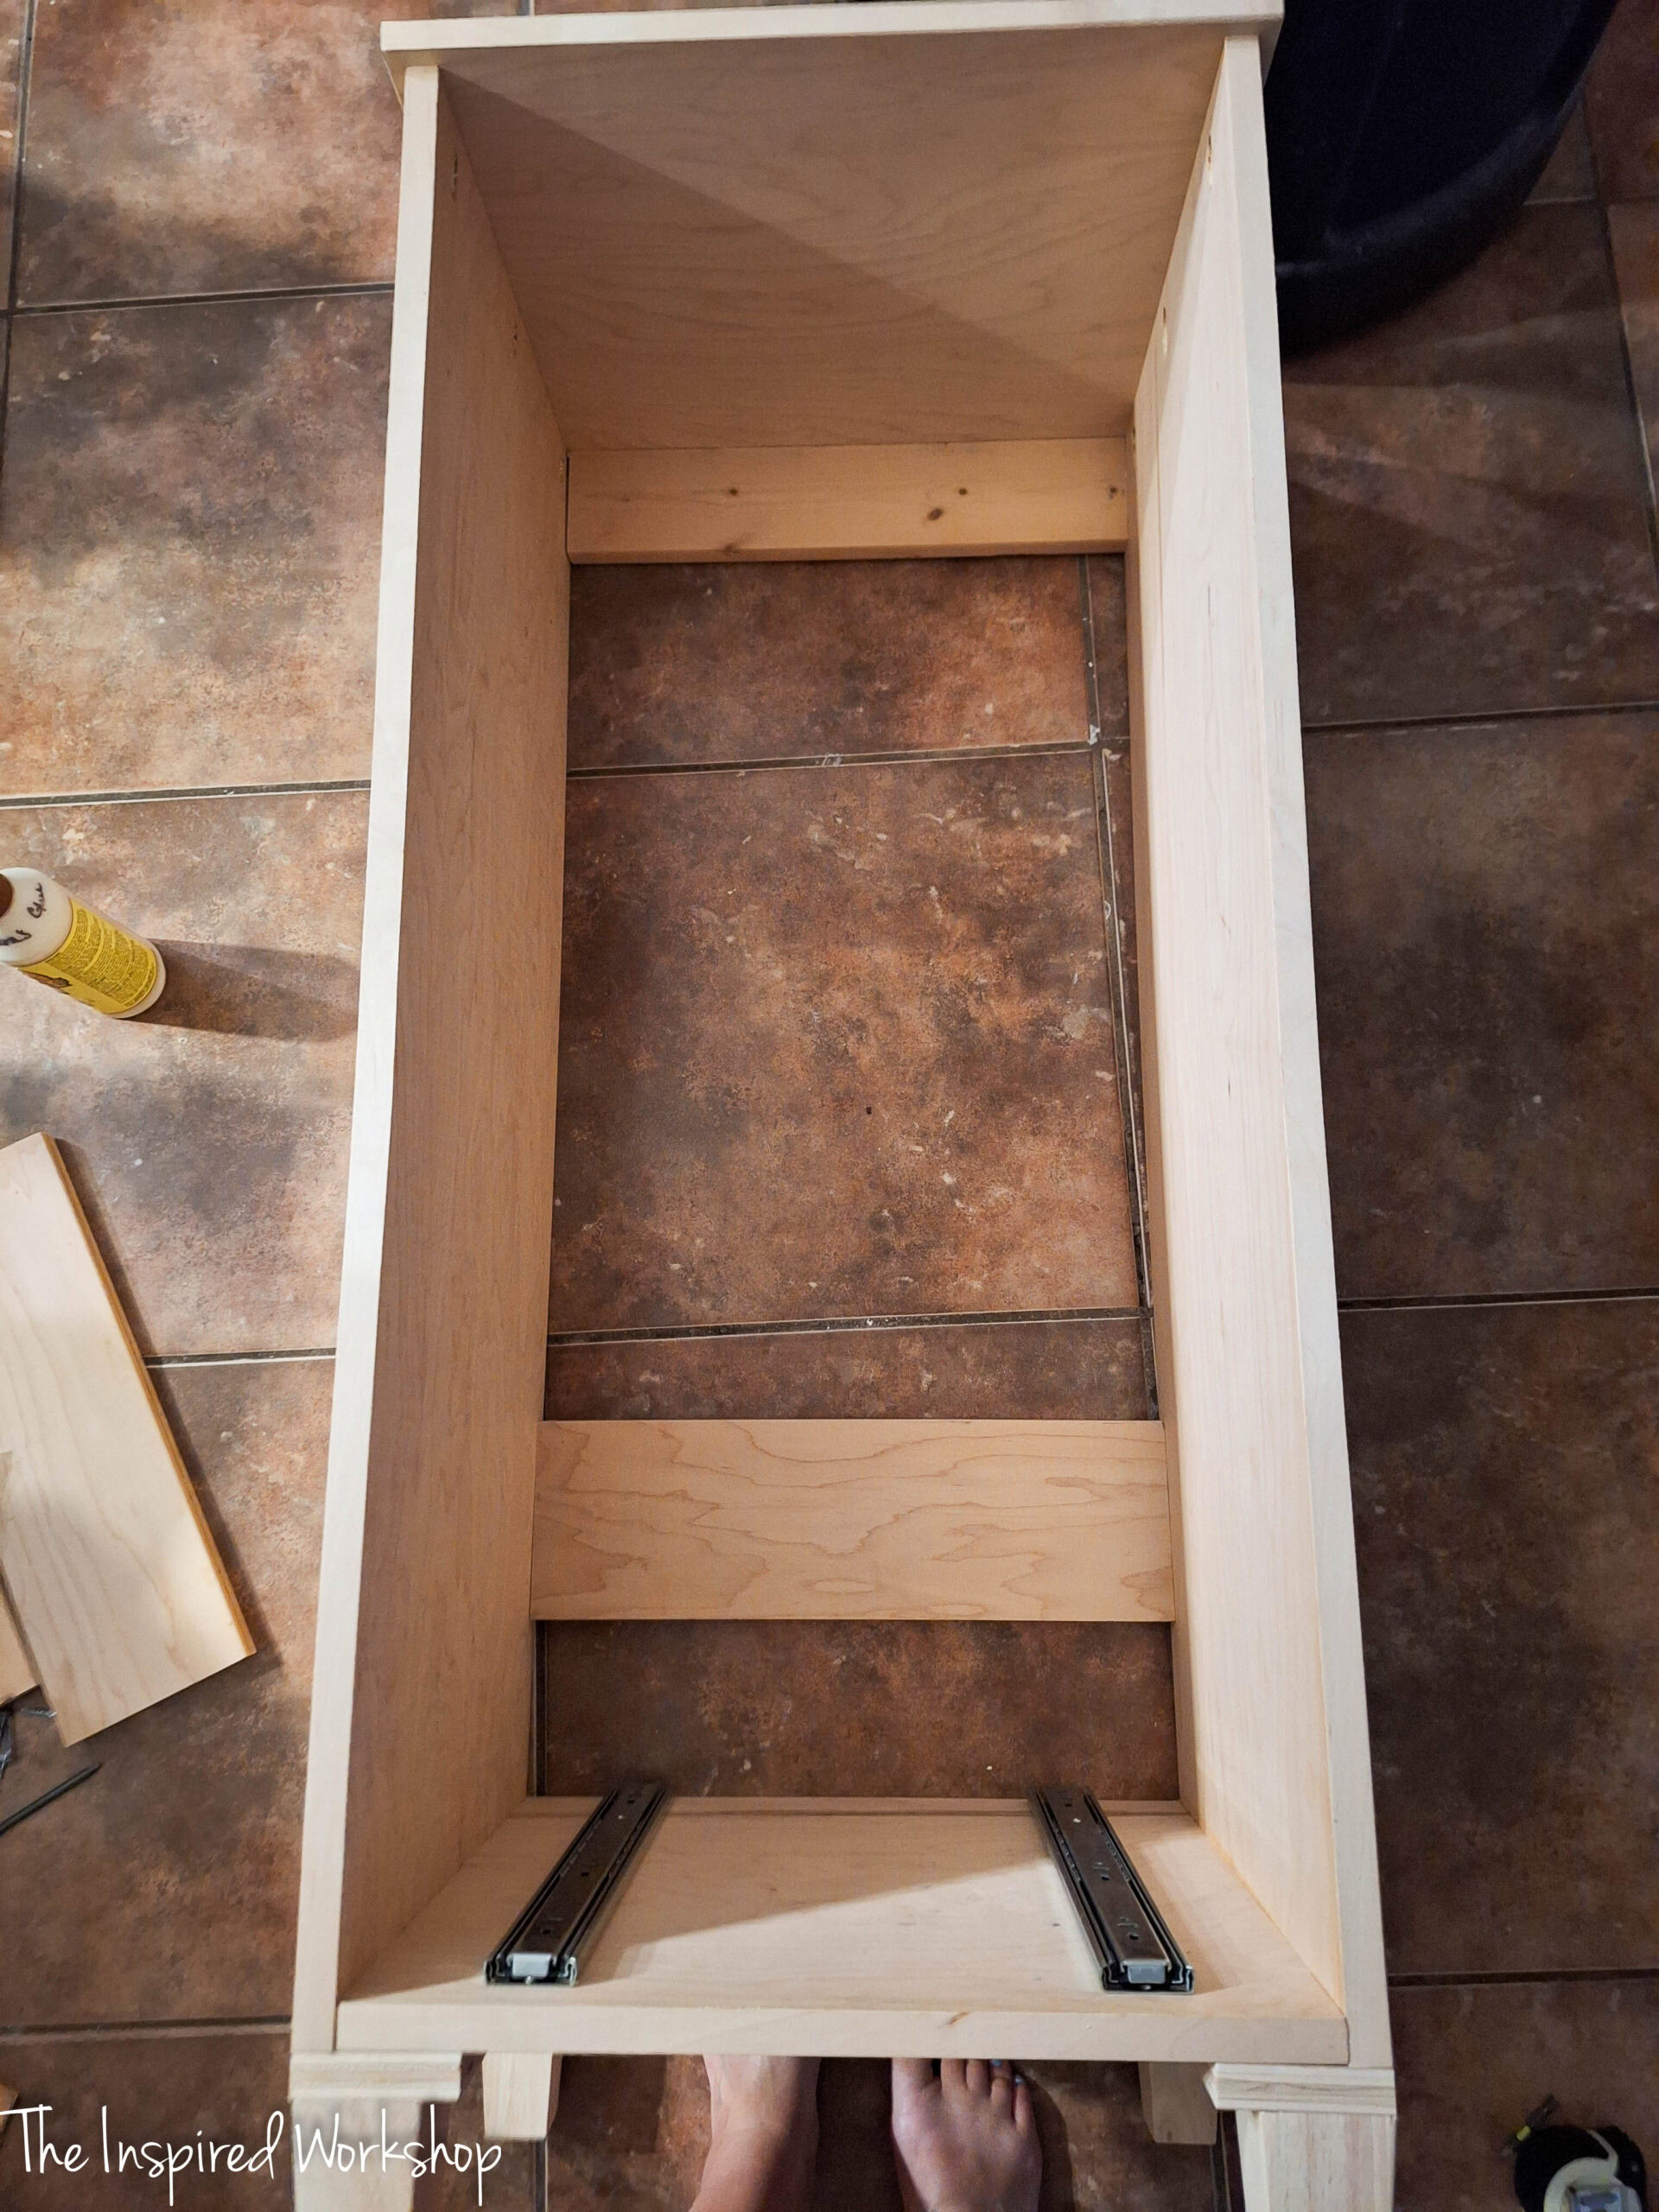
Once the feet are in place, we can add the back supports. Again, I used scrap wood, but you will use the 1x8x8 and it can be ripped down into a smaller width or you can use it as a 1×8 since they are pretty hidden in the back. I used scrap wood so mine are all slightly different widths! Lol! They are attached in the back with pocket holes drilled 3/4″ depth and used 1 1/4″ screws to attach.
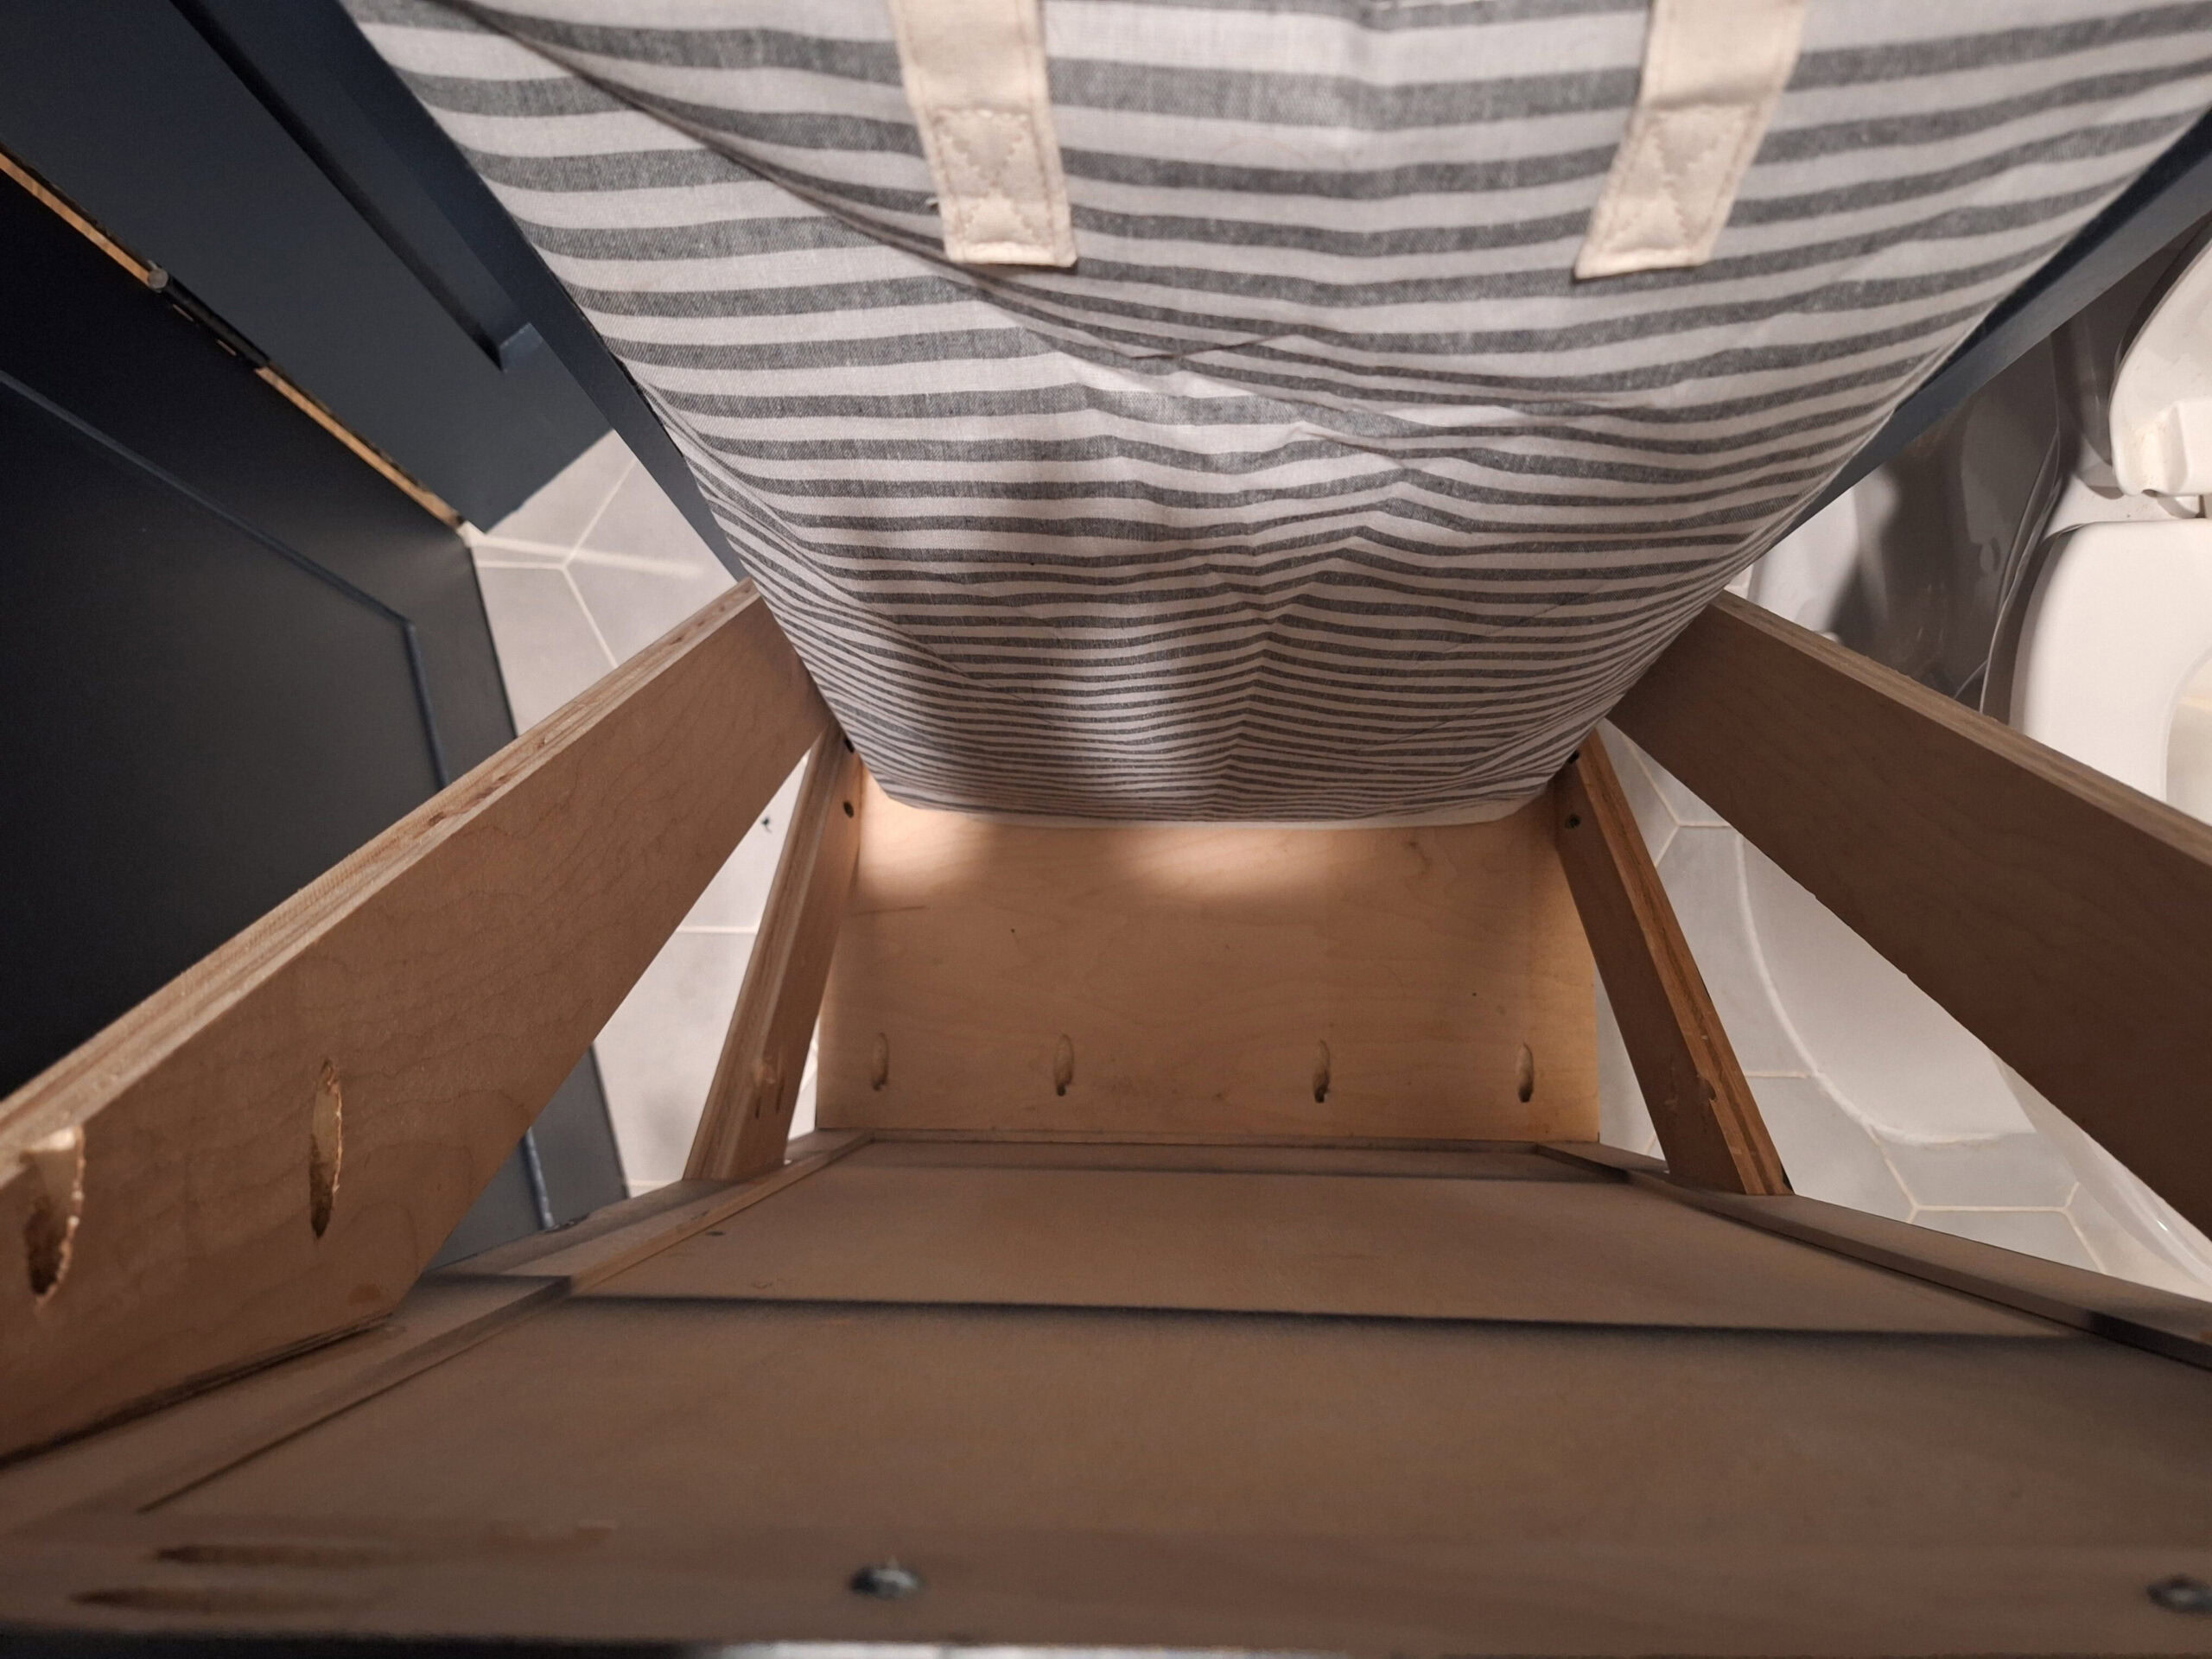
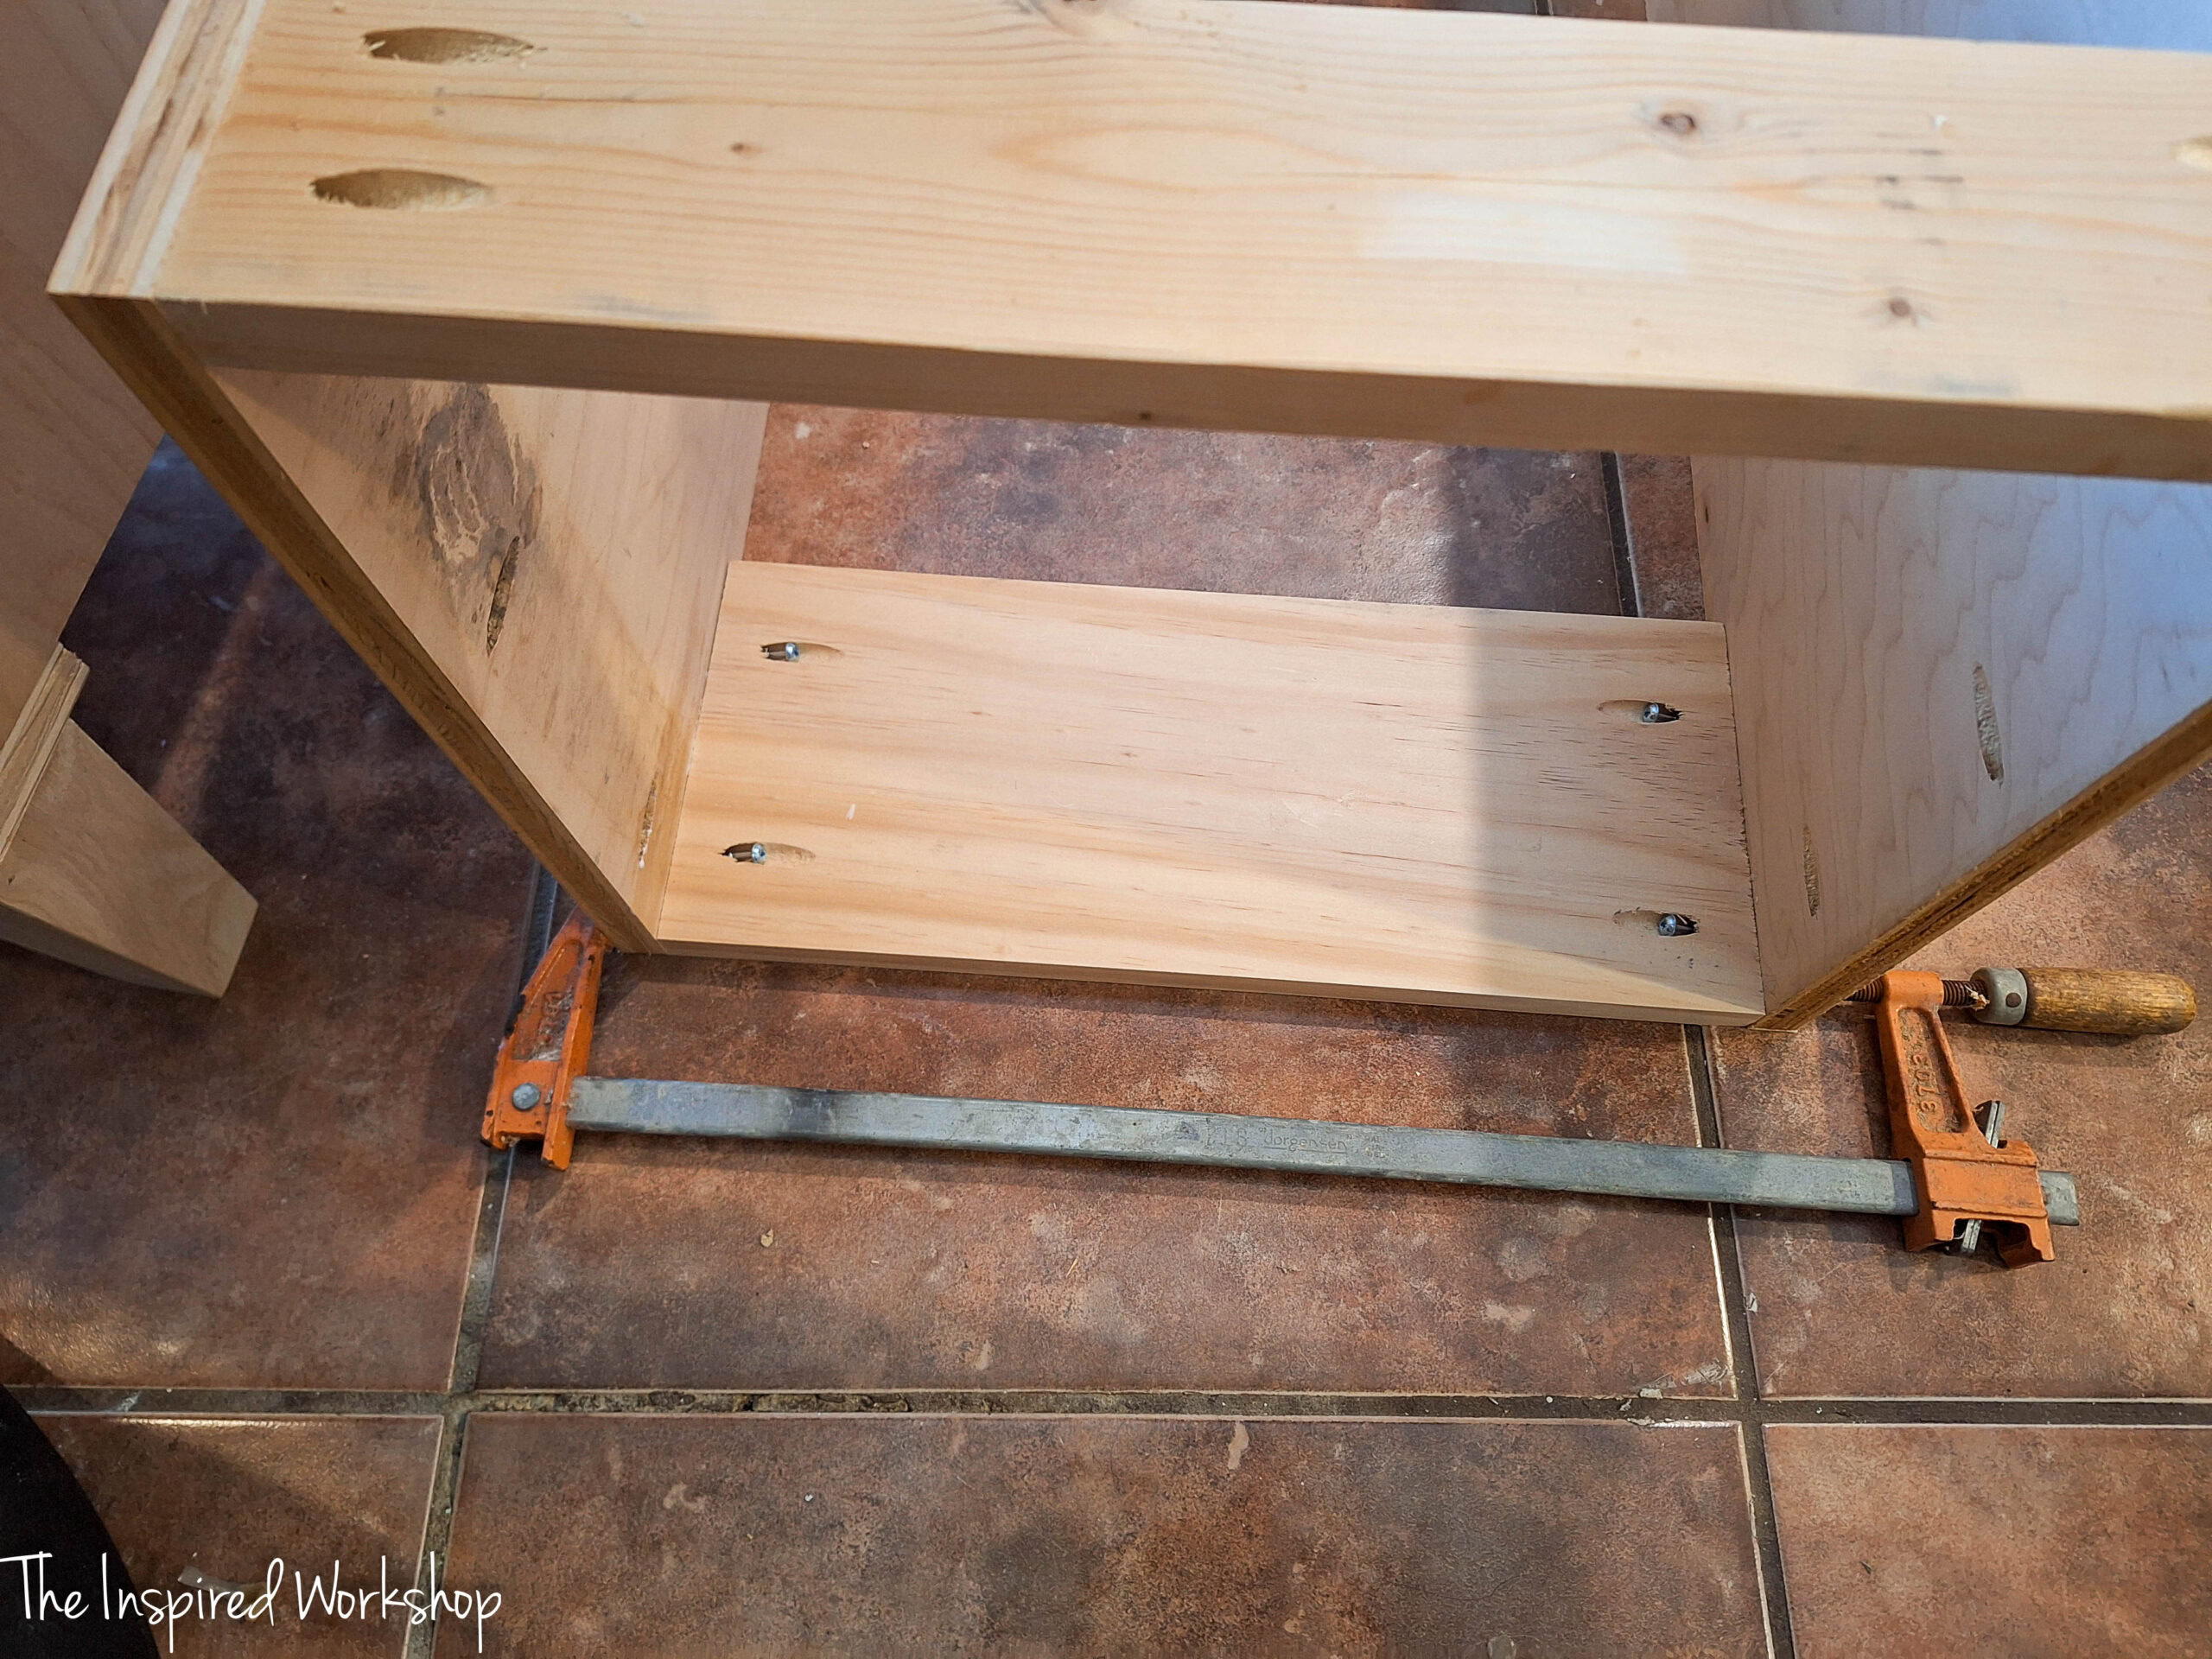
I didn’t get any images of this as I did it, but the bottom support does need to be raised slightly simply so it doesn’t interfere with the hamper bottom sizing. I already added the drawer slides for the hamper in the image, so you can check out both steps here! I installed the drawer slides along the bottom instead of the sides because I was pressed for room and my hamper wouldn’t have fit if I took away 2 1/2″ by placing them on the sides.
I then attached the 17 1/4″ board labeled “hamper bottom” to the drawer slides as well… this is why it is still laying down. Make sure the bottom is set back 3/4″ so the hamper “door” will fit to attach to this piece.
****READ THIS**** I got busy building and did not get good images of this but there should be pocket holes drilled on the top of this board at the front to connect to the door. They are drilled at 3/4″ depth and use wood glue with 1 1/4″ screws to attach. Make sure and drill them before attaching this board so you don’t have to take it off and go drill them like I did! Lol!
Here is a picture of it, this was taken today! Lol! But at least it shows how they should be! We’ll add the door and the supports later, I just want to make sure you drill the pocket holes before attaching this board to the drawer slides!
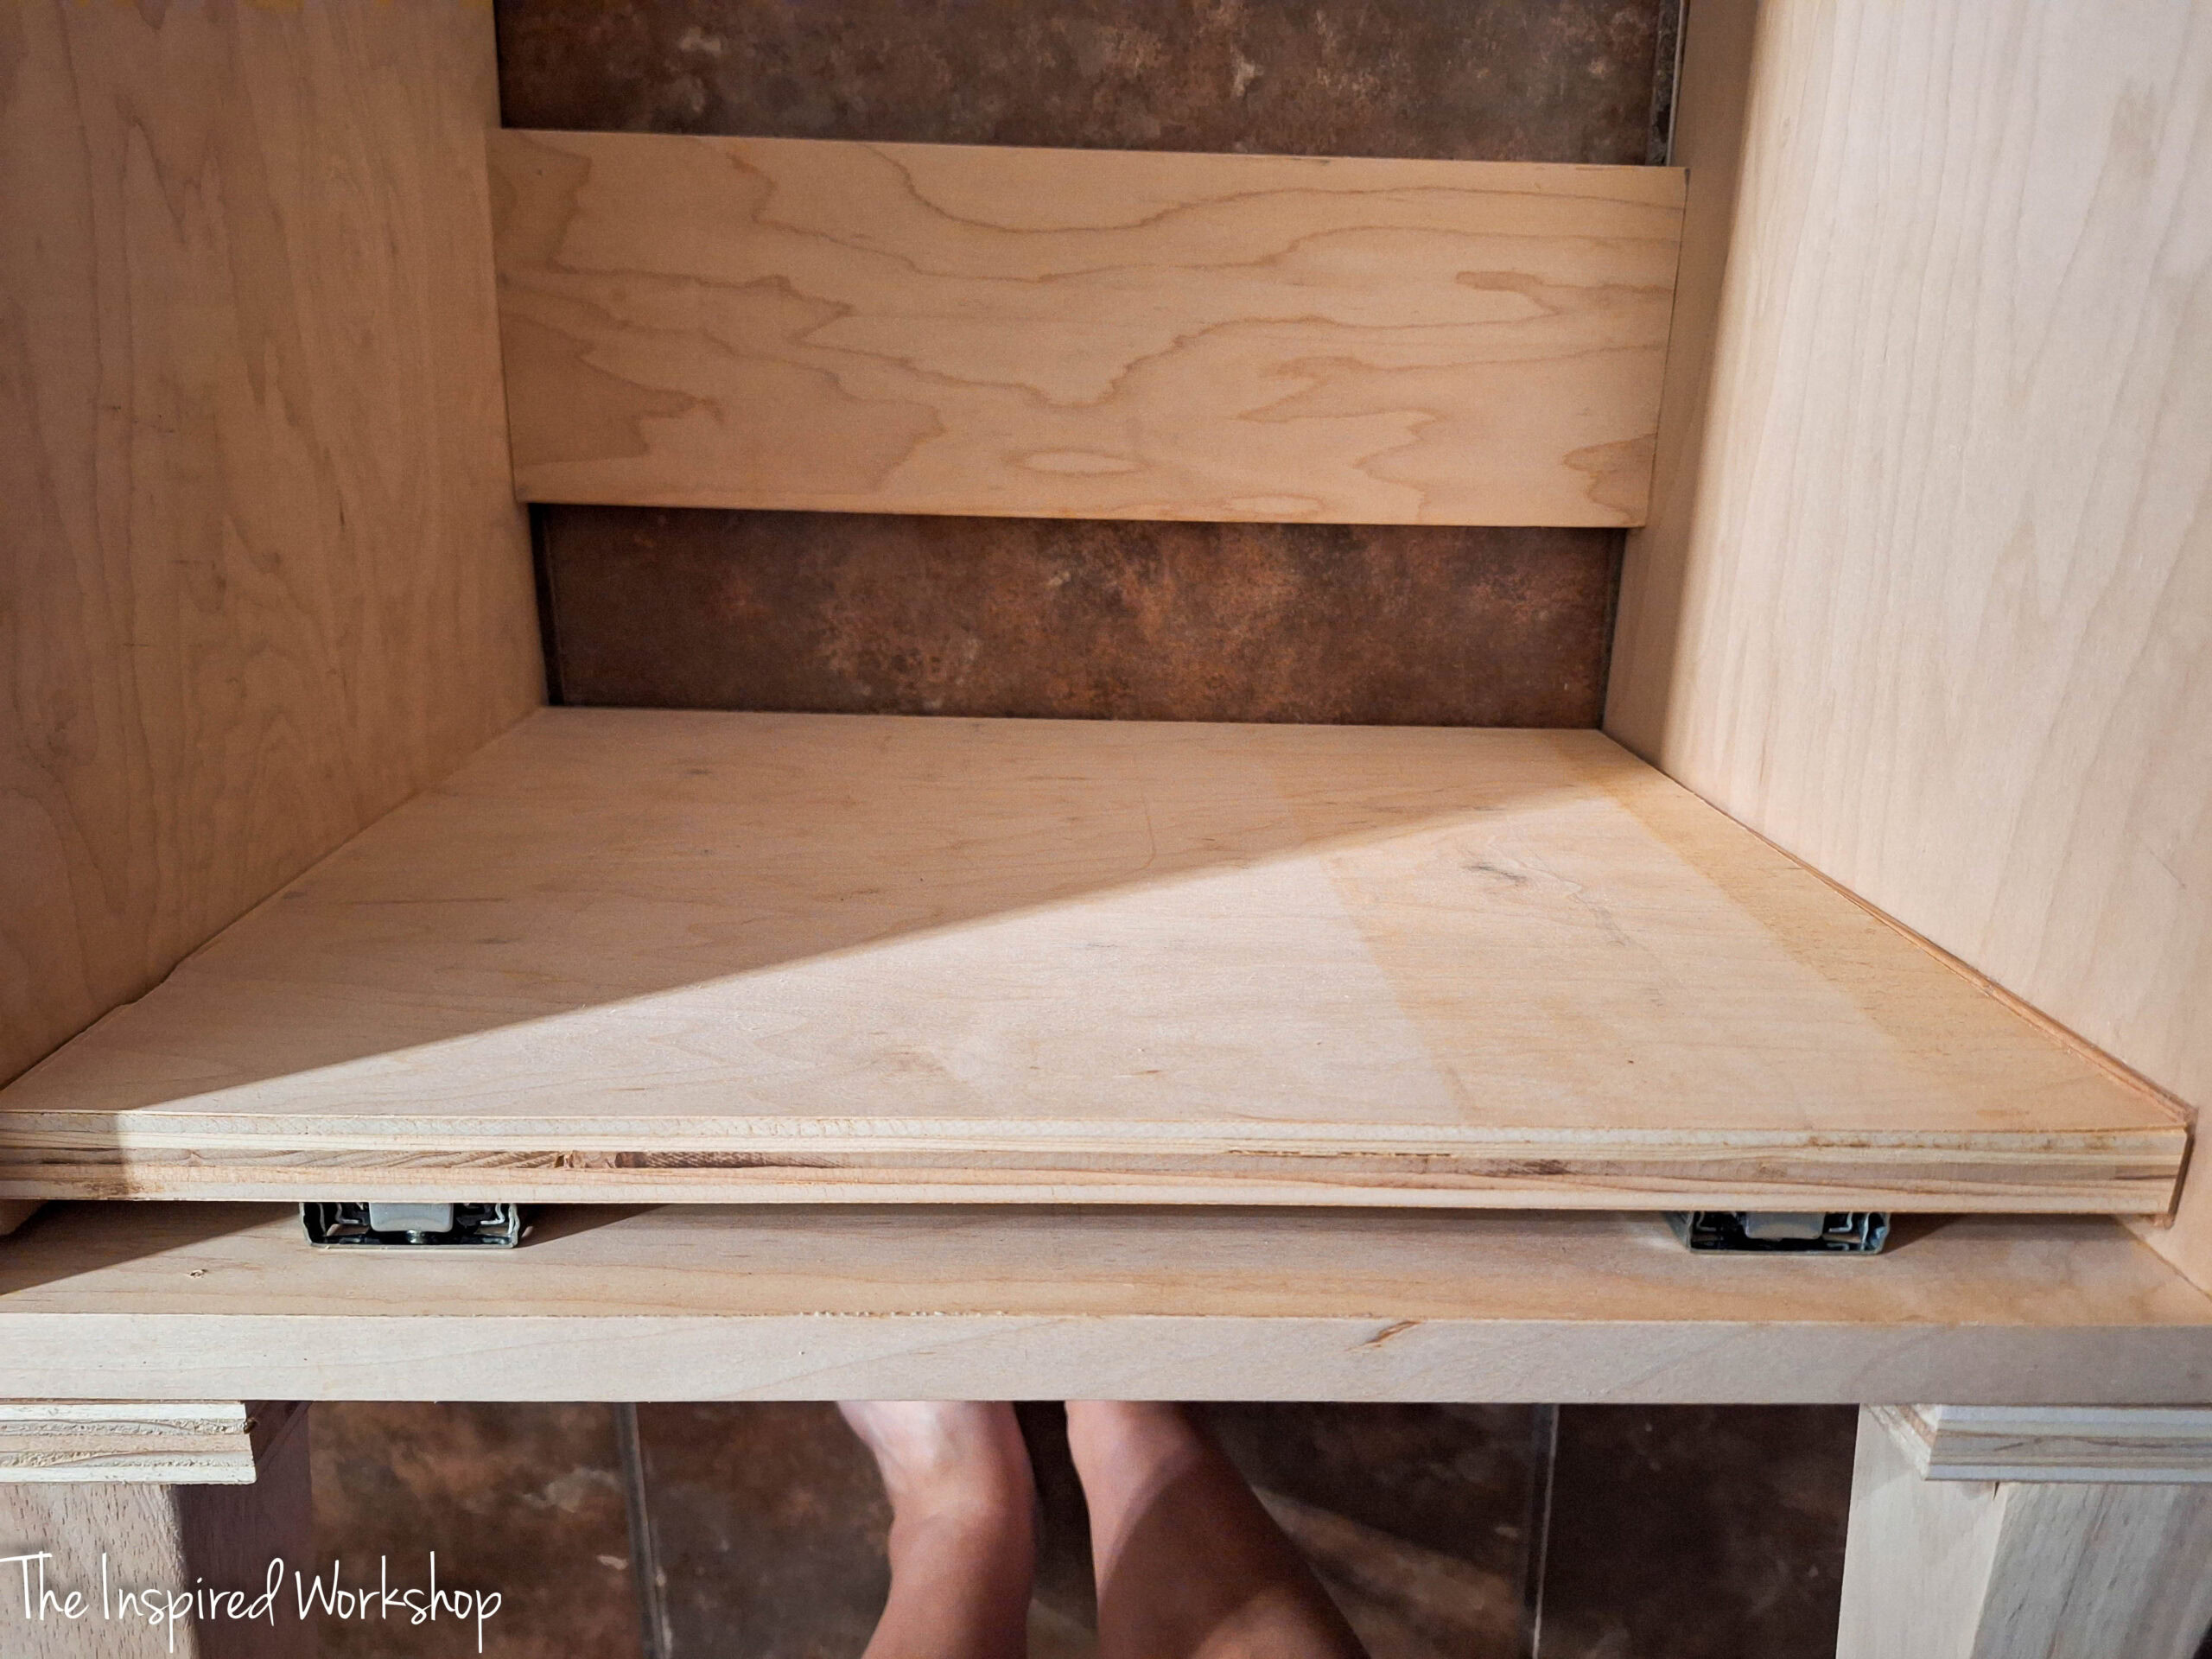
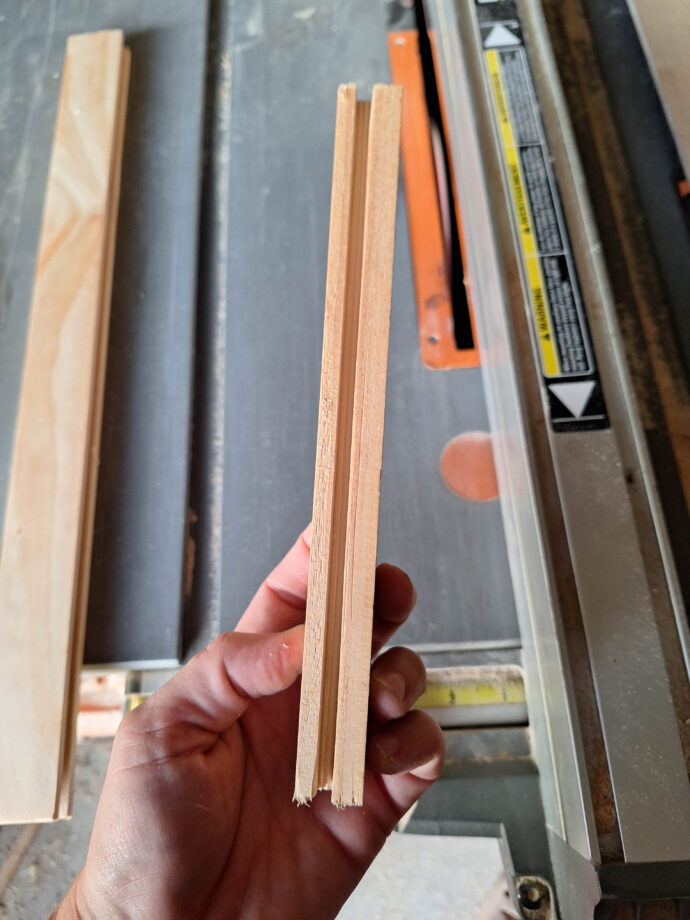
Alright, the shelf has to go in now! This was a little tricky because I did not have any half inch plywood but I was putting 1/2″ trim around the front of the shelf…I came up with the idea to run part of it through the table saw to cut it down to 1/2″ in the front, the back of the board doesn’t matter!
Pocket holes are drilled at 3/4″ depth and I used wood glue and 1 1/4″ screws to attach. This is what the shelf looks like on the bottom of it, the area cut down is 3/4″ to accommodate the hamper door.
I added the trim to the cabinet once the shelf was in place. This trim is ripped to 1/2″ from the 1 1/4″ lattice, lattice is found in the molding/trim section that is sold by the foot in Home Depot and Lowe’s. The trim is beveled on the front corners at 45 degrees off square on each piece.
Super glue is the best for attaching small trim such as this, no holes to fill and it is not coming off!
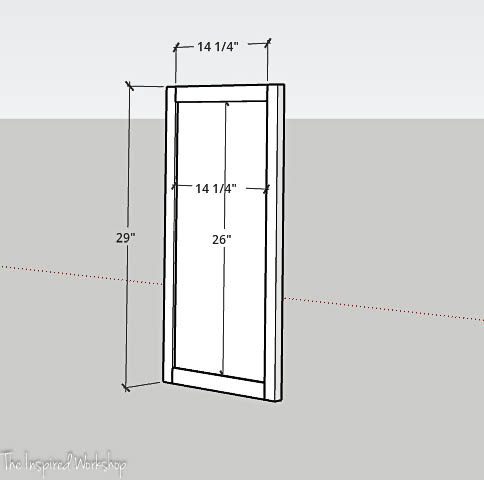
I am honestly not sure at what point I built the hamper door or the braces because I have no images of that! Lol! Luckily we have sketchup!
The door is comprised of the 1x2s in the cut list for the hamper door! I used pocket holes on the 14 1/4″ boards to attach them to the side boards, pocket holes are drilled at 3/4″ deep and use 1 1/4″ screws to attach! I did cut a groove in the 1x2s to slide the plywood into so the edges aren’t exposed anywhere! The plywood is cut slightly larger than the interior of the door (14 5/8″ x 26 3/8″) to extend into the groove.
I used the table saw to cut the grooves into the 1x2s, raise the blade to 1/4″ and although I do not have good footage of it, it is pretty simple and self explanatory. You can also use a router to accomplish this!
Once you have the door built, it is so tall, you will need supports to keep it properly aligned with the base. I put two, I am not sure it needs both of them, but I was not going to find out later that it did need both and only had one! Lol!
Don’t forget the bottom trim! This trim is beveled along the front at 45 degrees off square. This is the lattice trim that is 1 1/2″ wide. I used brad nails to attach but super glue works really well on this too!
Once you have all of this attached and in working order, add the hardware of your choice, and the base is complete! Time to build the top shelves!
Building the Top Shelves of the Linen Cabinet
Now that the base is done, the hard part is over! The top is quick and easy to throw together!
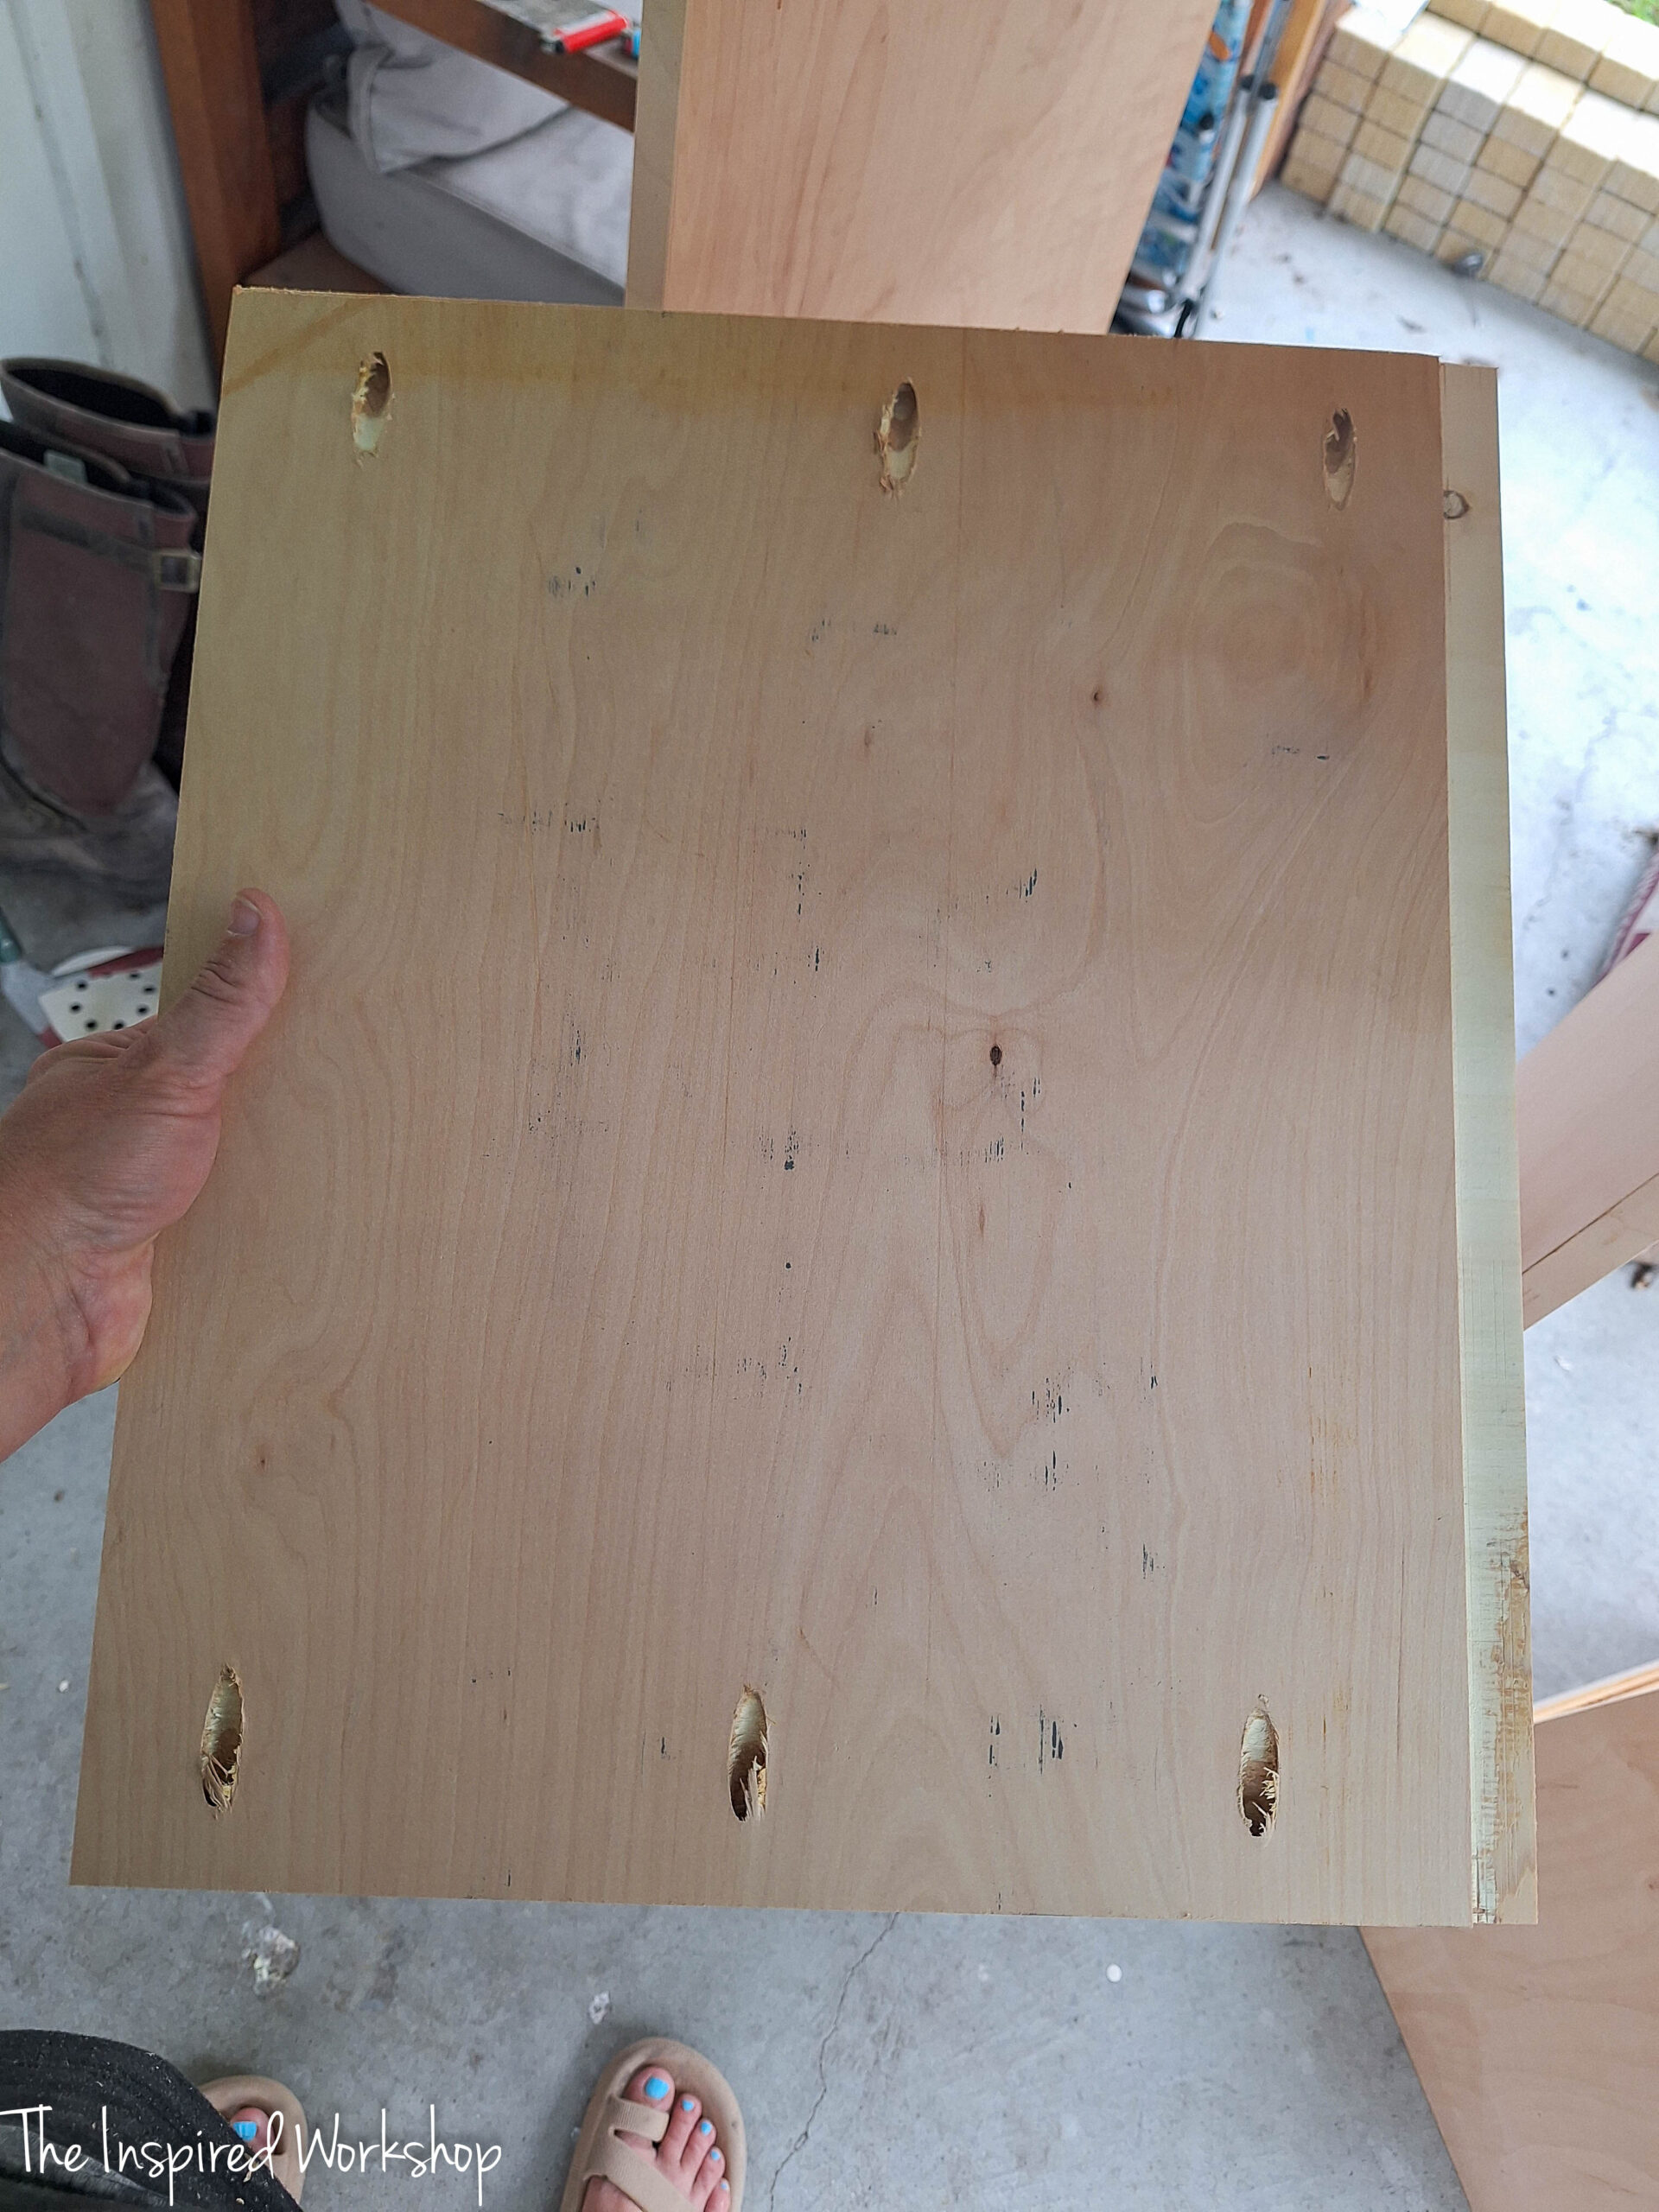
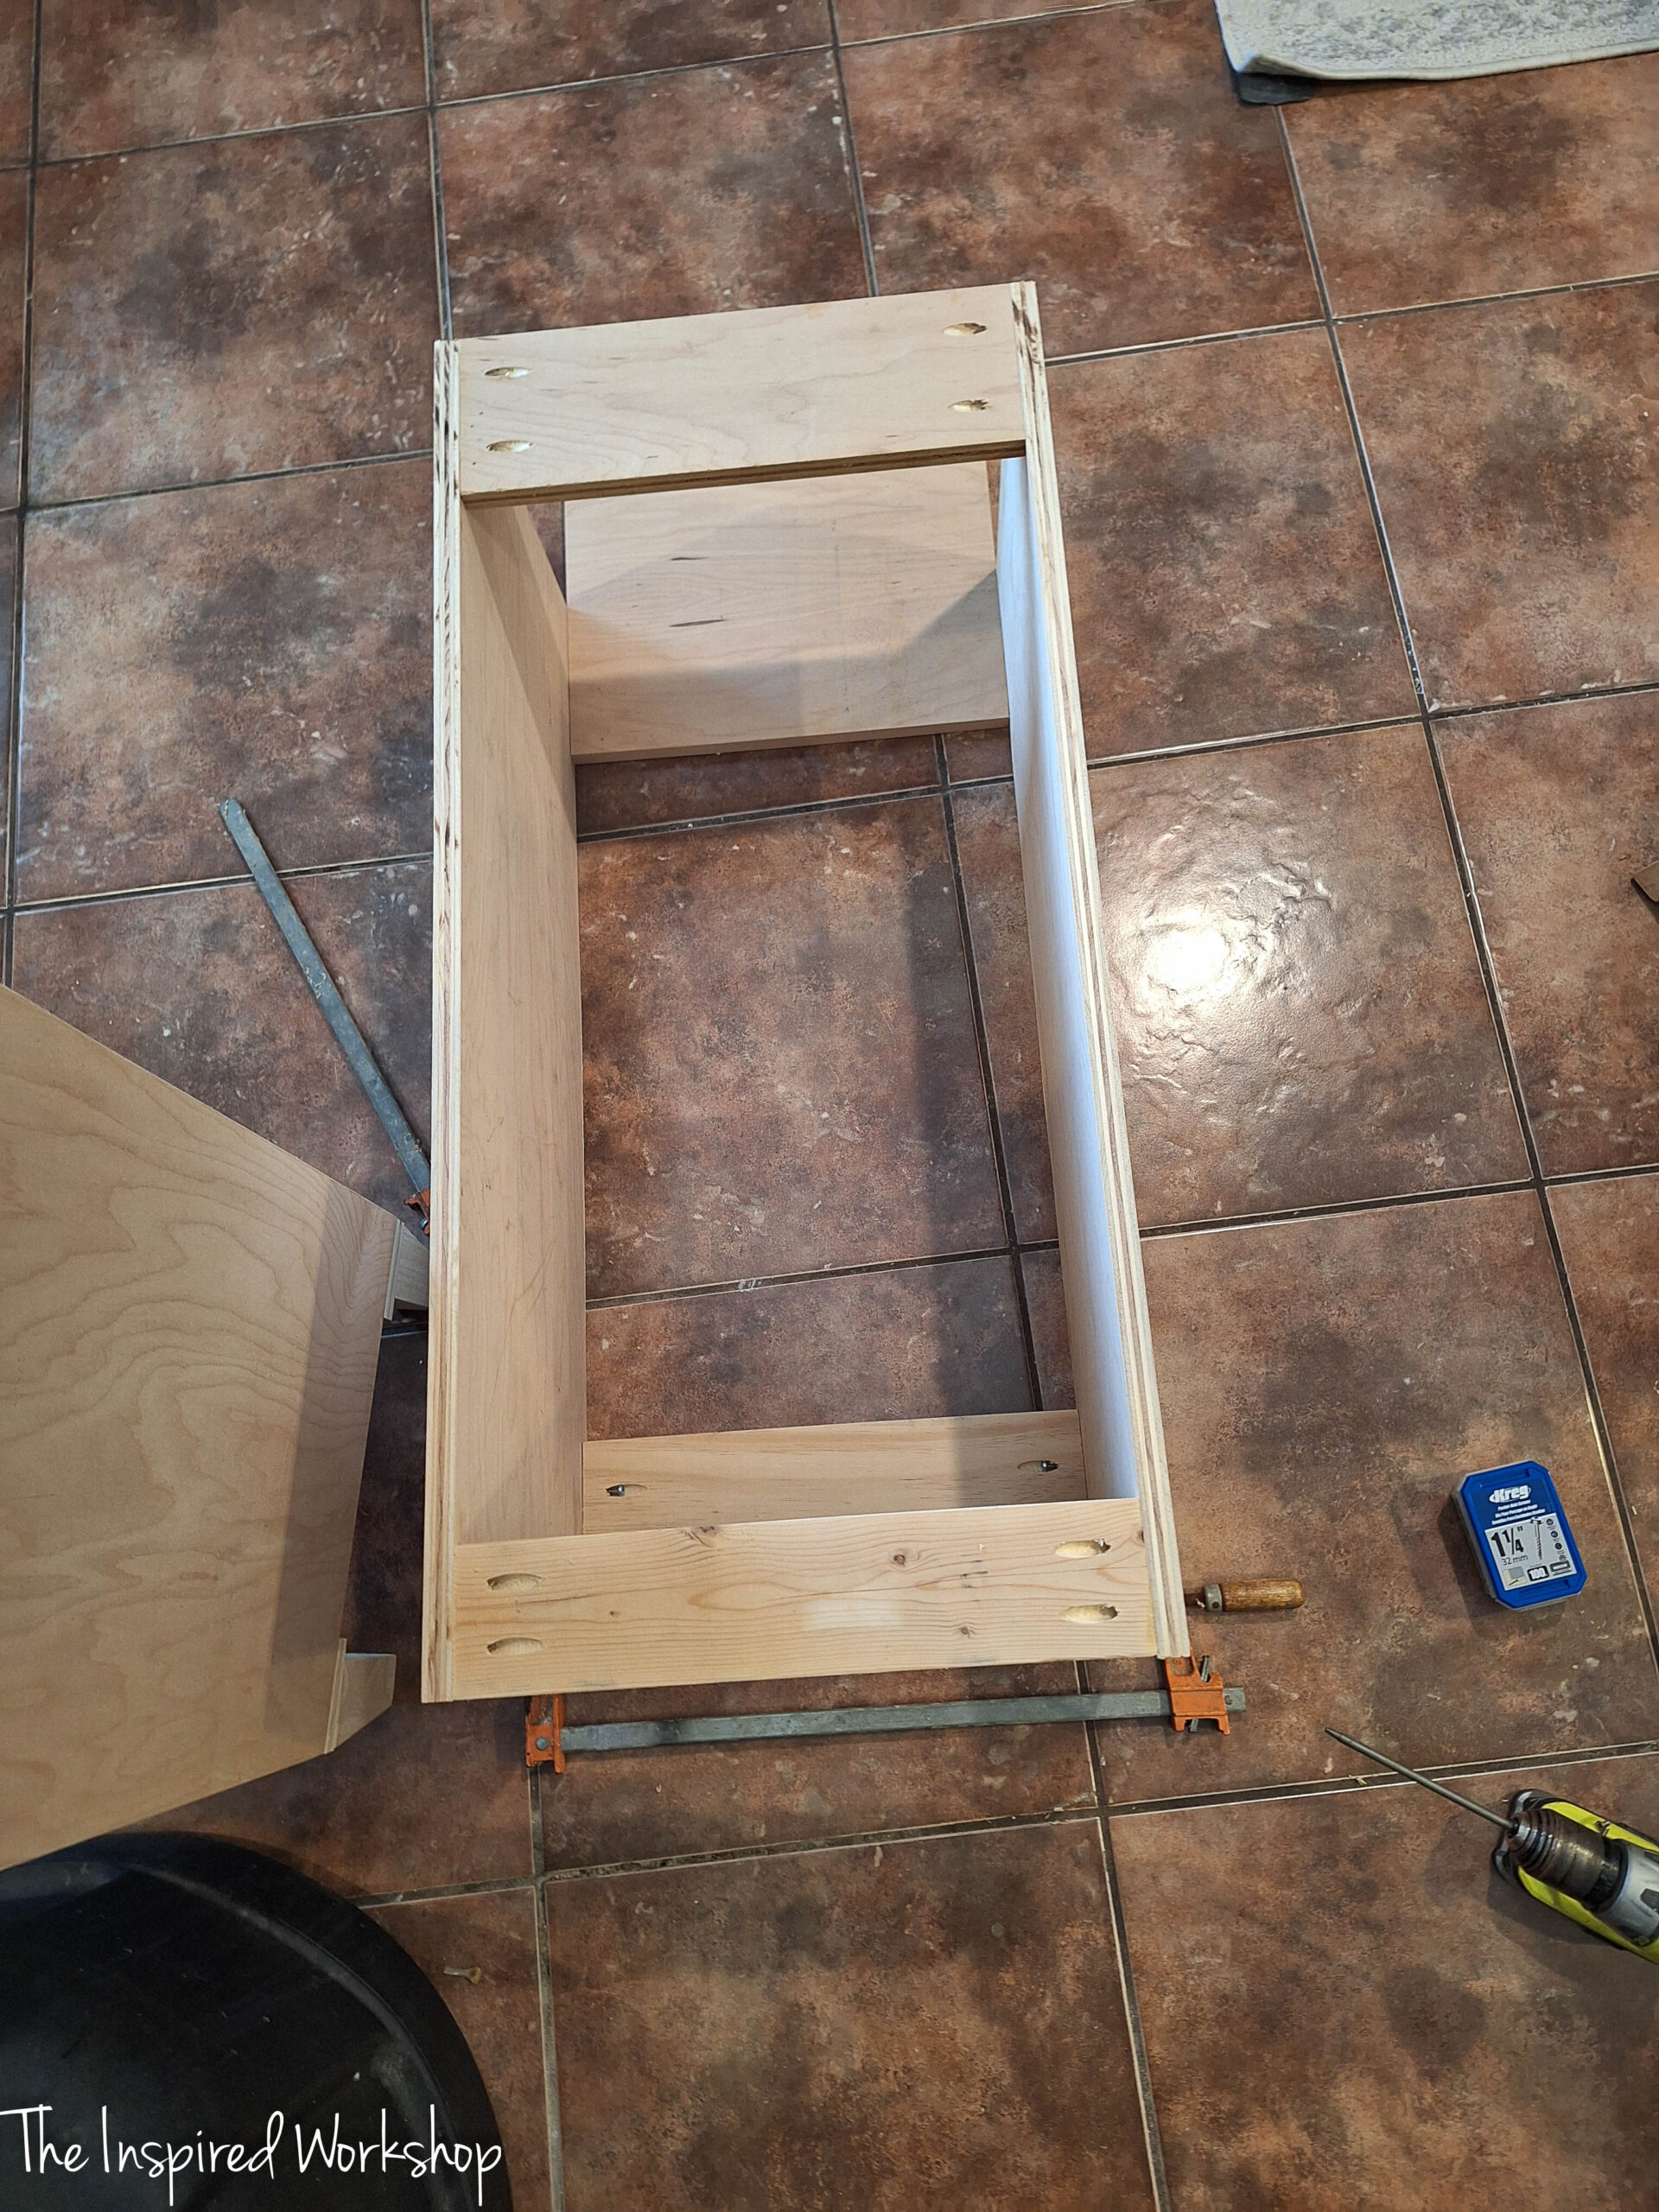
First I grabbed the side pieces, drilled pocket holes in the end that was going to be the top and cut the front top piece and back support pieces. This picture is upside down, we are looking at the top, not the bottom here! All pocket holes will be drilled at 3/4″ depth and wood glue along with 1 1/4″ screws will be used.
I edge banded all the exposed edges before assembling here just as I did on the base!
I used one of the shelves as a spacer to hold the bottom front open as it needed to be while I attached the back support, this image is upside down, at the top of the image, that is the bottom of the shelves.
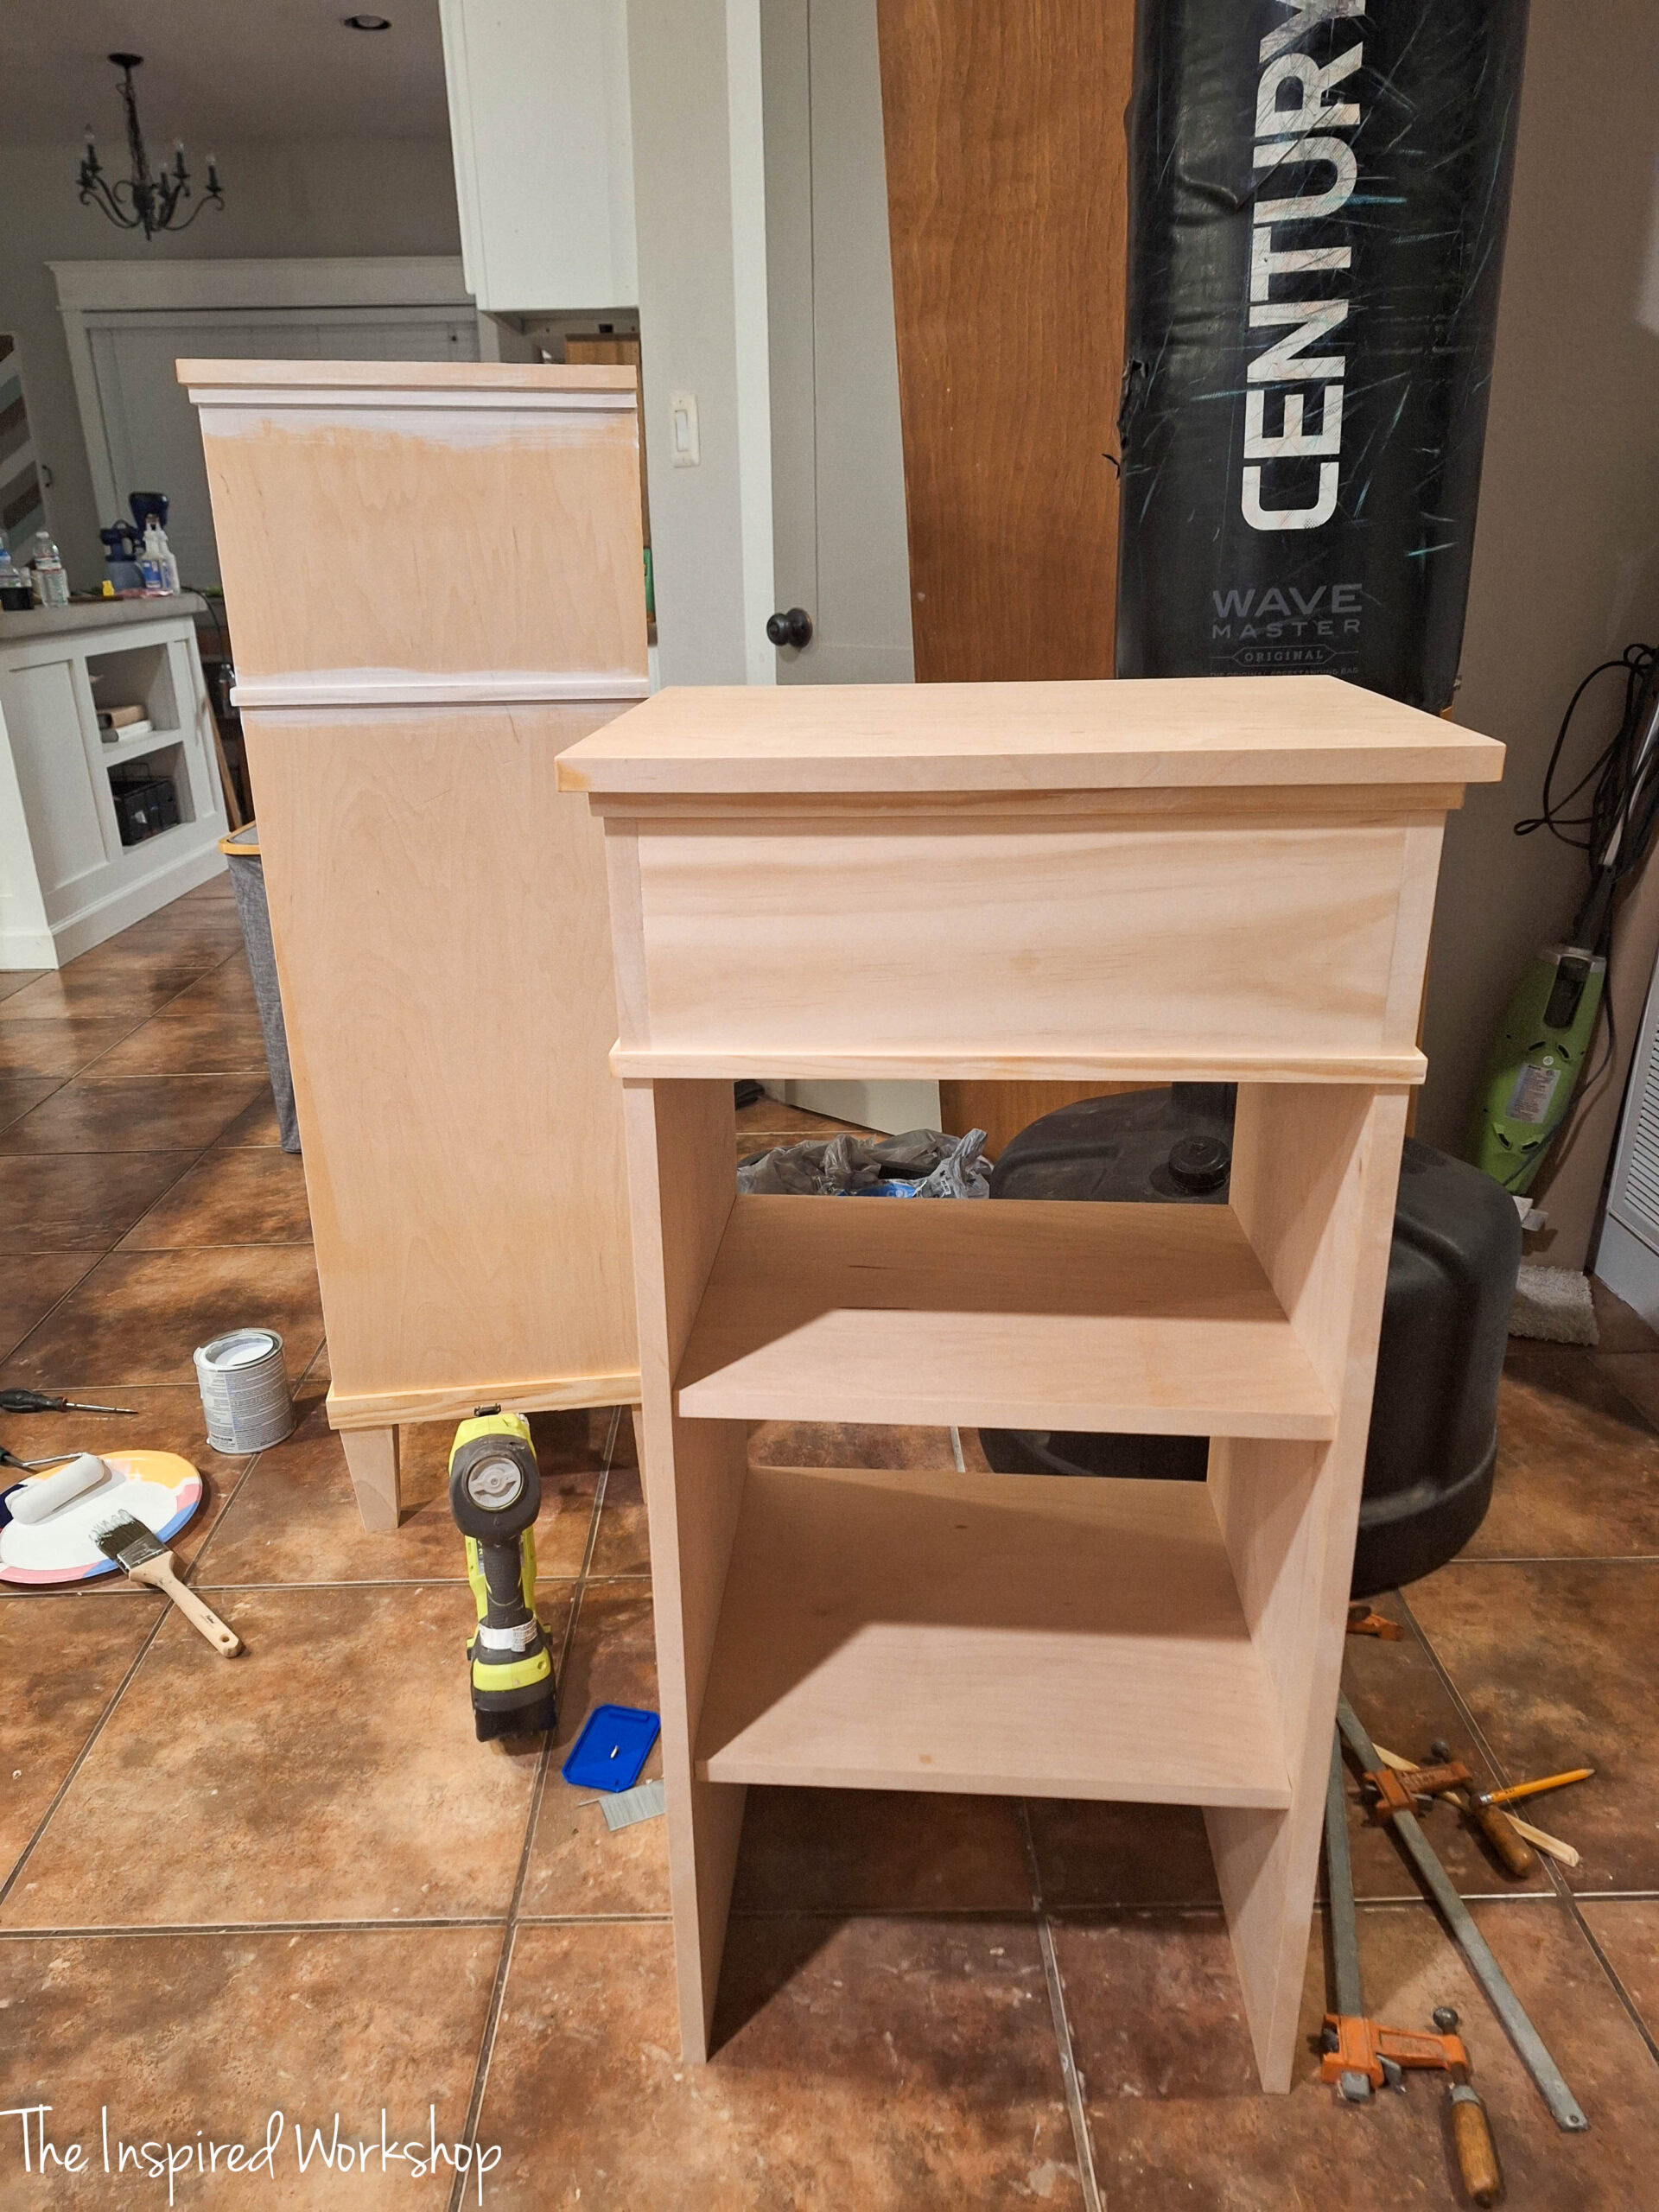
Next, I added the top using the pocket holes drilled earlier.
I added the shelves with wood glue and brad nails from the outside since I did not want to have large pocket holes to fill as I would not be able to sand them with the small space between shelves and I did not want to see them since they would be high up, they would be visible.
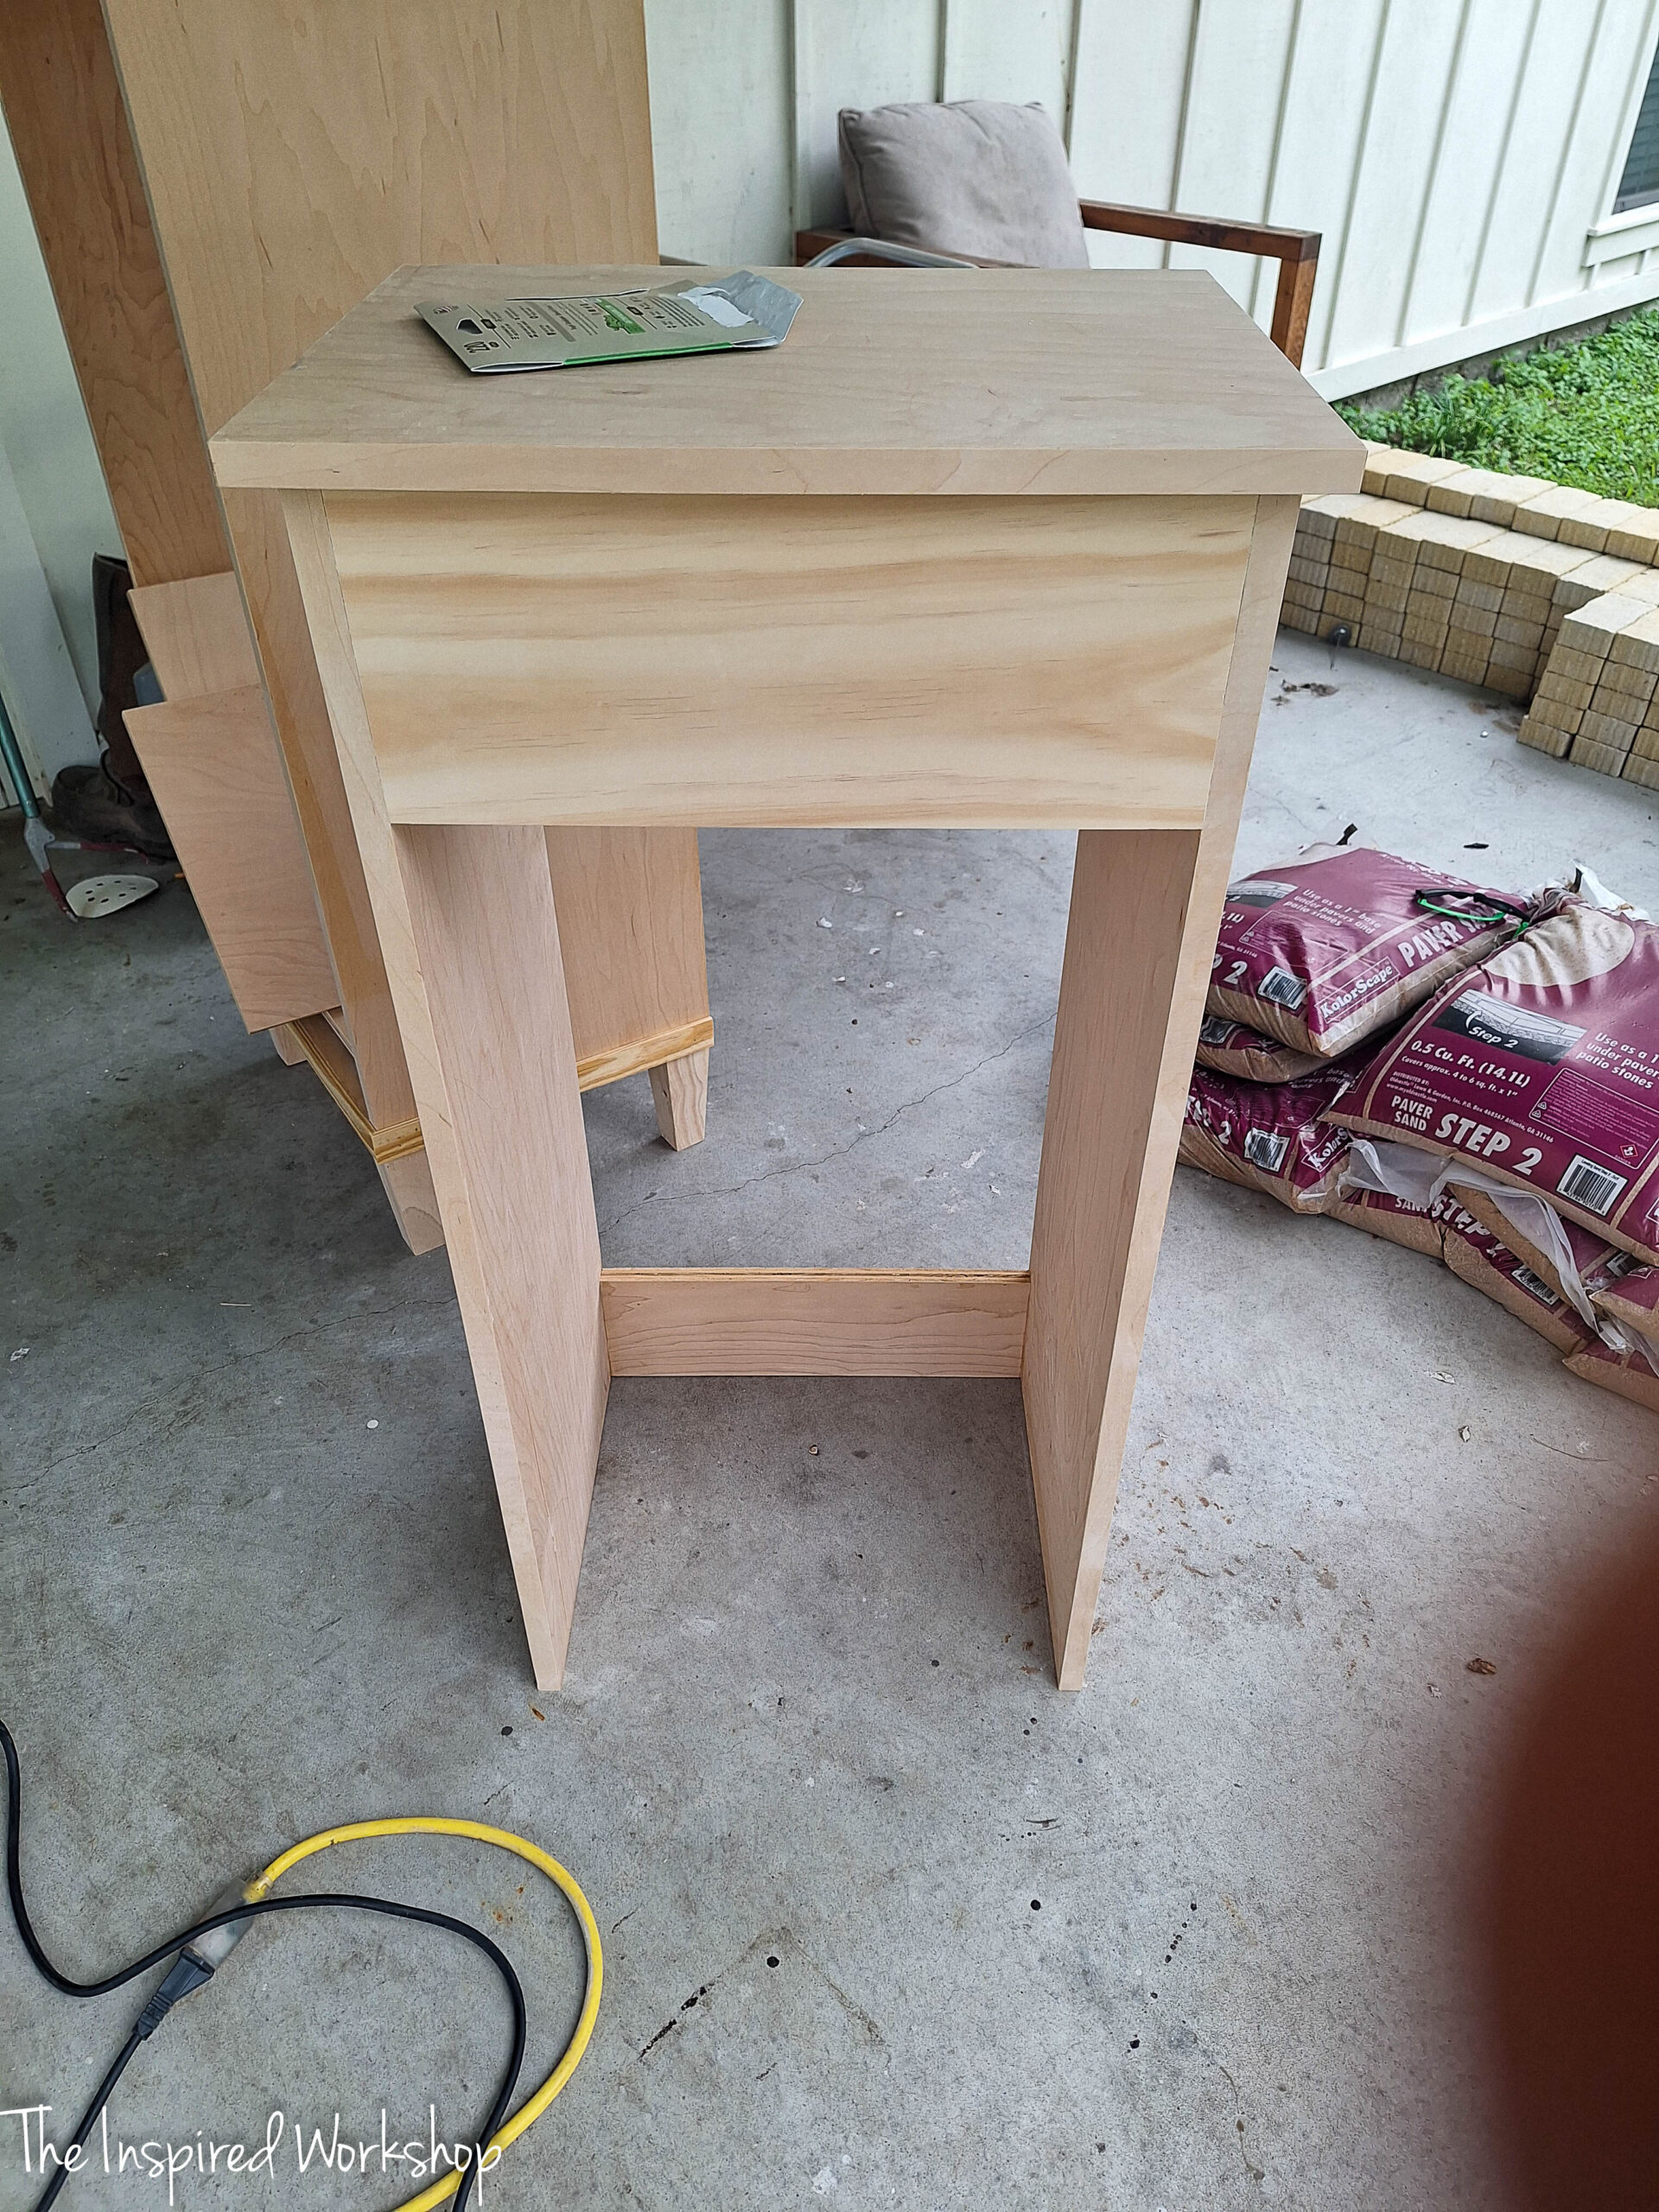
The image below already has the trim as well, so it is basically completed once you put the shelves in and get the trim on!
I painted it at this point! I used Behr cabinet and trim enamel paint in Midnight Blue. I will say this was very strange paint that stayed sticky for about a month, even though it said “doors won’t stick after 2 hours”! I have learned my lesson and will always wait for Sherwin Williams to open to get my paint! I love their Pro Classic Acrylic Alkyd paint for my cabinets and Snap Dry for my doors, which is actually ready in 2 hours!
I did not attach the two pieces together either because I could not come up with a good way to do it, it really wasn’t going anywhere when I put it in place but just to be safe, I attached the base cabinet to the wall, making sure to hit a stud, and did the same with the shelves, just screwed through the back supports and into the wall with 2 1/2″ screws.
She’s ready to help out with all your storage needs!
Have you ever remodeled a bathroom without storage? If so, how did you solve the storage problem? Let me know below!
If you have any questions about the build, feel free to ask in the comments below!
Happy Building!

Want to save this post for later? Pin it!