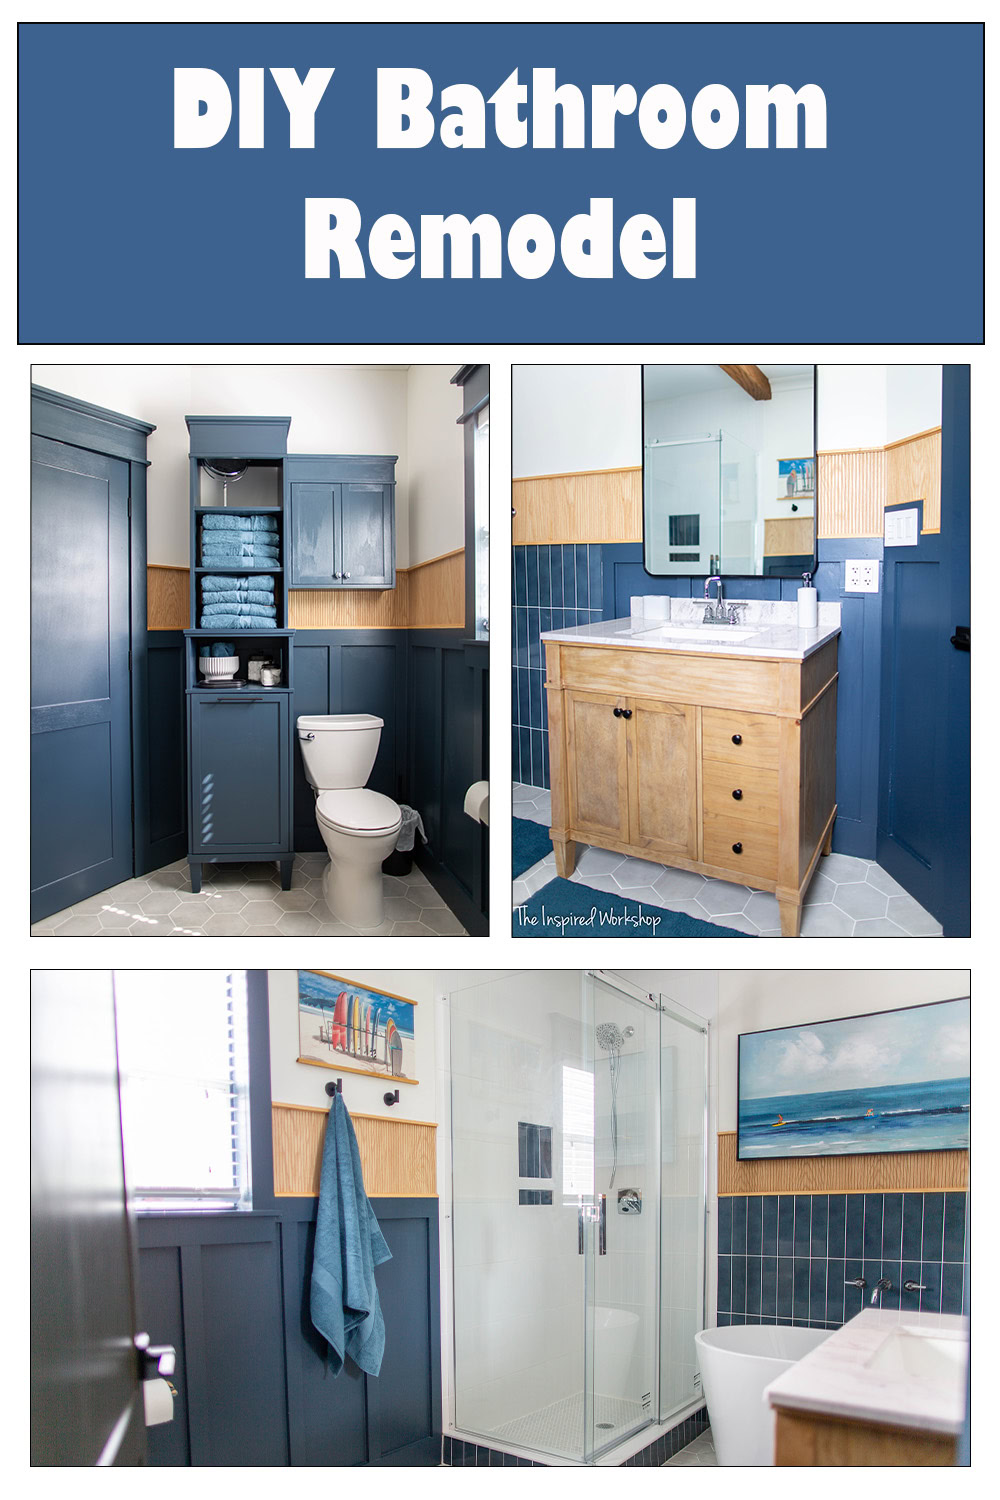
DIY Bathroom Remodel
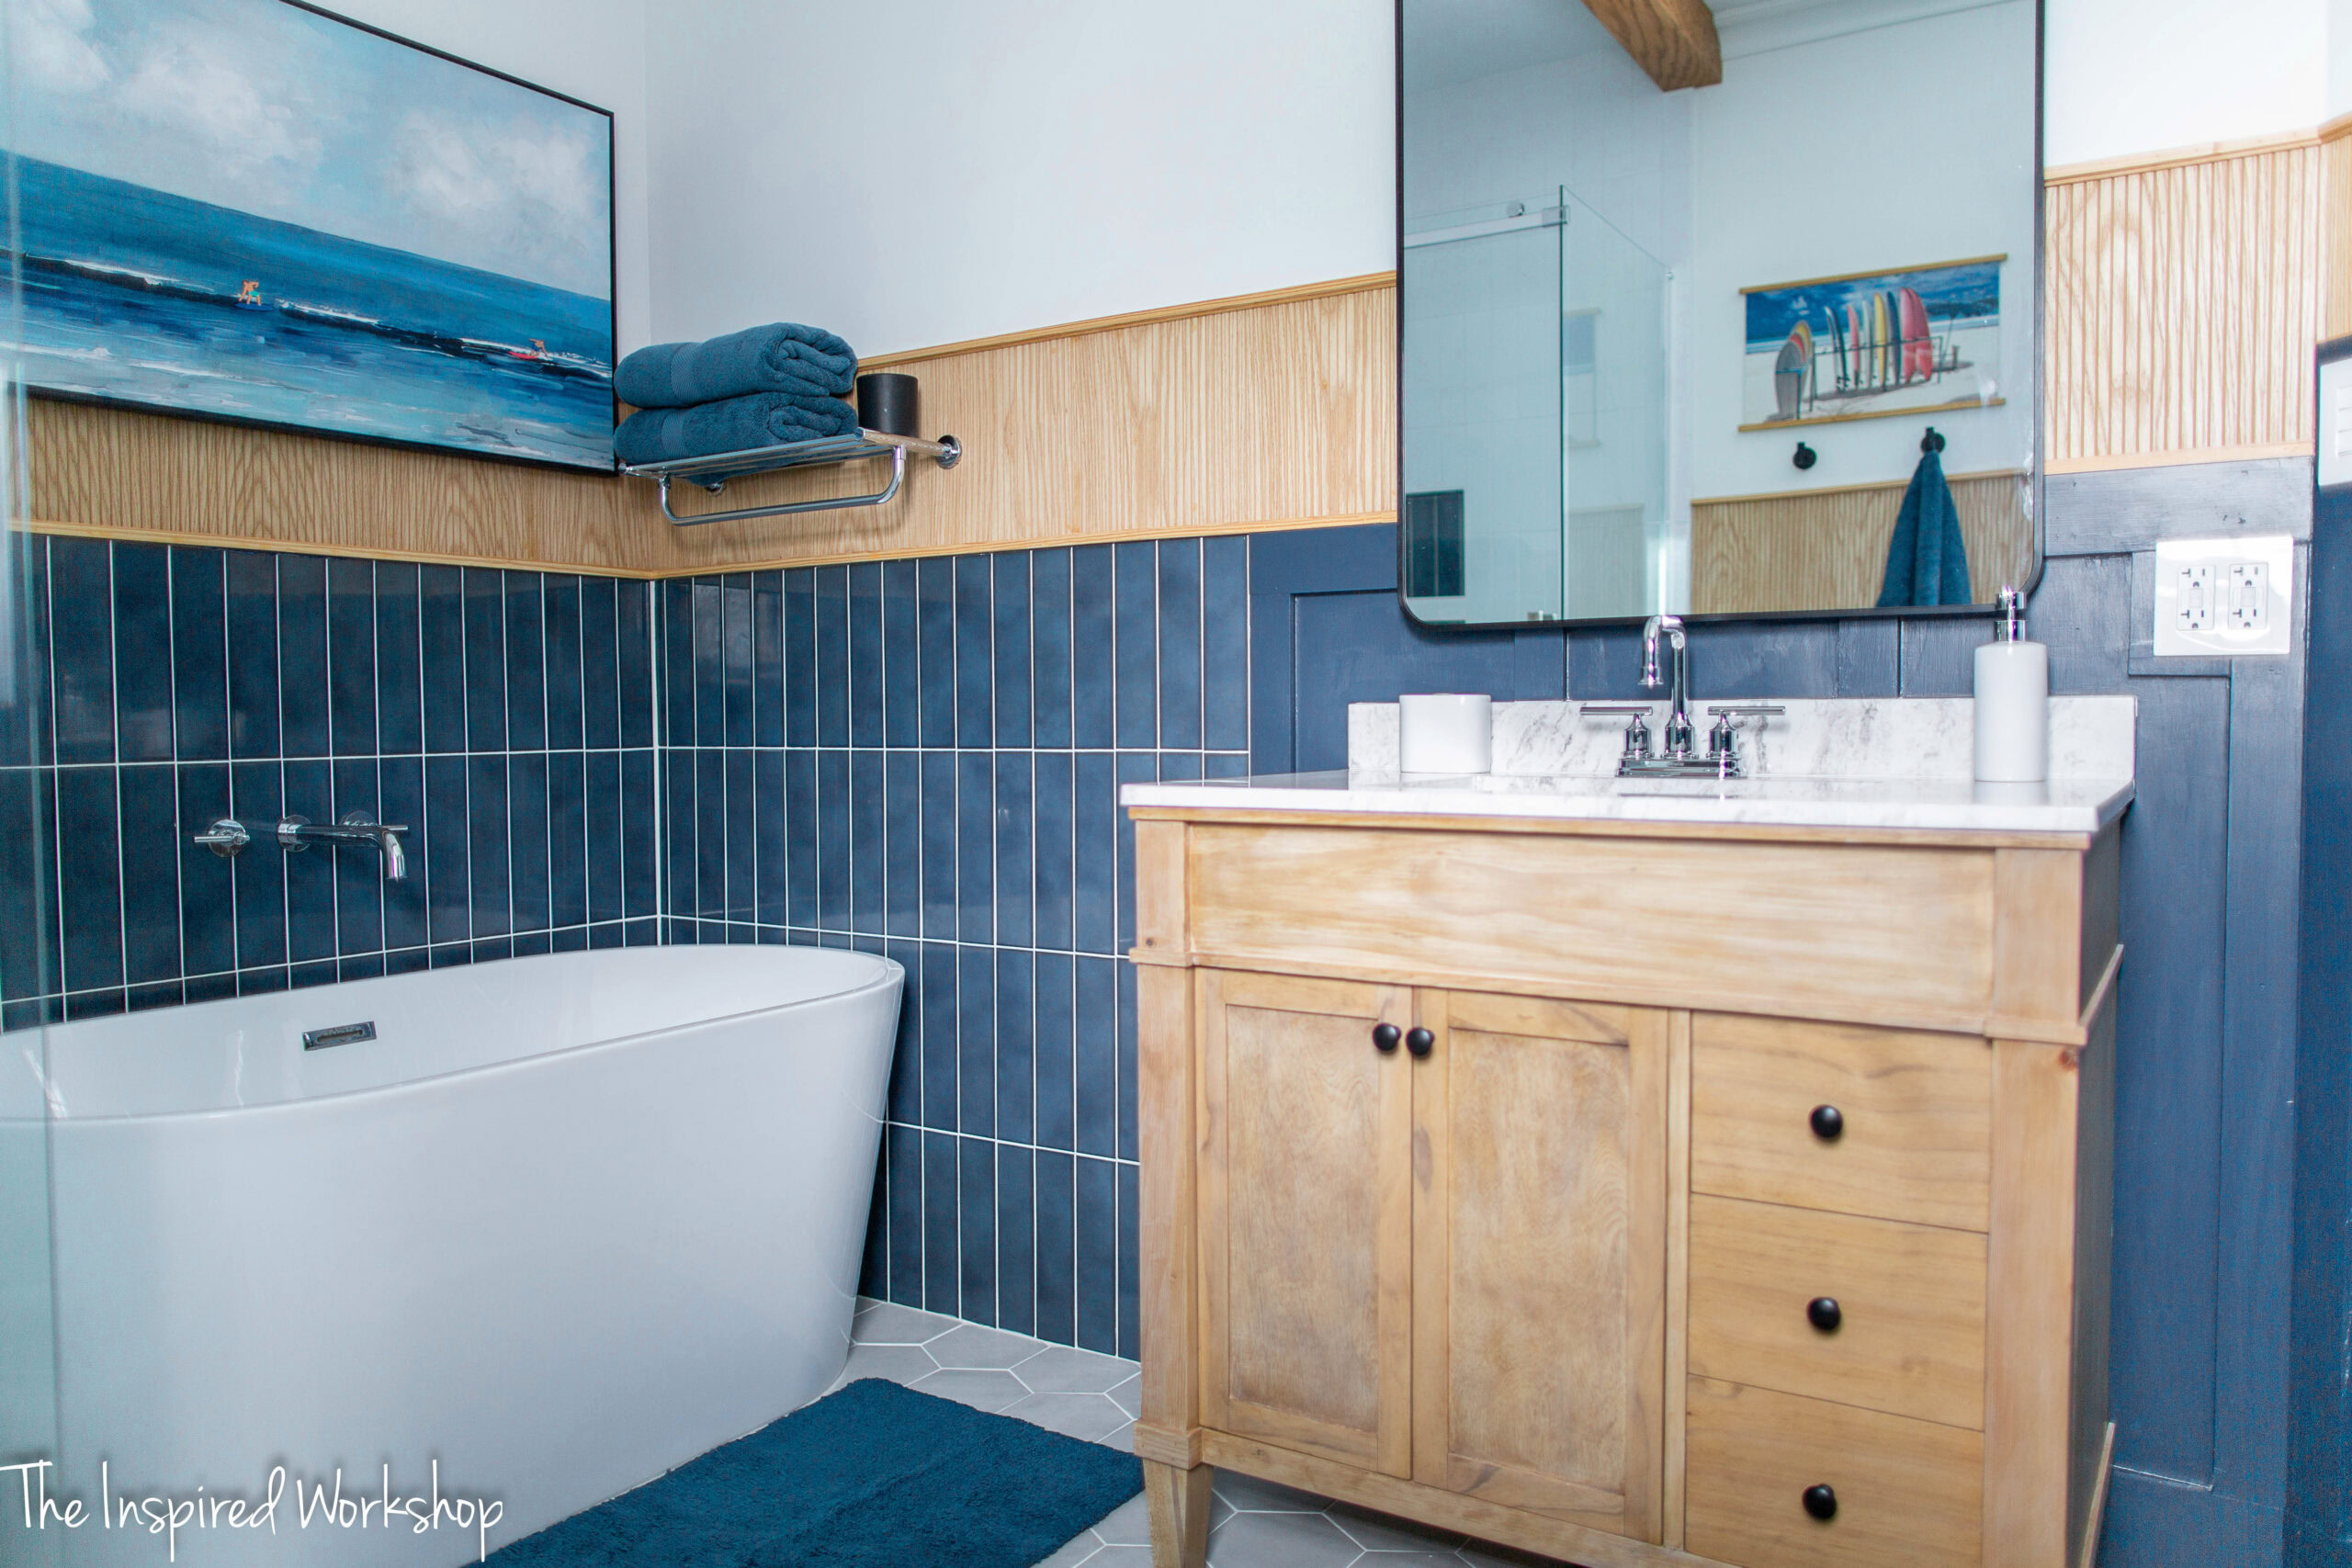
Embarking on a bathroom remodel is a journey filled with creativity, challenges, and ultimately, immense satisfaction. Over the past year (or maybe 3) I took on the ambitious project of transforming a completely blank slate into a modern, functional space tailored to my boys’ needs. The result? A stylish bathroom featuring bold navy blue and white walls complemented by warm wood accents, a luxurious free-standing bathtub, and a sleek glass shower enclosure.
One of the highlights of this renovation was the DIY vanity, linen tower, and over-the-toilet cabinet that I crafted with love and precision. This post aims to not only shares my remodeling journey but also to dive deep into the costs, the hurdles I overcame, and the lessons learned along the way to help you do the same in your own home!
If the kitchen is the heart of the home where everyone gathers and enjoys each others company, then the bathroom must be the brain of the home, you know where all the ideas are born! The bathroom is where everyone goes for some quiet time to ponder, whether on the toilet, in the shower, or relaxing in the tub, the wheels seem to start turning! This DIY bathroom remodel was so important to create the space for my kids to relax and dream (even if they are practically grown now😅)!

Whether showering or taking care of important business on the toilet, I wanted a space that was clean and sophisticated, but yet young and fun for my boys and their friends to utilize! I think I was able to accomplish that with this gorgeous navy blue and white bathroom design!
The oak of the pole wrap MAKES this whole design plan come together to be unique and fun! It is my favorite part of the whole room! It really upgrades a basic board and batten pattern to make it perfection and gave me the wow factor that I was going for, while keeping the whole bathroom on a pretty tight budget!
The navy blue and chrome together remind me of times long ago during the fifties and sixties and I know my grandpa would be proud! Lol!
This bathroom renovation was one of necessity since the bathroom was never finished before we moved in and the very large shower was being used by the previous owner as a closet!
Here is a before of where the shower is now! We had removed a partition/wall from the large shower already in the image below!
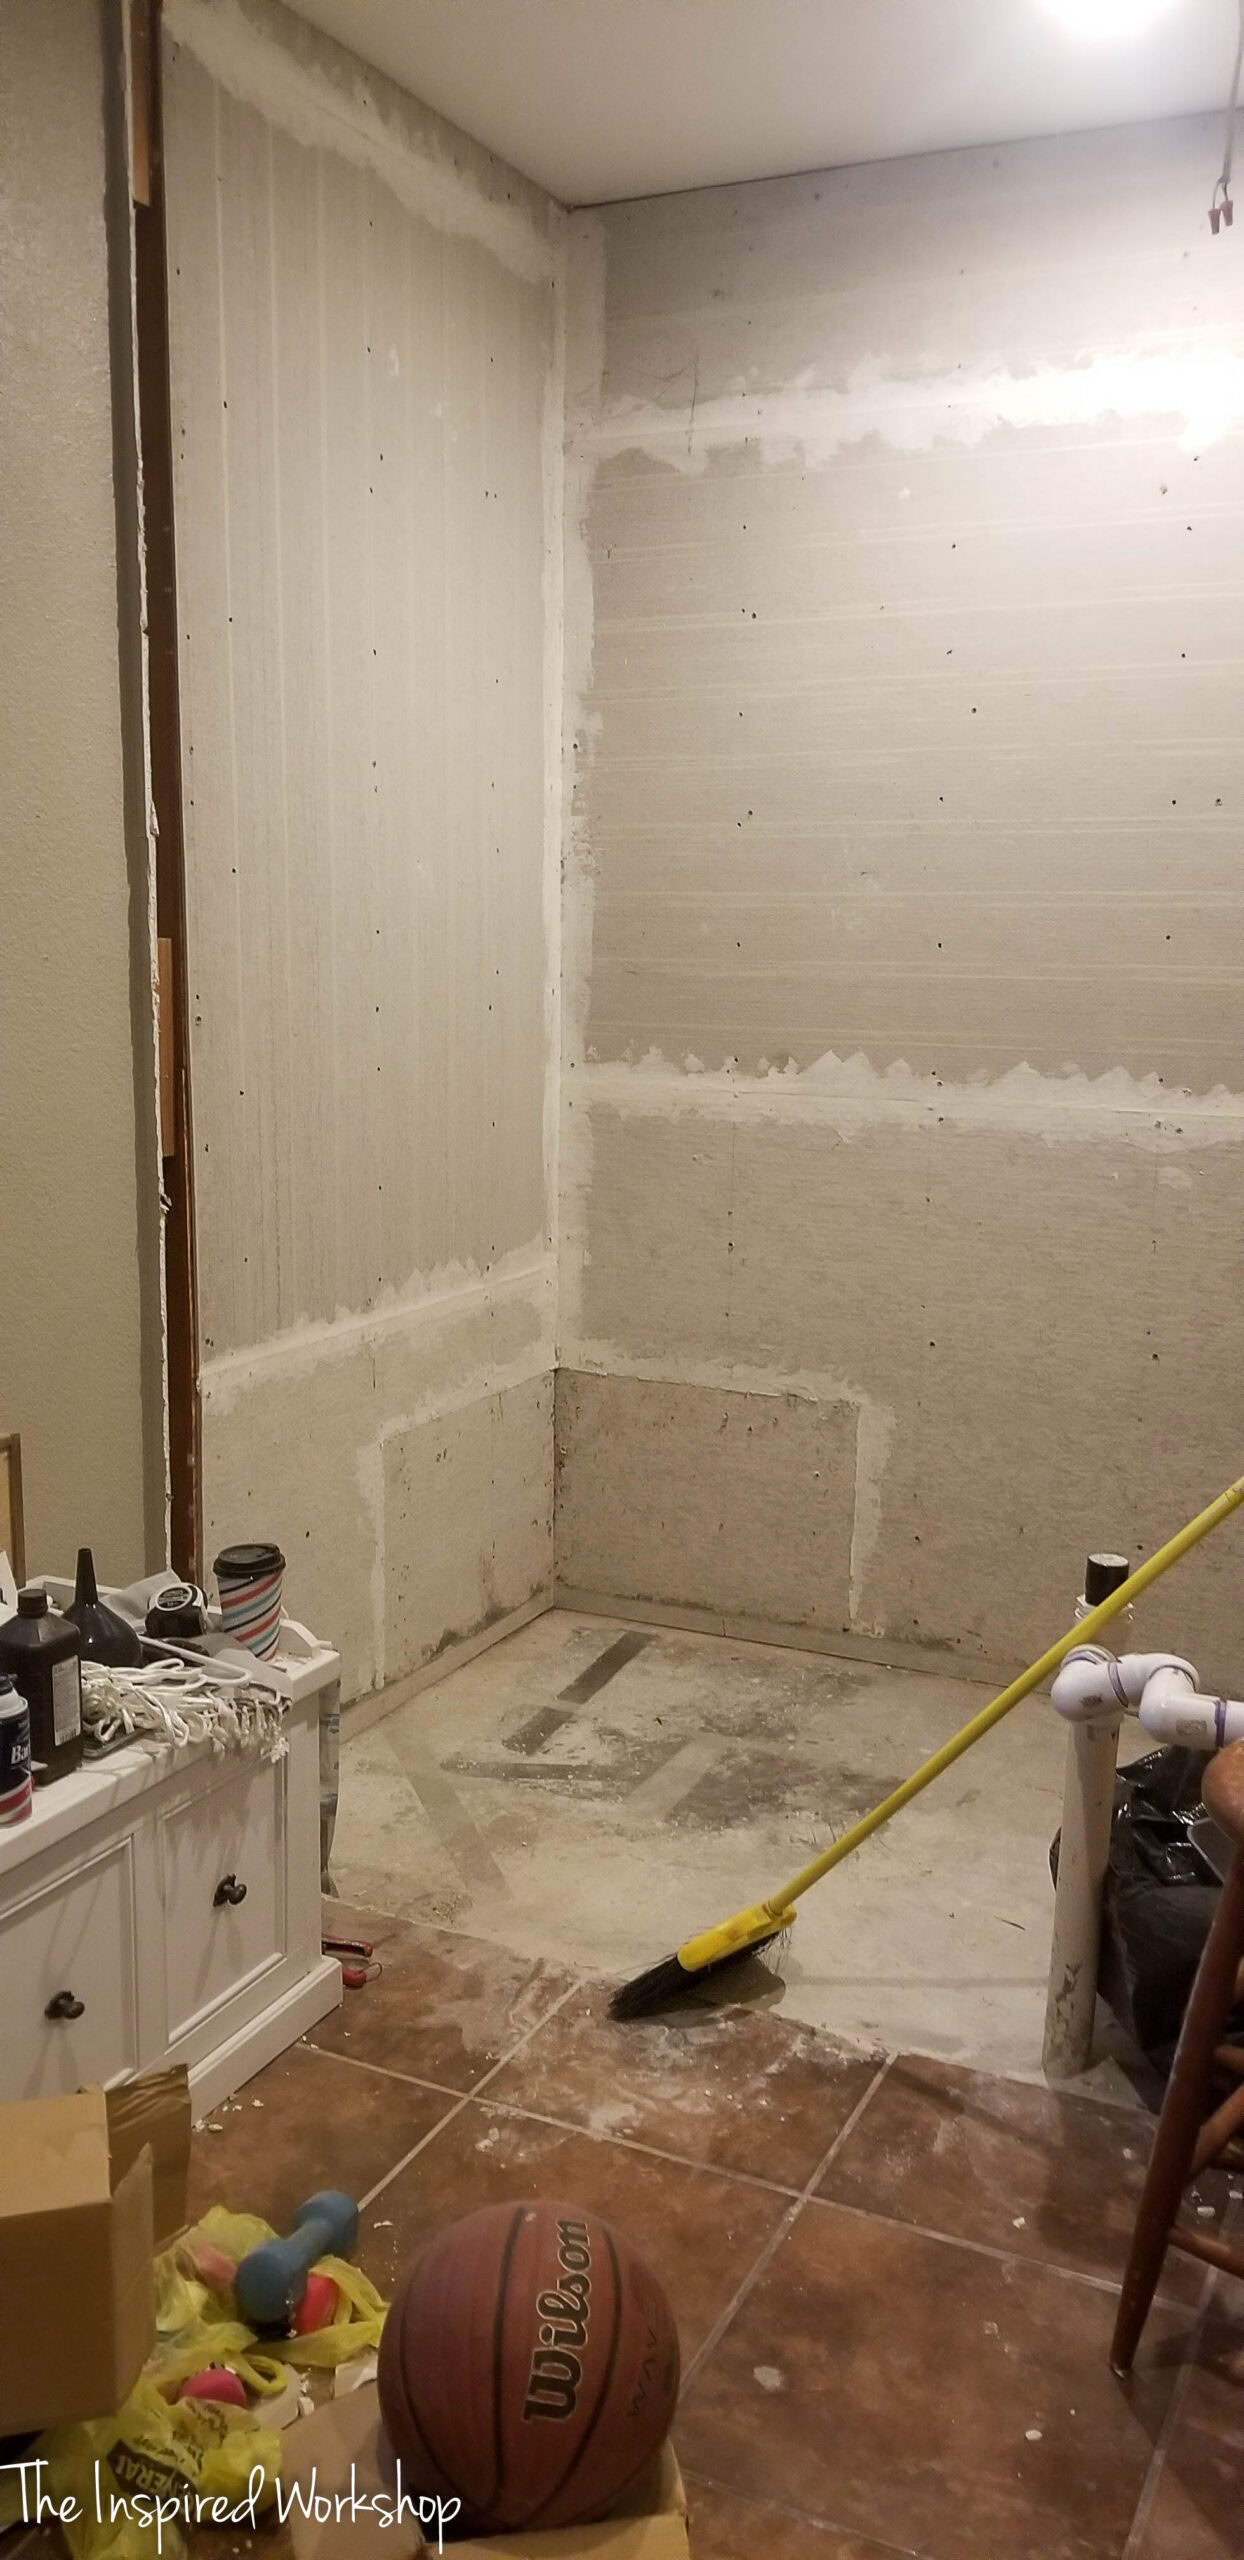
This bathroom is a weird shape and hard to photograph! I was using my phone to quickly snap a couple of photos before we finished demoing the room, but I did not do a good job of getting the whole space.
This is where the vanity and bathtub sit along these walls.
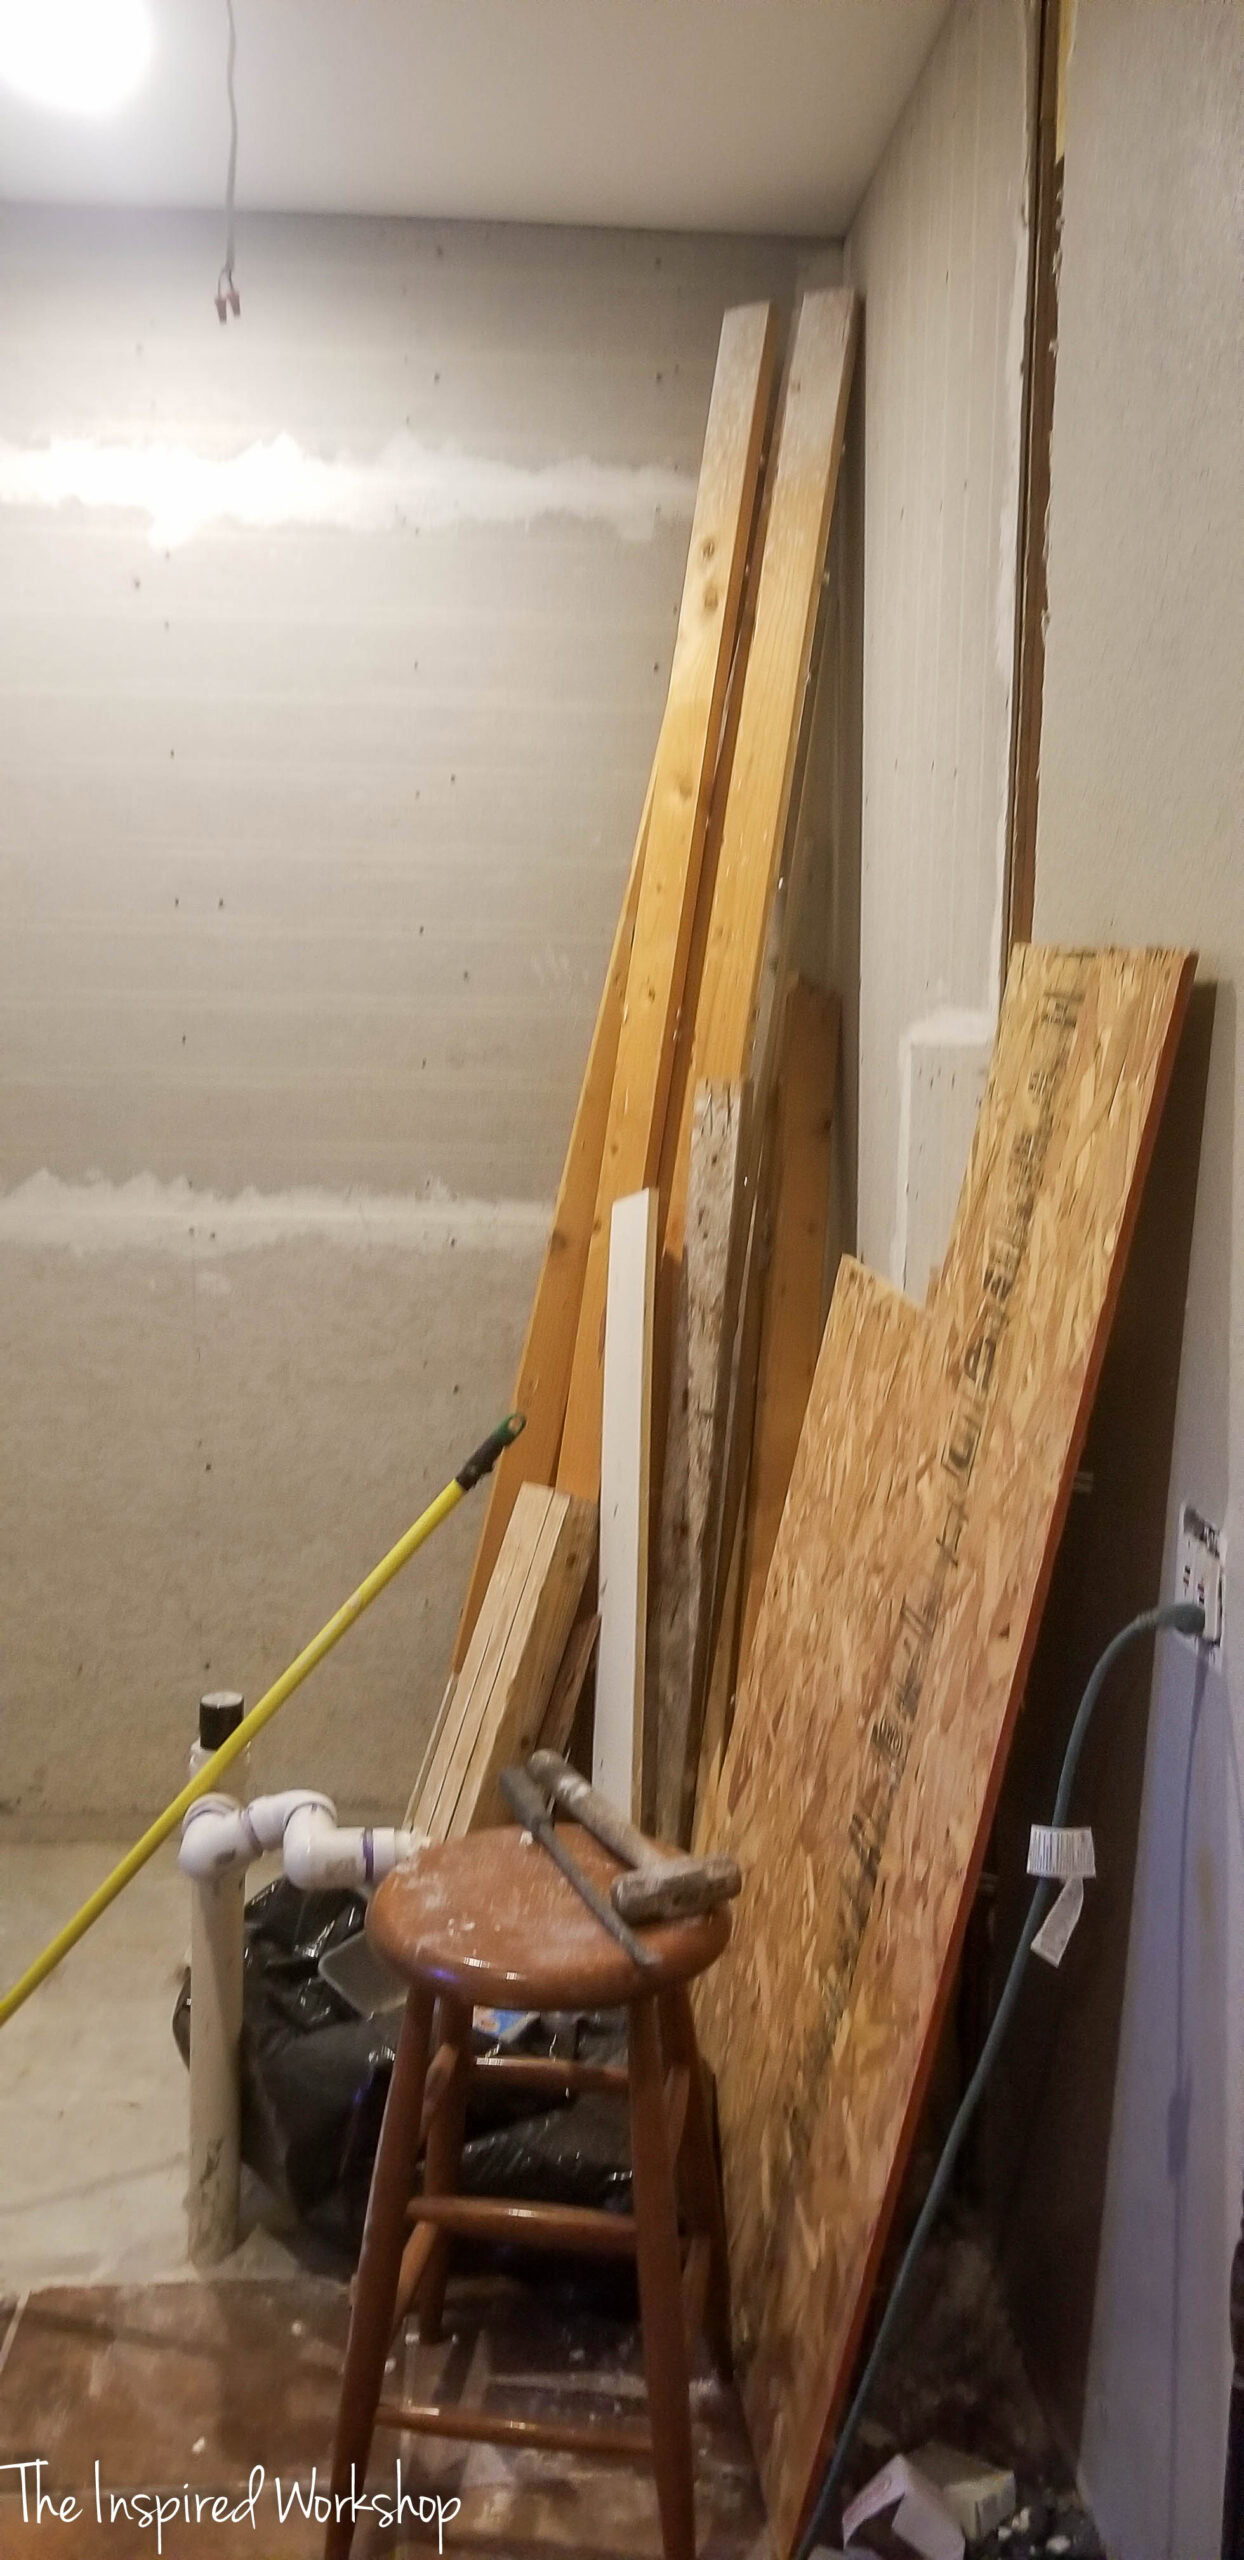
Here’s the toilet wall, before the added board and batten and linen tower addition! Y’all the toilet plumbing was hanging out of the wall like that, no joke! Lol! We did remedy that!

Now, there are still some areas that I would have loved to do differently but with the odd shape of the bathroom and the window placement, I was stuck with some things, but this is an improvement any way you look at it! LOL!

To get down to business, I am sharing the cost breakdown and tutorials on all the projects I completed in here!
Cost Breakdown of the Bathroom Remodel
This was a bathroom remodel from the ground up, starting from absolute ground zero, well I did keep the toilet, and I managed to do it for a wee bit over 4 grand! I think that is spectacular considering I started planning this remodel in 2021, so by the time I actually made the purchases the prices on most items, they had then almost doubled in price! Oy!
***NOTE: Links below are affiliate links! Affiliate links allow me to show you the products I used, and should you make a purchase after clicking a link, I make a small commission at no extra cost to you! It is always appreciated when you shop from my links as this helps me to keep bring the content to you all!
Budget Breakdown: Achieving Elegance Under $4500
One of the most surprising aspects of this bathroom remodel was the total cost. By doing all the labor myself, I managed to keep the expenses under $4500. Here’s how the budget was allocated:
- Shower materials: $1275
- Shower pan – goof proof kit, sand topping mix, drain – $155
- Shower tile, thinset, grout, tile-able niche – $325
- Shower glass – $600
- Shower Faucet – $195
- Bathtub Area: $1025
- Floor Tile: $500
- Vanity Build and top: $250
- Linen Tower Build: $125
- Toilet Cabinet Build: $60
- Mirror: $85
- Vanity Light: $40
- Vent/Heater: $125
- board and batten, crown, and other trim: $300
- Pole Wrap: $190
- Paint: $100
- Joint compound: $50
- miscellaneous supplies – paint roller, brushes, caulk, etc. – $75
GRAND TOTAL: $4200
For those inspired to undertake similar projects as this bathroom remodel, if you are just wanting to change out your vanity, or you want to add storage to your bathroom, the plans for the vanity, toilet cabinet, and linen tower are (will be) available (soon)!
How I Conquered the Bathroom Remodel
This bathroom remodel sure was a long time coming, I mean we ripped out the other bathroom in 2022 and didn’t technically finish this remodel until 2025! I know, in true Cara fashion I took forever! The problem was not that any of it was very hard to do, it’s just life was really rough during this time period and honestly I would find the mental capacity and energy to work really hard for a month and then let it sit for 9 months without even going in there! I hate that I do projects this way, but I cannot figure out how to make myself do it any other way, so I will celebrate the wins when I FINALLY get them!
Here was my inspiration and mood board for this project!

Let me remind you how it looks now that the bathroom remodel is complete! Not to toot my own horn, but hot dang, I did pretty darn good! Lol!
Let’s get into a little bit about what I did in here and how I did it!
The Challenge of Plumbing and Precision
The remodel kicked off with the daunting task of moving drain lines for the shower, bathtub, and sink. This required careful planning and precision to ensure everything aligned correctly with the new layout…and that is why we gave this chore to my hubby! Lol! He rented the concrete saw from a local tool rental and they gave him a bad blade, well that ended up with him having carbon monoxide poisoning just trying to move the drain lines!😅 But he did indeed get them moved and in place!
I lost my phone and many photos during the course of this renovation so, as usual, there are missing pictures! The only images I have of the drains were when I was moving on to building the shower pan and tiling the floors. And yes, we did realize after finishing the drains, that we based our measurements on centering the drain on a 36″ shower pan, not realizing the measurements were to the outside of the curb which made the drain off center. It will never stop driving me nuts, but we weren’t interested in jack hammering it back out…well I was, but hubby said, “NO!!”😒🤣
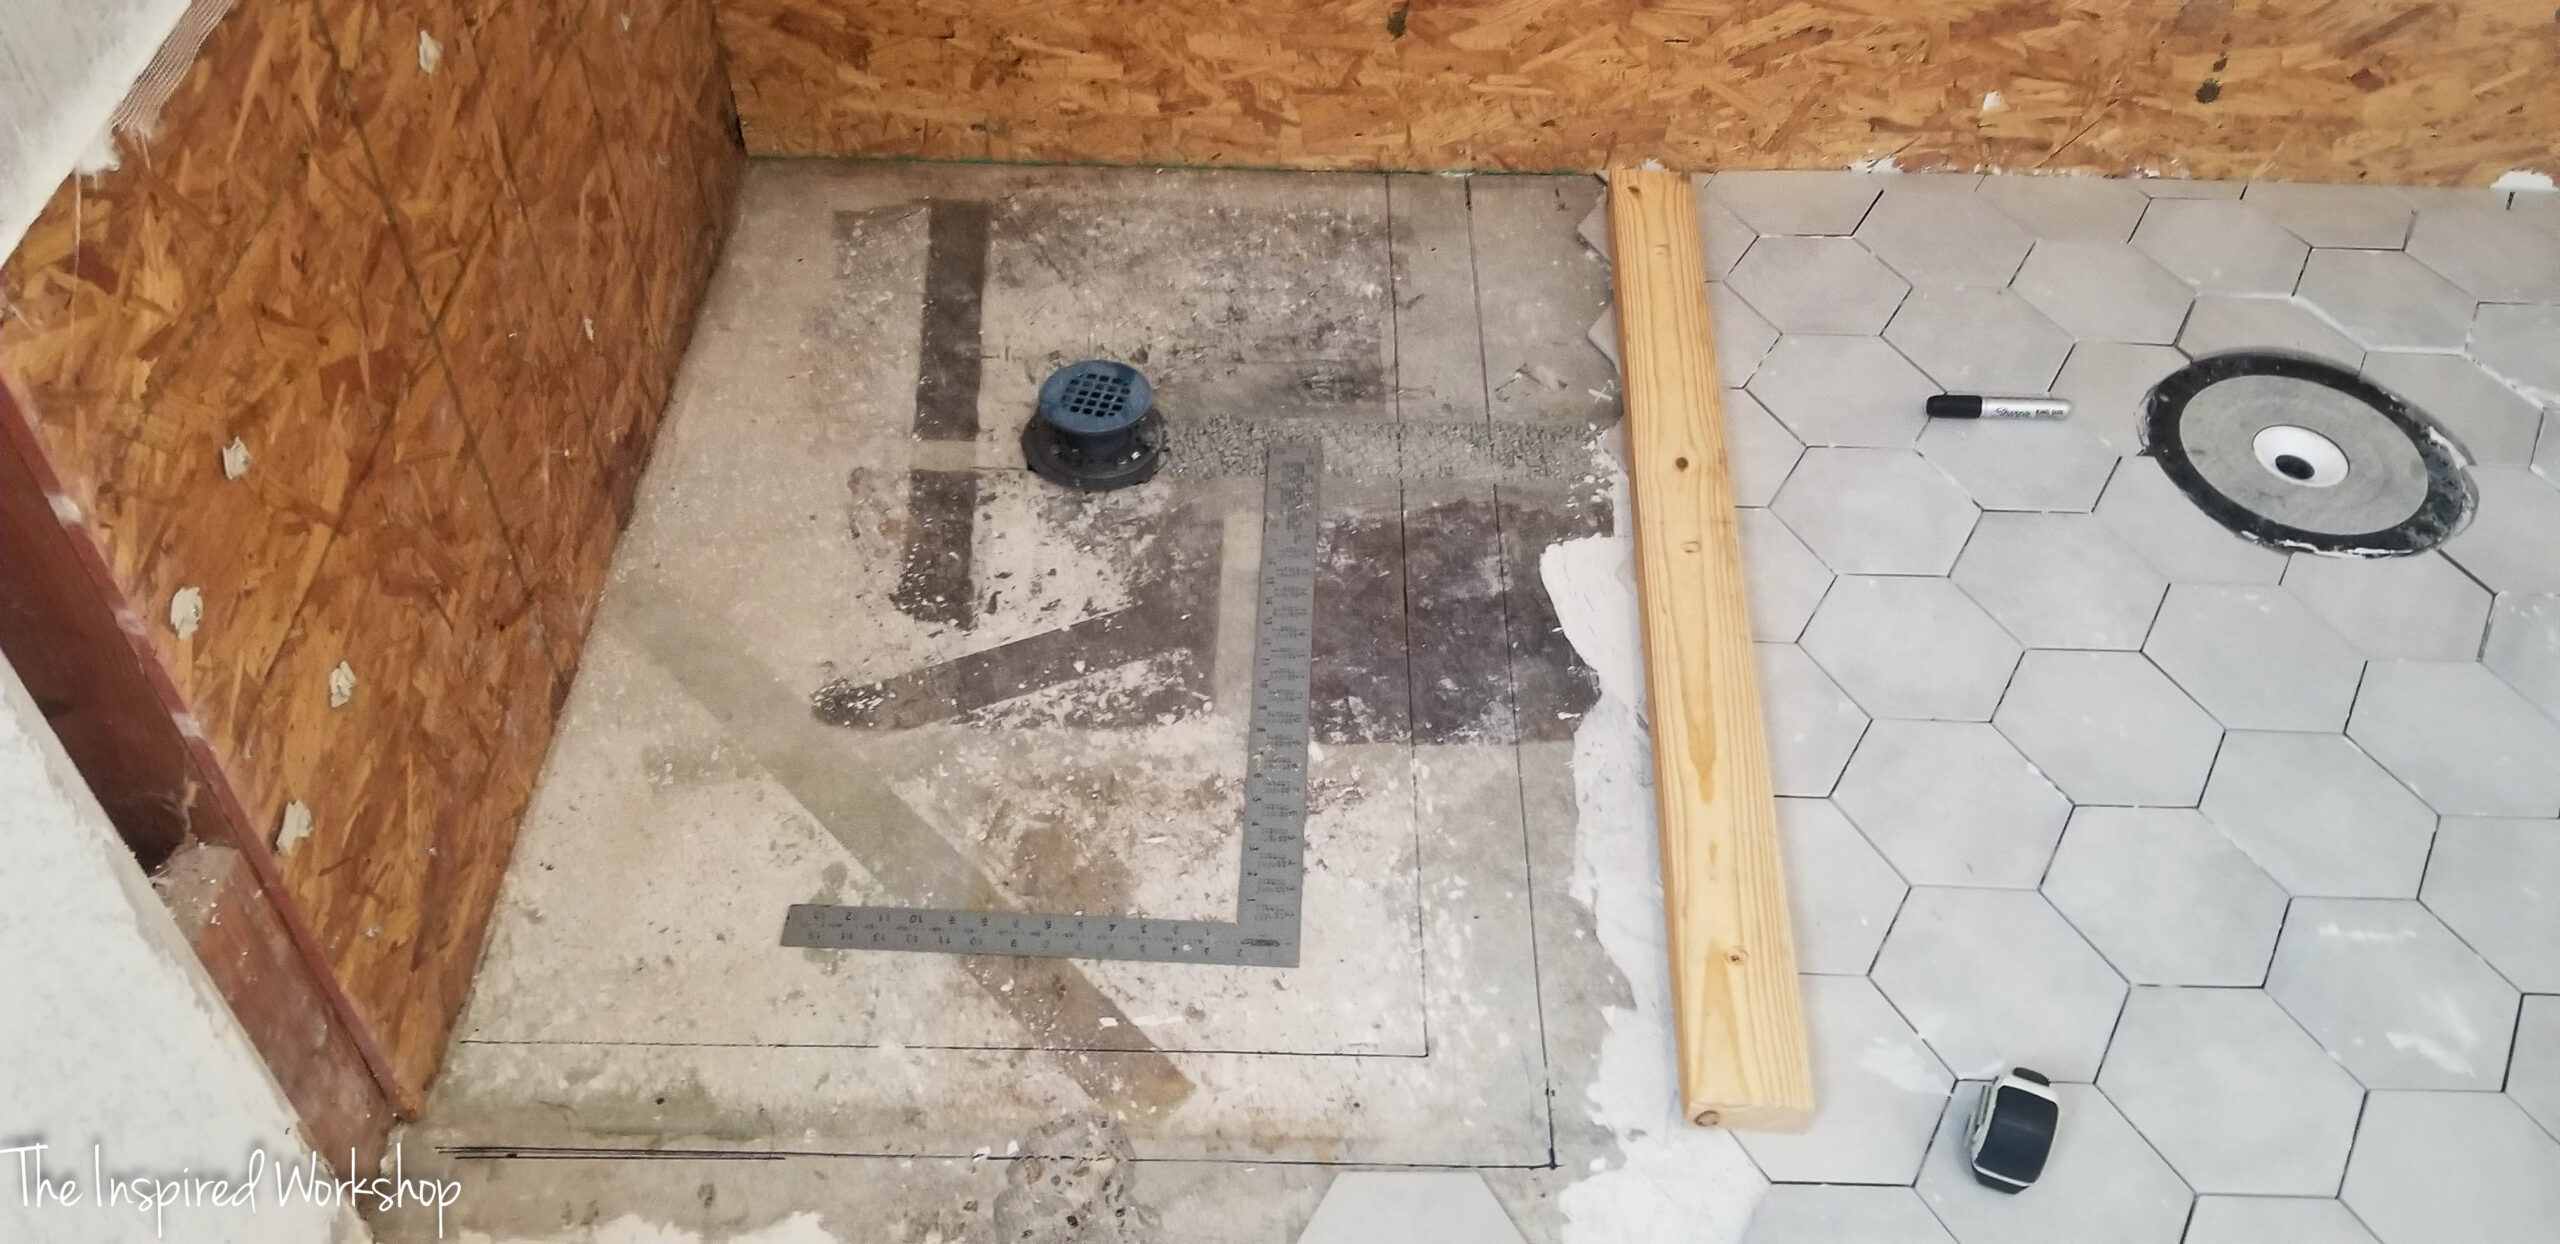
Laying the Foundation: Hexagon Floor Tile
I fell in love with this hexagon floor tile from Lowe’s and I am glad I used it, but it was not all the same size and this is not the first time this has happened with tile I purchased at Lowe’s, so I urge you, if you use this tile, or any from Lowe’s, make sure and check the sizing of ALL of it before laying the tile! Lol! I know it is not the store but the manufacturer, it was just crazy to me that two different manufacturer sold in one store managed to do this to me, whereas I have bought some super cheap, no name tile that wasn’t different sizes.
The inconsistency in tile sizes turned this into one of the project’s most challenging aspects. Laying each tile to achieve a uniform look was labor-intensive and tested my patience, but the result was a stunning floor that became the bathroom’s centerpiece and worth all my late night sh*tfits over this tile!
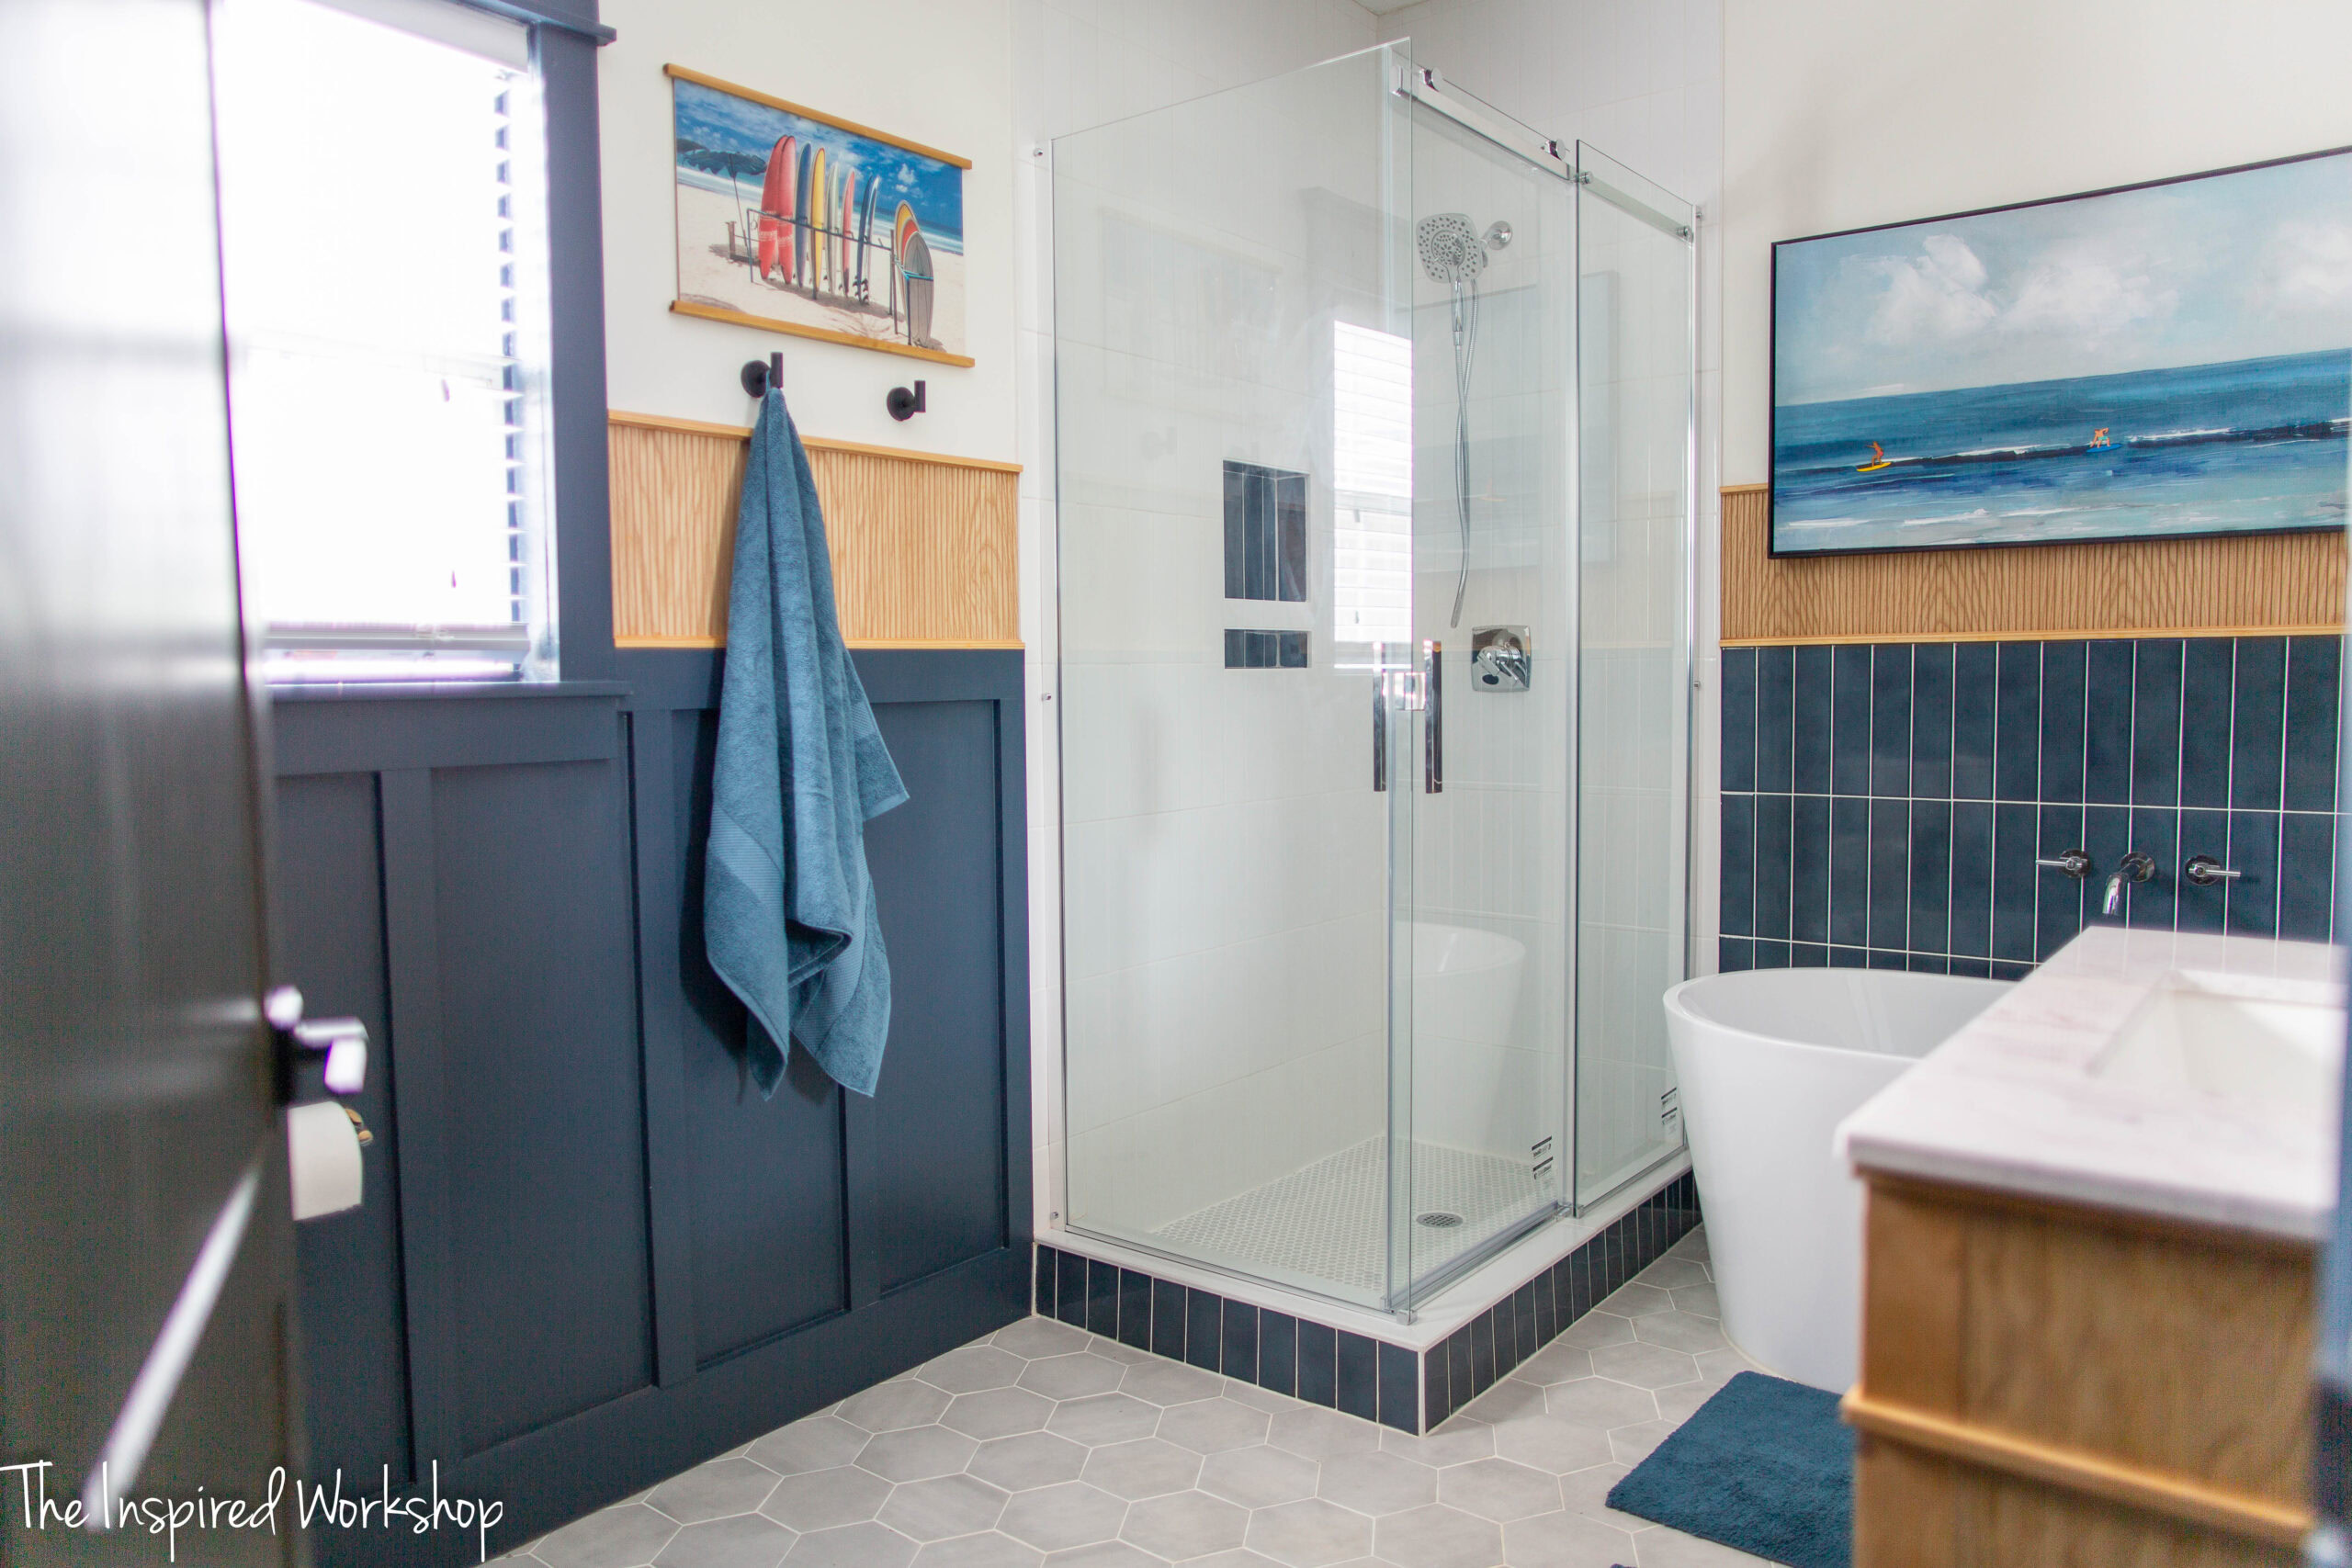
Crafting the Shower Sanctuary
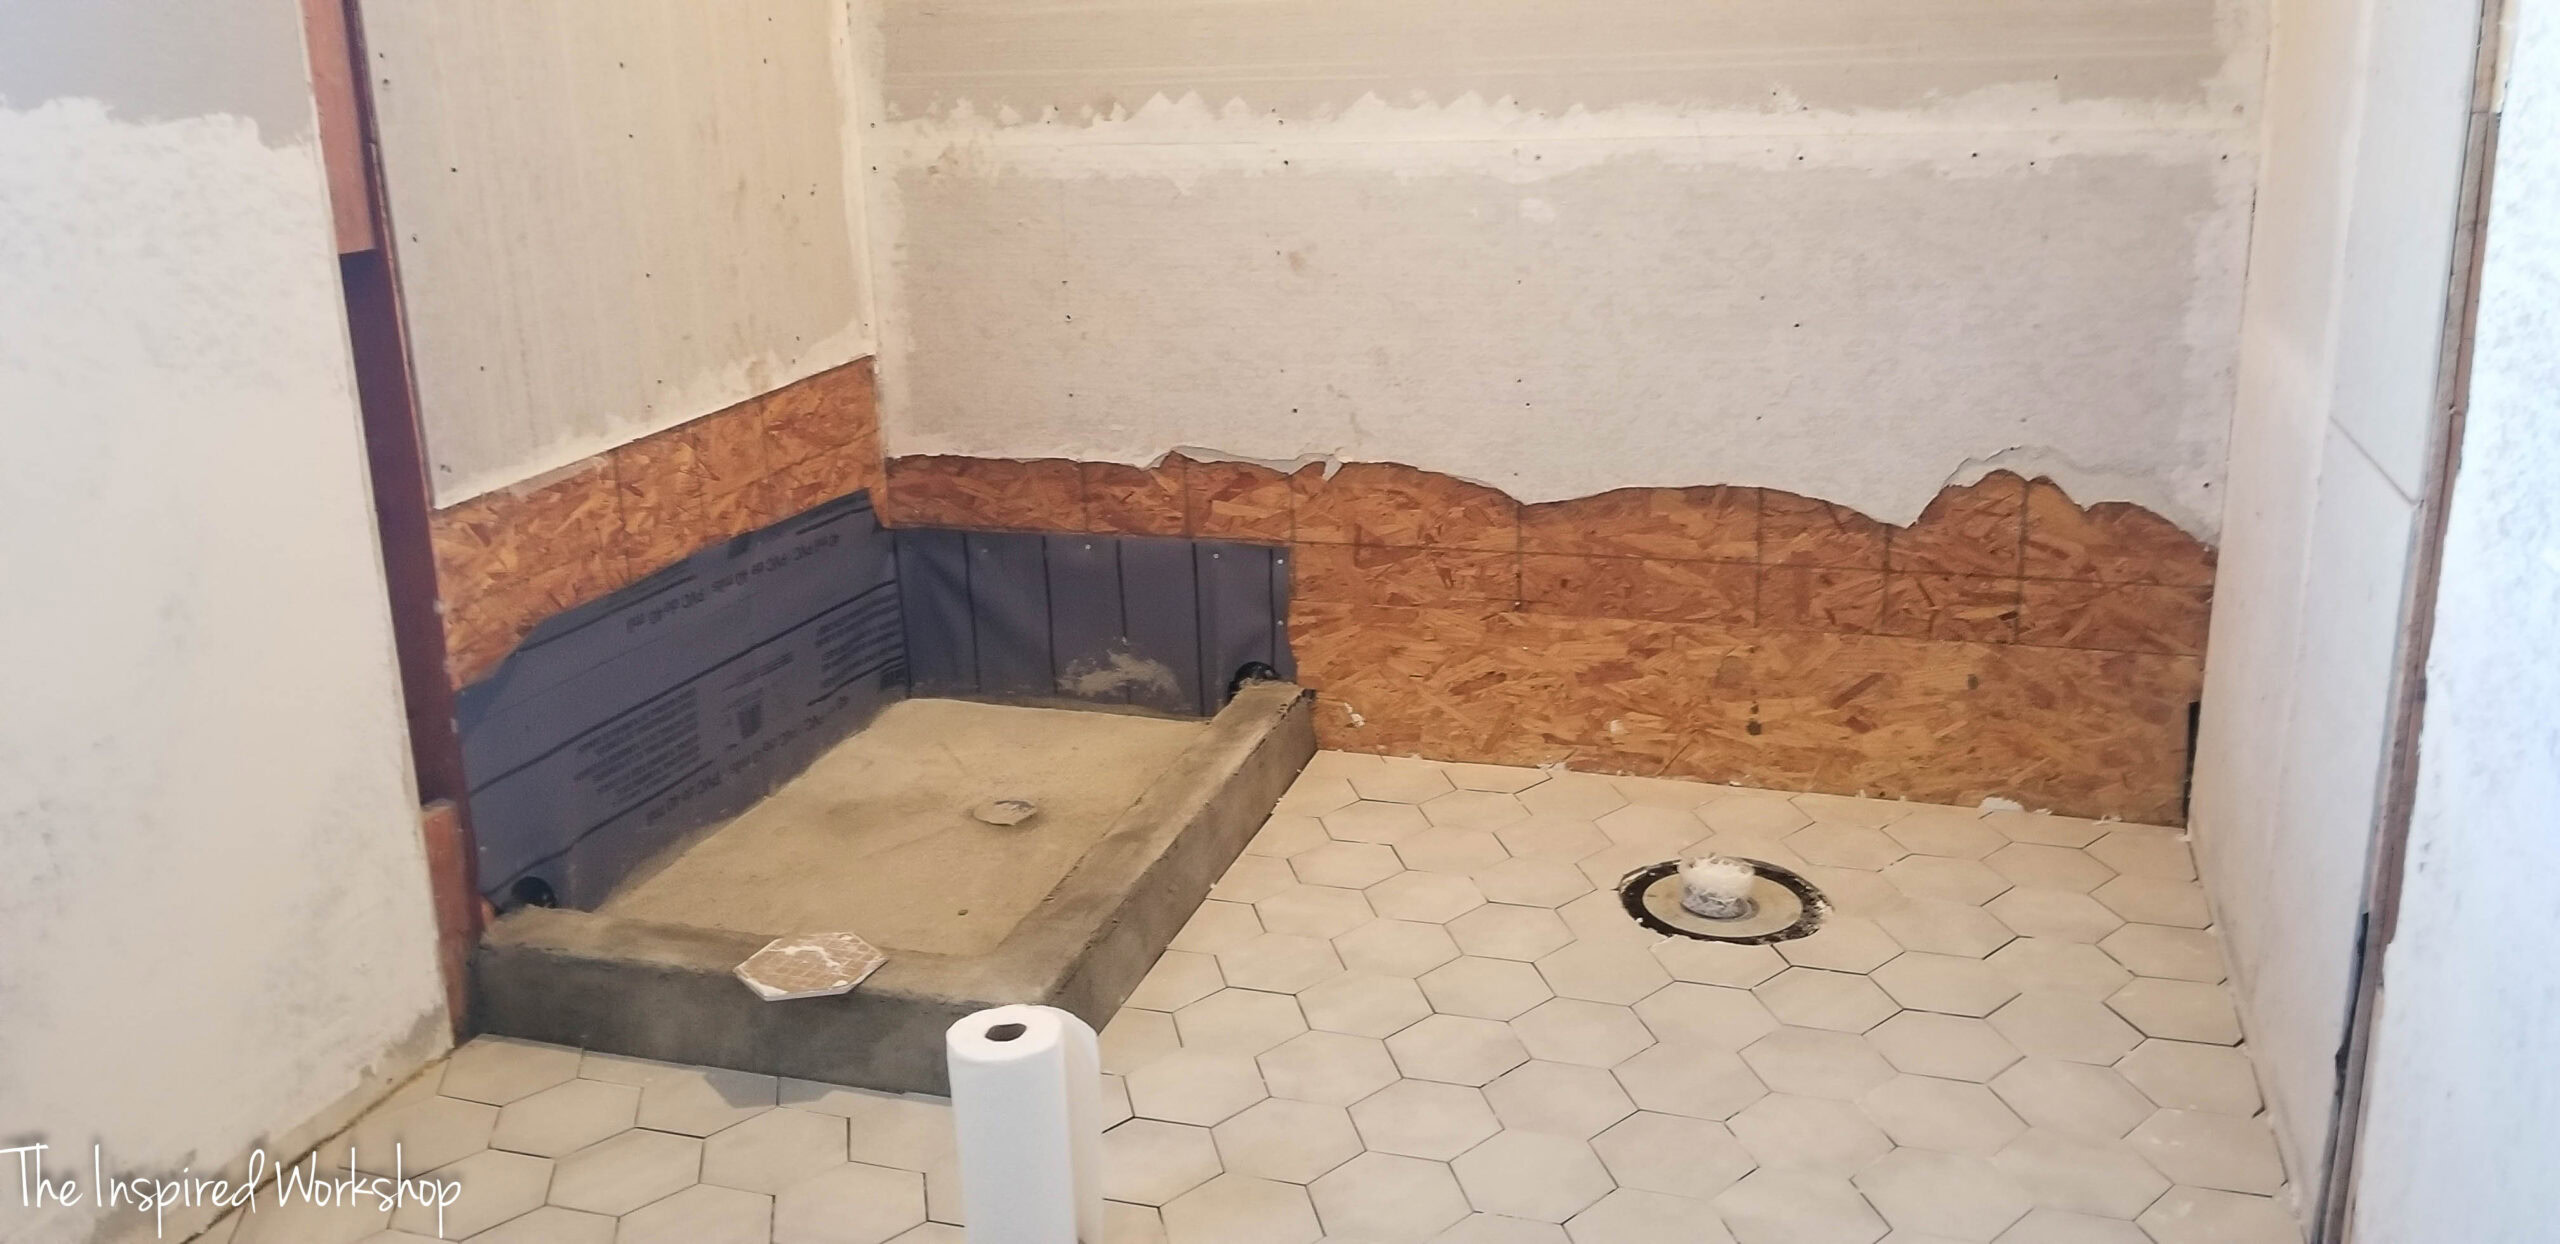
Building a shower pan and tiling the shower was a huge part of this bathroom remodel, bringing a mix of excitement and terror. Ensuring the shower glass fit perfectly with the self-built shower pan was critical and I was a wreck thinking about it for the longest time, I literally would wake up in the middle of the night thinking, “Man, I sure hope I measured correctly for that damn shower glass!” because if I didn’t my only other option was custom glass and that was out of my budget! Lol!
The tile, sourced from Floor and Decor, was budget-friendly yet offered the clean, simple aesthetic quality I was aiming for. I don’t think you can see it in these photos because of the glass reflections but it is white 3×12 subway tiles stacked vertically just like the navy tiles.
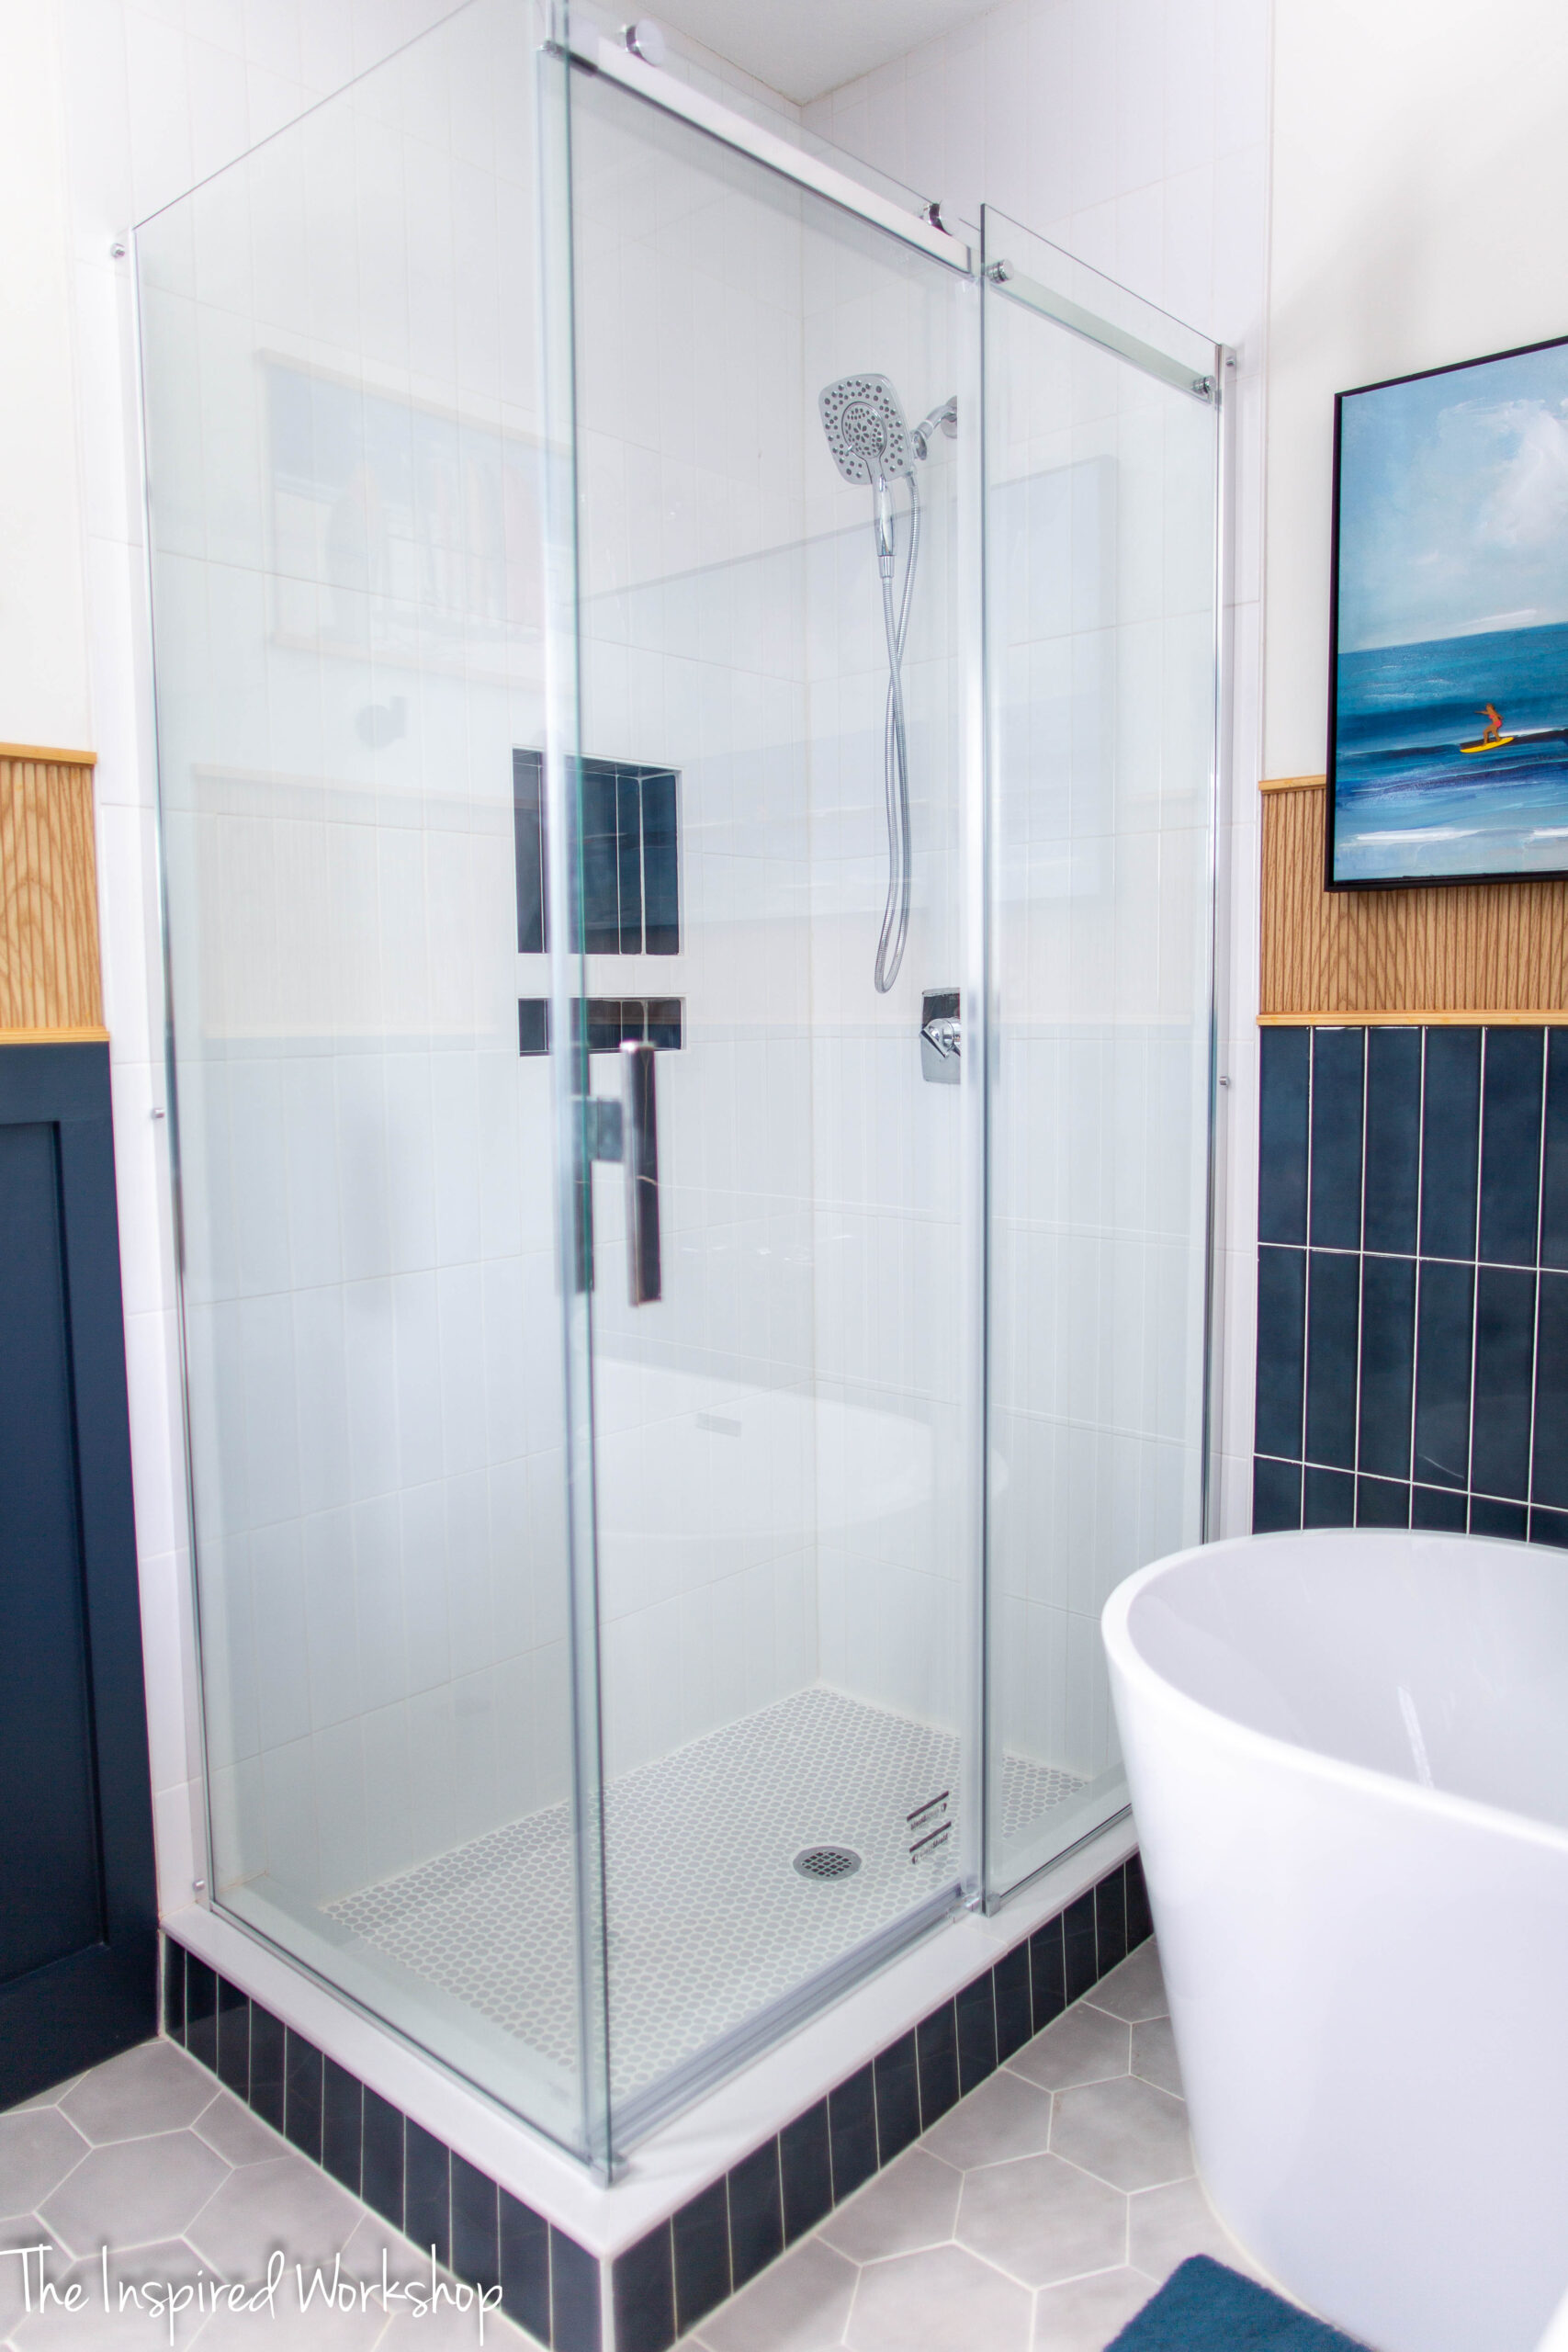
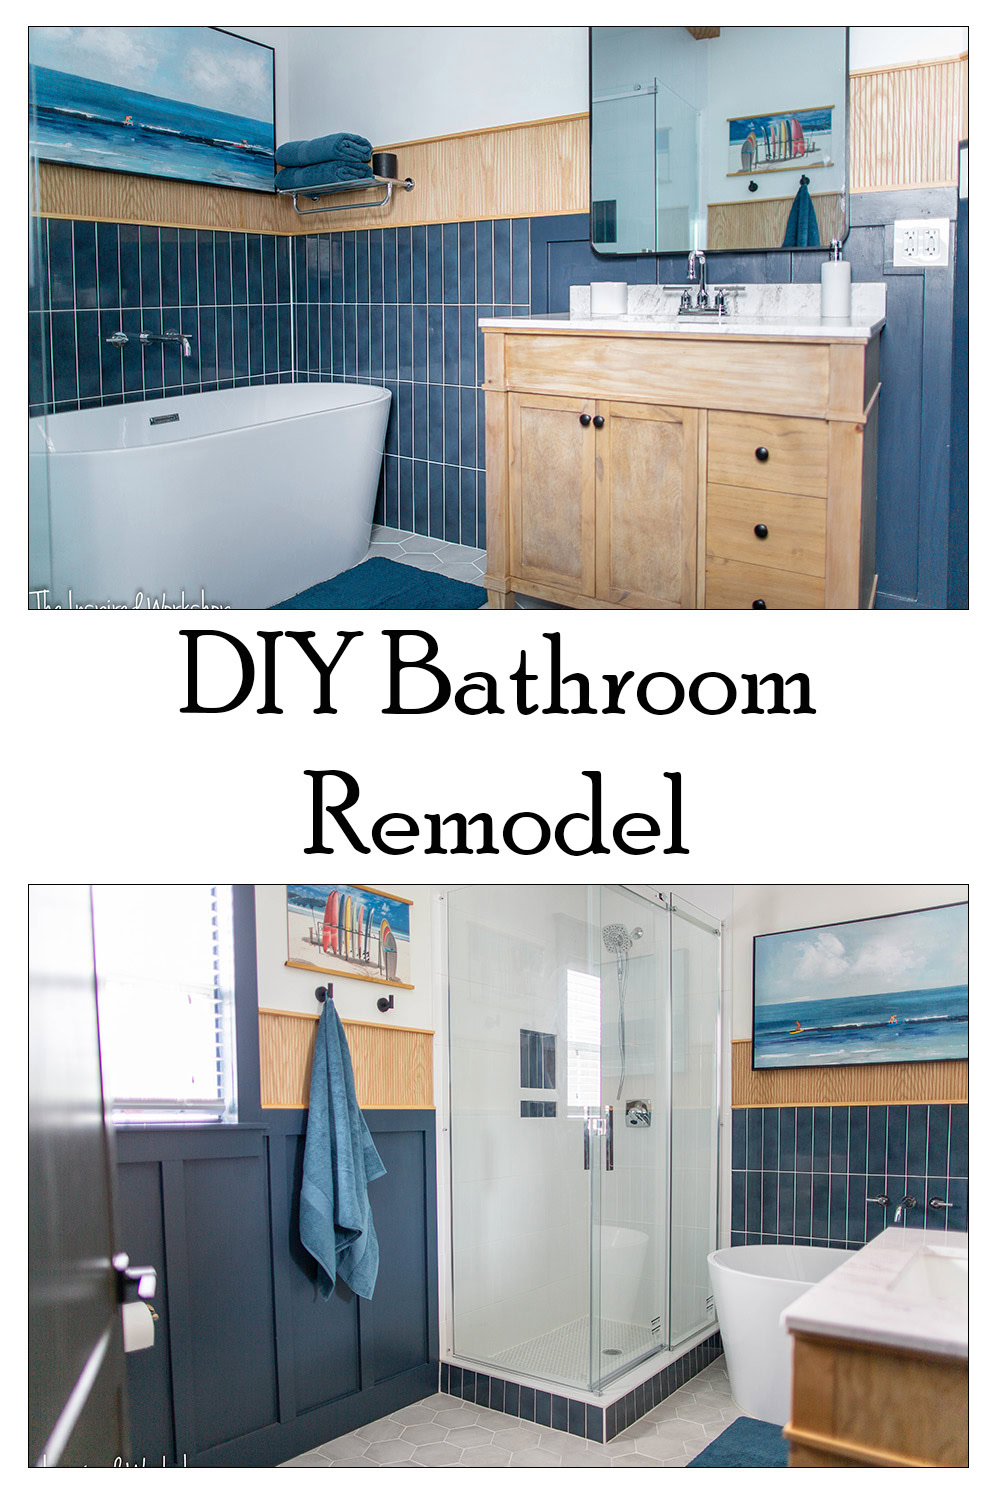
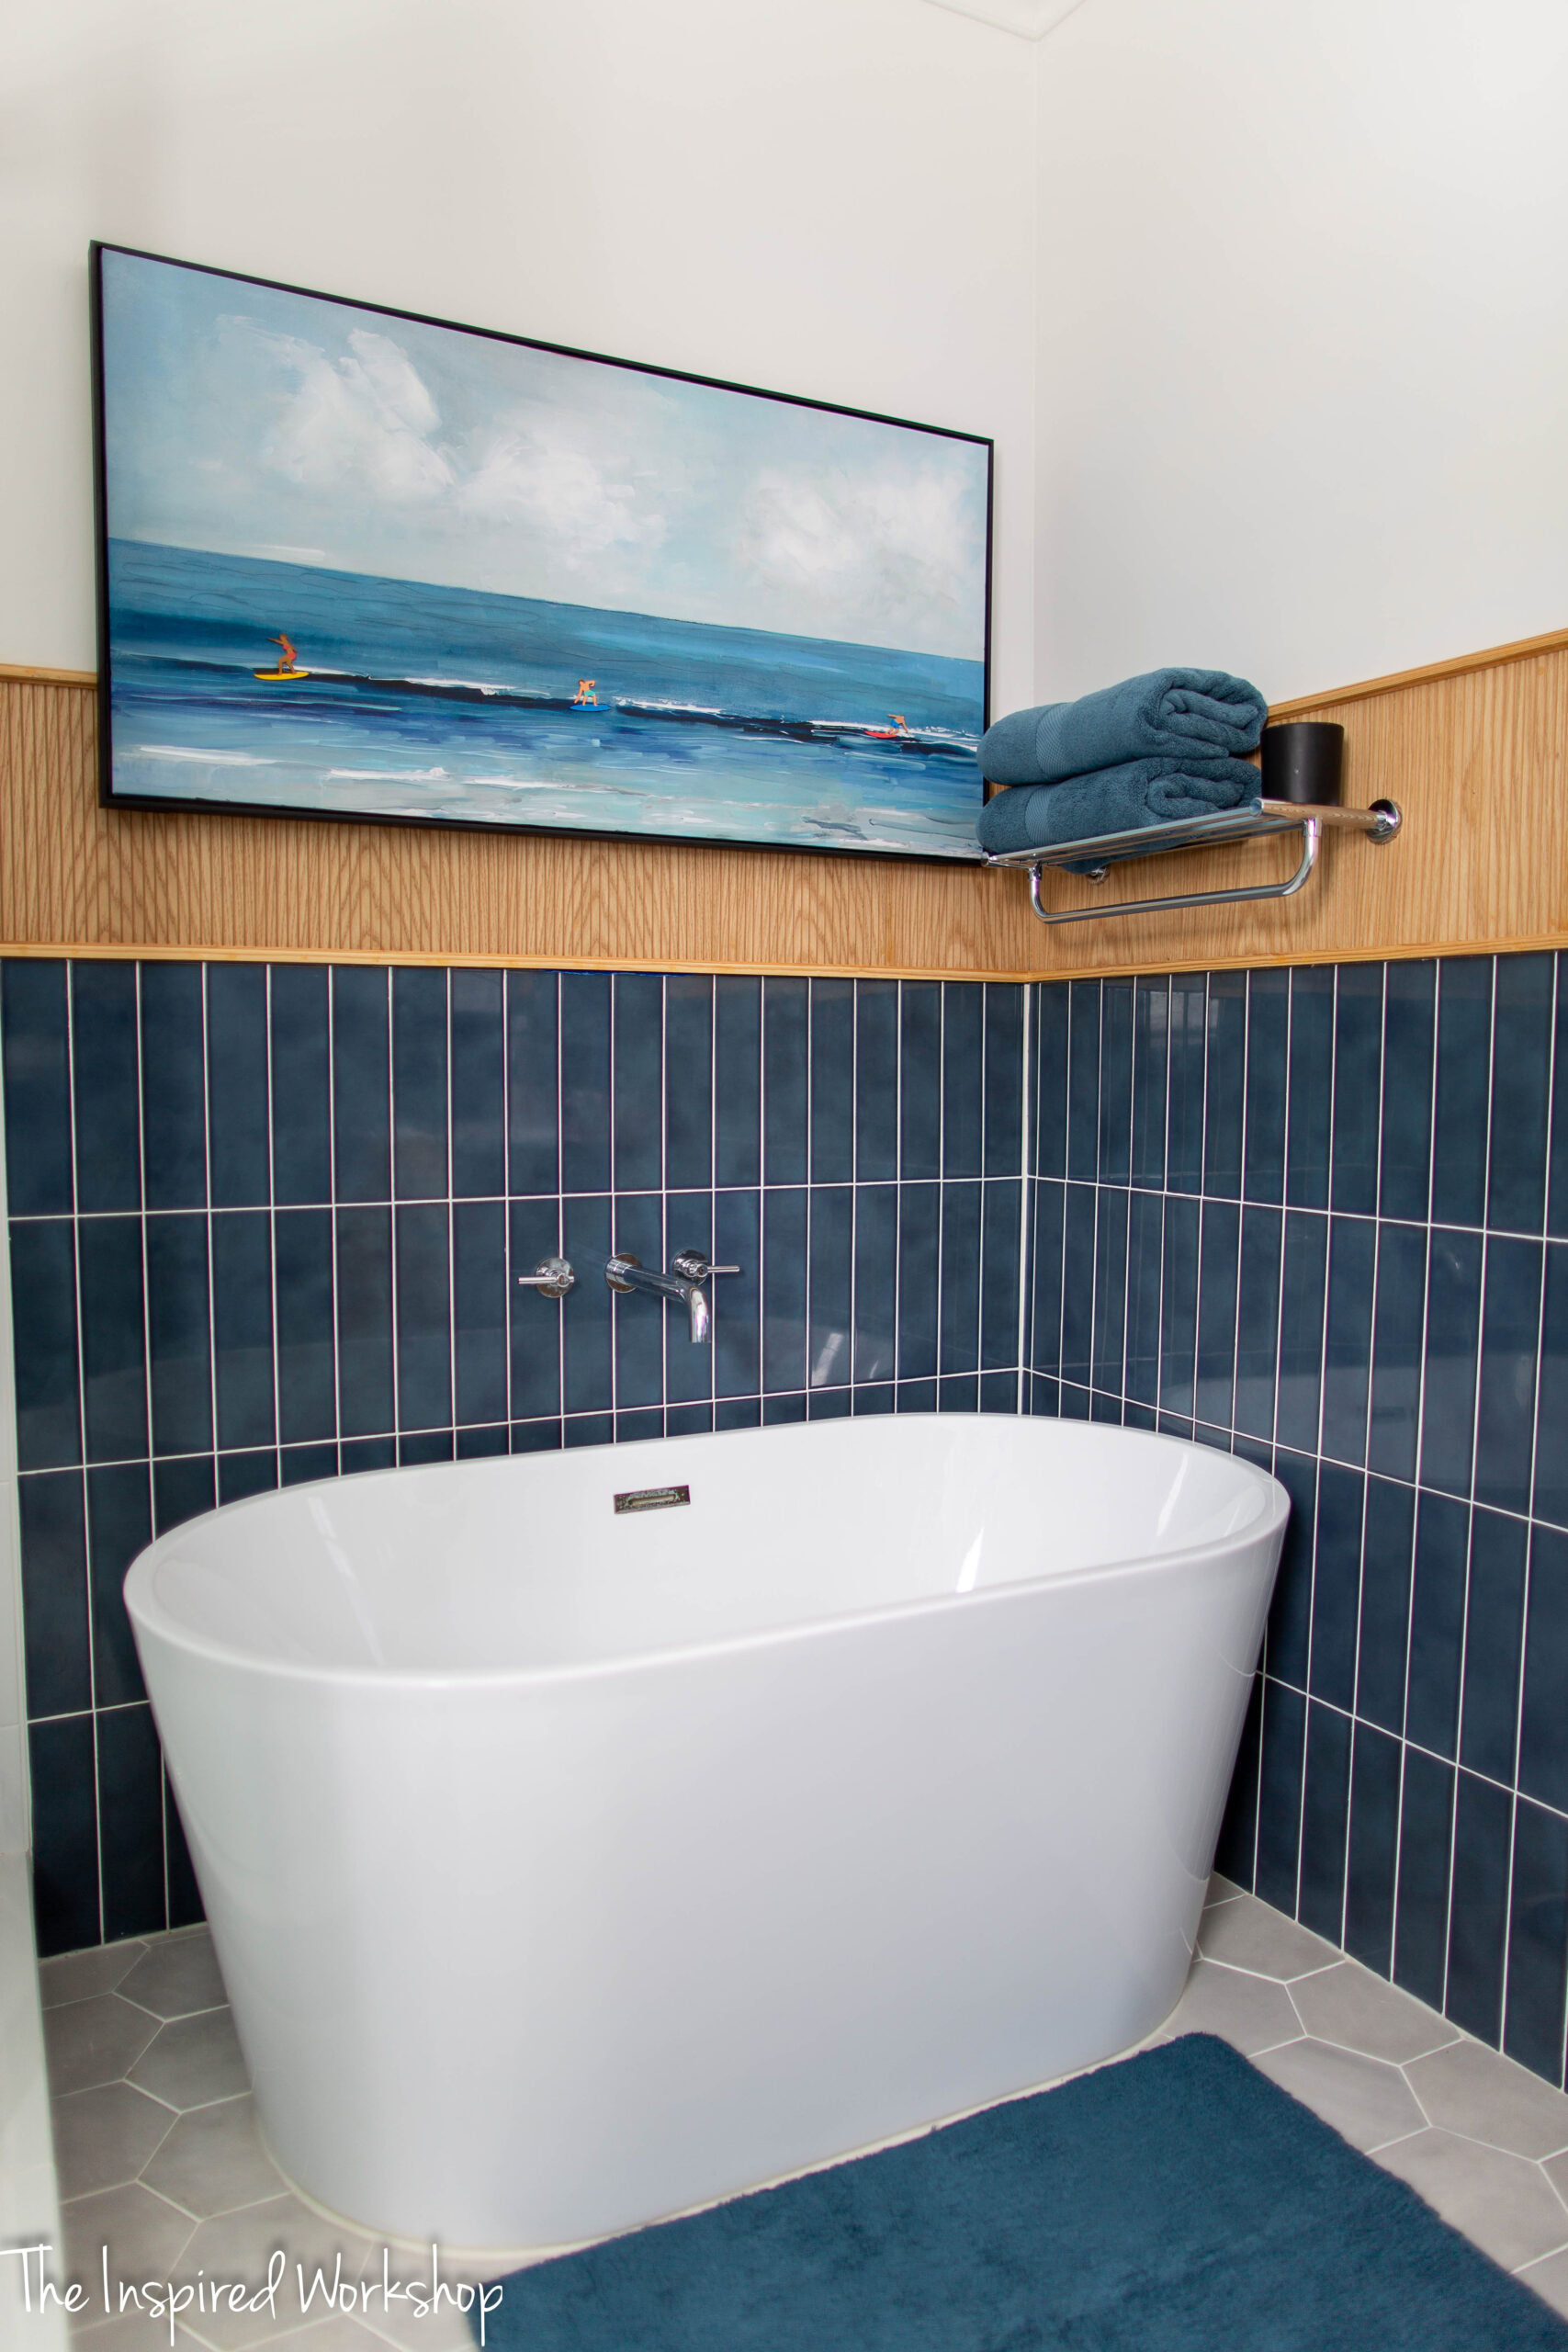
The Elegance of a Free-Standing Bathtub
The installation of the free-standing bathtub and faucet was also nerve-wracking. Precise measurements were crucial to ensure the drain and faucet aligned perfectly, and that the bathtub even fit, it was the SMALLEST bathtub I could find and if I messed this up, there was no other option! The relief of seeing everything fit without a hitch was immensely satisfying.
My boys only use a bathtub to soak if they are sick or really sore so although they are both over 6 foot tall, they are still able to use this 54″ bathtub for those purposes!
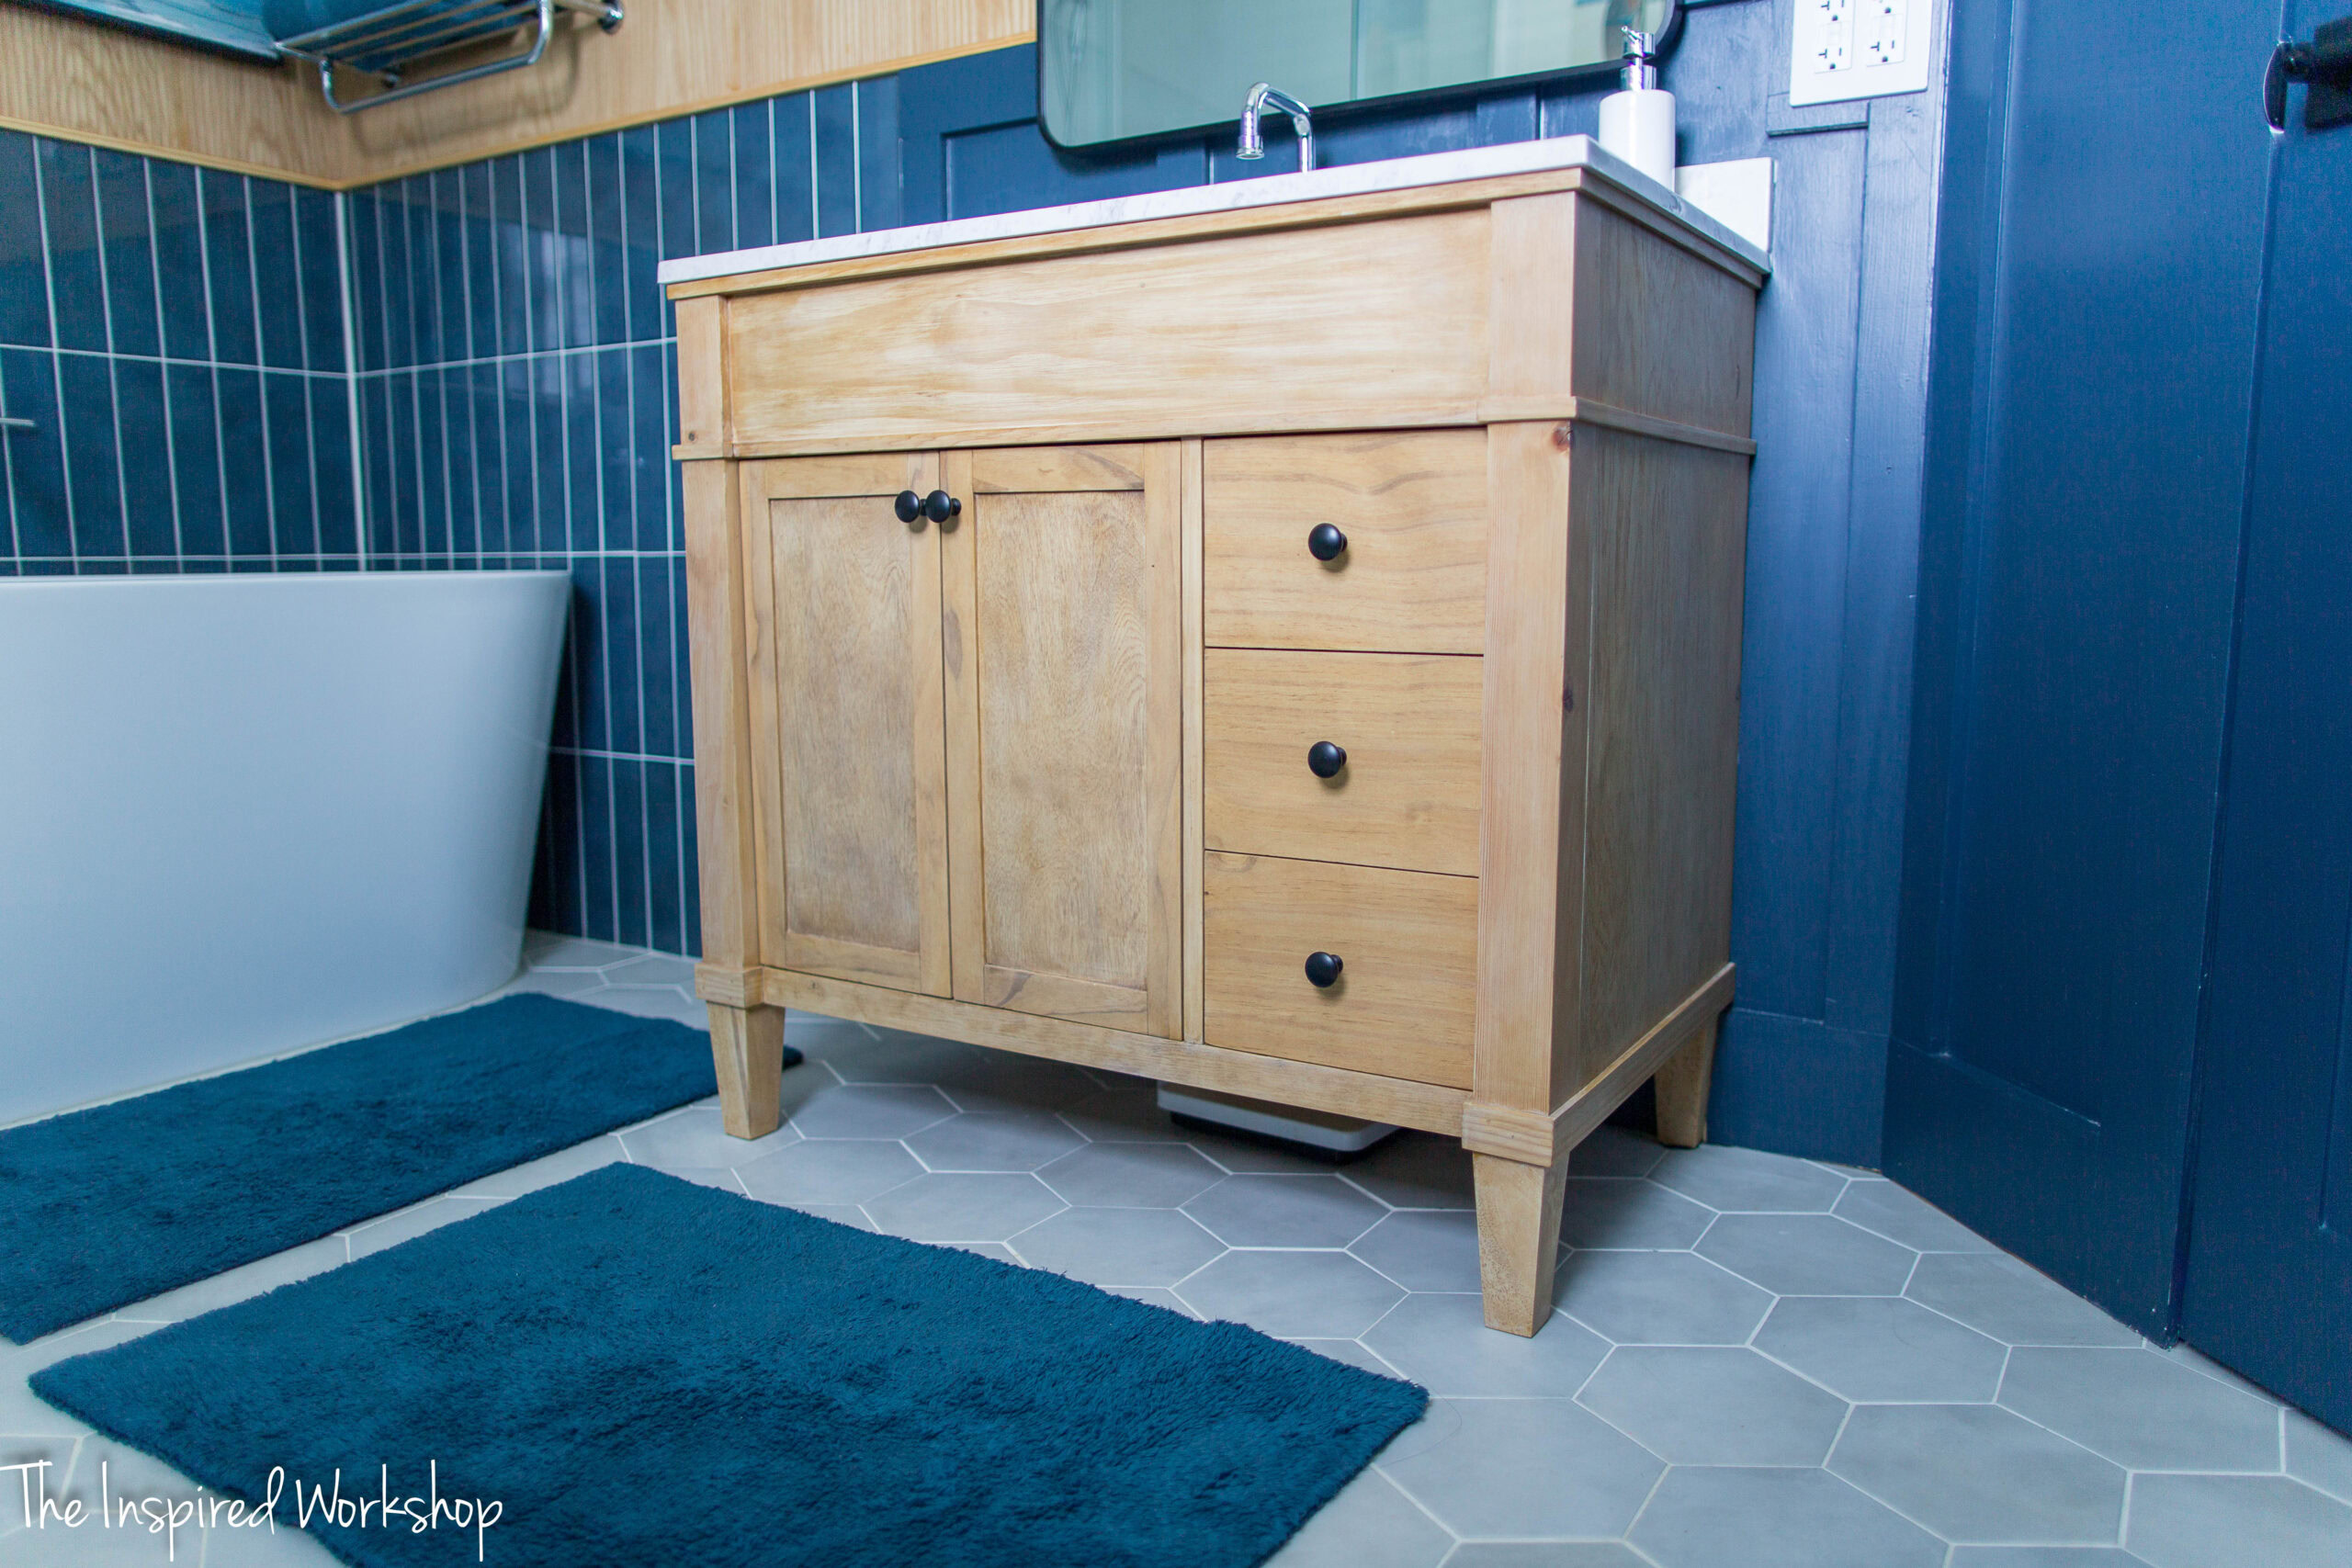
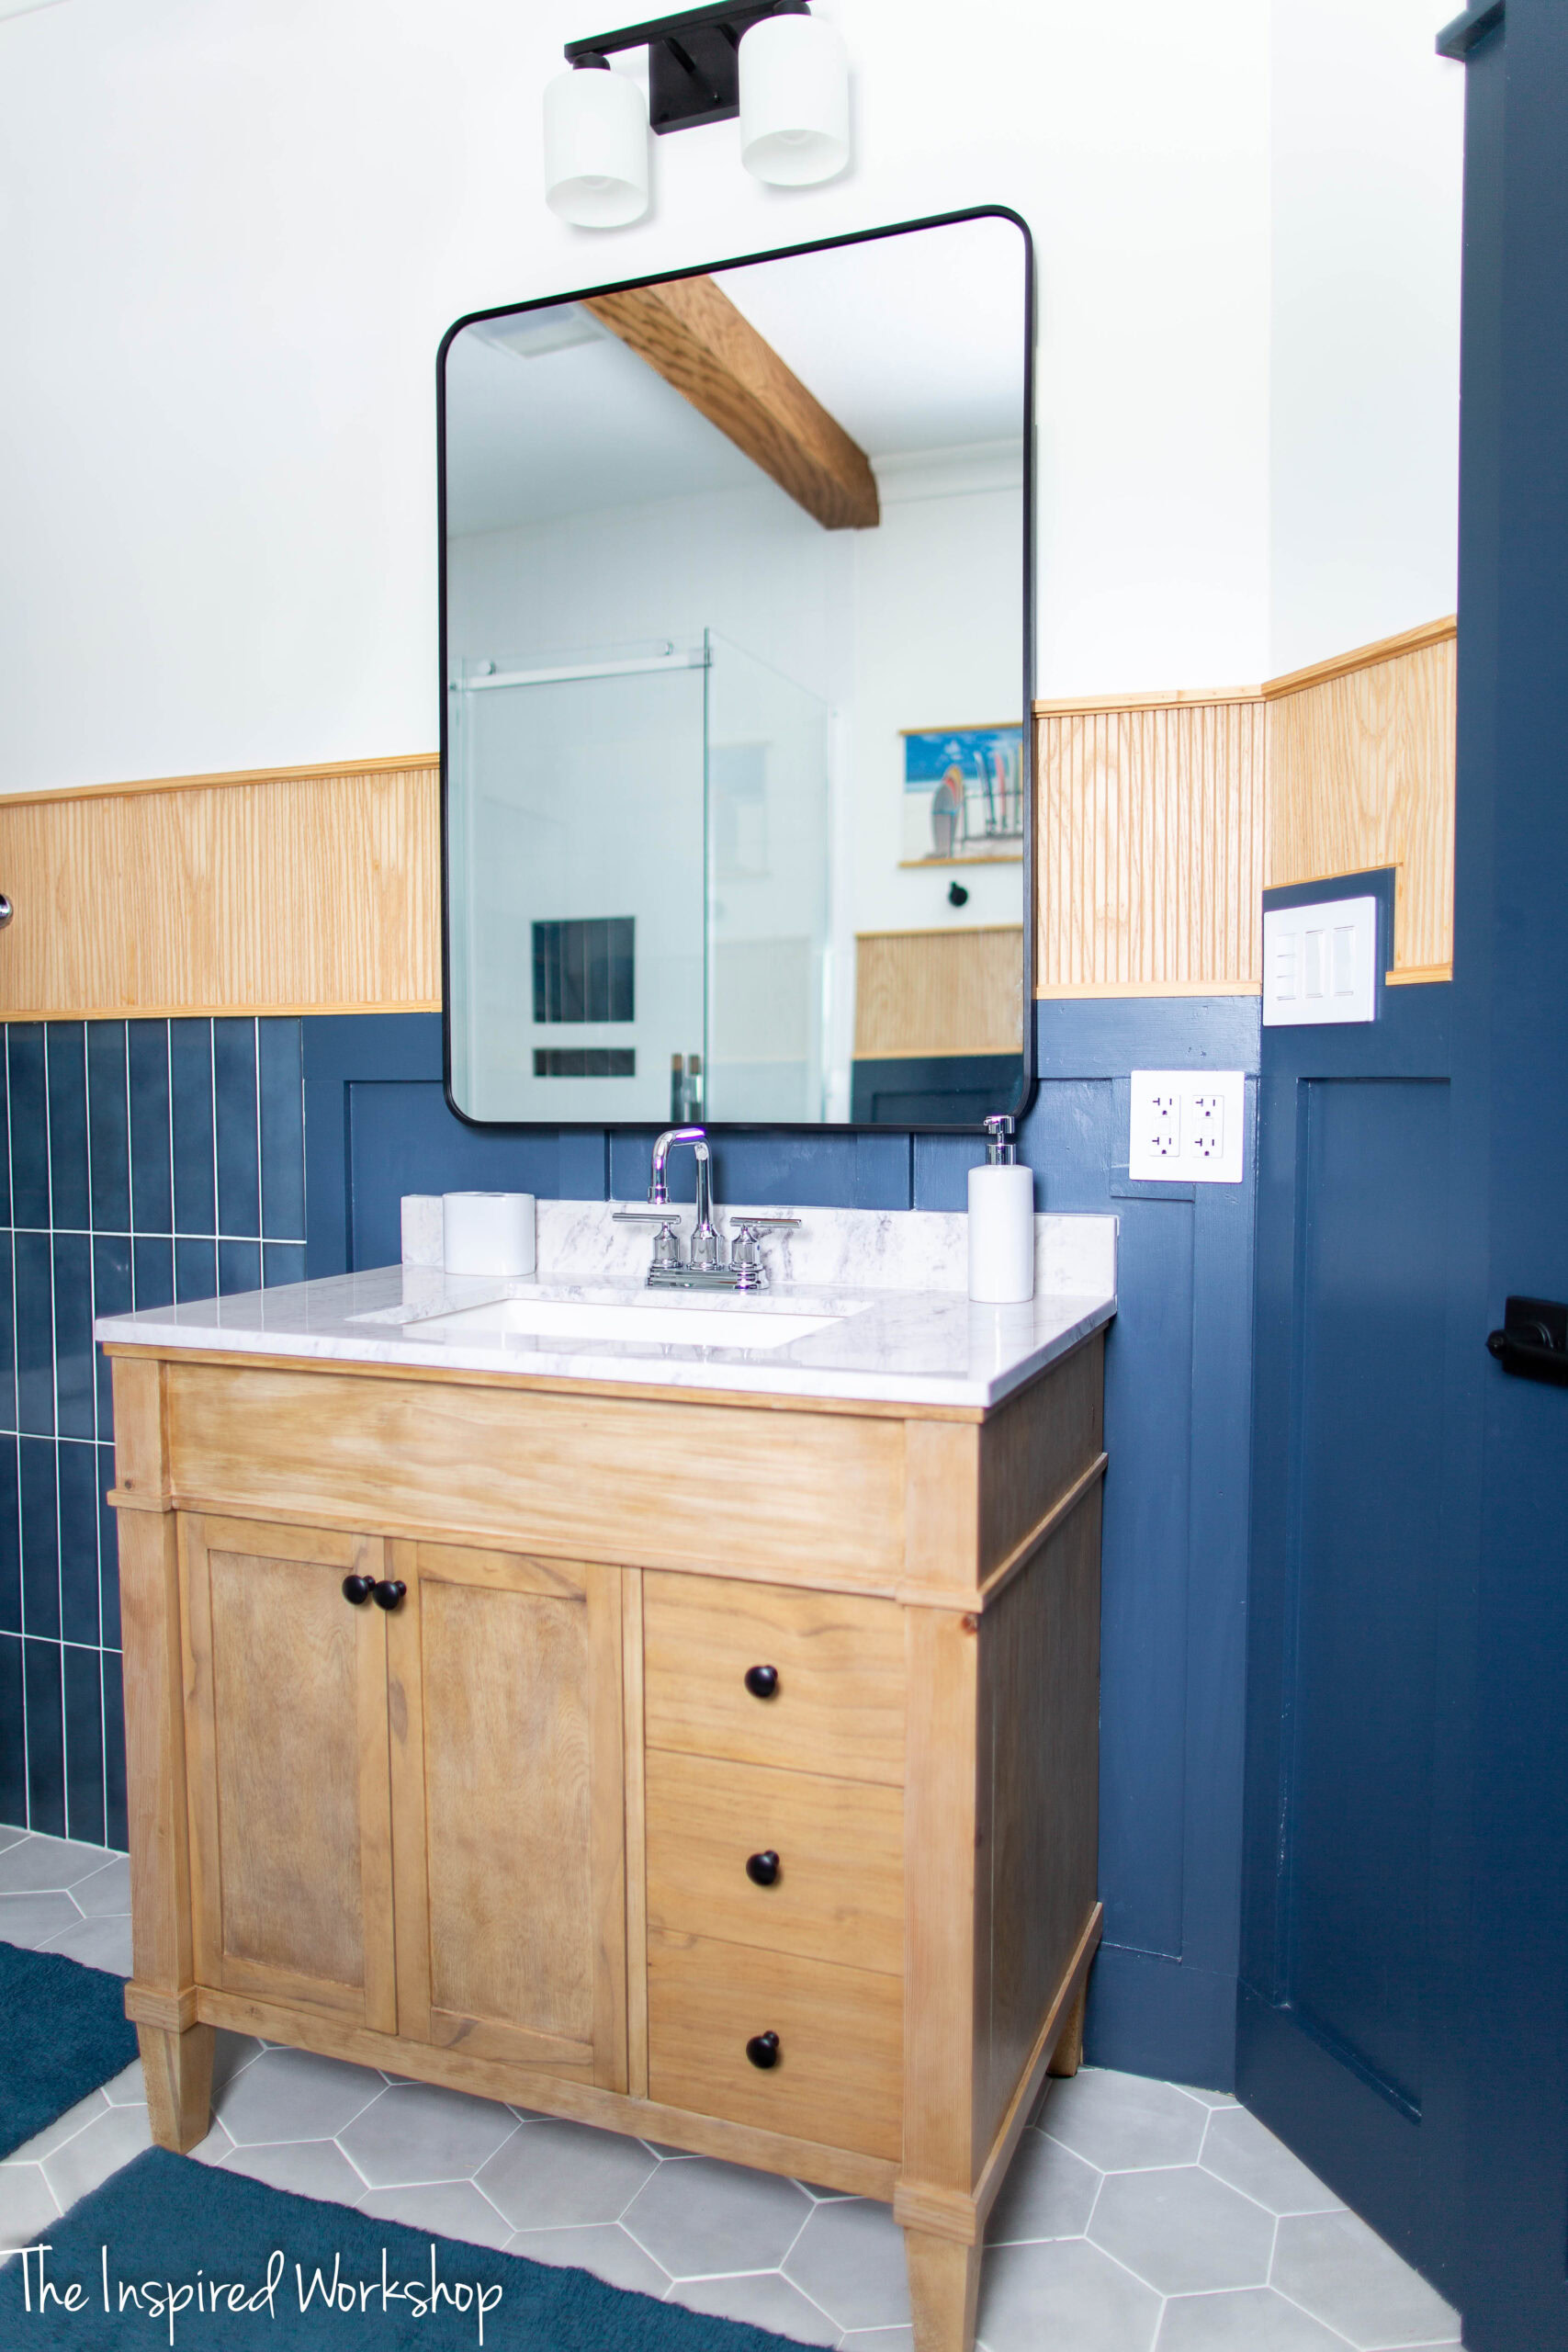
DIY Vanity: Blending Wood Tones
The vanity build posed the unique challenge of matching the oak pole wrap’s color, which adorned the walls, with the oak plywood/pine mix I used for the vanity. This process involved creative solutions like bleaching the wood to harmonize the wood tones, resulting in a beautiful piece that perfectly complements the bathroom’s theme.
Bleaching the vanity was a first for me, but I will do again, many times! It is not hard and gets completely rid of those orange/pink hues that come with pine! The pictures of the vanity do not do it justice at all, it is so much more beautiful in person!
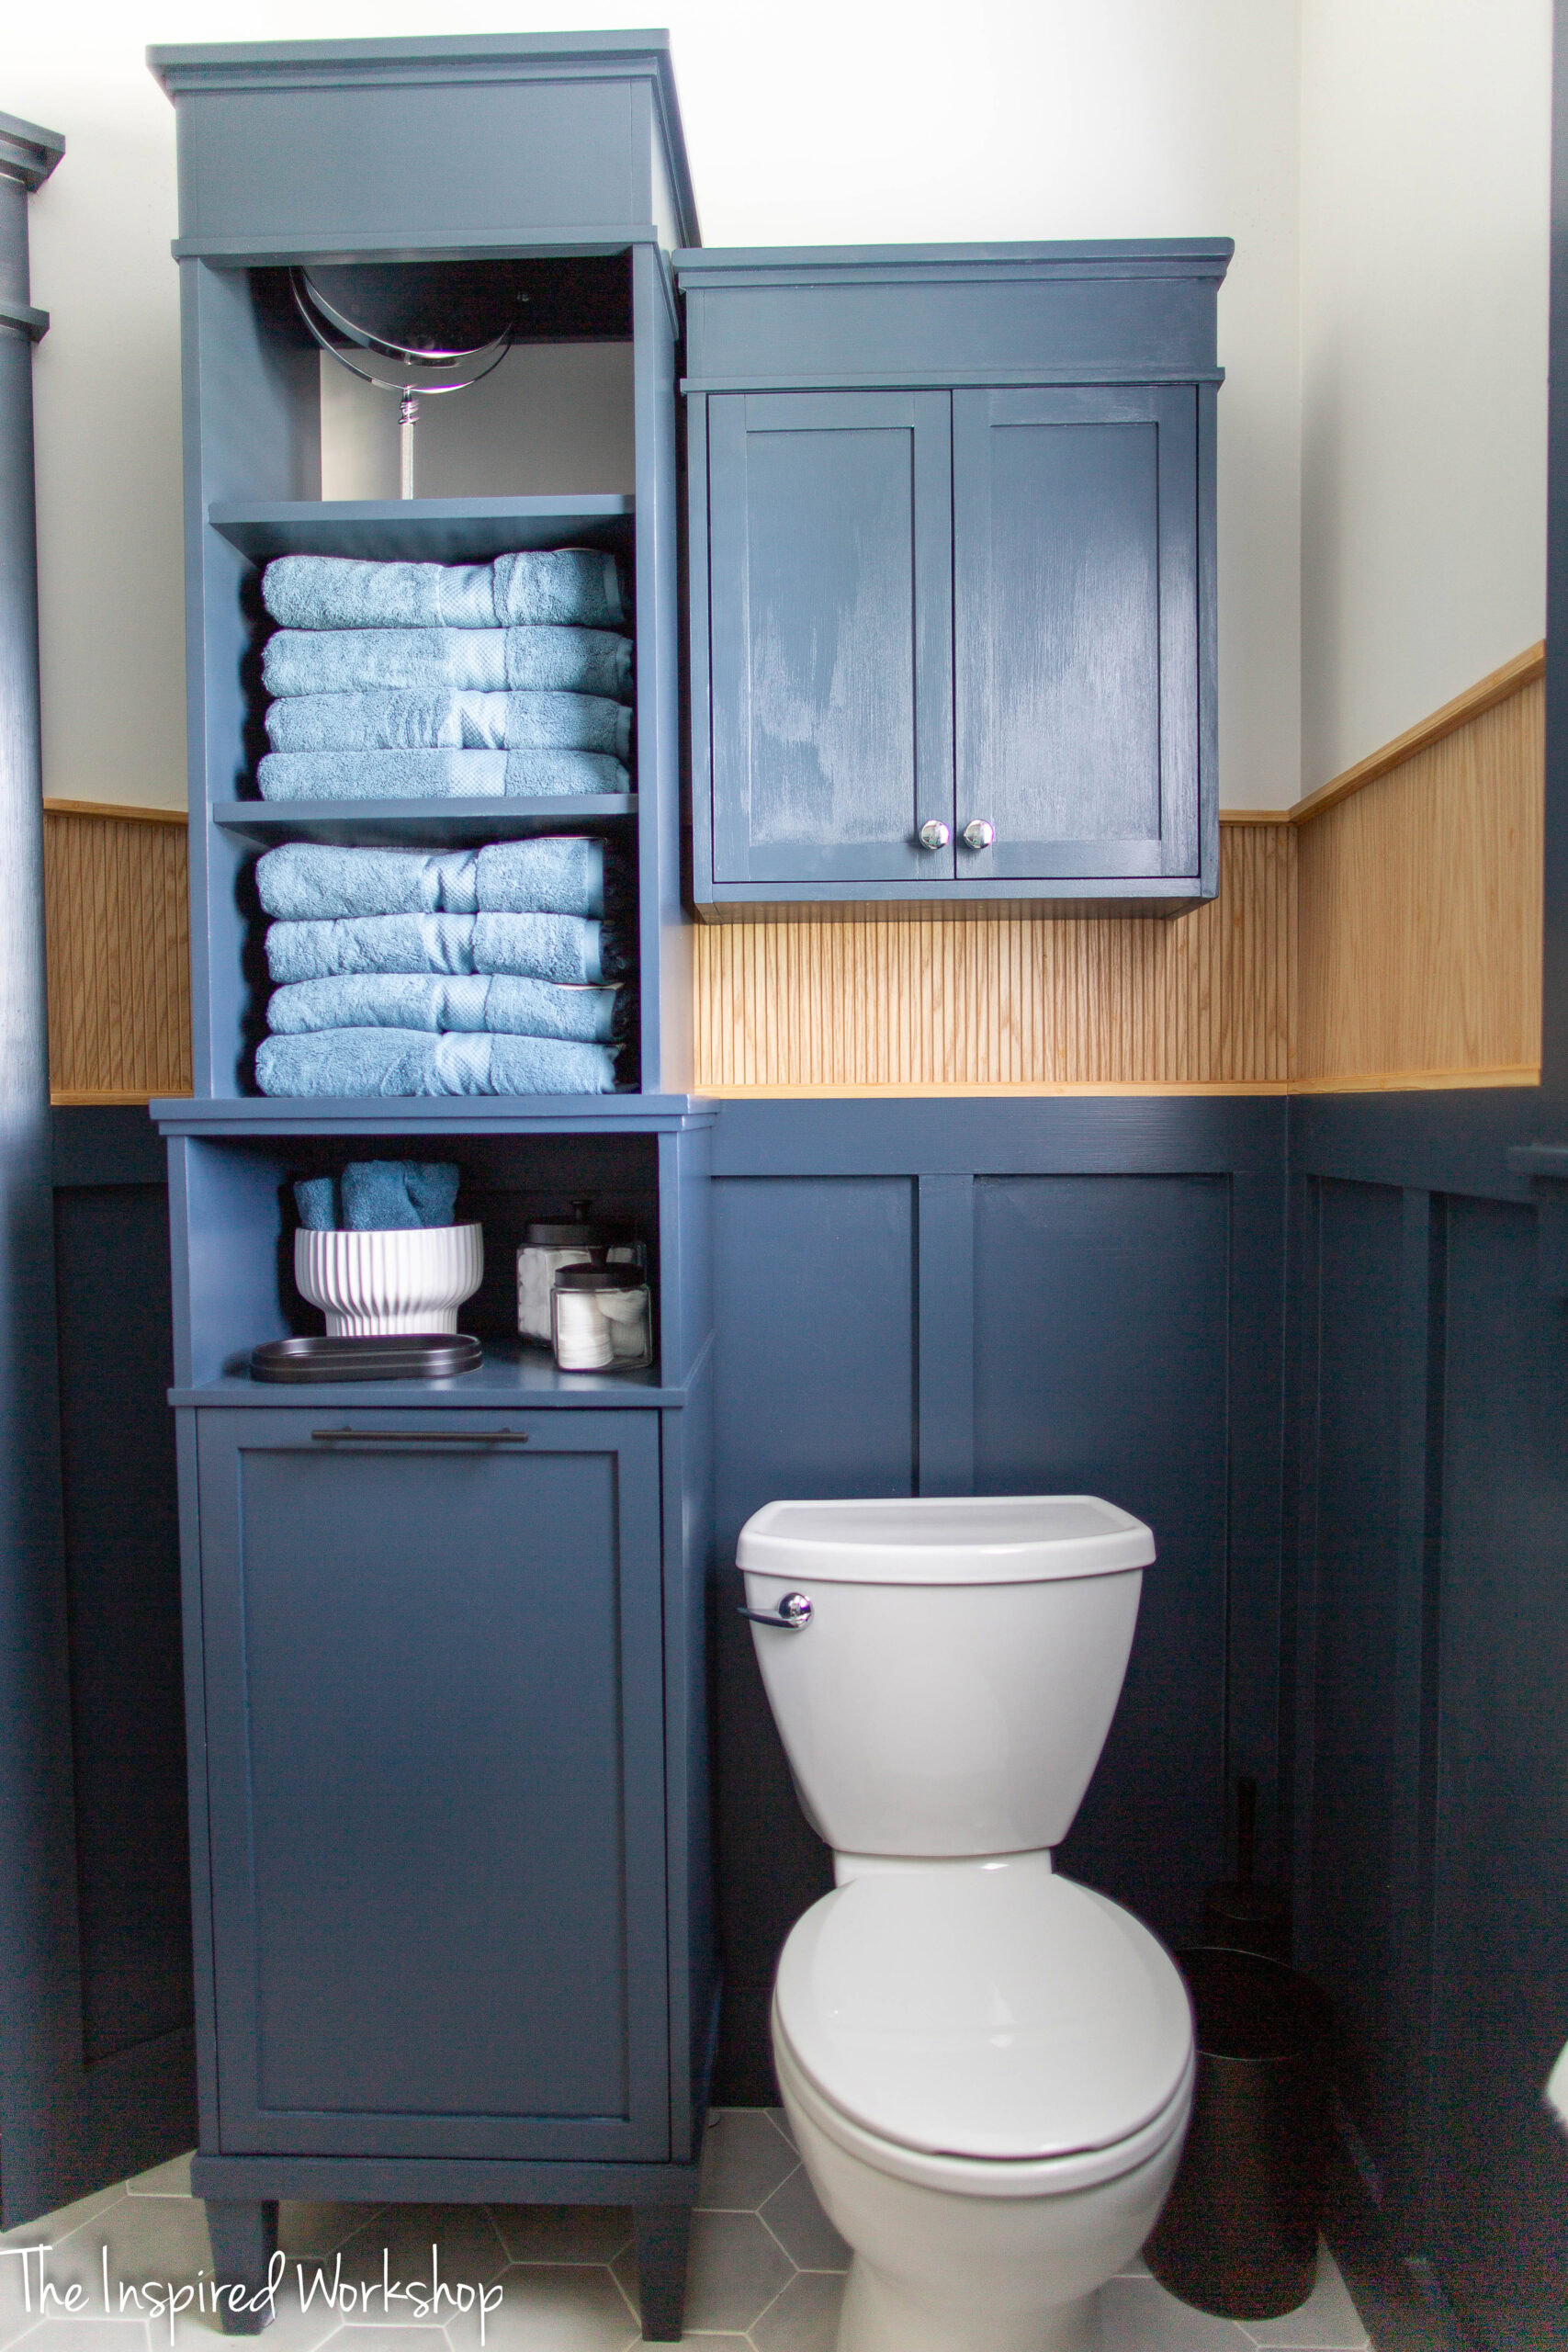
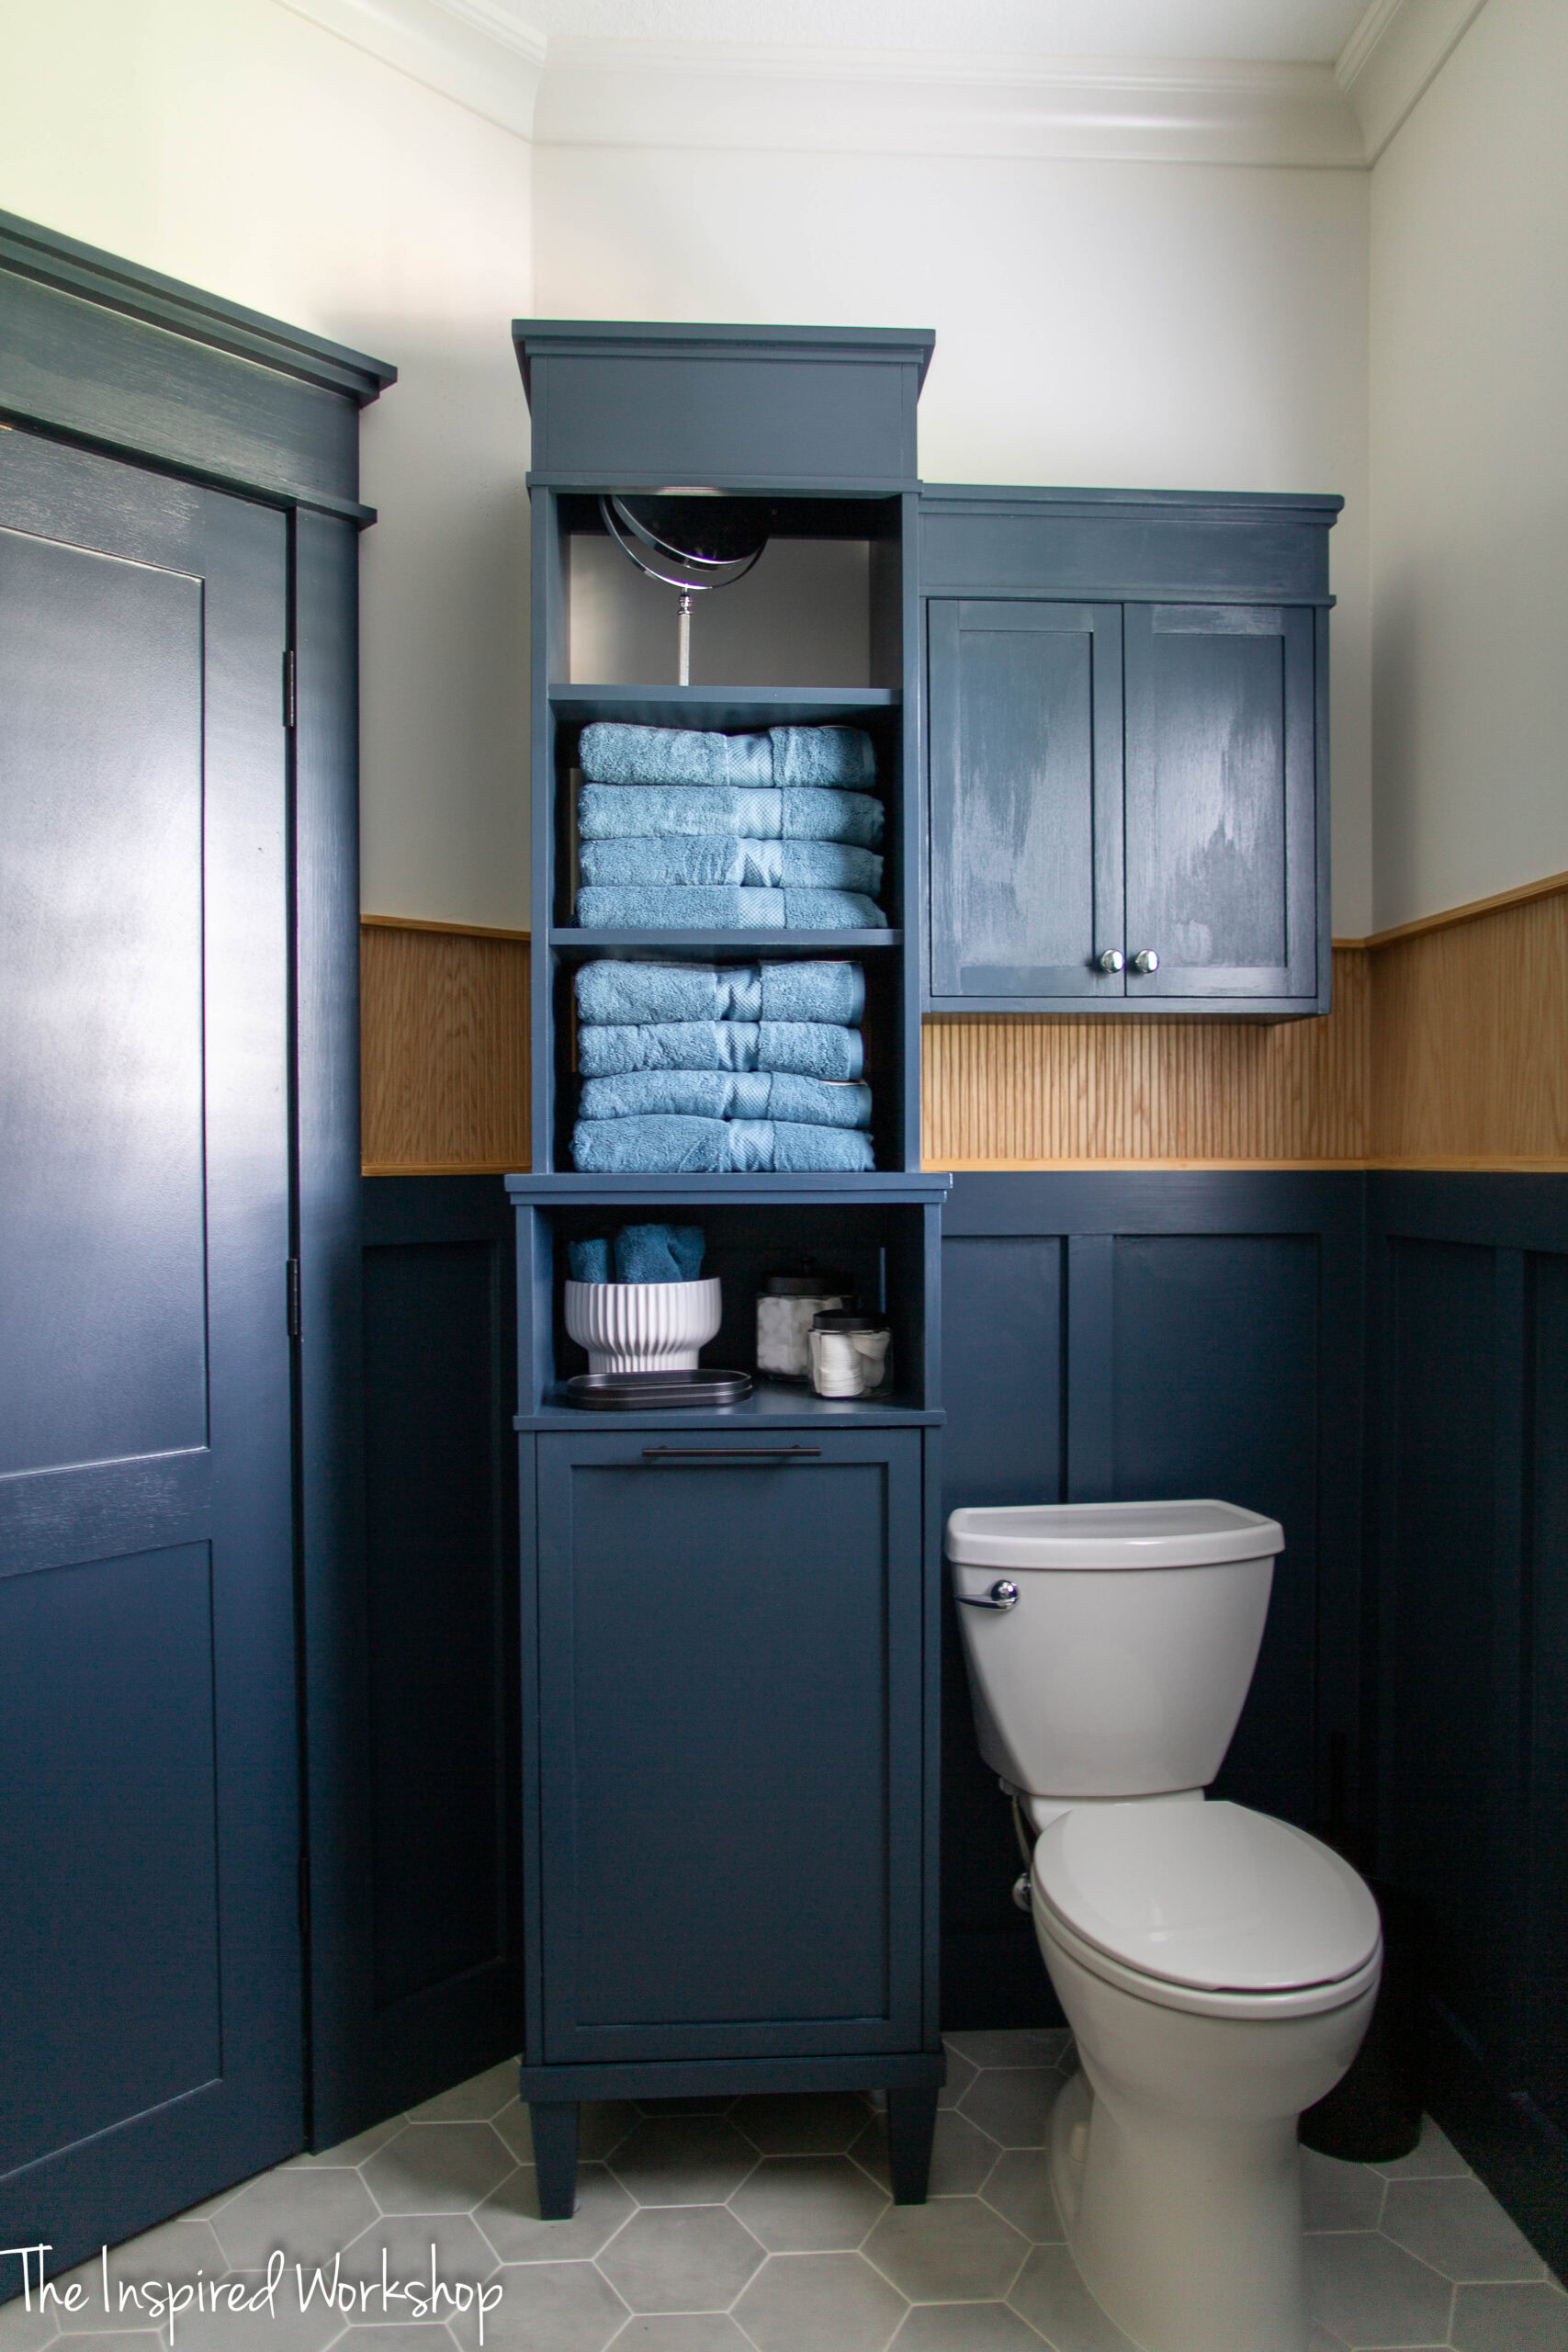
Storage Solutions: Linen Tower and Over-the-Toilet Cabinet
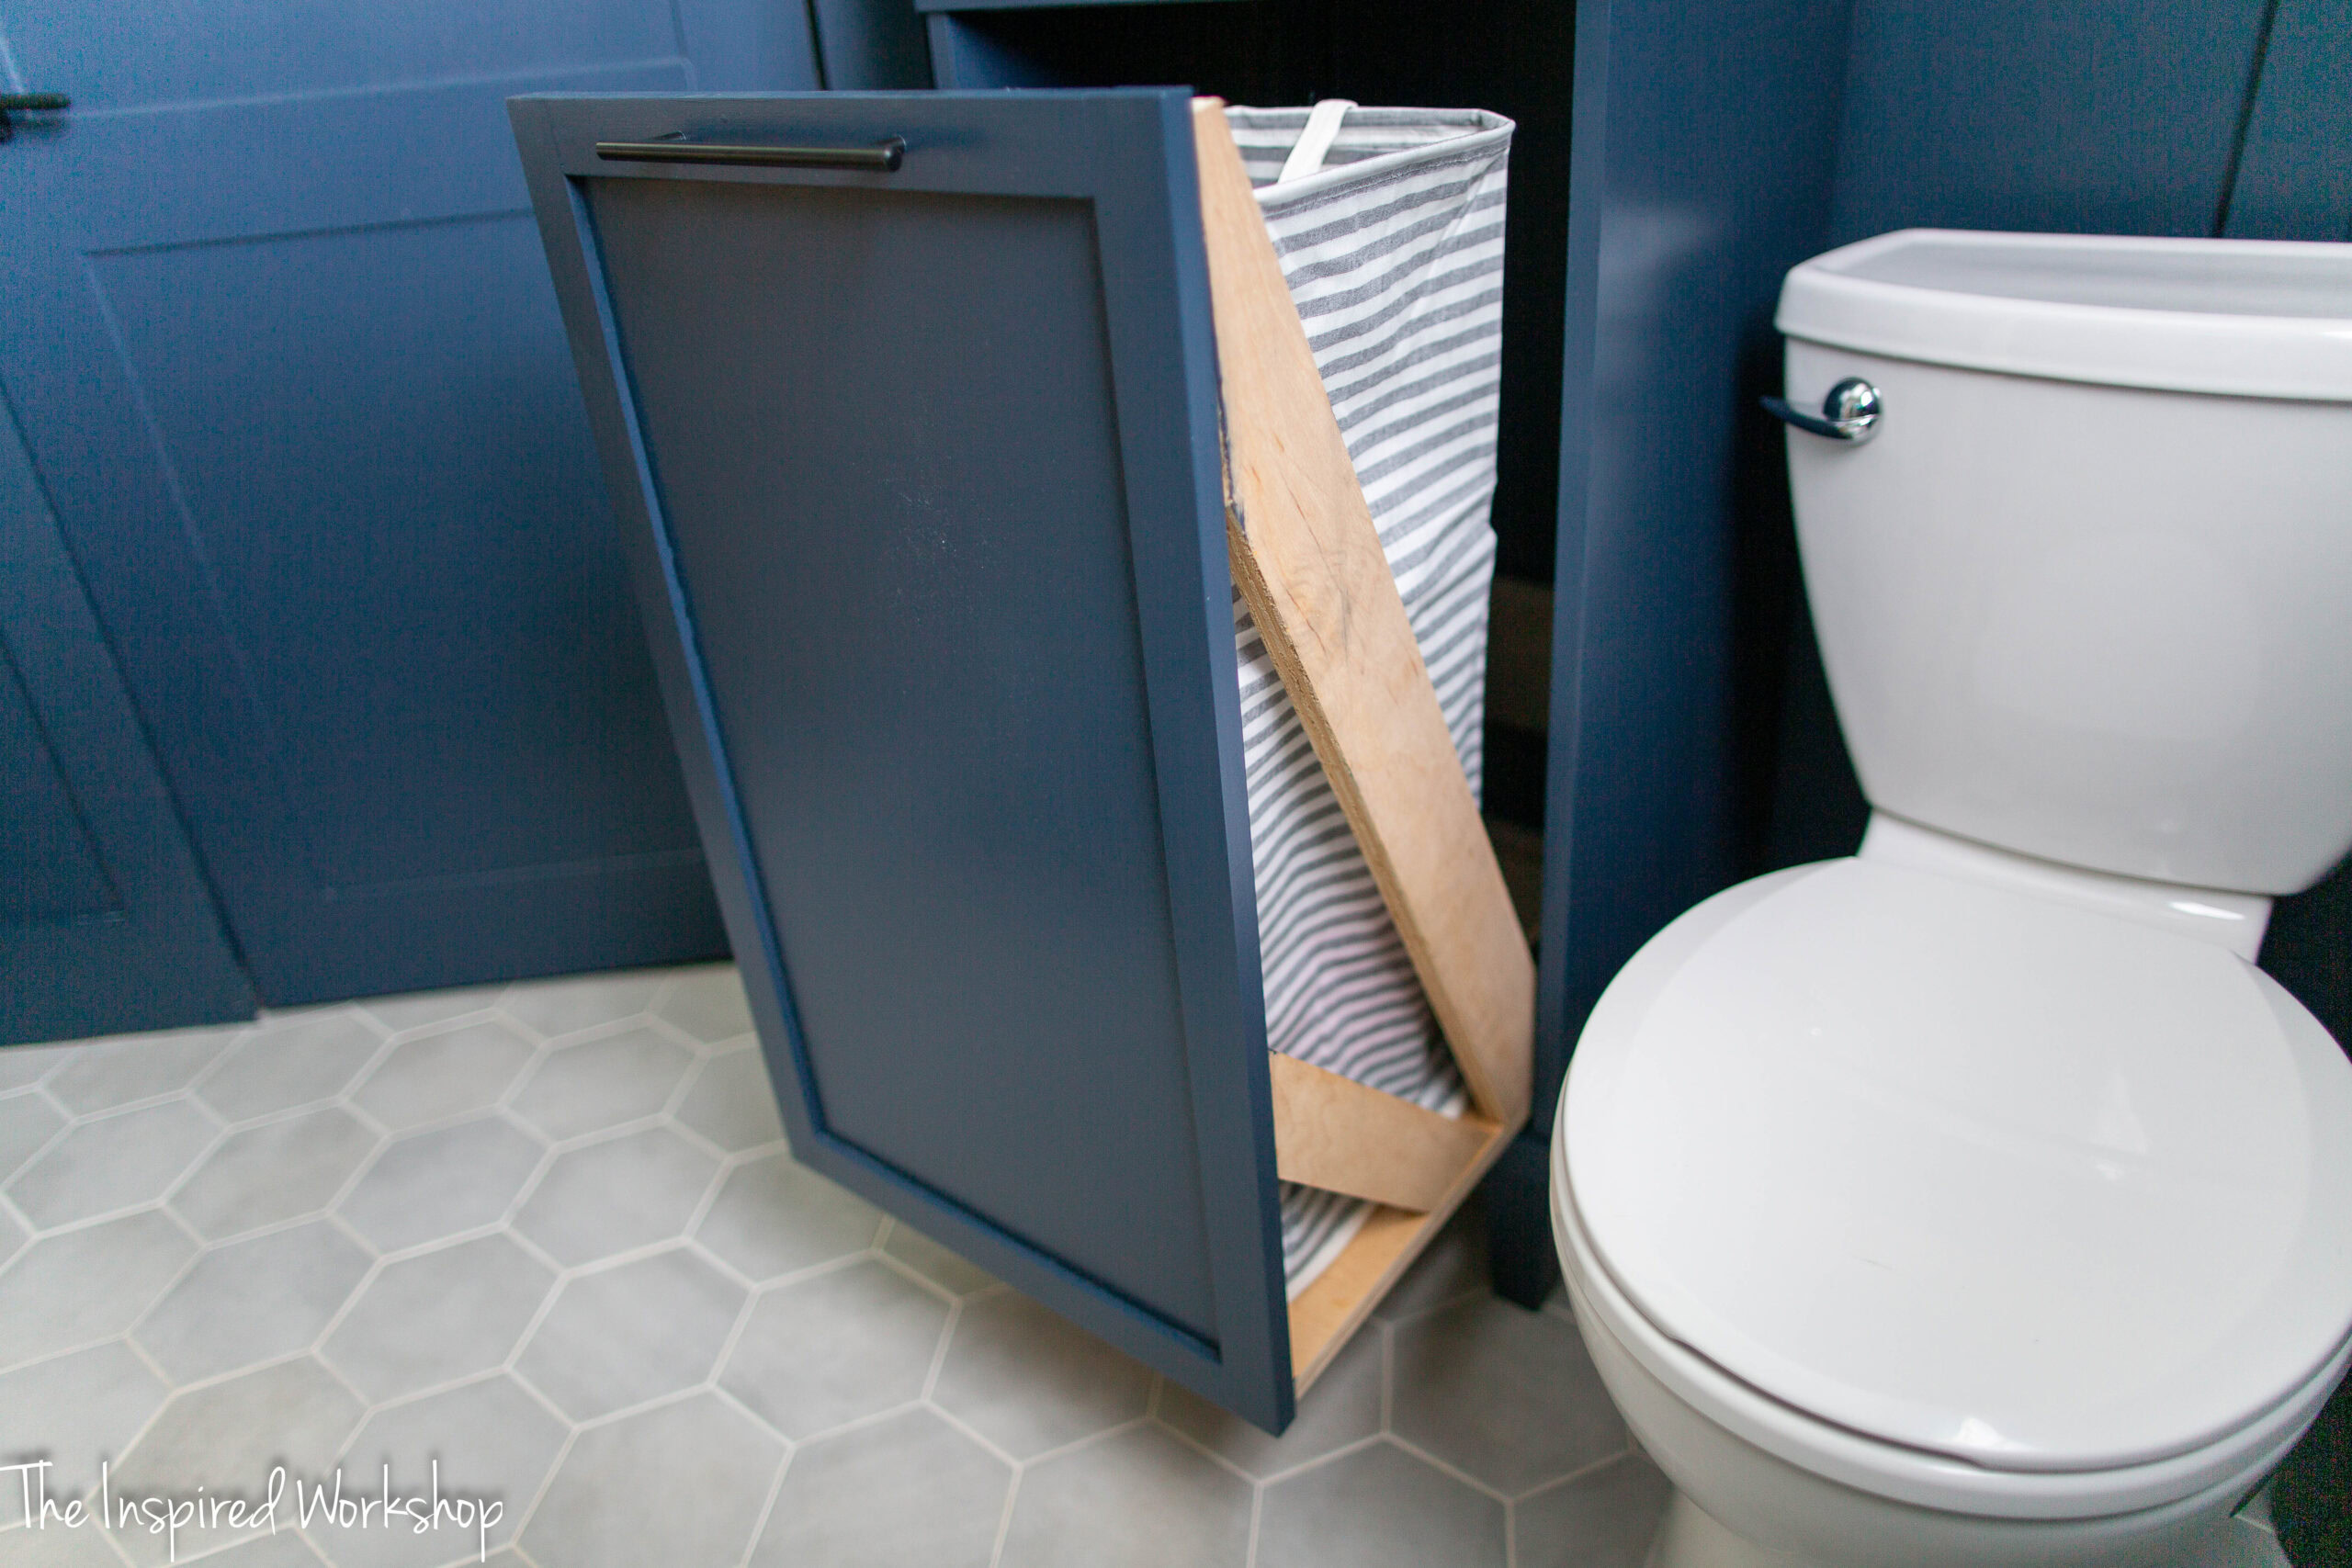
There was no storage in the bathroom previously, and there really wasn’t a good place to build a closet or even a linen cabinet honestly! I hate it over by the toilet but what else do you do? The linen tower, featuring a hamper at the bottom and open shelves for towels, maximizes storage efficiently. The over-the-toilet cabinet was a serendipitous creation, born from scrap wood and doors originally intended for the vanity but resized incorrectly. This repurposing not only saved materials but also added a custom piece that perfectly fits the space.
Finishing Touches: Mirror, Light Fixture, and Art
Installing the mirror and vanity light was relatively straightforward, though the mirror required a wooden backing to make it flush with the molding, it was a simple, easy fix.
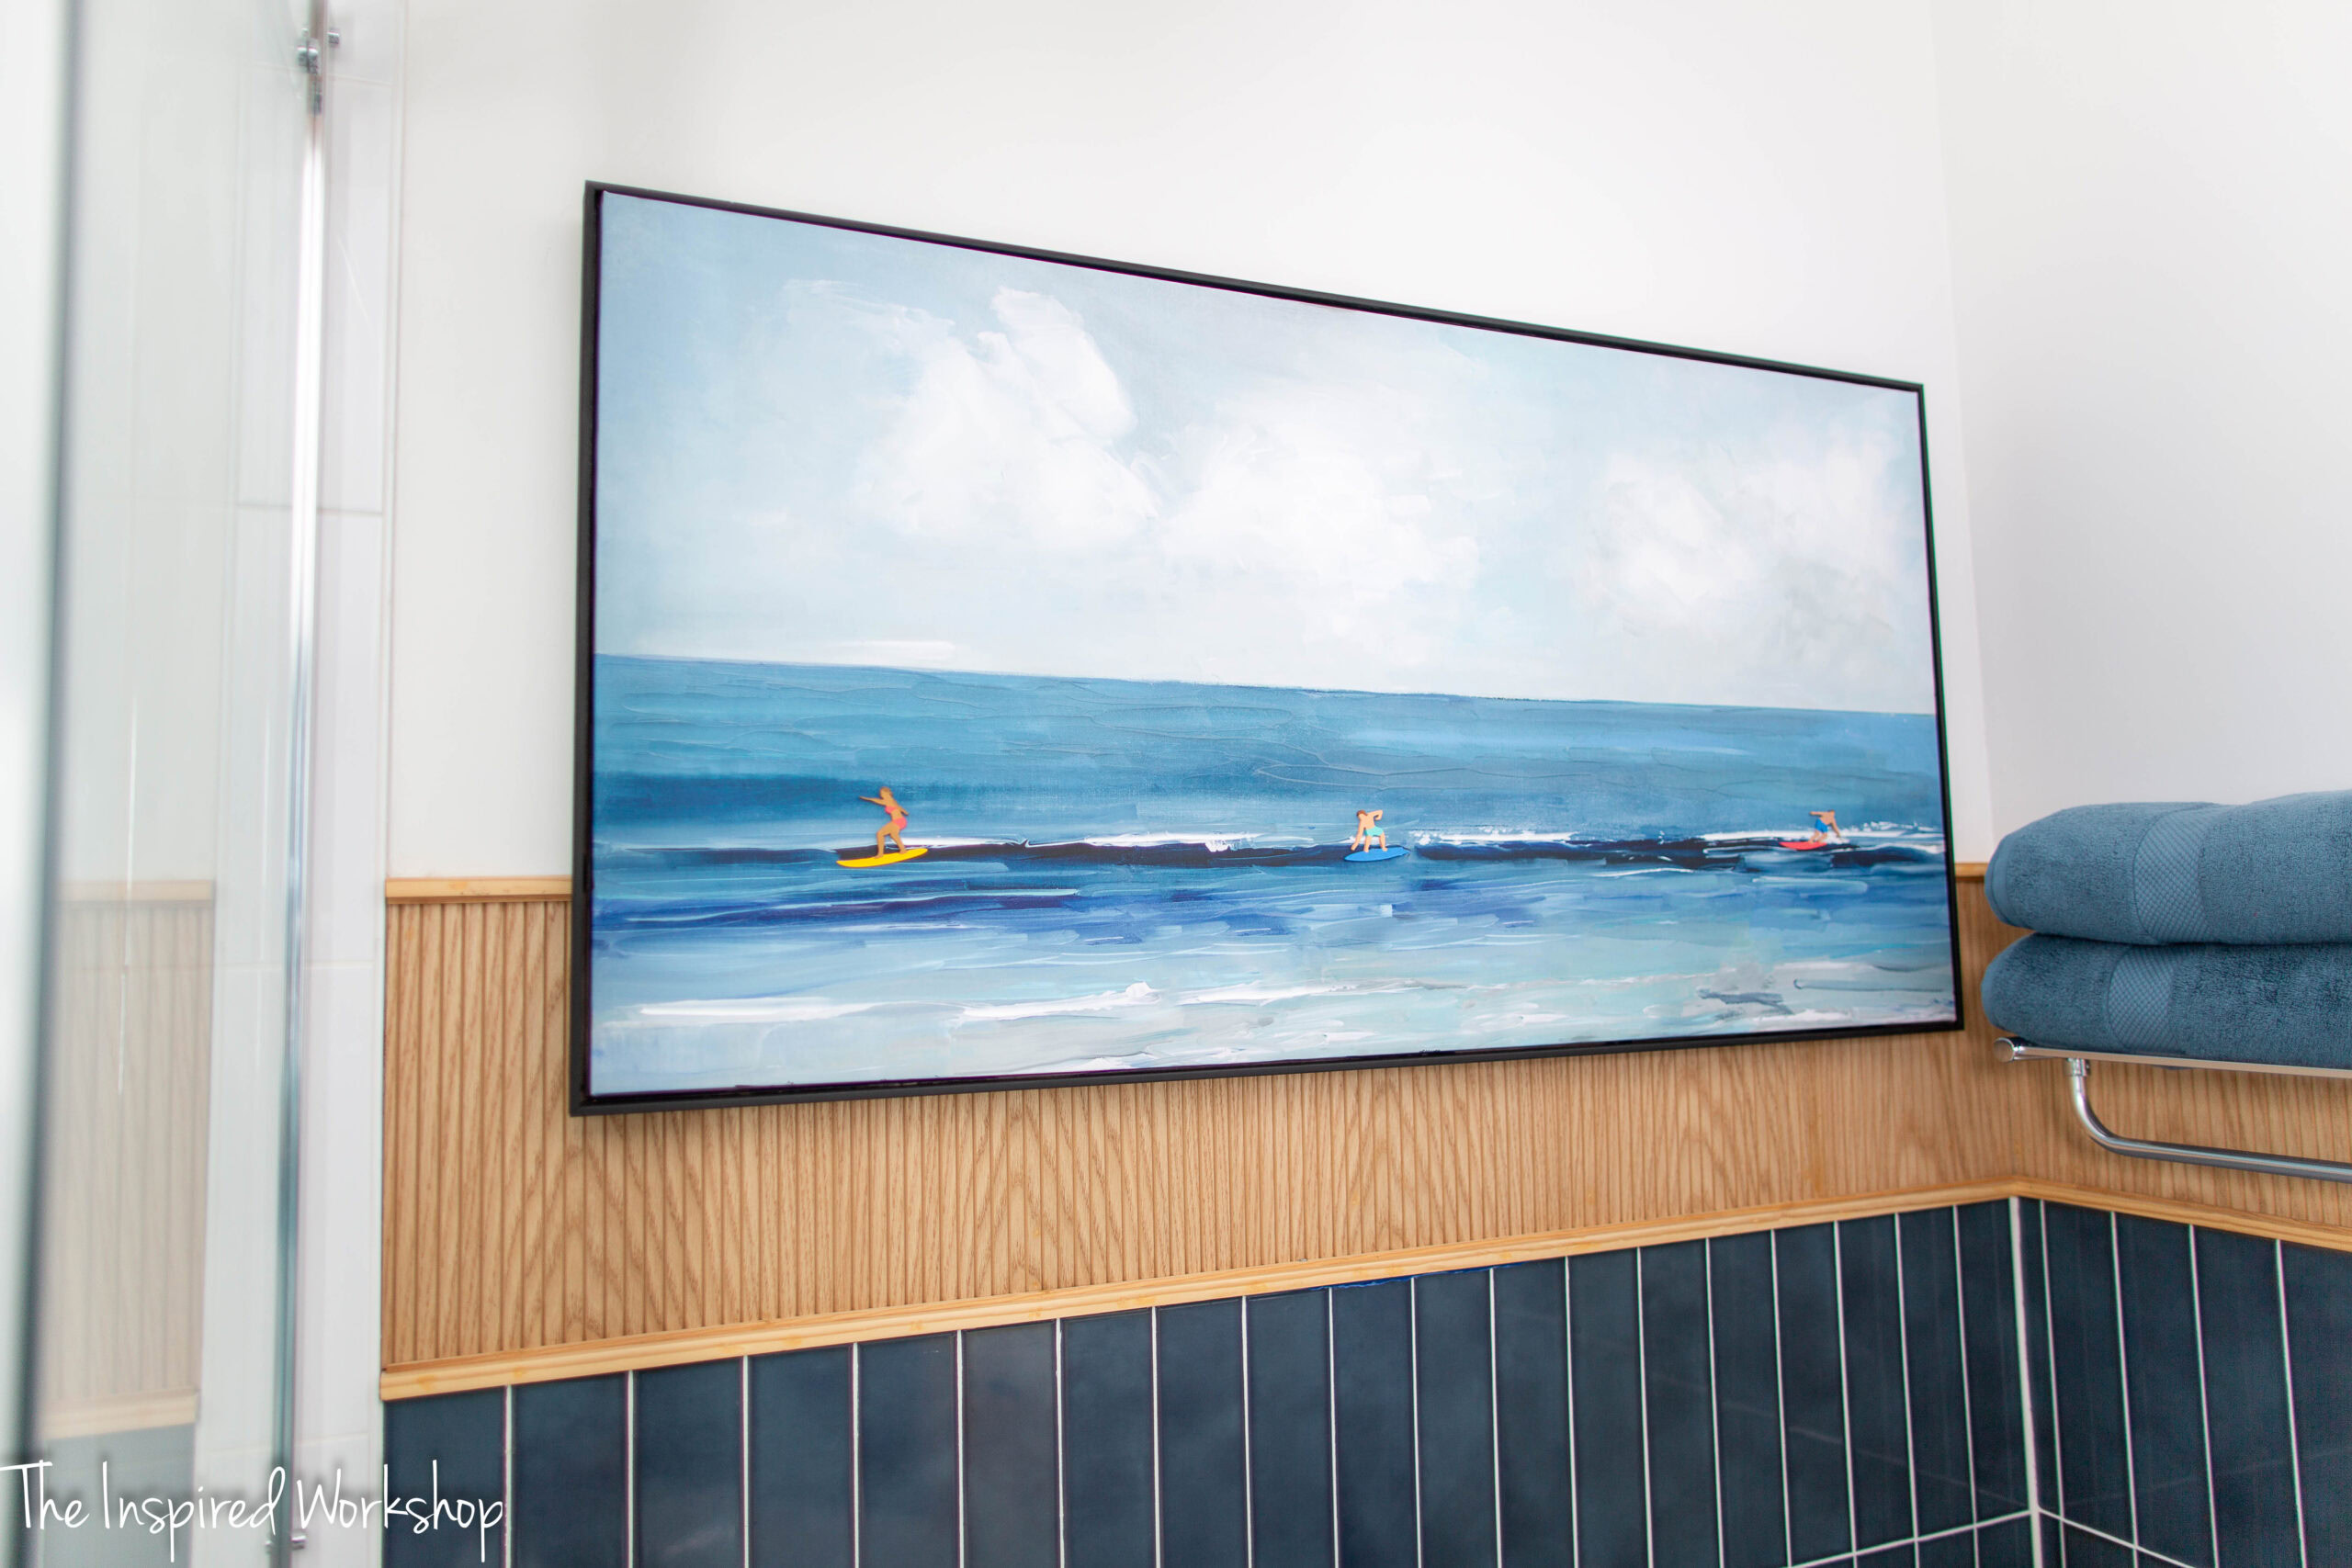
The art, a clearance find at Hobby Lobby, added a personal touch at an incredible value. The large piece over the bathtub was only 25 bucks, I added the surfers because I really wanted surfer art in here for some reason, and it instantly became my favorite part of the bathroom even though it is slightly oversized for the spot it is in! And do not come at me with this whole, “Those waves aren’t big enough to surf!” Mo freaker, you have clearly never been to Port Aransas, TX! 😂
Lessons Learned During the Bathroom Remodel:
This bathroom remodel taught me a few valuable lessons I’d love to share with you all!
- Mapei grout and sealer outshines Custom, both in quality and ease of use, you will NEVER catch me using Custom brand grout EVER AGAIN! I will drive the extra hour to get Mapei!
- A 3ft by 4ft shower is cozy but on the smaller side for a family bathroom.
- Hexagon tile demands precision and patience.
- No matter how many times you measure, spaces always feel smaller than anticipated.
Conclusion
This bathroom remodel journey, from moving plumbing lines to laying intricate tiles and crafting custom storage solutions, was a testament to DIY perseverance and creativity. With the cost coming in under $4500, the transformation into a modern, functional boys’ bathroom exceeded my expectations. The project not only honed my skills but also filled me with a sense of pride and accomplishment.
For those inspired to embark on their own DIY bathroom remodel, remember that challenges are part of the journey. With the right tools, materials, and plans—like those available for the vanity and linen tower—the process can be incredibly rewarding. Here’s to creating spaces that reflect our needs, style, and the joy of doing it ourselves!
Happy Remodeling!

Want to save this post for later? Pin it!