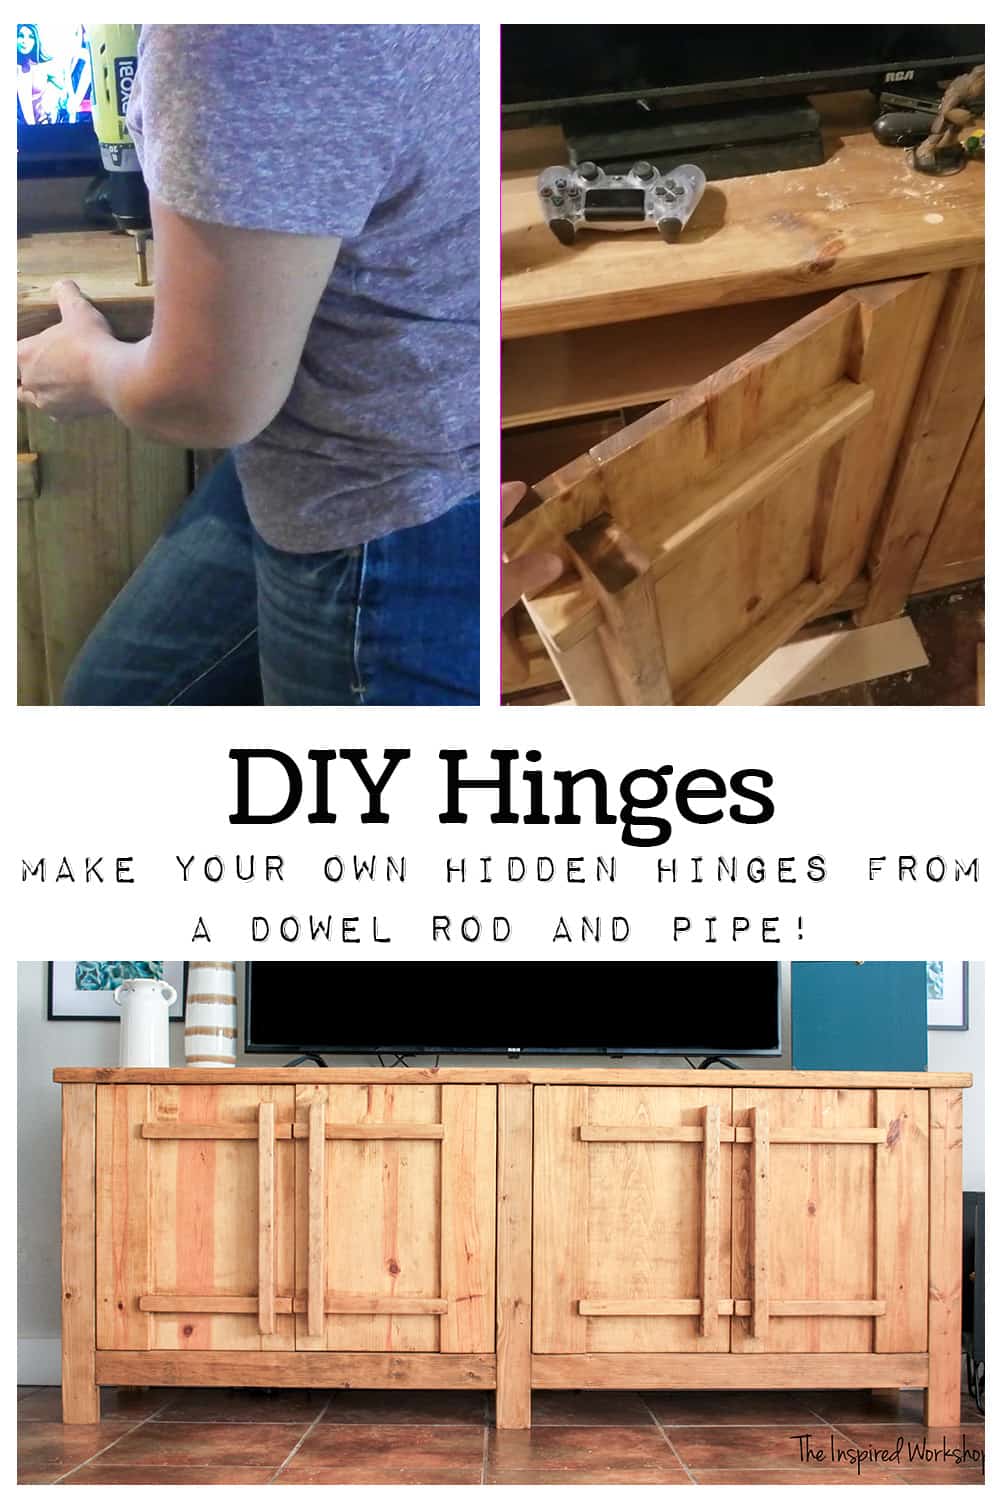
DIY Wooden Hinges

So you built the DIY TV Stand and now you want to add the doors, here’s where you learn how to take an oak dowel rod and a little copper pipe and turn them into DIY wooden hinges for your media cabinet!
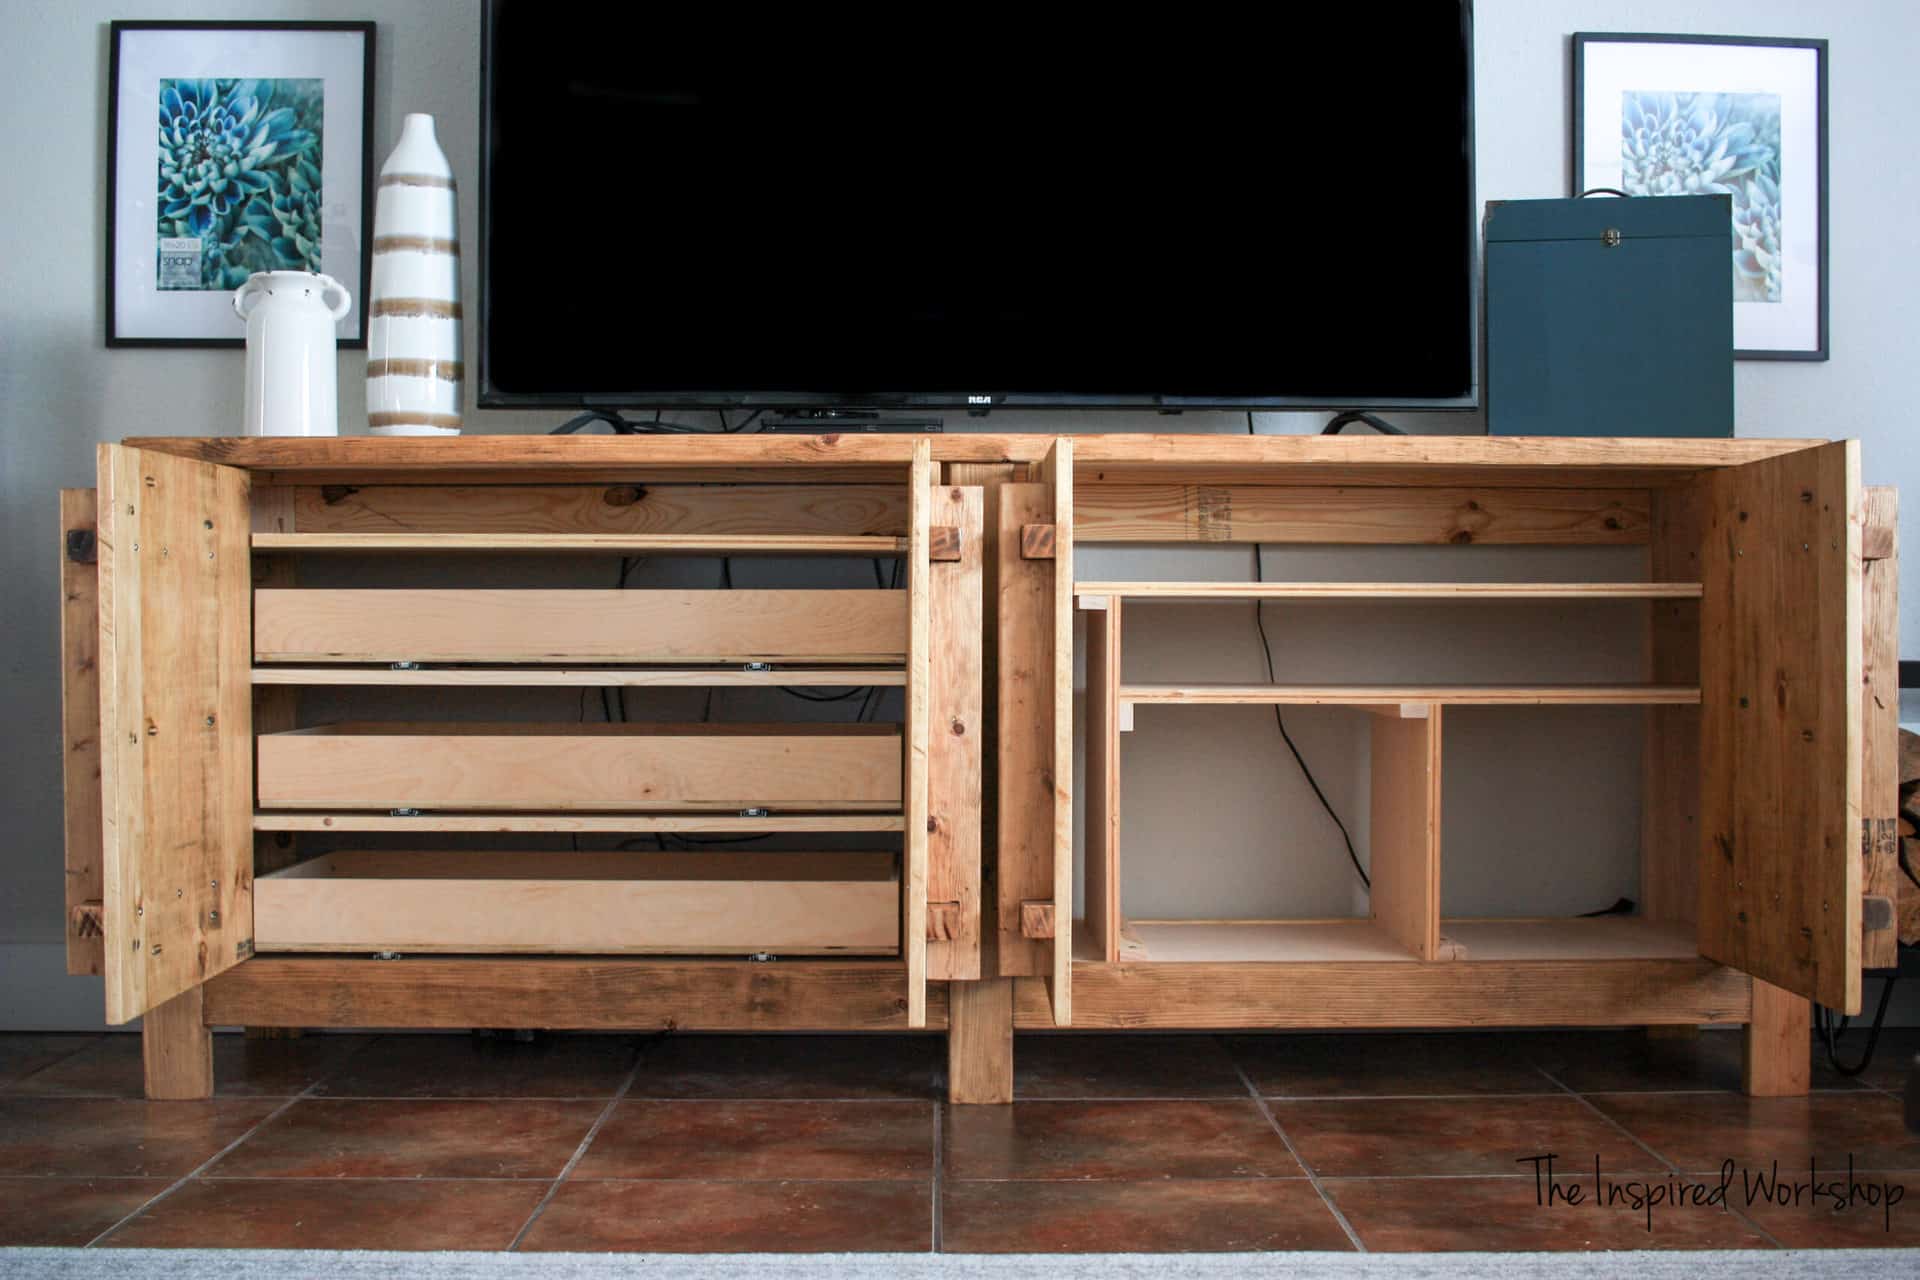
I love that the wooden hinges are completely concealed and keep you from having to use any hardware besides the drawer slides!
I even have a video for you guys to go along with this post on wooden hinges…but I have to admit, it is not the best! 😅 I am still working on figuring out a way to make videos without having someone stand behind the camera…and it’s not easy! I get working and get into my own little world and forget that I am needing to show every little step, and before I know it, I’m done and the video caught very little of what I did! Lol! It should be posted here as soon as it is edited!
Gathering Supplies for the DIY Wooden Hinges
The making of the wooden hinges is quite possibly the cheapest DIY project to date! Lol! The total cost even of supplies is about 16 bucks, if you have to buy a pipe cutter and Forstner bits, you can expect to pay about 45-50 bucks, but you will then have a pipe cutter handy and Forstner bits for other DIY projects! 🙌🏼
Materials for the wooden hinges:
**Note Amazon links below are affiliate links! Affiliate links show that you came from my website and pay me a small commission at no extra cost to you if you make a purchase after clicking an Amazon link! I appreciate it any time you make purchases from a link of mine! It makes me do a happy dance!😉
- 1 – 1/2″ x 4ft oak dowel rod (you definitely want oak or hardwood, not pine)
- 1 –1/2″ x 2ft copper pipe
- 1 – 5/8″ pine dowel rod – shortest length you can find, it’s only for capping off the top.
- 1 – spare dowel rod, smaller than 1/2″ to use to measure the depth of holes, you won’t cut this one, it’s only to measure! It can be a scrap piece as long as it is at least 4″ long!
- 1/2″ Forstner bit
- 5/8″ Forstner bit
- epoxy
- drill
- saw – can be a hand saw or miter saw
- pipe cutter
- square
Cut List for the wooden hinges:
There really isn’t a set cut list because, on your dowel rods, you will have to measure how deep you drill your holes into the cabinet and into the doors, plus 1/8″ to get your measurements! This will vary trust me, some were only 2 1/8″ and others were 3 1/4″! LOL! I was a little more heavy-handed with the drill bit while making the wooden hinges on some more than others!😳
With the pipe it is the same, you will have to cut your pipe based on the depth of holes drilled into the cabinet!
Making Your DIY Wooden Hinges
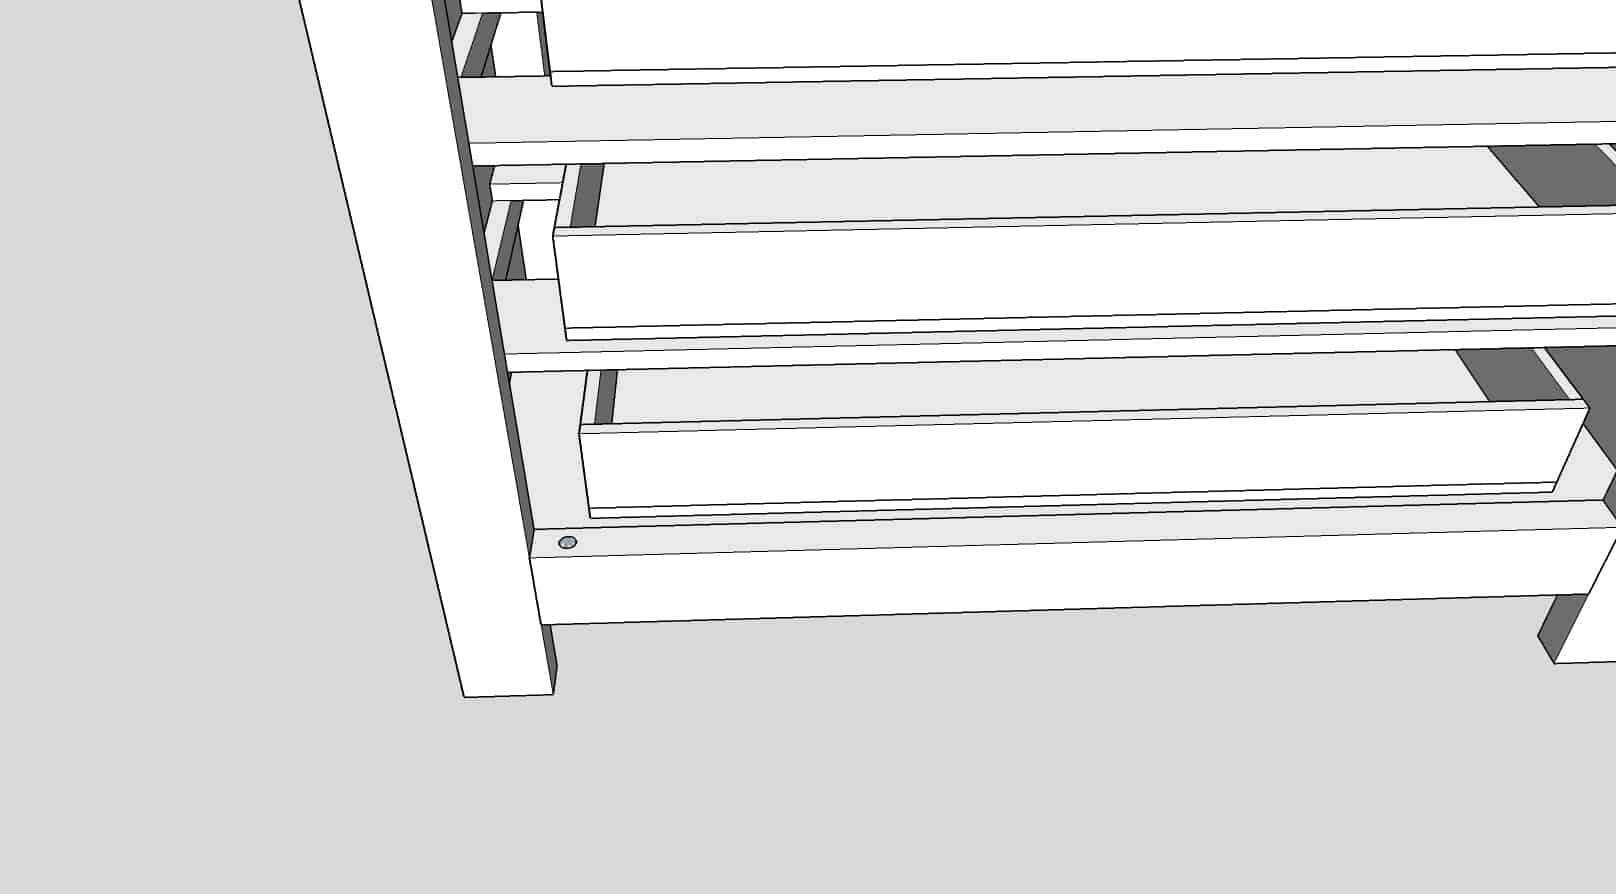
Drilling holes in the bottom of the media cabinet
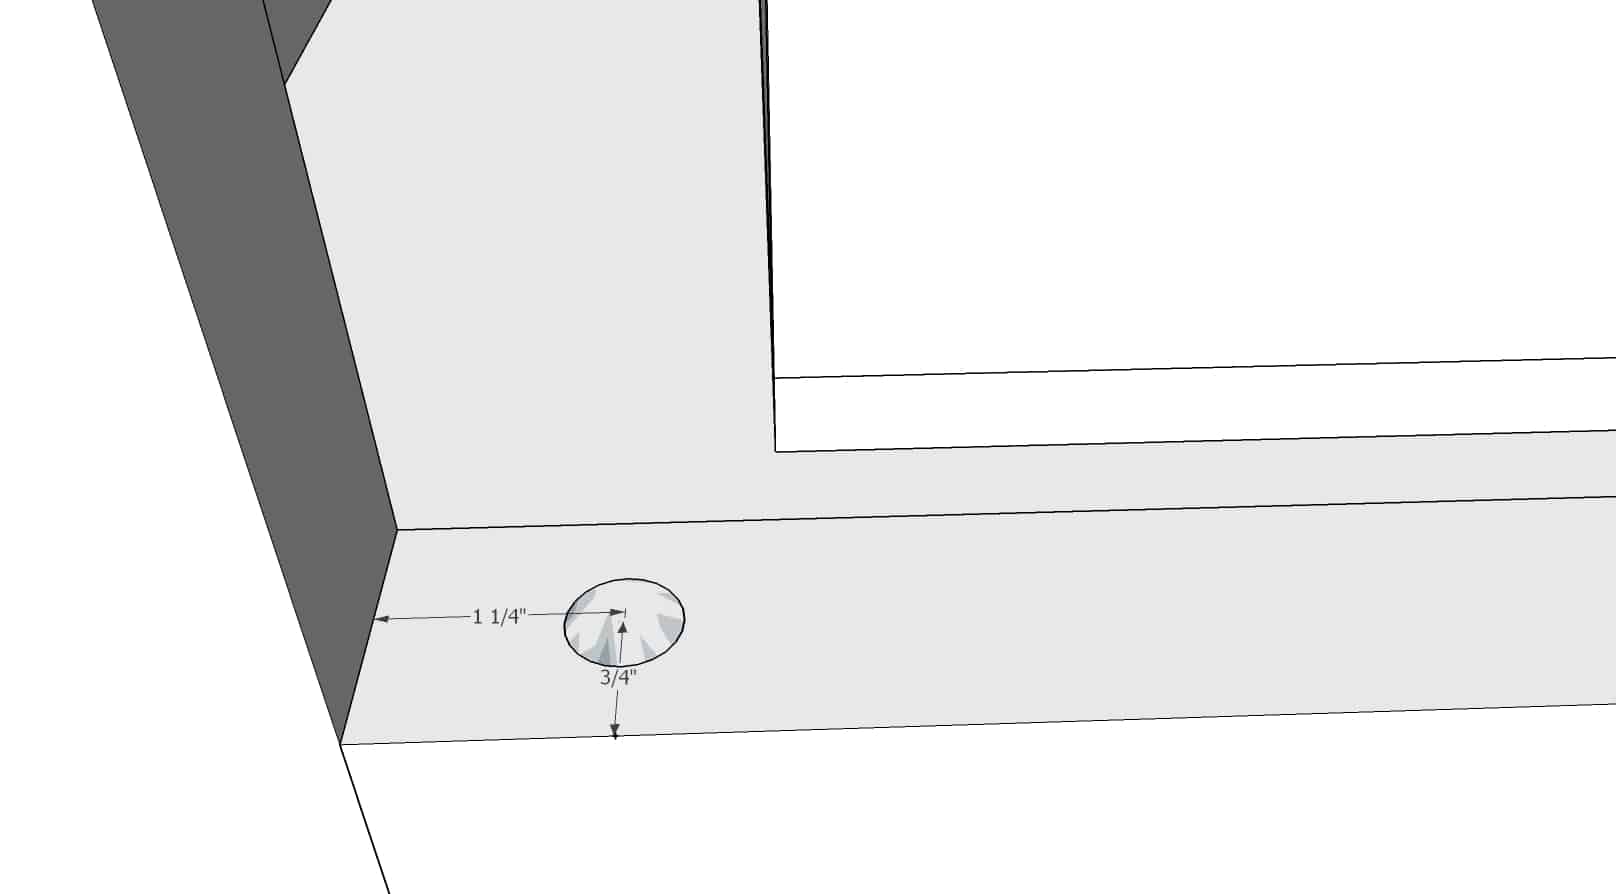
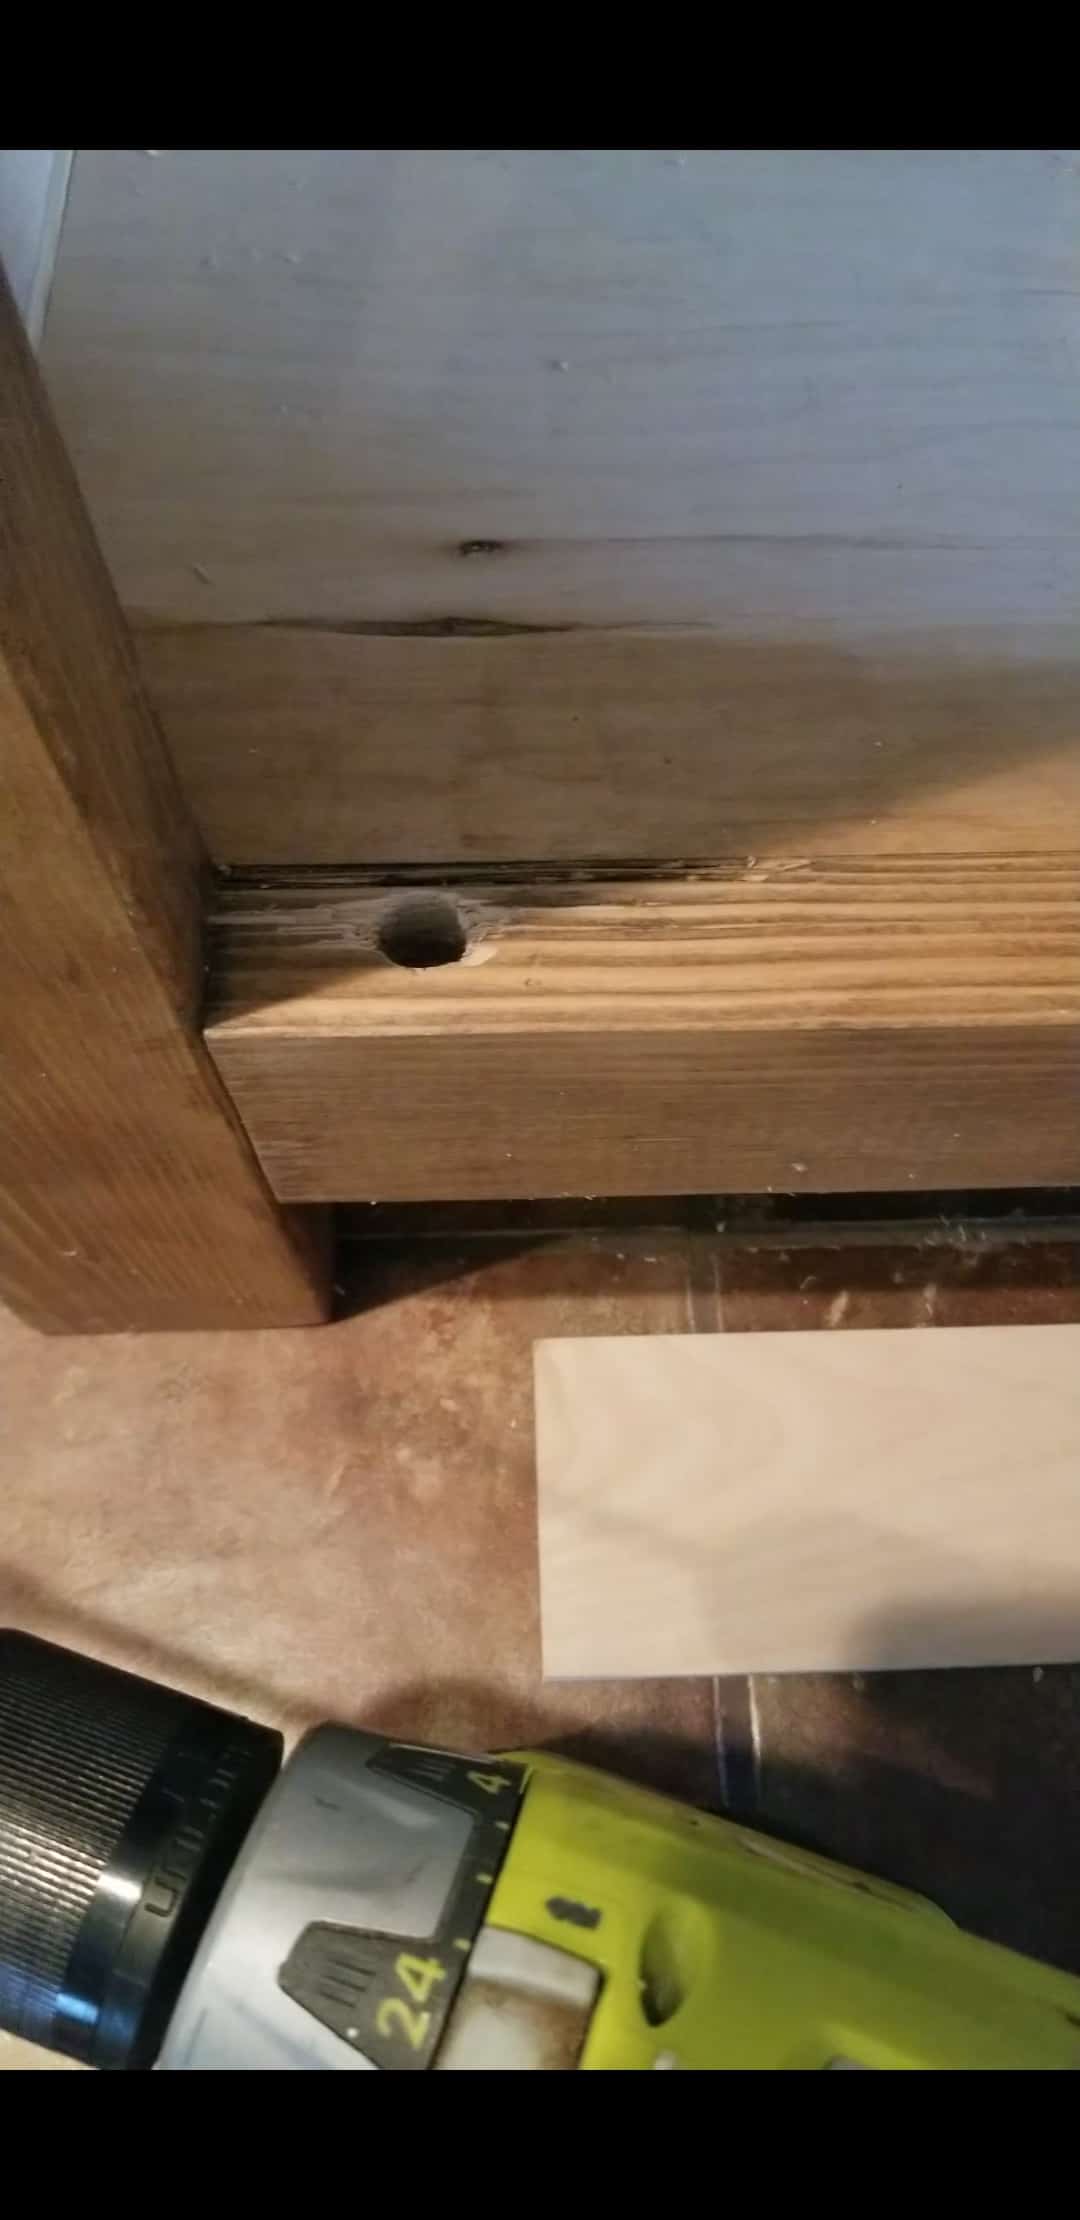
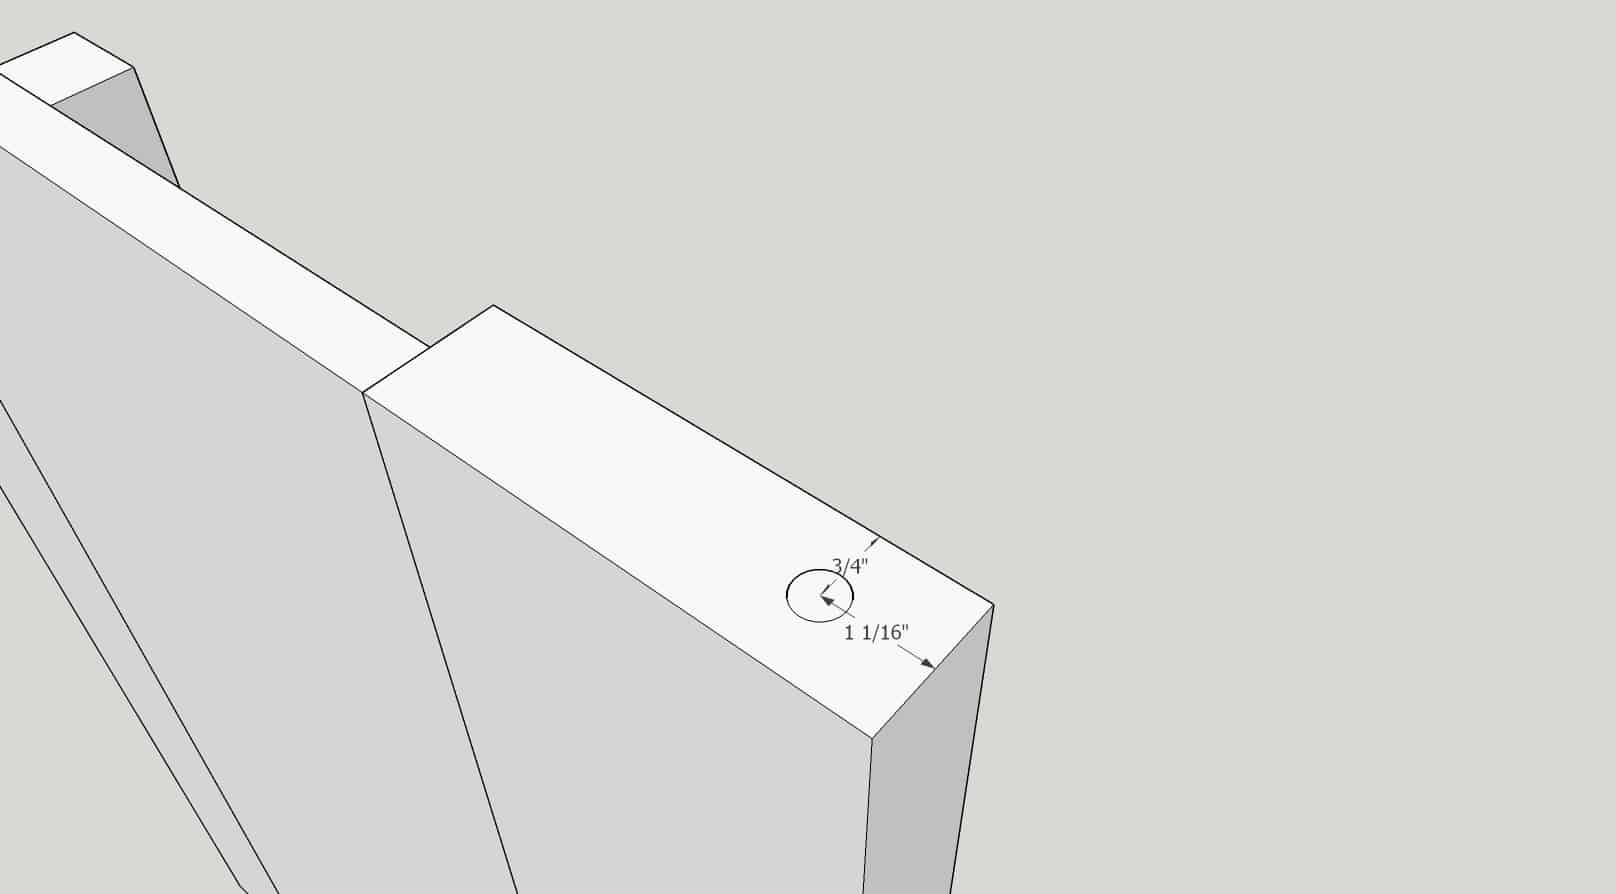
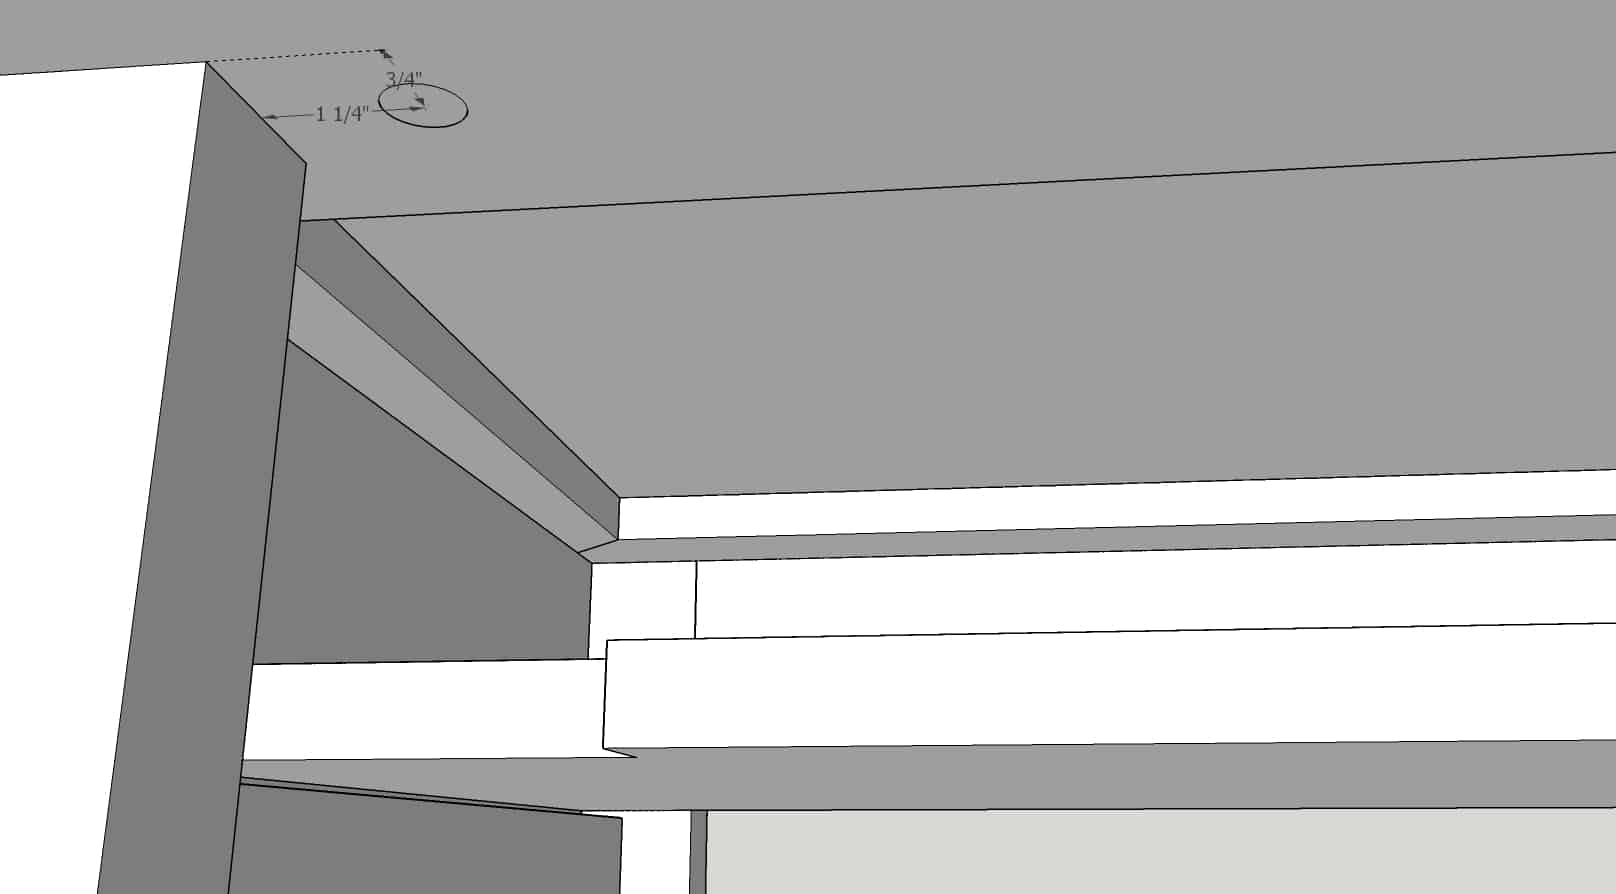
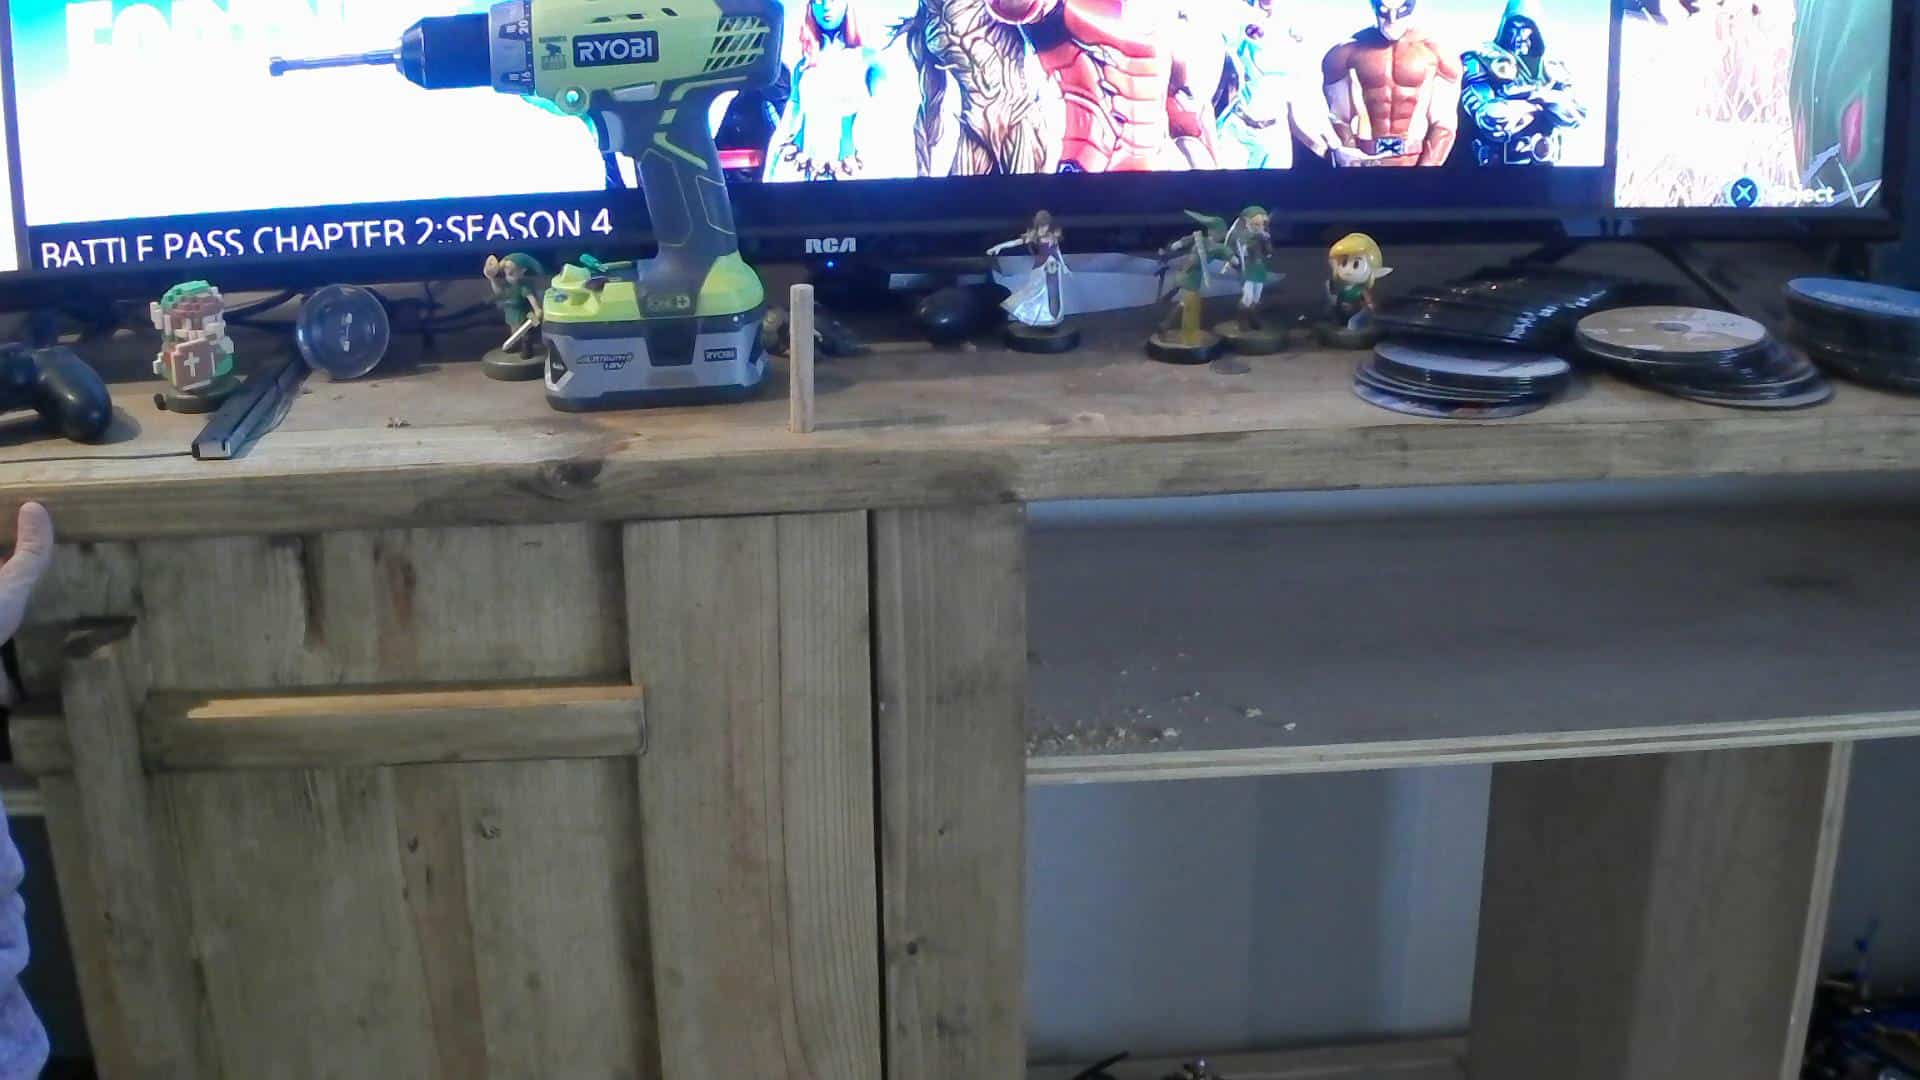
Drill 4 – 5/8″ holes along the bottom 2×4 of the media cabinet. Mark 1 1/4″ from the leg (2×4 @ 34 1/2″ board) and 3/4″ from the front of the 2×4, place an X. You will drill right smack in the center of the X! Go about an inch or so deep.
*When it is zoomed in to see the spacing of the hole, you can’t really see where the hole is on the cabinet so as you scroll the next three photos, it’s just zooming out!

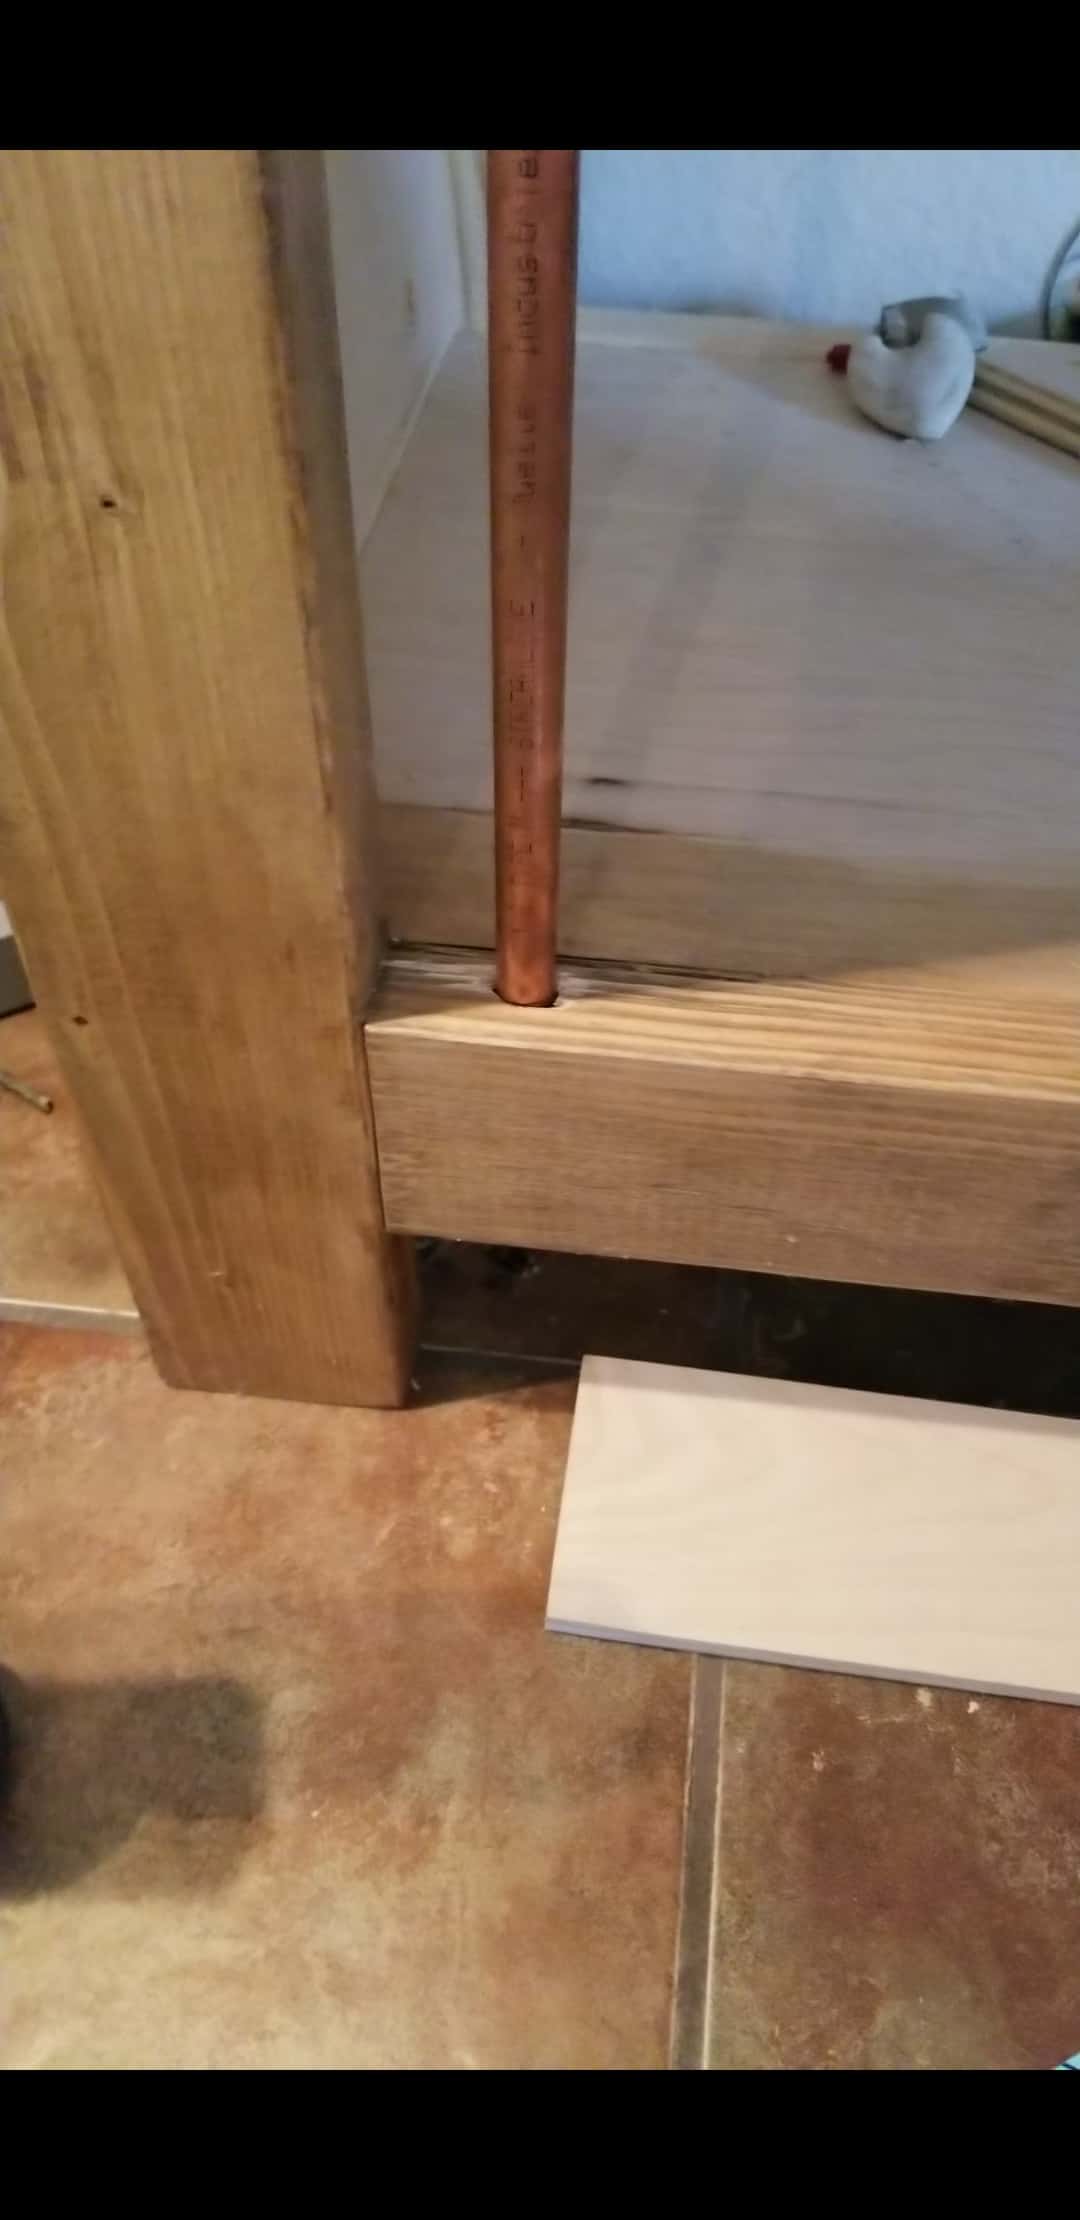
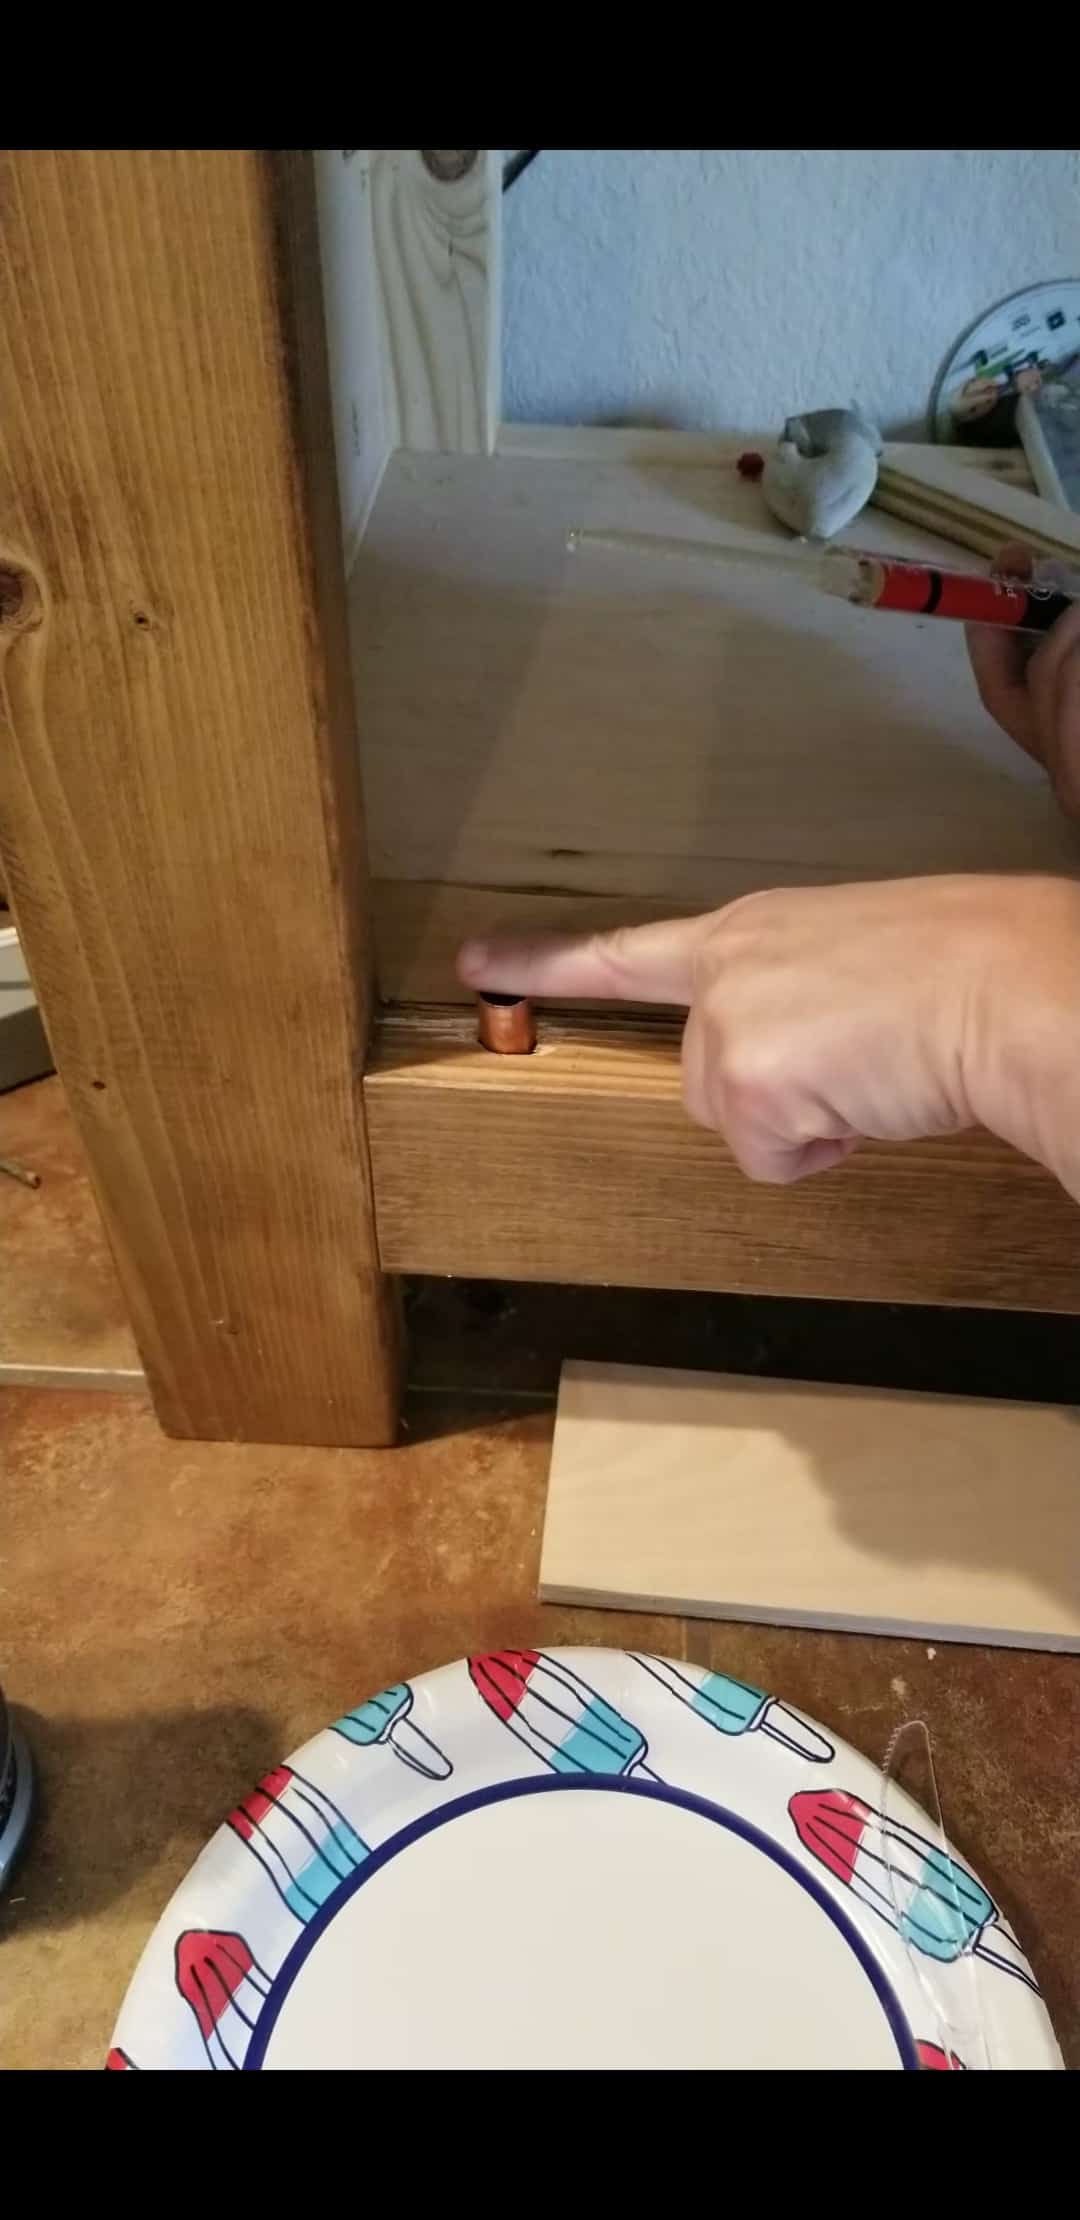
Cutting Pipe to Fit in Holes
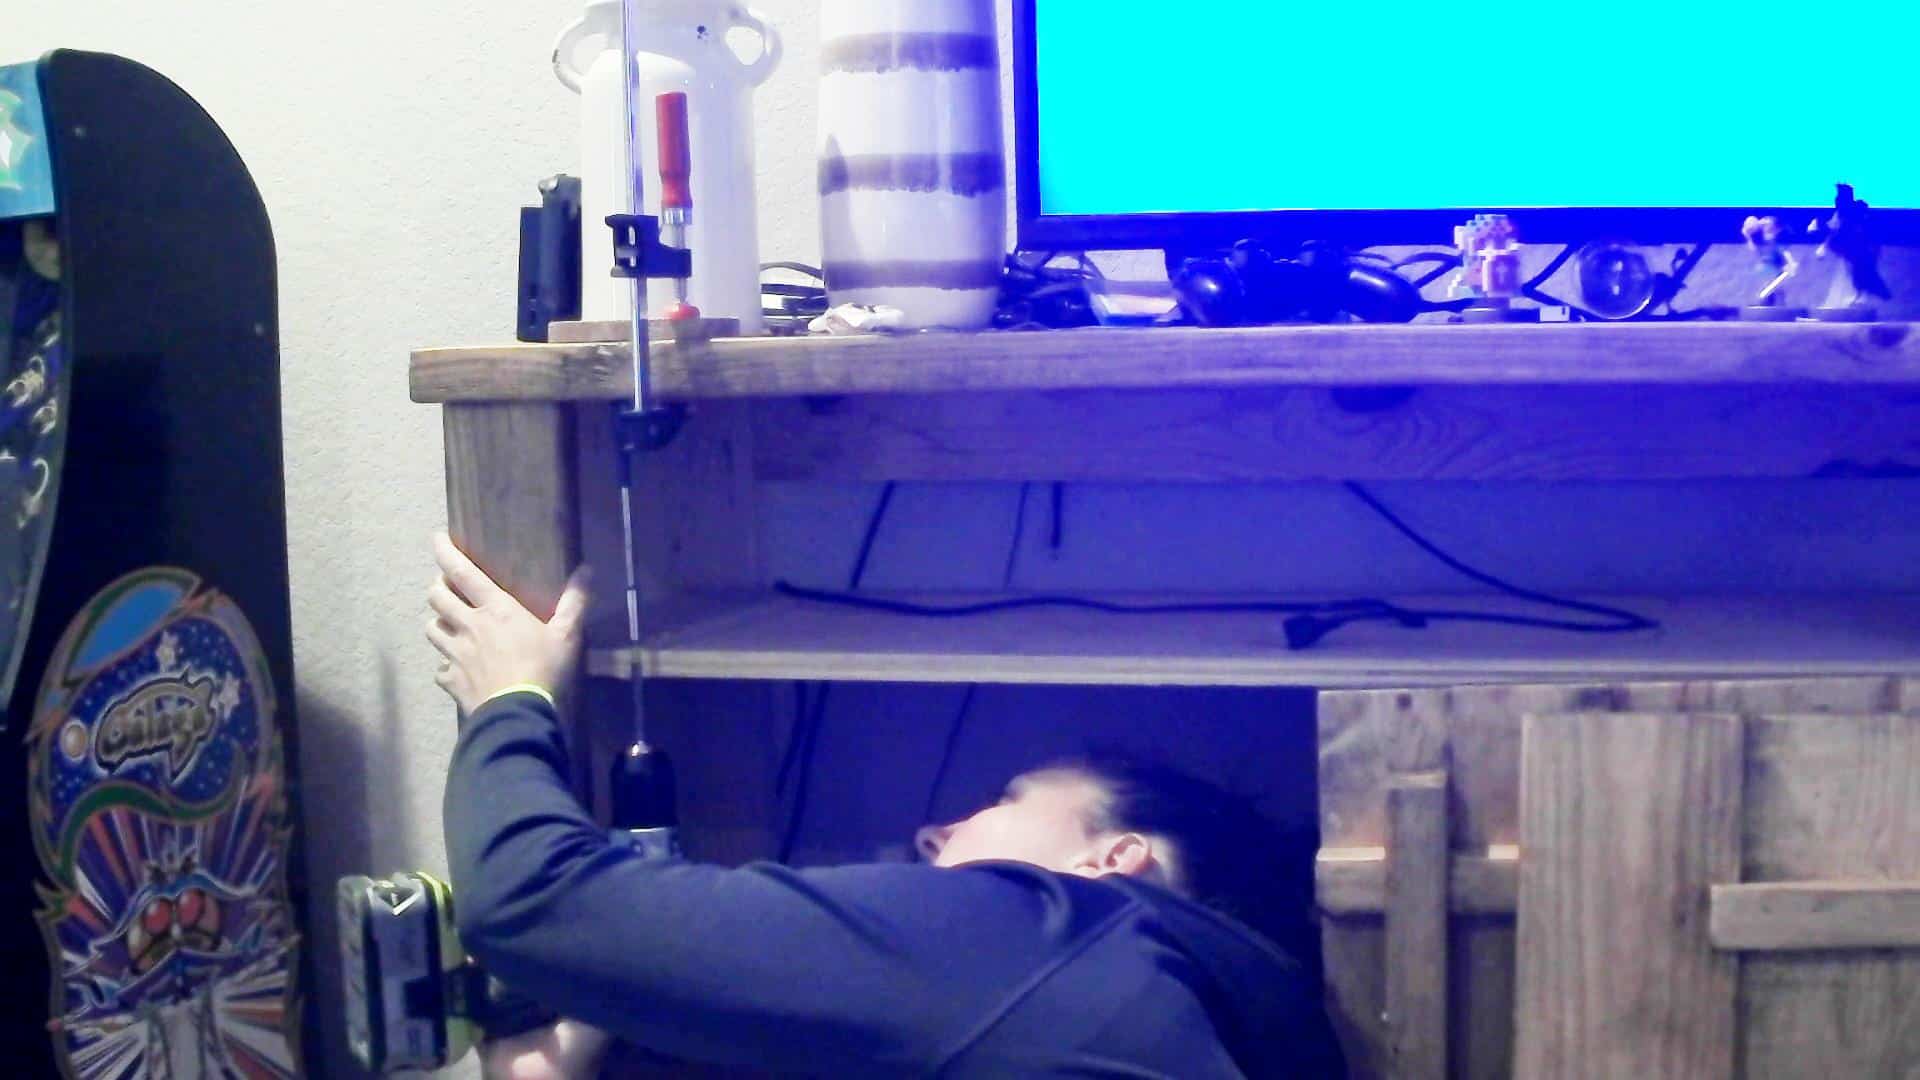
After drilling all four holes along the bottom for the wooden hinges, use the copper pipe and stick it in each hole to mark where to cut the pipe! Each of mine was different measurements! Lol! Using the pipe cutter, cut your pipe to size.
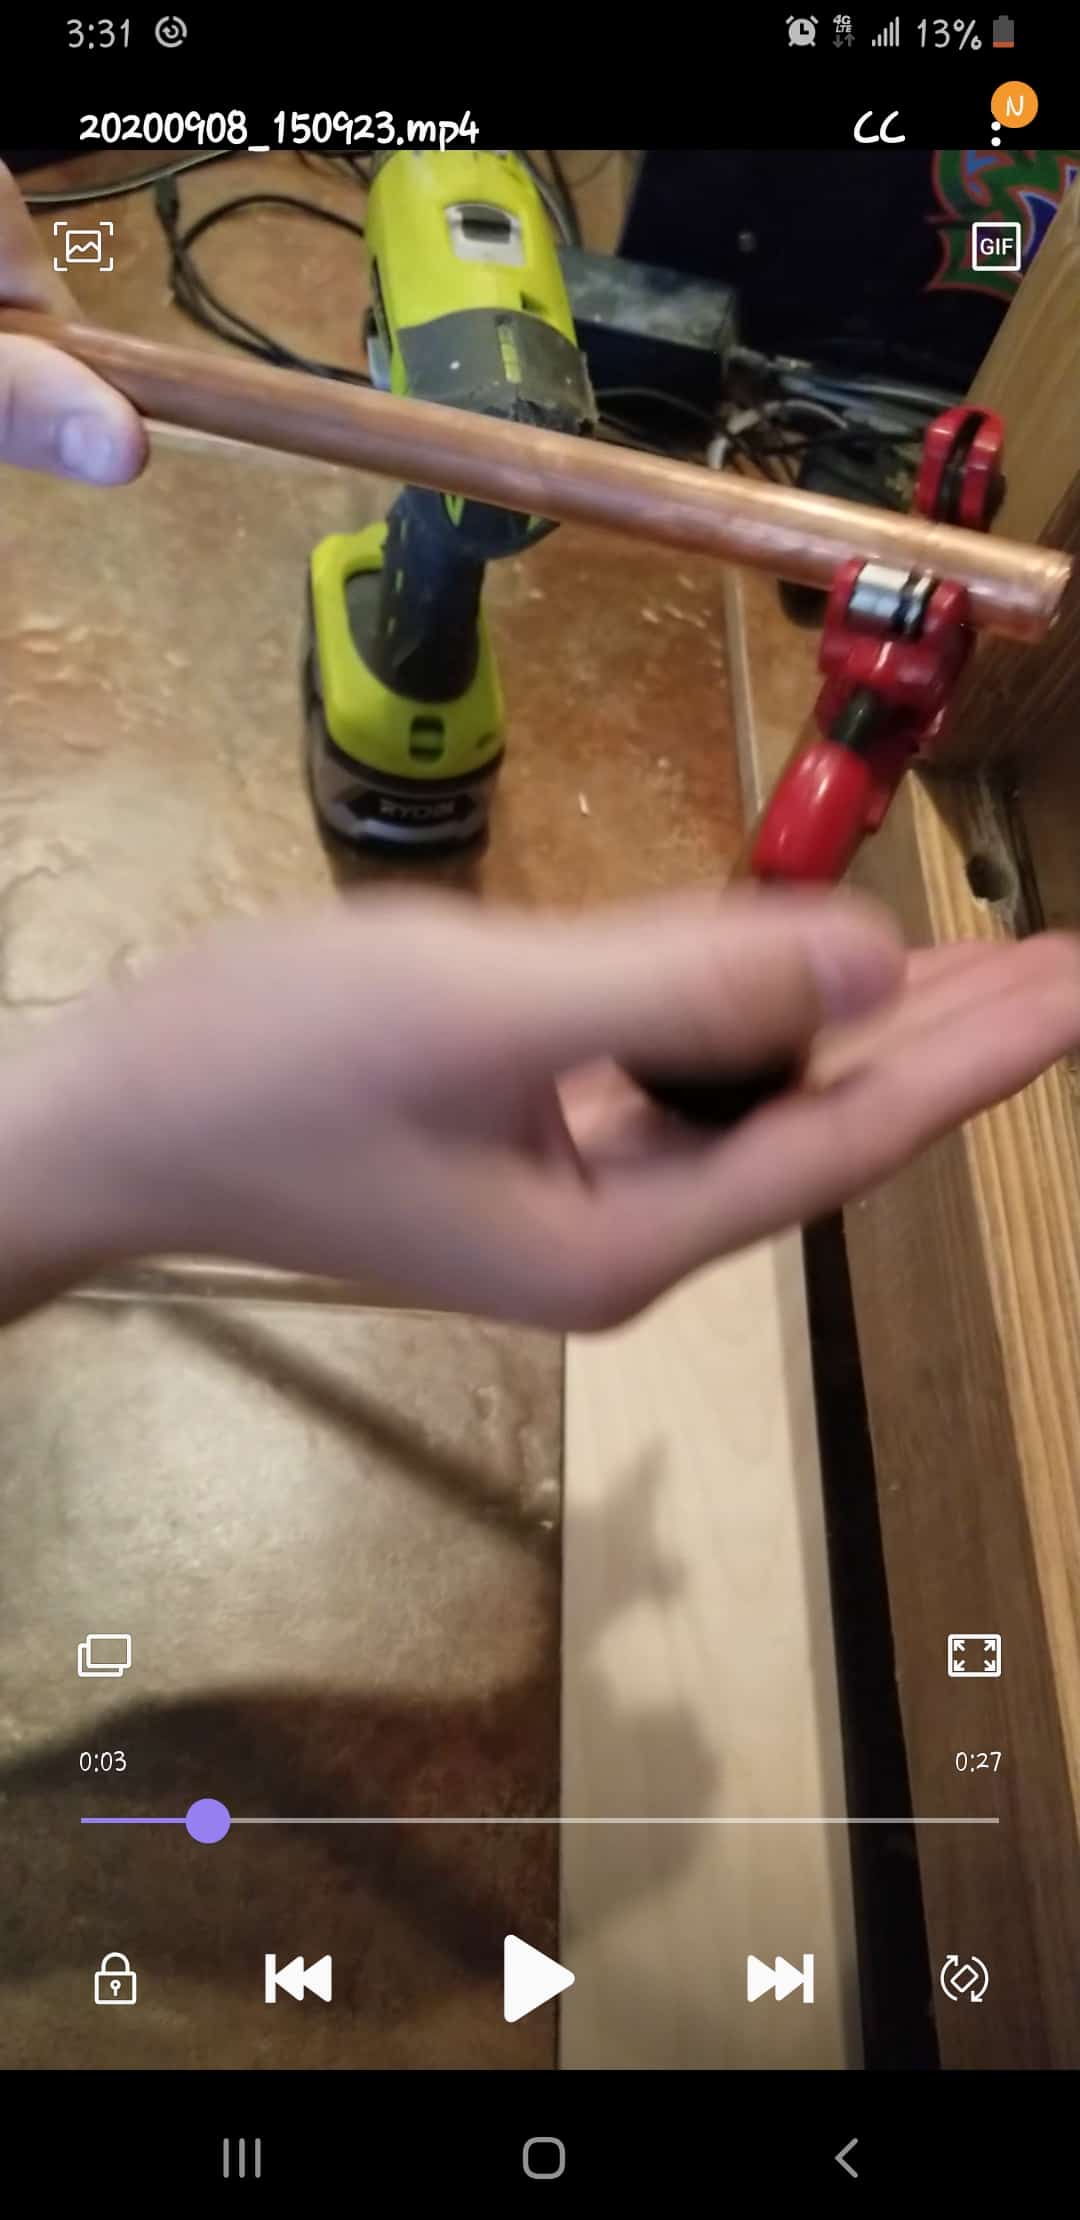
Don’t mind that I had to take screenshots from my phone! Lol!
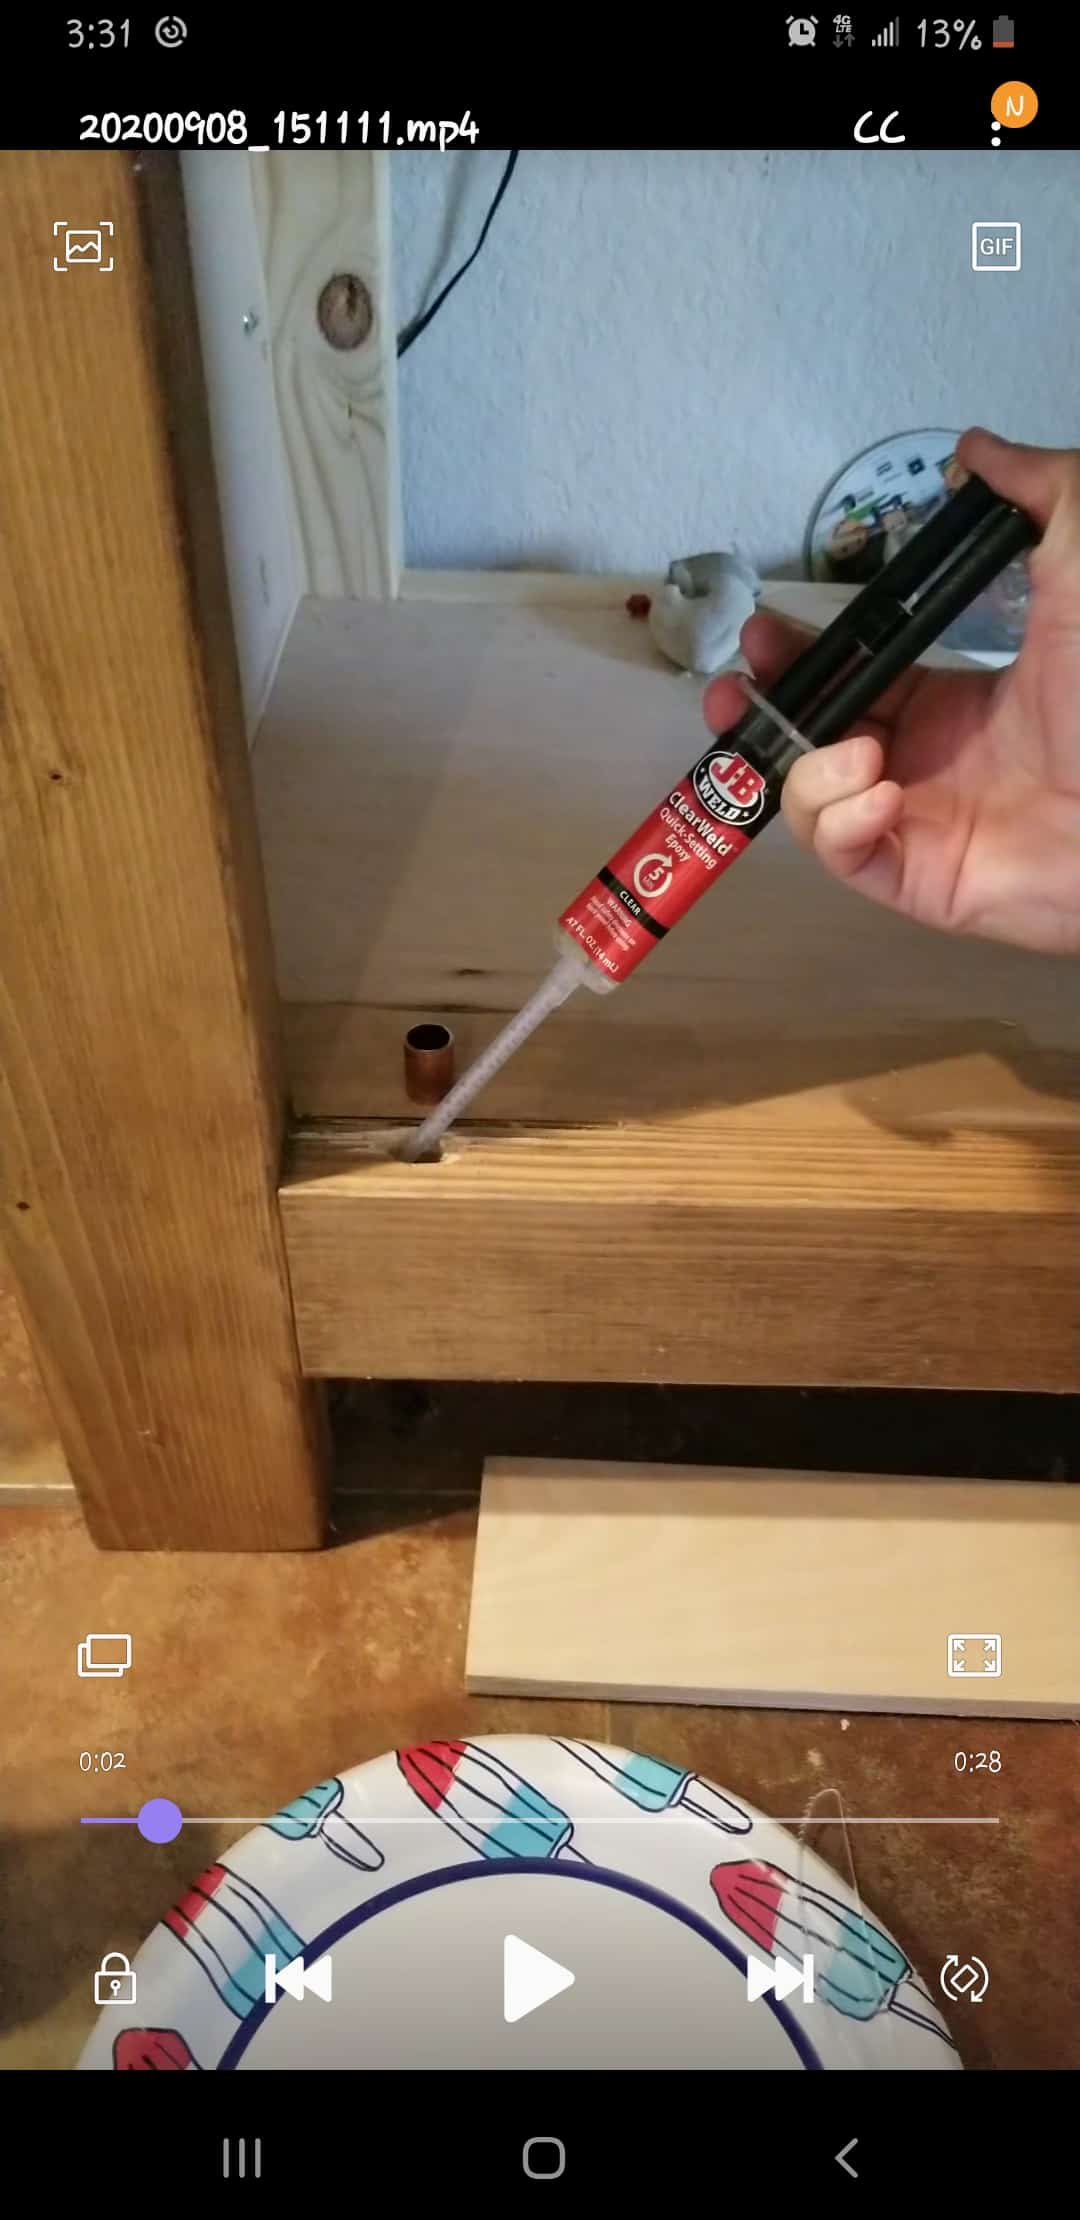
Epoxying Pipe in Place for wooden hinges
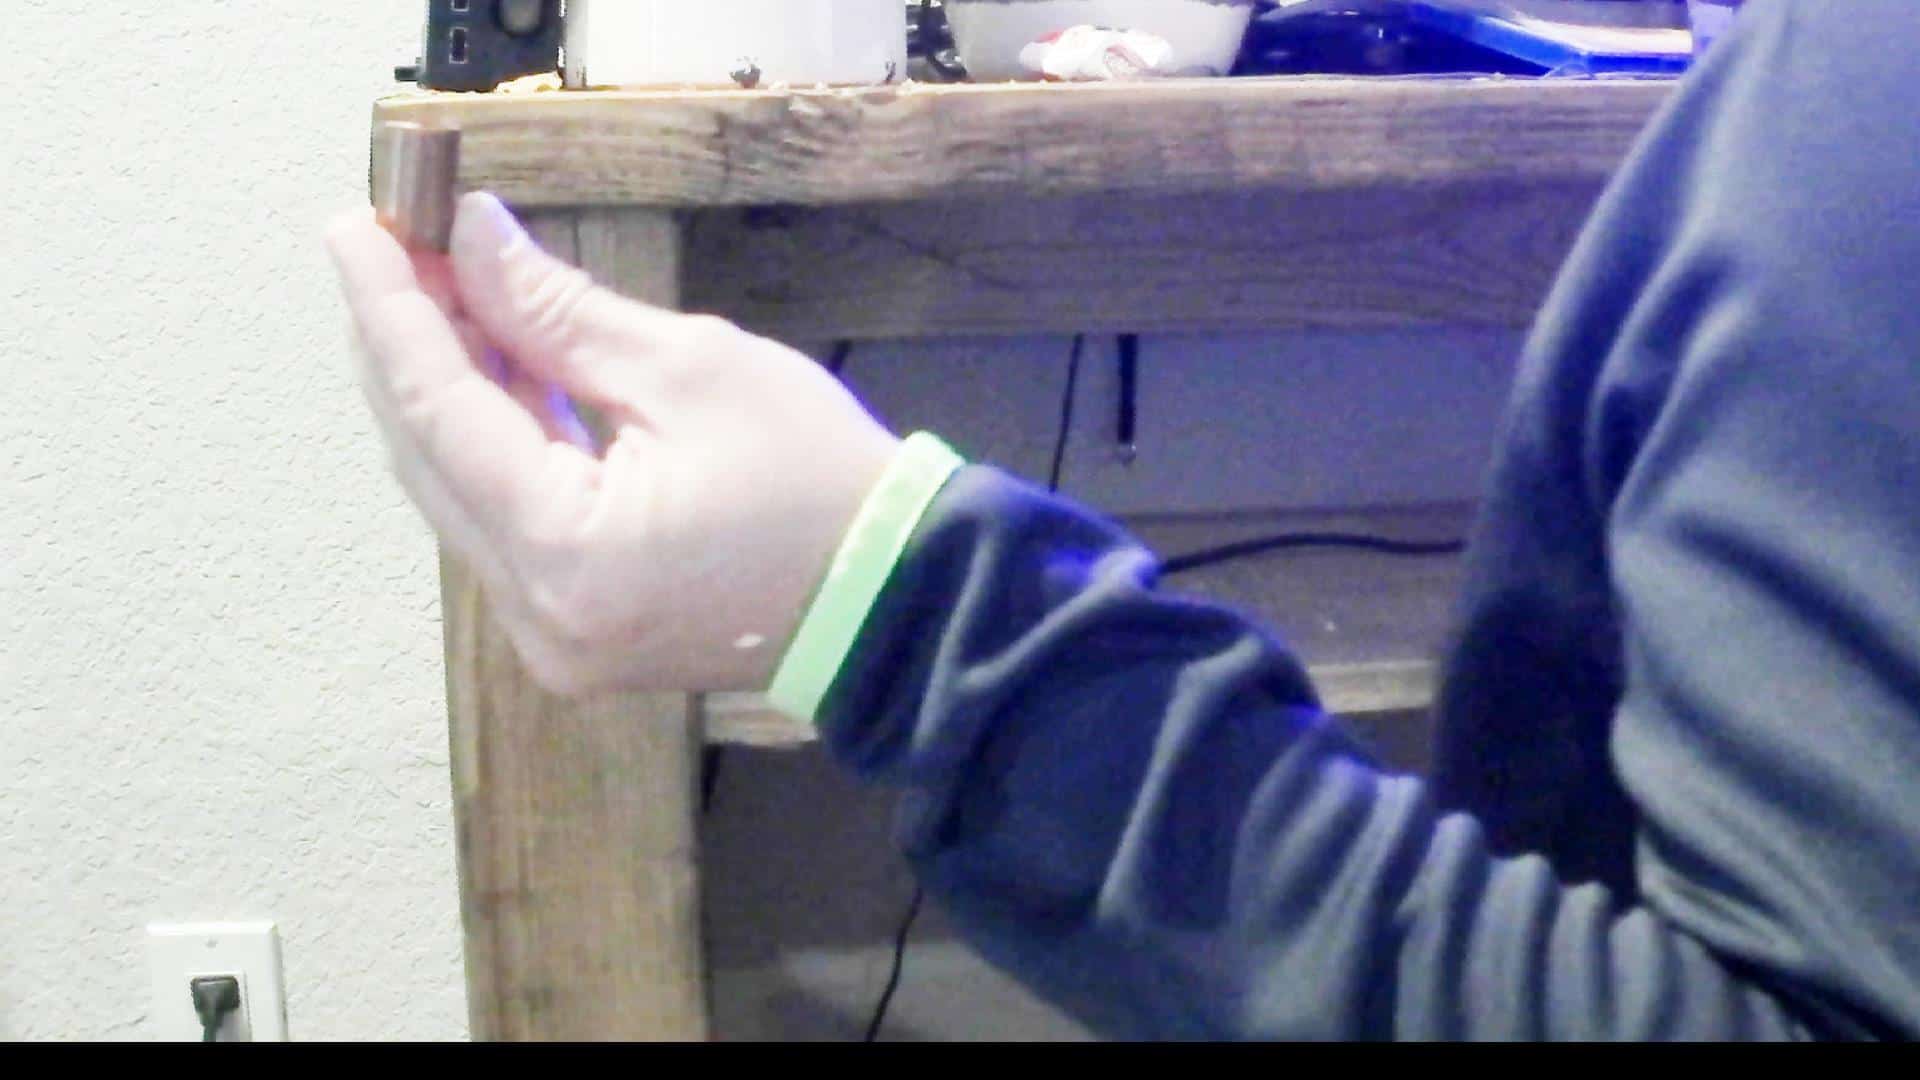
Using a fast-dry epoxy that mixes itself, I lightly smeared it on the inside of the hole and stuck the pipe in the hole to set. I also added a small amount to the very bottom of the hole to create a hard surface for the dowel rod to rotate on, since pine is a softwood, I didn’t want the dowel to wear it down with every turn and then the door sink down the 1/8″ that we have spaced to hold it up and rub on the bottom!
I didn’t plan on it, but I ended up letting the epoxy sit overnight to make sure it was hardened in the bottom of the hole and I am glad I did, you don’t want your dowel stuck in the epoxy if it happens to not be dry all the way!😆 Granted, I used the epoxy at like 9 pm, so it was only 12 hours or so, not 24!
Drilling Holes in the Bottom of the Doors
After the bottom pipe is set, you have to drill holes in the bottom of the doors for your wooden hinges. Measure your bottom holes again, we know the holes were SUPPOSED to be at 1 1/4″ and 3/4″ but sometimes the actual holes are a little off…oh that only happens to me?! Skip this step if that doesn’t happen to you as well! 😂🤔
Measure to make sure where your holes ended up, and from the 1 1/4″ measurement, subtract 3/16″. This will give you a 3/16″ gap for the door to swing.
If you only do 1/8″ on the spacing here, the door will rub, it still works, but rubs! Ask me how I know! Oy! Yes, the first door that I did at 1/8″ rubs, so I moved the others the extra 1/16″ and it worked perfectly!
Let’s say your measurement that was supposed to be 1 1/4″ was actually drilled at 1 3/16″ inches to center, you will mark to drill the hole in your door at 1″, and 3/4″. Drill the hole in the door with a 1/2″ drill bit…NOT THE 5/8″ DRILL BIT. Why do I stress this in all caps? You guessed it, I drilled my first door with the 5/8″ drill bit that was already in my drill…LIKE AN IDIOT!!😂😂🙈 Nothing that a little epoxy and toothpicks couldn’t fix but save yourself the trouble, grab the 1/2″ drill bit!!!😅
Measuring to Cut Dowel Rod for Bottom Doors
Okay, now you will use the small dowel rod again and stick it into the bottom hole in the cabinet, measure. Add 1/8″ to that measurement. Stick the small dowel rod into the door and mark the dowel, measure that…and add the number you had from the cabinet and 1/8″ to this number. This will be the measurement for your 1/2″ oak dowel rod that will be glued inside that door.
So let’s say your hole in the cabinet is 1″, plus the 1/8″ = 1 1/8″ then let’s say the depth of the hole in the door measures 1 1/4″, your total size to cut your dowel rod for that door is 2 3/8″ long.
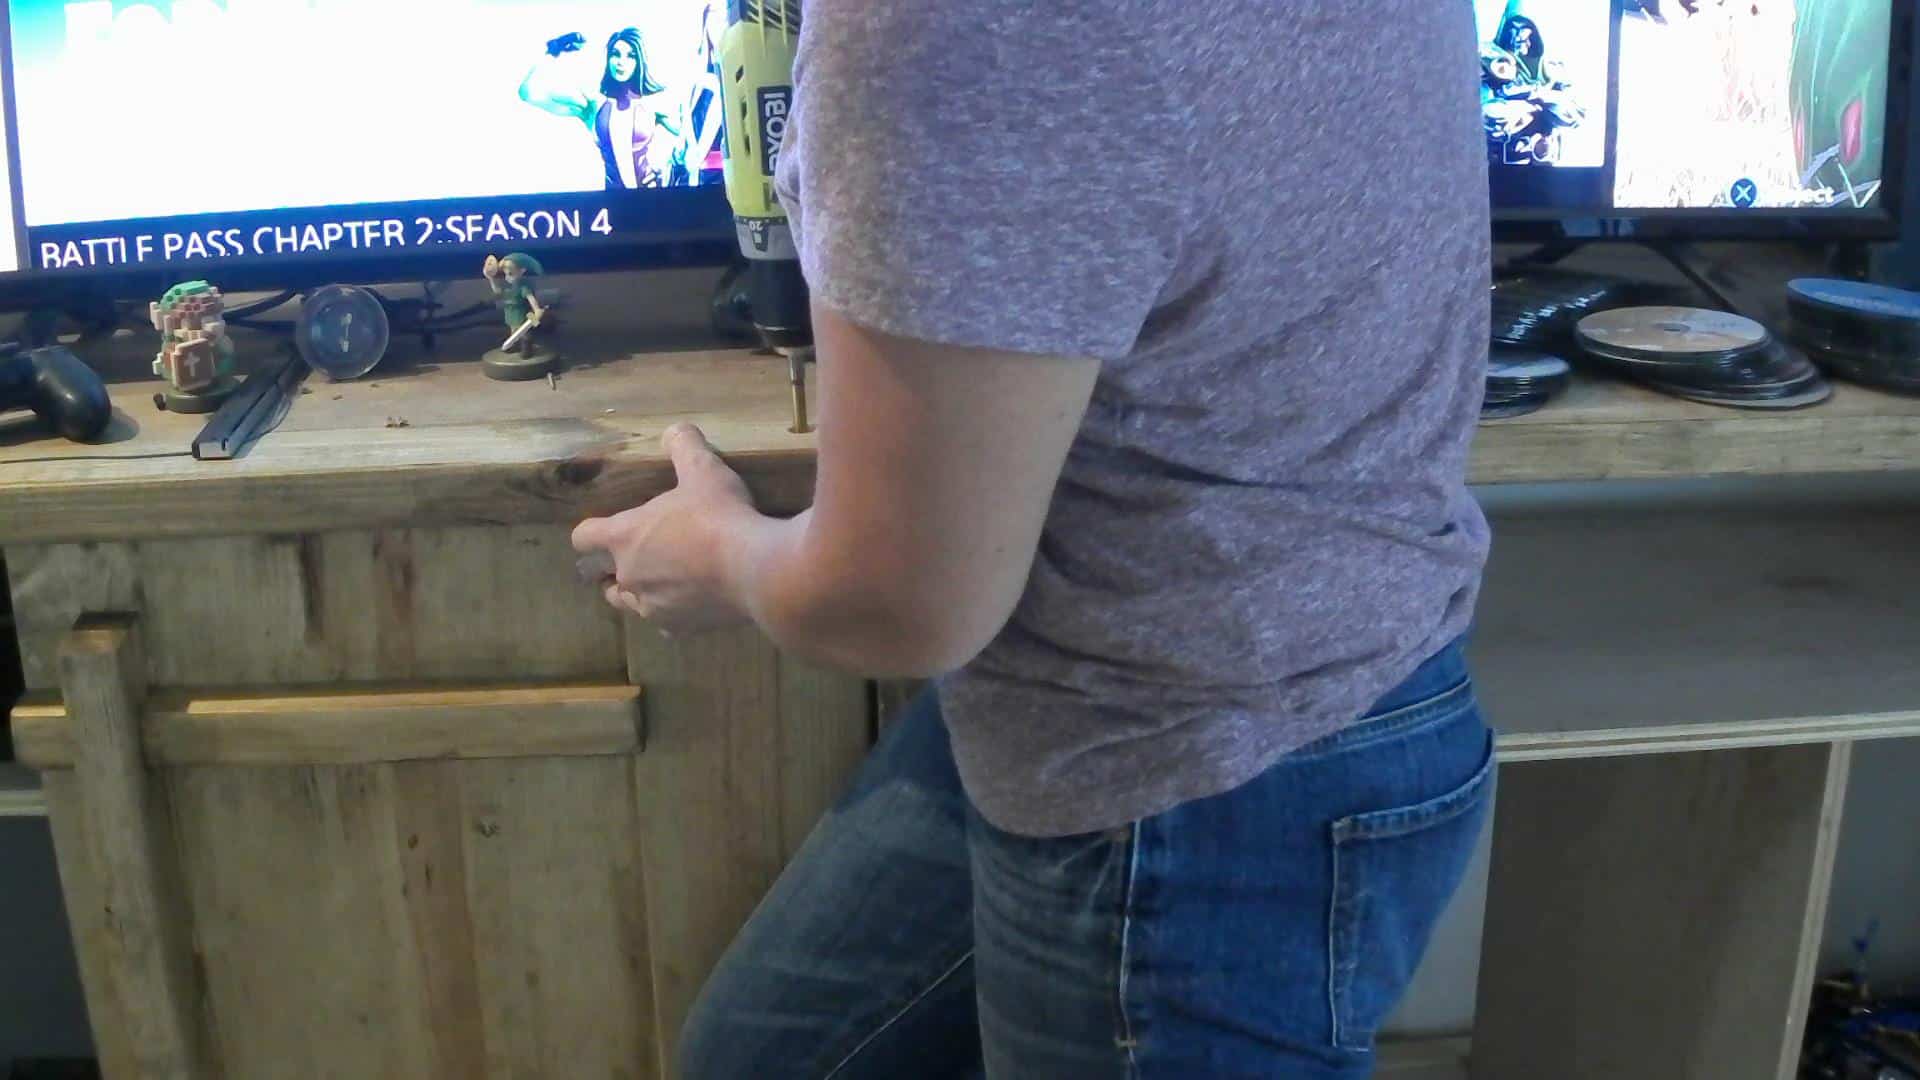
Once it’s cut, you can glue it in the door and test it. You will have to pound it into the hole with a hammer and a scrap wood block. I cut mine a hair on the long side just in case, you can easily cut it down while it’s in the door but it’s a lot harder to pull it out and cut a new one.
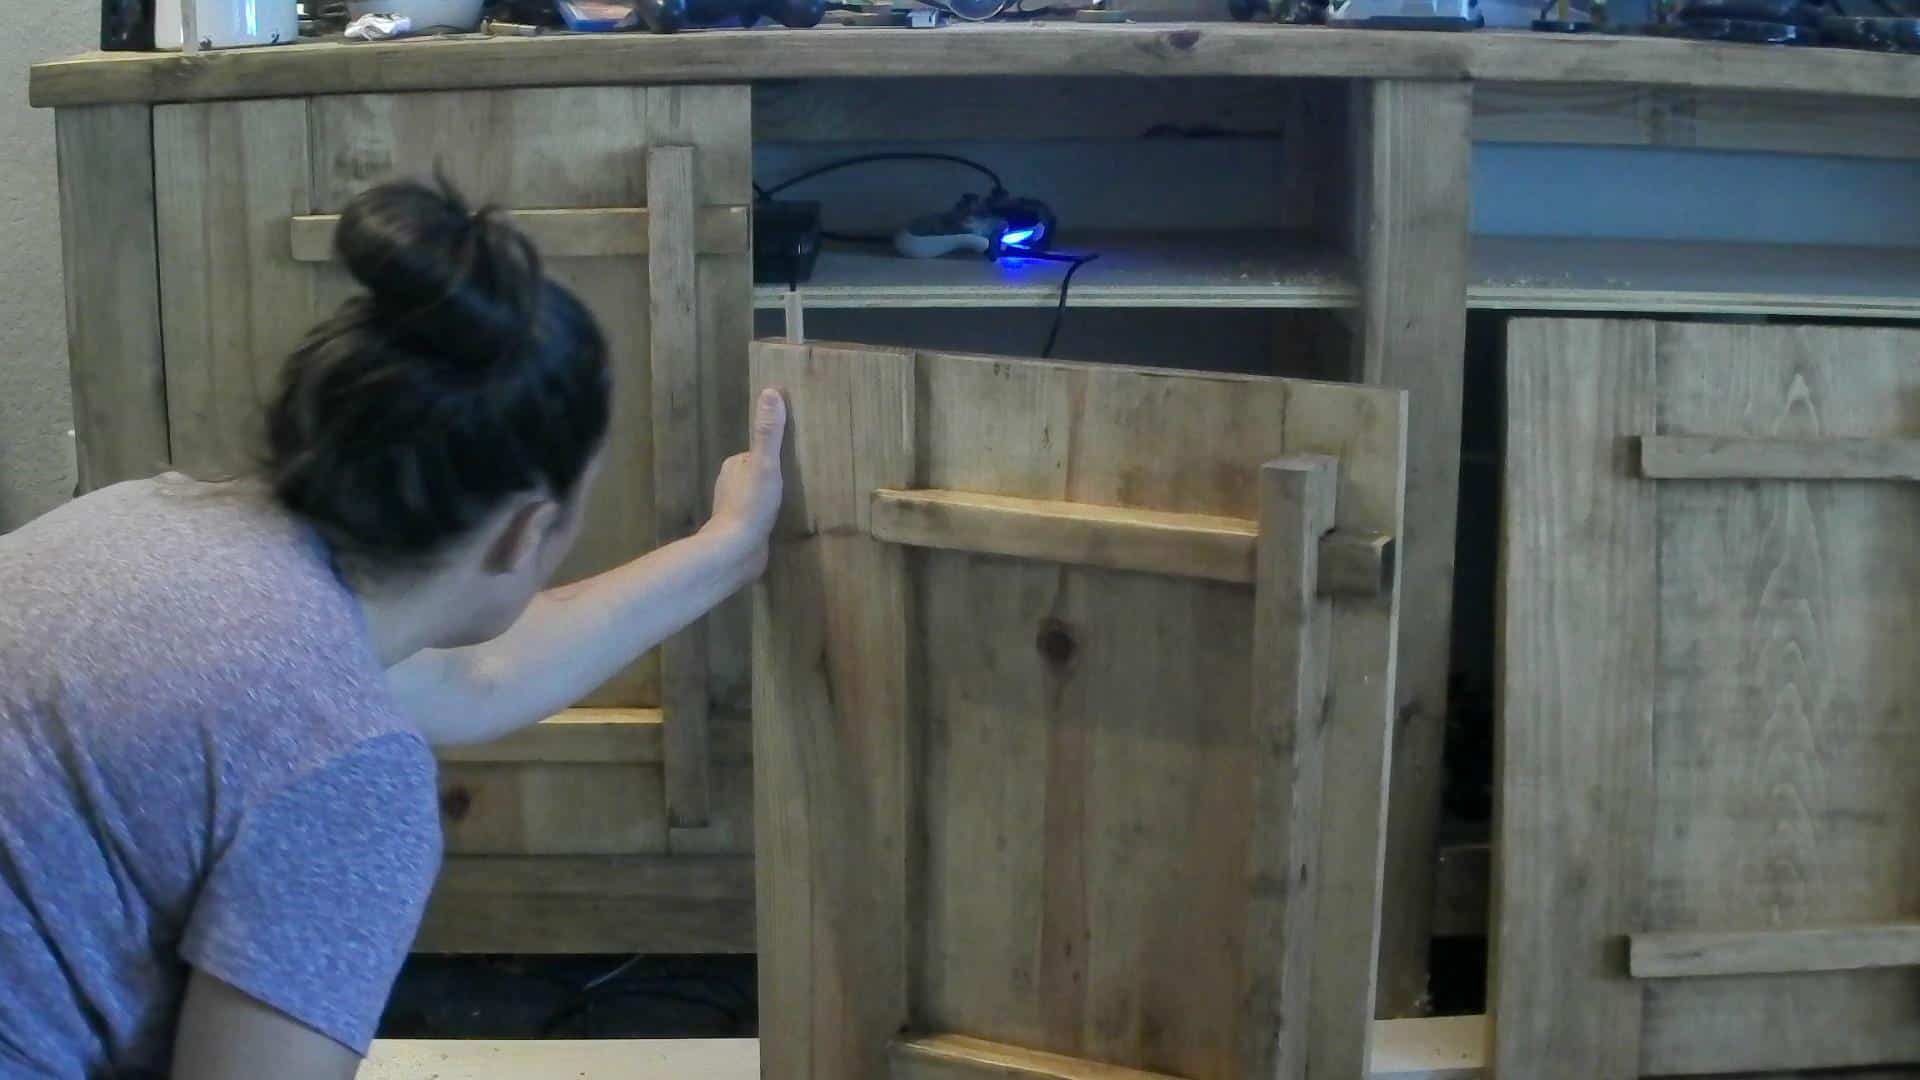
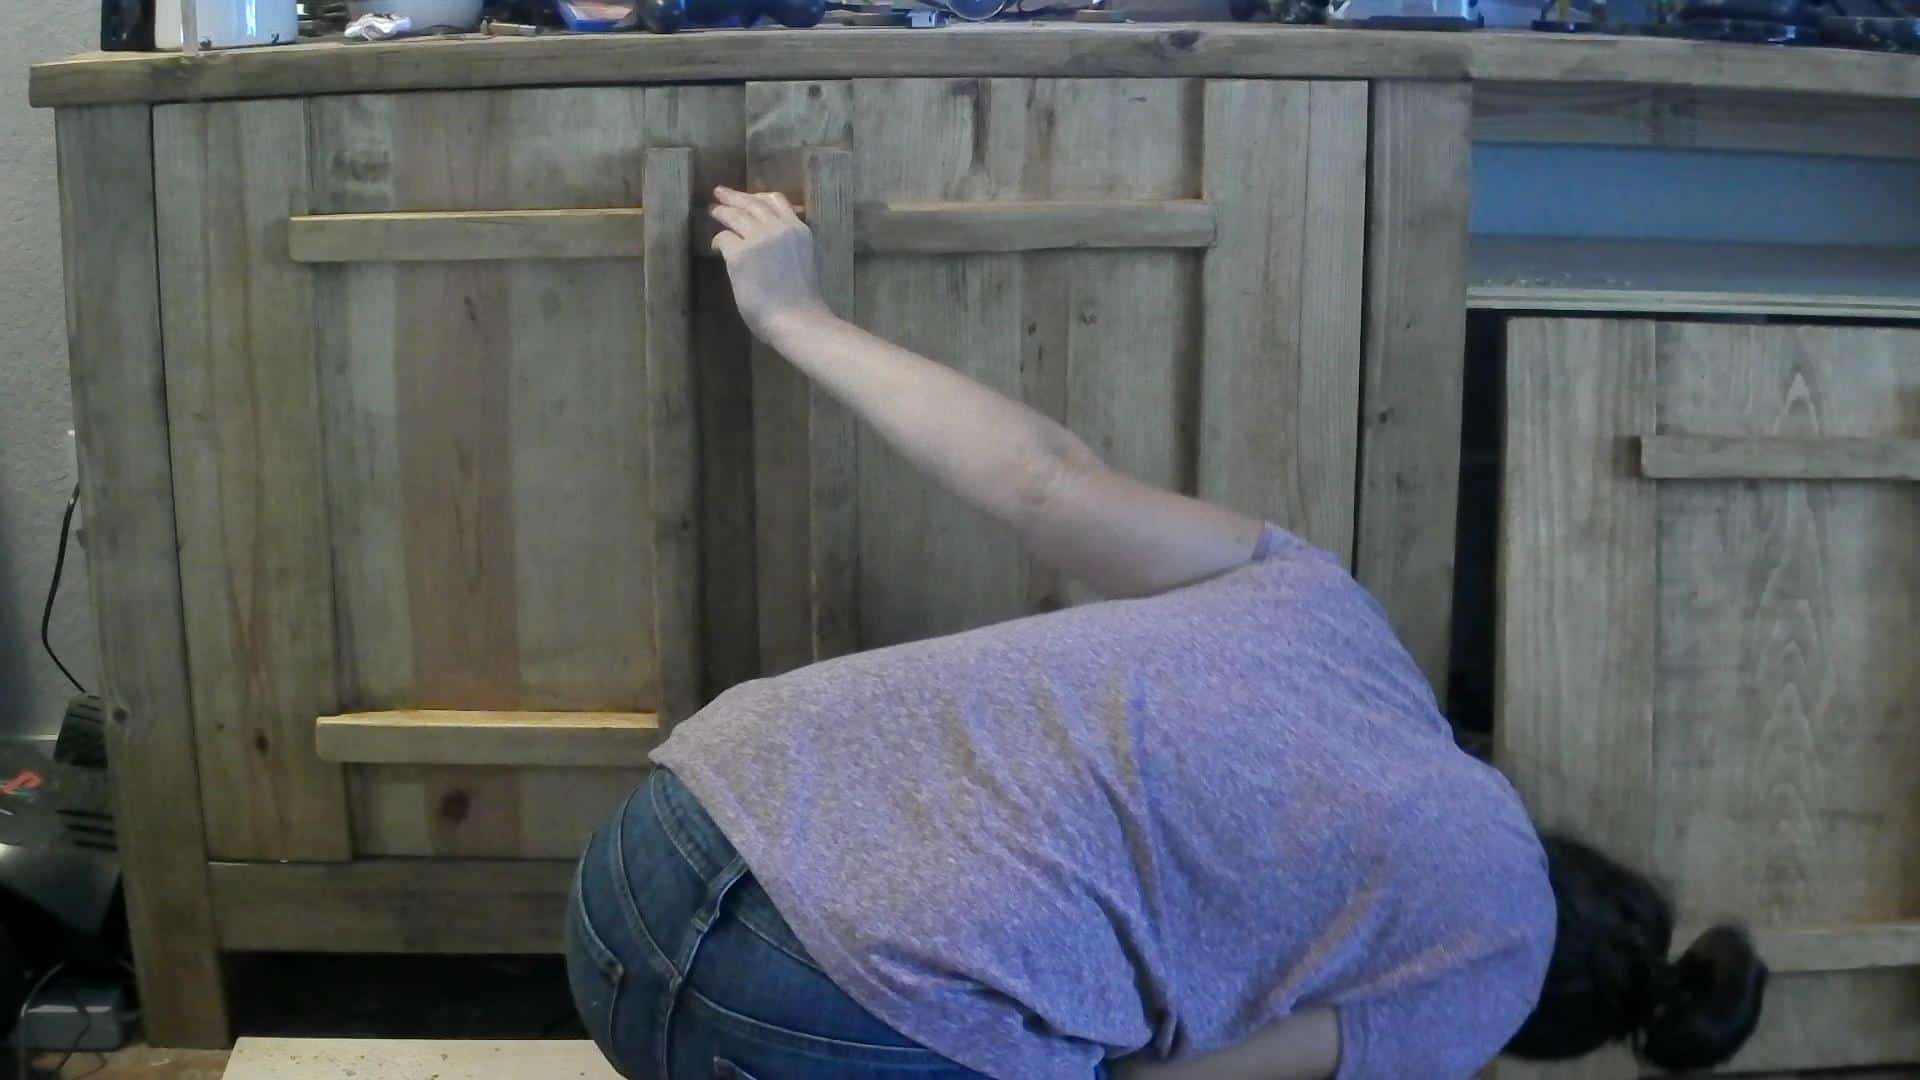
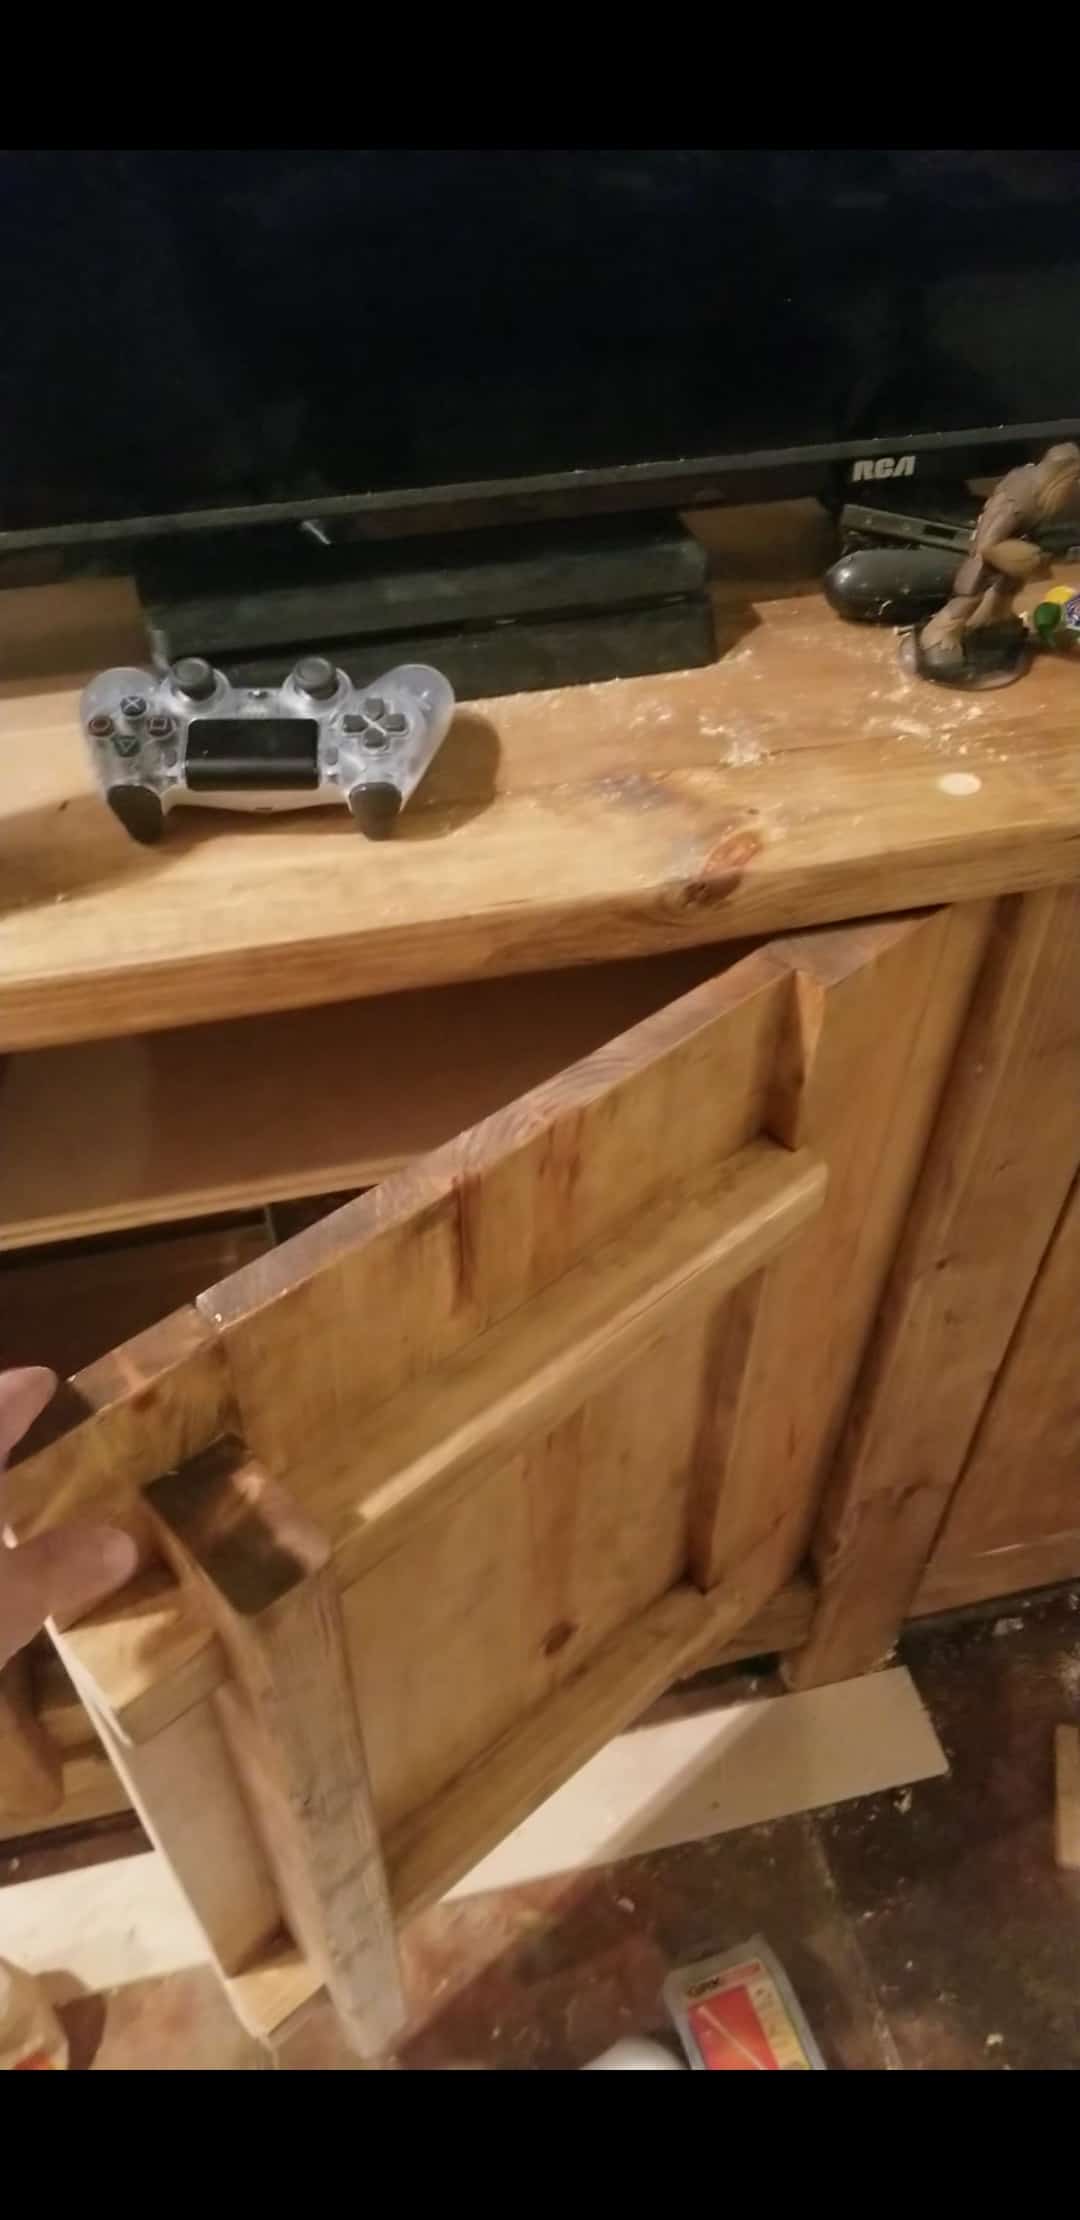
Check the spacing, you are looking at the spacing between the top of the door and the cabinet and the bottom of the door and the cabinet. You are also checking the space on the left or right of the door (whichever is the wooden hinge side) making sure it isn’t too close or too far away from the cabinet leg.
If all the spacing looks good, you will want to drill the holes in the top of the cabinet.
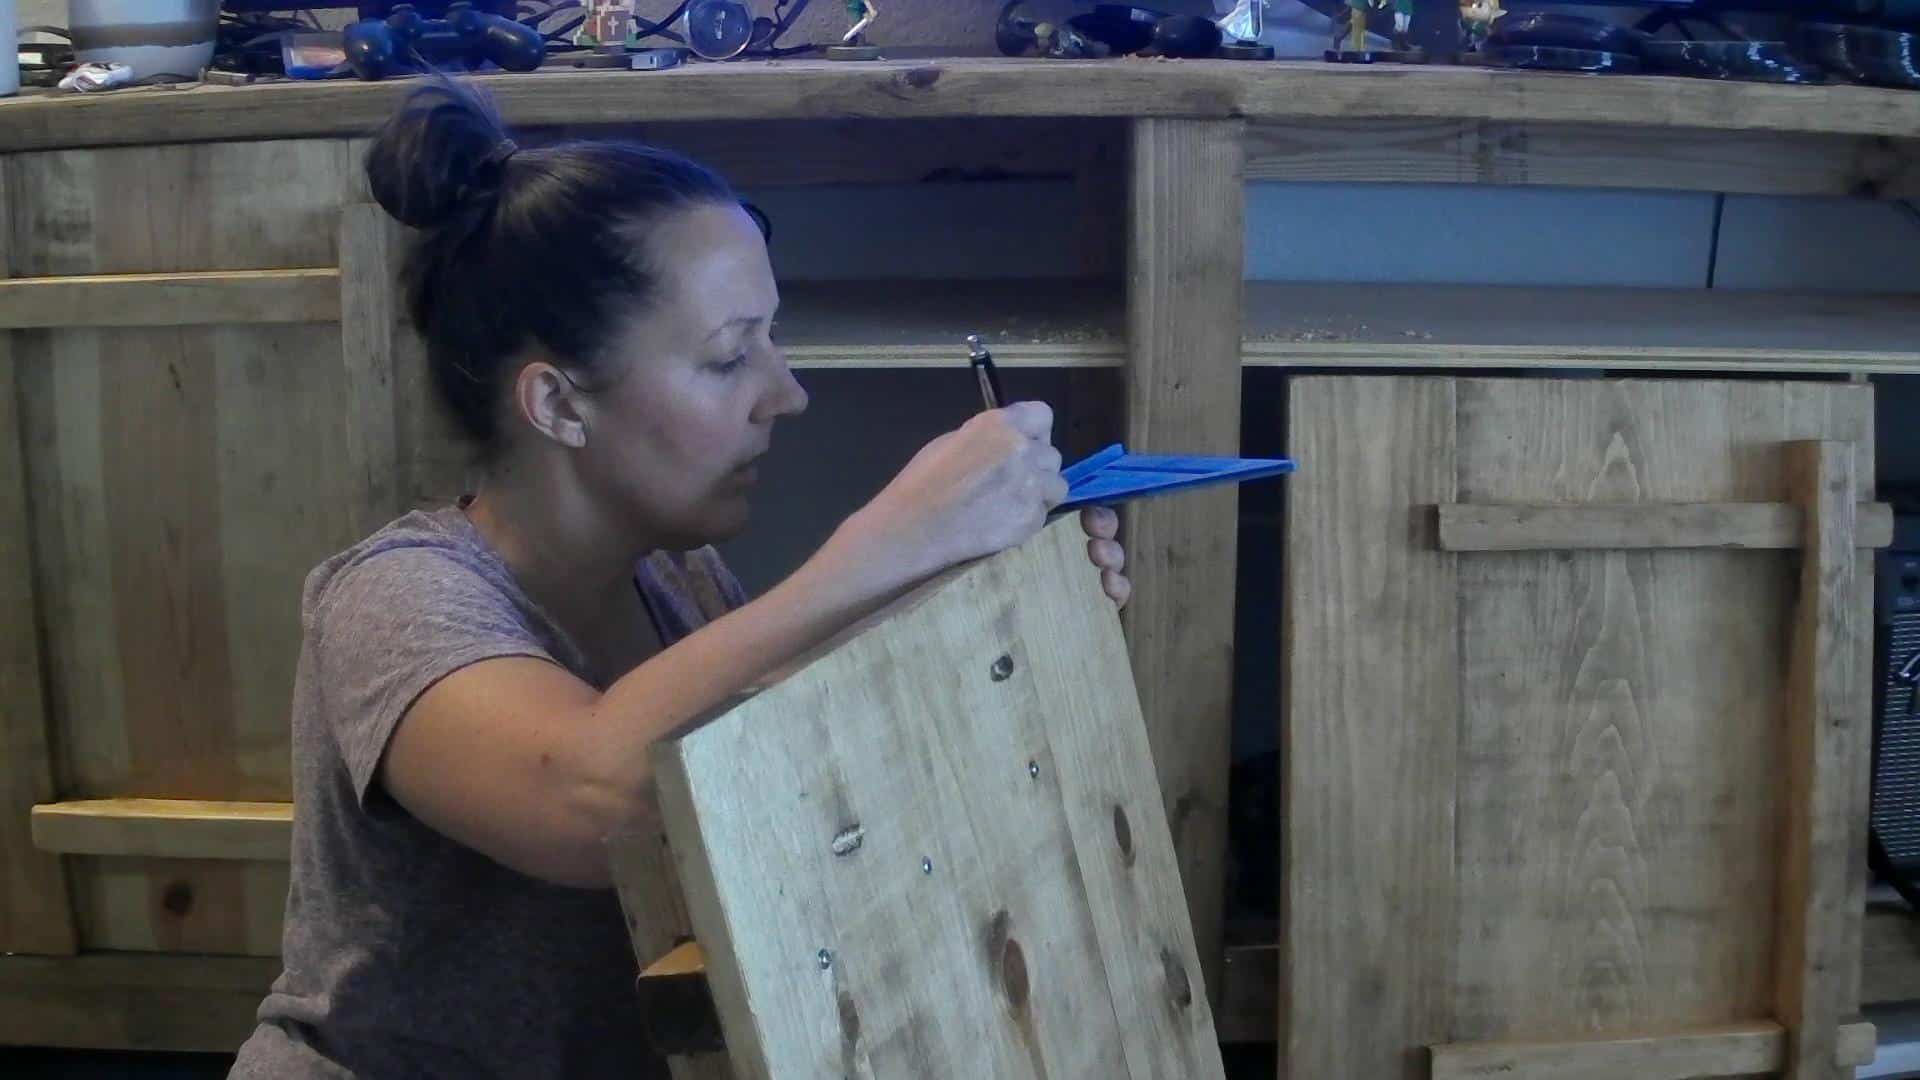
Drilling the Holes in the Top of the Media Cabinet
You will want to mark the holes on the top the same as the bottom, the only problem is, the top doesn’t have a 2×4 on its side, you are drilling through the face of the 2×4. Luckily, using a square you can manage to mark it the same as the bottom.
Make sure and use a scrap piece of wood clamped to the top of the cabinet to keep from having rough holes on the top of the cabinet.
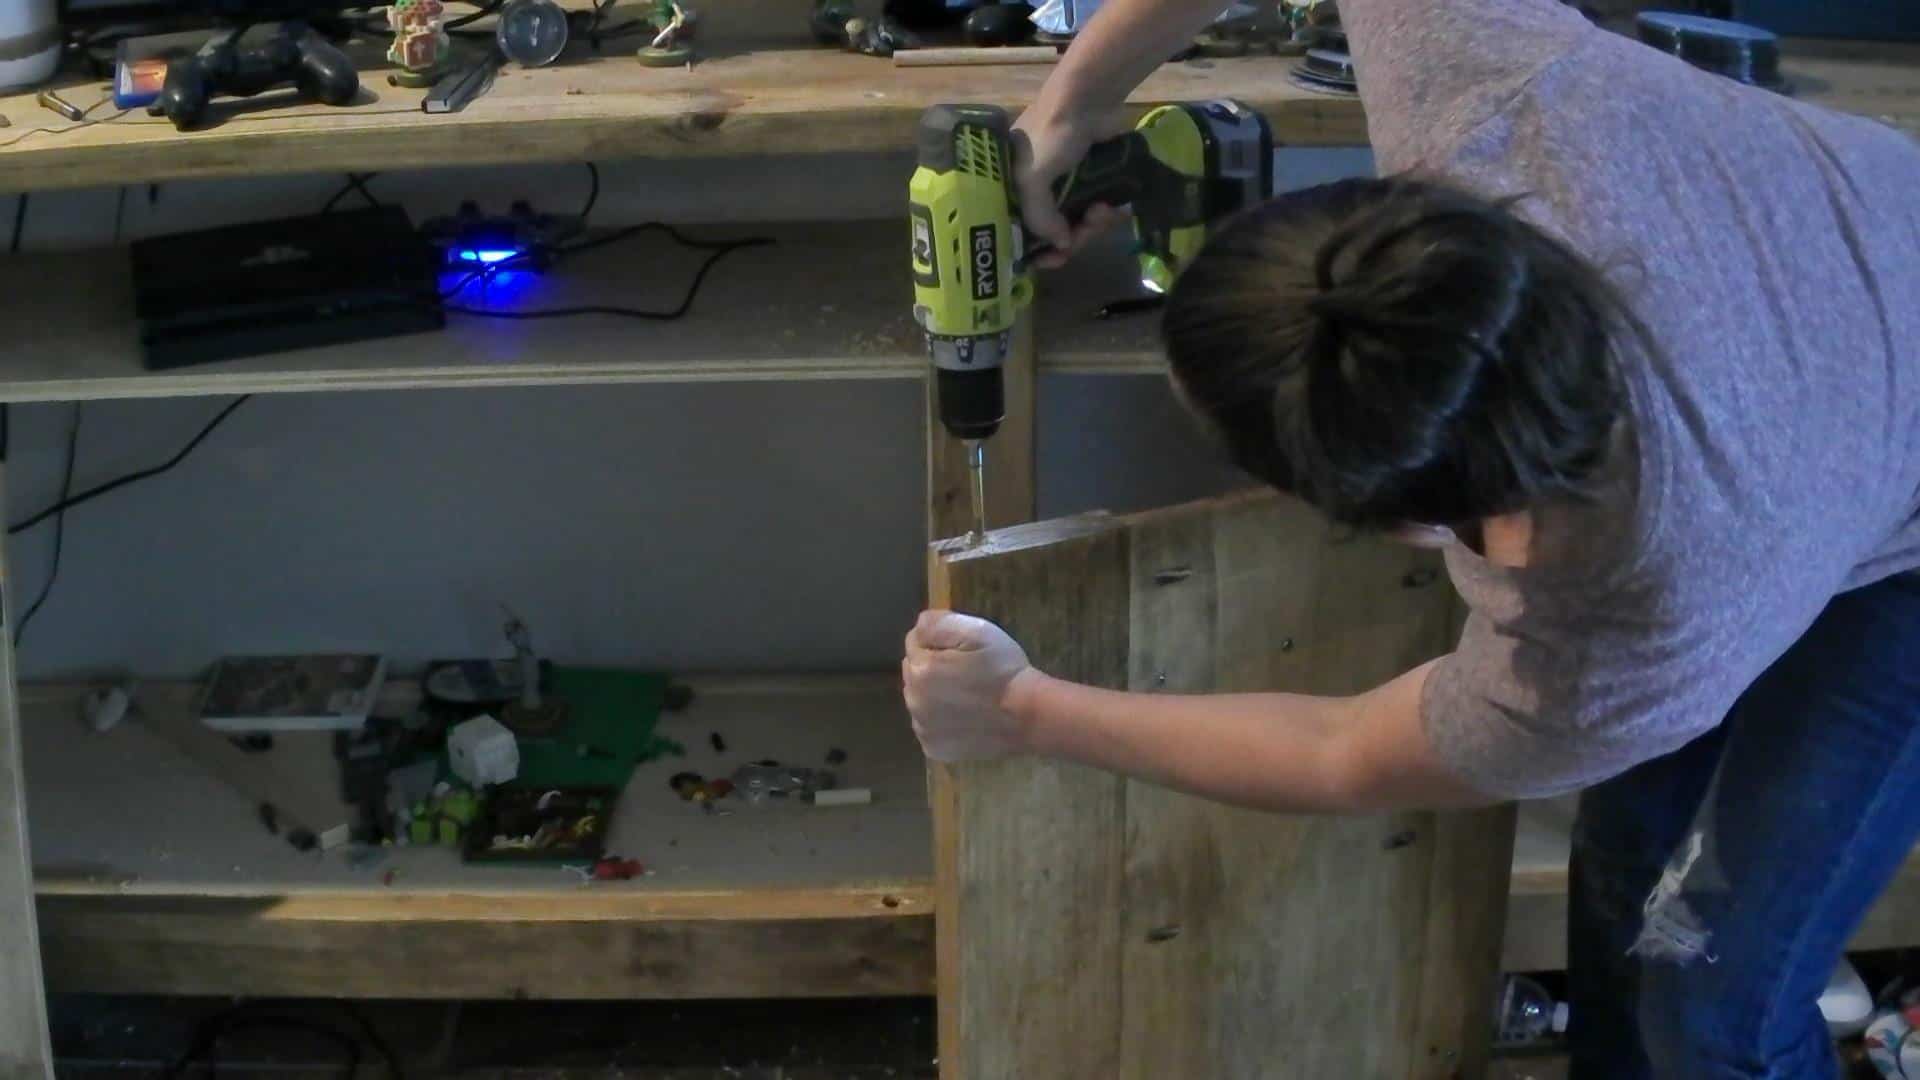
Drill the holes!
I had to use an extender only because my shelf was in the drill’s way, if you have already notched the shelf as it is shown in the media cabinet plans, you shouldn’t need an extender!
Epoxying Pipe on the Top of Media Cabinet
Once the top cabinet holes are drilled, you can epoxy the pipe in the top holes just as you did in the bottom. You know the holes are drilled 1 1/2″ deep but you will want the pipe set down a 1/4″ or so so that you can cap the hole with a 5/8″ dowel and not see any of the pipe or hole! So cut 4 pipe pieces at 1 1/4″ and epoxy in place!
Drilling the Holes in the Top of the Doors
Allow the epoxy to set. Then place the doors back in place, line them up and drill through the top of the cabinet into the door with your 1/2″ drill bit. Drilling the door holes this way helps ensure the holes are lined up!
Measuring to Cut Dowel Rods for Top Doors
Using a long dowel rod not cut to size yet, you can check the door and see how it’s going to look!
Now using the small dowel rod, measure how deep you drilled the holes into the top of your doors, add 1/8″ and add 1 1/4″ to that measurement!
Let’s say you drilled into your door 1 1/8″, add 1/8″ to that = 1 1/4″ then add + 1 1/4″ = 2 1/2″, you would cut your 1/2″ oak dowel at 2 1/2″ and glue it into place from the top of the cabinet! You will have to hammer it into place using another piece of the dowel so that you can hammer it into the hole…if that makes sense!
Covering the Holes in the Top of the Media Cabinet
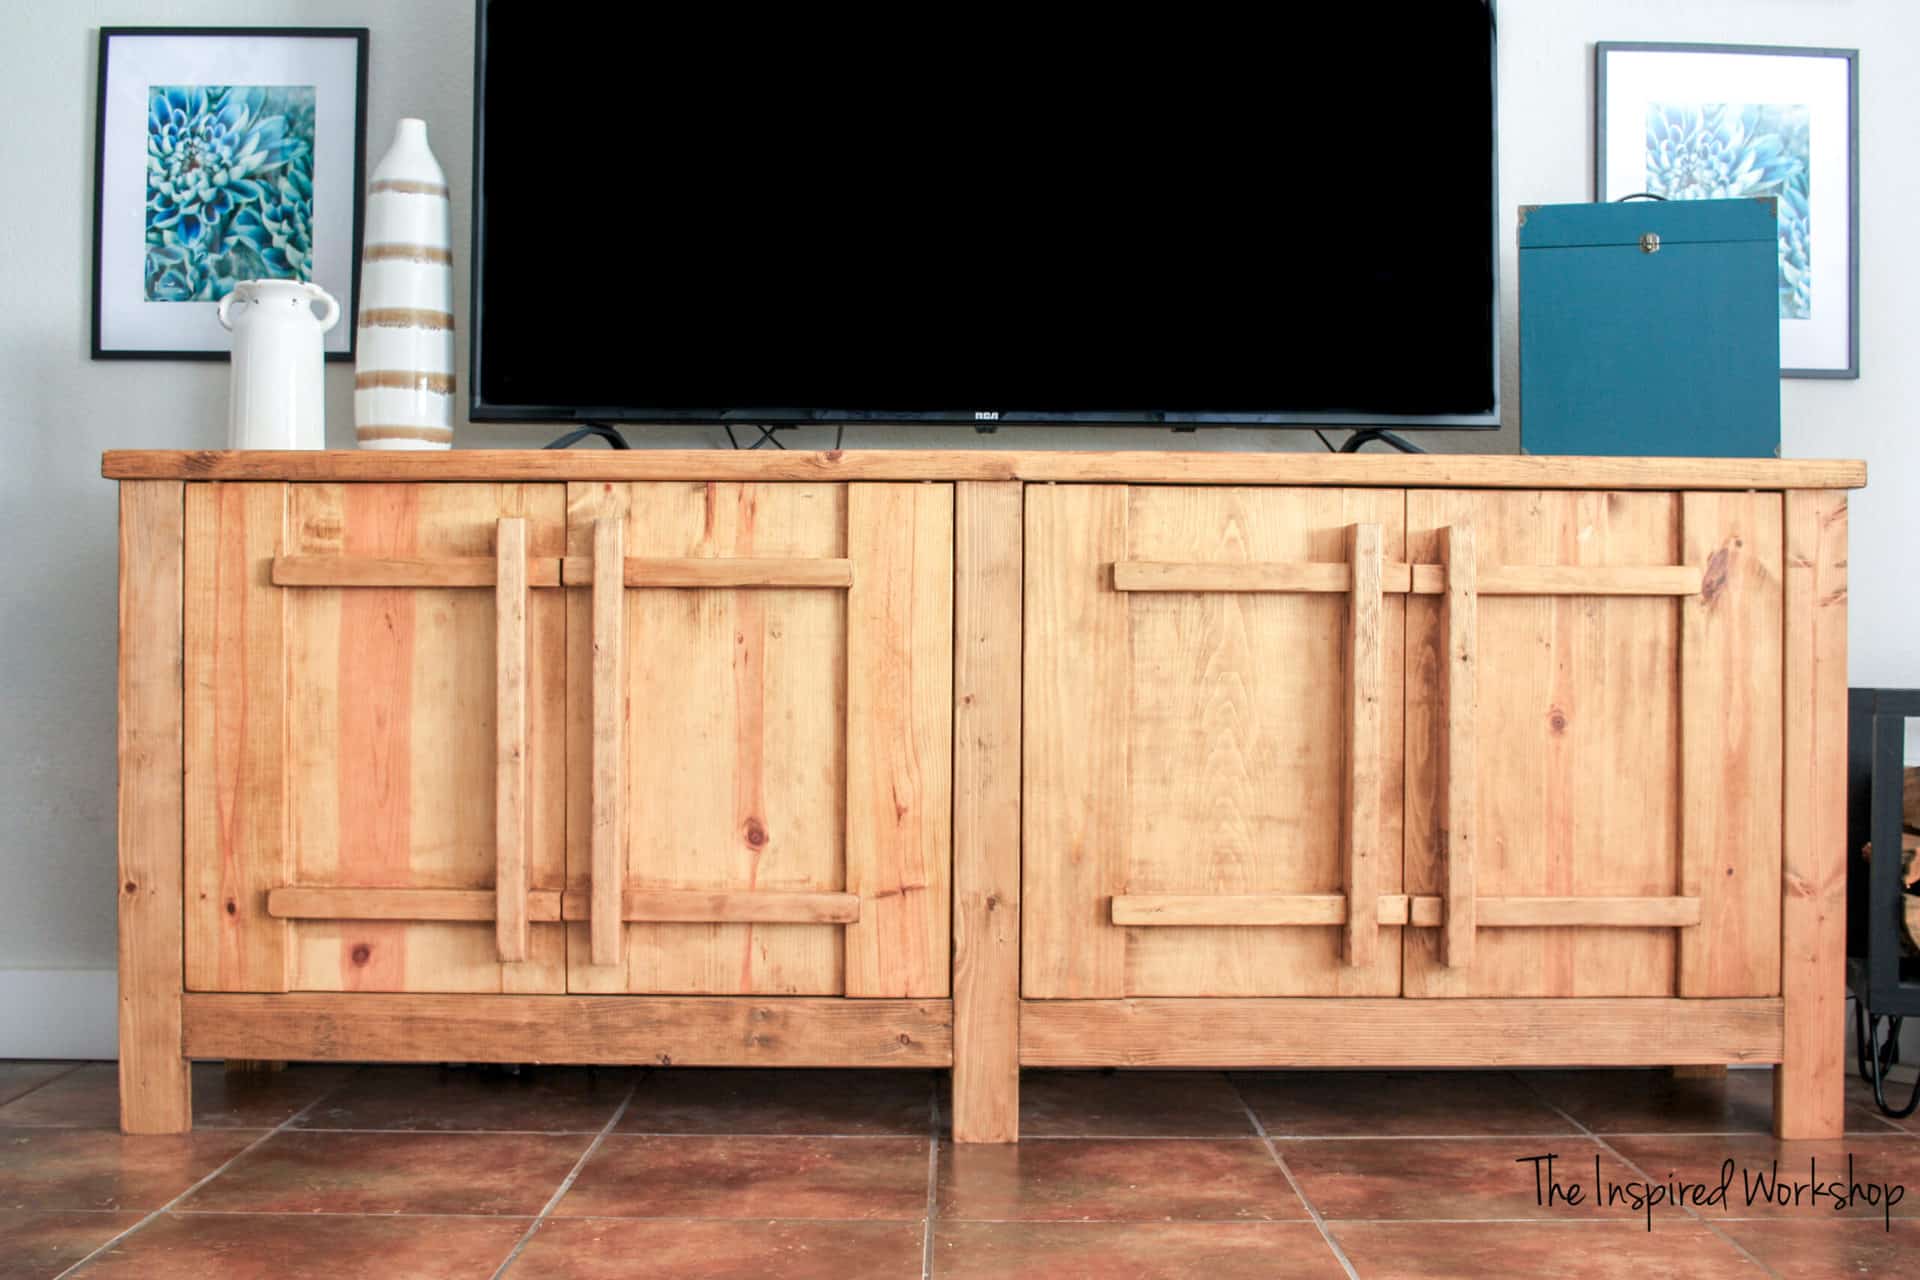
Once you have hammered the dowel rods into place in the top, you will cut 1/4″ pieces of 5/8″ pine dowels to cover the holes in the top. Make sure and use wood glue, but don’t gob it on, keep it minimal so it doesn’t squeeze out on top! Stain the dowel! BOOM!! You just made your OWN hinges from dowels and pipe!! How cool is that?! I was pretty proud, and you have every right to be as well!😉😊
Open and close those doors…open and close, open and close…you did that…you did that!! 💃Woohoo! Now sit back and enjoy the fact that YOU built a media cabinet to hide all the ugly stuff and even made your own wooden hinges from a few pieces of copper pipe and dowels! 🎉
Let me know if you have any questions about making wooden hinges or share any comments below! I appreciate you stopping by!

Wanna share this with family or friends?
[social_warfare]
Wanna save this wooden hinges post for later? PIN IT!