DIY Wall Shelf
This beginner DIY wall shelf is the perfect way to get your feet wet if you would like to start woodworking but aren’t sure where to start! The simplicity of the shelf is great when you are just starting out, but the small details such as the inset sides make this shelf look like you are a seasoned professional! You can even add drawers to the shelf if you would like so you can have hidden storage!

I plan to add drawers at some point as I already purchased the drawer slides and drawer pulls but haven’t had the time to do it! I’ll update when I have!
Alright, you have already watched the video on how to build the shelf if you came here from the HobbyScool Back-to-Creativity Summit, but I have created this tutorial in case you need a little more help, or you are old school like me and prefer to read instead of watch a video! 🤭If you haven’t grabbed your free plans, head back over to this page: Printable Plans!
Let’s get straight down to business!
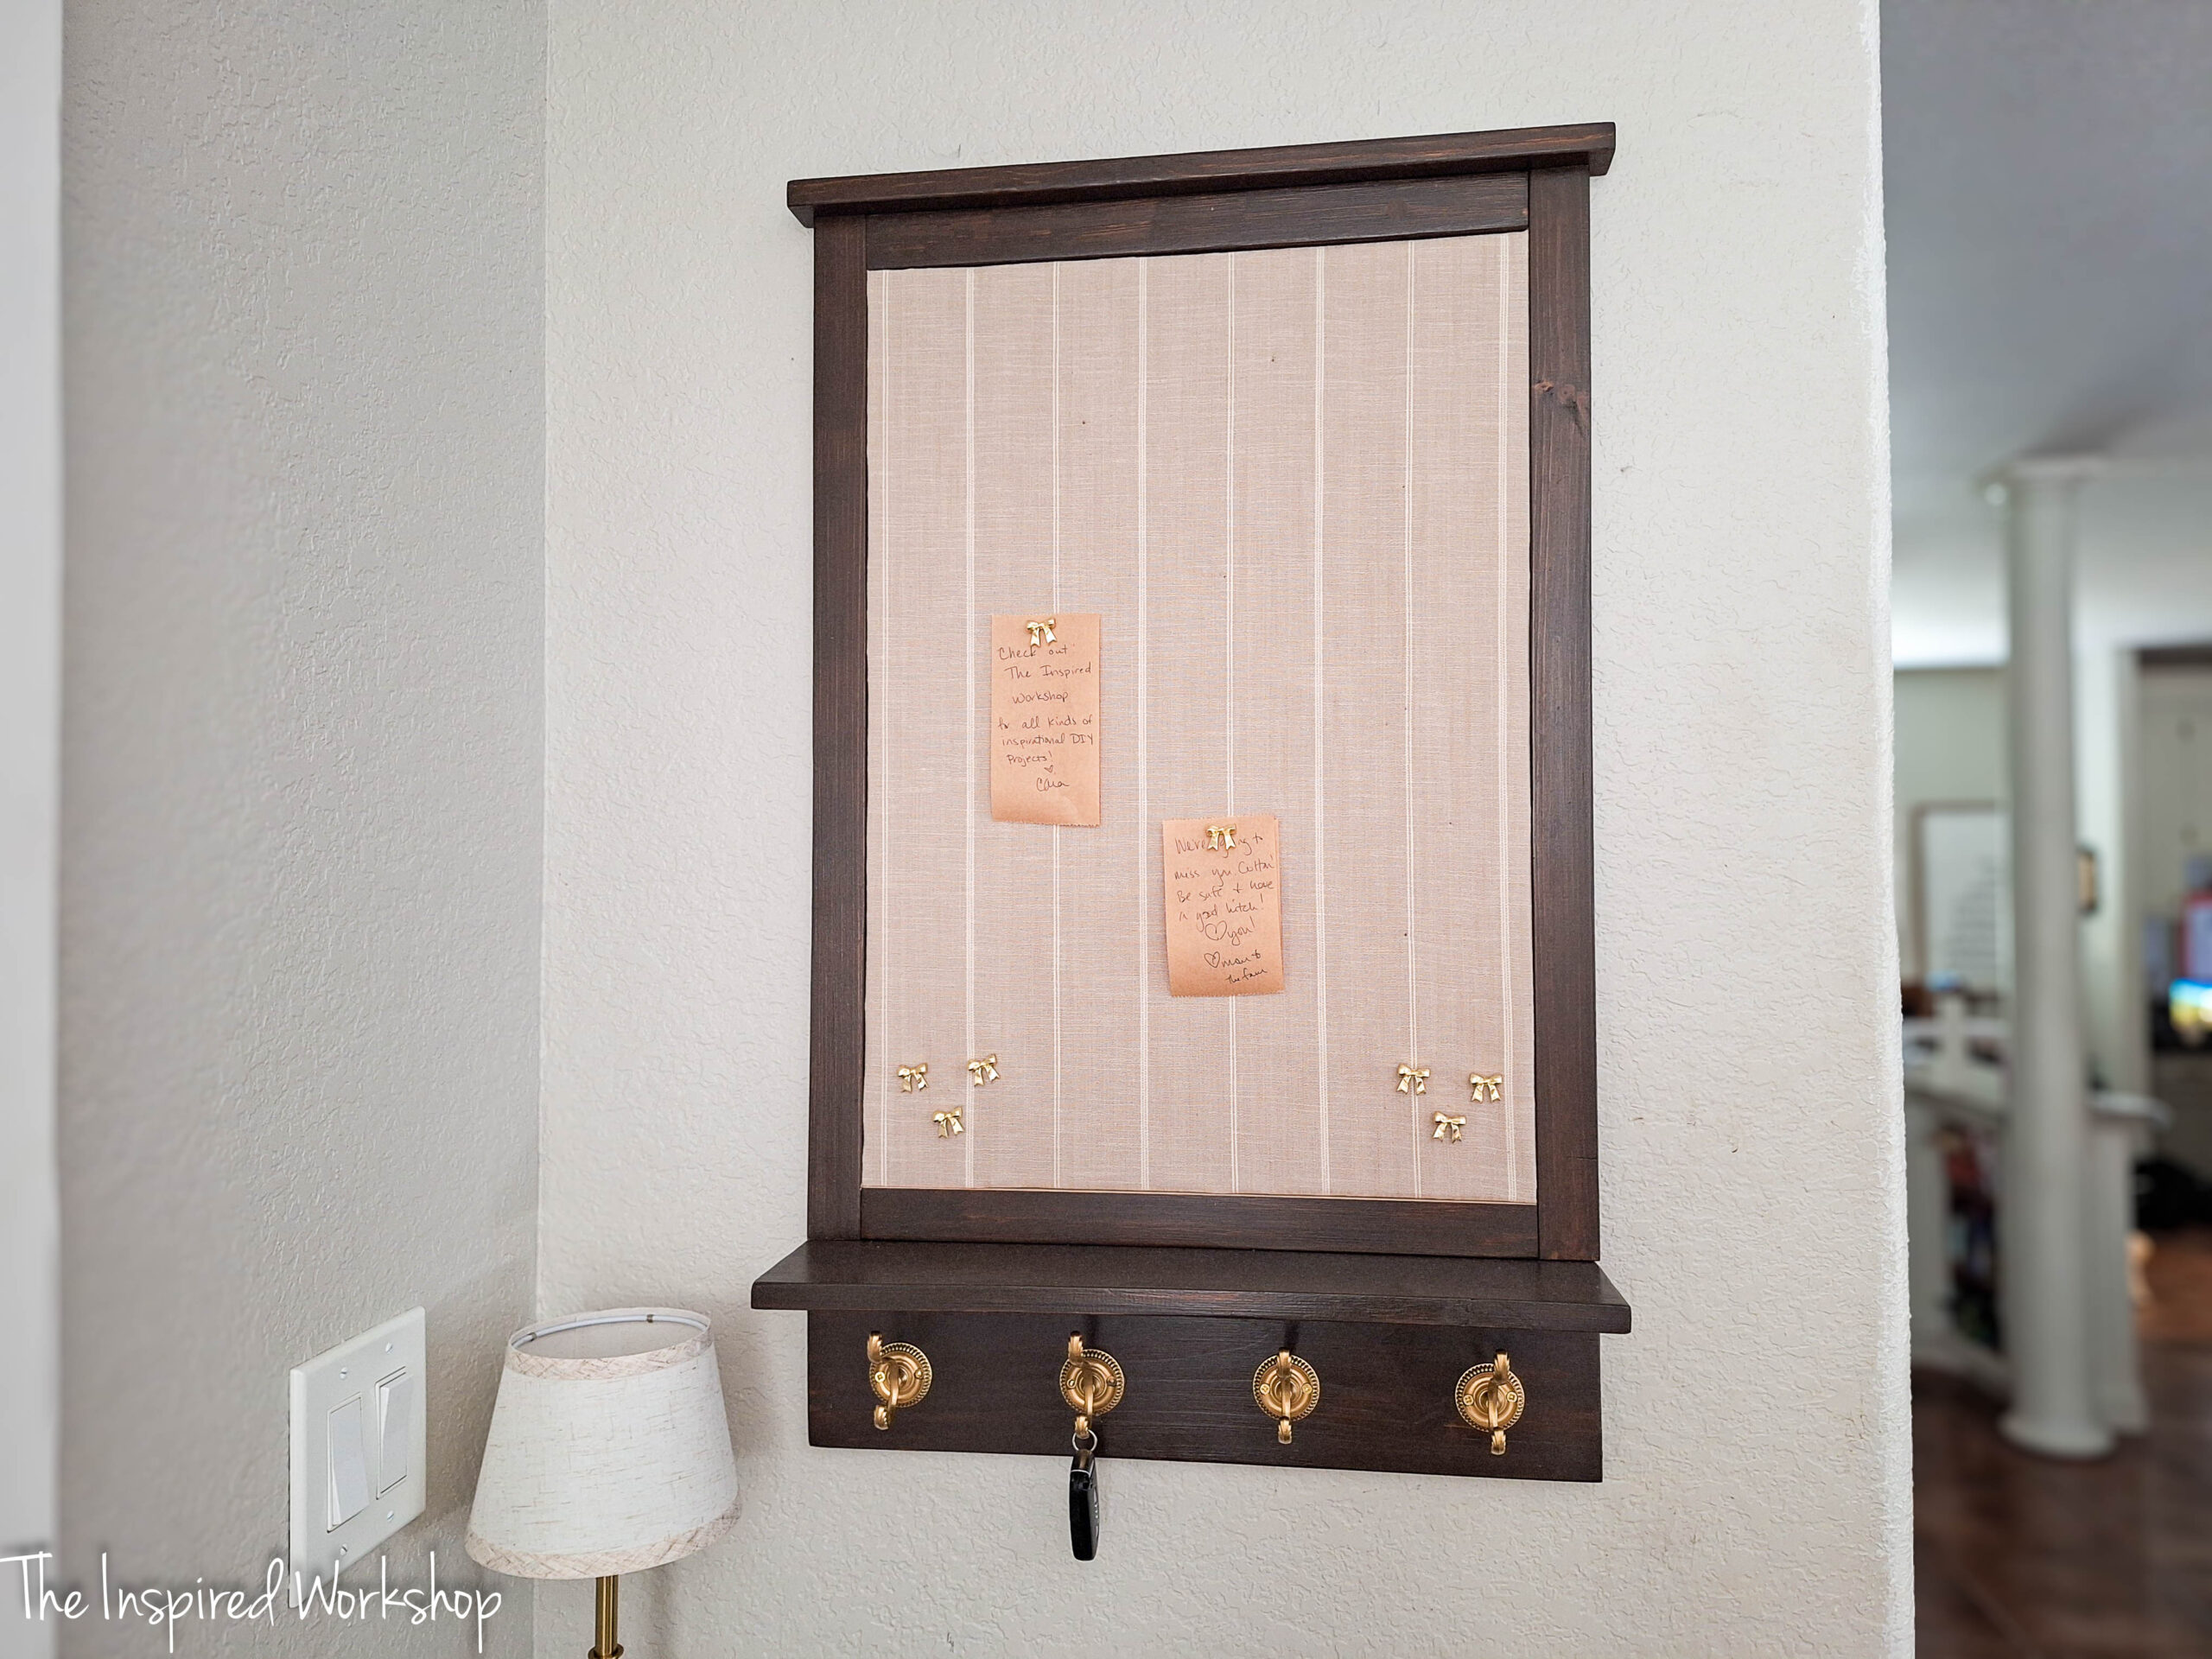
**If you are looking for the Message Board tutorial, you can find it here: Message Board Tutorial.
Gathering Supplies to Build the DIY Wall Shelf
As I mentioned in the video and in this tutorial already, this is as beginner as it comes so I kept everything as simple as possible! The wood material is only 2 boards to purchase, the cut list is only a total of 7 boards, you can do this even if you have never built anything before!
***NOTE: Links below are AFFILIATE LINKS!!! Affiliate links are links that pay me a small commission (at no extra cost to you) should you make a purchase after clicking one of them! I always appreciate you shopping at my links as it allows me to keep bringing you free tutorials! Thank you in advance for any purchases made after clicking links below!
Materials:
- 1 – 1x12x8
- 1 – 1x6x6
- Kreg Jig
- 1 1/4″ screws
- saw – I am using a miter saw in the video, this is a large investment to purchase a miter saw, but Home Depot will cut your wood for you if you do not have one! Also, you can purchase a circular saw which is a lot cheaper, you have to be very careful, as with all saws honestly, but it is harder to cut a straight line with it, but it is totally doable.
- Brad nailer – one of the most versatile tools in the arsenal and probably my favorite, I use it for building furniture, renovating rooms, and craft projects
- brad nails
- wood glue
- tape measure
- sander and sand paper
Cut List:
- 2 – 1×12 @ 36″ – top and bottom boards
- 2 – 1×6 @ 16 3/8″ – backs of shelf
- 3 – 1×6 @ 10 3/4″ – sides and middle divider
If you like the way the shelf is decorated and would like to purchase any of the decor, it is all from Amazon, except that faux stone tray…I made that!! Lol!
DECOR:
- lamp
- paper roll dispenser
- pen holder
- bow tacks
- wood tray – I painted it to look like stone using acrylic paint
Building the Wall Shelf
First cut all your wood down to size.
*I took all the images below from the video as screen shots so they may be slightly blurry!

Next, I showed how to drill pocket holes into the back boards since pocket holes are an easy way to build furniture and believe it or not, they are very strong joints as well! In the video, I only drilled them on one back board to show how to do it, and also show that they could be brad nailed as well. I do think they should be pocket holed into place just since you can’t do a really good job of attaching them to the middle divider without pocket holes.
To drill pocket holes, set the jig to 3/4″ since that is the actual thickness of the boards we are drilling into! Newer Kreg jigs do not have to be set, they automatically do it for you, the drill bit is the only thing you have to set yourself!
*Images below are simply to show how to set the Kreg Jig up and are not images from this project!*

Then set your drill bit to 3/4″.

Clamp your board into the Kreg Jig and drill your pocket holes all the way around the back boards!


Once I had the pocket holes drilled, I then sanded all the boards I cut before I put them together so that inside my shelves would be smooth, the sander won’t fit once it is all assembled!

Then when you have it all cut and sanded, set the side boards and middle divider (3 – 1×6 @ 10 3/4″) in place, I used the back boards to hold them in place but did not attach them at this time.

Using wood glue along the tops of the sides and middle divider, and 1 1/4″ brad nails, I brad nailed the top board into place.


Now we will use wood glue and 1 1/4″ pocket hole screws to attach the back board to our shelf. Tap the board into place if it is a tight fit. Screw it into place!


I then flipped it over and repeated the beginning process on the other side, making sure the side boards and middle divider were still in the correct place.
Wood glue and brad nail the bottom board into place.


Now your shelf is completely built and ready for stain!
I used Minwax water based stain in Buckeye Brown, and Minwax Polycrylic as the sealant!


Staining isn’t hard, it is just tedious! You basically just paint the stain on with a paint brush and wipe it off with a paper towel, depending on how dark or how light you want the color determines how long you leave the stain on the wood before you wipe it off! The darker the color you are going for, the longer you leave it, the lighter you want it, the shorter time you leave it! Don’t leave it longer than about 10 minutes though (this stain, other stains, the time will vary) or else it will be sticky and doesn’t wipe off.


If you don’t like how dark the color is after one coat, you can add another. I did do two coats on this wall shelf.
Once the stain is dry, paint on a layer of sealant and you do not wipe the sealant off, let it dry! I did a really thick coat so that I only needed one coat.


Bam, the shelf is done and ready to be hung on the wall!
I used a laser level (this is an investment but man has it paid for itself time and time again with home improvement projects) and stud finder (my FAVORITE stud finder out of all of them I have tried) to make sure the shelf was level and screwed into studs when hung!

And what do you know, it turned out really nice if you ask me!

I could not be happier with this little space, now to add something for shoes below it! Thank you so much for joining me today! Hope you had a great time building this shelf with me! See you soon!
Happy Building!