Pottery Barn Inspired Burlap Print for Valentine’s Day! FREE Printable Included!
Hey there! Happy Monday…not so fun day! It’s not long until Valentine’s Day, and as I was throwing up a few decorations this weekend in celebration…a little late, yes, I know…but I’m not opposed to ‘love’ stuff up year round so there is never really a ‘too late’ for this! That means it’s not too late for you to make this too and leave it up all year long as well! And, if you read this quickly you can have it made and hung on your wall in a matter of minutes! LOL!
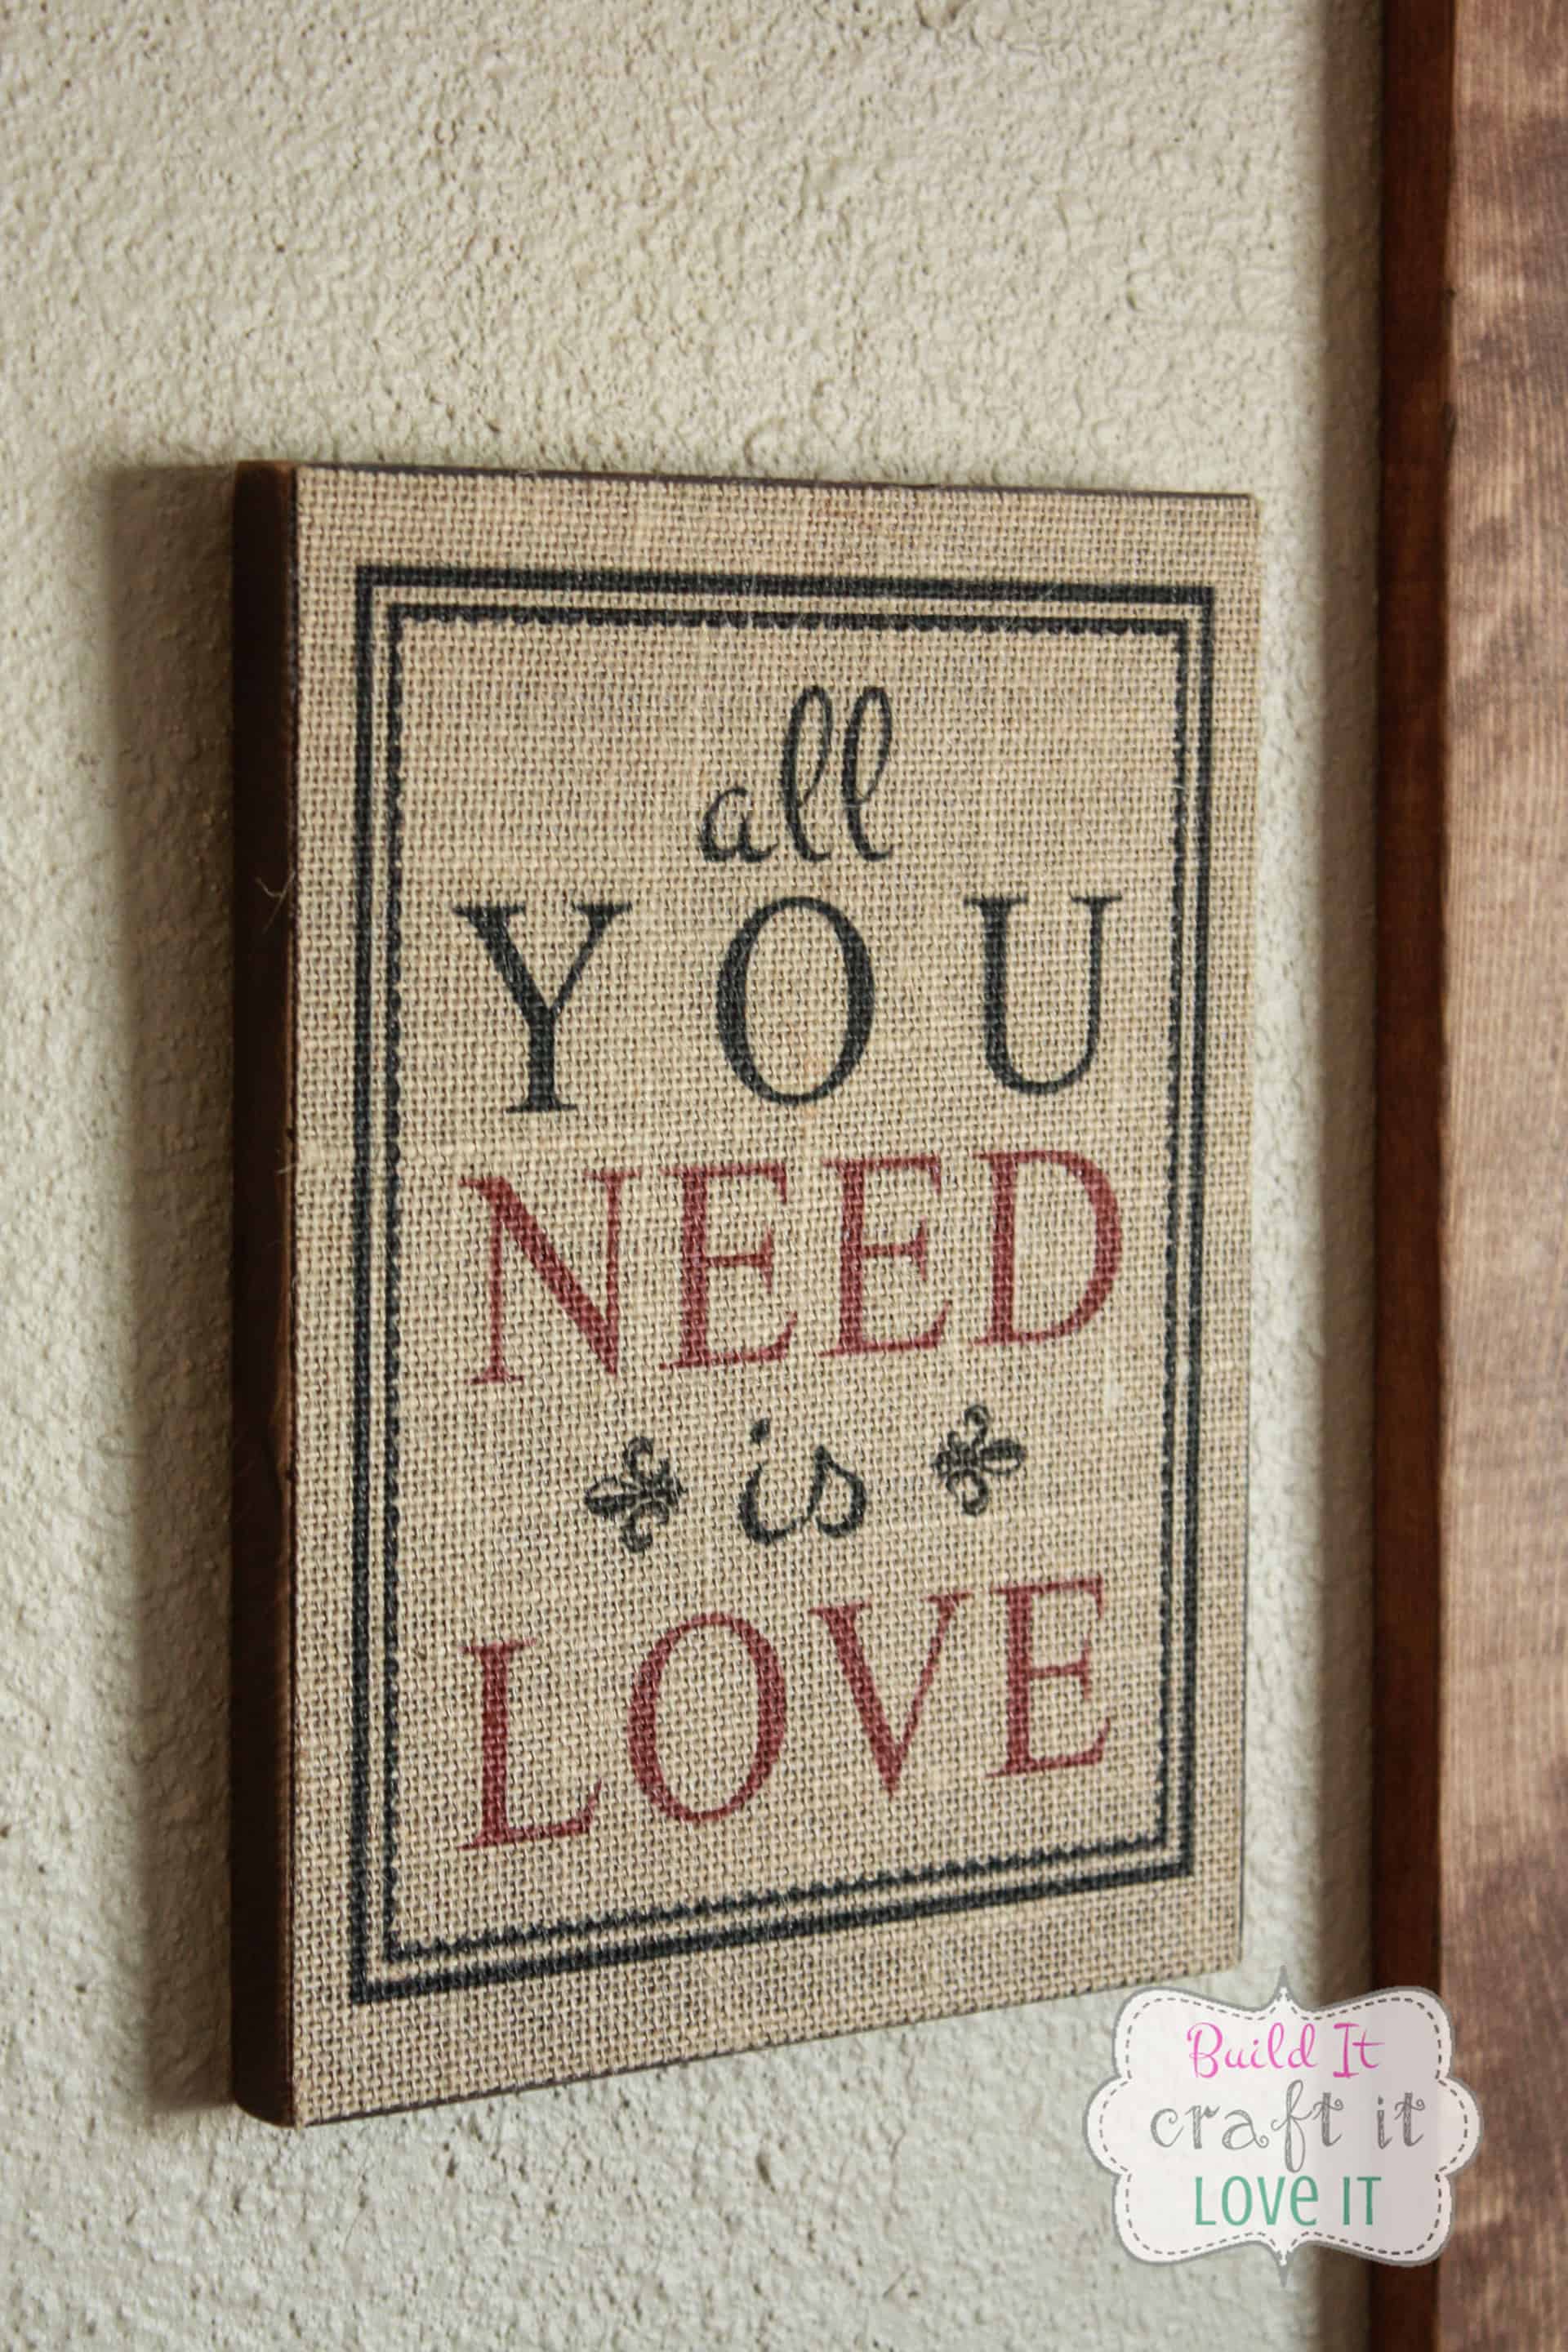
I recently saw a print like this on the back of the Pottery Barn magazine (see it HERE)and thought it was so cute, I am one who LOVES any saying about LOVE…no pun intended…HA! Anyway, it was rather large (I have very little wall space) and at $60 plus shipping and taxes, I thought I could make a smaller one and practically for free! Whoop! And I could then pass the free printable on to you so that you can make one too! That’s right…now I was speaking my own language!! So I ran to Wal-Mart and grabbed a package of burlap sheets, they are regular paper size and laminated on the back so they won’t fray and they print beautifully! And at $2.87 for a pack of 3, I can totally handle that and not try to cut my own…although, for $2.87 I could get a whole yard of burlap and make far more than 3 – 8 1/2 X 11 sheets…now look what I have done! LOL! Well, being that Valentine’s Day is right around the corner, I probably didn’t have time to make my own…I will pretend anyway to make myself feel better! Hahaha! The burlap sheets I used can be seen here, but I did not purchase them from here, as they were so much more expensive!
Okay, so to make this cutie:
You will need a scrap piece of 1×12 cut at right around 8 inches, mine was a hair more than 8 in. If you don’t have a scrap piece of 1×12 you can always plank 3-1×4 or 2-1×6 scraps together to make a large enough “sheet” to place your burlap on…but they do sell 1×12’s in a 4 ft length at Home Depot for around $9…not bad because there are sooooo many things you will be able to do with the leftovers, I promise!!! Here shortly I will be posting a few! YEA!
Anyway, so once you have cut your wood, lightly sand it, it doesn’t have to be sanded that great because it will be covered by the burlap. I am using a piece that I had already stained for another project but ended up not using …does anyone else do that? I go out into the garage and I seem to be on a roll getting a project done and then I never actually finish it and end up using the wood for something else! :0 Is that just me?! Okay then! LOL!
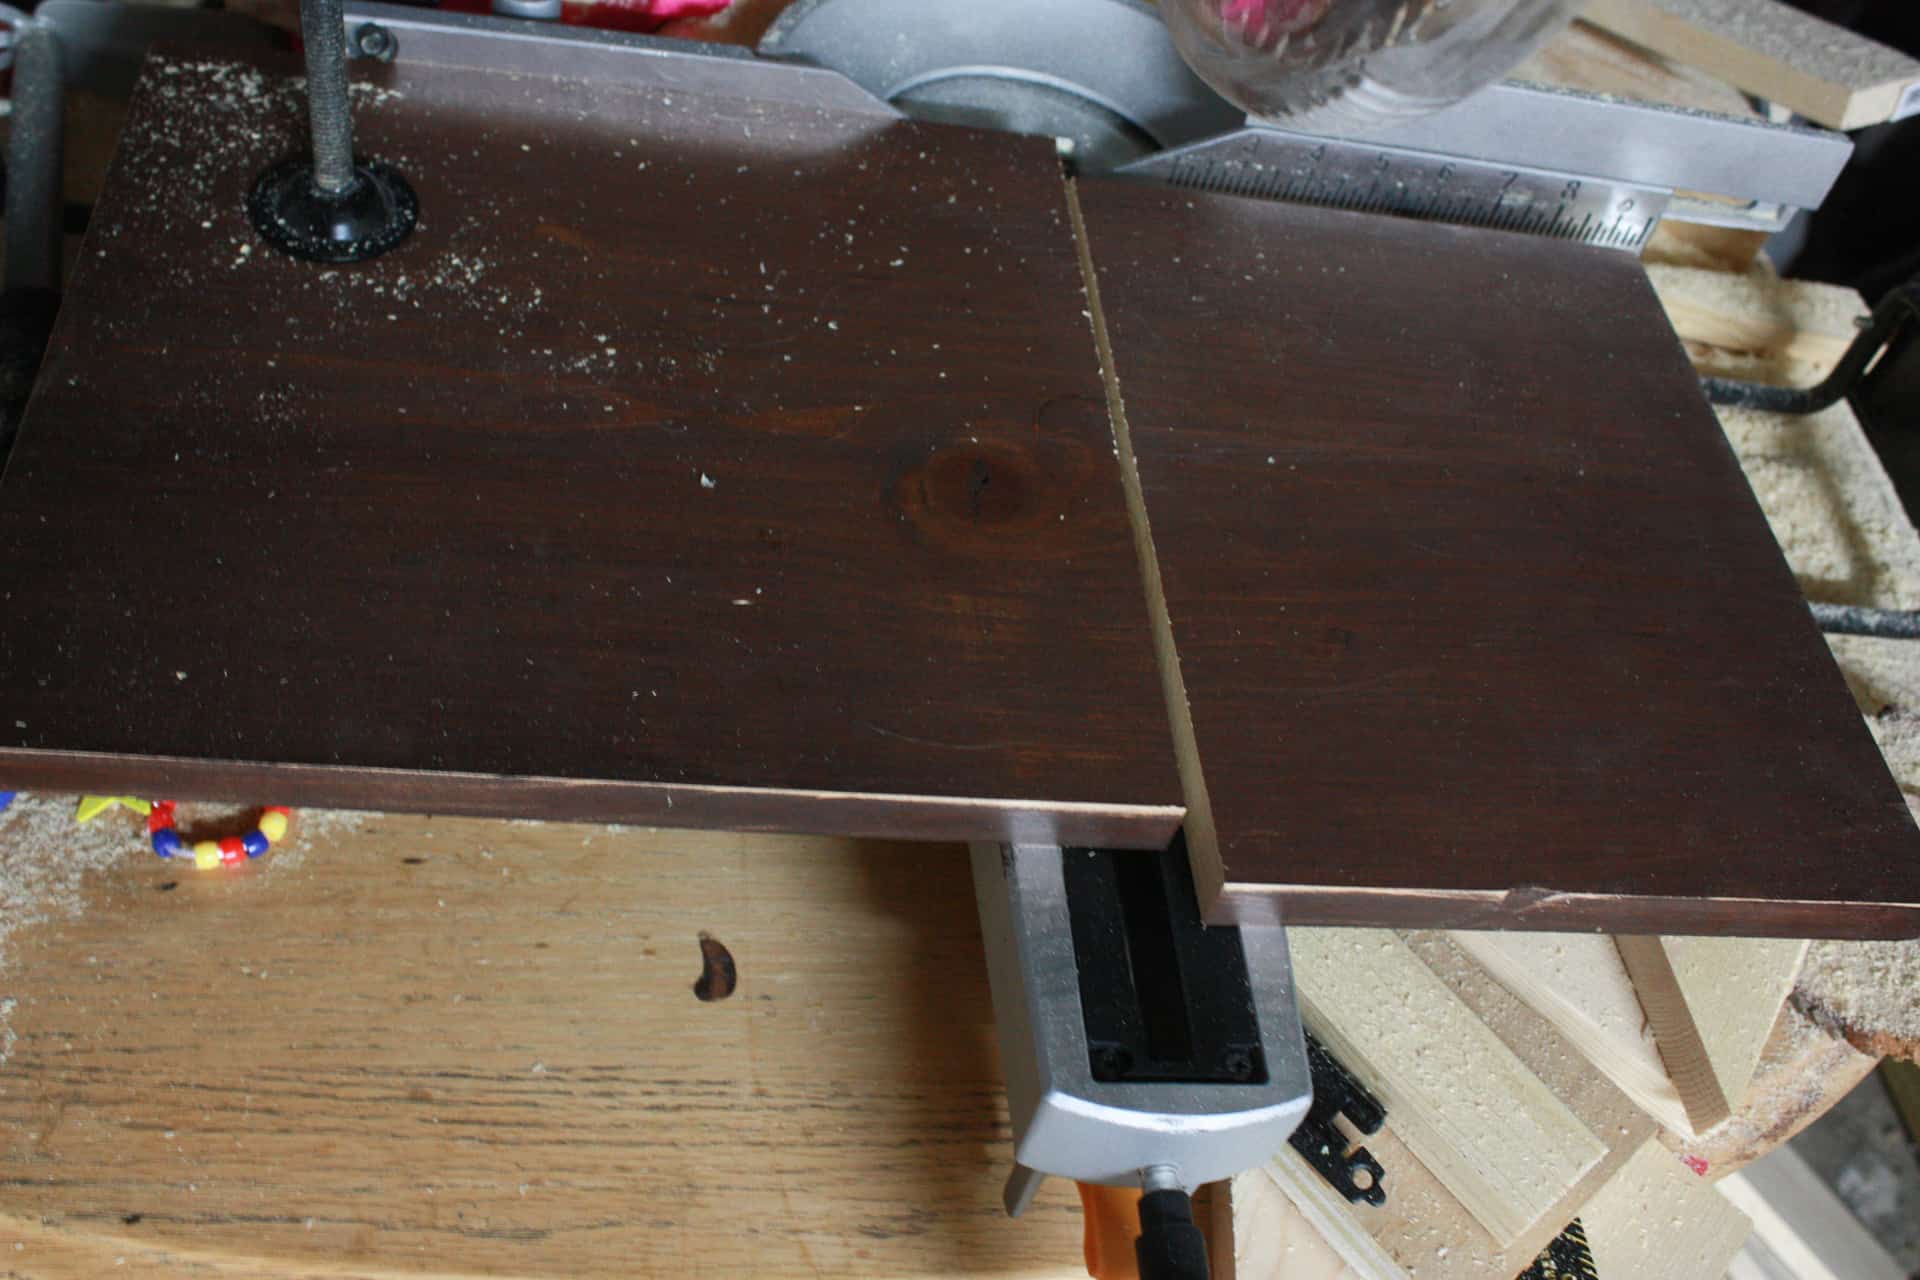
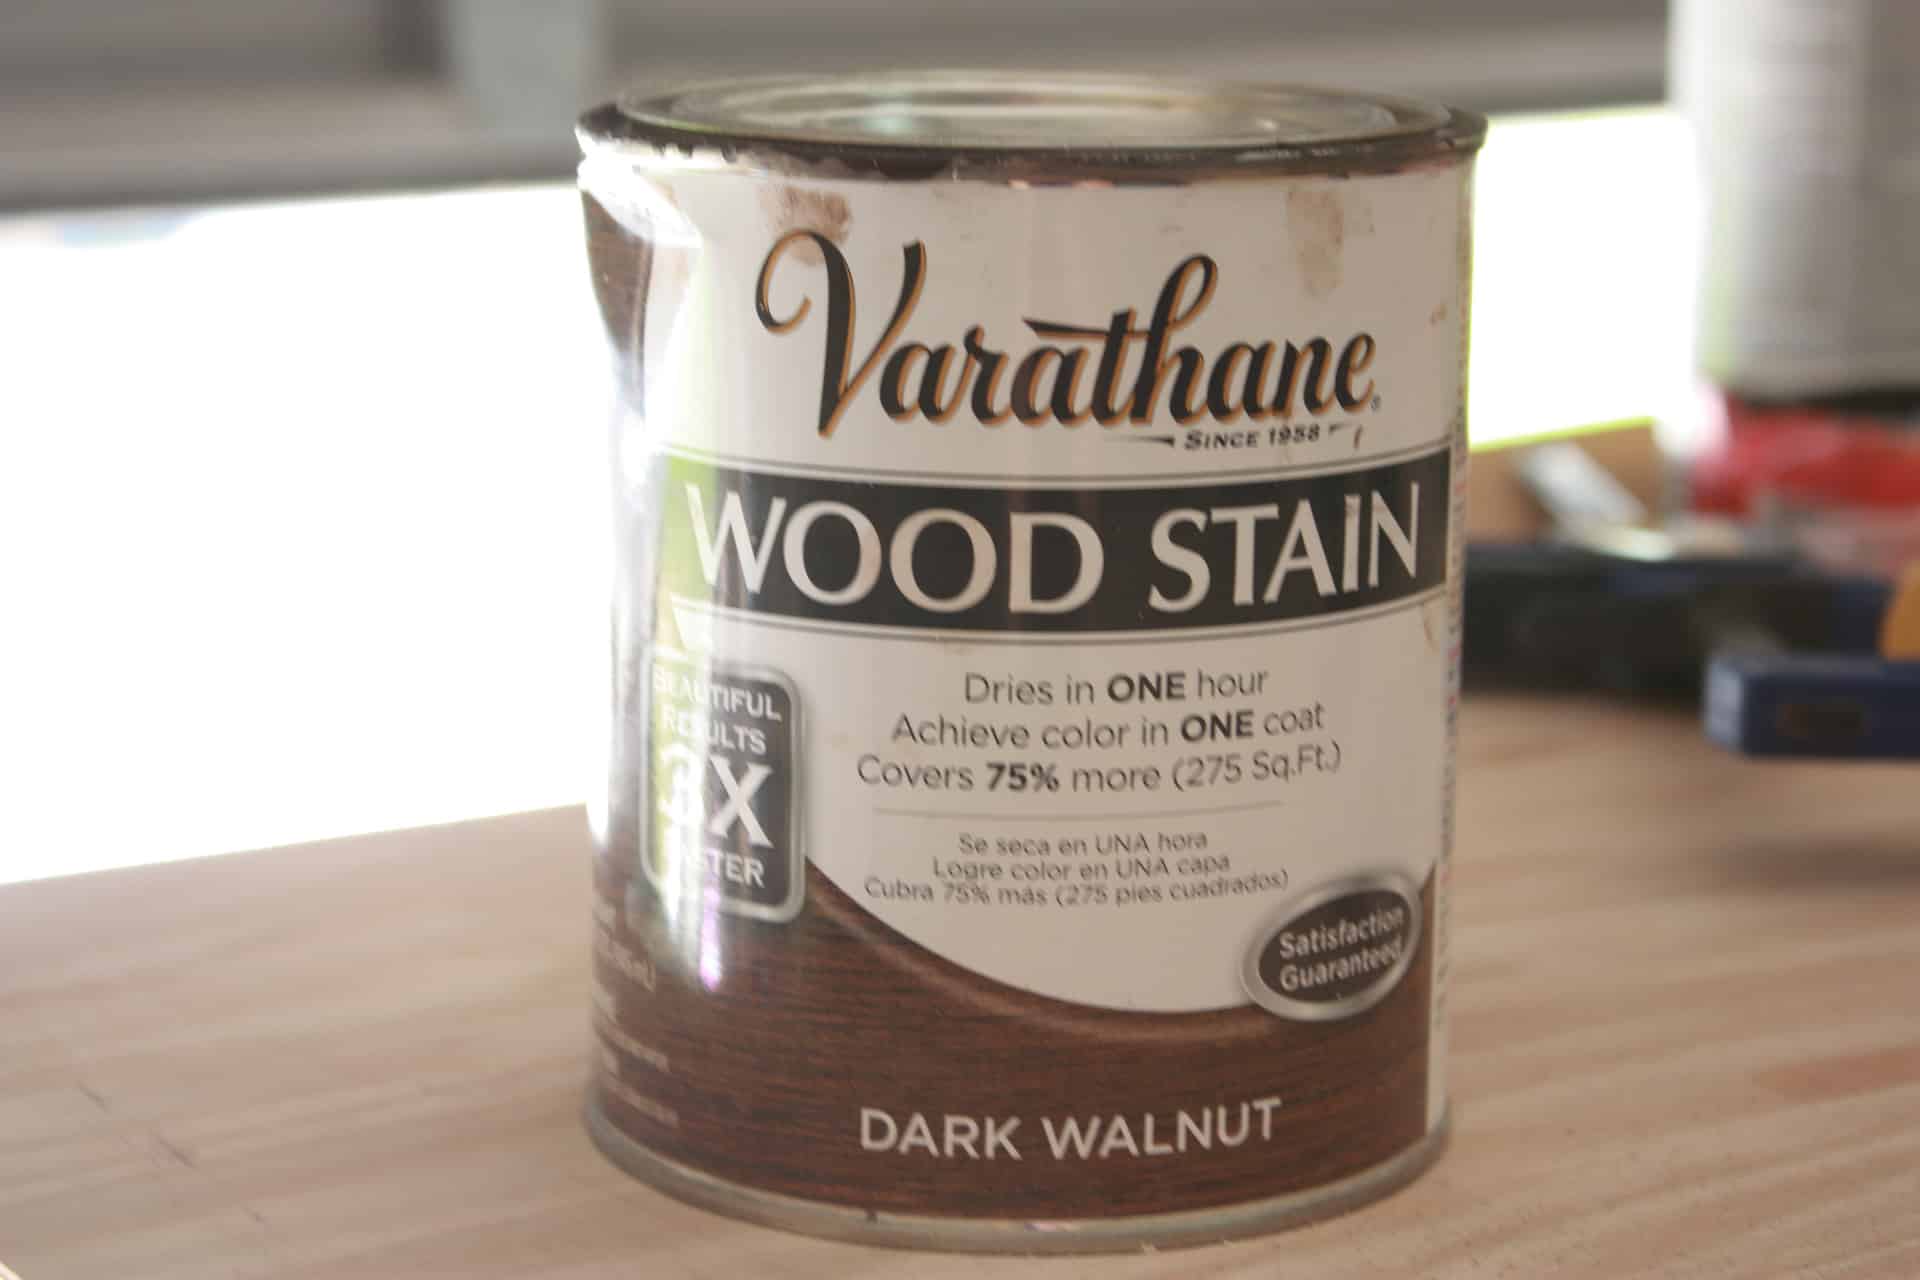
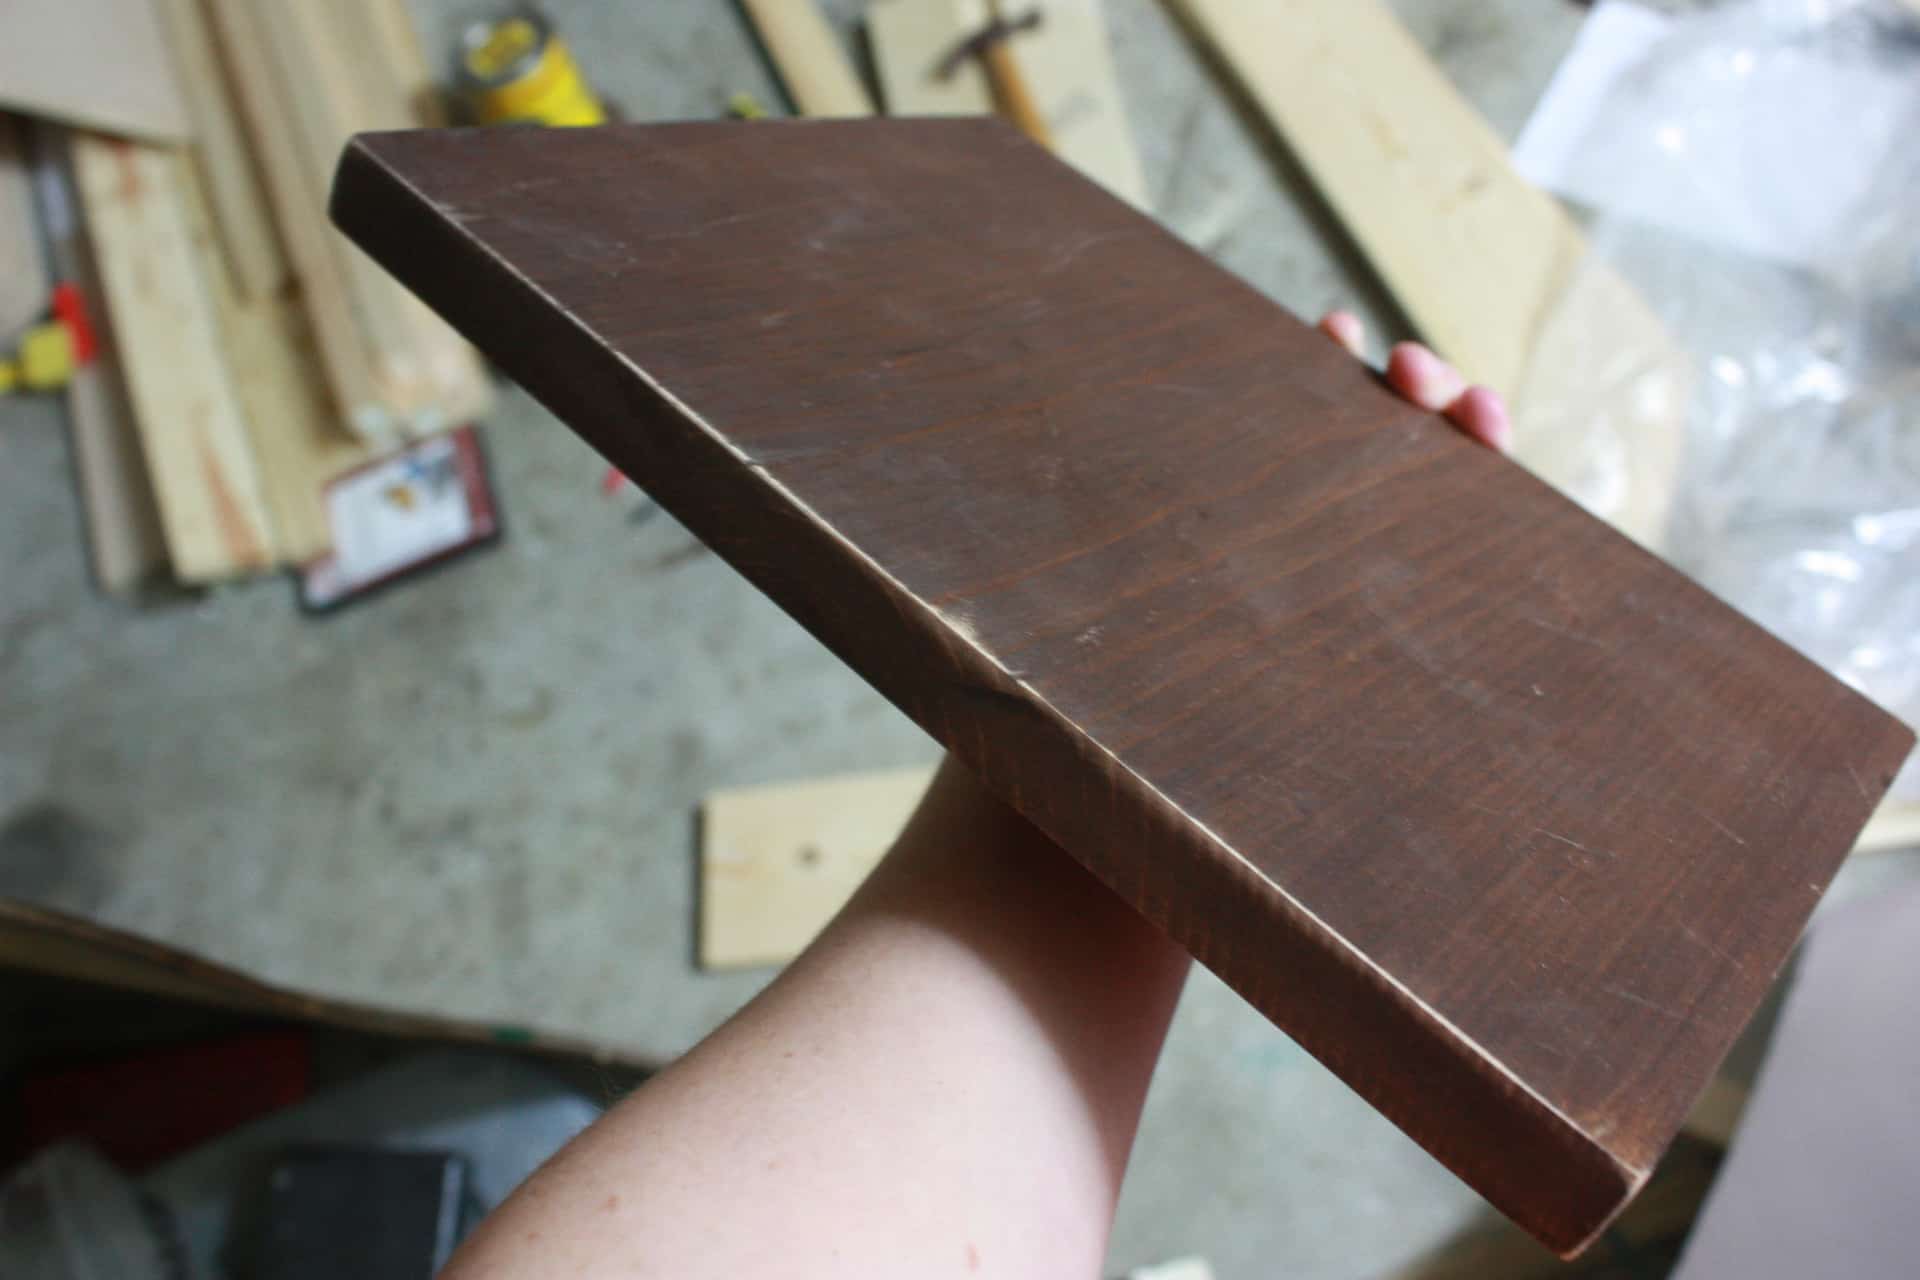
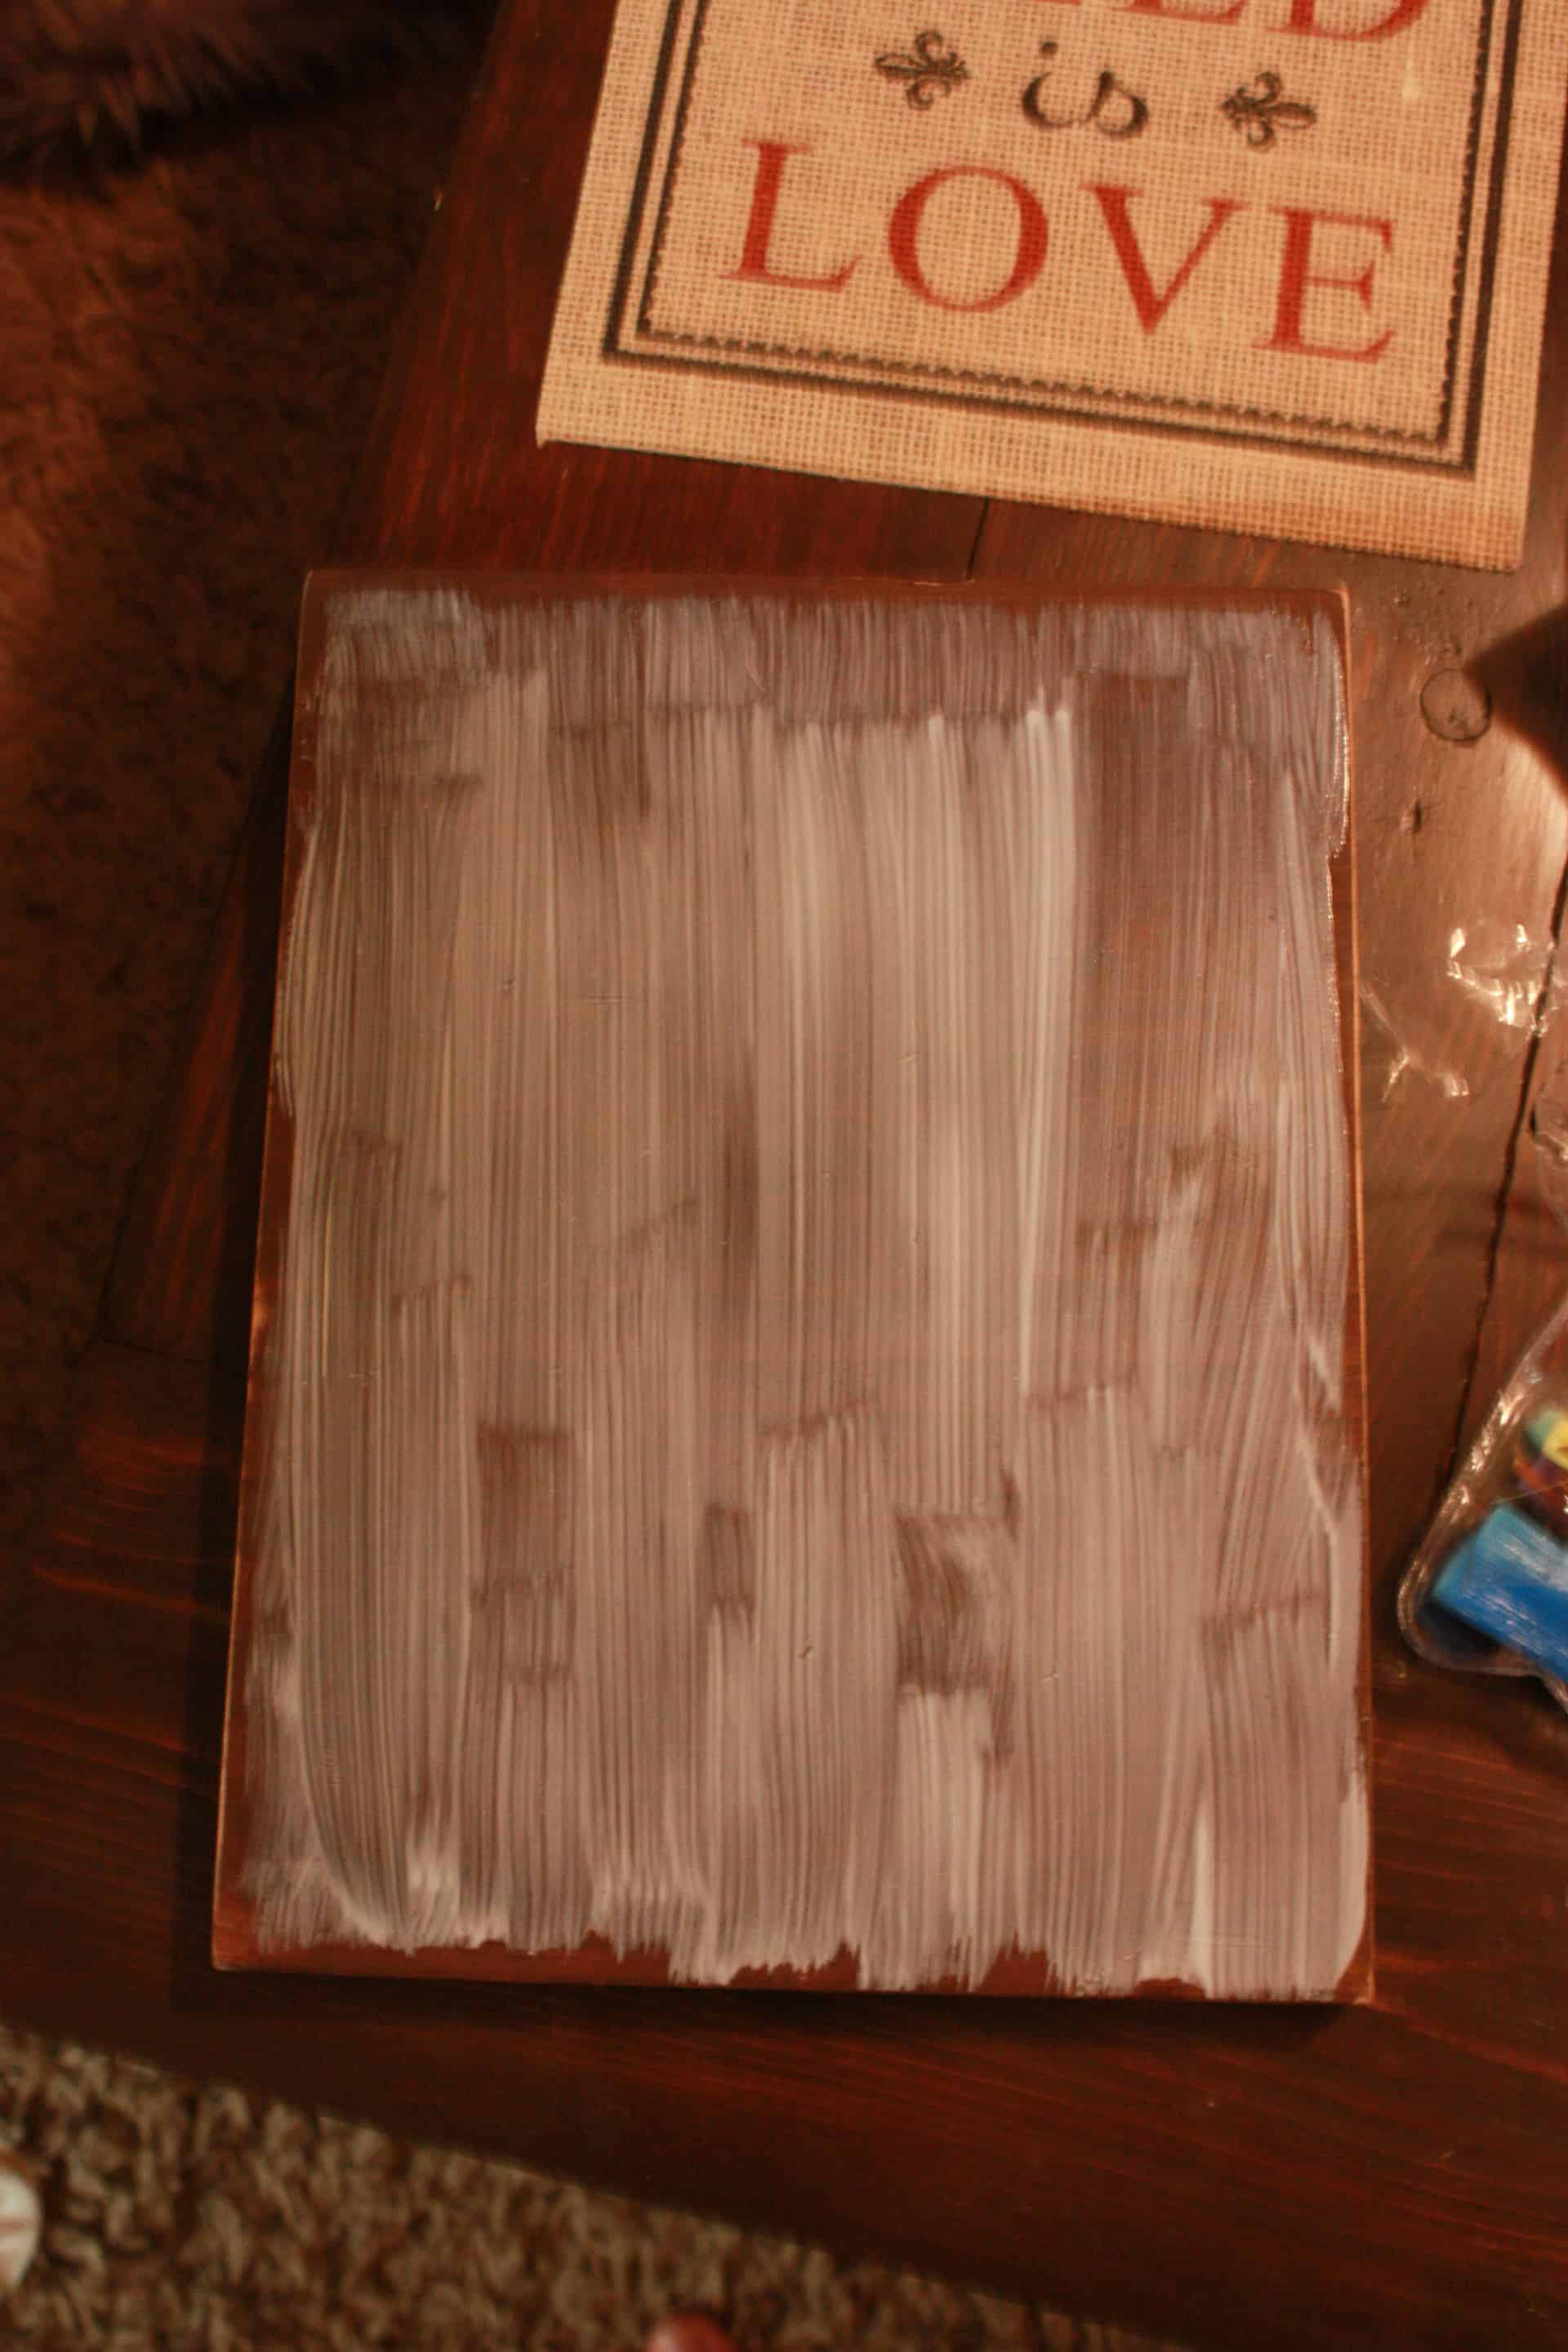
Go ahead and stain your board, (lucky me, I had already done that…I just had to stain the edge I just cut! I love it!) I used Varathane Dark Walnut…have you already figured out it is MY FAV! I use it on everything! Lol!
After the stain dried, I sanded on my board just a little to make it not look so perfect!
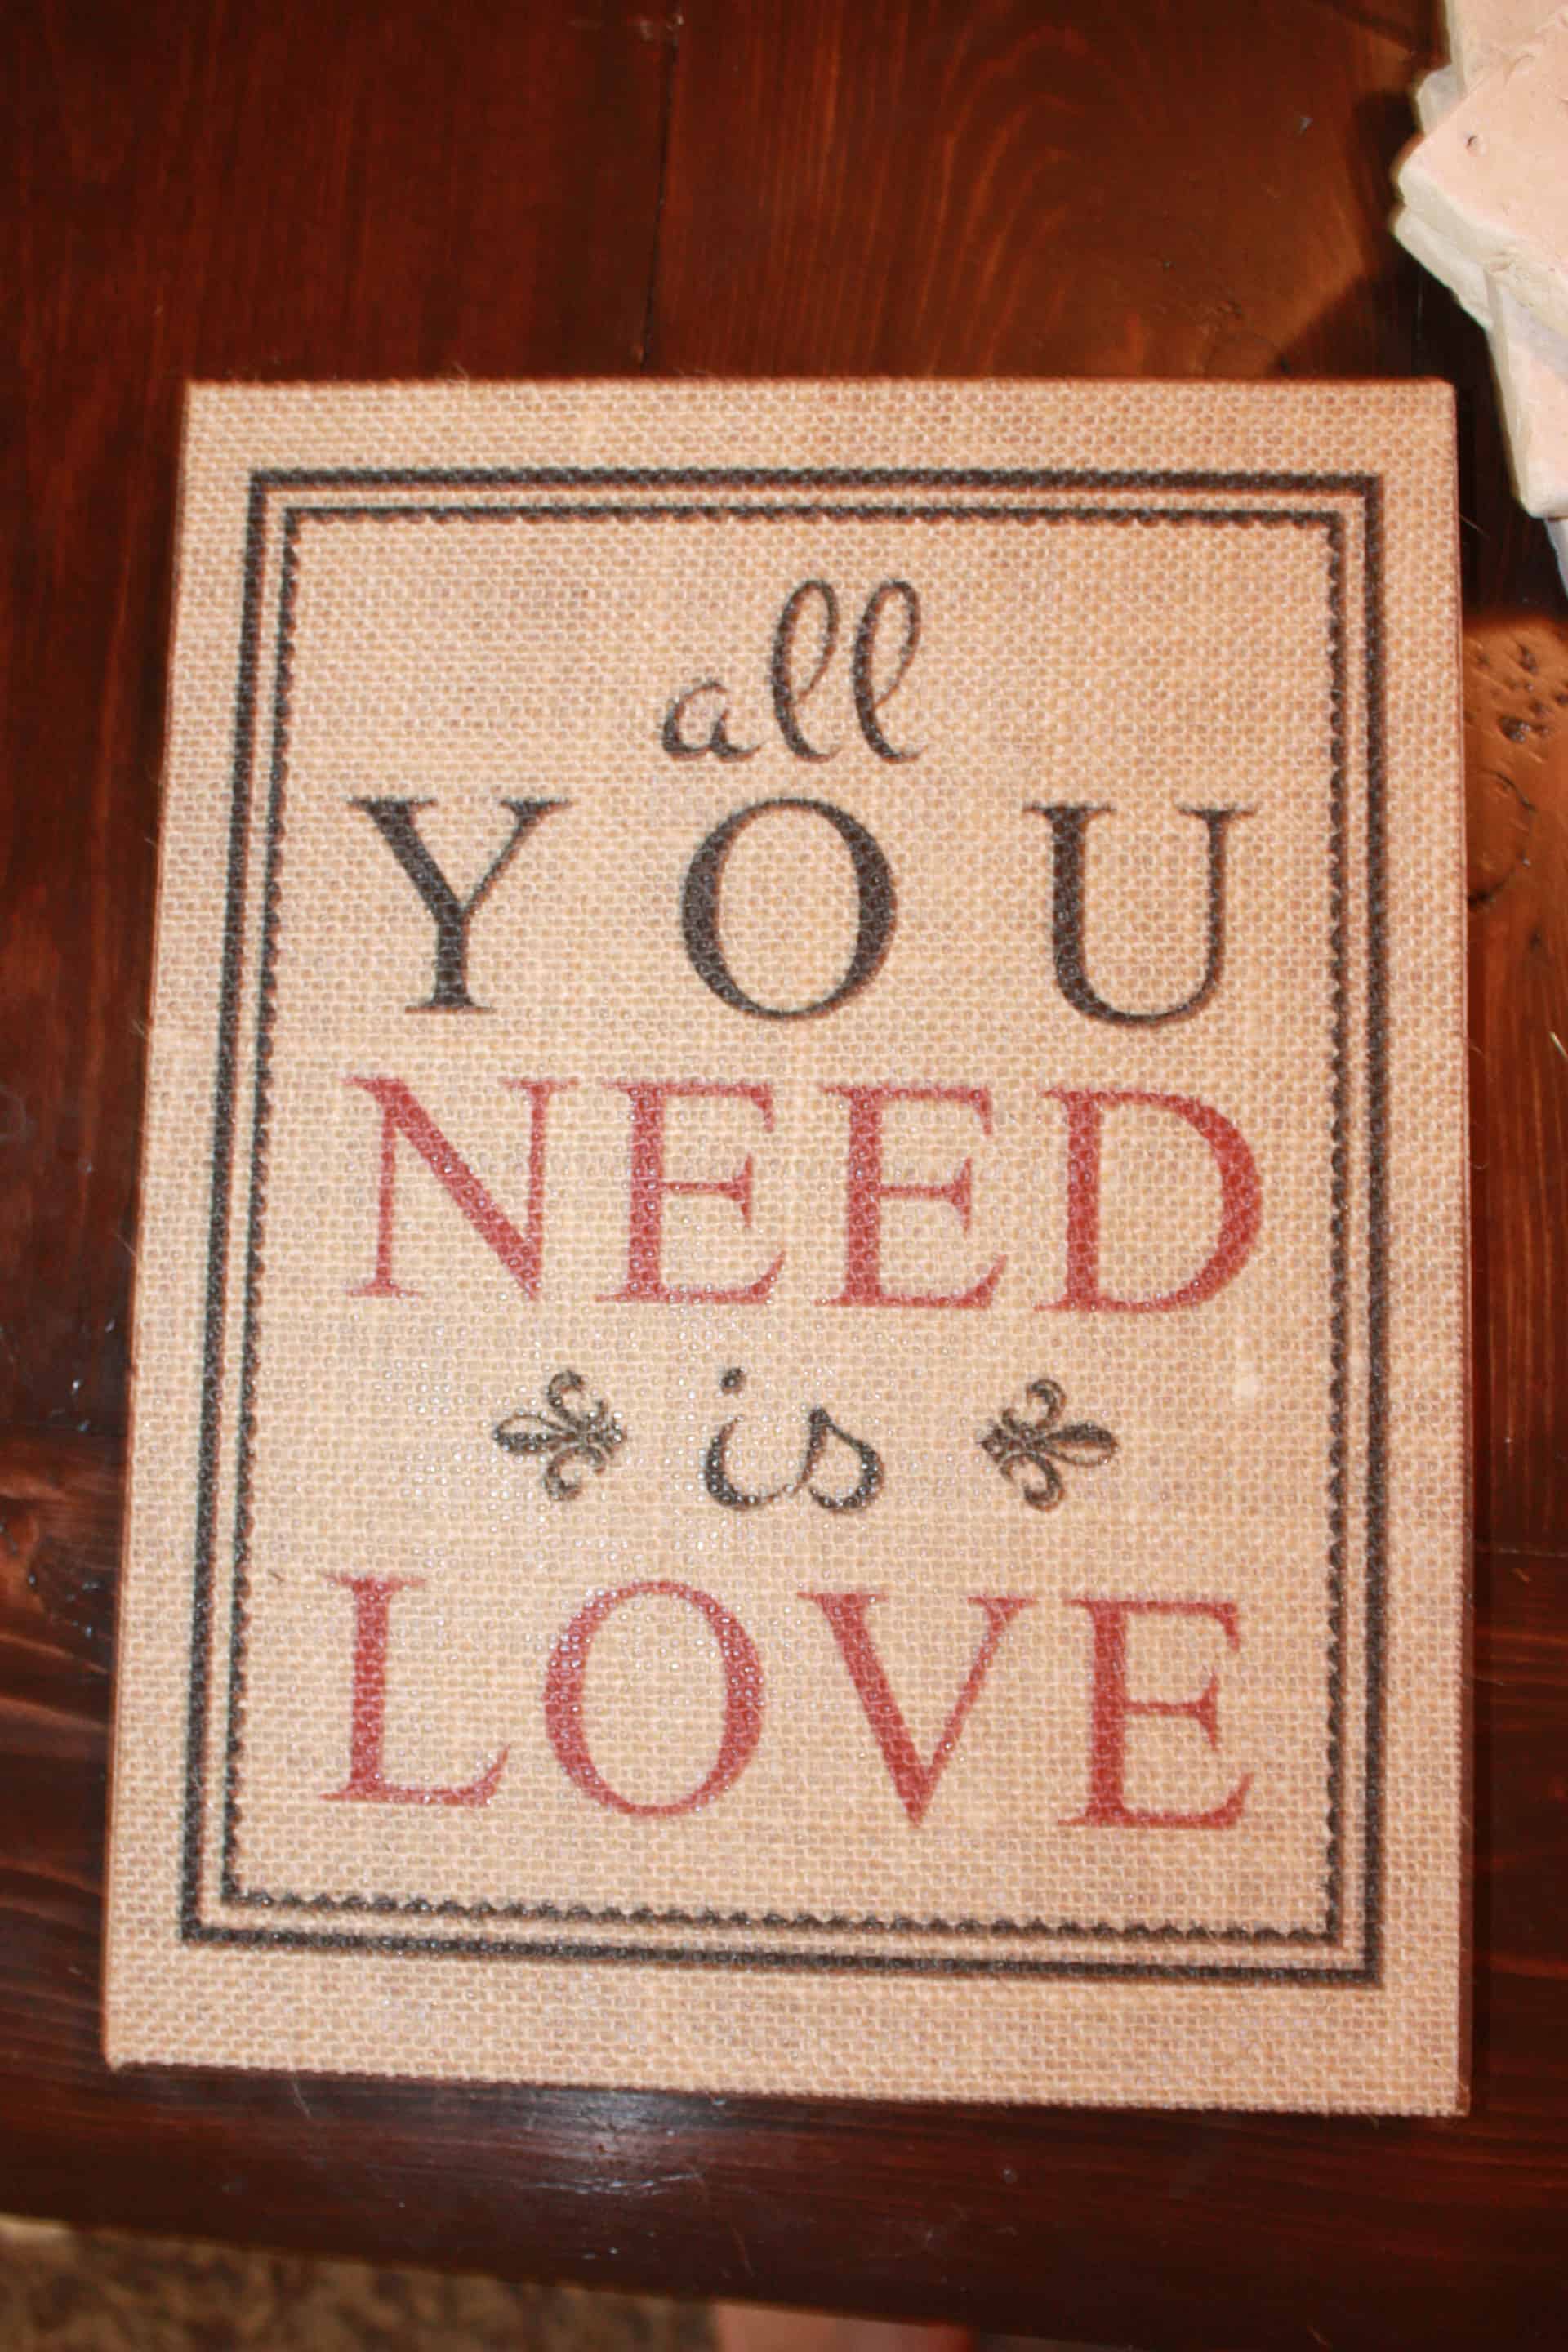
Then all you need to do is download the image below (for free…no cost…nada…just because I LOVE ya!) and print it onto your burlap sheet, make sure you run a regular piece of paper through first to test which side the printer actually prints on! The paper in my printer prints onto the “back” of the sheet, if you place a mark the paper as it sits in your printers paper tray you will be able to see which side it prints on…most printers pull the paper up and around, printing like mine on the “back” side of the paper but the last printer I had printed on the “front” of the paper…that may make NO SENSE AT ALL and I am sorry if that was all talking crazy! Ha! The burlap sheets are burlap on the front but more of a plastic on the back, so you just want to make sure you are printing on the burlap side! Enough said! LOL!

Pottery Barn Inspired Burlap Wall Art Free Printable
*****Update: I saved the file as a pdf, click on the link above and it will open in Adobe Acrobat and it should print perfectly…if not just let me know! You are more than welcome to comment or use the contact page! Make sure to always test print on a plain piece of paper!
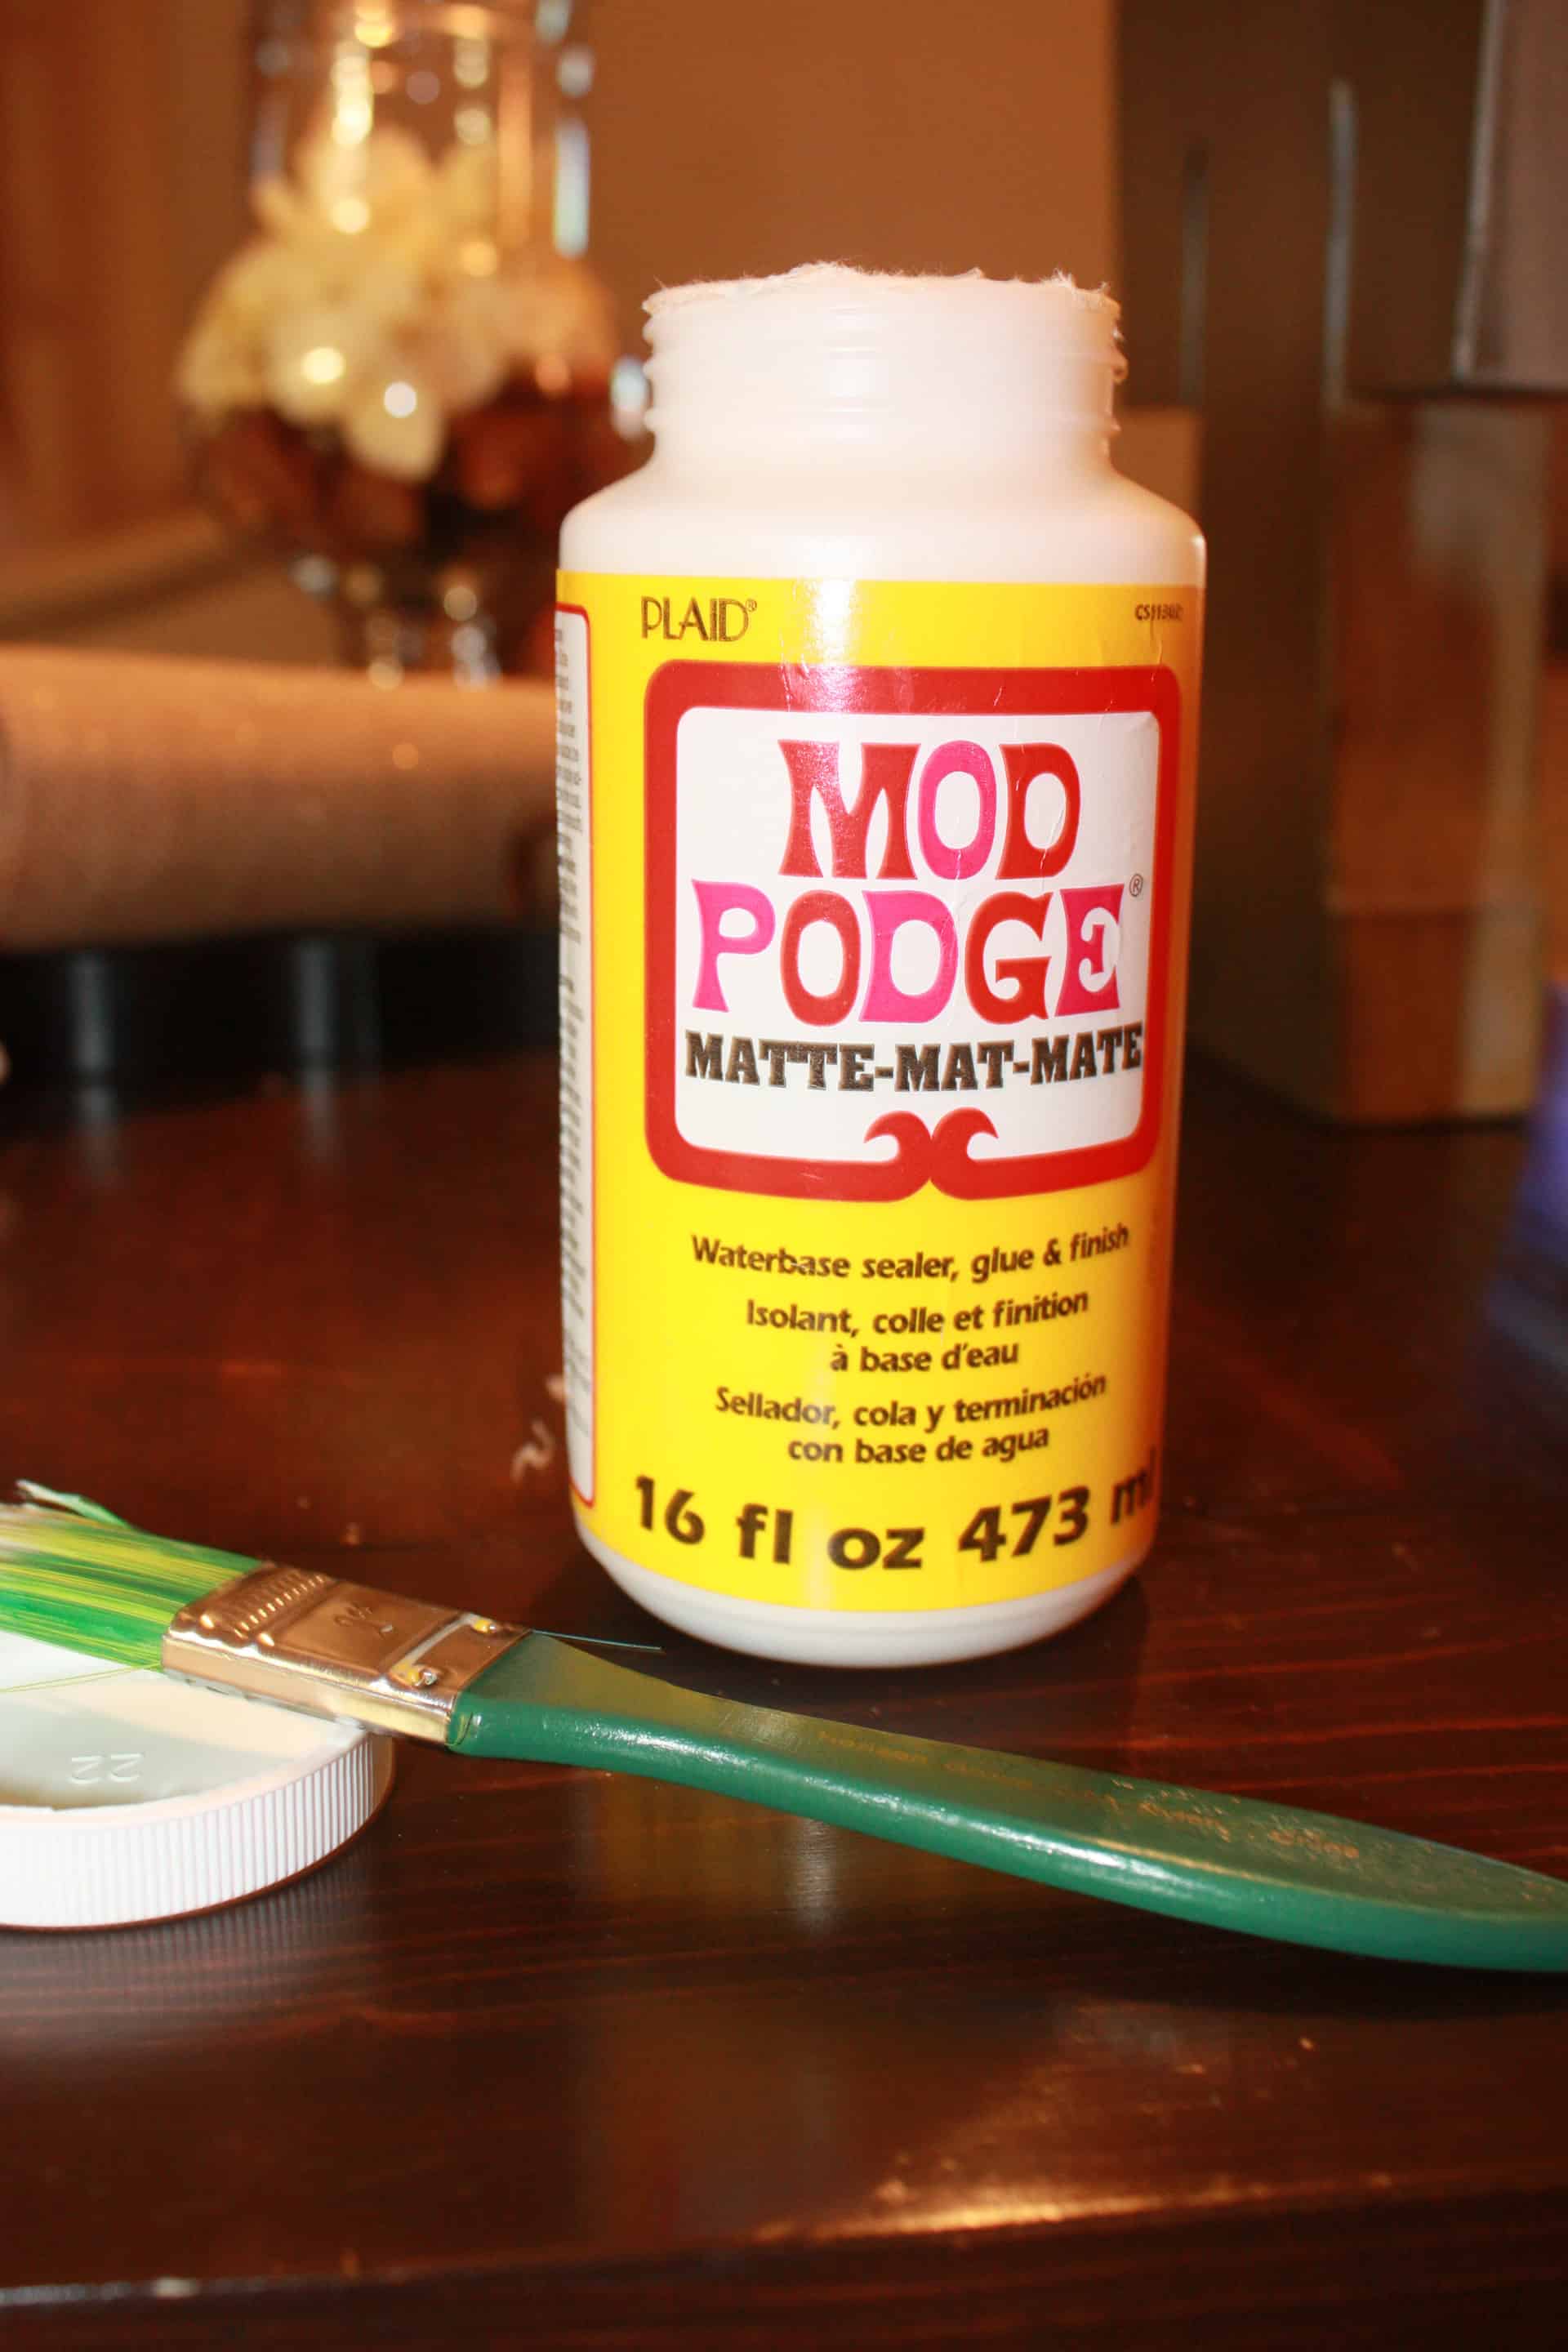
Once you have it printed, you can use any type of craft adhesive, I just used Modge Podge, worked like a charm!
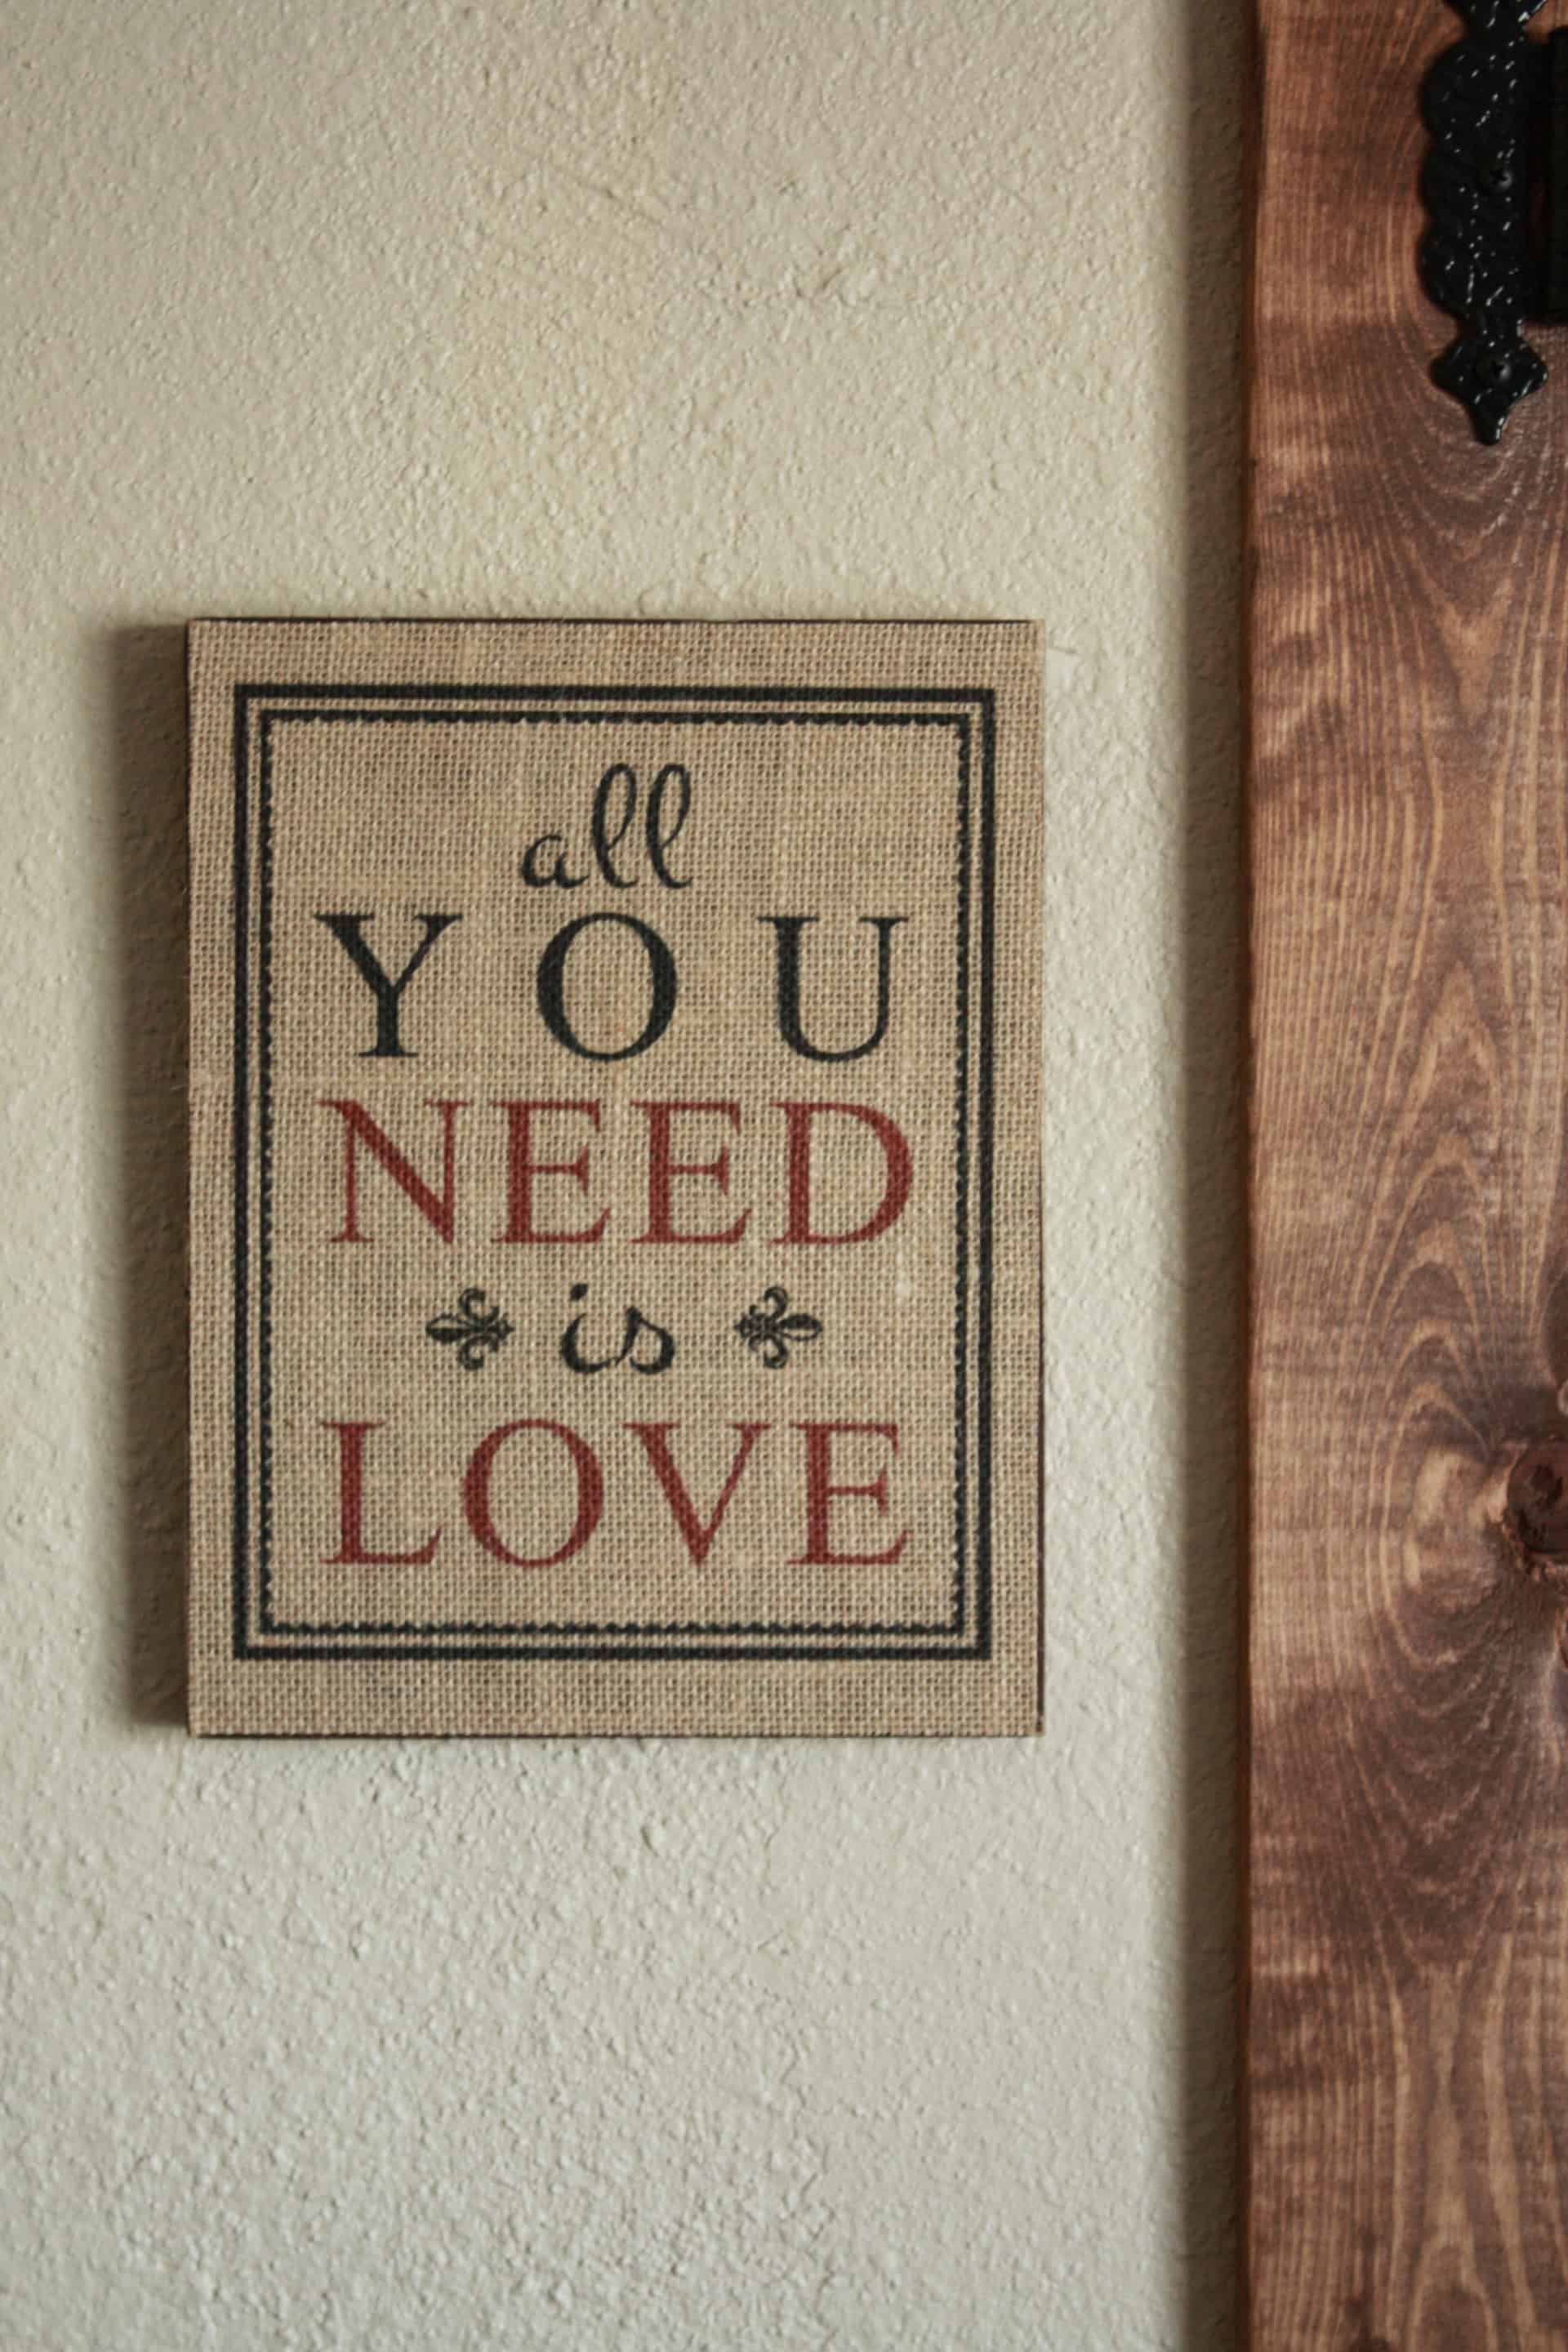
Now just place the burlap on the board and smooth it out! Look at how LOVEly it is! Well my pictures aren’t lovely but I was making this at night so please excuse the orangey, not so grand pictures!
Now you just have to choose your hanging hardware and affix it to the back! I used a saw tooth hanger like this. It is much larger than it needs to be but it kept me from having to go to the store because I had this size on hand…I ain’t picky people! LOL!

That is my kind of craft…so easy, so quick, so cute!
Hope you all have a wonderful Valentine’s Day! Check back tomorrow for a few more FREE Valentine Printables!
Be sure to follow me on Instagram and Pinterest to keep up with all my latest adventures in building and crafting!
LOTS OF LOVE,
Cara


One Comment